

Stephen
-
Posts
2743 -
Joined
-
Last visited
-
Days Won
360
Content Type
Profiles
Forums
Articles
Posts posted by Stephen
-
-

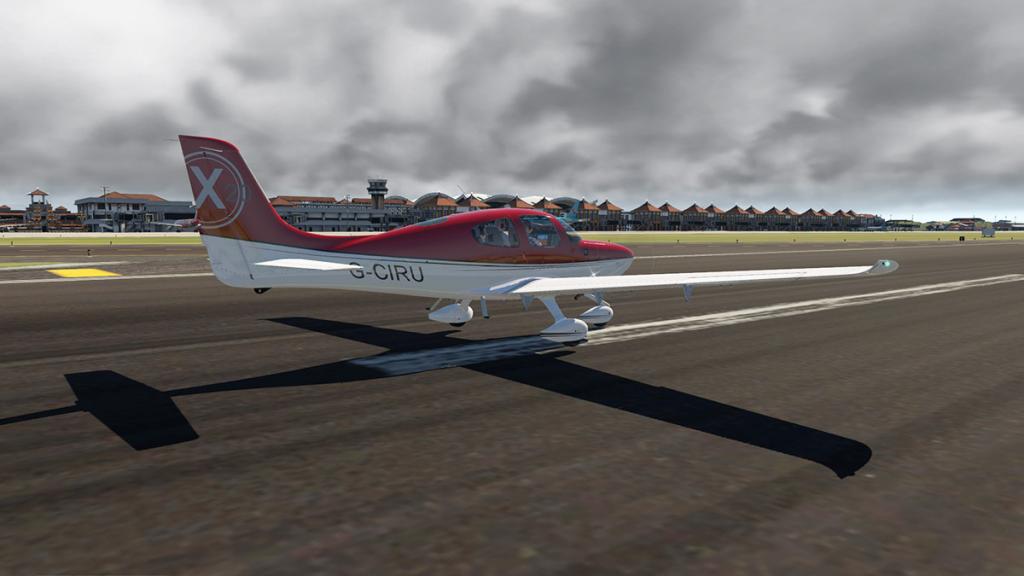
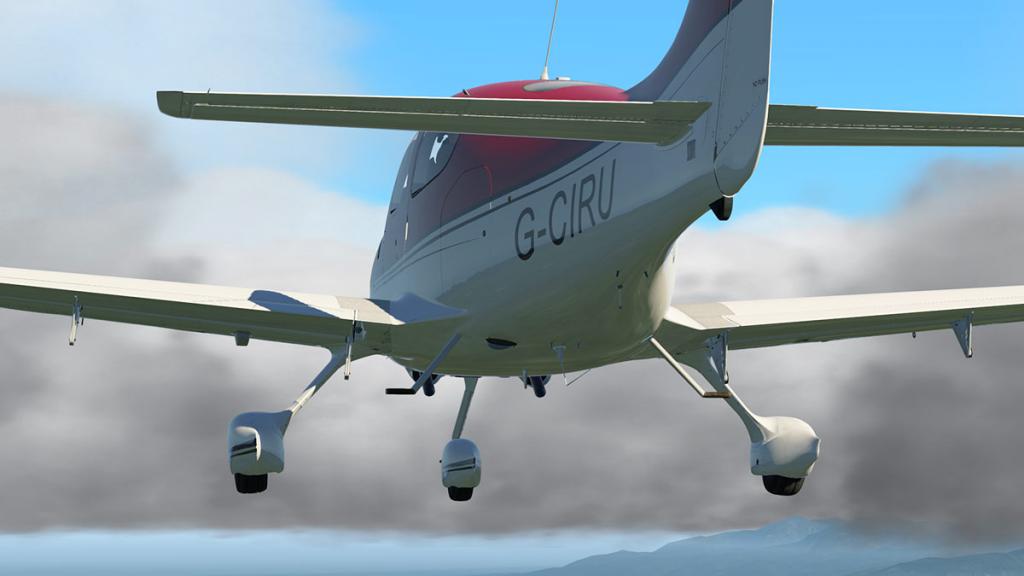
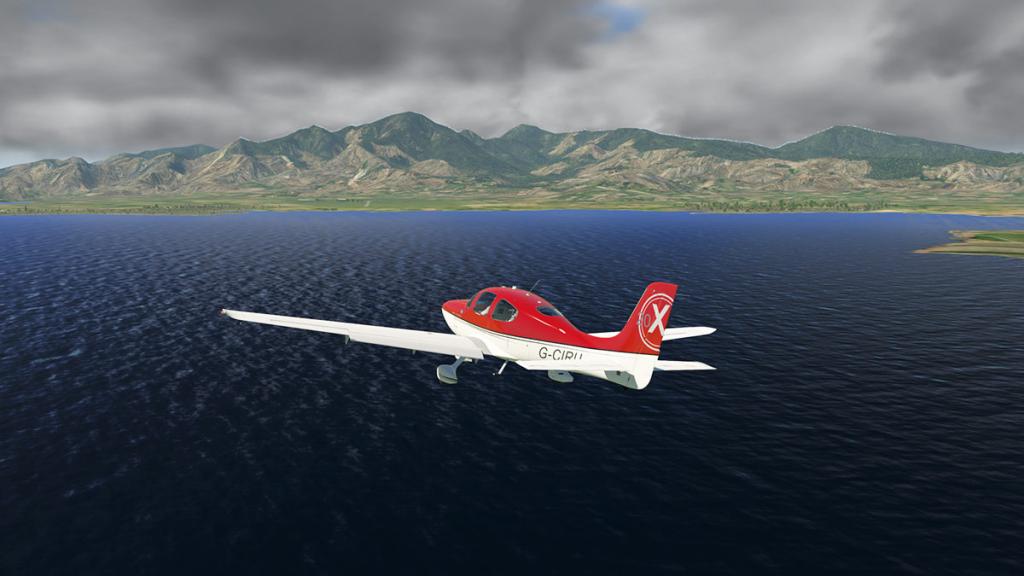
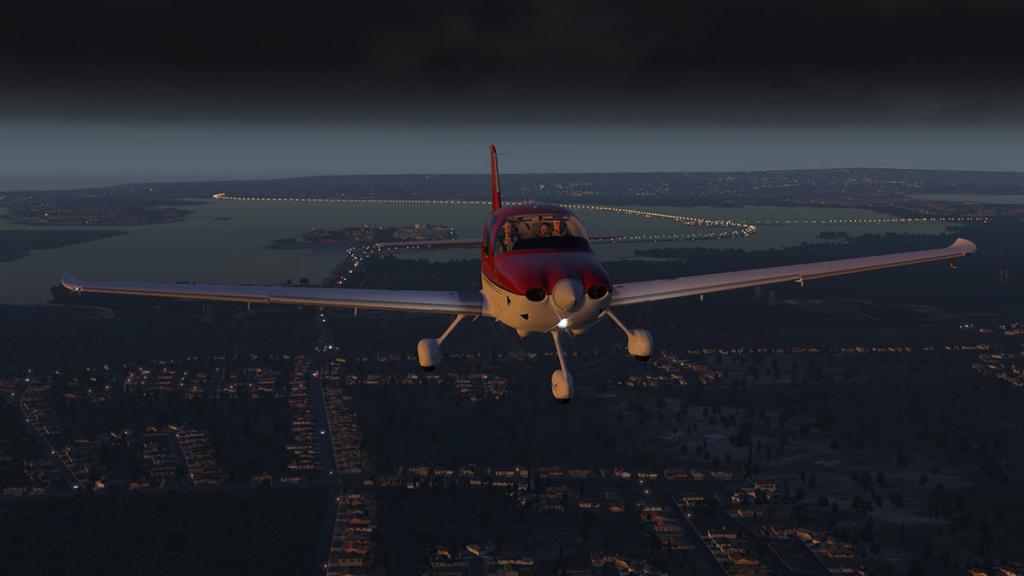
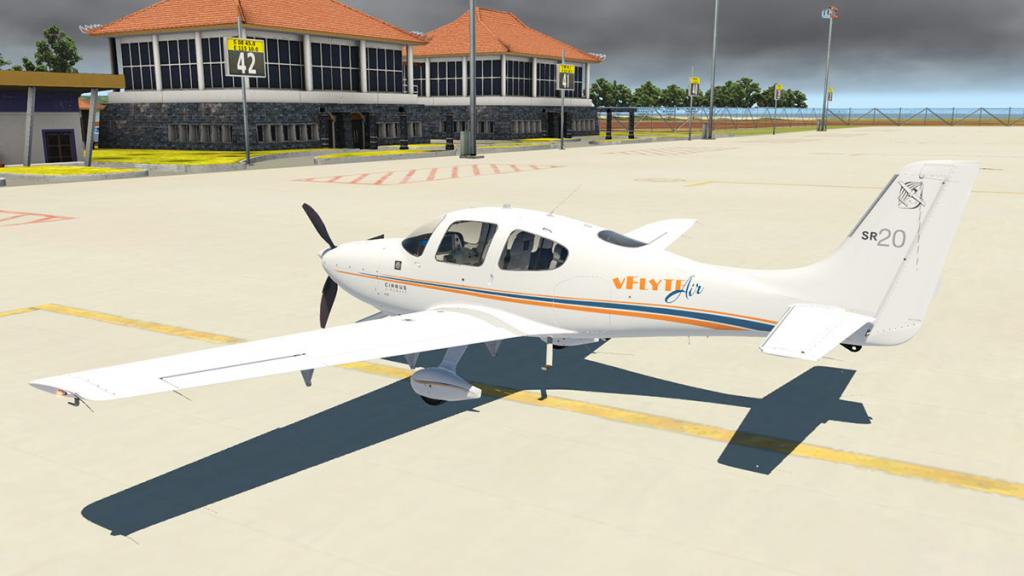
Aircraft Review Update to X-Plane11 : Cirrus SR20 G1000 v2.5 by VFlyteAir
With the introduction of X-Plane11 there has been a huge amount of upgrades from developers in meeting the requirements of the new simulator version. That is to be expected as you will want, and sometimes quickly need to fly your favorite aircraft in X-Plane11. The amount of changes to meet the X-Plane11 requirement though has been a broad spectrum, from the very basic requirements to a full makeover of the aircraft.
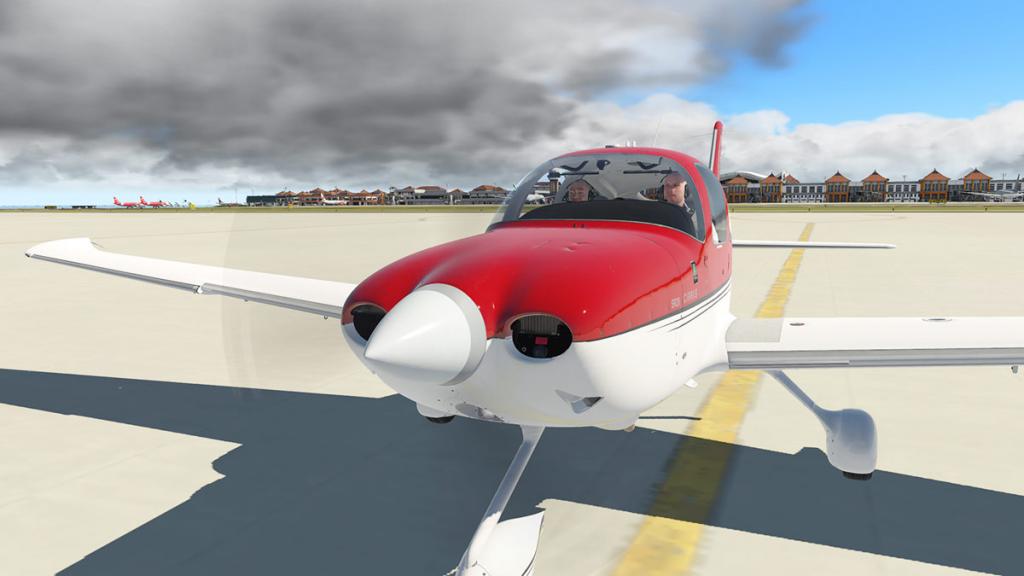
So here is the Cirrus SR20 from vFlyteAir getting its own makeover to meet the new X-Plane11 requirements, and it is quite a significant makeover at that.
I really liked the vFlyteAir version of the Cirrus SR20 (Carenado has a SR22 GTSX version), and in my SR20 review I came away seriously impressed. vFlyteAir if you have been following my reviews has also under gone a serious change as developers over the last few years since that SR20 release, not only is there more developers now contributing internally to their aircraft, but their quality and features have been seriously upgraded into one of the now top level and these extremely talented X-Plane developers, So with that in mind then let us get straight into what this new version has to offer.
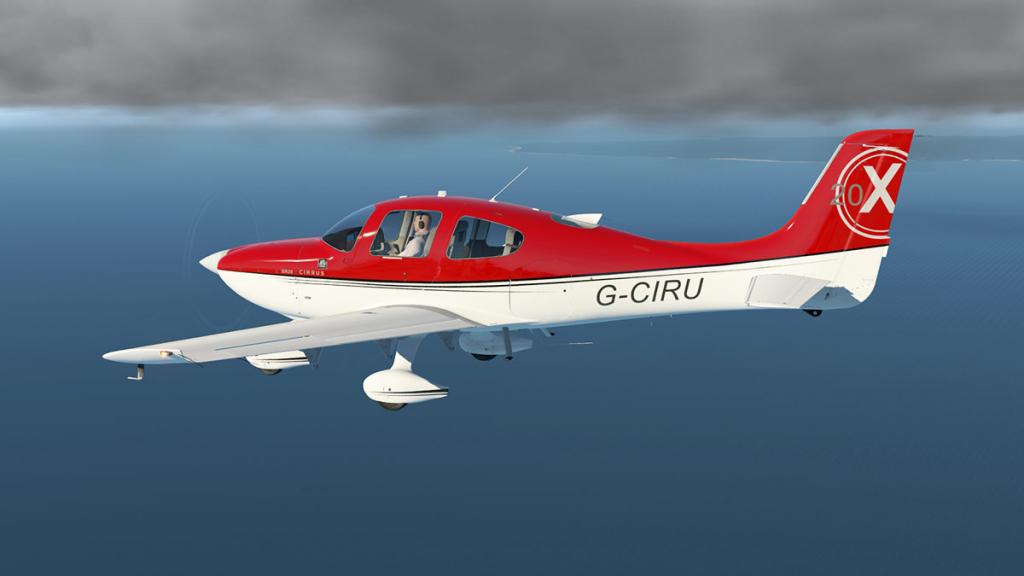
The original modeling was fantastic anyway, but the X-Plane11 shine has added in another extra level of quality as soon as you look over the SR20. The wing surface areas and their sizes however are slightly adjusted to match the real world versions and the wing airfoils are custom created from Roncz Laminar Flow airfoils to give a more realistic feel and handling and remember that is matched up to the different X-Plane11 performance modeling, so the aircraft will and does have a more natural feel under your control.
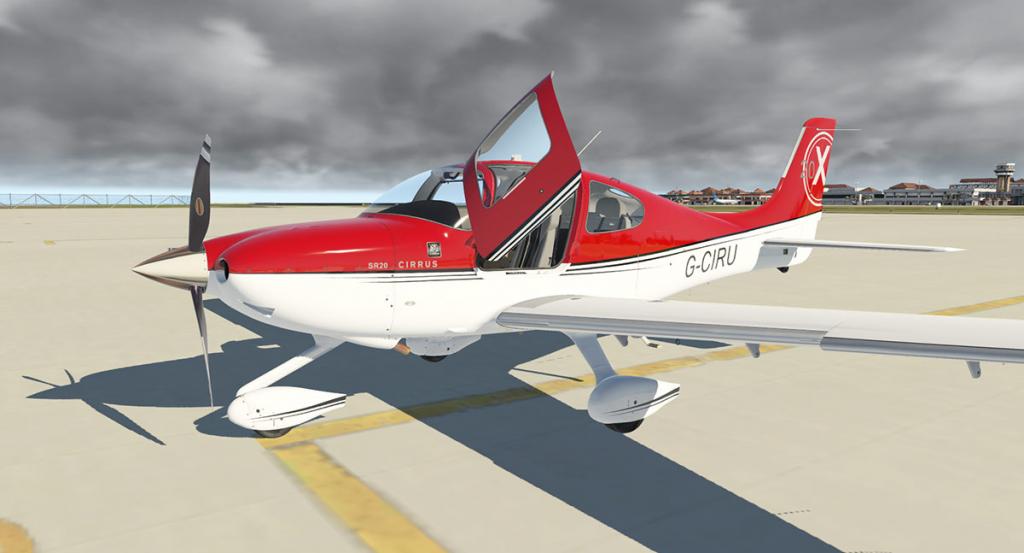
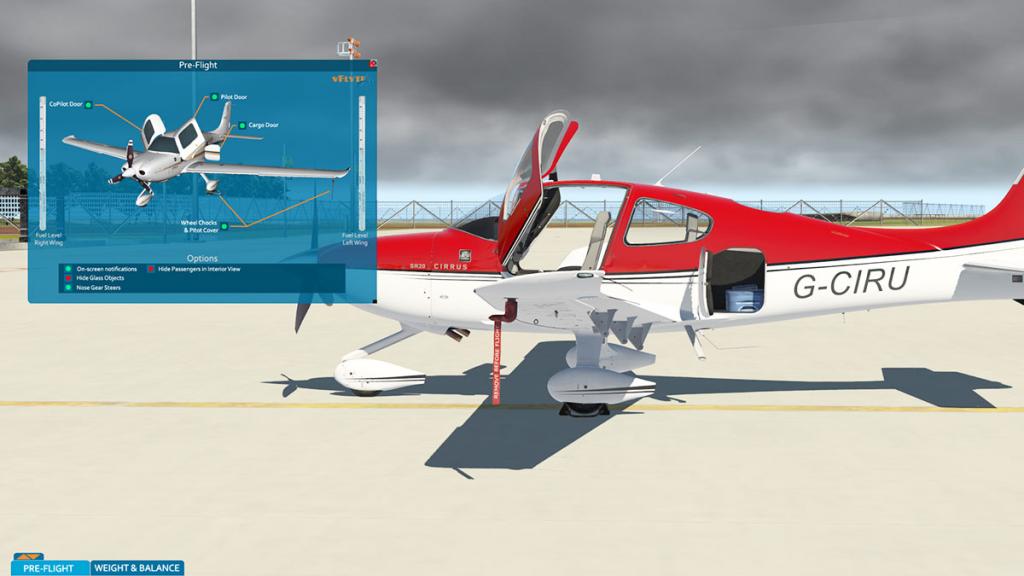
First noticeable difference is the old menus are gone and have been replaced with vFlyteAir's current new menu system of a "Pre-Flight" popup menu and a "Weight & Balance" popup menu. The menu tabs are bottom left of your screen.


Beautiful and extensive, they are very different and far more functional than the originals.
"Pre-Flight"
Pre-Flight covers mostly your ground elements in both opening the forward up swinging doors and the baggage door with wheel chocks and pitot covers. Options include, On-Screen notifications, Glass Reflections (on/off), nose gear steers and hide passengers in interior view.
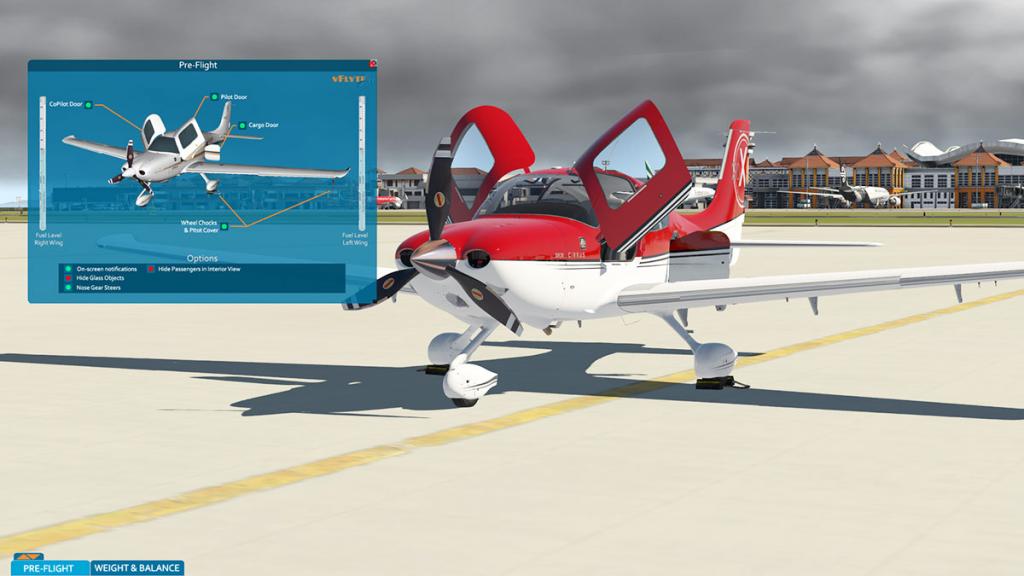
There is also indicators of the fuel tank loads for the left and right tanks.
"Weight & Balance"
The second popup menu is the excellent visual Weight & Balance menu.


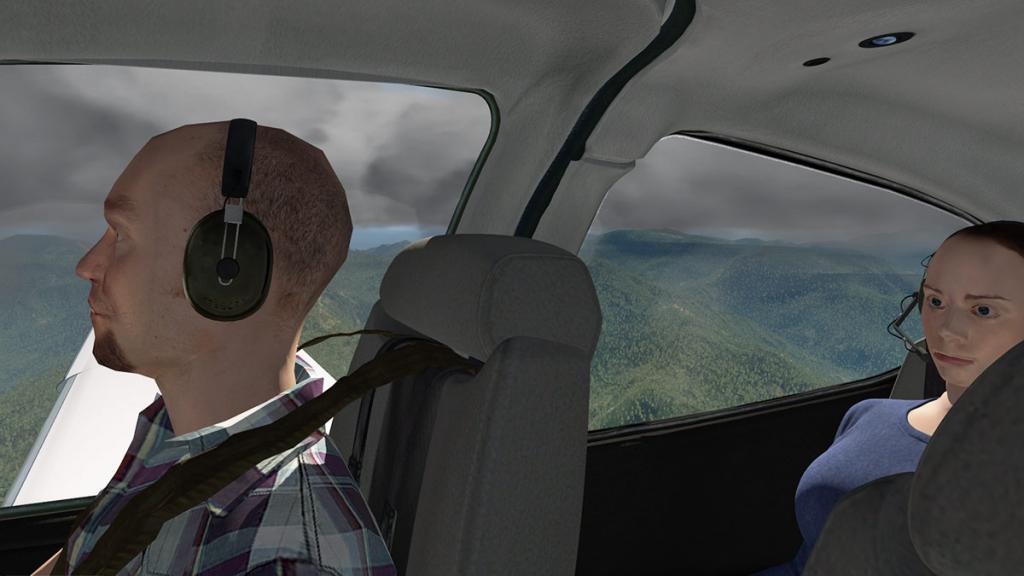
Fuel weights in both tanks is to 28 Gal per tank, you can also set the weights of each of the pilots and passengers on the aircraft, moving the sliders will set the weights and also make the pilots and passengers appear in the aircraft, this is great as you can have as few or as many passengers in the aircraft as you require, and even the pilot disappears if you want an empty aircraft. Luggage weight is also available and the bags appear in the baggage compartment as you adjust the slider. There is a very good adjusting CoG chart to get all the settings right and find the correct balance of the aircraft or if it is out of its flying limits. The full gross weight of the aircraft is also noted in lbs and kgs.

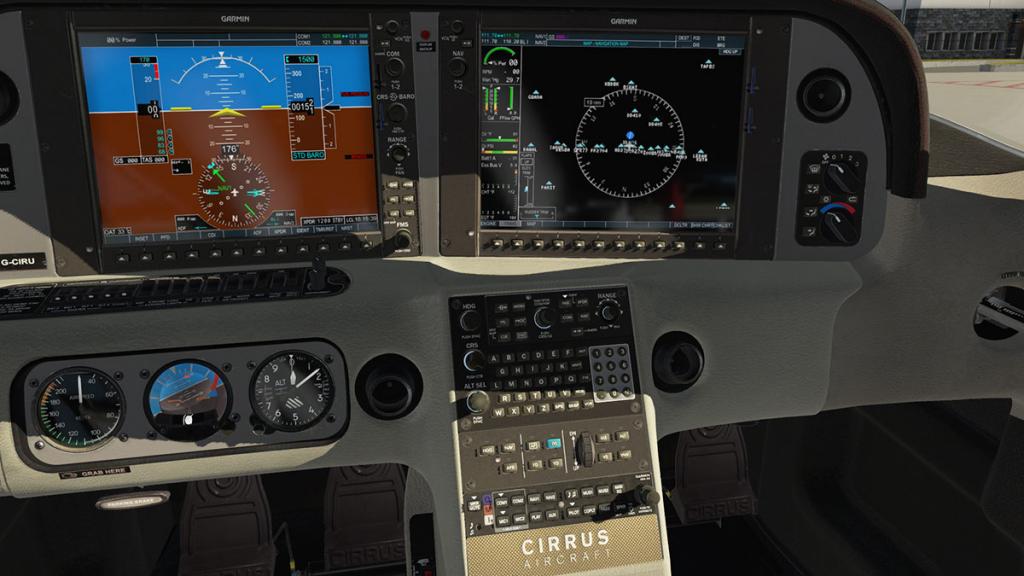
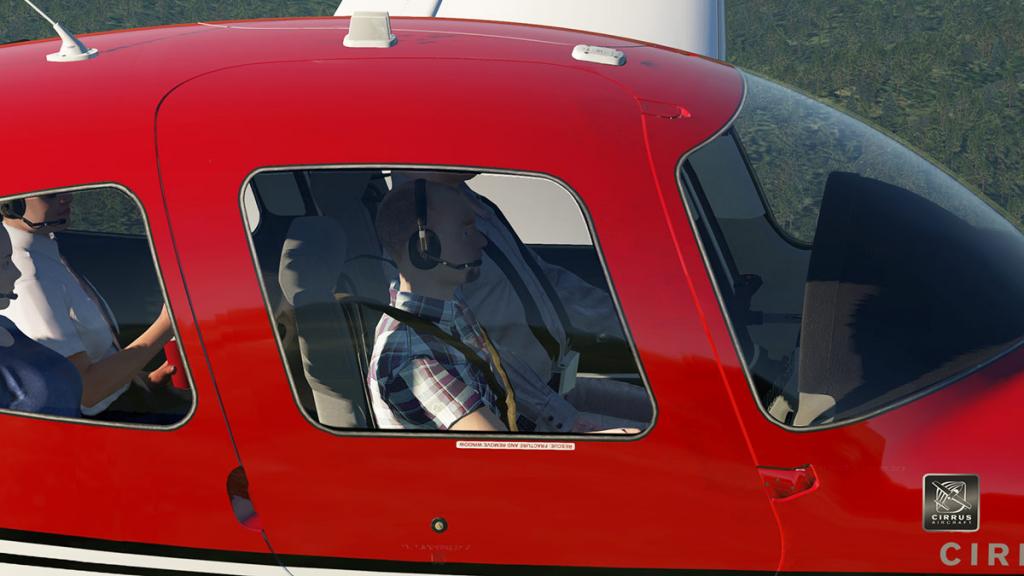
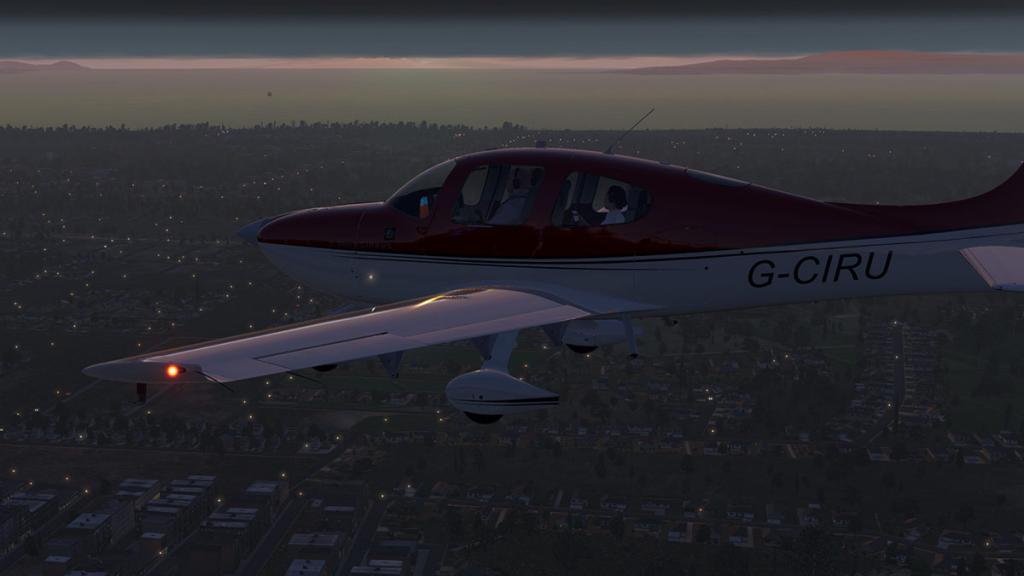
Cabin
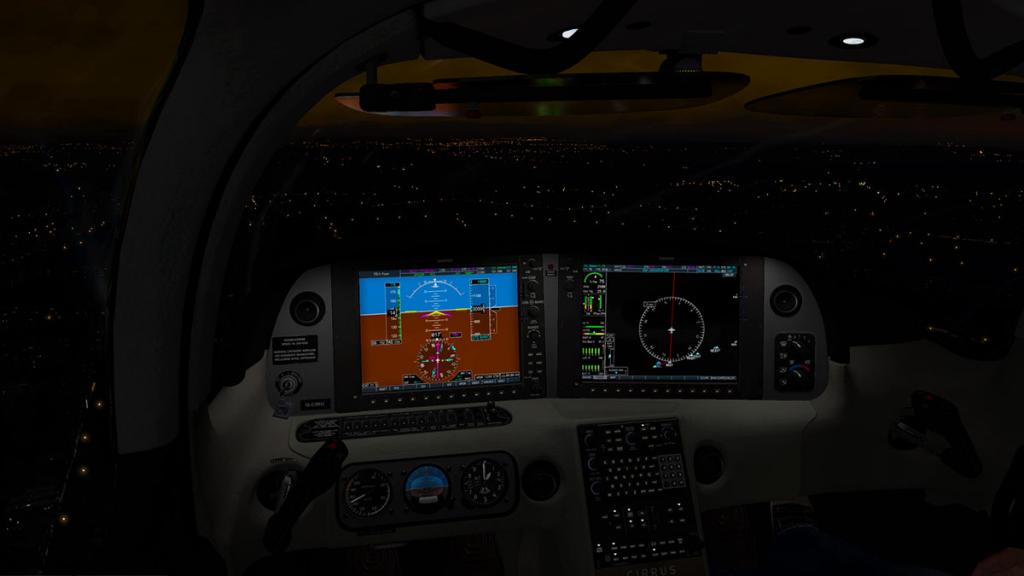
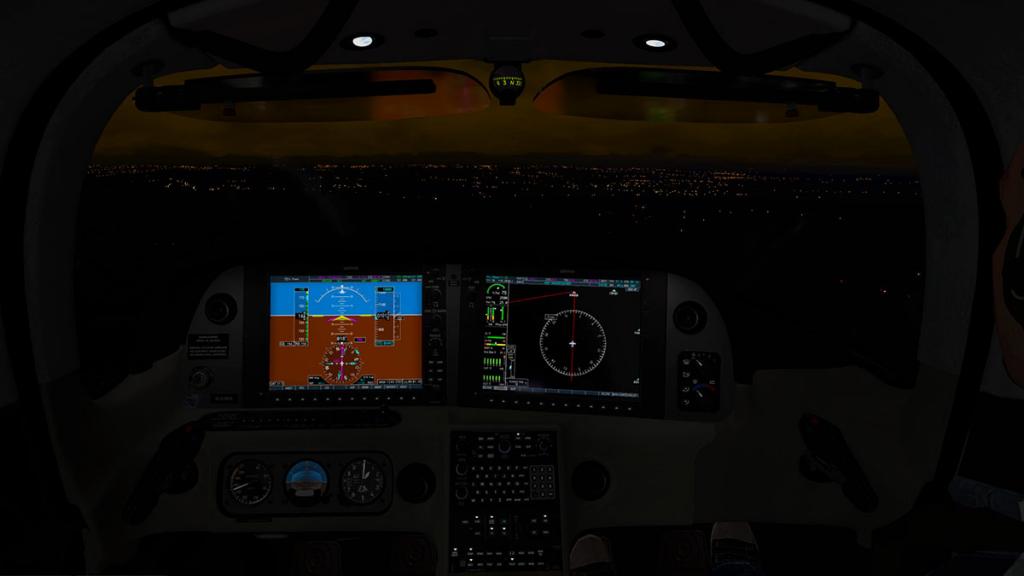
The cabin was nice and light before. But PBR and X-Plane11 now gives all the materials a nice quality lift. The darker shadows take away a lot of the flatness and gives the space more realistic look and the realism is highlighted even more.
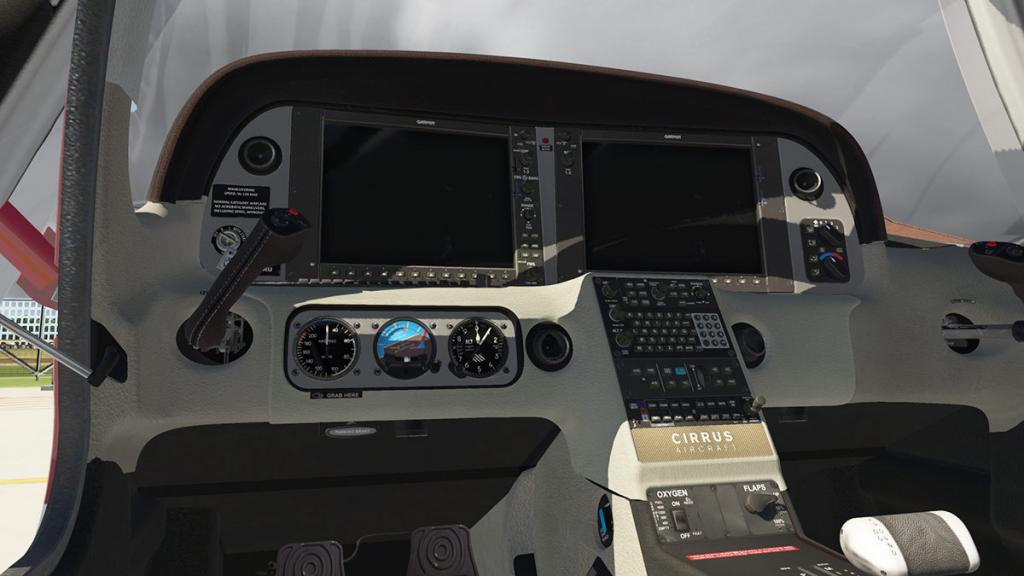
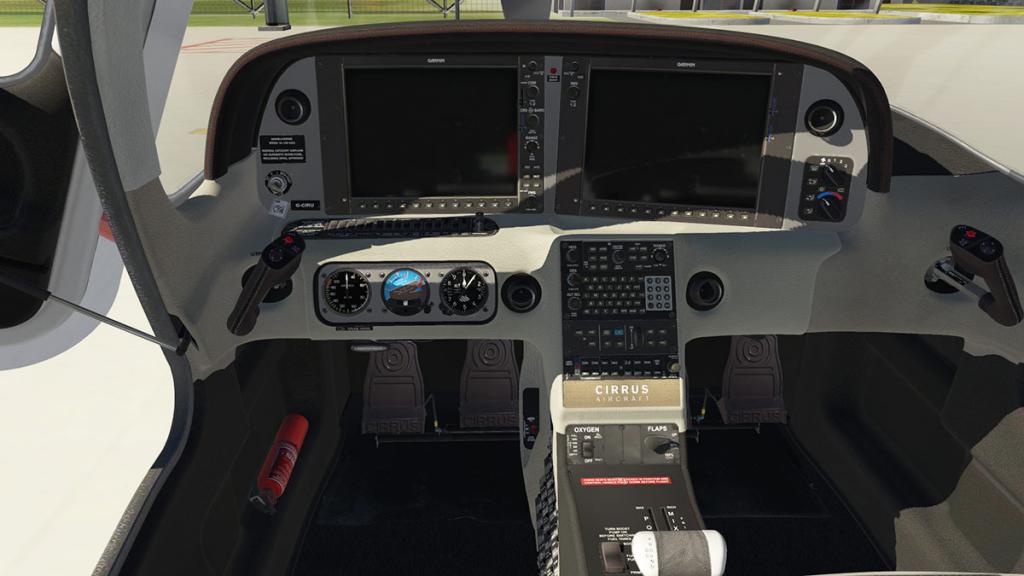
It is an unusual cabin that is dominated by those huge two panel displays and the different single-column yokes (handles?).
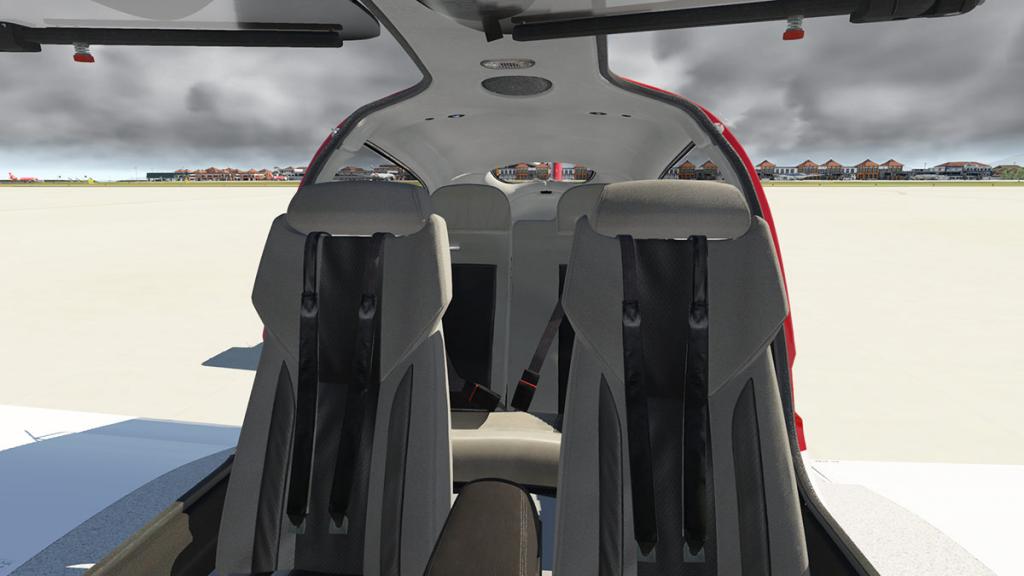

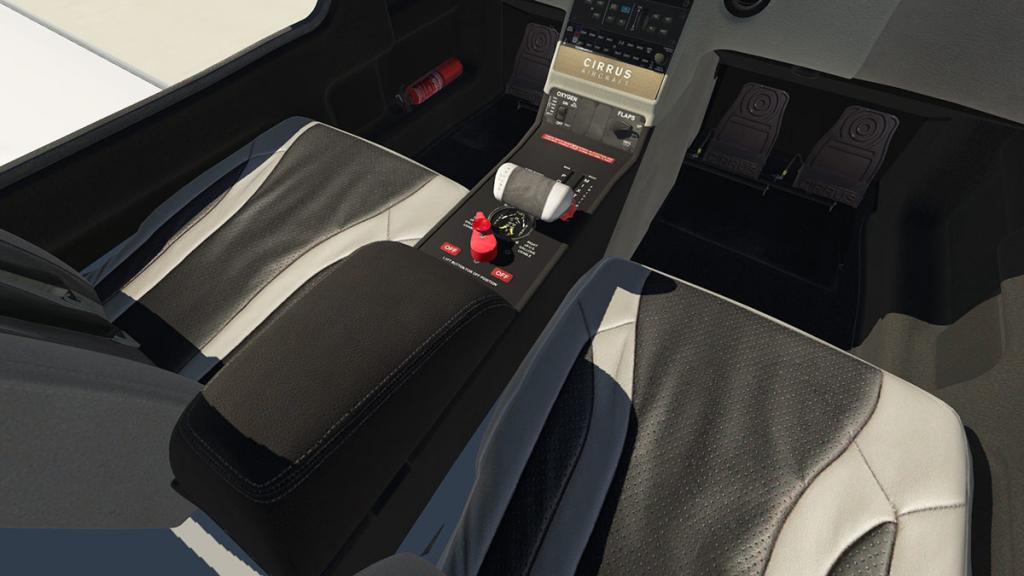
It is exactly the same cabin, but you know you are sitting in something completely different. Note the lovely seat materials that highlights these PBR effects.
Reflections are highlighted even more. There is great panel and window reflections for great realism and so "keep your dirty fingers off my clean screens!". Note the excellent molded facia.
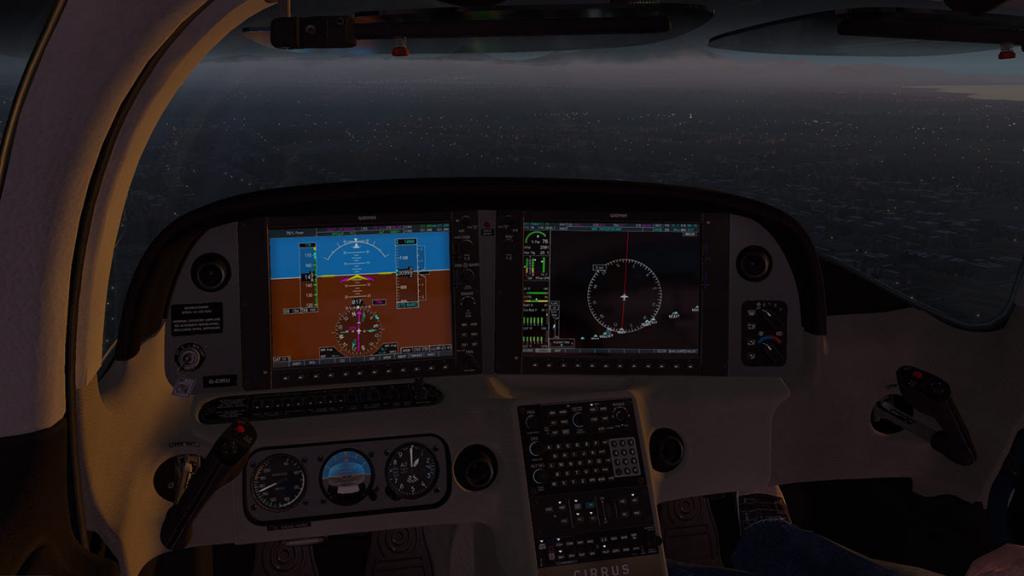
CirrusPerspective system
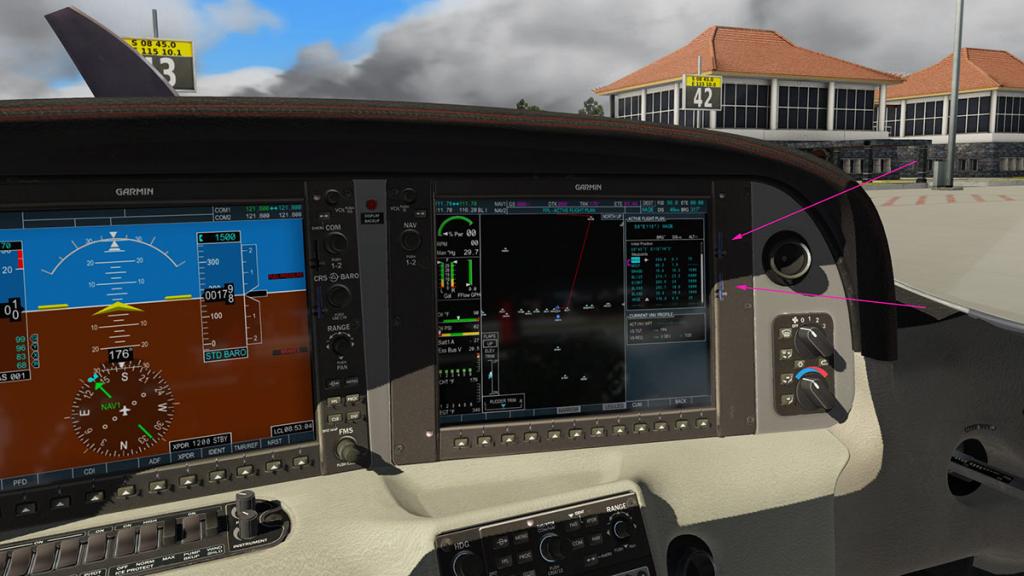
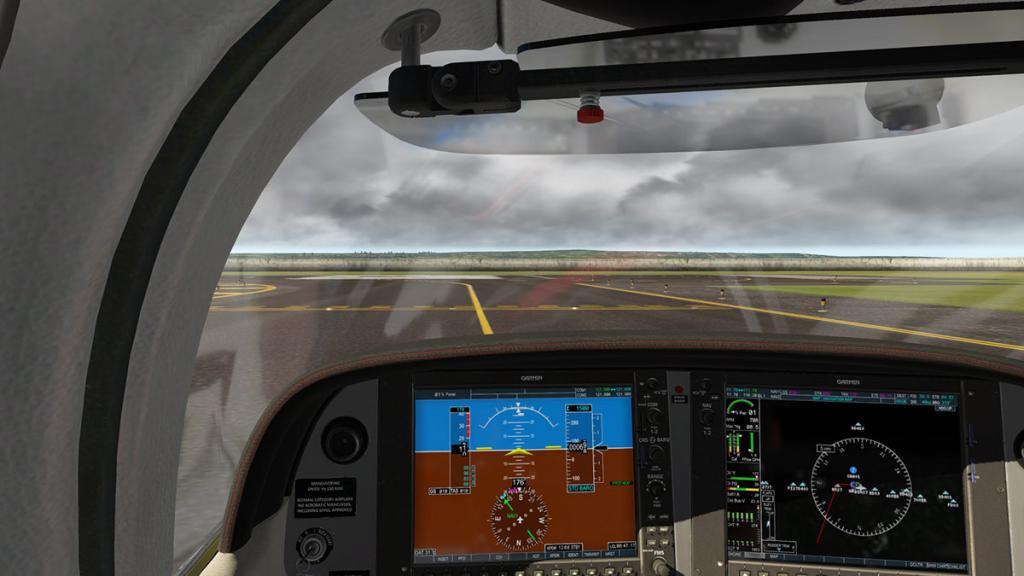
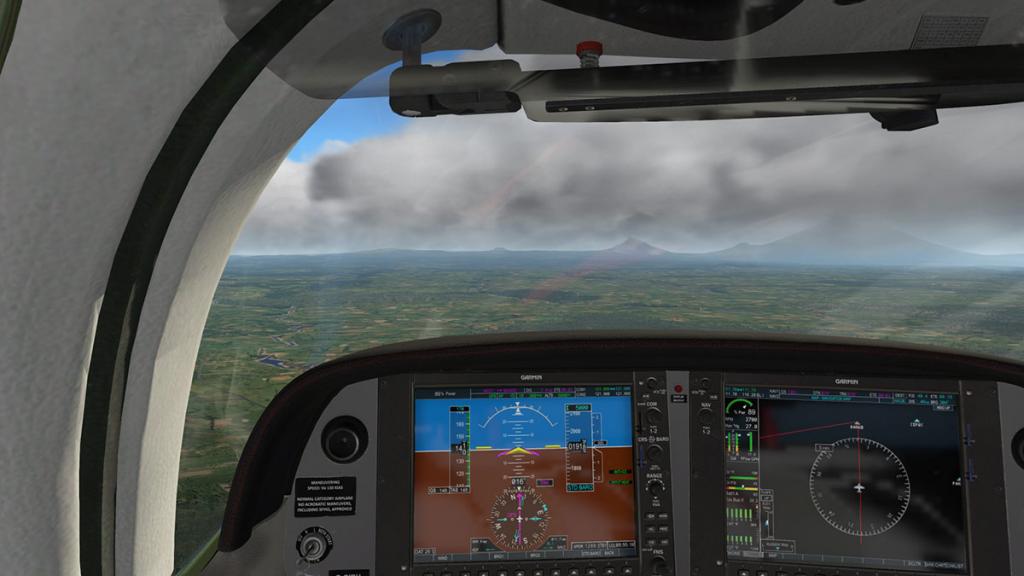
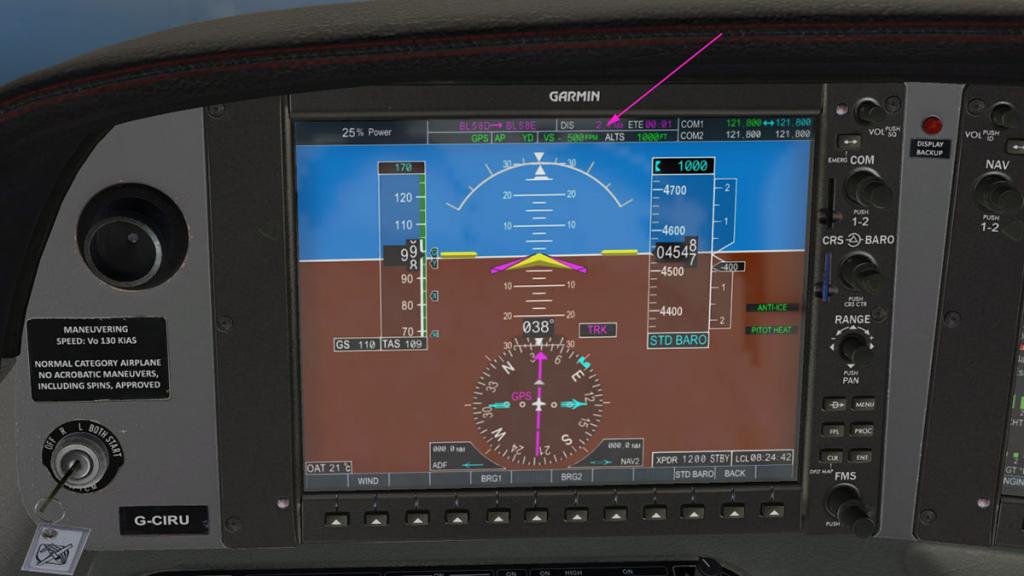
vFlyteAir has done its own variation but not a completely authentic Garmin system but a variation in the aircraft and noted as a "Perspective System", It is close. but basically it still keeps the standard X-Plane MAP system in place
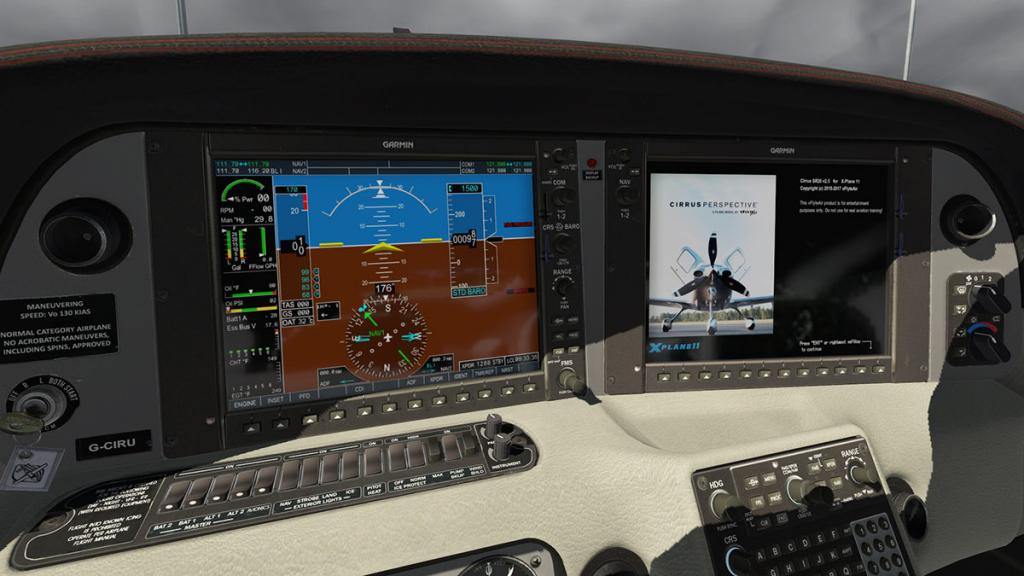

PFD (Primary Flight Display):
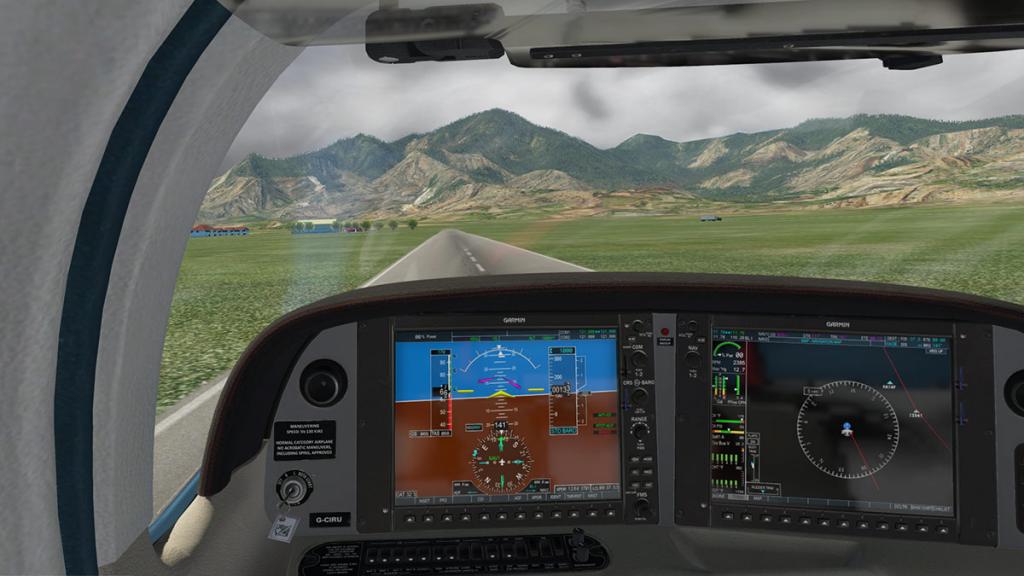
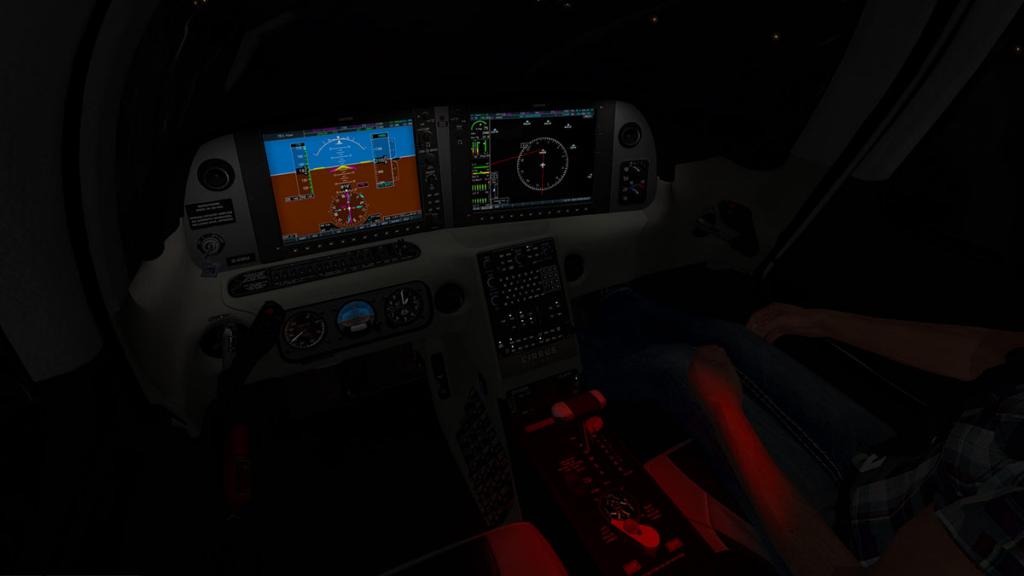
Improvements to the PFD: Both the attitude indicator the speed tape, the altitude tape and the VVI are now custom-made, for a more realistic look and better readability, plus there are Improvements to the electrical system with the electrical load of individual systems adjusted and the PFD and MFD which are now on separate electrical buses.
I prefer the older original PFD artificial horizon with the faded lighter elements (below right) than the complete harder colours of the new version (below left). The faded older version is actually the correct one. But the newer PFD is far more cleaner and far sharper after a full quality redesign, and lots of popup insets that include (pilot's) MAP, ADF choices, TIMER, NEARST AIRPORTS and FLIGHTPLAN.

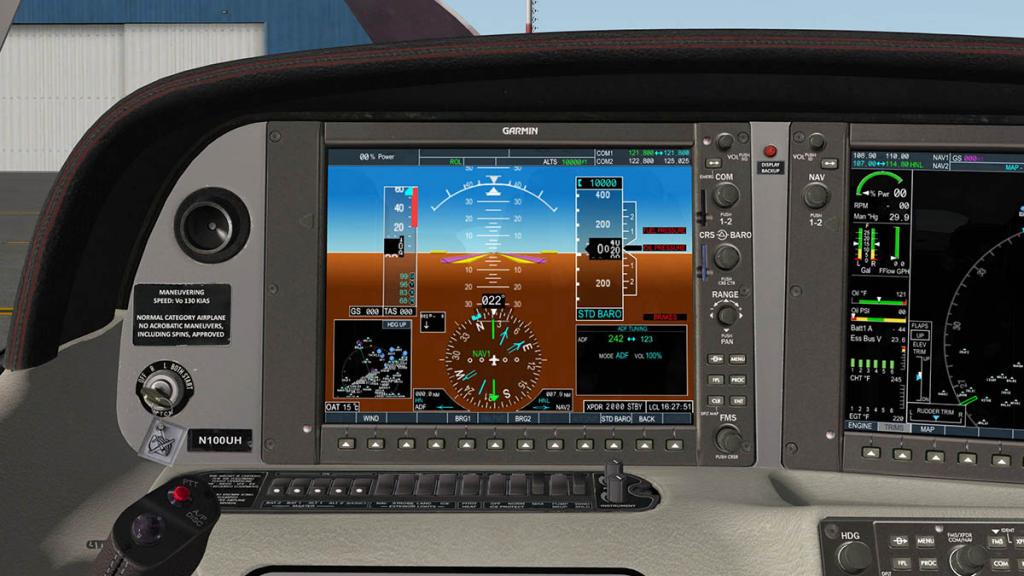
It is still however a very good PFD, nice to use without being to over complicated with menu trees.
MFD (Multi Functional Display):
To a point the MAP display still does rely a lot still on X-Plane basics, so there is no terrain or coloured map that is the usual with a G1000 system, it will be interesting how the coming Laminar Research default G1000 system will affect aircraft and in my guess that is certainly going to be in here in the future. But what you lose in map complexity you gain in speed and efficiency. Most G1000's in X-Plane at the moment (except Aerobask's) are very slow and sluggish so it may be a better system at this point.
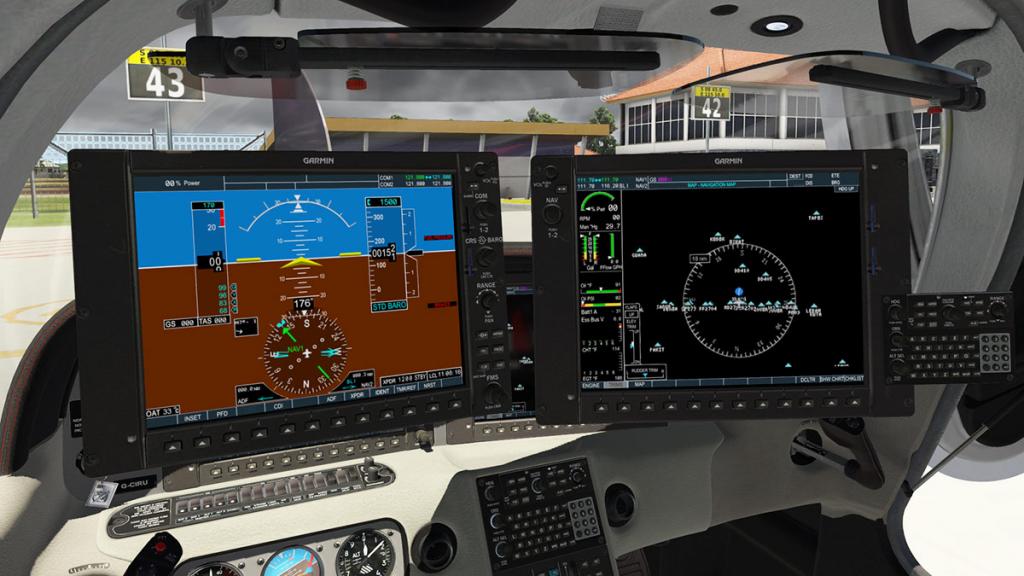
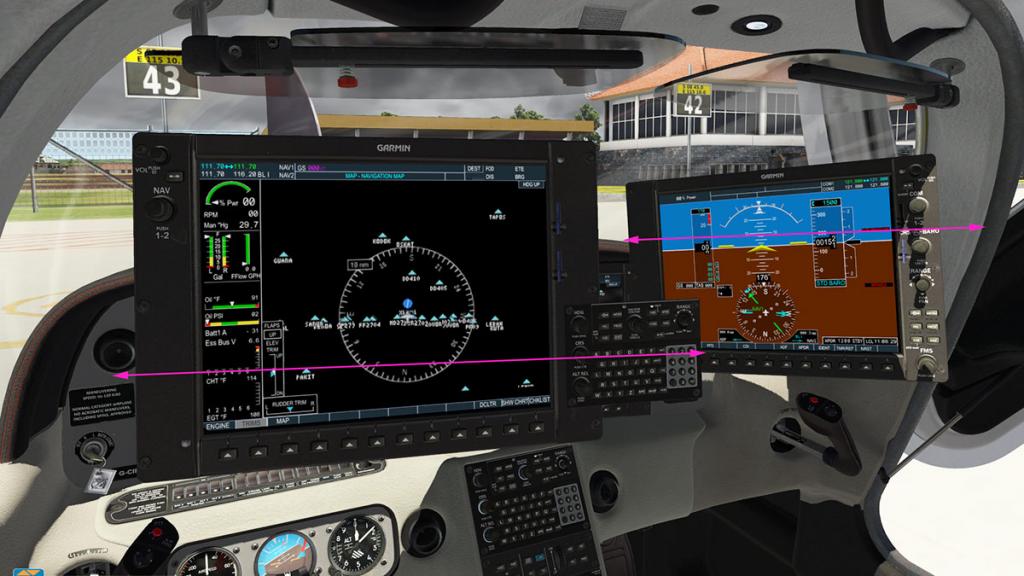
Both the PFD and MFD will pop out, but it is a strange 3d system that you can only move the screens in the left-right movement and not around the screen or resize them, but it does make working on them easier, but you have to move to centre the screen than they move to you...
Flightplanning
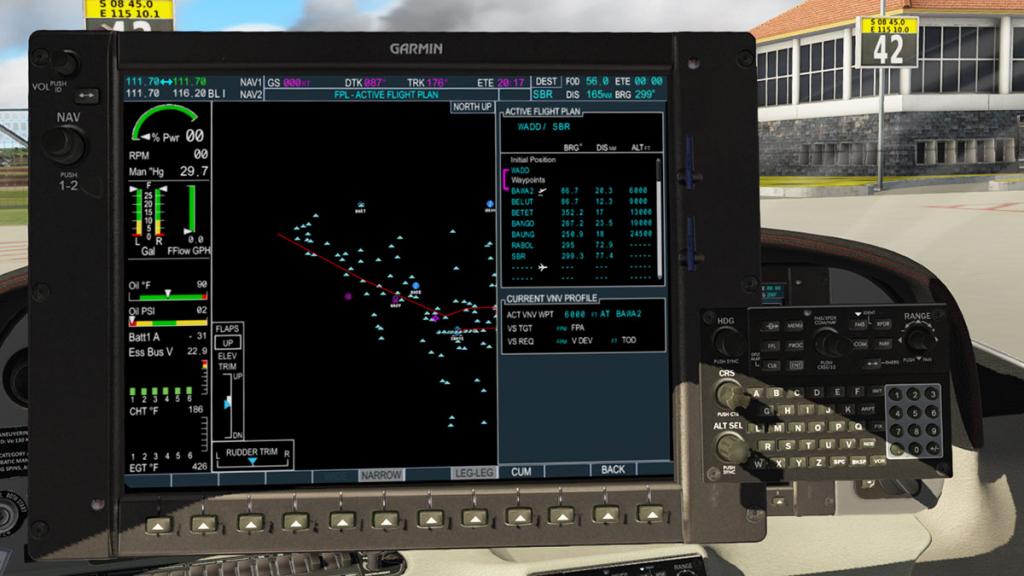
I really did like the vFlyteAir flightplan system of this SR20. It did allow you to very easily create X-Plane fms flightplans very quickly and so quickly it was actually easier to load up this aircraft, do up a flightplan in moments to save and then use in another aircraft, it is that good. That aspect has not changed here.
You can use either the main facia input panel or the pop-out panel and both work about the same. My route is from WADD (Bali) to WADE on the northern side of Java.

Press FMS to select the flightplan mode. And to start a clean flightplan you INIT the system and then press the centre of the FMS knob to enter the first waypoint.


Obviously you are going to start the flightplan at your current airport position, so you will select the ARPT key, for other entries you can select FIX, NDB and VOR depending on the nav-aid.
Then just type in your waypoint in this case WADD. An airport and the start of the flightplan will give you an aircraft leaving logo and the same aircraft arriving logo to finish the plan. If you wish you can add in the altitude to fly at as well.
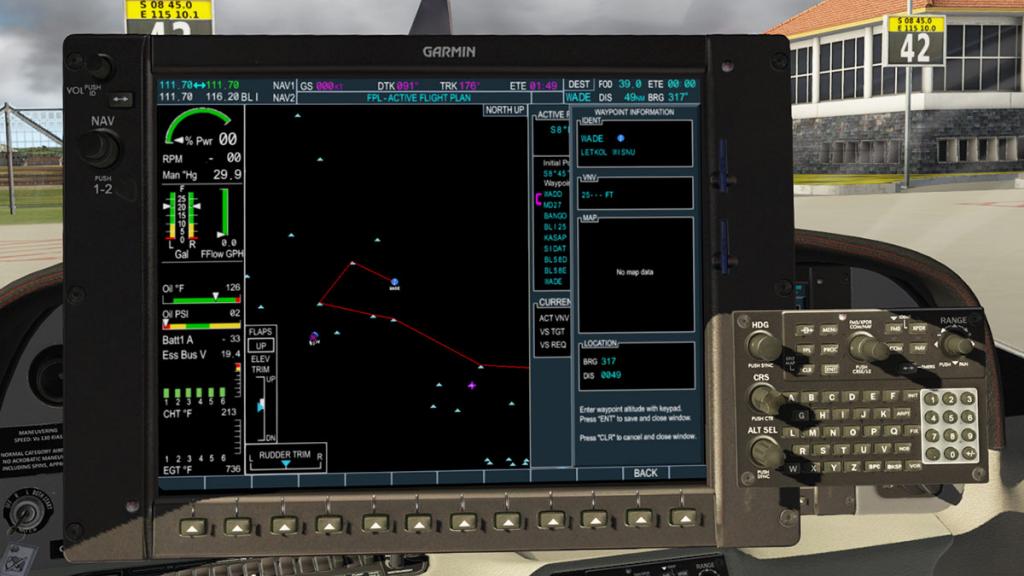
In v2.5 you can now also use more deeper segments including SID, STAR and Transitions and Approach procedures. This is activated by pressing the PROC button on the facia.


But to access these procedures you have to set up your X-Plane navigation data perfectly. You will need your X-Plane11 GNS430 data up to date with the latest AIRAC navigation data from either Navigraph or Aerosoft's NavDataPro, plus you have to make sure the navigation data is also stored or inserted by the above purchased suppliers as CIFP data (folder) and both are present in your X-Plane11 Custom Data folder. Another important point is that both AIRAC cycles are the same and match, I had a v1701 and a v1709 cycle and until they were both updated to v1709 cycle the system won't work, that data cycle match is noted on the procedure page at the bottom.
In my case for this flightplan it was a case of over reach as my selected SID "RAB3A" (RABOL) put me somewhere way over East Java and far past my destination, but it does show that the SID - STAR feature does work very well. Another point to note here is you can also centre your map on the waypoint you have selected, so you can easily check your full flightplan waypoints and range, route and they are all correctly inserted.

Inserting intermediate waypoints is simple and very easy as, "bam, bam" or FIX, NDB and VOR then insert code and press ENT (Enter), then altitude (ENT again) and you are on to the next waypoint... and so the route is built up very quickly. CLR (Clear) if you make a mistake. The choice of either facia or popup keyboard makes it very easy to input waypoints as well, it is all in all just brilliant.

PAGE menu popup allows you to DELETE, DELETE to END and a great feature in being able to simply REVERSE the flightplan.
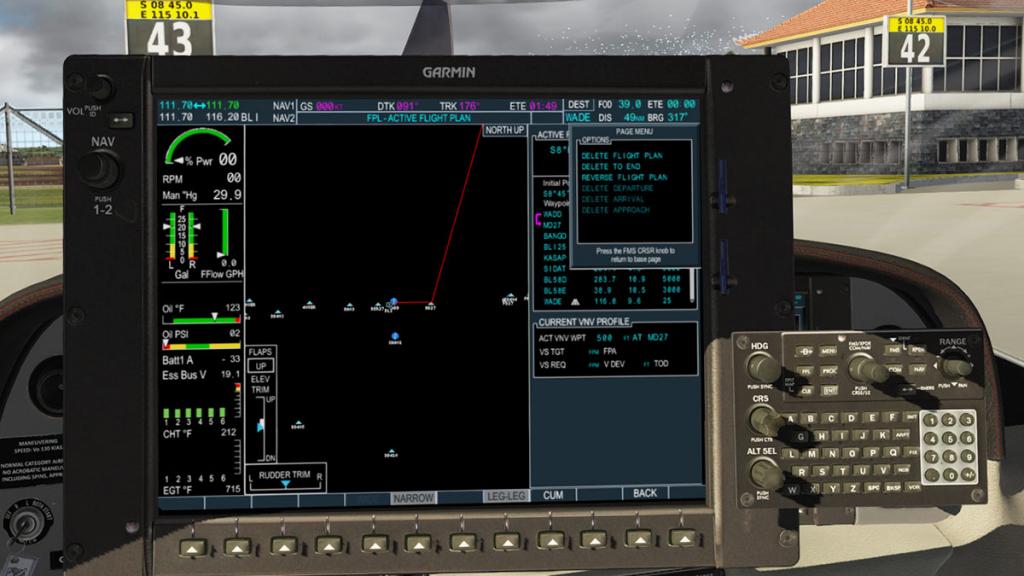
One thing you expect but missing from the PAGE popup is the SAVE and OPEN of flightplans to your FMS flightplan folder (Output). They are actually on the on the side of the display as a SD card, and SAVE is lower SD and OPEN is the higher SD card, note they only work on the instrument panel version and not the popup version.
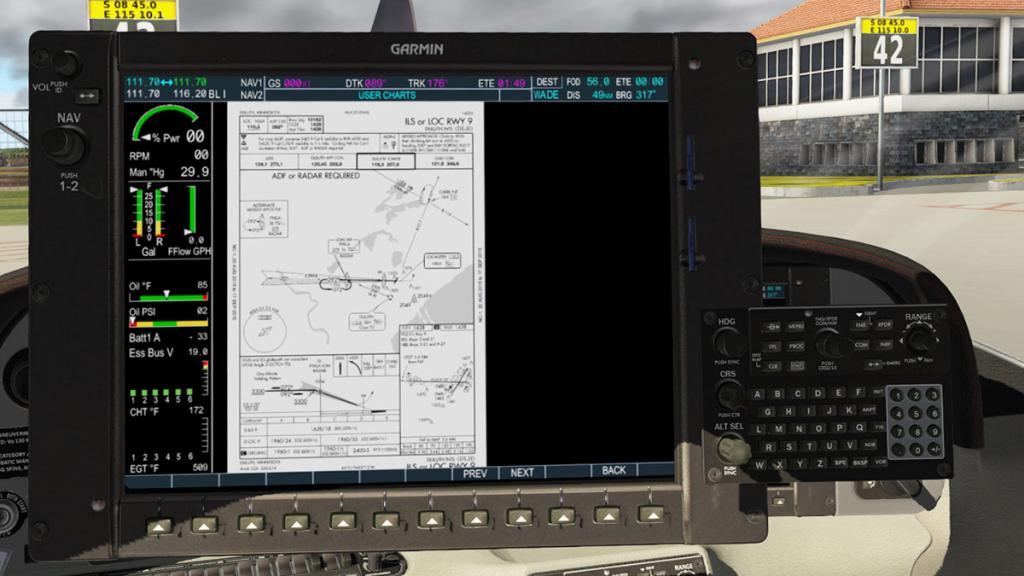
Checklists and Charts can also be accessed via the MFD and the charts can be inserted manually and you can load up to 20 charts in png files.
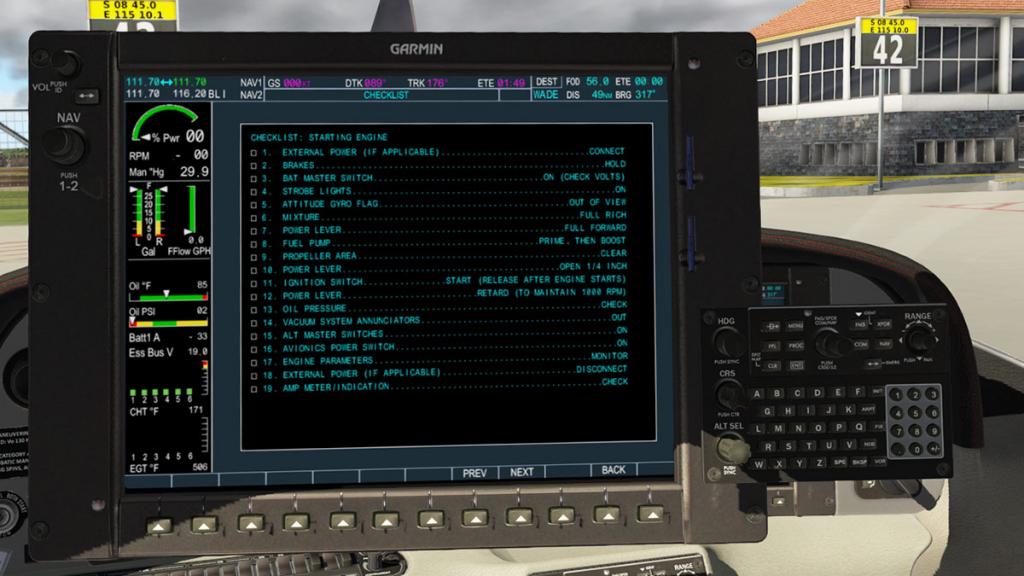
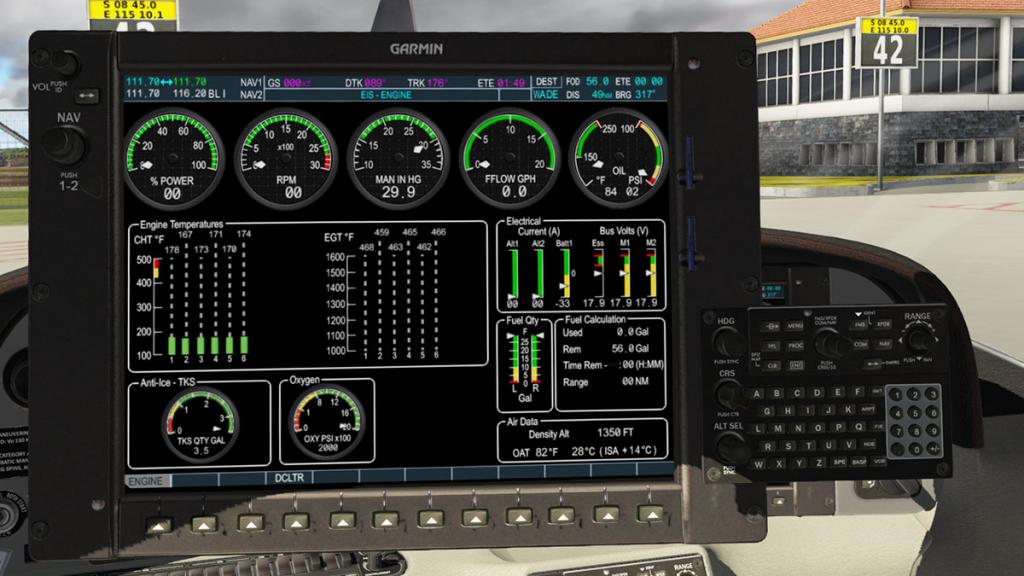
Both engine output panels are still there with the side panel version and the full MFD version which is very impressive. Trims (arrowed) are also switchable on screen as well.

Flying the Cirrus SR20 X-Plane11
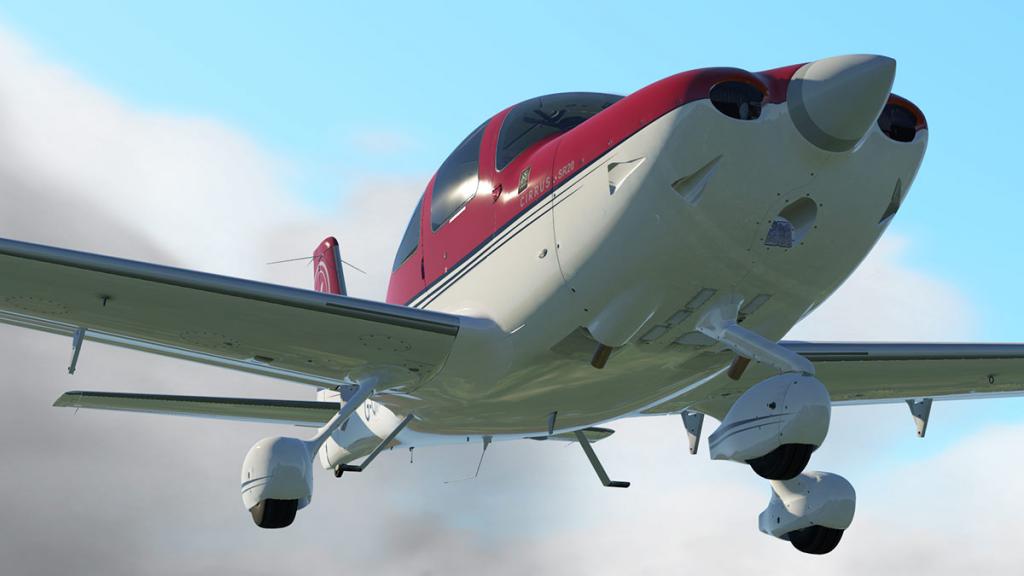
It may look the same but the Hartzell Scimitar composite three bladed propeller is all new with custom airfoils that are refined to recreate the correct propeller control at high and low altitude. The SR20 is different in that you don't have a "Propeller" lever or adjustment in the aircraft, it is an automatic combined throttle and propeller control that allows the aircraft to maintain a 2500RPM cruise regardless of the power setting from 50% power up to 85% (depending on density altitude).
The aircraft is quite tricky to turn from a standstill, so you have to have space to build up a bit of forward momentum before being able to turn the aircraft and get it wrong and the aircraft will fight you and stall any forward movement. So you have to be careful where you park the aircraft so you don't box yourself in. I'm not comfortable with this aspect as it is creeping in more to X-Plane lately and it makes GA's harder to turn. You can turn off the nose wheel steering, but it just makes it worse. So only a lot of throttle and too much speed when you are pointing in the right direction doesn't feel right. No arguments with vFlyteAir here, I think this is a particular Laminar/X-Plane annoyance.

Once you are moving then the taxiing is fine, but it is really small in here...
... you do feel you are in a very claustrophobic tight aircraft and the high instrument cowling and intruding low hanging shade doesn't help either.

You need a firm hand on the tiller to keep the aircraft tight to the centre line and the usual slow revs to higher power is crucial in keeping it straight, it is your choice in using flaps, but a long, long run down the runway to build up speed is still preferable to the sudden loss of lift you get if you retract the flaps and the drag at not building up the speed quicker with them extended in the air.

Unusually you can keep that throttle full up against the top of the guide as the system will protect you from any overspeeds. Climb rate is 880fpm, but heavy at 2916lbs (3050lbs Max) then that can only be done in short bursts, 300fpm is the best to 5000ft in not losing too much speed in the long climb. Max altitude is a credible 17,500ft and range is with full tanks 625 nautical miles (1454 km) 719 miles.Did I tell you it is tight in here...

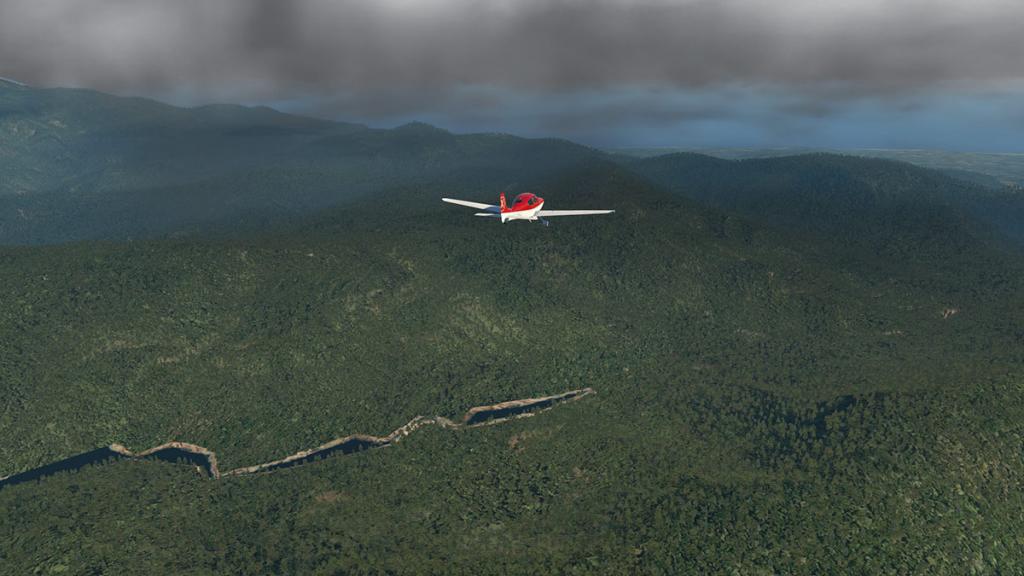
The Cirrus does also bounce around a lot... even in light winds you feel the fragile nature of this small aircraft. I do have XPRealisticPro movements running on low settings, but even if I turn it off then it still bounces and bobs around as you hold on. But I like the feel, as you feel you are actual going somewhere and in something more than just a desktop simulation.
Sounds are all now FMOD, nice and every switch or click is now very noticeable. External and internal sounds are excellent, but these smaller aircraft can be sort of buzzboxes, this Cirrus is not that bad, but you get the idea... overall sounds are now great.
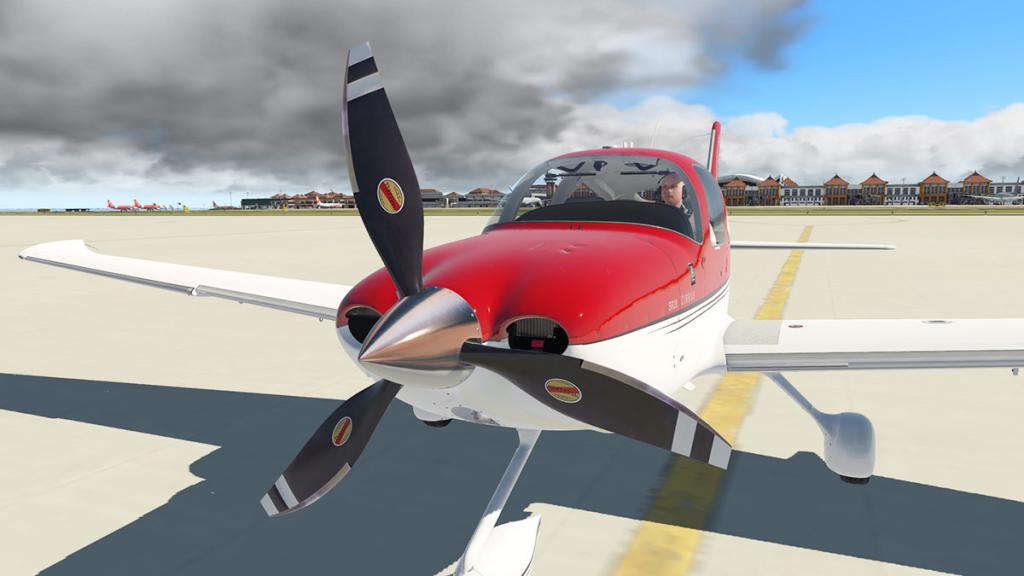
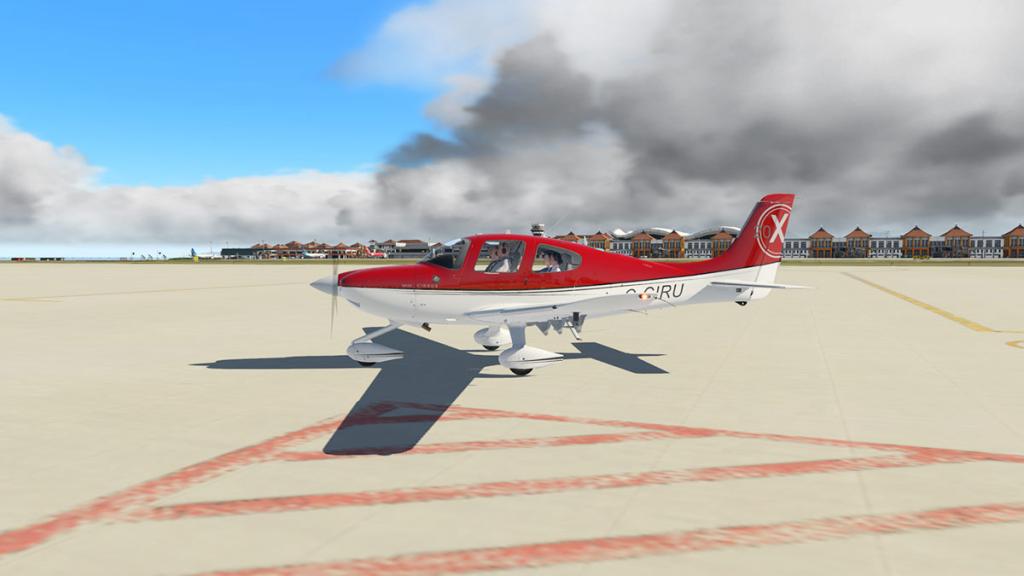
vFlyteAir's external work is excellent, top notch. Great detailing and modeling to almost perfection. X-Plane11 does bring out that shape and shine to the uttermost degree as all reflective surfaces with the bodywork and glass is faultless.


It is also easy to confuse the rate of climb indicator with the vertical speed (V/S). On many aircraft this indicator does note the V/S, but here it is just the change in altitude that sometimes can be as much as 500fpm, which is alarming, but you get used to it. So you make sure the V/S is correct (right below) and get that right and the rate of climb will follow you later, but confuse them and try to control or follow the rate of climb indicator and you will get into trouble.

You also have to watch when changing altitude with the knob, if you are bouncing around it is very easy to hit the reset to your current height as you try to adjust for a low (or higher) altitude, I once did it infuriatingly three times in one go.
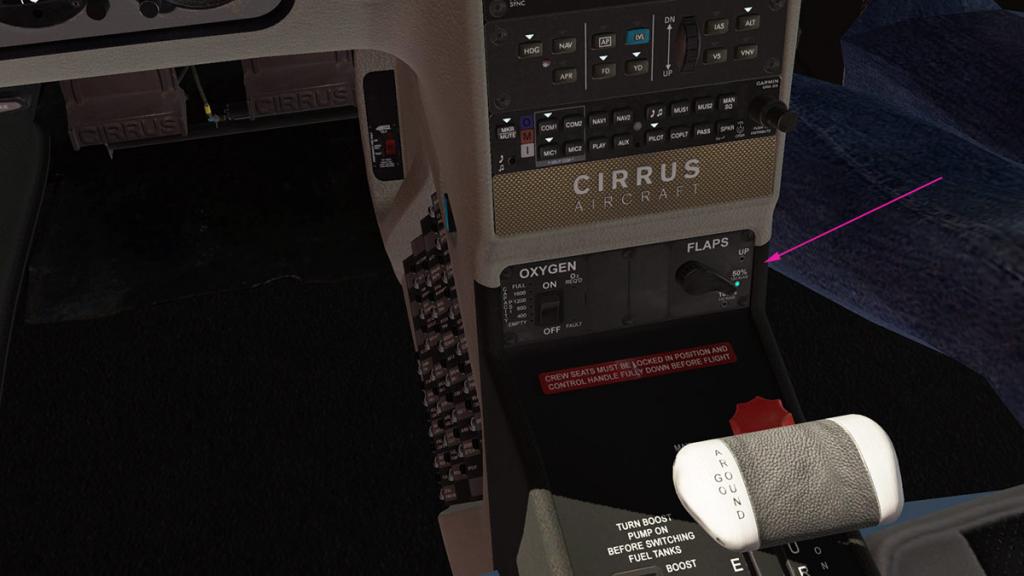
I found that using the flaps as an airbrake is very useful, the limits are quite high at 150 knts at 50% flap and 110 knts at 100% flap (full) so you have plenty of space to get them down to reduce your speed, but you have to control your throttle (a lot) to counteract the high drag, but it does give you far more control on the approach. vFlyteAir has worked very hard on the SR20's performance to match the real aircraft and it does show in X-Plane11, you work hard in here with this slippery little lightweight aircraft and certainly on final approach.
Around 80knts is your goal at first and then 65knts -70knts at full flap as stall is around 56knts, it is easier said than done...

Placing the aircraft down can be slightly tricky and I have a full load in this configuration, in winds and just you flying then it can be quite a handful.
Ditto holding that centreline as the speed runs off, tricky but still doable. The point is you become a little addicted to this SR20, you want to try that, or this and get the pleasure of the reward when you conquer or master the machine, real flying, real life.


Lighting
The lighting on the original release was very average so it has had a lot of attention in this upgrade. Externally you get a centre taxi light (slightly weak) and two wing end lights, the navigation and strobe are excellent.
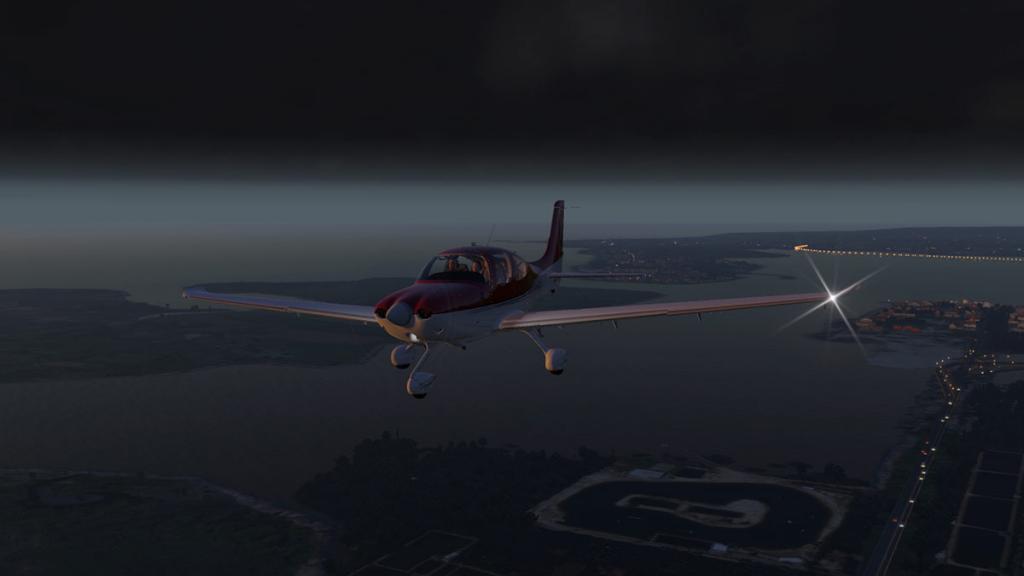
Tiny side fuselage ice wing lights are very effective looking from the outside or from within.
Internal lighting is a mixed package.
Nice overhead lighting with a red area over the throttle which is lovely. Displays are adjustable and again very good at night.

There are four overhead switchable spotlights, but they are not very effective? Spots are supposed to highlight, but especially in the rear they are not very effective.
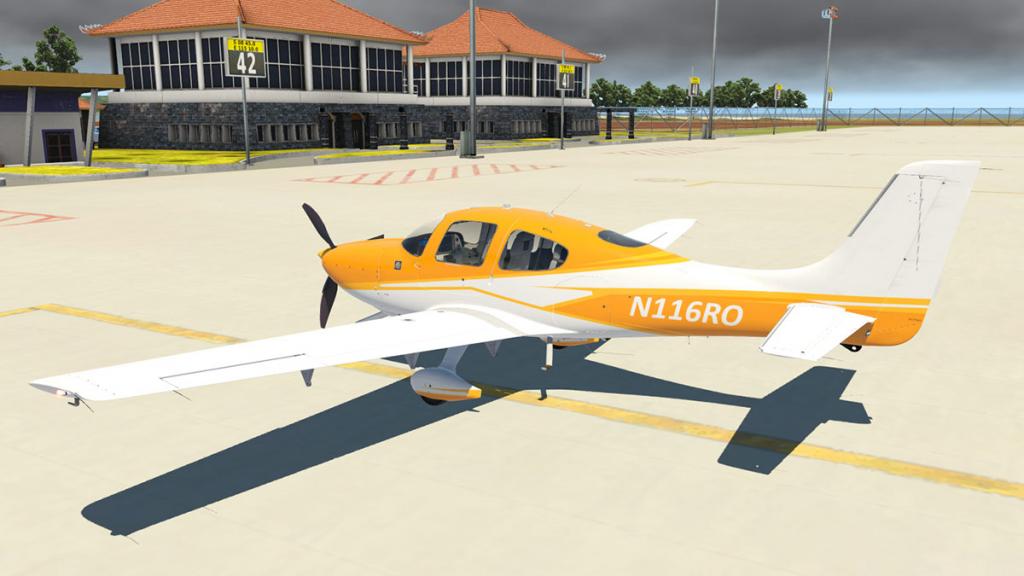
Liveries
There was ten excellent liveries in the original release plus the default vFlyteAir livery. Now you get an extra six new liveries to add into the package. Two are excellent, but four are very high visibility bright in colouring, it is too your own taste really.


Summary
This was not just an update package to X-Plane11 for the Cirrus SR20 from vFlyteAir. It is in reality a full extensive upgrade to the aircraft that has a long list of new features and quality. This upgrade has certainly brought this already nice little aircraft up to vFlyteAir's higher newer standards, including new menus, FMOD sounds, PBR quality textures and the excellent performance enhancements.
There is a debate with this really good Perspective G1000 system. On the one hand it is an excellent, fast and easy system to use and smash out flightplans in minutes, very, very good. But the map interface is quite old, in fact not only to the X-Plane 10.50 new GNS430 level but the old red line level. Certainly there has been improvements to the display (in fact for both PFD and the MFD) but it still feels oldish.
All G1000 panels are now full colour and have terrain features, so you can see and undrstand the emptiness here. Laminar Research are releasing a full default G1000 very soon, so I will go and note that there is a good chance that aspect will be very quickly remedied with in a short time of that features release and that should give you the very best of both worlds in this aircraft, but not to forget this navigation system already does use the AIRAC navigation data and that data can be updated if you have an AIRAC cycle account.
The Cirrus SR20 is an interesting little aircraft to fly. You have to be impressed by the Weight & Balance setup and sheer flexibility on how you load the aircraft, I love that aspect. And that loading certainly affects the way you fly the aircraft and its speeds, altitudes and range as it should do. But it can be tricky to fly really well, that is the stimulation of the simulation and why we test ourselves to fly anything and master the machine, so pilot's will love it, but learner pilots will take a little longer to understand its flying complexities, overall it is addictive and challenging... did I say fun, yes fun as well.
Another great bonus here is that the upgrade to X-Plane11 is free, yes it costs nothing to upgrade from X-Plane10 to the X-Plane11 version and you get all those enhancements as well in the deal... you can't top that, great deal and with a great little aircraft from one of the master developers of X-Plane... all round a winner deal.
_____________________________________________________________________________________

The Cirrus SR20-G1000 XP11 by vFlyteAir is available from the X-Plane.Org Store here :
And is priced at only US$29.95
Features
Superb Model by vFlyteAir- Photo-realistic textures by Igor Kirilove – all textures are very hi-res (4K), providing a very realistic look
- Fully animated model – all the details are in this model. Check out the door hinge mechanisms when you open and close the doors!
- Super accurate 3D modeling – the model is extremely accurate in scale and dimensions
- Great flight model by Alan Shafto / AeroSimGaming
The following features are available on the Primary Flight Display (PFD):- Artificial Horizon with high-resolution attitude indicator, flight director and roll scale
- Speedtape with custom display of reference speeds
- Altitude tape with custom vertical velocity indicator and minimums display
- Enhanced HSI with turn indicator and three fully configurable bearing pointers for GPS, NAV1, NAV2 and ADF
- Switchable inset windows for timer/references, minimums, wind, ADF, map, nearest airports, and flight plan
- Cirrus-style top bar with power setting, frequencies and detailed GPS & autopilot information
On the Multi Function Display (MFD), the following features are available:- Engine information system with switchable trim status
- Detailed system page with engine parameters, declutter mode, used fuel, remaining fuel, remaining range, remaining time, anti-ice & oxygen gauges, density altitude, temperatures, ISA deviation
- Basic support for SIDs, STARs and Approaches
- Custom user interface for creating and editing flight plans (accessing X-Planes navdata and default FMC)
- “Nearest” page for airports, navaids and related frequencies
- Cirrus-style top bar with destination window, frequencies and GPS information
- X-Plane default map with weather radar and traffic warnings with custom icons
- Interactive checklists and user-definable charts
Other Notable Features:- Hypoxia is simulated at above 12,500’ cabin altitude. The screen will begin to dim if you are flying above 12,500’ MSL. Use the OXY switch on the lower center console to turn on oxygen supply and avoid hypoxia!
- Oxygen supply is simulated – you have approximately 3 ½ hours of usable oxygen on board. The oxygen supply will begin to deplete slowly when the OXY switch is ON
- Anti-Ice fluid is simulated – there are 3.5 gallons of anti-ice fluid available. The supply will deplete when anti-ice switch is ON
- ICE lights are modeled – use the ICE light switch to inspect the wing leading edges for ice build-up at night
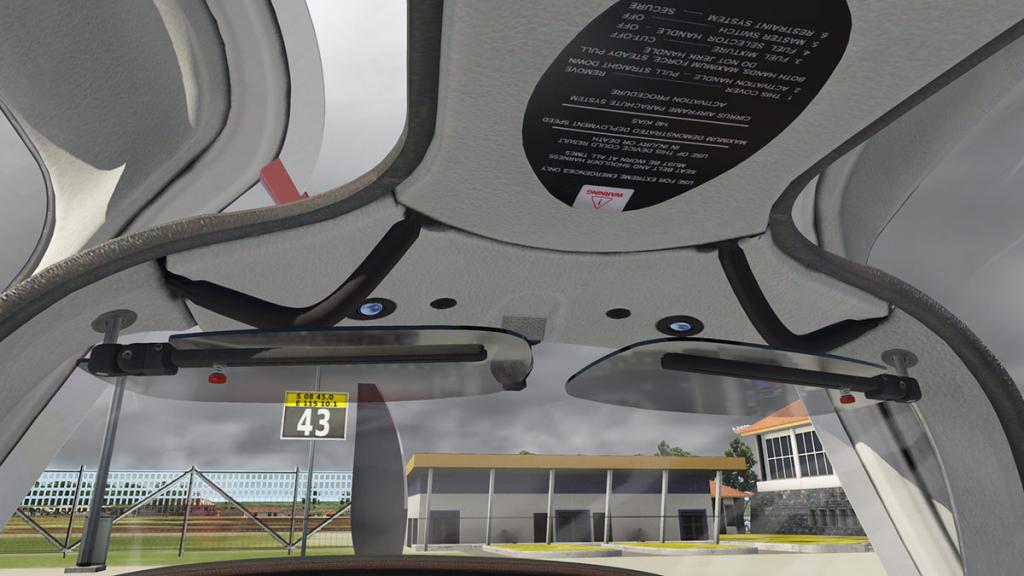
- The Cirrus BRS® parachute recovery system is modeled – click on the BRS handle on the cabin ceiling to deploy the parachute in case of emergency. NOTE: Engine should be OFF, and airspeed should be below 120 KTS when deploying the parachute!
- Cirrus “Single Lever Throttle Control” is modeled – the SR20 automatically adjusts propeller speed through the use of the throttle lever. There is no separately-controlled propeller lever.
- Customized HDR night lights – there are four dome lights inside the cockpit that will provide white flood lighting with HDR on in your rendering settings
- Custom exterior lighting – all lights on the exterior (landing lights, strobe lights and navigation lights) are modeled using X-Plane parameterized lighting.
- 10 Factory liveries provided – because Cirrus uses a special heat-resistant paint for their airplanes, the 10 liveries provided are based on Cirrus originals.
- Custom sounds – try opening the passenger or pilot door while the engine is running!
Requirements
X-Plane 11 (not compatible with X-Plane 10)
Windows, Mac or Linux
2Gb VRAM Minimum - 4GB+ VRAM RecommendedSIDs, STARs, and approaches require installation of additional navigation data, see user manual for detailsCurrent version: 2.50 - Last updated July 2nd 2017_____________________________________________________________________________________
Installation : Download file size is 953.90mb to your X-Plane - GA Aircraft Folder. Installed file size is 911.00mb
Documents : There is excellent documentation with a full tutorial, a avionics tutorial and a third document that covers the features of G1000 avionics system.
Developer Support Site : Support forum for the SR20
_____________________________________________________________________________________
Review by Stephen Dutton24th August 2017Copyright©2017: X-PlaneReviews(Disclaimer. All images and text in this review are the work and property of X-PlaneReviews, no sharing or copy of the content is allowed without consent from the author as per copyright conditions)Review System Specifications:
Computer System: Windows - Intel Core i7 6700K CPU 4.00GHz / 64bit - 16 Gb single 1067 Mhz DDR4 2133 - GeForce GTX 980/SSE2 - Samsung Evo 512gb SSD
Software: - Windows 10 - X-Plane 11.02
Addons: Saitek x56 Rhino Pro system Joystick and Throttle : Sound - Bose Soundlink Mini
Plugins: Environment Engine by xEnviro US$69.90 : XPRealistic Pro v1.0.9 effects US$19.95
Scenery or Aircraft
- WADD - Bali XP by Aerosoft (X-Plane.OrgStore) - US$24.95
- WADE - X-Plane Gateway (X-Plane) - Free

-
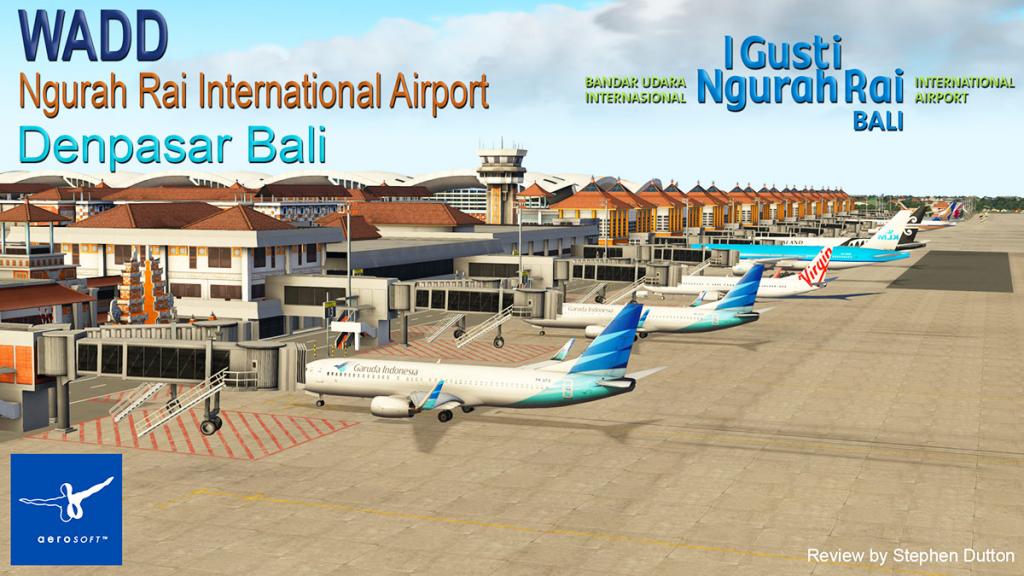
Scenery Review : WADD Ngurah Rai International Airport Bali by Aerosoft
For most Australians in traveling to Bali in Indonesia it is a rite of passage, a ritual like a Muslim on a pilgrimage to Mecca, a sacrament to the cause of being an Australian. It is not if but when you went to Bali, if you haven't been there then you are not one of our tribe as you haven't been through the ceremony and indoctrination of the Balinese culture while being totally paralytic and legless. It is the same rite of passage that the English make by going to Ibiza or Americans to Mexico.
Bali is now a total tourist mecca, long gone now is the earlier sleepy island of lost grassed over monuments, and misty rice fields, the soft green Javanese volcanic hills and burning incense. The only soft green you see now is cultivated 5 star resorts lawns and lots of poor imitation branded goods to be sold at high prices, the selfie snapping hoards now easily outnumber the locals, but it puts food on their table and allows the Balinese to go the Thailand for a break, that is modern day tourism in all its glory.
By definition Bali is actually not far from the mainland of Australia, but by a quirk of that most Australians live on the east coast of the continent it does take a 6hr 20m flight or more to get there.... and back.
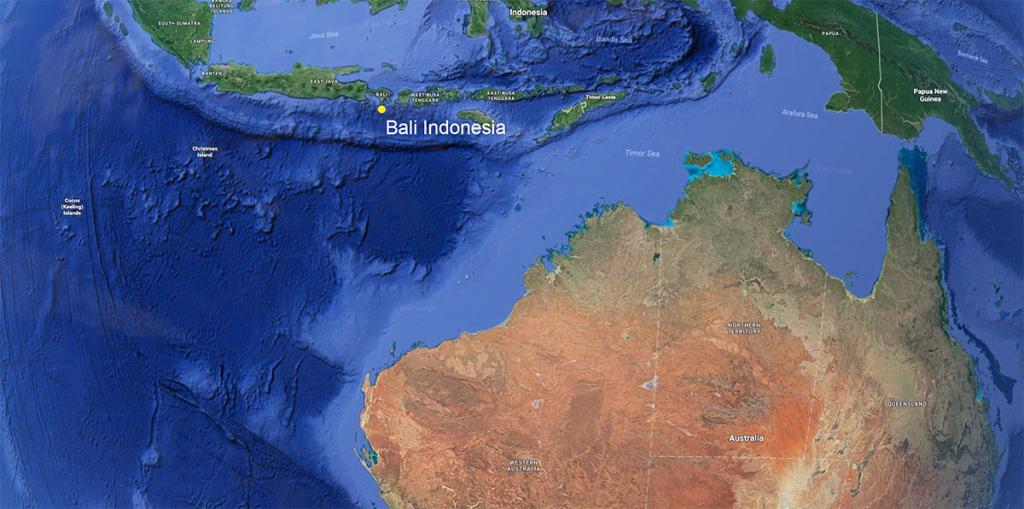
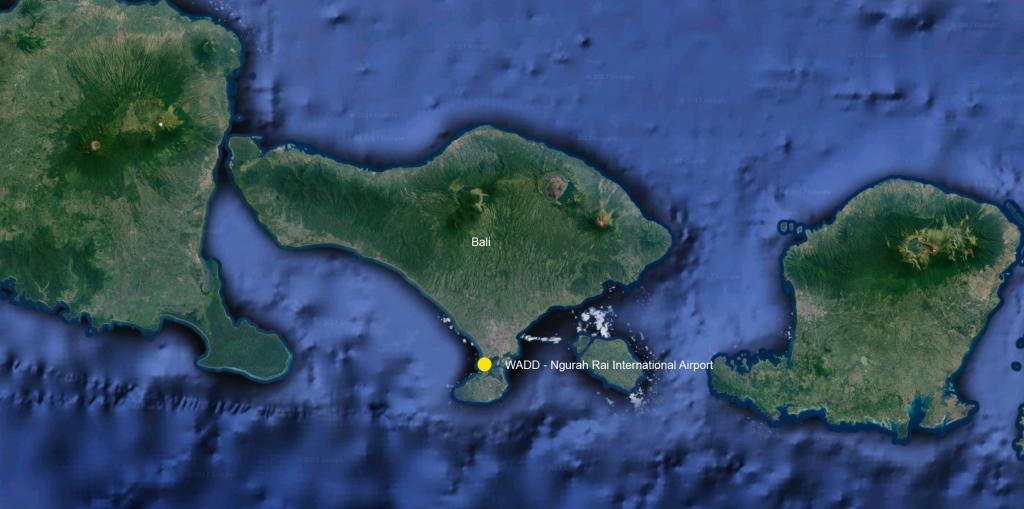
14.8 million of these selfie hoards passed through the main gates of Bali at Denpasar and Ngurah Rai International Airport last year that is on a small strip of land called Tuban between Kuta and Jimbaran and is situated close to the tourist locations of southern Bali. The airport is named after I Gusti Ngurah Rai, a Balinese hero who died on 20 November 1946 in a puputan (fight to the death) against the Dutch at Marga in Tabanan, where the Dutch defeated his company with air support, killing Ngurah Rai and 95 others during the Indonesian Revolution in 1946.
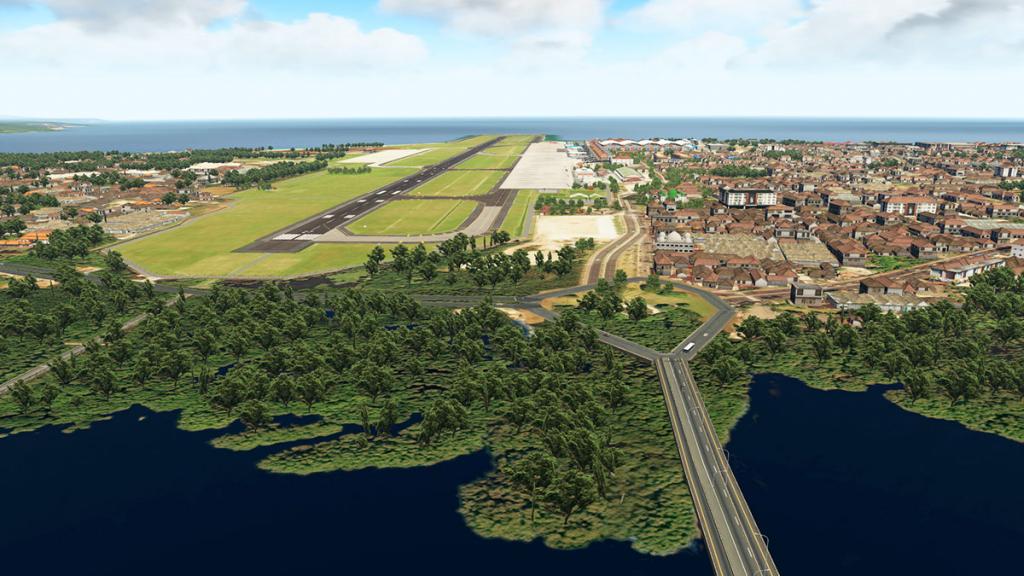
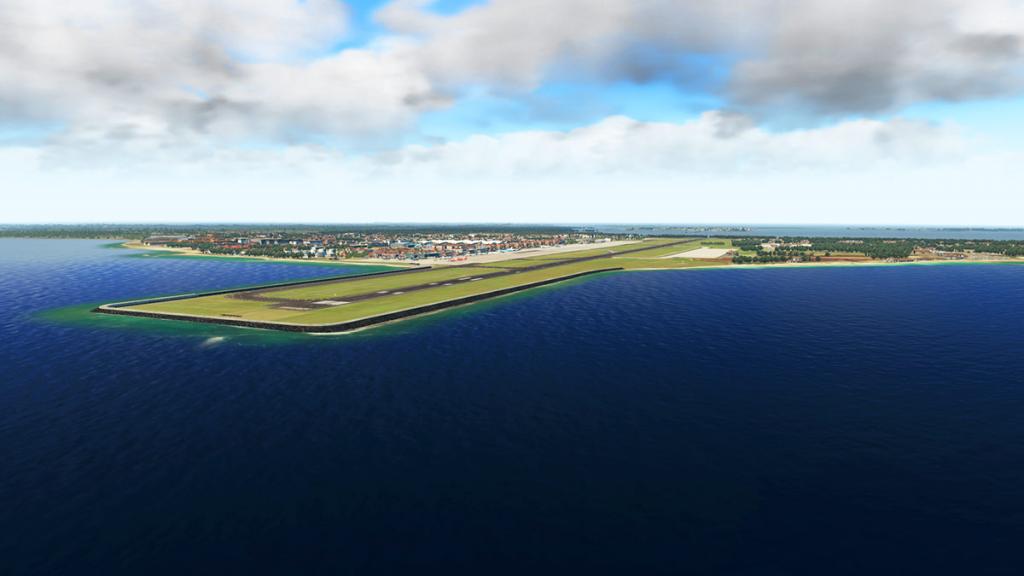
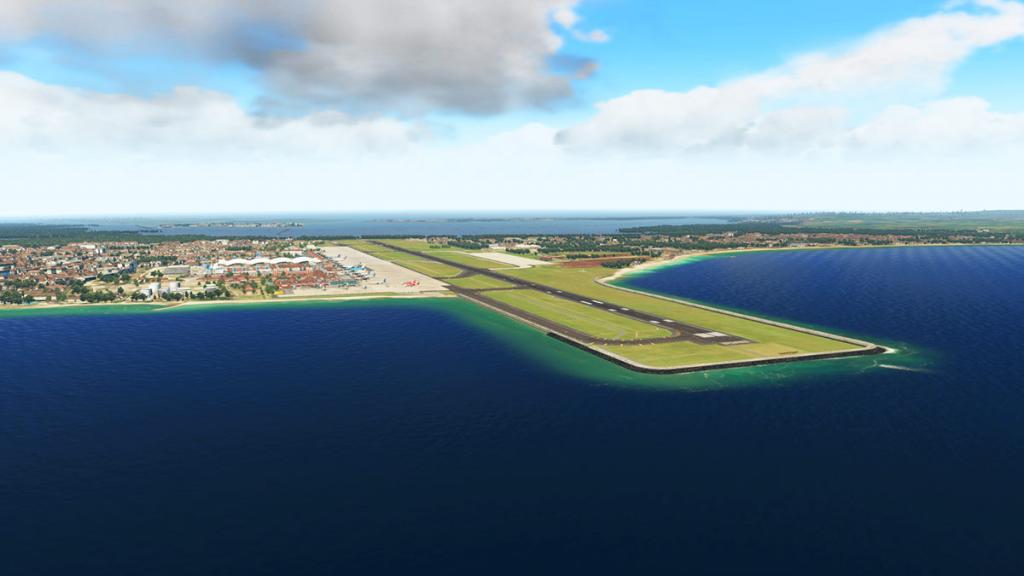
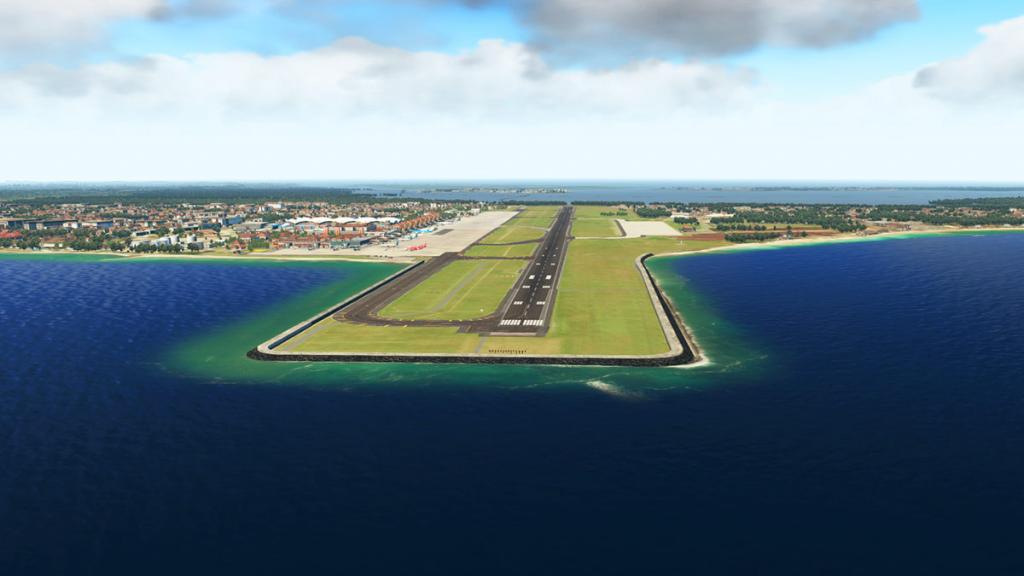
The Pelabuhan Udara Tuban, or Tuban airfield, was established in 1931 at the narrowest point on the southern coast of Bali. The airport was originally built as a simple 700 m long airstrip by the Dutch Colonial administration's Voor Verkeer en Waterstaats public works office. When first established the site only had a few huts and a short grass runway. The current airport has an east–west aligned runway and associated taxiway, with over 1,000 m of that runway's length projecting westward into the sea.
In 1942 the airstrip was in use to stage fighter and bomber operations and received bombing damage from Japanese forces. It was repaired using PSP pierced steel planking.
In 1949 a Terminal building and other aviation facilities were constructed and a simple wooden flight control tower was erected. In 1959 president Sukarno sought to further develop the airstrip. The new facilities were built as part of a $13 million (Rp 35 billion in 1959) renovation project.
To allow jet aircraft such as the Douglas DC8 and the Boeing 707 to operate from Bali, it was necessary to extend the runway westward into the sea as any potential eastern extension of the runway was by now blocked by the expansion of the local fishing village.
The International Airport Tuban was developed with the decision by the Indonesia government to further develop and rebuild the terminal building and extend the existing airport runway westward by 1,200 m to a length of 2,700 m with two 100 m overruns. The project, which lasted from 1963 to 1969 was named Project Tuban Airport and was for preparation of Tuban Airport for international operations. Land reclamation to project the runway and the two overruns by 1,500 m was achieved by taking material from the limestone rocks at Ungasan and sand from the river Antosari–Tabanan. With the completion of the temporary terminal and runway project at the Tuban Airport, the government inaugurated international air service on 10 August 1966.
To meet the ever increasing number of passengers the terminal buildings were extended with construction of an International Terminal building undertaken from 1965 to 1969. This added international facilities to the existing domestic passenger terminal. The new Ngurah Rai International Airport was inaugurated the on 1 August 1968 by the then Indonesian President Suharto as Pelabuhan Udara Internasional Ngurah Rai, or Ngurah Rai International Airport. (edited Wikipedia)
Aerosoft
This Bali scenery is a conversion for Aerosoft by Caipirinha Games to X-Plane11 from the Bali X series by A-Flight Scenery, the word to note here is "conversion".
First Impressions
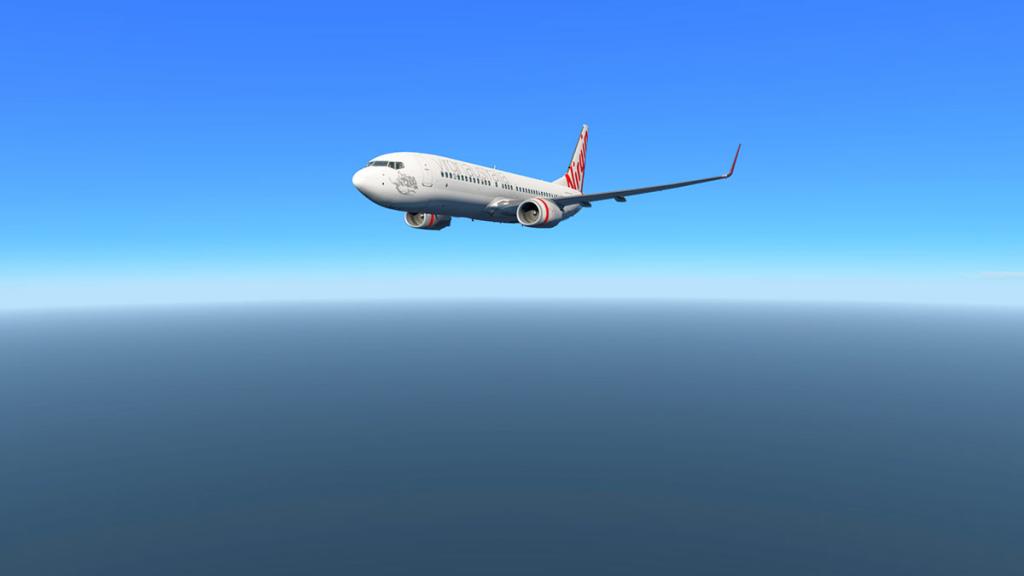
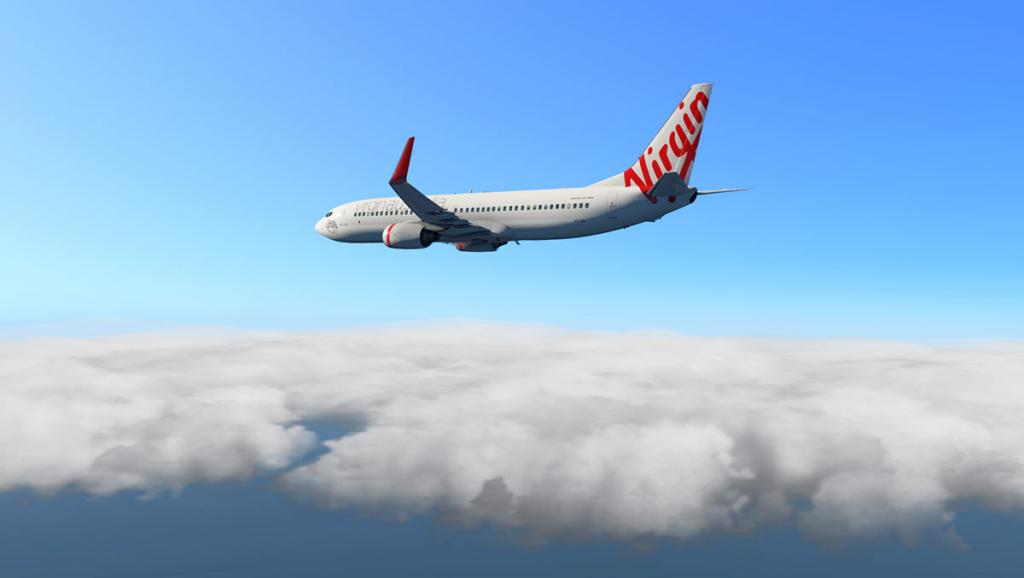
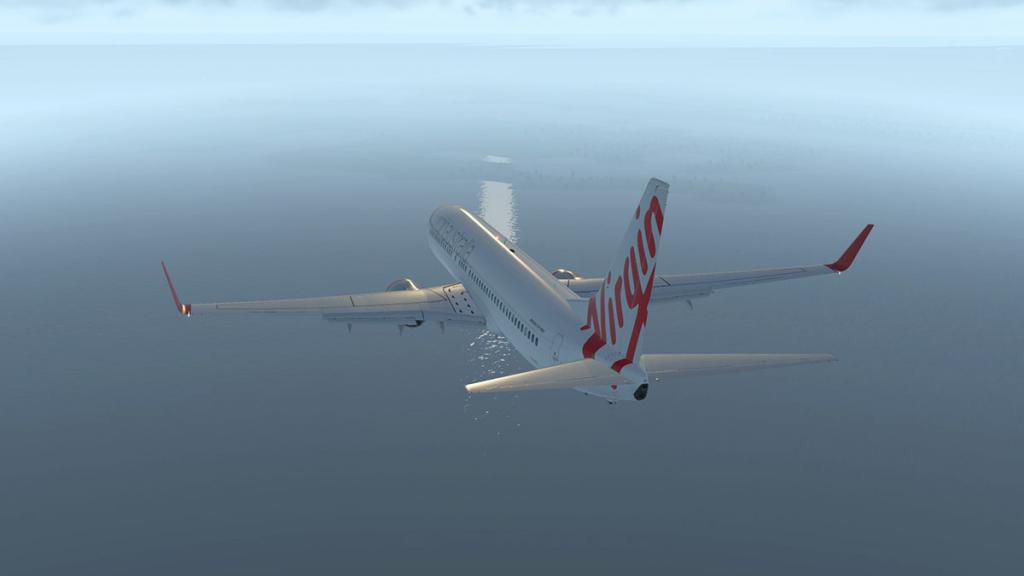
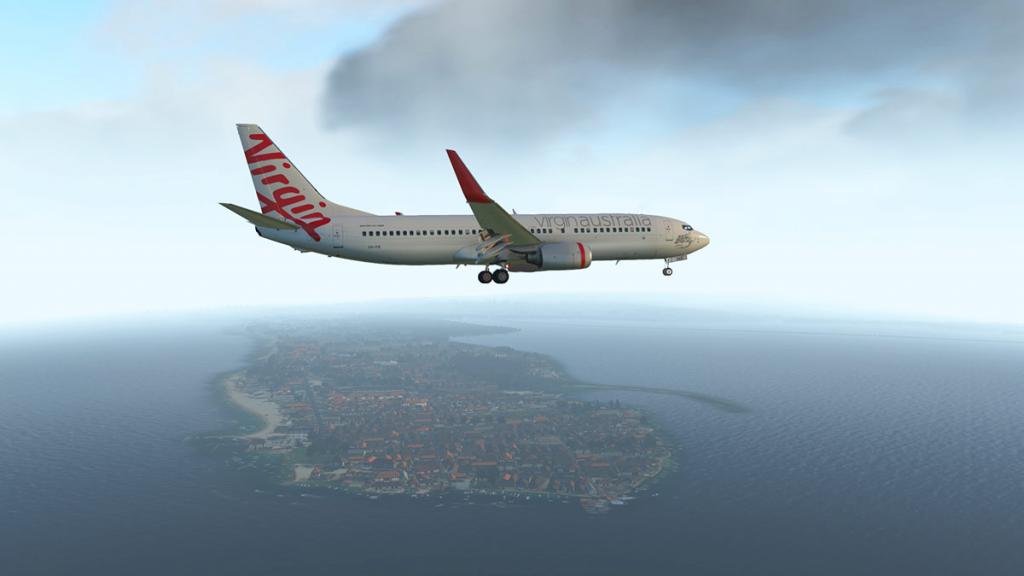
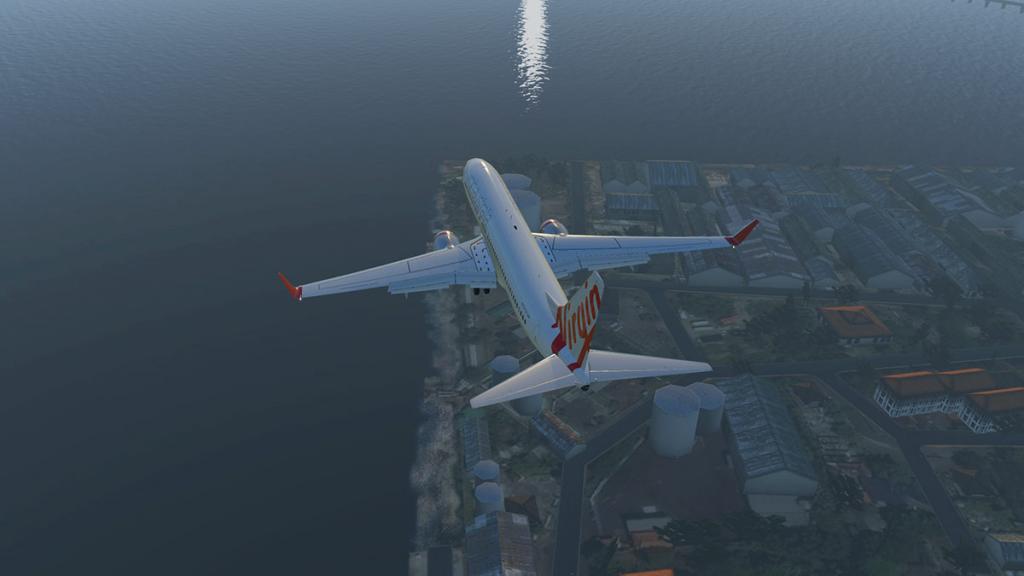
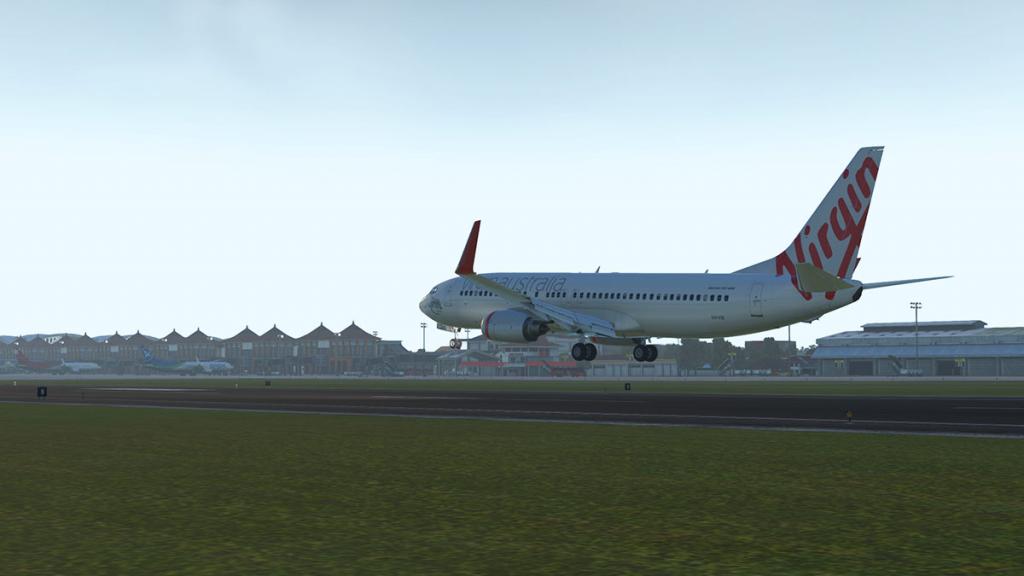
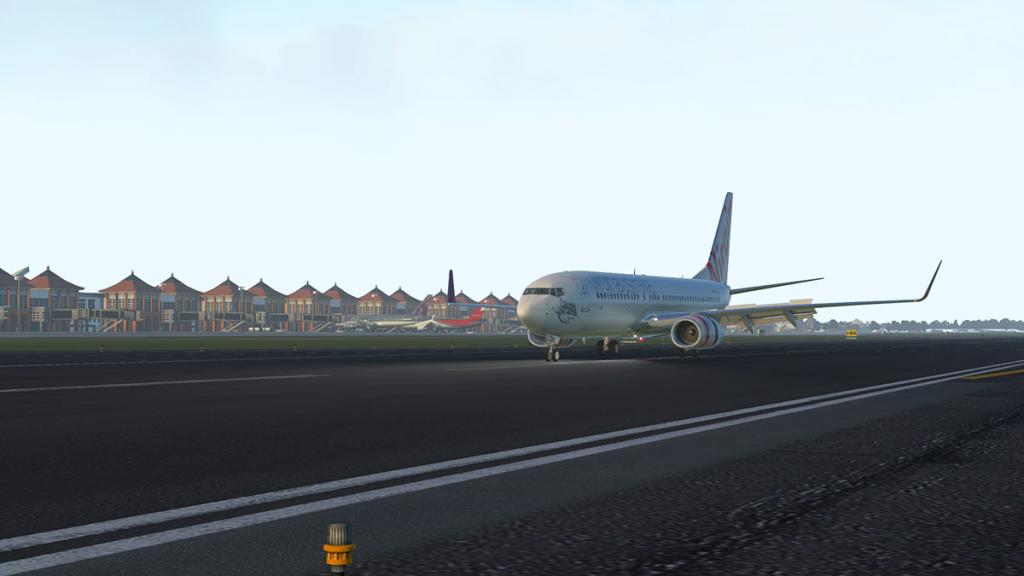
As I live in Australia it was always going to be the best way to introduce myself to Ngurah Rai International Airport is by flying from an Australian port. And as YBBN (Brisbane) is my nearest major port and that seems a great place to start. The ZIBO MOD Boeing 737-800 in VA Virgin colours also seemed to be the best equipment for the route as well, but a B738 is a little slower than a A330 which is also popular on this route, but the same as the A320 at 6h 20m flying time.
This is not the first time for me to WADD, as there was a great but old WADD scenery around X-Plane for years and it wasn't bad, but I expect a far only a better experience with an Aerosoft scenery.

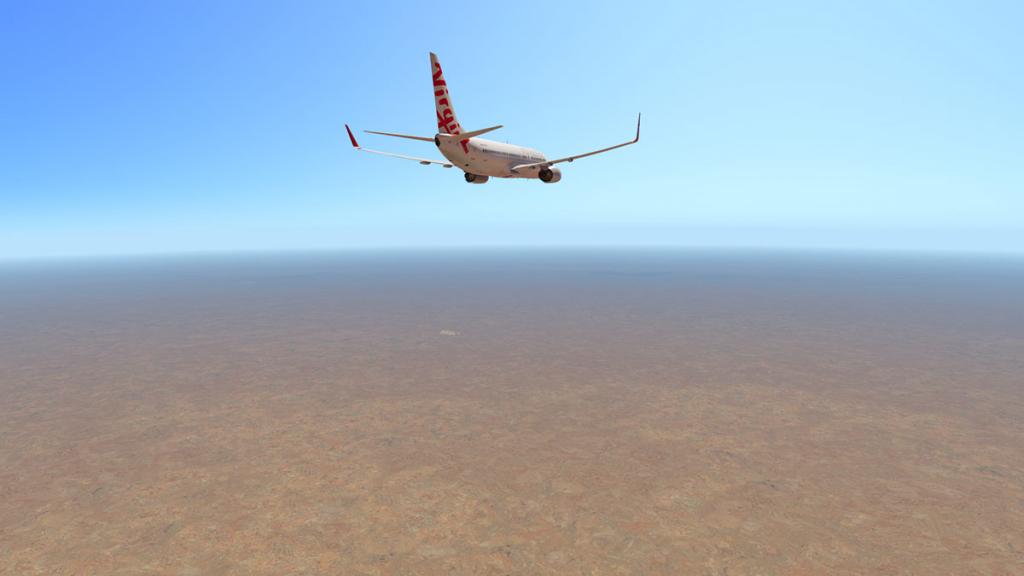
Departure was around 13.30 (pm) for the 2512.36nm flying. One thing about flying around Australia is that there is not much out there, and mostly it is really just vast areas of nothingness, then more nothingness as you head out over the Timor Sea.
My arrival via BENOA will mean a landing on RWY27 (3000m), this is the only ILS (110.30) approach to WADD as if you need to use 09 then that is a only a RNAV approach. Aerosoft do provide a great selection of both SID, STAR and RNAV charts and the full airport layout with excellent gate charts with the package (29 charts).
If you fly a lot in the far east you will become accustomed to the hot mist in the tropics, and so with such a late of the day arrival the xEnviro created a lovely if perfect soup for our arrival. You may say, "come now Mr Reviewer!, I want to see something I am buying!". But that is not the point of first impressions in the fact that the idea is to give you a representation of what the scenery is like in a mood and feel way as well as the standard detailed overview of the scenery, this viewpoint may not give you absolutely clear images, but it does deliver an authentic feel of arriving in Bali.
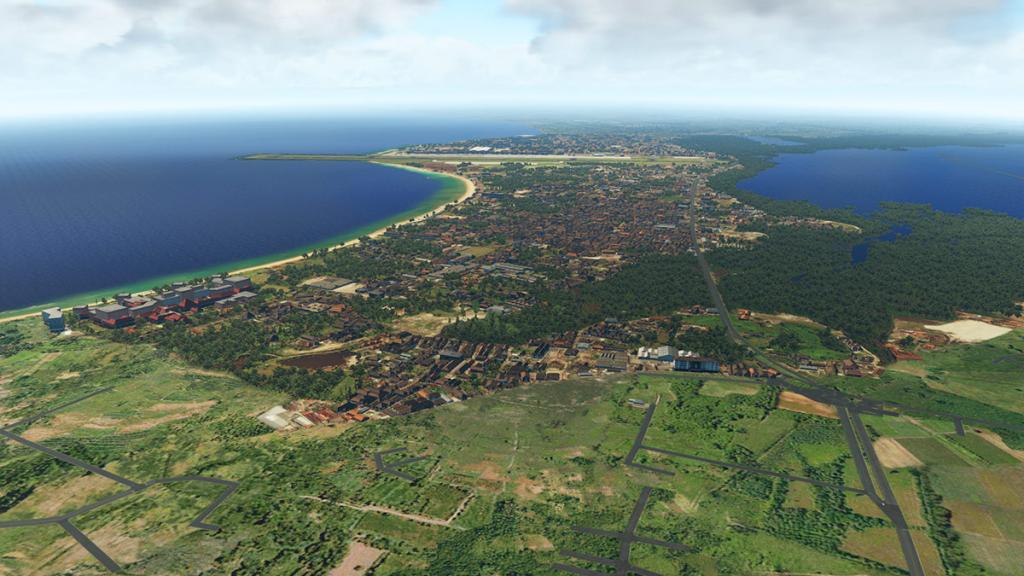
Approaching from the east via BENOA you arrive over Nusa Penida then WADD is straight direct west in front of you. From this direction the airport is just beyond a large lagoon with the two enclosing outcrops of Tanjungbenoa and Serangan.
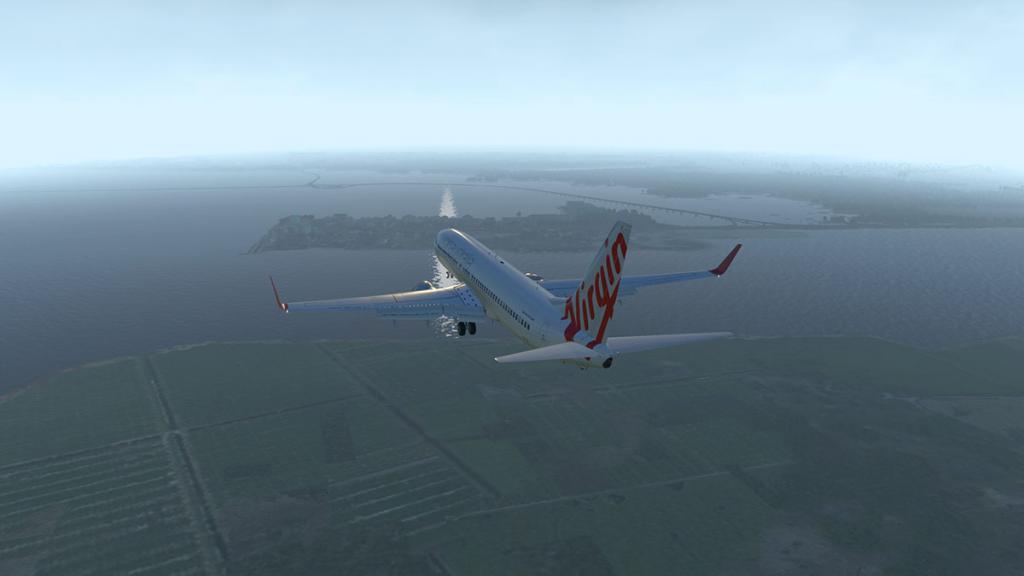
My pass over the outcrops gave me a great feel for the area as both are full of very authentic Balinese habitation, not X-Plane default scenery, but 3d created Balinese scenery... very impressive.

My eyes then took in the over water Bali Mandara expressway system. At first I thought this was an X-Plane OSM (Open Street Map) mess up? but no the expressway is real and authentic.
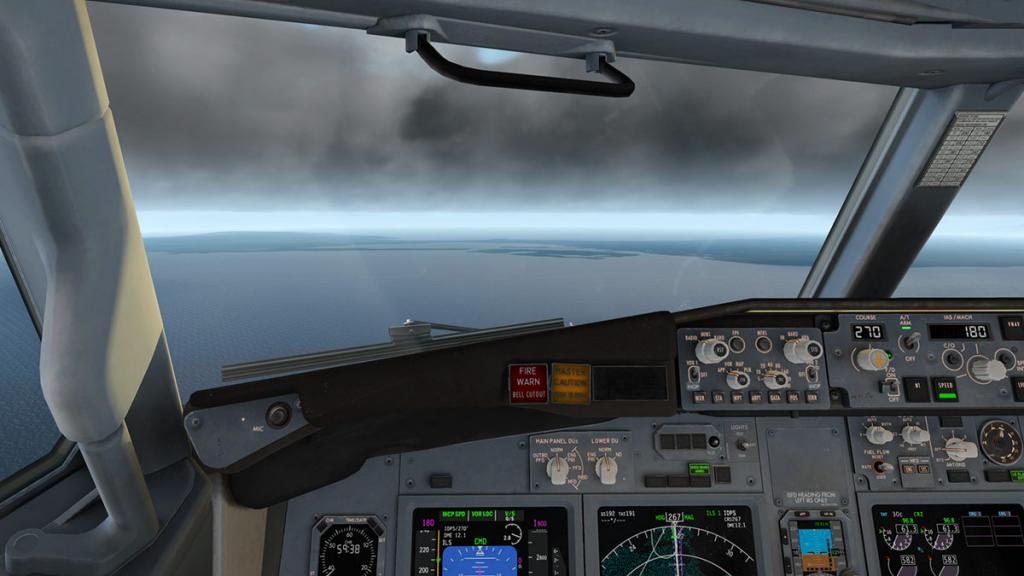
But then a sudden feel took to my bones... "something was not right?" my cross diamonds were correct on the ILS PFD (Primary Flight Display) but my eyes through the gloom told me something else?

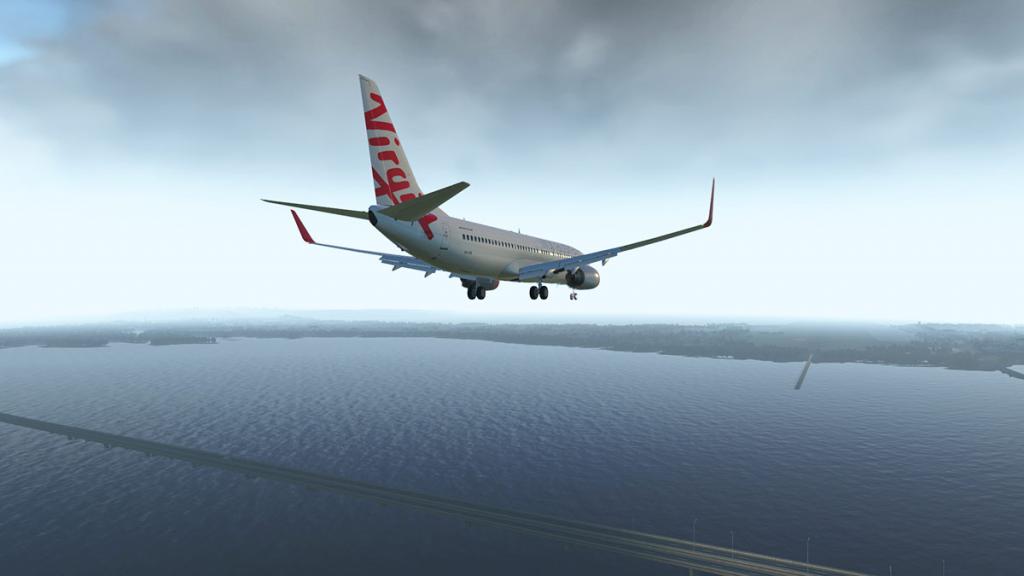
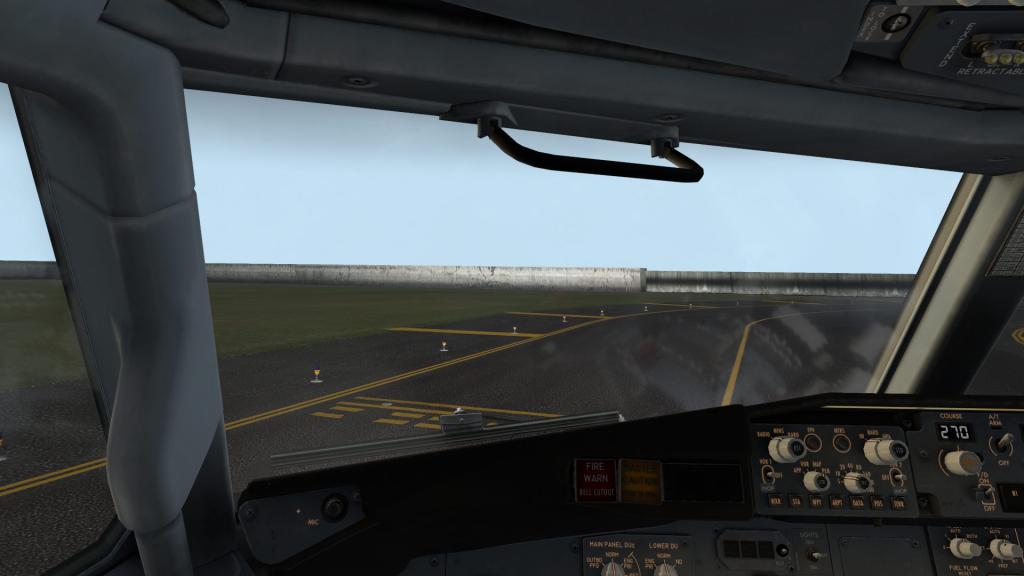
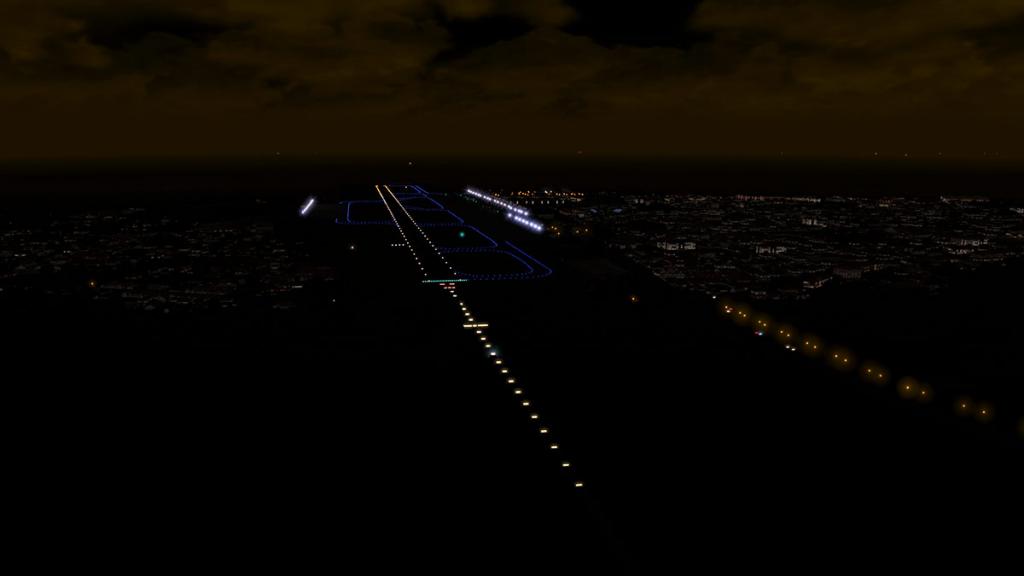
RWY27 ILS is not aligned? Two options, abort or go for the runway, I go for the runway as I feel I can adjust it enough over to the centreline...
"That was a bit breezy!" but I managed not to screw up the landing, all those hours practising certainly paid off here.
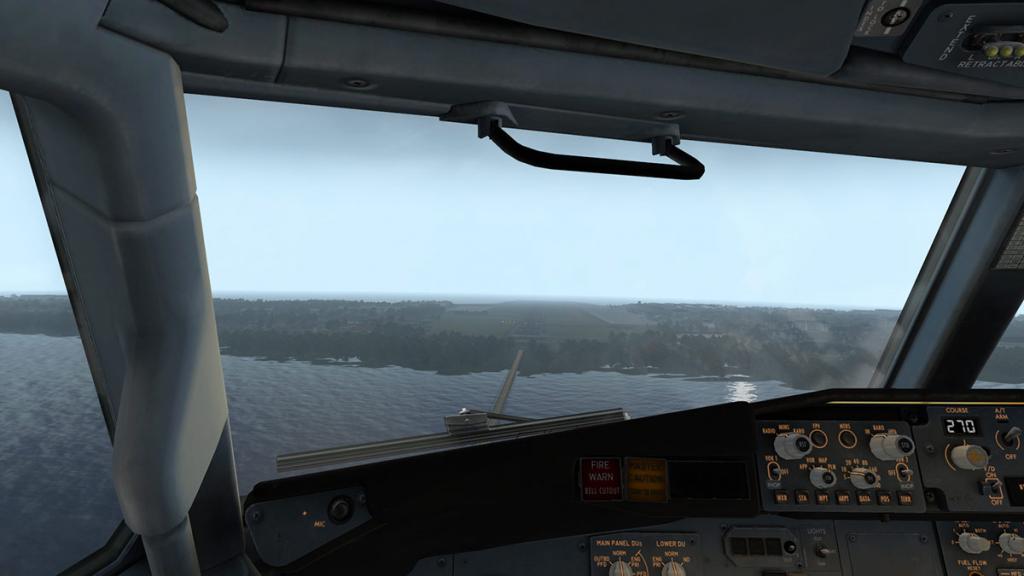
Once the speed had died down (and my heart rate was lower as well) I could again look out of the window at Ngurah Rai, and I really liked what I saw. It was all very different from the usual US and European style of design and it all had a very far eastern traditional feel, you were certainly somewhere different that was for sure.
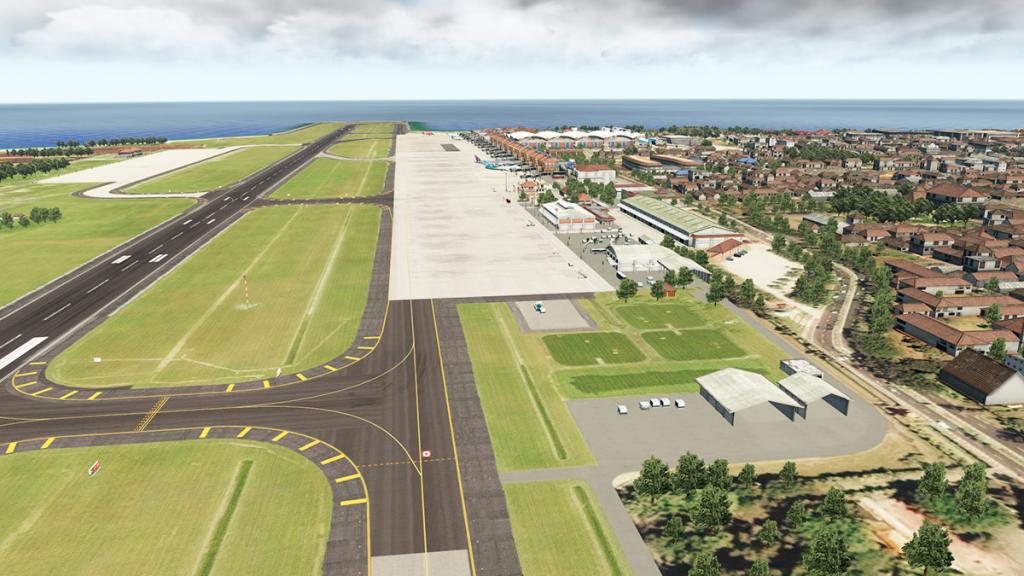
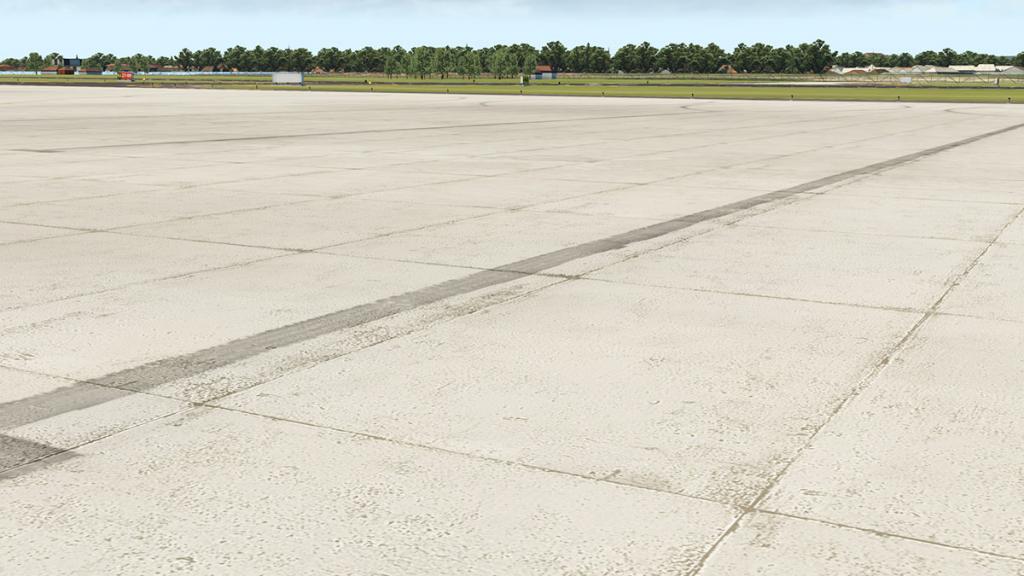
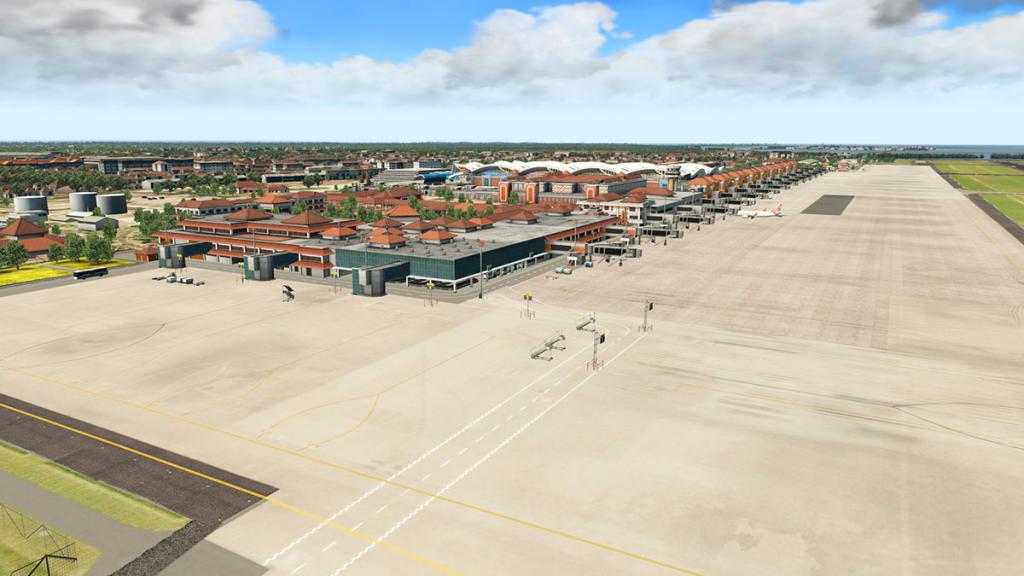
I was very impressed with the ground textures, the runway asphalt was good with concrete outer areas looked very realistic, lineage was excellent as well, but there was none of that famous Aerosoft grass that they do so well, but the actual grass colouring was very good.

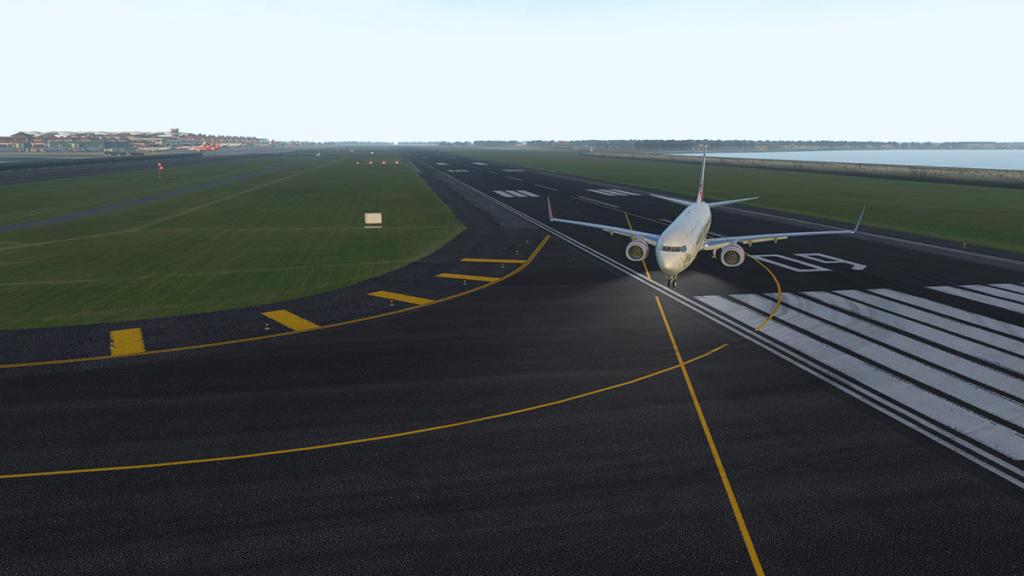
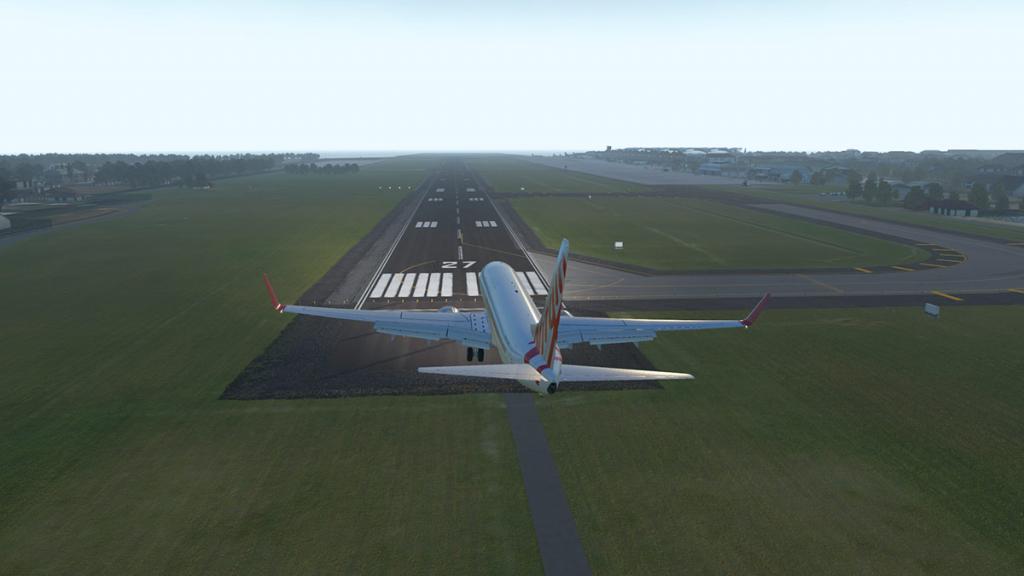
You can't allow yourself to get the landing wrong on RWY27, because at the end of it is a hard stone wall... this seawall (Dam wall) is well done and carries on and around the end of N7 and side P7 taxiways.
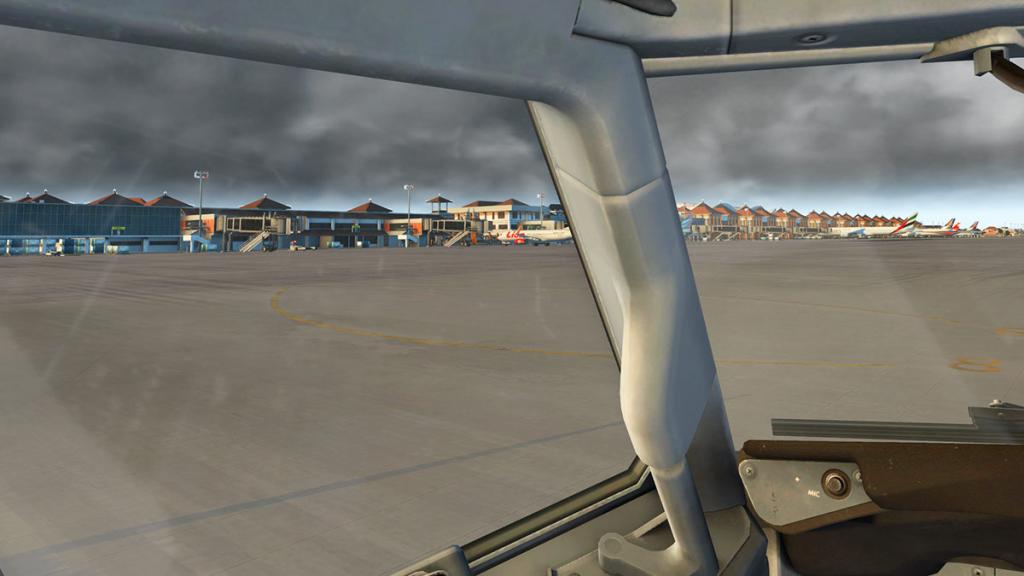
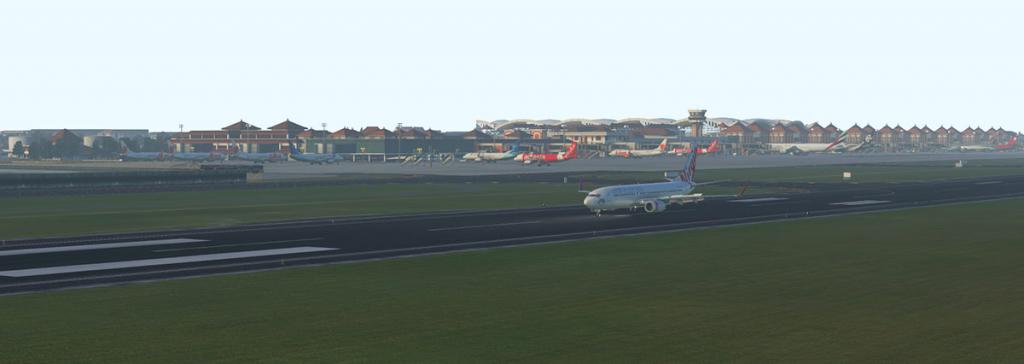
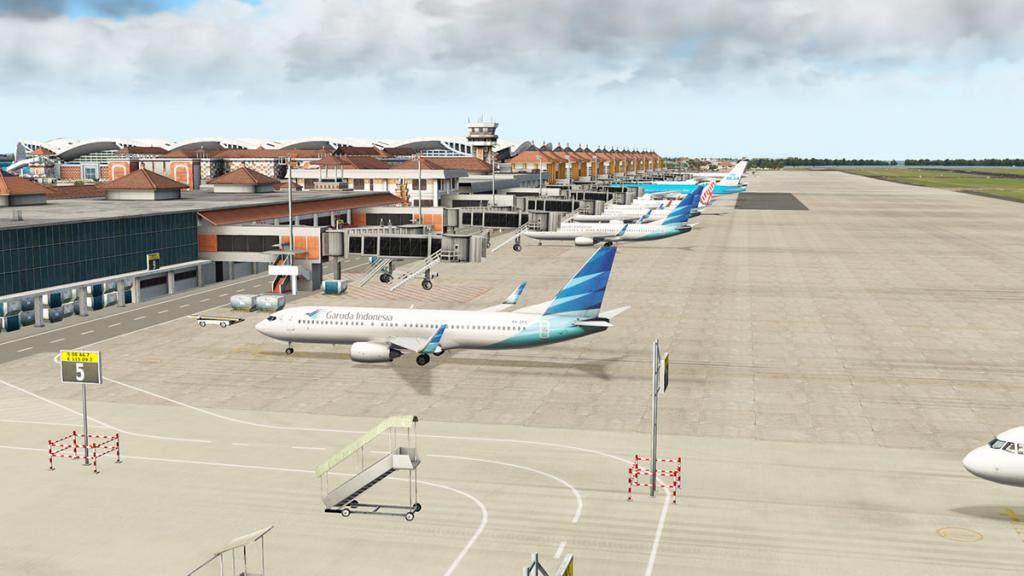
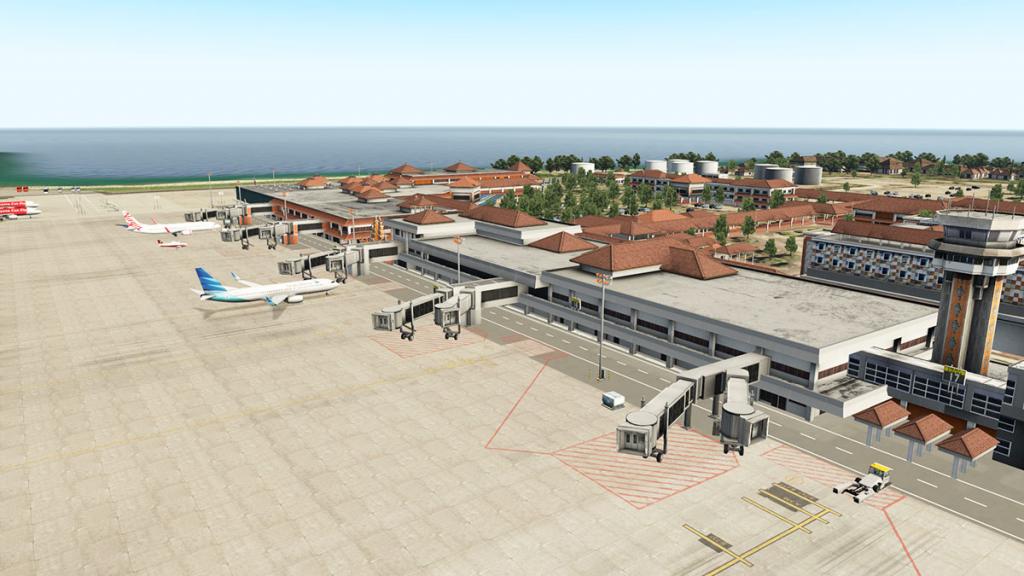
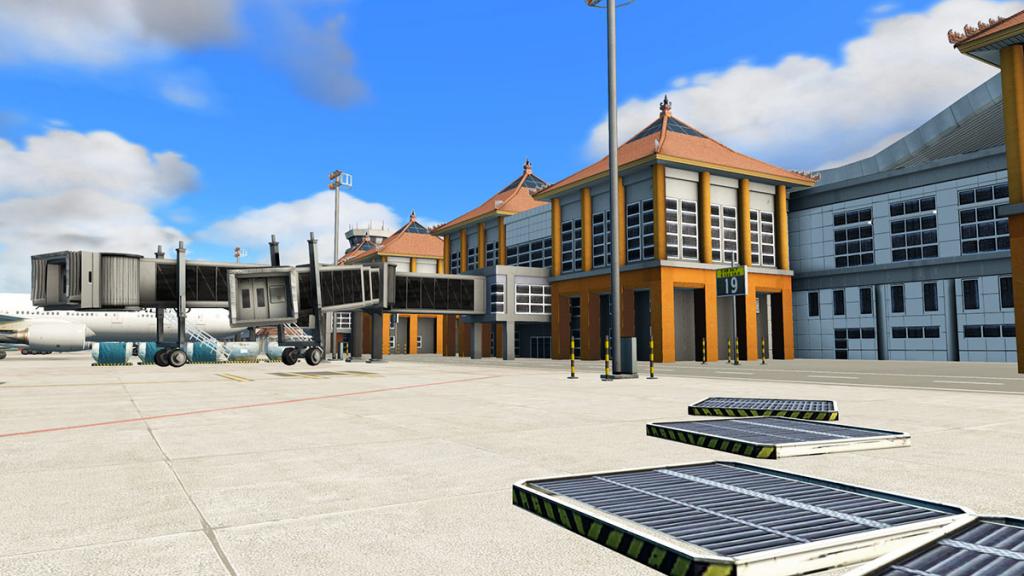
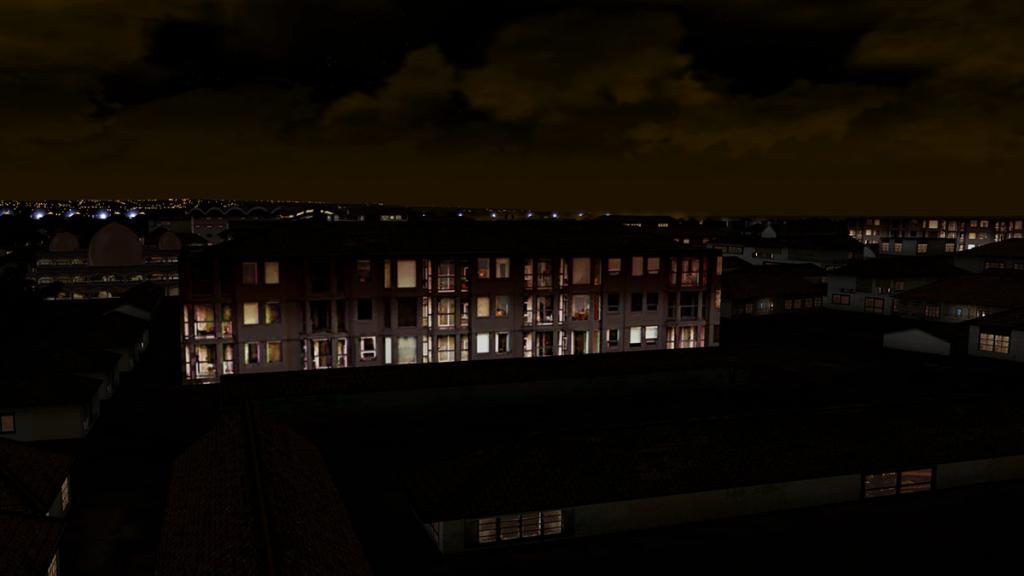
Taxiway P7 leads you into the main apron area called " Northern Apron", it is very big, and there is a lot of gates to choose from, so it is best to pick the correct one you require before you arrive from the ground chart, the gates are mixed up as well in the fact "that what is the domestic or international gates", if you know it is not hard, but the layout can be confusing at first if you are not prepared. I really loved the airport's Balinese architecture, but there was some modern elements thrown in there as well.

It was a really heavy dramatic arrival at WADD, not withstanding the ILS non-alignment, overall though with my first impressions I was seriously impressed.
Aerosoft Ngurah Rai International Airport, Bali
I Gusti Ngurah Rai International Airport
IATA: DPS - ICAO: WADD formerly WRRR
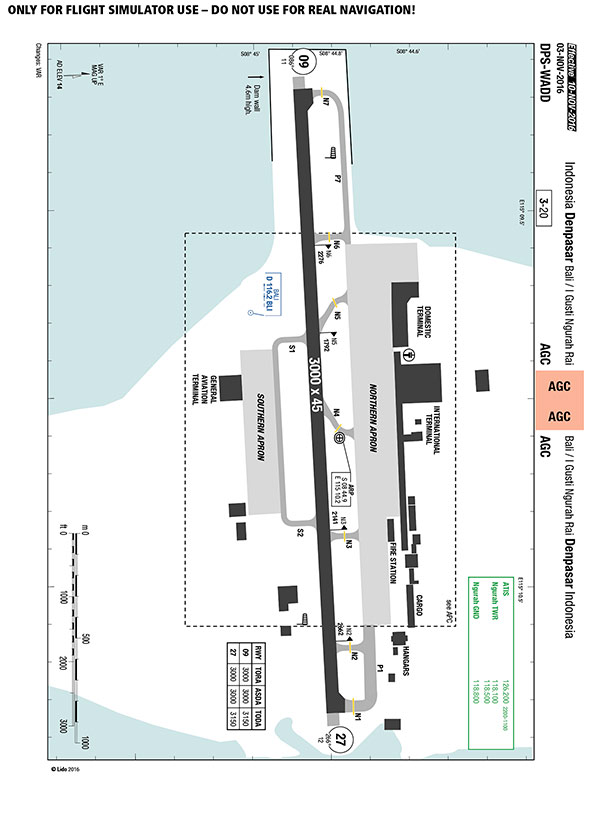
09/27 9,842ft (3,000m) Asphalt
Elevation AMSL14 ft / 4 m

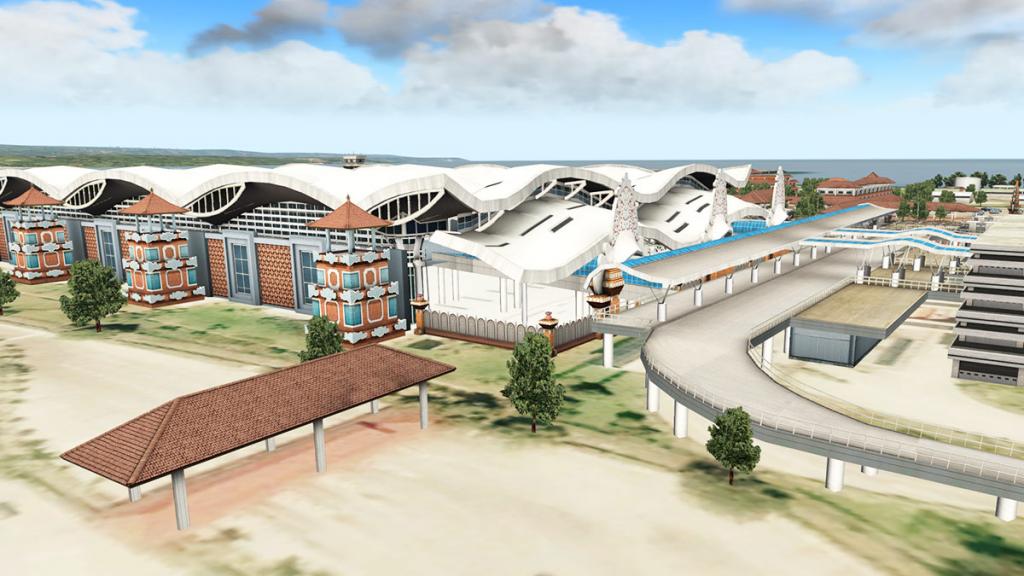
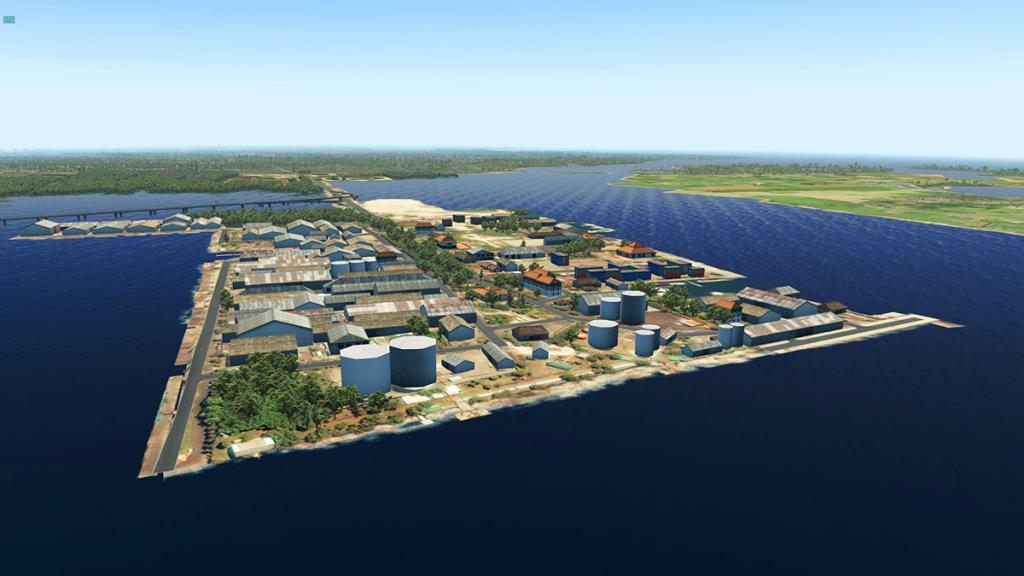
To understand extent of the full scenery package provided by Aerosoft is to look at the scenery from directly above...
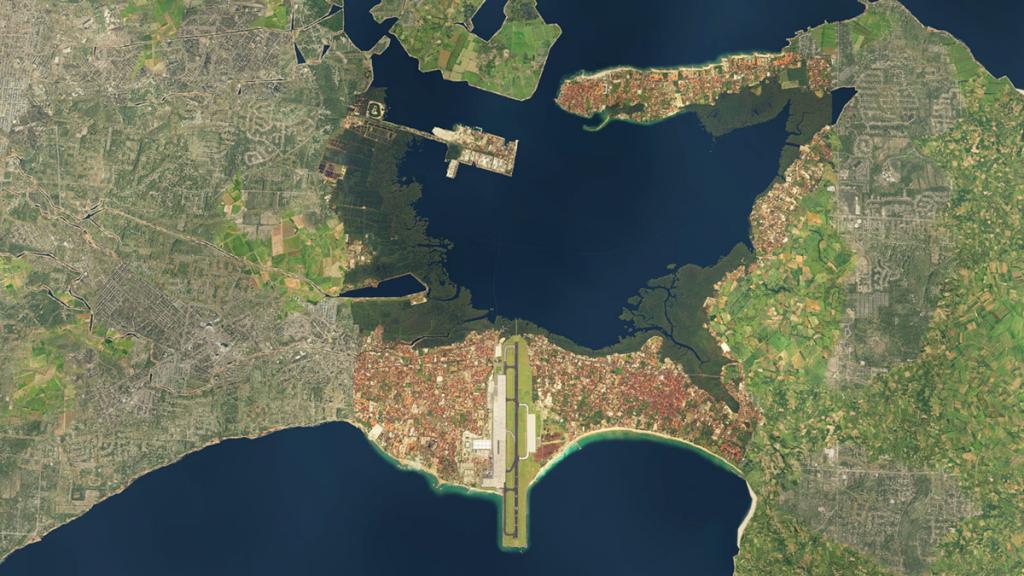
All around the lagoon in red with the airport to the bottom is the extended area of 3d modeling provided, it is a lot of buildings and and associated infrastructure that surround the airport, this does give you a great visual aspect in every respect to the departure and arrival and while on the ground.

And you have to be seriously impressed by the object count and the 3d feel to it all.

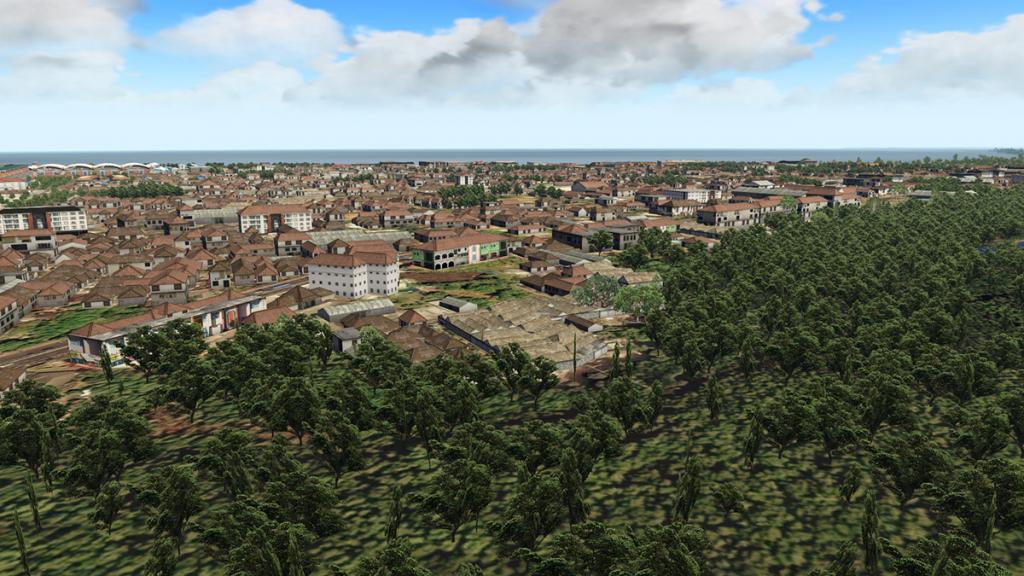
Everything is covered from the basic Balinese abodes to temples, hotel resorts, shopping centres, unit accommodation and warehouses.
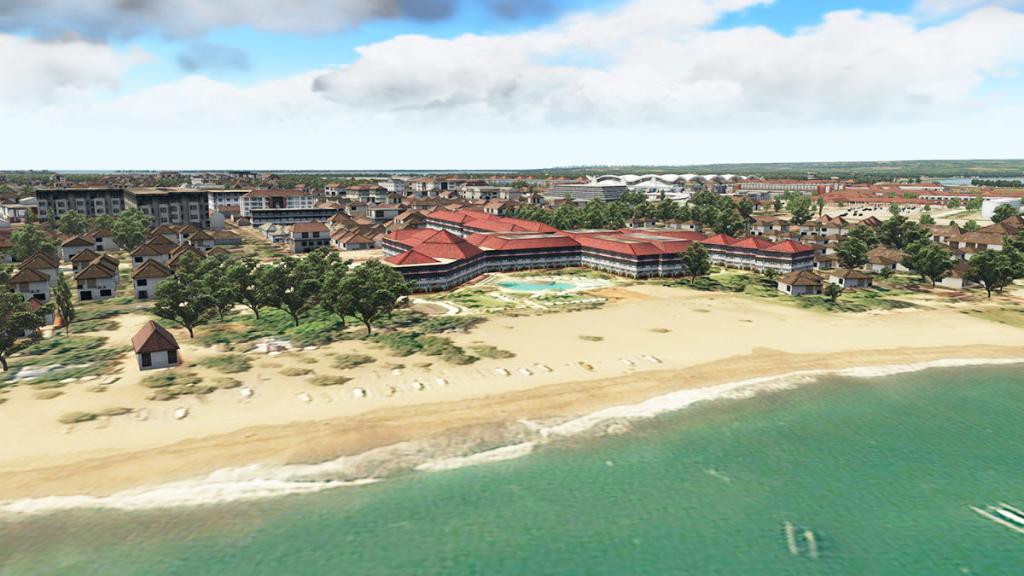


Not many developers have found the right transition from add-on scenery beaches to the outer X-Plane water, but Aerosoft have done that here...

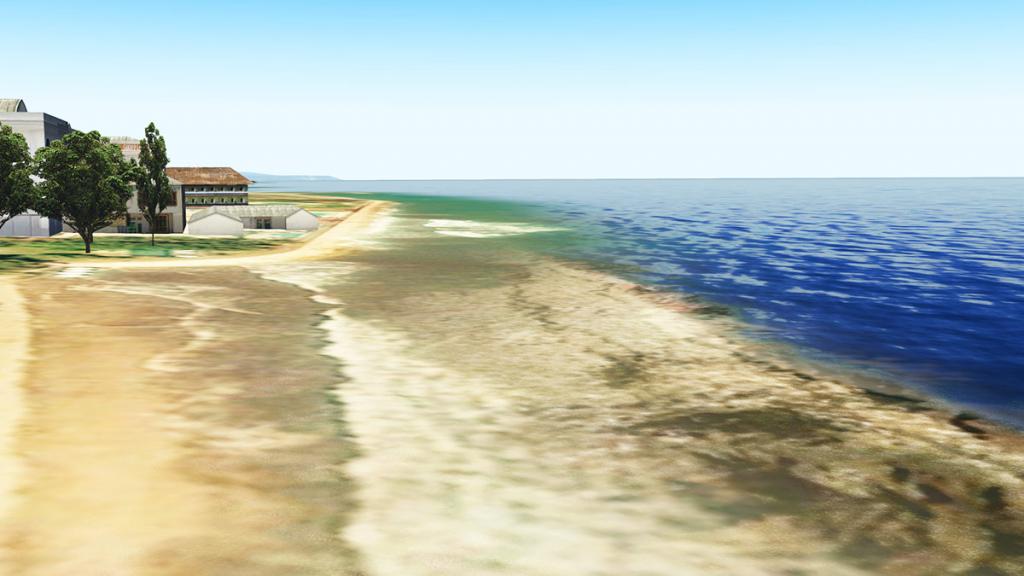
... you have to be impressed by it. And this all comes with a 0.40m/pixel aerial imagery underlay, it looks and is all very, very good.
WADD Airport
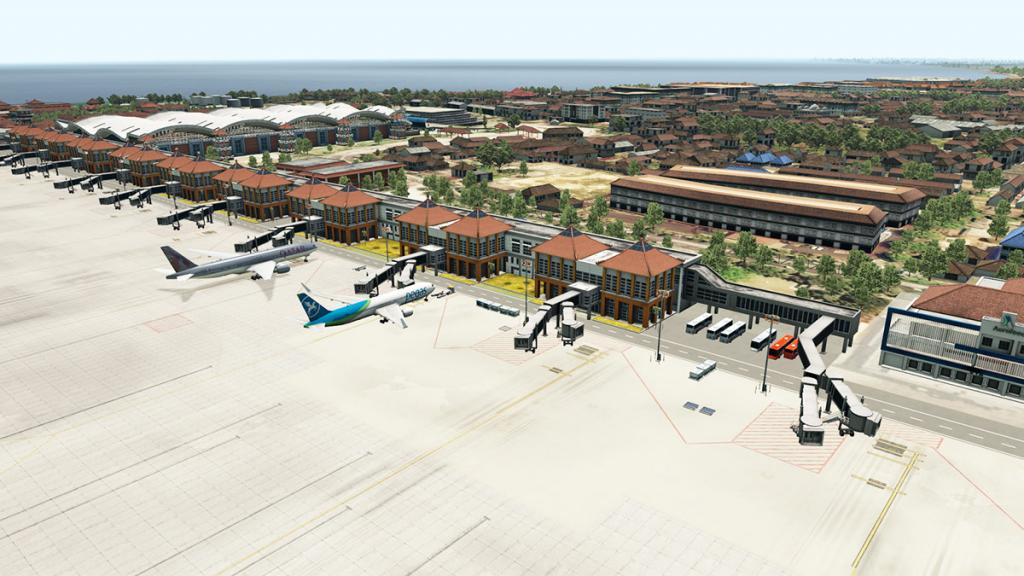
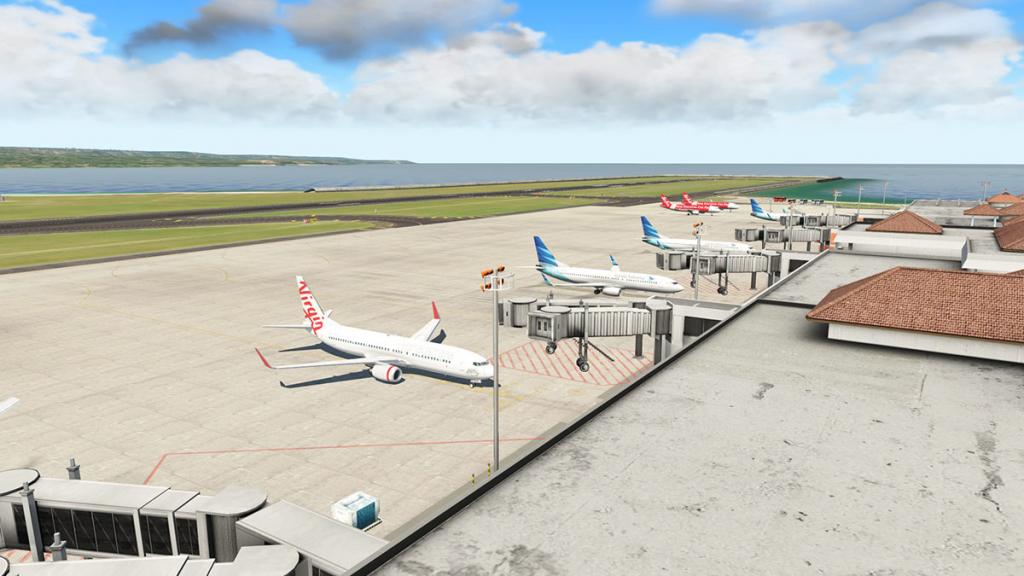
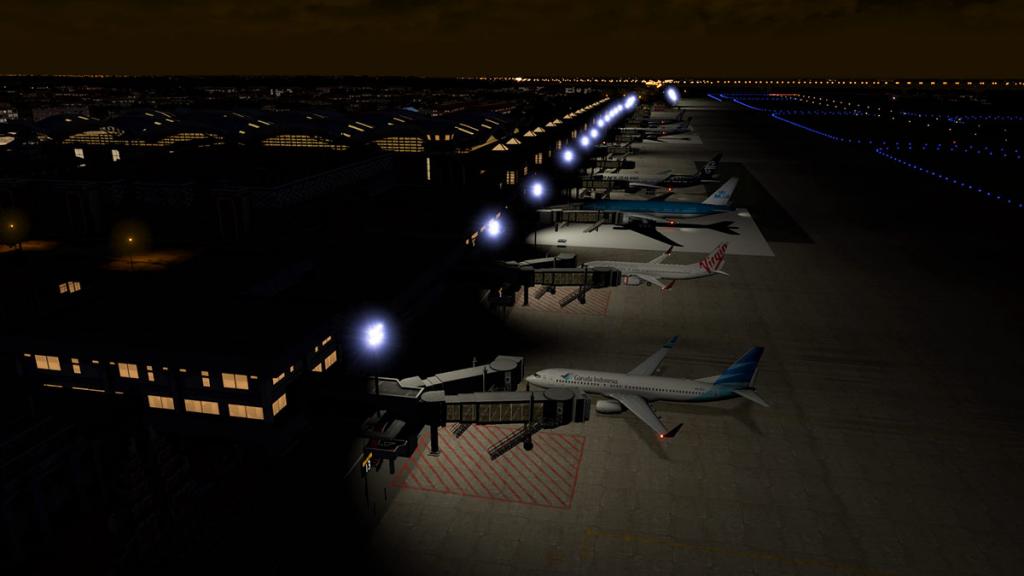
There are two aprons in "North" and "South" The north is the main apron as the south is just mostly parking stands, private jet and General Aviation arrivals. The North apron has two terminals in Domestic and the newer larger International Terminal.

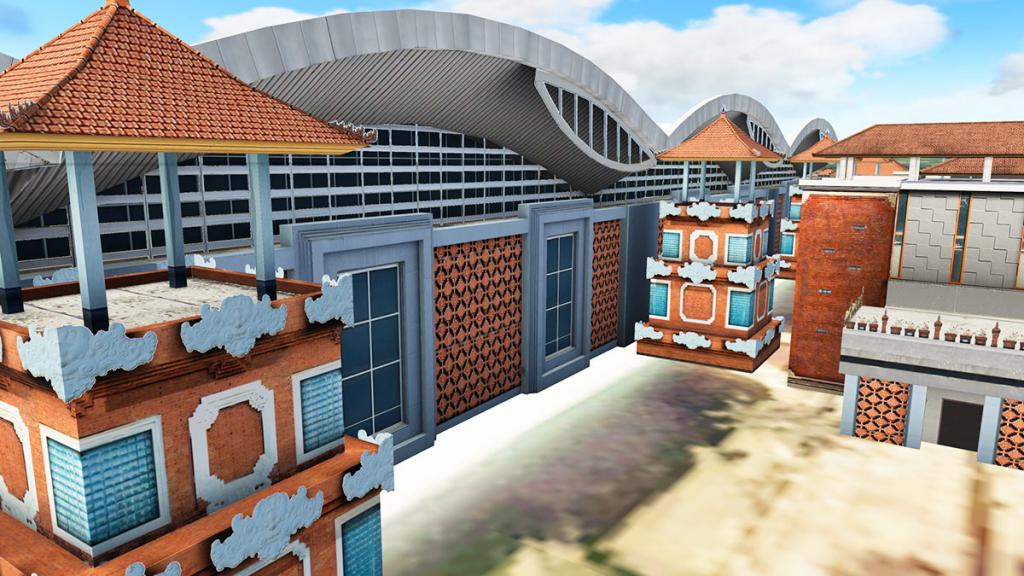
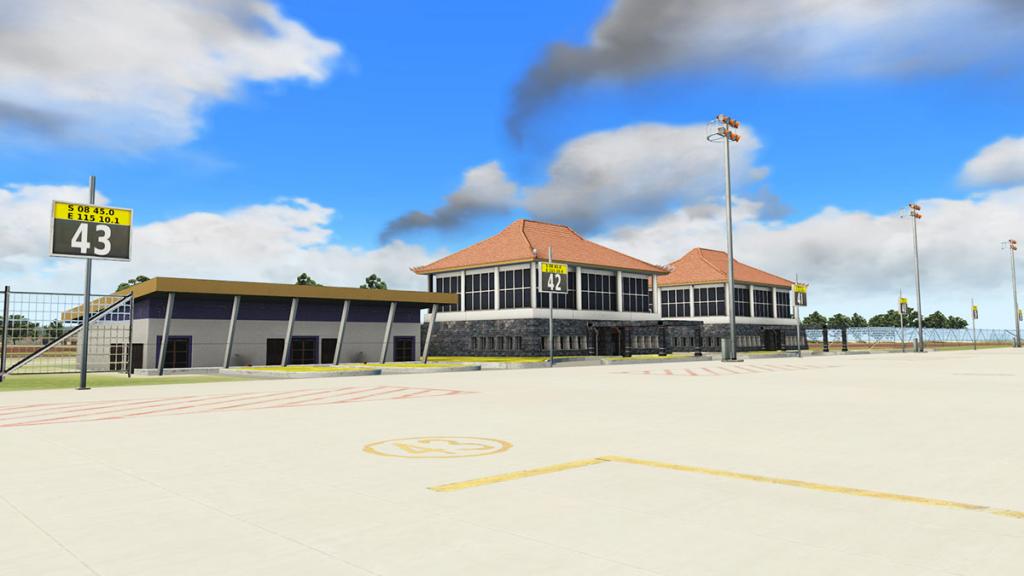
The Domestic terminal is on the west end is the old original Bali terminal with its famous Balinese greeting gate.
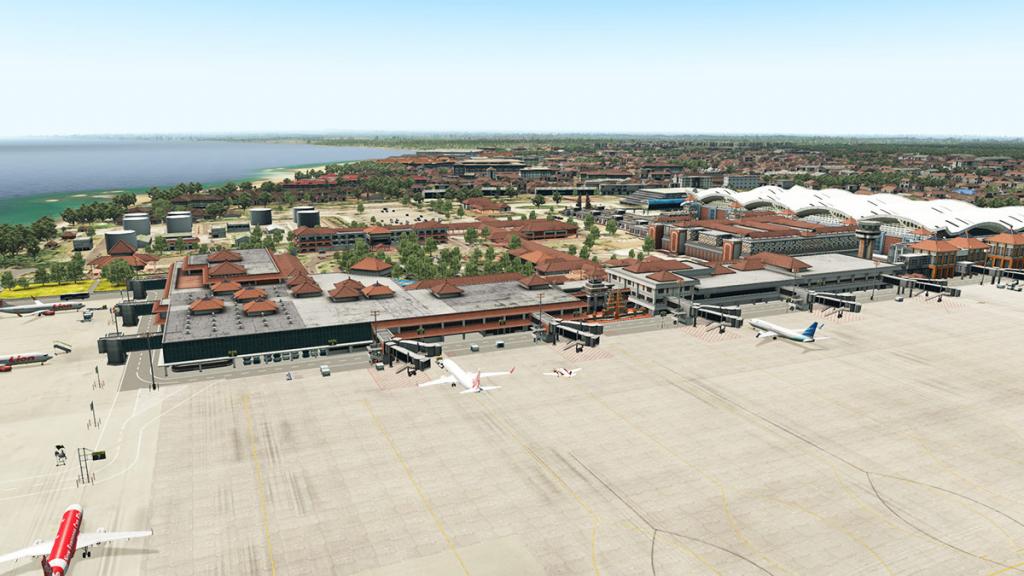
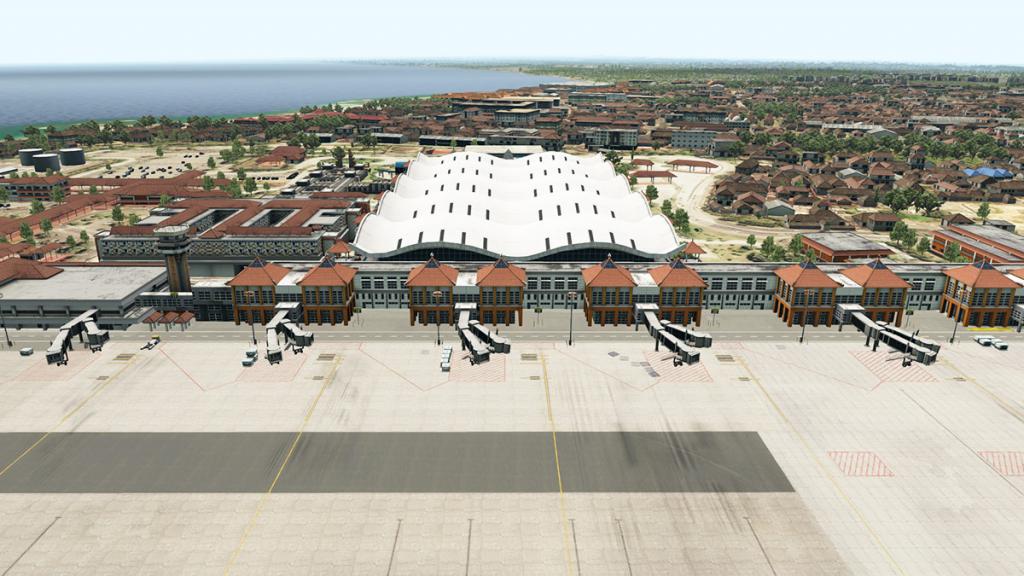
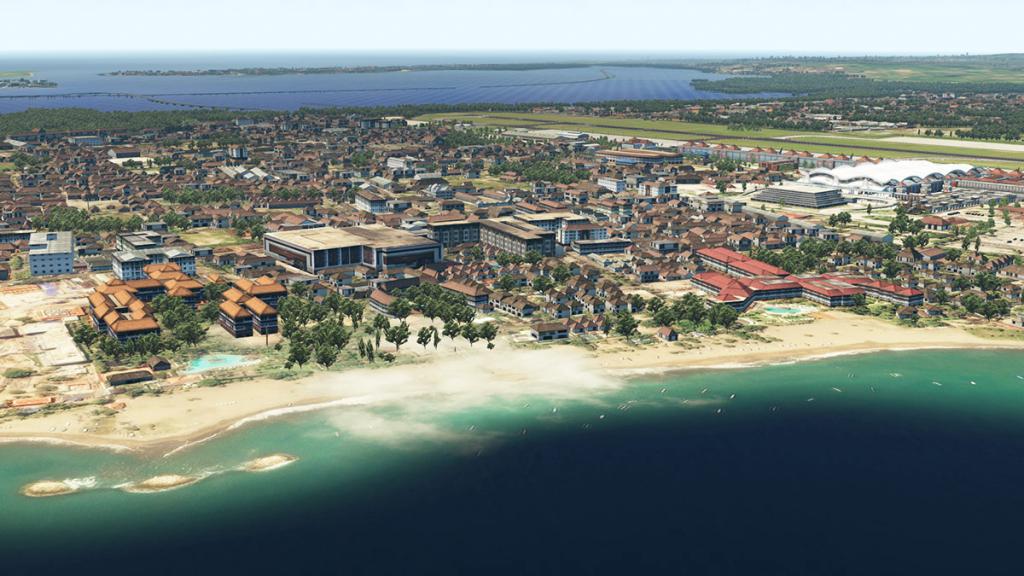
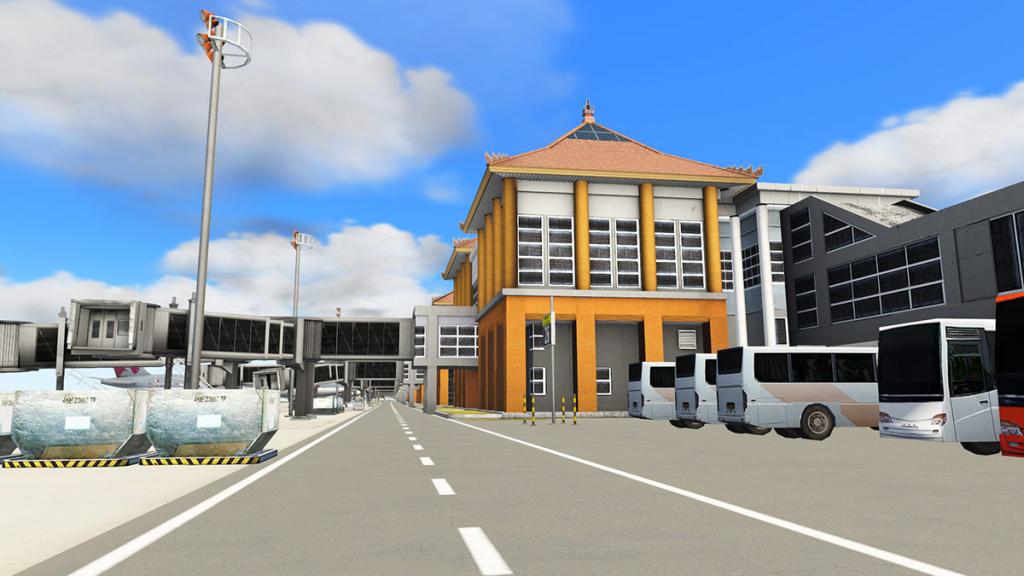
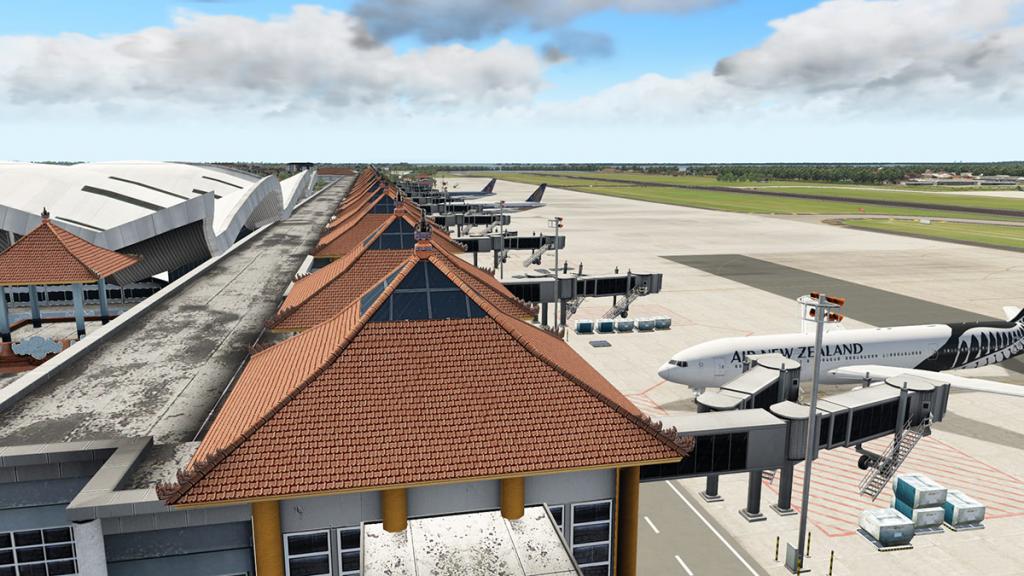
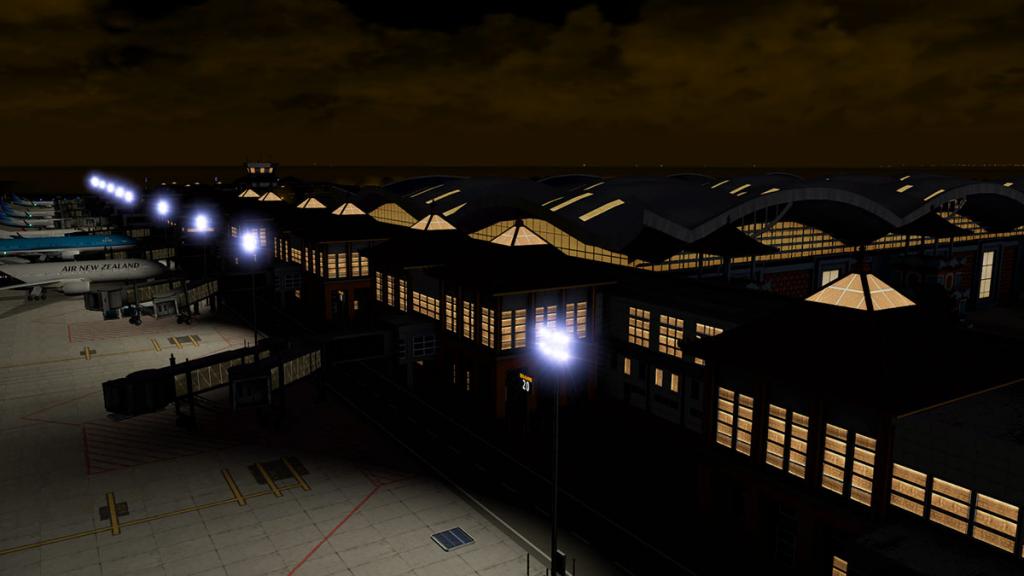
The new huge International terminal is mid-apron and it is impressive, and it has a long finger apron faced gate concourse with unique Balinese gate houses.
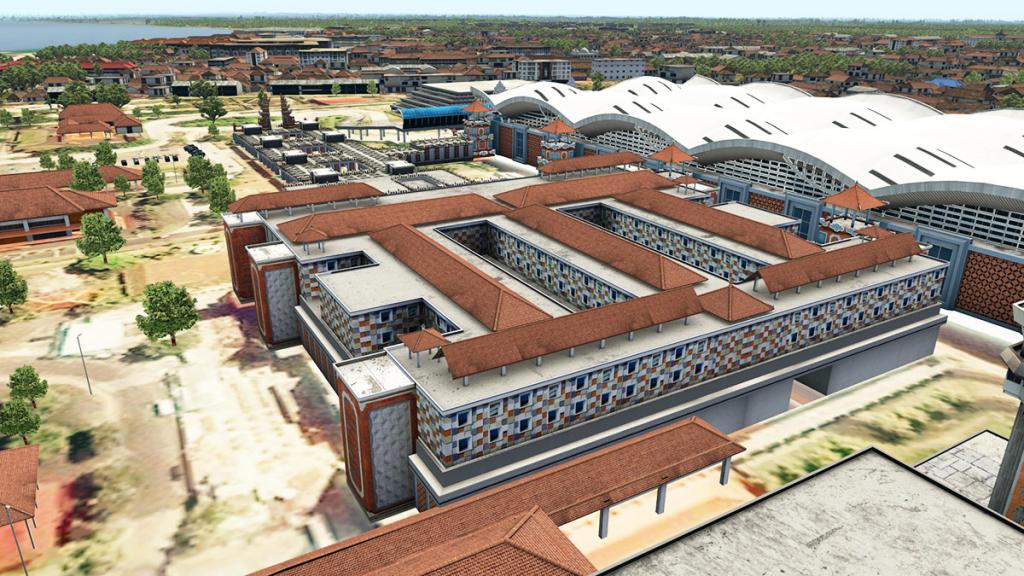
Domestic Terminal
These segments of adjoining L shaped buildings was the original Bali airport international terminal built in 1968. But with the newer and more modern International building being completed then the buildings were reconfigured with a merger of older and newly built areas to be a separated Indonesian domestic terminal which opened on 17 September 2014 with an area of 65,800 square meters, eight departure and seven arrival gates, 1 -16 with five passenger boarding bridges, as well as a number of counters — 62 for check-in, 4 for transit and 19 for ticketing. Note the exposed baggage carousels under the newest part of the Domestic terminal.
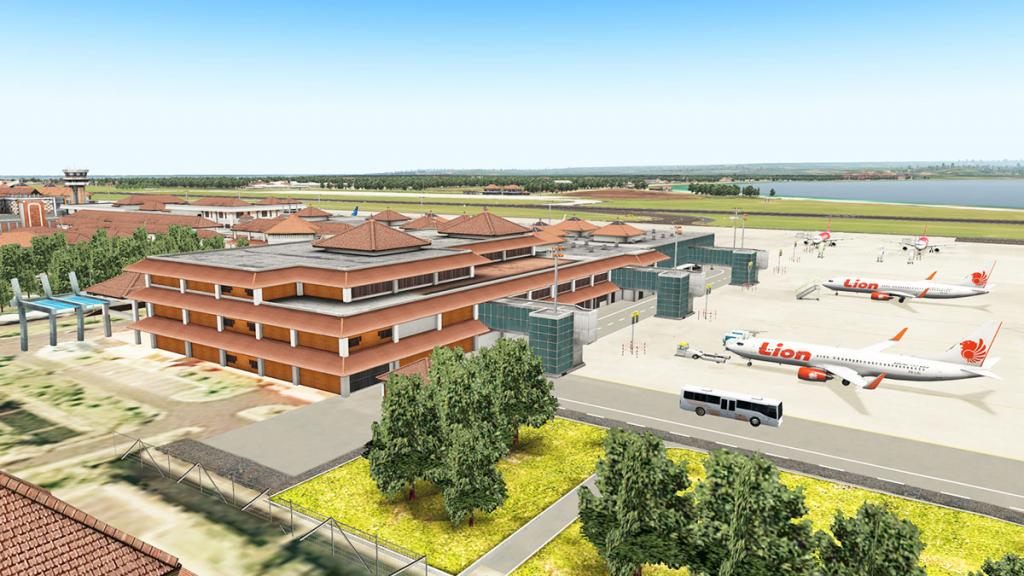

Thankfully the famous "Bali Welcome Gate" has not been demolished out of existence with the changes and is still there and visible from the apron.
International Terminal and Festival Plaza.
International terminal has a similar but a more modern Balinese architectural theme and has separate departure and arrival halls was opened in Novemer 2013. Its capacity is up to 4,938,840 passengers a year. The departure area has 62 check-in counters. There are ten air-bridge gates 17-27 with one (27) usable for the A380.
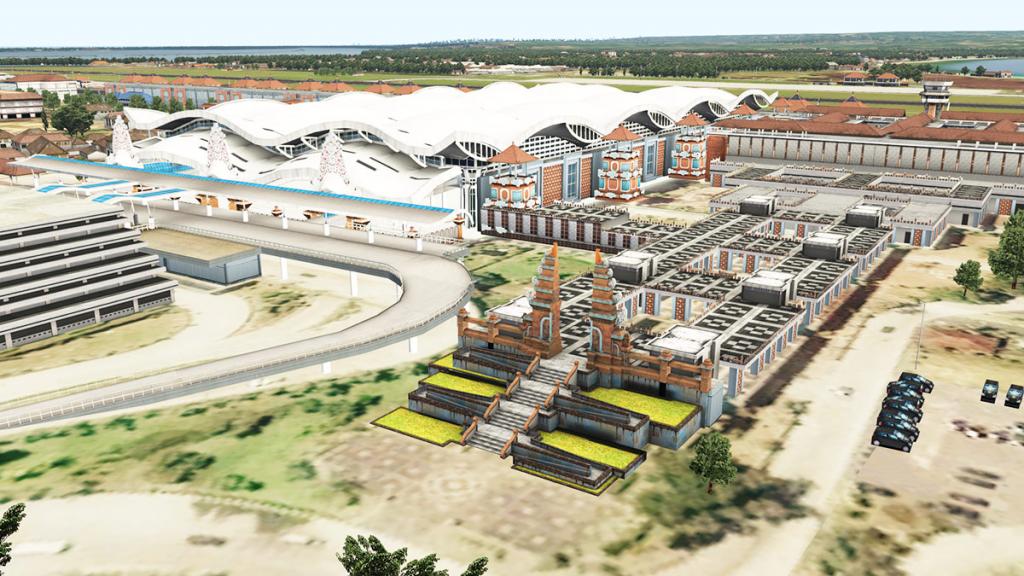
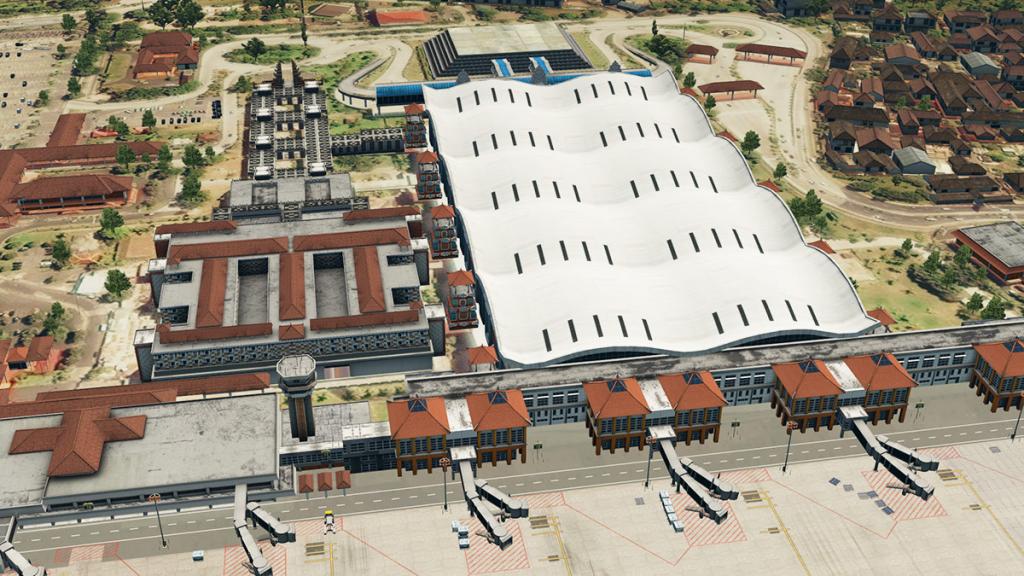

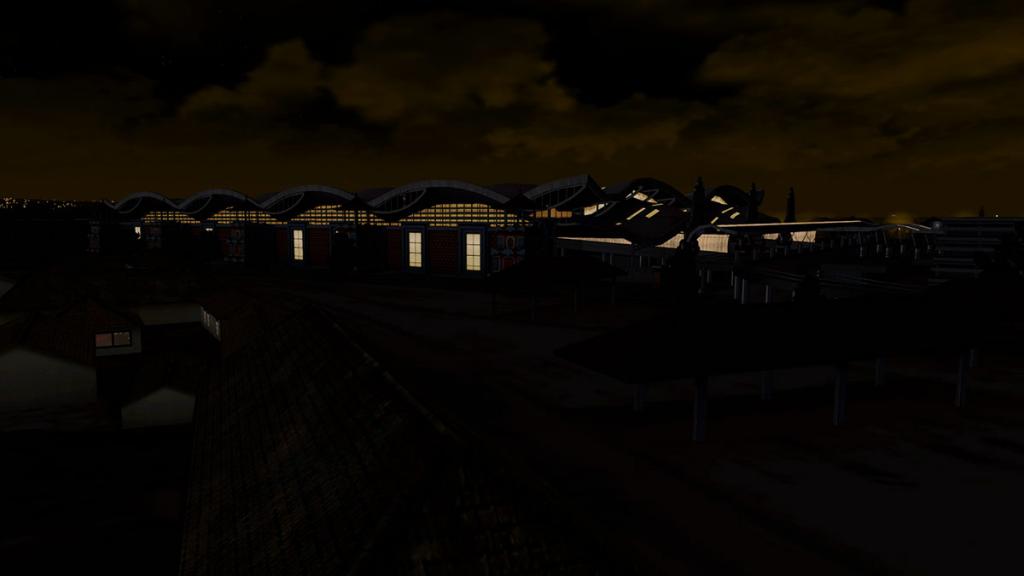
There is a well done strikingly well modeled roof on the International terminal, and it is highly decorated with Balinese style towers, arrival and departure roadways are set, but there is no animated traffic. The rear main carpark feels more Aztec than Balinese but then the cultures may be the same in some areas. Next to the International terminal is another and far larger and more impressive traditional Balinese gate and explore/rest area...
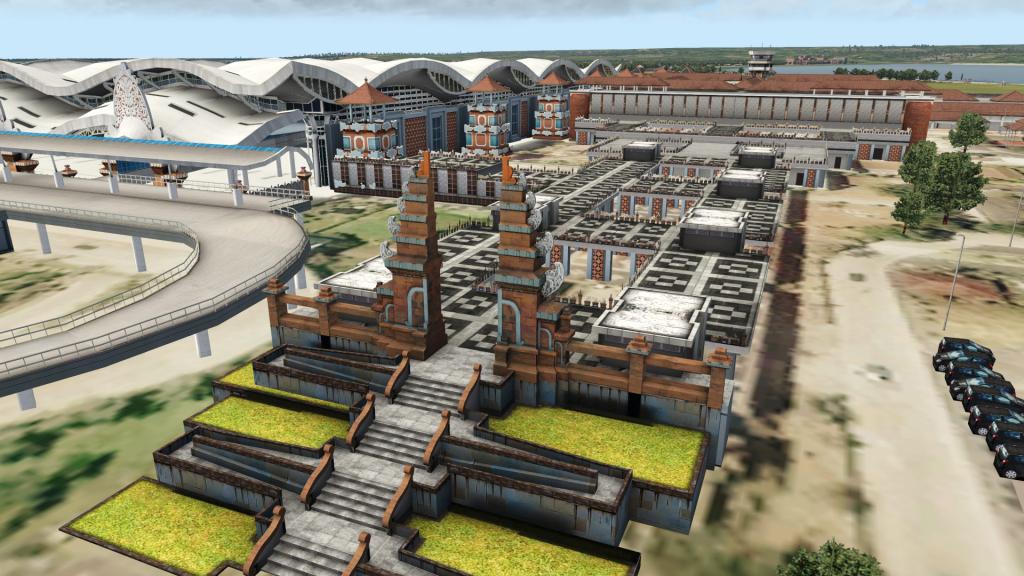
... that is connected with the Festival Plaza complex that separates the two terminals.

... and you have to be impressed by then how much the Balinese have gone to represent their culture at the airport, visitors note it is a very different arrival here at Ngurah Rai because of this cultural significance.
Concourse gate detail is unique to say the least...
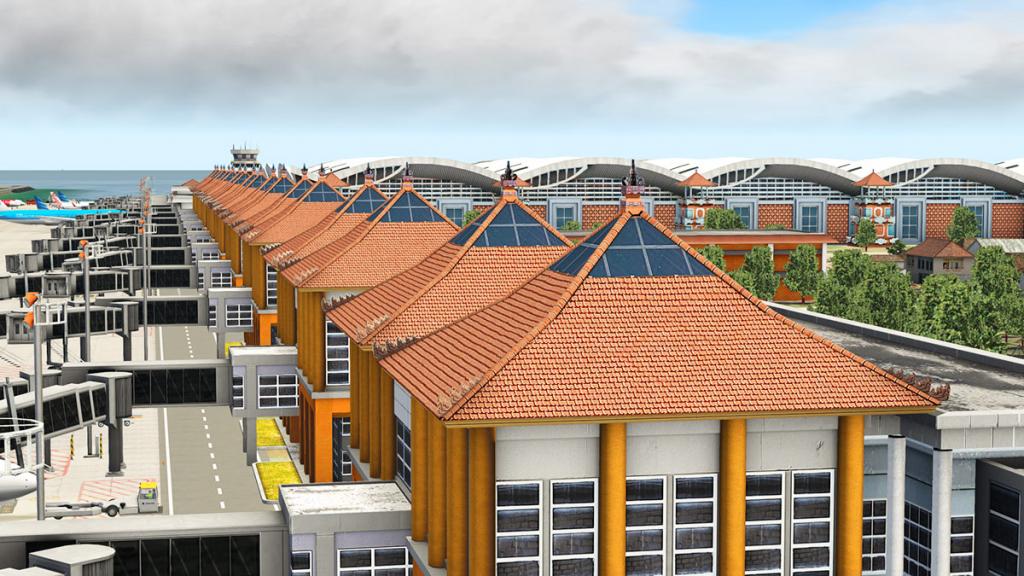

... In close up it is extremely well done with a huge amount of Balinese traditional architecture and elements, however there is a little transparency (blue) around the finer details that looks very early FS (Flight Simulator).
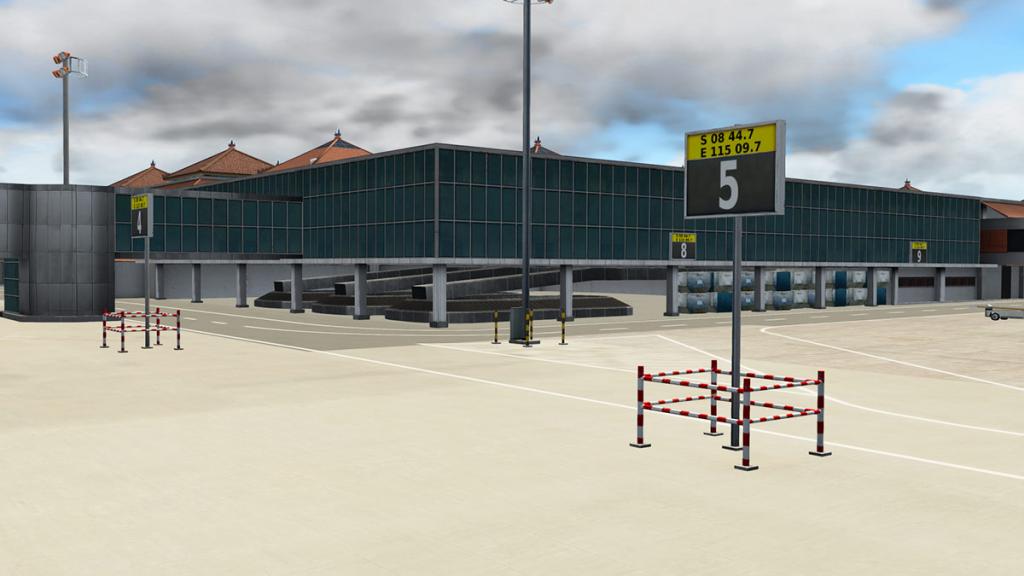
There is a lot of ground equipment and ground support items, but not overwhelmingly so and the gates are well done but the gates are static and set too high for any boarding door connection.
Cargo Area
Far east on the north apron is the cargo area. These buildings were the old domestic terminal and they still look like more warehouse than terminal.

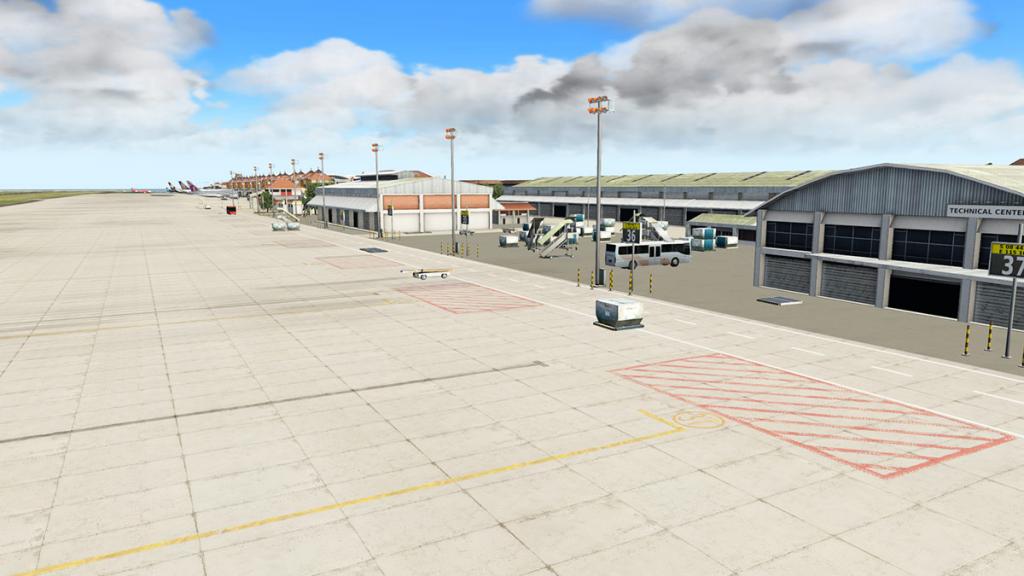
The Fire Station is situated here as well, as is the excellent Aerofood ACS building which was the old domestic terminal reinvented.


The cargo ramp space is good but tight for large (B747) sized freighters, there are ten stands 28 - 37 available with two helicopter pads at end of the far east apron.

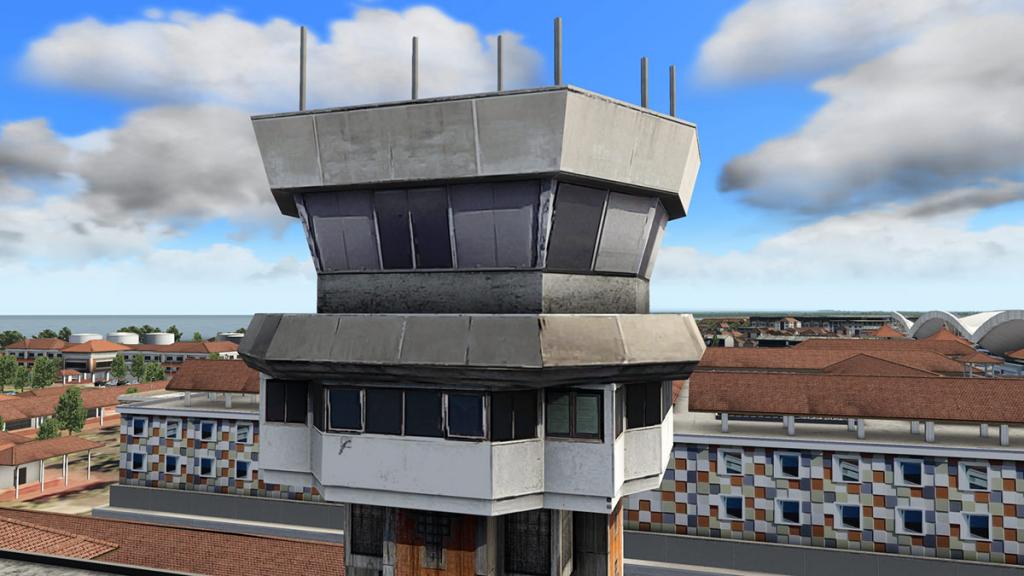
Control Tower
The Control Tower is positioned mid-apron between the Domestic and International Terminals.
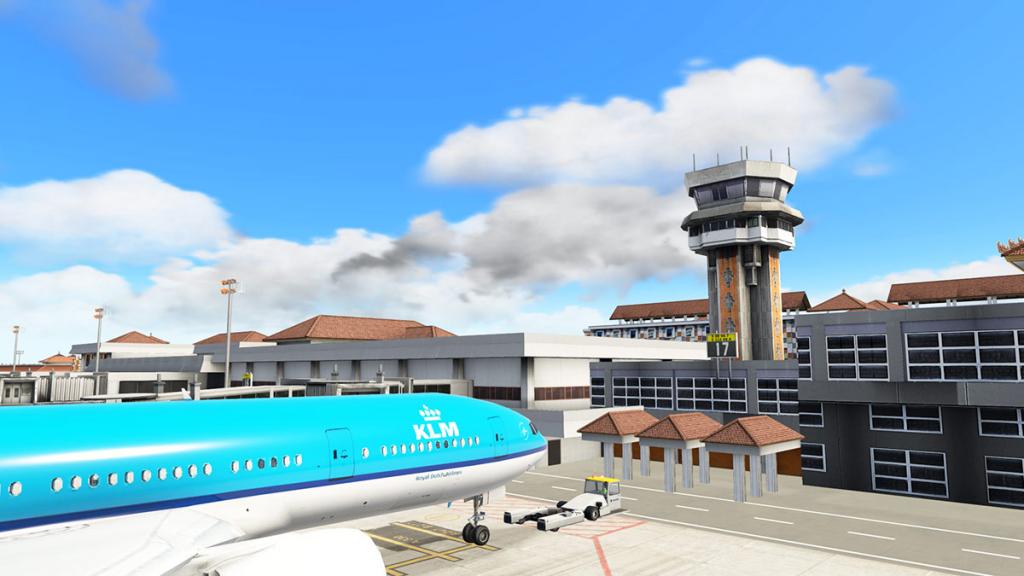

The tower is highly decorated and feels small and old as it was part of the 1968 redevelopment. Tower view is excellent with both runway field views clear for any approaches or departures.
However turn 180º and you will be fronted by the tower itself as the tower view is set too low?

South Apron
The south apron is just mostly empty parking stands for aircraft storage, private jet and general aviation arrivals and a few buildings to cater for those patrons. Here there is 16 stands 38 -53 and three helicopter pads on the west side.


Like the rest of the modeling the buildings are well done, but there not much else down here. The textures for the concrete stands and areas is very realistic and looks and feels real.
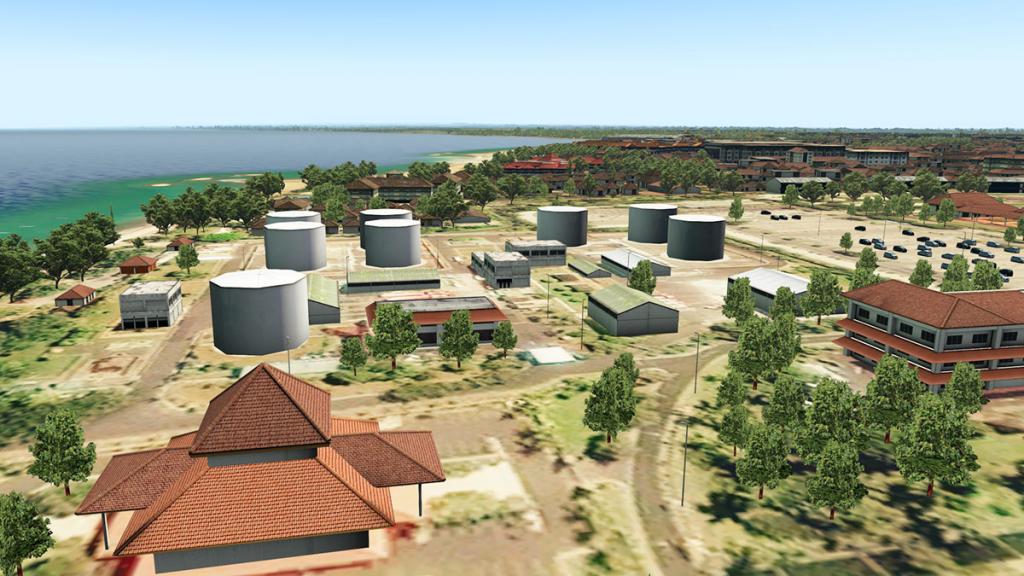
Two more areas worth noting is a Fuel Depot behind the Domestic Terminal and the almost same layout replicated on a outcrop of land into the Lagoon as you arrive on RWY27.
Static Aircraft
Aerosoft gives you the option of having local static aircraft showing or not. This is selected via the X-Plane "Graphics" menu for "Draw parked aircraft" tickbox off/on. You have to also download the Aerosoft static aircraft package (319.70mb) from a link that comes with the airport package.

WADD in X-Plane11
Up to this point in the review you must be thinking "This is absolutely sensational scenery" and to a point it is. But I mentioned at the start of the review that this scenery is a converted scenery from Aerosoft's Bali X. As an X-Plane dynamic scenery it is however quite poor. There is no animated traffic, no animated gates (marginal), poor non-reflective glass or textures and the default ground routes and traffic flows are incomplete?
This then leads into the lighting...
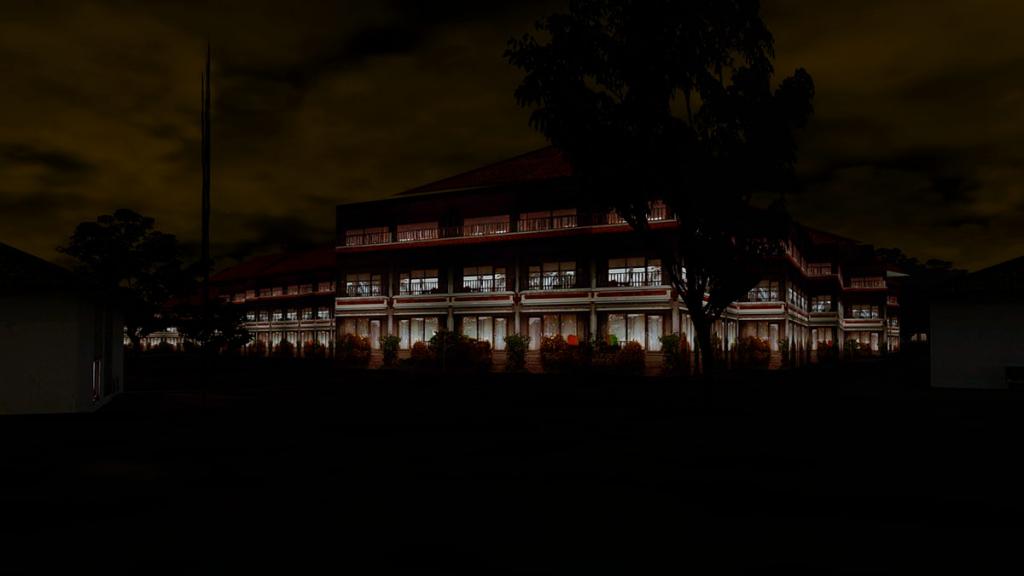
Lighting
Overall the Aerosoft Bali scenery is very poor on the lighting, basically you only have the X-Plane apron lighting and that is about it? In fact if that apron lighting was not visible then you would be hard pressed to see the airport at all at night?
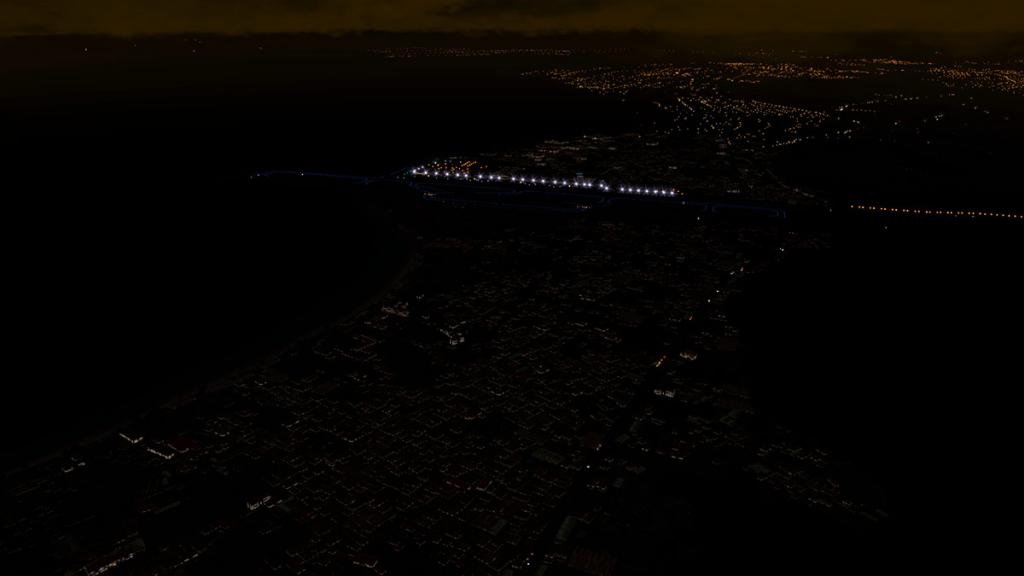
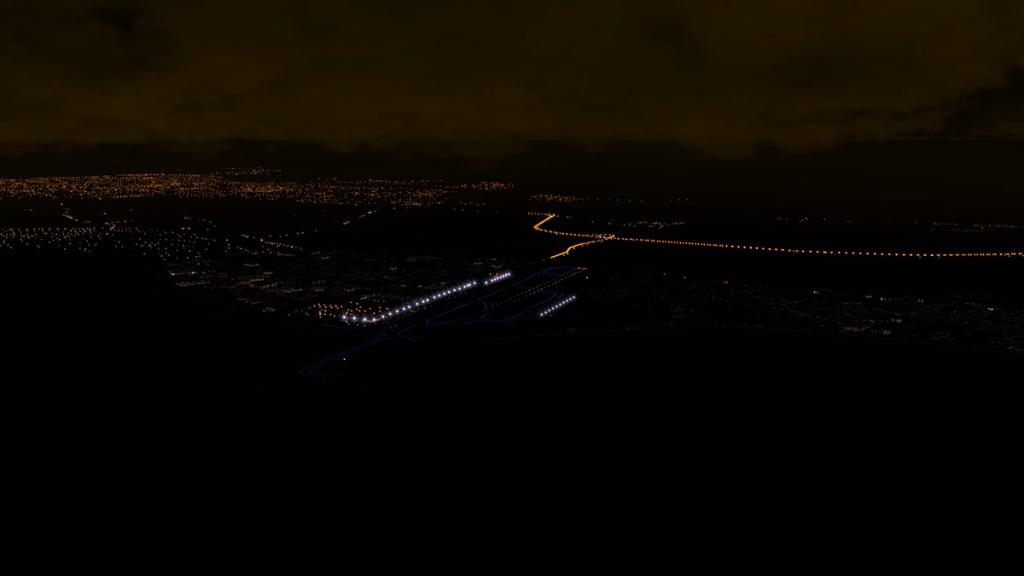
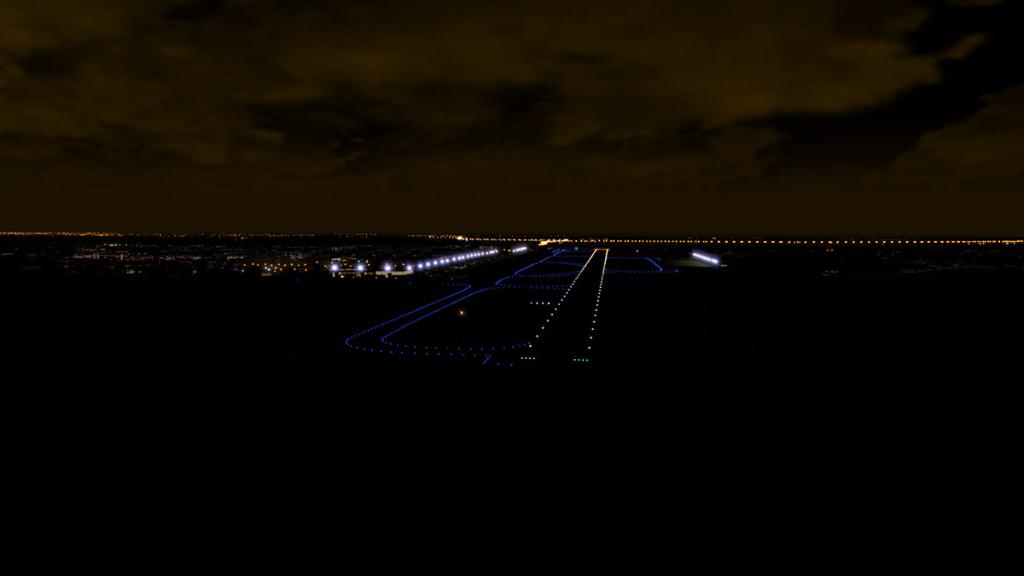
There is a little runway and taxiway edge light lighting and a RAIL on the lead into RWY27, but otherwise not much else. No centreline lighting or taxiway guidance lights, it is pretty dark around WADD at night.
Thankfully the ramps are filled out, but there is only a few spot lights otherwise.

Terminal building lighting textures are not much better and are a consistent bland old style FS light brown...
... lighting landside is non-existent, the main International Terminal is mostly in darkness as are all areas including the road networks with only the Fuel Depot and surrounding with a few spot lights spoiling the darkness.
There is certainly a wasted opportunity or simply just no creativity in what could have been achieved here because the extensive well modeled Balinese buildings do have great lighting textures, but mostly their effects are just lost in the gloom.
Services
Most if not all Asian major carriers service Ngurah Rai. Other carriers like Emirates, Singapore Airlines, Air New Zealand and even KLM with their historic Dutch Colonial connections to the area still has services. Qantas is not a major carrier here with only Sydney services and so that leaves much of the selfie hoards to Jetstar, Virgin Australia and Tigerair, but in strange note Tigerair was denied access over an Indonesian diplomatic incident lately and has had to pull out of the route (for now).
Domestic is covered by Garuda the Indonesian major carrier, but mostly now Indonesia is now full of cheap Low Cost Carriers (LCC). Lion Air leads the charge, with Sriwijaya Air, Batik Air, NAM Air and Explore and Explore Jet. Indonesia AirAsia has muscled in a lot, but in reality it is Malay airline and not Indonesian. Cargo operators are small with just Cargo Garuda Indonesia doing the honors.
Summary
There is not a lot of Asian scenery released in X-Plane, in fact this is the first significant Asian payware scenery I think that has been actually released, and after years in X-Plane and as I live in Australia then that aspect is a travesty? Asia is an exciting destination and there is a lot of this area of the world to explore.
Bali is certainly a brilliant area to explore. There is some really great spectacular landscapes around Bali and close by East Java has some of the most exciting volcanic areas in the world, I know that because I fly over it all the time heading between Australia and Singapore.
So yes this Bali scenery for X-Plane from Aerosoft is a significant release, and overall it is totally a very good scenery. The aspects of what you get in the not just Ngurah Rai Airport itself, with the extensive Indonesian layout surrounding the central focus aviation interest is spectacular and for that alone the scenery is a very worthy purchase.
But from an X-Plane perspective the dynamic aspects are very poor, certainly the conversion was done by a none or not interested party in any aspect of X-Plane's features in fact there is very little of it, in fact I don't even know why it is called Airport Bali XP because there is so little X-Plane in it. The blame here rests on Aerosoft to make sure its branded products live up to its reputation, but it looks like that aspect also took a holiday here. The nightlighting in perspective is mostly X-Plane9, as are non-dynamic animations and not even the ILS is aligned? Basic stuff...
But overall WADD Ngurah Rai International Airport Bali is well worth putting in to your X-Plane scenery collection as it is certainly a worthy destination to fly to and use extensively, just don't rely on that RWY27 ILS in poor or minimum visibility conditions.
______________________________________________________________________

Yes! the WADD Ngurah Rai International Airport Bali by Aerosoft is Available from the X-Plane.Org Store here :
Your Price is US$24.95Features:- 0.40m/pixel aerial imagery for the airport and immediate surroundings
- High detailed custom ground polygons
- High detailed airport buildings with high resolution textures
- Custom modeled surrounding area of the airport for a true Bali look and feel
Requirements :
X-Plane 11Windows, Mac or Linux2GB VRAM Minimum - 4GB + VRAM RecommendedDownload size: 860MBInstallation : Download scenery file size is 538mb. "AS_AIRPORT-BALI_XPLANE11" in being inserted into your X-Plane "Custom Scenery" Folder as a single "Aerosoft - WADD Bali" 718.30mb scenery file.
You can also download the Aerosoft static aircraft package (319.70mb) from a link that comes with the airport package. This is selected via the X-Plane "Graphics" menu for "Draw parked aircraft" tickbox off/on
Documents
Provided are two documents in:
- Manual_Airport_Bali (English and German)
- Charts_Airport_Bali (29 Charts)
______________________________________________________________________
Review by Stephen Dutton
20th August 2017
Copyright©2017: X-Plane Reviews
(Disclaimer. All images and text in this review are the work and property of X-PlaneReviews, no sharing or copy of the content is allowed without consent from the author as per copyright conditions)
Review System Specifications:
Computer System: Windows - Intel Core i7 6700K CPU 4.00GHz / 64bit - 16 Gb single 1067 Mhz DDR4 2133 - GeForce GTX 980/SSE2 - Samsung Evo 512gb SSD
Software: - Windows 10 - X-Plane 11.02
Addons: Saitek x52 Pro system Joystick and Throttle : Sound - Bose Soundlink Mini
Plugins: Environment Engine by xEnviro US$69.90 : JARDesign Ground Handling Deluxe plugin - US$14.95 : WorldTraffic 2.0 Plugin - US$29.95
Scenery or Aircraft
- Boeing 737-800 X-Plane default aircraft with ZIBO MOD installed

-
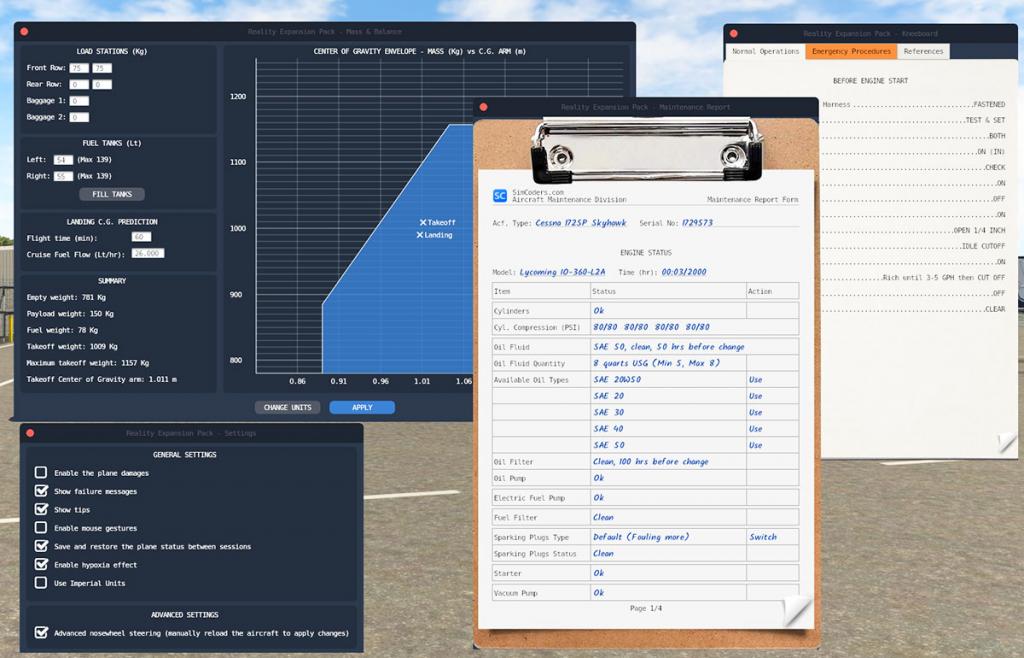
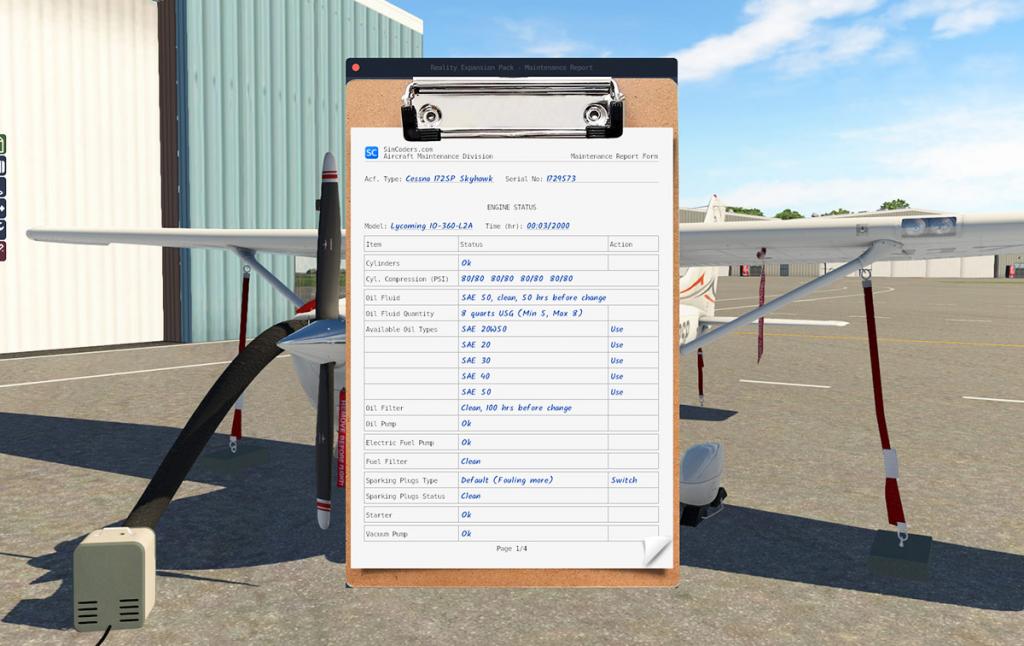
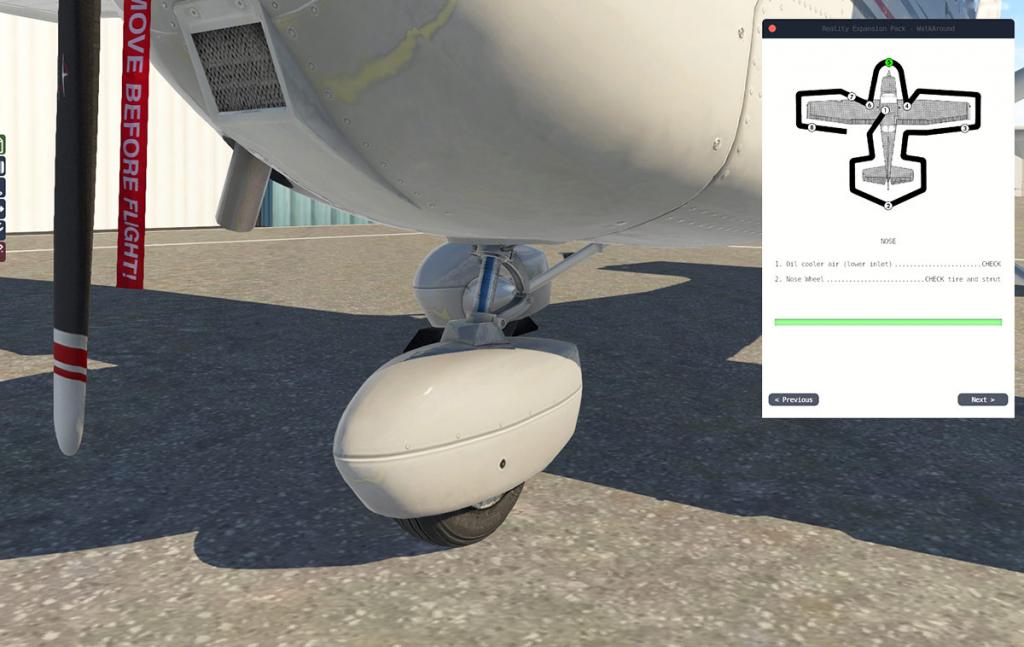
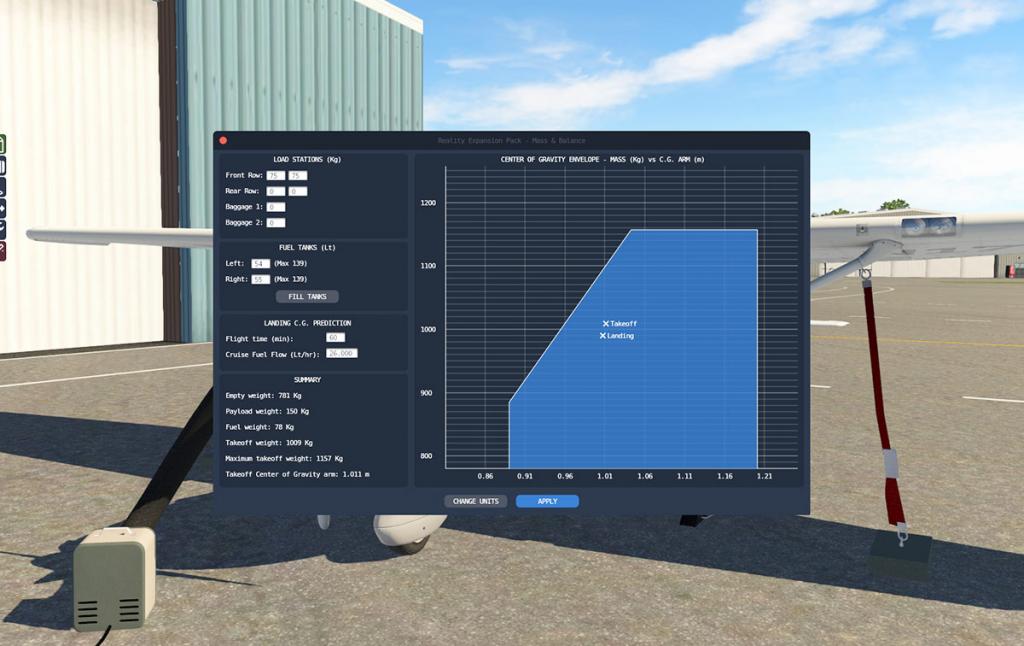
News! - Reality Expansion Pack for Laminar Cessna 172SP by Simcoders
Simcoders have released one of their Reality Expansion Packs (REP) for the default Laminar Research Cessna 172SP. Extensions of Laminar Research's default aircraft are becoming the rage lately, and that is not a bad idea either in just ask anyone about ZIBO's work on the default Boeing 738.
If you are not familiar with Simcoder's Reality Expansion Packs then they are a plugin that adds in functionality into an aircraft that covers areas like:
- Realistic stall speeds & behavior
- Realistic climb speeds
- Realistic cruise speeds
- Realistic Weight & Balance
- Realistic taxi behavior
- Dynamic ground roll sounds
The plugin changes the complete behaviour of the donated aircraft, and goes far beyond the basic set of systems in adding more features like:
Complex Damages System
- Triggered by the pilot actions
- Based on real world data
- Target every system in the aircraft
- Meant to teach you how to correctly manage an airplane
Full engine management and interaction!
Realistic IO-360-L2A Engine Simulation
- Realistic propeller animations as never seen before on X-Plane
- Correct fuel consumption
Oil System
- Realistic oil viscosity
- Interchangeable oil type
- Oil pump failures
- Realistic oil filter
Injection Fuel System
- Realistic fuel pump behavior
- Realistic fuel filter
- Interchangeable spark plugs: default or fine-wire
- Spark plugs fouling
- Realistic Lean of Peak and Rich of Peak operations
- Starter
- Realistic startup procedure
- Realistic engine temperatures
Fuel Flooding simulation
- The engine parts are damaged if not managed correctly
Electrical & Avionics System
- Realistic Battery
- The avionics are damaged if on when the engine starts/shuts down
- Learn with the non invasive in-flight tips
-
A tip about the conduct of the flight is shown when you are not
flying the airplane properly -
A tip about how to fix the problem is shown when you damage the
plane
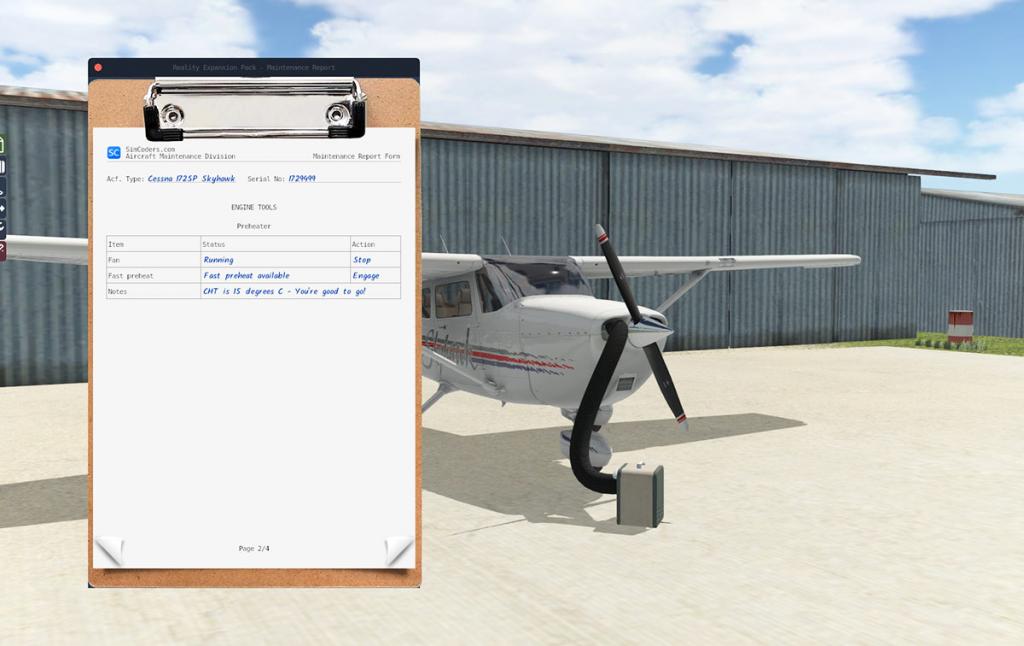
Interactive Walkaround
- Cockpit checks
- Aileron, rudder, elevator and flaps check
- Tire check and choks removal
- Tie-down removal
- Pitot tube check
- Engine cowl check
- Fuel quantity check
- Oil quantity and quality check
Interactive towing
- Push, pull and steer using the joystick
- Towbar simulation

Weight & Balance Tool
-
Load the airplane and check the C.G. and weight limits at
takeoff and landing - The airplane behavior changes when the C.G. moves
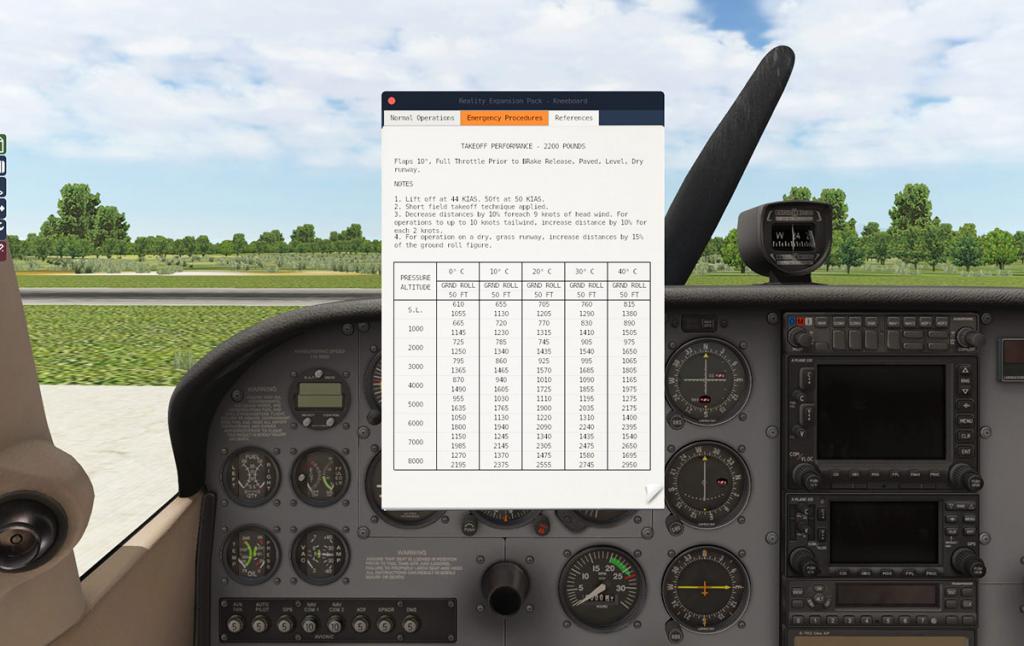
Popup Kneeboard
- Complete normal operations checklist
- Complete emergency operations checklist
- Complete reference tables (speed, fuel consumption etc.)
- May be shown/hidden with mouse gestures
Simulation state saving
-
Every single switch and lever position is restored when you
reload the aircraft -
The battery may discharge if you leave it on and then close
X-Plane -
As X-Plane is launched, the engine temps are restored basing on
the elapsed time - Maintenance Hangar
- Engine maintenance tab
- Electrical systems maintenance tab
- Landing gear, brakes & tires tab

And!
Stunning sounds
- Realistic engine clicks and stutters
- Dynamic ground roll sounds
- Real starter sound
- Fuselage wind sound
- Landing gear wind
- Independent touch down sounds
- Real avionics sound
This is a complete package to totally enhance the standard C172 up to a payware standard aircraft, highly recommended...
You do require X-Plane 11 to use this package, and it is available for all platforms in Windows, Mac or Linux
Current version: 3.10 (August 17th 2017)_____________________________________________________________________________________ 
The Reality Expansion Pack for Laminar Cessna 172SP by Simcoders is NOW available! from the X-Plane.Org Store here :
Reality Expansion Pack for Laminar Cessna 172SP
Your Price: US$19.99The Cessna 172SP comes free with X-Plane11 ____________________________________________________________________________________ News Announcement by Stephen Dutton18th August 2017Copyright©2017: X-PlaneReviews(Disclaimer. All images and text in this review are the work and property of X-PlaneReviews, no sharing or copy of the content is allowed without consent from the author as per copyright conditions)Images supplied courtesy of Simcoders
-
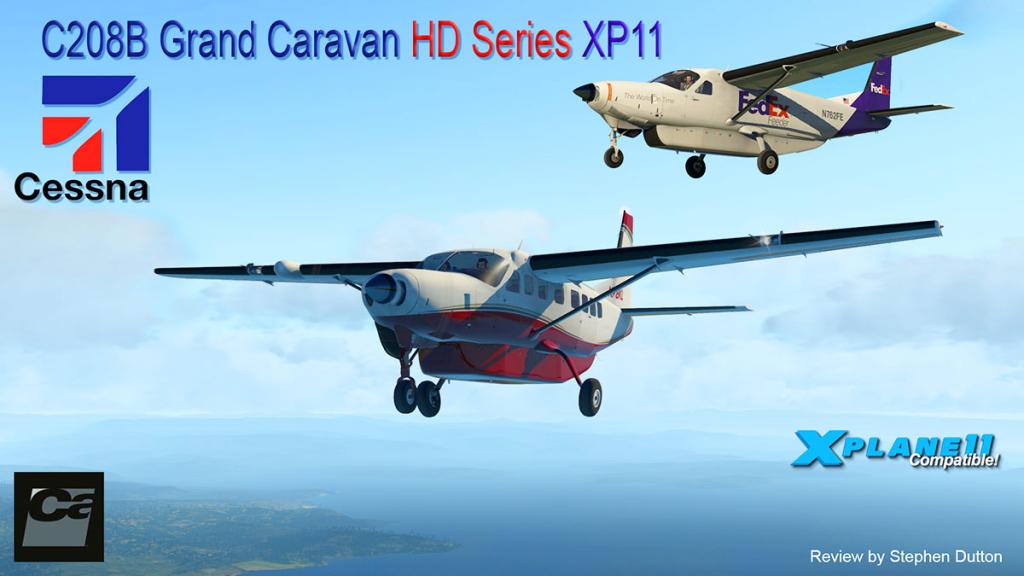
Aircraft Review : C208B Grand Caravan HD Series XP11 by Carenado
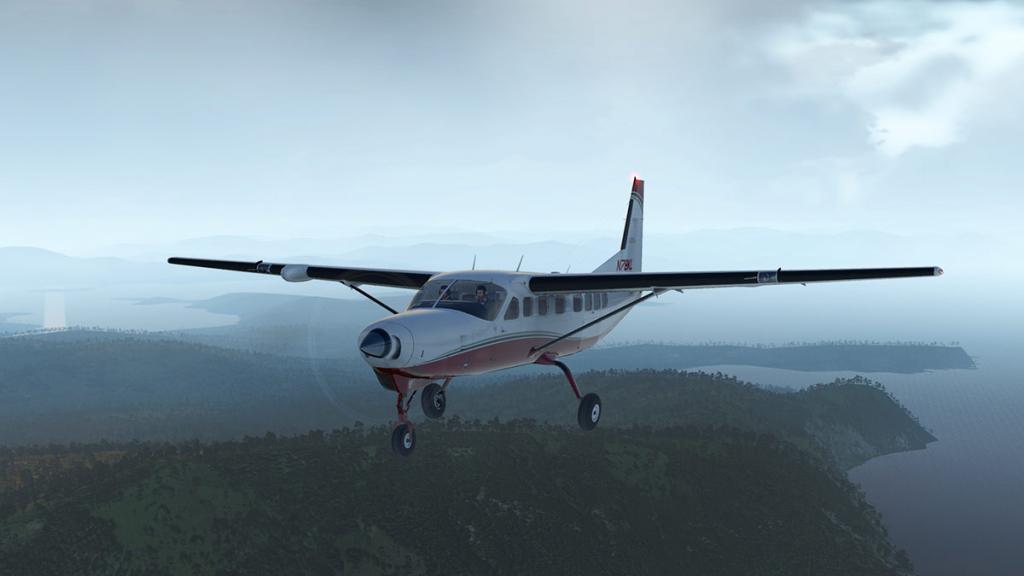
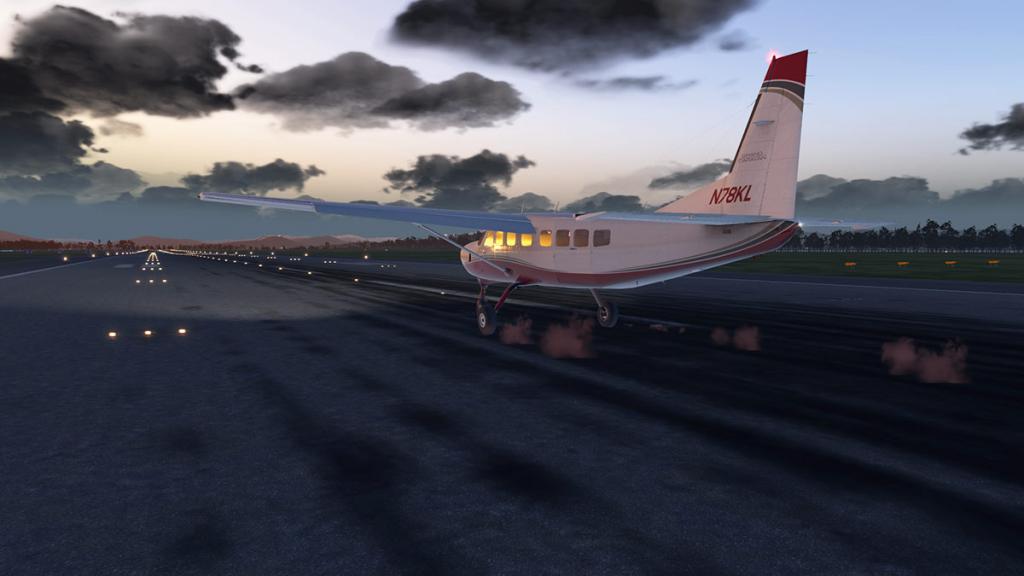
The single Turbo-Prop Cessna 208B Grand Caravan was one of the earliest X-Plane aircraft releases back then in mid-year 2012, that is five years ago now to date.
The first Carenado releases were really average to good, basically test pieces for X-Plane. Both the Mooney and the PA 32 Satatoga felt old before their release, but then in May we got some release images of the Caravan and then in June 2012 the aircraft was released in X-Plane. Finally X-Plane users got the glimpse and a taste of why in Flight Sim Land of all the reverence and praise that was lavished on Carenado. It was back then and to a point still now a great aircraft, but we also saw Carenado for what they really were and more importantly they were also taking X-Plane as a simulation platform seriously. That gamble paid off massively for Carenado as they now dominate most General Aviation releases in X-Plane, although I will admit a few other developers like vFlyteAir and Aerobask are now pushing them harder in quality in what was once only a Carenado domain.
There is no doubt that the C208B Caravan has been a huge seller if not their best seller year in and year out for Carenado, and it is not hard to see why. It is an amazing aircraft but versatile as well. The aircraft is basically a workhorse, a short hop regional gap filler for two pilots and eleven passengers, or a single pilot and twelve passengers, and it's speciality is island hopping.
Carenado also then broadened the C208B's already great attraction by an add-on and an extra in the form of a cargo version called the "Super CargoMaster", so now not only could you move your passengers point to point, but also cargo was now also the go. The great suddenly became the brilliant.
I am not going to hide the fact that in the last five years I have done a huge amount of flying of both the passenger and cargo versions in this brilliant aircraft, the hours spent in the C208B's left seat are simply to large to count, but it must be a lot. So of the many aircraft I have spent flying in X-Plane then the Caravan must be at the top of my list and it is in my all time list as it came in at number 3. But I will admit with the transition to X-Plane11 the old bird was starting to feel a little worn around the edges, and that is despite a few nice upgrades (v2/v3) in the X-Plane10 run.
So here is the X-Plane11 upgrade. And now this C208B aircraft is now X-Plane11 compatible. You will have repurchase the aircraft in full as well, but the cost covers all updates throughout the X-Plane11 run or about four to five years and Carenado have noted that there will be some great new features coming to the Caravan but not until the other listed aircraft have been upgraded as well, and don't forget that there is still the G1000 Executive version still waiting in the wings.
C208B Grand Caravan HD Series XP11
This is both a light overall review and an upgrade review in one, because the original X-PlaneReviews Caravan review is now quite old from 2013 and so I think it requires an update and refresh on the aircraft.
The first most significant detail is that the original add-on "Super CargoMaster" package is now part of the overall package. In other words you don't have to purchase a separate package and merge it with the main Carenado C208B Grand Caravan purchase to get both versions, and you can also change to both versions from within the one aircraft and not have two separate aircraft to switch between or reload.

The standard three Carenado left lower screen tab menus are still here with C for the Views, Field of View and Sound adjustment which the same as usual for Carenado.
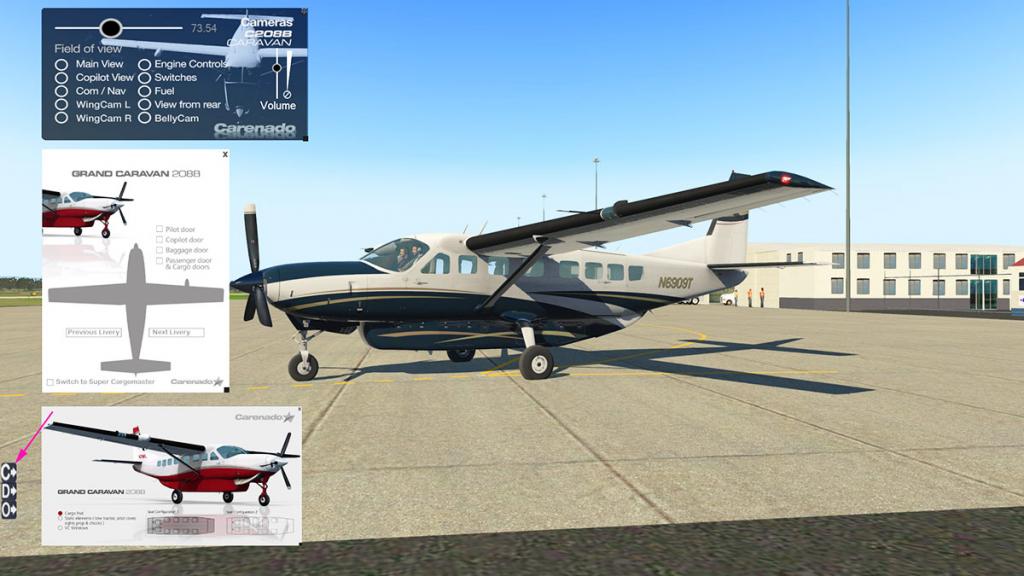
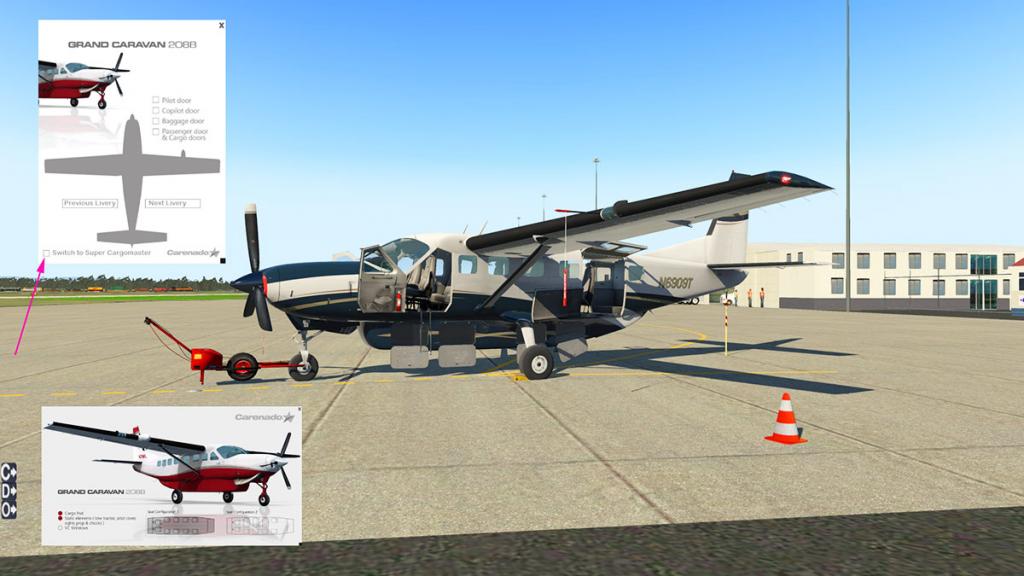
D covers "Doors" in the Pilots and Co-Pilots door(s) (with a great swing down ladder) and a double (upper and swing lower) main Cargo door and on the passenger version a passenger door on the right rear side of the aircraft. The Caravan comes with a detachable lower cargo pod with opening doors, but the selection of opening the pod doors is a separate selection on the cargo, however the pod doors can then only be opened with the right side passenger door on the passenger version which is slightly odd. You can also switch to each the passenger or the cargo version here on this menu tab as well, via the lower left tickbox. (if you change the livery to either a passenger or a cargo version the type will also change automatically).
Livery selection can also be done from this menu in selecting left or right to go through the options, personally I use the XP11 menu as it was quicker.
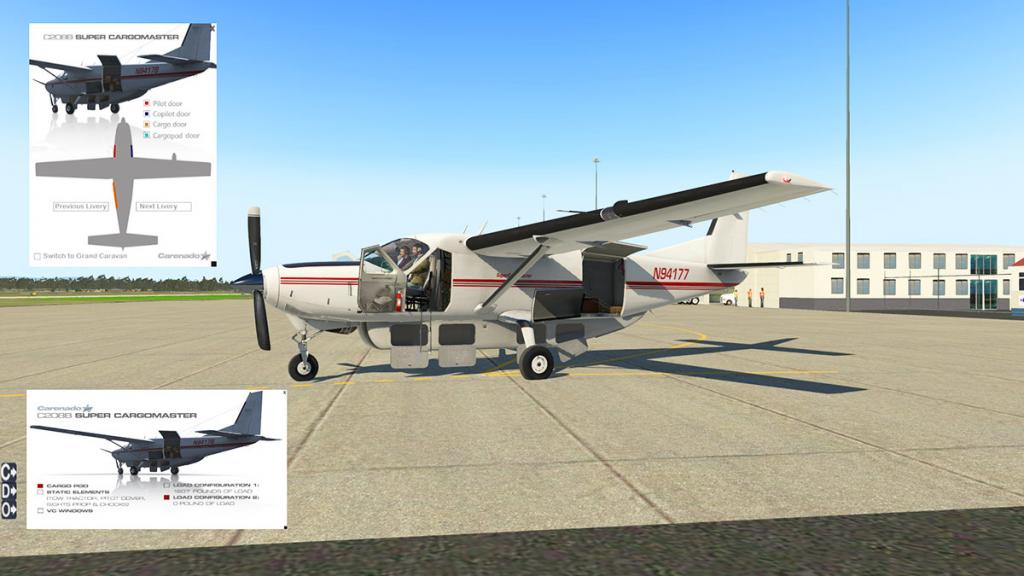
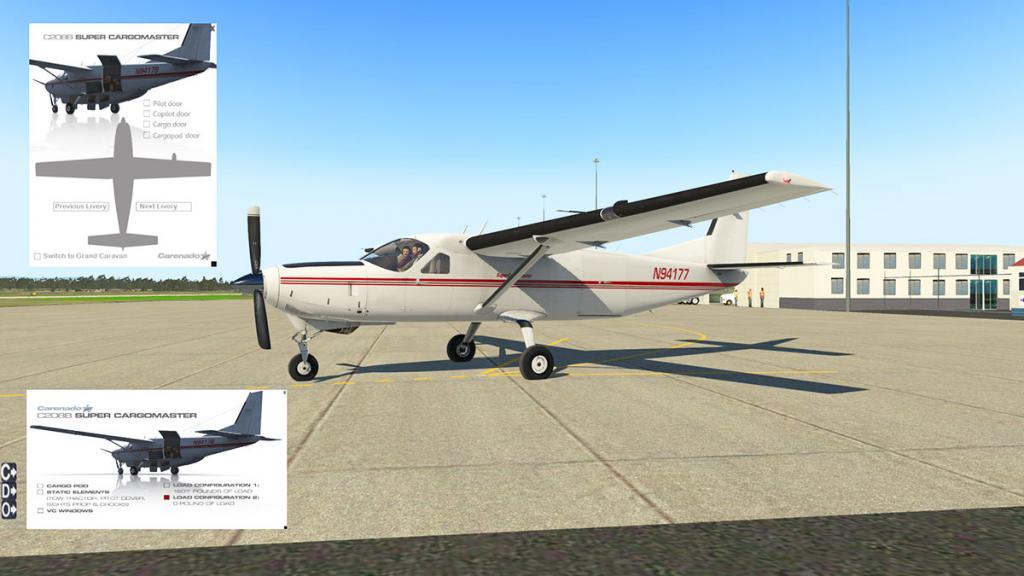
O covers the "Options" on the lower third tab. First selection is the optional cargo pod and the then the static elements of Chocks, Tow Tractor, Pivot Cover, Engine and Prop covers. Lower selection allows you to have tinted or clear windows.
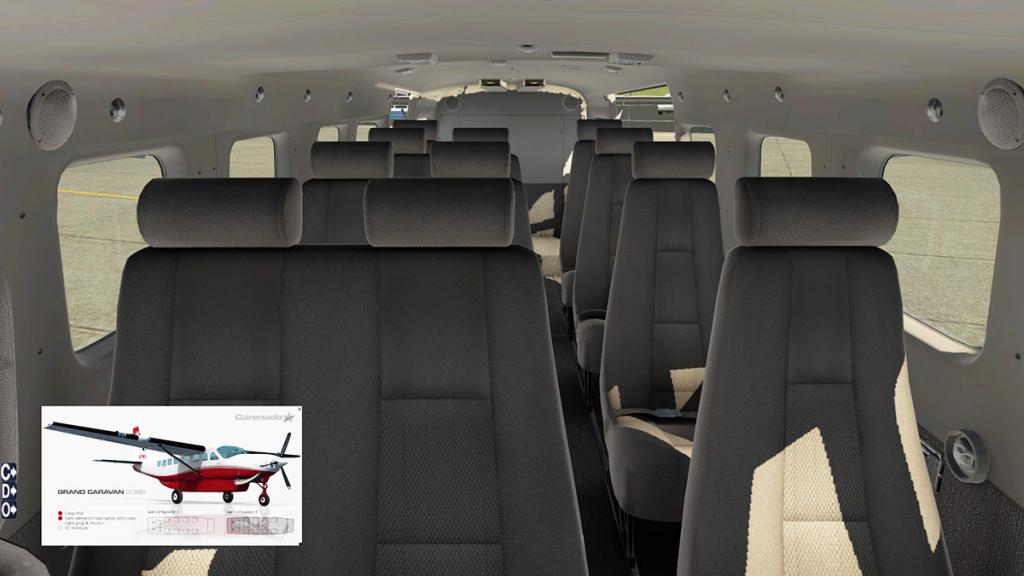
This options menu also allows you on the passenger version to select the rear seating arrangements with either single seating for eight or single/double seating for eleven. I usually use the eleven seater.
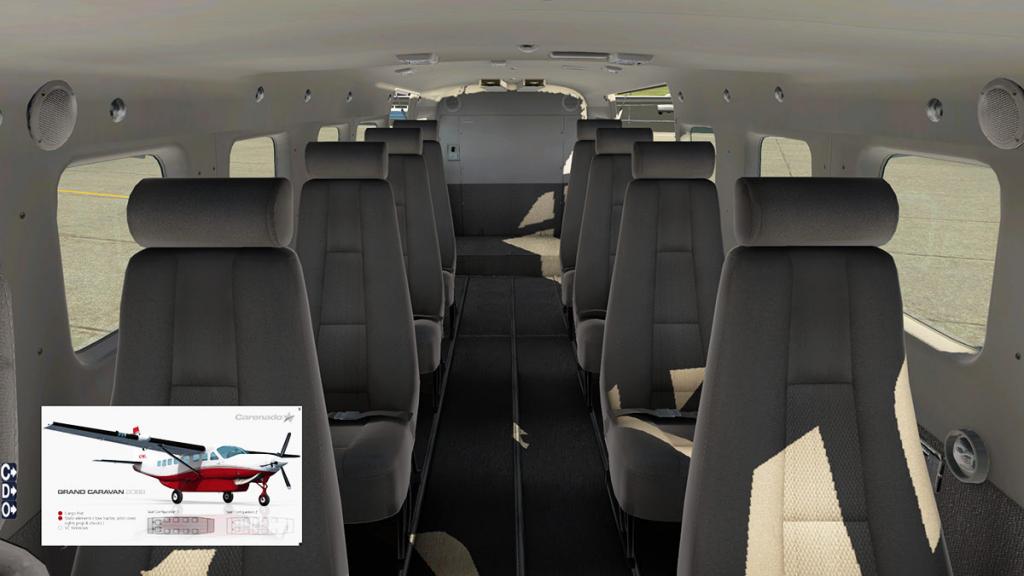
The option menu on the cargo version is the same except that there is no seating but cargo options.
“Load Configuration 1” is with the parcels loaded and that adds “1607” Pounds to the aircraft’s weight.
“Load Configuration 2” is with the parcels removed and no penalty of weight.
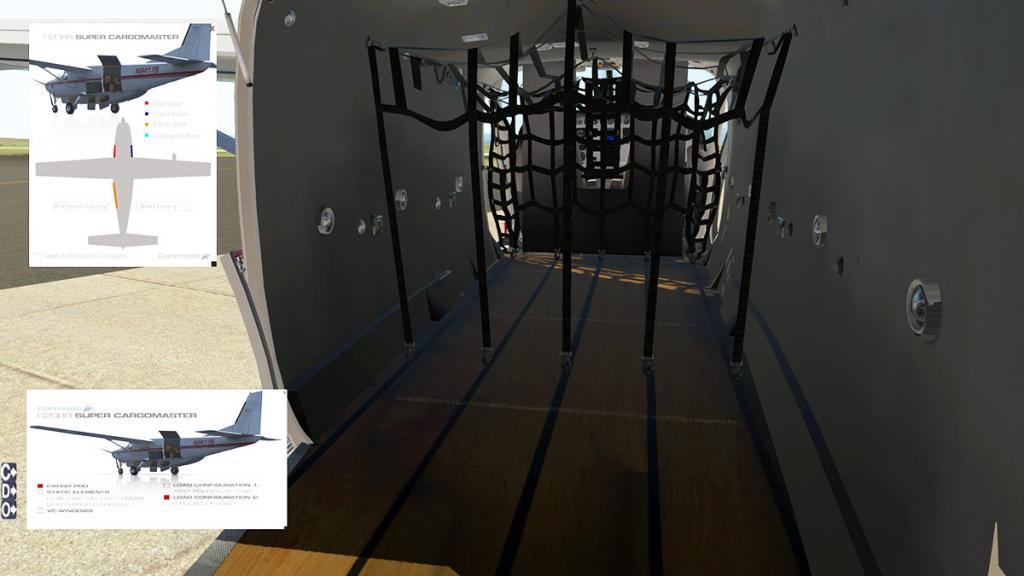

The cargo area is very well presented with the webbing hanging with the space empty and everything tied down tightly with the load on board and when not used the hand aircraft puller is strapped to the rear bulkhead, there is a nice touch to the cockpit rear with a net over the the entrance to keep the cargo in place.


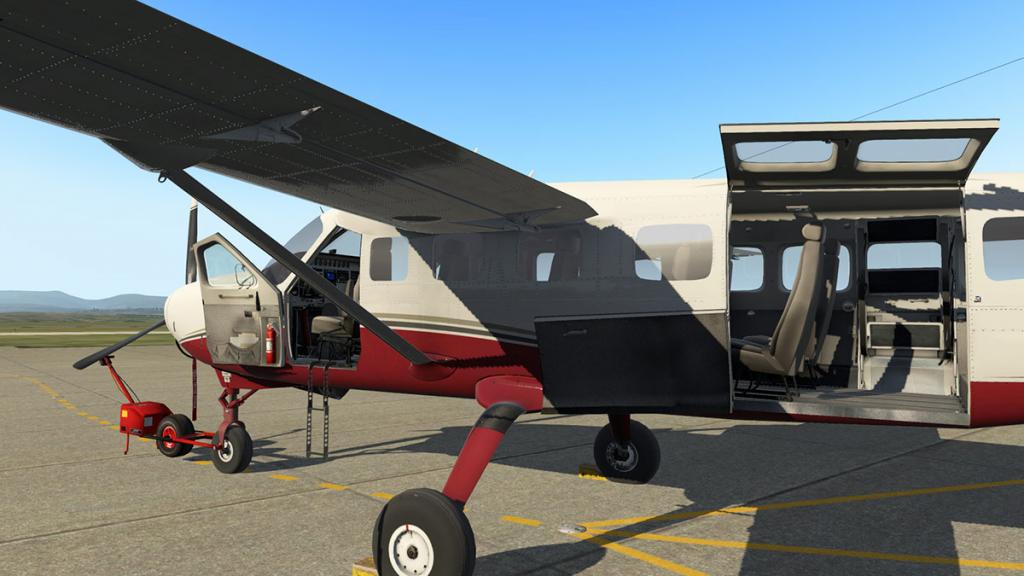
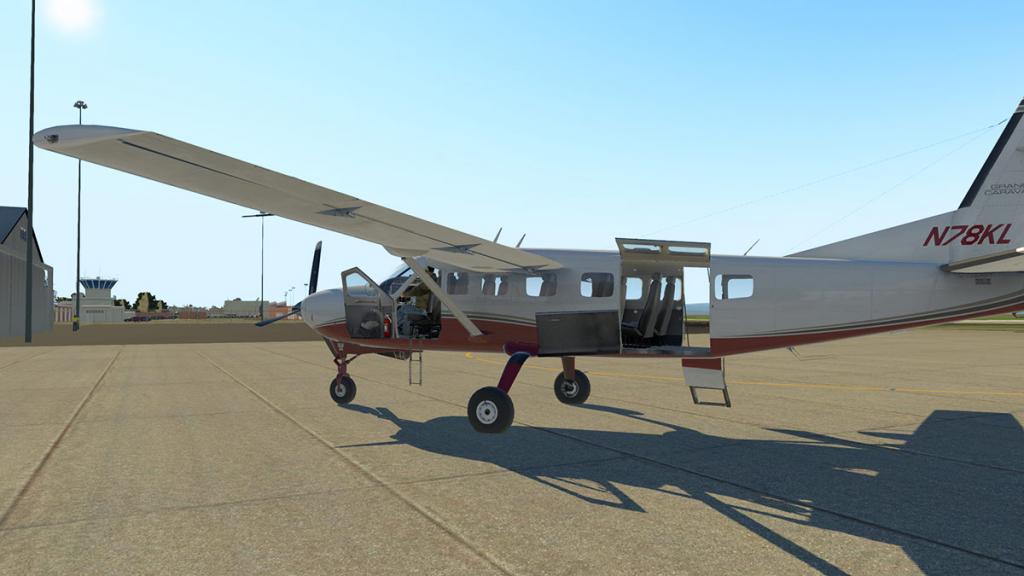
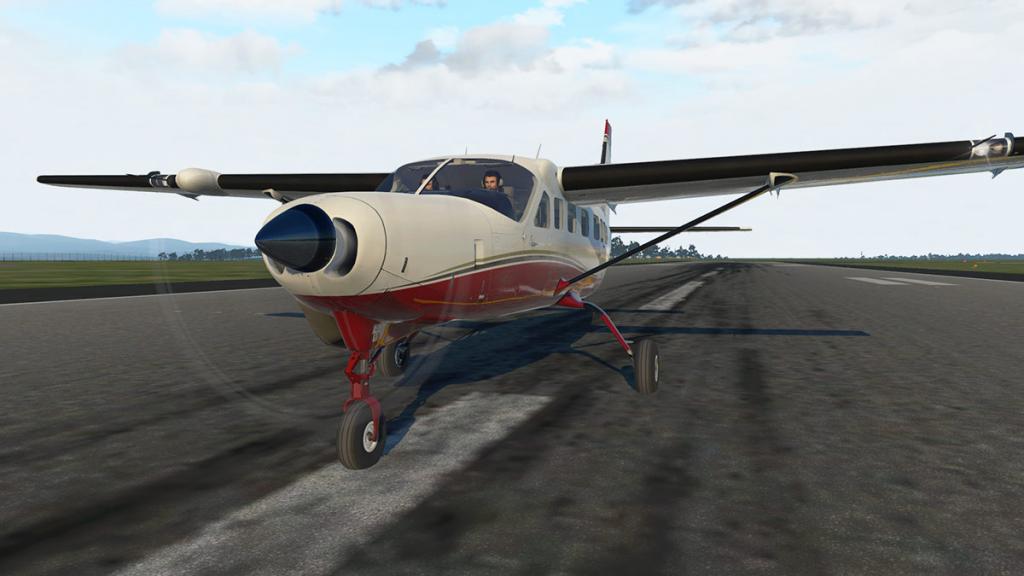
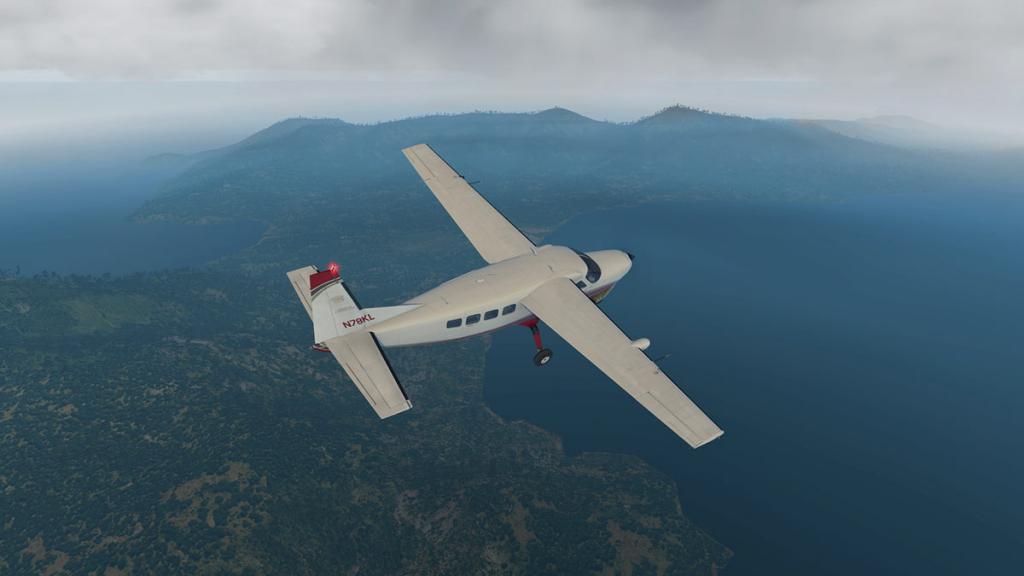
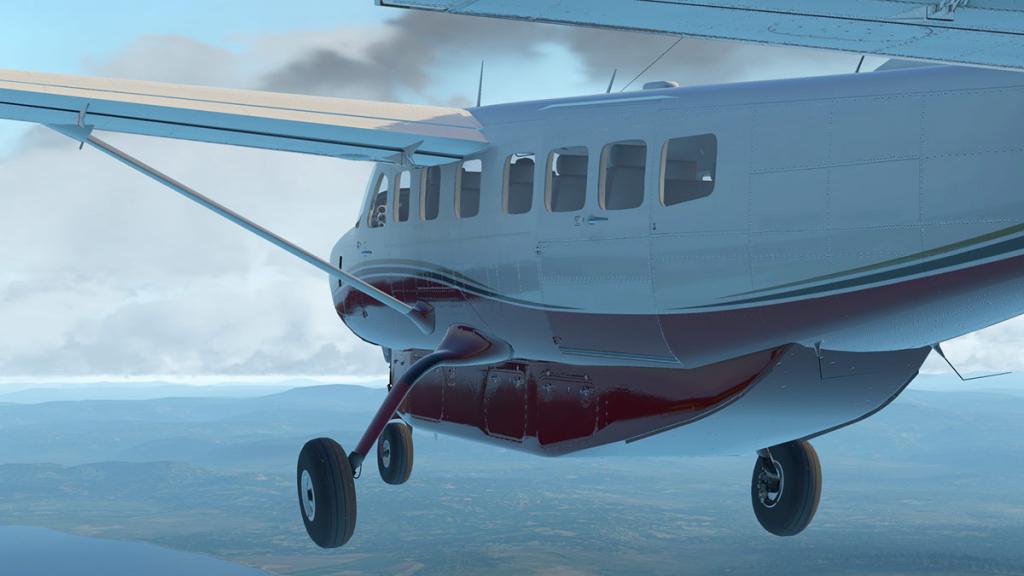
External Detail
I usually fly with the pod off, my flying in the Caravan is mostly passenger sightseeing or point to point airport connection services.
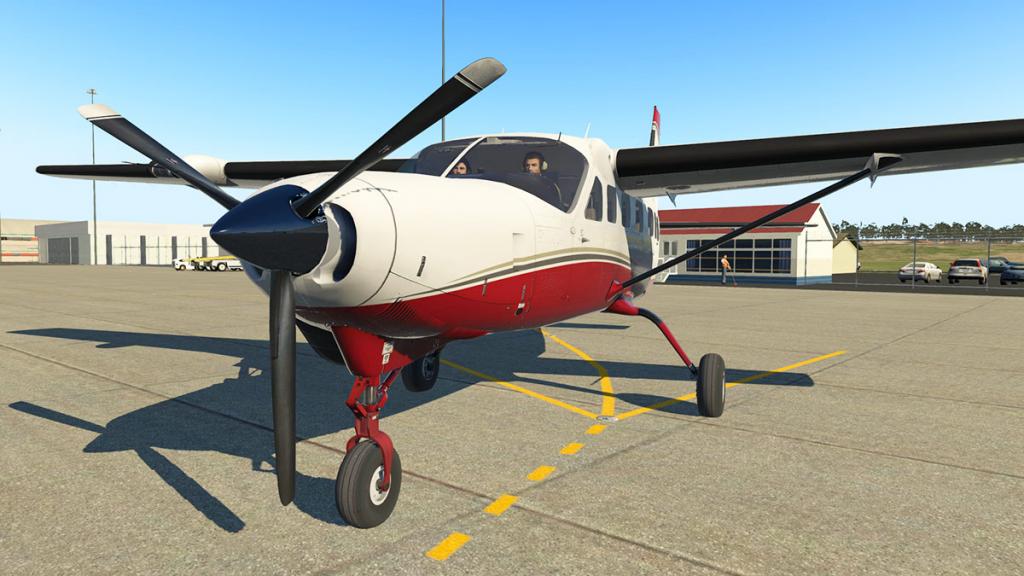
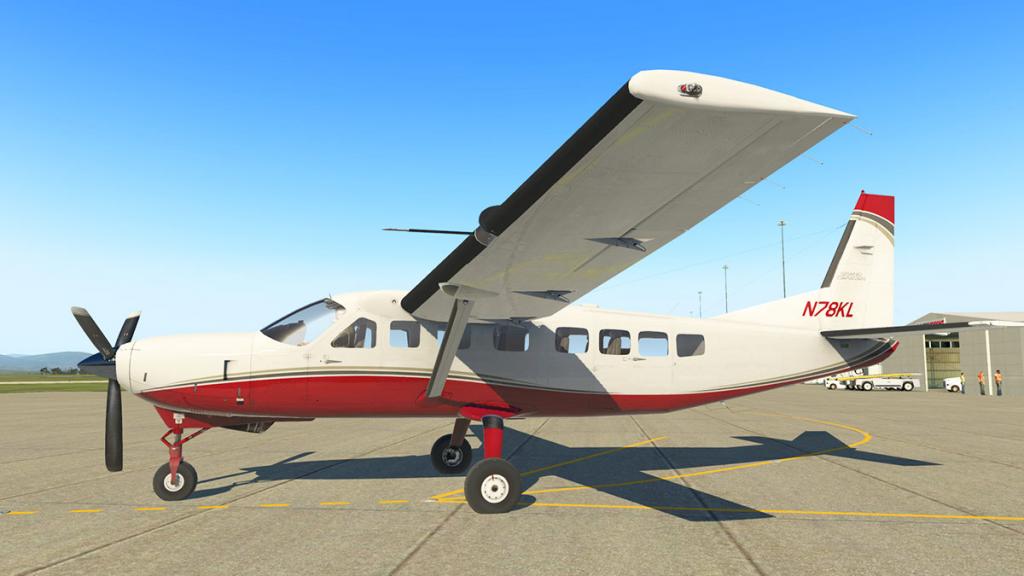
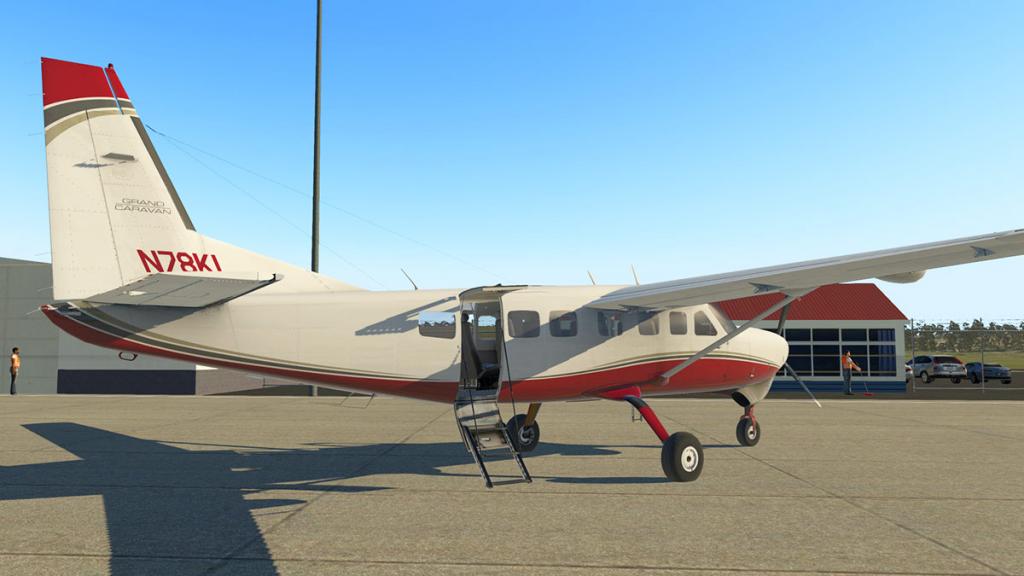
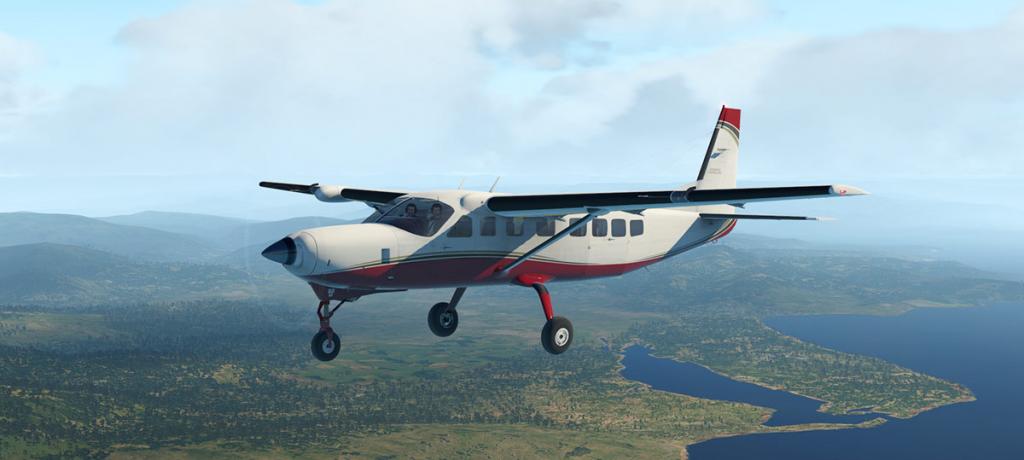
The Caravan style is between a pure utility aircraft, but still has a miniature airliner feel as well with all those side windows (seven). For the job it is about perfect and in the real world it is extremely popular and would be a very hard aircraft to replace and most operators usually don't but with another Caravan. Since its first flight on December 9, 1982 and into service in 1983 there has now over 2,500 Caravans built and flying at a cost of US$1.95 million each (2017 costing).
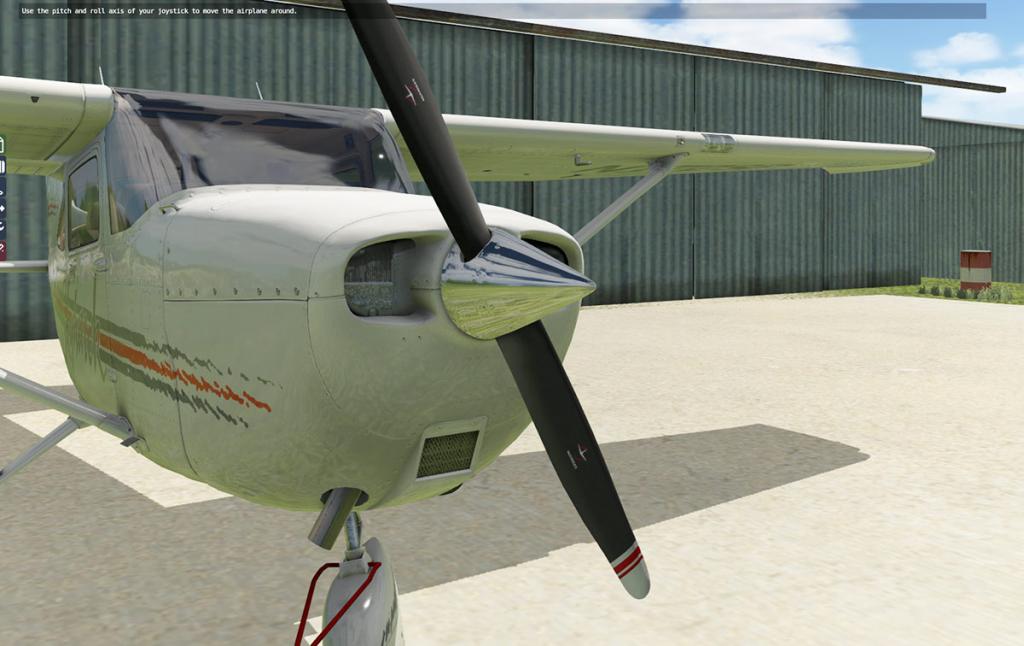
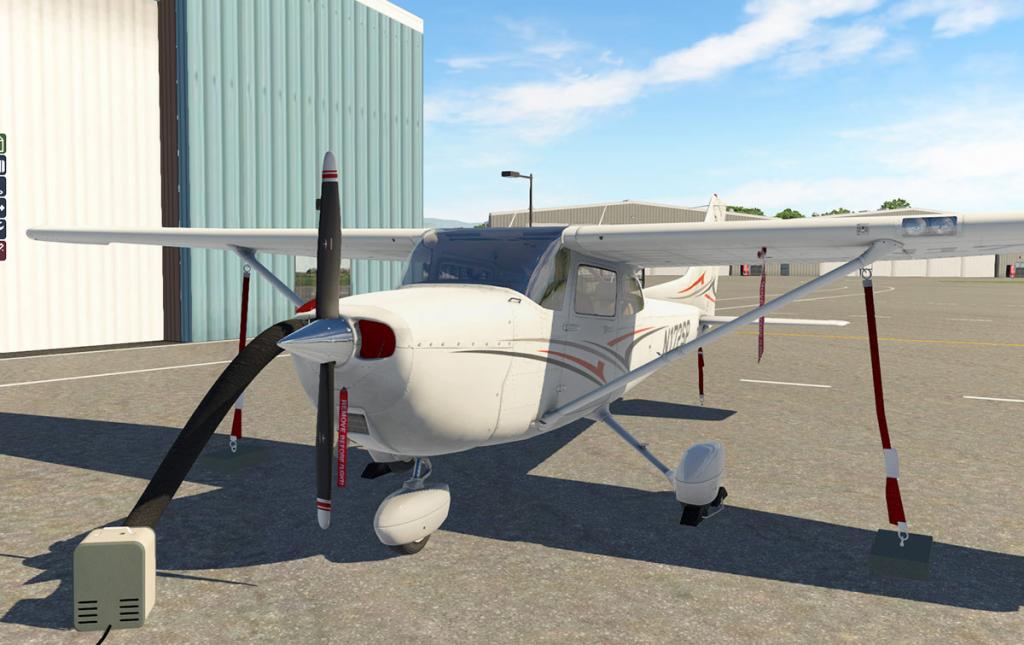
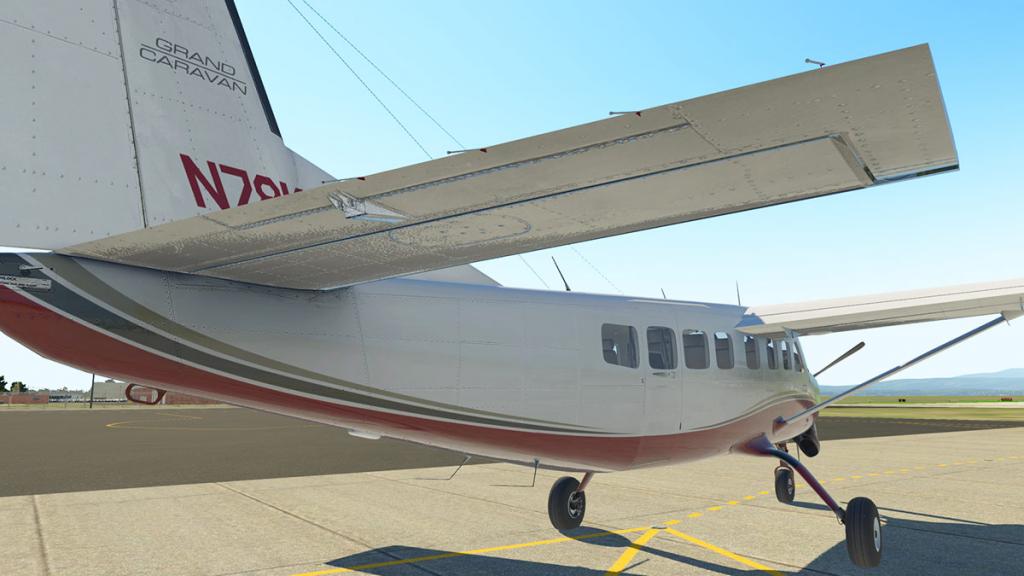
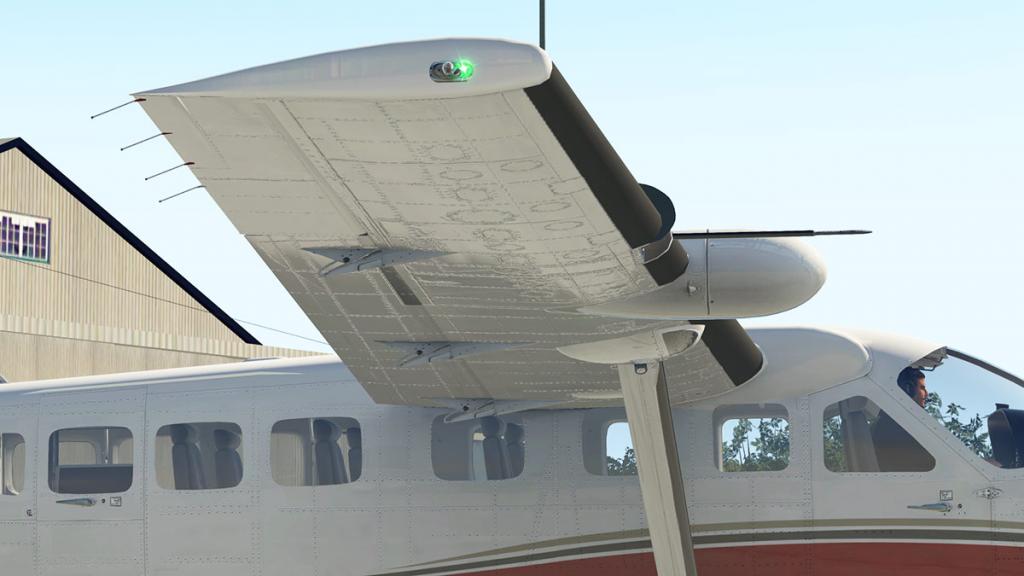
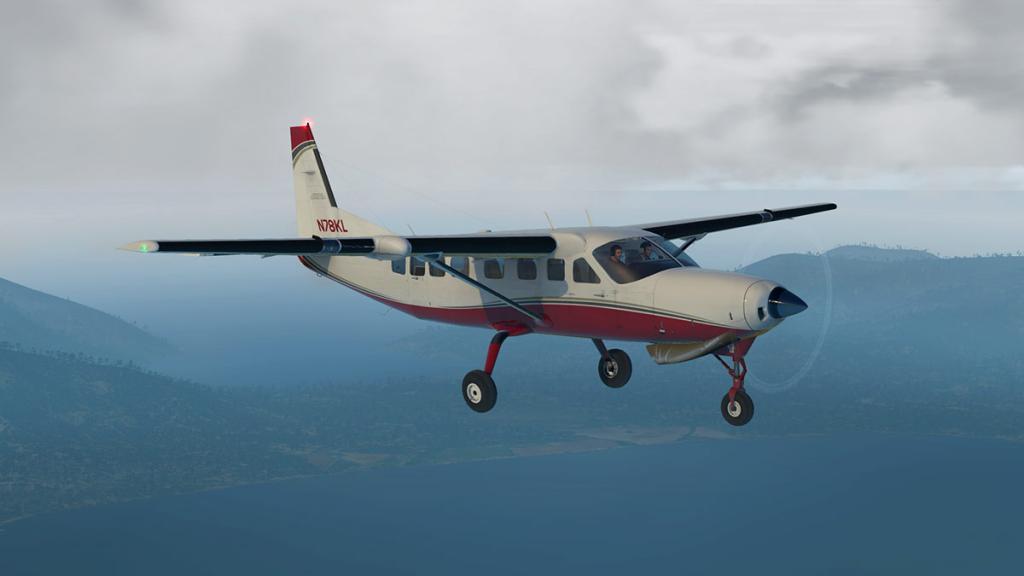
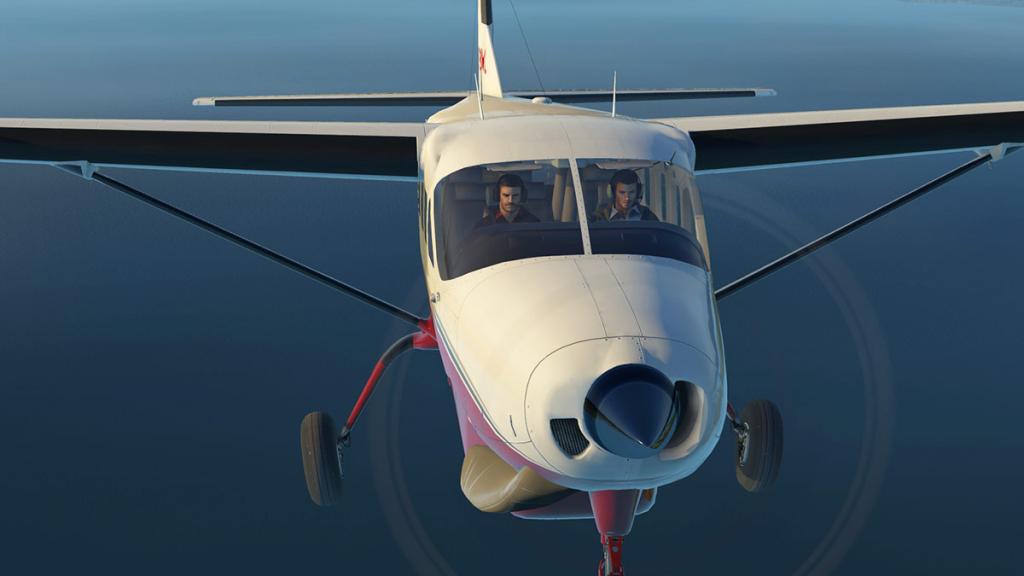
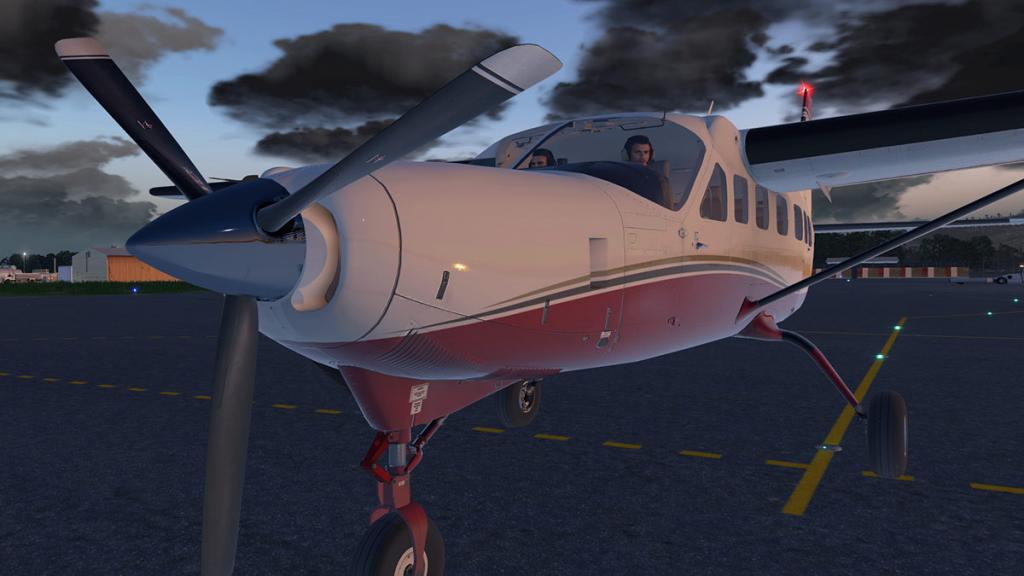
External detailing is phenomenal. Every rivet is counted for, all latches, hinges and handles are perfect, (ice) lighting surrounds, lovely flap tracks, vents, animated static wicks and antennas. Glass is superb with great reflections and a very slight convex look. In reality the earlier detailing on the Caravan is not much different here, but it has been totally enhanced with X-Plane11 features and of course with PBR or Physical Based Rendering (material shines and reflections) and the textures are all 4K and have been reprocessed for the best quality to FPS (framerate) optimization.
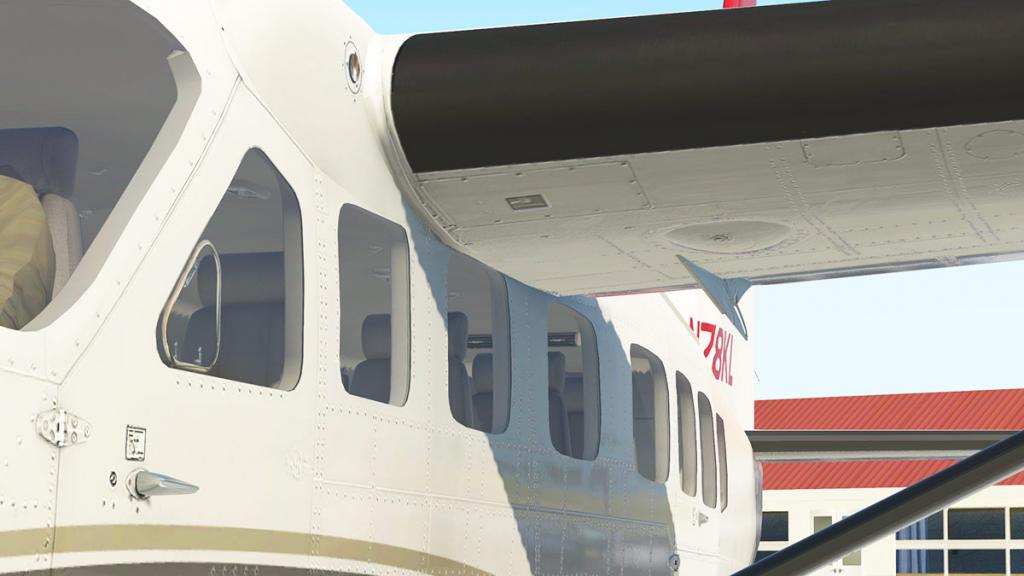
So the most noticeable factor from the earlier Caravans to this version is the sheer gloss on the aircraft and the highlighting of the aircraft's construction.
This is mostly highly noticeable with the wing construction and detailing, it is beautiful work, almost perfection. But in certain lighting conditions you get a frazzled feel, it can be a little over shiny for the eye, a slightly more wear and tear feel would be more authentic, but don't get me wrong this is the best of the best in detailing.
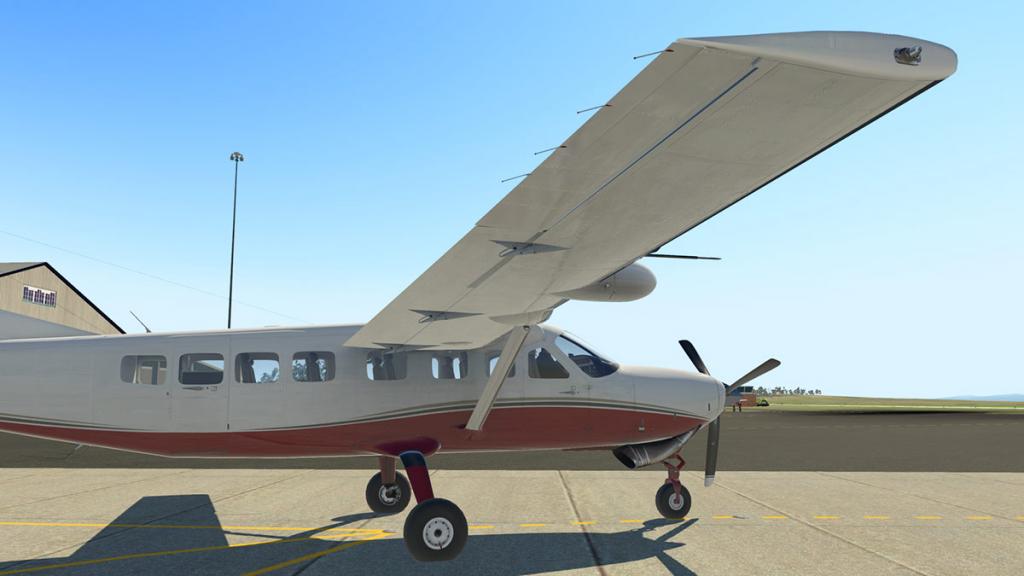
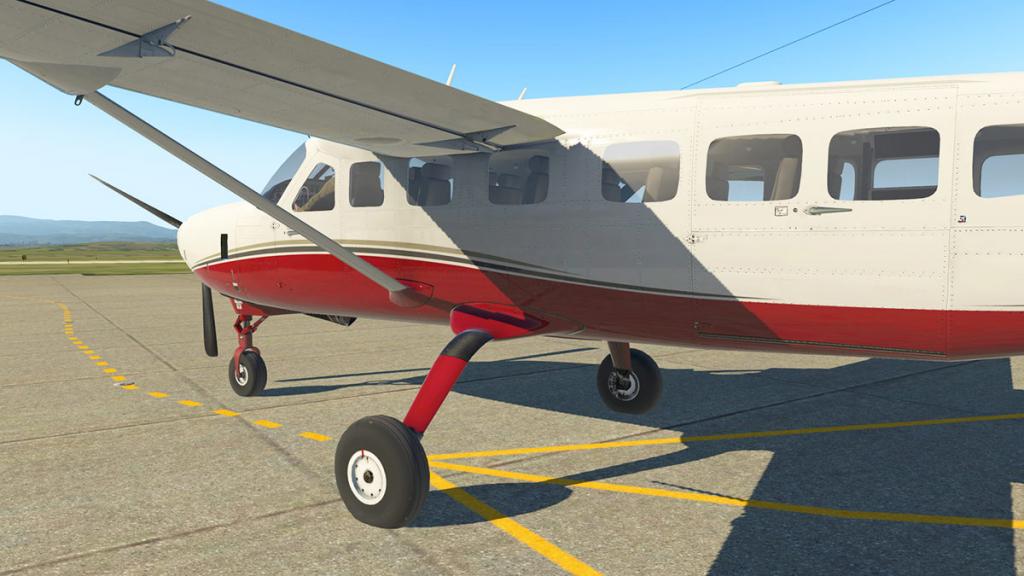
The spinner is now chrome, real chome. Carenado always did do great chrome fittings but the extra shinyness now adds to the effect (X-Plane11 metalness effects). This shinyness is highlighted by the lovely curves of the lower fuselage and the air cooling vents. The Caravan has a powerful Pratt & Whitney PT6A-114A engine connected to that lovely crafted Hartzell 3-Blade Metal, Constant Speed - full feathering propeller... great stuff.

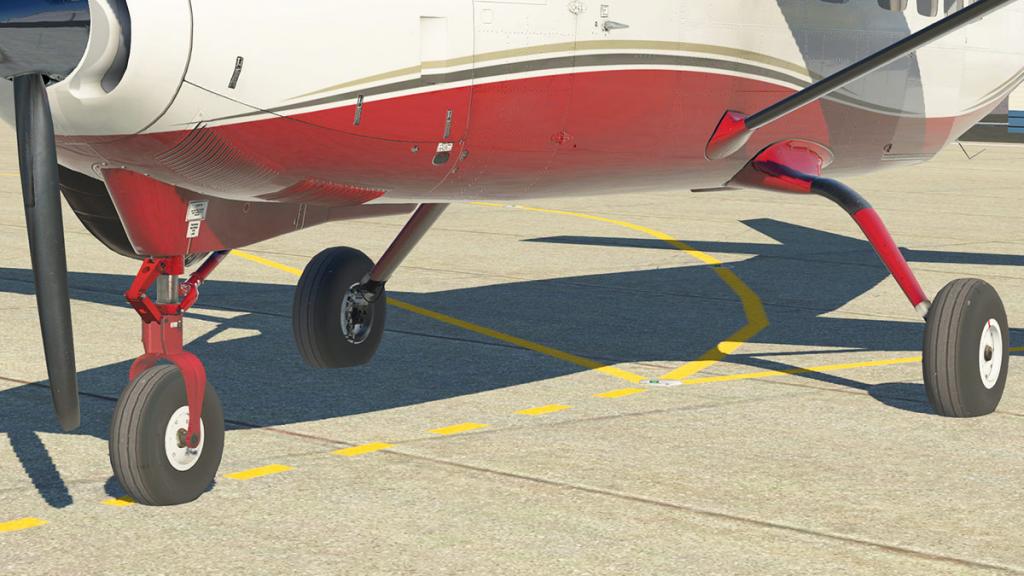
Note that huge if slightly ugly right sided exhaust, but it does give off a great whine sound. The aircraft undercarriage support is also superb, there is a lot of animated flexibility and dynamic loading/unloading of the gear that adds amazing authenticity to the simulation. Minor detailing on the internal construction of all the wheels and braking systems are pinch perfect.
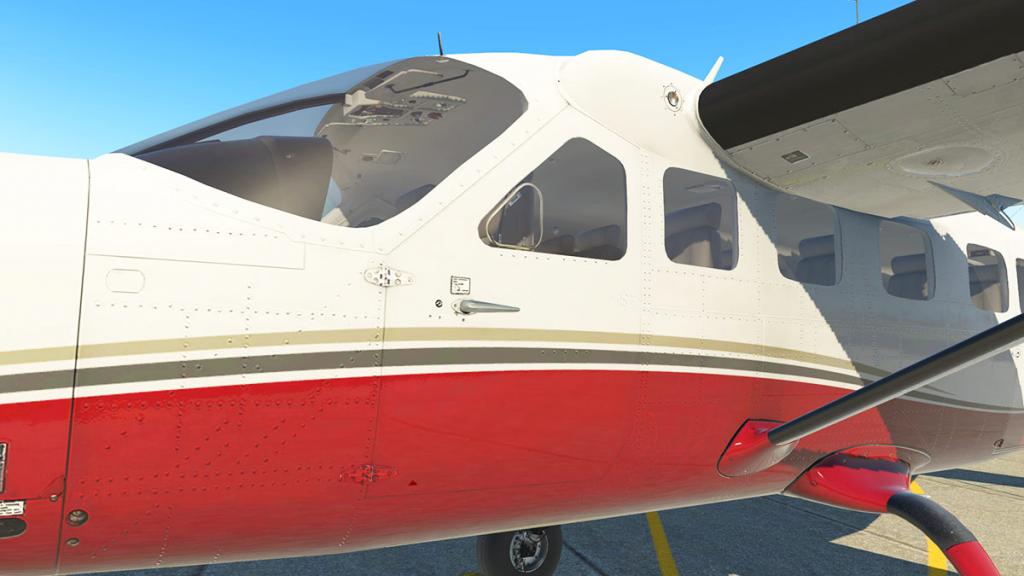
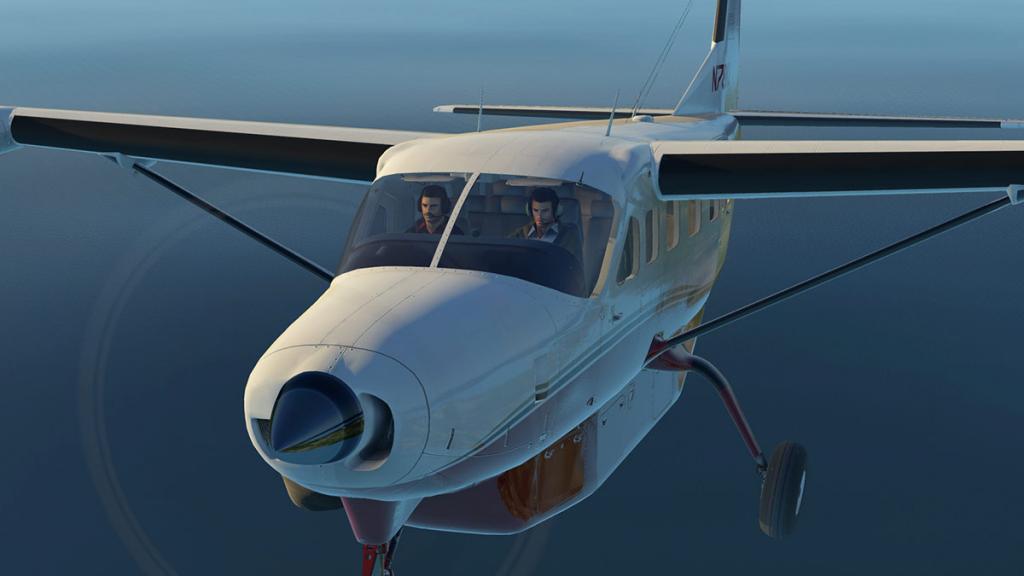
Open the doors and the extreme detailing is even more evident. Looking into the cockpit you are immediately reminded on why the Caravan was such a big deal back when Carenado first released the Caravan. It was a modern cockpit (mid-80's compared to the other far older Mooney and the PA 32 Satatoga cockpits).
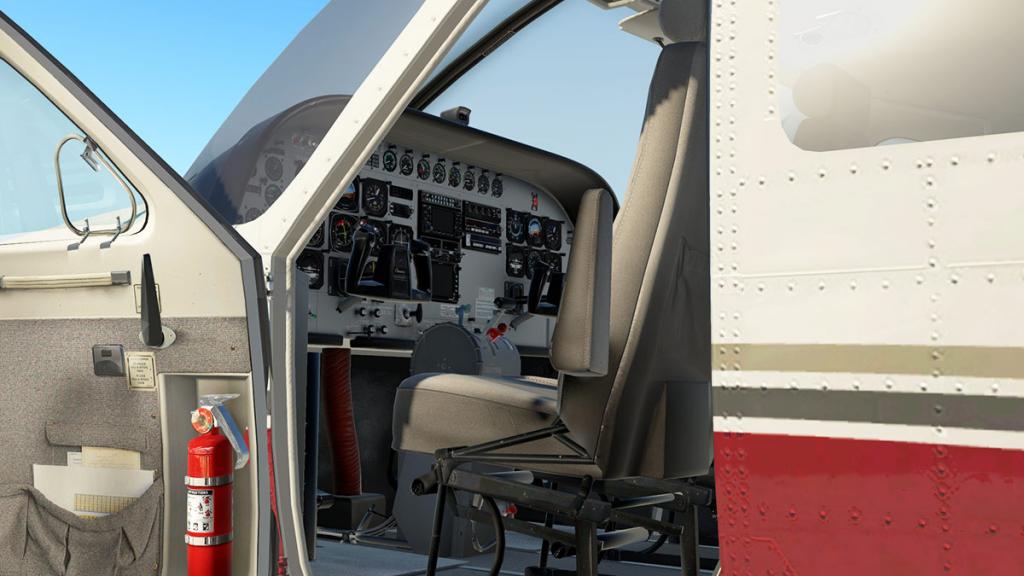
Internal Detail
That light on dark panel was and still is amazing as is the whole of the Caravan's cockpit. The panel is now even more dynamic with the X-Plane11 dynamic lighting effects, more realism and even more of a great place to be. All instrument and glass is reflective, instruments are all of the highest quality

Checking around the panel there hasn't been much changed or added except that those tree style manipulators have been replaced by the standard half-moon style manipulators, this is for another reason as well as for just easier manipulation as they are required for the coming VR interaction.
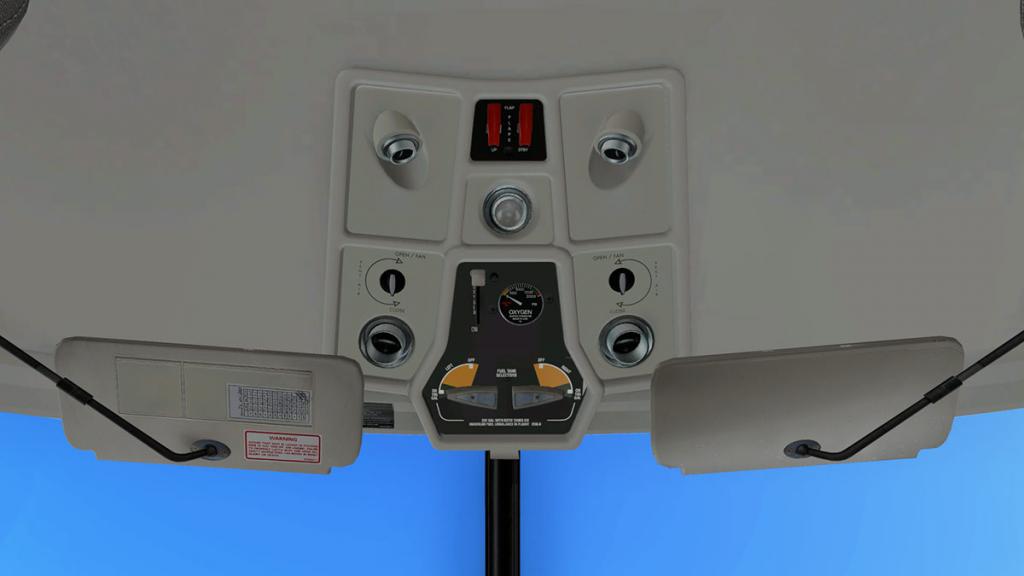
Those lovely hide away yokes do also have a working elevator trim, which is very usable. And above your head is still the standard tank switches and oxygen switch and dial readout.
Your workplace seating still looks very comfortable and the quality is mindblowing, again the dynamic lighting brings something new to this already very familiar cockpit.


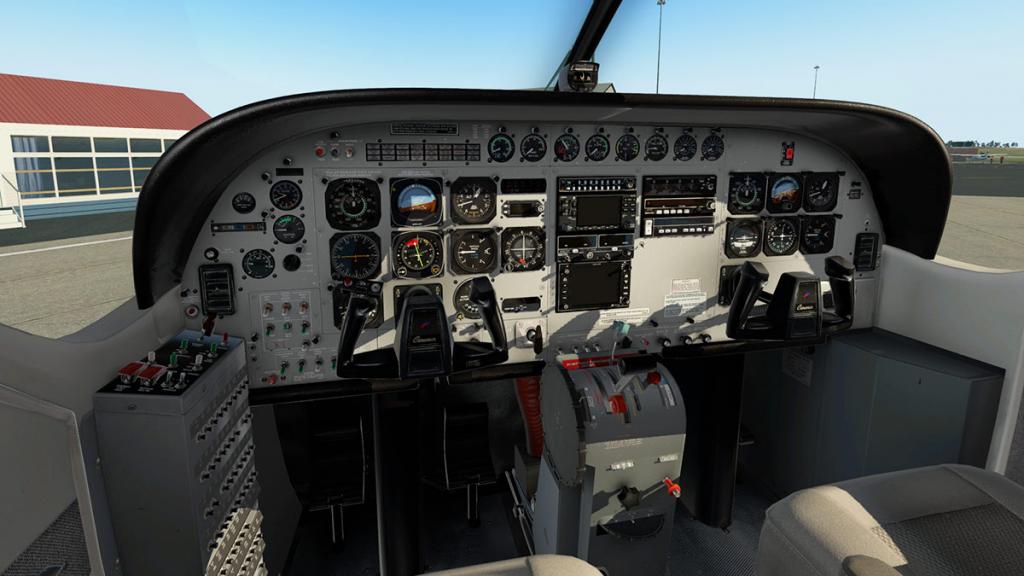
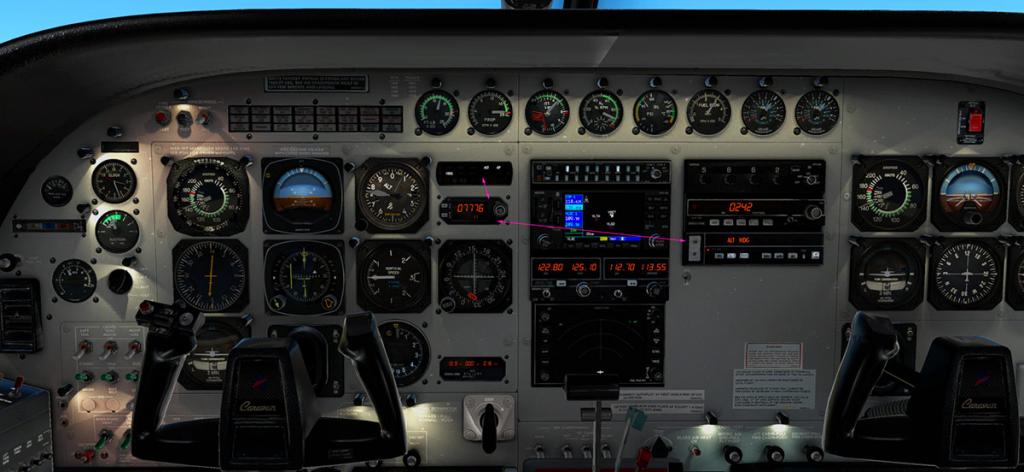
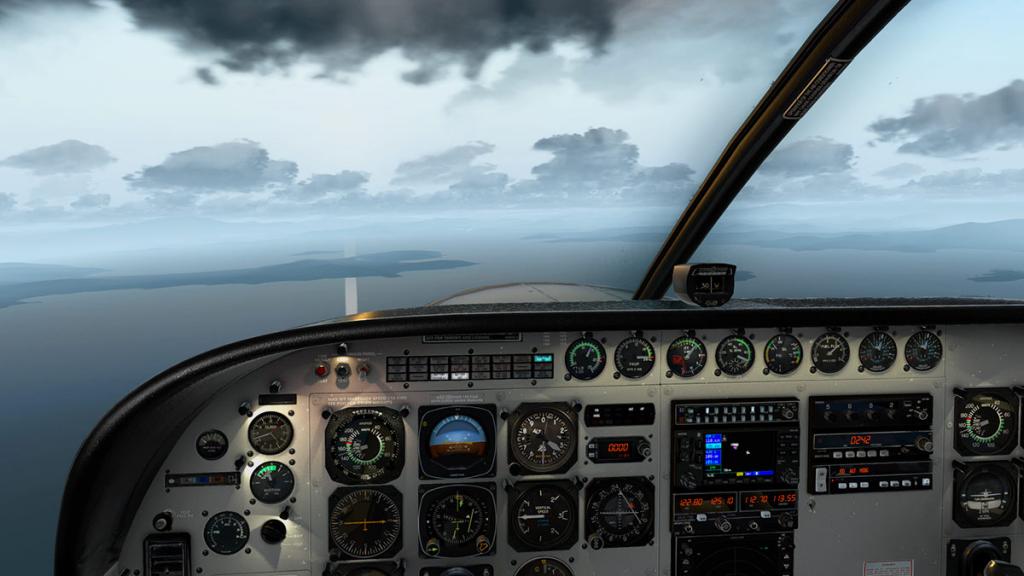
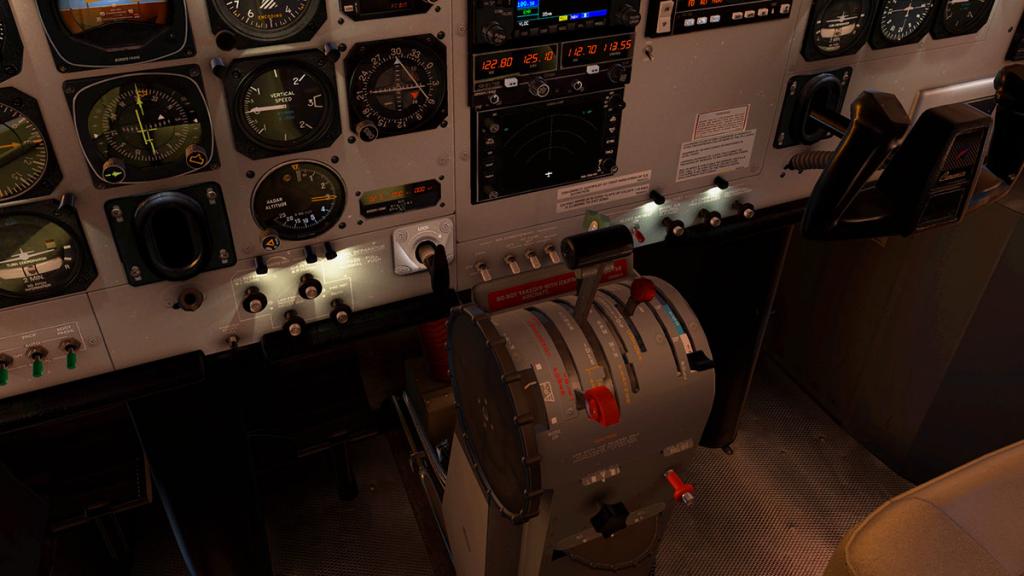
Instrument Panel

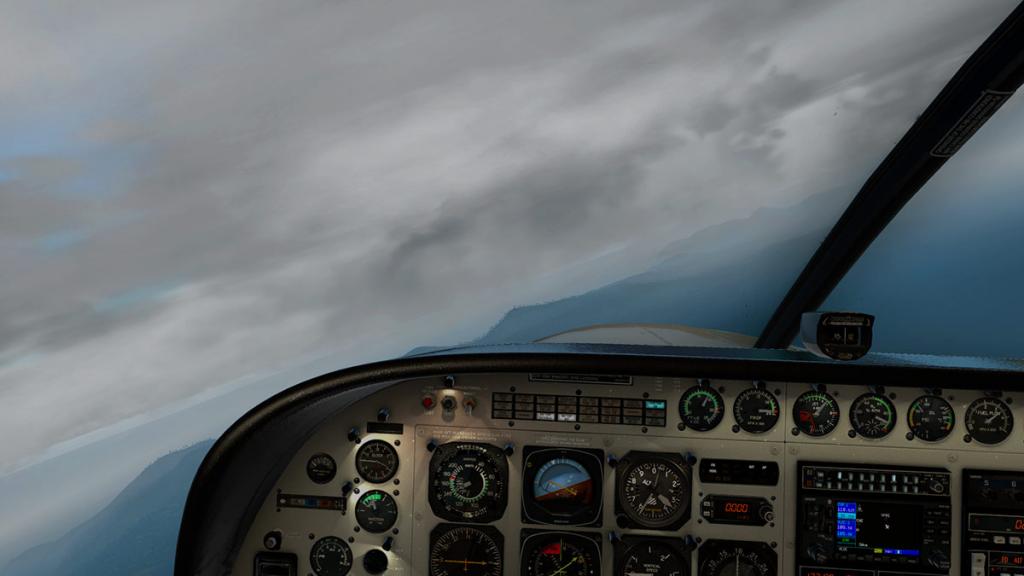
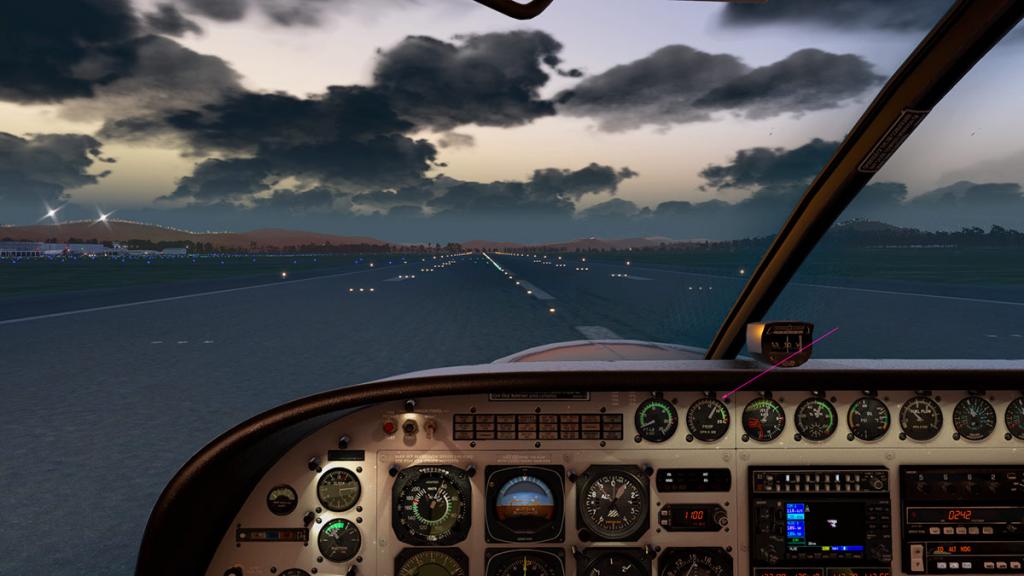
In reality this is not a really over complicated instrument panel and I think that is the overall sweetness on flying and using the Caravan.
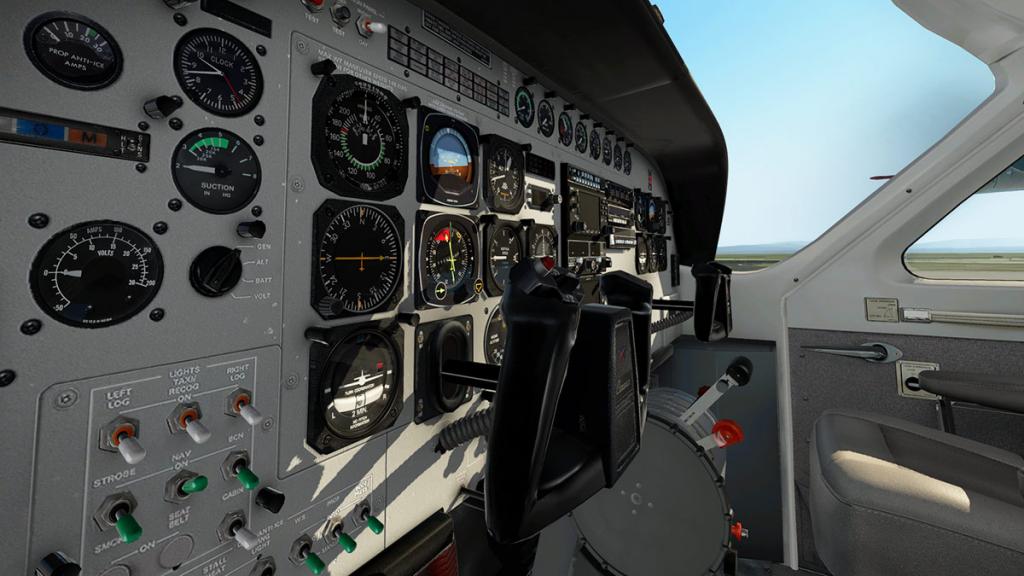
The row of engine status dials on the top row are (left to right) Torque, RPM Prop, ITT (Interstage Turbine Temperature), Gas Generator RPM, Oil Pressure PSI & Oil ºc Temperatures, Fuel Flow and both L&R fuel tank gauges dominates the panel, the lovely set of excellent annunciators that can be set for day and night visual brightness or test mode.
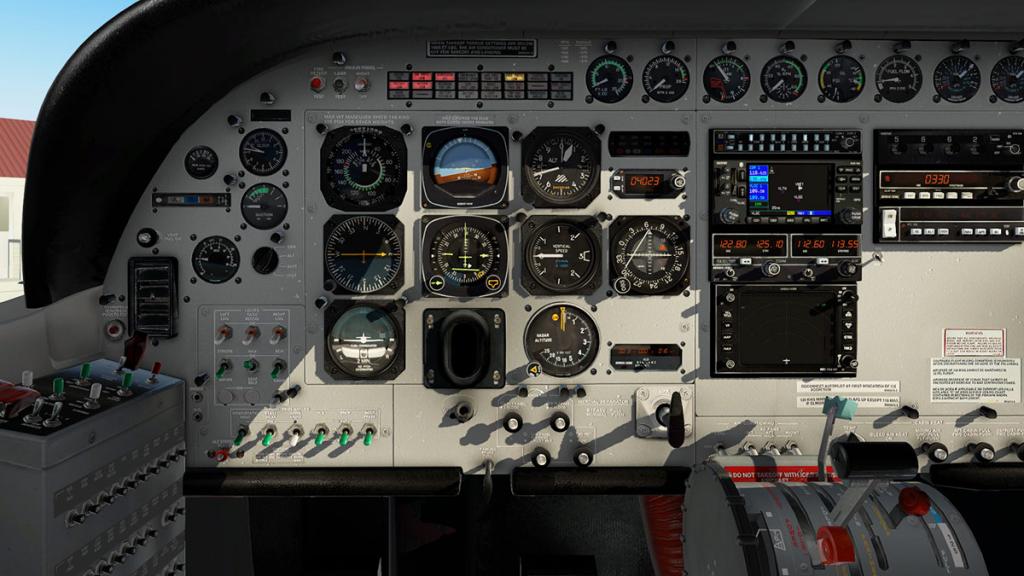
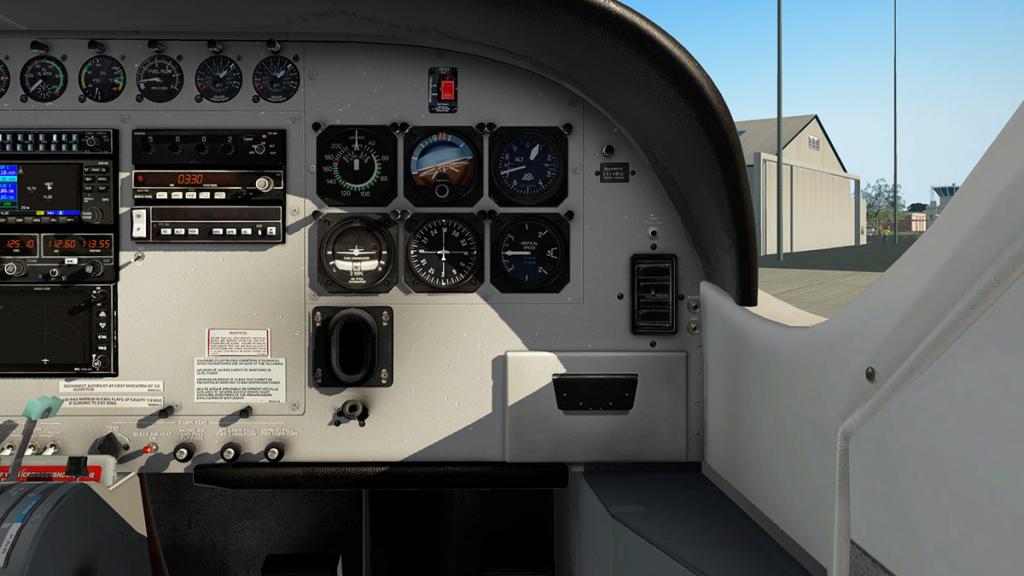
Full Standard Six instruments for the flying pilot and the co-pilot with the Airspeed Indicator, Artificial Horizon and the Attitude Indicator on the top row and the ADF dial, Heading Dial/HSI and Vertical Speed Indicators set out directly below. Pilot has added Turn/Slip indicator below and Radar altitude (x100) meter. Left of SS is a VOR OBS pointer and Bendix King VOR data panel below. Far left is Prop Anti-Ice dial, Clock, and Engine Suction dial and approach marker lights.
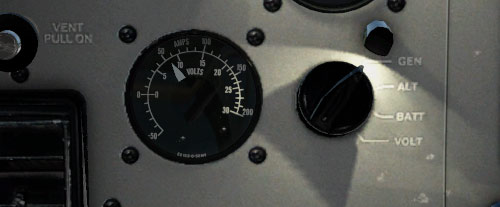
A nice working feature is the Voltage dial that has four switchable selections with Gen (Generator), Alt (Alternator), BATT (Battery) and Volt
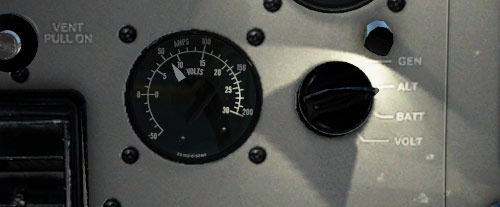
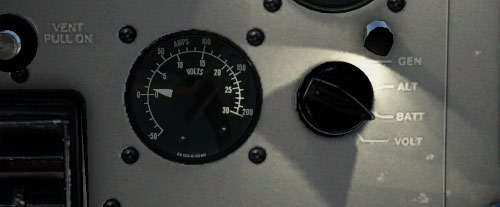
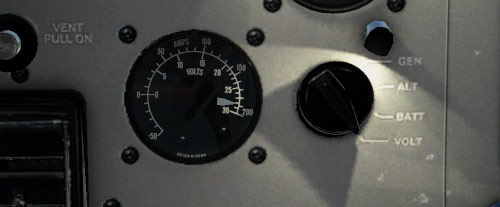
lower left is the external lighting switches and lower panel is six switches that covers the aircraft's Anti-Ice protection. There are also four rotary knobs for the instrument lighting which is in-direct and not back lighting, also here is the bottom brake pull and the Inertial Separator T handle that blocks debris coming into the main engine inlet. Air-conditioning and cabin heat switches and knobs are lower panel as well.
There is a stand alone electrical and fuse raised box structure to the pilot's left...
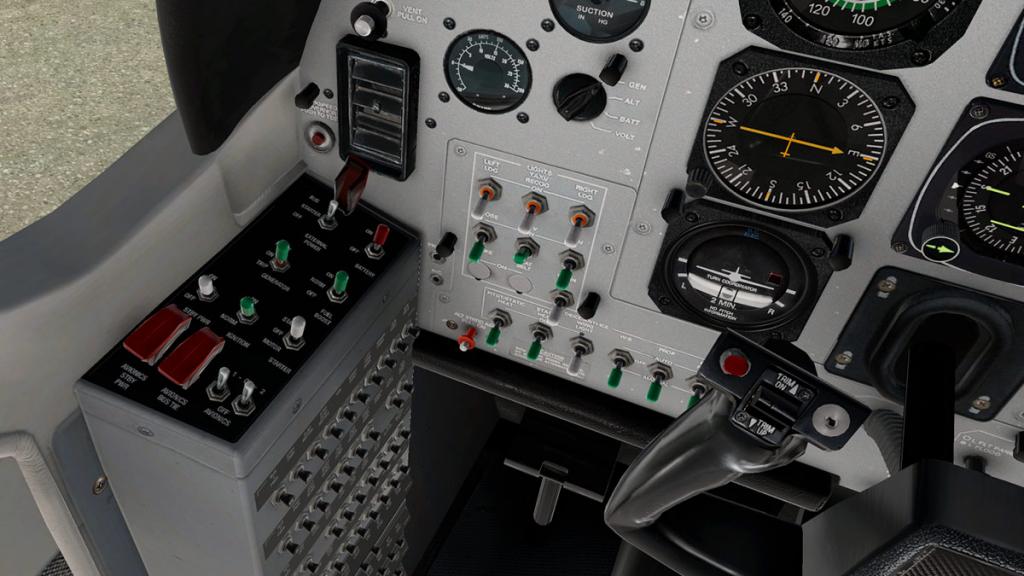

... switches cover top - External Bus (GPU), Main Battery, Generator and fuel boost. Lower panel - Standby Power, Ignition, Engine Starter, Avionics Standby, Avionics Bus Tie and Avionics 1&2 OFF/ON.
By today's standards the avionic package here is quite basic for a working aircraft. Top is a Bendix King KMA 24 radio set, with below a default X-Plane GNS 430 (COMM 1 and NAV1) settings. Mid-panel is a Bendix King KX 165 COMM 2 and NAV 2 (VOR) radio and a Bendix King RDR 2000 weather radar with the X-Plane radar overlaid below.

Right stack has top a Garmin GTX 320 transponder then below a Bendix King KR87 ADF radio with finally the Bendix King KFC 150 autopilot. The autopilot has a indication panel and altitude adjustment, vertical speed adjust panel on the pilot's side top right.
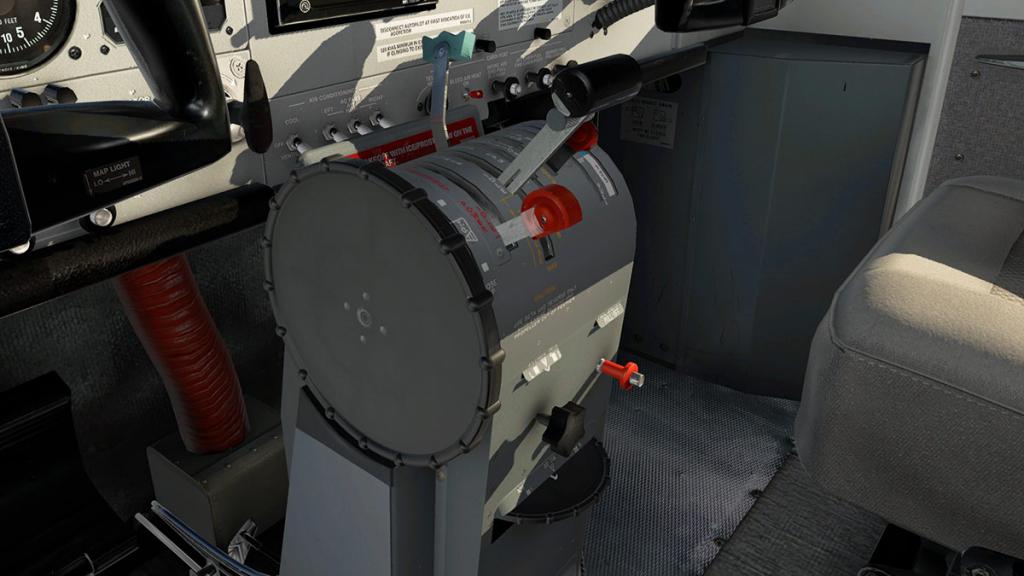
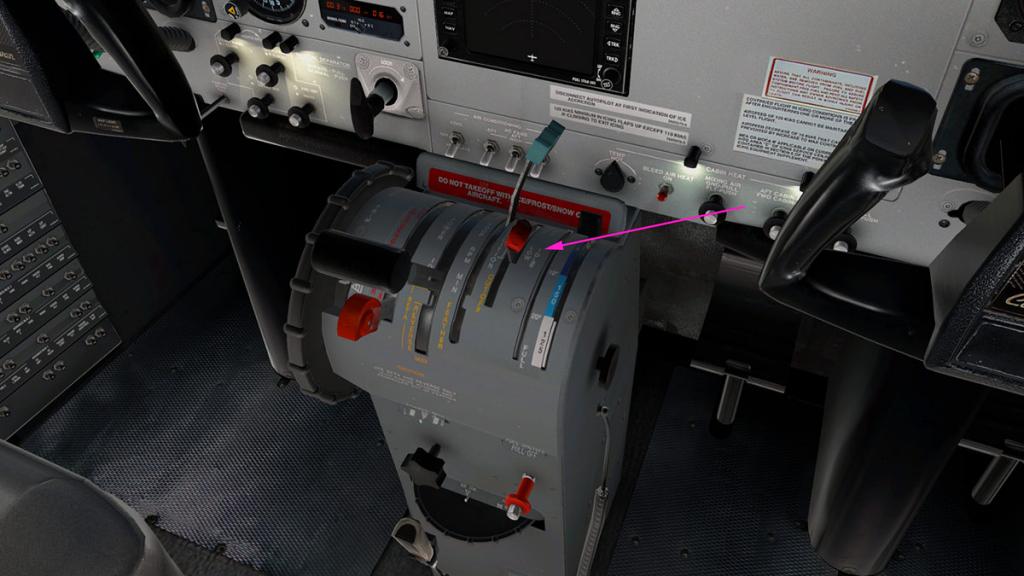
Throttle Pedestal
Mid lower panel is a nice throttle pedestal. Left to right there is a power lever to be used only in emergencies, then a single main "Throttle" lever with a "beta" reverse gate. The "Prop" lever is for MAX and MIN RPM and gated lower is the feather adjustment. Then there is the "Condition" lever again gated with High and Low idle and the lower gate is the shutoff. Far right is the "Flap" setting in Up - 10º (150knts) - 20º Full (125 knts).

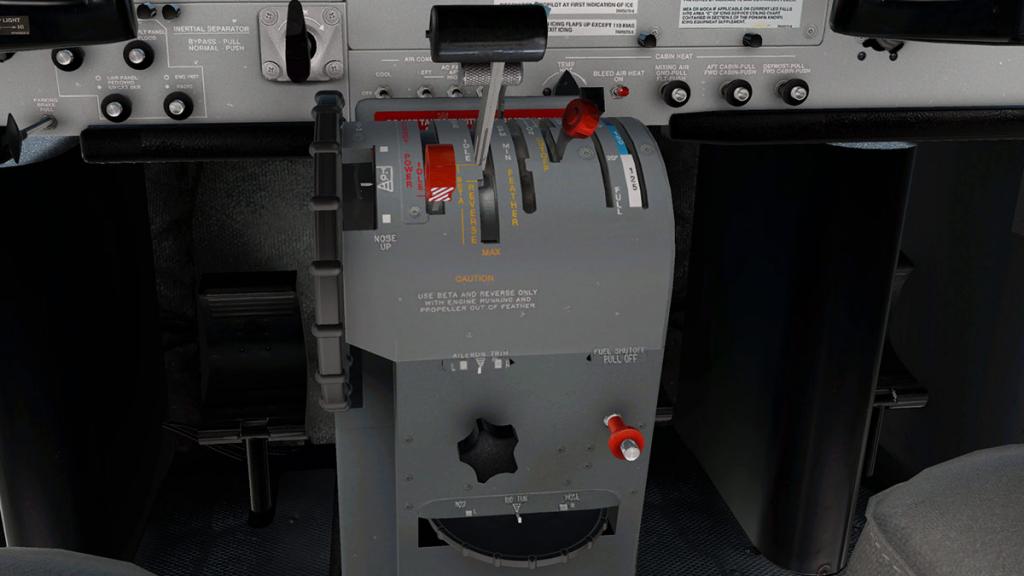
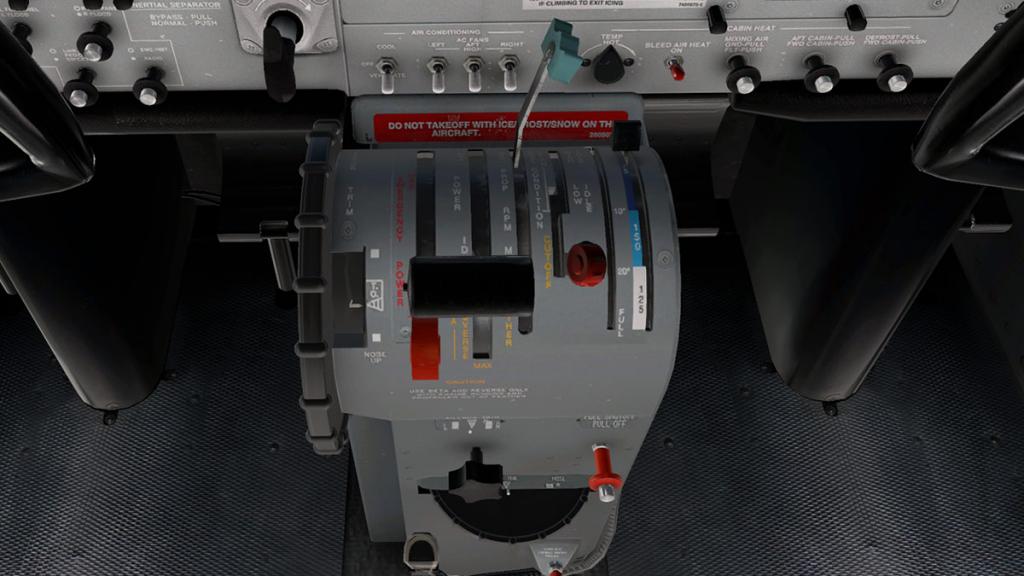
Left pedestal is the elevator trim wheel and front panel is the aileron trim knob and rudder trim wheel. There is the main fuel shutoff pull knob as well.
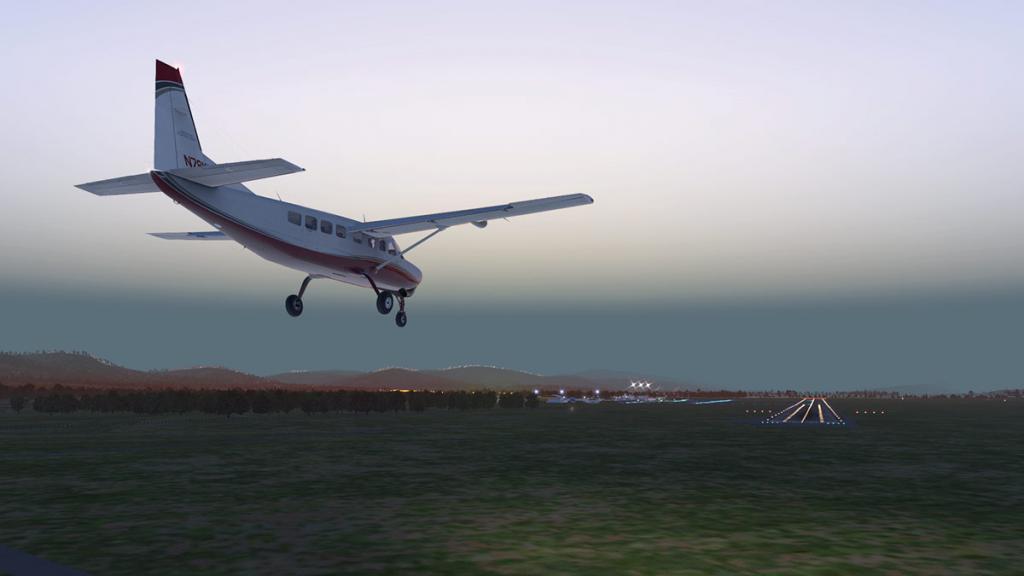
Flying the C208B Grand Caravan
I have done this YMLT (Launceston) to YMHB (Hobart) route about twenty times so I know it backwards, with a few heading notes I don't even have to put into the GNS430 a flightplan. It is my usual passenger transfer with a little bit of sightseeing thrown in to the deal.
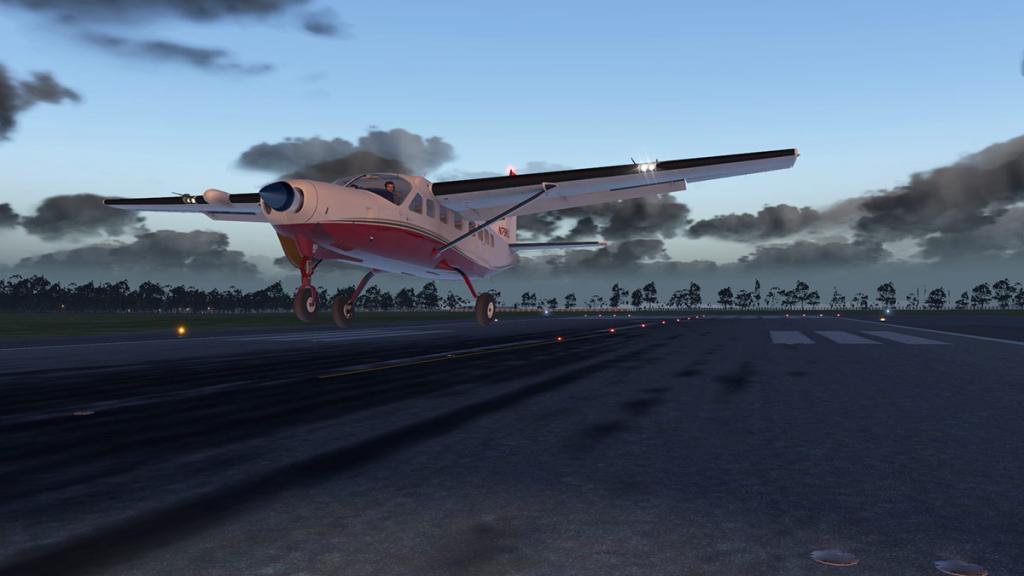
I tank up per tank of 765lbs or 1531lbs total with a full weight of 7840lbs, a fair bit of fuel, but then I wanted to return to YMLT directly without refueling at Hobart. A glance around and all the seven passengers are in and the baggage is loaded. I have asked (nicely) for Carenado to put their excellent animated pilot and co-pilot as passengers for years, but still we have to pretend that there people in the rear.
Starting up of the Caravan is still one of the great aircraft engine starts in X-Plane. You don't get FMOD sounds here (yet), but Carenado's 3D 180º controlled sounds are just as good if not better for all the different sound ranges and bass depth.


Put the ignition switch on and set the starter... you get nothing for a short while and then that familiar faint whine grows from somewhere deep in the front of the aircraft, still the whine grows louder until finally the propeller starts to turn in to action. The start sequence is full automation, hit the switch and just wait. Even after years of flying the Caravan I still question if the External (GPU) actually works? I have pressed the switch (arrowed) but there seems to be no action and the battery has a habit of quickly discharging, so my guess is no.

Once the engine temps are good I pull the condition lever back to idle and a RPM of around 650RPM. The original Caravan was a little bit faster in the idle, but it looks the new X-Plane11 performance settings have settled it down a little, for taxiing you don't have to fight it as much as you did in the past with far too much power. In fact the 208B feels quite perfect now.
Power up and the whine builds, but so does also the deeper turbo grind, so familiar but still neckline hair raising fantastic, this is the Caravan we totally love.

As noted the 208B is far easier to taxi without fighting the too powerful thrust now in the condition low idle setting, a big nice change... but don't forget to put the condition lever into the "High Idle" position before takeoff... or you won't, well takeoff.
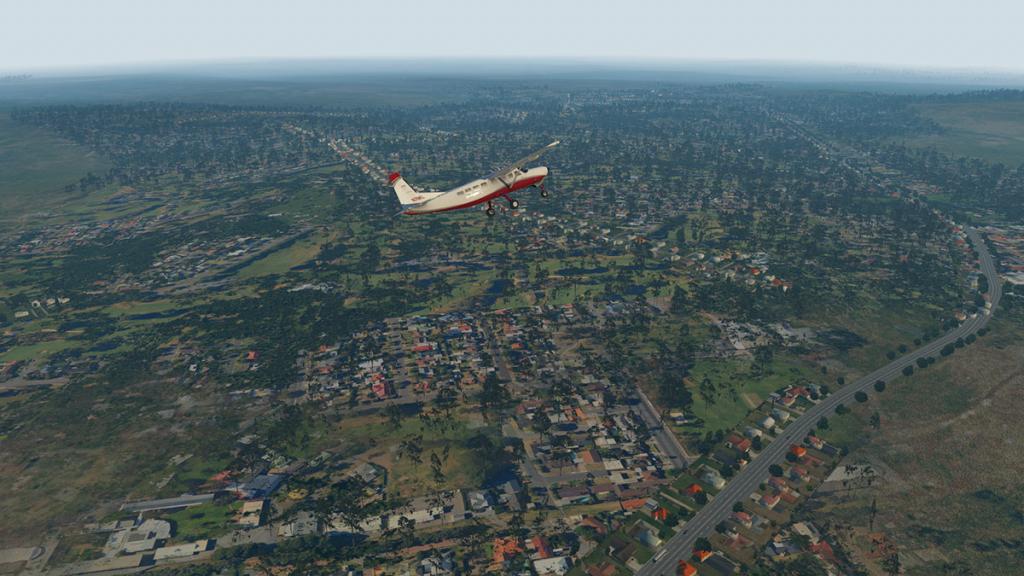
The asymmetric thrust will still pull you really hard to the left with all that very powerful 675shp Pratt & Whitney pushing you forward. So you have to be aware right from the point you let the brakes go to give only a little thrust until you can lock the nose-wheel in straight and then give it full power after a certain speed and usually around 45knts. It works but still with a little deft right rudder. The C208B will however still try to wander and you are working hard with the yoke and the rudder to keep it sweet on the centreline I’m also very heavy here ( 7840lbs) so that slightly helps, but the speed climbs quickly to a rotate at around 95knts. Climbing out and into a turn to the due southwest (210º) I settle in at a 1000fpm (feet Per Minute) climb as 1,234 ft/min (6.27 m/s) is the maximum. But even with this weight the Caravan takes the tight turn and climb all in it's stride.


As I am so familiar with the Caravan I know its limits, I know how far to push the aircraft before it will fail me, and the 208B has a fair bit of slack in that area, it is a very sturdy aircraft, sweet to fly and manoeuvre but you need a firm straight hand on the yoke and rudder. One thing I do notice more on this XP11 version is the green window tint is quite strong in the glass reflections, it is highly noticeable if not slightly distracting.

There is the short straight route to YMHB, or the scenic route which is going straight southeast out from Launceston and hitting the coast around the spectacular Freycinet National Park and the famous Wineglass Beach, clients don't mind the extra cost or time as the Tasmanian east coast views are worth the detour.
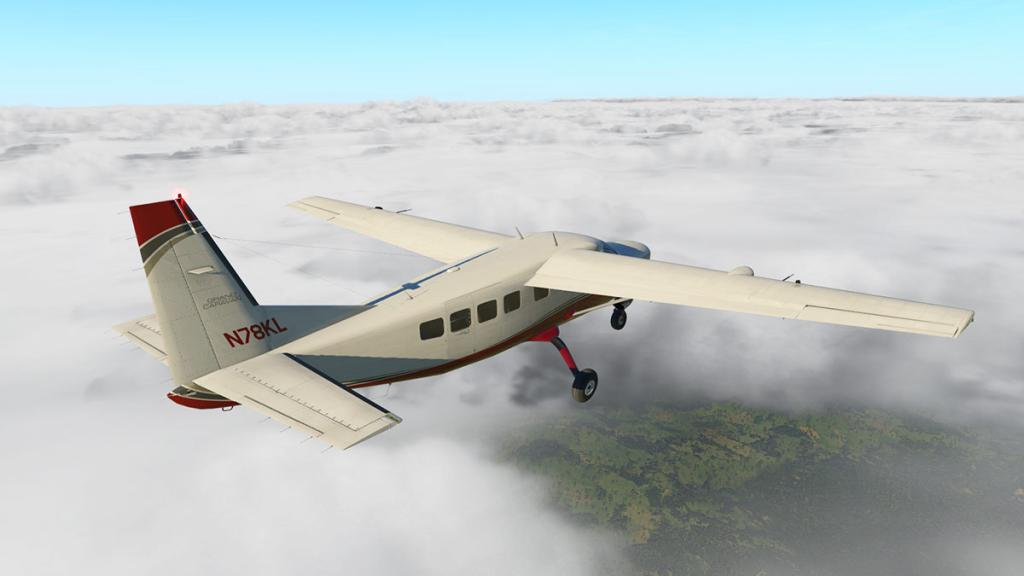
But first you have to climb high to clear the Ben Lomond National Park, and so I set the altitude to 7500 AMSL. My passengers were also not getting a lot of views for their cash either as the cloud cover was pretty extensive...


The Caravan has a Cruise speed of around 197 mph (171 kn; 317 km/h) and a Range of 1,240 mi (1,078 nmi; 1,996 km) with max fuel and reserves. Your ceiling is an amazing 25,000ft as you have oxygen on board, but I have never really flown over 15,000ft.
The Bendix King KFC 150 autopilot is a treat to use, quite simple but effective.
Vertical speed can be a simple up or down, or you can set the separate digital display in the rate of climb and then ARM the altitude you want to hold. I found that you can't have the manual trim set (via your joystick or in my case x56 throttle twist knobs) as it interferes with the aircraft's trim systems, so I had to disconnect the x56 controls.
As I neared the east coast I could descend down through the thick cloud to see if the views would be better and more effective.

But I would still have to be careful as there is still a fair bit if land elevation around the Wineglass Bay area, in other words it is hilly. Note the blue ignition on warning light? I have lived with this one for years, in the fact that if you start the Caravan with the engine running then the ignition light stays off, but start the 208B from cold it stays on even if the ignition switch is now off, it is more annoying than you think.
Coming out of the lower 4000ft cloud base I got a real "whoa" moment. It wasn't dangerous in a sense of the word, but it still needed a hard turn south so it wouldn't become an issue, my altitude was set at 3500ft for the sightseeing.
My passengers only got a quick glimpse of Wineglass Bay, the weather is nothing I can control, and thankfully the further south I flew the brighter the weather became.
You get a great view out of the Caravan's cabin windows, that is why these aircraft are great in the sightseeing role, but in some lighting conditions the the glass reflections can be very strong.
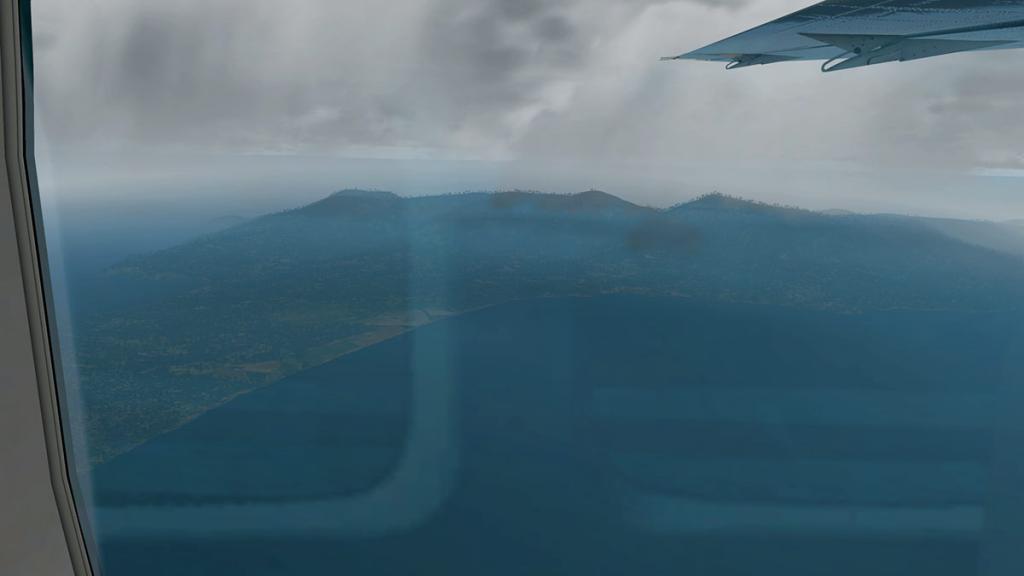
In the new strong light you can see the excellent X-Plane11 PBR lighting effects and how beautiful they are on the Caravan, it certainly is glossy and the light is fantastic (I popped the pod back on for the full dynamic effect) but I will admit to debating (with myself) if the Caravan is too glossy in this form, sometimes it feels like there is to much gloss and other times it is just right, so I am in neither camp.

I have spent countless hours over the years looking over this view out of the Caravan, I still totally love it and you still admire how great an aircraft it is.


The Caravan is one of Carenado's greatest successful aircraft even after all these years, that actually comes with no great surprise, and now in X-Plane11 form it certainly goes up a notch again.
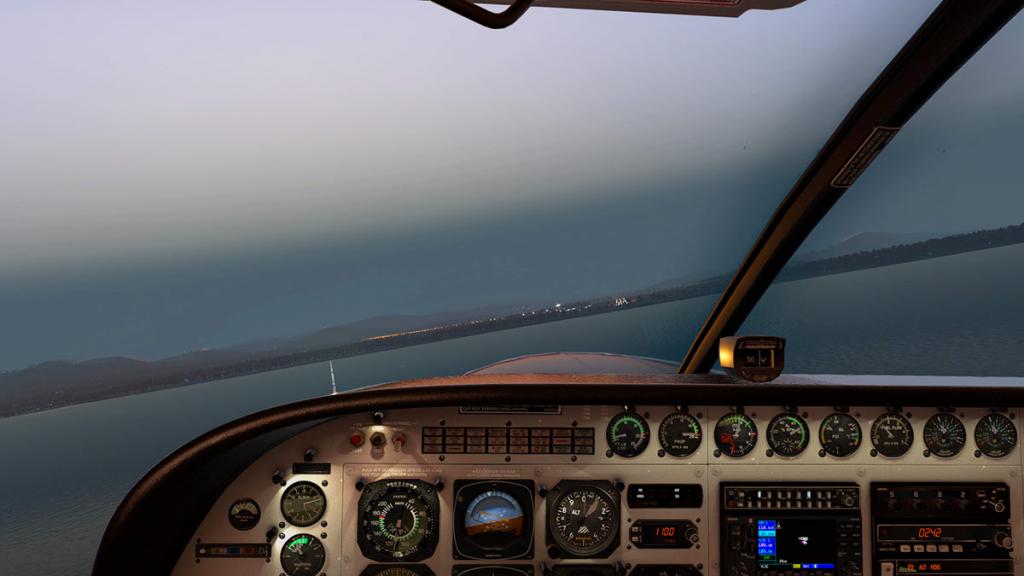
Time is getting on and the light is starting to fade. I usually go further south and around the peninsula and give the patrons a view of the Port Arthur Convict site as part of the deal, but today I am taking a short cut over Blackman Bay and directly to Dunalley Bay which leads into Frederick Henry Bay.
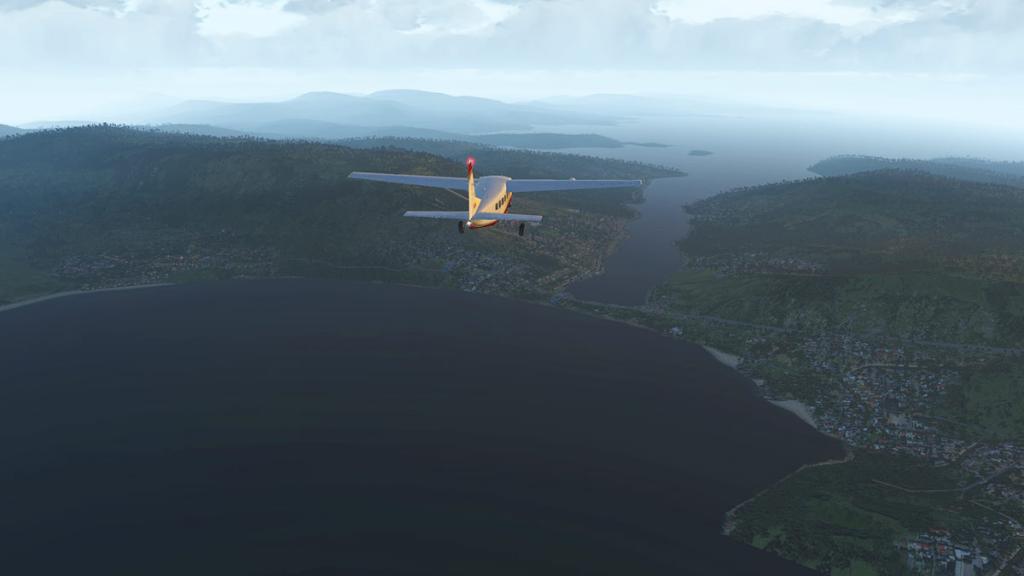
The views are still spectacular, and once over the passage I see YMBH's lights far to the west of Frederick Henry Bay .
I drop the altitude another 1500ft to 2000ft and start the approach phase as the light faded more...

The Caravan's amazing instrument panel in-direct lighting (the main Standard Six dials are also backlit) is still spectacular, it is adjustable as well. Overhead lighting is provided by a single roof mounted light that gives the cockpit area and the panel a more workable light, the adjustments knobs though even with the new manipulators can still be hard work, you have to grab and pull hard to make the knobs turn, there is also plenty of spaces for extra lighting switches on the lighting panel.
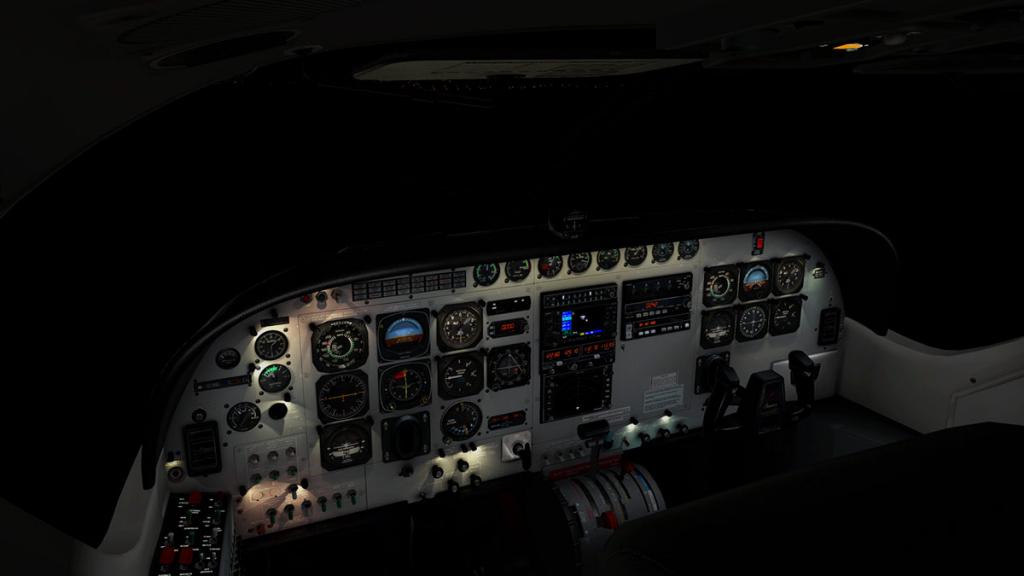
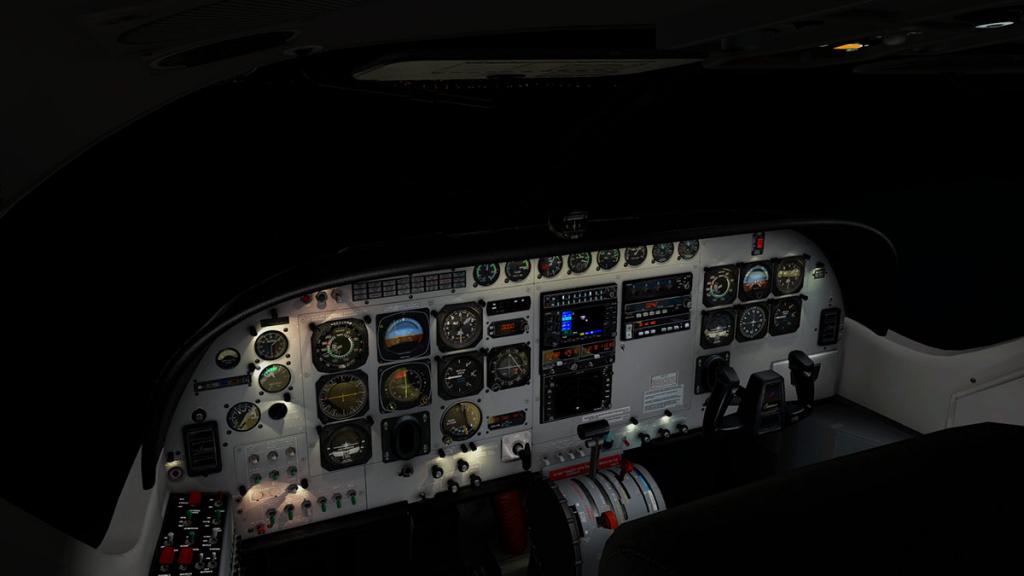


But the lighting overall is disappointing. Carenado pioneered great lighting effects that allows spot lighting to be adjustable, fade in and out and manoeuvrable in aircraft cabins. But here it is just plain dark back there, and the external Ice/Wing light doesn't work either?

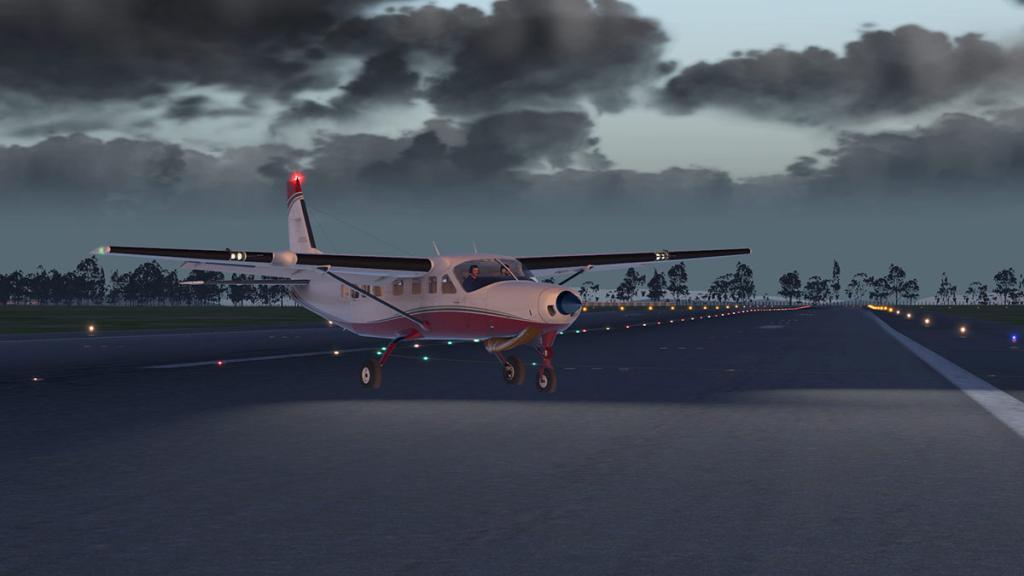
Externally you have taxi and landing lights on both outer front wing edges, and the standard beacon and great strobe effects.
It may or may not be correct per the performance of the C208B but I always put the condition lever to the "low Idle" position before landing, yes you lose a slight bit of performance... but rather that than the huge fight to control the speed after landing with the thrust level too high to stop you cleanly and without wavering all over the runway and then losing direction in trying to bring "that damn lever back" to control the aircraft, I find I still have enough power and more control with it set even in the "low idle" position.
I am learning that the performance of aircraft in X-Plane11 is quite different than before in X-Plane10. Certainly in the final landing phase. In the Caravan that sense is heightened.


The area in question is throttle management, the ratio of speed to power. The stall point of the Caravan is 70knts, but let the airspeed drop below 100knts here on approach and you suddenly lose height, this is becoming a common theme if you have been reading other reviews since X-Plane11's release. The control is there and luckily the flap limits are quite high on the Caravan with 150knts for 10º and full (20º) at 125kts, so you drop 10º then adjust your speed then later the full 20º to 75knts on final approach.

But by controlling the throttle (which you do a lot) can gain you either more height with more power or with less throttle to lose height, pure aircraft control. Certainly this effect was there before in older X-Plane versions, but the effect in X-Plane11 is certainly more finer and more noticeable now in the feel factor. I find it quite exciting and I feel I am having more control over the aircraft in flight, a fine tuning area but a very important one and the Caravan really brings that effect out more than other aircraft I have flown lately in the past. In other words you are flying far more by you throttle inputs as much as your hand and feet input.
Get it right and you will boast about your landing for days, but it does take a fair bit of practise to be perfect.
One highly noticeable change in the XP11 version is the "beta" or reverse thrust position that gives you full reverse thrust after landing. It still works as usual by the gauge (arrowed) on the Prop dial, but you don't get that "roar" of sound you used to have? It is now more of a whimper? (I checked both high and low idle positions).

Passengers note the trip as "exciting" and "amazing" but I have flown the route in better conditions, but there is overall a more intimate feel with this X-Plane11 version than I can remember in the past with the older X-Plane versions of the Caravan, and that is a really great thing.
Liveries
The sets of liveries for both the Passenger and Cargo versions are the same as in the past, and any older liveries that you have collected don't work either.
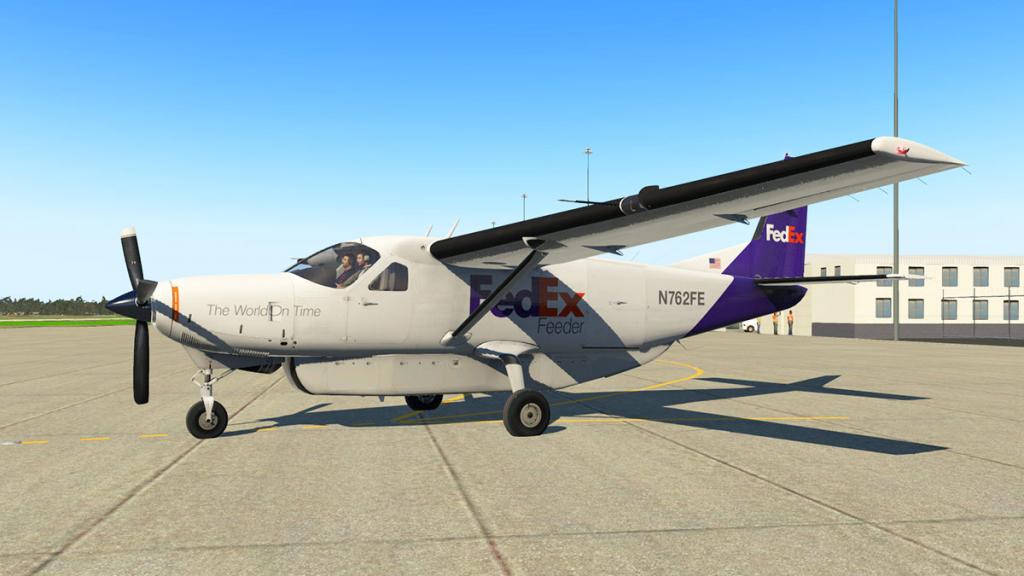
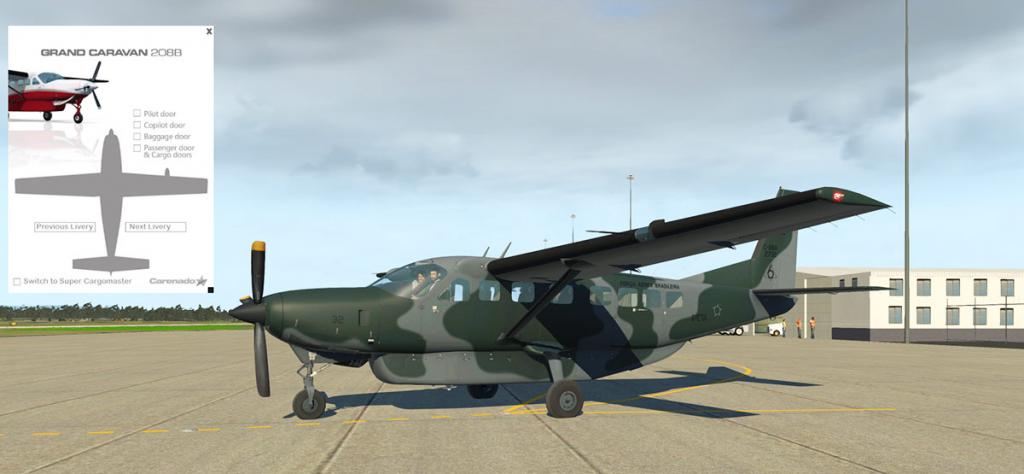
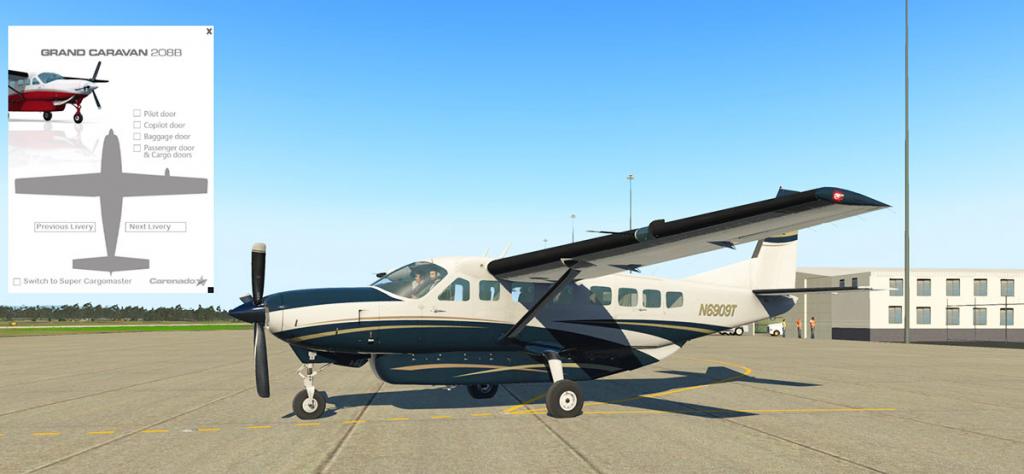
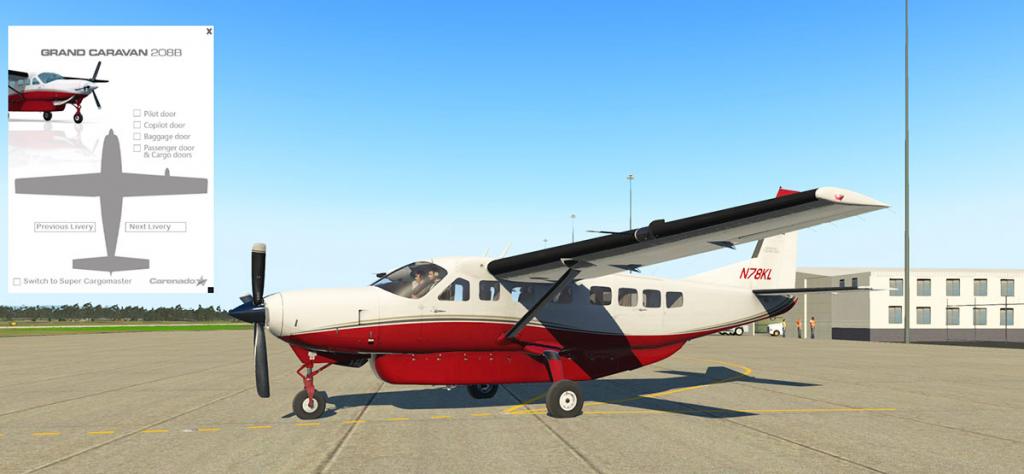
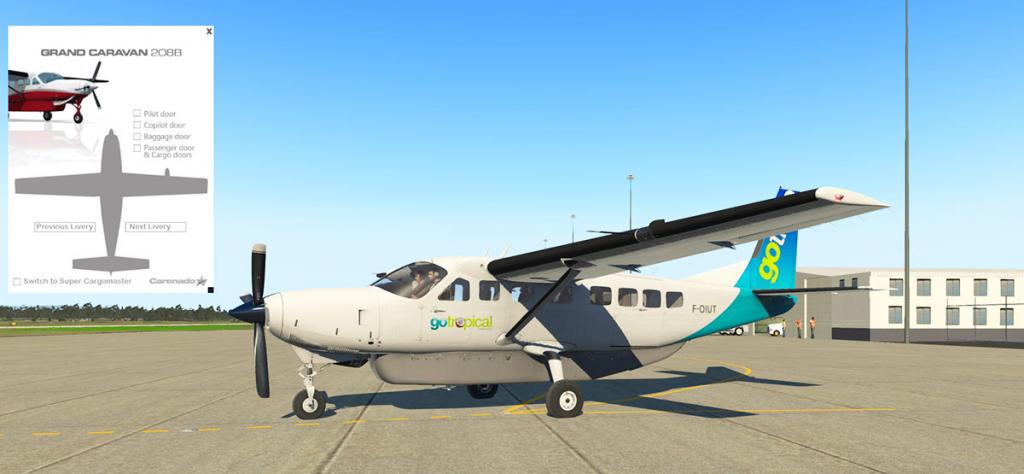
Included is for the Passenger version the: standard blank, Camo (camouflage), Exec 1, Exec 2 and that excellent GoTropical.

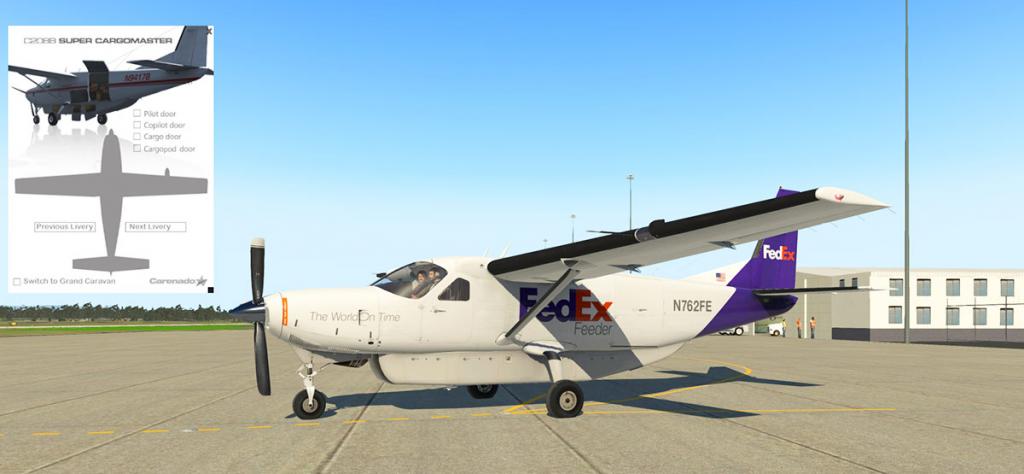
There are three Super CargoMaster liveries with the: Civil, FedEx and DHL. You get the Civil Cargo livery with the package and the two other liveries in the FedEx and DHL can be downloaded here.: Carenado FreeLiveries


Summary
This Cessna 208B Grand Caravan and optional Super CargoMaster has been one of the most successful Carenado aircraft in X-Plane to date, and it is really not hard to see why. I have loved the Caravan and more than most aircraft in X-Plane over the last four years because it is so versatile and just really a great aircraft to fly.
The release of the Caravan in X-Plane11 bring certainly all the great features of the new platform including PBR (Physical Based Rendering) and the performance enhancements that are really noticeable in the pilots seat. The added feature of both the passenger and super cargomaster versions together in one package also adds hugely into the appeal. A lot of work has gone into the quality of the detailing for X-Plane11 and quality is what Careando are known for.
But in another point of view, if you know the Caravan really well you won't really notice anything new or different in new features, from the pilot's seat you have the same position as you always have had but just only now in X-Plane11 with its excellent features, that is a positive but also a slight negative.
The lighting feels old, because internally it is compared to most later Carenado releases and the no Ice/wing light is highly noticeable, no new liveries over four years is not going to be fun either and since now the older custom ones now don't work either. (I lost fifteen liveries, gulp)
Carenado have noted though that FMOD audio, full VR support, SASL 3.0 upgrade, re-vamped pop-up windows and more are coming along in the update path, so my advice is to enjoy now and that more changes and features will come along as part of the overall package.
This is as noted a new purchase of the aircraft in full as well, but the cost does cover all updates throughout the X-Plane11 run or for about four to five years and any new features that Carenado have promised to add in to the overall package and I think that is overall a very good deal.
So here is one of the greats, and the Grand Caravan now comes in X-Plane11 clothes and performance. If you have read this full review, then you would know how important this aircraft is to my X-Plane flying, now in X-Plane11 the flying can now go on (and on) and I know I will absolutely love every moment of it, as a validation of a great aircraft this Grand Caravan is then one of the very best and you simply can't go any higher than that...
_____________________________________________________________________________________ 
The C208B Grand Caravan HD Series XP11 by Carenado is NOW available! at the X-Plane.OrgStore
Price is US$34.95
Notes:
For WINDOWS users: Please ensure that you have all the Microsoft Visual C++ Redistributables downloaded and installed (click here)
Features:Specially designed engine dynamics for XP11.
Flight physics designed for XP11 standards.
Ground handling adapted for XP11 ground physics.
Physically Based Rendering materials and textures.
PBR materials authored with industry-standard software used by the film and gaming industries.
X-Plane GNS430 (FPS friendly)
Ice and rain effects
VR compatible click spots.
Goodway Compatible.
Realistic behavior compared to the real airplane. Realistic weight and balance. Tested by several pilots for maximum accuracy.
Dynamic loading/unloading of 3D parts and plugin logic for FPS optimization.Requirements:
Windows XP - Vista - 7 -10 or MAC OS 10.10 (or higher) or Linux
X-Plane 11
CPU: Intel Core i5 6600K at 3.5 ghz or faster.
Memory: 16-24 GB RAM or more.
Video Card: a DirectX 12-capable video card from NVIDIA, AMD or Intel with at least 4 GB VRAM (GeForce GTX 1070 or better or similar from AMD)
570MB available hard disk spaceInstallation and documents:
Download for the C208B Grand Caravan HD Series is 498.40mg and the unzipped 589.20mb file is deposited in the "General Aviation" X-Plane folder with this aircraft version X-Plane11 only.
Documents
C208B GC Normal and Emergency Procedures PDF
C208B SC Normal and Emergency Procedures PDF
C208B GC Reference document PDF
C208B SC Reference document PDF
KFC150 Autopilot PDF
Recommended Settings XP11 PDF_____________________________________________________________________________________ Review by Stephen Dutton16th August 2017Copyright©2017: X-PlaneReviews(Disclaimer. All images and text in this review are the work and property of X-PlaneReviews, no sharing or copy of the content is allowed without consent from the author as per copyright conditions)Review System Specifications:
Computer System: Windows - Intel Core i7 6700K CPU 4.00GHz / 64bit - 16 Gb single 1067 Mhz DDR4 2133 - GeForce GTX 980/SSE2 - Samsung Evo 512gb SSD
Software: - Windows 10 - X-Plane 11.02
Addons: Saitek x56 Rhino Pro system Joystick and Throttle : Sound - Bose Soundlink Mini
Plugins: Environment Engine by xEnviro US$69.90 : XPRealistic Pro v1.0.9 effects US$19.95
Scenery or Aircraft
- YMLT - Launceston, Australia 1.2.0 by CDG (X-Plane.Org) - Free
- YMHB - Hobart International Airport & YCBG Cambridge Aerodrome 1.0 by tdg (X-Plane.Org) - Free
- AustraliaPro 2.03 Beta by Chris K (X-Plane.Org) - Free (recommended for any Australian flying!)
- drijanthony and 68.vigas
-
 2
2
-
tinmug said:
The story of the twin, the sweaty palms and the forgotten hamburger.She has been described as perfect, beyond compare. She can only be replaced by another which, no doubt, will want to take you a little left. Or perhaps right. Every one has her own way. This is as much about the twin as it is about the shapely perfection in between. About marking territory, then going off to find new horizons. It's about the incredible DC-3. And more specifically, the VSkyLabs DC-3, as so thoroughly outlined in the xplanereviews write-up right here.
Pilots are like quite simply like this. Seduce the practical J3 today, want the racy P51 tomorrow and yearn for the twin the day thereafter. It's in our blood. We want more. We want it all.
But this particular twin makes us sweat. Sweat and work at it like no other. Makes us focus on the task, eyes never straying from the intimate details. The mind is always trying to keep abreast with the twin's zesty streaks. A sense of fun, adventure, accomplishment all rolled into one noisy yet utterly memorable affair. Why this twin? Perfection is why. Like no other you are implicitly aware that you are kept aloft by those five shapely foils. The lightest touch provides a response, and not always what you had hoped for ... feisty. Never entirely predictable. Always striking, enthralling and bewitching.
Satisfy her needs and you walk away with a wry smile. And you'll be back, wanting more. To go further. A little better this time, more balance, more anticipation. The twin knows about the J3 and the P51, and she doesn't care because she knows you will have to be back. Why this twin, an not the other? The sweaty palms, her response to your touch, the aural sensation and perhaps the fact that when you first had your way with her every other gal was a hemisphere away. Whole days – weeks! – spent with her perfecting your touch, the never-ending endeavour to please her and enjoy the journey even more than the destination. Because she is unsurpassed.
And all that for the price of a hamburger.
-
News! - Aircraft Upgraded to XP11 : 208 Grand Caravan HD Series by Carenado
You would actually be surprised on how old Carenado's 208B Grand Caravan actually is in X-Plane. The original release is now five years old, with a big v2 update a year later in 2013. As I fly this aircraft quite a lot I did find it feeling quite old lately as it is, but I didn't realise that overall it was over five years old.
So the upgrade to X-Plane11 will be certainly really welcome for this grand machine, the C208 is one of the best and I would guess one of the biggest sellers for Carenado in X-Plane.
Like all older upgrades to X-Plane11 from Carenado you have to repurchase the aircraft, this is not an update, but a completely new version. With that there is an interesting change to the package in that the Super CargoMaster add-on is now included in the full package and not as an add on purchase, so buy one and you get both versions.

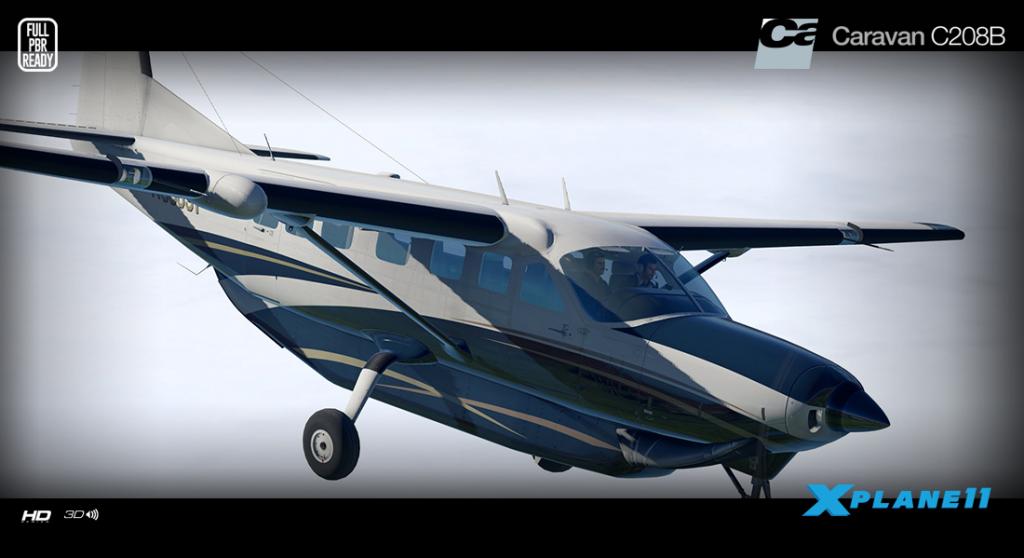
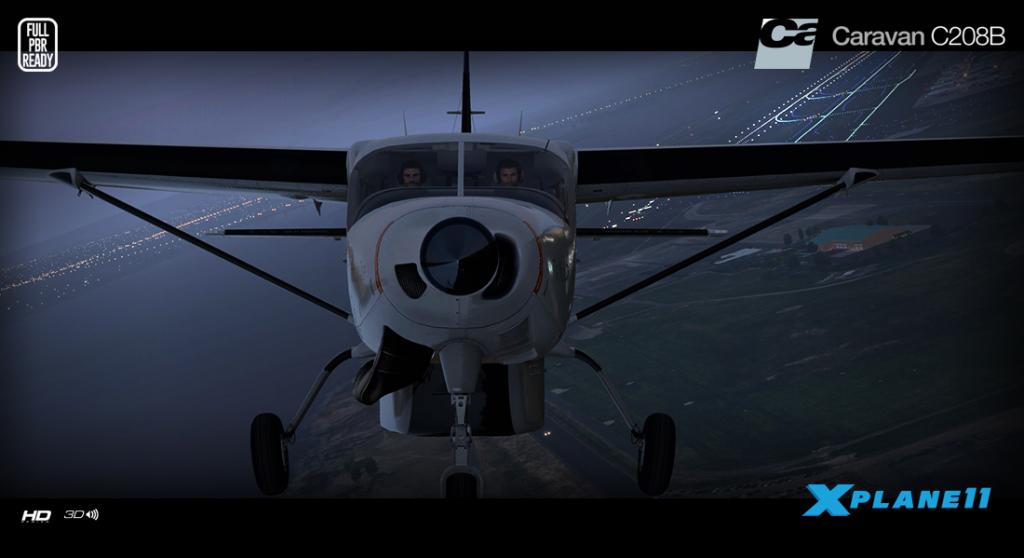
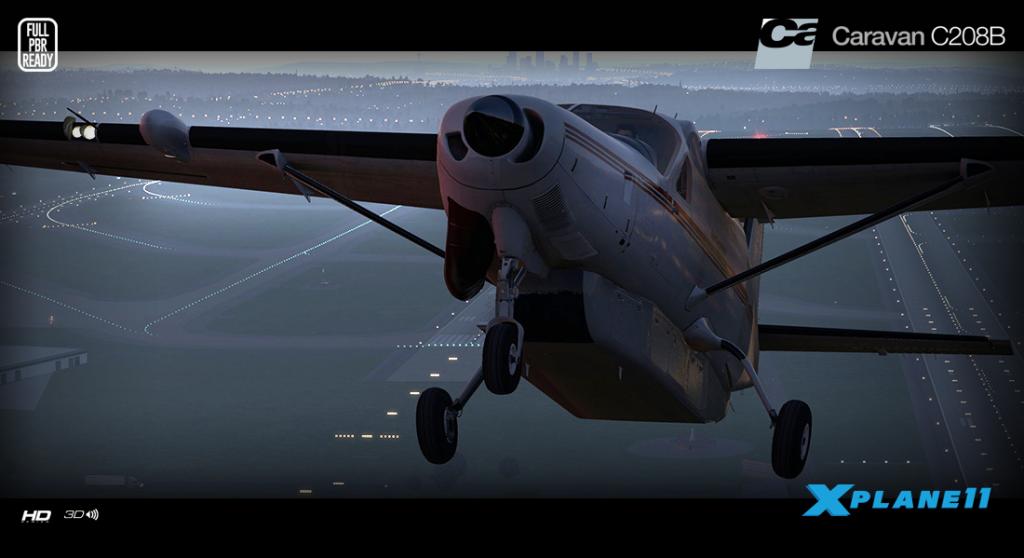
I know this excellent aircraft more than most machines in X-Plane, it is a brilliant simulation of one of the world's most versatile aircraft. The C208B is the most workable local short route aircraft you can fly and there are a lot of great features and options to get the best out of this aircraft.

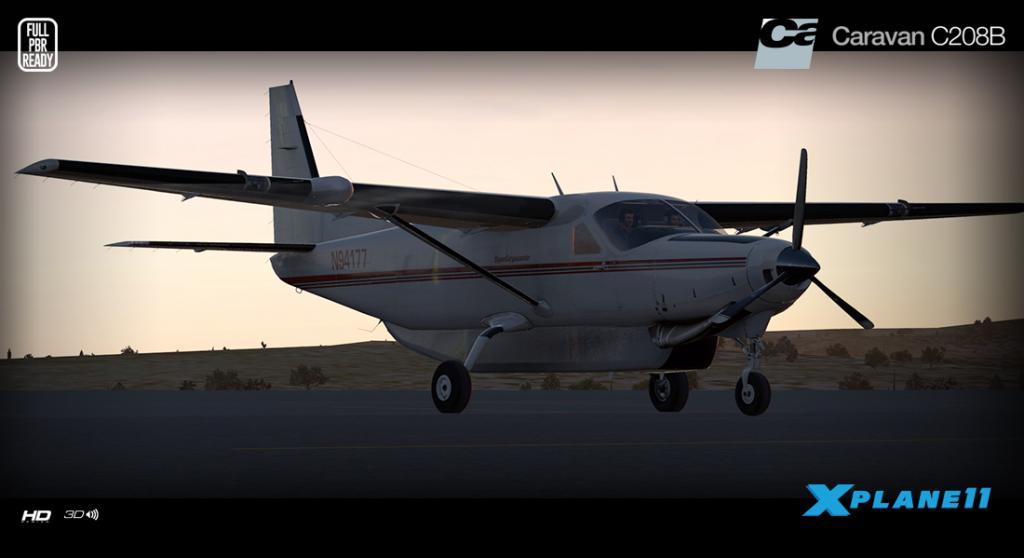
The Super CargoMaster version also comes with an extra download of DHL and FedEx liveries as well.
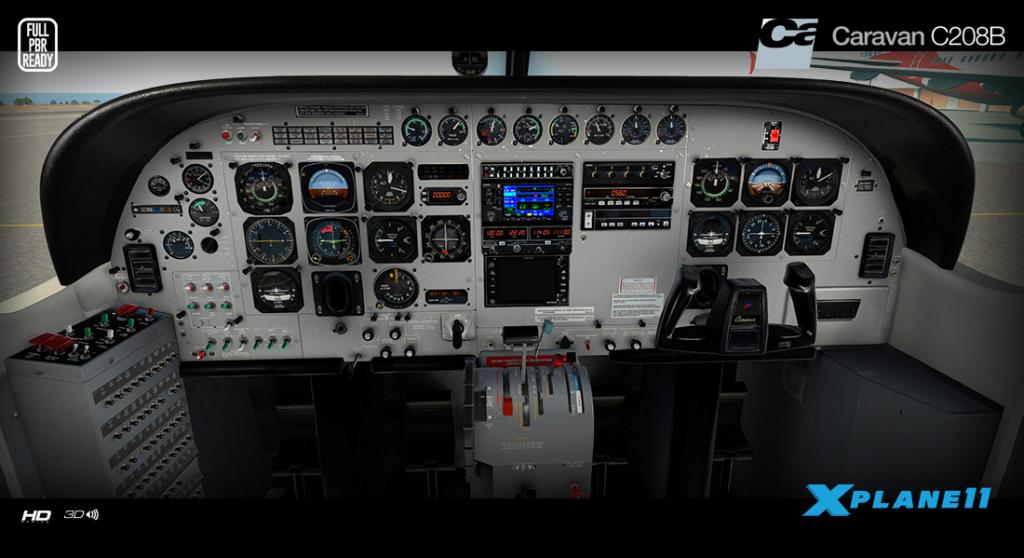

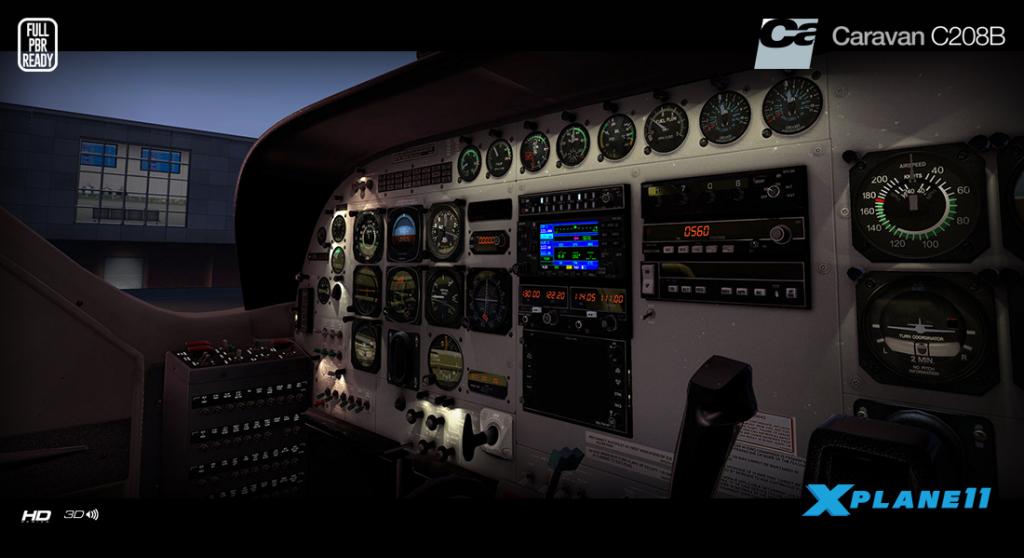
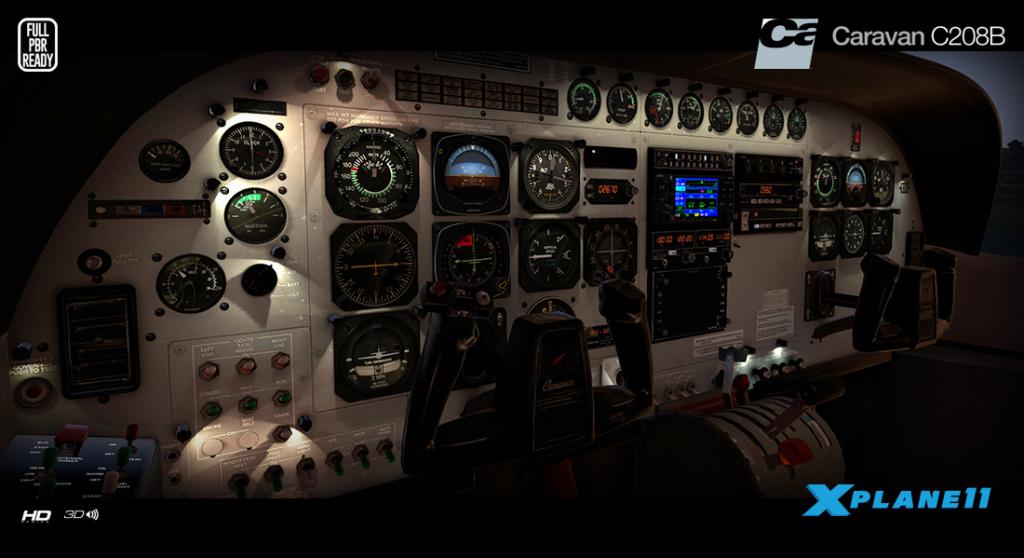
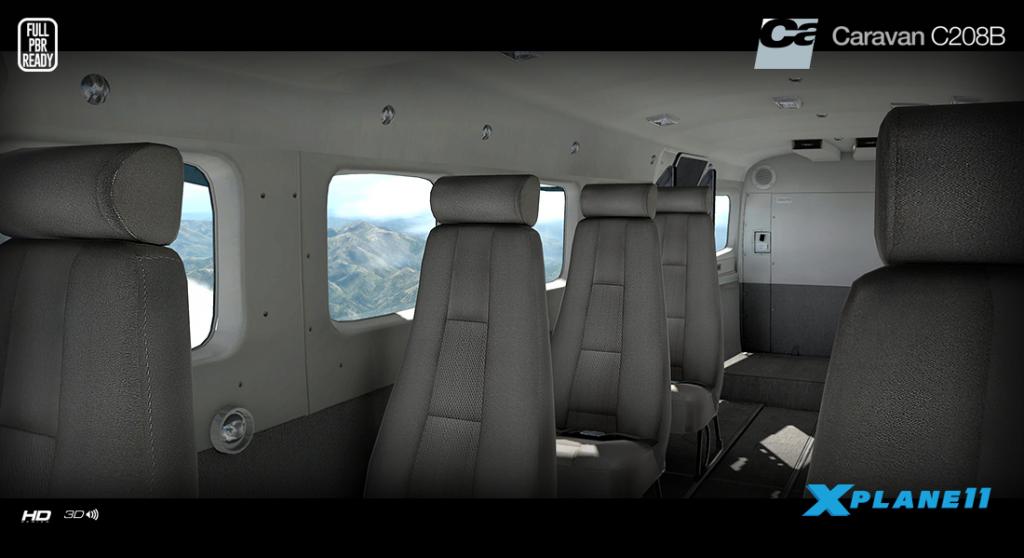
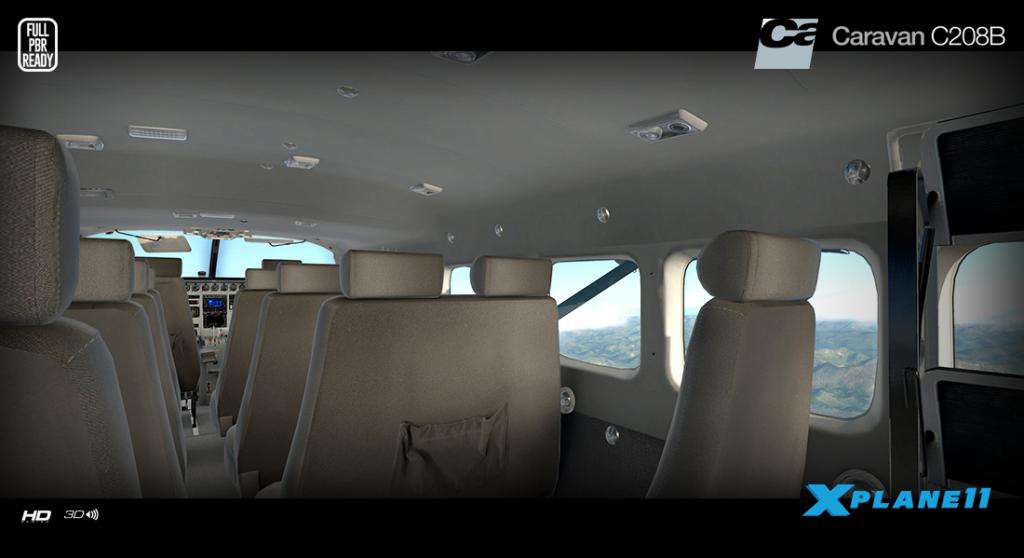
Features
Specially designed engine dynamics for XP11.
Flight physics designed for XP11 standards.
Ground handling adapted for XP11 ground physics.
Physically Based Rendering materials and textures.
PBR materials authored with industry-standard software used by the film and gaming industries.
X-Plane GNS430 (FPS friendly)
Ice and rain effects
VR compatible click spots.
Goodway Compatible.
Realistic behavior compared to the real airplane. Realistic weight and balance. Tested by several pilots for maximum accuracy.
Dynamic loading/unloading of 3D parts and plugin logic for FPS optimization.I haven't flown the new XP11 Caravan yet but those specifications look excellent. Note the different engine performance, better flight physics both in the air and on the ground and the X-Plane11 feature Physically Based Rendering (PBR) has been incorporated in the new version as well.

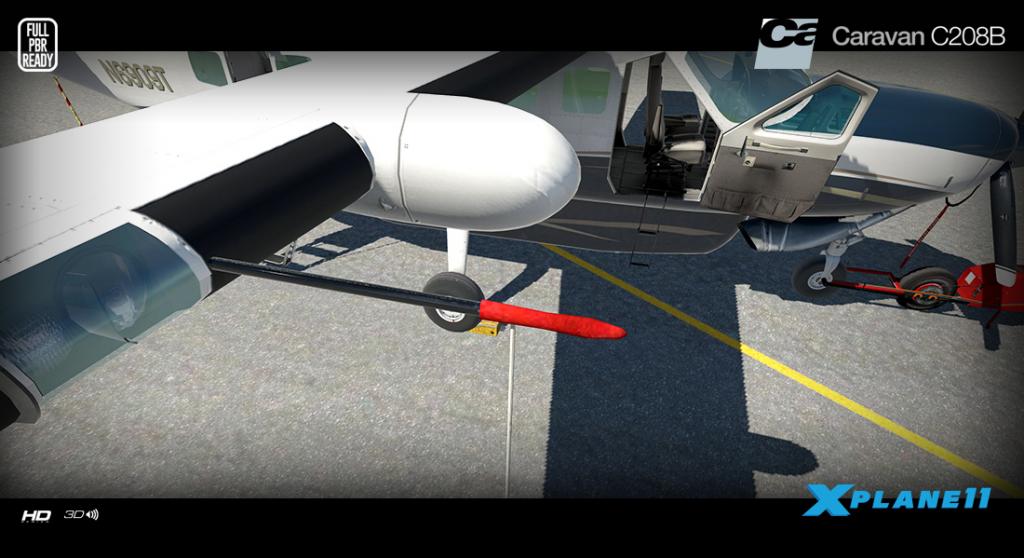
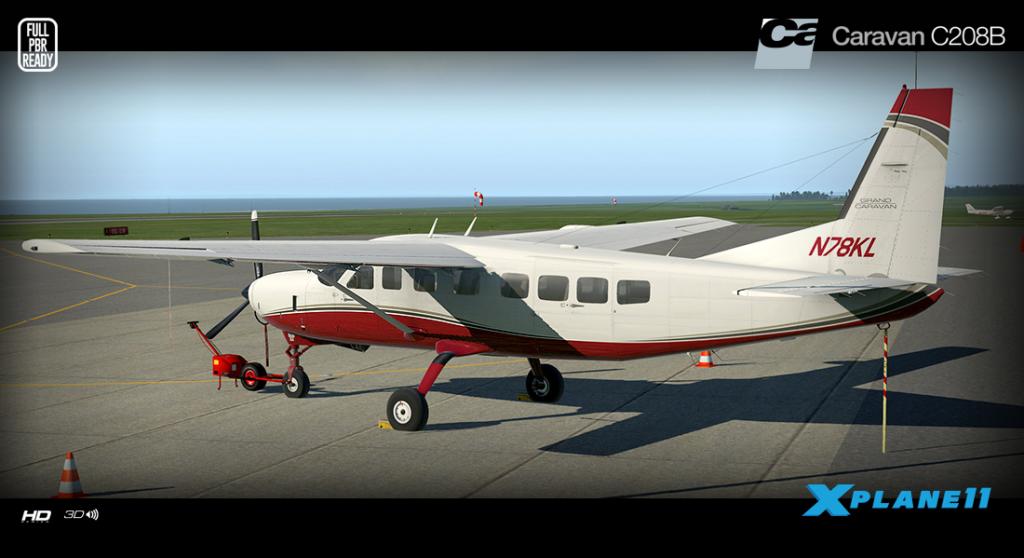
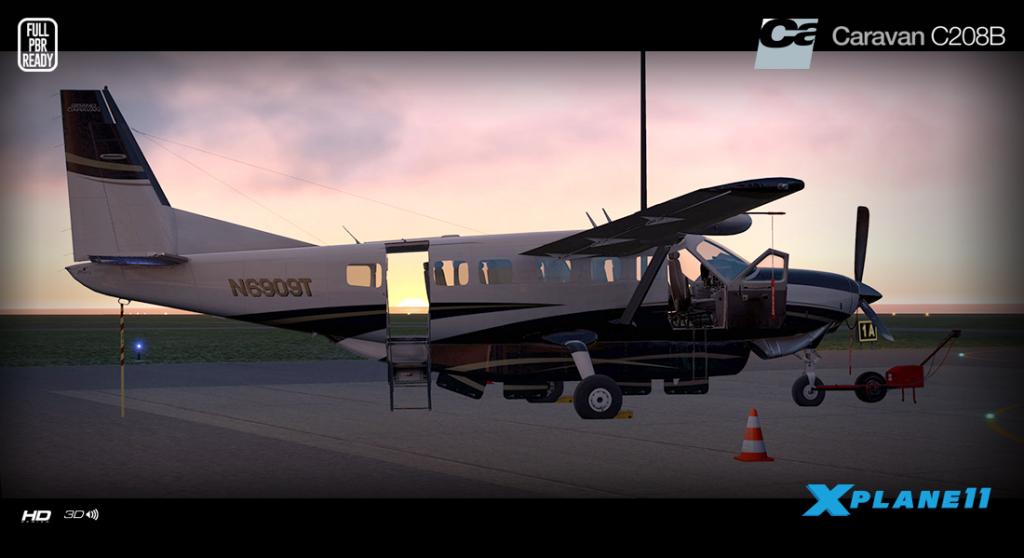
Included in the package
5 HD Liveries
1 HD Blank Llivery
2 models: Grand Caravan (GC) and Super Cargomaster (SC)
C208B GC Normal and Emergency Procedures PDF
C208B SC Normal and Emergency Procedures PDF
C208B GC Reference document PDF
C208B SC Reference document PDF
KFC150 Autopilot PDF
Recommended Settings XP11 PDF
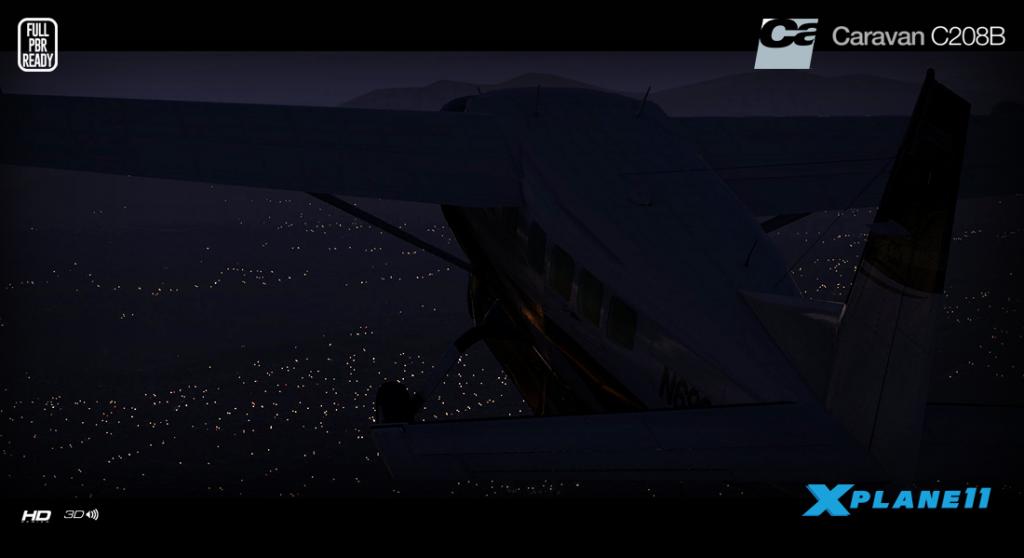
Recommended System Requirements
Windows XP - Vista - 7 -10 or MAC OS 10.10 (or higher) or Linux
X-Plane 11
CPU: Intel Core i5 6600K at 3.5 ghz or faster.
Memory: 16-24 GB RAM or more.
Video Card: a DirectX 12-capable video card from NVIDIA, AMD or Intel with at least 4 GB VRAM (GeForce GTX 1070 or better or similar from AMD)
570MB available hard disk space
The X-Plane11 Grand Caravan 200B and Super CargoMaster package is now available from Carenado
______________________________________________________________________

The 208 Grand Caravan XP11 HD Series by Carenado is NOW available! here :
Price is US$34.95
Notes:
For WINDOWS users: Please ensure that you have all the Microsoft Visual C++ Redistributables downloaded and installed (click here)
Images & Text are courtesy of Carenado©
Developer site : Carenado.com
______________________________________________________________________
Stephen Dutton
10th August 2017
Copyright©2017 X-Plane Reviews: X-PlaneReviews

-
Yes and no Mat. In the buildings and central area it is heaps better, but some areas are just blank without any static aircraft. Overall I use this version than Freddy's, but have added in some statics to fill in the western areas. SD
-
Aircraft Review : Ford Tri-Motor 5-AT by Ted Cook Productions
There was a time when you went to a field, yes only a green grass field, you climbed into a machine and flew to another green field at your destination. There was no carparking, no security, no scanners, no food courts, no flight boards, no wifi, no boarding gates, no airbridges, no taxi holding, no waiting in line to takeoff, no holding patterns, all you did was pass over your bags and got into an aircraft and flew in the air... it was the first "Golden age of Air Travel".
It was impossibly dangerous as well? The machines were to say very are very basic, flying was rough, noisy and the chances of you crashing in bad weather were very high... but it was all very exciting as well.
These were first all metal aircraft after the earlier even more dangerous fabric and wire designs. The all metal construction was pioneered by a German called Professor Hugo Junkers with his Junkers J1. Clever advanced manufacturing in control surfaces (ailerons, elevators, and rudders) which were not now fabric-covered, but they were also made of corrugated metal in making airframes strong but light.
These basic principles were the picked up by an American called William Bushnell Stout who adapted an airframe very similar to Junkers single-engined Fokker F.VII and even then still using the same airfoil cross section at the wing root. But Stout required investment to further his designs and his company. And so he asked for shares to create a new aircraft company In the early 1920s called Stout Metal Airplane Company.
Henry Ford, along with a group of 19 other investors including his son Edsel, invested in the new company and very quickly in 1925 bought out the company lock stock and barrel and then Henry Ford also had an aircraft manufacturing company as well as his car company.
The result was the single-engined Stout monoplane which was then turned into a trimotor, the Stout 3-AT with three Curtiss-Wright air-cooled radial engines, and it flew for the first time June 11th, 1926. The original (commercial production) 4-AT had three air-cooled Wright radial engines. It carried a crew of three: a pilot, a copilot, and a stewardess, as well as eight or nine passengers .The later 5-AT had more powerful 420-hp (320-kW) Pratt & Whitney Wasp radial piston engines, accommodation for two pilots, a stewardess and now 13 passengers, the wingspan was increased by 3 ft 10 in (1.17 m).
Success for the aircraft was immediate, The Tri-Motor now nicknamed the "Tin Goose" was cheap ($42,000 in 1933 which is about $736,000 in 2013), strong and reliable and that was all you required to start an airline service. Just under 200 were built as aircraft design advanced very quickly and the stalwart DC2 and Boeing's 274 suddenly became the aircraft to have.
In July of 1929, Transcontinental Air Transport (TAT) then inaugurated “coast to coast” air/rail service. This was a route developed by Charles Lindbergh, and passengers could cross the country in 48 hours travelling by rail at night and Tri-Motor by day. TAT would later become TWA and soon inaugurate all-air service from coast to coast. and many other American airlines emerged with the Tri-Motor like American Airlines, United Airlines and Pan American Airlines flew and also created significant routes like Miami to Cuba under the wings of this aircraft. And many aircraft were used by the military as well as C-3 and C4A's. You also have to understand how much Ford and this aircraft helped in introducing many aspects of the modern aviation infrastructure, including paved runways, passenger terminals, hangars, airmail, and radio navigation, he created the airport from the field innovation.
More so that on November 27th and 28th, 1929, Commander Richard E. Byrd (navigator), chief pilot Bernt Balchen, and two other crewmen, the copilot and the photographer, made the first flight above the geographic South Pole in a Ford Trimotor that Byrd named the Floyd Bennett.
Significantly many Tri-Motors still survive today, 18 are still in existence and eight are still airworthy and one of the most famous was the Scenic Airways Ford Trimotor N414H which was used for 65 years as a sightseeing aircraft flying over the Grand Canyon.Sadly these few if great aircraft was Henry Ford's first and last foray into personal aircraft production but the Tri-Motor was not to be Ford's last venture in aircraft production. During World War II, the largest aircraft manufacturing plant in the world was built at the Willow Run, at his Michigan plant, where Ford produced thousands of B-24 Liberator bombers under license from Consolidated Aircraft.
Ford Tri-Motor 5-AT
One of the most brilliant things in simulation is you get the chance to enjoy these great pioneering aircraft. I loved VSKYLABS amazing DC-3 only a short time ago (and still fly it regularly) and now here is the famous "The Tin Goose".

Overall the modeling is not bad, the Fokker style corrugated surfaces and the metal wings are faithfully reproduced, but all surfaces are more in a light grey and not in the silver, silver metallic look you would expect.
You have to be aware of how basic these aircraft really where, although advanced for their day, they are at their heart a very simple machine with just the very basic items required for flight.

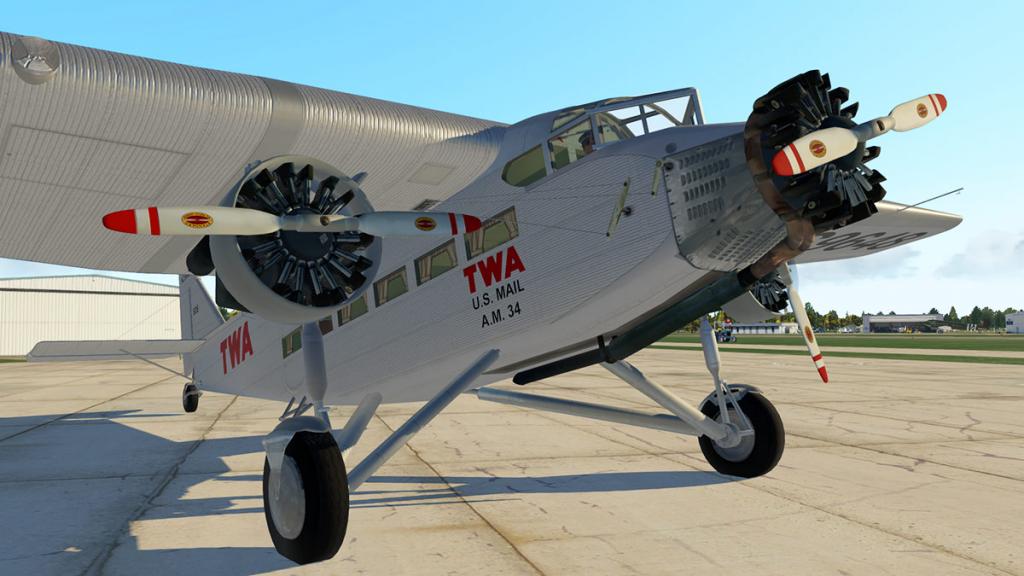
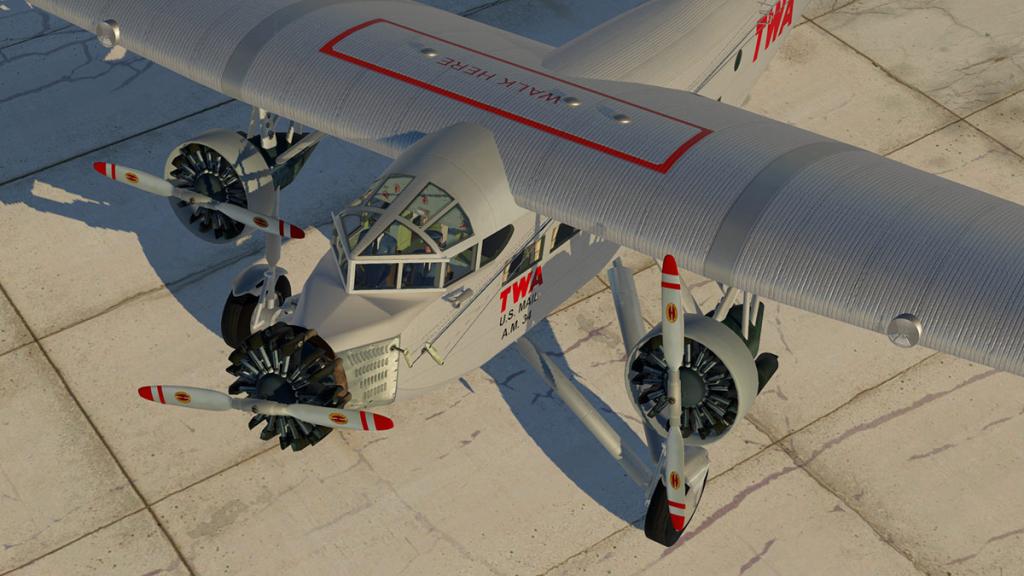
Nice highlight is the metal cowling around the rear of the front engine. The Wasp radial piston engines R-1340 which was a nine cylinder, air-cooled, radial piston engine with 1,340 cubic inches of displacement (hence R-1340).
Engine detailing is very good, and important on an aircraft of this era. The intricate inlet and exhaust outlet valves cover mostly the air-cooled inner cylinders (think Volkswagen air-cooled engines) and the exhaust manifolds are connected to a circular exhaust exiting under the airframe with the front engine and to the side on the outer engines. They look very fragile today, but they were more solid and reliable than they looked, only strange thing is the outer engine cowlings on some liveries have a tendency to go transparent from some visual angles?


The double-spoon like "Standard" propellers and don't twist for feathering, they are well done and look authentic.

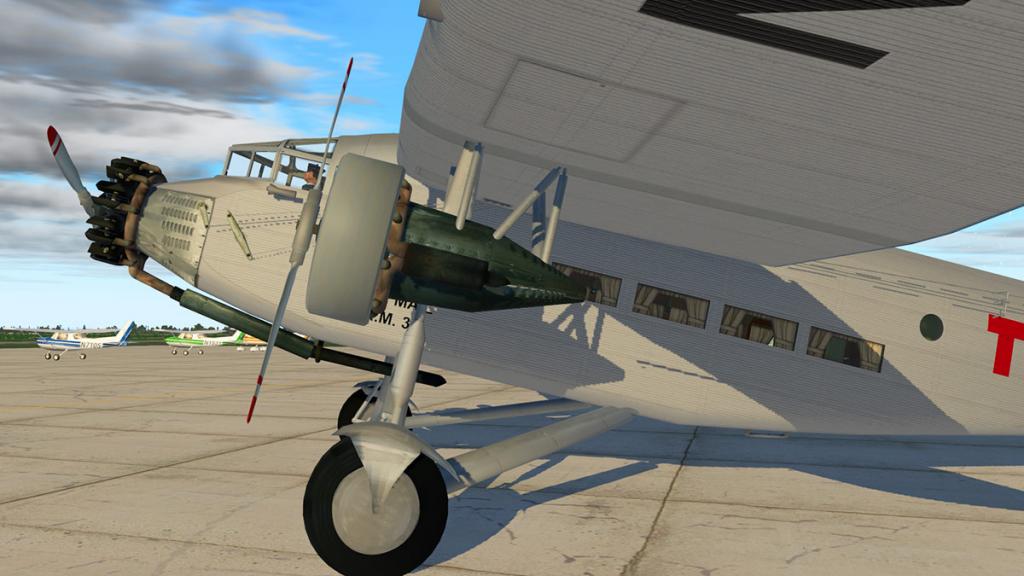
Another note to this era is the external wire or cable pulley system to the control surfaces, the front cable is the rudder and the rear is the elevator.
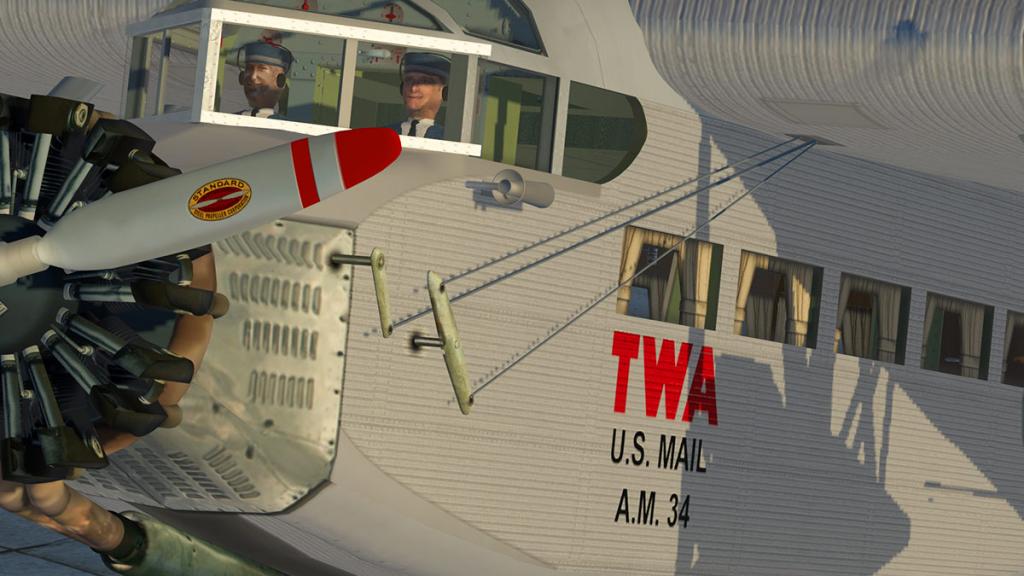
It does look extremely fragile and a primitive way of flying the aircraft, but even fast jets and airliners used this system only to a few decades ago, only you didn't see the cables exposed like you do here. They are fascinating to operate and watch in action.
Front undercarriage is solid, with the huge balloon tyres do most of the suspension work. Modeling is good, solid without being exceptional.

Rear passenger door opens, but only from the inside. You can use F keys to open and close four items including the rear door Shift F1, internal bathroom door Shift F4 and two strange ways to carry your suitcases... in the wings?
Press Shift F2 to open the right side luggage rack to drop down from the wing, or Shift F3 for the left rack... all animations can be set with the sliders as well.
There is no static elements or external features, menus are not provided either.
Cockpit
The cockpit is beyond weird! Part airship, part car and part battleship and a bit of WW2 bomber thrown in for good measure.
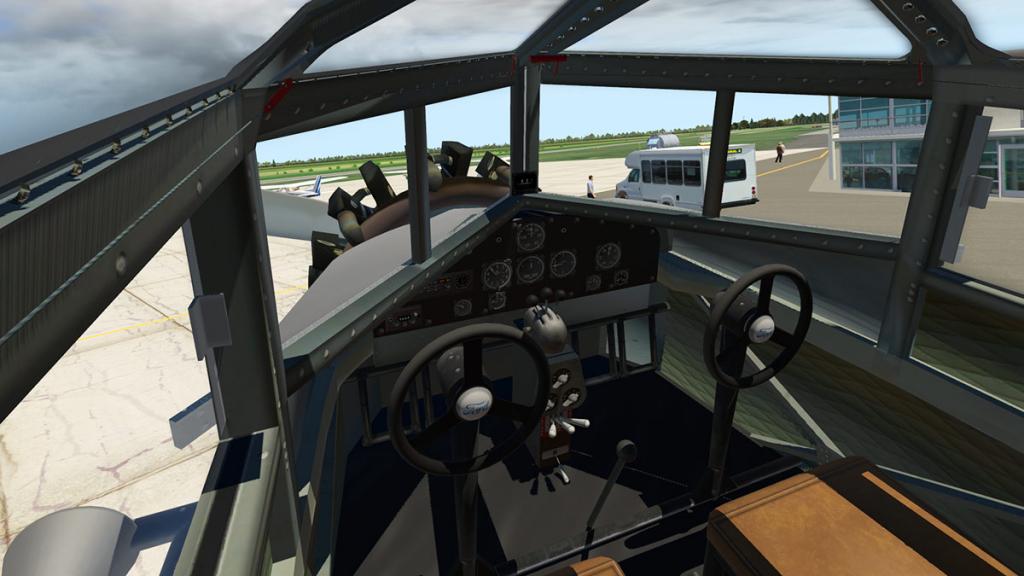

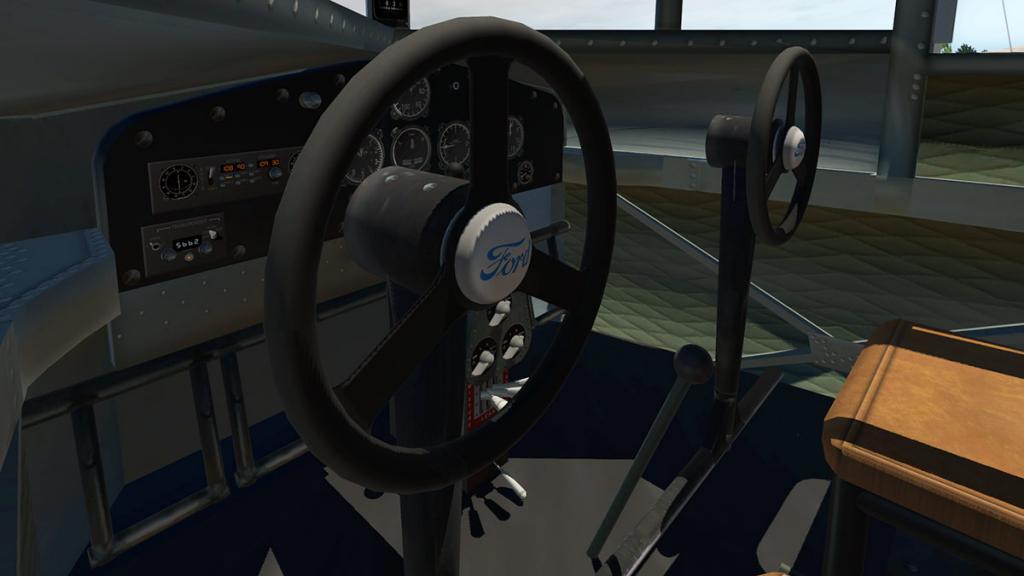

No yoke or joysticks here, just a hybrid wheel and left over Ford Model A parts. The four on the floor is your hand-operated "Johnny brake" or Johnson Brake.

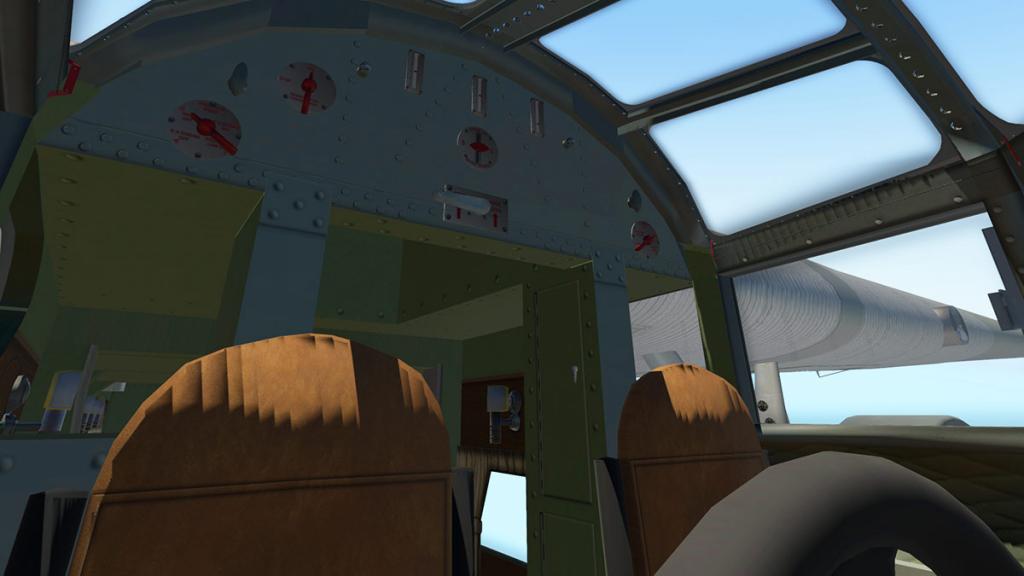
The control system is very basic as both yokes are mounted on a single crossbar, forward and back in your pitch and turn the wheel for bank.
Instrument panel is basic. Centre instruments covers air speed (MPH) top, then three instruments covering Altitude, Turn Rate (bank) and Pitch (Climb/Descend) in 1000ft markers. Lower panel is a clock and AMP gauge, and that is it. Far left is a basic COMM 1&2, NAV 1&2 and ADF 1&2 radio with a transponder set below.

Right panel is the engine readouts for RPM and the temperatures for the Engine and Oil. But these dials are only for the front engine? If you want the RPM and Temperatures for either the left or right engines, you have to look out at the particular engine strut as the dials are located out there.


An early style of pedestal has the lovely three throttle levers set up on top. Lower front are the three engine start switches and ignition, lower pedestal is the mixture with RICH and LEAN. A lower lever is for the front engine carburettor heat.
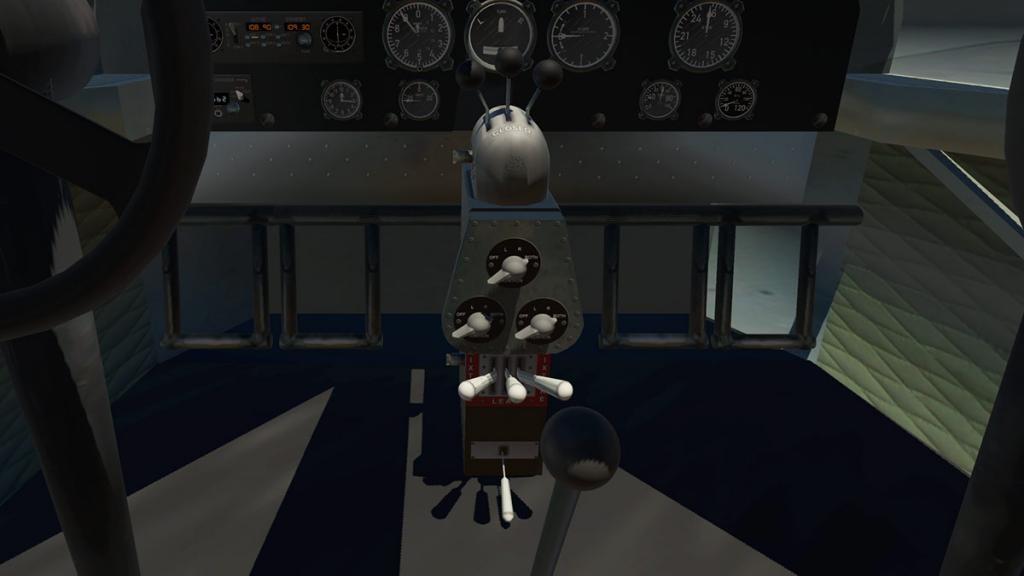

Electrical switches are under the co-pilot's seat? Including the Master, GEN (generator) and Position (Navigation), Landing Lights.
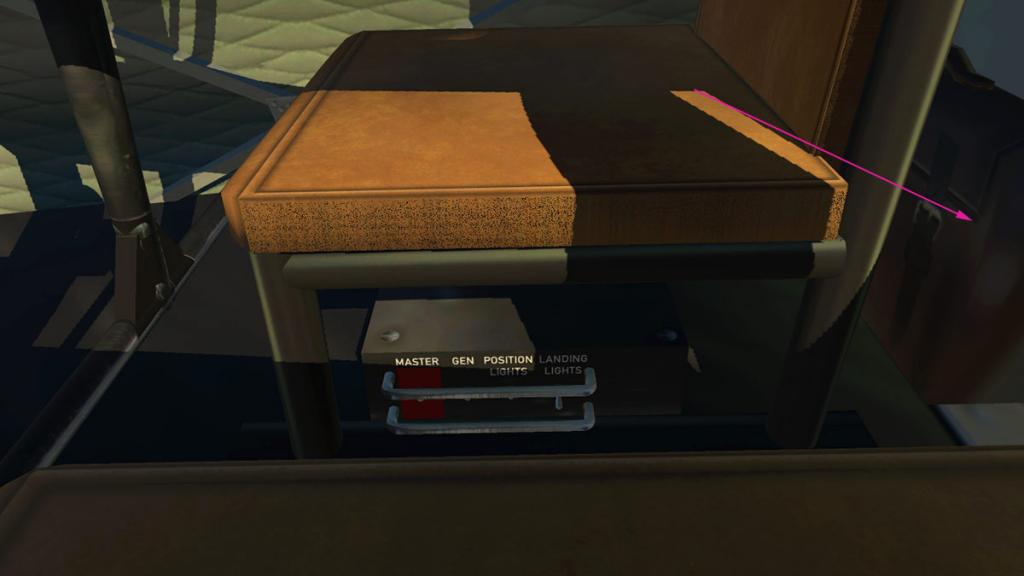
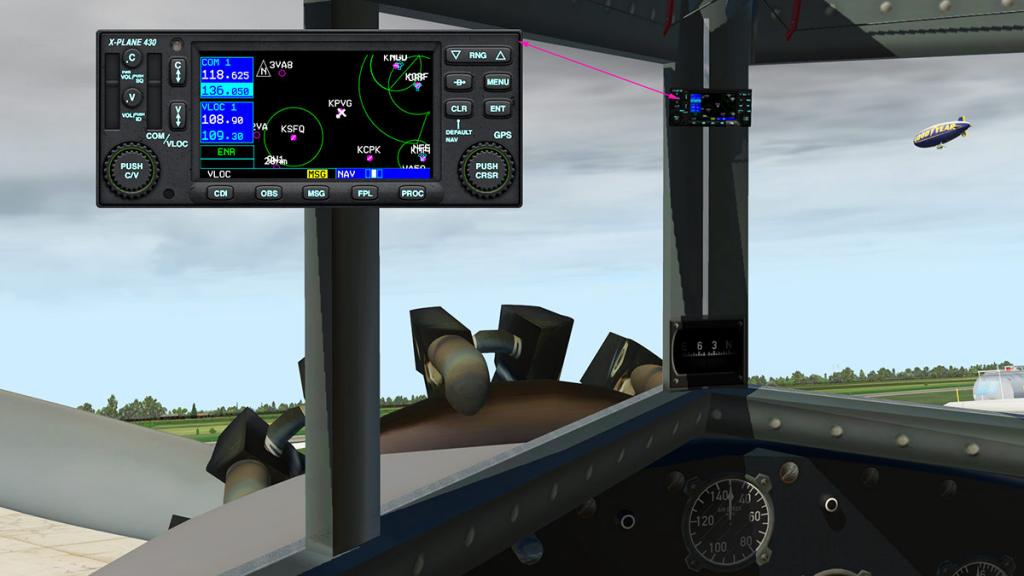
There is case behind the co-pilot's seat that if pressed will bring up a GNS430 at the top of the main window strut, it is very small but can be opened in a window for use.
Cabin
Think old fashioned Wild West Railroad and you will understand the design of the Tri-Motor's cabin.
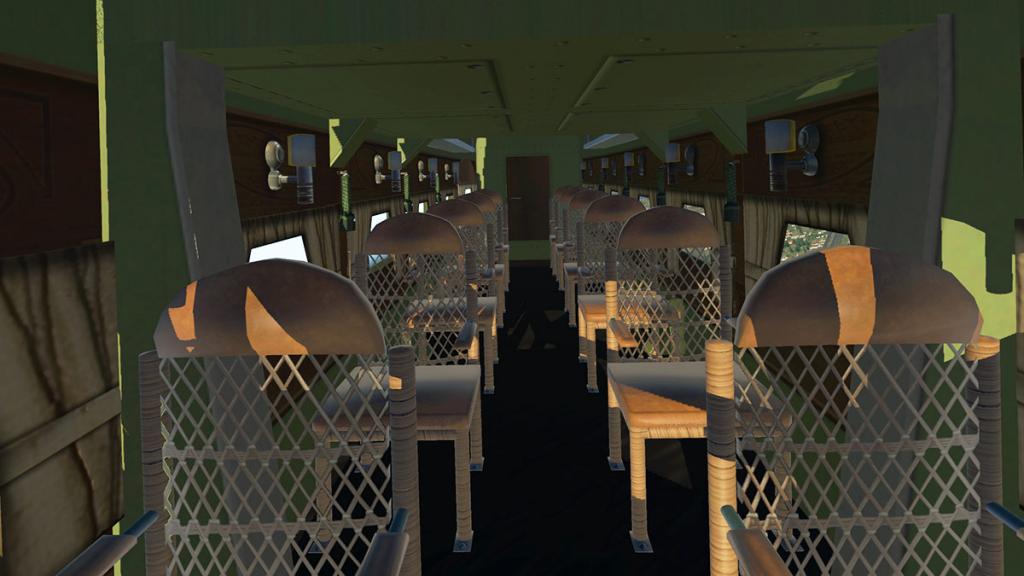

Wicker chairs and simulated gas lighting is so very far removed from Boeing latest LED mood lighting, I don't know if I could sit in them flying for hours of a time, but the seat pitch is brilliant! The curtain design is simply awful, flat, looks more like wood than fabric and not very realistic?
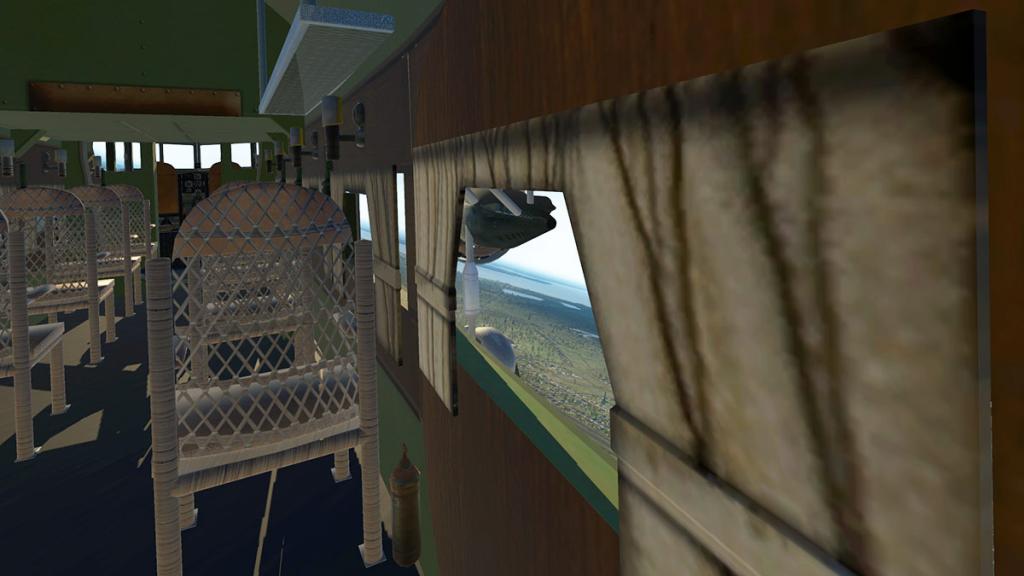

But the cabin window view is excellent, and in these slow, low altitude aircraft the views must have been heavenly is noisy.
There is a bathroom in the rear, with a full sink and toilet... Again toilet space you can dream of today, you can actually turn around in there...
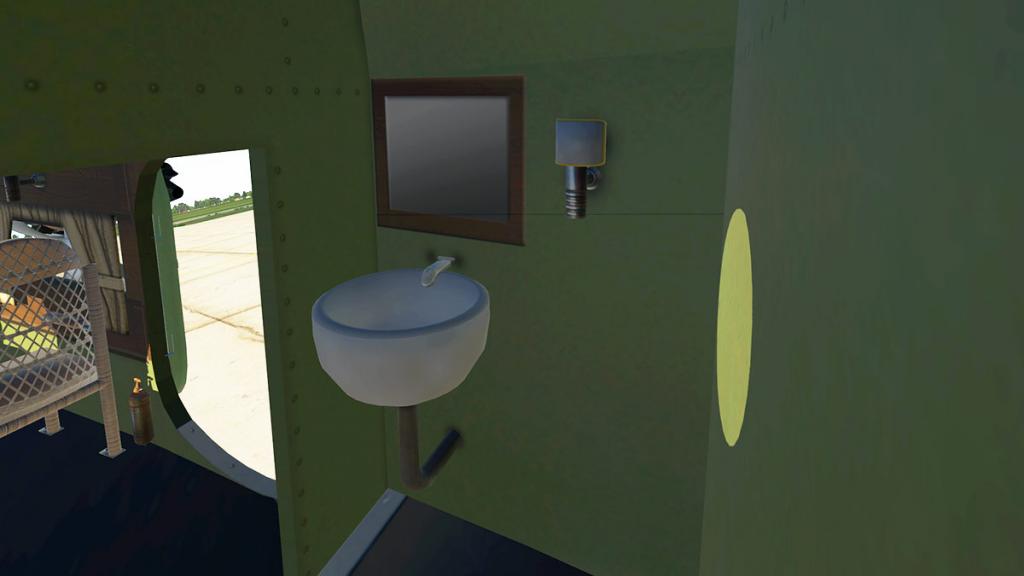
Overall the cabin was quite dark, it is very hard to get any light into the internal areas of the aircraft
Flying the Tin Goose
Starting these old radial Wasp's is a bit of fun, until they don't start. Like anything with carburettors you have to be patient and get the mixture and throttle positions correct. Part of the problem is in X-Plane that you have to lock in your throttles in together, as you can't assign an left or right throttle to each engine, so the throttle position is the same for every one of the three engines.

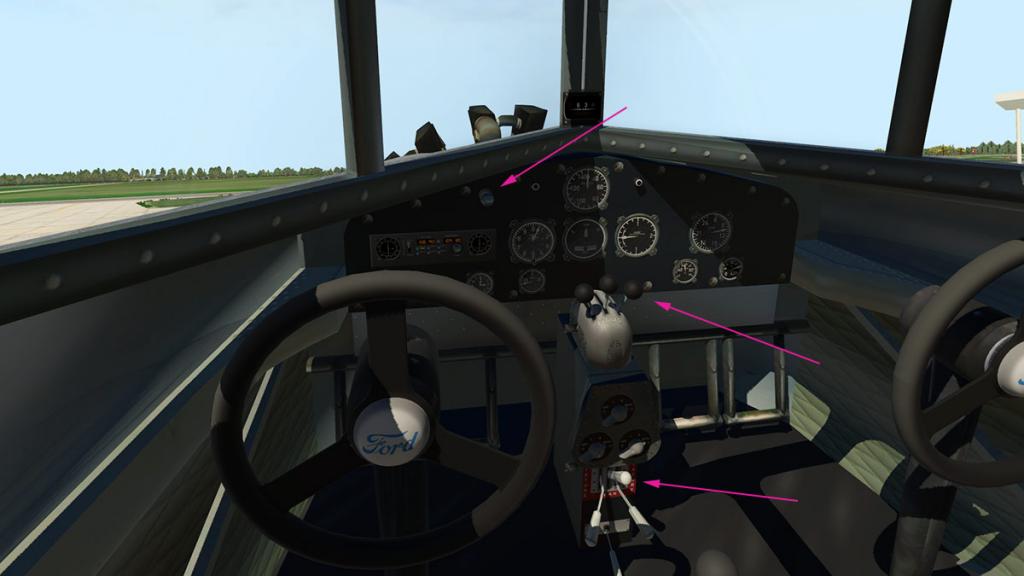
So it is mixture RICH, unless you over flood those carburettors, then throttle to about a third. Then you have to primer pump the engine (three strokes) then turn the particular engine's Magneto IGNITION switch to start... Then pray!
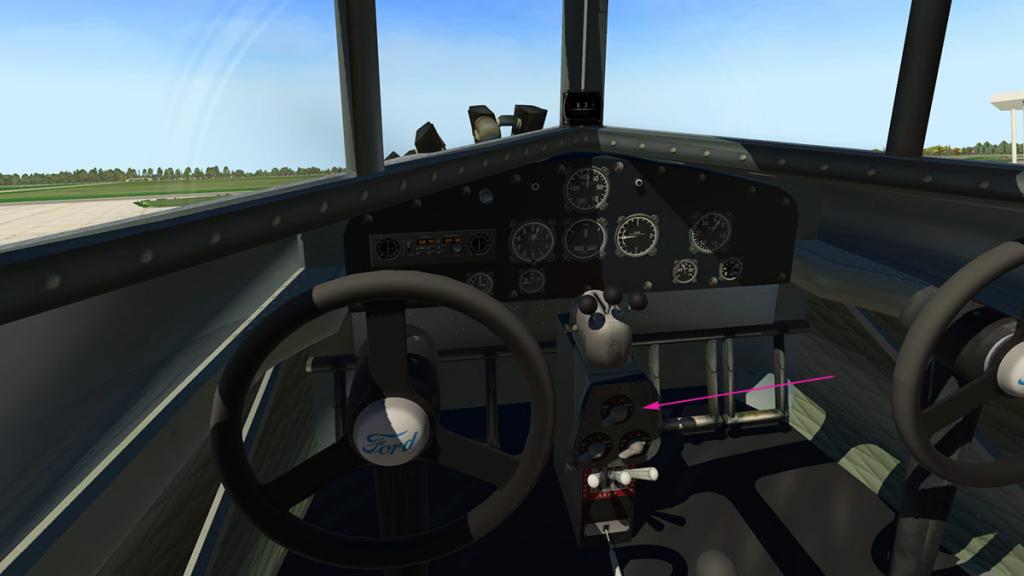
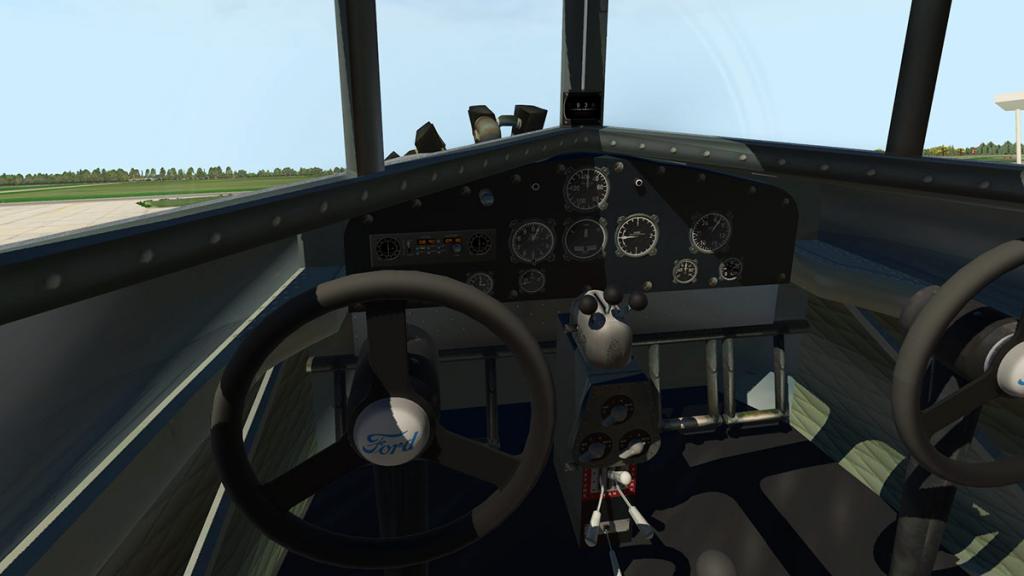
That is starting the centre front engine, but what of the other left and right engines?

Well the engine primers and carburettor heat is up high behind you on the bulkhead?
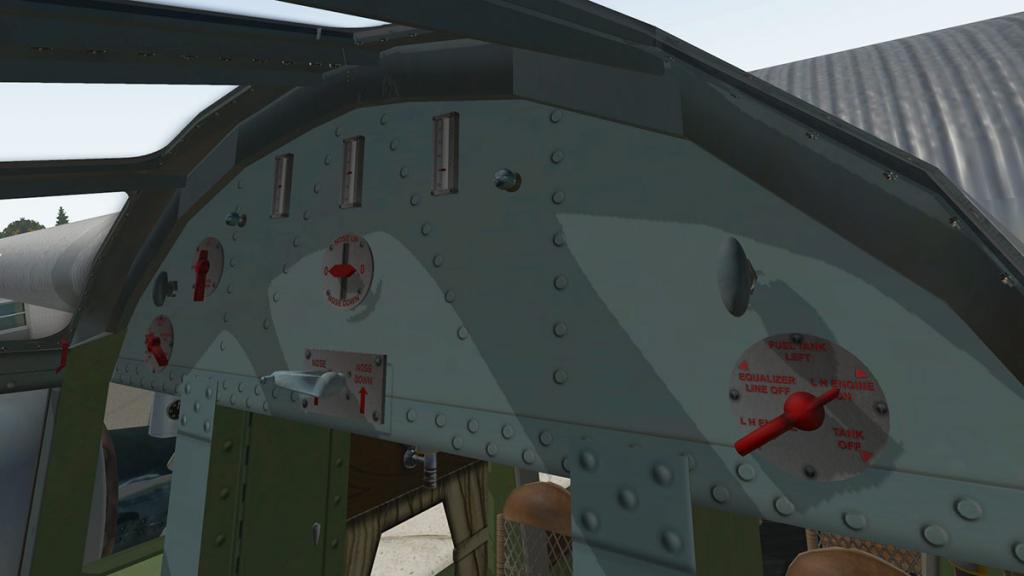
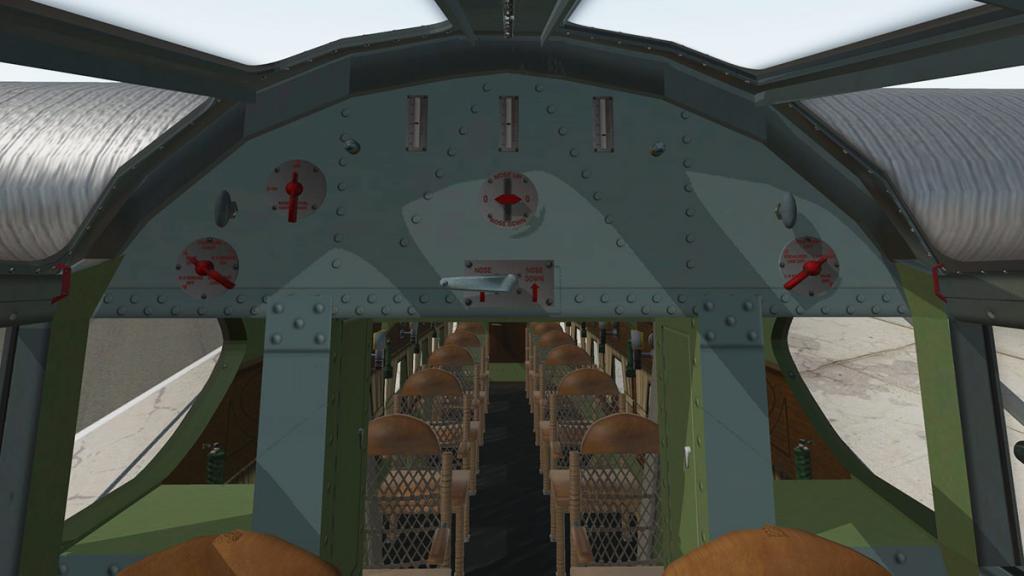
Also up here is the fuel tank switches, fuel tank gauges and elevator trim controls... yes you have to physically get out of your seat to set the aircraft's
trim? In X-Plane we can get around that by having a pop-up screen with those controls, switches and dials, in this case you press the button on the panel for it to open.
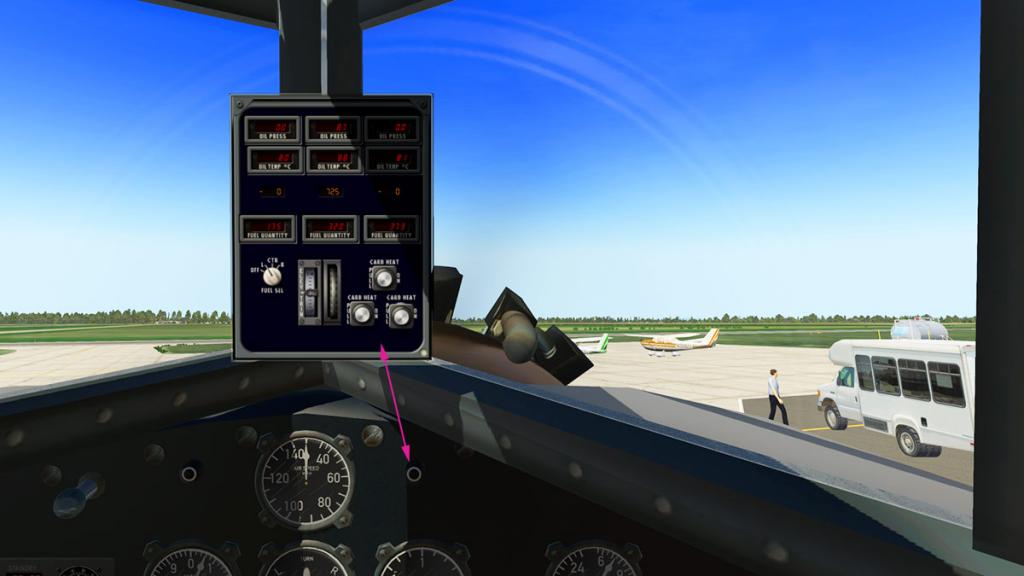
The tailwheel is locked so the Tri-Motor is easy to taxi, but it is hard to see out of, I had a habit of taxiing too close to one side of the taxiway...

The pilot's and co-pilot's side windows open, in the real aircraft it would be easier to stick you head out to taxi... but this is X-Plane.


You have to use the throttle slowly to get away as this is taildragger and getting the air around the ruder for control, but there is far more power than you expected and the Tri-Motor is more faster and less lumbersome than you expect it to be. Again I still held my takeoff run too far to the left?

The Tri-Motor is certainly a more feel than instrument aircraft, in fact you barely look at the instruments, except for the vertical pitch guide. Takeoff is around an easy 95mph.
There are no flaps to set, in fact nothing at all but put up the power and fly...
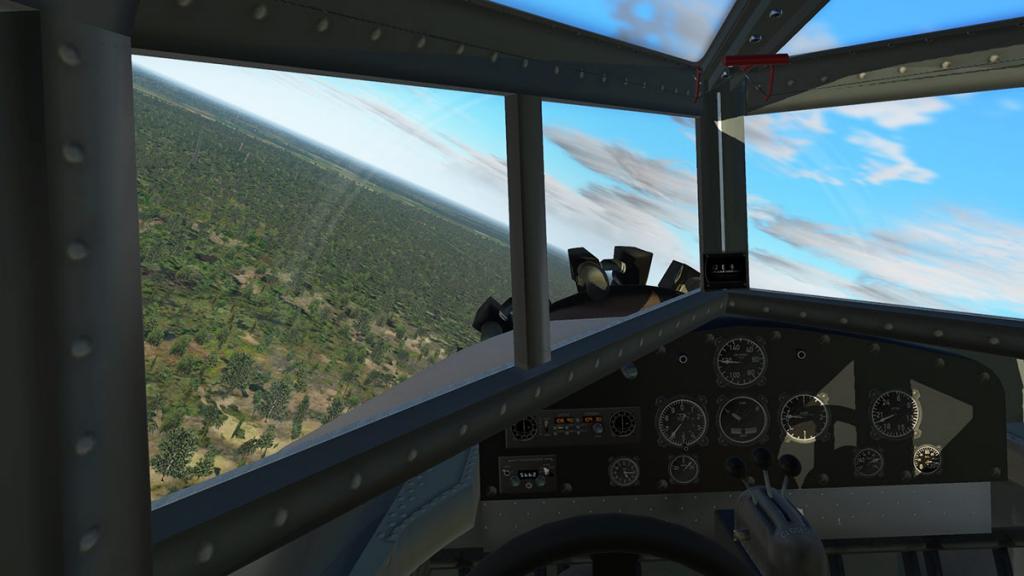
You never really get used to that heavy battleship wheelhouse feel in the cockpit, it is weird!
Climb is just under 1000fpm at 950fpm, which is very good for an old aircraft and you settle down at a top speed 135 mph and with a cruising Speed 115 mph. Your range is an impressive 510 miles (normal), 650 miles (maximum/ferry) and you can climb as high as 17,000ft with a ceiling at 18,500ft which is highly impressive.
You must switch the fuel tanks via the pop-up screen and not the real bulkhead switches for you to get the transfer, and obviously setting the trim up there is hard, or interesting depending on the way you do it.
Overall though the Tri-Motor is not an hard aircraft to fly... it is very basic with a basic sort of semi-heavy aircraft feel, so don't think you need any special flying skill's to fly an aircraft this old... because you don't
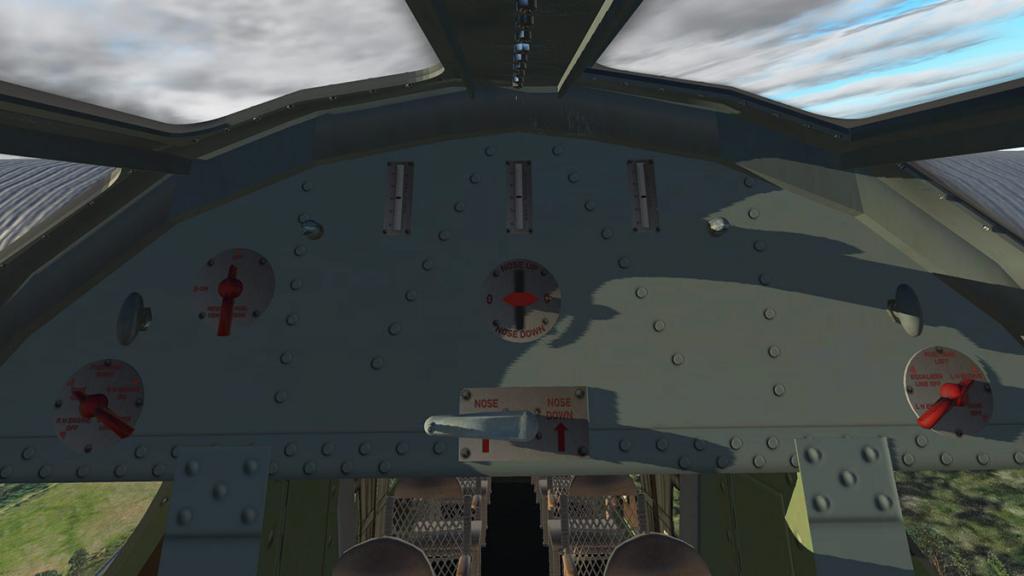
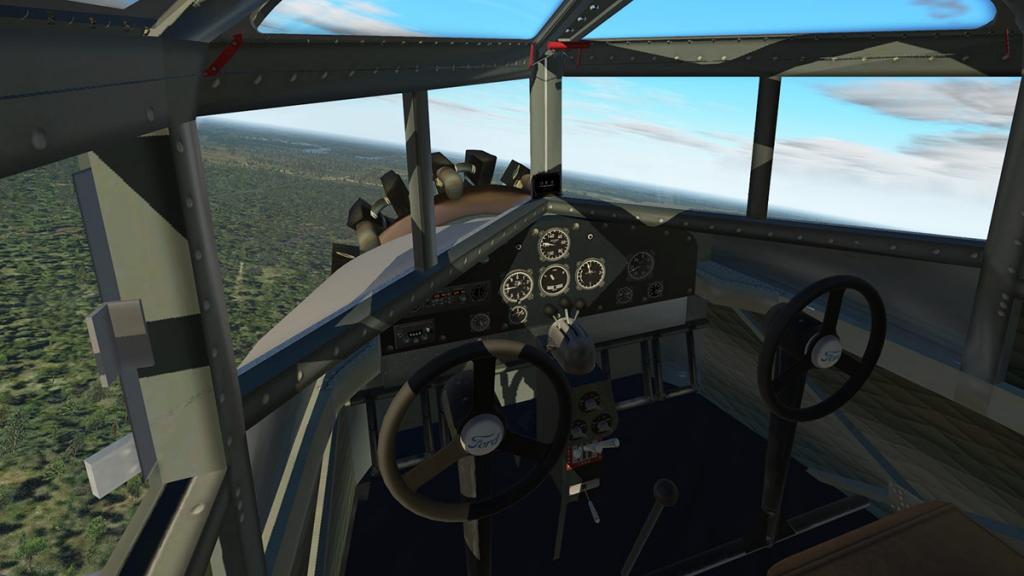
Sound is FMOD, so they are modern and not bad, nice aspect is you feel the bass and thrumming of the radial engines, so there is nice comforting noise as you thump your way through the air. Autopilot... "get outta here"... Your it mate!
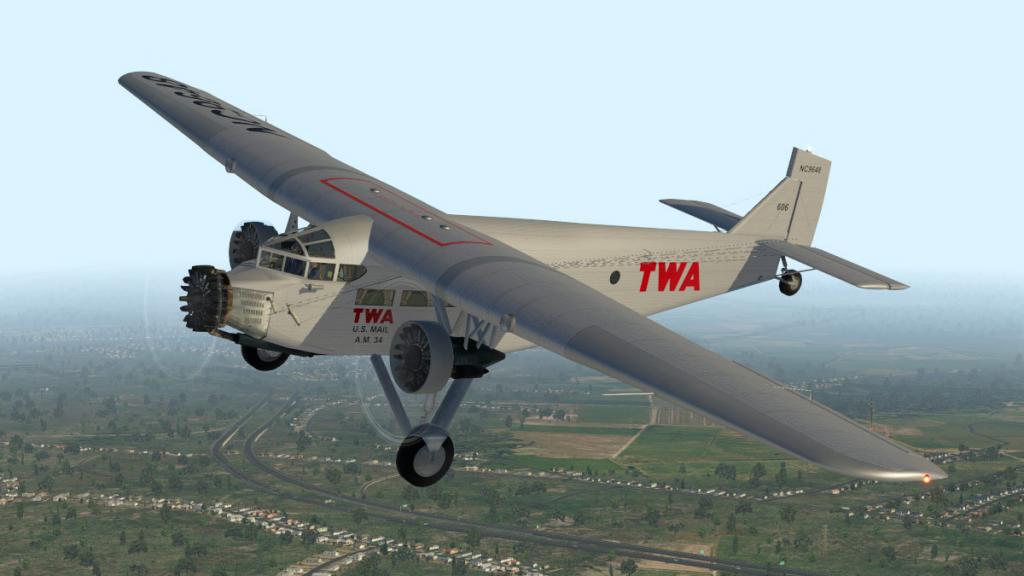

So correct trimming of the aircraft will take away a lot of the hard work at the yoke except to point it where and which way you want to fly.
So the feel is nice, if like I say basic. In landing you don't have any aids or flaps, so it is strictly stick and rudder stuff. Landing is a little tricky in seeing the runway with that all heavy metalwork around you and in your line of sight.
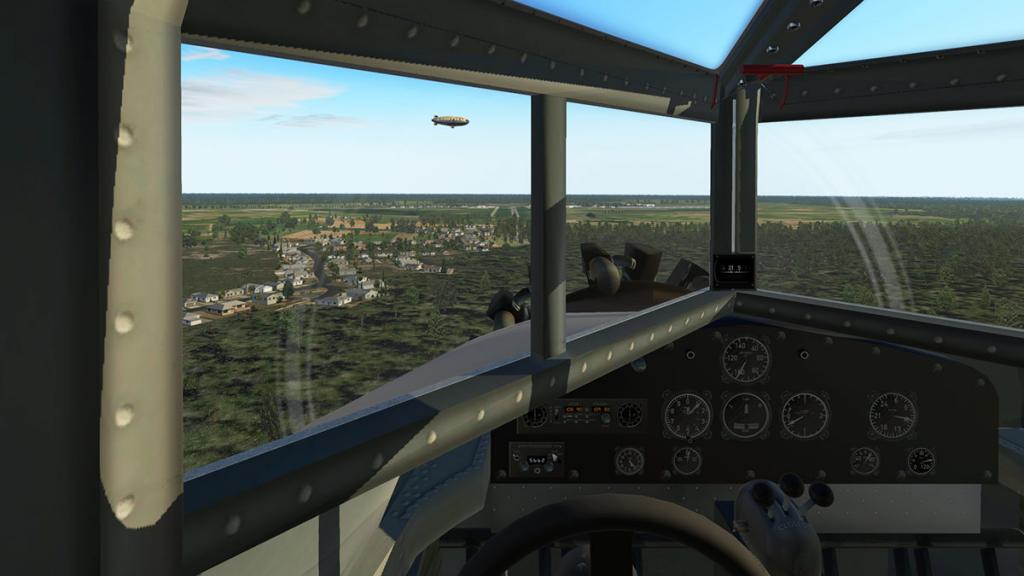
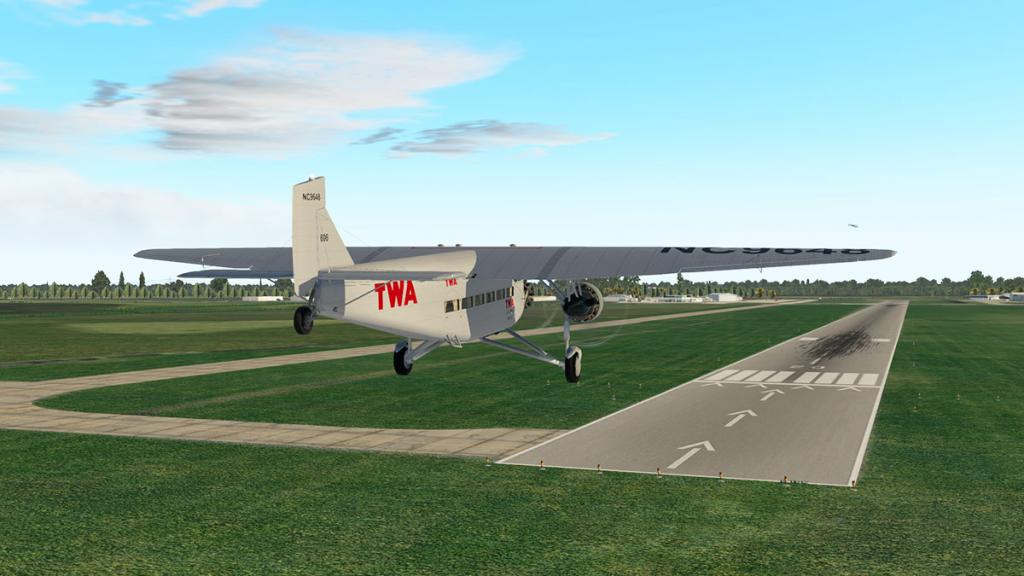
Stall is around 64mph, so an approach is usually around 95mph to say just under 80mph on landing. There are no reversers or airbrakes, and you can't hit the brakes either unless you want to flip the aircraft end over end...
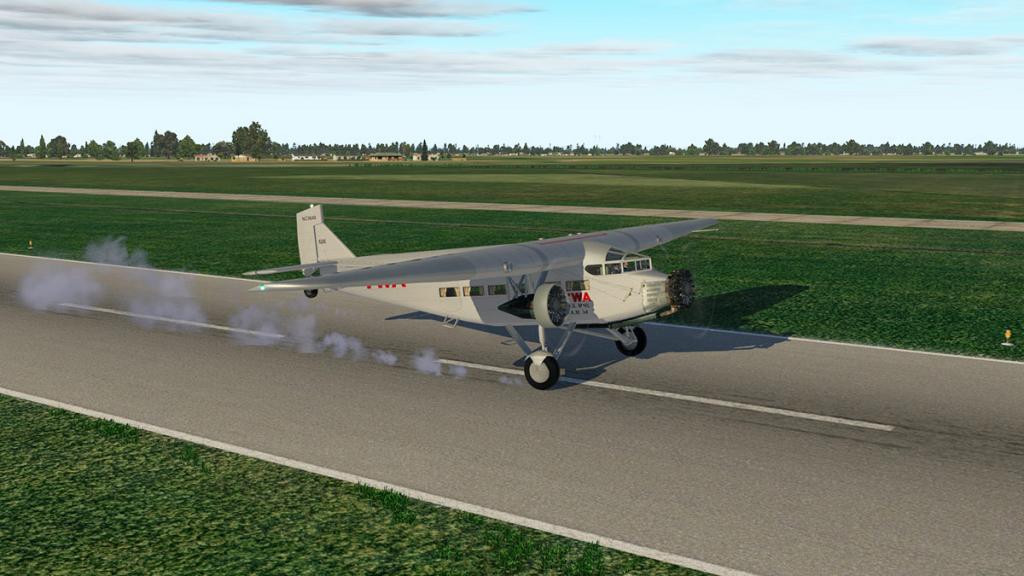
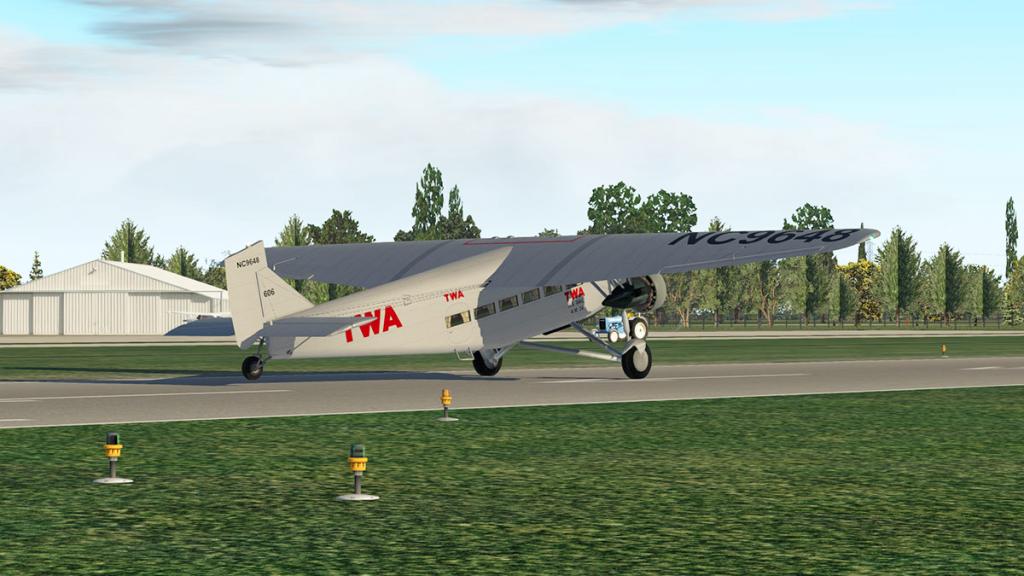
So you have to run the speed off as much as you can while steering the aircraft straight, which is slightly harder than said. Eventually the Tri-Motor will settle and you can taxi off the runway with now a slight touch of the brakes. Landing on a grass runway does help a little more in running off the speed more quicker, but most will still land on the harder surfaces.
Lighting
The internal lighting is about as basic as you can get. The dials on the panel faintly glow in the dark, but you can adjust the overhead lighting via a panel knob to give you some more light to read the instruments, but overall this would not be an aircraft that would have been flown at night.
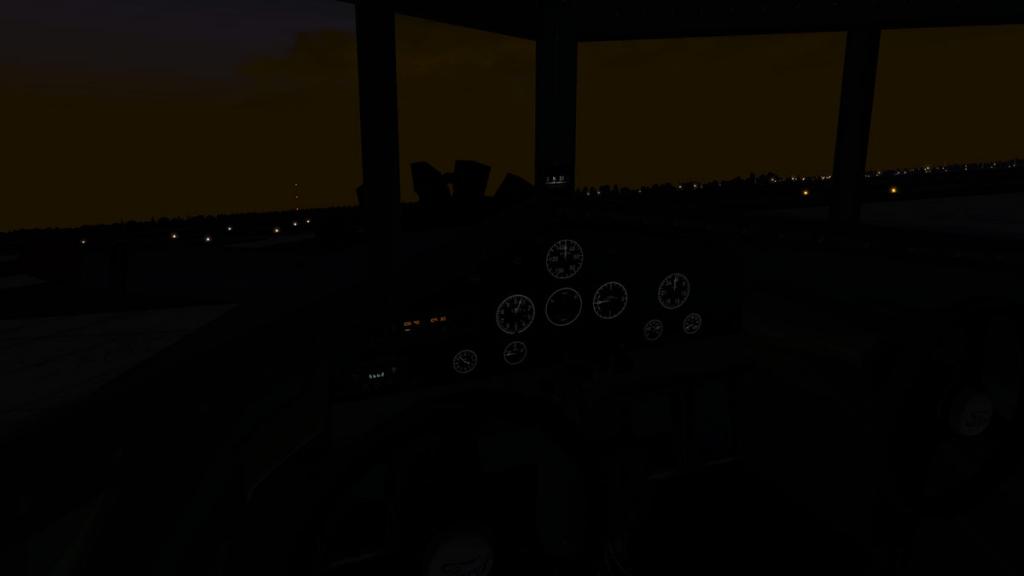
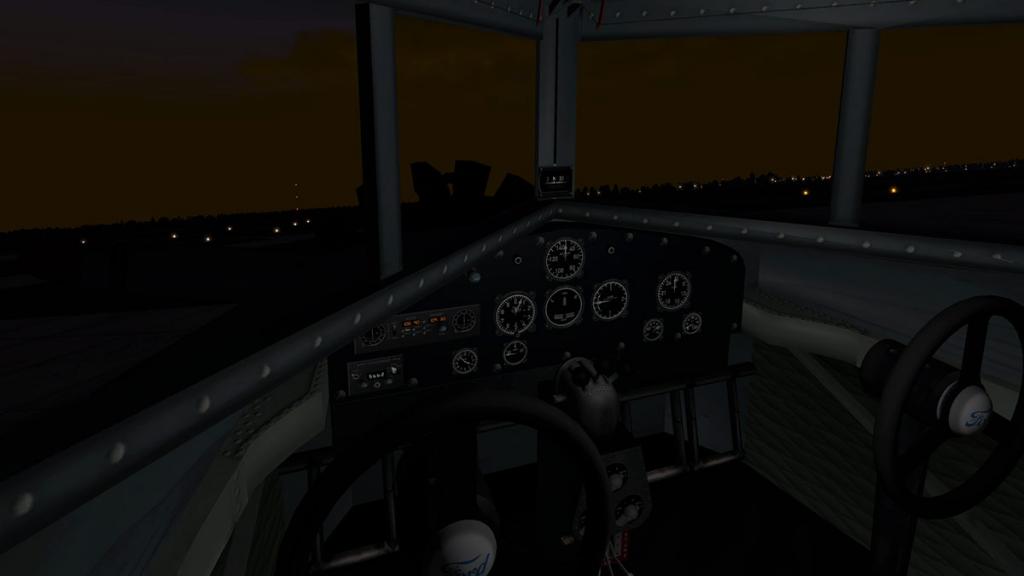
The cabin looks like it is lit by candles in a horror ghost haunted house film, dim and dimmer.
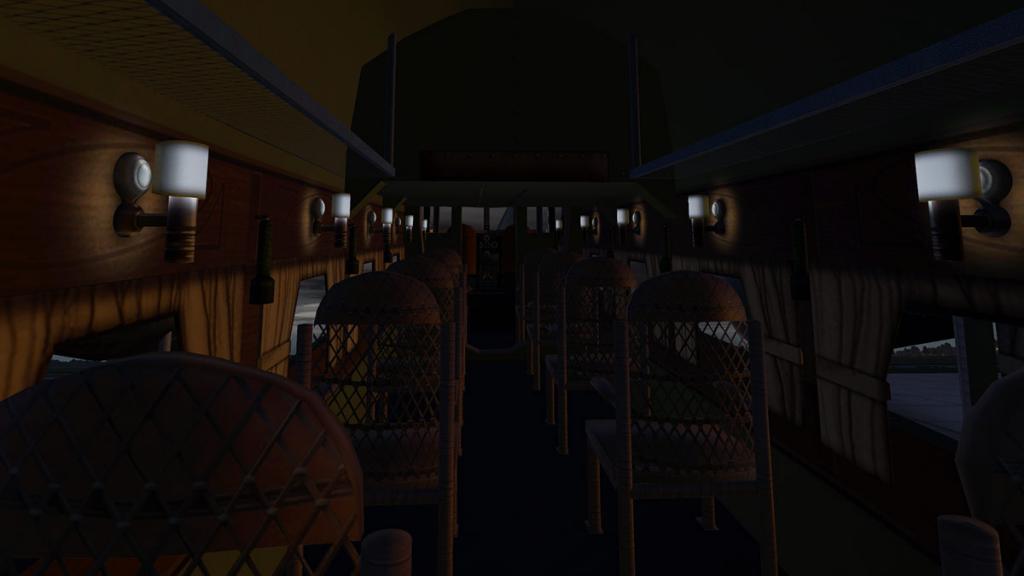
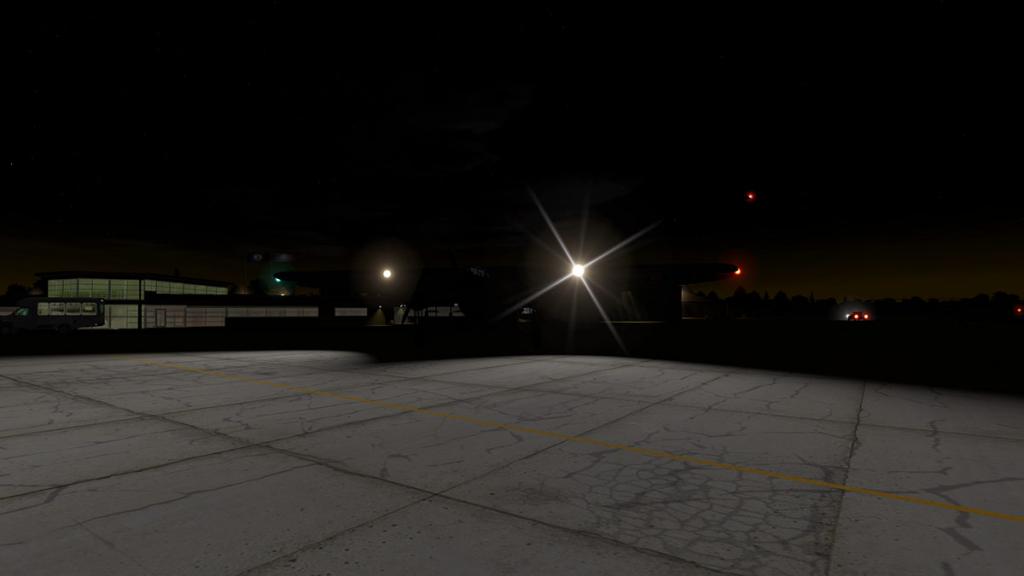
External lighting is again basic. Two good wing landing lights help, but otherwise there are just three position lights (navigation) and no strobes.
Liveries
There are nine authentic liveries including : Ford (default), TWA, Pan American Airlines - PAA, Northwest Airlines, NAT - National Air Lines, TAT - Transcontinental Air Transport Inc, Stout Air Lines, American Airlines and a blank livery.
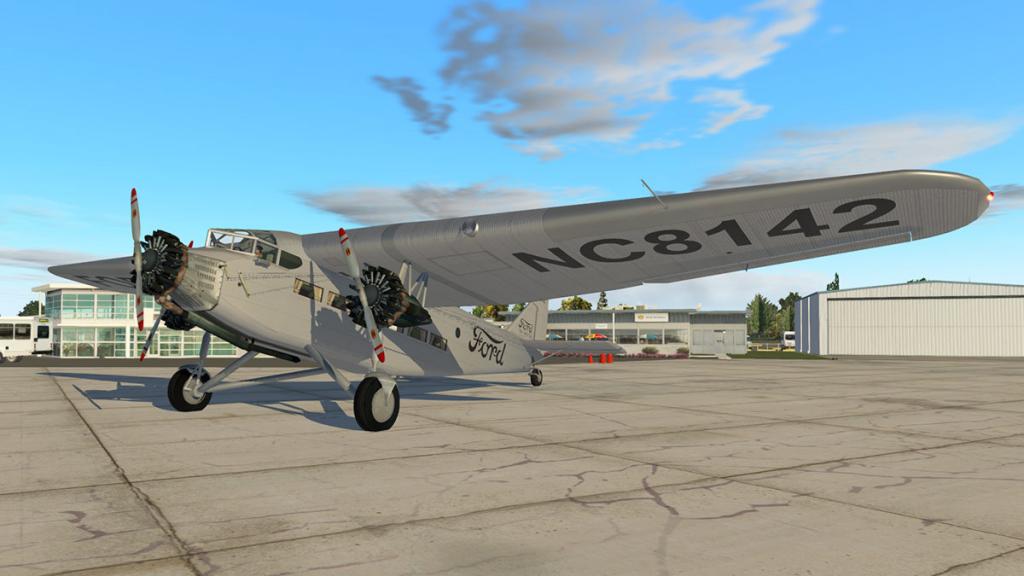
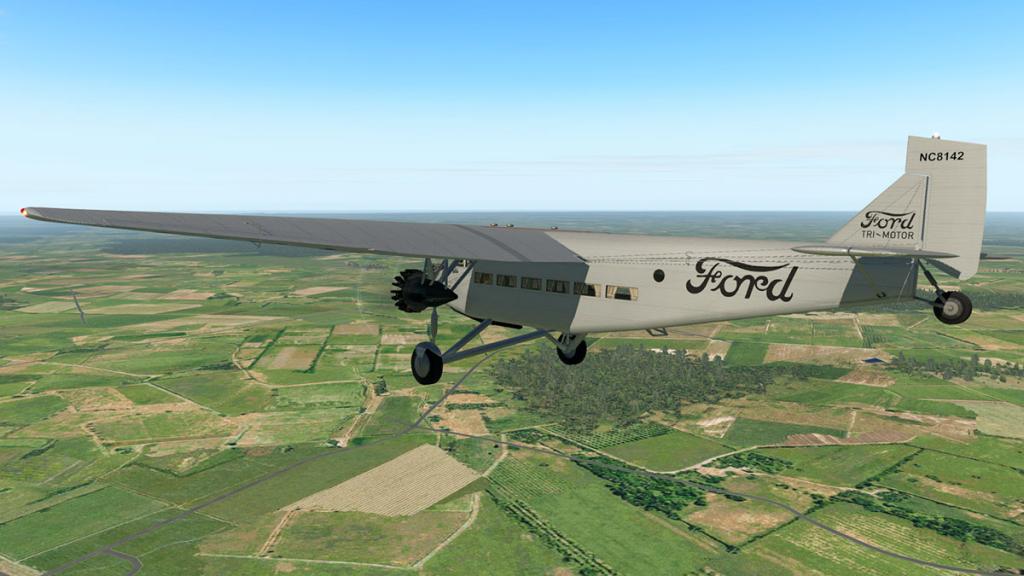
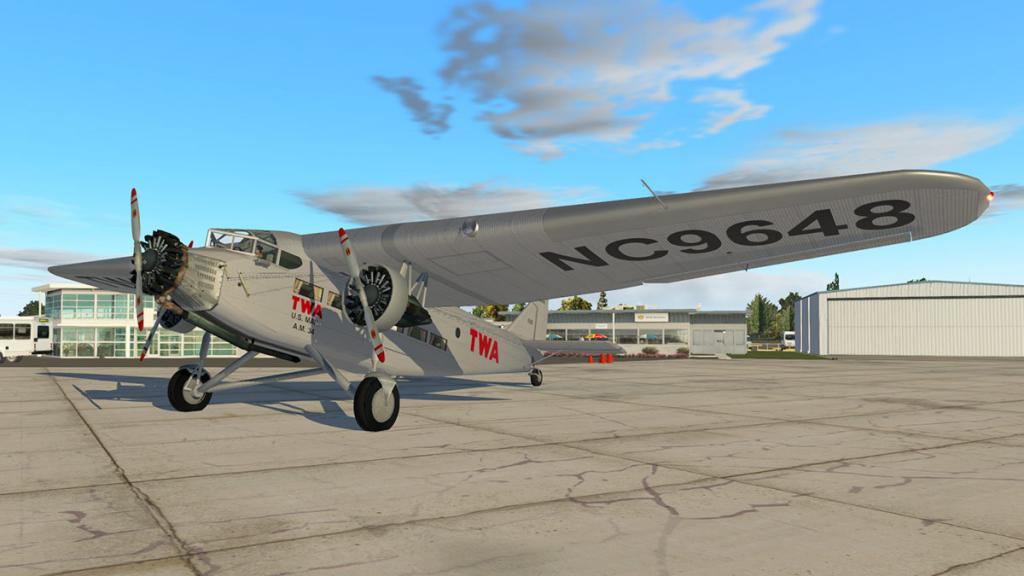


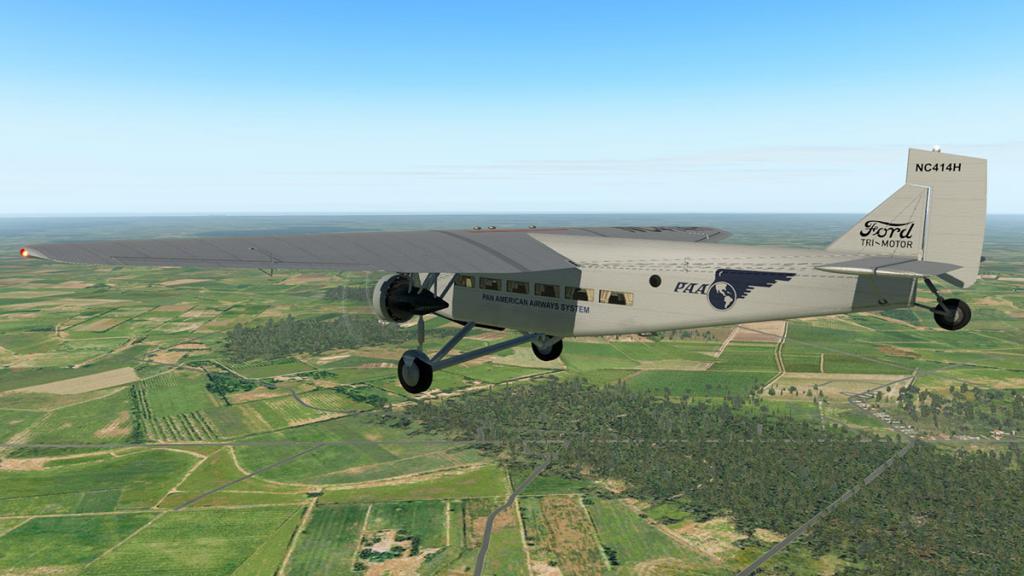
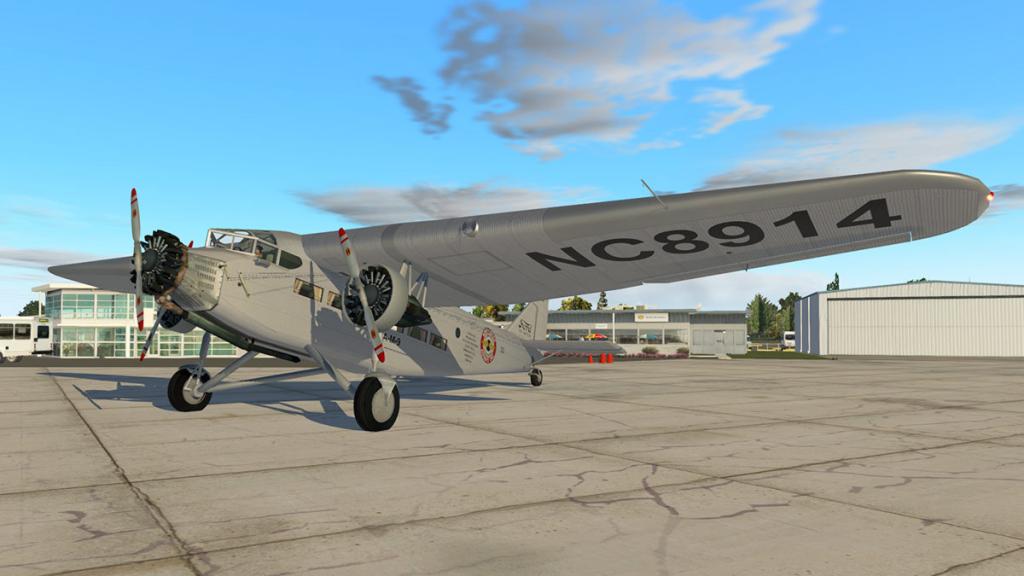
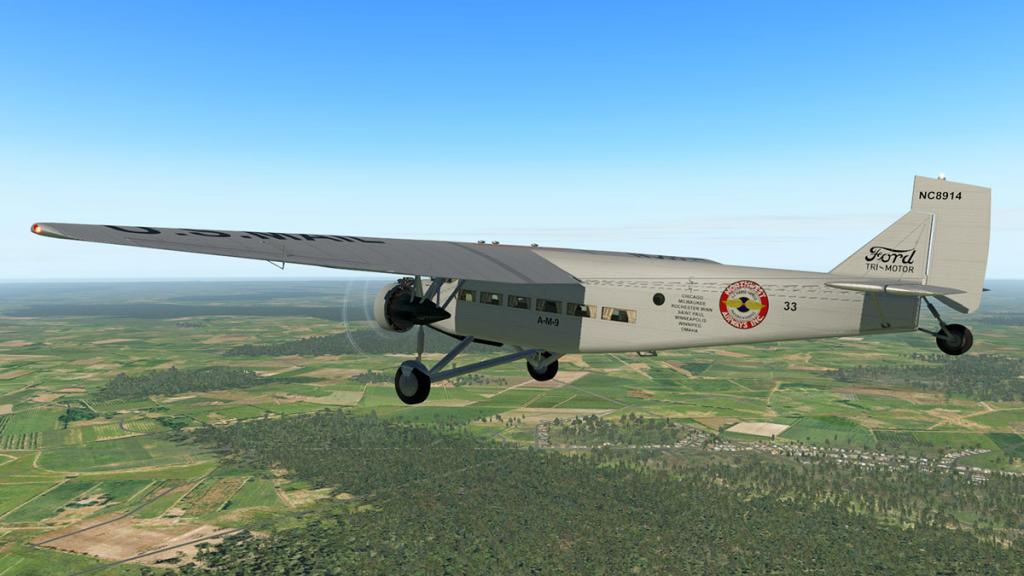

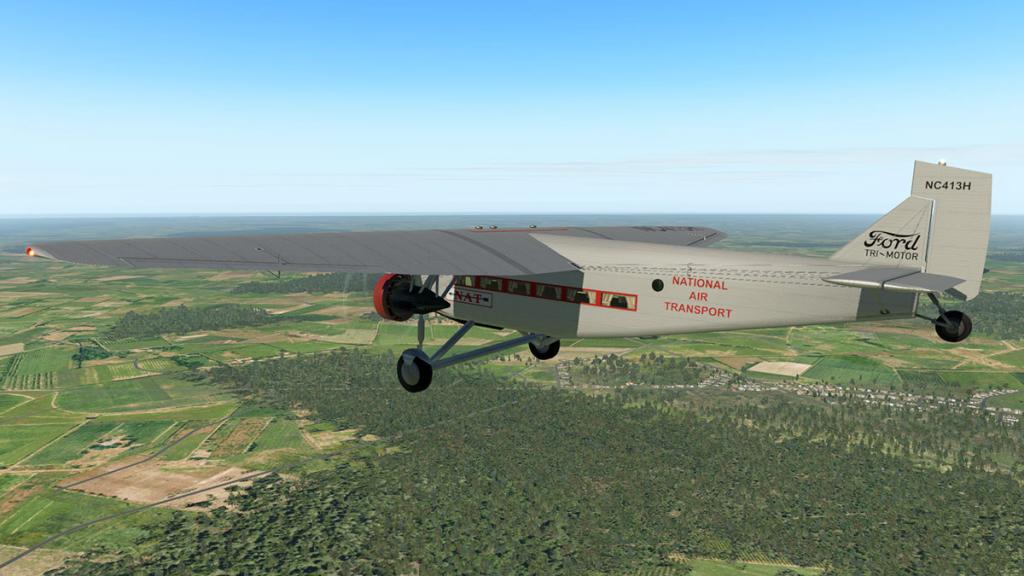


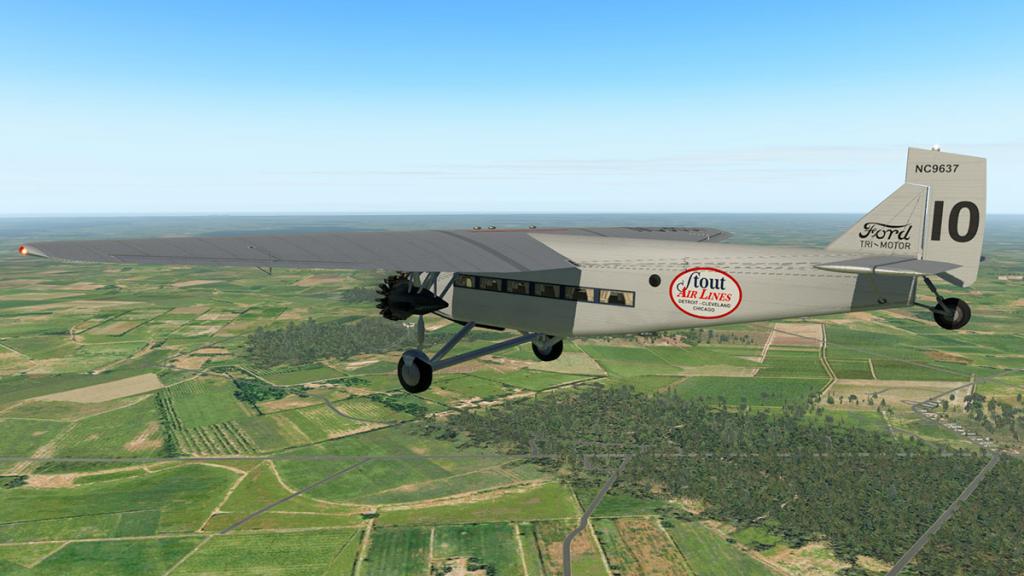


Summary
What you get here is a transport, a transport in time to another era of when airline operations where in their infancy, the start of a new era and one that will in time totally change the world.
The flying was completely different as well. These aircraft are very basic, they function as only flying machines, and there are simply no gimmicks or flying aids. The Tri-Motor is just a simple flying machine pure and simple.
The modeling is fine, just as you don't want anything too deep and classical, ditto that on mostly everything here. There are no menu's, or standout features except for a few pop-up's and a really not needed GNS430.
Sounds are pretty good and the handling is quite good as well, so everything in here is not too deep or throughtful, but just a plain but old aircraft.
But the Ford Tri-Motor is an interesting aircraft, one you can enjoy and if you want something special to coexist with from the same period then download the "1940s Lighted Airways" feature on the X-Plane.Org... these are a replication of the early navigation towers and their position along the early flight routes that these Tri-Motors flew along with, so you will be able to live out a bit of history as well as also learning of this bygone era... well worth the download...
So lately with the excellent VSKYLABS DC-3 and now this Ford Tri-Motor, you can fly and enjoy a different era, I enjoyed it immensely as this aircraft was a simple quick ticket to the early past of aviation's glory years.
_____________________________________________________________________________________ 
The Ford Tri-Motor 5-AT by Ted Cook Productions is NOW available! from the X-Plane.Org Store here :
Your Price: $19.95Features: For X-Plane 11- Fmod custom sound integration
- PBR texturing
- A pop-up to control co-pilot functions and give quick readout of engine-mounted gauges
- A portable Garmin 430 can be mounted in the cockpit if modern flying is desired
Documentation- POH manual
- timetables for TAT and TWA 'Coast to Coast Service'. Pilot the Tri-Motor on the routes planned out by Charles Lindbergh for the first coast to coast air service in the United States. Recreate these epic flights and enjoy the Golden Age of Aviation with the Ford Tri-Motor, one of the most significant aircraft in history.
Liveries- Eight liveries are included
- Ford, Stout, TAT, TWA, NAT, Northwest, Pan American, and American. A blank paint is also included.
RequirementsX-Plane 11 (not compatible with X-Plane 10)
Windows, Mac or Linux
2Gb VRAM Video Card Minimum. 4Gb+ VRAM RecommendedCurrent Version: 1..0 (Last updated July 28th 2017)Installation and documents:
Download for the Ford Tri-Motor 5-AT is a hefty 693.70mg and the unzipped file is deposited in the "General Aviation" X-Plane folder at 768.30mb in size.
Documents provided are:
- Tri-motor POH
- TAT_TWA Timetables
The timetables allow you to recreate the original routes as set by these airlines in their early days, they are well worth simulating.
_____________________________________________________________________________________ Review by Stephen Dutton8th August 2017Copyright©2017: X-PlaneReviews(Disclaimer. All images and text in this review are the work and property of X-PlaneReviews, no sharing or copy of the content is allowed without consent from the author as per copyright conditions)Review System Specifications:
Computer System: Windows - Intel Core i7 6700K CPU 4.00GHz / 64bit - 16 Gb single 1067 Mhz DDR4 2133 - GeForce GTX 980/SSE2 - Samsung Evo 512gb SSD
Software: - Windows 10 - X-Plane 11.02
Addons: Saitek x52 Pro system Joystick and Throttle : Sound - Bose Soundlink Mini
Plugins: Environment Engine by xEnviro US$69.90 : XPRealistic Pro v1.0.9 effects US$19.95
Scenery or Aircraft
- KPVG - Hampton Roads animated HD Photo-realistic airport 1.0 by Marc Leydecker ((X-Plane.Org) - Free
-
Aircraft Review : Evektor EV-55 Outback by Auctusdelineations
First thing to note is that because part of the name of the EV-55 is "Outback" it is not an Australian built aircraft. You wouldn't be wrong in thinking that actually as Aussies do call their few odd aviation exports after things set around Australiana like jackaroo, jabiru, brumby and outback wouldn't be a far call for anyone really. But it isn't as the aircraft is designed and is built in the Czech Republic by Evektor-Aerotechnik.
The EV-55 is a two-engined utility aircraft that carrys up to 14 passengers or 4000 lb (1800 kg) of cargo, and operates from unimproved fields and at high-altitude airports. The aircraft will has three configurations: passenger, cargo and combined operations with cargo space in the front part of the fuselage and passengers accommodation in the rear.
The EV-55 is a conventional high-wing utility design with a T-tail. The prototype aircraft is powered by Pratt & Whitney PT6A-21 turboprop engines (535 shaft horsepower), driving four-bladed propellers. The wing is mounted atop a nearly-square fuselage, which has five windows per side. The trailing-link tricycle landing gear retracts into the nose section or pods on the lower fuselage, and it has a maximum cruise speed of 220 knots (407 km/h).
The first prototype, was the EV-55M (military version), and it flew from Kunovice Airport on June 2011, with the company pilot Josef Charvat and a military pilot Maj. Jiri Hana at the controls.The first production aircraft flew from Kunovice in April 2016. (wikipedia)

There is no doubt that there is a huge market for a modern utility twin-engined aircraft of this size that can go anywhere and land in not so perfect conditions and come back. Think Twin-Otter, Do 228 or the older DC3 territory and you have the general idea and the range available is huge at 2,258 km (1,403 mi; 1,219 nmi).
Auctusdelineations
You know the name? no not really as Auctusdelineations is very new to the X-Plane developer scene. Actually this Evektor is his first project for our simulator so there are no former expectations or any guide on what their quality or design is like, but so we have reviews to cover the aircraft and give you an overall feel and information on what this aircraft is and what you get in the package.
Evektor EV-55 Outback
As noted this EV-55 is a first release for Auctusdelineations, but what an excellent fine start it is.

The EV-55 does look great in X-Plane11 and it does take advantage of the XP11 lighting features.
The modeling and detailing is very good as well, not in the extreme minute style of detailing, but still very good and the aircraft has great quality throughout.

External Detail
There is the good finer external detailing and great rivet work is highlighted, there is all over the aircraft the nice chrome touches as well (engine exhausts, latches, door hinges and spinners if chosen) and so it shows Auctusdelineations understands XP11's metalness feature well. The aircraft has been processed for X-Plane11's featured PBR quality so more XP11 features are noticeable there as well. (note there is an X-Plane10 version also provided but without the XP11 features).
Glass work is also excellent with great forward cockpit windows and very nicely and if slightly convexed are the side windows, to a point the developer didn't have to do this, but it shows an attention to detail.
Front cockpit doors open, but not the rear passenger/cargo door. There are no menus, ground elements or special features (yet) but the basics are well done. The doors are opened/closed via the internal door handles.


Detail around the engines and those excellent four-blade propellers are modern in feel and use.
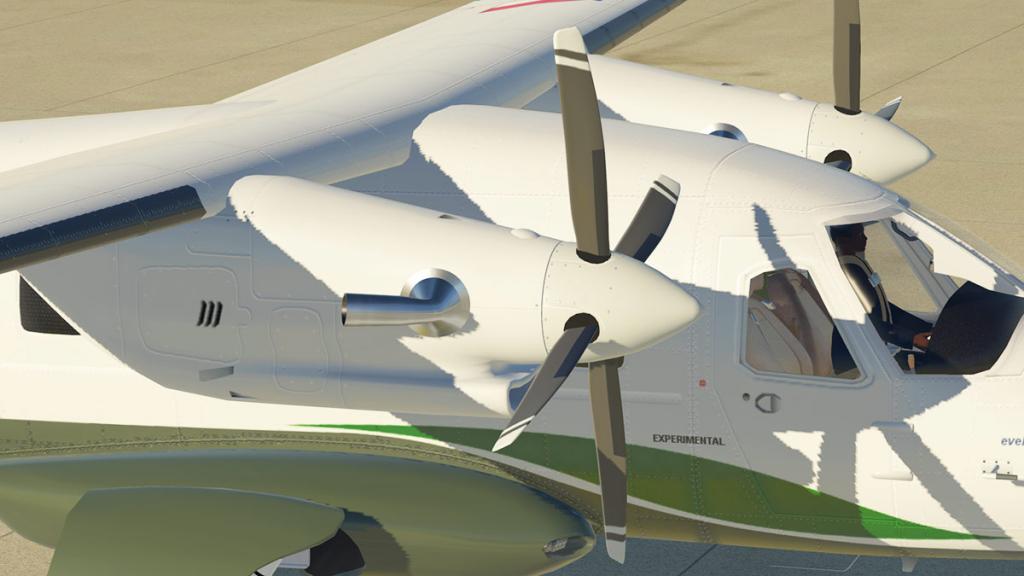
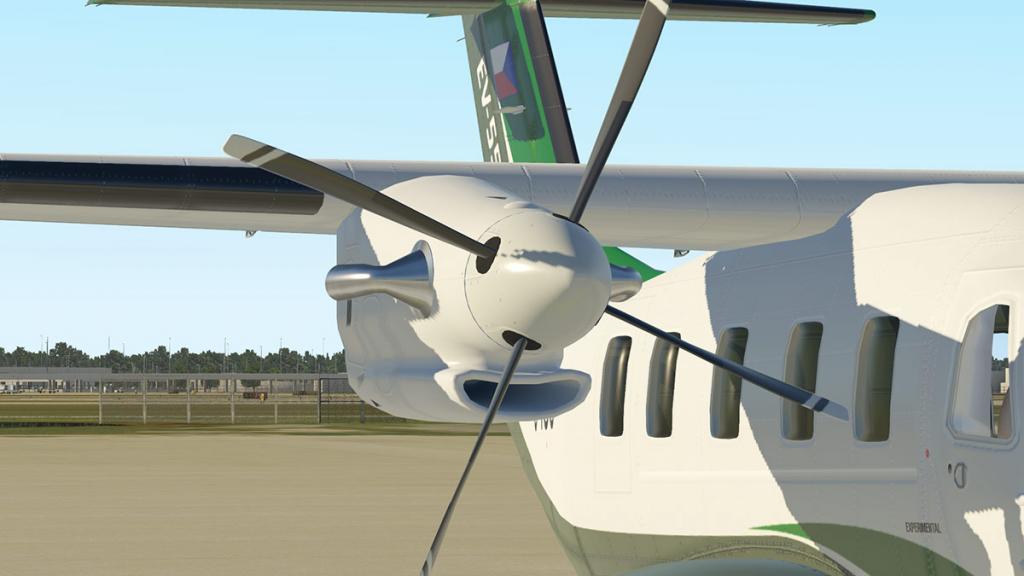
Trailing undercarriage detail and animations are also excellent, the wheels are not completely covered in flight, but become hawk like when you drop them. Again nice touches of chrome creates realism


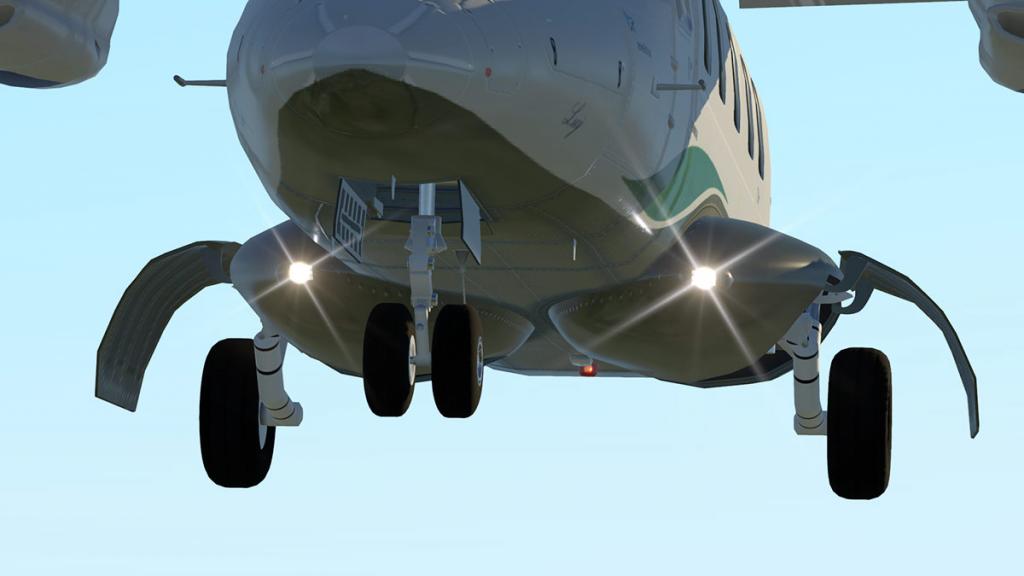
Flaps (three position in up, mid and low) looks plain on the top, but the internal detail is very good.
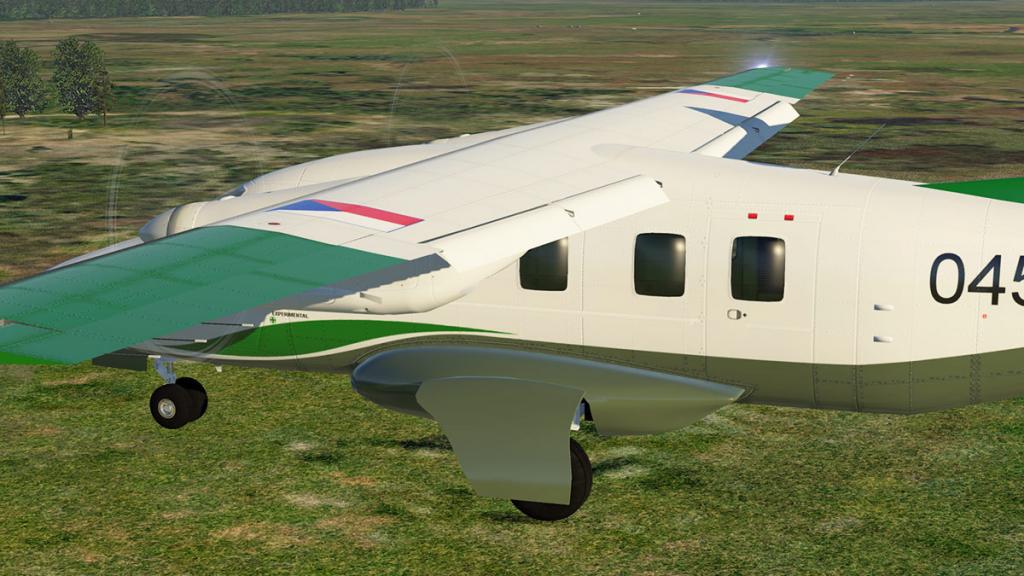

Internal Detail
It takes a moment or two to get your head around those weird looking yokes? You don't know if they are left over bull horns or something out of a B Grade Science Fiction film...
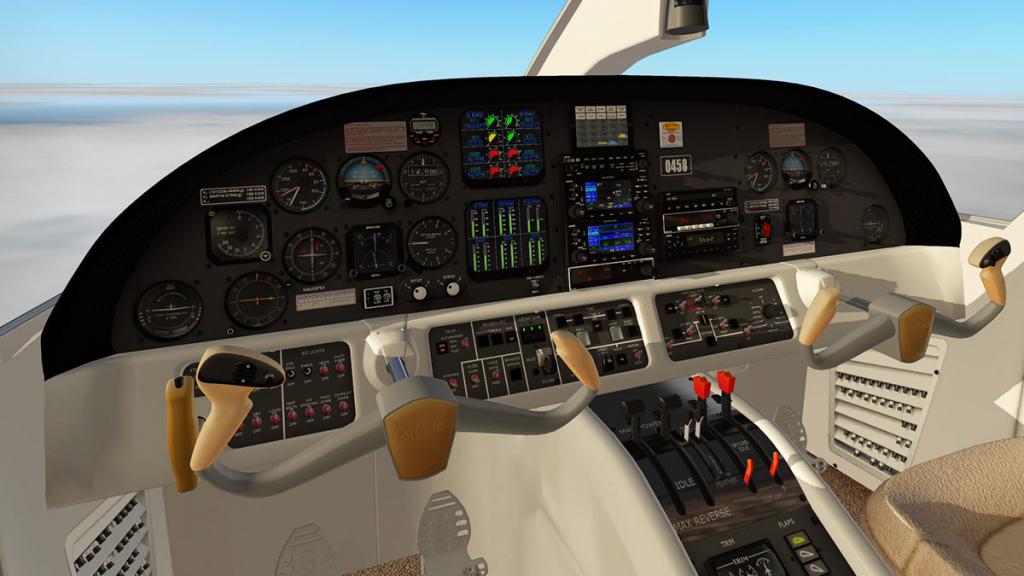
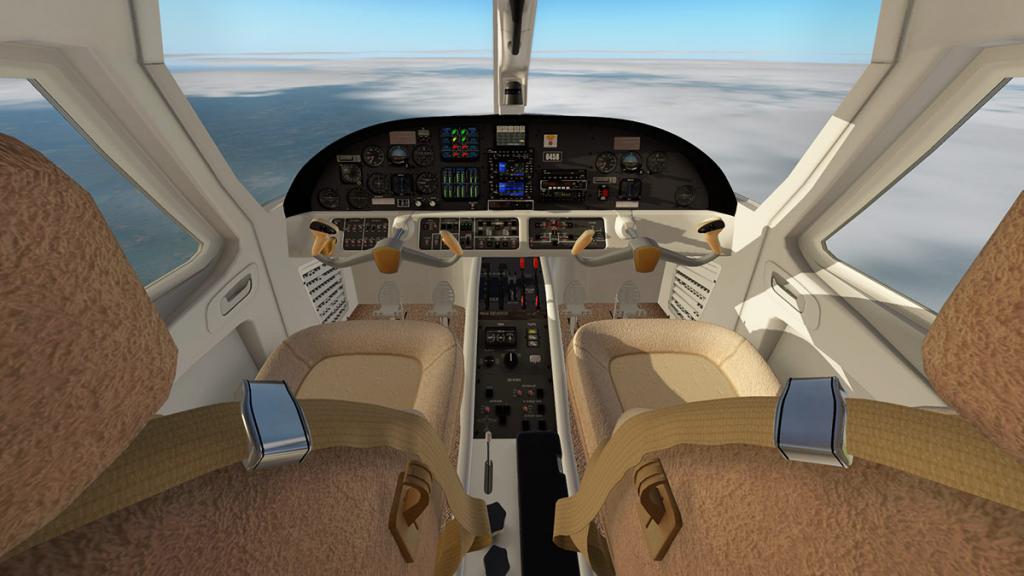

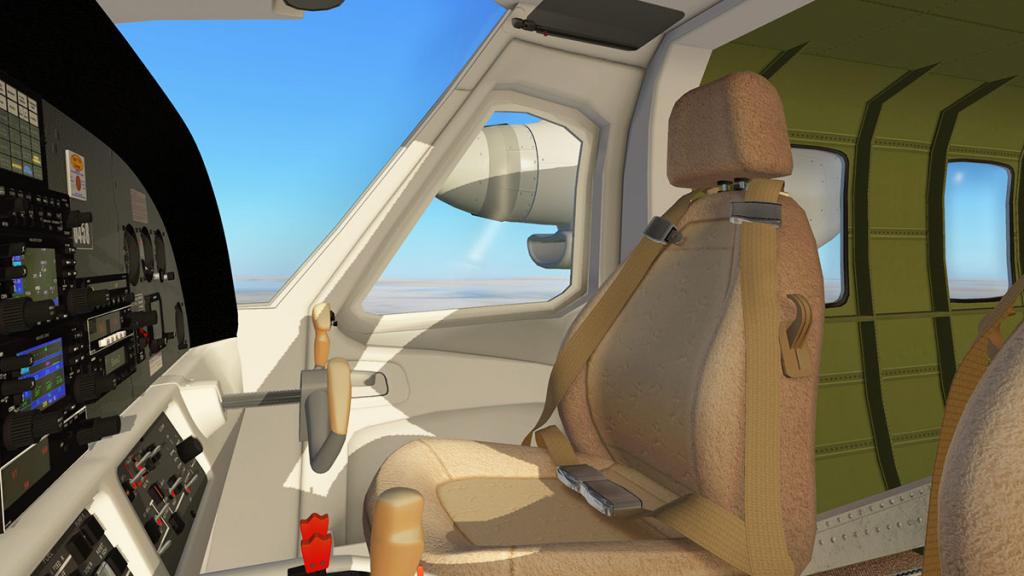
To date there has been only two EV-55's built (and one test hull) so the panel layout is still in traction. The original prototype EV-55 had a G1000 three panel display set up and that could come to this aircraft as another version when the default G1000 GPS version is released by Laminar Research. But for now it is a mixture of dials and modern digital displays. The cockpit has been very nicely developed by Auctusdelineations.
The aircraft feels new, for what it actually is and the roof mounted switchgear is nicely done but most of the switches are not functional.


The rear is still to be set up as with currently the two well modeled pilot and co-pilot seats and in the rear a bare green skeleton prototype layout.

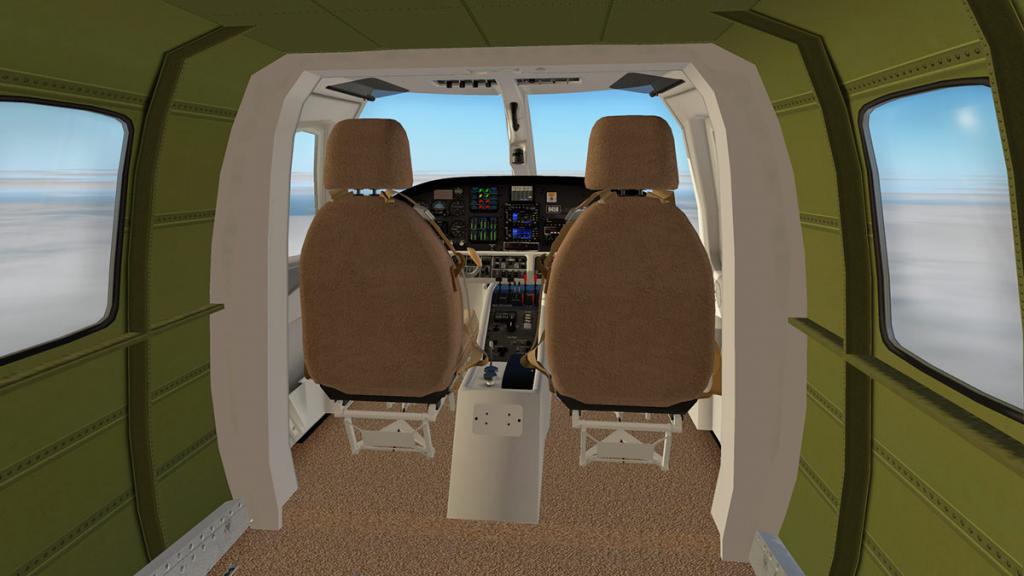


Although this layout is very original to the current aircraft, then I would certainly like the service types with switchable passenger seating and a cargo version.
Instrument panel
The instrument panel is very well done with nice (if very small) switchgear and that mixture of traditional and digital instrumentation.
With the power off you highlight which is which as the digital elements go dark. Instrument glass is reflective, but the reflections are not overly emphasised, in the right lighting this looks the right approach as digital displays are not as shiny as glass instruments.

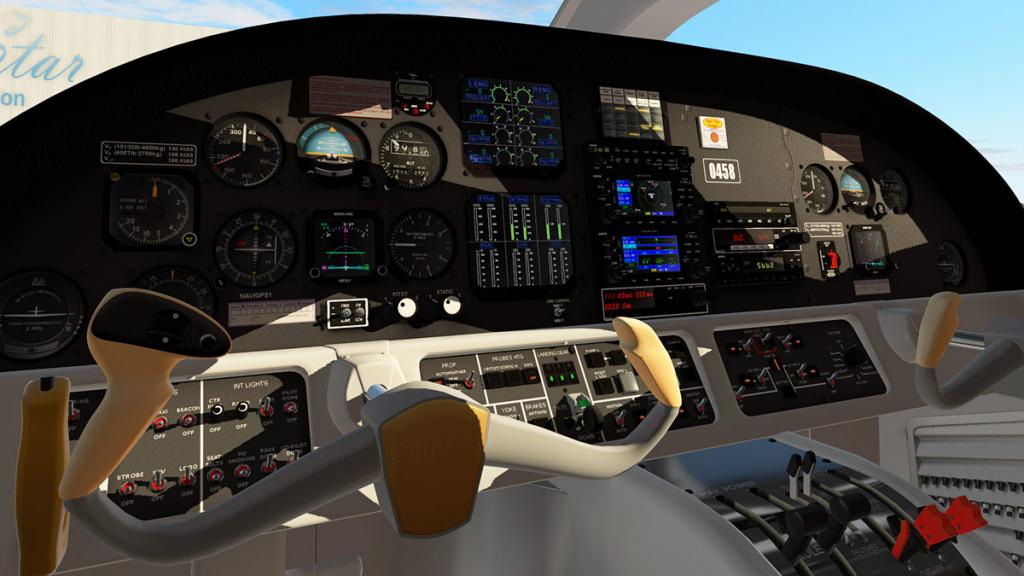
The pilot's side yoke can be hidden, but not both. There is a nice texture to the facia, but you need the right angle of light to see it, but then that is the materials job to provide an anti-glare panel. Instruments are dials for aircraft instruments, digital for engine information and the switchgear is located in three separate layouts lower panel.
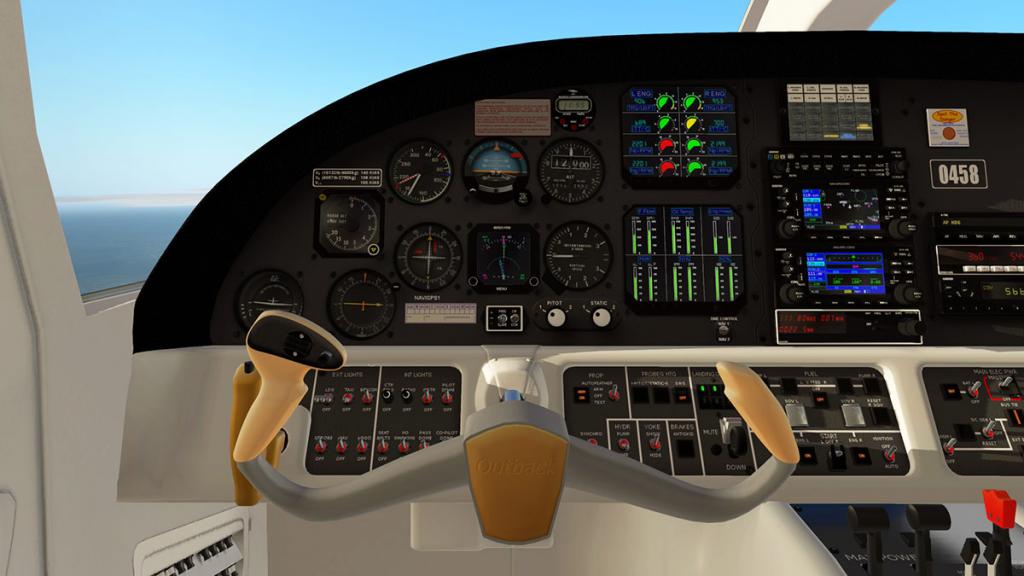
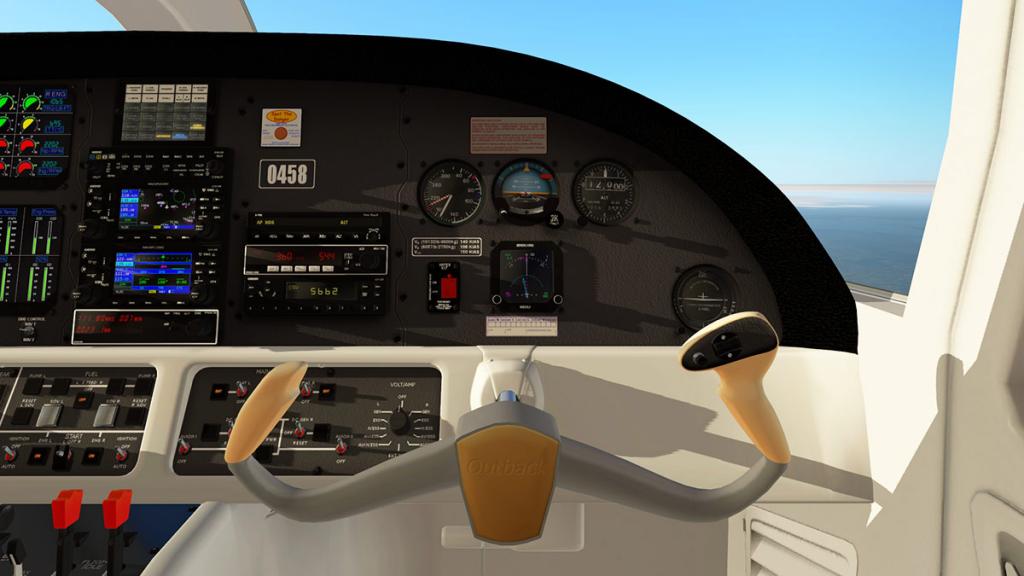

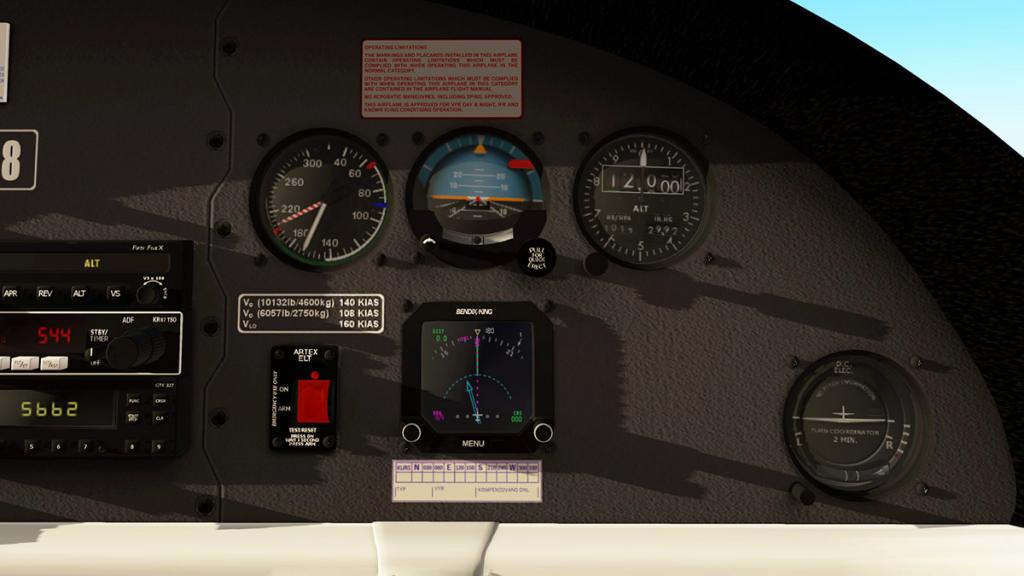
You get the full Standard Six instruments for the flying pilot with the Airspeed Indicator, Artificial Horizon and the Attitude Indicator on the top row and the VOR dial, Heading Dial/HSI and Vertical Speed Indicators set out directly below, however the Turn/Slip indicator is far left and lower with the magnetic compass to the right. Far left there is a Radar altitude (x100) meter and a Astro Tech Chromometer is top right. Some dials very close up can be slightly blurry, but in most cases they are all quite readable and clear. There is however a noticeable lack of backlighting and no adjustment either.
To note the Heading Dial/HSI instrument is a Bendix King Ki825 which is the advanced, color LCD display version with built in heading, course and ILS alignment and VOR/ADF pointers. it is a complex thing for such a small instrument and you want more control on which points you want to use.
The Bendix King Ki825 is also the highlight of the co-pilot's side with in a row above (L-R) Airspeed Indicator, Artificial Horizon and the Attitude Indicator and again the Turn/Slip indicator which is to the lower far right this time.
There are two digital ECAM (Electronic Centralised Aircraft Monitor) displays covering (top) both engines TRQ (Torque), ITT (Interstage Turbine Temperature), NP/RPM and NG RPM readouts and eight nice coloured circlular readout displays.
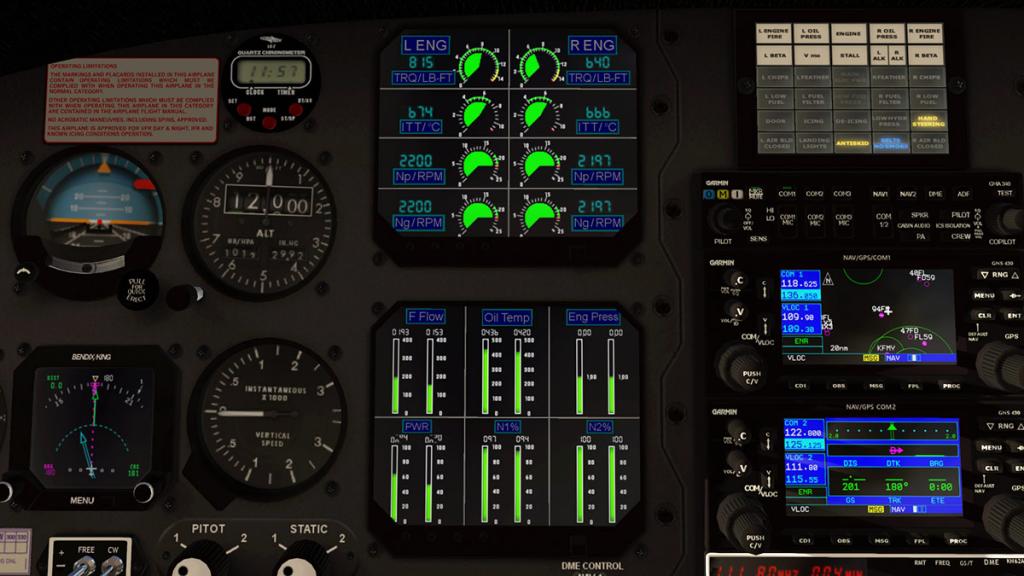
Lower ECAM covers both engines Fuel Flow, Oil Temp, Engine Pressure, PWR (Power), N1% and N2% outputs. This ECAN has vertical coloured readouts. Note top right with the excellent set of annunciators that are very well done and the boxes do have that slight convex look for realism.
Radio fit-out is very good as well with top the standard GMA 340 Com radio, then two default GNS430's with COMM1/VOR1 top unit and COMM2/VOR2 lower unit. Bottom is a Bendix King KN62A DME/VOR unit (selectable), but you have to set the frequency by hand, the X-Plane local map VOR insert doesn't work?
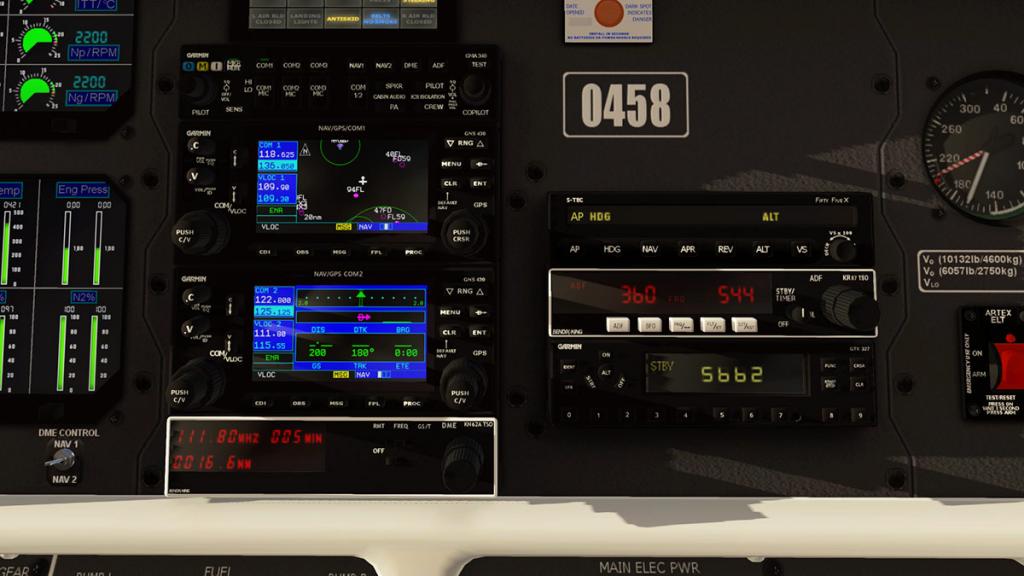
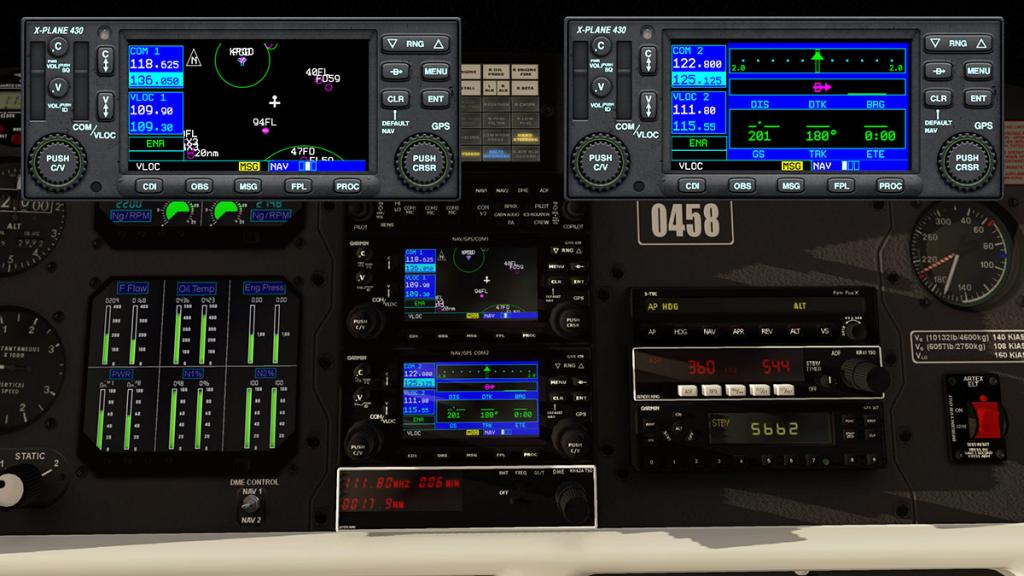
Right stack has a very welcome S-Tec Fifty-FiveX autopilot, Bendix King KR87 ADF unit and finally a Garmin GTX 327 Transponder.

Lower panel is the switchgear located in three separated panels. From left to right is the first panel with the items for Steering, EXT Lighting, INT Lighting. Middle panel includes Prop Autofeather and Sync, Probes Heating, hydraulics pump, Yoke show/hide, Brakes anti-skid, Landing gear, Fuel Pumps and X-Feed. Ignition and Engine Start (L&R). Right panel is the electrical panel that includes master/battery switches and generator (DC) L&R and Volt/Amp selector.
Switchgear is a little small to see (text) and use but feels and looks authentic.
Centre Console
The centre console is very modern and very well presented. Twin throttles are small but chunky and nice to use. Other levers cover (both engines) for RPM feather (Max/Low) and Mixture for Flight Idle, Low Idle and Engine cut-off. I really like the plastic red knob feel on the mixture levers and cut-off guide levers, very authentic.

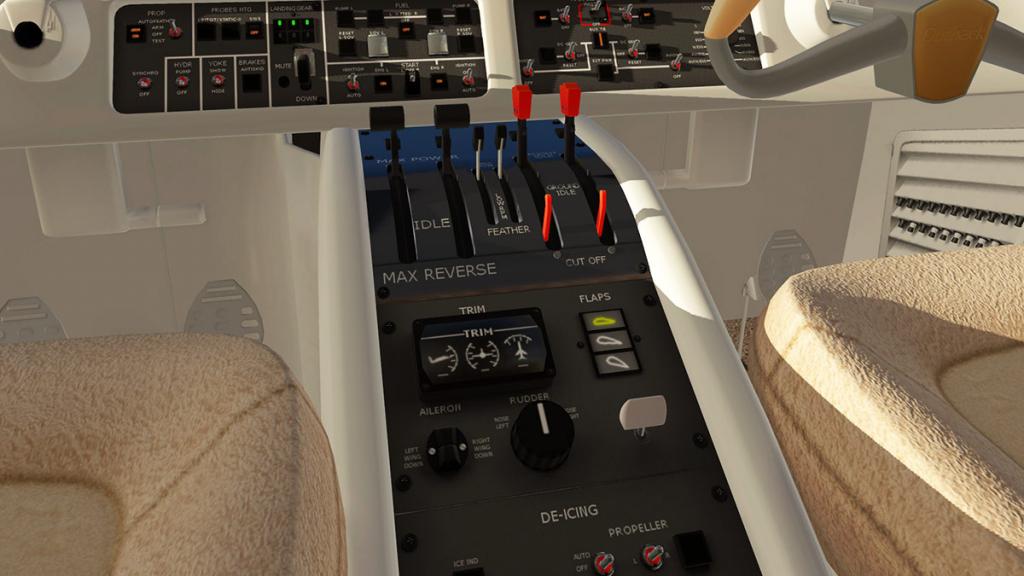

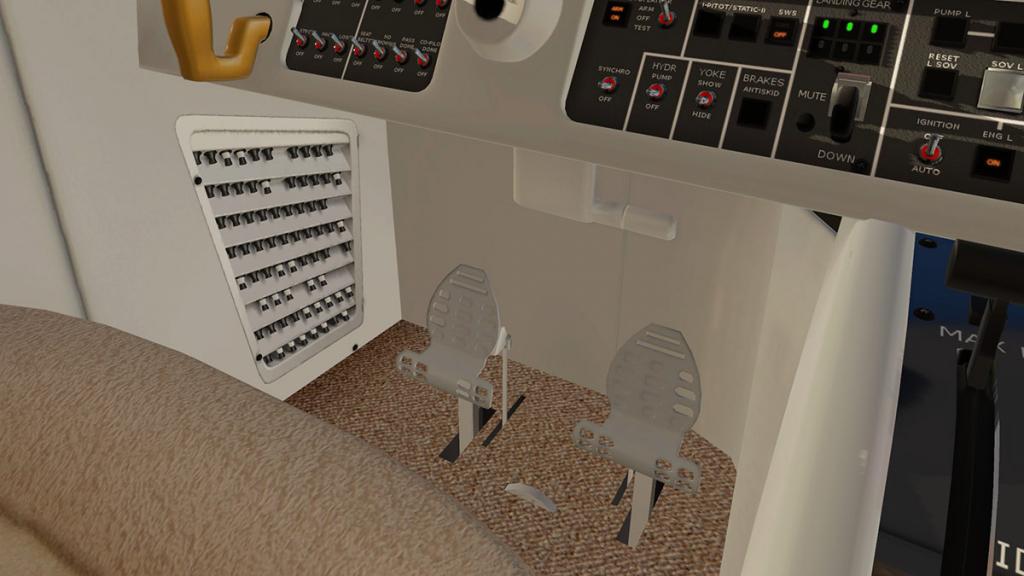
Lower console has Trim indicators and knobs, Flap indicator and small selection lever and full De-Icing switches that covers the props, airframe and windshield. Again very close up the diagrams and text is again slightly blurred (certainly the trim indicator diagrams) but still more than usable. Footwells are well done with nicely crafted rudder pedals and fuse panels.
External Lighting
The EV-55's external lighting is not bad. All the usual lighting in Nav, Beacon and strobe are well done. There is a nice if small tail light as well.

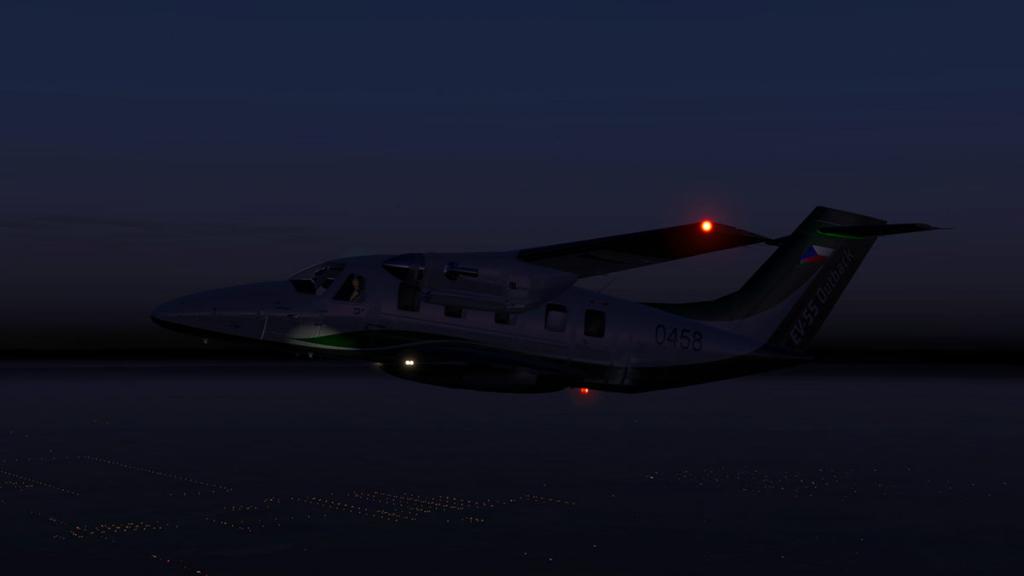
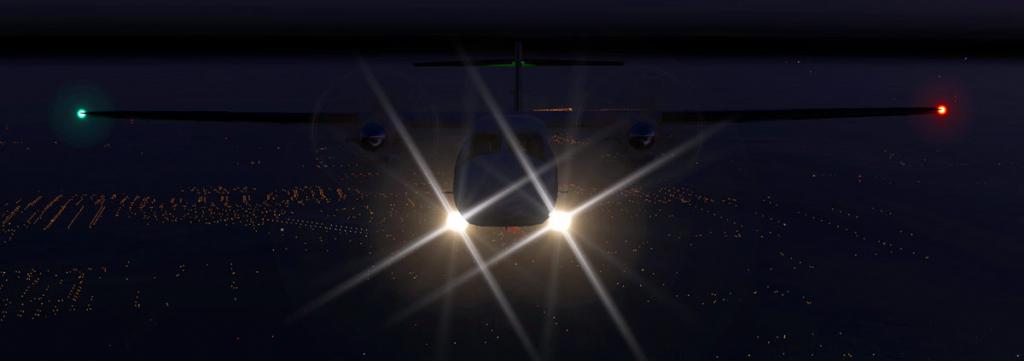
There is a set of landing lights and taxi lights built into the undercarriage pontoon (pod) structures that has a nice glass enclosure when inspected closely. But when used together the two sets of lights then tend to merge together.
Internal Lighting
The lighting on the dials in the daytime feels a little dull, but the instruments are not as bad as night and can be read quite easily, certainly I would like some adjustment here, but it is fine for most circumstances. It is a nice panel at night especially with those digital readouts.

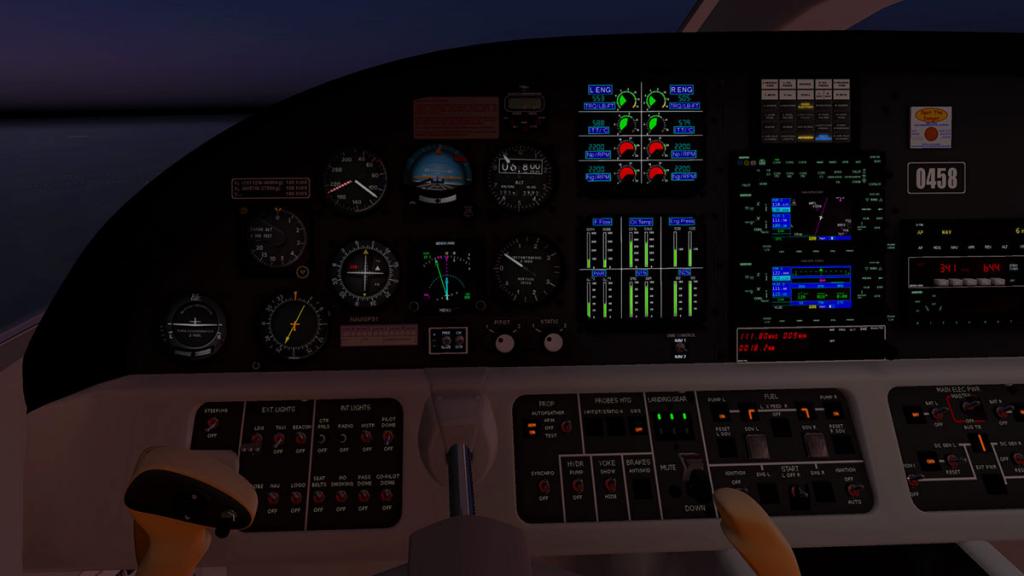
The rear is dark, there is a passenger light for the rear but it doesn't seem to do what it says it should do?
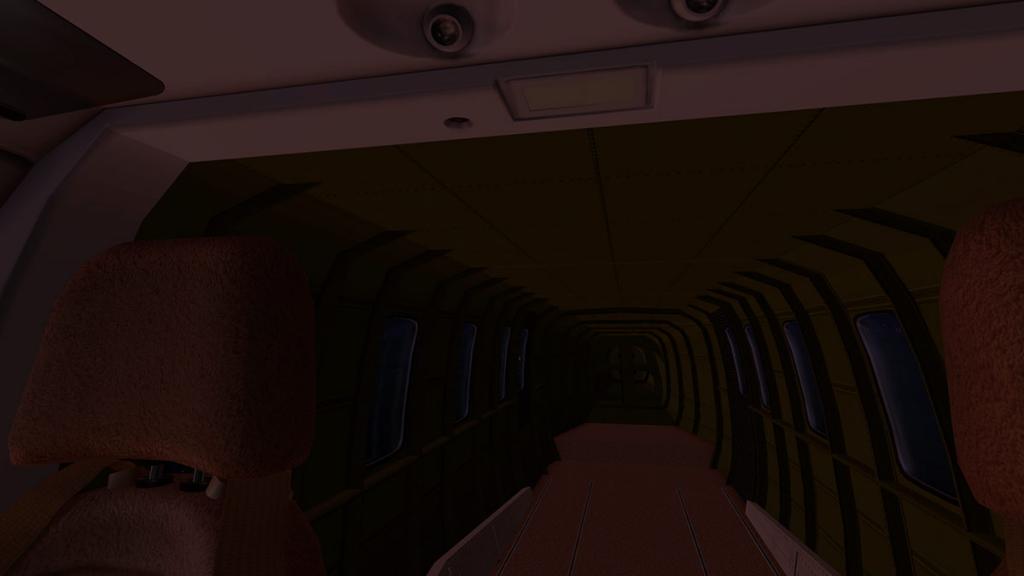


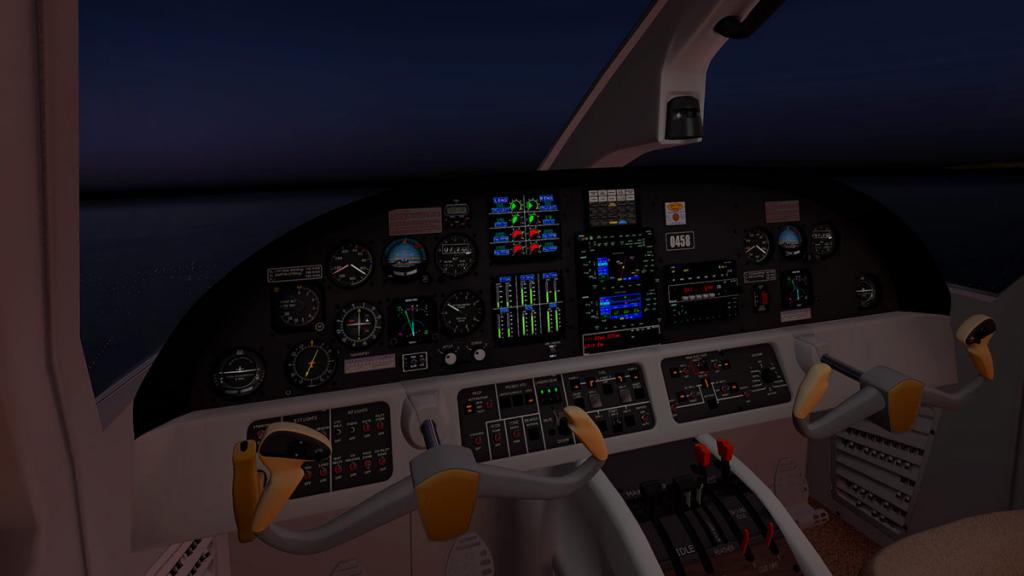
There are two spots on the roof for highlighting both lower switchpanels, with one for the co-pilot and one for the flying pilot.
Liveries
There are only two liveries with the default factory livery and a Czechoslovakian registered livery, both come in different white or chrome spinner versions. There is a painkit provided but in the gimp (.xcf) and not photoshop (.psd) format.


In the air
The engine startup sequence is very good, with the slow turn until the fuel and ignition kicks in, it sounds good as well, but overall the sounds are only average to good. Good in the start up and taxiing lower revolution areas but a bit droney in the cruise and not a lot of throttle sound feedback, but to be fair my guess is that custom sounds for the EV-55 would be hard to find and replicate, FMOD sounds would certainly be a great addition here.
The EV-55 is great to fly, but not perfect. My guess it is about 95% but the Outback needs that final fine tuning. First is the engine output is not consistent and you see that on the displays and in flying the aircraft, the power is there, but not consistently. This is also noticeable on landing and if you drop below 100knts then you start to stall were as the stall speed is around 64knts, this EV-55 is a STOL or Short Takeoff and Landing aircraft, but you can't get down to those slower speeds at around 70knts to 80knts without losing height and sometimes pretty quickly. So you play it safe and even with full flap down at around 100knts and throttle power is still needed to control your height.
I actually adapted to the EV-55 pretty quickly, but it will take a few flights to lock into its foibles and slightly odd characteristics, I will also make the point that they could actually be correct and these performances are part of the EV-55's character as well and it is still only a prototype only - built for evaluation aircraft. And all aircraft are different and the point to make is that this is a very different style of utility aircraft and without not much in rear passenger and cargo weight.

Summary
Overall I was very pleasantly surprised by the EV-55 Outback. I received far more than I actually expected. The modeling is first rate and with some really nice design touches and there is a lot of skill in here that could have been very easily not been bothered with, like the very nice convex glass, warning panel and the great overall small chrome detailing that both enhance the aircraft to a far more professional level than what you expect for most first time developers to complete.
It is an interesting aircraft as well, to fly and learn, but as noted some areas of the performance still need a little tuneup but nothing an update can put right but remember this is a prototype only - built for evaluation aircraft. You do easily adapt to this EV-55 and quickly learn to fly it with some skill, but it will take a few flights to see all the areas you have to aware of, but from then on you just enjoy it and it grows on you the more and more every time you fly it.
A few other areas are noted in daytime instrument lighting, and a few text and image areas are slightly blurred, but only really close up. Sounds could be better and FMOD sound would be a really nice addition.
The most interesting thing though is where the developer wants to take this aircraft? It has a load of potential in the way it could be set up in cargo, passenger and military versions, and the option of it being fitted out with the coming X-Plane default G1000 three panel GPS system would be a great in here addition as well, it really depends on how and in what direction this aircraft will go.
So yes a very interesting aircraft, surprising actually and user feedback is very good. Another bonus is the price, as the EV-55 is priced under US$15 and that makes it a total bargain as well and one easily investing in without breaking the bank account, so all round this is a great deal and an interesting aircraft. For a first time developer this Evektor EV-55 is a great introduction for them to the X-Plane simulator and one developer to watch out for again in the future.
_____________________________________________________________________________________
The Evektor EV-55 Outback by Auctusdelineations is NOW available! from the X-Plane.Org Store here :
Your Price: $14.95Features:- Accurate flight model
- Detailed, animated 3D model inside and out
- High quality textures
- Animated pilot
- Fully functioning cockpit
- Cabin doors open/close
- Wreckage model
- PBR reflective metal and transparent glass
- Start-up sheet and control map included
- 2 liveries
RequirementsX-Plane 11 or X-Plane 10Windows, Mac or Linux2GB+ VRAM Video cardCurrent version: 1.1 (last updated July 24th 2017)Installation and documents:
Download for the Evektor EV-55 Outback is 119.870mg and the unzipped file is deposited in the "General Aviation" X-Plane folder at 181.10mb in size.
Documents provided are:
- EV-55 CONTROL MAP (panel diagram)
- EV-55 spec sheet
- EV-55 Startup Procedure (checklist)
- Startup checklist
- EV-55 painkit (gimp)
_____________________________________________________________________________________ Review by Stephen Dutton4th August 2017Copyright©2017: X-PlaneReviews(Disclaimer. All images and text in this review are the work and property of X-PlaneReviews, no sharing or copy of the content is allowed without consent from the author as per copyright conditions)Review System Specifications:
Computer System: Windows - Intel Core i7 6700K CPU 4.00GHz / 64bit - 16 Gb single 1067 Mhz DDR4 2133 - GeForce GTX 980/SSE2 - Samsung Evo 512gb SSD
Software: - Windows 10 - X-Plane 11.02
Addons: Saitek x52 Pro system Joystick and Throttle : Sound - Bose Soundlink Mini
Plugins: Environment Engine by xEnviro US$69.90 : WorldTraffic 2.0 Plugin - US$29.95 : XPRealistic Pro v1.0.9 effects US$19.95
Scenery or Aircraft
- KRSW - Southwest Florida International Airport by Aerosoft (X-Plane.OrgStore) US$24.99
-
Scenery Upgrade to XP11 : LOWS-Salzburg XP11 by JustSim/Digital Design
Here is an upgrade to Justsim's LOWS Salzburg to X-Plane11 status. The original LOWS was released just over a year ago in late June 2016 and it did bring to and introduce some great new features in to X-Plane. There is no doubt that LOWS is a dramatic airport, as much for Salzburg's position at the foot of the central northern alps as much as the scenery itself.
As old X-Plane hands know that LOWS was the original X-Plane9 default airport (now KSEA-Seattle). This was because of the dramatic element to introduce users to the simulator, and that drama was created by any arrival or departure with the areas outstanding scenery.
The JustSim/Digital Design scenery is outstanding, but the scenery is just as notable for using great placement of objects to create a complete visual experience around the airport as much as the airport scenery itself, you can see this and all the rest of the original scenery in the X-PlaneReviews release review here: Scenery Review : LOWS W. A. Mozart - Salzburg Airport by Digital DesignAgain notably in this area X-Plane11 changes the game to another level with better regional autogen and is used significantly throughout most European JustSim sceneries.
LOWS- Salzburg Airport W. A. Mozart XP11
A large percentage of the changes in the LOWS XP11 version is in the textures. Basically the overall actual airport and facilities are not really changed from the older release version.
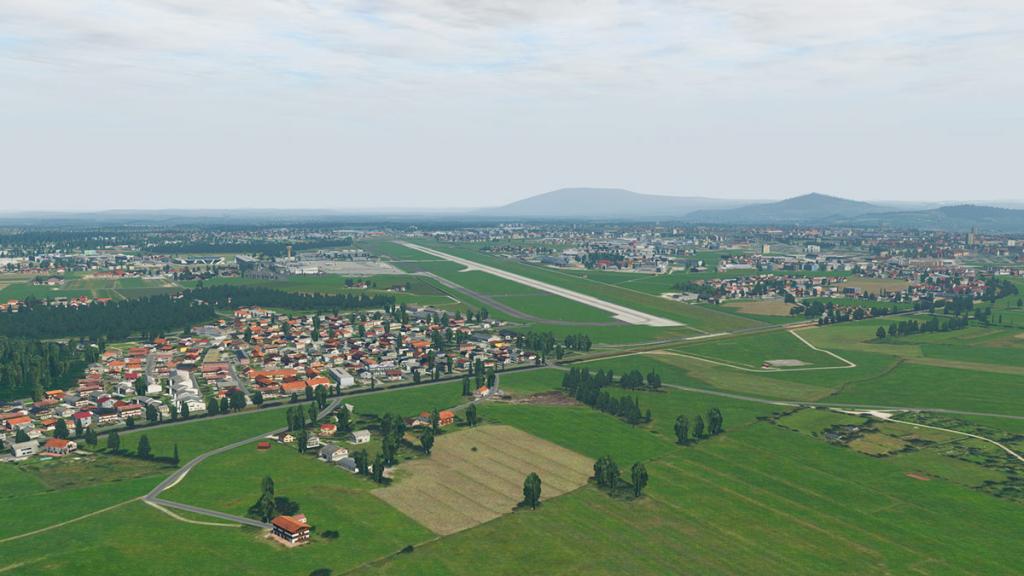
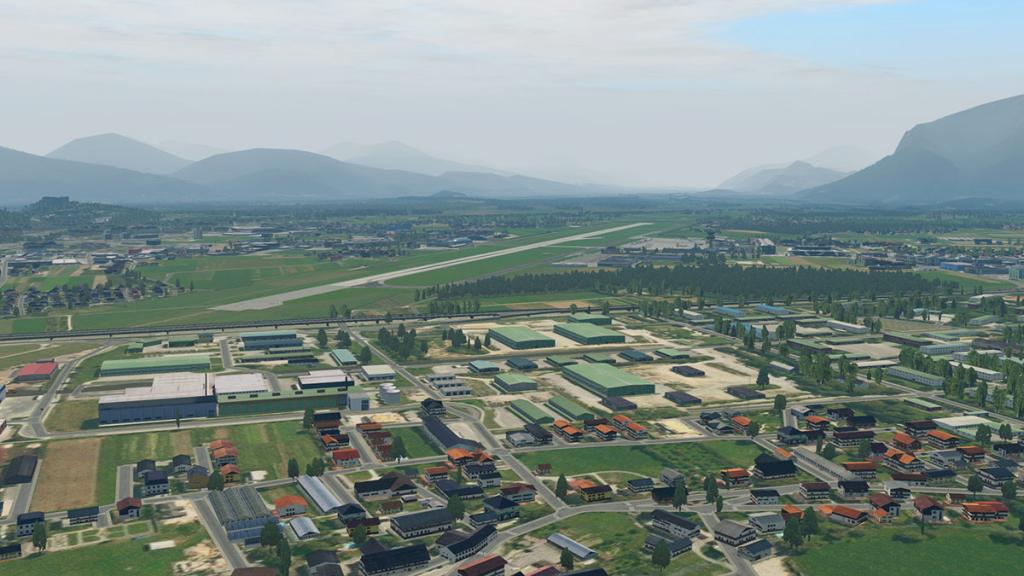
So any first view of the LOWS XP11 may give you the impression that it is not really any different, but it actually is.

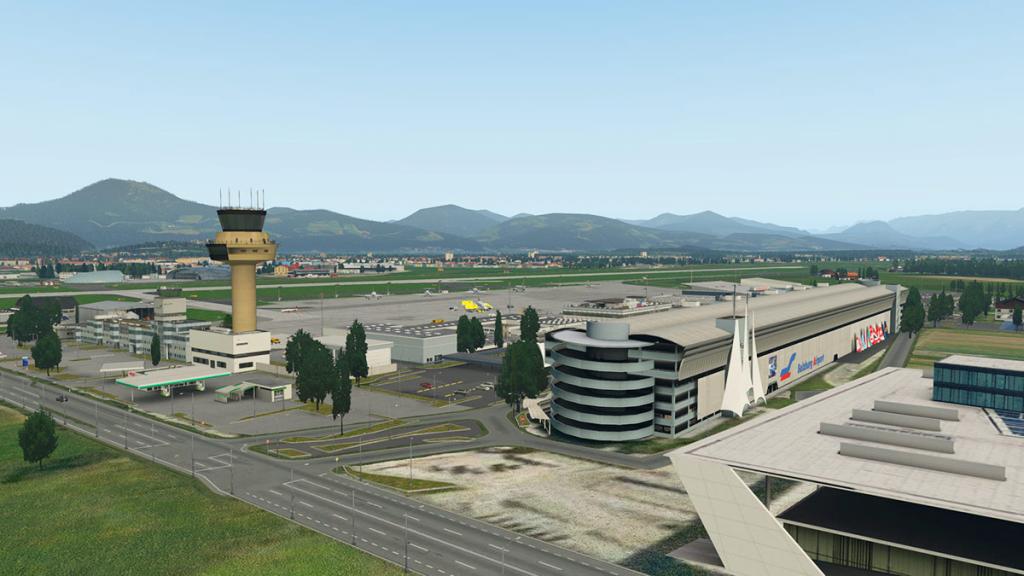
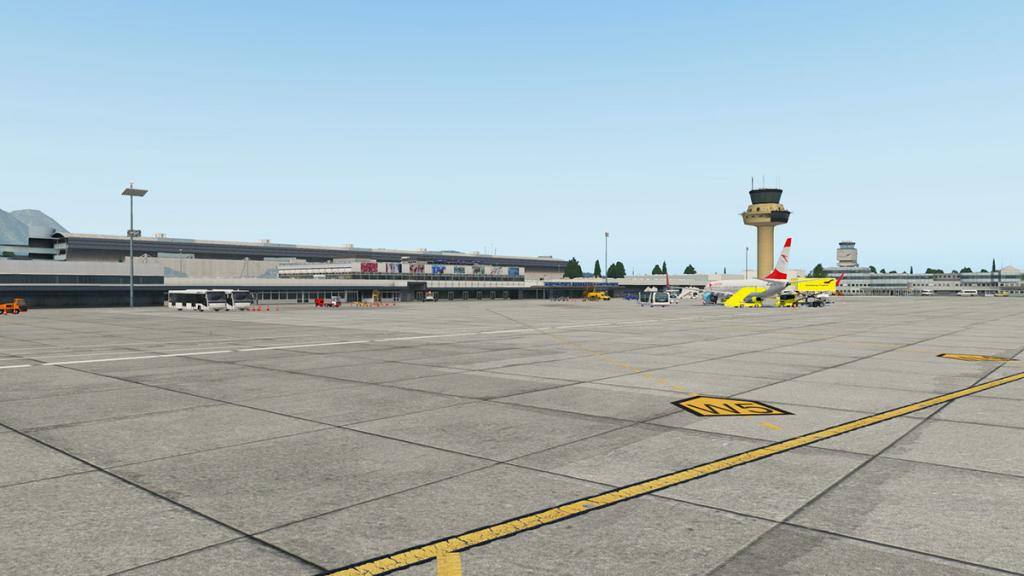
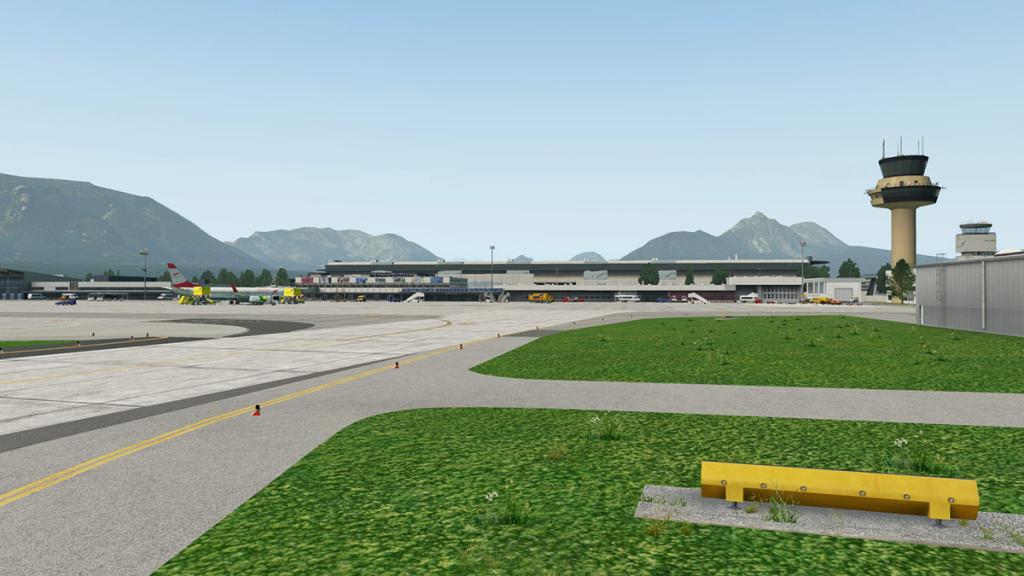
All the textures have been given shading and occlusion (texture baking) effects on the terminals and other airport buildings to X-Plane11 standards and it is certainly more highly noticeable in the quality and sharpness.
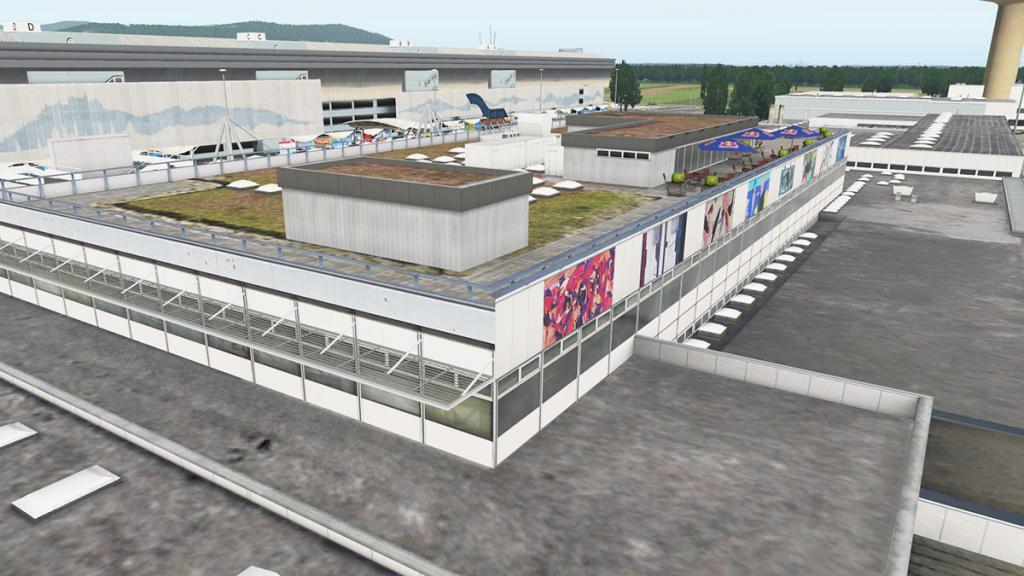
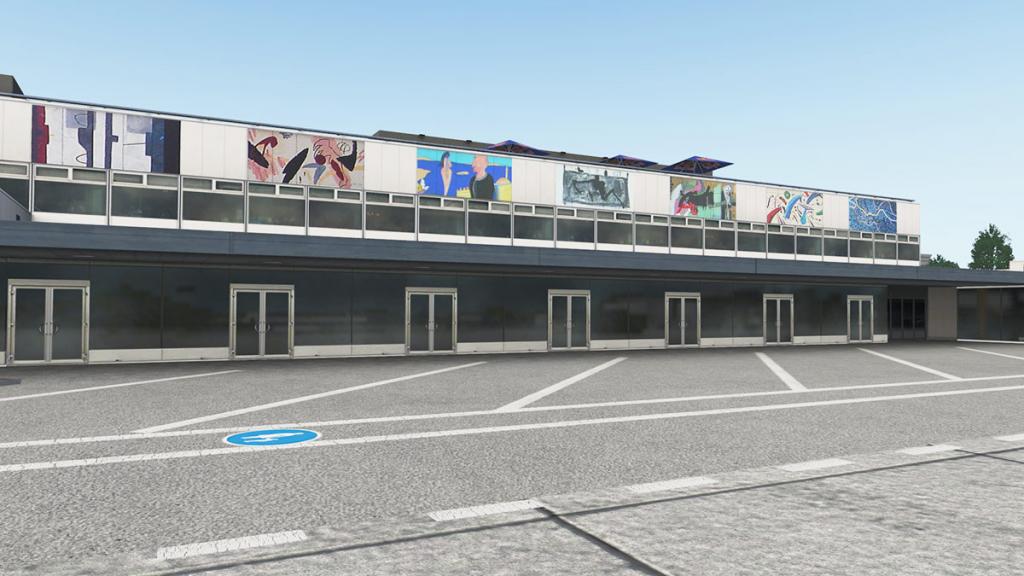
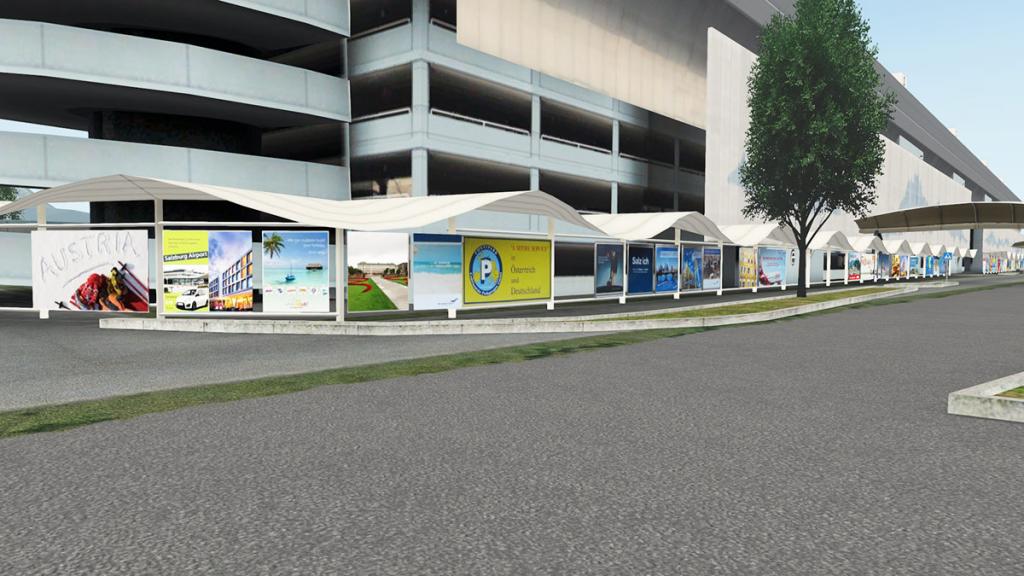
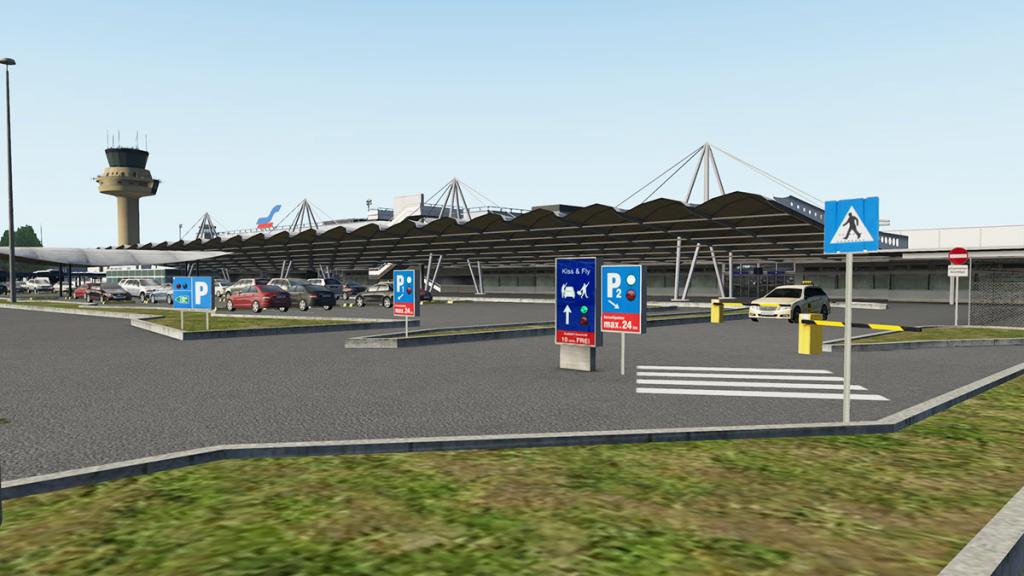
Even if your computer is set at a lower resolution and anti-alias you know these textures are far better, they have been totally redone for performance as well.
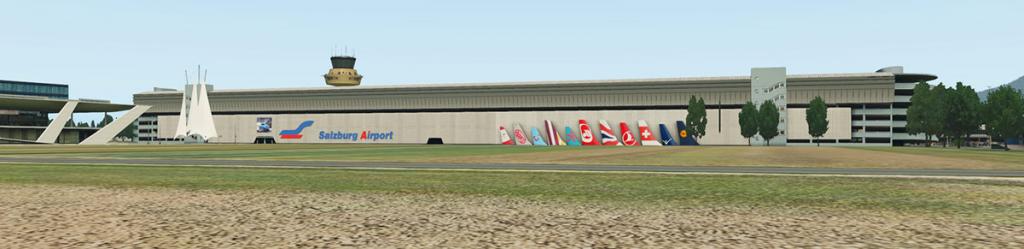
These changes can be highlighted by the ramp concrete textures...

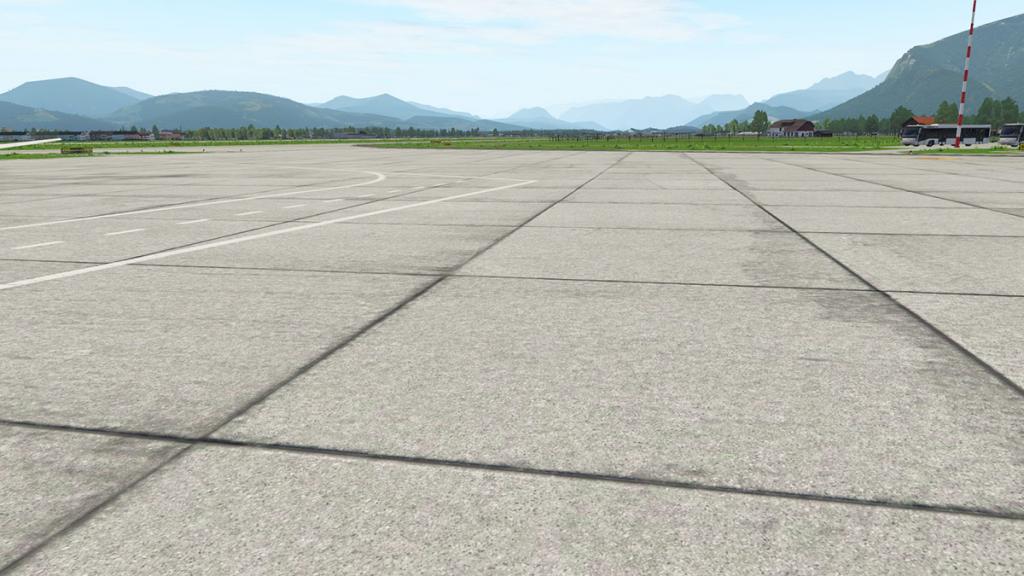
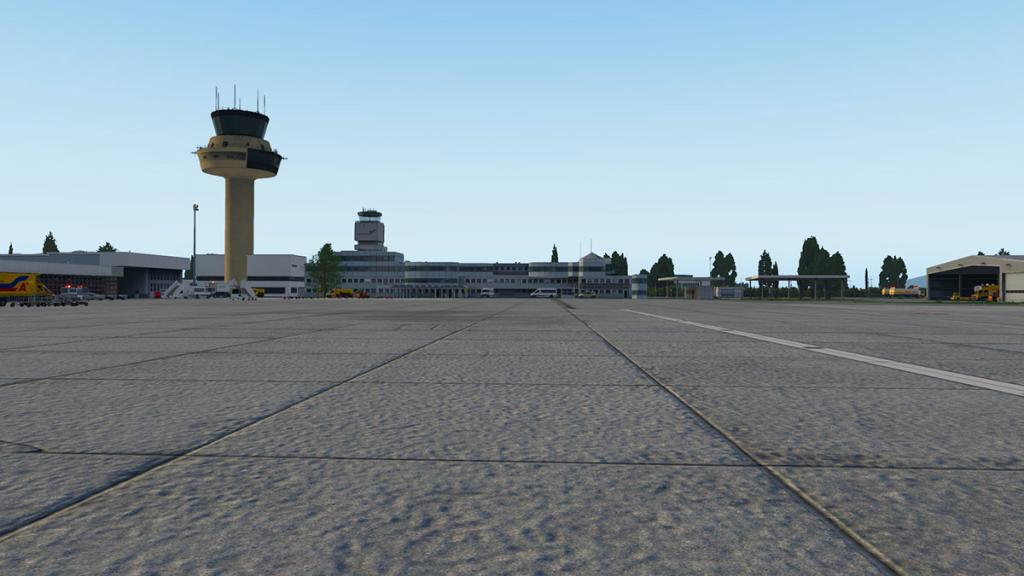

You notice and even feel the concrete slab effect on the ramp, and in the right lighting you can see the excellent grooving and shine on the material and in the right weather and rain conditions he wetness shine on all the surfaces.
Reflection textures which use the X-Plane11 metalness feature have also been done to great effect.
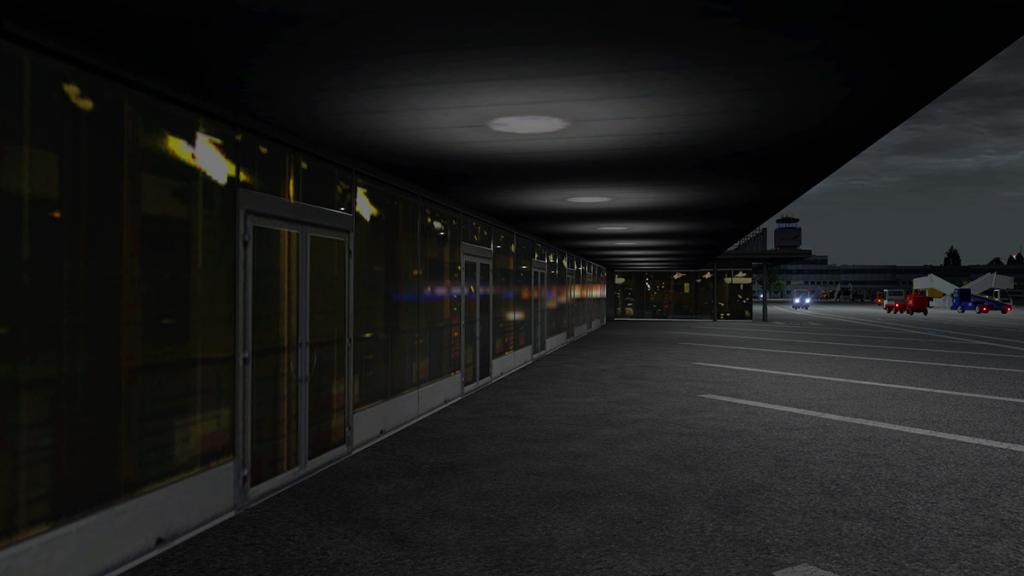

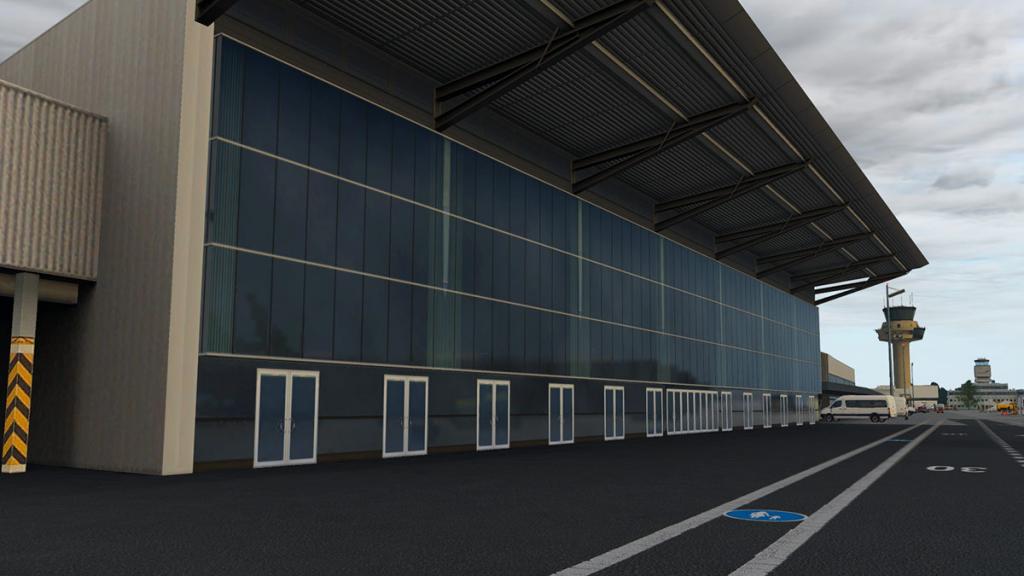
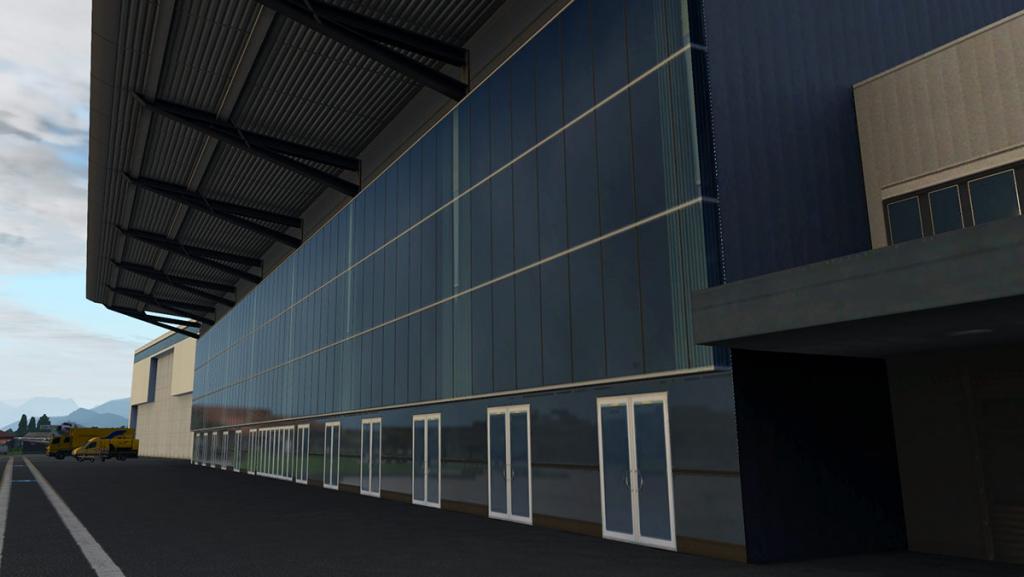
Reflective glass surfaces are excellent as highlighted by the secondary terminal building, at night there are extremely realistic. And brings more to life the "Hangar 7" which is the sponsored museum by "Red Bull" drinks. And the space age designs of the two half hangars that are positioned on the eastern boundary of the airport.


More X-Plane11 features are used by using the X-Plane default ground traffic and equipment...

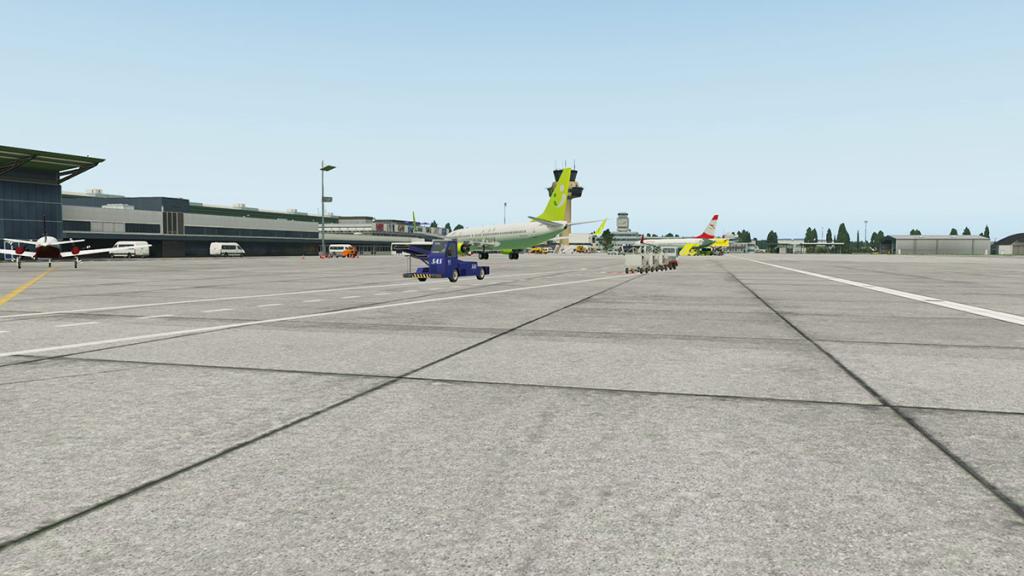
... so there is a lot of action and movement and with more placed static elements to make up the scenery.
The LOWS approach and departure visual aspect with loads of objects was one of the big features with the release version. Again at first glance it feels and looks the same but it isn't. The objects have been replaced by the Germanic default autogen which looks fine in Austria and with that change you get a framerate lift as well.
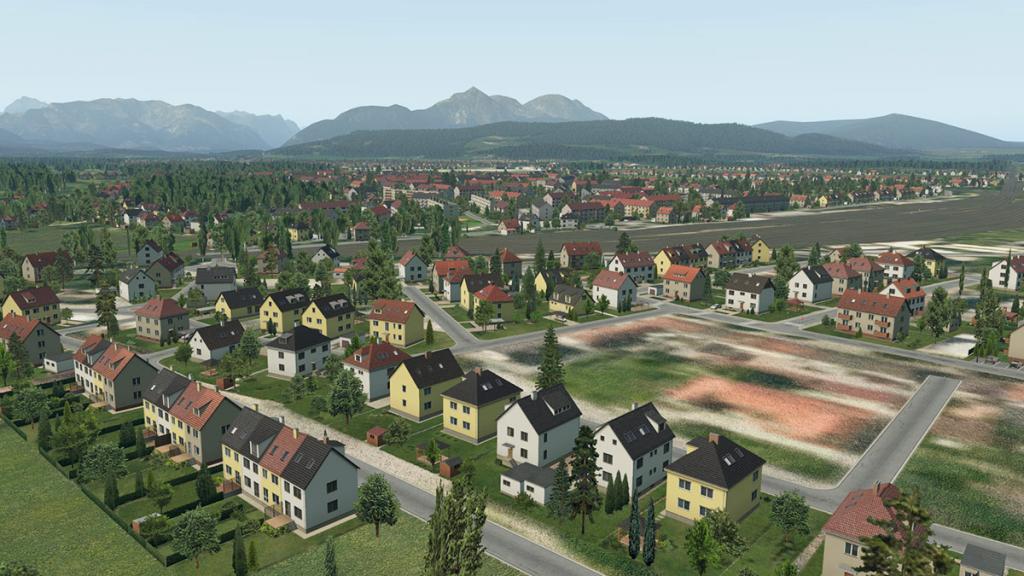
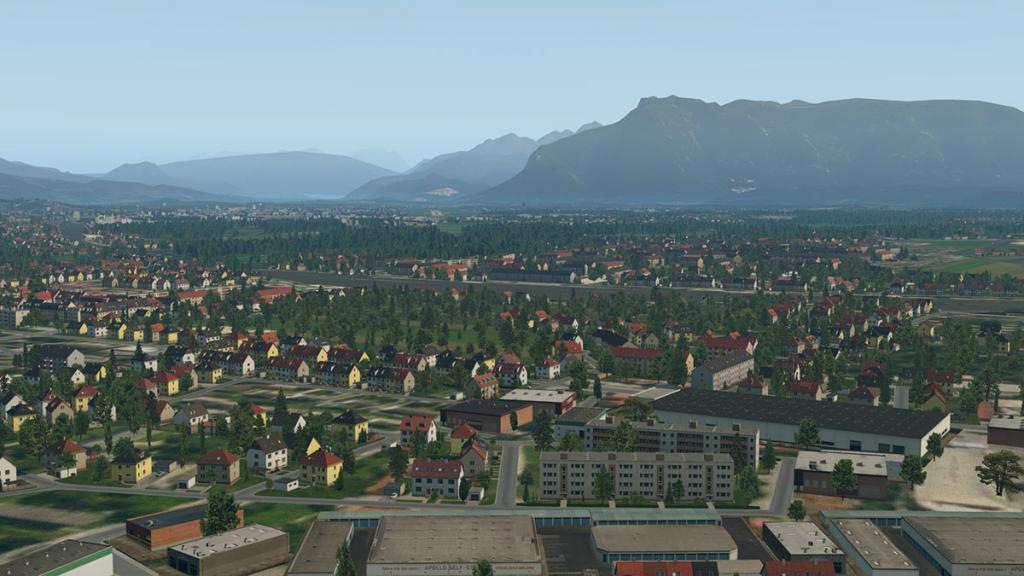
And the original version had a great placement of local buildings and factories to help in the correct local flavour. More of these specially created items have been added including... a nice football stadium (Red Bull Arena), Kaindl plant (flooring), IKEA and many more.
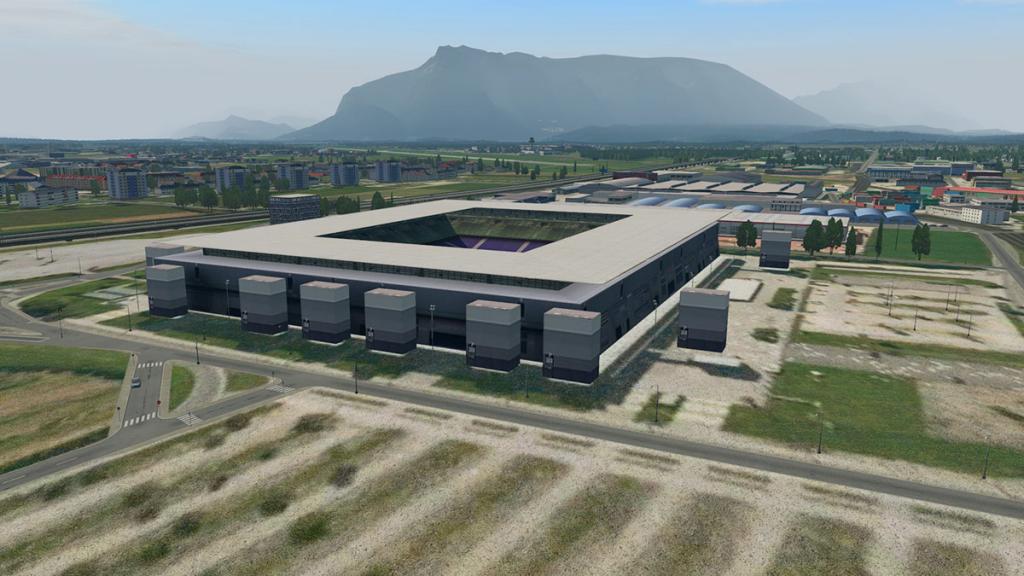


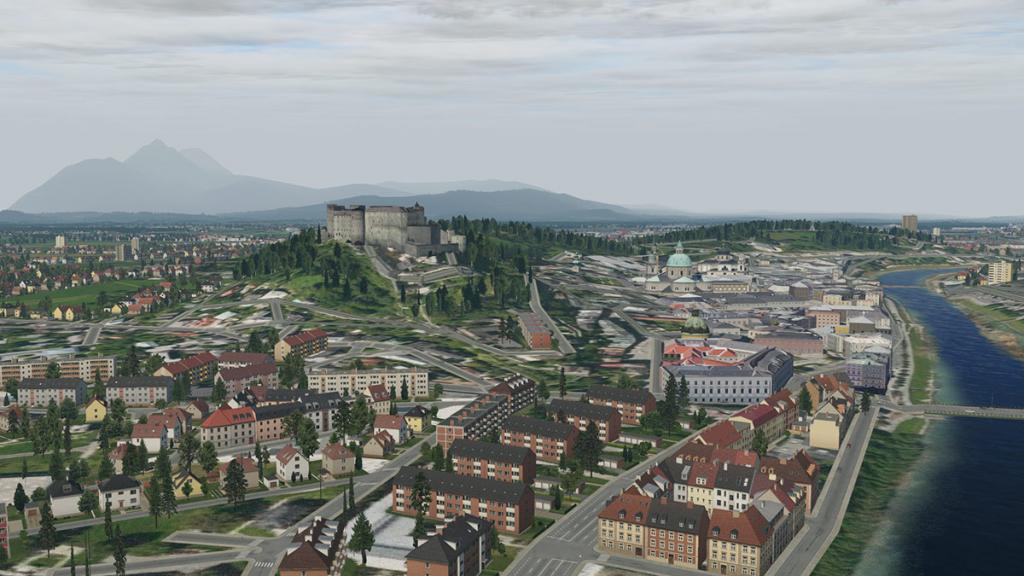
The Salzburg "Old Town" (Altstadt) city centre area with the Hohensalzburg Castle is still in there as well with still many of the famous baroque churches also reproduced.
Departure from W.A. Mozart, Salzburg via RWY15 (south) highlights the scenery in the actual airport and then later in the surrounding environs.
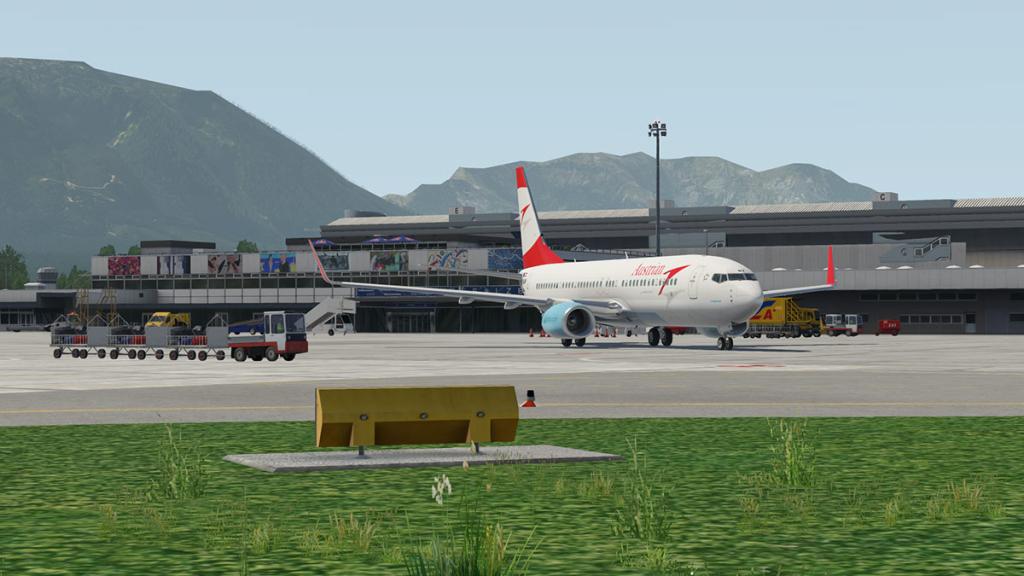
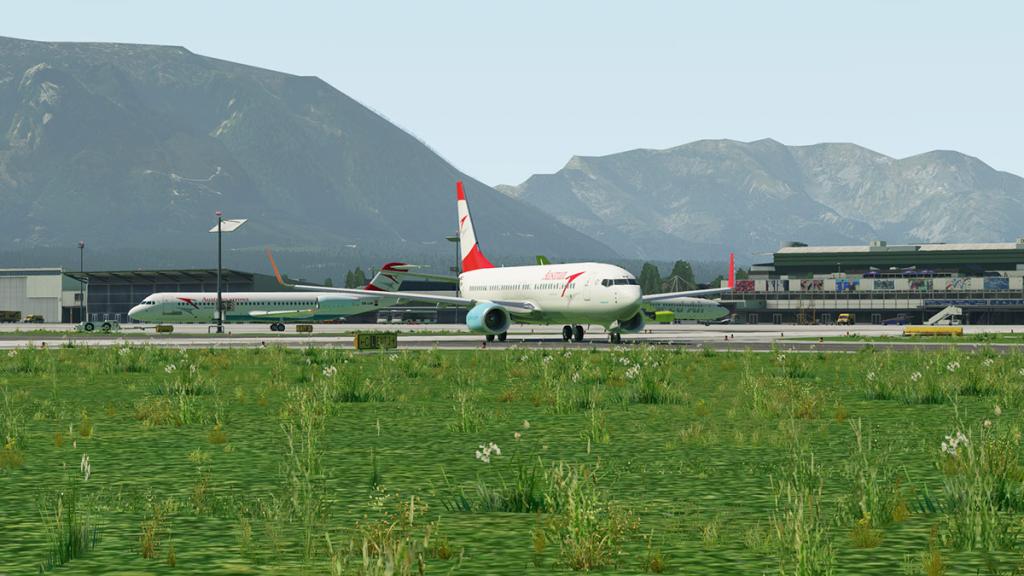
Taxiway and runway textures are first rate, and note the excellent 3d grass.
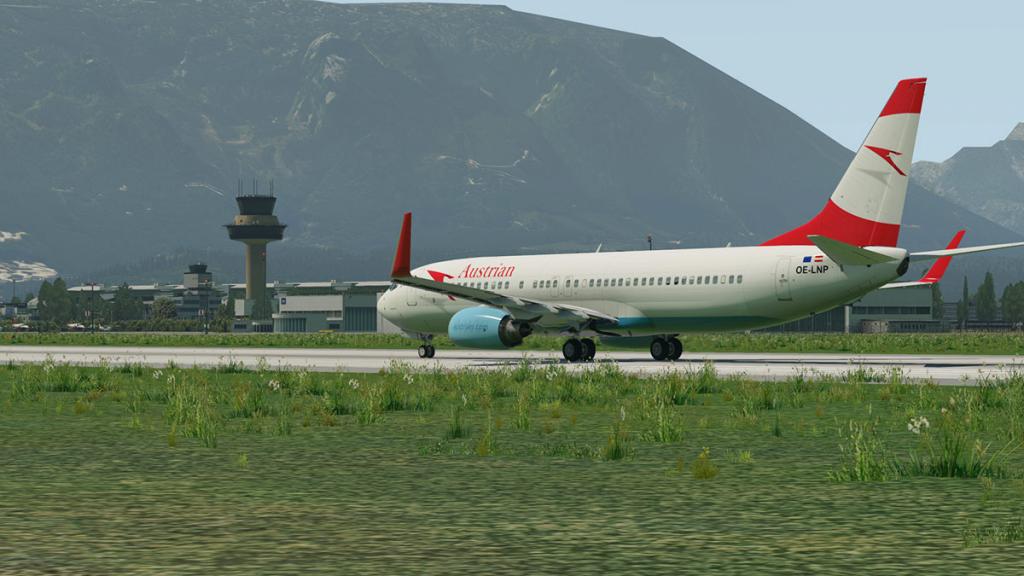
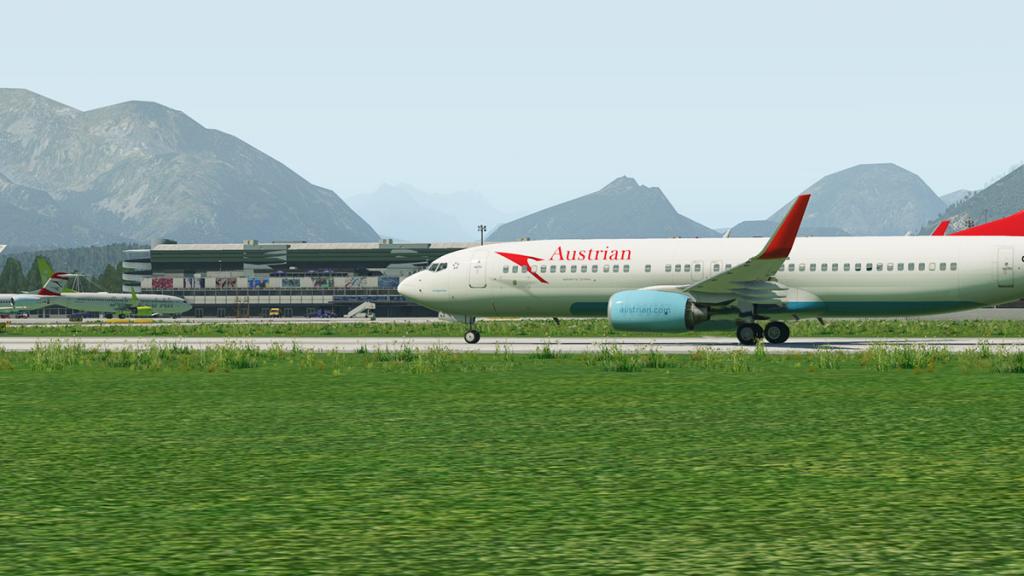
All included details are fully photorealistic, it is very impressive.
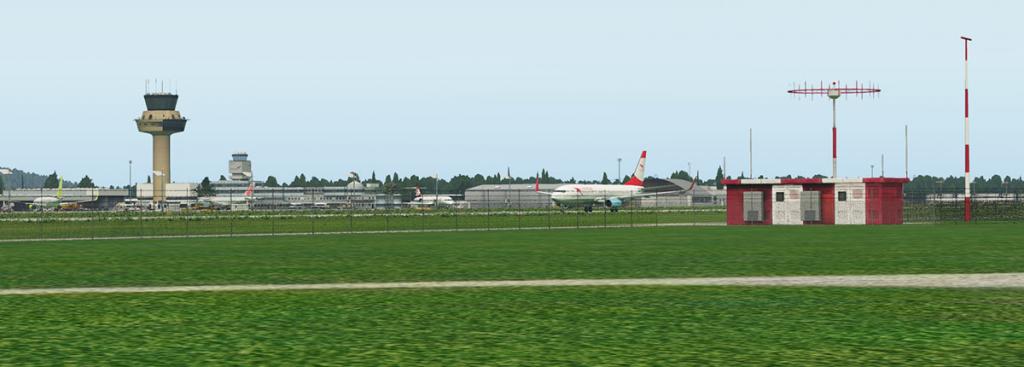
Departure like arrival is spectacular at LOWS, more so if you are going north as you need to do a very hard 180º in the valley to clear the alps.

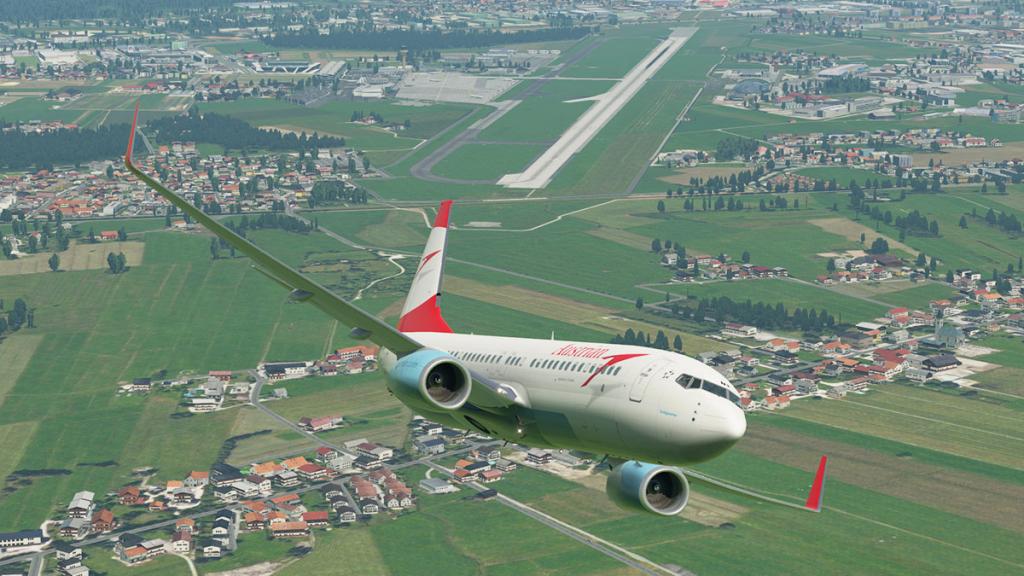
Extended visuals are excellent, and the clever autogen works for you until the very good ground textures seemlessly then take over.
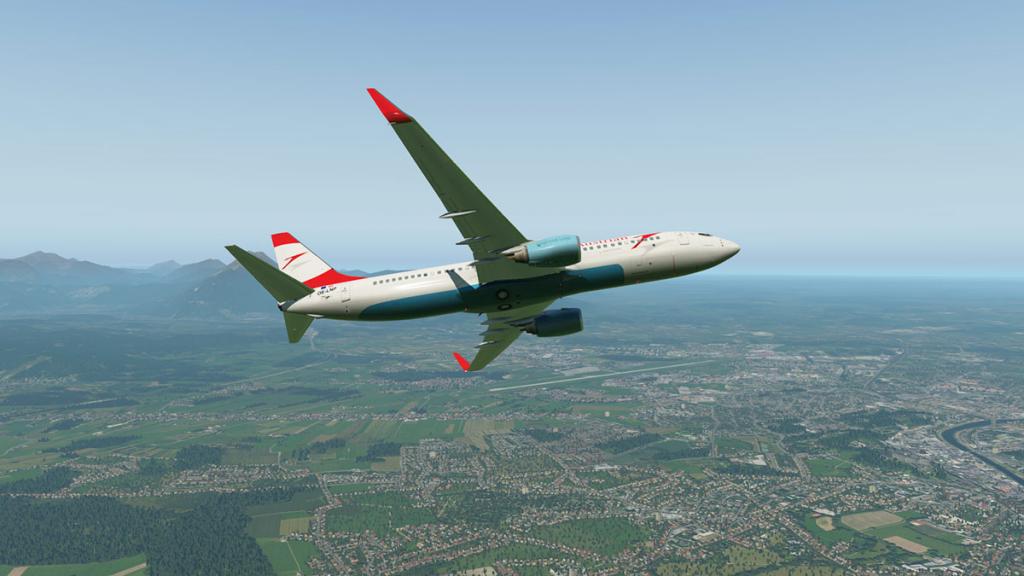
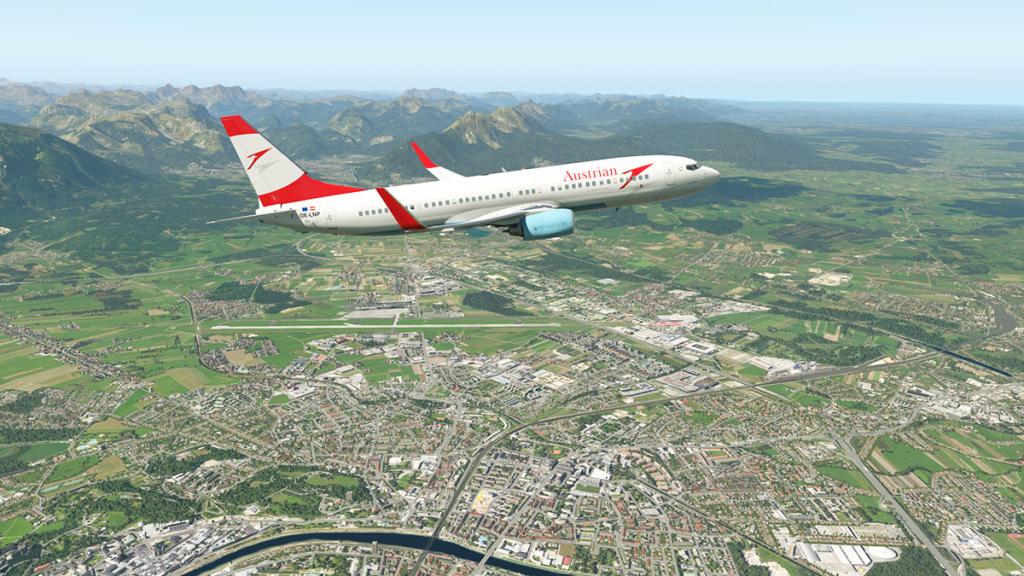
You work for your money leaving Salzburg, but you love it really...

Summary
This LOWS-Salzburg XP11 does exactly what it advertises on the packet... updates to X-Plane11. The update however does also take full advantage of every great feature X-Plane11 has to offer in better autogen (Germanic), better high-texture quality, metalness reflections, concrete runway/taxiway textures, default animations traffic and static objects.
All the textures in someway have been enhanced or processed to take advantage of the new version of the X-Plane simulator. Also added is more placement of 3d local items in stadiums, factories and buildings.
Negatives, a few including still a strange tower view, it has been moved but the view is still not in the right place but now below the tower and to the side? and a little bit of texture thrashing. Nightlighting is good but not brilliant and unchanged from the original release ... and that is it.
This is an upgrade and not an update and so any previous X-Plane10 owners of LOWS Salzburg can buy this new XP11 version for only $5 and to do so then check your original LOWS invoice at the store for the discount code that will be listed there for the offer. And this XP11 version obviously can only be used in X-Plane11.
I do admire the way JustSim do totally take every advantage of X-Plane and certainly X-Plane11's features to enhance their sceneries and they do all this at a brilliant price. Always I am impressed by their work and their sceneries are the best to use in X-Plane and certainly in X-Plane11 if the scenery has been upgraded.
Either way if you are upgrading or buying the JustSim LOWS scenery for the first time then you get a lot of scenery for your money, great value as well, and an even better dramatic place to fly too, so you can't overall ask for more than that... can you?
____________________________________________________________________________________

Yes! LOWS W. A. Mozart - Salzburg Airport XP11 by Digital Design (JustSim) is NOW available from the X-Plane.Org Store here :
LOWS- Salzburg Airport W. A. Mozart XP11
Price is US$19.50
Note: Previous owners of LOWS Salzburg can buy this new XP11 version for only $5: Check your original LOWS invoice at the store. the discount code will be listed there
Features Include:
- New X-Plane 11 version, designed for X-Plane 11
- Shading and occlusion (texture baking) effects on terminal and other airport buildings
- High resolution photo scenery near airport and city
- All autogen objects are manually placed
- New High resolution ground textures / Custom runway textures
- New Runway and taxiways reflection effect
- Custom apron, taxiway and runways lights
- High resolution building textures
- PBR materials on airport buildings
- World Traffic compatible
- X-Life traffic compatible
- Optimized for excellent performance
Requirements:
X-Plane 11+
Windows, Mac, Linux
1Gb HD Space Available
2Gb VRAM Video Card Minimum. 4Gb+ VRAM RecommendedCurrent Version : 1.0 (last Updated July 27th 2017)Installation and documents:
Download for LOWS - Salzburg is 478.10meg and the scenery is deposited in the "Custom Scenery" X-Plane folder at 1.05gb.
Just deposit LOWS-Salzburg_Digital_Design_XPL11_v1.0 into your X-Plane Custom Scenery Folder
A basic manual (3 pages) is provided.
There are no charts, but a good LOWS download charts package is available here: VACC LOWS_Package_Complete Package
____________________________________________________________________________________Review by Stephen Dutton2nd August 2017Copyright©2016: X-PlaneReviews(Disclaimer. All images and text in this review are the work and property of X-PlaneReviews, no sharing or copy of the content is allowed without consent from the author as per copyright conditions)Review System Specifications:
Computer System: Windows - Intel Core i7 6700K CPU 4.00GHz / 64bit - 8 Gb single 1067 Mhz DDR4 2133 - GeForce GTX 980/SSE2 - Samsung Evo 512gb SSD
Software: - Windows 10 - X-Plane 11.02
Addons: Saitek x52 Pro system Joystick and Throttle : Sound - Bose Soundlink Mini
Plugins: JARDesign Ground Handling Deluxe plugin - US$14.95 : Environment Engine by xEnviro US$69.90 : WorldTraffic 2.0 Plugin - US$29.95 : XPRealistic Pro v1.0.9 effects US$19.95
Scenery or Aircraft
- B737-800 X-Plane Default - Free

-

X-PlaneReviews : 4th Anniversary Competition!
X-PlaneReviews : 4th Anniversary Competition! Winners!
Thanks for everyone who entered our 4th Anniversary Competition and the winners are!
- Tinmug - Finalist DC3
- FlyGal - Finalist MD88
- Grant543 - Finalist A330
- Pilotofnothing - Finalist PA28 vFlyteAir
- Sukhoi Baron - Finalist - B737
Winners will be contacted by the X-Plane.OrgStore over the next few days (Don't email the store till they contact you).
Thanks Again...
X-PlaneReviews is four years old, but who is counting? age is in the mind not the body right. But with all the seriousness around us we should celebrate a significant milestone and so we shall, by feeling great and giving lots of free stuff away.

So thanks to the generosity of developers and the X-Plane.OrgStore we have a lot of very nice aircraft for you to win.
Five Winners can choose one aircraft from:
FlightFactor/VMax Boeing 777
FlightFactor/VMax Boeing 767
FlightFactor/VMax Boeing 757
FlightFactor Airbus A350
FlyJSim Boeing 727
All aircraft are on offer in the competition and only for the month of August 2017 and CLOSES midnight 31st August 2017
So how do you win the prizes!
We want to know what you think is the best aircraft in X-Plane, but the aircraft must have been in a review that has been released by X-PlaneReviews.
So you have to refer to the review in X-PlaneReviews... a link is worth more brownie points... Example:
------
Aircraft Review - DC-3/C47 by VSkyLabs Flying Lab Project
Then give us 150 words on why you think it is the best aircraft in X-Plane and why it is worth the purchase.
-------
Conditions for entry
Just insert your entry on only this page below to enter and sorry only one entry per user is allowed so make it count. No X-PlaneReview review connection will mean your entry is invalid for the competition.
The competition is only open to joined members of this X-PlaneReviews site, so you have to log in to enter.
X-PlaneReviews have the rights to republish the winners on this and other sites. Winners will be picked on detail and originality of their answers, and winners prizes are final and the prizes are supported with updates, but not upgrades. Winners are drawn 1st September 2017.
Do your best and enjoy, I am looking forward to seeing what your views are on X-Plane products.
Stephen Dutton
5th August 2017

-
News! - Update Coming : Cirrus SR20 v2.5 by vFlyteAir
vFlyteAir have been busy lately with releases of their Cherokee 140 and the excellent Twin-Commanche. Older aircraft are being updated as well with the announcement of the Cirrus SR20 now coming soon.
In our review X-PlaneReviews really liked the way vFlyteAir created their own G1000 system : Aircraft Review - Cirrus SR20-G1000 by vFlyteAir
But the problem is that the original X-Plane system it was built upon is now gone, replaced by LR Philipp Münzel's new gps foundation. Certainly the new system is better, but it does require a completely new system for the SR20 to replace the old one to run in X-Plane11.
Mario Donick has been working on this W.I.P.: Cirrus SR20 v2.5 and notes the project is now almost done.
The vFlyteAir Cirrus SR20 will get another update for X-Plane 11, which will not only fix several bugs, add FMOD sounds, improve the PFD, and add our new weight & balance menu to the aircraft, but also introduce a limited support for procedures -- i.e. you can now select SIDs, STARs, transitions and approaches, and load their waypoints into the flight plan.
They have also issued a new video to highlight the changes and procedures...
______________________________________________________________________
Stephen Dutton
1st August 2017
Copyright©2017 X-Plane Reviews: X-PlaneReviews
-
Behind the Screen : July 2017
This edition of "Behind The Screen" brings X-PlaneReviews to its 4th Anniversary or four years into the world of X-Plane simulation and all its glories.
1st August 2013 was the start date and here we still are in 2017. I am surprised more than you would be actually. My usual personality was that I would totally devour any fascination with something within months, then move my attention quickly on to something else and then devour that, so I expected my then X-Plane fad to pass within a few months, soon bored and then wanting even more simulation from another source and that is how I have lived my life. But no here I still am and that from my perspective that is eternally fascinating.
The so called fad started earlier, back in 2011. A Mac Mini and X-Plane9, then my trusty iMac of which still all the X-PlaneReviews work is still outputted from, but a move to Windows was required to run X-Plane in a serious requirement for the site. Before X-PlaneReviews I wrote for XSimReviews, a crazy place with Simon and Chip but a great introduction to the X-Plane community, then a short spell with ASN (Aerosoft Sim News) but then the option to run my own site was a call from the ether and thus X-PlaneReviews was created 1st August 2013.
So then why am I still doing X-Plane. Why still the total fascination with a simulation program for aircraft? My first reasons was to fly, or fly correctly. Being slightly deaf since childhood an actual career in aviation was never going to happen, but I love aviation in all its forms. The odd thing was that I was pointed to X-Plane because it was the best simulator for a Mac, I tried early Microsoft simulators and Fly! but I have been always a Steve Jobs believer (even through the weird times) and so X-Plane it had to be. In some ways I saw the Steve Jobs vs the monolith Microsoft as part of the X-Plane to Flight Simulator or the creative vs monopoly and I still think that is still relative, but like Apple then X-Plane is getting the traction with the best product.
But it still comes back to the point of why am I still totally fascinated with X-Plane. There are a load of reasons, but basically the simulator is still totally endlessly interesting, very creative and very diverse. You don't have to be totally in love with aviation to be part of it (though that does help) but it does attract very creative people willing to donate their time. Many move up higher to not only contributing to X-Plane but making their living from it. Let us get this straight that no one will ever be made rich from X-Plane except for maybe Laminar Research, but that is missing the whole point on why it actually works.
There is always a lot of comment out in the world that life is better when you have stuff, bigger house, better car and a load of cash in the bank, it helps of course but in reality it is a very empty existence, our world today is built in to create status and yet in reality do we really admire tossers that in reality contribute nothing but only take for their own vanity and undeserved accolades for being in reality only shallow human beings, and for some reason these tossers actually think they are better than you and me for reasons only known to their selfish selves.
X-Plane is actually the opposite of that, and thankfully the simulator does show that a.. human beings can actually get along with each other, b.. that there are no racial or continental barriers and that we live in a brilliant unthought of online electronic world were we are all connected together by one endeavour to do something that we all can participate in together with a common goal in to learn, be creative and to contribute. X-Plane is the internet dream come true in reality, a modern day society and an entity to itself. There is no doubt more and even bigger online societies than X-Plane, but it is its ideals and goals that give it a status we should all be proud of. More importantly is the fact the simulator is fulfilling, by giving you receive, X-Plane gives you something you can't buy... happiness.
X-PlaneReviews and in fact my reasoning for being part of X-Plane is to be part of the living organism and give to build a better place for people to enjoy a community. The aim of the site is to promote peoples creativity, guide and to showcase what X-Plane has to offer the world.
My place is not to put myself on a pedestal and say this or that is good or not. Obviously as the standards in the simulator are getting now to a very high level, certainly as X-Plane11 takes the level now quite high in quality and demands. My position is to highlight the great work being done out there and what we can experience on our screens in real time flying. Photorealistic vision is now commonplace and not just in your dreams, as noted the standards are now extremely high, and to a point a high barrier for any new budding developer that wants to enter the market.
This is now far removed from the time I started in X-Plane, the basics in reality has not changed, but everything else has. My contribution with this site is to showcase X-Plane to the world and spread the gospel, but also to be source of information to enhance your simulation experience. To a point a lot of it is very complicated and needs to be explained in layman's terms but it is in the hints and the way I use X-Plane that others can get the very best out of the simulator as well. The site has always promoted talent and creativity, and although I would like to cover almost everything released for X-Plane but that is simply not possible. So I see the site as a sort of filter to what is very good to brilliant, or items that do have potential in X-Plane in the future, or simply what is very good does always rise to the top. This does result in most times that reviews are more to the positive than the negative, that is because I mostly only filter out the areas that are in the average or to not waste your time on.
Opinions and criticism is an interesting area, we are a review site, but the points are that we are reviewing the items for two audiences, one the paying purchasers and two the creators and developers of the product for X-Plane. For the first you want an overall view of the product you are paying for and is it worth your hard earned cash.
The important element to our reviews which I have stated numerous times is what I call the "value" aspect of what you purchase. Anything bought has no value unless you use it, and often. Scenery is the most notable because it is out there somewhere unless you actually fly there, if you never fly there then it is waste of money and to those who do hoard huge collections of scenery freeware or not, then it still has no value unless you use it and the same with aircraft in the fact if you don't fly it it has been a waste of cash. So purchase or download only what you will actually use, and build up clever networks that take full advantage of the X-Plane experience, I know because I was the worst hoarder ever... I mean ever!
Reviews of developers products is a harder game. No one and certainly not me wants to criticise someone's great work and worse have them have the loss of sales at the release, this is their reward time after all. But the aim is to be fair to both parties.
The buyers deserve something good for their cash and in my mind at least a certain level of quality and features for the purchase price, the problem is as noted is that the level is going up and up and is now quite high.
But let us be frank that some of developers are asking more than their actual product is worth for the return on their investment, a bigger problem lately is that to many developers are now releasing product before they are ready for the market and then get really annoyed when you point that actual fact out, the "I'll release it and fix it up later" is better left to Apple and other online business than X-Plane. Certainly I understand that everything in X-Plane is always under development and nothing is in reality is ever finished, but the prospect of cash coming in can in most cases totally override the point of reason in that the product usually only needed a more short points of time to clean up the and fine tune the product and it is usually only a few months extra work for bigger sales. They just don't see that a reputation is hard earned and is just as easily lost by assuming that the punters will simply buy what they put in front of them and are aghast in the fact that reviewers will note that their product is not actually ready for sale. But come to their next release and the punters are certainly are going to be wary even if the product is far better. Reputation is consistency and quality, get the equation right and you will do well, the best and successful developers are the ones that take care of the tiny details as much as as the broad canvas.
Some developers do get your admiration as well. They release, but work quickly and efficiently to deliver a fully rounded product in a short period of time and quickly do sort out the areas of bugs and details.
So criticism is a fine line between noting the issues and not deriding the product, an issue is an issue to be faced and fixed, If you don't note it then a thousand voices on the forums will tell you anyway and there is the point to be made. X-PlaneReviews does note that, It is not a personal vendetta on any developer or product, but the simple fact there are areas to be addressed on the product and its purchase price, and that X-PlaneReviews is still here after four years and for many more it is testament to that. Credibility is hard won in the age of "fake news" but in reality I think it is needed now more than ever to give users the best information and the best ideas that X-Plane has to offer, but overall the past four years the development has been astounding and more this year than any of my past time in X-Plane have I had with no exaggeration more jawdropping experiences from the return from the simulator.
X-PlaneReviews Site
The X-PlaneReviews site has evolved as well. On the surface the layout has not changed that much in many ways, but it has in lots of others. We are bound by the IPB board systems layouts, but that is to our advantages and not the negatives. Yes we have twiddled with various ideas and layouts, but the one we use is there for a reason. The main objective is that the site is available to everyone and everywhere.
Yes we could have loads of fancy huge graphics (I am a graphic designer) and loads of buzzy animation, but the site is built around speed to download, and to be perfectly available on every platform from desktop to smartphones to tablets and any other portable device we use. There is no use in have big expensive graphics if you can't scale them on to the various different devices, and what looks nice on a desktop, is mostly horrible on an iPhone or iPad, so simple layouts do have a job to do and we have worked very hard not only in the look of the site but in the way the reviews are actually laid out on all the platforms.
Changes on the IPB have helped in site over the years as well, but the biggest has been the ability to size the images in the site. This aspect gives you the flexibility to highlight areas in the review, but in most cases just to show off the great images you can now achieve in X-Plane, which are almost photographic quality in X-Plane11.
One area that is a minor note is that every now and again the IPB will do an in house update. These updates over the last few years have created a few visual issues in the way the layouts are set out in the reviews. They scrunch up was they lose their spacing and a few graphics in logos have disappeared? The reviews can be edited back to their correct form and we endeavour to cover them all, but we did do them and then the IPB reupdated and sent them all back to zero again, so yes a few reviews are not laid out correctly, but we are getting through them and reediting (again) them back to their correct form. Problem is there are over a thousand reviews now, so it takes time to fix them all up.
X-Plane Simulator
Overall it is the sheer change the X-Plane simulator has created within the years that have been part of the experience. When I started most simulation punters were noting the end of the desktop simulation and that the golden years were now behind it. The naysayers went on and on that the shrinking hoards were going to other areas to get their thrills. Personally I think that is a load of tosh. In fact X-Plane when I joined had only 183.000 registered users, currently officially there are 464,709 registered users and yes a certain amount of the registrations are not regular users, but the numbers are still rising, still joining and X-Plane will certainly pass half a million users by the years end. That is not simulation in retreat.
You feel it in reviewing as well. When I started reviewing you had maybe a major payware release twice a year, maybe three. Now it is mostly bi-monthly with groups of major releases before the Christmas and Easter holidays. Mostly there was a feature release of say a scenery or plugin twice a month, now it is mostly three a week, we used to have slow periods and heavy periods, now you are busy every week, every day.
Most weeks we try to post two to three reviews, so take a few days off or have a holiday (ha!) and you quickly fall behind.
Workload
There is certainly an enormous amount of information to process, a huge amount to learn and layout for you to read. And the sheer depth of the simulation now in X-Plane was simply unthinkable when I started.
Setting up scenery and certainly aircraft does take time. Most high-end aircraft take around twenty minutes even before you start the engines, just like the real thing and if your computer is having an off day and won't co-operate even if you yell at it, then it gets all a little of "hows your father".
A few tricks can save time. I try to vary the reviews as much as I can to not bore you to death with the same scenery and viewpoints. But solid routes can and does help in comparison between the different versions of the same aircraft and it does a sort of continuity in the same theme. But a lot of the time is wasted in programming out FMS (Flight Management System) navigation systems. I have created cheat sheets that covers all SID/STAR and waypoints with required the frequencies for certain routes. The main area that you lose time is finding correctly working waypoints and SID and STAR routes, certainly you can download routes from the internet, but these are tried and tested inputs that will deliver the complete gate to gate required route without any complications across a variety of aircraft. It works, but mostly in the fact that when I input the route in it will not give me an error to be found in a non-existent fix or a STAR that is not correct with the runway (A lot of STAR's will turn you in too close to the runway or send you miles away to an odd entry fix, just try LIRF if you want to have some fun).
But the wonderlust does still happen, that draw that should have faded years ago is still there, not flying and you get ichy, even addictive, you just want more and X-Plane is the drug that just keeps on giving... I just hope I don't end up in Rehab!
July 2017
I nearly did end up in care in July. After a heavy six months my eyesight finally gave up early in the month after another bad cold in late May that I never really got over. Blurred vision, bad headaches and a drop in eyesight meant I needed new glasses. But it was still a week with the old ones till they arrived. Then the last week of July I got another cold that floored me again and this is the third this year... I am so over colds.
It was a busy month as well with plenty of releases, with some really great scenery including LAXv2, Salvador Bahia and ENBR-Bergen Norway. The X-Plane11 compatibility aircraft roll-out continued as well with aircraft from Carenado with their B1900D, B200 and PA-34 Seneca V. Rotate updated their amazing MD88 Pro to v1.31 and SSG updated their E-170 and B748 and Wilson's Aircraft DC-8 got the compatibility make over as well.
I really liked the work in progress DC-3 by VSKYLABs, Great to fly, but slightly hindered by average textures, I think it is a great DC-3 for X-Plane and one aircraft to watch and at that price a real steal if there ever was one, it was an aircraft you just couldn't forget or want to move on from.
So there was a few reviews I didn't get around to in July because of the colds and don't mention a summer holiday will help. I live in Australia and it is winter here (like in Games of Thrones) and not in the hot throws of summer, so hopefully August will be a time to catchup.
I am still in throes with XPRealistic Pro's, amazing effects and did a landing at SBSV Salvador in the default B737 that I replay to death just to experience it over and over again, well worth the money.
I am still a huge fan of xEnviro, but the developers are wearing a lot of users patience really thin in July almost to the point of breaking point. Their instance to wait for the next update in 1.07 is fine, but it is eight months since the last update? The real issue is their insistence of the plugin being directly connected to their server to work, fine, but again if the server goes off line which it has done three times in July then you get a bad CTD (Crash To Desktop) on either starting up XP or in mid-flight. I myself lost a full days work because the sever was off line for a full day, then the work had to be totally redone to match when the server came back on-line, xEnviro has its moments with frame-rate crashes in X-Plane11 as well, that also needs an update... And here is crux of the problem.
The xEnviro team is doing itself no service and other developers should to take note on how to NOT create a good reputation and the subsequent loss of future sales by not doing a simple service update. The problem is worse by the fact xEnviro have boxed themselves into a corner in the fact that the big update coming is now months overdue as problems arose, and those problems are compounded that the big update is too far along now to fix even the basic areas that need addressing.
The lesson to all developers here is keep it simple and have regular updates. Just an earlier simple update to bring the plugin up to X-Plane11 compatible and unlink the plugin from the server if it is down, would have saved them (and us) a lot of torment. Users would have been more than happy to wait a longer period for the bigger featured update as their current "updated" version still runs nicely along, instead xEnviro gets a lot of very bad press every time it does a donkey and a lot of flack... and to be honest it is mess of their own creation... that is the lesson to be learn't, but will they learn it?
So July 2017 was a chaotic month, but with X-PlaneReviews starting into it's fifth year we will move on and to something bigger and better. The site is as always reliant of other people to function. First thanks goes out to all the developers that give out such outstanding work, they all have created this amazing intimate world with their creativity. I spend a lot of time with many of them, and although they wonder why I am there suddenly 100% then disappear only to reappear again later and it is that because there are so many projects ongoing, and I try to follow all of them, but time is limited. Overall I try to see for the benefits of X-Plane on how the work is going forward.
Laminar Research is always a foundation we constantly complain about, but in reality they have really delivered in the last few years. It is a far more professional business today than when I entered X-Plane. Give them a round of applause I think they have deserved it.
The X-Plane.Org and the X-Plane.OrgStore is the centre of our X-Plane universe, take both out of the equation and would X-Plane be were it is today, would this site even exist? I would doubt it. A lot of users note it is a monolith, but I see it as a steady hand in allowing the simulator to thrive as passionate people give a lot of their free time to help and give service to so many others, both Laminar Research and the X-Plane.Org are two binary stars orbiting each other that keeps the balance and the X-Plane engine running, surviving, so it is important we support both.
I have no problem in saying X-PlaneReviews supports the X-Plane.OrgStore because they do supply a lot of the releases for reviews, it allows us to cover a far larger area than most review sites, but my real reason for supporting the X-Plane.OrgStore is because it supports X-Plane in the best way it can in service, and developers trust it and the users do as well, in other words it is a sound foundation you can rely on and that is a rare thing in this day and age.
But overall it is the users, you that make X-Plane work... see you all next month.
Stephen Dutton
1st August 2017
Copyright©2017: X-Plane Reviews

-

Aircraft Upgrade to XP11 : Douglas DC-8 Series by Wilson's Aircraft
Mike Wilson has upgraded his Douglas DC-8 Series to X-Plane11. The upgrade is known as 11x and also adds in another variant of the DC-8 family in the DC-8 -71 passenger version. This goes with the already included in the package the original 61, 63 and the 71F (Freighter) variants.
I love these old birds, they are interesting and a more manual analog style of aircraft to fly and they give you more feedback and control. The release of the DC-8 in X-Plane from Mike Wilson was a welcome addition to my flying and I covered the aircraft in a full review here: Aircraft Review : Douglas DC-8 by Wilson's Aircraft

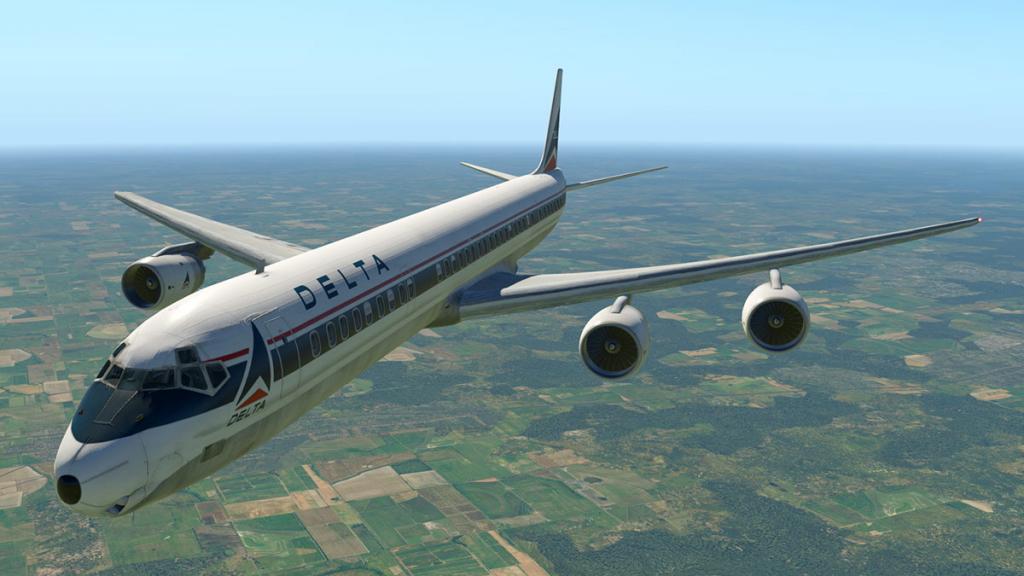
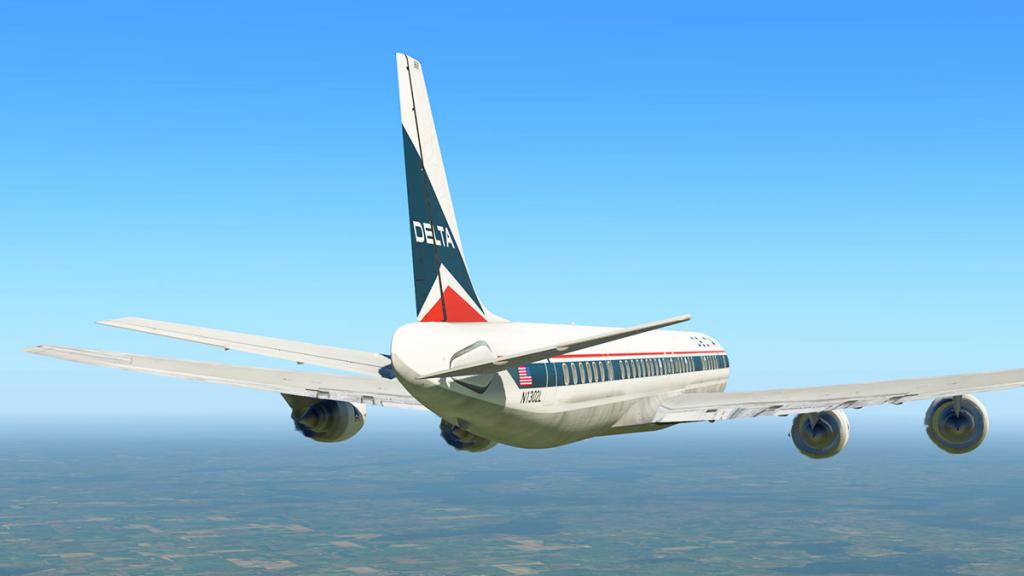
This is the 63 with the CFM International CFM56-2 high-bypass turbofans (22,000 lbf (98 kN). In reality all the aircraft here has the same 187.4ft fuselage length, it is the engines and age that makes the differential difference. Personally I love the huge turbofans of the later aircraft, they seem to fill out the airframe to a better degree, and so this 71 is a nice addition.
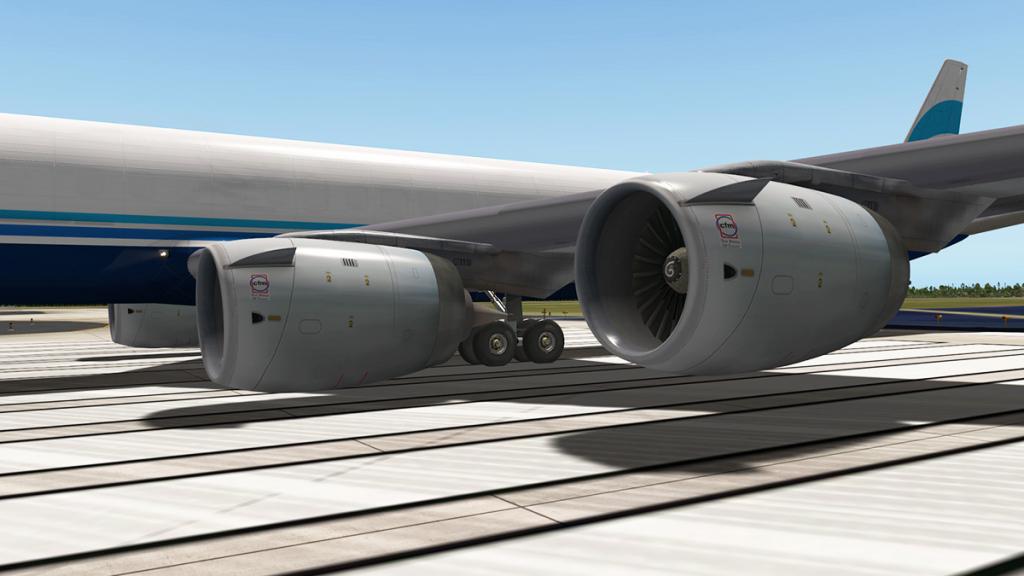

The other engine variants are:
DC-8-61 Pratt & Whitney JT3D-3 turbofan (18,000 lbf (80 kN)
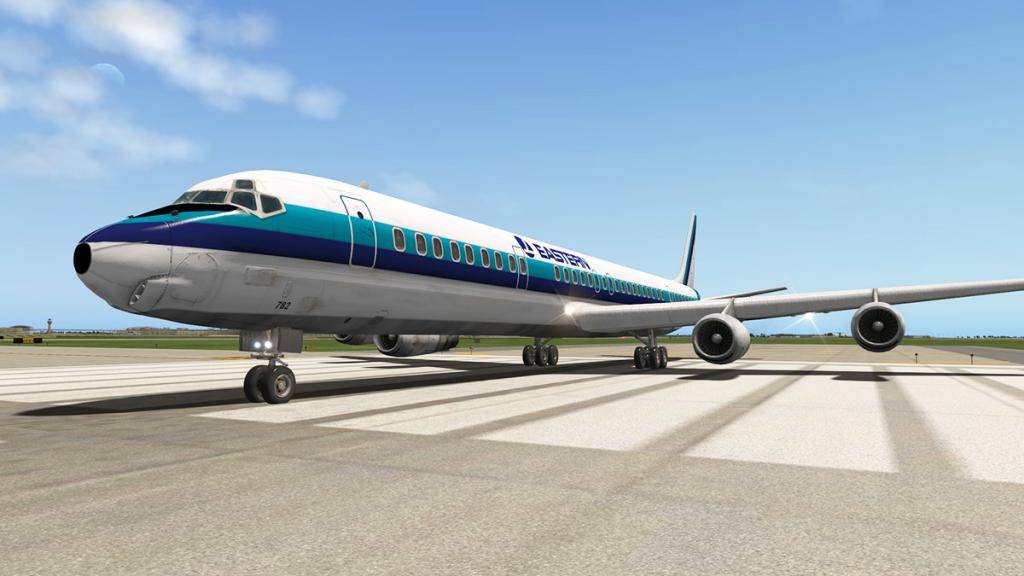
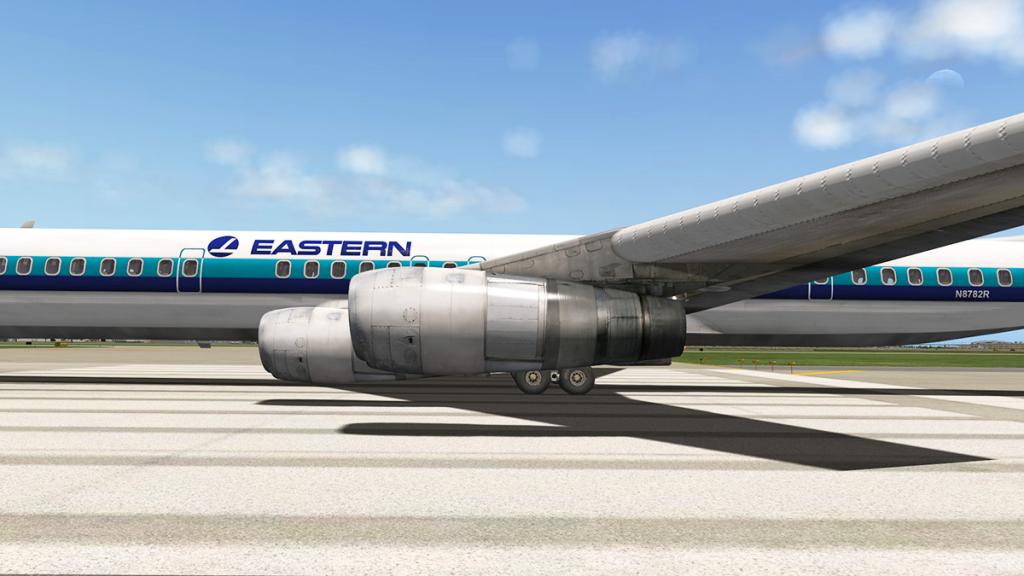
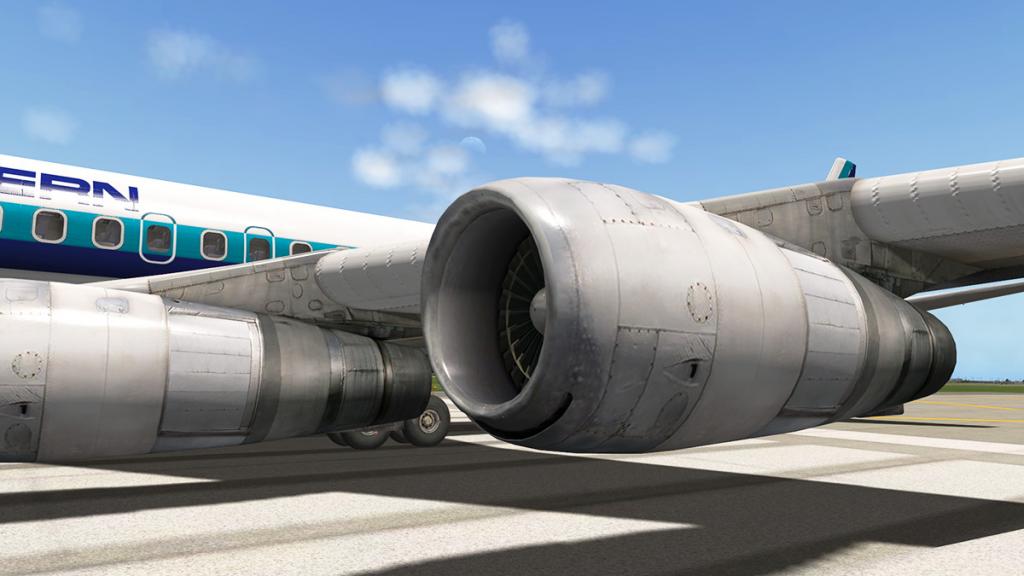
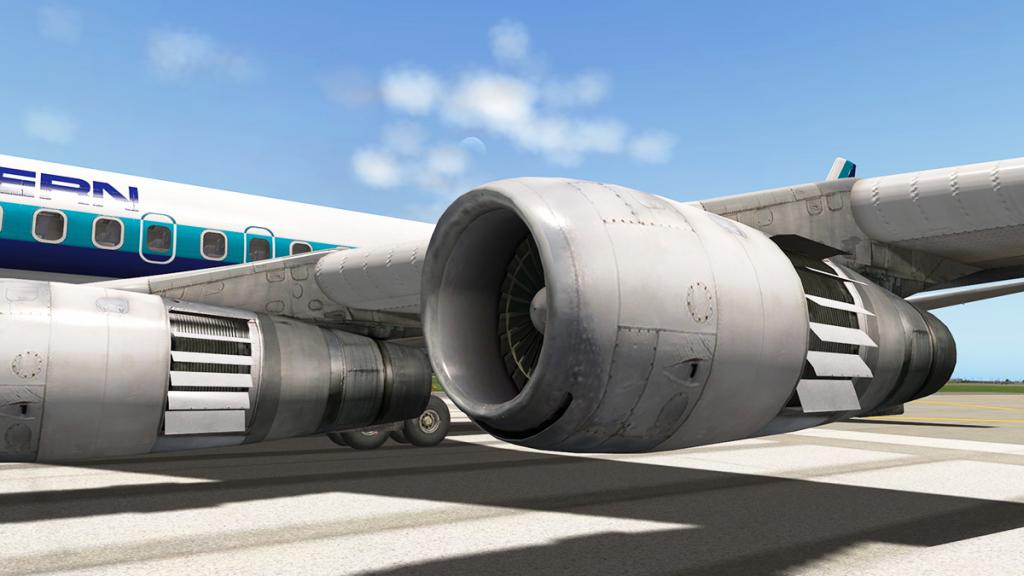
DC-8-63 Pratt & Whitney JT3D-3B turbofan (18,000 lbf (80.07 kN) )
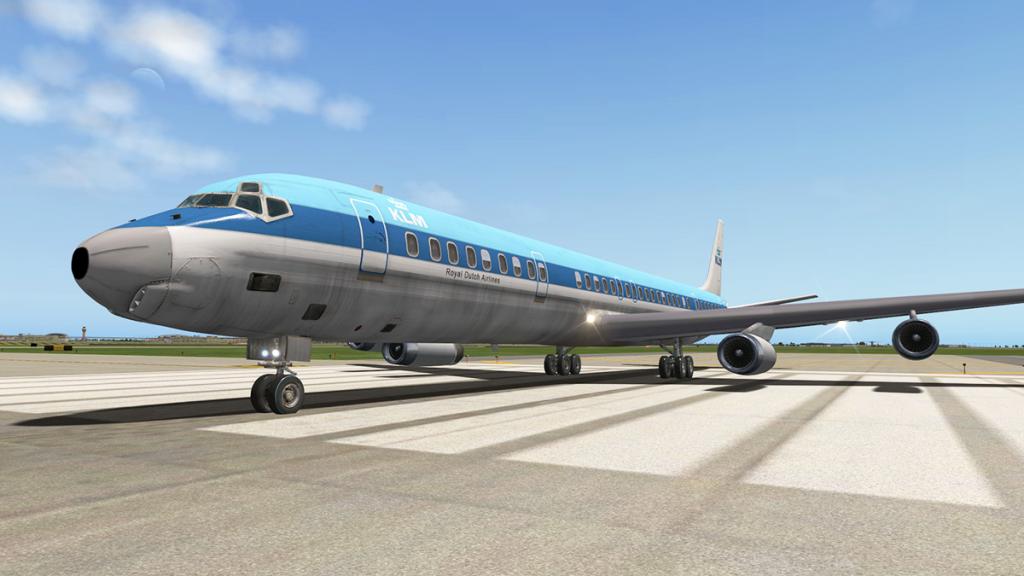
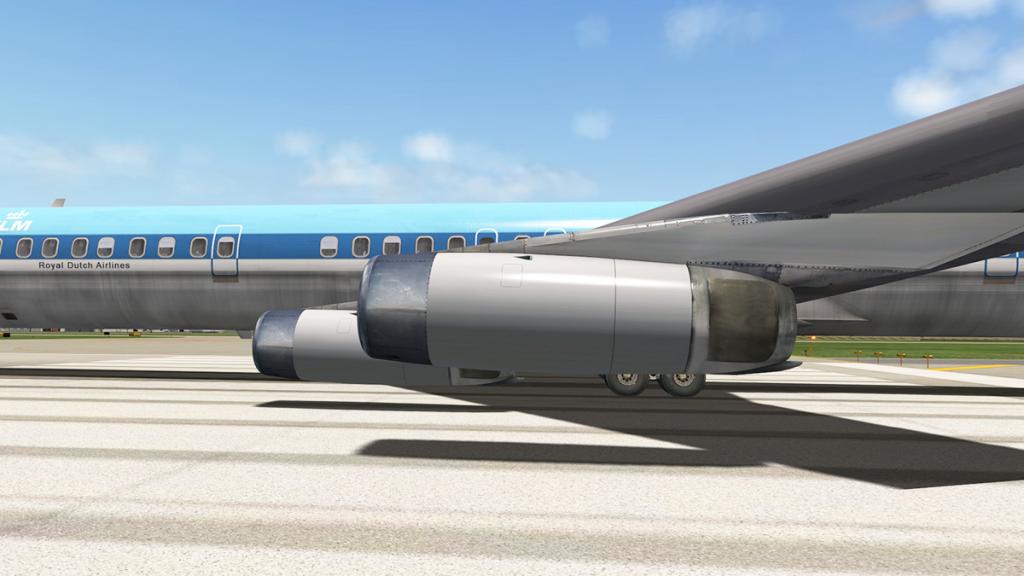
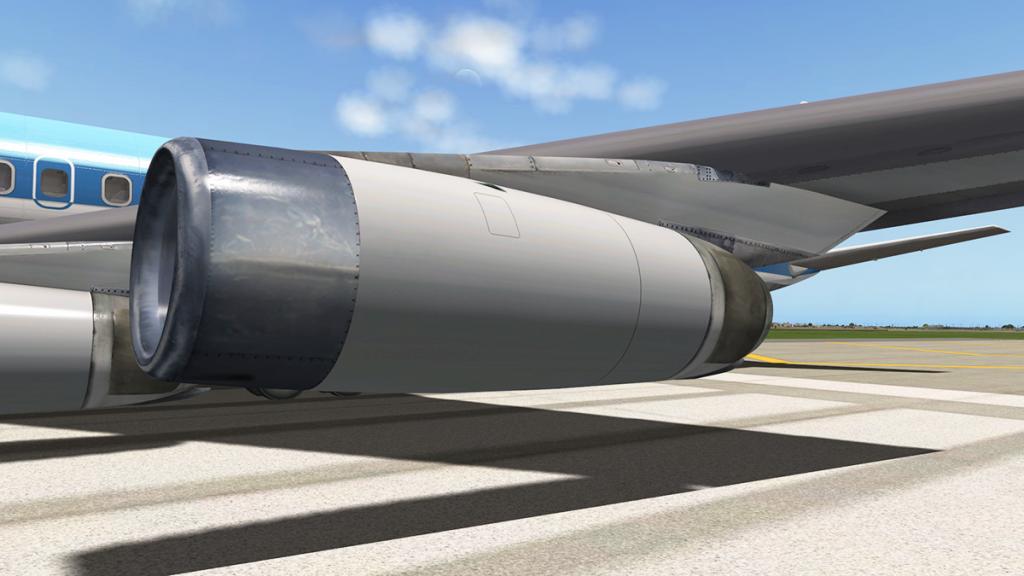

Internally the new passenger 71 is the same as the 61 and 63.

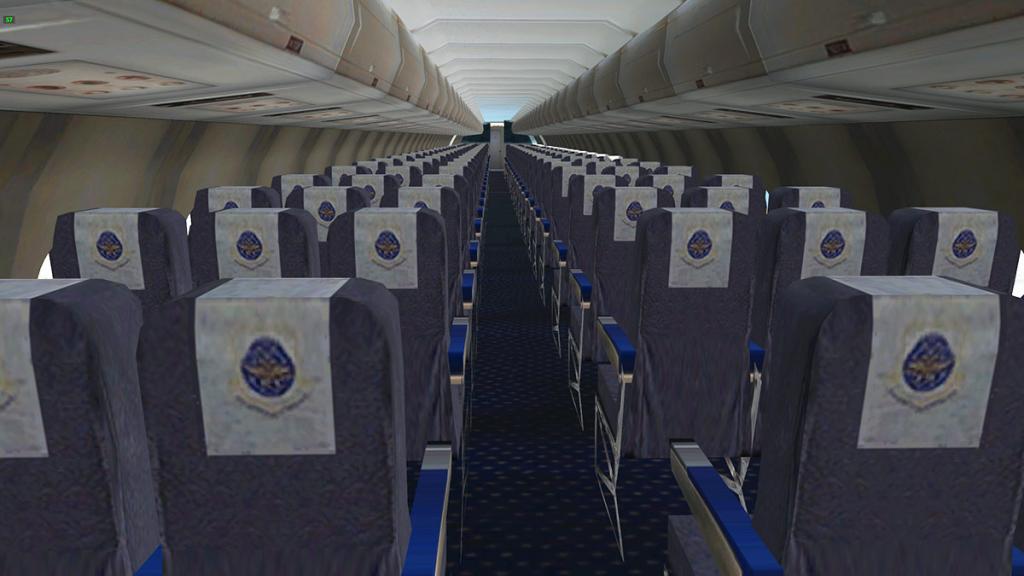
There are two new liveries with the new 71 variant for Zambia Airways and Air Sweden, two current liveries for Delta and United are also available.
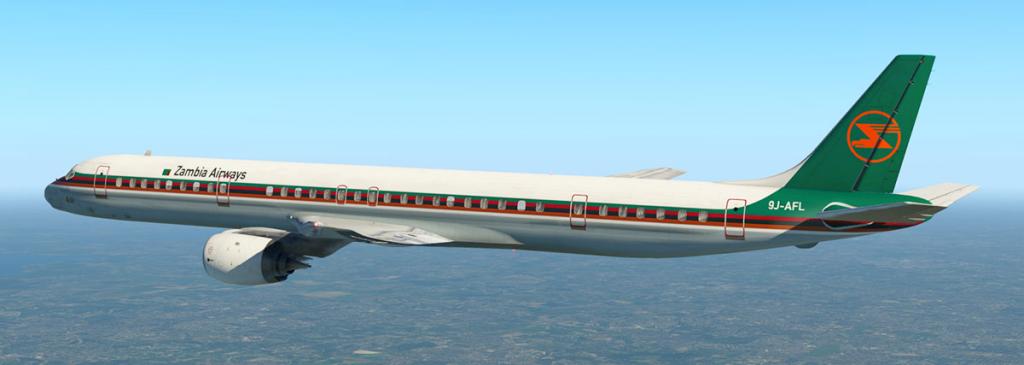


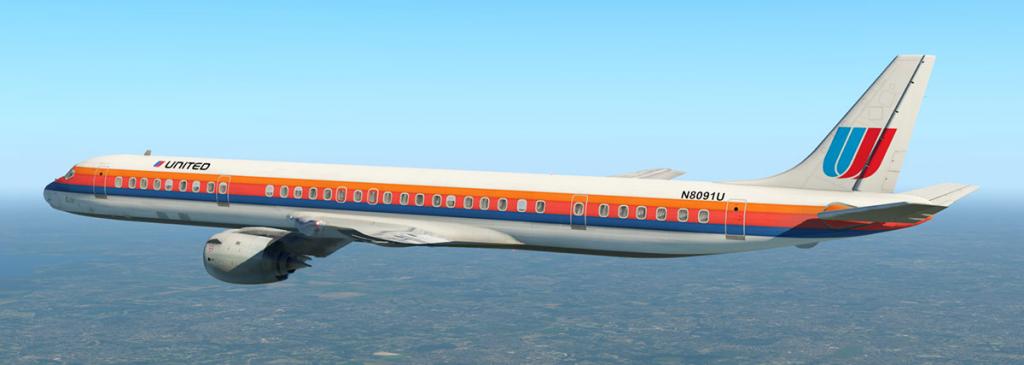
All the liveries for the other variants are all listed in the original review.
The aircraft now also comes with two FMS versions. The modern 71 has the standard X-Plane FMS built in...
... the 11x version in the earlier 61 and 63 also has now the era 60's xCiva plugin built into the upper pedestal. The CIVA (Delco Carousel IV-A Inertial Navigation System) was the mostly widespread early navigation system and it can be used in the DC-8 but it is an add on (xCIVA Nav System US$10). It is also deposited in the "Aircraft's" plugin folder and not in the general X-Plane plugin folder.
I fly mostly in this package the DC-8F (Freighter) variant. In the 11x update I got a nice surprise in that now I also have a nice cargo door... that also opens.
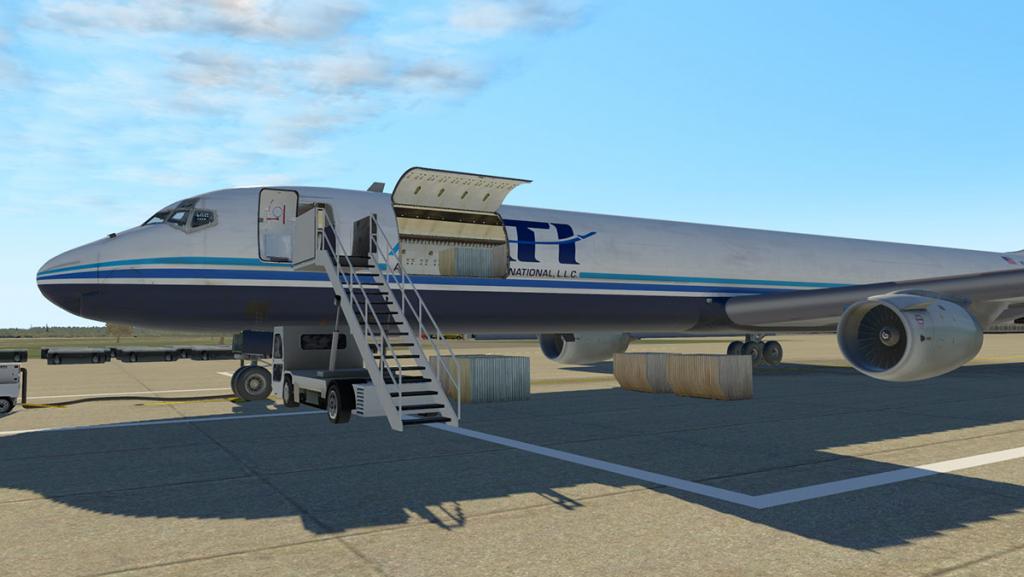

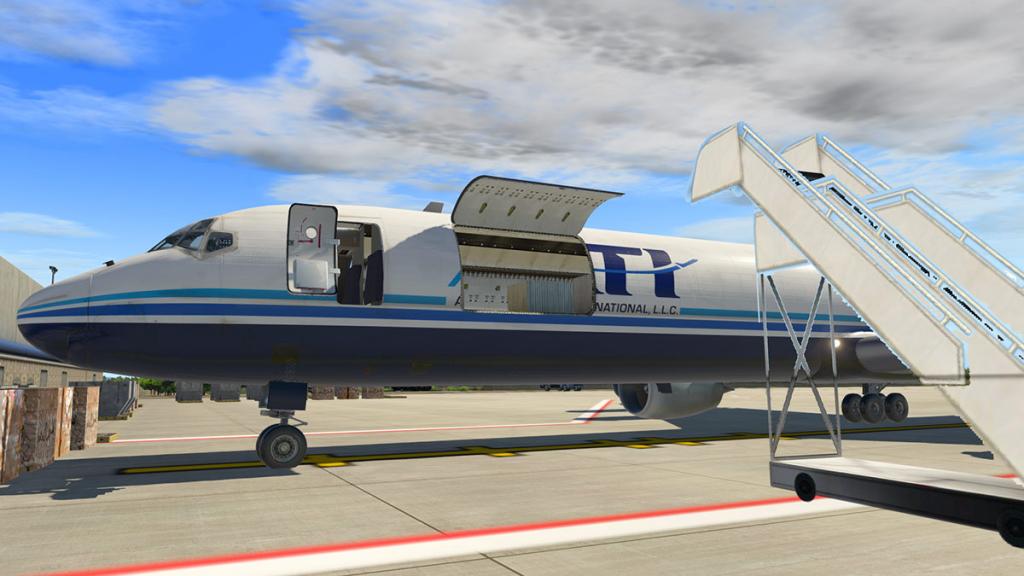
That nasty royal blue carpet has gone as well and now there are rollers and a hard floor. Some containers are welcome as well. The doors now also open without the stairs in the way as well. It was odd to park at a gate and you couldn't open the doors without the stairs in position? The doors are now thankfully on a separate switch from the stairs as is the Ground Power Unit (GPU). However the power cart does still not provide power if the engines are switched off?
The DC-8 bird is a nice aircraft, I love the sheer bulk of the machine. A few details have also been attended to with the wing texture sharpened and leading edge riveting removed on the older 61 version, it is more cleaner now.

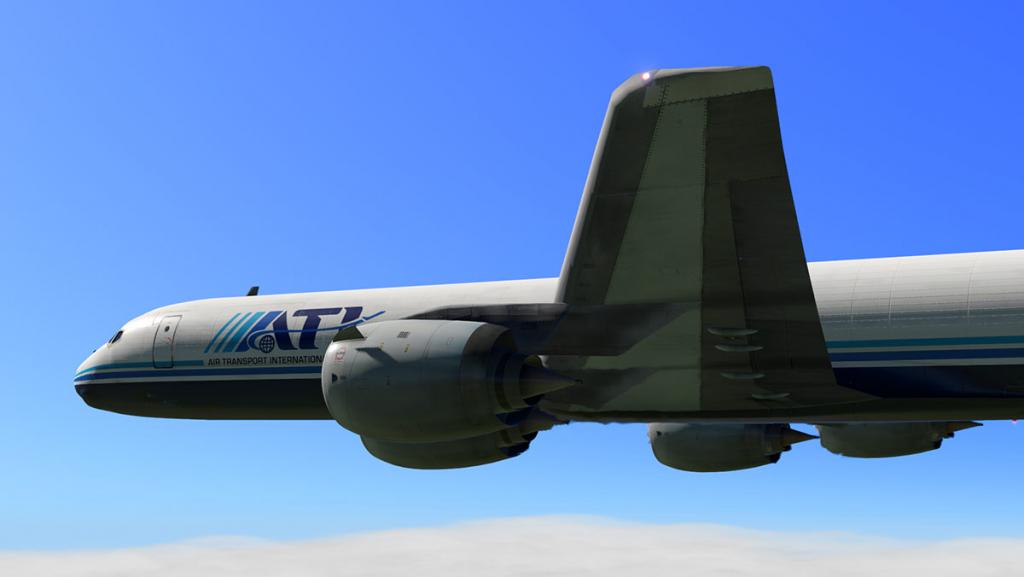
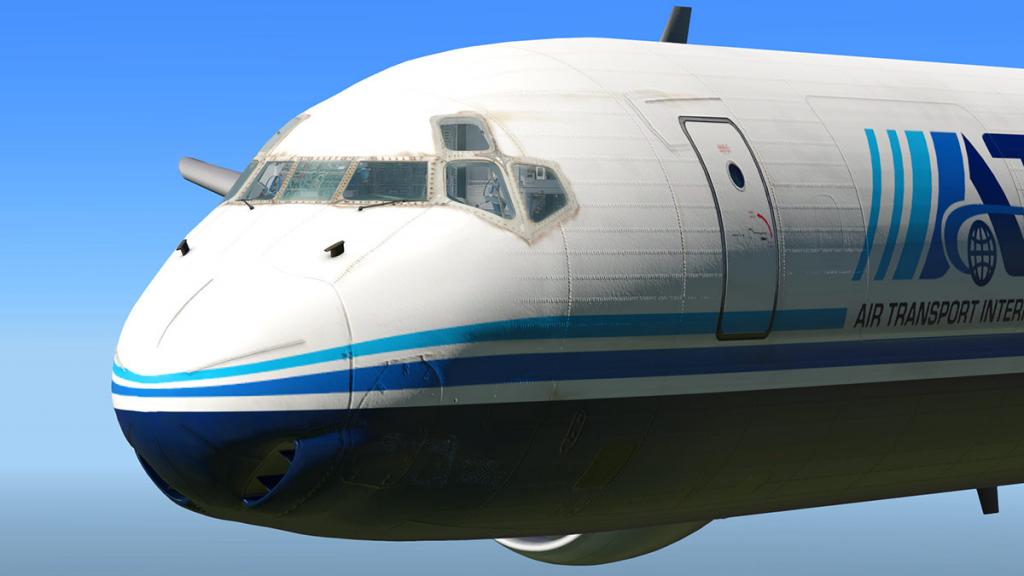
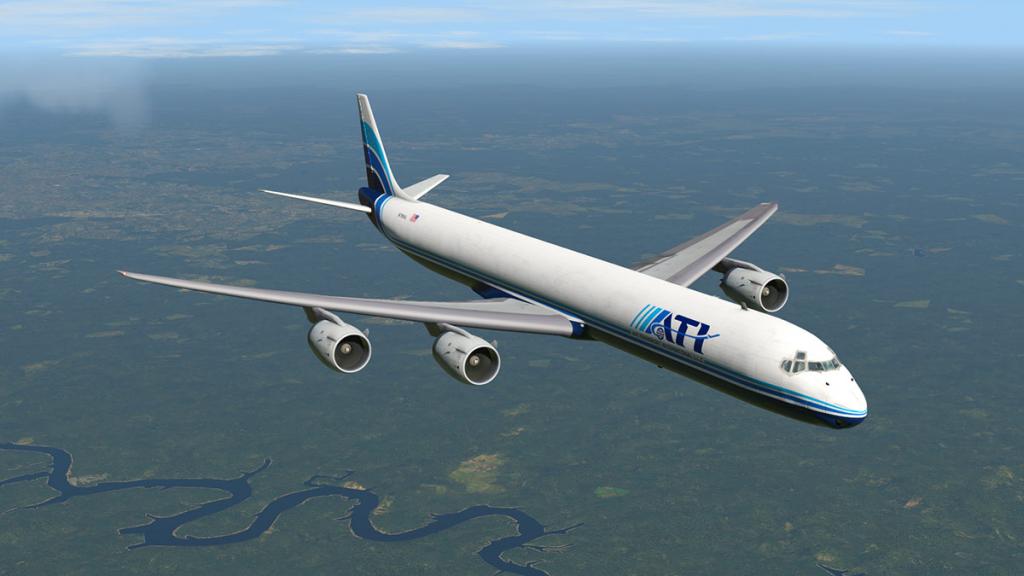
This is the 11x or X-Plane11 version. But the textures have not been updated to X-Plane11's PBR (Physical Based Rendering) feature. So the aircraft is pretty much the same as it was in X-Plane10 and slightly dull, the mapping is just a little better in the better XP11 lighting, but overall these DC-8's don't take advantage of the PBR feature.
It is the same on the internal textures as well. So the cockpit comes across not as X-Plane11 dynamic as it really should be?

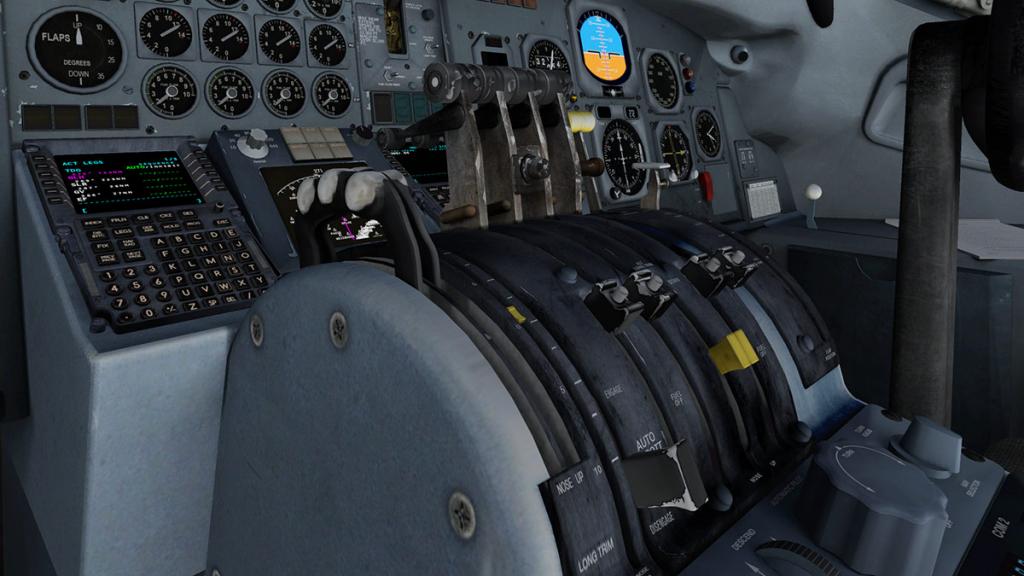
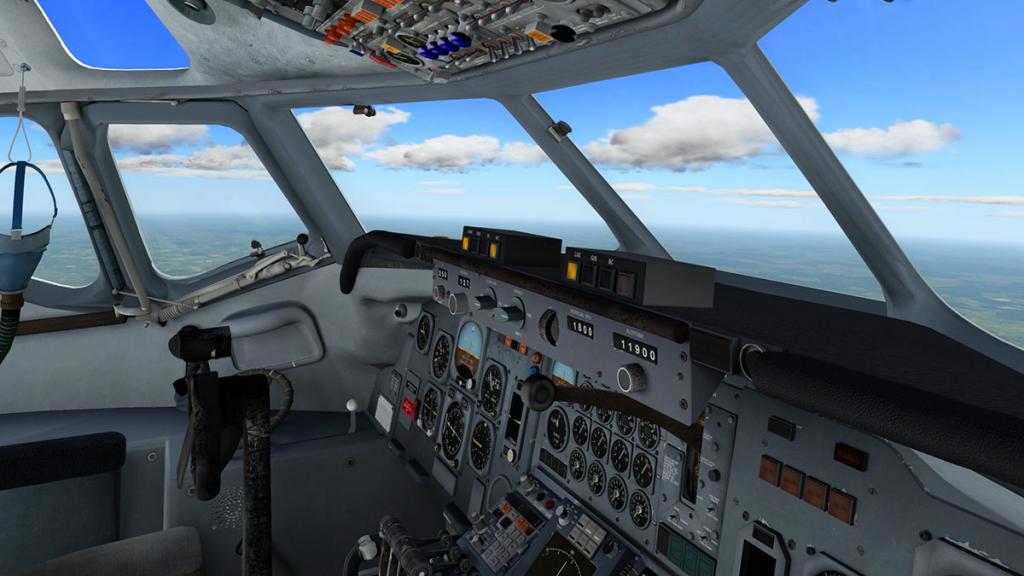
The cockpit looks the part though, and there are some great 60's era detailing features throughout the design... and still in here it is a very nice place to be, but overall it feels like a missed opportunity. Another change is an odd one as well...
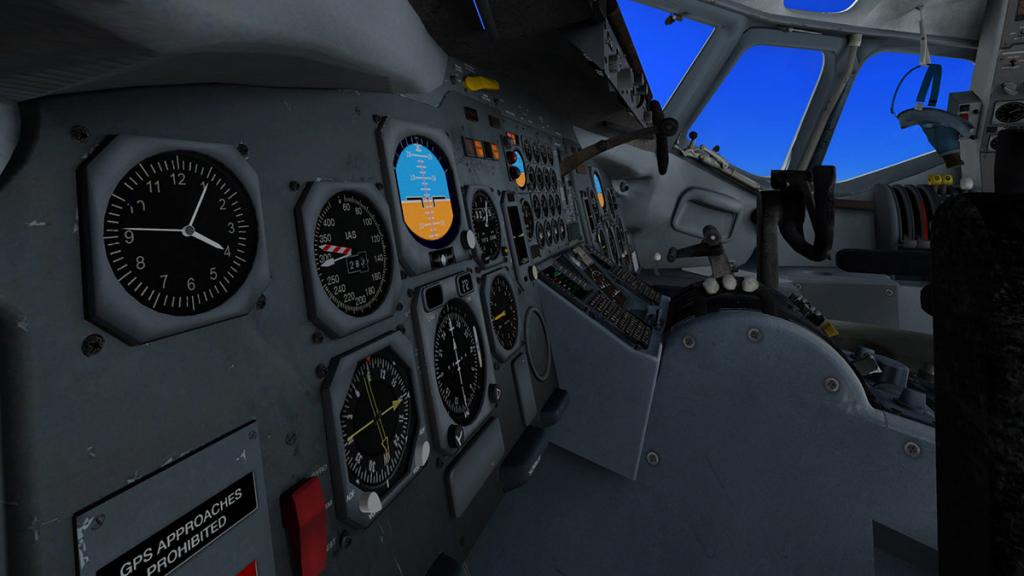
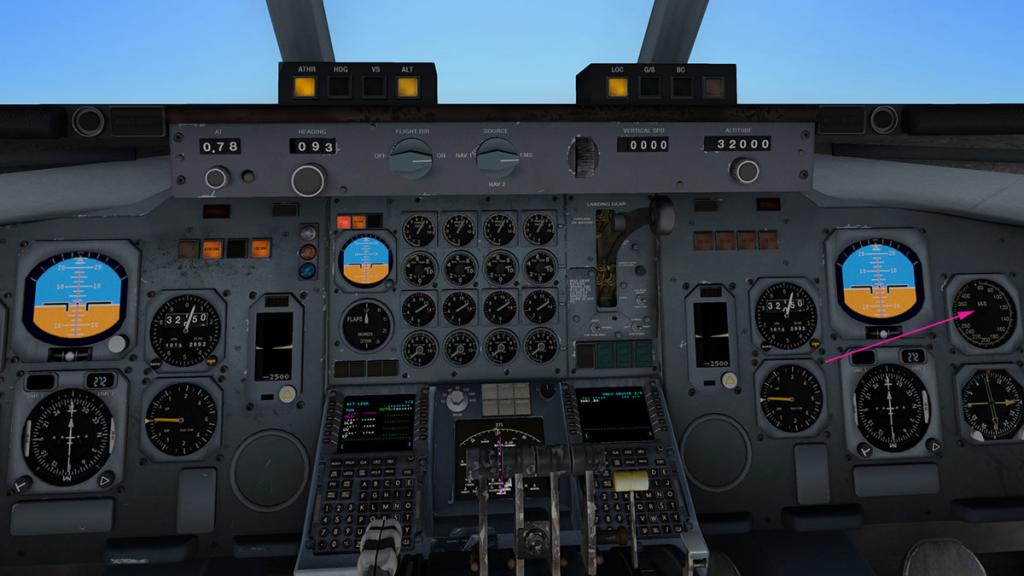
The instrument reflection texture has been reduced, obviously because someone complained. The instruments with the change are certainly now more clearer, but also far more duller too add in to the overall picture, the whole visual has lost that panel sparkle and it feels quite greyed out. And even with the lighting knobs on full there is no backlighting to the instruments. The IAS needles on the co-pilot's side are also missing?It does look thankfully very nice at night. But you have to watch how much you turn down the pilot's and co-pilot's panel lighting, if not you get black holes instead of instruments. So there is no happy medium of separate instrument adjustment and panel brightness, it is or either one or the other.
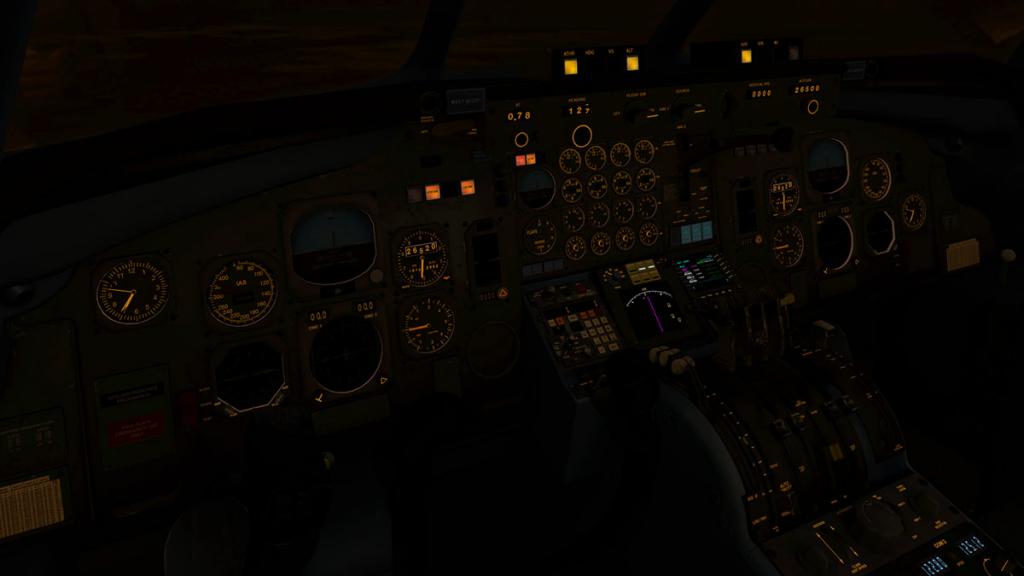
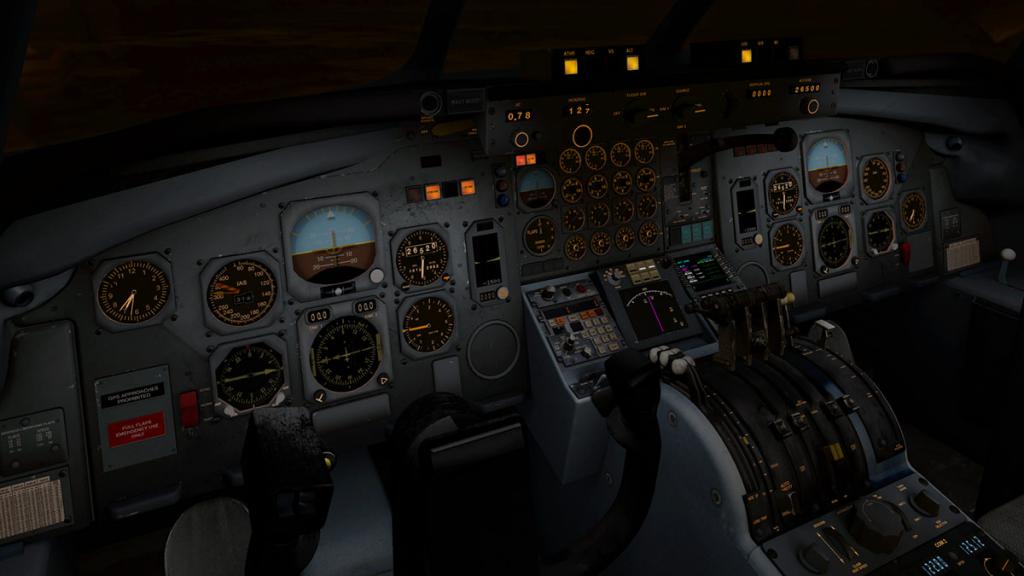
The ridiculous 30º + bank is still in there as well, with XPRealistic Pro running I thought I was going to die as I went into a total lunge into the never never, with the plugin off it still churns your visual aspect...
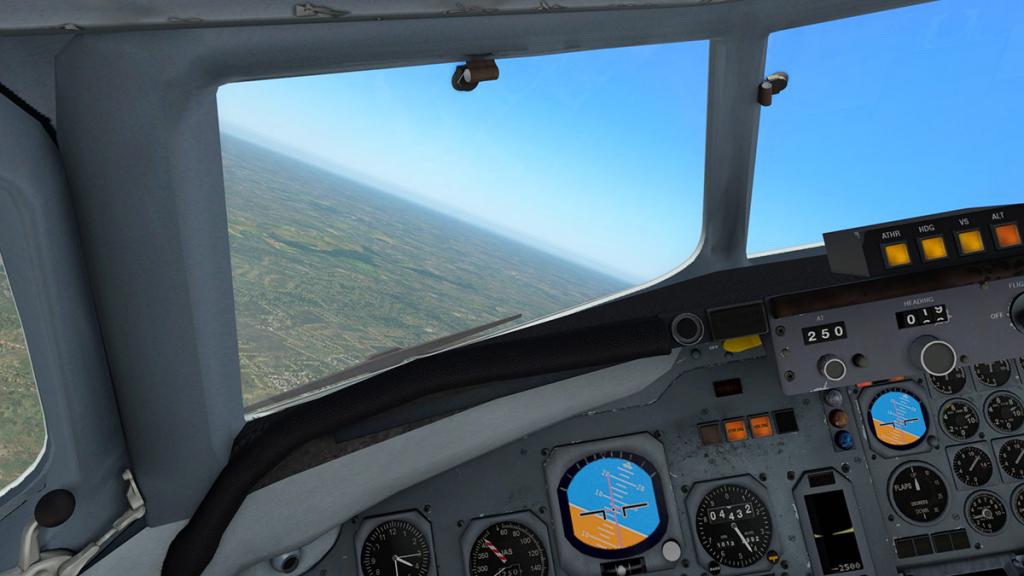
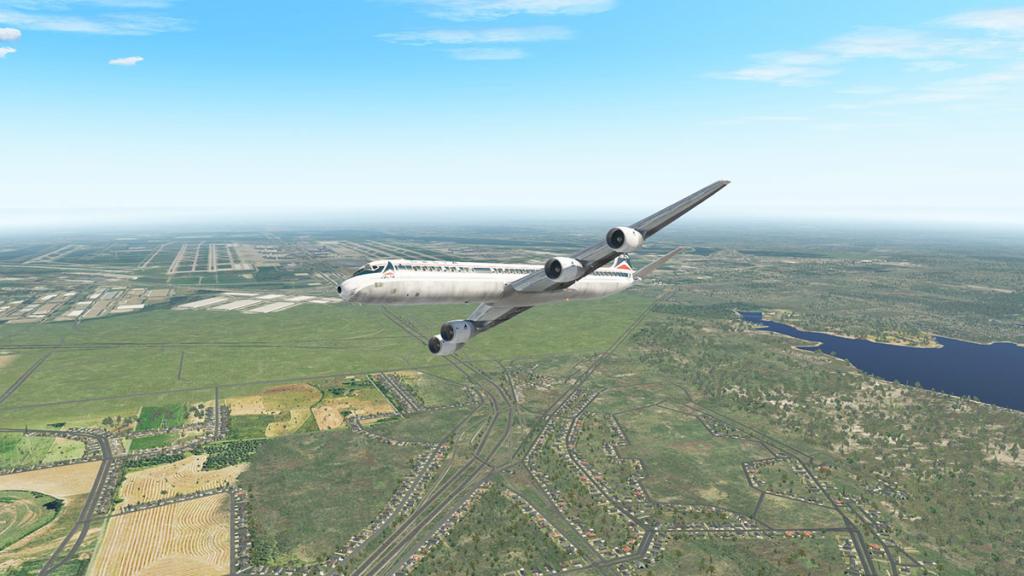
You can still choose your crew including a male and female co-pilot.
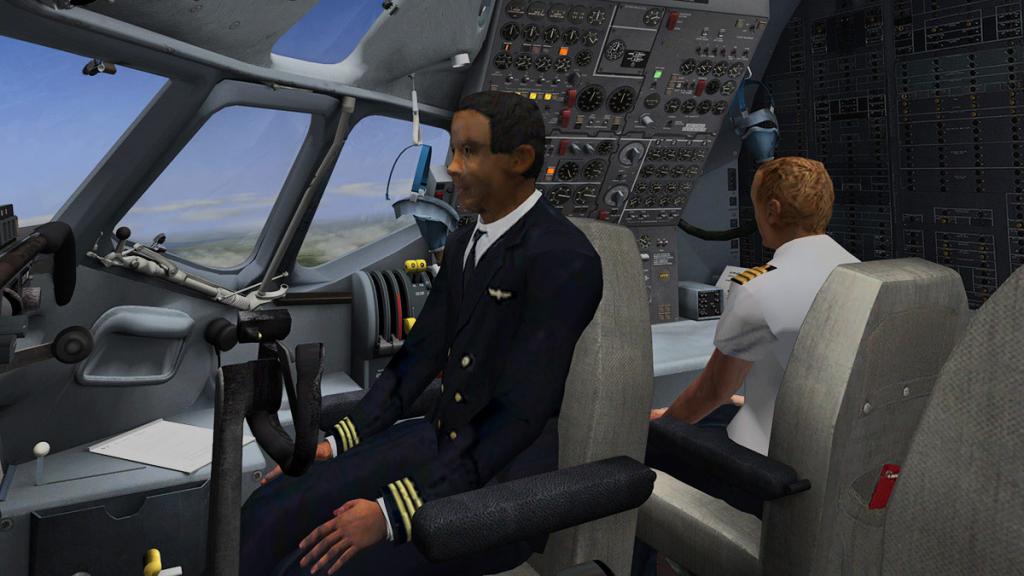

The speedbrake has had some attention in appearance and the arm function now works as it doesn't cut into the pedestal anymore...
... also the fuel transfer panel is now fully operational and you can select where you want what fuel to go where. Other notes include the NAV 1&2 and transponder numbers are now correct and the old (very old) extra rocket engines sound system is gone and has been replaced with a new sound system.
I have flown the Mike Wilson DC-8 a lot since its initial release over a year ago, I particularly like the cargo version with the huge CFM engines.

It is not a complicated aircraft to fly either, but there are some foibles to get used to. It is challenging as well, and certainly at slow speeds on using those huge barn door flaps and DC-8's are well known for their exciting crab (sideways) landings in crosswinds.
Another run done, so a turnaround and back to KATL is in order, now in X-Plane11 as well!Note: This is an X-Plane11 version and a new version of the package including the new extra 71 variant. So a full purchase price is required. There is a discount on this X-Plane11 version for older purchasers of the XP10 version at 50% off. The coupon code is located in the original DC8 order on your account page at the X-Plane.OrgStore.
Summary
You do now get 4 different versions of the DC-8, the DC-8-61, the DC-8-63, the DC-8-71 freighter version, and the DC-8-71 passenger version. Which is four aircraft for the price of one with three engine options. The aircraft is also now compatible with X-Plane11 in performance and specifics, but it doesn't have X-Plane11's PBR features or textures and with that a bit of the dynamics of X-Plane11 is lost externally, internally and it shows as well in the cockpit with the loss of the instrument reflections as well and a lot of the original foibles and quirks are still in there.
Added new features like the cargo door and a more modern FMS and built xCiva are also very welcome and adds in a lot of new functionality to the aircraft.
But as noted I really love the DC-8 and it is very welcome to fly it in X-Plane11 in all its glory. Reimageining these classic aircraft into something usable and enjoyably fun to fly is always a crusade for me and certainly that aspect is applicable to Mike Wilson's DC aircraft and they are all very welcome into your X-Plane hangar.
_____________________________________________________________________________________

The DC-8 Series from Wilson's Aircraft is Available from the X-Plane.Org Store.
Price is currently US$ 35.00Get the - DC-8 71 XP11 Series - Here
New Version for X-Plane 11
-
- new DC-8 71 passenger version
- 3D civa added (version 61-63)
- new v11 3D FMS: two distinct FMS (version 71-71F)
- removed extra rocket engines sound system, instead uses new sound pack with new plugin
- fuel transfer & selector added (x-plane default)
- new custom gauges
- nav 1/2 + transponder numbers corrected
- instruments reflections texture reduced
- speed brake handle corrected (arm function + texture)
- GPU and stairs can show separately now
- DC-8-61 version: wing texture sharpened and leading edge riveting removed
- animated cargo door added on freighter version
- two new liveries: Delta Airlines & Zambia airways
- new v11 custom icons for all liveries
Full features list:- Flight testing by retired DC-8-63 and L-1011 pilot Andre Poirier, and DC-8-71 Captain Carlos Roldos, and DC-8-63 captain Gerhard Opel
- 42 functions on the flight engineers panel however plane can be flown with out using the flight engineers panel
-
Total of 15 high resolution liveries with a paint kit for user to make their own liveries
- Transcontinental, United, Quebec air, UPS worldwide, UPS classic, United, Eastern, KLM, ATI, Garuda Indonesian, Transamerica, Japan Airlines, DHL, , Eastern, UTA
- 3D cockpit by Julien Brezel
- Animation of the doors includes the animation of the corresponding stair car.
- Two choices of textures for the cockpit are provided, low definition & high definition, depending on your graphic card abilities.
- Visible hot air jet exhaust
- Animated thrust reversers and spinning fans
- Choice of 3 pilot figures, male and female. Custom slider keys can be defined in your "joystick and Equipment" menu in xplane to show/hide First officer and Flight engineer, also show/hide ground services GPU/stairs), also front door opening, and aft door opening.
- Uses 3D lighting for both interior and exterior night textures. For the best experience, ensure that the HDR is activated in your rendering options. The rudder illuminates when taxi light is ON.
- Comprehensive user manual and full checklist including cold and dark starting based on scans that Andre sent me of his flight manual
- Detailed pneumatic hoses underneath spoilers and flaps
- The most realistic way to fly a jet plane of this era is to use the CIVA plug in which is available at this store
Requirements
X-Plane 11 Only
Windows, Mac, Linux in 64bit mode
2Gb+ VRAM Video CardDC8 XP10 owner can buy this new XP11 version at 50% off. The coupon code is located in the original DC8 orderInstallation and documents:
Download for the DC-8 XP11 Series package is downloaded via four zip files:
DC-8-61_v1 4216 393.00mb - 447mb Installed
DC-8-63_v1 6837 403.00mb - 458mb Installed
DC-8-71_v1 6837 358.10mb - 392.40mb Installed
DC-8-71F_v1 2149 449.00mb - 543mb Installed
... and the unzipped files are deposited in the "Heavy Metal" X-Plane folder.
Note the download is slow, so allow time (30min) for each download.
There is a secondary download package consisting of:
Manuals and ADDONS - Download 291mb
CoPilots (objects to change crew)
Manuals: Checklist - Cold and Dark, Checklist - Running, DC-8 Flight Profile, DC-8 Landing Speed Chart and DC-8 Manual (20 pages)
Painkit
Textures (high and low resolution)
CIVA
If you own or purchase xCIVA Nav System US$10
It can be installed in the DC-8 in only two variants 61/63. The plugin is installed in a folder called "plugins" in the aircraft file (not the X-Plane plugin folder). There is NO such folder with the aircraft... so you will need to create a "plugins" folder in each aircraft and then insert the xCIVA plugin into that folder to make it work, an operating manual is provided.
_____________________________________________________________________________________ Review by Stephen Dutton29th July 2017Copyright©2017: X-PlaneReviews(Disclaimer. All images and text in this review are the work and property of X-PlaneReviews, no sharing or copy of the content is allowed without consent from the author as per copyright conditions)Review System Specifications:
Computer System: Windows - Intel Core i7 6700K CPU 4.00GHz / 64bit - 16 Gb single 1067 Mhz DDR4 2133 - GeForce GTX 980/SSE2 - Samsung Evo 512gb SSD
Software: - Windows 10 - X-Plane 11.02
Addons: Saitek x52 Pro system Joystick and Throttle : Sound - Bose Soundlink Mini
Plugins: Environment Engine by xEnviro US$69.90 : WorldTraffic 2.0 Plugin - US$29.95 : XPRealistic Pro v1.0.9 effects US$19.95

-
-
After a few months since the review I am very happy with the choice of the X-56. The slight yaw sticking has settled down, you can still slightly feel it, but it is not an issue I thought it would be. I love the switchgear, twin-throttles and lighting, overall 9 out of 10. I'm not sure what you mean by x56 profile files? Is that the X-Plane joystick pref's? SD
-
I don't have the current version of FJS B737 TwinJet, I think it was selected in the plugin menu settings? or it may have moved to the Options panel like on the B727 in the update? You also have to have Sandy Barbour's Pyhon installed as well.
-
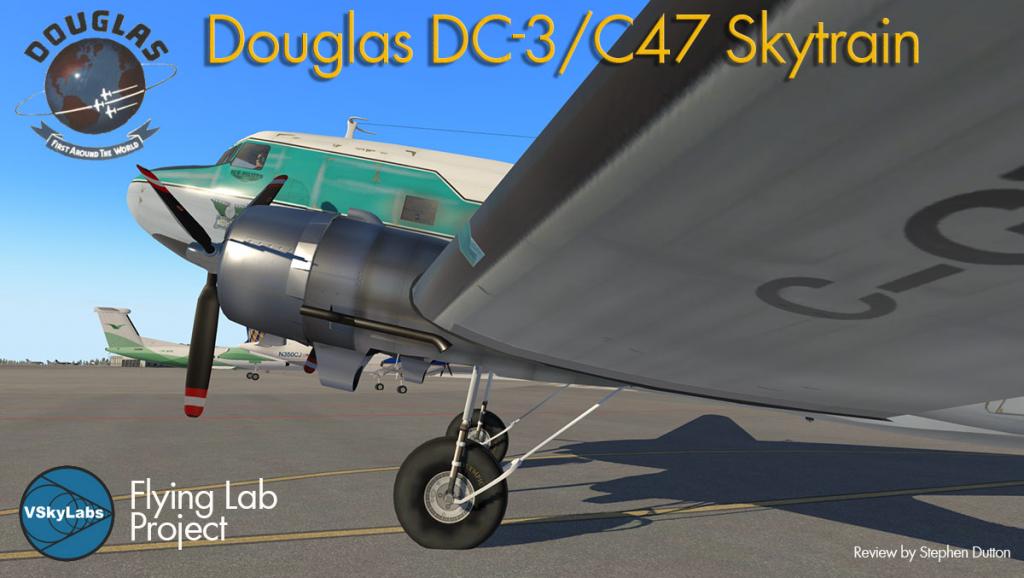
Aircraft Review - DC-3/C47 by VSkyLabs Flying Lab Project
What marks the ultimate in greatness. In most cases it is something or someone that has had an significant impact and has created enough of a shift in the way the whole world works or lives. In the case of aviation the impact it was total. From the destruction of distance, time and even the cost of moving around the planet can not be challenged in any shape or form. But like most brilliant inventions the changes that we take for granted today are usually in steps, and some steps are small but important, but some are huge and changes almost everything in the way we used movement and in the way you traveled before that introduction of absolute change.
In modern thinking you could say the same about the before and after the iPhone and the effects on the way we communicate. We are today too far removed from the changes of aviation in its formation years between the World Wars, but the effects from that era are all around us every time we go to an airport and fly.
In the area of greatness then that title has been lavished onto the DC-3 or Douglas Commercial 3. The aircraft was one of the greatest machines to have ever been built, but the reality could have been different. In truth only 607 DC-3's were ever built and the aircraft was already in line to be superseded except for the insertion of the Second World War. The military need aircraft, in fact thousands of them and they needed to be reliable, fast (in 2WW terms) and mostly cheap and quick to produce. So the DC-3 became the C47 Skytrain and over the course of the war they manufactured 16,000 of these Goony Birds. War time surplus demands then put a huge majority of these cheap flying aircraft on the market and the rest as they say is history.
Even in innovation it was the DC-2 that was the innovation aircraft in being an all metal aircraft with a tapered wing, retractable landing gear, and two 690 hp (515 kW) Wright radial engines driving variable-pitch propellers. It seated 12 passengers. The DC-1 was in reality just a development prototype aircraft and only one was actually built. The DC-3 was just an upgraded version of the DC-2 with 21 passenger seats, 1,100-horsepower (820 kW) Wright R-1820 Cyclone engines but also filled in that sweet niche point of making and in creating RPT airline routes (now known as regional) profitable.
So you have cheap to buy, fast at 200 knts (370 km/h (230 mph) at 8,500 ft (2,590 m)) with a cruise speed of 180 knts (333 km/h (207 mph)), cheap to run and bingo you had an airline. Beyond just the obvious the DC-3's claim to ultimate greatness was simply reliability. These strong tough wartime birds would simply keep on flying no matter what you threw at them, pilots loved them and the rest is history.
Incredibly even after eighty years since they first flew there are operators with 2,000 DC-3s still in revenue service and as many converted as cargo aircraft. But most DC-3's today are now either in restoration or flying around at air shows.
The oldest current DC-3 still flying is the original American Airlines Flagship Detroit (c/n 1920, the 43rd aircraft off the Santa Monica production line and delivered on March 2, 1937), which can still be seen at airshows around the United States and is owned and operated by the nonprofit Flagship Detroit Foundation.
VSkyLabs Douglas DC-3 "Flying Lab Project"
Vskylabs have been around for a few years. There are not in a general sense full developers, but more of a an older style X-Plane community that loves aircraft in all their shapes and forms. So their output is very varied, mostly cheap but interesting aircraft like the Tecnam P2006T Project, Phoenix S-LSA Project, Hang Glider Project and the Autogyro Project and many more. But note the word "Project" behind every aircraft.
As noted most developers develop aircraft for X-Plane for income, a few do it for the love of aircraft per-se. But Vskylabs create projects of aircraft that you can invest in. They are built to a price and are not developed to the high end degrees of detailing and systems, yes Vskylabs do create interesting aircraft but not to the so called "Study" depth of simulation. This background is important to note when reading the review below, the aircraft is an ongoing project and there is more to come as it is developed out more, but it is important to note that the aircraft is certainly developed as to a current fine flying state, and so most of the on going development is more in the detailing and filling in areas than the main systems and flying performance, and it is priced accordingly in that category.
The aircraft comes in the now famous "Buffalo Airways" livery from the "Ice Pilots NWT" TV series run by Joe McBryan (aka "Buffalo Joe").
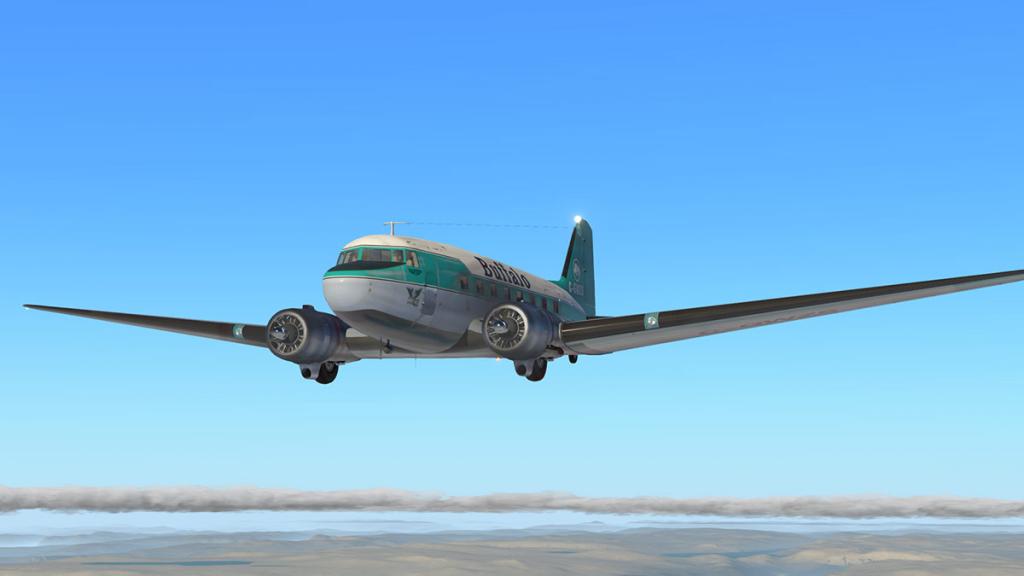
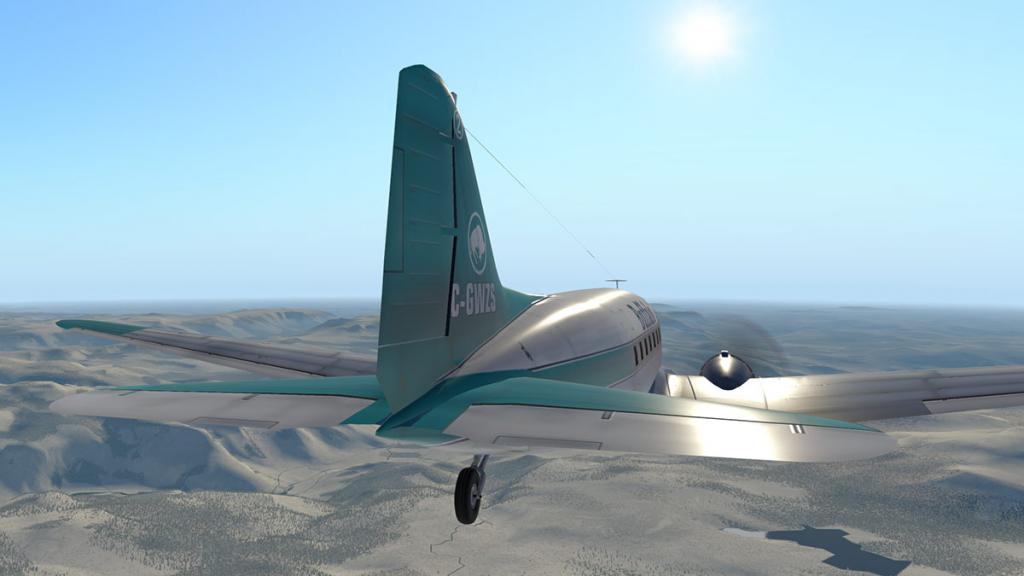
External modeling is very good, but does not have extreme detailing that comes with say a Carenado. One reason is that the liveries are not created in house but are used from "Flightgear Liveries" and are flightsim textures and not X-Plane art. They are 4k or 4096px x 4096px in size but the quality is noticeable. More liveries are available, but you will have to adjust them yourself to fit, in saying that the effort is worth it as they can look actually quite good in X-Plane11 considering their heritage, and I show a few converted liveries at the end of this review. They are freeware Flight Gear DC-3 liveries and they are under a GPL licence, which means you can adjust them but you have to acknowledge the source. There is also paintkit also available, but it will be interesting to see if any of our great artists can up the game for this DC-3, in fact one for Lufthansa has already been released. The Buffalo livery has been more extensively modified by Vskylabs and is now part of the project with permission from flightgear
But there is no doubt this bird looks great, certainly in the great light of X-Plane11. X-Plane10 is also available as well but you will not get those great lighting reflections you see here.
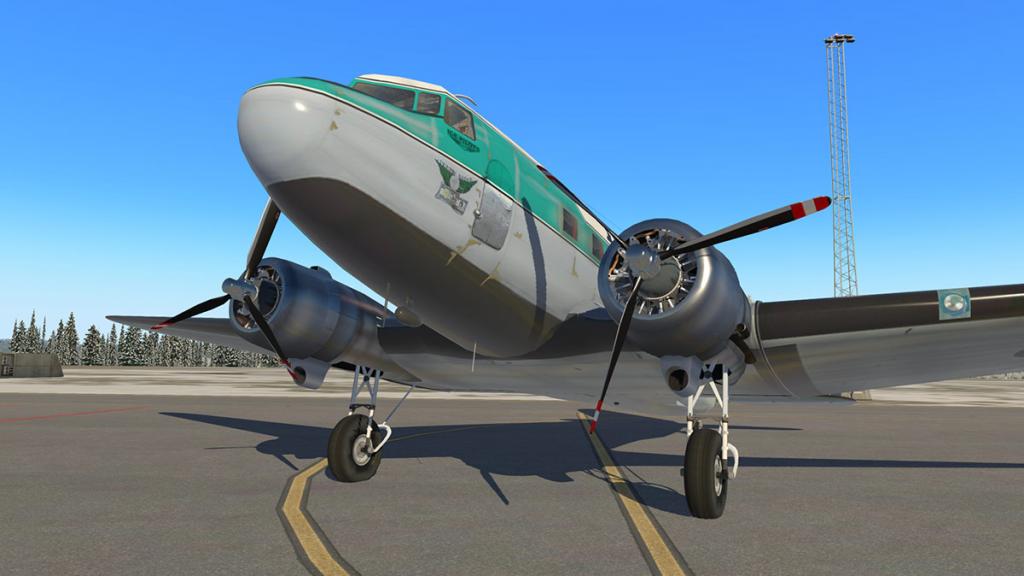


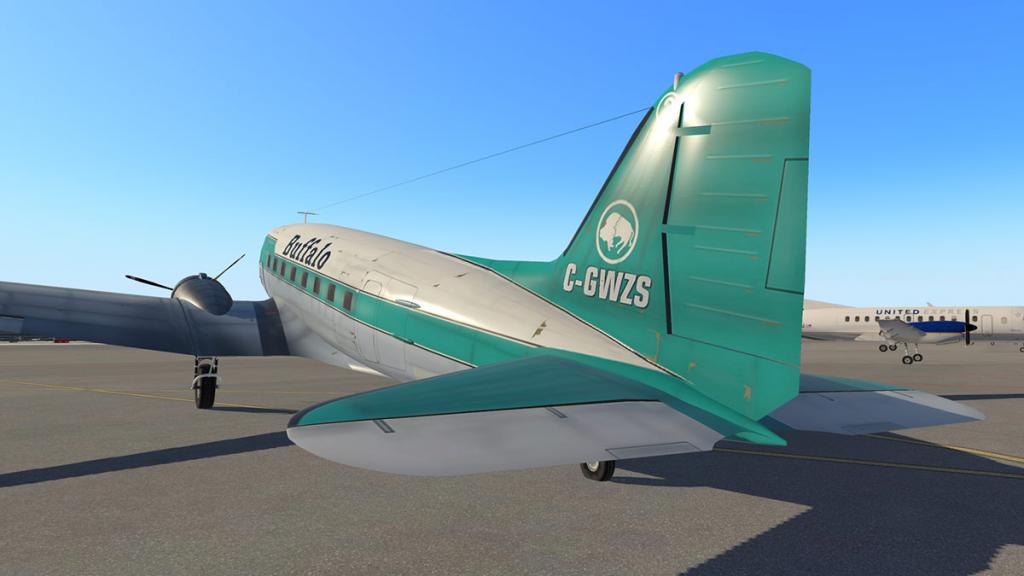
You don't get a load of intimate riveting and panel detail, there are some really very nice detailing work where required. The engine cowling and the internal detailing of the Wright R-1820 Cyclone radial engines looks magnificent, but the highlight here is the lovely chrome prop spinner.
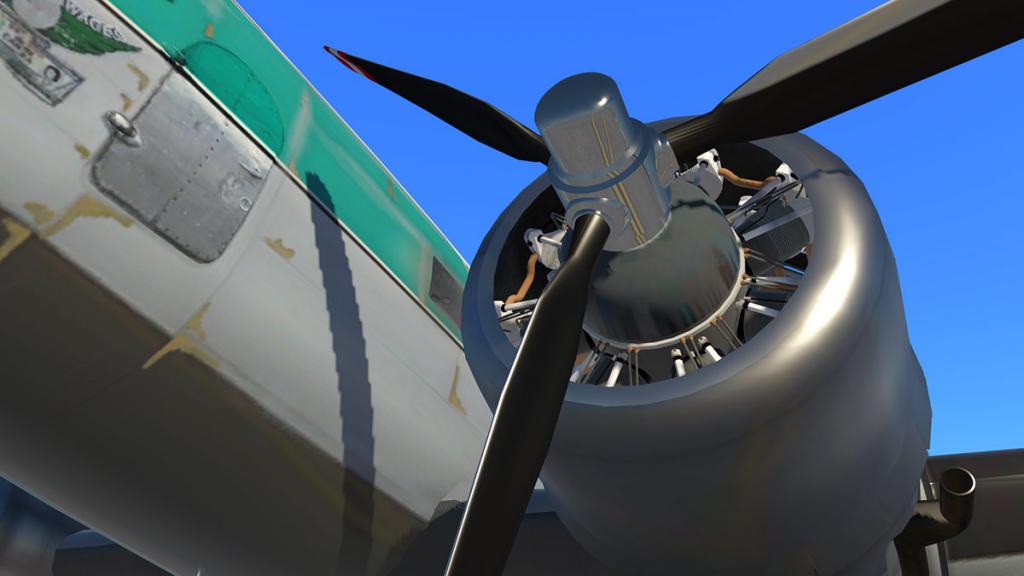
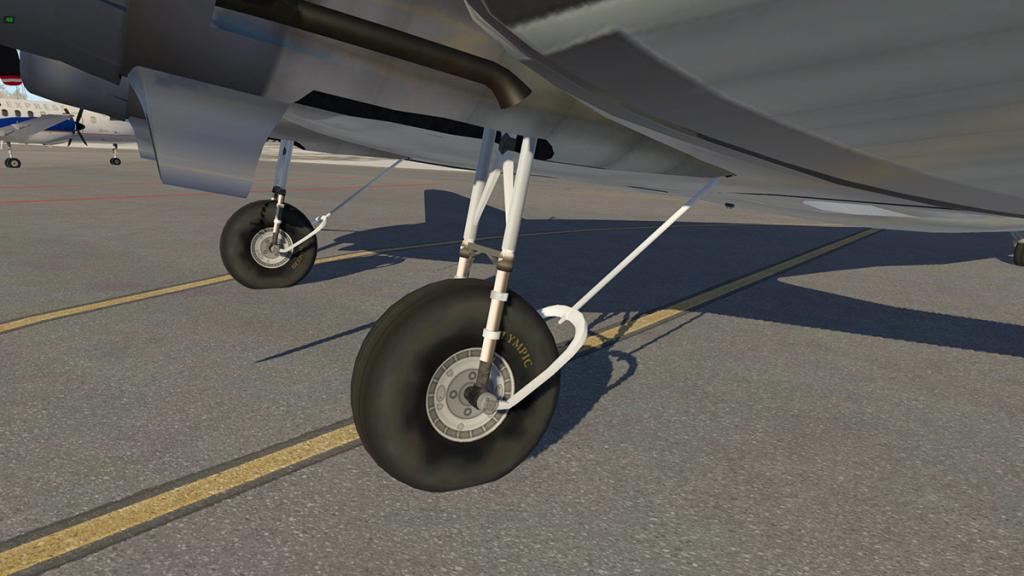
The undercarriage is also well detailed, I would have really expected a bit more grease and wear and tear, but otherwise the struts look good. The retraction animation is very good as well as the gear goes up slowly into its bay, or extracts easily down for landing.
There are no menus or ground elements with this DC-3, and the doors don't open either, which would have been a great feature and certainly in it's current cargo role.
But the old bird does look great on the ramp, it is a DC-3 and DC-3's are a very unique aircraft.
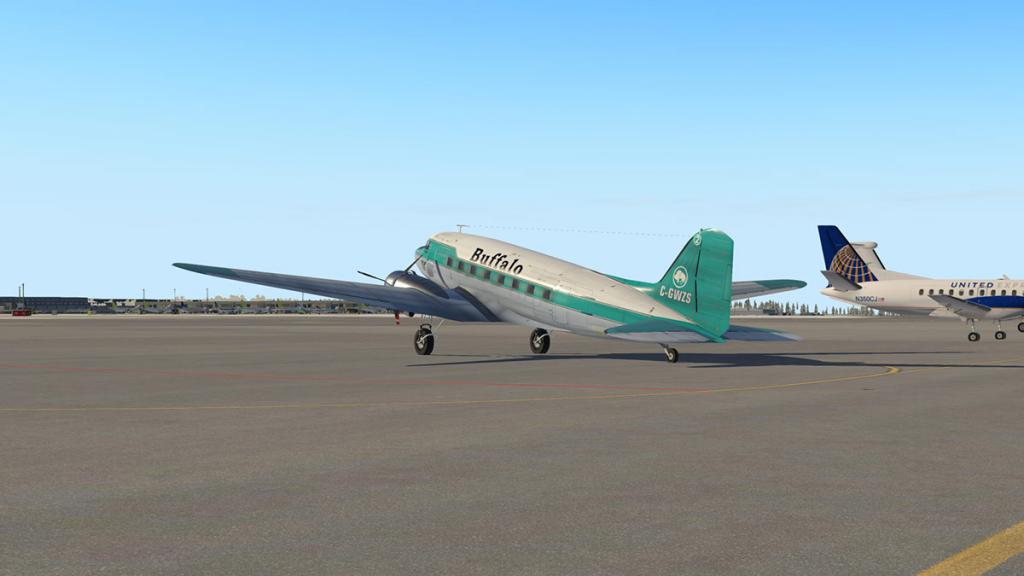

Cockpit and Cabin
Internally the Vskylabs DC-3 is quite good. The textures are in places a little average in resolution and so slightly blurred, but otherwise it is well done.
This aircraft is from the 1930's in technology, and so panels with instruments mounted on them is par of the course.


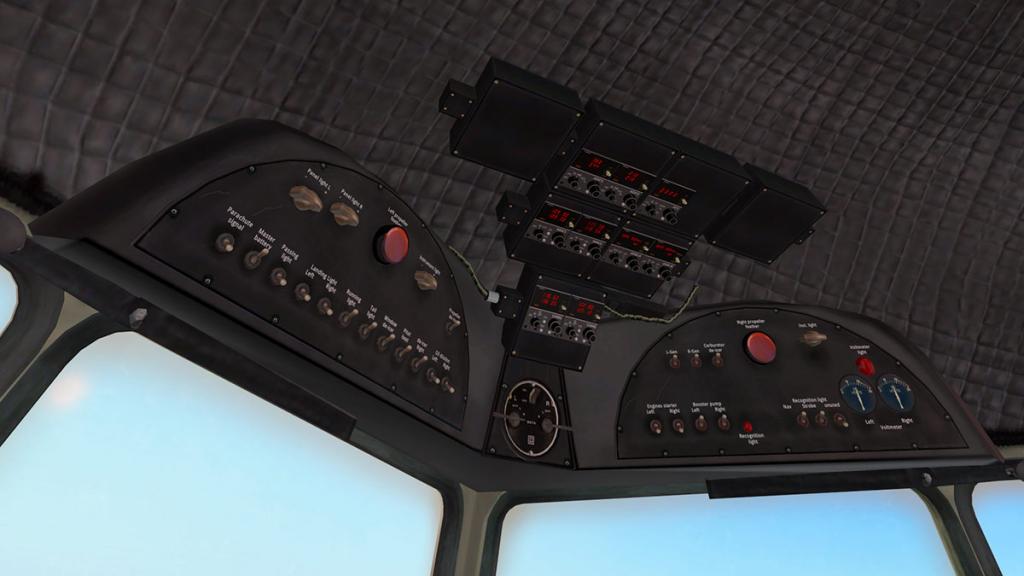

It is all straight forward in that there is no detailed wear and tear or worn levers and yokes, which would have added in a bit more period authenticity, but it is well done and you feel the age of the aircraft from the flying position and in the way you access the controls.
A highlight is the aircraft's glass. The windows are aged worn and feel great when looking through them in an authentic way, a bit of poor weather highlight's their old faded transparency... I like them a lot.

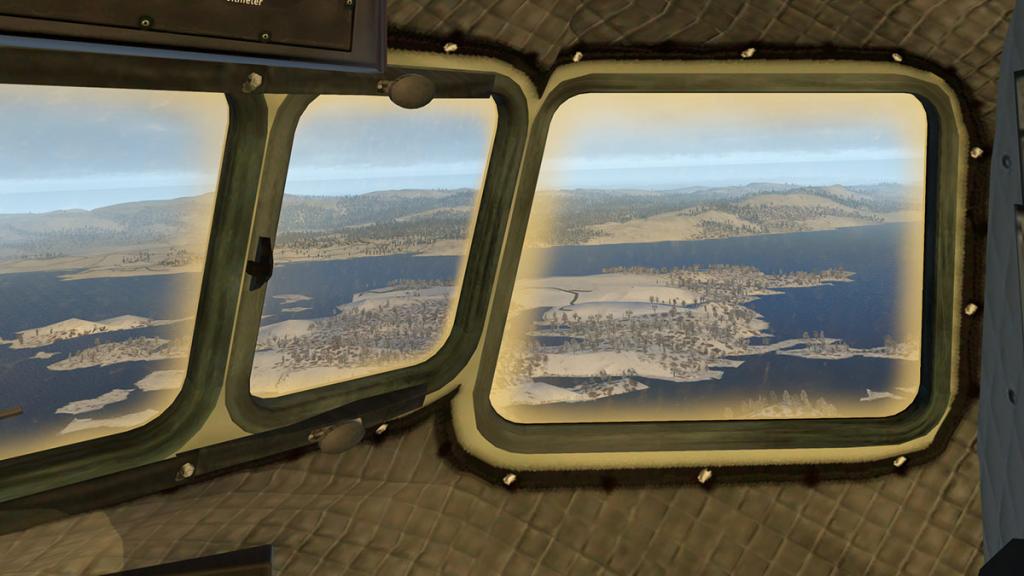
In the cabin is is pretty much in the same vein with average textures and seats that look too small, certainly in the width.


For all the ages then aircraft back then had a lot of seating width within reason, more like the luxury trains of the same era, and nothing like the tight pitch of today. The DC-3 could be four seats abreast, so a three abreast like here would give you a lot space to play with, remember there was no aisle carts either back then to bang up and down the aisle between the seats.
Again the faded windows are great as are the fancy red curtains, there was no overhead lockers then either but instead shelving for pillows and hand baggage.
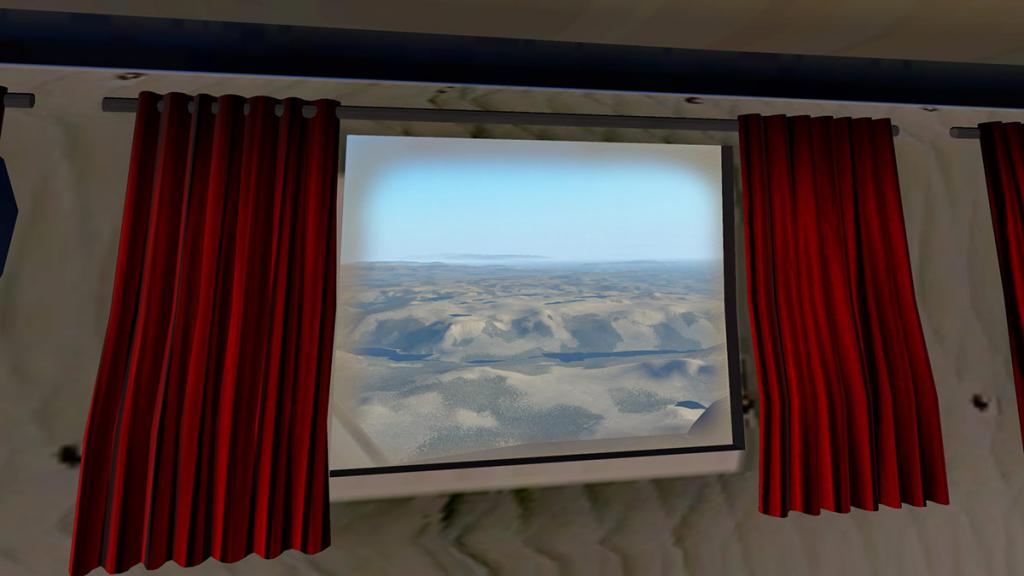

Instrument Panel
You can see why these aircraft were so highly regarded as their instrumentation is very good even by modern standards. Not in the glass cockpit sort of fit-out, but any good GA is not that dissimilar to the familiar layout viewed here. You can click on the base of the pilot's yoke to make both of them disappear, which is a great feature as they do hide the rate of turn instrument and even a little bit of the rate of climb instrument as well.
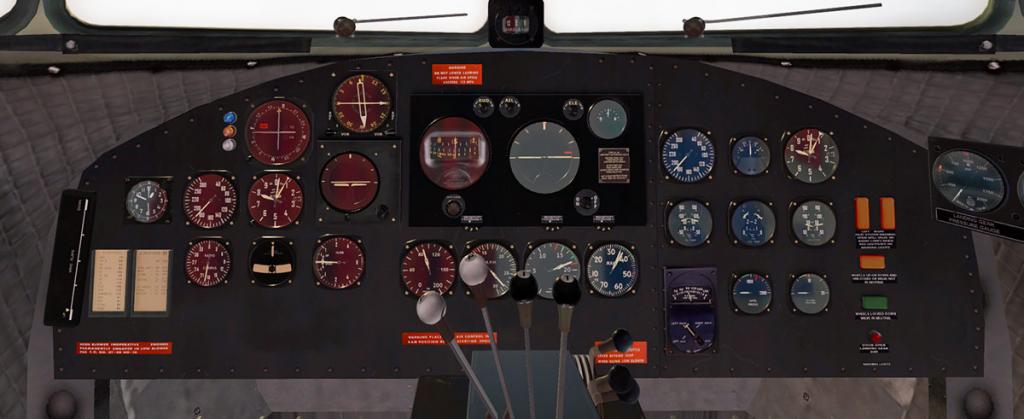
It is a slightly odd feeling of finding the right perspective of looking out of the high windows and wanting all of the instruments in view as you can't have both. None of the standard six can be in view unless you change your perspective quite significantly as they are positioned well down the panel, and then in perspective they look odd in that fishbowl look. So viewing up and down will take a bit of practise in the way you fly the aircraft and setting up for landings via the instruments does mean a limited view out of the windows, so you can only have one view or the other.
Instruments are highly reflective as well. Maybe too reflective in some conditions, but I would far rather have the feature than not. All the instrument are huge, large and easy to read... no squinting in here to read anything.
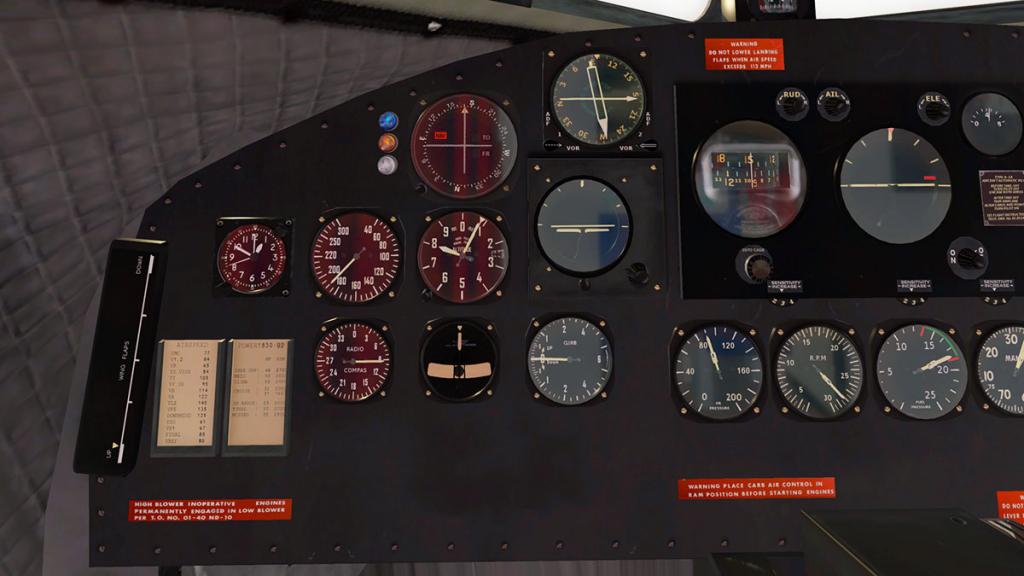
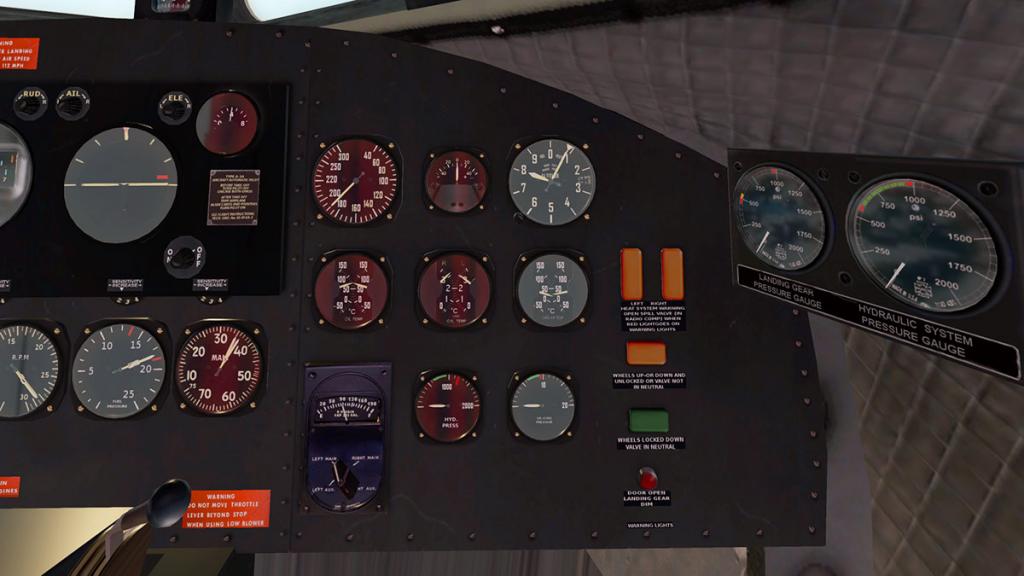
Standard Six instruments are low set for the flying pilot but with a different set of instruments set high for the Co-Pilot. On the left is the Airspeed Indicator, Attitude Indicator and the Artificial Horizon on the top row and the Radial compass (heading), Turn Coordinator and Vertical Speed Indicators set out directly below. Left of the six pack is a clock and top of the panel center is an Omni Bearing Selector, or OBS and to the right a VOR 1&2/ADF 1&2 pointer. On the panel's far left is your flap position indicator, it is basic but easy to see.
For the co-pilot there is only the Airspeed Indicator and Altitude Indicator with the free air temperature gauge between them. Second row has the (both engines) Oil temperatures, Cylinder temperatures and Carburettor Temperatures. Lower row has fuel gauge (switchable), hydraulic Pressure and De-Icing pressure.
Centre panel is the Sperry Type A-3A autopilot, which we will cover more in the air. And below four gauges covering (both engines) Oil Pressure, R.P.M, Fuel Pressure and Man (Manifold Pressure).
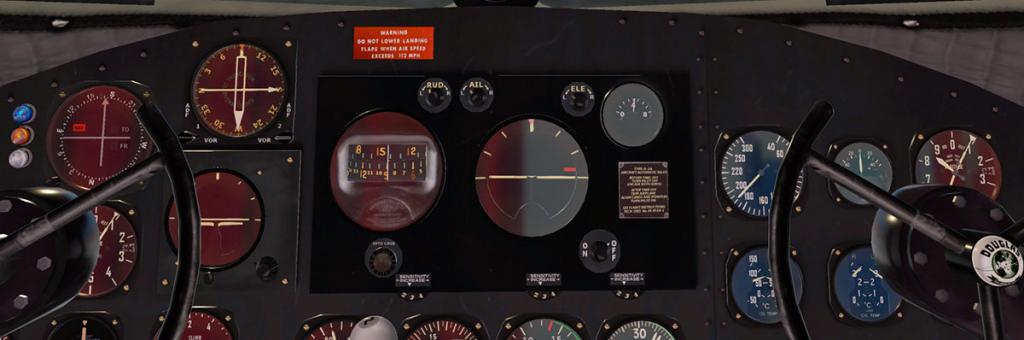
There are two overhead panels with one over each of the pilots upper left and right.
Pilot's left side covers all the aircraft's power, external, panel lighting and de-icing switches, with a big red left propeller feather button.
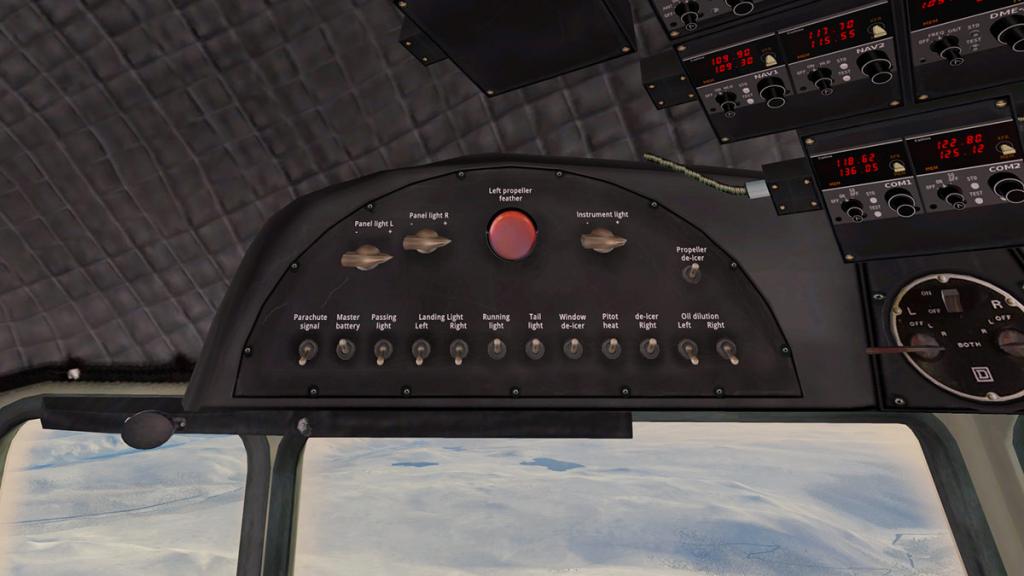
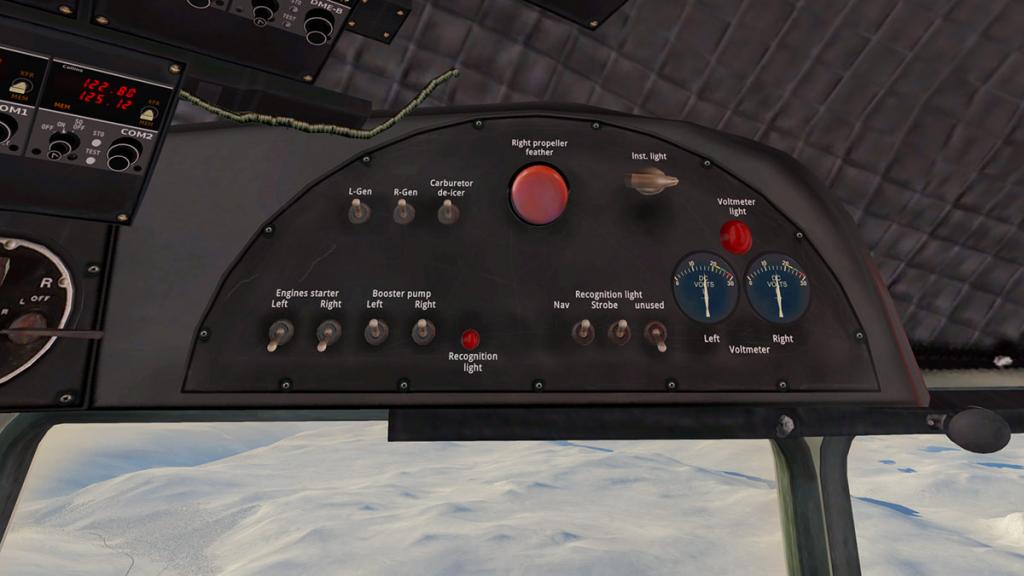
The right side panel covers L-GEN and R-GEN (Generator) switches and Carburettor de-icer. The red right propeller feather button and the main external aircraft navigation lighting, the co-pilot's instrument lighting switch is here as well.
Overhead centre is lower the two engine ignition switches and above the radio panel to cover your COM 1&2, NAV 1&2 and ADF 1&2 frequencies. Also here is the DME-A and DME-B (Distance Measuring Equipment) and ATC frequencies (ATC is the aircraft's Transponder).
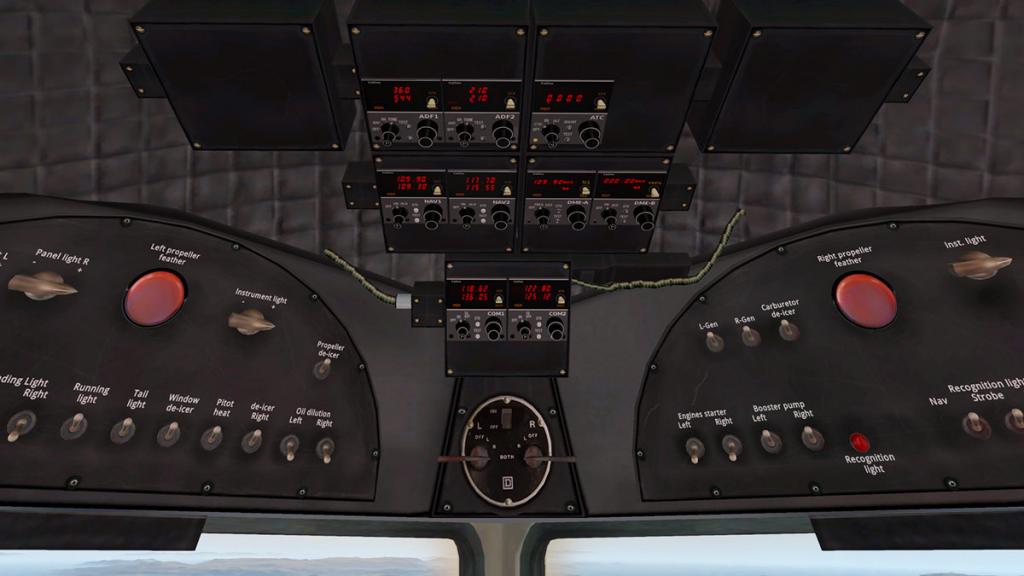
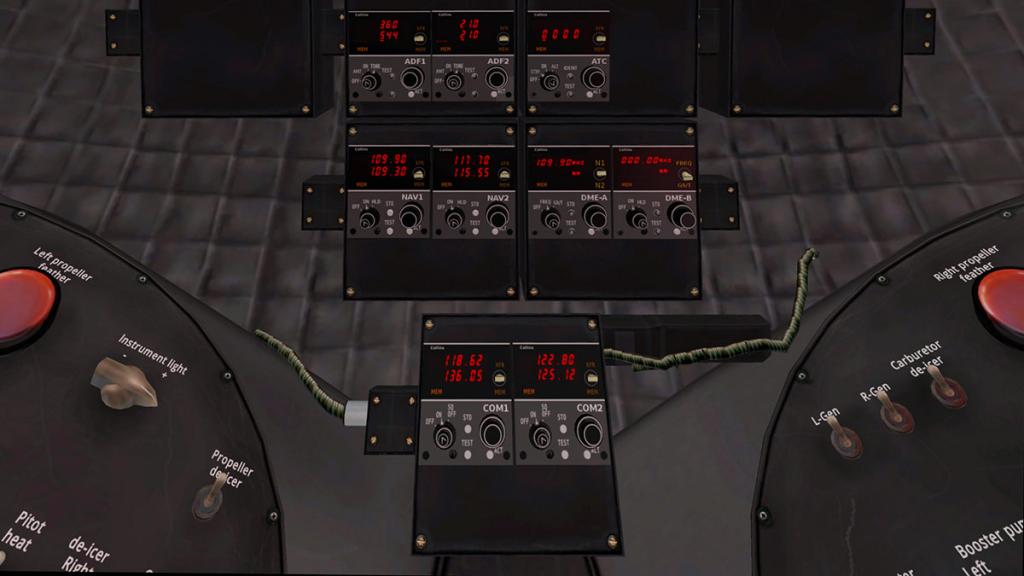
On the co-pilot's side wall are two sets of instruments covering with gauges Landing Gear pressure and Hydraulic System pressure. There is another panel for two switches that operate the engine cowling (cooling) positions from open to close.


You can also use the X-Plane default GNS430 GPS system by pressing the VOR pointer dial and you can still set your COM1 and VOR1 frequencies here as well.
Pedestal
Central pedestal is a lovely bit of gear. Like the nice thin metal yokes you get the full vintage long lever feel that covers both engines in P-Propeller, T-Throttle and M-Mixture. The mixture levers have two zones that you can pre-select either Auto-Rich or Auto-Lean like on the real DC-3. The main switchable fuel tank switches in MAIN or AUX are on either side of the levers.
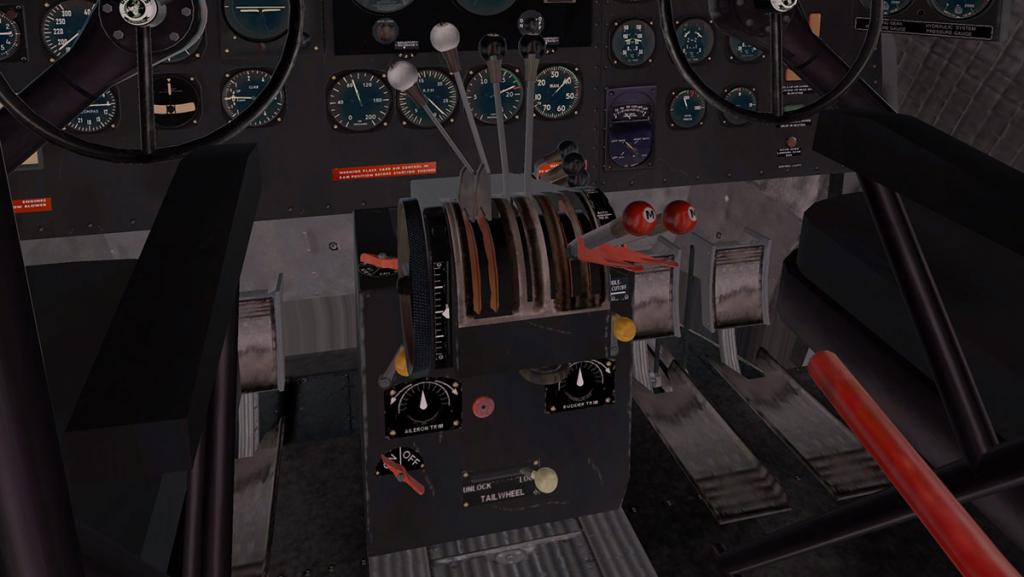
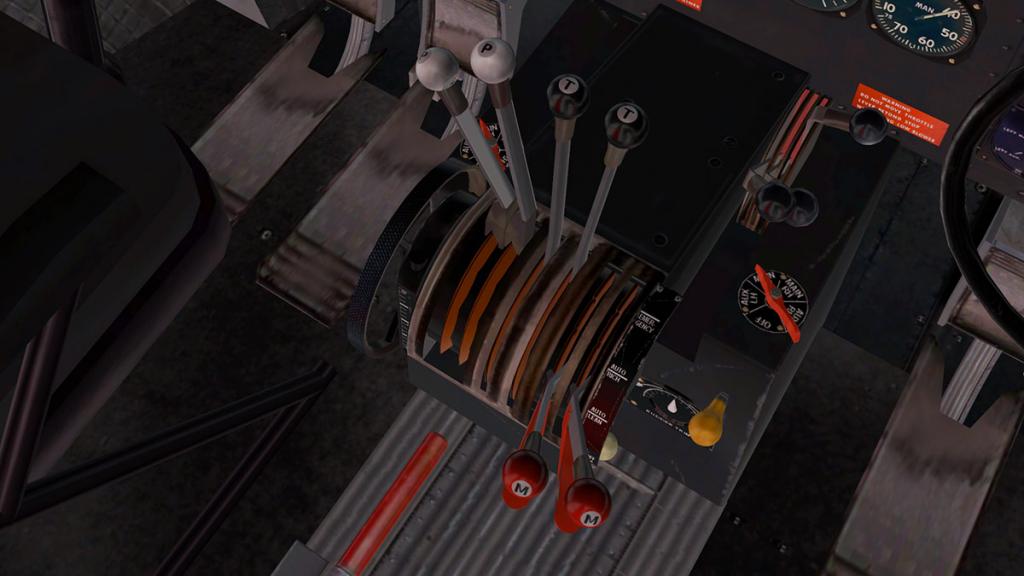

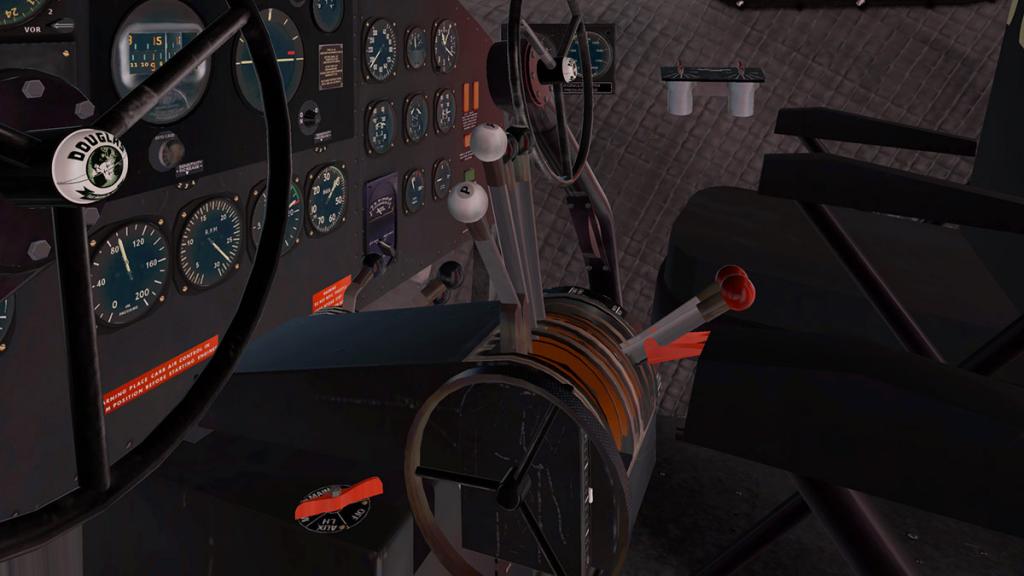
On the left of the pedestal is the main trim wheel (very nice) and the Aileron and Rudder trim wind handles are on the lower front of the pedestal. Two other items here cover the "Autopilot" on/off switch and the tailwheel lock lever.
Park brake is just a small pull switch hidden low on the front of the pedestal (arrowed), and difficult to use. As are also both the undercarriage gear lever (lower) and the longer (higher) flap levers on the rear right side of the cockpit, I have all these three items set on my joystick/throttle system, so it wasn't an issue, but if you want to use any of the three manually it does mean taking your eyes and hands a long off the all important flying matters...
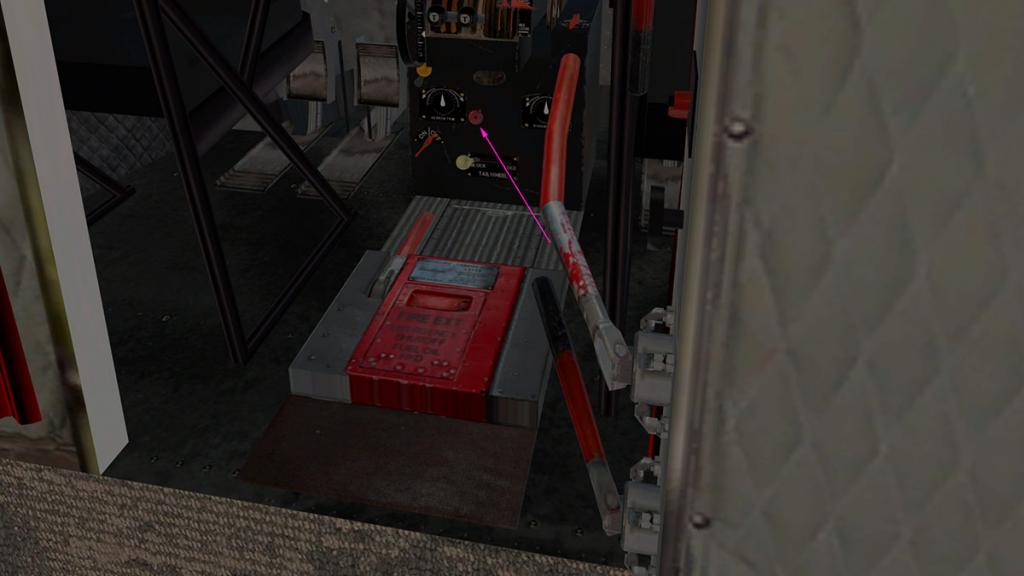
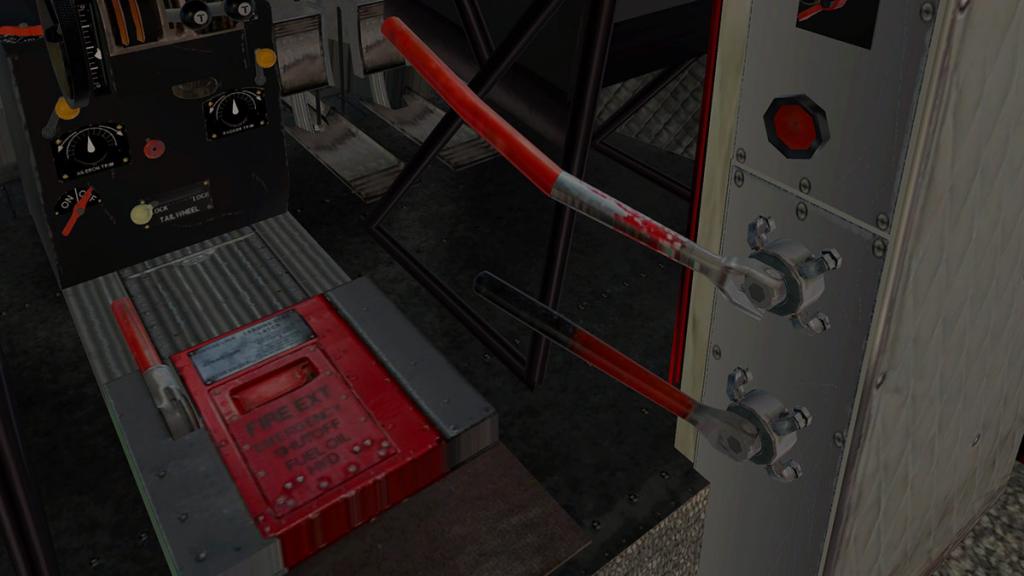
... they would all be easy to use in a real world sense, but in a 3d virtual cockpit you would have to have a different solution.
Flying the DC-3/C47
This aircraft is not a study sim, so you won't be put through all the pain of starting those old tired cantankerous Wright R-1820 Cyclone engines. This point is a debatable one in either you want a complete realism simulation, but too many then starting these old style aircraft can be more frustrating than the fun aspect of the flying. Starting engines on many simulated aircraft can be an absolute painful experience, but it depends on how you want to approach realism. Here it does help to use XPRealistic Pro by rk Apps and their realism effects. Set up correctly it does at least give you some more general feel and shudder to create a more realistic environment around such older style aircraft, in reality this app should be part of the deal with the aircraft, but on start up it does create an excellent prop shudder and running effects.
I have flown in a DC-3 and even if it was a $50 joyride, but it was a sensational ride that you never forget if you love aviation. It is noisy, bumpy but the aircraft does sort of come alive around you as a living breathing machine that is quite unlike modern era aircraft.

Old taildragger hands will do the deal and fly the aircraft with the tailwheel loose. It is a trick to do, but using a twin-throttle arrangement does allow you to do that... but it is not easy.
I have mastered it.... to a point, but when it lets loose it just goes...
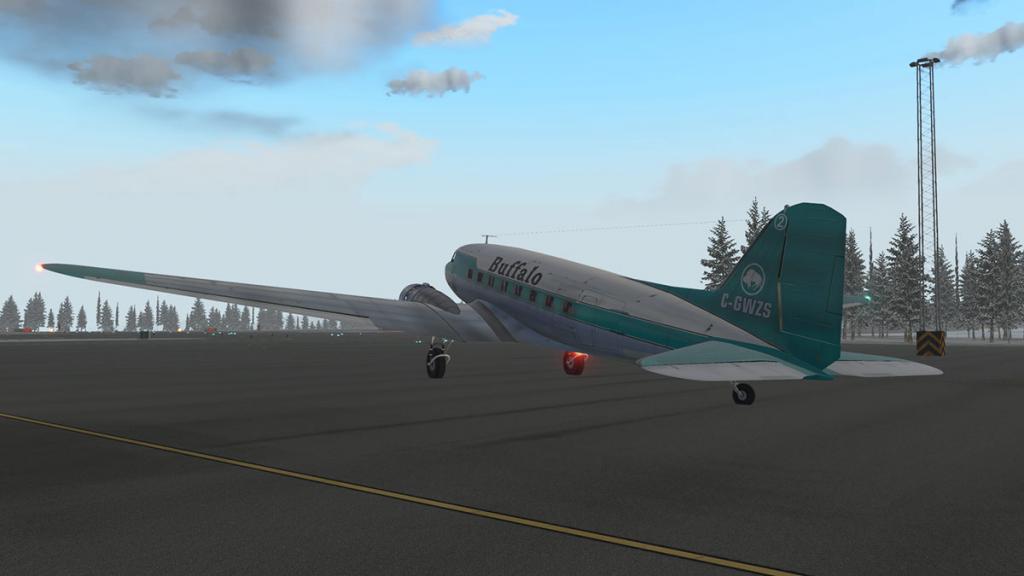
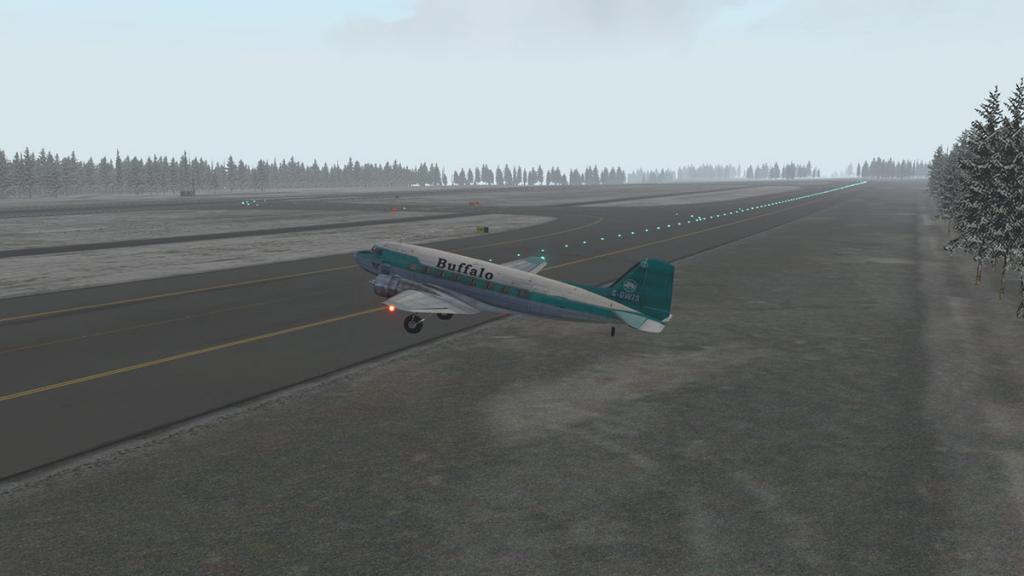
So a sort of sanity does and has to prevail. A flip of the tailwheel lock on the front of the pedestal will make the tailwheel behave to the laws of X-Plane and you can control it with the yaw aspect, in other words taxi where you want to go and not where the tailwheel wants you to go. Certainly a major miff from the diehards, but I feel the X-Plane freewheeling tailwheel is not right either in it's actions, I never see tailwheel's go opposite rearwards when taxiing straight ahead on real aircraft but it does here, so it is bit of both. Anyway the tailwheel has to be locked for any takeoff or landing, keeping it unlocked will certainly mean a crash.
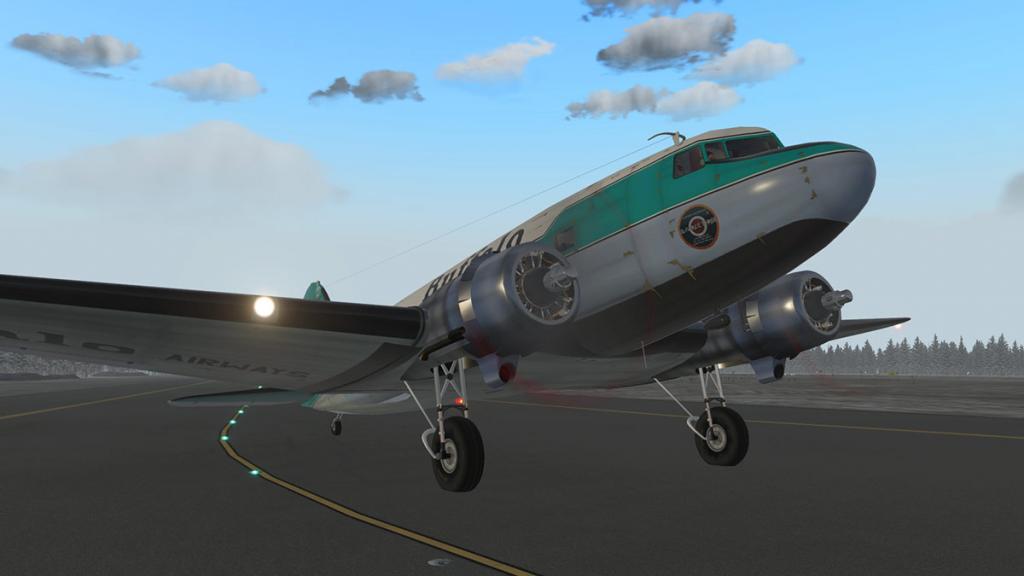
The view forward is very restricted, but that is part of the fun, not so much fun is that you can't see your instruments, so there is a bit of guessing going on on speeds, experts say it is normal, you just know and feel on what the aircraft is doing where and what.
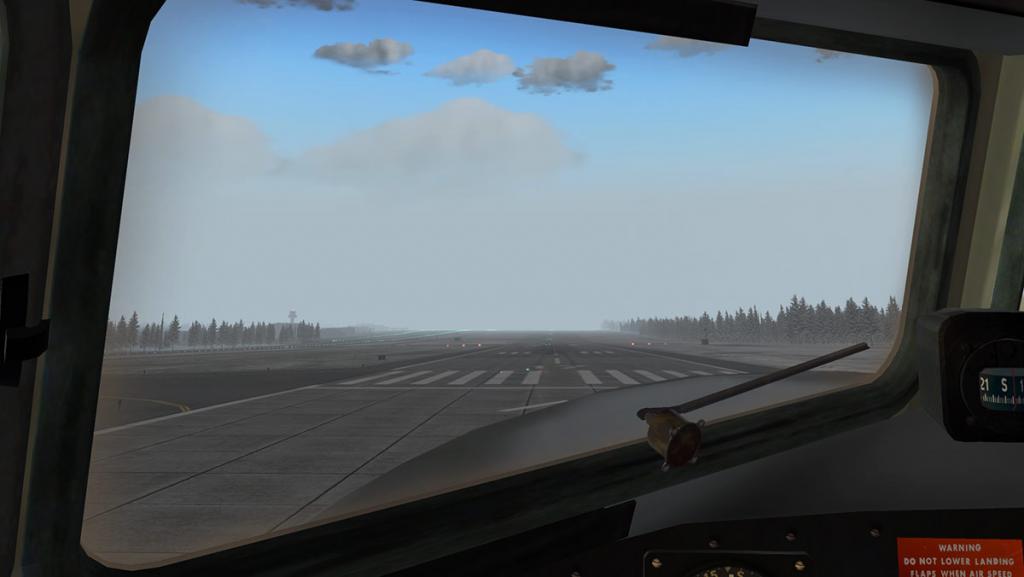
It is very easily if touching the controls manually to select the wrong levers? It is the P-Propeller and not the T-Throttle levers that comes to hand easily as the throttle levers are in centre here and not to the par de course to the left, so you have to look to make sure you are pushing up the correct ones, personally though as I am using a twin-throttle system it is not an issue, but I did try the manual operation and had to check to see if I was doing it right, again a twin-throttle system is great for keeping the old bird straight on the runway, certainly if there is a bit of a crosswind.
Tail lifts quite easily at around 60mph and that helps the view, but with that tail hanging out back there then needs some fine rudder control to keep it aligned straight. Thankfully at only 110mph you are airborne.
Undercarriage animation as noted is excellent, as one wheel assembly will be slightly behind the retraction of the other wheel for authenticity.
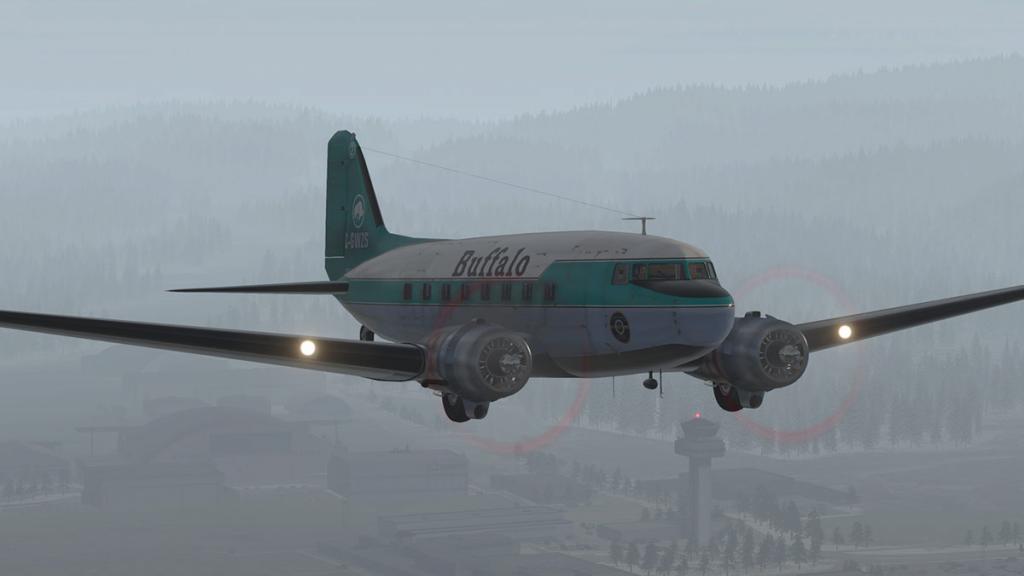
The DC-3 has a climb rate of 1,130 ft/min but you keep it around a 1,000 ft/min as so not to strain the Wasps, but she will climb and with no fuss or loss of speed. Total ceiling is around 23,000ft (7,100 m) but I will climb only to 8,500ft for this trip.
If you are familiar with PMDG's DC-6 you will find it easy in here. The same conditions count with the first important issue which is to fully trim the aircraft. As you know on the DC-6 it is a far more easier aircraft to fly than to fight it, if the trim is wrong. And so it is in this DC aircraft as well.

Second is when you have trimmed the aircraft is too manoeuvre the aircraft to a clean and level flight, and trim again if you have to.

The Sperry Type A-3A autopilot is about as basic as you can expect it to be. This is not a complicated in depth system, and in fact all it does is adjust the basic flying surfaces to your settings.
It is activated by the switch on the lower front of the pedestal. And like previously mentioned the aircraft has to be steady, ready and trimmed to accept it.
Three dials in RUD (Rudder), AIL (Aileron) and ELE (Elevation) will adjust your flying surfaces, in reality it is just a trim function but one that you can control easier. Turn the ELE and you will see your yoke go towards you to climb, same movement in forward to descend. AIL will bank the aircraft to a new heading and so on. It works quite nicely but you have to watch your instruments in that you are going in the right direction and not slightly banking towards another one. Overall it take the strain out of holding the controls for long periods of time. The DC-3 has a range of 1,500 mi or 2,400 km (1,346nm), which is very impressive, but in most cases around 400 to 500nm is usually the go. Note the built in excellent gyro bank and climb instruments, and they work as real too.

This is vintage flying. You are certainly not going to get anywhere very fast, but there is a sort of trundling along with the engines pounding away on mostly on all cylinders in the background, the excellent XPRealistic Pro giving the old bulkheads and window frames a constant shake and everything feels quite nice with the world.
Sounds are not to bad actually, but VSkyLabs has noted that FMOD sounds are coming soon (to X-Plane11) and that will be certainly a great addition to the all round aural experience.
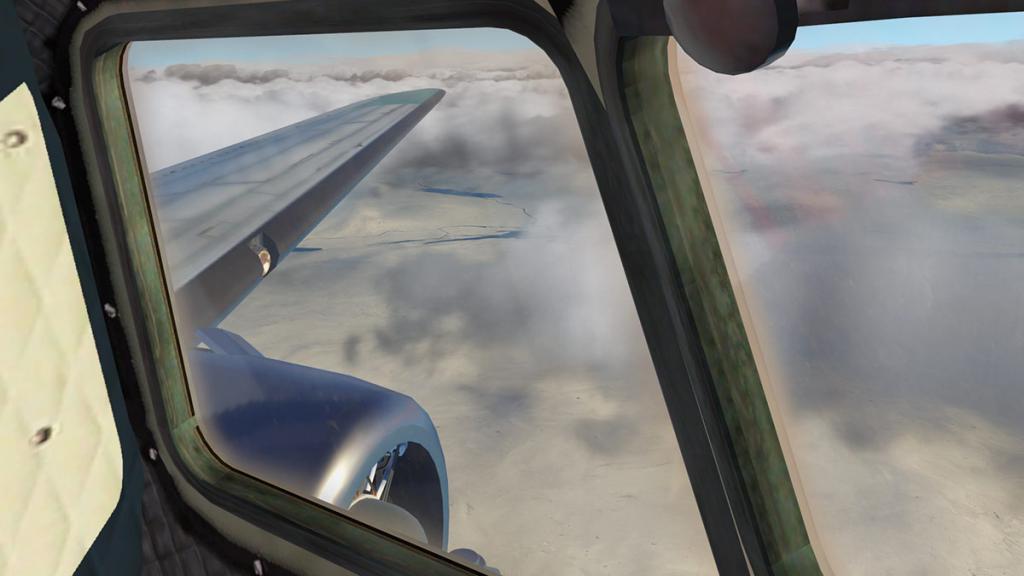
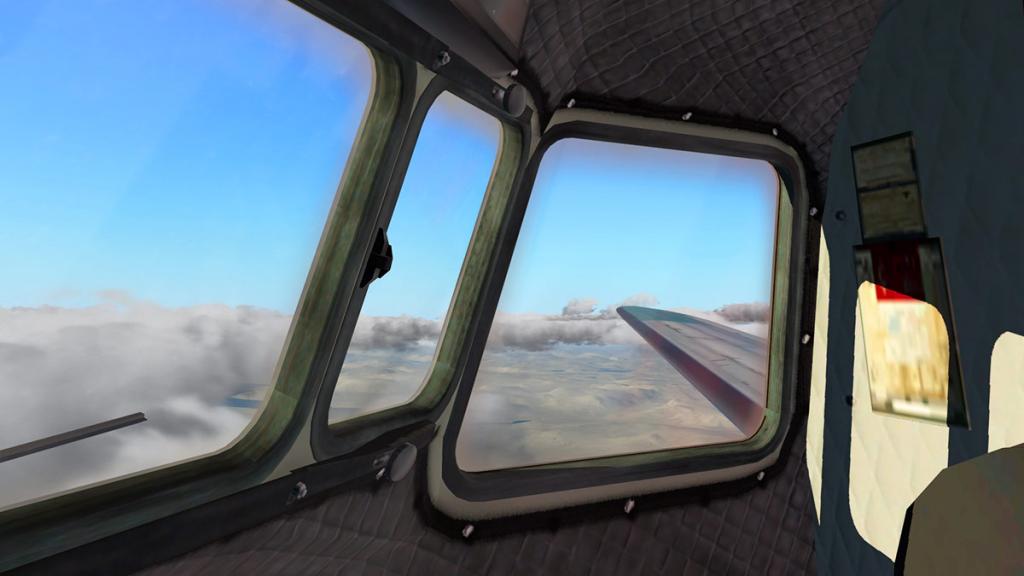
Could this be called "Classic" flying, I think so as the world sorts of moves by rather than flies by under the aircraft and at only being 8500ft up you get to see a lot more of the landscape. If you are familiar with PMDG's DC-6 you will understand most of the actions here also, so you will feel quite at home in either aircraft, the DC-3 is certainly easier to fly than the bigger DC-6, but feeling is the same.

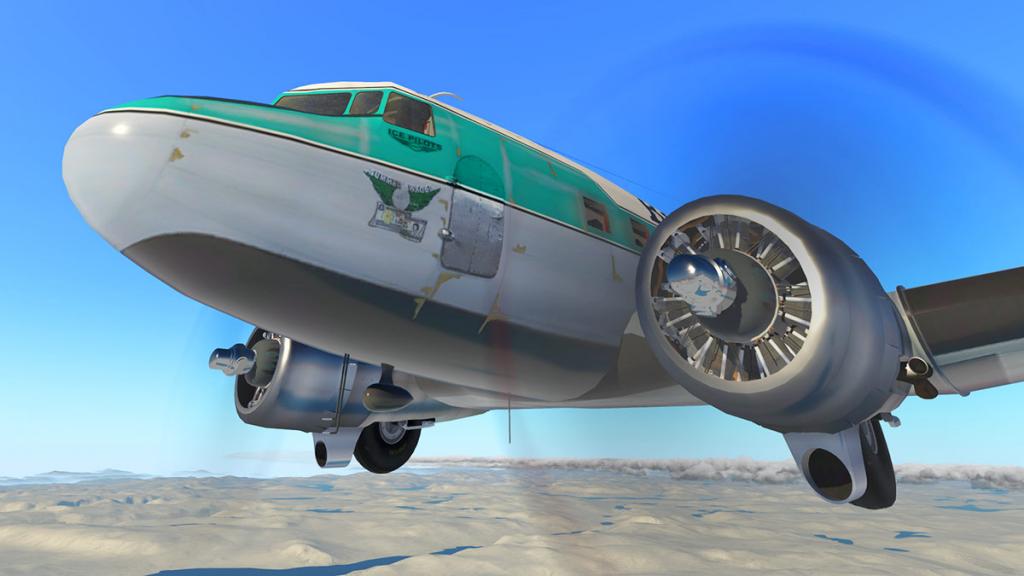
The DC-3 is known as a pilot's, pilot's aircraft. And I can understand that, as the bird is very hands on, but more to the point you feel the DC-3 in the way you fly it, well trimmed it is a nice aircraft to manoeuvre as long as you understand it's limitations and performance. Overall the aircraft is very addictive, in that fly it once then you just want to have another go and in that aspect VSkyLabs has got something very right here.

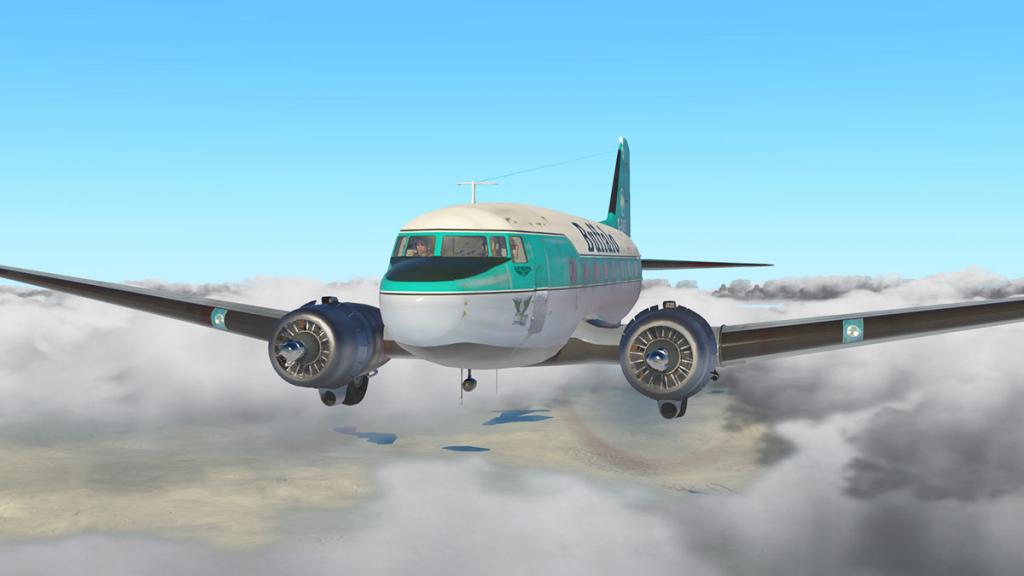
Wipers do work. There is no actual switch at the moment and so you have to press the centre of the wiper motor box to activate them, but they are great in poor weather...
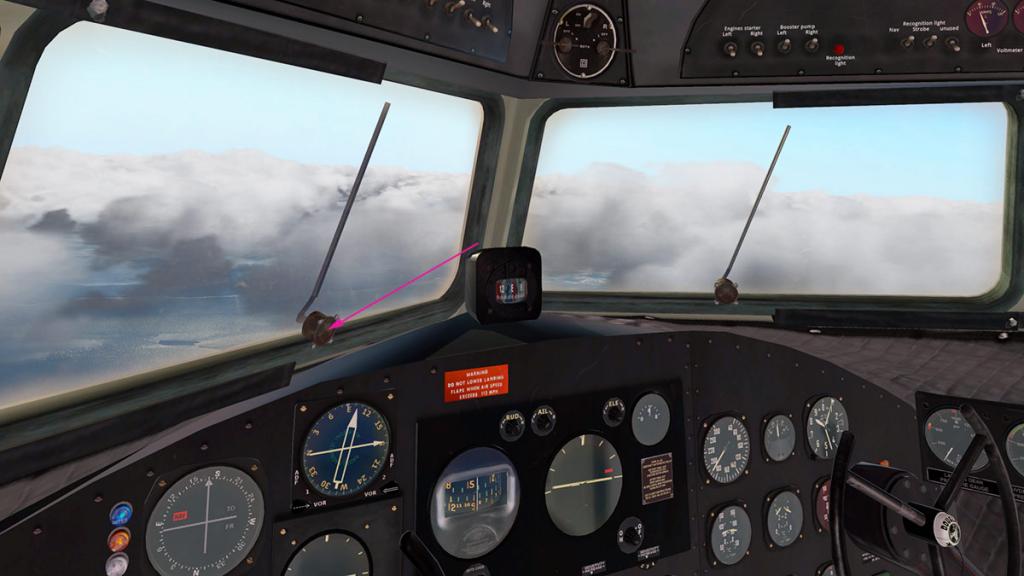
The DC-3 is nice to manoeuvre when setting up for landing. "Hands on" is the thought that comes to mind, but you know you are in control.


Flaps are not stepped but continuous, so you have to hold the lever down all the time to drop them, but harder is that they can only be used at around or under 100mph, so you have to get down to that speed before using them... and it is harder than it sounds.
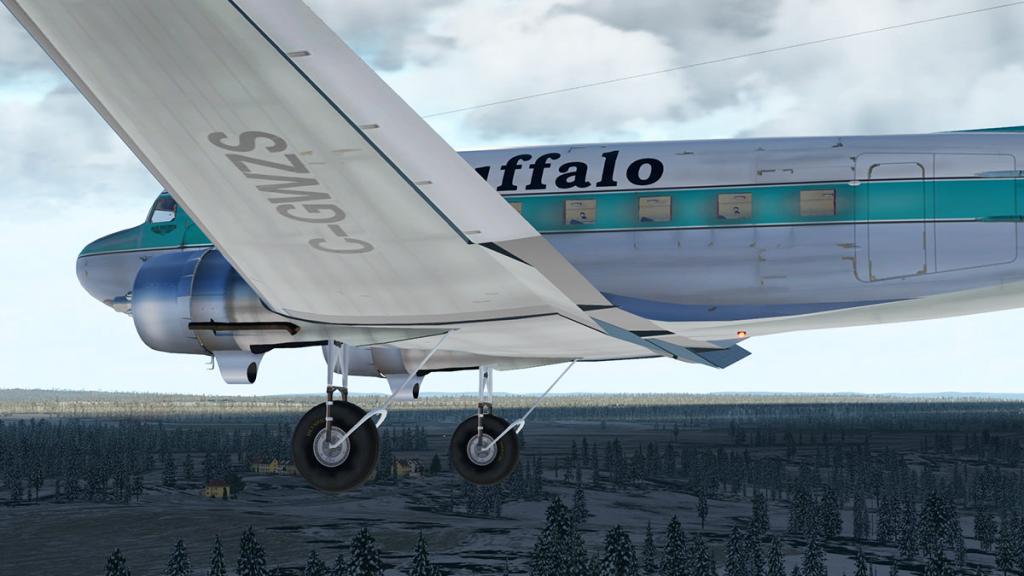
Once there you can then actually lower the flaps and then they provide their own drag to adjust your approach speed, so then it becomes a balance of flap drag vs throttle thrust to keep the approach correct. Stall is around 60mph so 80mph feels about right.
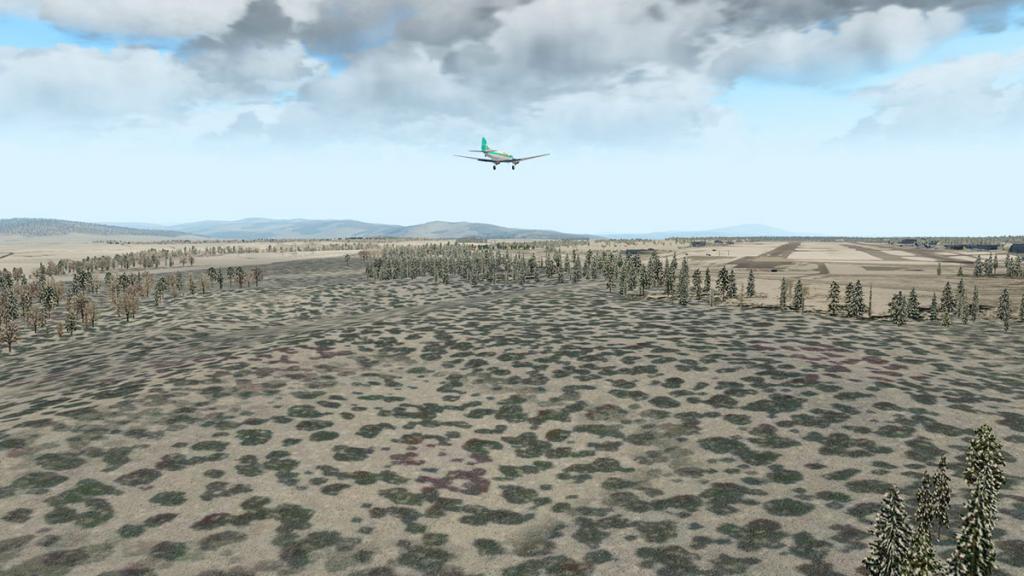
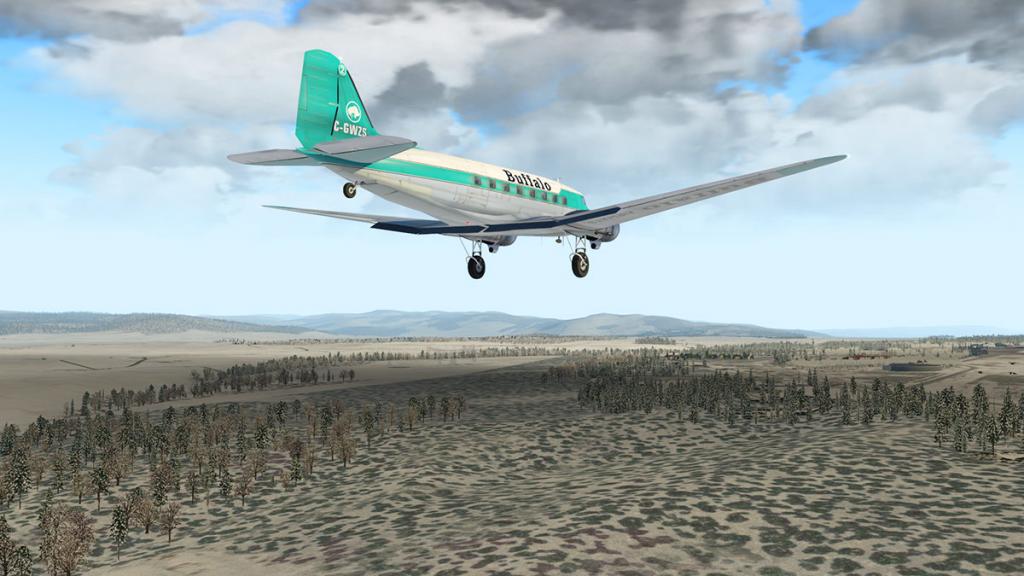
She will float very easily, but the trick is to use it and not fight it...
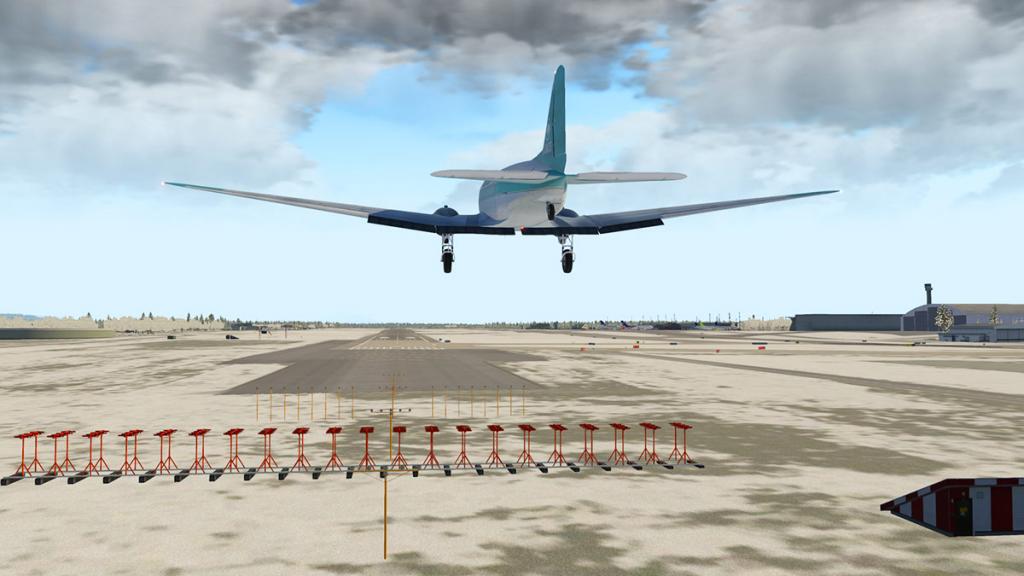
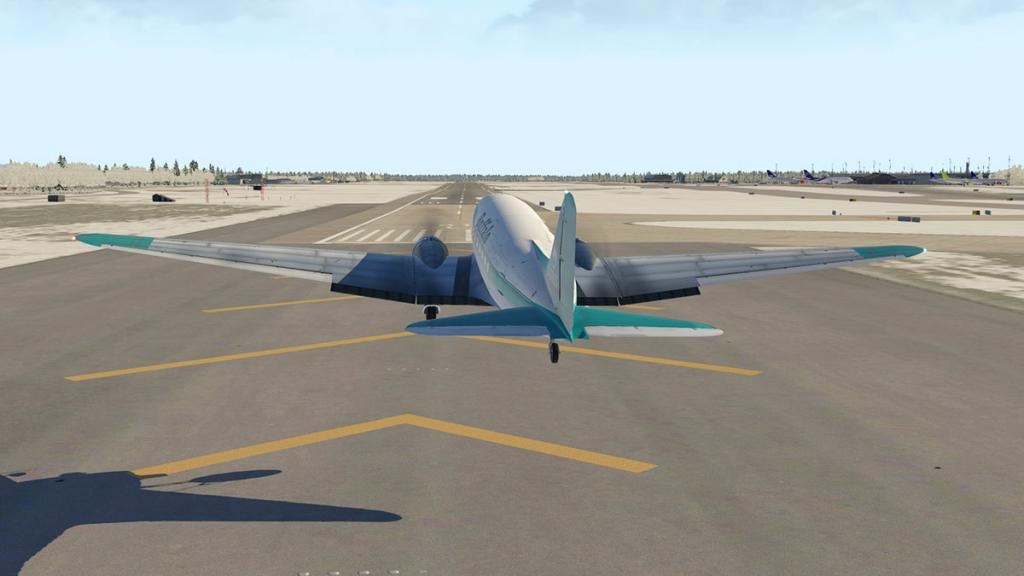
... you are very conscious of your tail. Even in light crosswinds the DC-3 can be very tail light and of course we have all seen the great footage of these taildraggers in real action in heavy winds, and then they are a real handful. But once you are over the threshold you have to learn to straighten up the tail by instinct before you put the aircraft down, so yes using the float point is a great benefit to you if you can get it right, so you hold, straighten then hold it tight and reduce the speed to meet the runway.
It took me a few landings to get it perfectly right, but then it just becomes a background natural instinct and feel.

Nightlighting
As to be expected the lighting on the DC-3 is basic.

External lighting is not adjusted, but it is effective. Note the high light on the tail.
Instrument panel lighting is not overly dramatic, but it is easy to use and t actually read at night and so in that case it is effective.


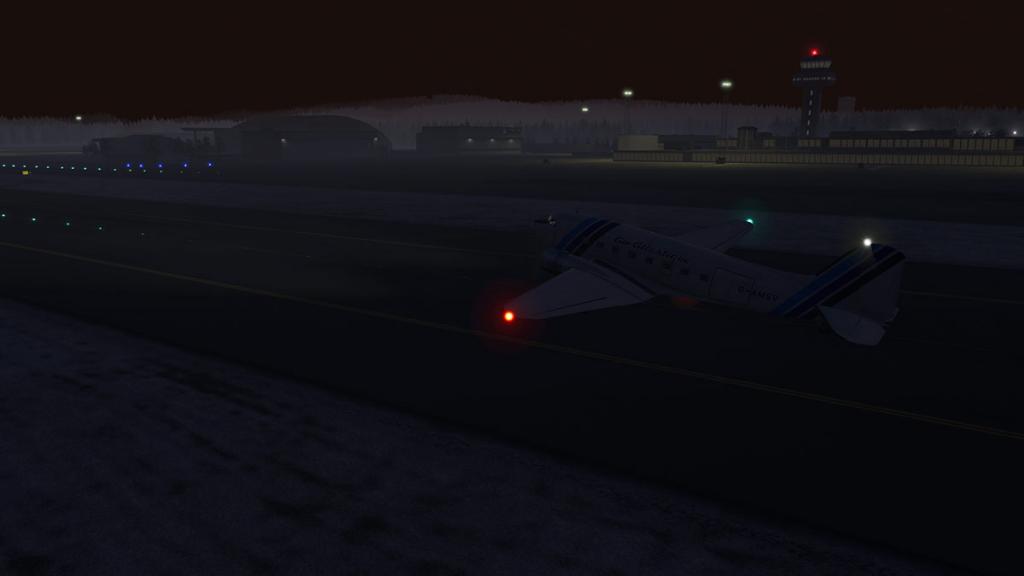
Taxiing at night is a pretty dark affair, but it does feel very authentic, the frosted old windows certainly help a lot to the atmosphere. Overall a bit more work is required here.
Liveries
As noted the only livery is provided is the Buffalo Airways which was created originally from "Flightgear Liveries" but with permission is now part of the project. And if you want to you can convert more for the aircraft from the Flightgear site. It took me about 20min to do about four... in a very nice Air Atlantique, BUA, CP Air and a Chilean Airforce livery.
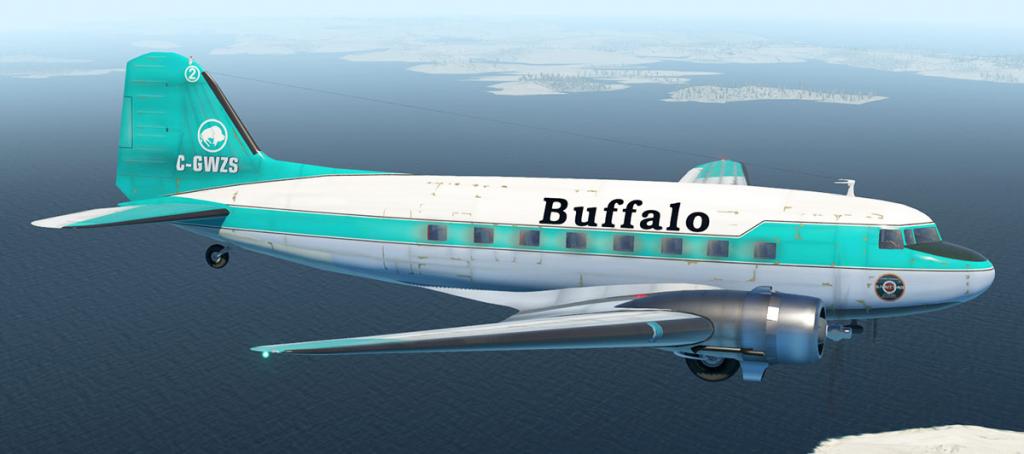
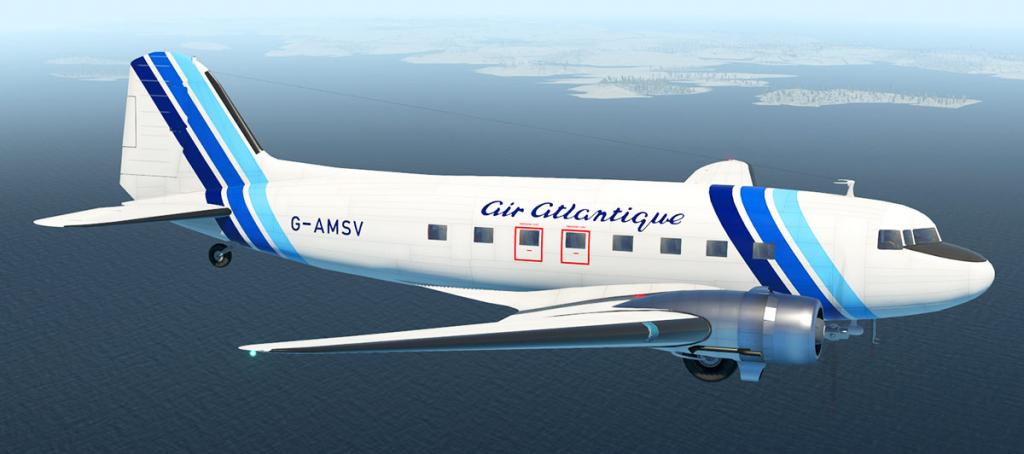
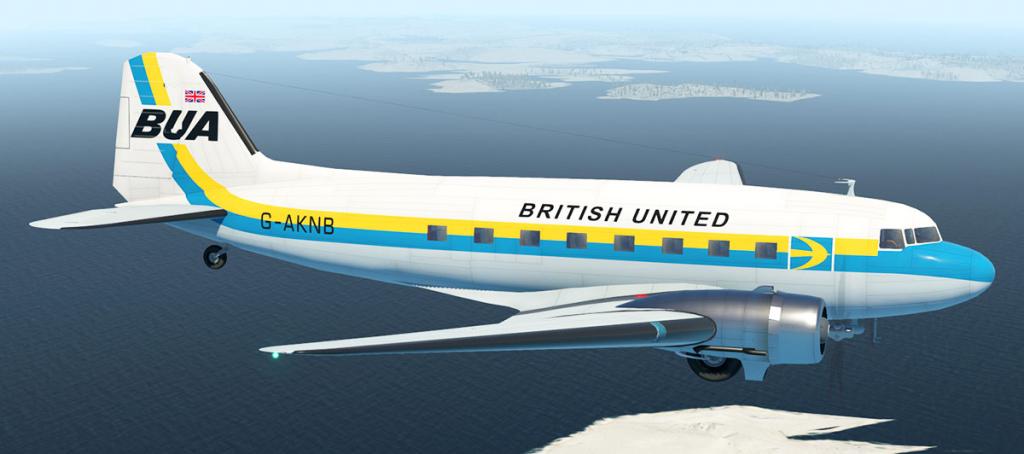
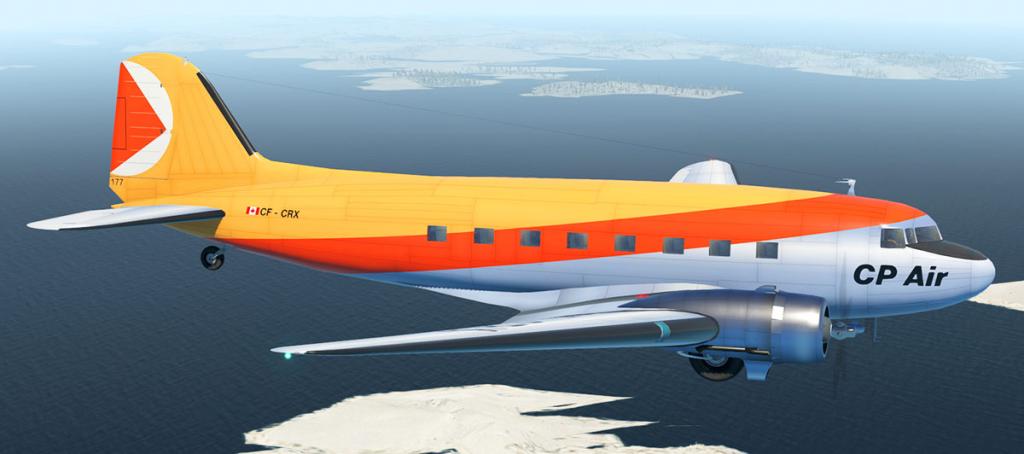

They are (very) basic and there are sadly currently no Military C47 liveries in the list. There is a paintkit here on the X-Plane.Org. One livery for Lufthansa (below) has already appeared so there is no doubt this aircraft will attract a lot of painters.


It is in the liveries that others can help this project as to throw some serious talent at these liveries would certainly lift the already underlying good aircraft.
A final note that this review was completed with the v001.1 update that has a had a lot of changes since the release version. A few images in here were still from the original release version (mostly the reflective instruments). Any new purchase will download the v001.1 version, but if you haven't then do so as the update is significant. Another point is that I highly recommend both a twin-throttle system and the use of XPRealistic Pro by rk Apps effects as they both are a huge bonus in flying this aircraft.
Summary
To be clear what you are purchasing with this VSkyLabs DC-3/C47 aircraft is a project still in progress, an advanced one, but it is still far from the completed aircraft. There are no special features in menus or elements and the cabin is really also still not fully completed. This is also not a deep simulation in the way you would totally operate a DC-3 either, certainly not in the systems and in some areas the operation and the price which is set below US$20 does reflect that.
The liveries are also quite basic, but workable. The normal mapping is also basic (the textures that highlight pixels to make lines and grooves on the aircraft) and it is here that I think most visual improvements could be made. You want to see every rivet and panel in it's glory as these older aircraft are built that way, and this missing visual aspect is noticeable. Certainly X-Plane11 goes a long way in bringing up great lighting and saving an aircraft which could have be quite dull without it, so in X-Plane11's light the aircraft does look quite nice and interesting and it does show the potential of what can be yet added to this aircraft as the basics are excellent.
If you accept the above then you will take the aircraft to your heart. It is a great aircraft to use and fly, and very hard to ignore and even addictive, actually very addictive in the fact the more you fly the aircraft the more you want more of it. It can be tricky of course, but again all these sort of taildraggers are interesting machines... but that is all part of the fun as well.
So what you get here is a great deal, a great if even one of the really greatest aircraft of all time to fly and enjoy and I can guarantee you now there are already a lot of X-Plane pilots out there with a wide grin on their faces as they trundle around the slow moving landscape with a beating heart of happiness, not even money can provide that, so get with the project and be a part of the movement to thoroughly enjoy the ride along the way.
_____________________________________________________________________________________
The DC-3/C47 by VSkyLabs Flying Lab Project is NOW available! from the X-Plane.Org Store here :
VSKYLABS DC-3/C-47 Flying Lab Project
Your Price: $19.95Features:- Two packages included: X-Plane 11 + X-Plane 10.51
- Highly Realistic Flight Performance DC-3/C-47 Simulation: Highly accurate performance and handling simulation of the DC-3/C-47. Aircraft performance and handling qualities were designed and tested in a "Research level" approach and went through a validation process of more than 200 hours of flight testing and evaluation, made by real world C-47 pilot and aircraft performance expert. This model is stretching X-Plane to its limits in terms of delivering the authentic flying characteristics of the DC-3/C-47
- Fully equipped with Radio and Navigation aids: along with a full set of traditional/old school navigation and autopilot systems, it is also equipped with a pop-up G430
- Workhorse for practicing DC-3/C-47 pilot skills: Experience authentic flight performance and handling practices (takeoff, landing, single engine operations, flight planning, long range flights and old school navigation). It is a perfect platform to recreate and fly historic routes using authentic performance simulation
- Unique look and feel: The VSKYLABS DC-3/C-47 is a mixture of a simplified yet very engaging design and “feel” of the DC-3/C-47
- Systems - easy to operate by beginners: All relevant systems are simulated but with the focus on getting the “Flying Lab” airborne without the need to go through a long “ground school”
- FPS friendly
- Designed to utilize the “out of the box” features of X-Plane
Additional Features:- Highly responsive support system/forum.
- The VSKYLABS DC-3/C-47 Flying Lab is a project under constant development. All updates are free.
RequirementsMinimum System Specifications:CPU: Intel Core i3, i5, or i7 CPU with 2 or more cores, or AMD equivalent.Memory: 8 GB RAMVideo Card: a DirectX 11-capable video card from NVIDIA, AMD or Intel with at least 1 GB VRAMRecommended Hardware Requirements:CPU: Intel Core i5 6600K at 3.5 ghz or fasterMemory: 16-24 GB RAM or moreVideo Card: a DirectX 12-capable video card from NVIDIA, AMD or Intel with at least 4 GB VRAM (GeForce GTX 1070 or better or similar from AMD).Current version: v001.1 (Last updated July 24th 2017)Installation and documents:
Download for the DC-3/C47 by VSkyLabs Flying Lab Project is 199.80mg and the unzipped file is deposited in the "Heavy Metal" X-Plane folder with two version for both X-Plane10 and X-Plane11
V10.51 VSL DC-3 C-47 Flying Lab v001.1 (147.20mb)
V11 VSL DC-3 C-47 Flying Lab v001.1 (166.00mb)
There are no documents, but recommended there is a full suite of original Douglas manuals at "www.avialogs.com" but you have to pay to access them. - RECOMMENDED: PILOT TRAINING MANUAL FOR THE C-47 / 1943 / USAAF
- T.O. 01-40NC-1 Pilot's Flight Operating instructions C-47 Airplane.
- T.0. 1C-47B1 Flight Handbook C-47B - C-117A -R4D6.
- A.P. 2445A & C - PN - Pilot's notes for Dakota I & III.
- AAF Manual 51-129-2 Pilot Training Manual for C-47 Skytrain.
- DC-3C Operation Manual.
- DC3 Emergency Check List.
- DC3 Preflight Check List.
- DC3 Check list.
- Pilot Training manual for the C-47.
- A.P. 2445D-P.N. Pilot's Notes for Dakota IV.
- C-47D Skytrain Characteristics Summary - 26 September 1952.
- T.O. 1C-47(A)D-1 Partial Flight Manual AC-47D.
- Strength and Operation of DC-3 Airplanes.
_____________________________________________________________________________________ Review by Stephen Dutton27th July 2017Copyright©2017: X-PlaneReviews(Disclaimer. All images and text in this review are the work and property of X-PlaneReviews, no sharing or copy of the content is allowed without consent from the author as per copyright conditions)Review System Specifications:
Computer System: Windows - Intel Core i7 6700K CPU 4.00GHz / 64bit - 16 Gb single 1067 Mhz DDR4 2133 - GeForce GTX 980/SSE2 - Samsung Evo 512gb SSD
Software: - Windows 10 - X-Plane 11.02
Addons: Saitek x52 Pro system Joystick and Throttle : Sound - Bose Soundlink Mini
Plugins: Environment Engine by xEnviro US$69.90 : WorldTraffic 2.0 Plugin - US$29.95 : XPRealistic Pro v1.0.9 effects US$19.95
Scenery or Aircraft
- ENGM - Oslo Gardermoen by Aerosoft (X-Plane.OrgStore) US$24.95
- ENBR - Bergen Airport by Aerosoft (X-Plane.OrgStore) US$21.59
Note the winter textures by xFlyer called Winter_Package or Simple Seasons with the MODS program was used to create the winter scenario for this review.
-
Scenery Review : ENBR - Bergen Flesland Airport by Aerosoft
One surprise this year was a scenery that I really liked in Aerosoft's ENGM - Oslo Gardermoen. It wasn't an overall extremely out there detailed scenery, but it was a very functional airport in that I could find many uses for and the routes to use it, and I still do use OSL and quite a lot.
So I was surprised that in just a very short time after the ENGM release in that Aerosoft have now released another Norwegian scenery in ENBR - Bergen. So was I wanting to visit ENBR - Bergen... of course I was.
My reasoning to which I would say is quite relevant is that ENBR would make a great companion route with ENGM Oslo. And so it turned out that way, but ENBR - Bergen is a very important port anyway and not just a regional destination so it's scope is larger than the reason's I think it is a interesting scenery. Another aspect and an important one is that ENBR is a major hub for Oil Rig services that covers the northern reaches of the North Sea Oil reserves, and the only direct UK connection from ENBR is with Aberdeen which is the major hub for the UK services for the same industry.
So lets have a first look at ENBR - Bergen Airport.
First Impressions
Obviously I am going to do the regional route from ENGM - Gardermoen to ENBR - Bergen and the local regional airline Widerhoe seems to be the right vehicle for the route. The odd thing is Widerhoe does serve every major port in Norway from Oslo, but not Bergen? That is left to the SAS services, but it is only 164nm from point to point, so that makes using a A320/B738 a bit of an overkill for such a short route... The load factors must make up for it. But this is X-Plane and in the simulator we can override commonsense and fly the route with the right equipment.
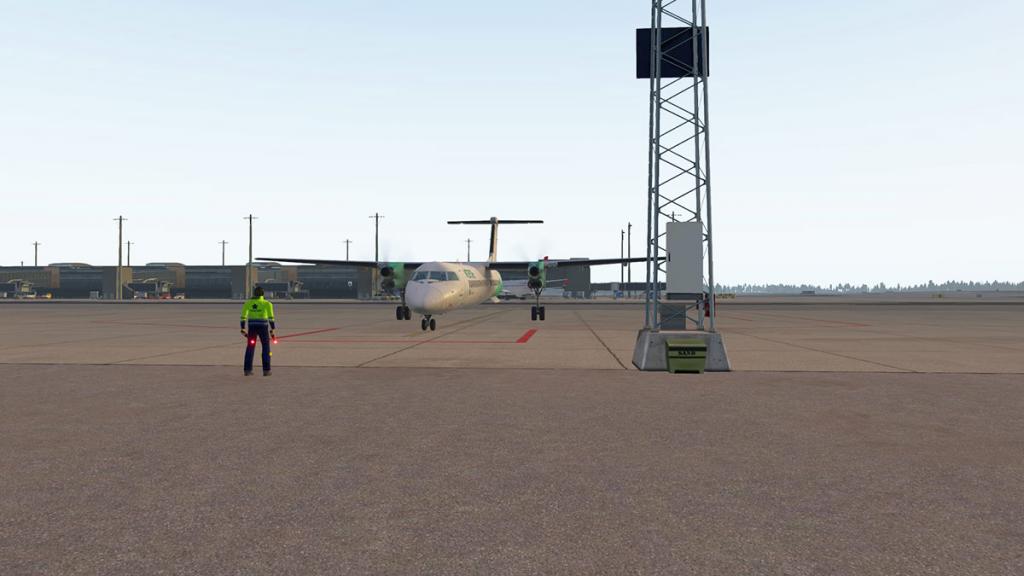
Jack Skieczius of FlyJSim's lovely Dash 8-400 in Widerhoe colours is a great way to fly the route. It is quite a difficult aircraft to fly as it is the real version, but I am very familiar with it and so I know I can outfly it's peculiar attributes... well most of the time.
Departure from Gardermoen was via RWY 01R and you do an almost complete circle to head west via ATLA SID and otherwise it is a direct route to the west coast of Norway. Arrival for ENBR's RW 17 is via STAR BADA, but the final turn is very (very) close to the intercept of finals, in most cases if you turn at waypoint BABLU it is not a tight turn and you can easily be not lined up ready to the runway, It can be done manually but not using the FMS route, so my choice was to go slightly further north to the VOO - VOLLO (114.85) VOR and turn south from there and that gave me more time to adjust the approach via ASK - ASKOY NDB (360khz).
Bergen is deep into fjord country, lovely areas with nice mountains and deep lakes. It is also highly susceptible to the weather. Low cloud, fog and misty weather are normal conditions here, and you have to be aware of these points in that it may excite a few passengers with the sudden looming out of the mist of high ground, but will it will also scare the living daylights out of the other not so in tune souls that see flying as a more of as something they have to do and rather than love the experience as we do. But the point is a looming mountain side out of the gloom here is to be more expected here than general sightseeing... in other words you have to be careful on your altitudes and speeds as you my not have the visual aspects to help you get through the approach in one piece.
So the approach into Bergen is certainly visually excellent but is also highly unpredictable in the type conditions on the time you arrive there.
This makes ENBR an interesting airport for flying in and out of, but the chances are the conditions will more to the average than the good.


On finals the airport is like on a shelf surrounded by waterways and quite similar to like flying around Juneau in Alaska. Using RWY 17 is more advisable as it has a better ALS lighting system for approach and the guides can be seen more easily through the murk, the airport itself is quite hard to decipher in the haze and terrain and the distinctive approach lighting is a big benefit and in fact a requirement.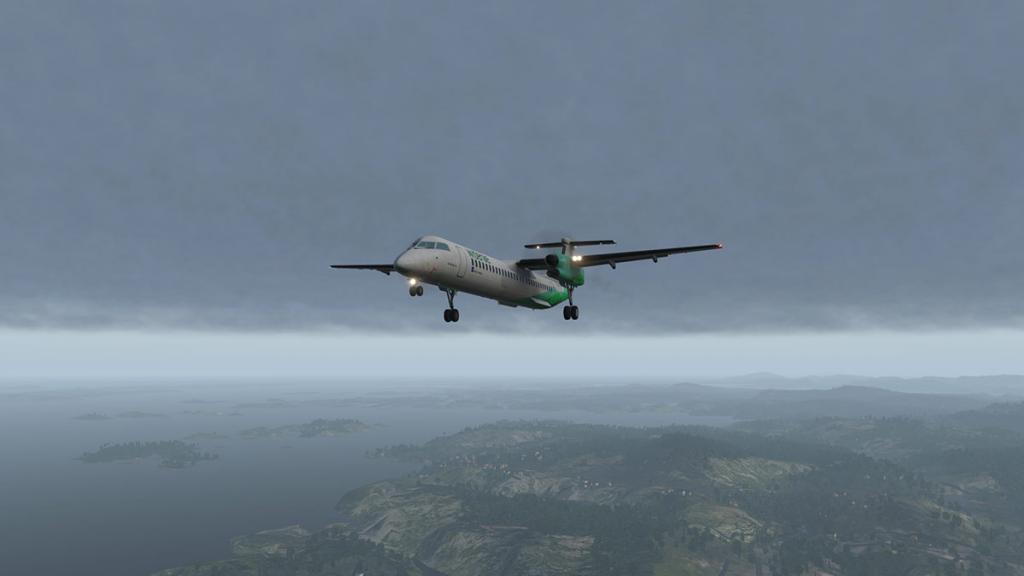

So challenging ENBR is, but that is what makes airports interesting and even exciting to pilots. The autogen works as well, even if the buildings are the Germanic default, but it works very well in the layouts and the overall feel as you approach.
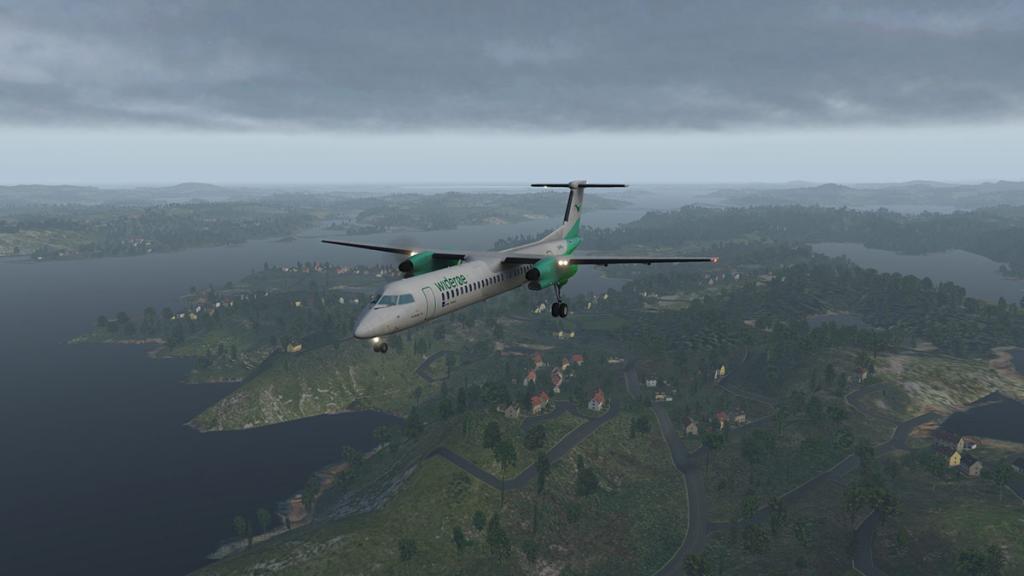

Close in to the airport there is not a lot of buildings or urban areas, there is more to the south. So overall the area is dominated by the northern Scandinavian pine tree fauna.
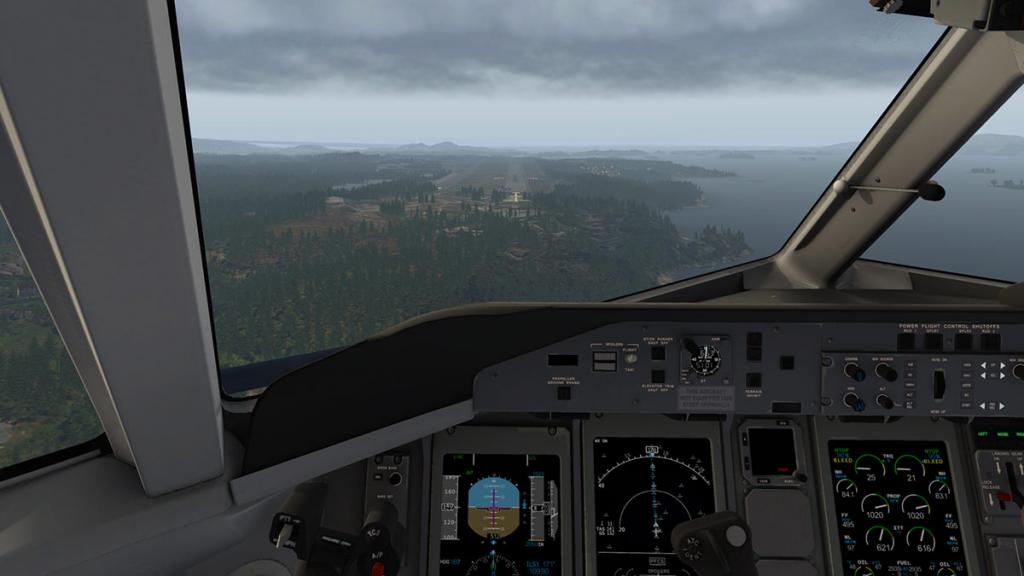
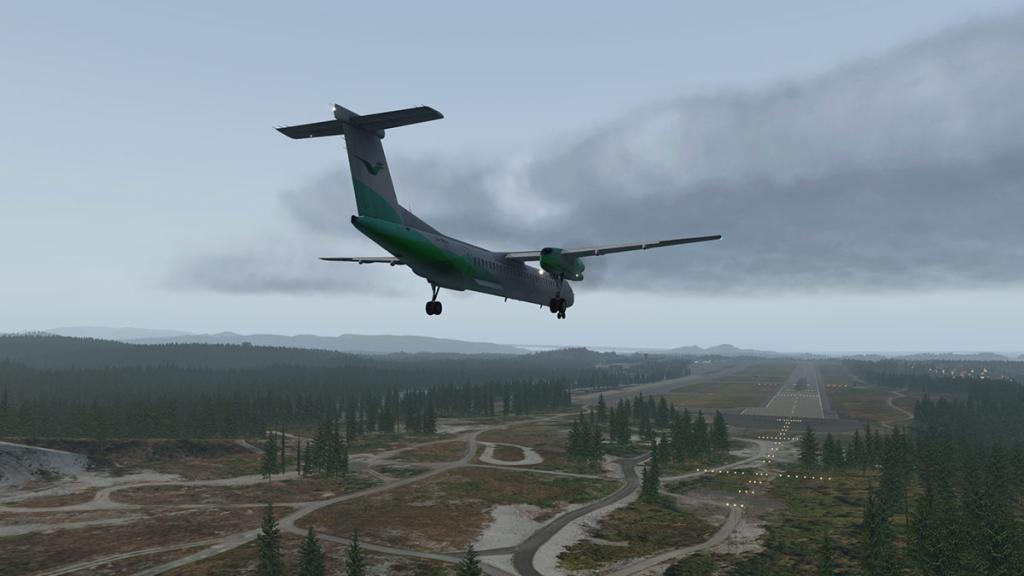
From that aspect Aerosoft have done a great job in creating the right environment, it looks very authentic and the airport is very well intergrated with the surrounding area, in so much so that it can be hard to distinguish the airport from a distance, which is worse in low cloud or foggy conditions.
I have the 'runways to follow terrain" setting on, so there is a significant set of gradients on the single runway 17/35, markings are good and the runway detailing is well done. There is well done 3d grass with sparse areas and full growth areas by the runways and infields, that adds in realism to the ground areas.
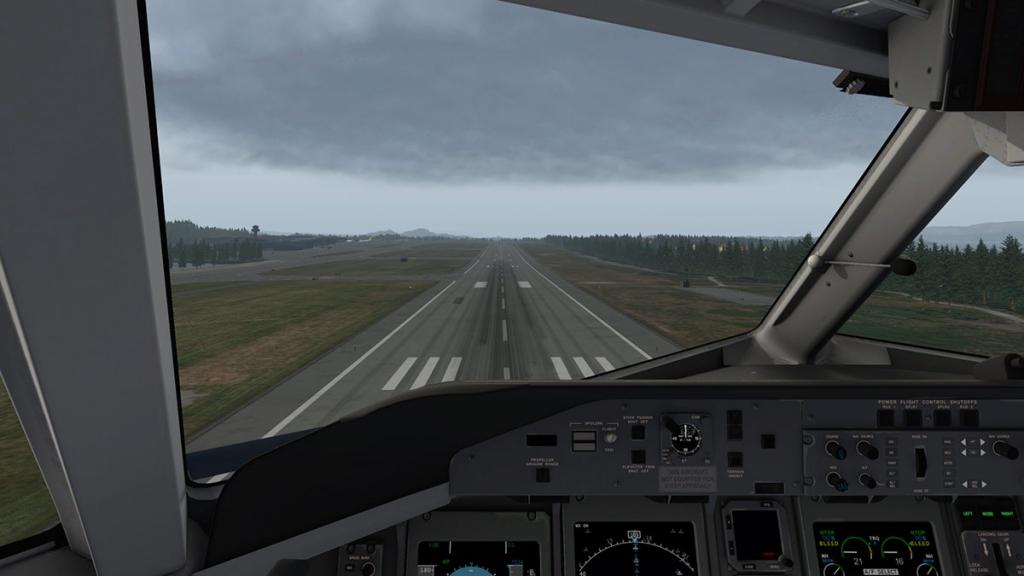
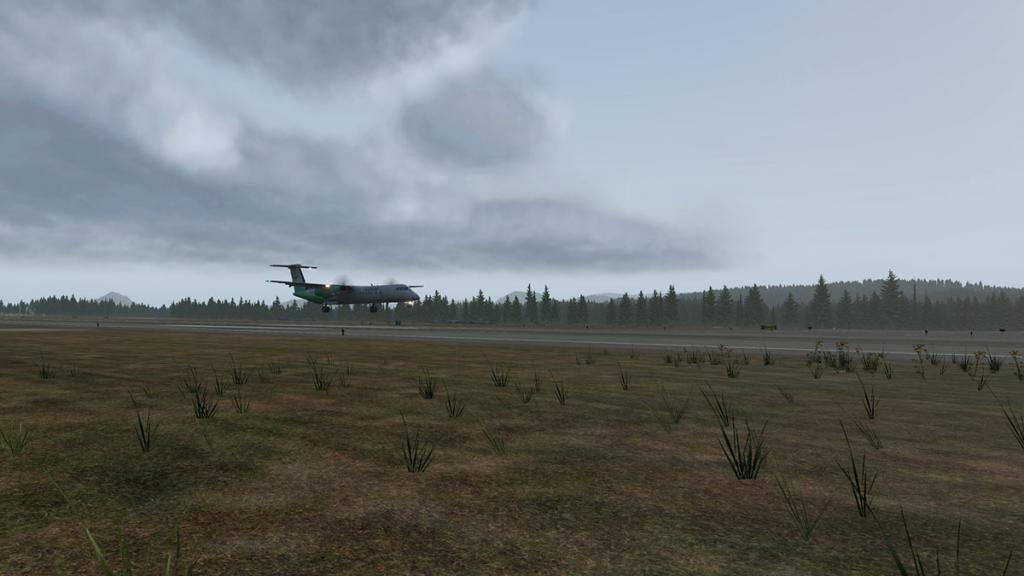
There is nothing to the west and all the buildings and the airport is to the east or with my arrival from the north to the left.
The airport is split into three areas. Although all are terminals they are all defined on their purpose. The main one is the older central distinctive circular 1988 terminal designed by Halfdan Grieg. To the south in this scenery is the half-built new terminal to which I don't understand as it was opened in 2016? So why not complete it for use and to the north is the huge helicopter terminal which is located in the old 1958 terminal.
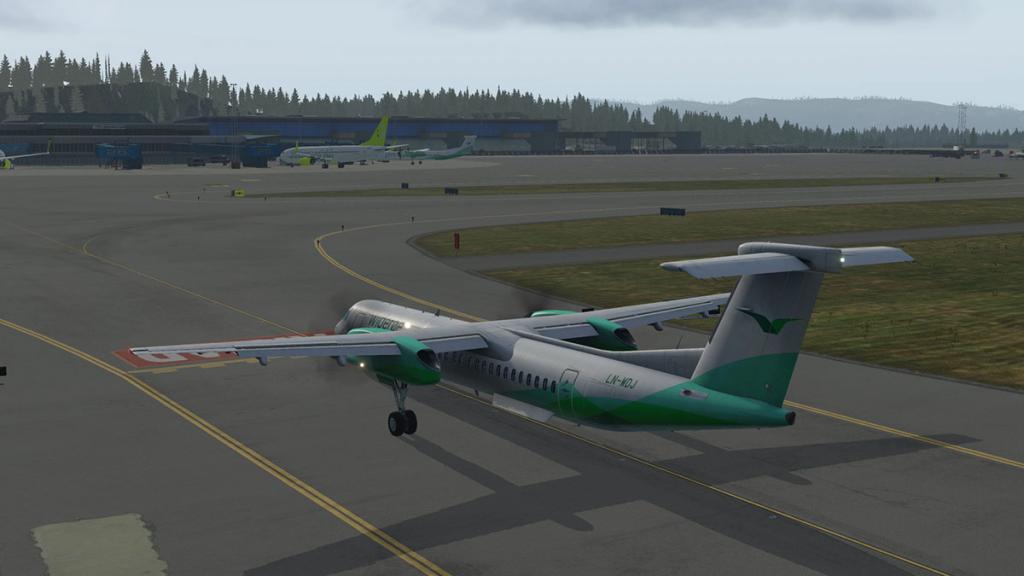
Taxiway A6 was used as a departure point from the runway and that gives you direct access to the main central terminal, but I am using a stand, of which there is plenty of choice north and south and in my assigned stand which is 41 to the north on Apron N.
There is a lot of linage to be aware of and a ground chart is helpful in finding the right taxi line to your gate or stand, they are well defined, but complex to follow correctly without some guidance.
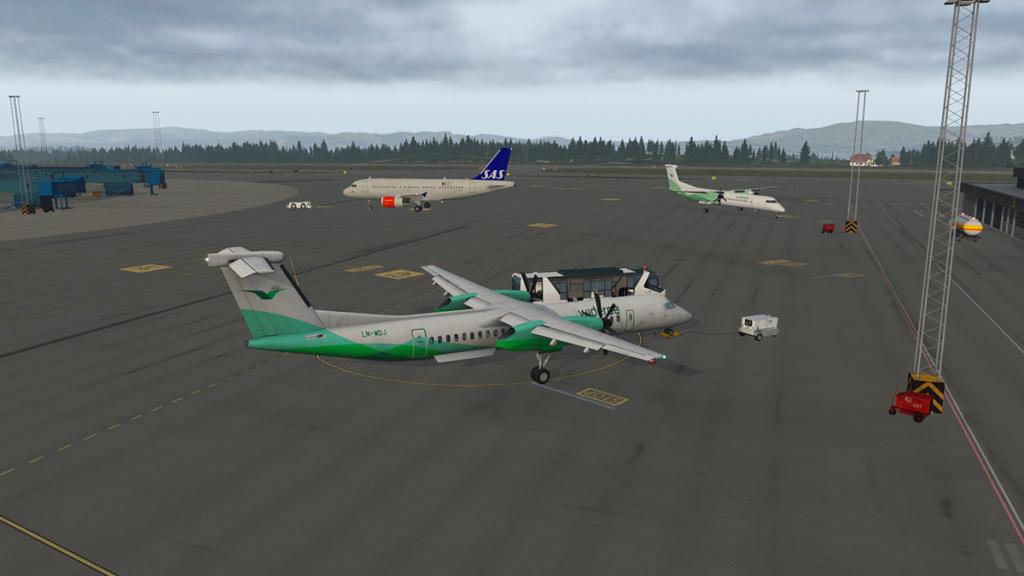
To surmise the arrival is very good at ENBR, but it feels murky and that is mostly the weather's fault, but also there feels a slight authentic drabness about Bergen Flesland Airport, but the word here is "authentic" drabness and not the actual scenery design but more of the feel of the place. My feeling is that a completed southern terminal would have given the scenery a slightly more modern feel, but it is as presented.
ENBR Bergen Flesland Airport
Bergen Airport, Flesland
IATA: BGO - ICAO: ENBR
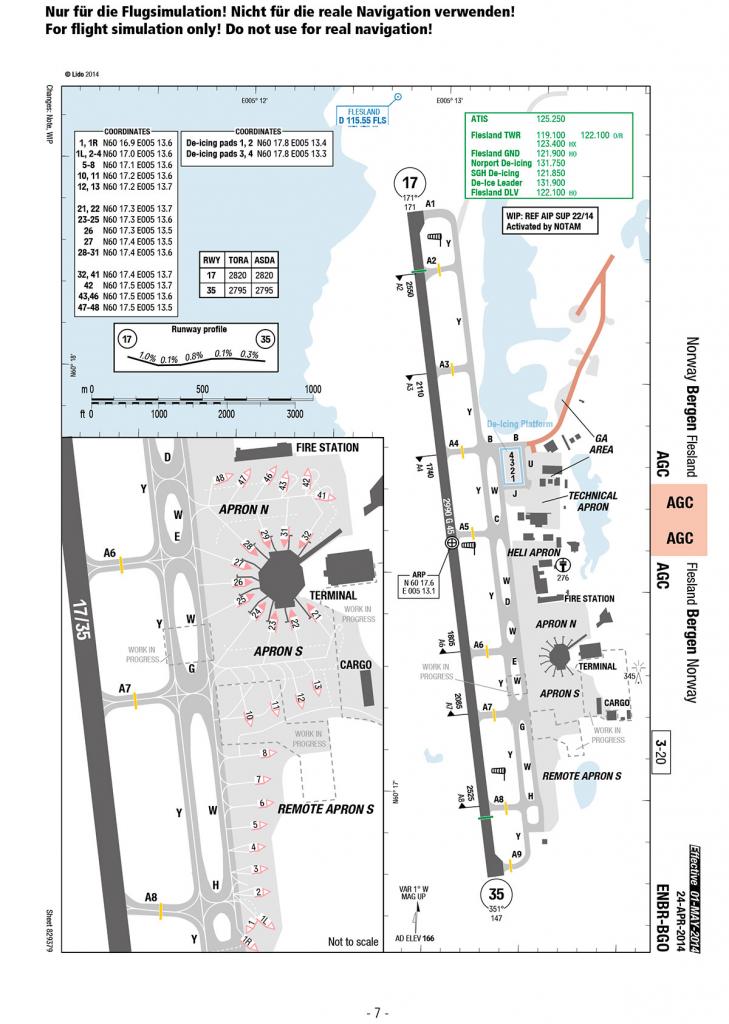
17/35 - 2,990m (9,810ft) Asphalt/concrete
Elevation AMSL 50.6 m / 166 ft
Most Scandinavian airports are both Military and Commercial, but Bergen which was originally an air station was overwhelmed in the mid-eighties by helicopter services servicing the offshore oil industry and was then with mostly the ending of the Cold War and following the dissolution of the Soviet Union in 1991, then the military activity at Flesland diminished down to the point there of there is now only about 30 military personnel at the airport. The northern military area is now only visible via the empty parking areas and a few hangars. As a note the main taxiway Y was used as a backup runway if required and is still serviceable in that role.

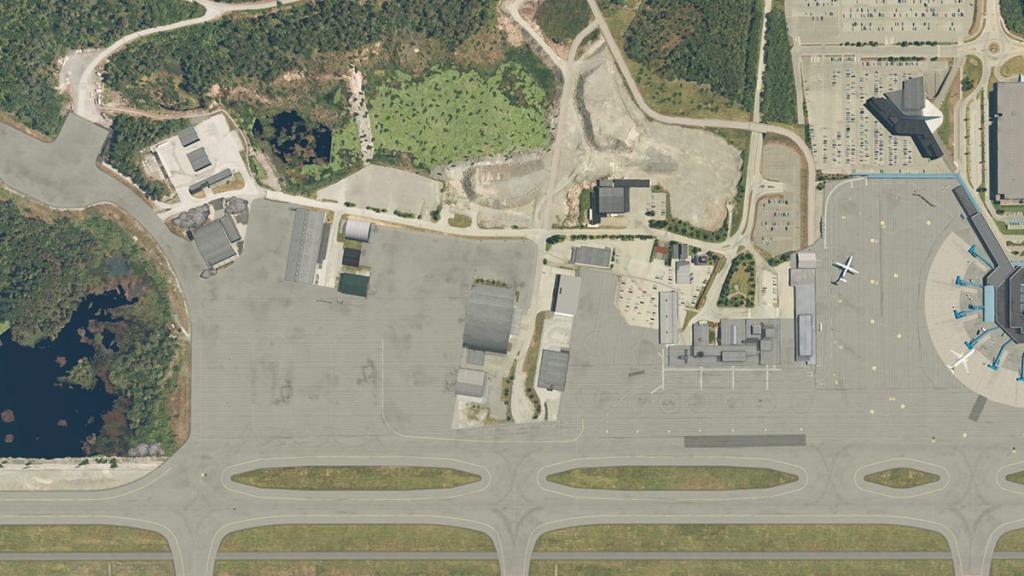

Airport layout is mostly over covered by the local fauna, but that is what makes it more attractive in the detailing. There is a fair amount of autogen to the south and southeast which fills in the area very nicely.
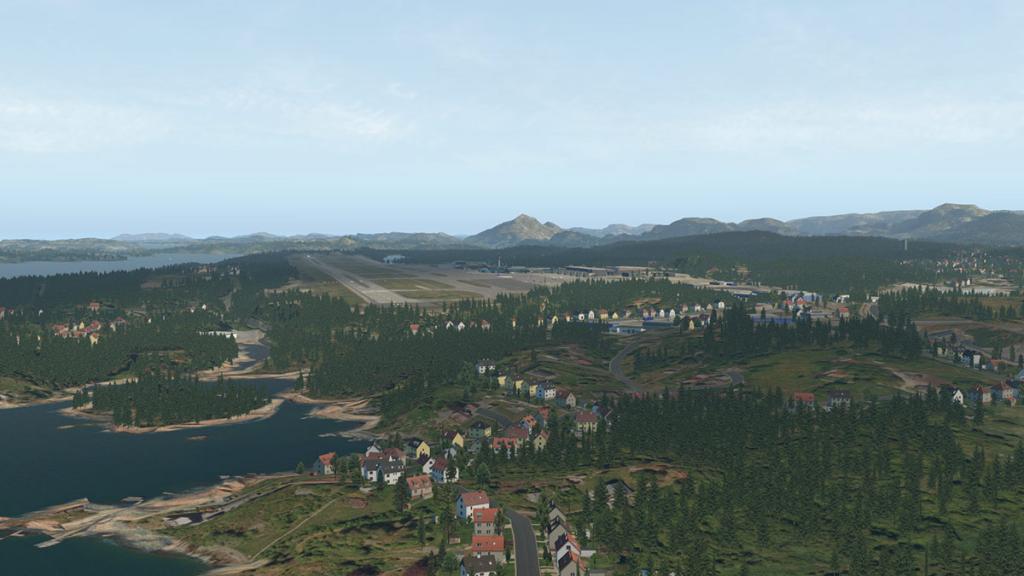
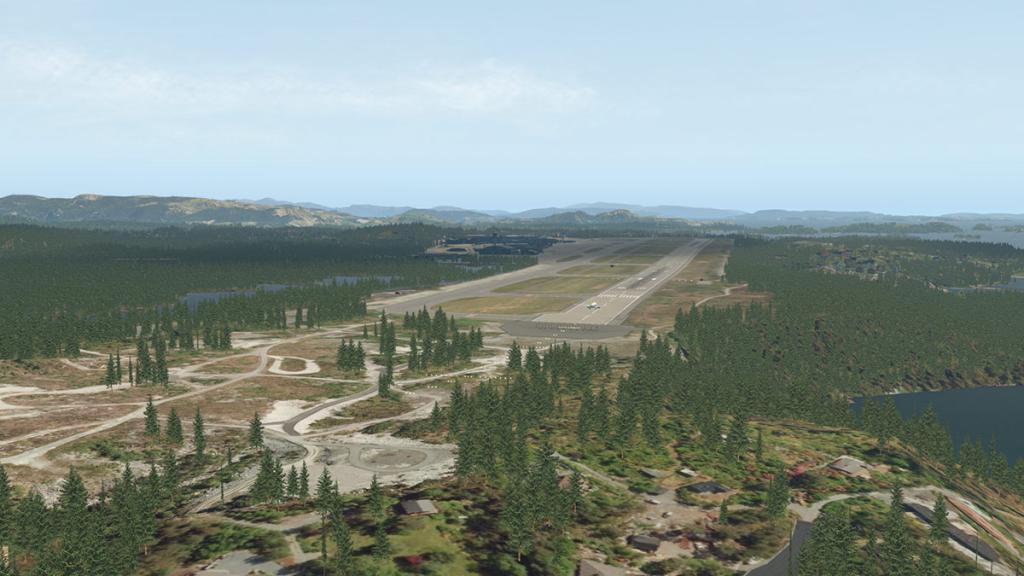

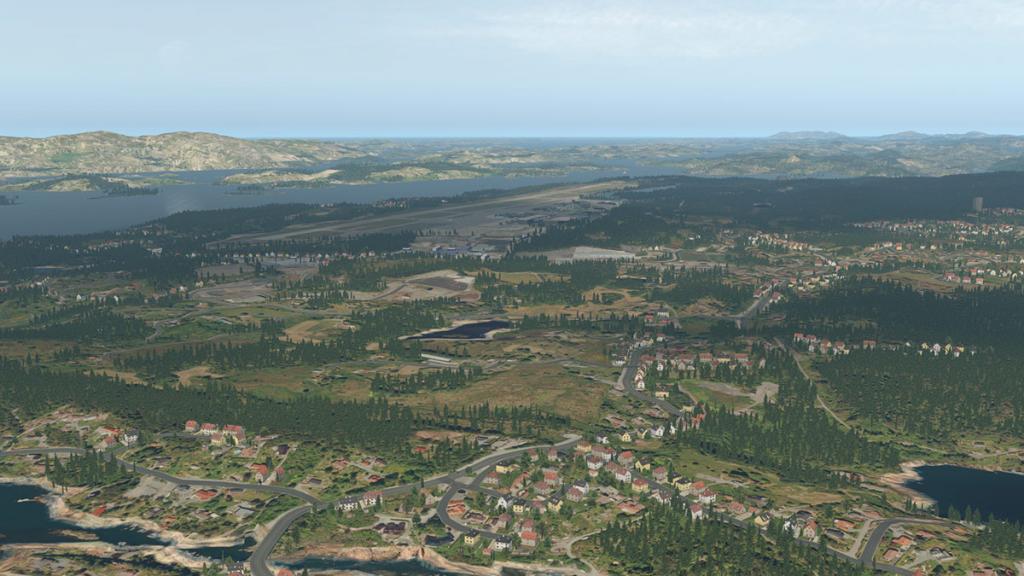
All runways and taxiways are well signed and designed, the area south is the new terminal construction zone that is well done. The runway is a single 2,990 by 45 meters (9,810 by 148 ft) runway numbered 17–35 (roughly north–south). The runway has 7.5-meter (25 ft) shoulders on each side and has 2,450 meters (8,040 ft) between the touchdown points.The runway has a parallel taxiway (Y), with nine intersections. There is also a taxiway further in along between the terminal and technical area (W). There are six intersections between W and Y, one of which leads to the military area.
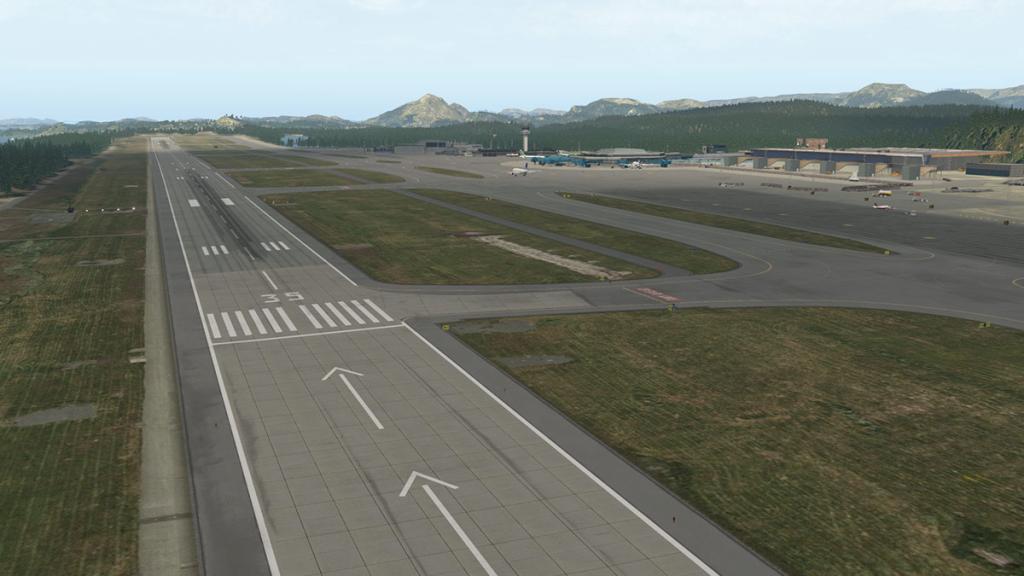
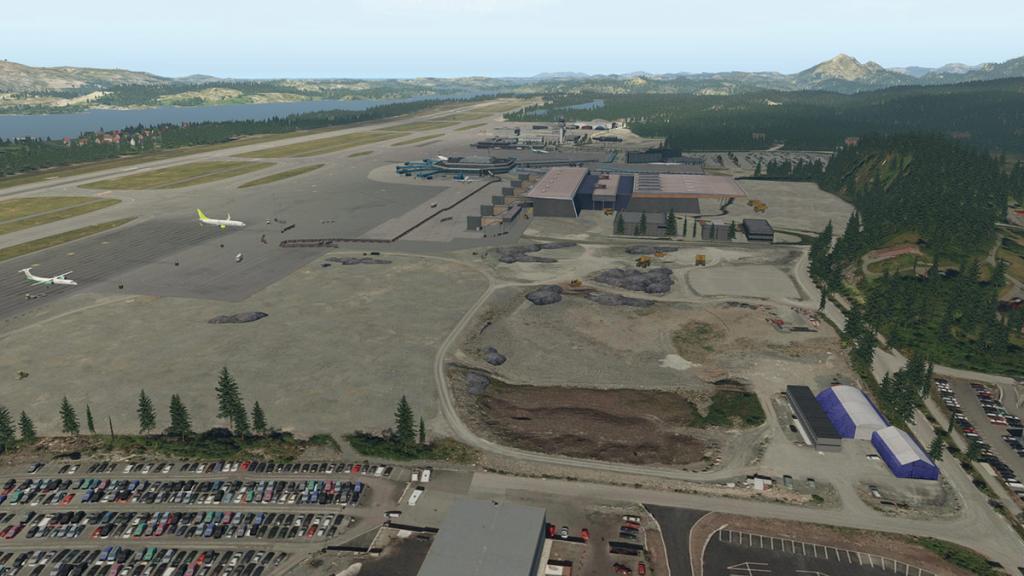
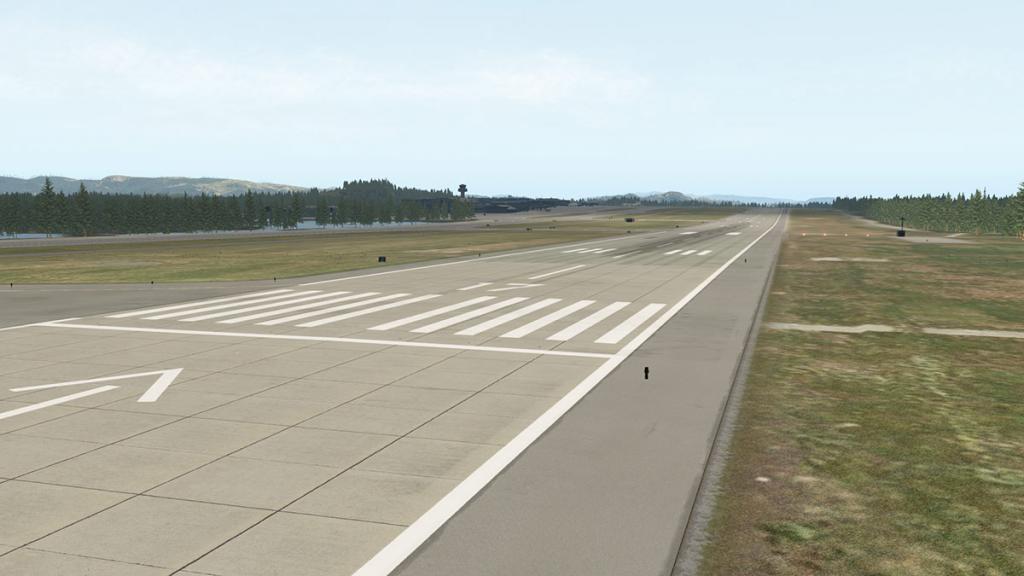
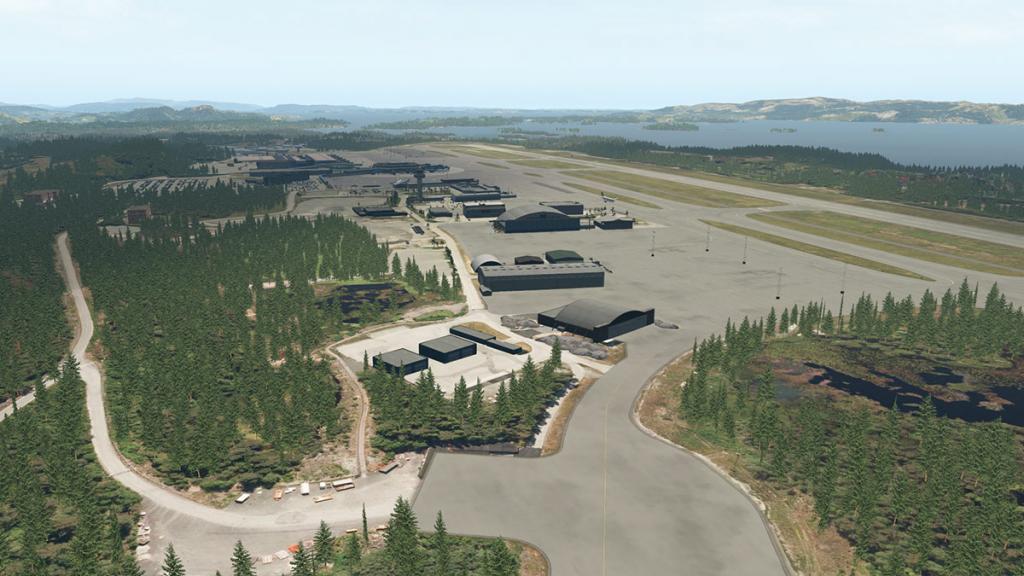
Main1988 terminal
In today's mostly generic sameness of airport terminals, you do look to the past to see any local or regional flavor. Thankfully at ENBR you do get a different style of regional design in the slightly older circular terminal design.
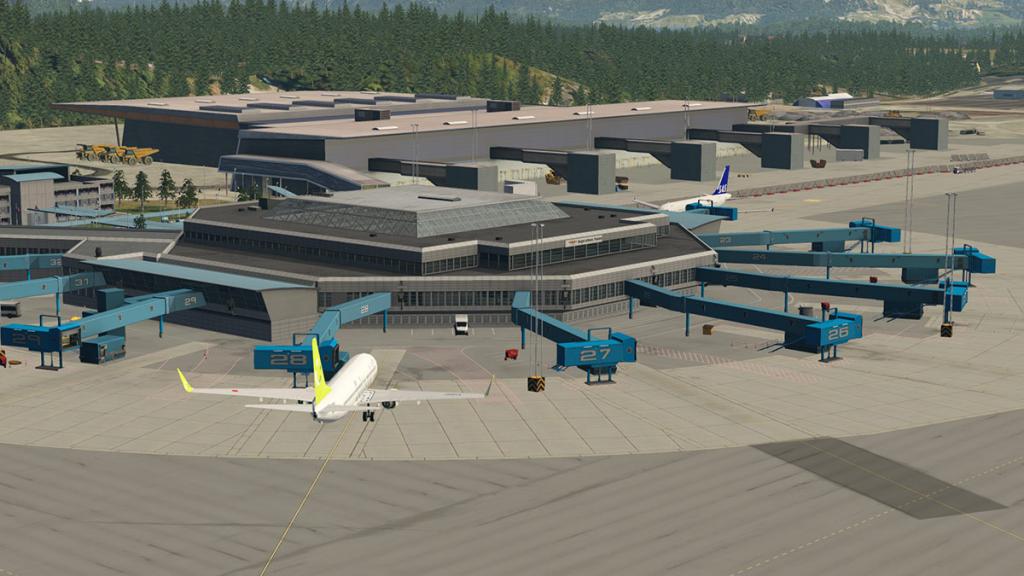

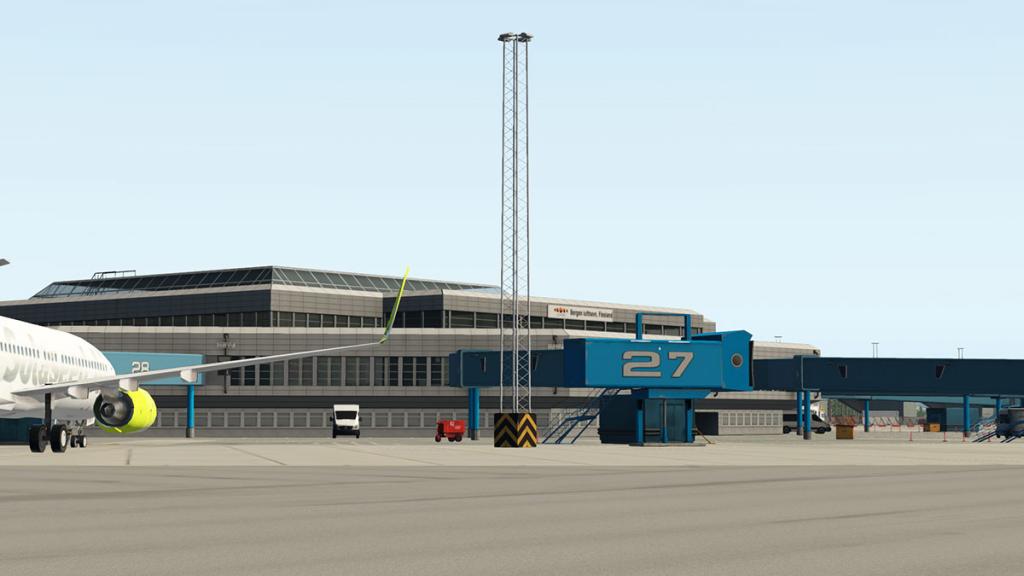

It is very well done in that Aerosoftish way, not really outstanding in design but still expertly done. It is authentic though with those very distinctive "Gerry Anderson - Thunderbird" type boarding bridges design that looks actually older in say an 60's era than the actual 1980's era of construction. Note the excellent animated vehicles of which there is plenty of movement and action. There is a huge carpark set out behind he terminal with a landside arrivals area and with attractive animated flags... there are eleven gates 21- 32 and there is a nice but small selections of ramp equipment at each gate.
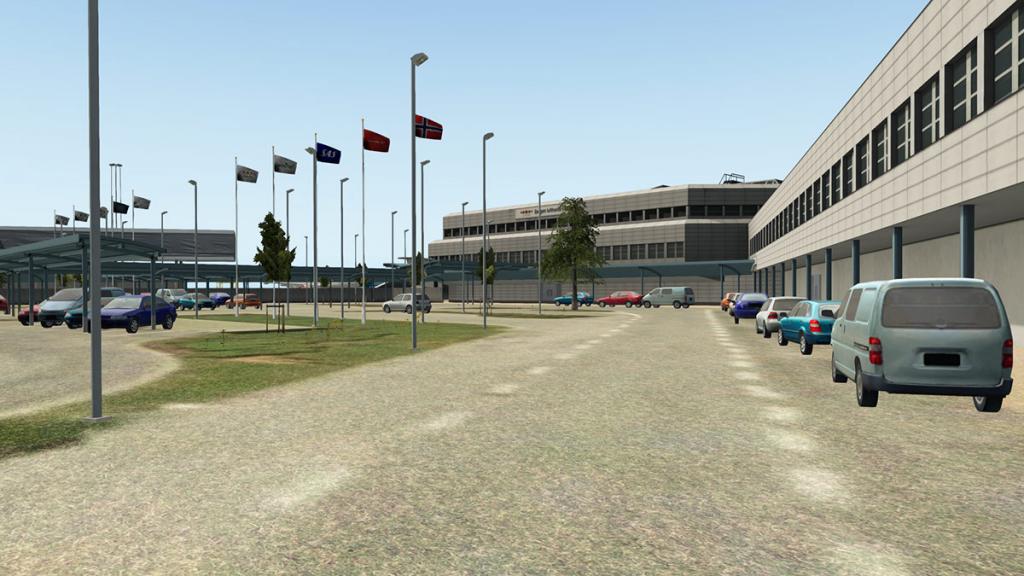
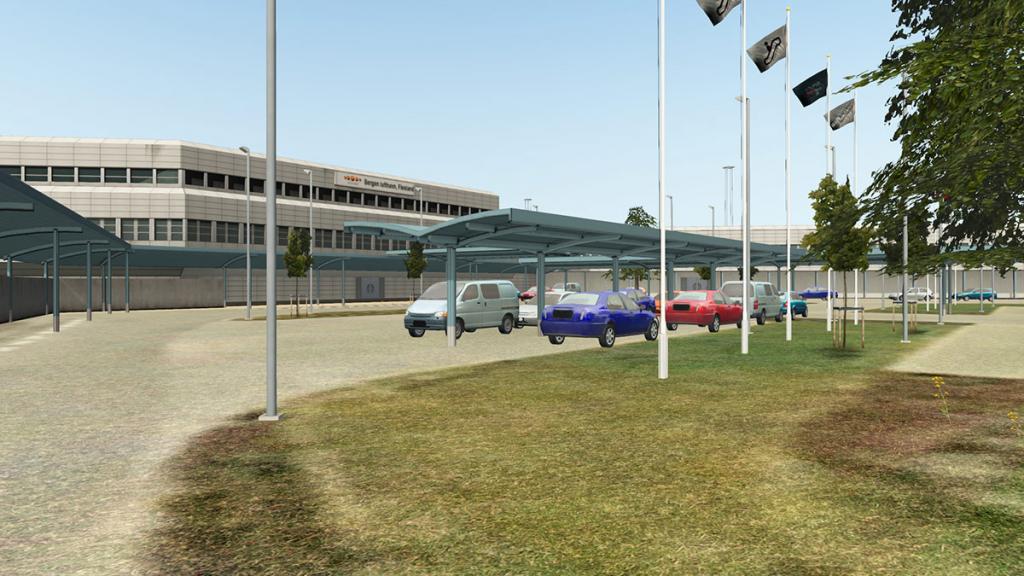
There is also the internal terminal detailing. Very nice, but it is very, very dark in there, but still very bright outside.
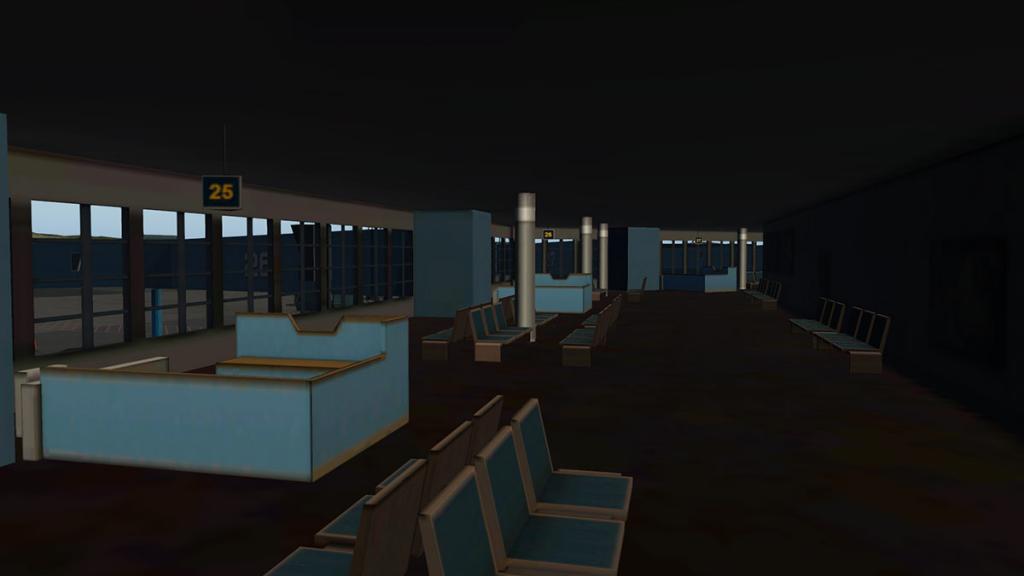
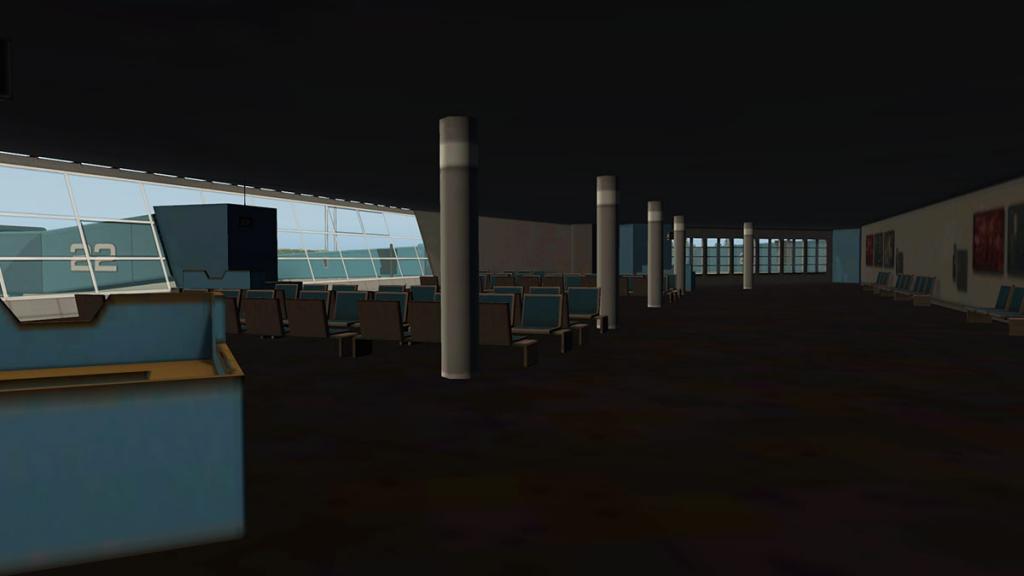
The Airbridges are noted as animated with marginal's "Autogate" plugin... but I couldn't get them to work?
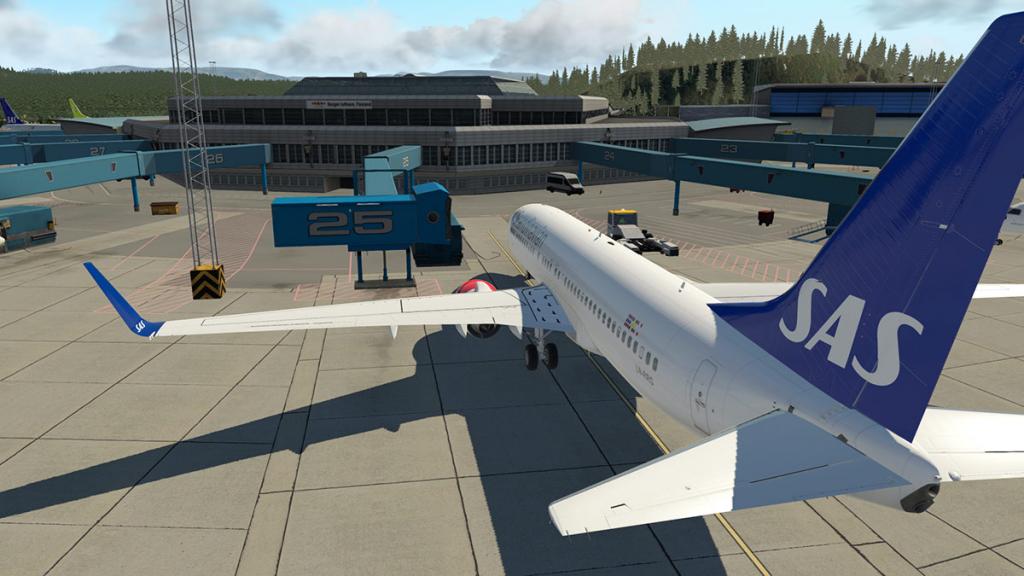
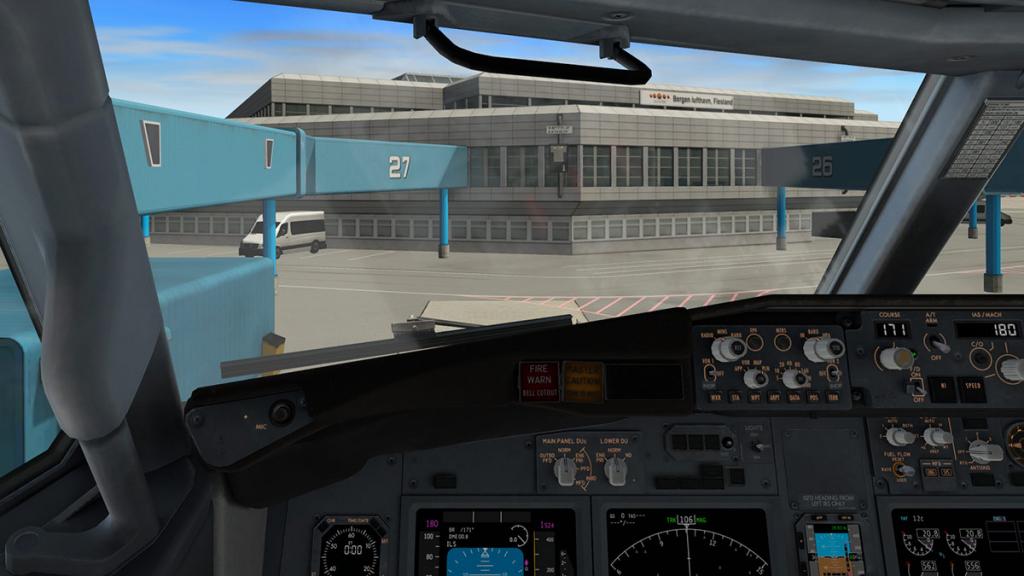
It doesn't feel right either as the wall guides are very off centre to the actual parking lines. I tried both in the set out lines or directing the aircraft at the actual guidance system and it doesn't show anything except the aircraft type? very odd. On some remote stands (not all) there are guidance marshall's and they do work as advertised.
New Terminal area
To the south is the new in progress terminal construction area. It is well done, but I think that the scenery could have finished off in that area for use as Aerosoft will either have to update or see the this scenery go out of date very quickly. The new terminal also replaces the old cargo area, so there is no cargo zone either?

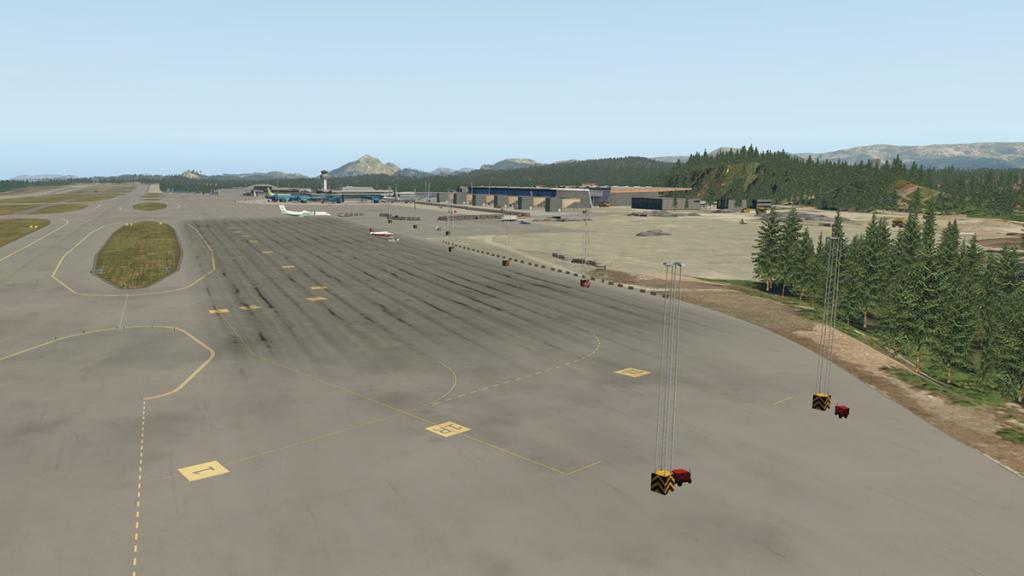
Far south is "Remote Apron S" which has 10 stands 1R, 1, 1R, 2 - 8 but my guess is that this area will be the new cargo area in the future. More to the southwest there is more areas affected by the building works, so the scenery detail (below left) goes on well past the actual airport parameter.
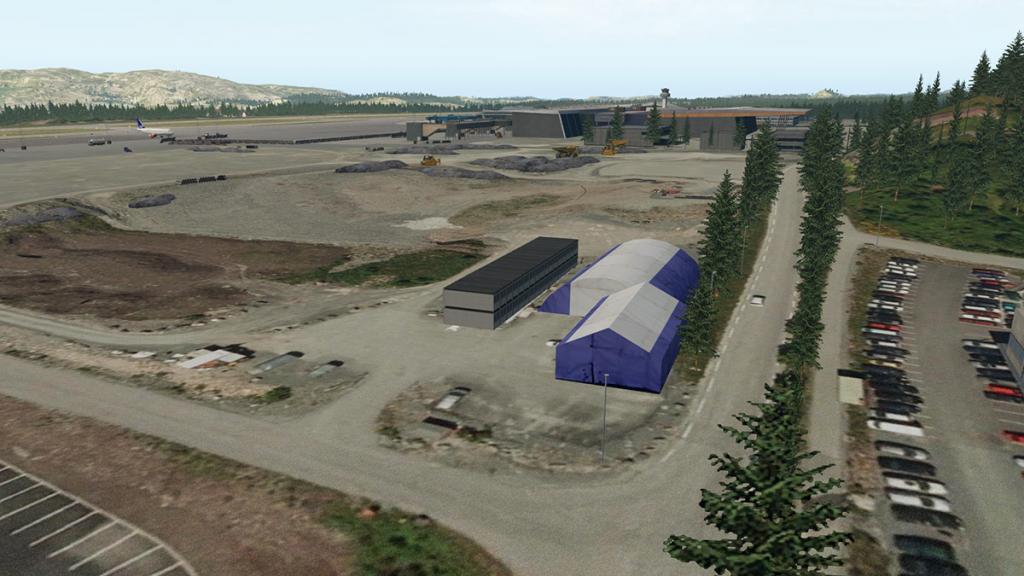
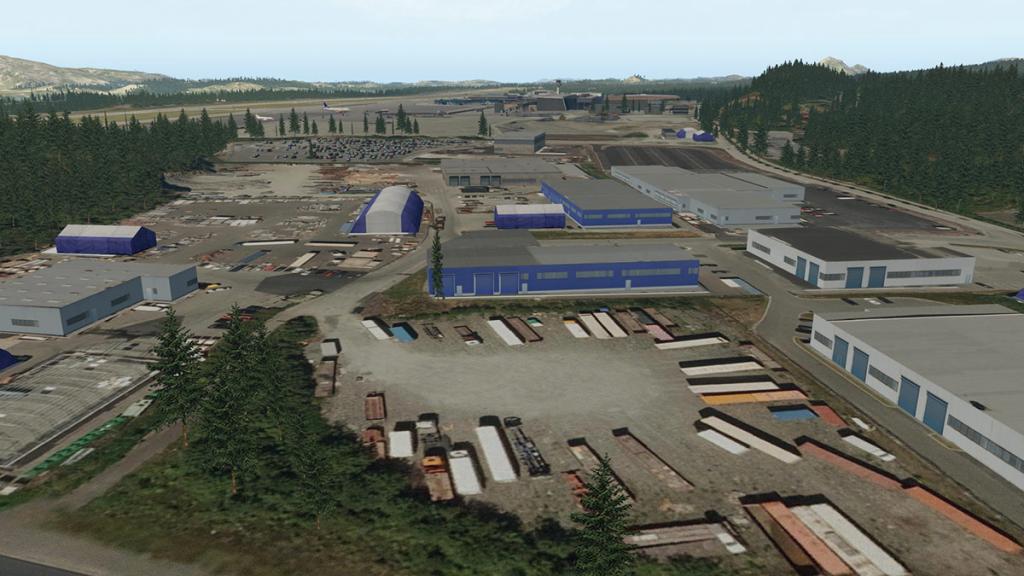
Apron N (North)
The area just north of the central terminal is "Apron N" This is a stand aircraft parking area with stands 41 - 48. Here is also fronting on to the apron also is the airport's Fire Station and a few workshop areas.
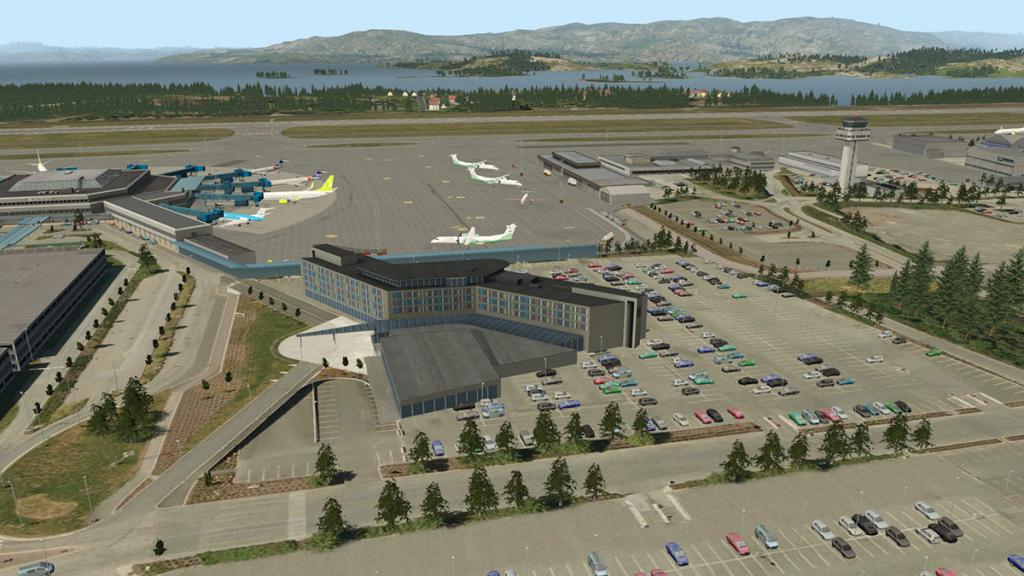

To the east of Apron N is the Clarion Hotel and the main open air large carparks...

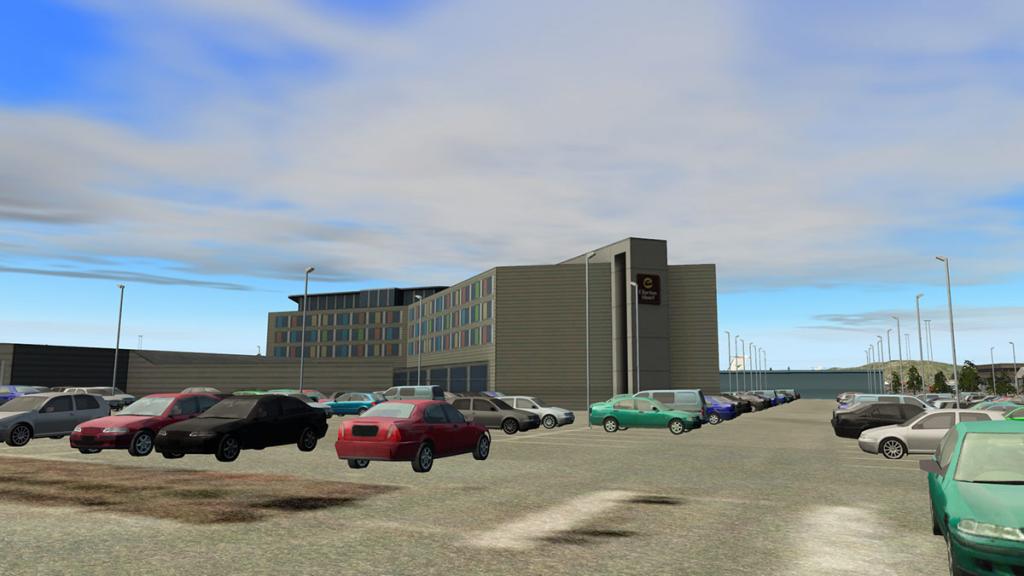
... the hotel is pretty basic, but faithful to the original, it is also connected to the central terminal area. Carparks are completed with great lighting and 3d cars.
Old Terminal
The North Sea services were overwhelming Flesland to the point that they were thinking of creating a separate area for the operations. 30-40 rotations a day is normal here, so the idea was to build a new commercial terminal and use the older 1958 terminal for the oil Industry and that is the setup today.
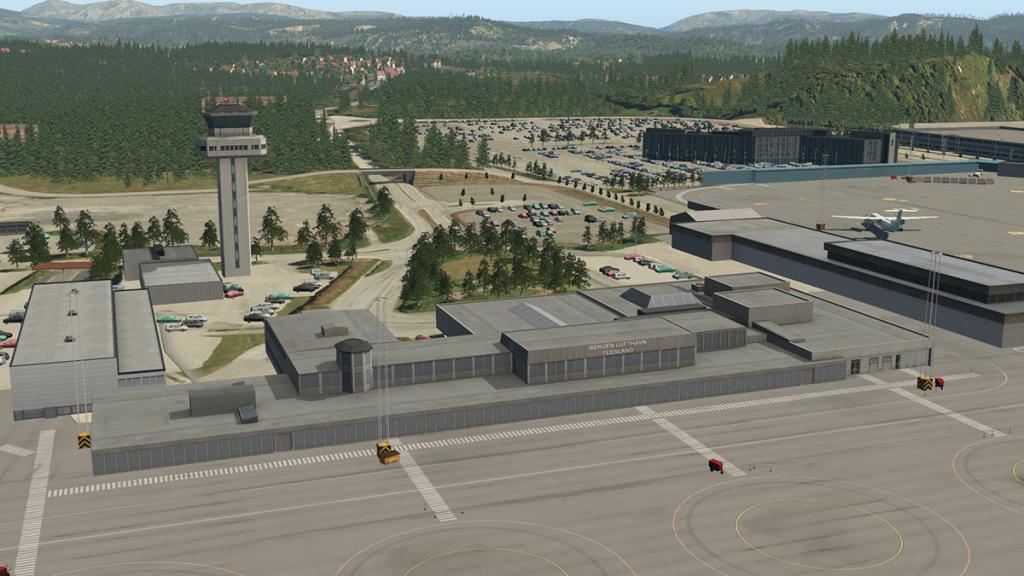
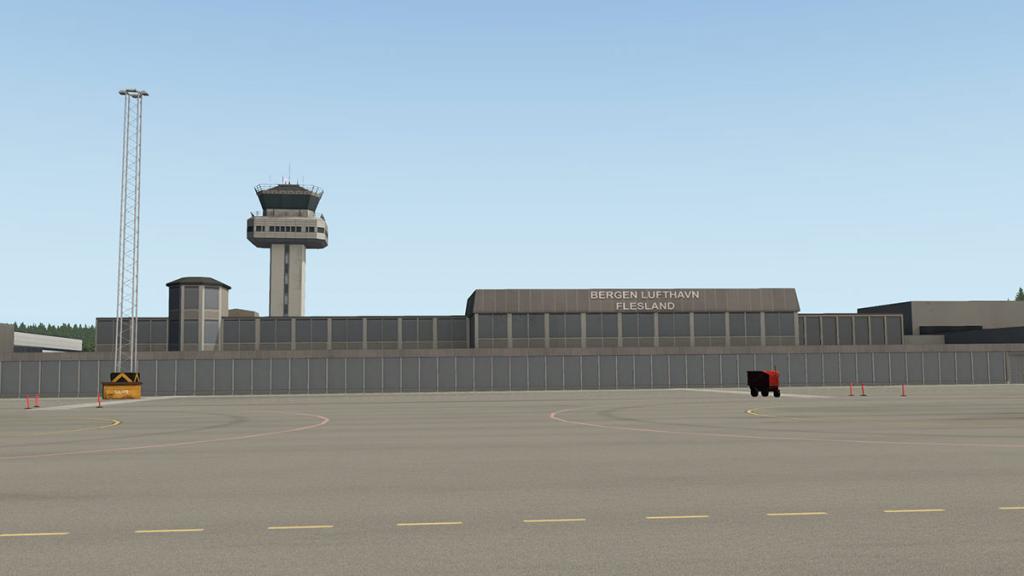

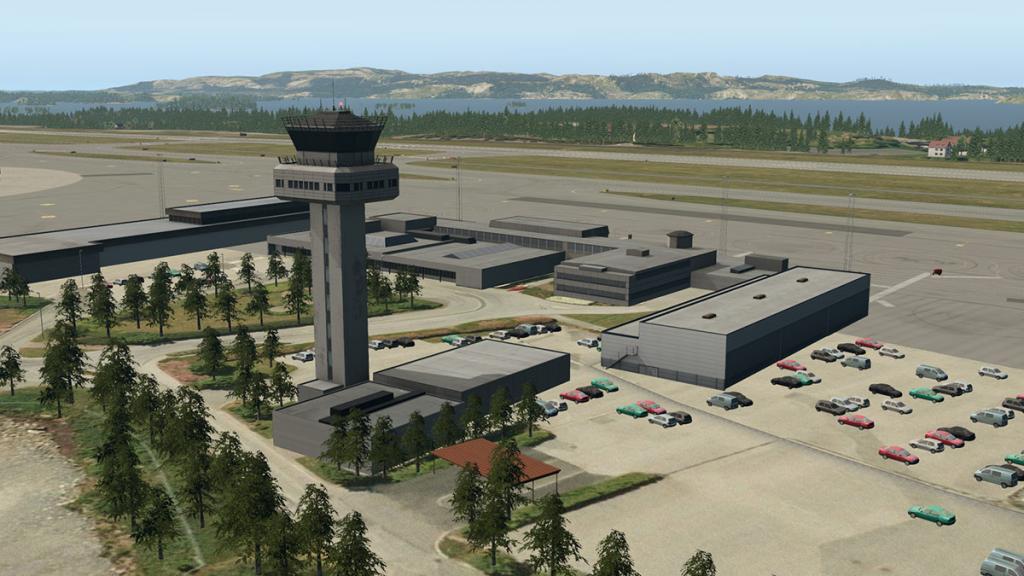
This has to be the biggest helicopter terminal in the world, as there are nine helicopter stands, of which six are situated outside the terminal building, the building is quite basic and grey, but "Oh" what a missed opportunity in leaving the area so empty? You can accept the idea of empty gates for aircraft traffic, but in areas that are not as defined then it is to the good developer's discretion to fill in areas that require activity to make a complete scenery viable. So the areas around the 1958 terminal are very, very empty when it should be a hive of activity and it shows.... badly.

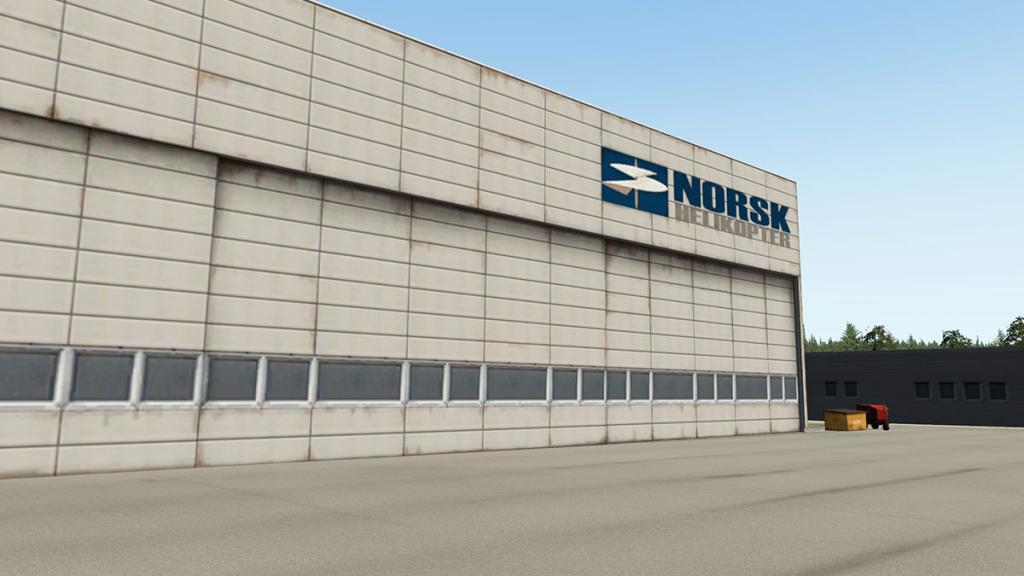
Part of the northern helicopter apron are two major helicopter operators maintenance hangars for Norsk Helikopter and CHC Helikopters. Both hangars are well done and well represented. To the east is a GateGourmet facility.
As part of the older 1958 terminal's area is the set back control tower that was built in 1991, obviously with it's position more for the helicopter operations that commercial operations. The control tower is well done in construction by Aerosoft.
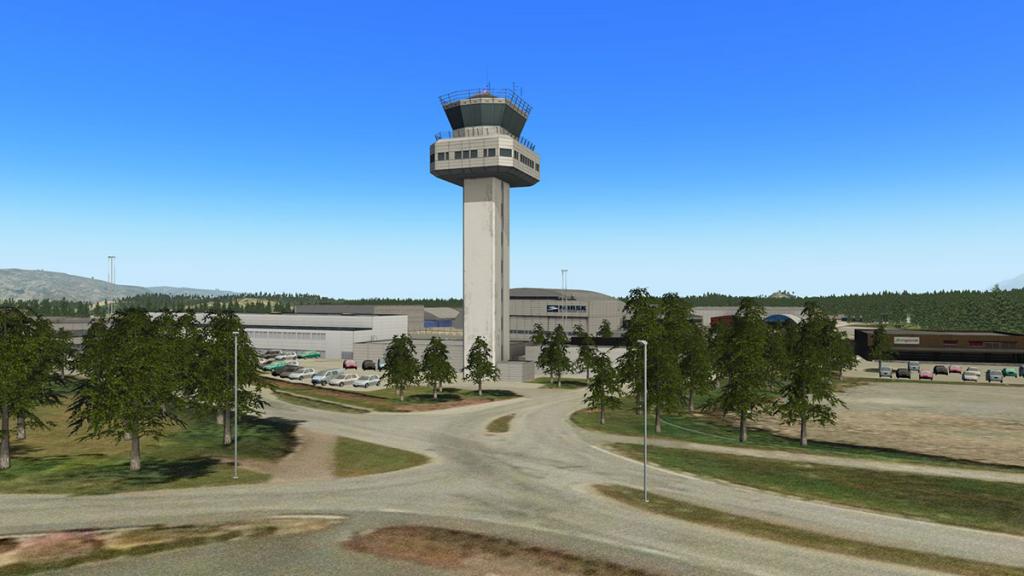
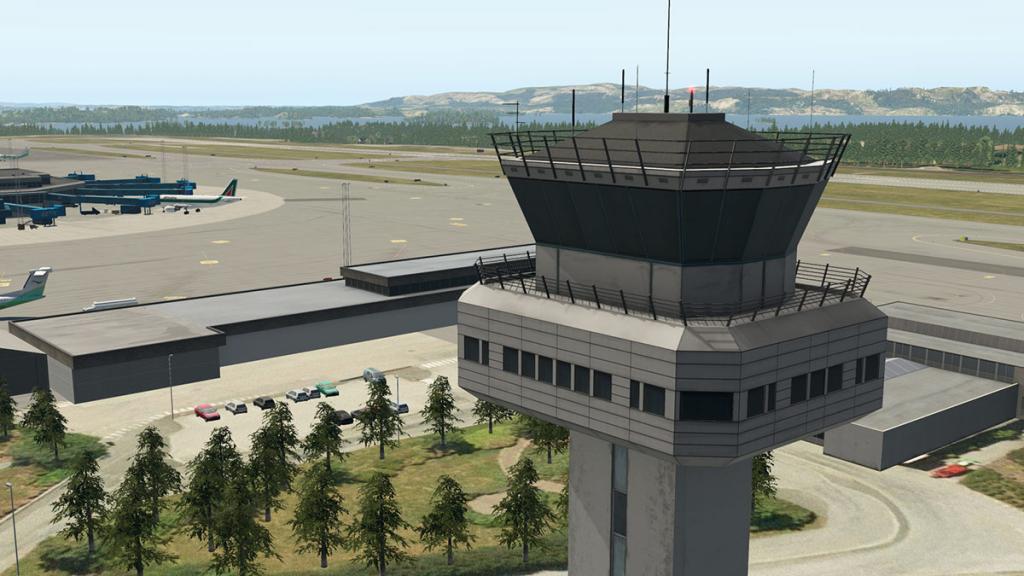
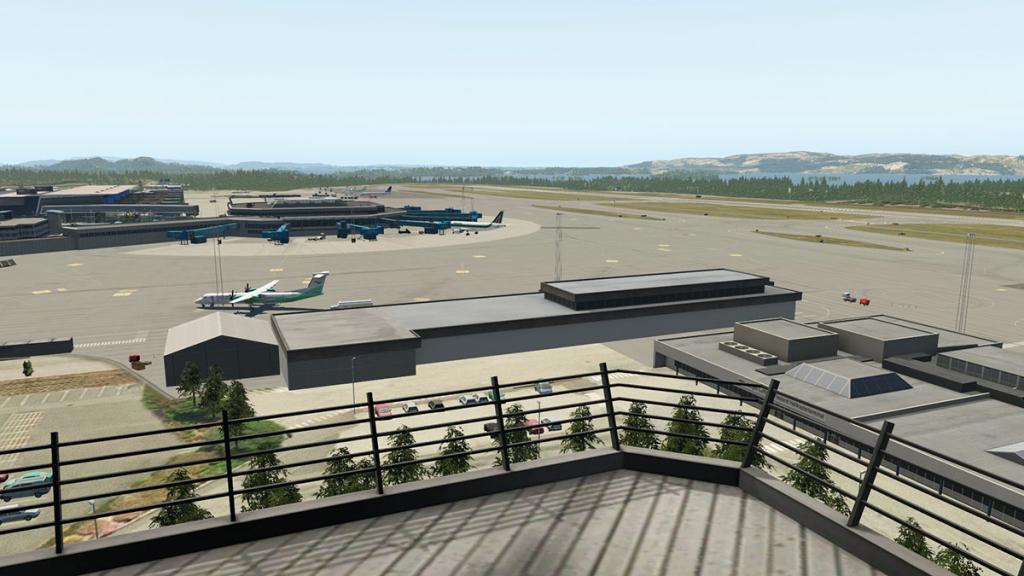
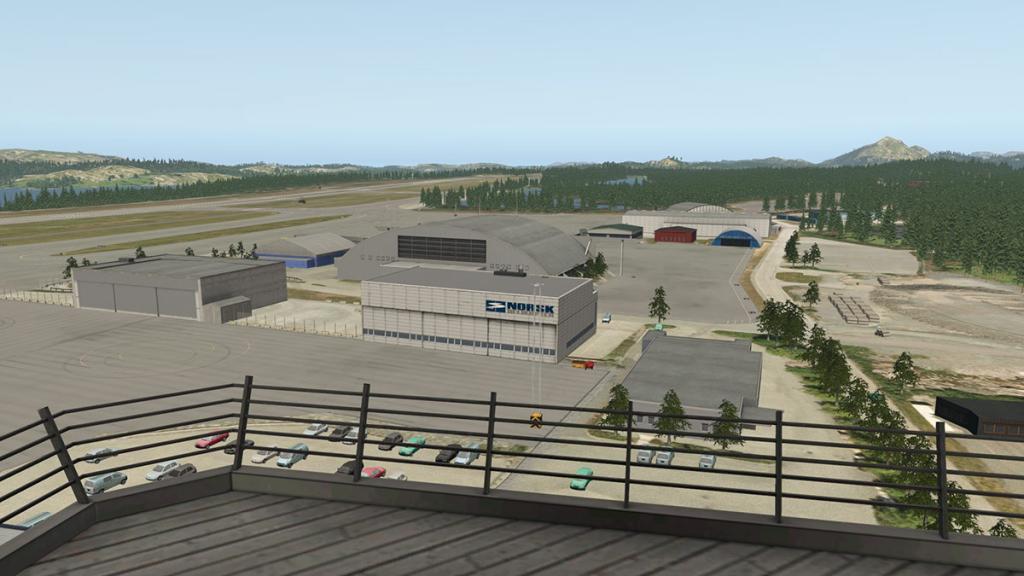
Tower view works fine for both approaches, there are some railings to the bottom but they don't hinder or obscure the view in viewing.
Air-Station
The old air-station is in the far north of the airfield. The downgrading and use of the air station had started in 1988 and was completed by 1995.
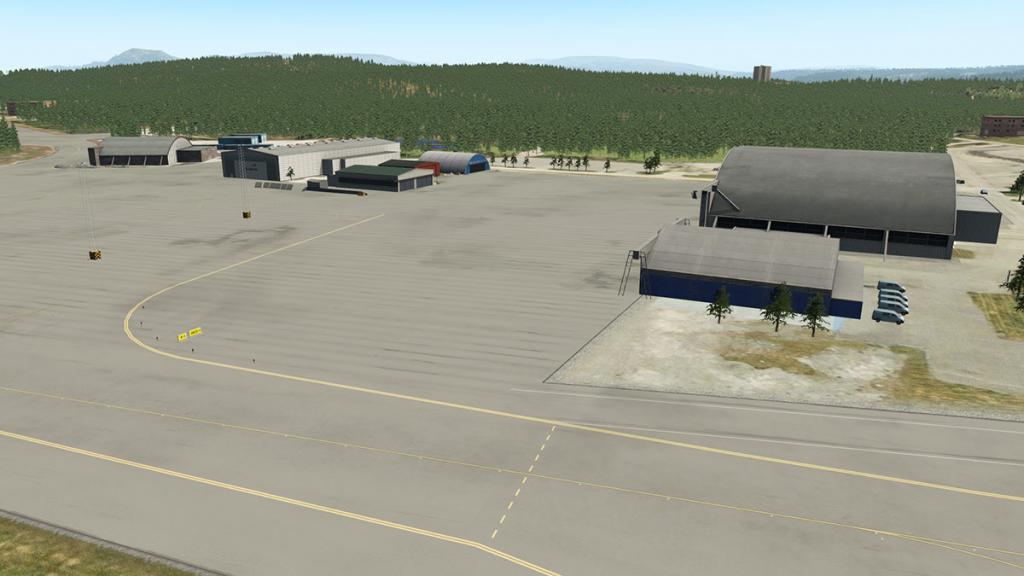

The Oil industry again took over much of the area, but it can be used as a General Aviation area as well if required. Mostly you are now left with some old military hangars and a large apron.
The old F16 stands are still there and stretch way out into the forest to the north, and there are a few left over barrack buildings as well.
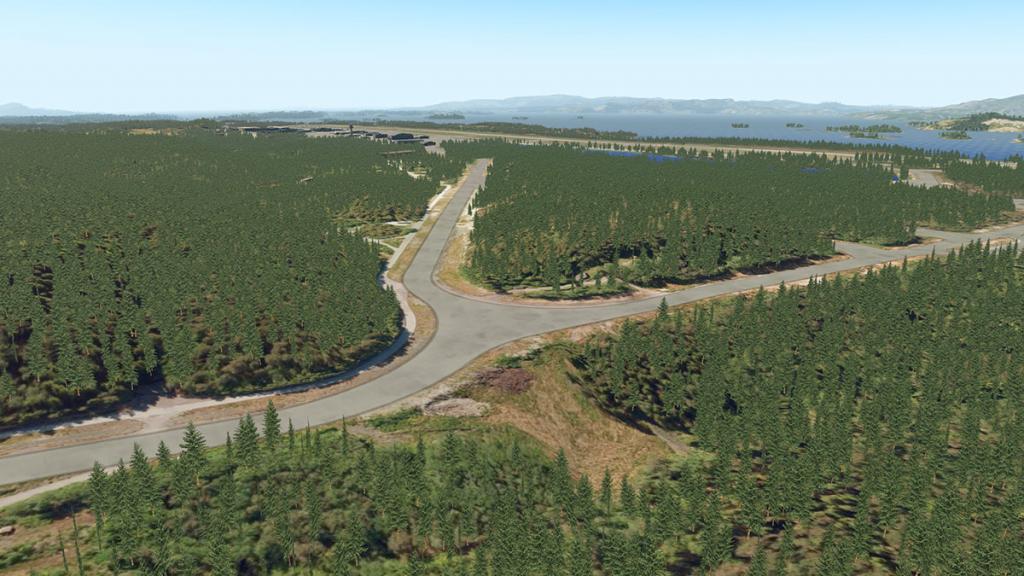

Winter ENBR
As a note Aerosoft do include winter textures for this scenery.... This will transform the scenery into a winter style simulation. So if you want a winter look you can use a set of Winter textures by xFlyer called Winter_Package or Simple Seasons. This set of textures is used with a MODS program that switches over the textures without messing about in root files, and the program is a windows program called Generic Mod Enabler or JSGME Generic Mod Enabler. The JSGME will work with the Mac, but you have to run it with Wine, and it works very well as I have used that system for years.
The MOD does a great job of transforming the ENBR scenery to Christmas time!
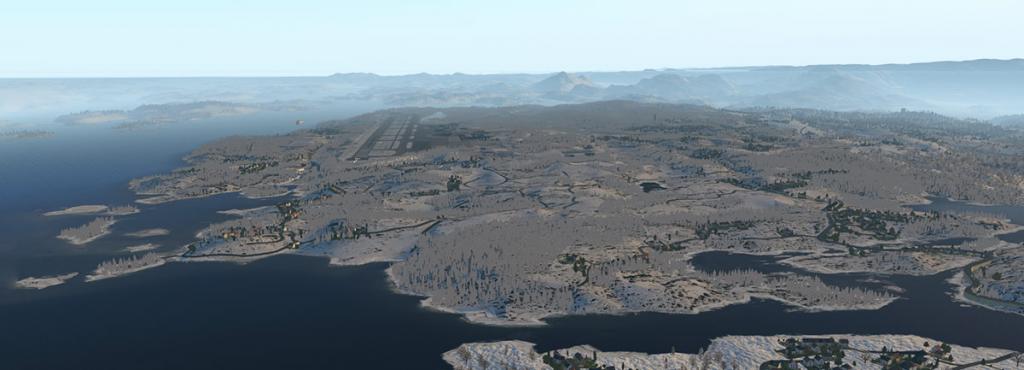
However there is an issue with the trees?

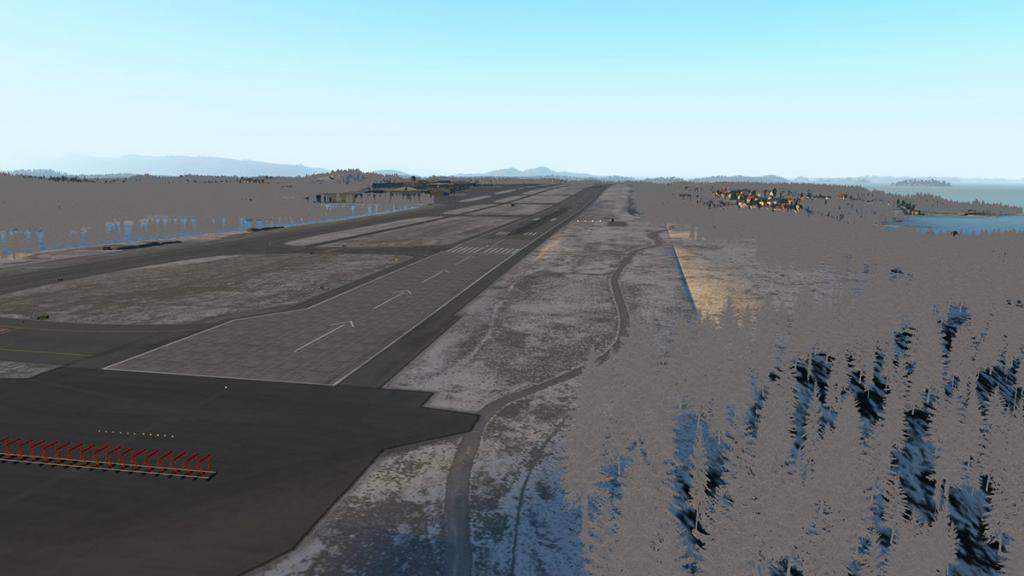
In the process from summer to winter they have gone flat grey? And it certainly doesn't look very authentic as trees go... so I have done my own fix.
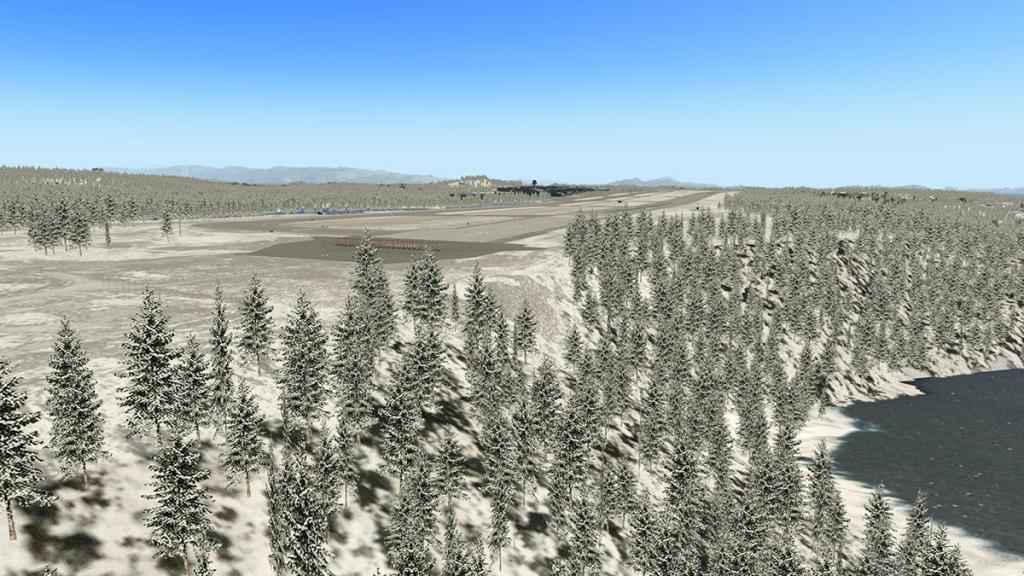

I have have included the fix below, see installation notes... but it now looks far better.
Lighting
Lighting is good, workable without being spectacular. The approach lighting is very good (north is better than the south) as it needs to be with the weather conditions at the airport which is contrastingly always submitted to. With the airport's position there is a little autogen lighting to the south, but overall the area is quite dark.
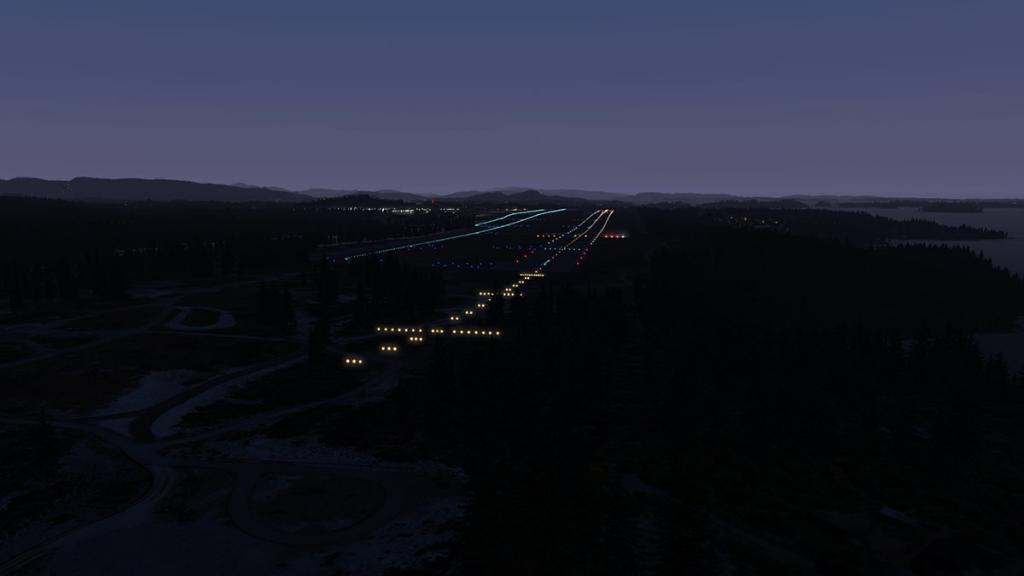
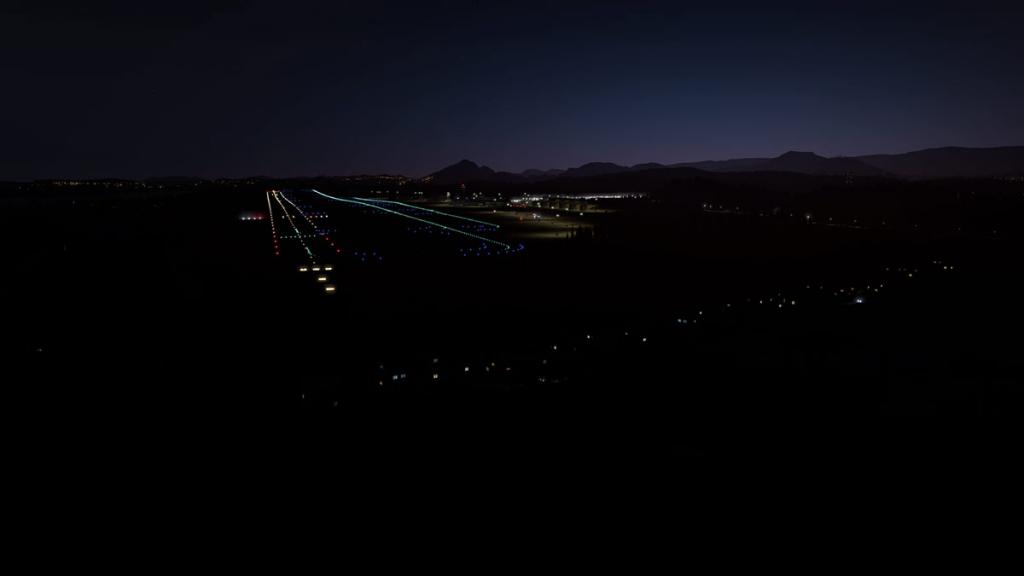
Ground navigation signage is excellent, but it rarely isn't now in X-Plane, but it is still a welcome help here.
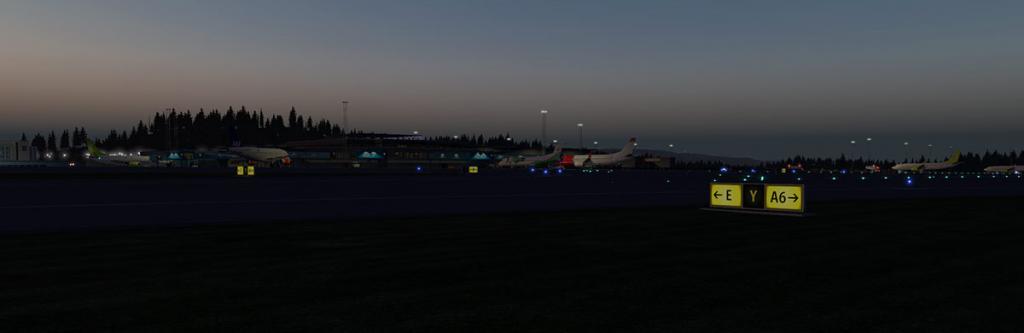
All ramp and stand areas are lit, but not overwhelmingly so, but still adequate enough to work on.


The new terminal is lit on the ramp awaiting aircraft, and the rear carparks and airport approach roads are very well done and stand out.
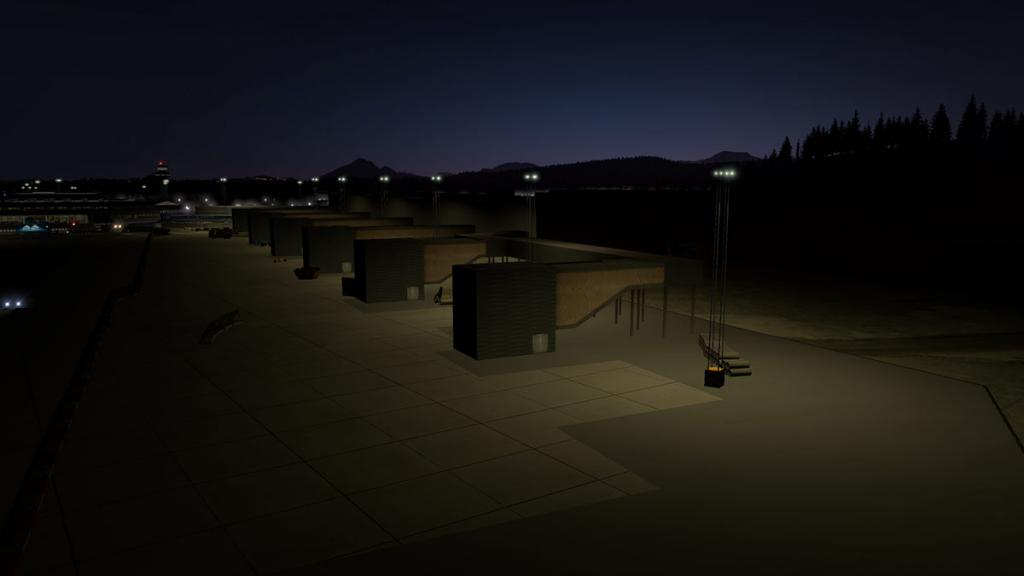
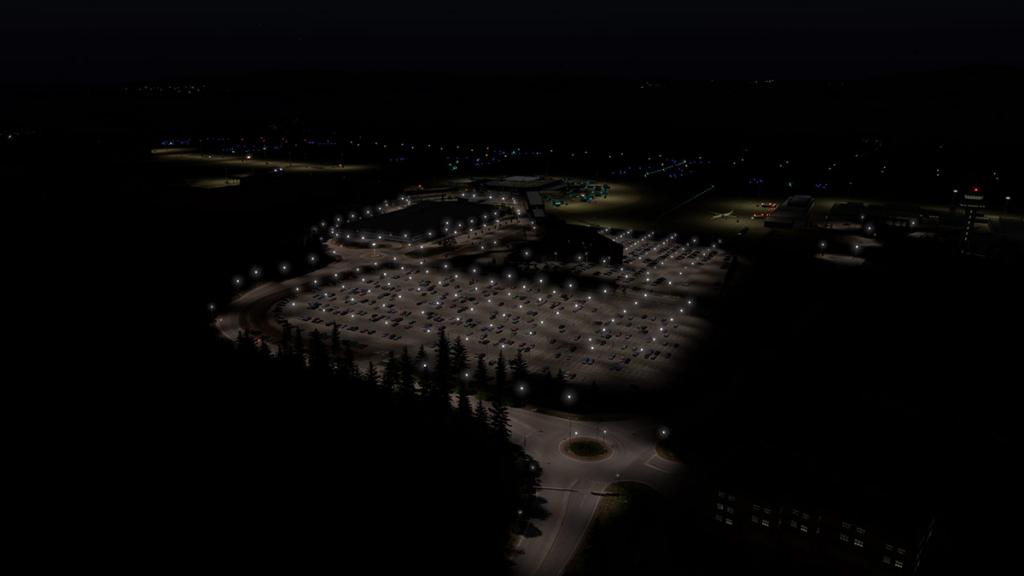
The central terminal was always going to be the scenery's focus at night and it doesn't disappoint.
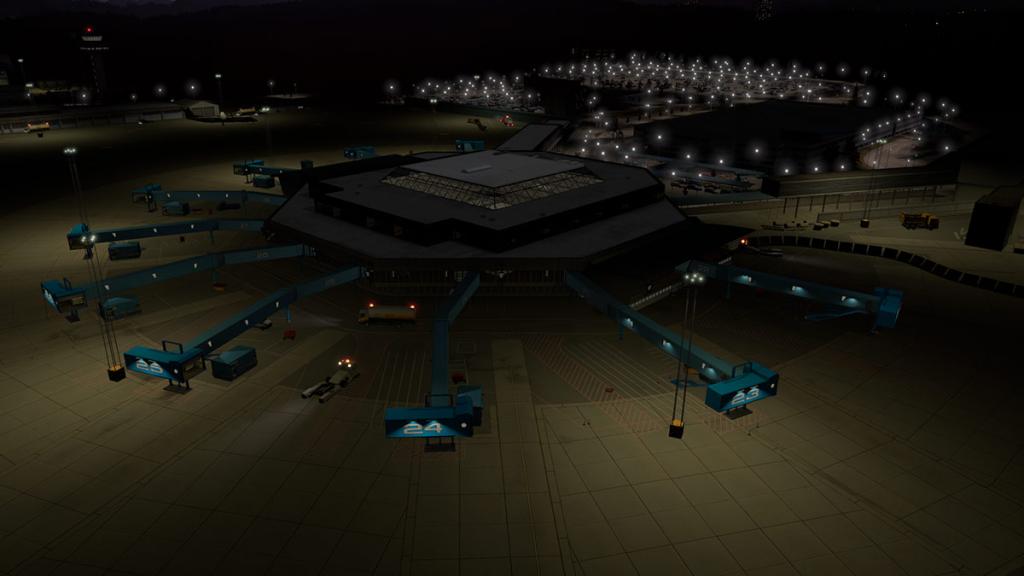
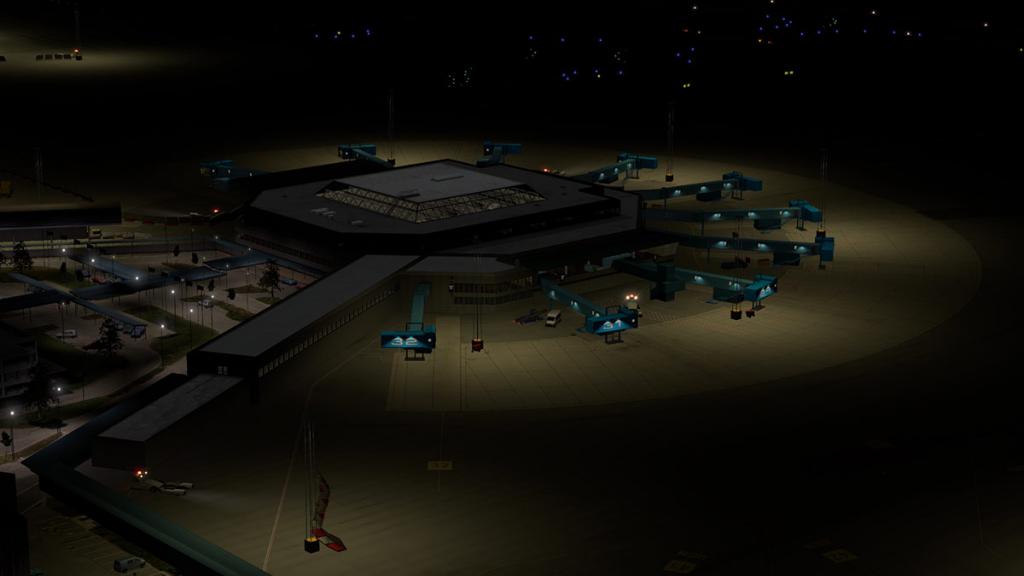
The highlight is the airbridge downlighting which is excellent.
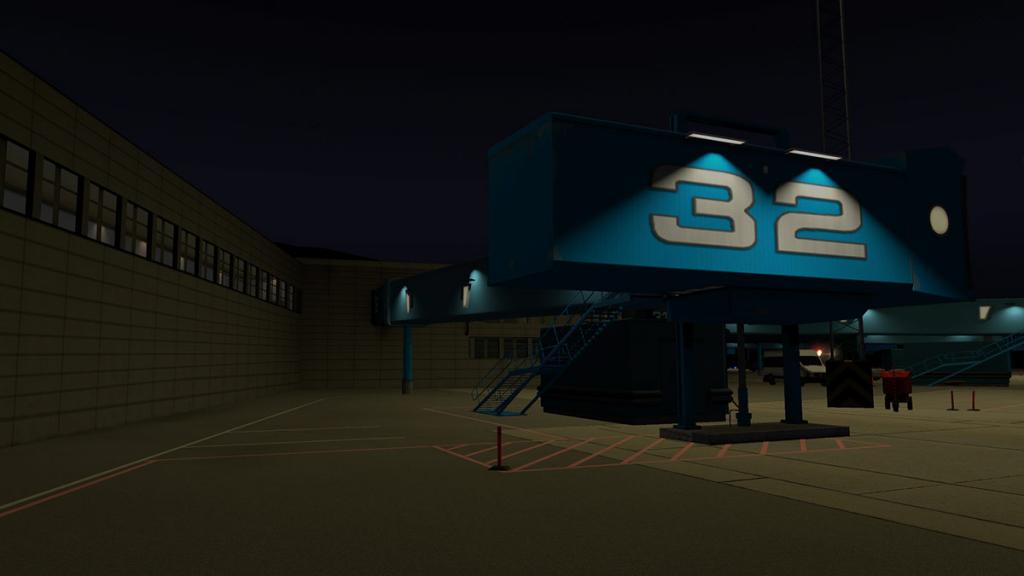
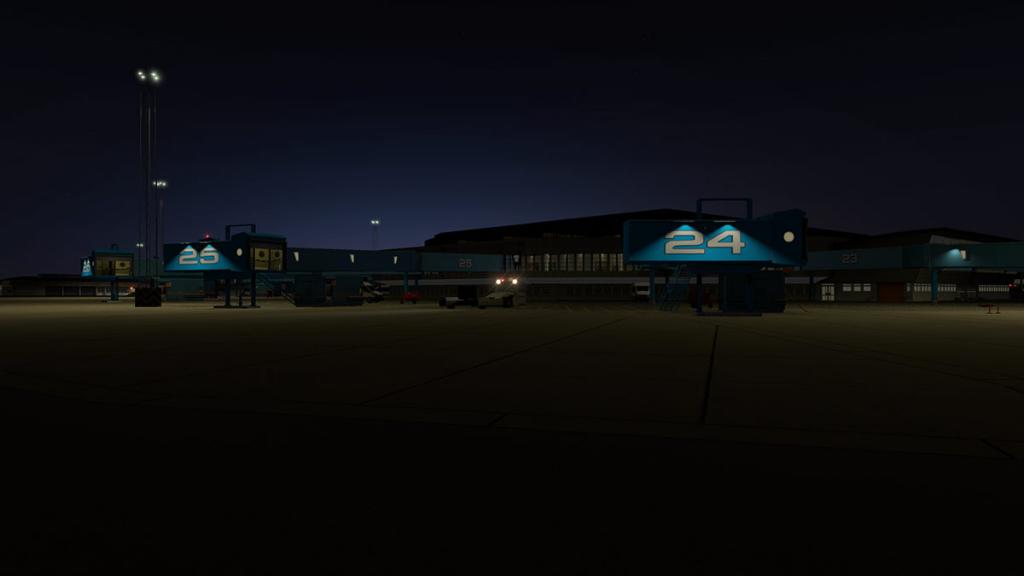
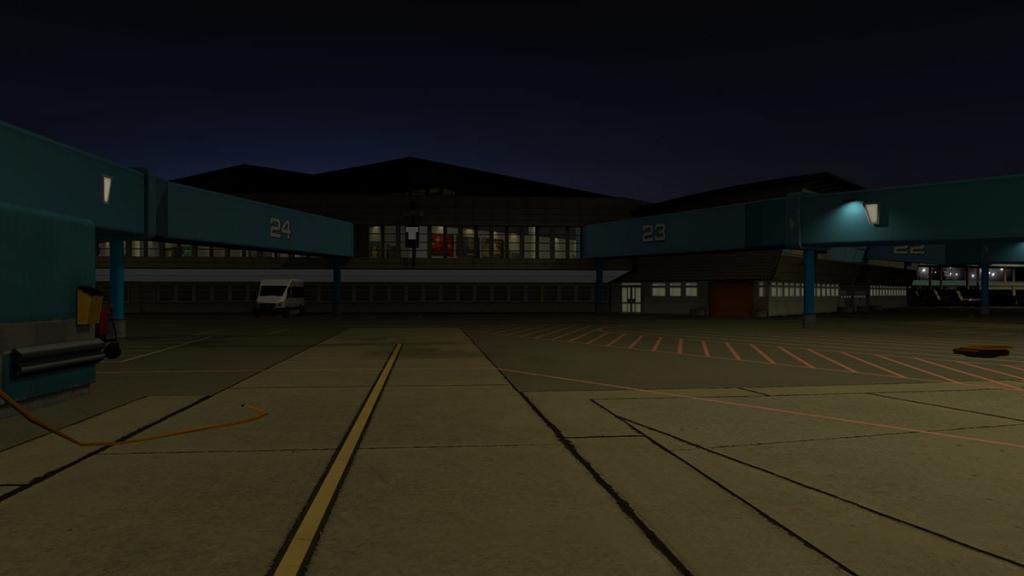
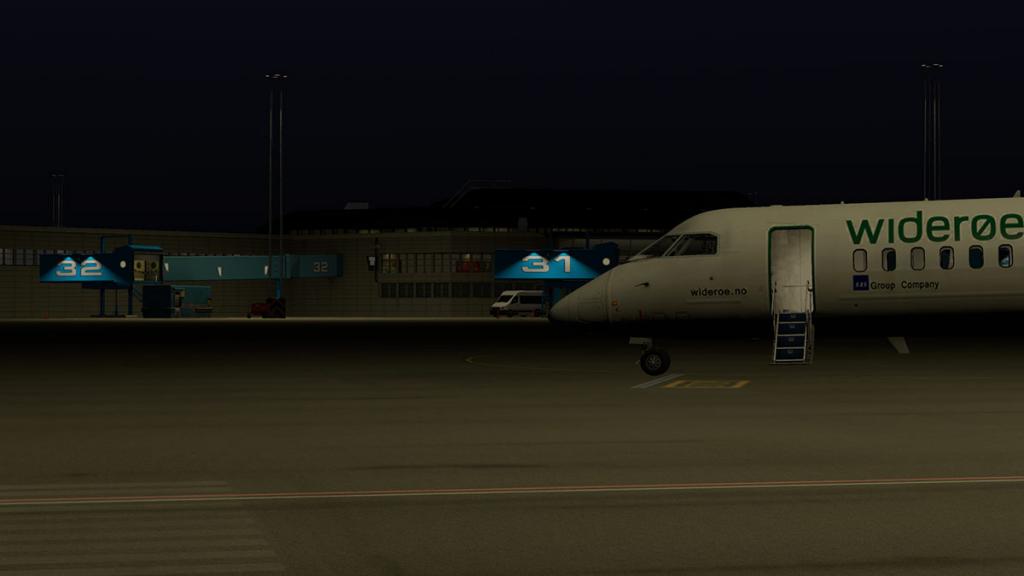
And the internal lighting works from both viewpoints in from the external and the internal aspects...

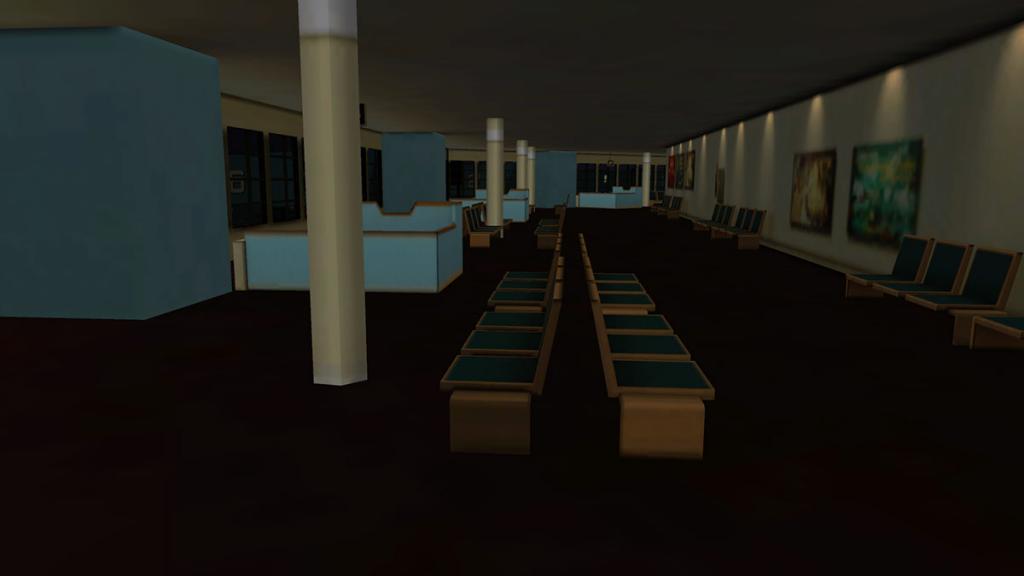
... where again nice downlighting lifts the scene.
In the helicopter operations areas it is quite average, in both textures and just basic lighting...

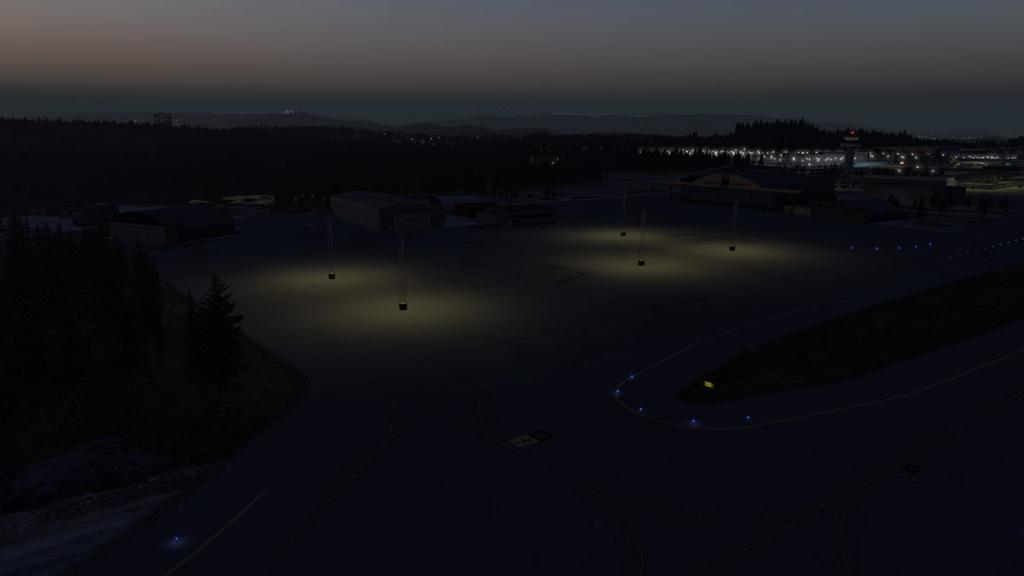
... and the further north you go the less lighting you get.
Services
In 2016 Bergen Airport served 63 destinations. In addition, offshore oil platforms are served from the helicopter terminal. Twenty-three airlines operate regular flights out of Flesland. They are served by two ground handling agents, SAS Ground Services and Norport Handling.
The largest airlines at Flesland are Scandinavian Airlines, Norwegian Air Shuttle and Widerøe. SAS and Norwegian exclusively operate jetliners on main-haul international and domestic routes. Widerøe operates the routes to Florø, Førde, Sandane, Sogndal and Ørsta/Volda on public service obligation contract with the Ministry of Transport and Communications. The airline's remaining routes are commercial. The airline's uses various sizes of the Bombardier Dash 8. Bergen Air Transport is based at Flesland.
In addition to general aviation and executive jet operations, it provides a daily scheduled service to Notodden with a Beechcraft King Air. Danish Air Transport provides domestic services to Moss and Skien. Bristow Norway and CHC Helikopter Service operate to offshore oil platforms from the helicopter terminal. Lufttransport transport maritime pilots to ships on behalf of the Norwegian Coastal Administration.
Charter carriers include Air Europa, BH Air, Corendon Airlines, SunExpress and Thomas Cook Airlines. (wikipedia)
Summary
As a companion to Aerosoft's ENGM - Oslo then Bergen Flesland is a great and even a required scenery. It is tricky to fly in and and out of ENBR with interesting approaches and that weather. So it is technically a challenge and certainly in the FJS Dash8 but the fjord landscape is quite enchanting especially in low dawn or dusk lighting.
Everything is here in an Aerosoft workman like way. But ENBR does come across as a little grey and dull sometimes. But there are a few areas that could have lifted the scenery to above average. The unfinished new terminal area is nice in construction mode, but it is really a waste in an operations point of view, why not just have made it complete and fully usable? And why add in gate guidance that is not aligned and doesn't actually work?
Same with the oil operations areas, they are all just very empty when with a bit of imagination it could have been a hive of activity, it is certainly not in Aerosoft's blood to create dynamic sceneries, but here it really shows and it creates a certain blandness that is even a low point for even Aerosoft. You can of course do some work to fill in the areas, but why should you, it should already be created as you are paying good money for that, I hope an update comes soon.
The rest is pretty good, but not overwhelmingly great or brilliant, workman like is the word, but it is a great airport to use if considering its location and to a point that does sum up a majority of Aerosoft's sceneries, so you know what you are buying every time.
Worth the purchase? Overall yes, because it is a good scenery and you can get a lot of different operations out of ENBR including the different high rotation helicopter services that are quite rare. Yes I liked it a lot, but ENBR - Bergen could have been better, and even an excellent scenery with just a little more imagination.
______________________________________________________________________
Yes! the ENBR - Bergen Flesland Airport by Aerosoft is Available from the X-Plane.Org Store here :
Price is US$21.59
Features:- Highly realistic recreation of Bergen Airport, Flesland (ENBR, BGO)
- Fully compatible with X-Plane 11
- High detail models of all airport buildings and installations
- Highly realistic taxiway and runway textures
- Animated jetways (Autogate Plugin required)
- Animated service Vehicles (XP11 native)
- Custom static aircraft
- Includes highly detailed terminal Interior
- Winter season included
- Realistic night time effects
- New terminal (construction site) included
- Custom runway slope and mesh
Requirements :
X-Plane 11Windows, Mac or Linux2Gb+ VRAM Video RAMInstallation : Download scenery file size is 693.90mb. "ENBR - Bergen" in being inserted into your X-Plane "Custom Scenery" Folder.
Aerosoft - Bergen - Airport (1.46gb)
Aerosoft - Bergen - Mesh (47.50mb)
Scenery order is important! The mesh file must be inserted below the main file in your .ini loading (txt) file located in your custom folder.
X-Plane setting "runways to follow terrain contours" must be ON to use this scenery.
Included in Scenery Package- Aerosoft - Bergen - Airport
- Aerosoft - Bergen - Mesh
- Airport Charts
- Manual - Airport - Bergen
Winter Textures
As noted above I have done my own fix with the flat tree file, a fix will come but "Winter will soon be here" so I can't wait until they sort it out.
In the "Aerosoft - Bergen - Airport" folder there is folder called "winter_textures". Within that folder is another called "objects" and the file you need to replace with the one below is the "ENBR_Tree_Generic.dds". The new file is a .png, so just throw away the .dds file and add in the adjusted one. And you will then send me a lovely Christmas gift to thank me for making Christmas real again...
______________________________________________________________________
Review by Stephen Dutton
20th July 2017
Copyright©2017: X-Plane Reviews
(Disclaimer. All images and text in this review are the work and property of X-PlaneReviews, no sharing or copy of the content is allowed without consent from the author as per copyright conditions)
Review System Specifications:
Computer System: Windows - Intel Core i7 6700K CPU 4.00GHz / 64bit - 16 Gb single 1067 Mhz DDR4 2133 - GeForce GTX 980/SSE2 - Samsung Evo 512gb SSD
Software: - Windows 10 - X-Plane 11.02
Addons: Saitek x52 Pro system Joystick and Throttle : Sound - Bose Soundlink Mini
Plugins: Environment Engine by xEnviro US$69.90 : JARDesign Ground Handling Deluxe plugin - US$14.95 : WorldTraffic 2.0 Plugin - US$29.95
Scenery or Aircraft
- ENGM - Oslo Gardermoen by Aerosoft (X-Plane.OrgStore) US$24.95
- Boeing 737-800 X-Plane default aircraft
- Bombardier Dash 8 Q400 by FlyJSim (X-Plane.OrgStore) US$30.00
-
A twin-throttle can help with these sort of aircraft in pushing one engine slightly higher than the other to counteract the asymmetrical thrust at lower speeds. Flybe is a real airline. They are regional and based in Exeter - EGTE in the UK. I flew Flybe from Exeter/EXT to Paris/CDG on their Dash 8, I prefer their older livery than the newer purple one, and it suits the B1900D nicely. SD
-

Scenery Review : SBSV - Salvador Bahia International by GloballArt
Every region in the world has it's own providers of scenery. In the major markets of North America and Europe there is certainly no shortage of quality scenery, if anything there is too much in the fact that in some cases they are reproducing scenery just for the sake of reproducing scenery for the market?
But move outside of those areas and it becomes a waste land in X-Plane. The Middle East? The East and Australasia and try to note even one major scenery in any of those regions in Payware... you can't because there isn't any, which is just plainly ridiculous and a huge market there for the taking.
South America was the same, a waste land. But over the last few years Richard E Nunes and a few calibrators have proved two things. One that scenery can be created in other areas than the obvious, and that two you can sell it in payware and people will buy it.
It was a huge challenge but it is now starting to pay off and more importantly it allows users to fly to areas that are just as interesting and different as just flying within the areas of N.America and Europe. In other words Mr Nunes has given you a reason to fly south to South America.
The first scenery was an odd choice in SBDN - Presidente Prudente Airport in Brazil. But it was a good starting point for the next two sceneries that put Mr Nunes and his colleagues on the map so to speak... SBGL- Rio de Janeiro Intl Airport and SBRJ - Santos Dumont Rio de Janeiro.
So here is the next project and also with a name change to GloballArt in SBSV - Salvador in Bahia, Brazil. Or its full title in Salvador-Deputado Luís Eduardo Magalhães International Airport.
First Impressions
I thought a great introduction to SBSV would be to start at another Richard Nunes scenery of SBGL Galeão International Airport in Rio.
Initially I thought that Salvador was just a little way up the coast of Brazil and just north of Rio de Janeiro, but it isn't even close but in nearly just under two hours flying time away in 1211km or 653nm.
Salvador de Bahia is in the northeastern state of Bahia and it is positioned on a small peninsula pointing south. The SBSV airport is on the southern side, but you approach RWY 10/28 by arriving over the northern point and then turning to the south for a RWY10 arrival.
You have an visual option with this scenery in that you can download a OSM G2XPL 3d objects folder. This creates Open Street Map objects that are representative of the area. I am not a big fan of these objects for two reasons, one they gobble up framerate, and two they only look good in a point of quality and then only from a distance as close up they are quite basic.
But here it works as areas without details then OSM 3d is needed as something to fill in the scenery, so even against my misgivings I recommend it here for this scenery.
First glimpse of SBSV is the excellent RAIL approach lighting for RWY10, which is very handy in this low visibility scenerio. The RAIL lighting is custom made for the scenery and very effective. Now on final's I got a full view of the SBSV scenery and was impressed on how well it was intergrated into the surrounding areas, again the textures are custom created for the area.
There are three road systems on this approach with Avenida São Cristóvão, then the Av. Carybé and finally the internal airport ring-road Alameda da Holanda of which are all full of bustling traffic, I love flying over bustling traffic approaches and this one was very realistic.
One noticeable issue is that the runway line textures are not as clear as they should be, even though I have my texture settings right up? This makes the runway a little blurry on approach, the lineage is there and well done, but it sorts of rolls out in front of you as you approach the runway.
Once over the road systems and the terminal buildings are on your right and you cross right over the southwest/northeast runway of 17/35 on the 10/28 arrival or departure approach.
Terminal and airport surroundings are excellent, complex and highly realistic... as with most Brazilian airports there is a military area to the left, but the area is mostly hidden by trees.
The surrounding areas vegetation is part sand dunes. This creates white textures that look odd, but it is correct and not a texture fault.
There are only two main taxiways in Taxiway A which is alongside of RWY 10/28 and Taxiway M which is the same alongside Runway 17/35.
Taxiways have different textures of tarmac, and all are of excellent detail. Grass is 3d and adds in a great visual feel that hides the flat ground textures. centre-field items and navaids are excellent and correct as is the airfield perimeter fencing. All linage and markings are also first rate.
First set of buildings on the left is the cargo area, and there is a lot of nice well placed static aircraft with ground service equipment set out for the area correctly.
My parking bay is no.4 and I am impressed by the quality of my surroundings. No doubt that GloballArt give you a lot of visual fulfillment, as all their sceneries are overloaded with quality items, but that scale of detail can also be a heavy drawcard on your processors.
Turning into bay no.4 you have animated marshals to guide you in... all gates are animated (marginal plugin) and work perfectly.
With running the scenery I am using WorldTraffic and the ground routes are built in, so it works perfectly, I am also running the JARDesign ground services plugin to add in some gate action as well. (both are options and not part of this scenery package)
But I am very impressed by the terminals excellent detail and construction, really nice textures and the glass is excellent, even on the animated walkways.
As an arrival I was pretty if not extremely impressed. it was very good.
SBSV - Salvador Baha International
Salvador-Deputado Luís Eduardo Magalhães International Airport
IATA: SSA - ICAO: SBSV
10/28 - 3,005m (9,859ft) Asphalt
17/35 - 1,520m (4,987ft) Asphalt
Elevation AMSL 20m / 64ft
As noted the landscape is very good and the scenery is perfectly intergrated with the surrounding textures, there is a lot of great traffic systems all around the airport and GloballArt has made the best of the situation in creating a very vibrant active simulation.
Terminal
The airport, which was originally called Santo Amaro do Ipitanga Airport, was founded in 1925. In December 1955, the airport had its name changed for the first time as it became known as Dois de Julho International Airport to which most locals still reference the airport. A brand new passenger terminal was opened in 1998, replacing the original outdated earlier terminal and with that another name change to Deputado Luís Eduardo Magalhães International Airport. This new terminal was continued to be upgraded and completed by the end of year 2000 and is the building in this scenery. There is only a single terminal with a single pier with 15 gates and 11 airbridges.
Richard E Nunes's sceneries were always extremely highly detailed, even to the point of being detrimental to your computer's processing power. But here it works very well because in that one the scenery is not that large and two, there is not a lot of killing autogen around it. So here you get the best of both worlds with a highly detailed scenery without the extreme pressure to generate the high object count and detailing.
Close up terminal detailing is excellent, high quality and really well recreated. You get a lot on the landside in almost everything...
... both arrival and departure levels are very well represented with not only static vehicles, but animated traffic as well on both levels. There is even animated people walking around to add in to the realism. Note the excellent framework over the bus station arrival area.
Well created covered parking areas are slightly marred by the white ground markings (below left), but otherwise it is beautifully done as is the cafe to have a rest and a nice cup of Brazilian coffee.
There are animated flags (four) that can be seen from most areas around the terminal and on arrival and departure adding in some nice movement. All the smaller detailing like fencing and great... even perfect glossy glass is well done.
The airside concrete style pier is also really well recreated and very realistic, again the detailing is overwhelming in the very small stuff like lineage and markings.
Huge amount of static elements, with buses ramp equipment and pretty well everything required for your use on the ramps, as noted all the gates are animated. There are four static aircraft with equipment around the terminal on gates 1, 6, 9 and remote 12, with two more in the cargo area.
Cargo and Control Tower
To the east of the terminal is the airport's cargo area. Behind cargo is a fuel depot and control tower. The area has also auxiliary airport infrastructure for Sky Chiefs catering and various maintenance buildings and yards.
Infrareo and TAM are the main tenants in the cargo frontage and the equipment and cargo facilities are extremely well equipped and with a huge amount of detailing objects.
The Control Tower is set back on the western section of the airfield.
The tower is well done of course, but the textures feel slightly more flat than the extreme work everywhere else, my guess is you have dull grey concrete construction and that is very hard to convey. But overall it is really well done. Note the fuel depot set out behind and the great traffic flows around this area as well.
Tower view is fine...
... if you keep the vision straight and ahead, but go up or slightly down and you get insertions of the building. Overall it is fine. The far end of runway 28 and taxiway A is hard to see from the tower because of the trees, so you lose the aircraft for a short period after landing or taking off.
Runway 17/35
The shorter runway 17/35 at 1,520 (4,987ft) is an interesting aspect of the scenery. It is more for regional and GA flying than the longer 10/28 3,005m (9,859ft) runway. Accessing the runway is interesting as well because you go behind the terminal area and sort of slip through the fence to access it...
... so it is an interesting taxiing experience in either departing or arriving and especially if you are taxiing down taxiway M to the RWY 17 threshold and it is even more the better if there is an arrival going over you into RWY10.
North boundary of Runway 17/35 has two General Aviation areas, one mid-runway and another by the RWY17 threshold.
The mid-runway area is for upmarket private Jet servicing and covered by AeroStar, Abaete and Atlanta hangars. And there is some nice parking areas available.
Second area at the RWY17 threshold is really three areas in one. There is some aircraft storage with a few VASP B737's grounded.
North is the Military Police of Bahia base. This comes with an animated helicopter that can be seen now and again in the background around SBSV. The last area is another very nice GA parking area with separate parking pads, which is a great base to park up your GA.
SBSV Radar
East of Runway17's threshold is an Radar installation. This radar can be seen from anywhere in the airport scenery, but the actual radar tower is also accompanied by some nice detailing on the ground, which is to note how very detailed and even in the most obscure areas of this scenery is.
The radar construction itself is very highly detailed but rotates quite slowly, a little bit faster would feel more authentic.
Base Aérea de Salvador (BASV)
The eastern boundary side of runway 10/28 is the military side of SBSV. This is the Base Aérea de Salvador (BASV) military base.
Even with it's grand entrance off the Alameda da Holanda, the airbase is quite extensive. Most of the buildings are however covered by trees that shades the real size of the base.
The main broad apron is also a parade ground and to the south is another apron on which are parked a lot of C130's and Orion static aircraft.
All the buildings and hangars are faithfully represented and you can easily spend a little time exploring around the whole area.
Highlights are the secondary radar (globe) tower (there is another large globe radar tower on the north side of the scenery) and a very well rusted high water tower.
Rear of the airbase is an extensive commercial area, it is a collection of OSM 3d, default autogen, but there is a little custom work in there as well to fill out the area. It all helps in filling out every aspect of the viewing of the scenery.
Lighting
The sceneries lighting is totally excellent, except for one area and that is you have no centreline (green) lights on the taxiways? This missing aspect does make taxiing at night a little harder on the workload side, and certainly if you have only basic aircraft lighting.
In every other area though the lighting is top notch. And the great autogen lighting around the scenery is very good as well, so if you can navigate the taxiways then a nightime arrival or departure is very good visually.
Approach lighting is custom made and excellent, very realistic on approach or just looking at it.
The central terminal area is excellent, even amazing in detail and includes all the complex lighting gradients.
Highlight is the terminal roofing structures that looks brilliant from every angle, but the smaller detail lighting is just as prolific.
Ramp lighting is very good as well, but there are a few dark working areas on some of the gates that you have to be aware of...
But a great aspect is that there has been a lot of attention in to lighting up the underside of the terminal as much as the overhead lighting. This creates a really interesting lighting effect that adds in to the overall realism.
Internally the terminal is fitted out and is well lit as well...
... and there are shops and the well lit ARR/DEP boards that allows you to pass the time while waiting to board.
Cargo and western areas are excellent as well with great professional diversity in the lighting ideas, and even the fuel tanks are lit.
Outer central areas are as well lit. Including tennis courts and all the General Aviation areas around RWY 17/35. Overall the lighting is amazing.
Services
South American airlines will dominate at SBSV, with TAM (now LATAM), AZUL and GOL leading the charge. There are a few interesting European airlines that service SBSV in Air Europa from Madrid and TAP from Lisbon.
- Aerolíneas Argentinas : Buenos Aires-Aeroparque, Buenos Aires-Ezeiza, Córdoba
- Air Europa : Madrid
- Avianca Brazil : Aracaju, Bogotá (begins 15 September 2017), Brasília, Fortaleza, Ilhéus, Maceió, Petrolina, Recife, Rio de Janeiro-Galeão, São Paulo-Congonhas, São Paulo-Guarulhos
- Azul Brazilian Airlines : Barreiras, Belém, Belo Horizonte-Confins, Brasília, Campina Grande, Campinas, Curitiba, Feira de Santana, Florianópolis, Fortaleza, Ilhéus, Lençóis, Maceió, Manaus, Natal, Paulo Afonso, Petrolina, Porto Alegre, Porto Seguro, Recife, Rio de Janeiro-Santos Dumont, São Luís, Teresina, Vitória da Conquista
- Gol Transportes Aéreos : Aracaju, Belém, Belo Horizonte-Confins, Brasília, Buenos Aires-Ezeiza, Campina Grande, Córdoba,[7] Curitiba, Fortaleza, Ilhéus, Maceió, Manaus, Natal, Porto Alegre, Porto Seguro, Recife, Rio de Janeiro-Galeão, Rio de Janeiro-Santos Dumont, São Luís, São Paulo-Congonhas, São Paulo-Guarulhos, Vitória
- LATAM Brasil : Belo Horizonte-Confins, Brasília, Fortaleza, João Pessoa, Recife, Rio de Janeiro-Galeão, São Paulo-Congonhas, São Paulo-Guarulhos
- Passaredo Linhas Aéreas ; Barreiras, Vitória da Conquista
- TAP : Portugal Lisbon
For those of you who like great images. Then here are a few nice images not related to the review of SBSV of an early morning departure with XEnviro doing it's great misty work in X-Plane...
Summary
One of the first boundaries for SBSV Salvador Baha is where it is, in South America. But I don't think of SBSV that way actually. Good scenery is still good scenery and if it goes over into the excellent scenery area then it should be used.
Thankfully now GloballArt now has four sceneries dominating Brazil and no doubt more will soon follow so now the destination of Brazil is now opening up, not only from say western Europe countries but also the lower North American ports and even the obvious of Miami, Florida. Another point is that with with four ports inside Brazil you now have he start of a domestic system to expand upon, in other words this becoming a really great interesting destination for those seeking something different from the usual N.American and European routes.
One advantage of SBSV than the other GloballArt sceneries is that it does not require the overwhelming power required for the other two Rio sceneries. GloballArt do recommend to run their sceneries with the full quality textures on the upper side. I personally don't as there is just too many objects to process and yes you can deliver that full quality at the higher settings, but just a few stops below will give you still as good a quality scenery without the extreme processing down sides.
Only a few areas to note on maybe's. The white (sand) areas are noticeable, but correct via google earth. Taxiways are not centre lit at night can cause a few taxiing headaches in keeping between the boundary lines. Radar is a little slow on rotation. OSM 3d objects are not my cup of tea but are required here to fill out the scenery.
As for the scenery itself it is top notch, SBSV is simply excellent in almost every area. Full of quality buildings, HUGE detailing, great and clever features and a another HUGE amount of animations in both vehicles, people and traffic.
Lighting is another excellent area that is well covered in variety and gradients, and with some some intimate clever lighting thrown in for good cause.
Quality scenery at a really great value price is always a benefit to anyone's flying career. SBSV does also something else in opening up a new area to explore and fly to somewhere you would really ever considered before. There is no doubt I will focus on both going to South America now more and to not just use this scenery but also explore the other airports within Brazil's domestic network.
SBSV Salvador Baha is simply too a good a scenery to waste on a maybe or sometime's flight... It requires to used and experienced. It is great even exceptional scenery, so experience SBSV soon.
______________________________________________________________________
Yes! the SBSV - Salvador Baha International by GloballArt is Available from the X-Plane.Org Store here :
SBSV - Salvador / Bahia International AirportPrice is US$19.95
Features
Accurate replica of Salvador International Airport, updated 2017.- Modeled from the original airport layout
- Customized runways, pavement and taxiways, with ambient occlusion included in the textures.
-
Auto Gate with marshalls
- by Marginal
- Static objects, vehicles and aircraft.
- Avenues and streets with personalized vehicle traffic.
- 2D Grass.
-
Airport and adjacent áreas Mesh personalized.
- Mesh Remexe Tool - Joz
- Partial modeling of the terminal interior
- HDR effect of interior of the Terminals and Jetways illumination.
- HDR lighting with custom night textures.
- Custom textures with ambient occlusion.
-
Ground service for aircraft and traffic (default).
- Ground Traffic by Marginal
- Custom Approach Lights (ALS) systems.
Requirements :
X-Plane 11 or X-Plane 10Windows, Mac or Linux2Gb VRAM Minimum - 3Gb+ VRAM recommendedCurrent Version: 1.0 (Last updated July 12th 2017)Installation : Download scenery file size is 371.90mb. Installed file size is 1.20gb "SBSV - Salvador Baha" being inserted into your X-Plane "Custom Scenery" Folder.
Scenery order is important! The mesh file must be inserted below the main file in your .ini loading (txt) file located in your custom folder.
BR-SBSV Salvador International Airport v1.0
BR-SBSV HD Mesh 1.0
X-Plane setting "runways to follow terrain contours" must be ON to use this scenery.
Included in Scenery Package- BR-SBSV Salvador International Airport v1.0
- BR-SBSV HD Mesh 1.0
- Real Taxilines library
- Salvador Norte Shopping
- Airport Charts
- Instructions
OSM 3d object scenery addon : BR-Salvador_OSM_Brazil_Bahia
is recommended for this scenery and can be downloaded from here : BR-Salvador_OSM_Brazil_Bahia (It is a deathly slow download and install!)
______________________________________________________________________
Review by Stephen Dutton
14th July 2017
Copyright©2017: X-Plane Reviews
Review System Specifications:
Computer System: Windows - Intel Core i7 6700K CPU 4.00GHz / 64bit - 16 Gb single 1067 Mhz DDR4 2133 - GeForce GTX 980/SSE2 - Samsung Evo 512gb SSD
Software: - Windows 10 - X-Plane 11.02
Addons: Saitek x52 Pro system Joystick and Throttle : Sound - Bose Soundlink Mini
Plugins: Environment Engine by xEnviro US$69.90 : JARDesign Ground Handling Deluxe plugin - US$14.95 : WorldTraffic 2.0 Plugin - US$29.95
Scenery or Aircraft
- Boeing 737-800 X-Plane default aircraft
- SBGL - Rio de Janiero Intl Airport by Richard E Nunes (X-Plane.OrgStore) US$29.95
-
News! - Aircraft Upgraded to XP11 : B200 King Air HD Series by Carenado
Carenado has upgraded their wonderful B200 King-Air HD to X-Plane11. This aircraft is one of the big hitters in X-Plane in the large twin category, a lovely aircraft that is a real treat to fly. So how good... well it is my second all round favorite via my Top 10 list and so you can't get a higher mark than that.

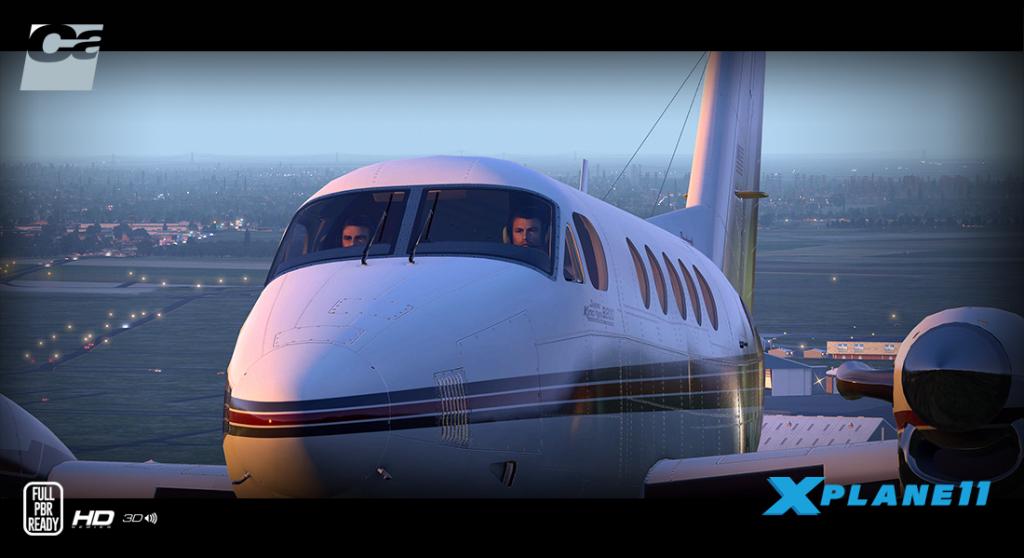

This is the upgraded XP11 version which includes:
- Features
- Full PBR (Superb material shines and reflections).
- Specially designed engine dynamics for XP11.
- Flight physics designed for XP11 standards.
- Ground handling adapted for XP11 ground physics.
- Physically Based Rendering materials and textures.
- PBR materials authored with industry-standard software used by the film and gaming industries.
- 2 X-Plane GNS430 (FPS friendly)
- Ice and rain effects
- VR compatible click spots.
- Goodway Compatible.
- Realistic behavior compared to the real airplane.
- Realistic Weight and Balance.
- Tested by several pilots for maximum accuracy.
- Dynamic loading/unloading of 3D parts and plugin logic for FPS optimization.
Carenado are now using high-end professional software to create the very best textures for PBR (Physical Based Rendering) that is the cornerstone of X-Plane11 features.

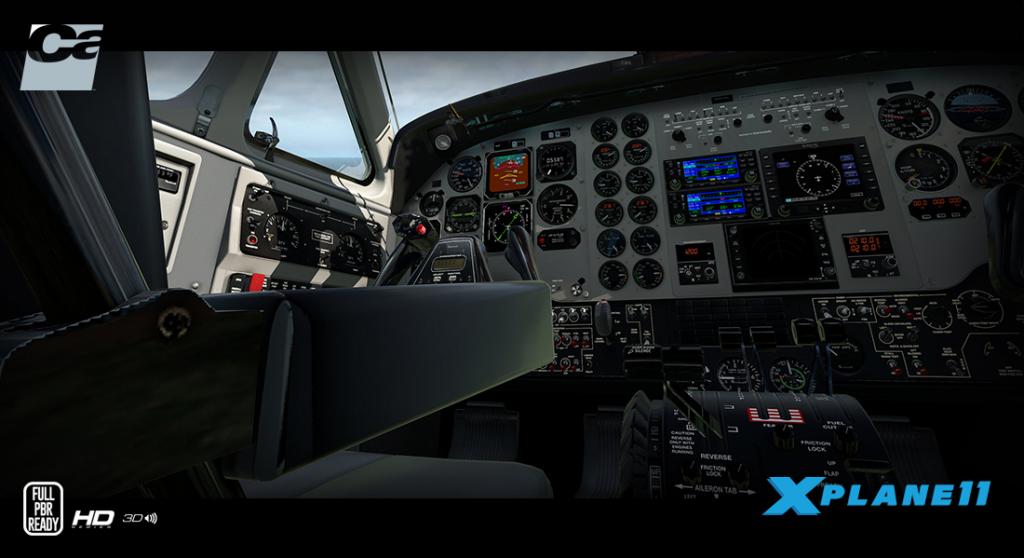
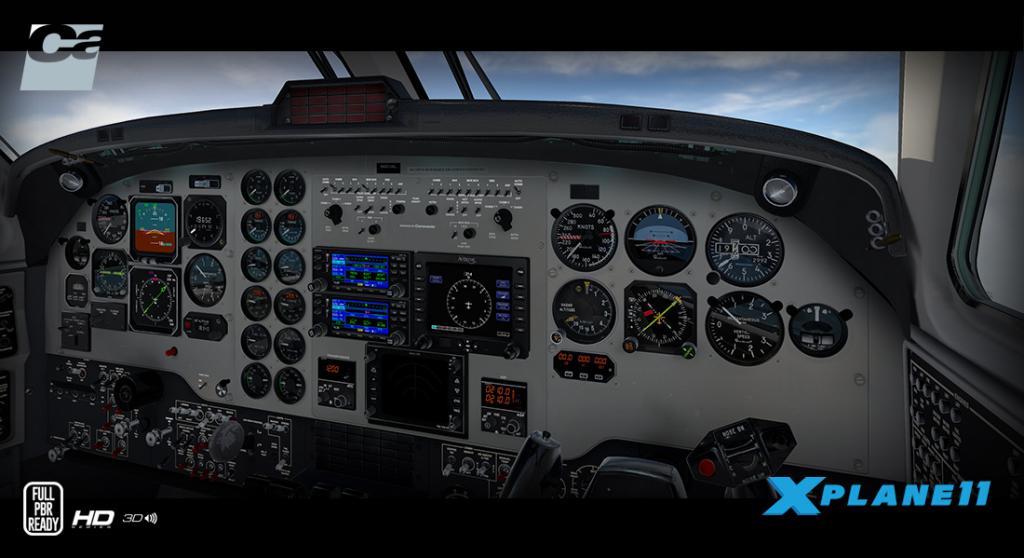
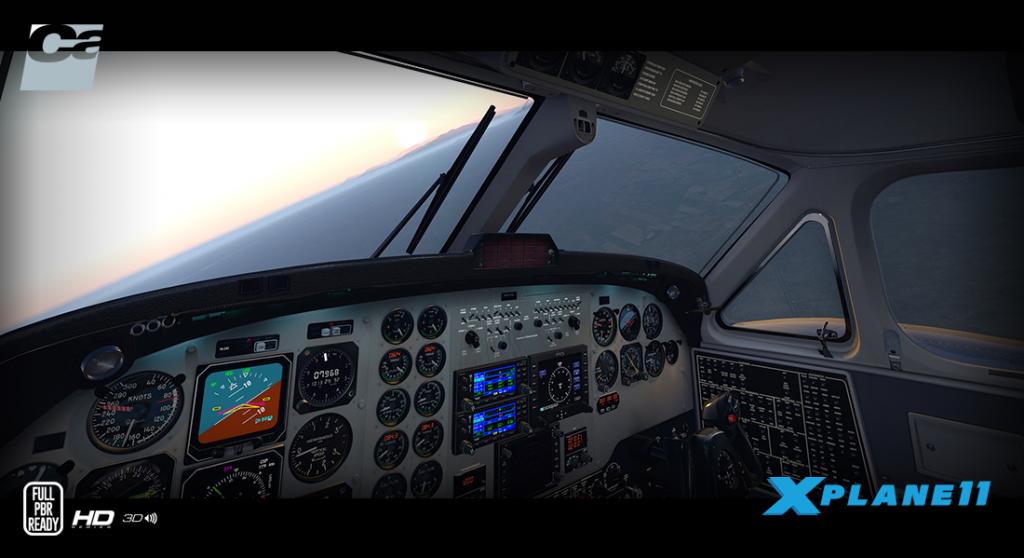
Cockpit and Cabin is first rate, best in class... one thing Carenado do best is excellent detailing and quality textures.
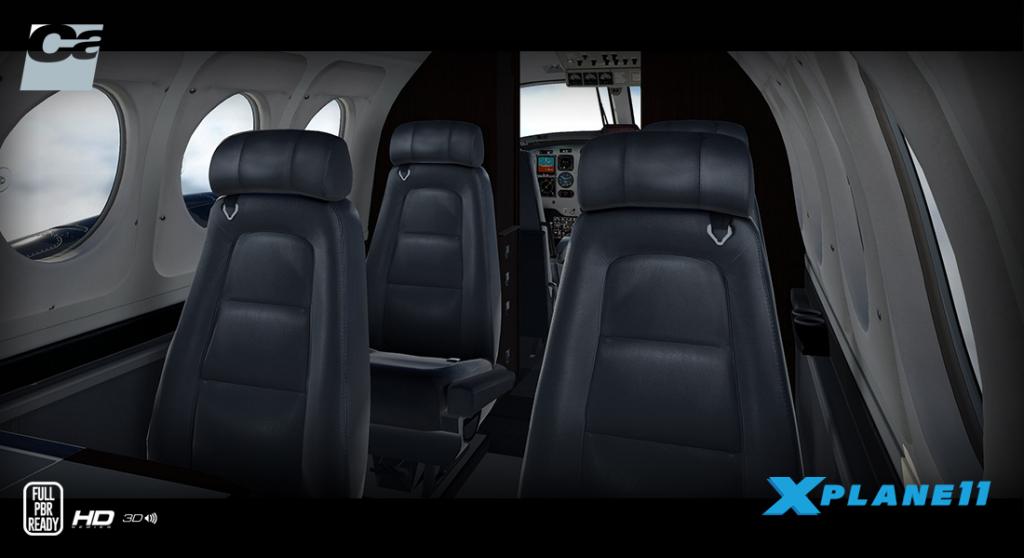
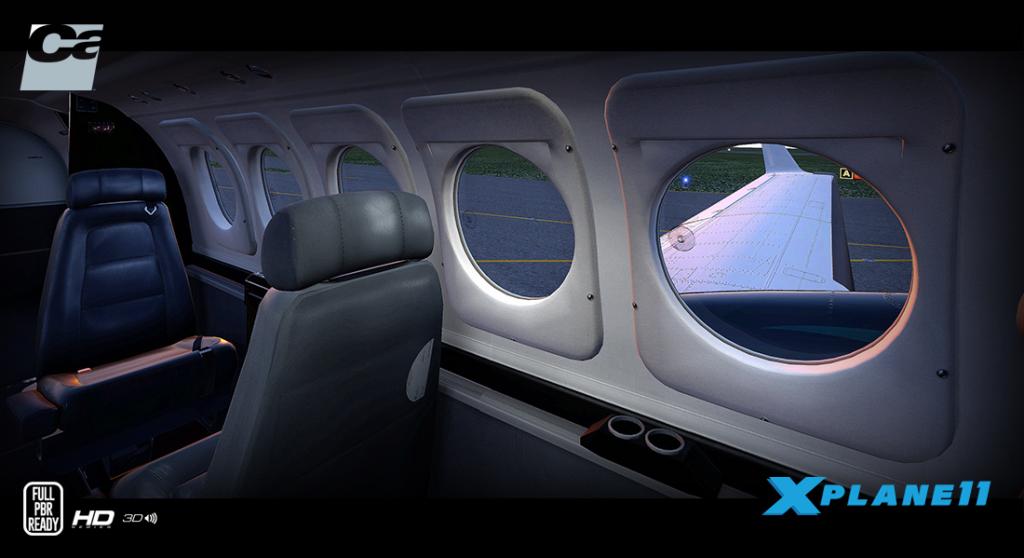
Included in the package:
- 6 HD liveries
- 1 HD Blank livery.
- B200 EFIS PDF.
- B200 Emergency Checklist PDF.
- B200 Normal Checklist PDF.
- B200 Performance Tables PDF.
- B200 Terrain Awareness Annunciator Control Unit PDF.
- Recommended Settings PDF.
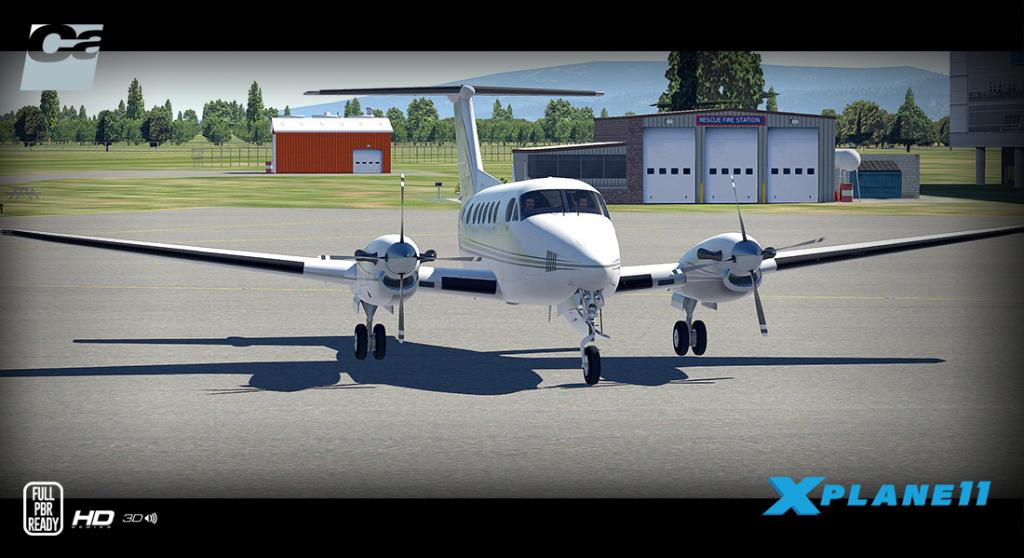

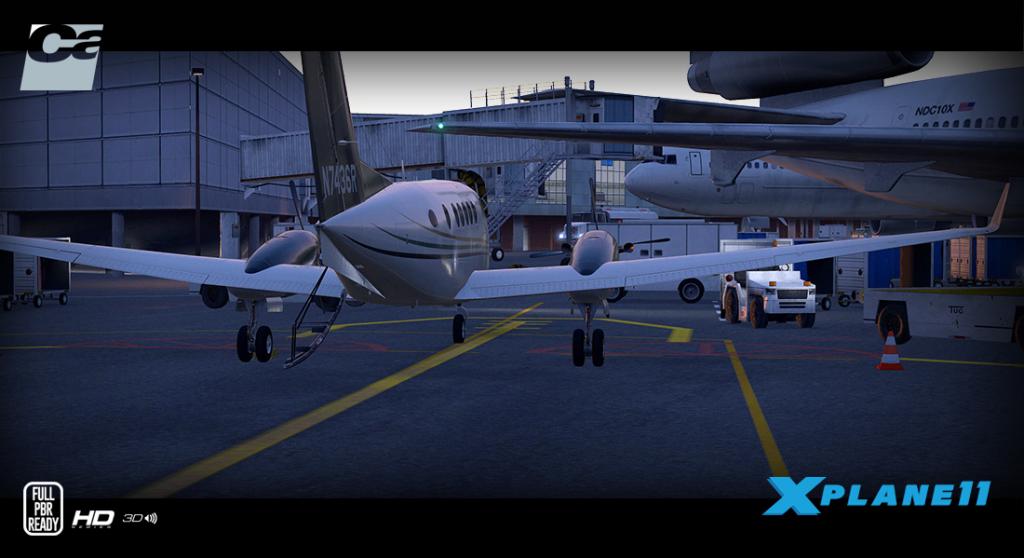

Recommended System Requirements
Windows XP - Vista - 7 or MAC OS 10.10 (or higher) or Linux
X-Plane 11
CPU: Intel Core i5 6600K at 3.5 ghz or faster.
Memory: 16-24 GB RAM or more.
Video Card: a DirectX 12-capable video card from NVIDIA, AMD or Intel with at least 4 GB VRAM (GeForce GTX 1070 or better or similar from AMD)
400MB available hard disk space (incl. free downloadable extra liveries)Note: This upgraded aircraft is new to X-Plane11 and is not an update of the original B200 King-Air for X-Plane. So a full purchase cost is required to acquire this version. The XP11 version is however valid for any updates thoughout the X-Plane11version run.
______________________________________________________________________

The B200 King Air HD Series by Carenado is NOW available! here :
Price is US$34.95
Notes:
For WINDOWS users: Please ensure that you have all the Microsoft Visual C++ Redistributables downloaded and installed (click here)
Images & Text are courtesy of Carenado©
Developer site : Carenado.com
______________________________________________________________________
Stephen Dutton
23rd July 2017
Copyright©2017 X-Plane Reviews: X-PlaneReviews
-
The point is that I adhere to the point that if I do mention a specific point, like in this case the ground handling of the B1900D then it must be harder than in the usual situation. Yes X-Plane11 has quite different handling and quite worse, but more skill is required to handle some aircraft more than others and the B1900D falls into this category. SD
-
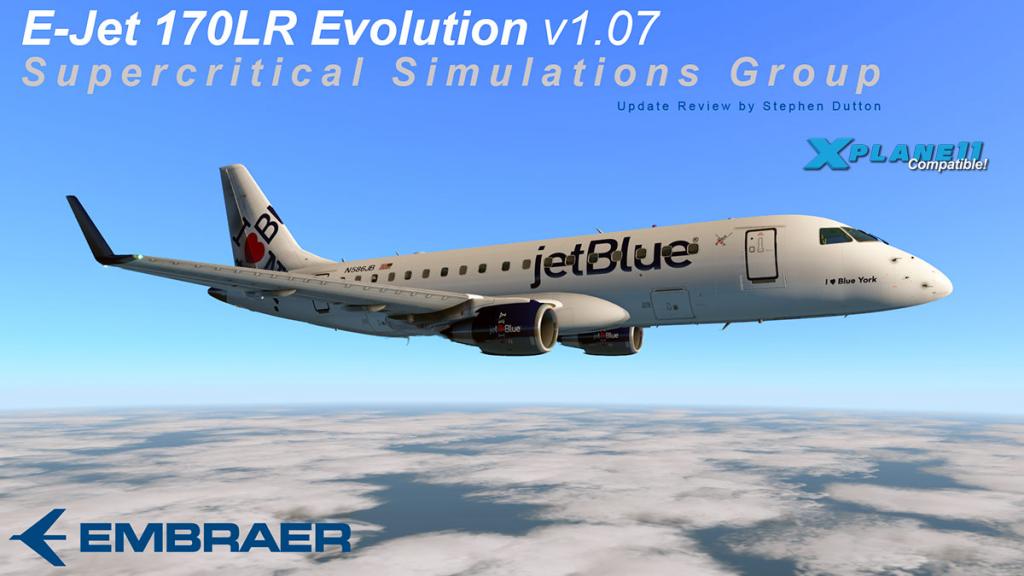
Aircraft Update : Embraer E-170 v1.07 by Supercritical Simulations Group
You will constantly now find that after the initial changes to X-Plane11 that most developers are going to then fine-tune the rest of their aircraft to the new format. The interesting thing about X-Plane11 is that on the surface the differences look very much the same, but deeper down there are more significant differences than what most developers thought as they came to grips with the dynamics of it all. The obvious is thrust changes and PBR texture differences, but it is the in the more marginal areas that can catch you out... hence these smaller later updates.
By and large the v1.06 covered most of the X-Plane11 features with especular and textures for PBR and added in an updater to update directly from the the developer. This new v1.07 update from SSG is very (very) small revision, but does address a few more items on the X-Plane11 compatibility list.

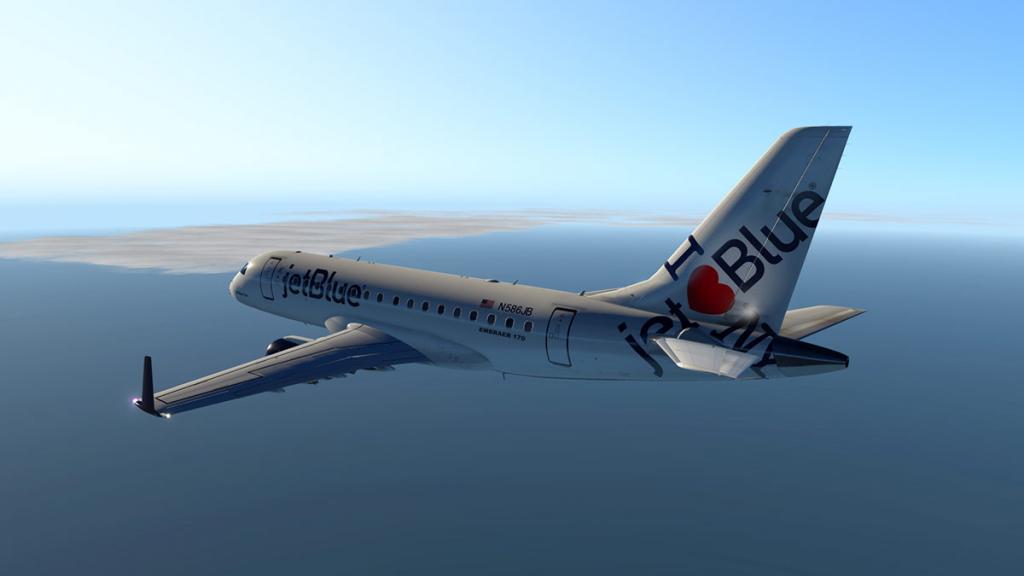
There are only four changes here. First is that the aircraft is now both XP11 and XP10 with one set of files, so you don't have to swap and change to use what X-Plane version you require. Of course the correct XP11 logo now shows up in your aircraft menu and the other as "XP 10 Version".
One of the big performance areas of change in X-Plane11 was with the throttle. Here there has been some adjustment and with that now you get a full custom created auto-throttle system, which gives you finer control and better performance.

The terrain map has also had some improvements and is now more highly detailed. It will easily note the coast's outline now, and looks great in the Map/Nav screen.
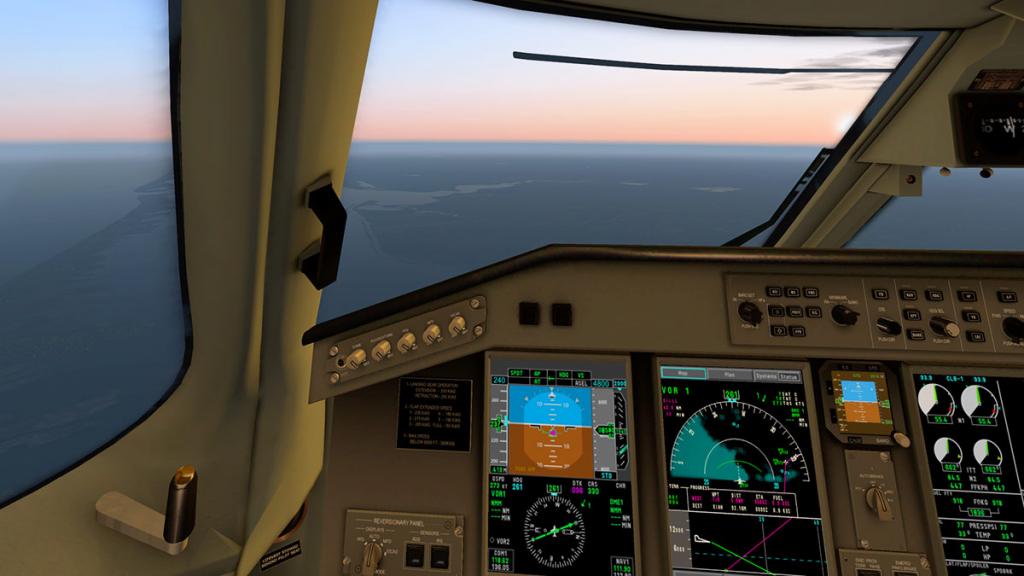

Last item covered is the climb altitude behavior in both below and above the FL100 or 10,000ft point, just a minor change but again connected to the aircraft's thrust performance.


One thing that is really impressive is on how great the SGG E-170 looks in X-Plane11, is that in any lighting situation the aircraft looks simply superb.
Cabin is nice as well...
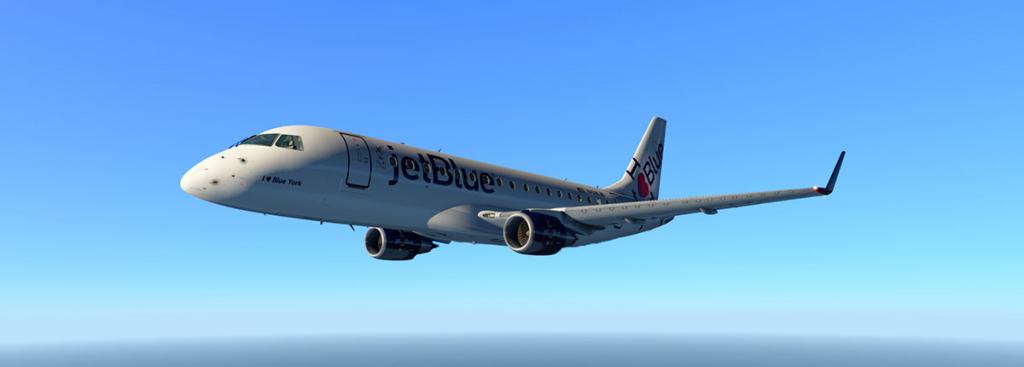
Summary
There is not much between the E-Jets of X-Crafts and SGG, both are worthy and both are now really good. This small but significant v1.07 update does give the SSG an edge between the two aircraft. And that keeps it well in the game as a great X-Plane11 compatible aircraft.
The earlier FMC issues have now been mostly addressed, but it still requires a bit of FMC skill to make sure it is correctly formatted, but it has significantly improved since the release review here: Aircraft Review : Embraer E-Jet 170LR Evolution by SSG
A quick service from KRSW South Florida to KIAH Houston proved the SSG E-Jet is a great aircraft on these short to medium routes. It is an aircraft to get to get totally familiar with the machine, the more you fly the E-Jet the more deeper the immersion is returned. So use it regularly to see the benefits.
Overall, very nice!
SSG E-170 Evolution Changelog Actual version 1.0.7
- The files don't need to be replaced anymore and the package is hybrid XP10/11
- Added a full custom autothrottle system.
- Terrain Map improved with better algorithm.
- Climb attitude behaviour below and above 10000 feet fixed and improved
_____________________________________________________________________________________ The Embraer E-Jet 170LR Evolution v1.07 by Supercritical Simulation Group is NOW available! from the X-Plane.Org Store here :
Your Price: $49.95Note: if you are already an orginal owner of SSG's E-170LR or the E190 you get to upgrade to the "Evolution" version with a US$10 discount! to the price of US$39.95, so Please email [email protected] to get your discount code and include you original purchase order number.
Features: Advanced FMC and Navigation system
- Custom-built FMC (done by FJCC) designed for the SSG Evolution Series
- SIDs, STARs, transitions, approaches, flare and rollout modes.
- FMC is compatible with AeroSoft's NavDataPro and Navigraph navigation databases.
- Manufacturer's performance data embedded as tables in the fully functional FMC.
- Option to use either a 2D pop-up (resizable) FMC or one within the 3D cockpit.
- Custom radio communication audio consoles optimized for on-line virtual ATC operations.
- FMC performance information based on real aircraft data, including calculated V-speeds.
- FMC includes capability for autotuning navaid frequencies.
- Vertical Situation Display (VSD) on the MFD.
- Terrain display mode on the MFD, which is a part of the Enhanced Ground Proximity Warning System (EGPWS) on the real aircraft.
High-Res 3D modeling complete with detailed animations and textures.- Realistic displays (PFD, MFD with system synoptics, and EICAS)
- External lights and strobes operating realistically.
- Display management similar to that in the real aircraft.
- Autobrakes with anti-skid system that works in all conditions and includes a realistic rejected takeoff mode.
- Realistic wing flex and other animations.
- Window rain effects and animated wipers.
- Option menu incorporated into the cockpit 3D.
- Ground vehicles include a tow truck, GPU and airstairs.
- Over 10 detailed liveries comes with the plane
Custom systems and Flight Model
- Aircraft will meet most of the real aircraft's performance data for consumption, AOA, speeds, flight dynamics, etc. in close consultation with real world E-Jet pilots.
- Realistic 3D cockpit with high resolution.
- Many systems are implemented with realistic logic, such as electrical, hydraulic, pneumatic, engine fire extinguishing, fuel, wing and engine anti-ice (including automatic mode), communications, and TCAS.
- Comprehensive autopilot functioning in modes similar to those of the real aircraft
- First Officer's MFD display is independent from the Captain's, and MFD has a pop-up option.
- EICAS messages based on the real aircraft's with lists and scrolling
DreamEngine Sound System
- 3D sounds with DreamEngine plugin.
Requirements
X-Plane 10.45 + (any edition) running in 64bit mode
Windows, Mac or Linux - 64bit Operating System
1Gb VRAM Minimum. 2Gb+ VRAM Recommended_____________________________________________________________________________________ Installation and documents:
Download for the Embraer E-Jet 170LR Evolution is 606.30mg and the unzipped file is deposited in the "Heavy Metal" X-Plane folder at 952.80mg.
There is a "Quick Start Guide" manual (44 Pages) and comes with included checklist Sheets .
_____________________________________________________________________________________ Update Review by Stephen Dutton11th July 2017Copyright©2017: X-PlaneReviews(Disclaimer. All images and text in this review are the work and property of X-PlaneReviews, no sharing or copy of the content is allowed without consent from the author as per copyright conditions)Review System Specifications:
Computer System: Windows - Intel Core i7 6700K CPU 4.00GHz / 64bit - 16 Gb single 1067 Mhz DDR4 2133 - GeForce GTX 980/SSE2 - Samsung Evo 512gb SSD
Software: - Windows 10 - X-Plane 11.02
Addons: Saitek x52 Pro system Joystick and Throttle : Sound - Bose Soundlink Mini
Plugins: Environment Engine by xEnviro US$69.90 : WorldTraffic 2.0 Plugin - US$29.95 : XPRealistic Pro v1.0.9 effects US$19.95 : JARDesign Ground Handling Deluxe plugin
-
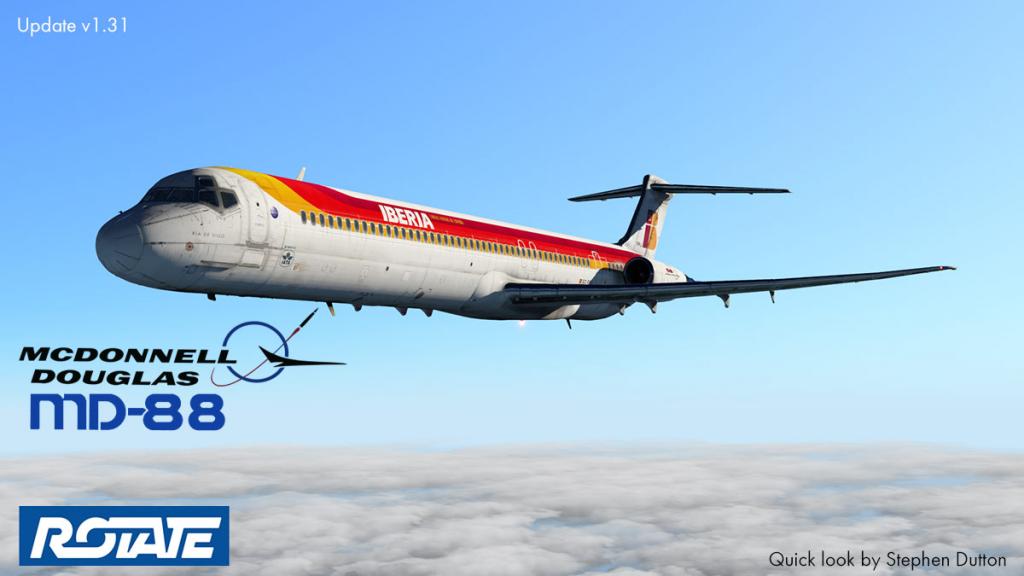
Aircraft Update : McDonnell Douglas MD-88 Pro v1.31 by Rotate
It is only a few months since the MD-88 from Rotate went X-Plane11 compatible. So here is another update v1.31 in covering more areas of the aircraft to make it fully X-Plane11 compliant. To a point the earlier v1.30 was just a transition phase to cover the Mad Dog to make it work correctly in the new X-Plane11 environment, it was very good in making the performance and physics work correctly, but it did not cover every aspect of the aircraft's systems and flying performance in X-Plane11. This update is really all about that, the small stuff, the boring stuff but the essential stuff.
It may be all about the small stuff here, but it is this aspect of aircraft development that is the most significant of all the areas that makes up the complete package. It is the hidden and not the showy items that fills in the areas of what makes something brilliant than just ordinary.
The history of this Rotate MD-88 is a big one, lauded for its outstanding external quality, most experts were also very cynical of its systems and performance. I myself was more less judgemental in my first observations of the design. The developer was brand new with only a few freeware releases behind them, my gut instinct was that if the developer was this good in so many areas already, then the rest should follow. To a point this approach has been right, but I will admit this MD-88 is not totally or will ever be a full study simulation, but it is certainly (far) better than some that do declare they are study simulations.
Update v1.31
As noted this update is on the small stuff the systems and behind the panel in detail. But first is the updating to PBR (Physical Based Rendering) rules. The PBR feature in X-Plane11 is one of its highlights, and textures have to be adjusted to take advantage of these effects. The MD-88 had a great advantage from the start with great textures (if not the best in X-Plane) so adding in the PBR effect was only going to be another step up again.
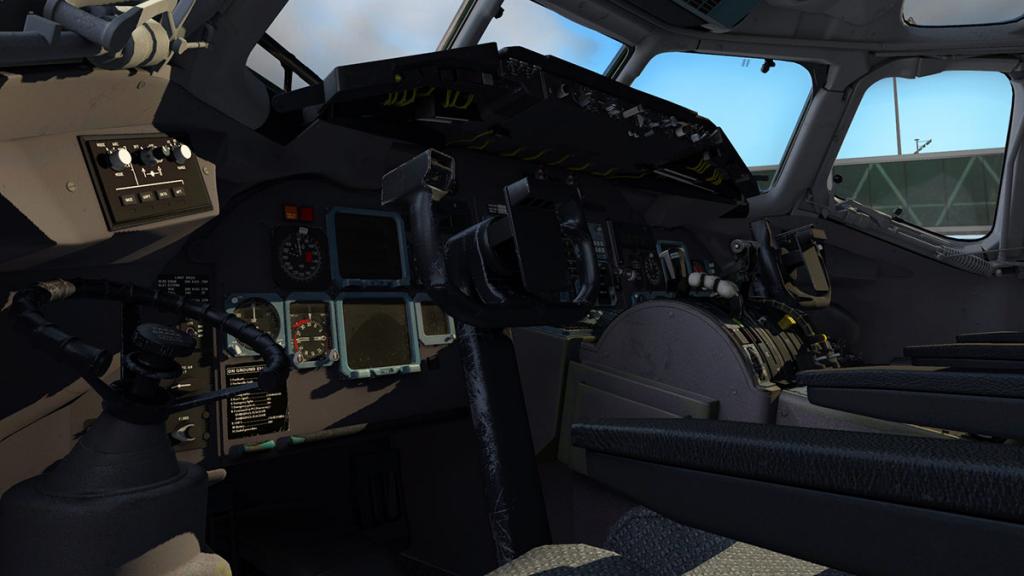
The Rotate MD-88 cockpit was always a great place to fly. Now it is even more realistic with the PBR addition. The lighting is simply amazing, but with the new PBR effects it now really brings out the sheer detail of the textures... the audio panels and heaters have also been redone.
With the power off then note the specks of dust and fingerprints on the glass of the instrument displays and FMC... lovely isn't it
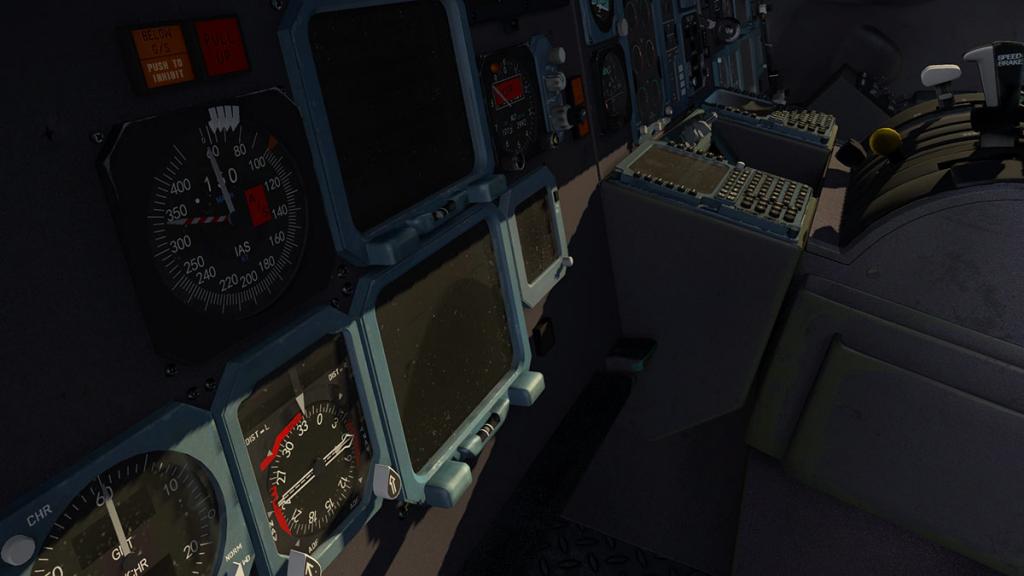
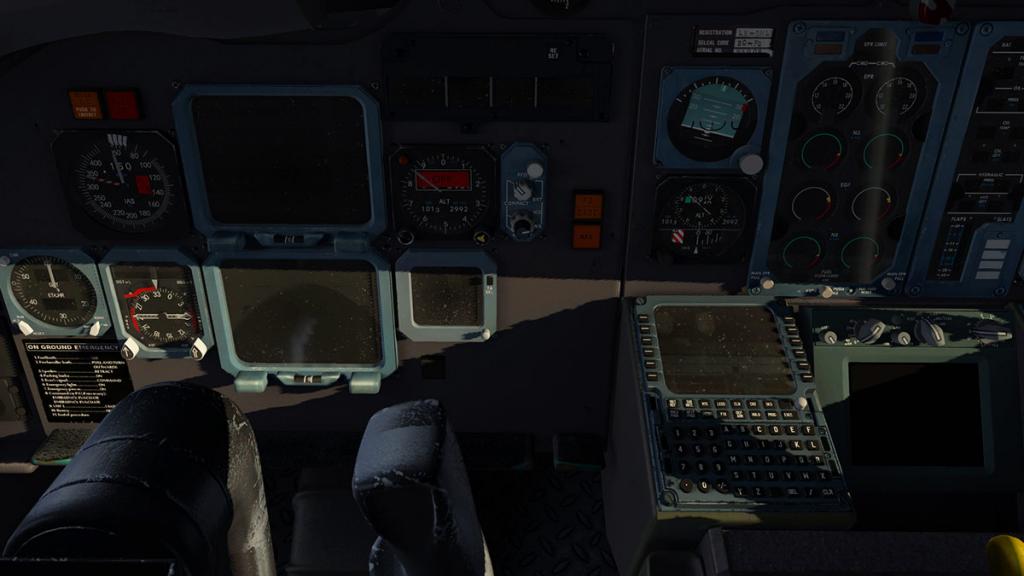
With the updated PBR textures the aircraft comes alive like nothing else. Many users laud the MD-88 for its excellent feel and realism, but you need to experience it to really believe how good they really are in the X-Plane11 environment.
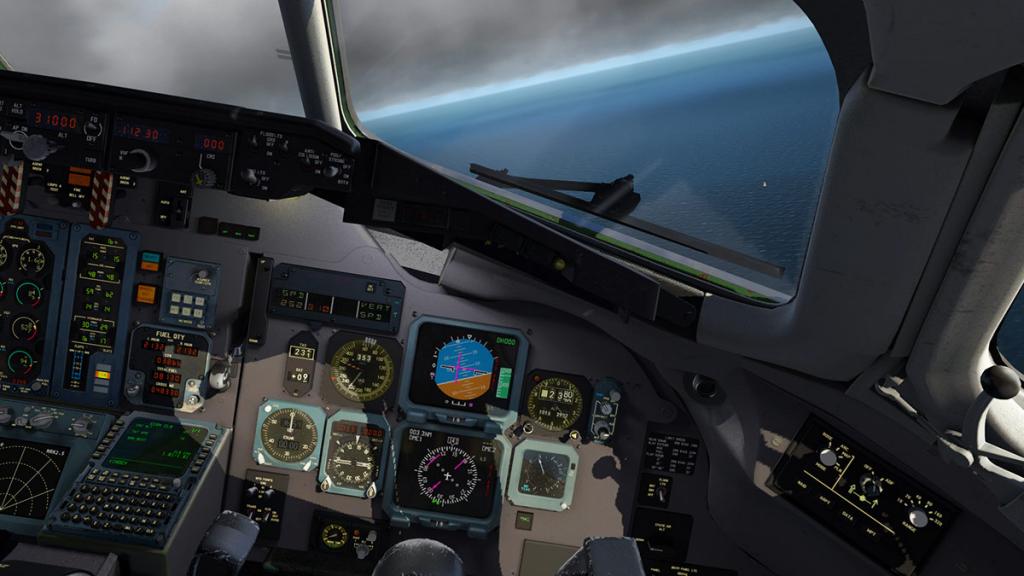

The external textures are again brilliant and capture the lighting effects like none other, it was the best then and it is now even more better than before if that is actually possible. On the ground or...
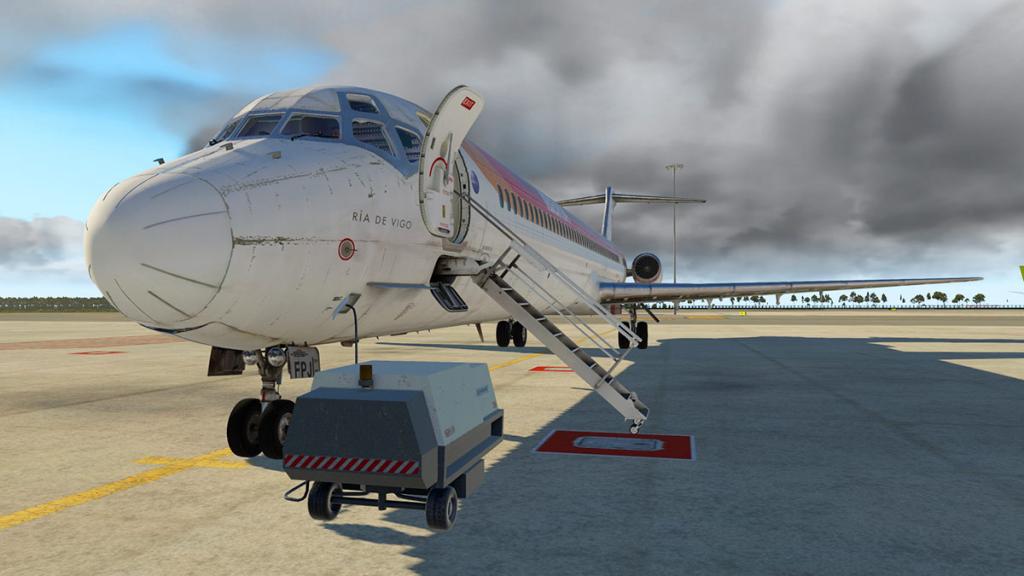
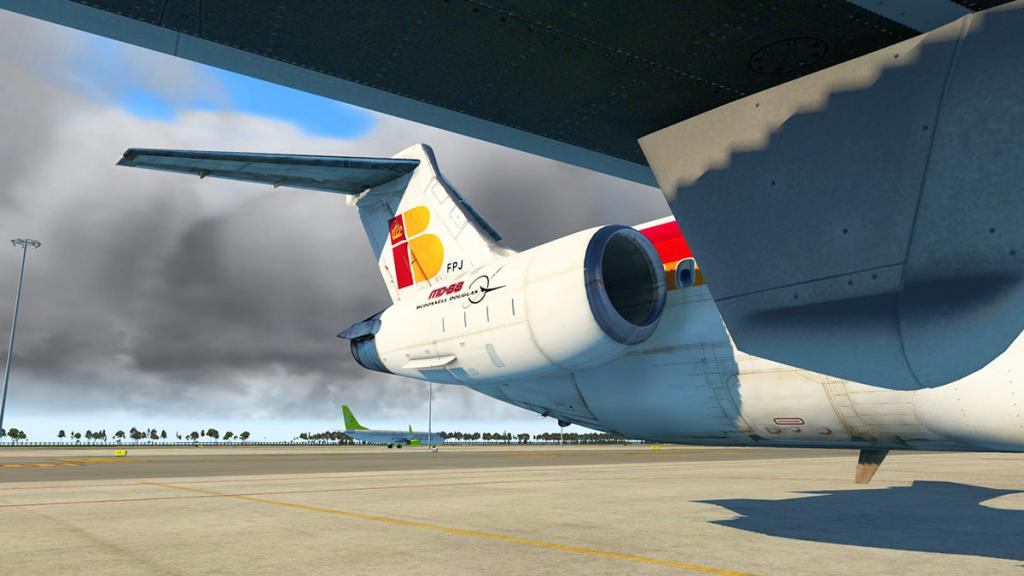
... in the air.
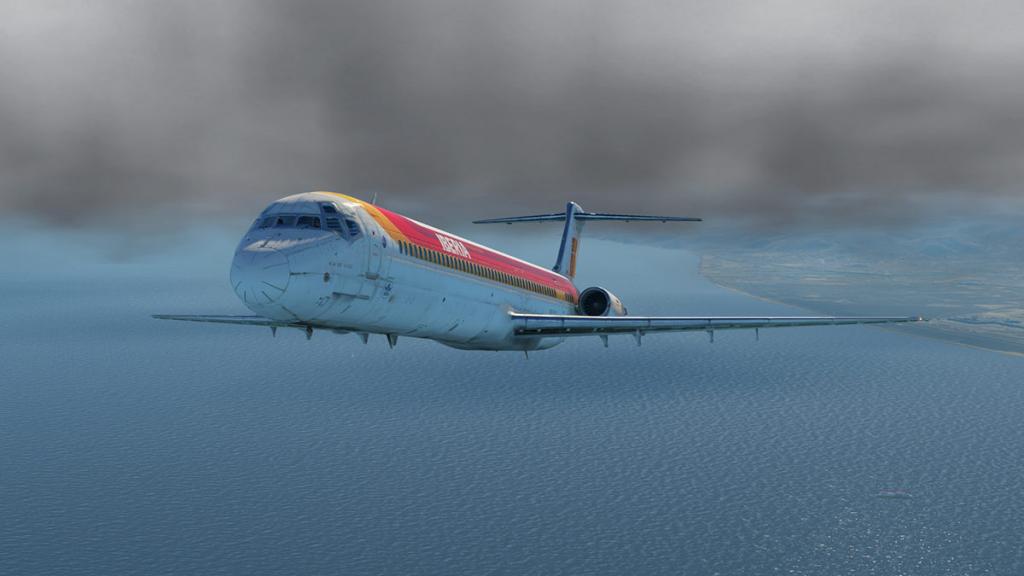

In v1.30 the engines were updated to JT8D-219's and in v1.31 the performance, thrust and predictions have all been refined even more to suit the new X-Plane11 thrust changes.
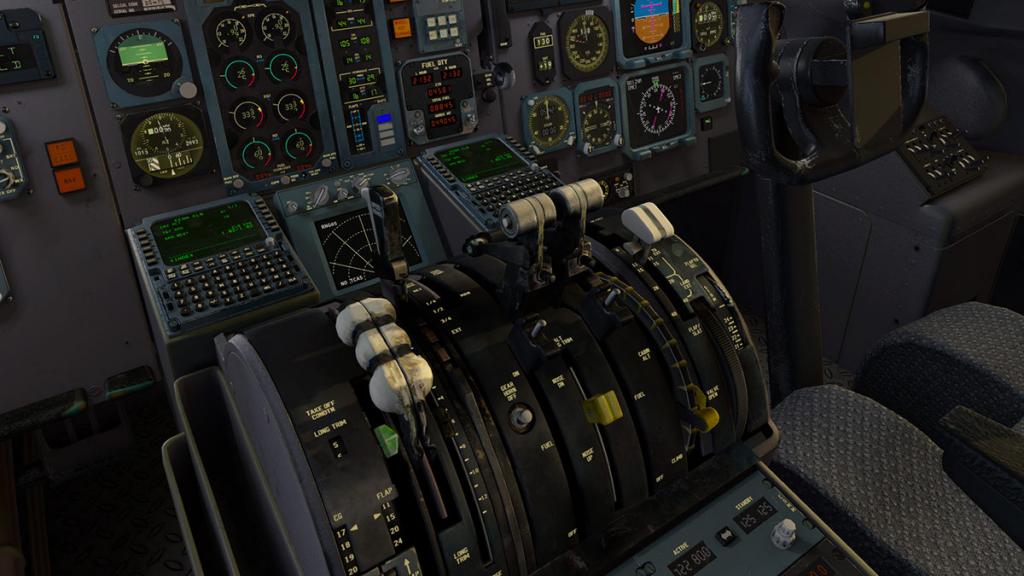
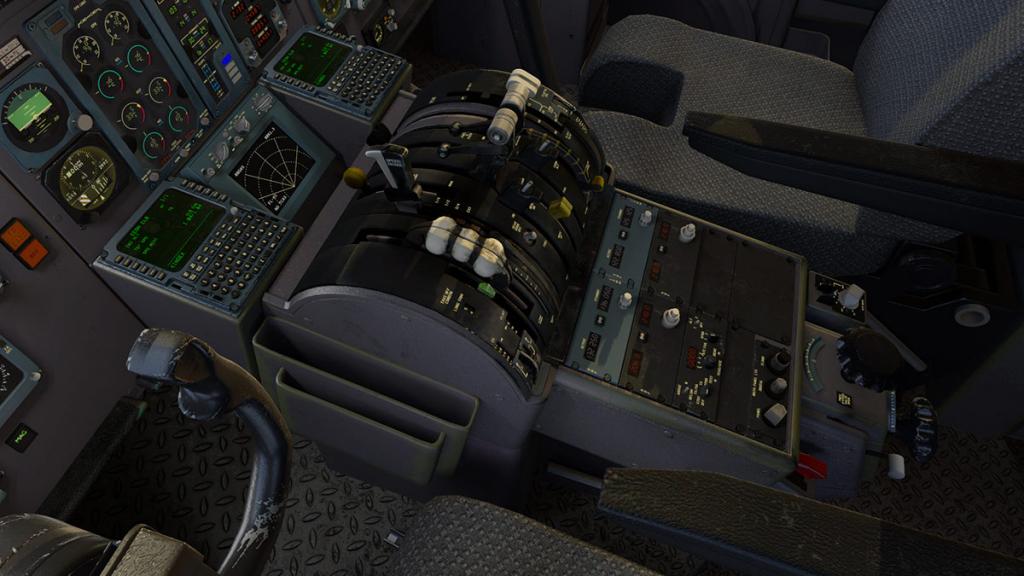
There was a bug in the throttle hand movements that has been addressed, with the axis manipulators in the pedestal handles also needing attention. I didn't pick this one up as I use a twin-throttle system, but it was an annoying bug.
Working through the panels and certainly with a focus on the over head panel will reveal that most items will now be active, even the ones that are duplicated like the External Power supply panel that now works in both the top of the OHP and in the lower electrical section as well. A small hint. The "Flight Recorder' alert comes on when you are on the ground, to reset then go to the Flight Recorder switch under the red panel at the very very top or rear of the OHP.
System corrections covered are Hyd Pressure LOW alerts will now shown when pumps are in LOW, GEAR hydraulic dependency is active, DFGC will self-test, fuel burn is now derived from Air Packs and there have been corrections in the Fuel Flow indicators. The IRS align timing has had an alteration to 5mins align time, I found that you have to switch to "Align" on the OHP to select the start of the align sequence with the correct Co-ordinates set on the FMC, then switch to NAV (OHP) to complete the sequence.
There is a few adjustments to the autopilot panel. Most of the manipulators have had some attention and if you now hold them they will continue to "repeat" rather than having to select them singularly, however the speed knob is still slow by dragging. Most autopilot sub-modes are now also functional. There is now also extra command modes available, but my request for a Speed to Mach direct switch over is still not implemented. The VNAV descent profile calculations have also been overhauled.
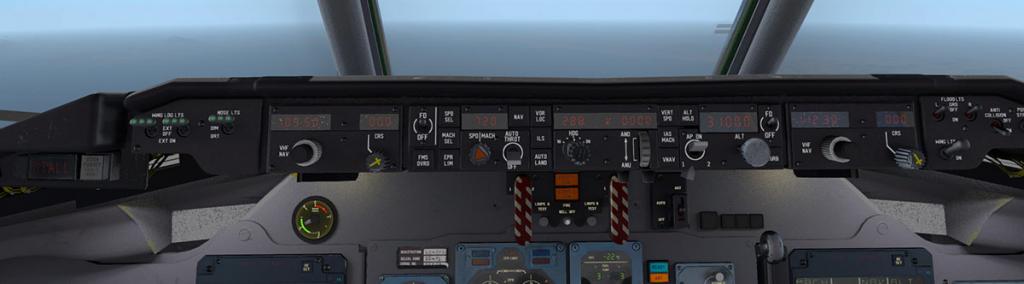
The Yokes now move to the Autopilot's servo commands. I bet you don't notice that before, but the yokes now actually move under the AP control. The really noticeable thing is they slightly vibrate and move constantly to the adjustments which is highly realistic and you can be transfixed for ages watching them.


Every update will always see more refinements to the FMC (Flight Management Computer) It is very comprehensive now and covers most functions. Including a very good "Progress" page and all ECON CLB (Climb), CRZ (Cruise) and DES (Descend) modes.

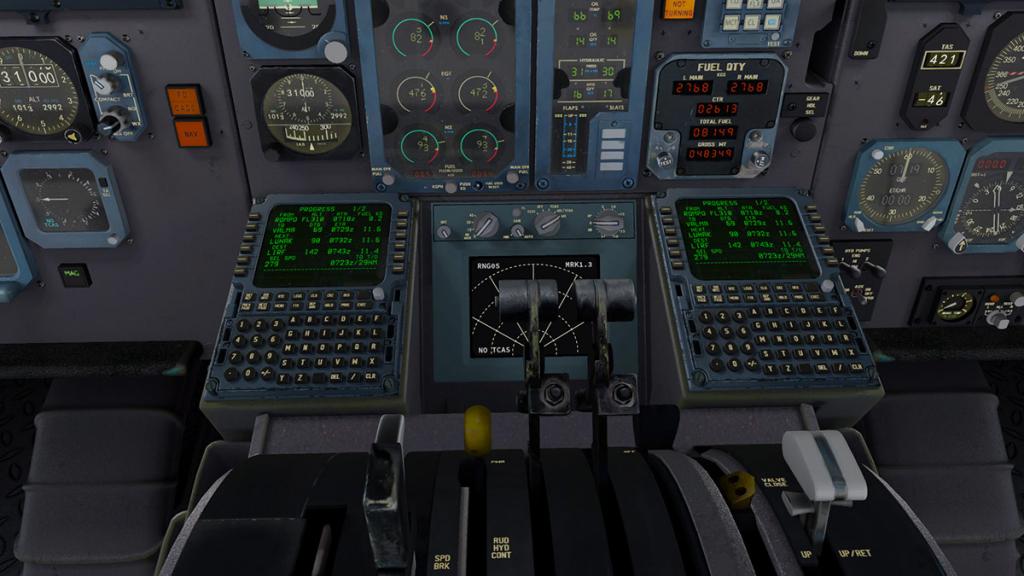
I found it pretty good, but I still rely on setting the vertical speed and aircraft speed to hit the numbers correctly, but the information and it is very comprehensive and is there if you need it. The CO ROUTE load routine now also accepts navaid ID collisions.
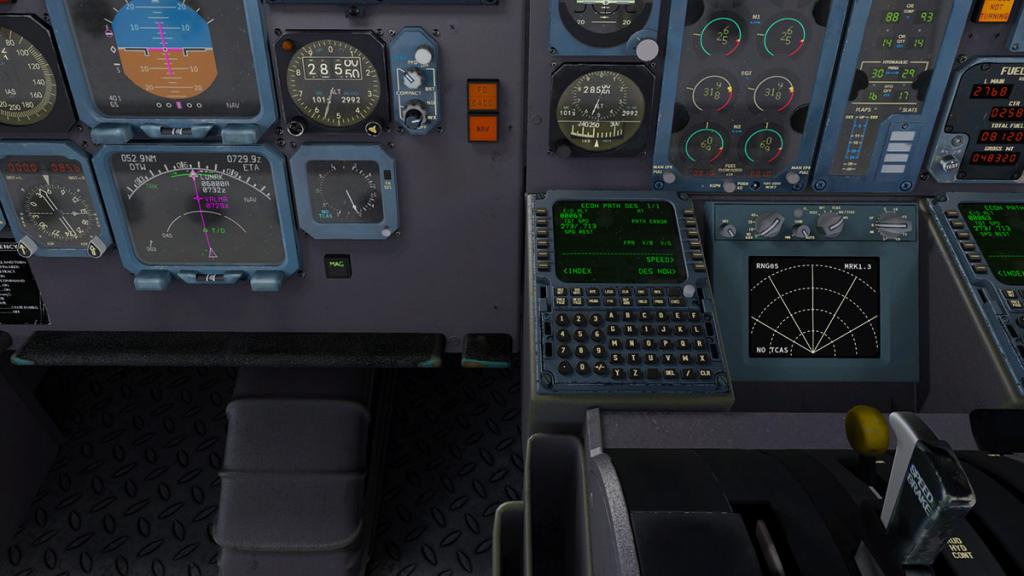

Other items covered includes that the SmartCopilot plugin is now supported and there was a few text errors around a few places including the FMC that have been corrected.
But v1.31 is about in the end the flying.
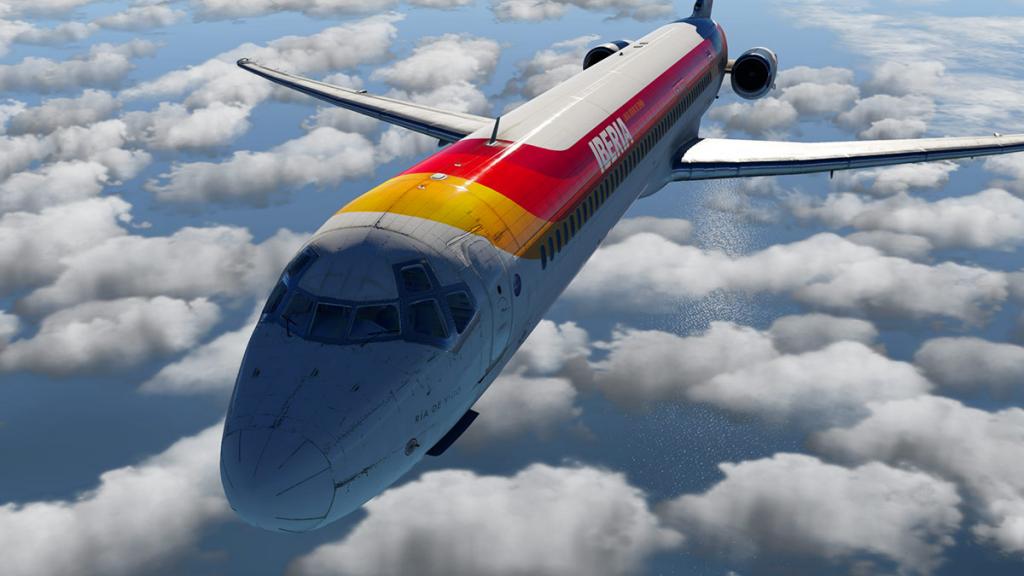
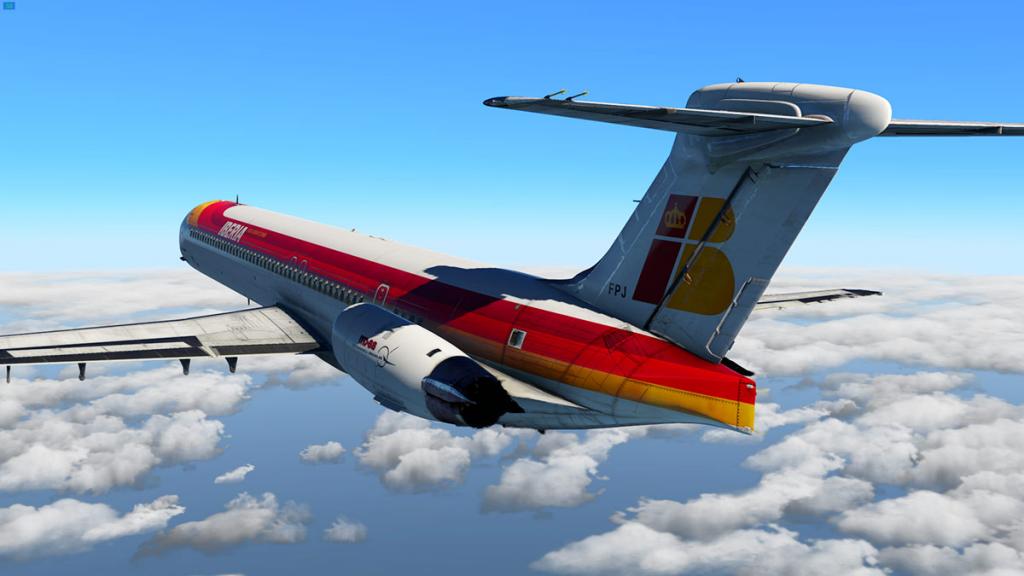

I have done a few (no a lot) of services between LEBL (Barcelona) to LIRF (Roma) as it is a regular usual routine route for me.
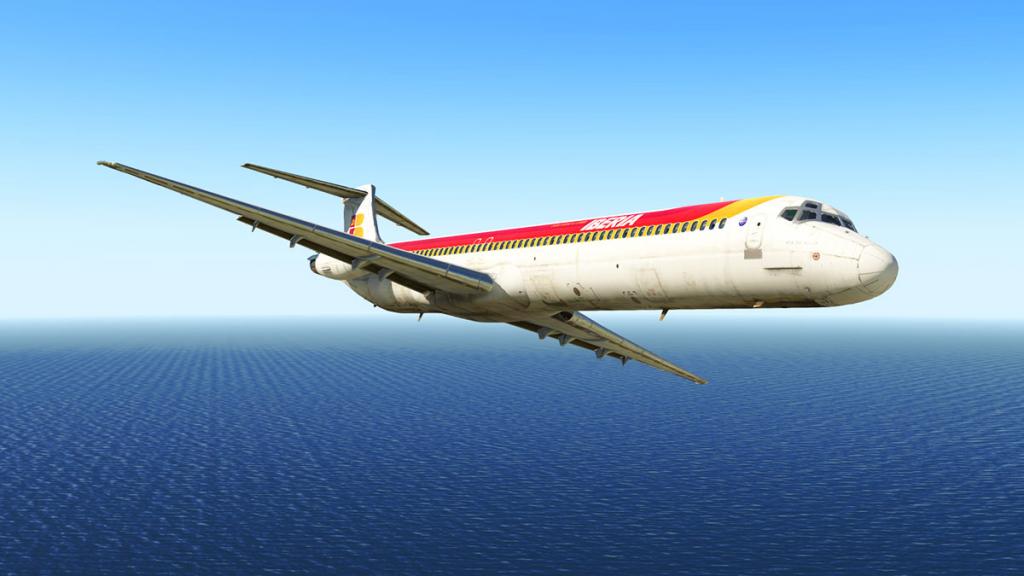

And I am now running with the new XPRealistic plugin as well in this version. Now the MD-88 as in Mad, and with the XPRealistic in its sheer realism is a great combination of simulation... it works as if it is just too real.
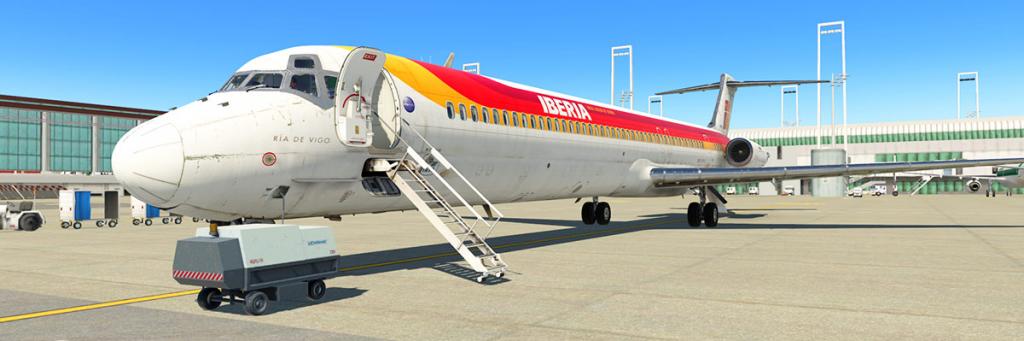
Summary
This v1.31 update is another fine tune basically, but focused on the X-Plane11 compatibility in PBR and systems. But combined with the earlier 1.30 update, then the MD-88 is feeling now all round very well rounded and if I may say so and feels even complete. I will stress no aircraft will be totally complete in X-Plane as there is always something to be adjusted or refined, but the feeling I now have is that the best way to say this about the Rotate MD-88 is that it is now very well matured, it is a magnificent simulation. Not absolutely perfect, but then what in life is... overall it is pretty good in that context.
In that same vein then Rotate has moved on to their next project which is going to be the McDonnell Douglas MD11, the 70's TriJet and if that aircraft is going to be as good as this MD-88, then we are in for a big treat, all I can say to that is bring it on...
_____________________________________________________________________________________

Yes! the v1.31 McDonnell Douglas MD-88 Pro by Rotate is NOW available from the X-Plane.Org Store
here : McDonnell Douglas MD-88 Pro
Price is US$59.95
If you already have purchased the McDonnell Douglas MD-88 by Rotate, then go to your X-Plane.OrgStore account and download the free v1.31 update.
Developer Rotate - Rotate.Com
Developer Support - MD80 - X-Plane.Org
_____________________________________________________________________________________
Features:
-> Precise flight model and fine tuned engine performance-> Developed with the advice and counseling from MD-80 licensed pilots-> Works great on all three platforms: Windows, Mac and LinuxCustom Flight Management System (FMS) and Automatic Flight- Route, departures and arrivals procedures (SIDs and STARs)
- Save and load route to/from text file
- Performance management, cost index and optimal altitude and speed calculation
- Custom VNAV. Climb, cruise and descend management with altitude and speed restrictions
- Takeoff and approach speed management
- Custom Navigation Display
- Improved autopilot with specific horizontal and vertical modes
- All EPR performance modes
- Flight Mode Annunciator
- Aerosoft NavDataPro (2014) included (for updated database third party subscription is needed)
Detailed simulation of systems- Power plant
- Electrical
- Pneumatic and pressurization
- Slat/flap controls with dial-a-flap feature
- Takeoff trim computer
- Customized alert and failures
Hyper-realistic visuals- Highly detailed 3D cockpit, passenger cabin and exterior model
- Normal and specular maps for enhanced detail
- Thorough HD day and night textures
- Accurate animations, including wing flex animation
- All external and internal lights\
Liveries:- A set of ten ultra-high resolution liveries, including a paintkit
Custom sounds- 3D sound engine with stereo and doppler effects
- High quality multi-layered engine sounds
- Cockpit ambient and custom alerts
_____________________________________________________________________________________
Requirements
X-Plane 11 or X-Plane 10.51+Windows Vista/7/8/10, OSX 10.9+ , Linux Ubuntu 14.04 (or compatible) and up - 64 bit operating systemProcessor: Multi-core Processor 3.3GHz - 8 GB RAM -Hard Disk: 3.3 GBGraphics: 2GB VRAM (3 GB VRAM or more for best performance)Current version: 1.31r2 (last updated July 6th 2017)File Download is huge 960.40mbCoG Table jepg: CoG Table.jpg.zip_____________________________________________________________________________________
Version v1.31 full changelog:- Updated engines, performance and predictions in XP11 version.
- Updated exterior textures and normal maps.
- AT submodes now functional.
- Improvements in cockpit-fans sound.
- Added yoke animation responding to servo's commands.
- Command based manipulators now support "repeating" while control is held.
- Added commands for AP control as requested by cockpit users.
- Basic support of SmartCopilot plugin.
- Corrected a bug in VNAV descent profile calculation.
- Corrected a bug in throttle handle movement.
- Corrected texture problem in texts of central panel.
- Corrected axis manipulators in pedestal handles.
- Corrected bug in CO ROUTE load routine. Now it accepts navaid ID collisions.
- Corrected bug in HYD PRESS LOW alerts. Now shown when pumps are in LOW.
- Corrected bug in GEAR hydraulic dependency.
- Corrected bug in DFGC self-test.
- Corrected bug in fuel burn derived from Air Packs.
- Corrected bug in Fuel Flow indicator.
- Corrected texture problem in Audio Panels and heaters.
- Corrected various manipulator errors.
- IRS align time has been changed to 5 minutes.
- Corrected a problem with engines flaming out a few frames after loading.
- Corrected a bug in route's trajectory calculation after a DISC.
- Corrected a problem in copilot's max speed indication.
- Corrected text error in CDU DES page.
- Updated manual and tutorial flight._____________________________________________________________________________________ Update Review by Stephen Dutton8th July 2017Copyright©2017: X-PlaneReviews(Disclaimer. All images and text in this review are the work and property of X-PlaneReviews, no sharing or copy of the content is allowed without consent from the author as per copyright conditions)Review System Specifications:
Computer System: Windows - Intel Core i7 6700K CPU 4.00GHz / 64bit - 16 Gb single 1067 Mhz DDR4 2133 - GeForce GTX 980/SSE2 - Samsung Evo 512gb SSD
Software: - Windows 10 - X-Plane 11.02
Addons: Saitek x52 Pro system Joystick and Throttle : Sound - Bose Soundlink Mini : Headshake by Simcoders : JARDesign Ground Handling Deluxe plugin
Plugins: Environment Engine by xEnviro US$69.90 : WorldTraffic 2.0 Plugin - US$29.95 : XPRealistic Pro v1.0.9 effects US$19.95
Scenery or Aircraft
- LEBL - Barcelona by Justsim (X-PlaneStore) - US$21.00
- LIRF - Roma Fiumicino Leonardo da Vinci Airport by Seaman and DtRs90 (X-Plane.Org) - Free

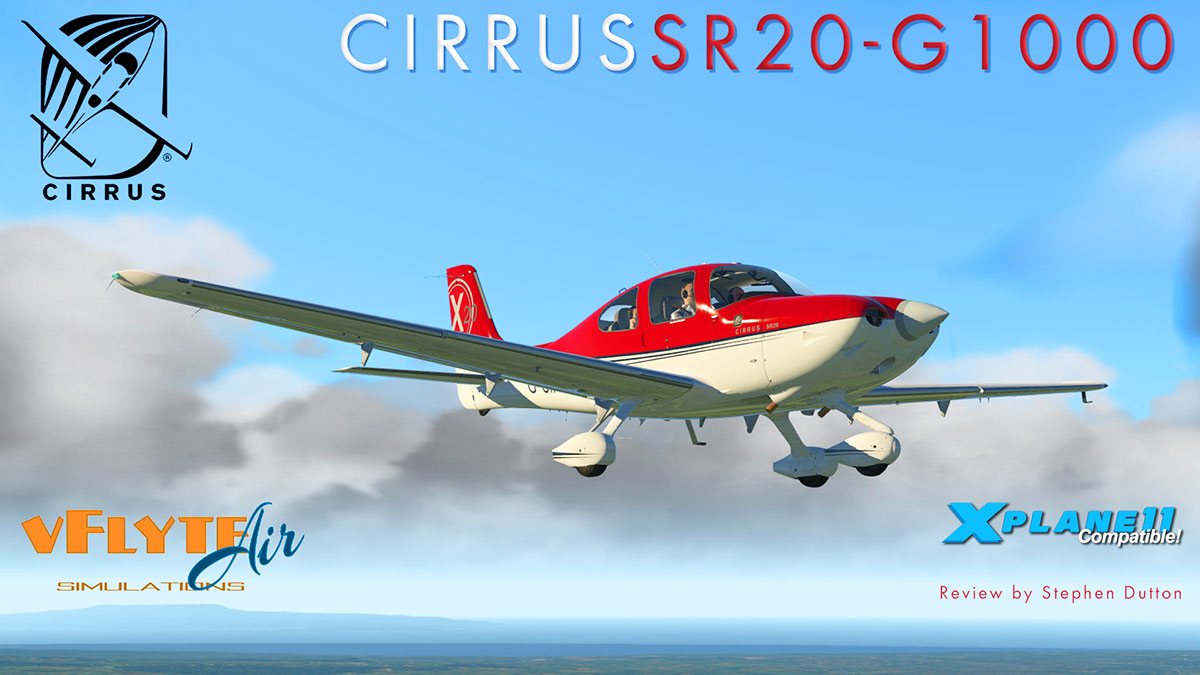


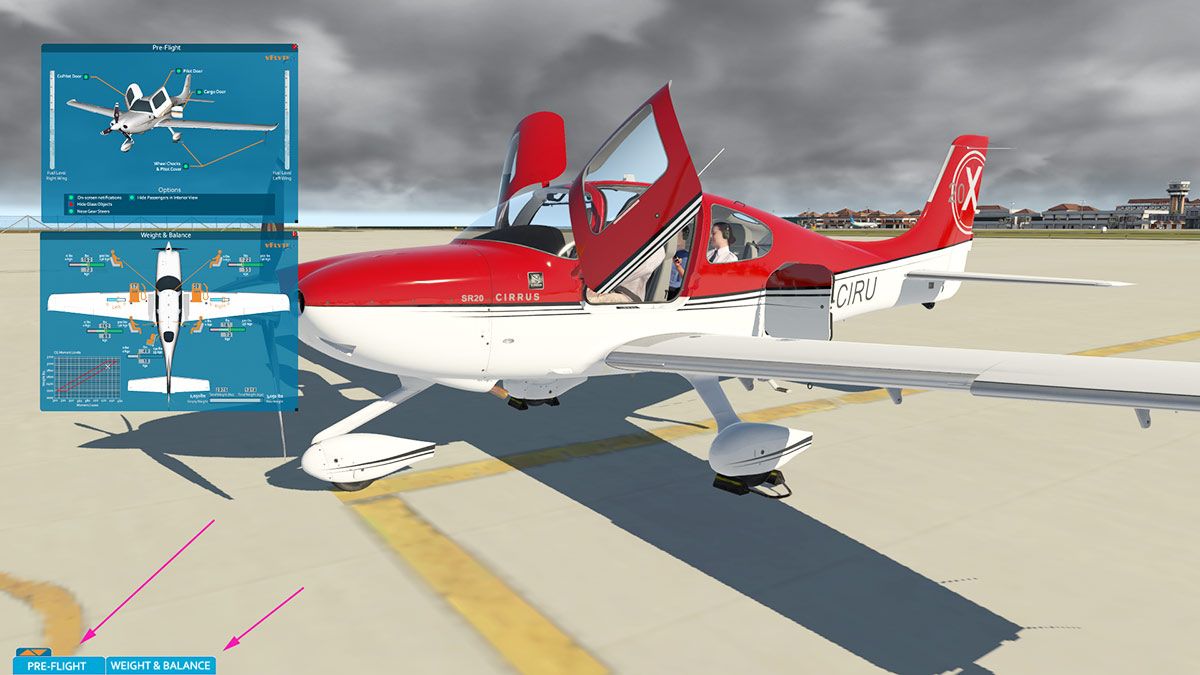

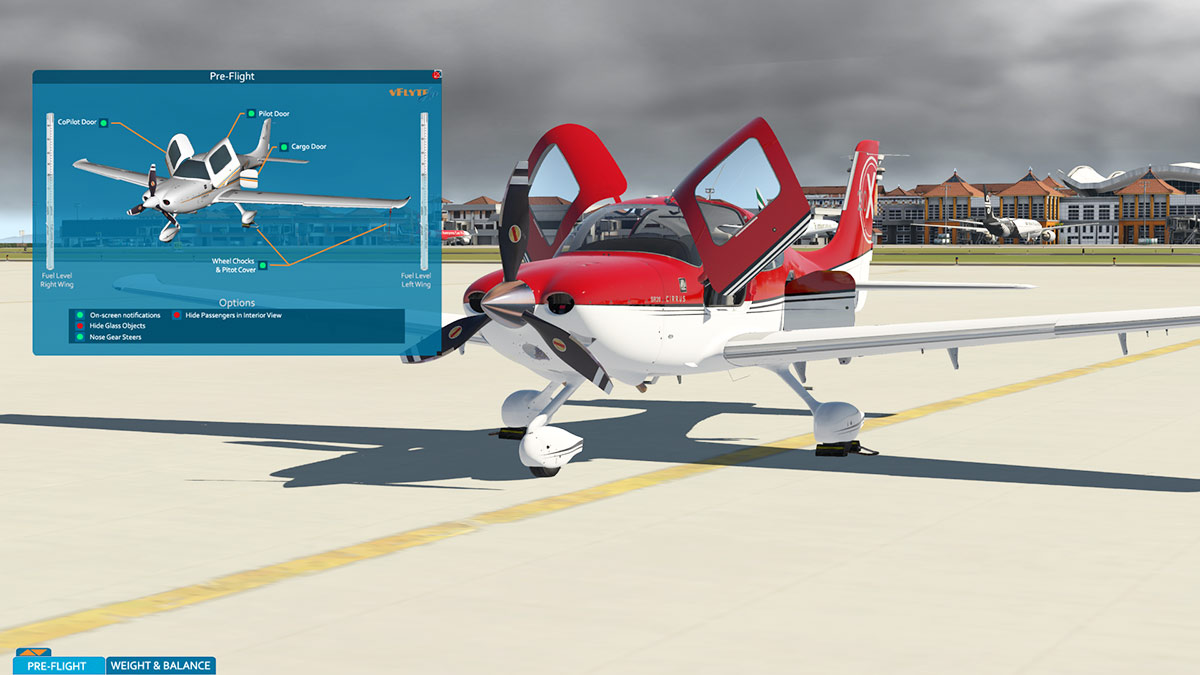

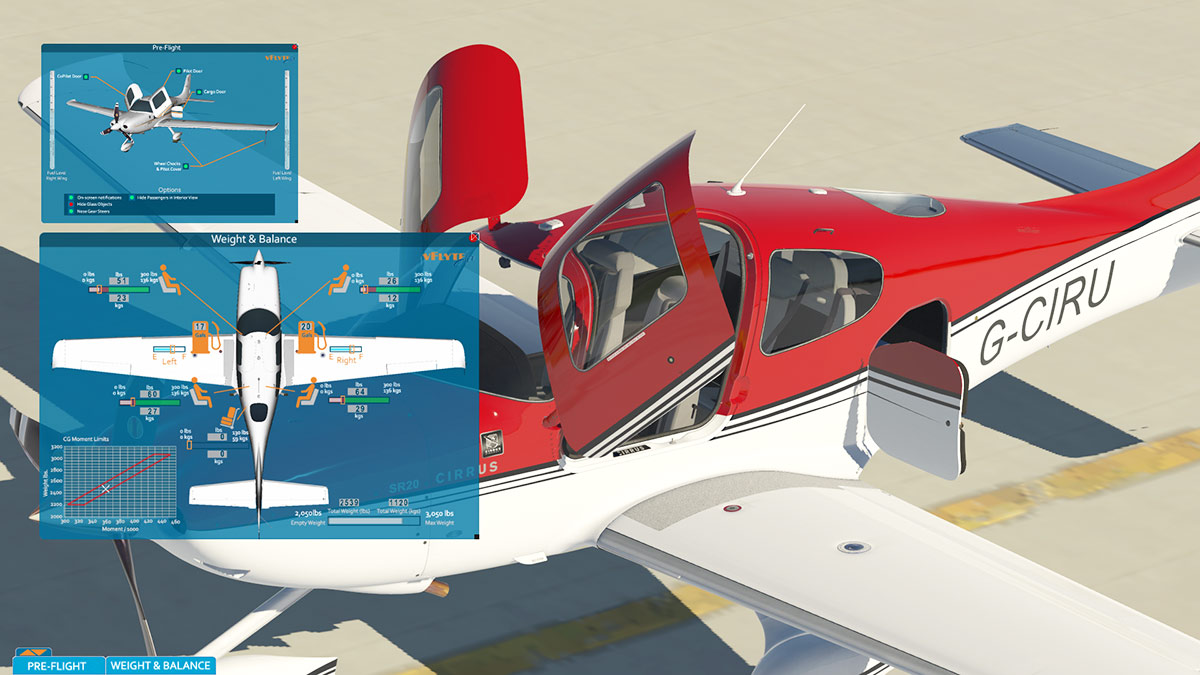
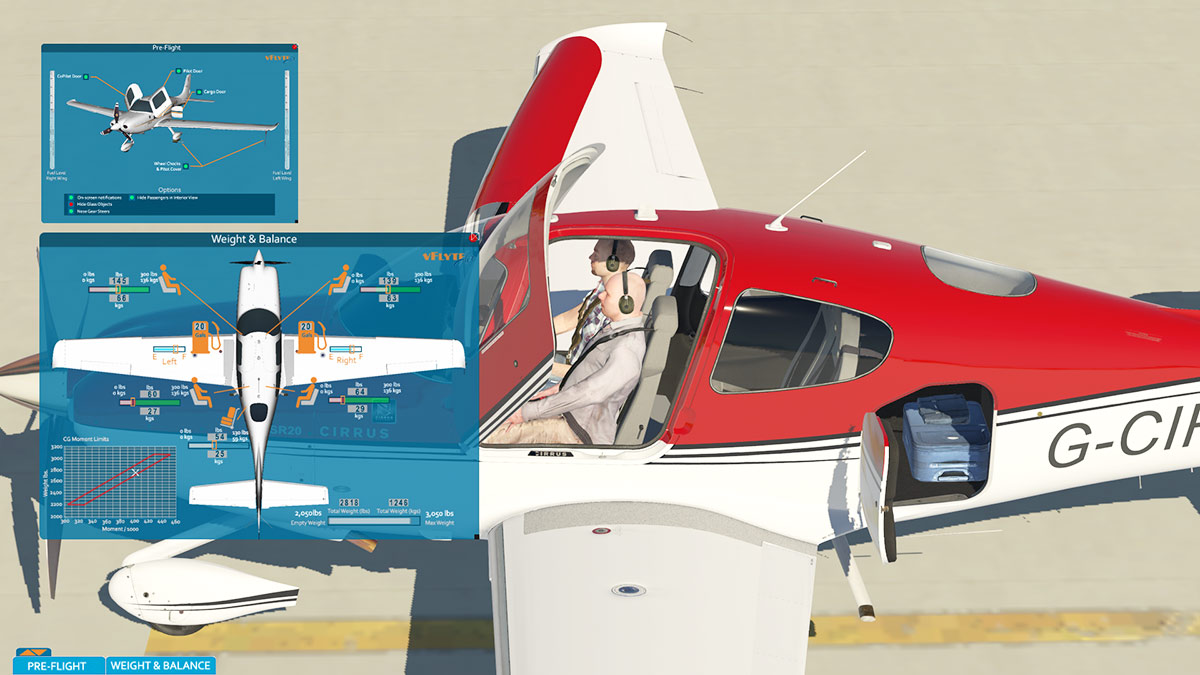
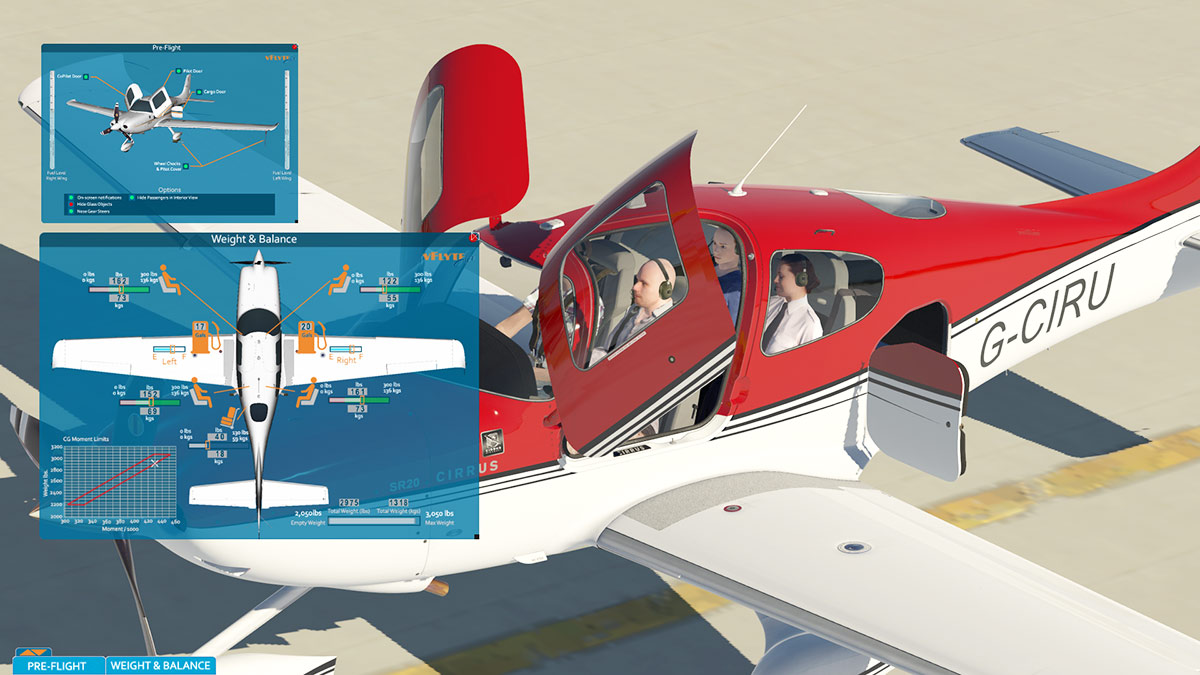

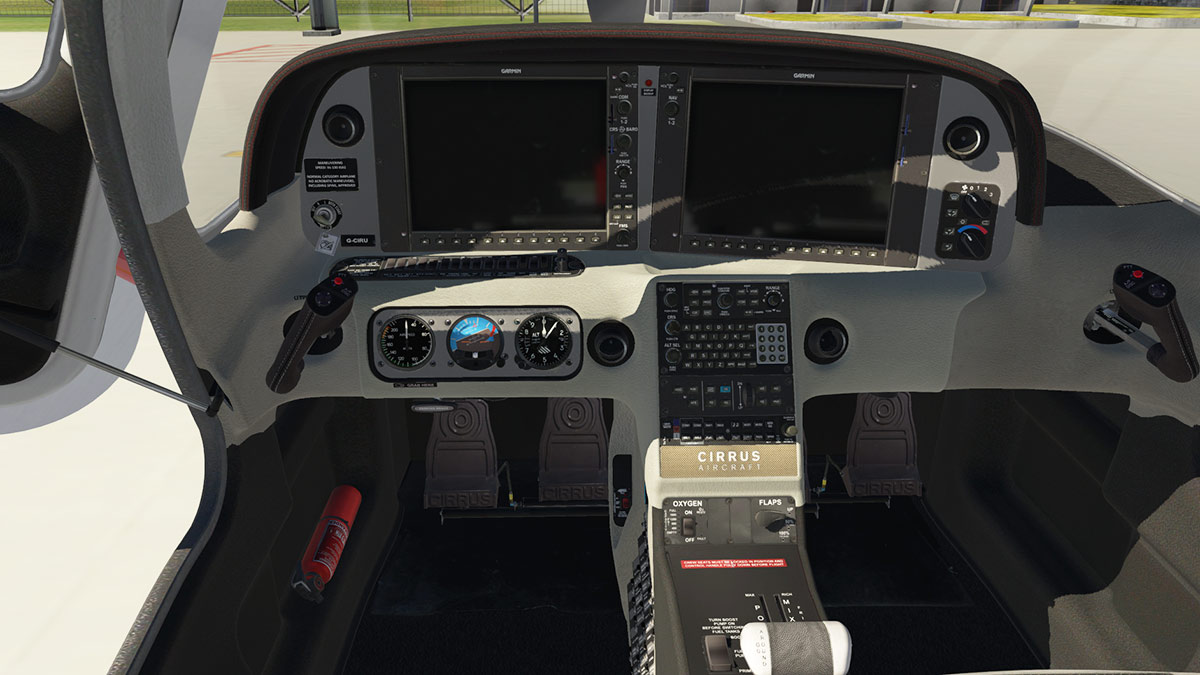
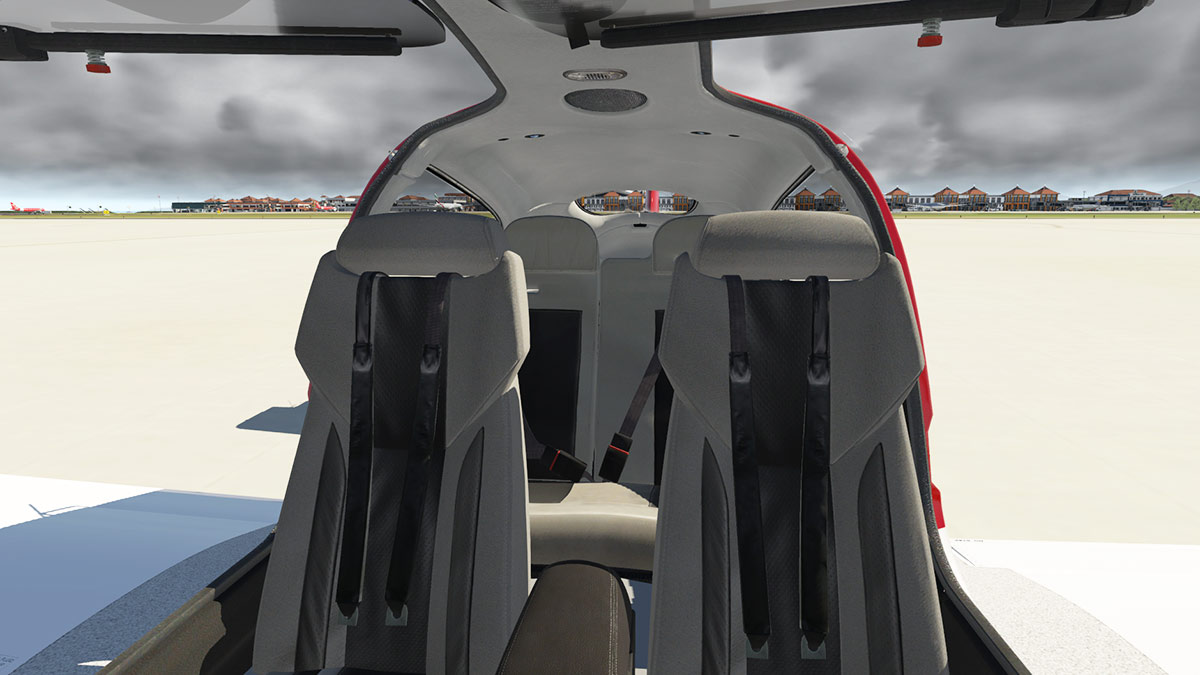
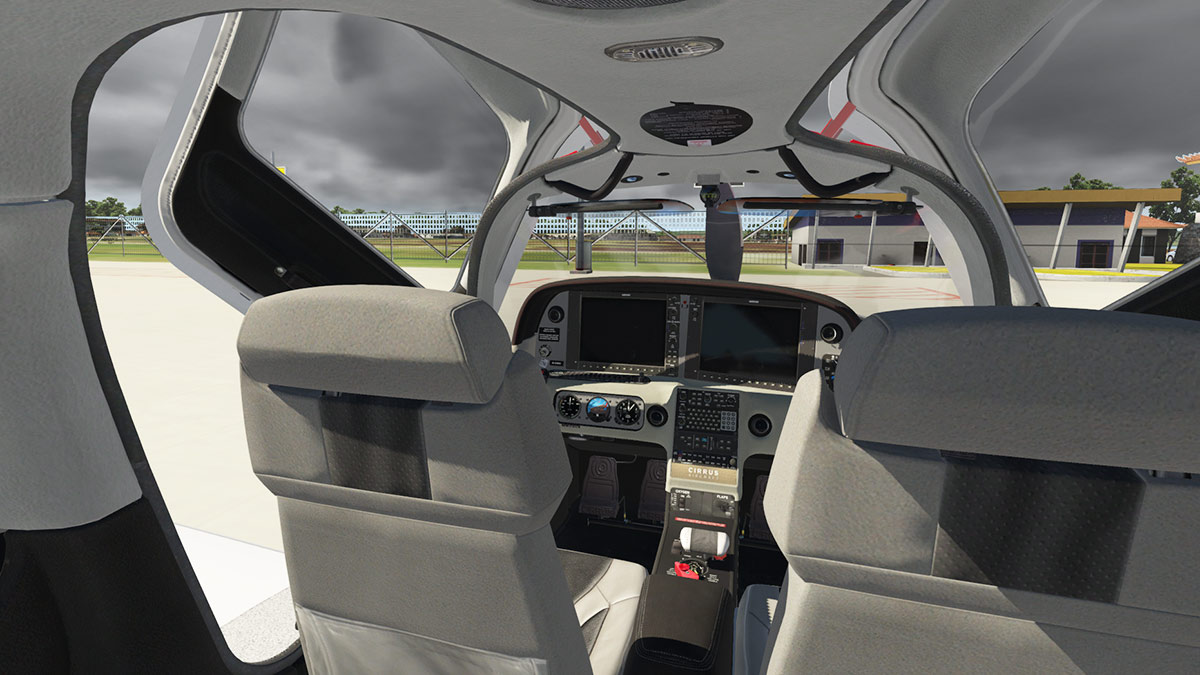


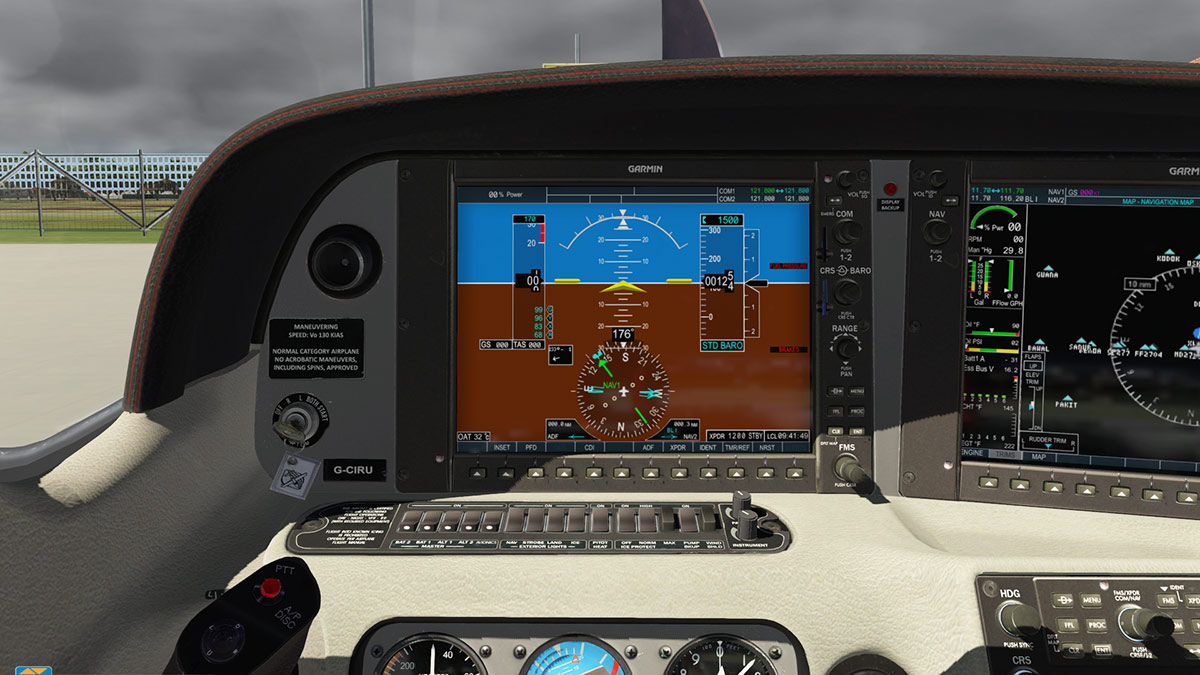

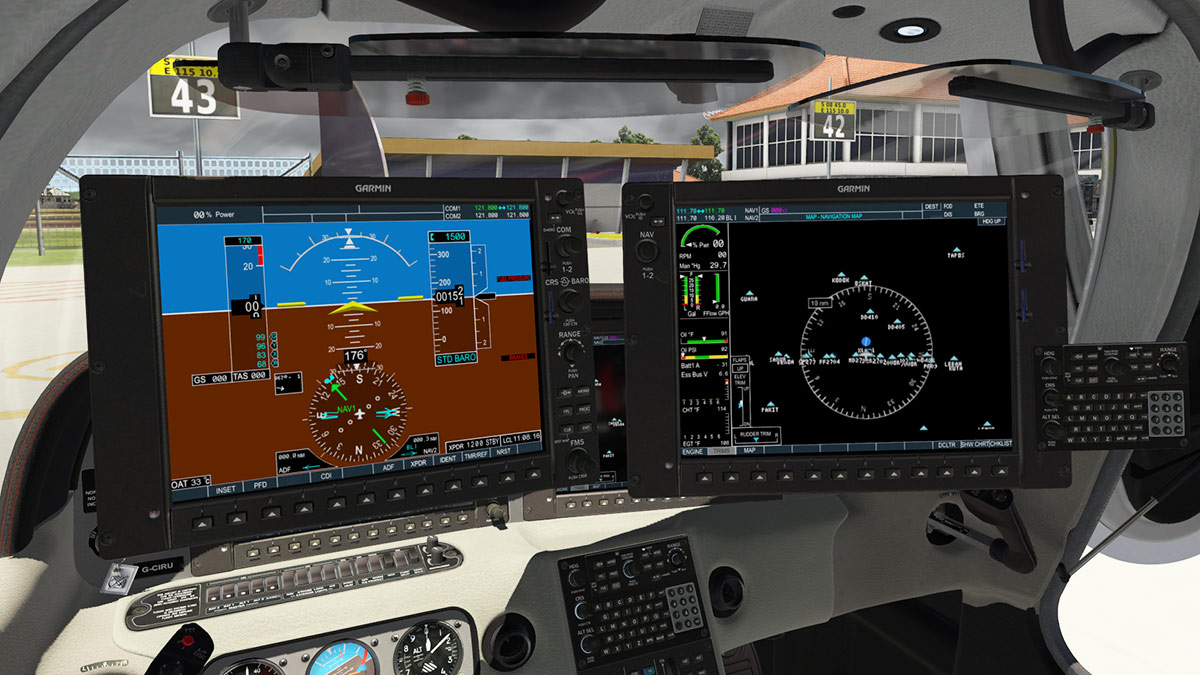


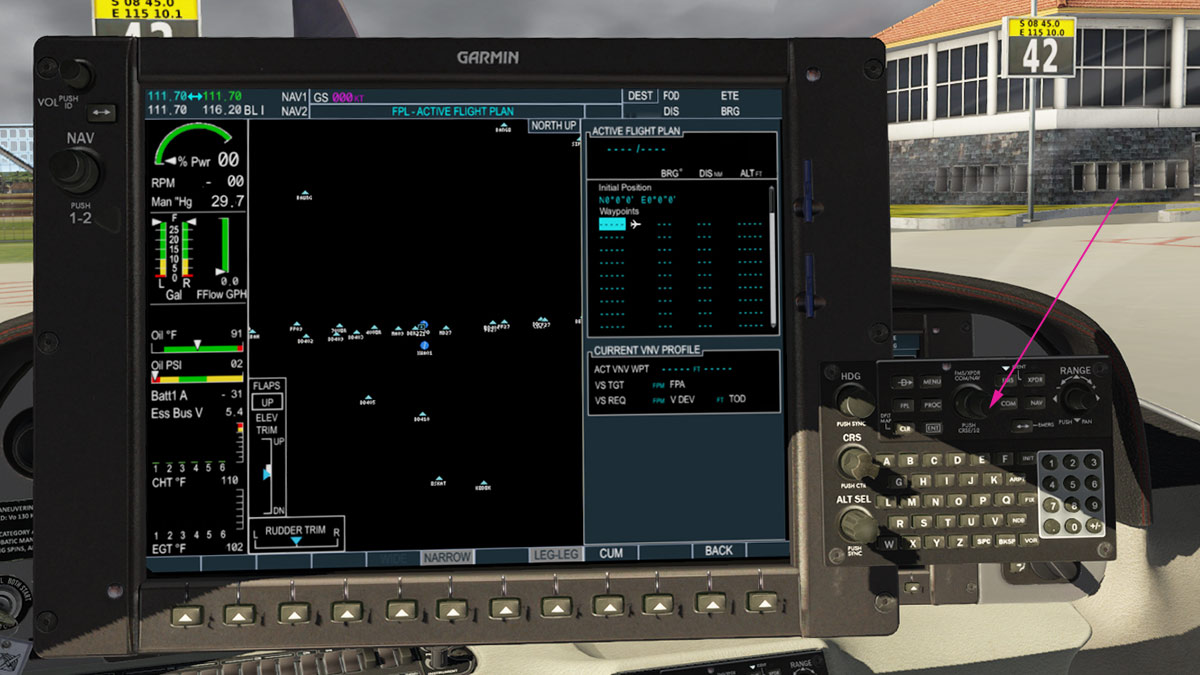
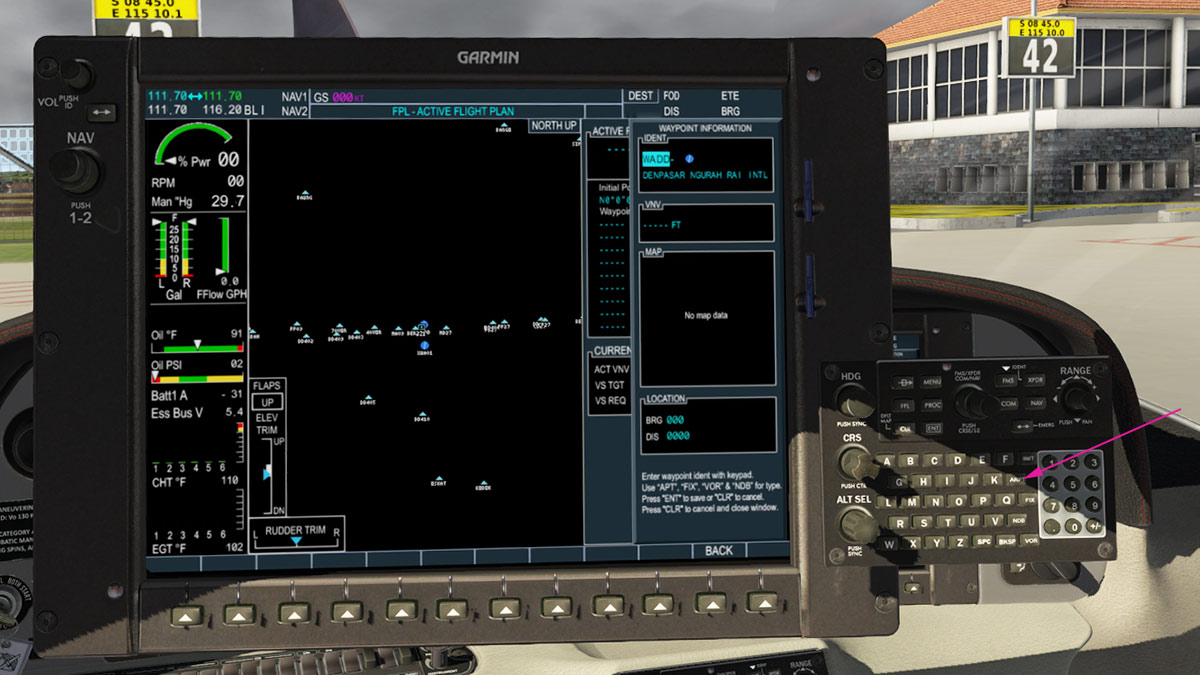
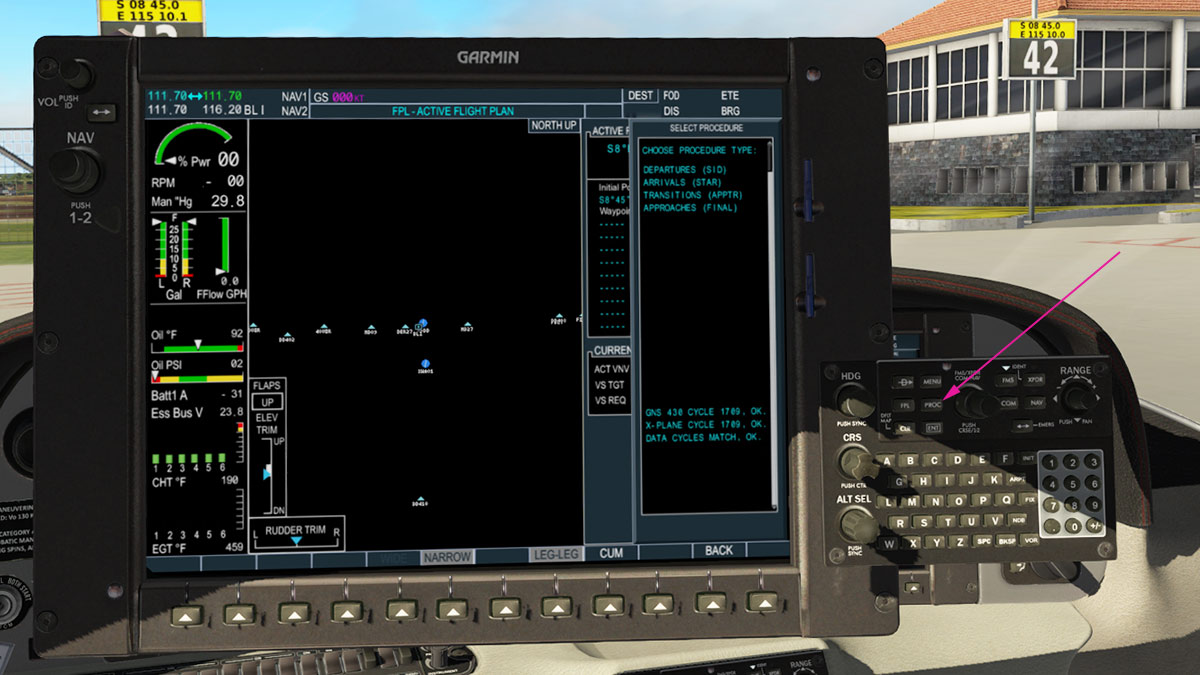
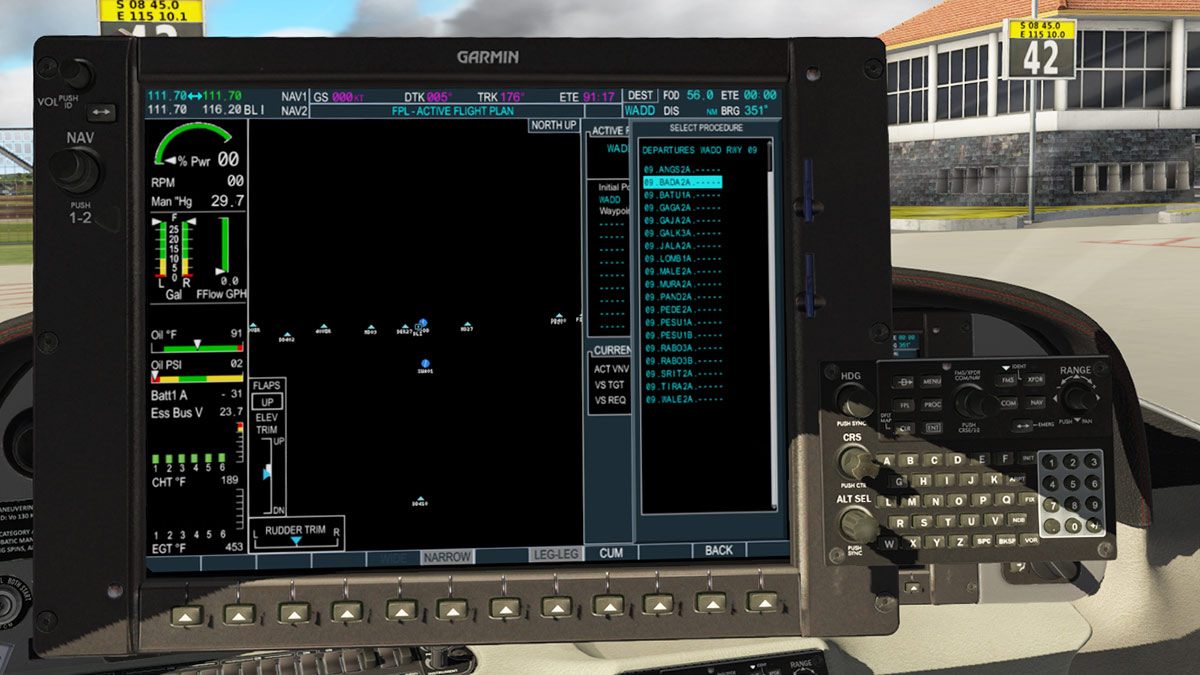

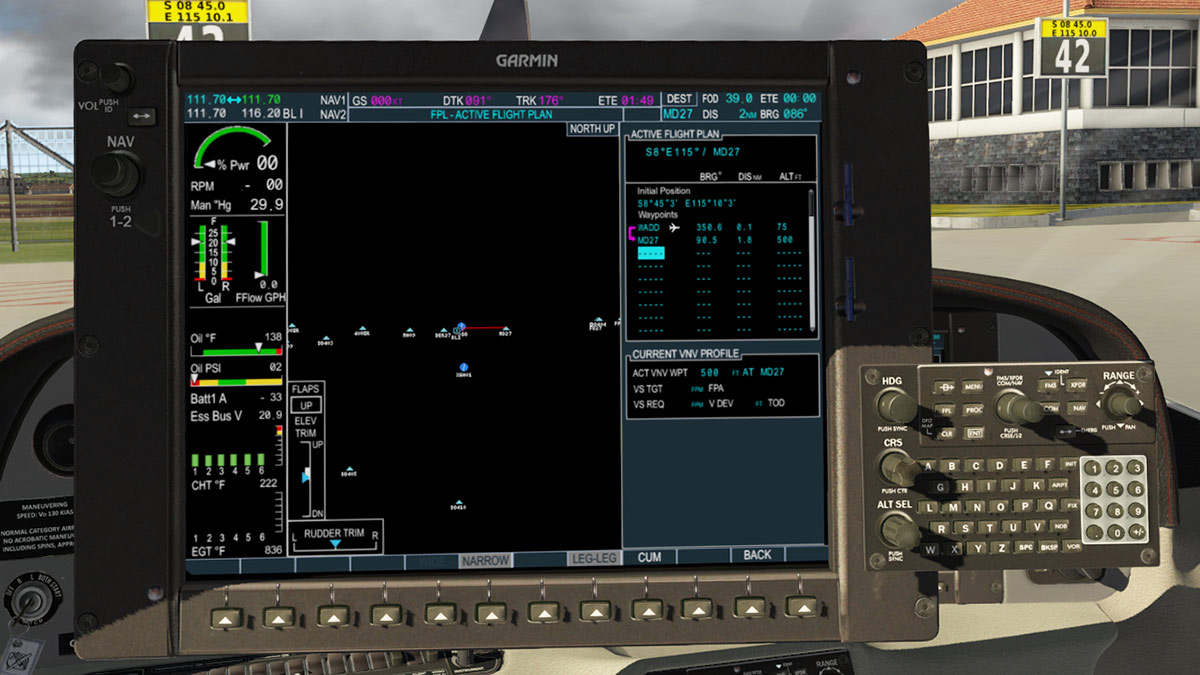


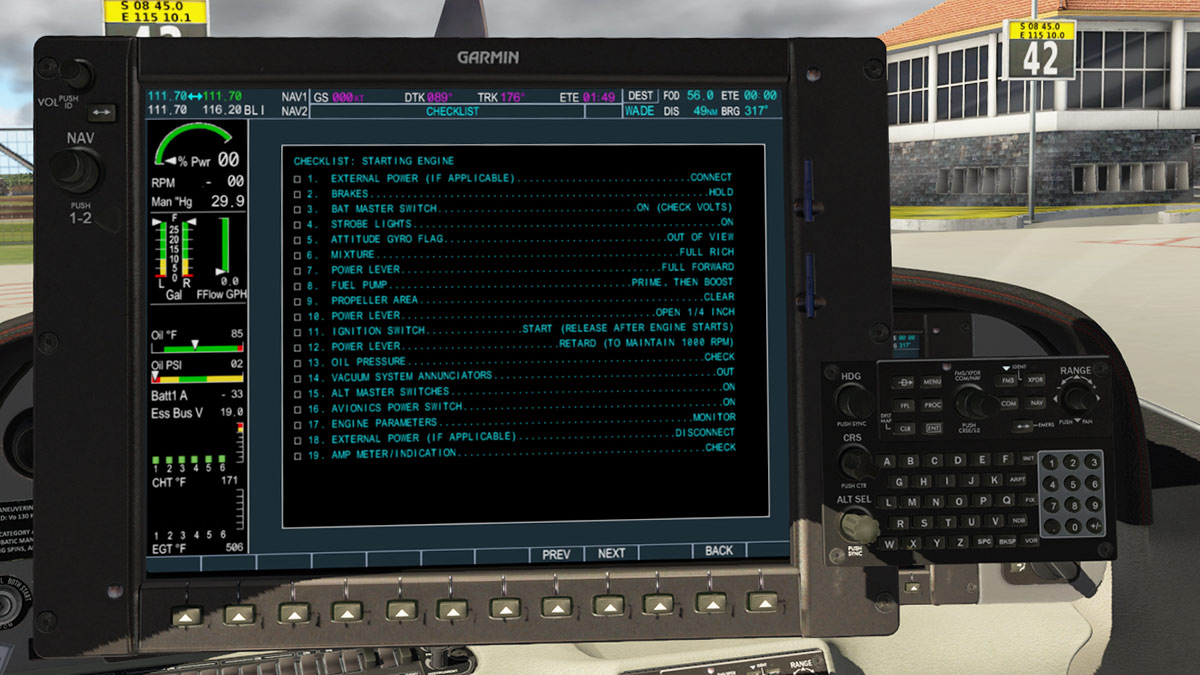
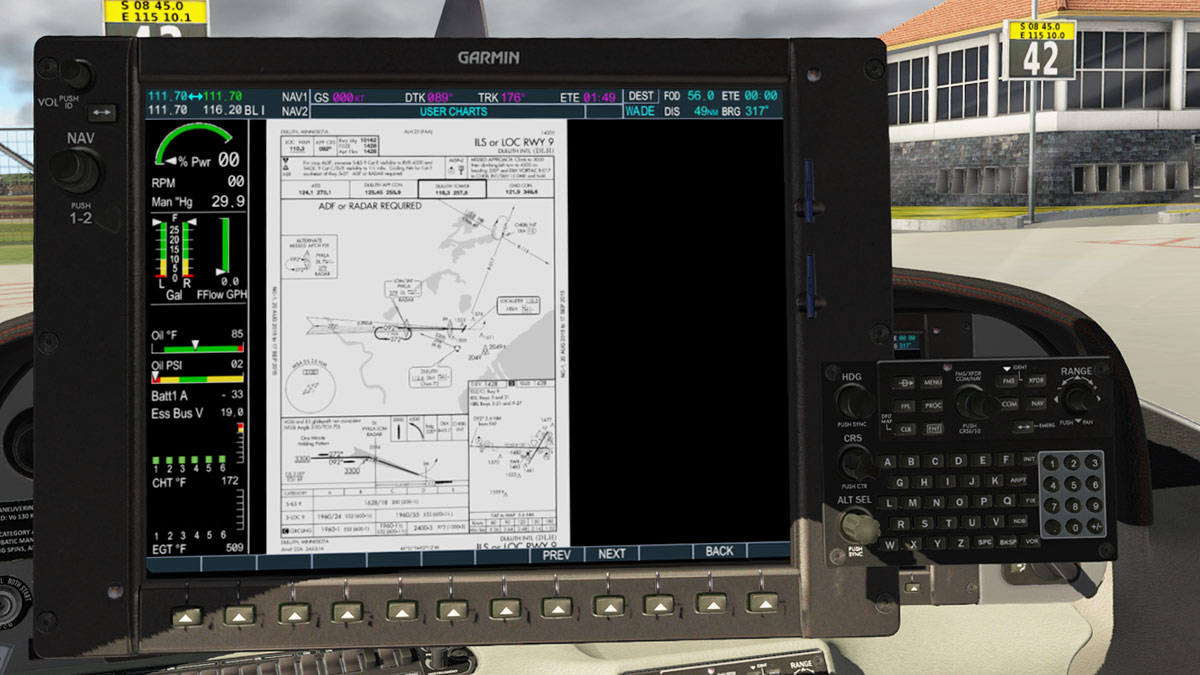
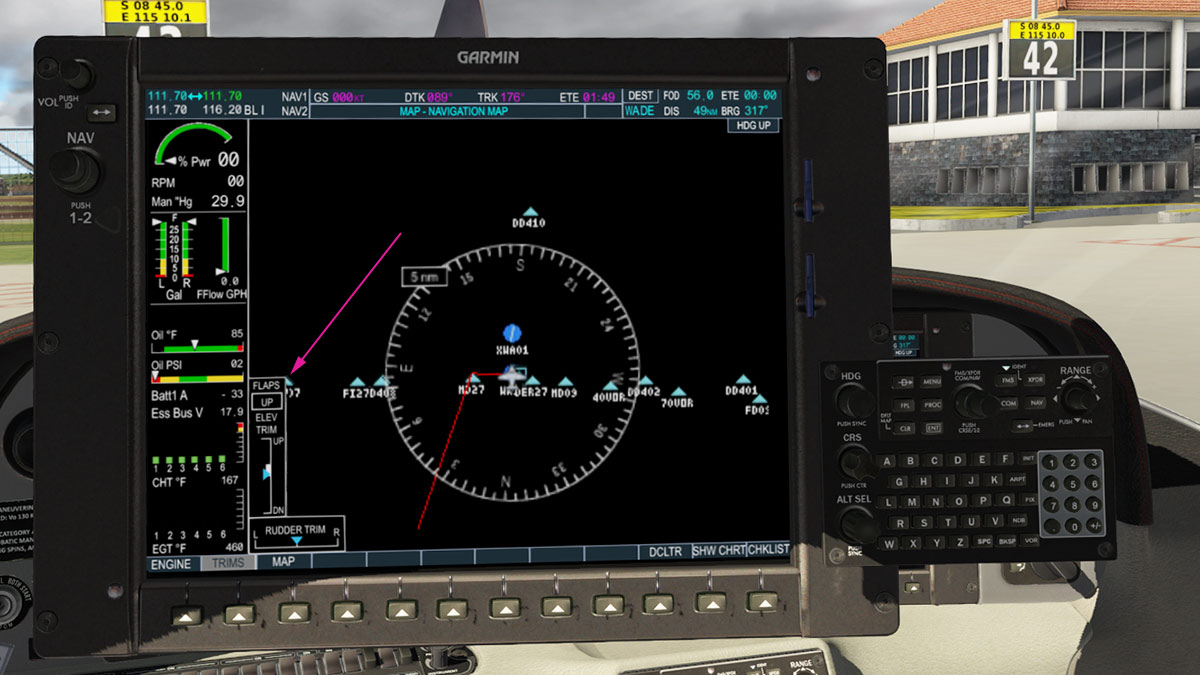
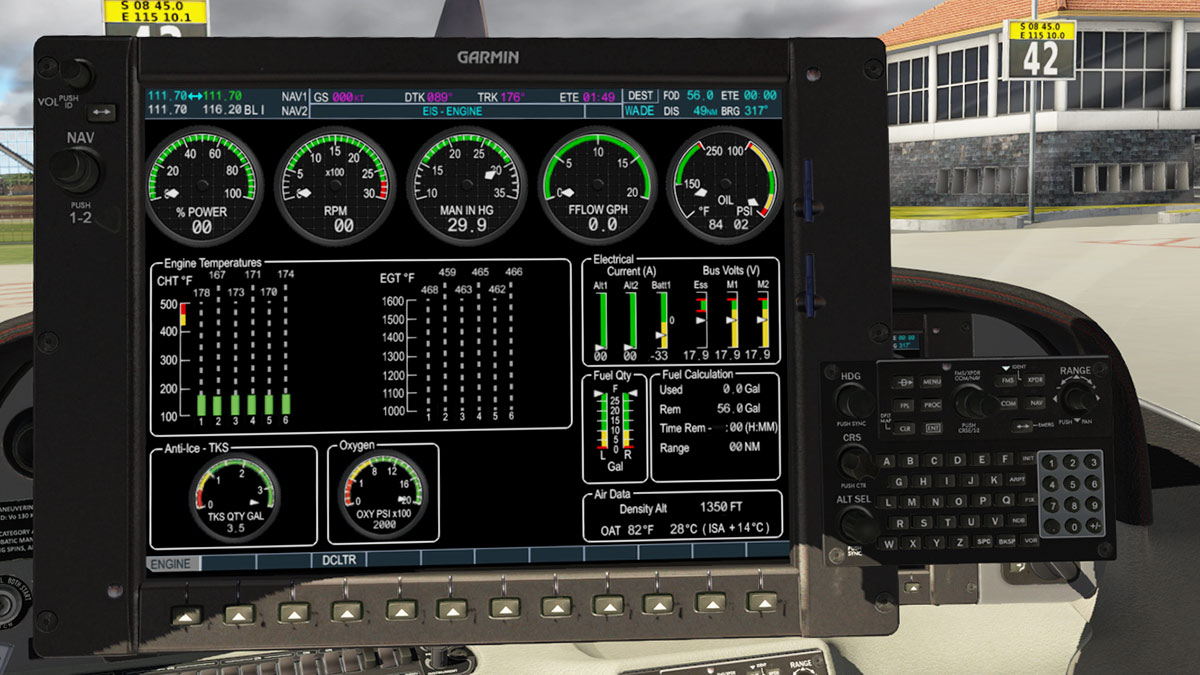


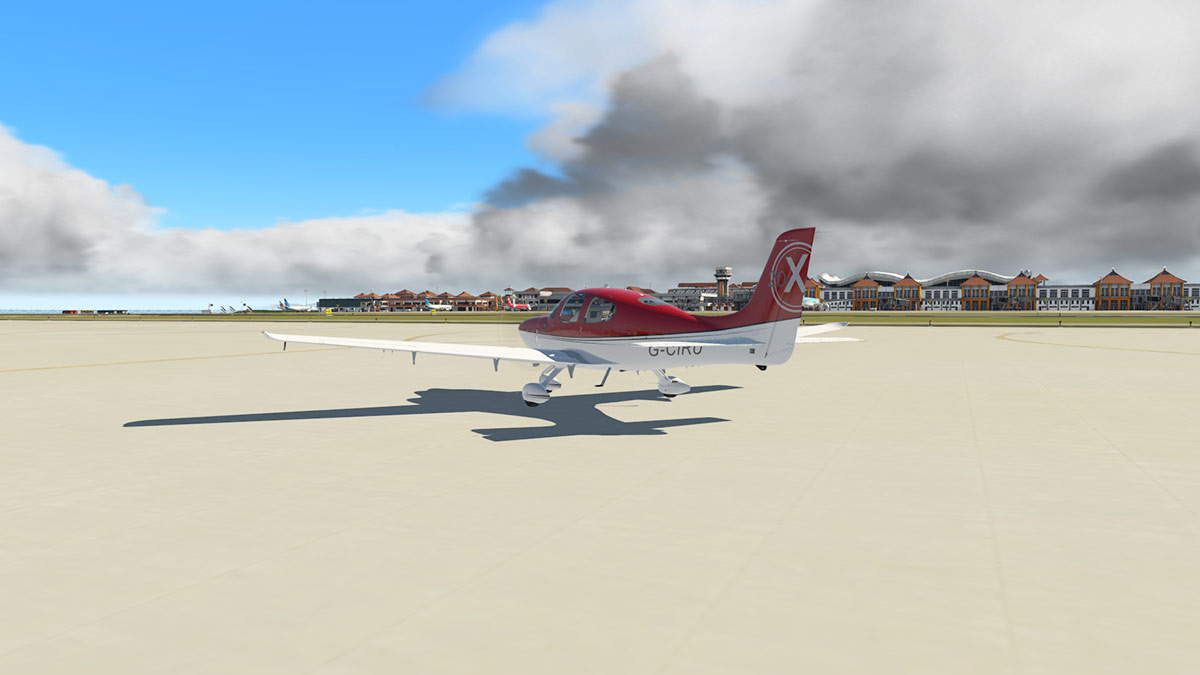


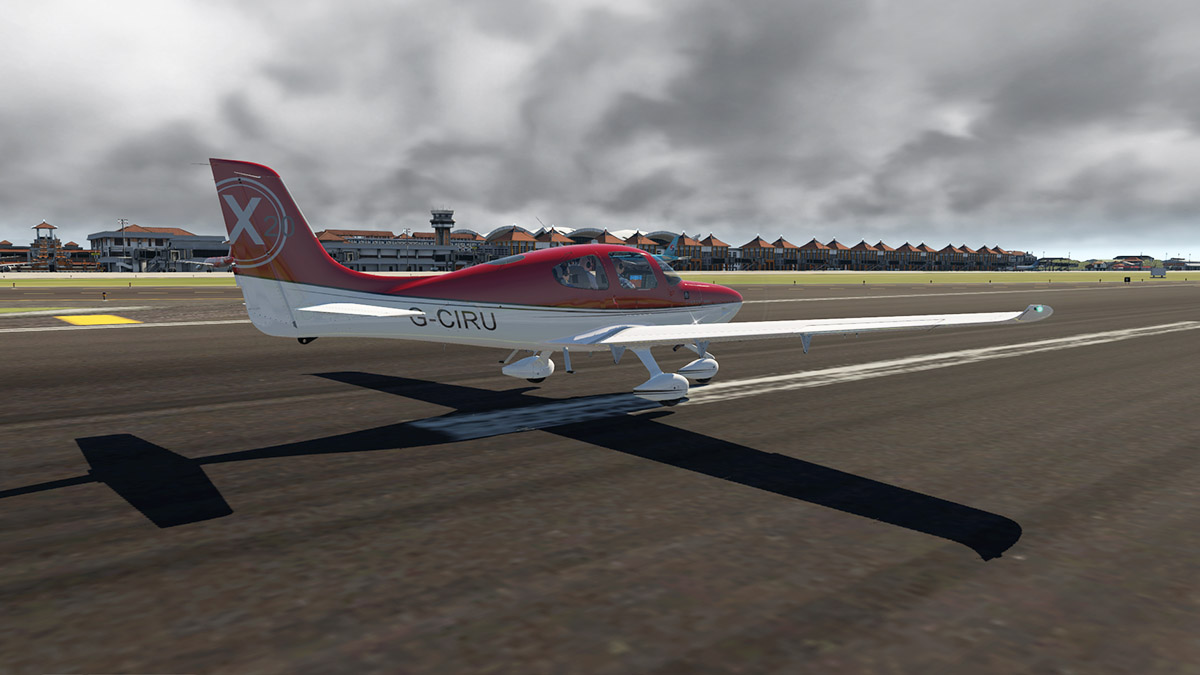

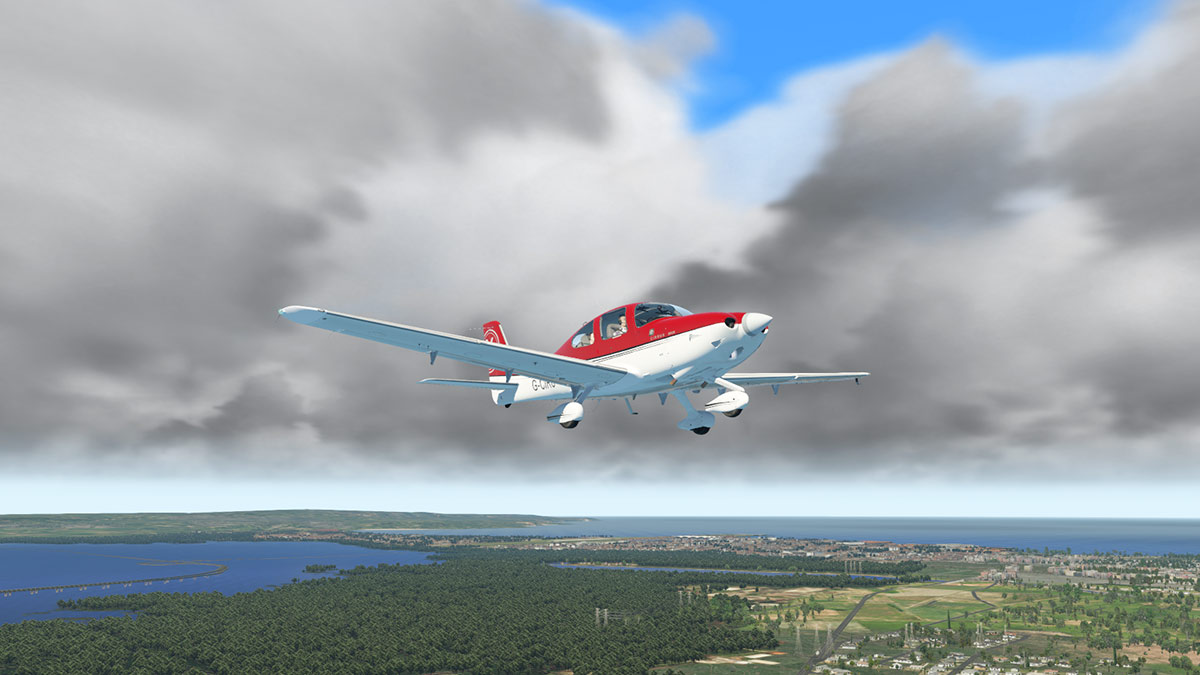

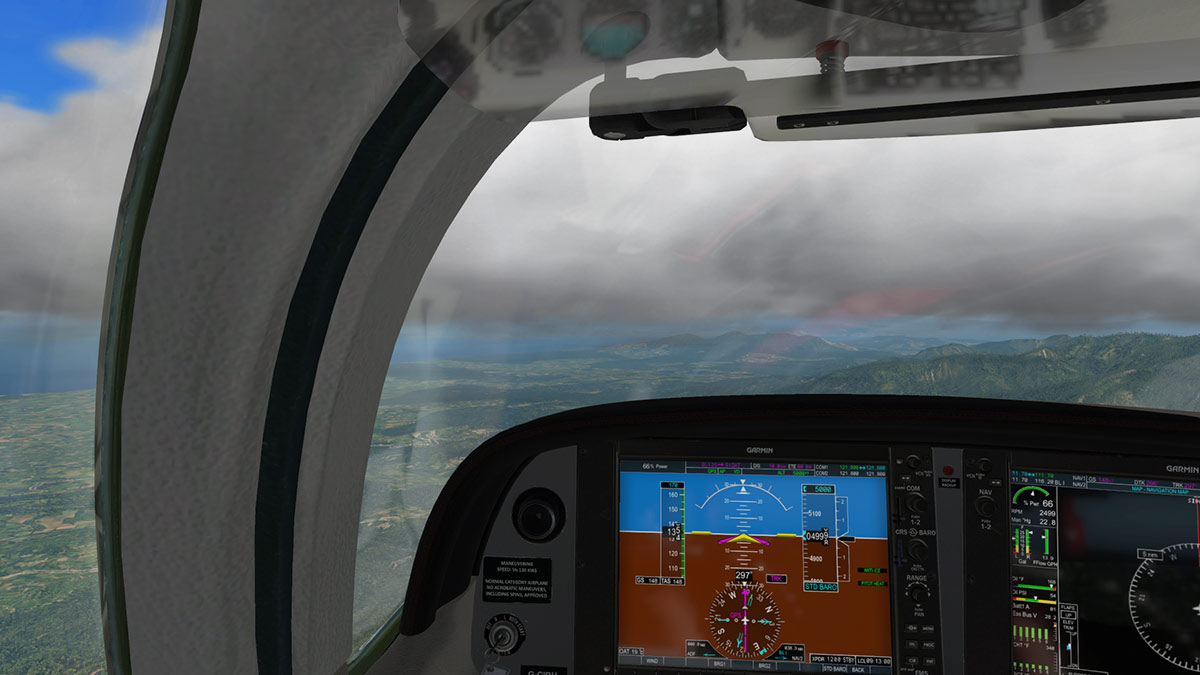
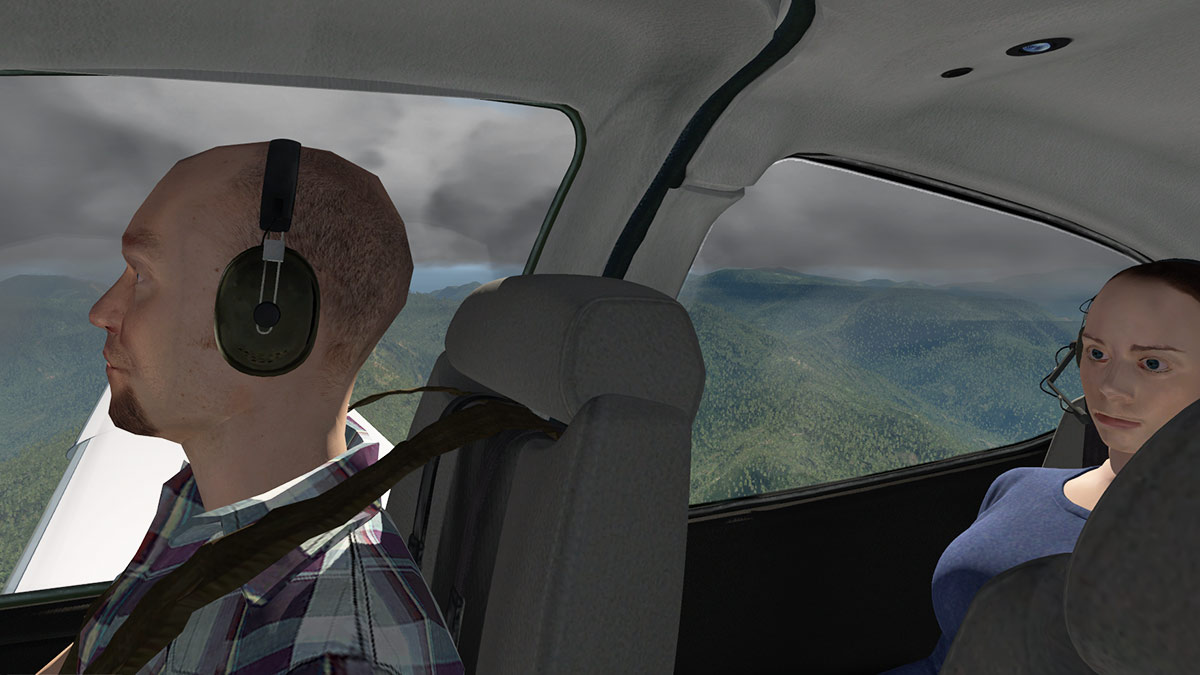
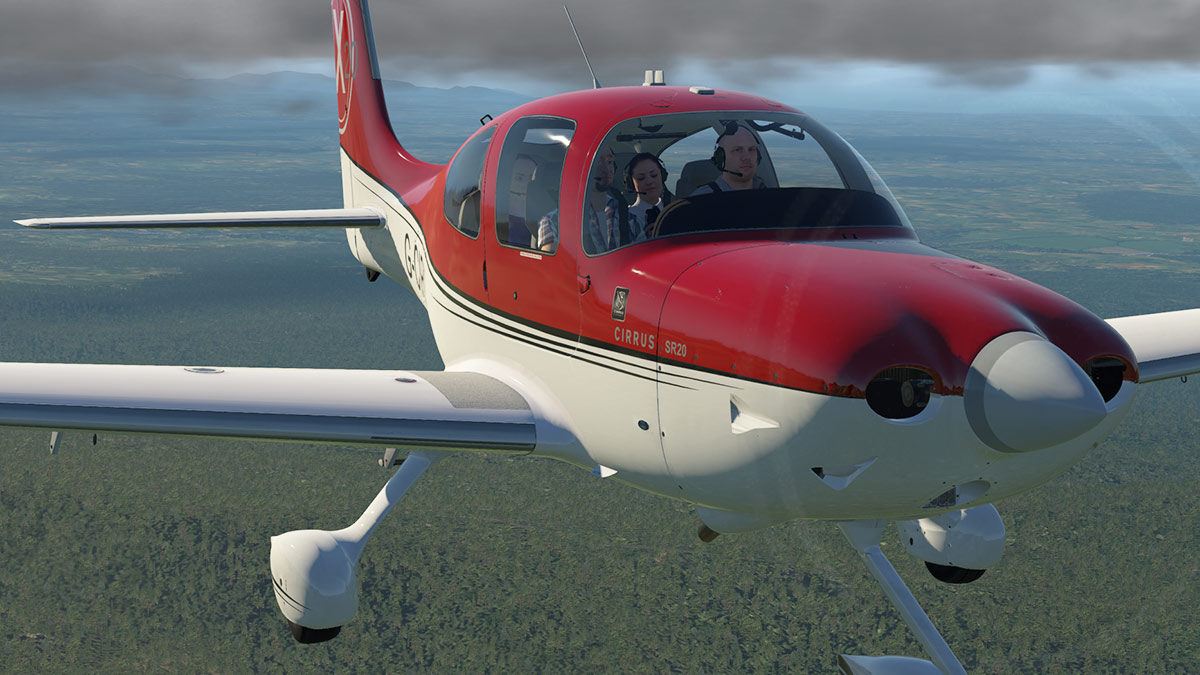

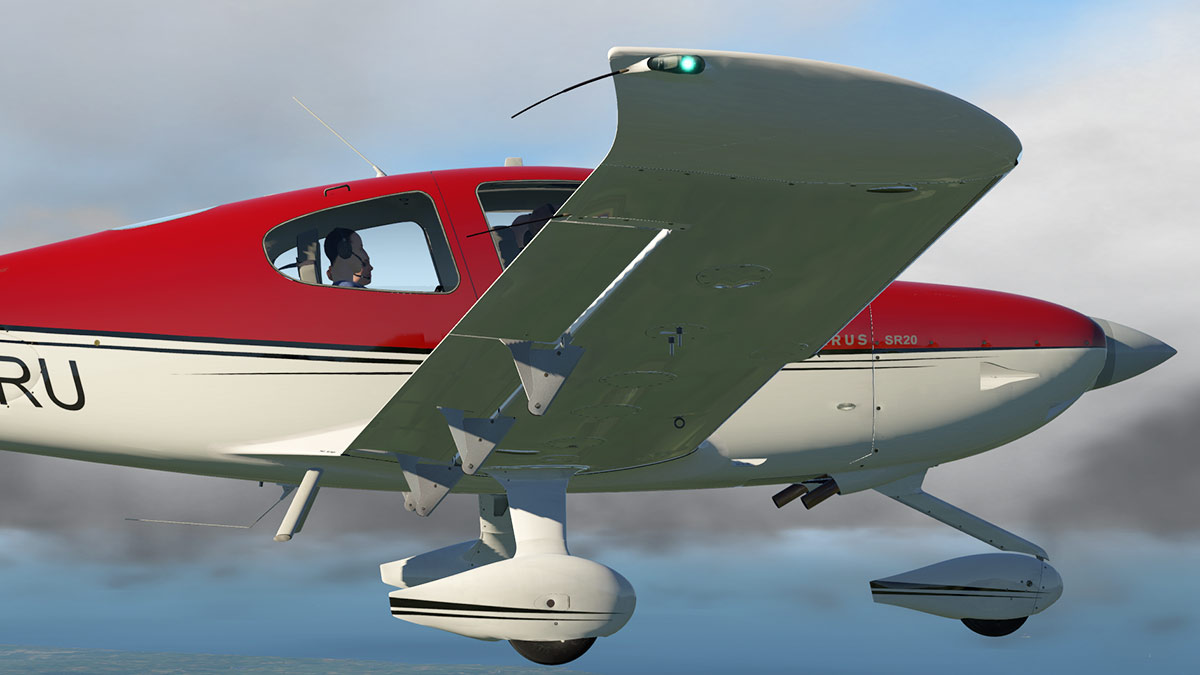


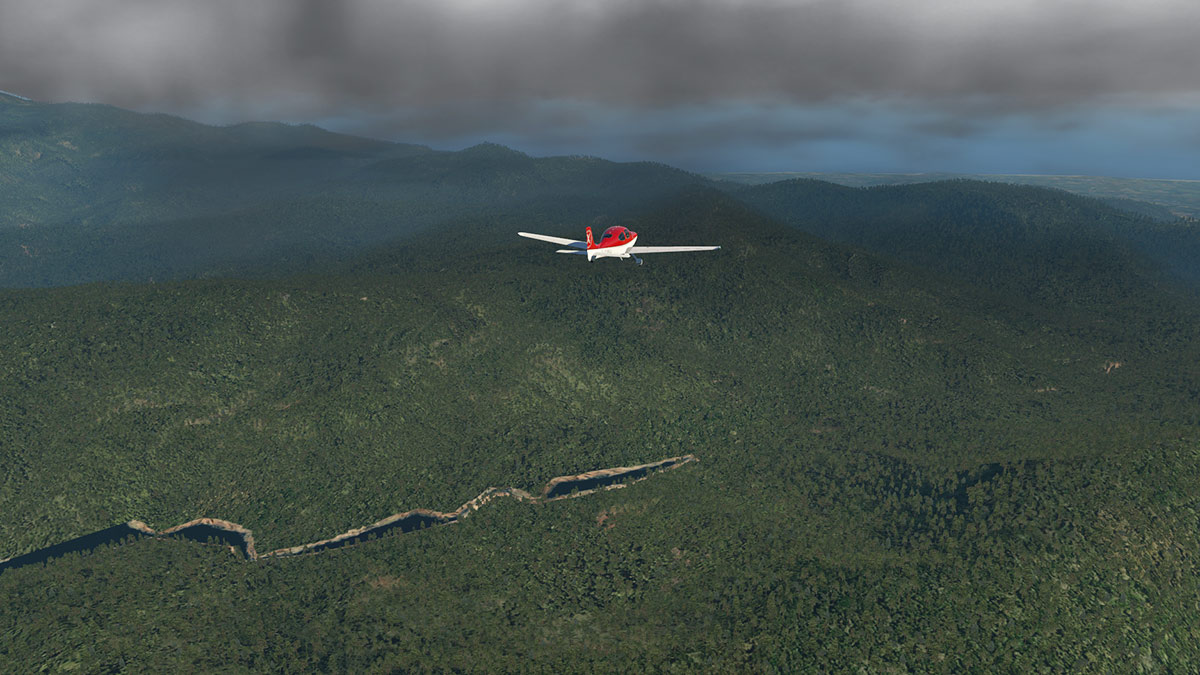
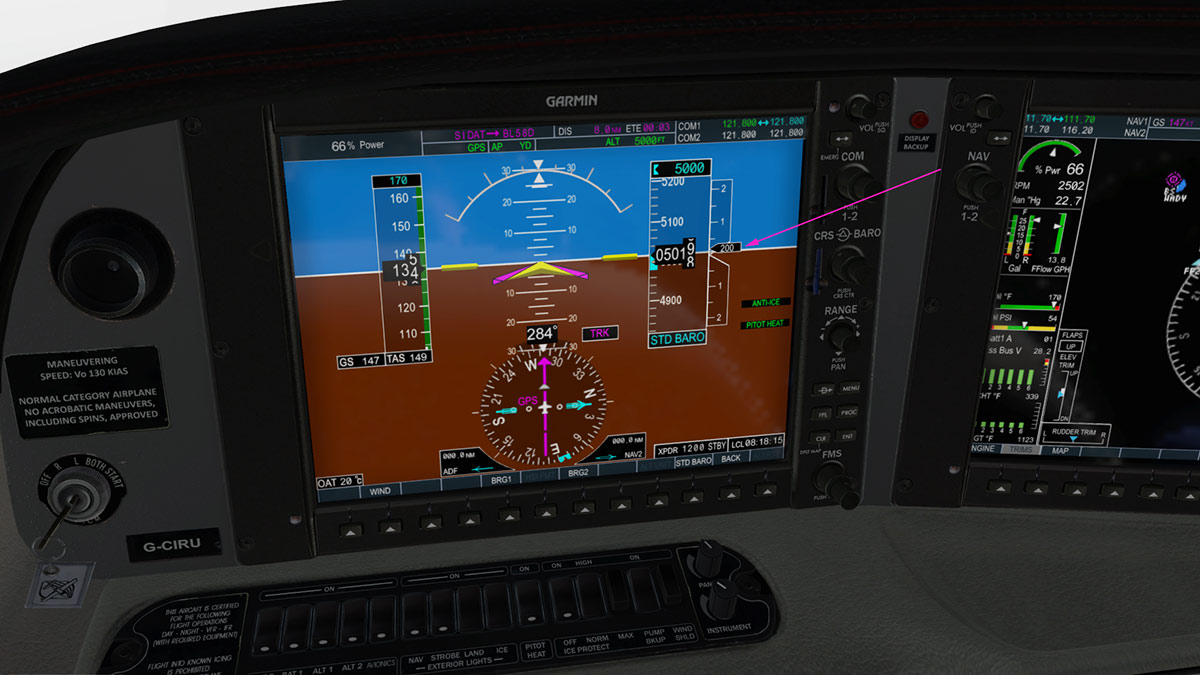


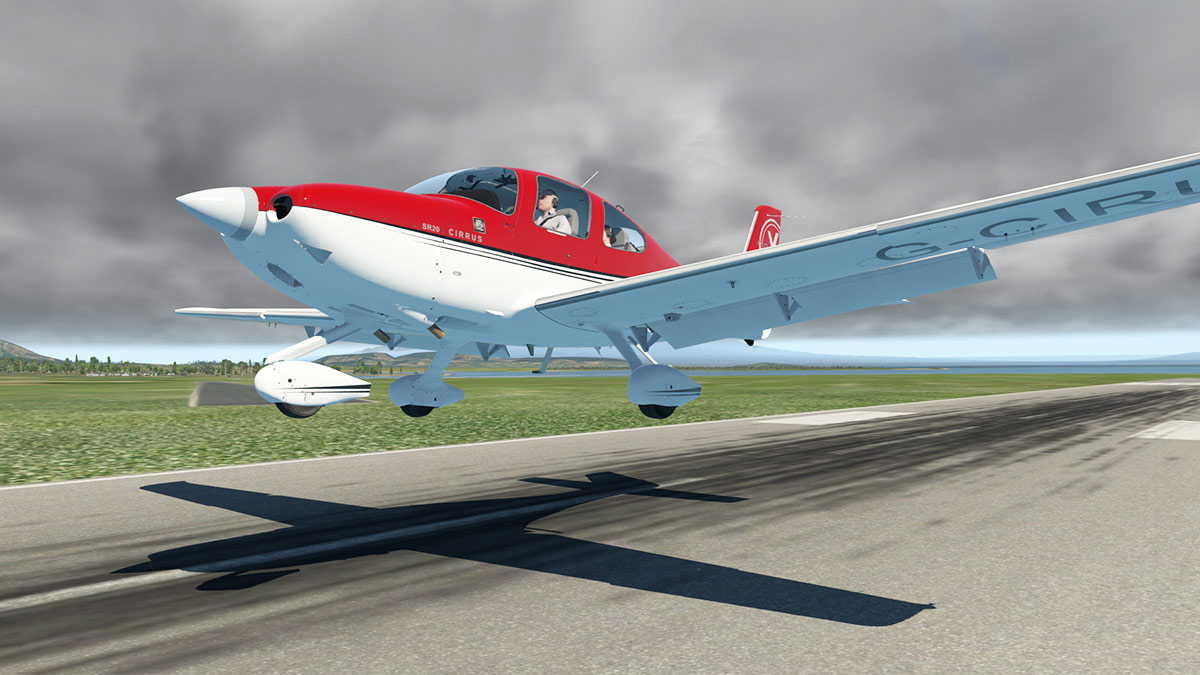

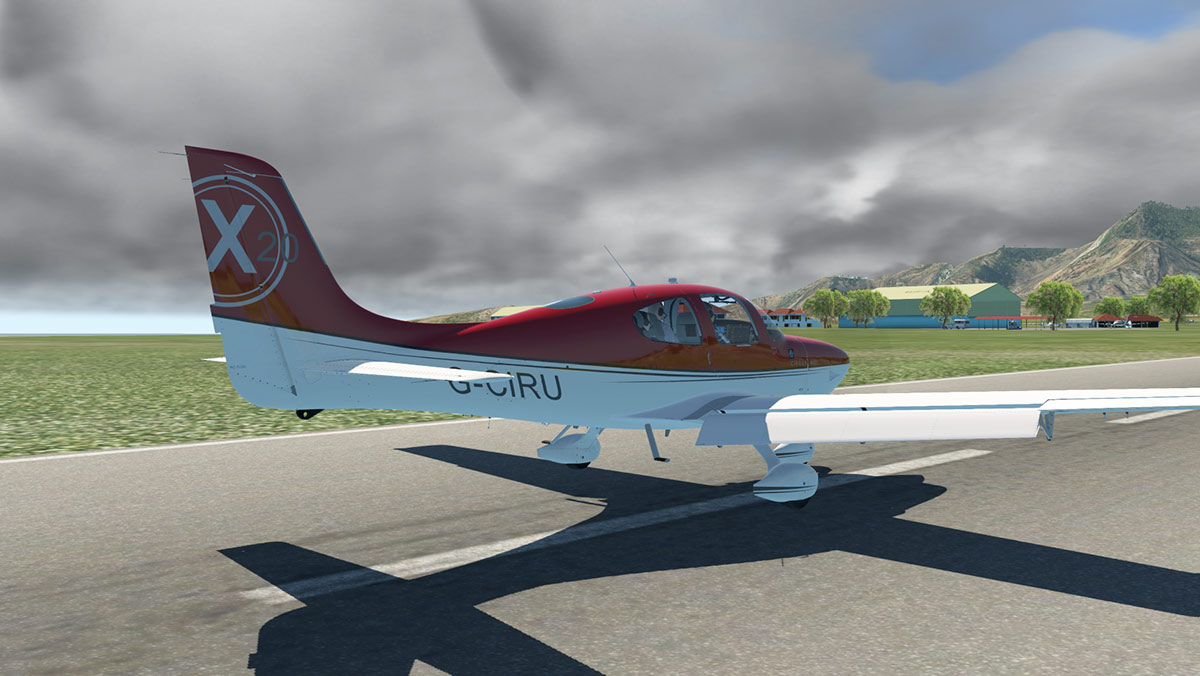
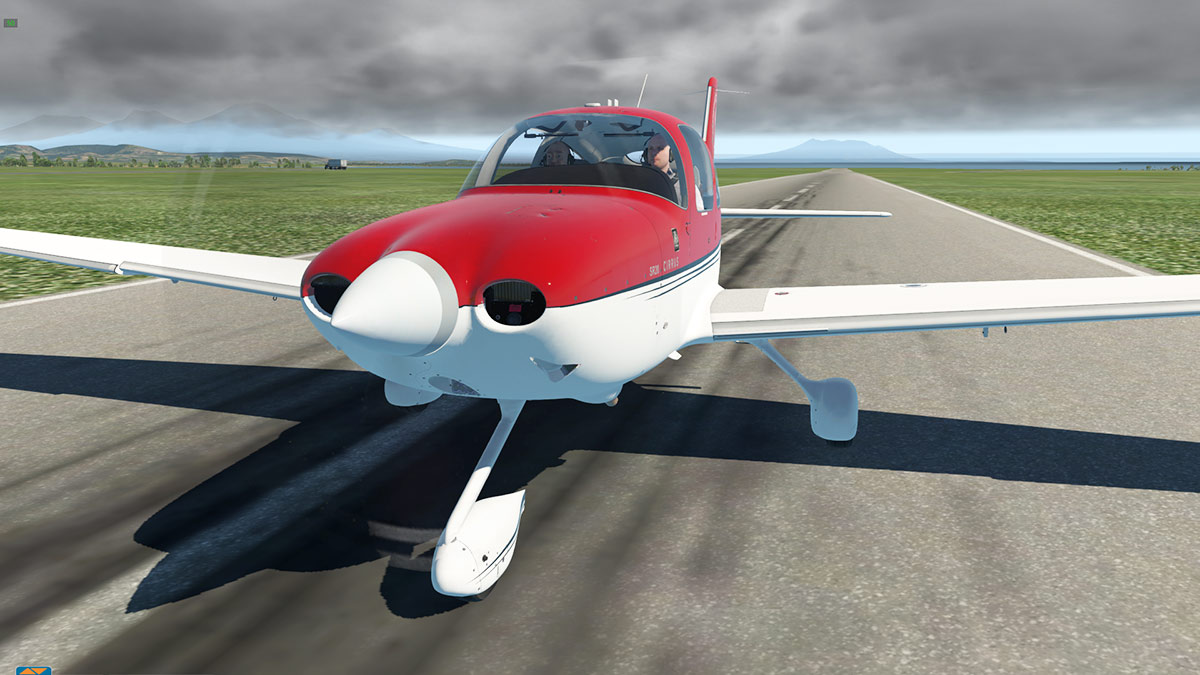
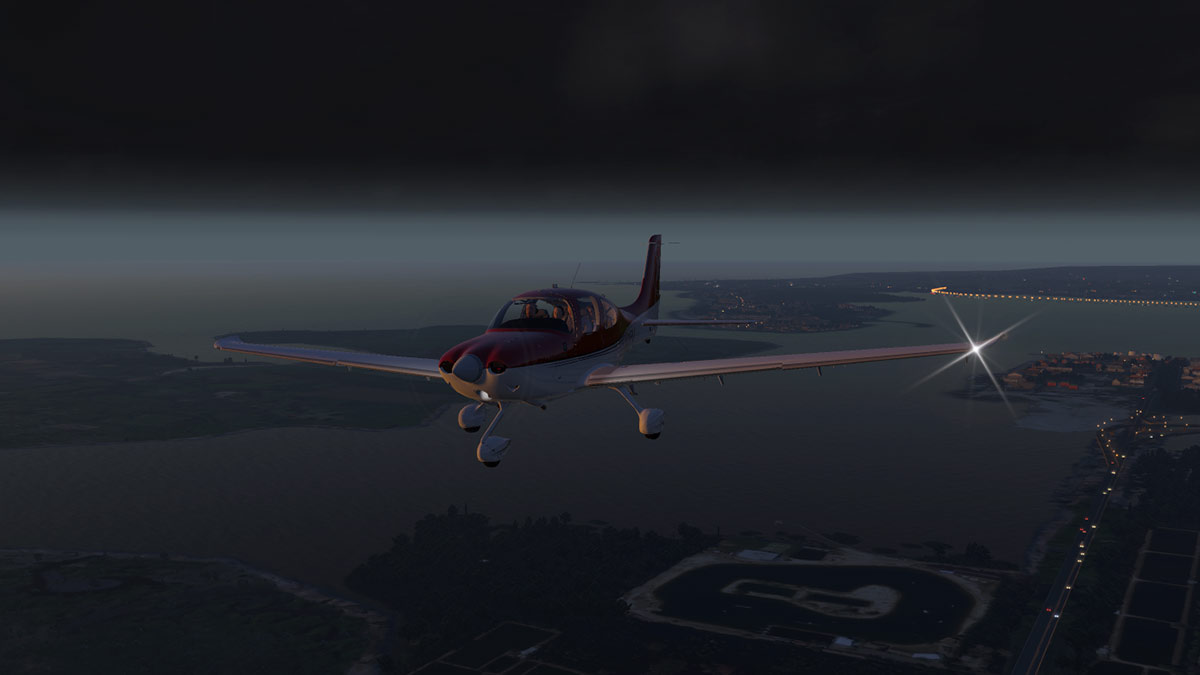


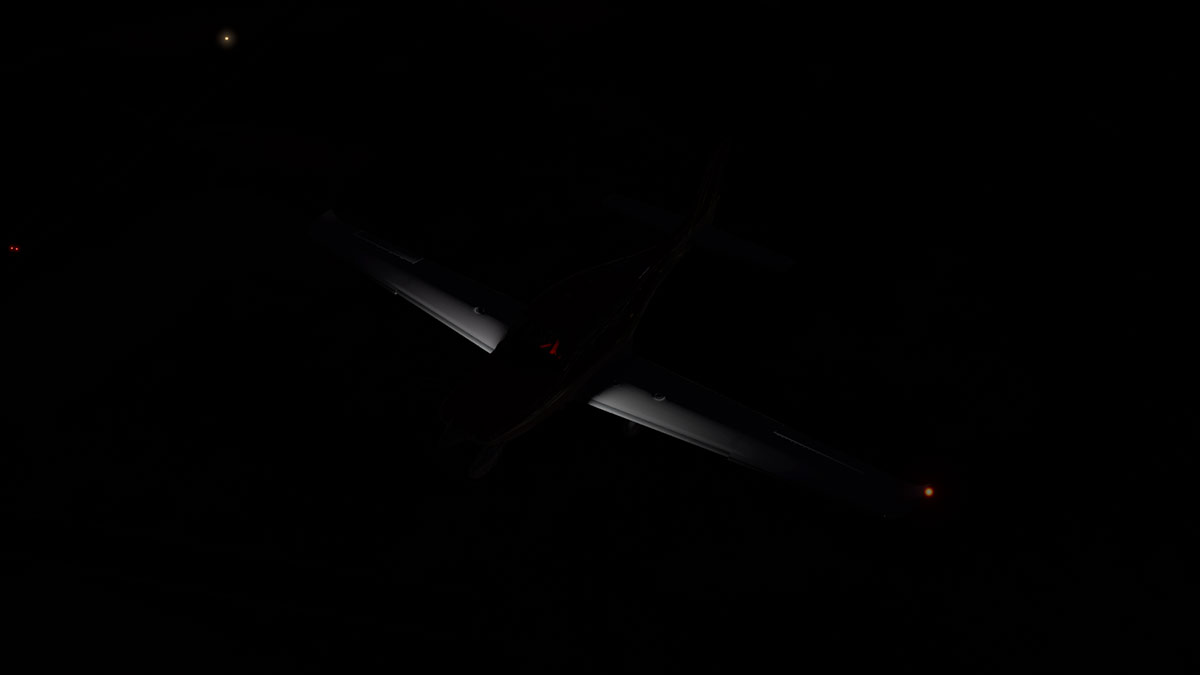

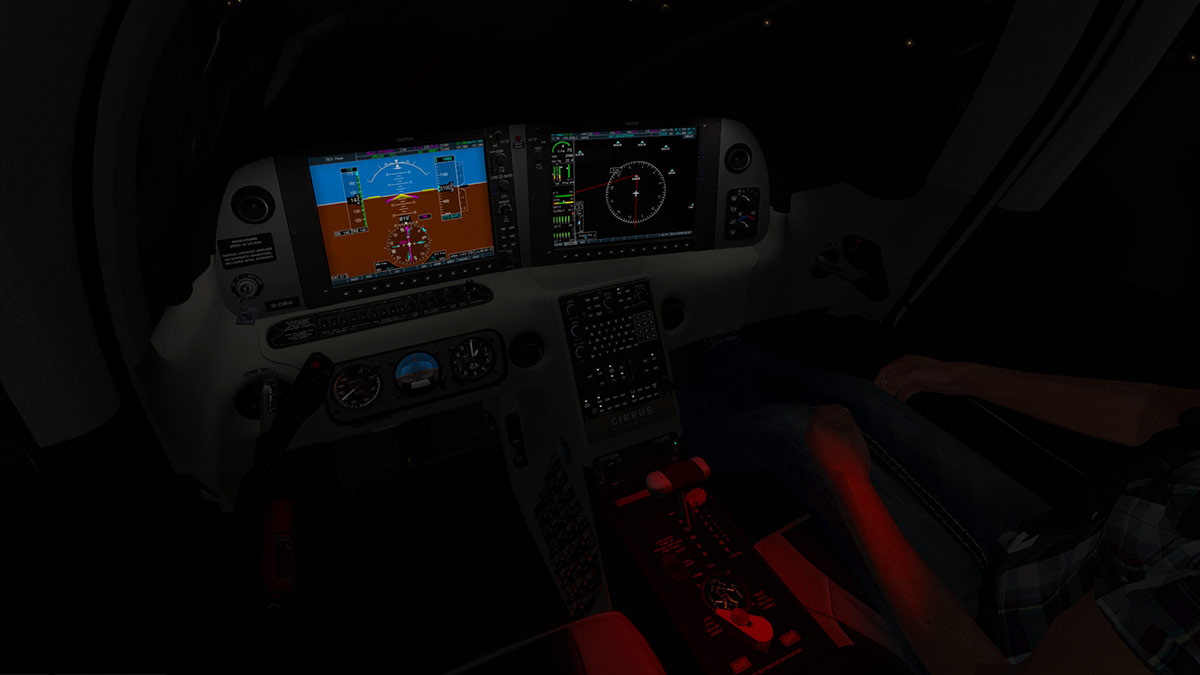
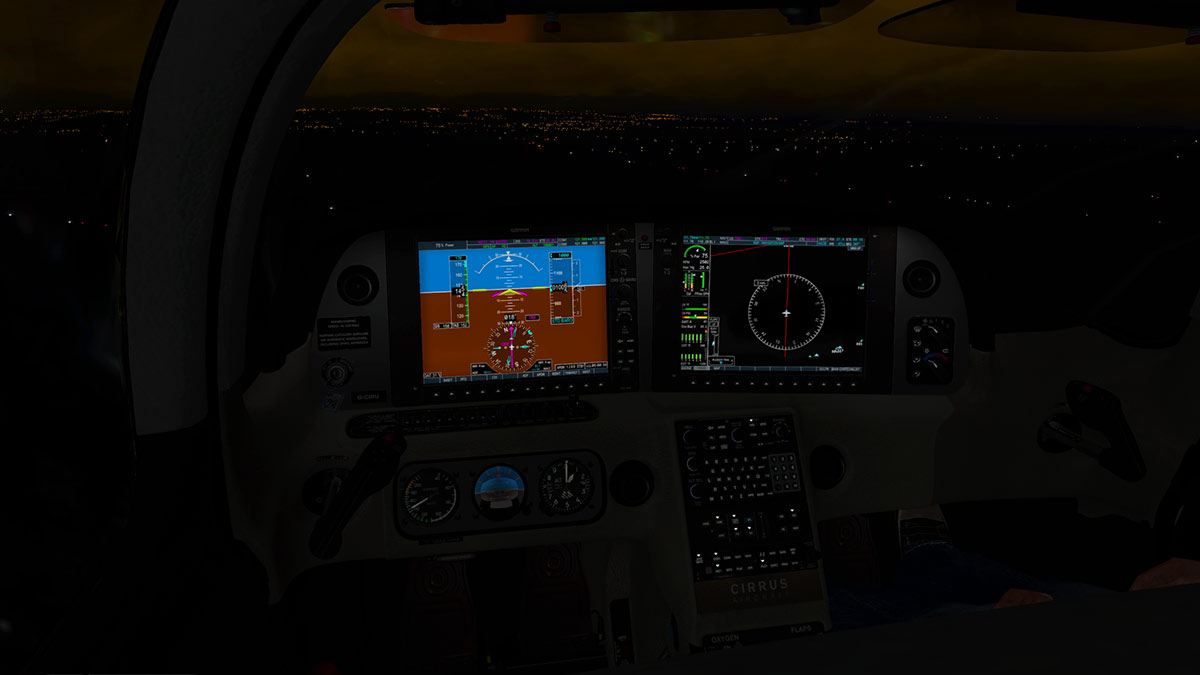
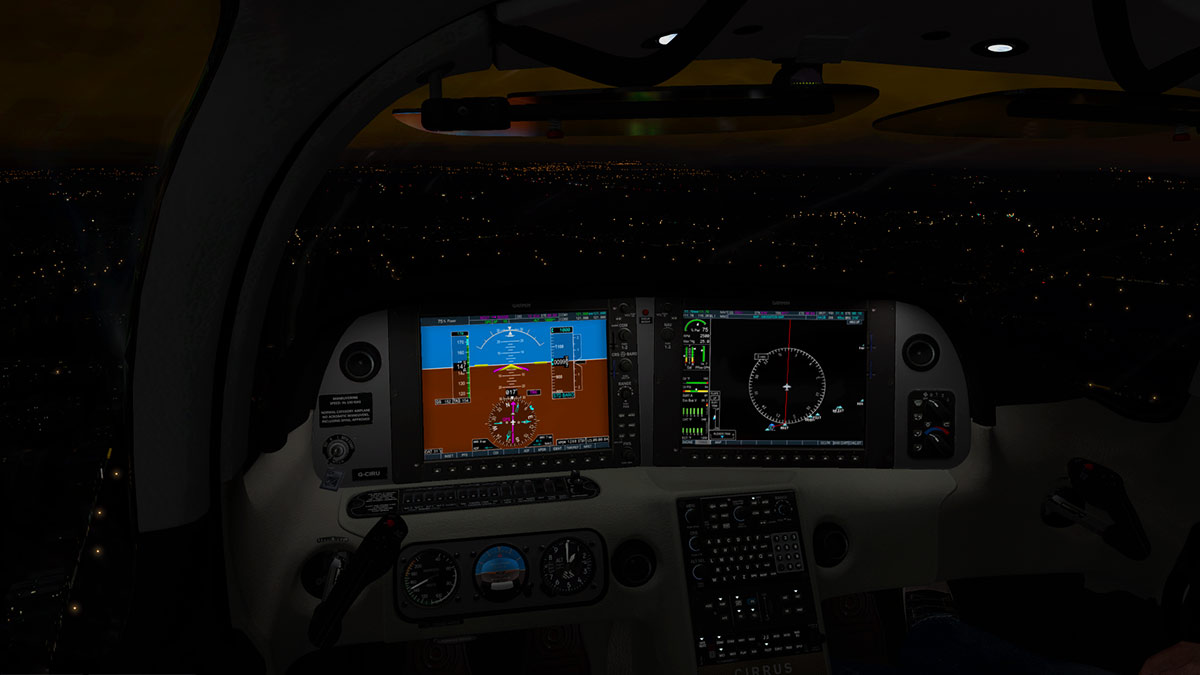
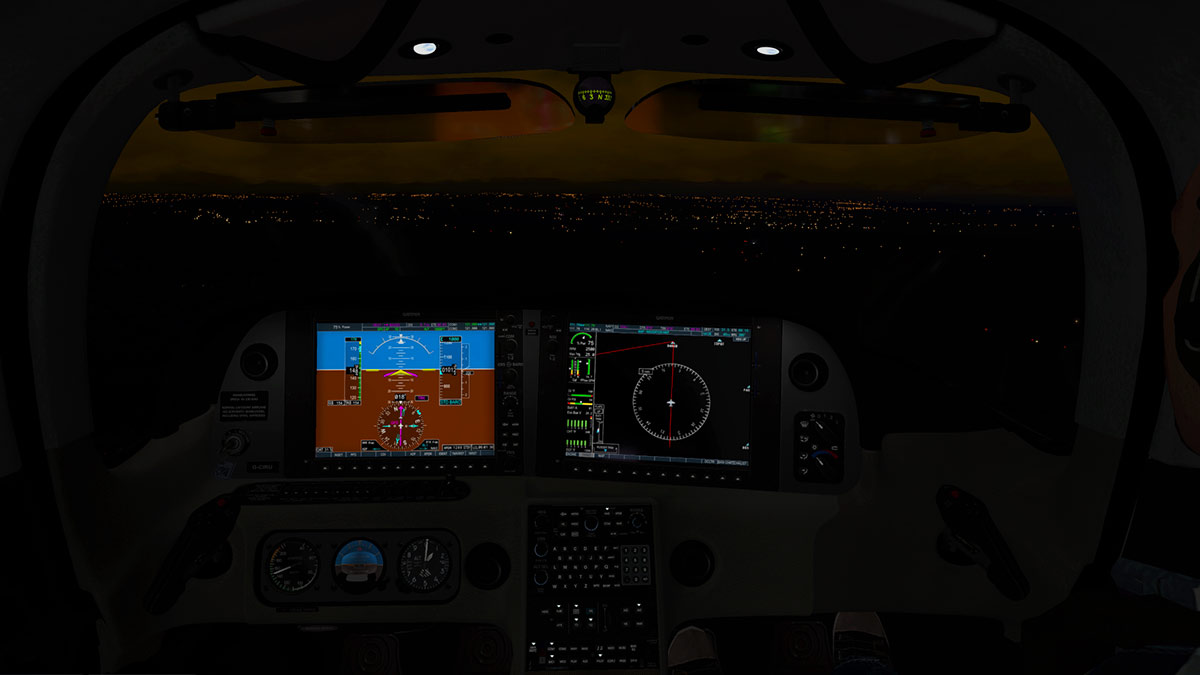
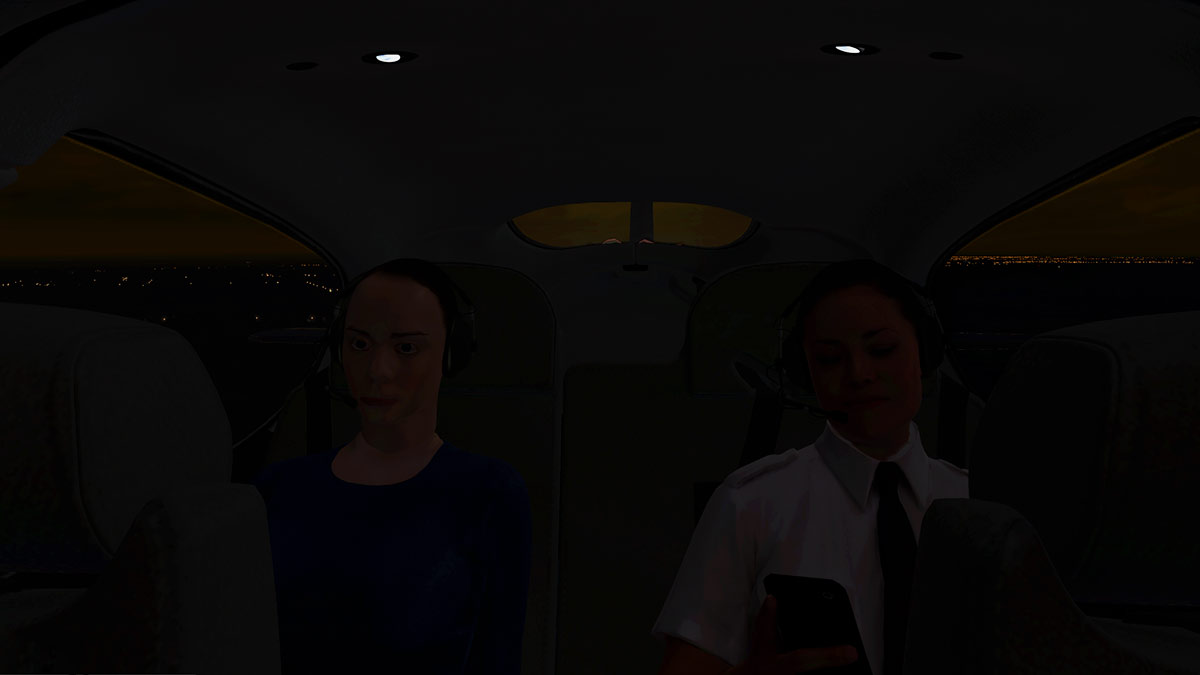

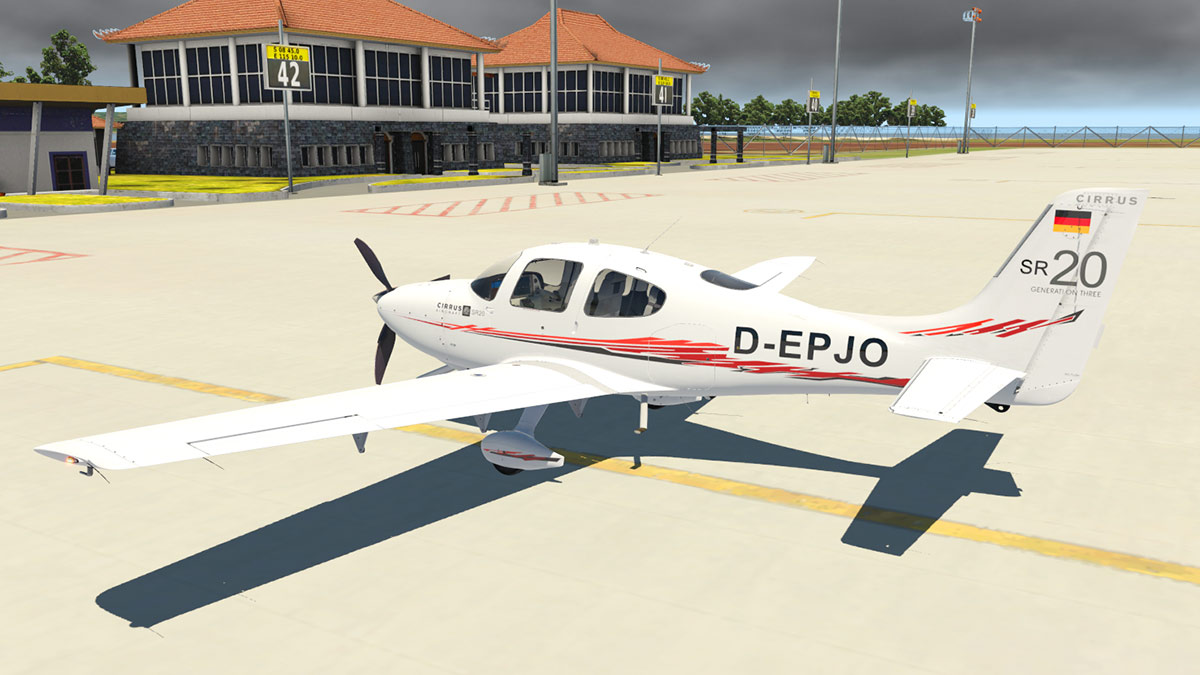
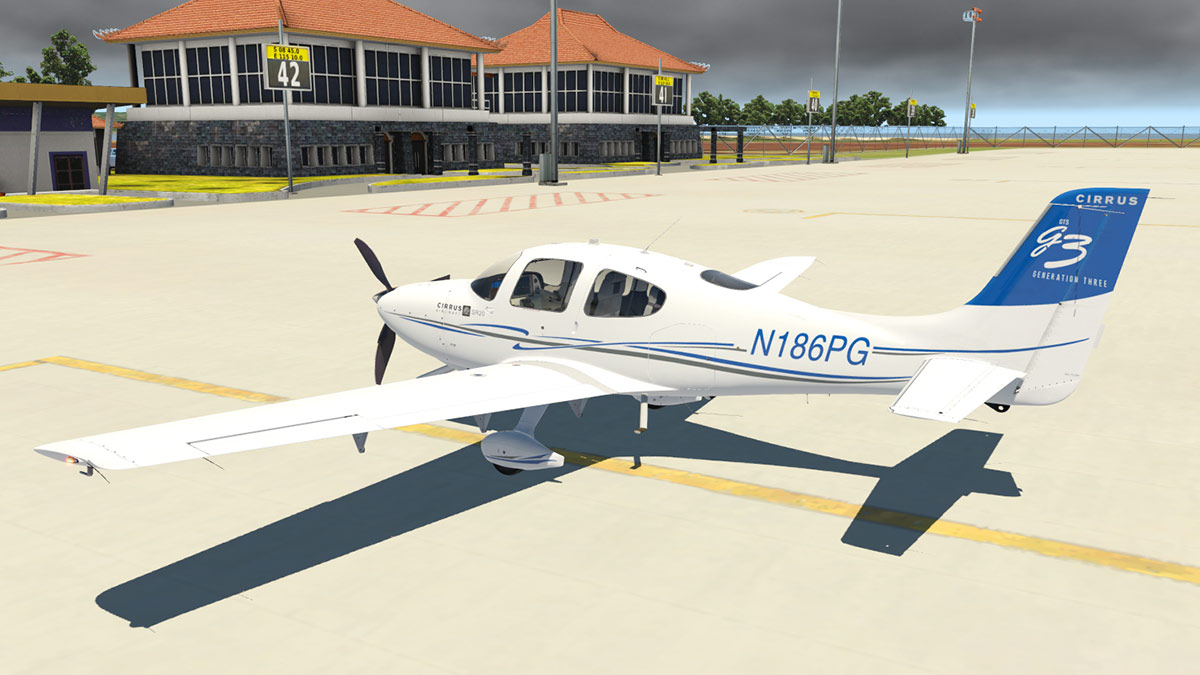

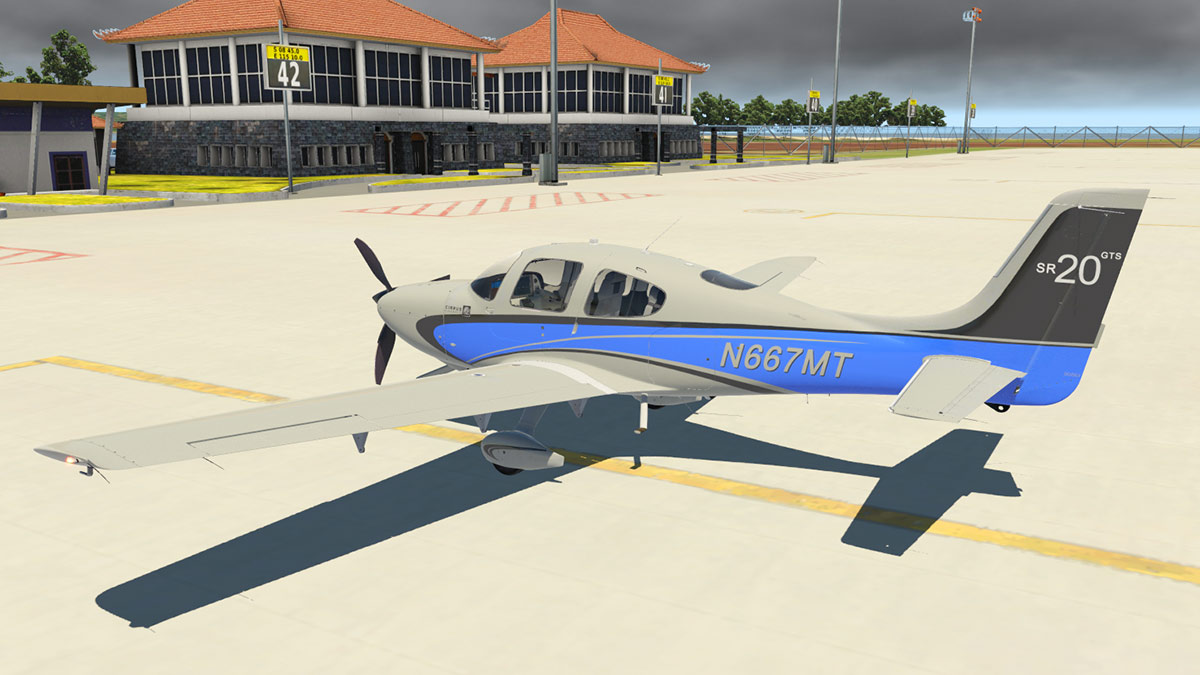
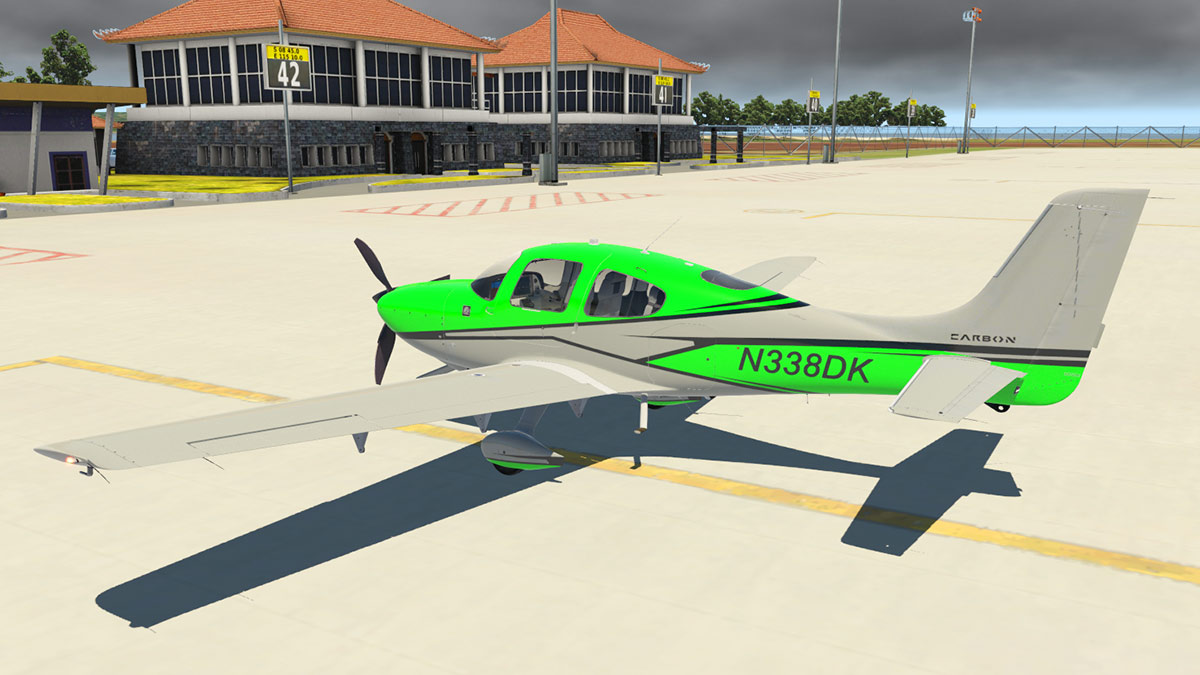
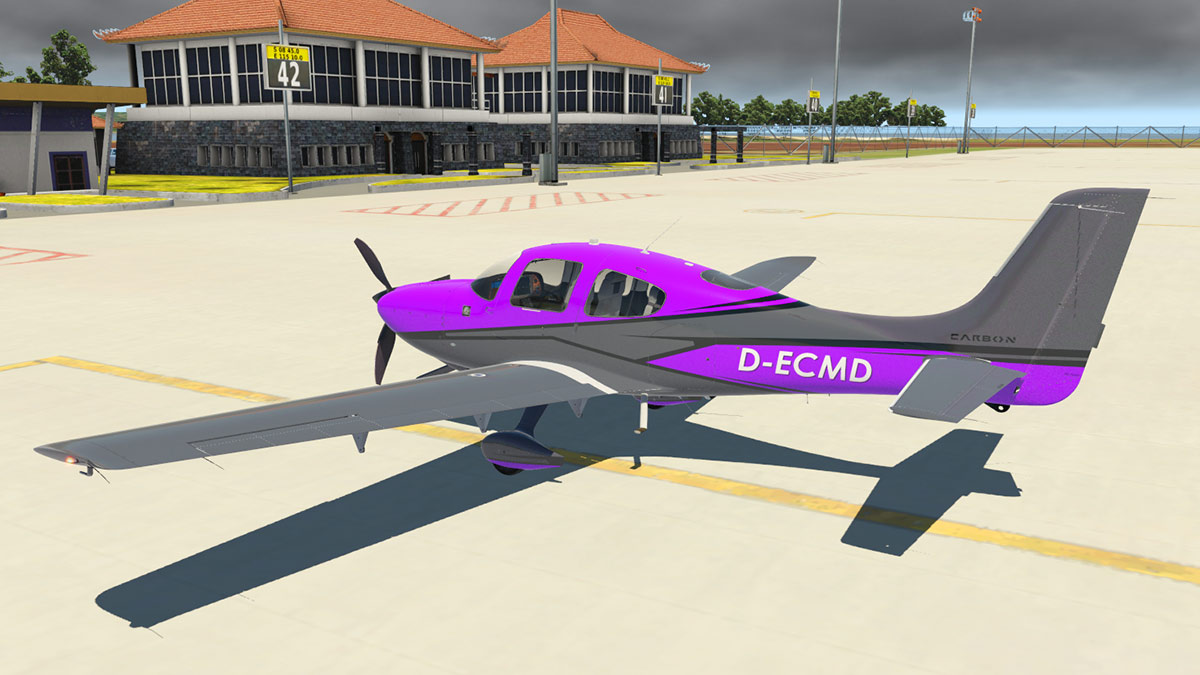


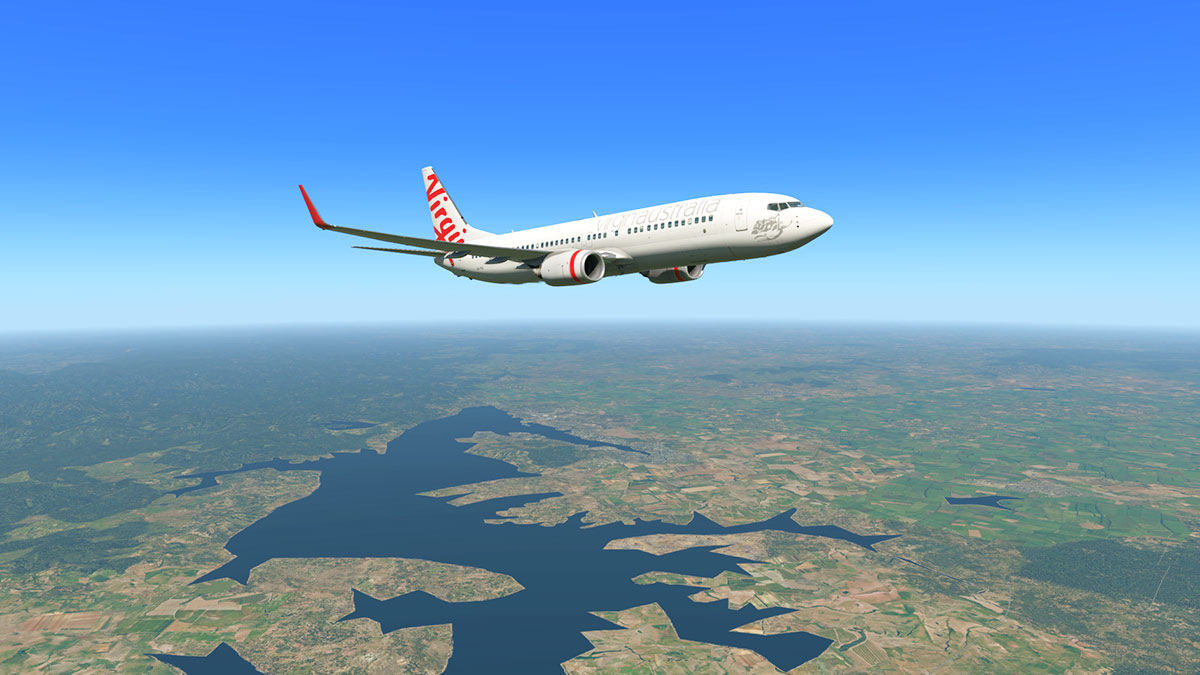


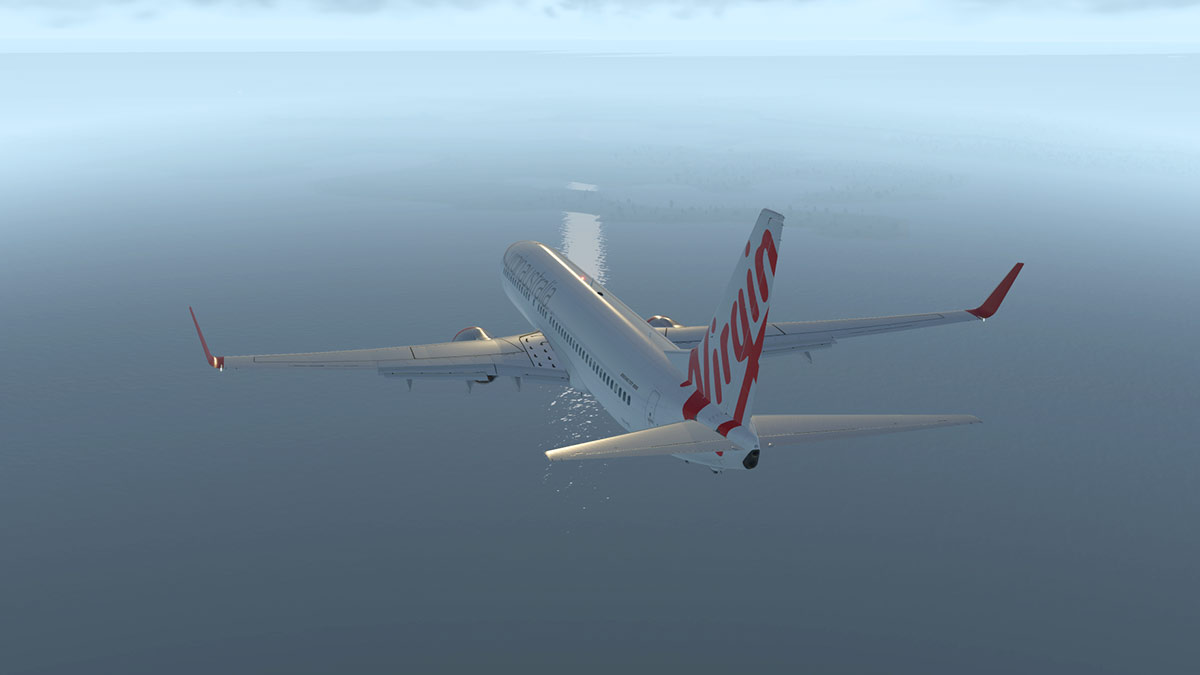
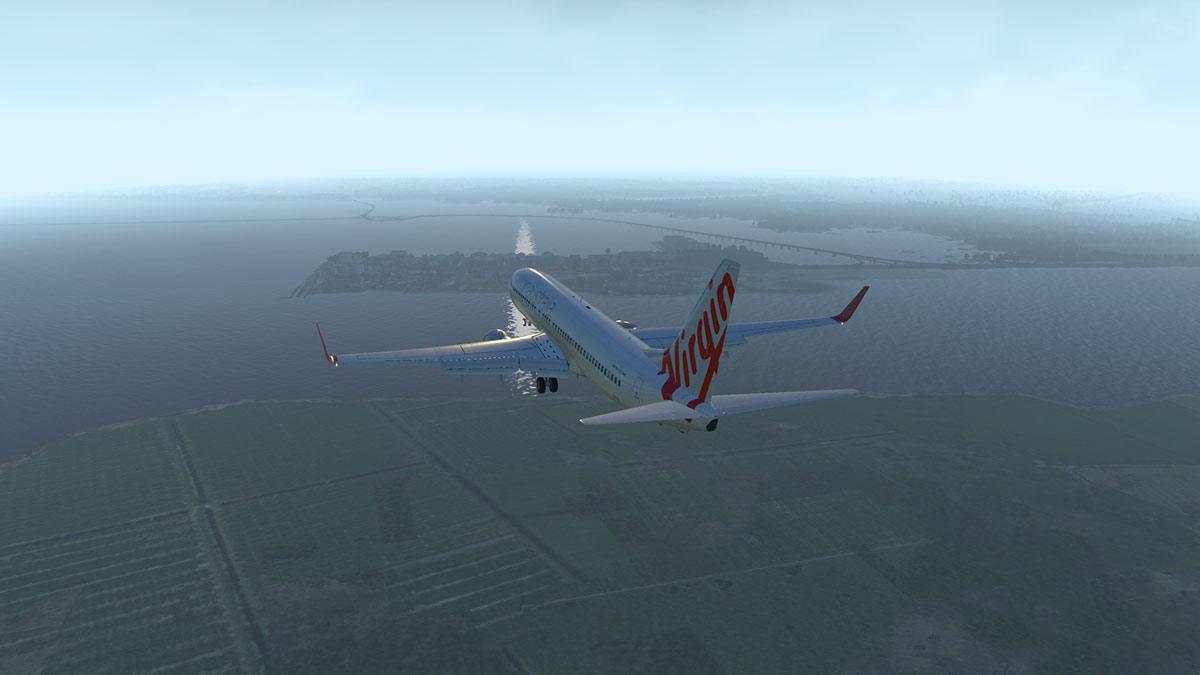

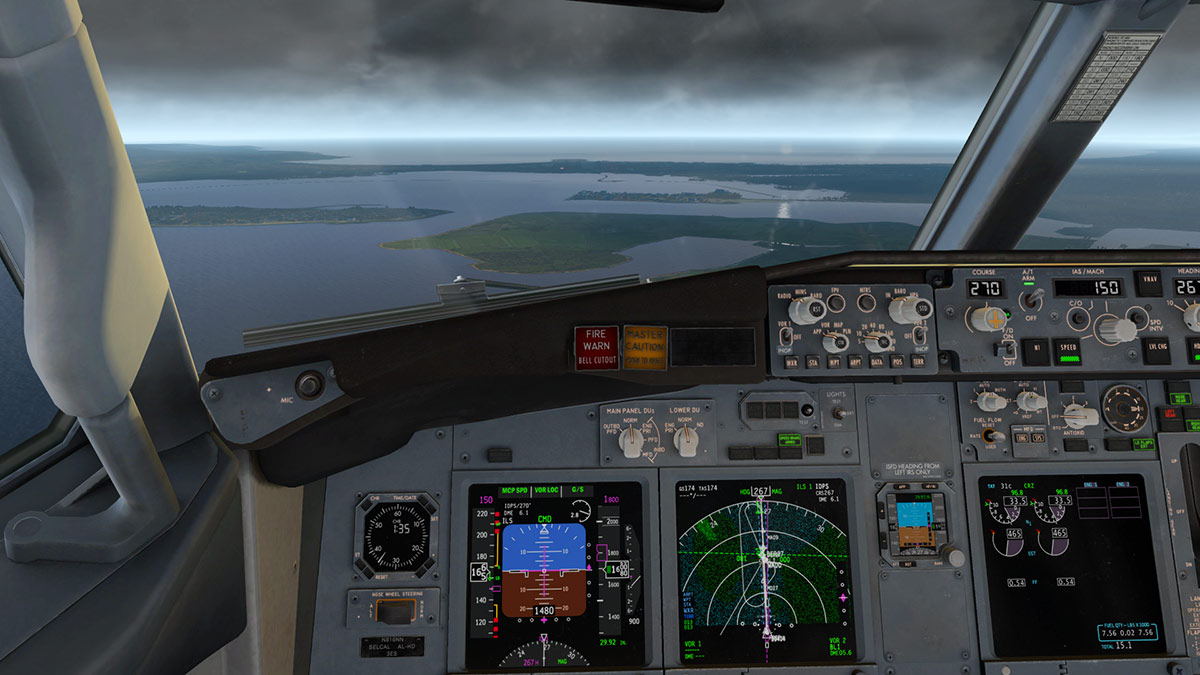
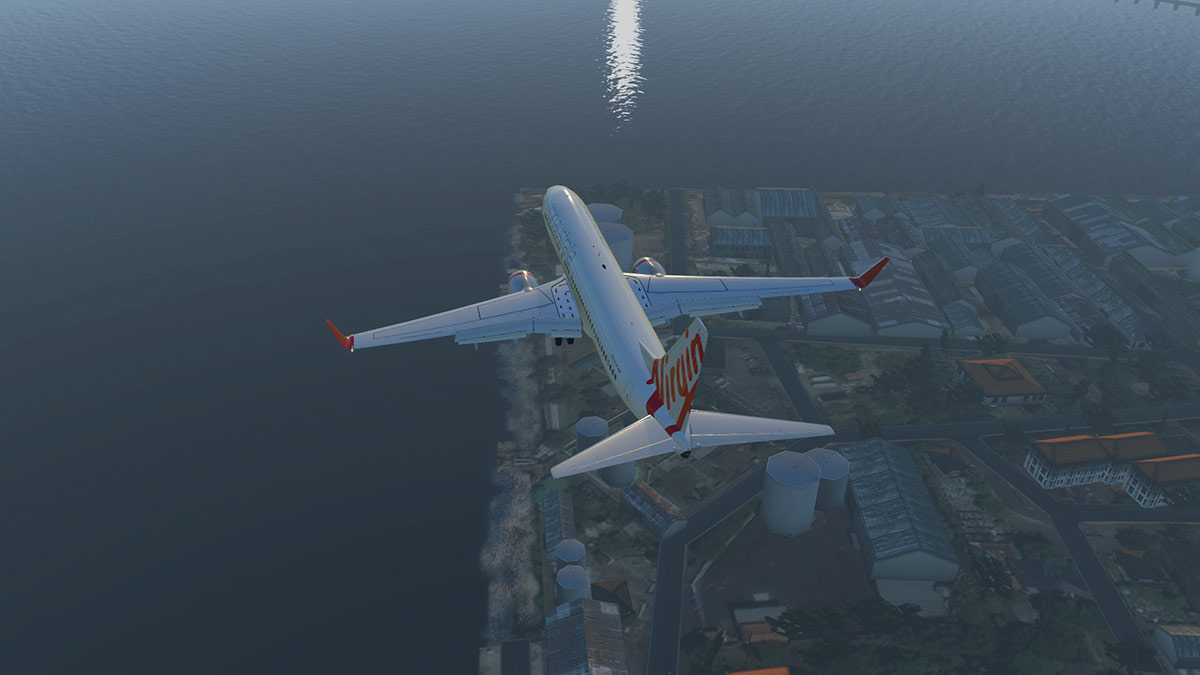


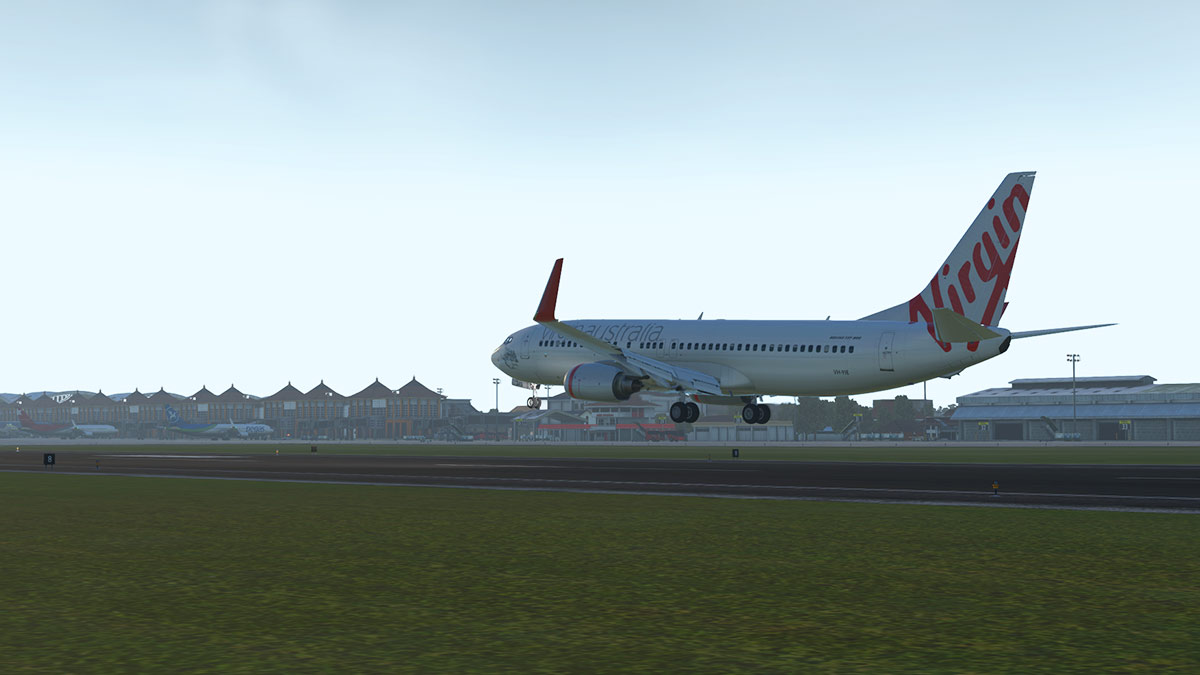
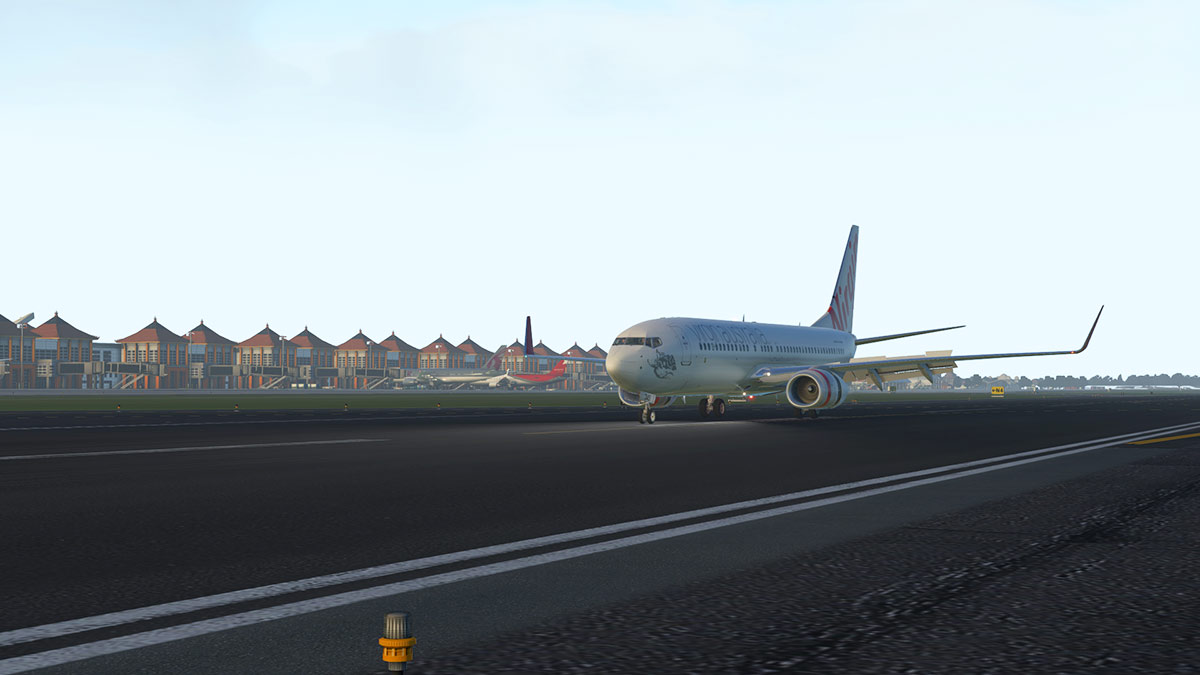
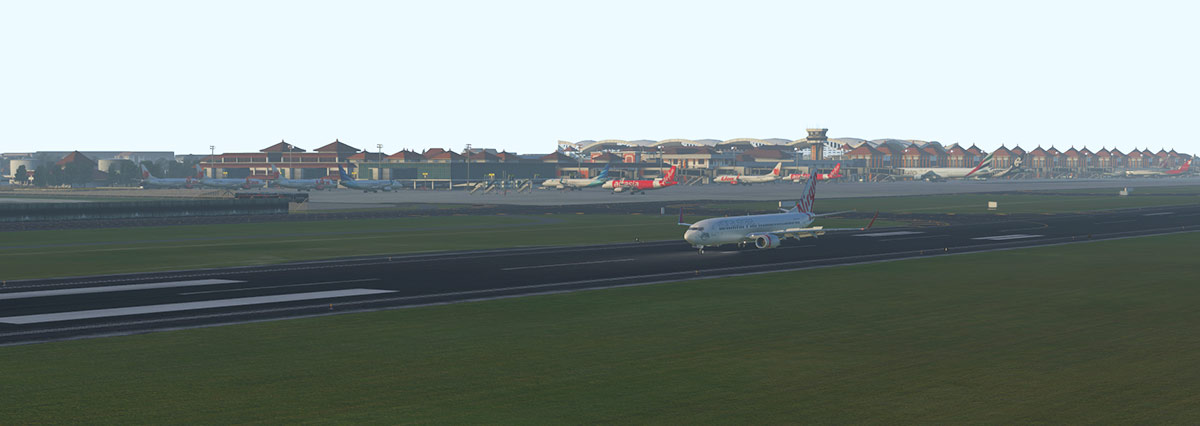
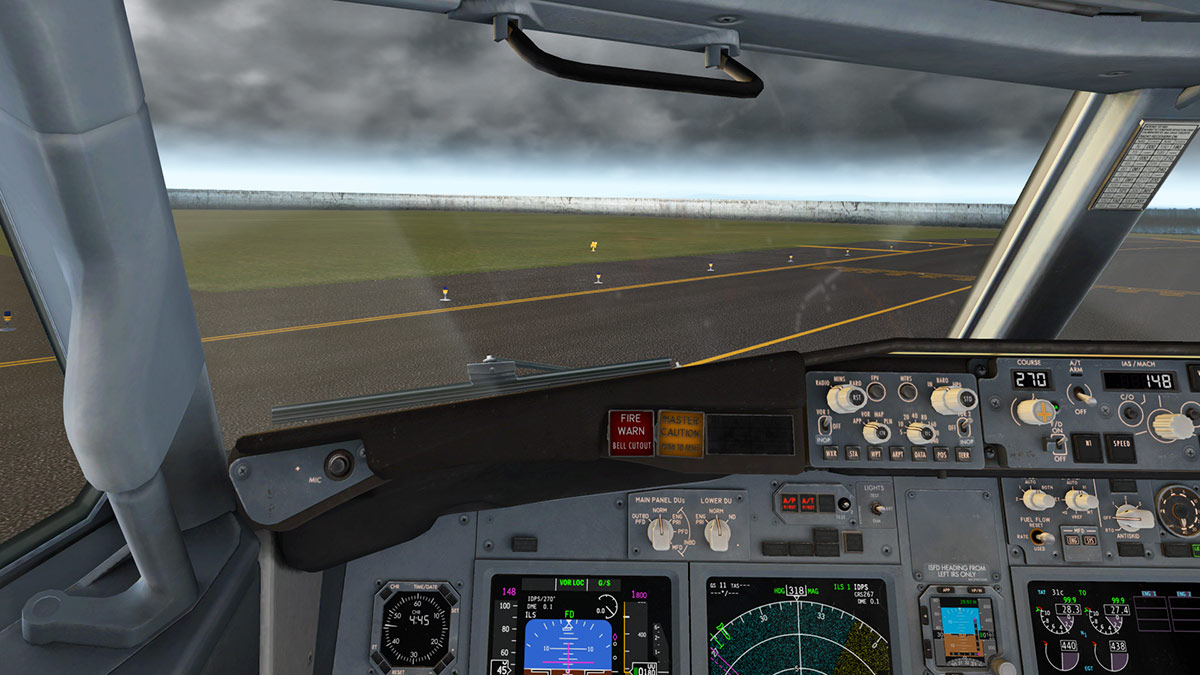


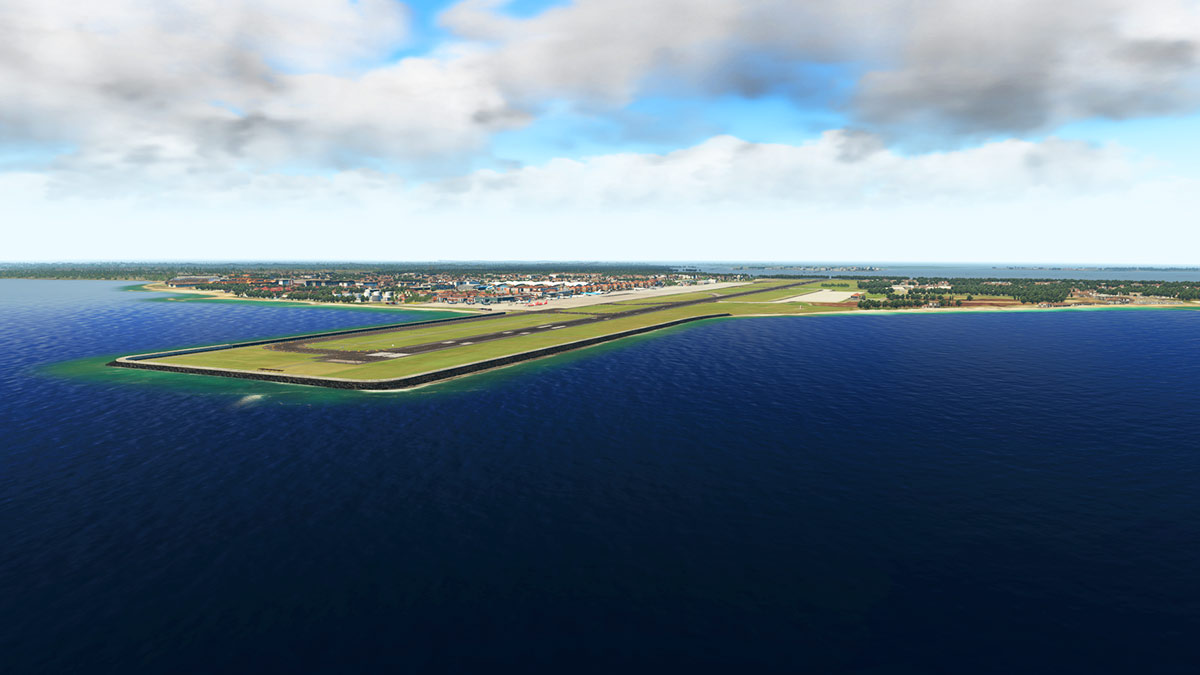


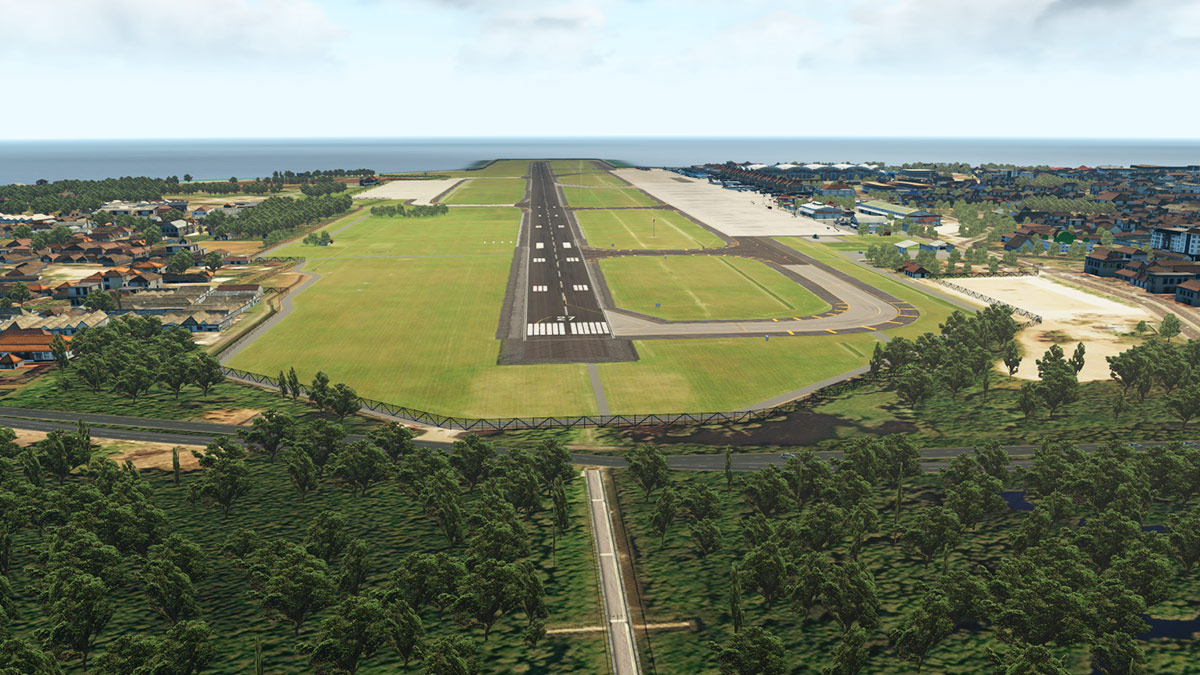
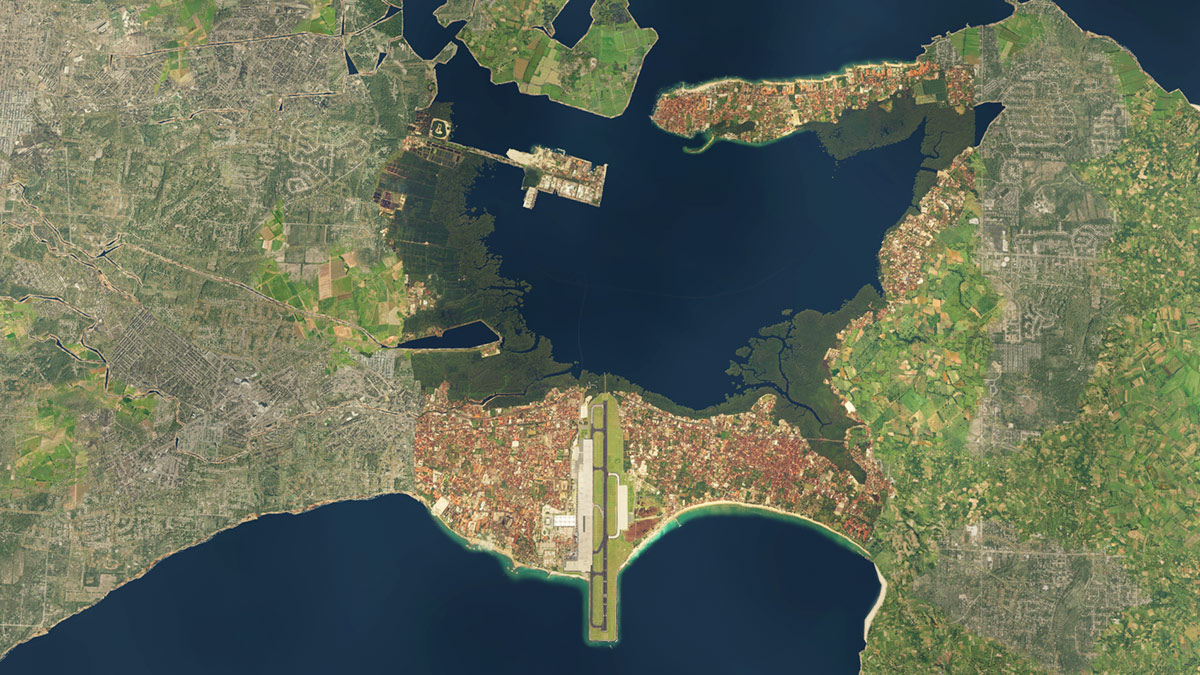


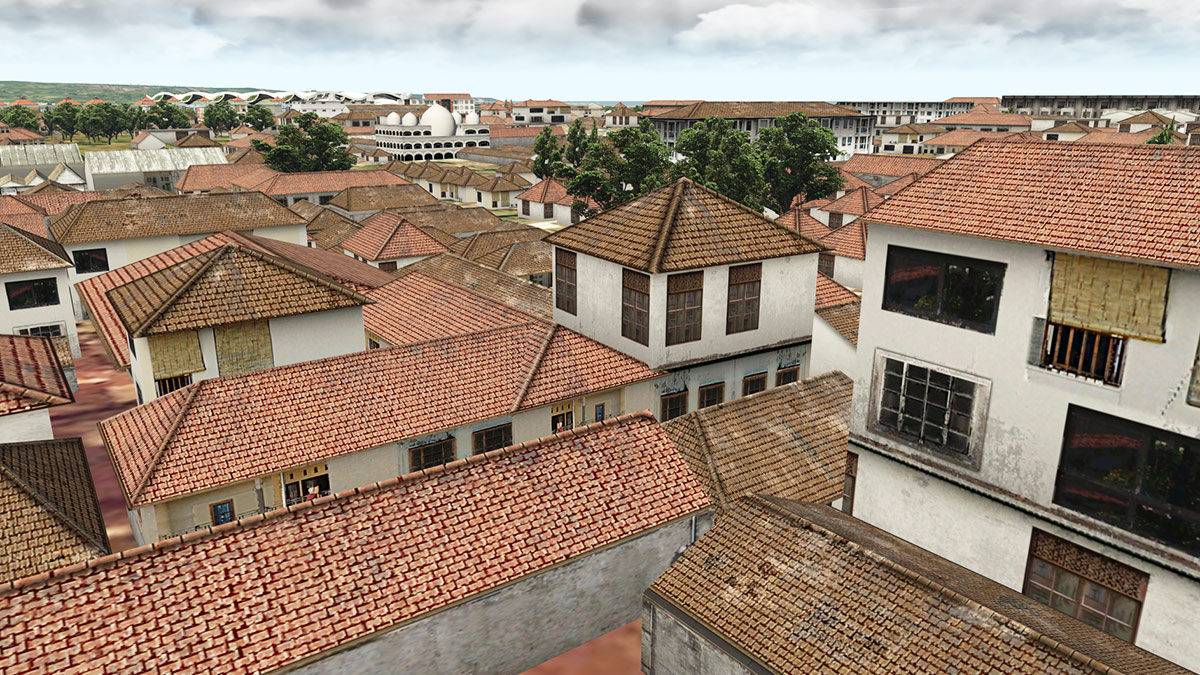


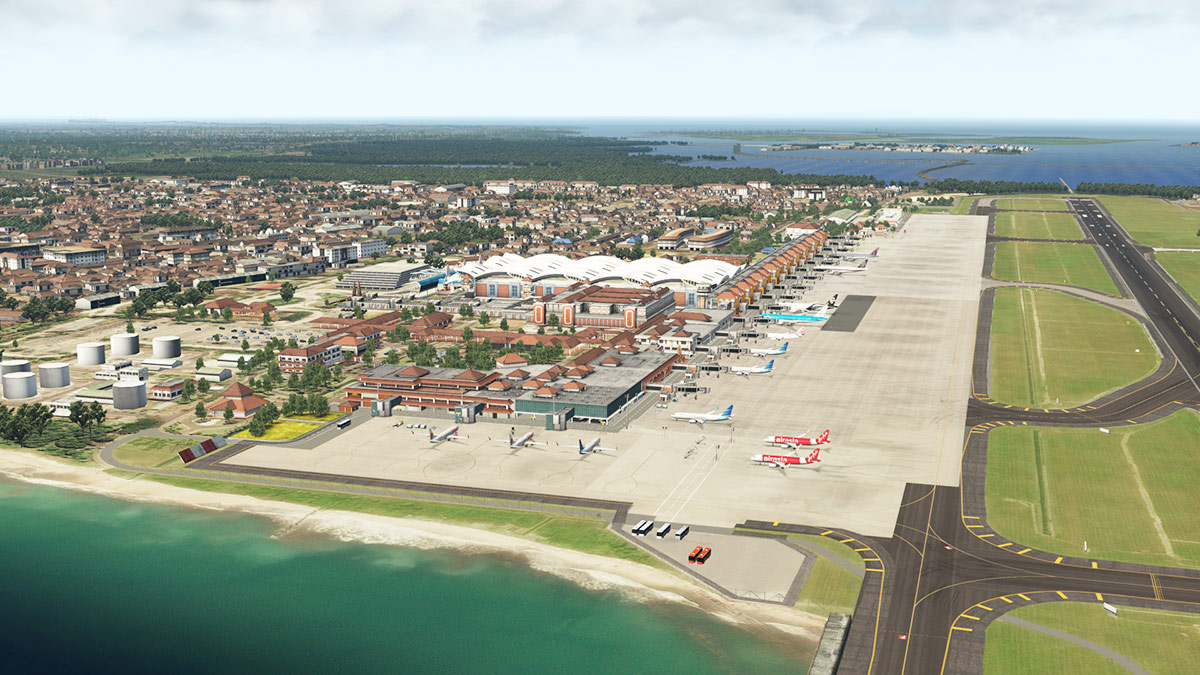


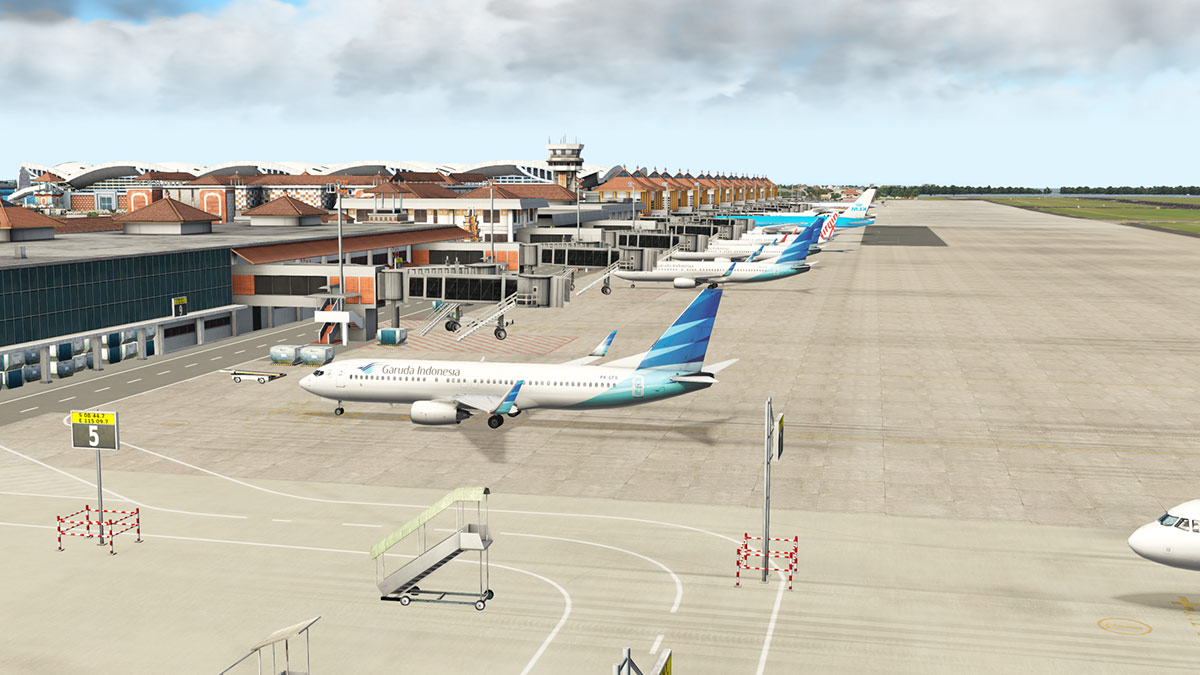

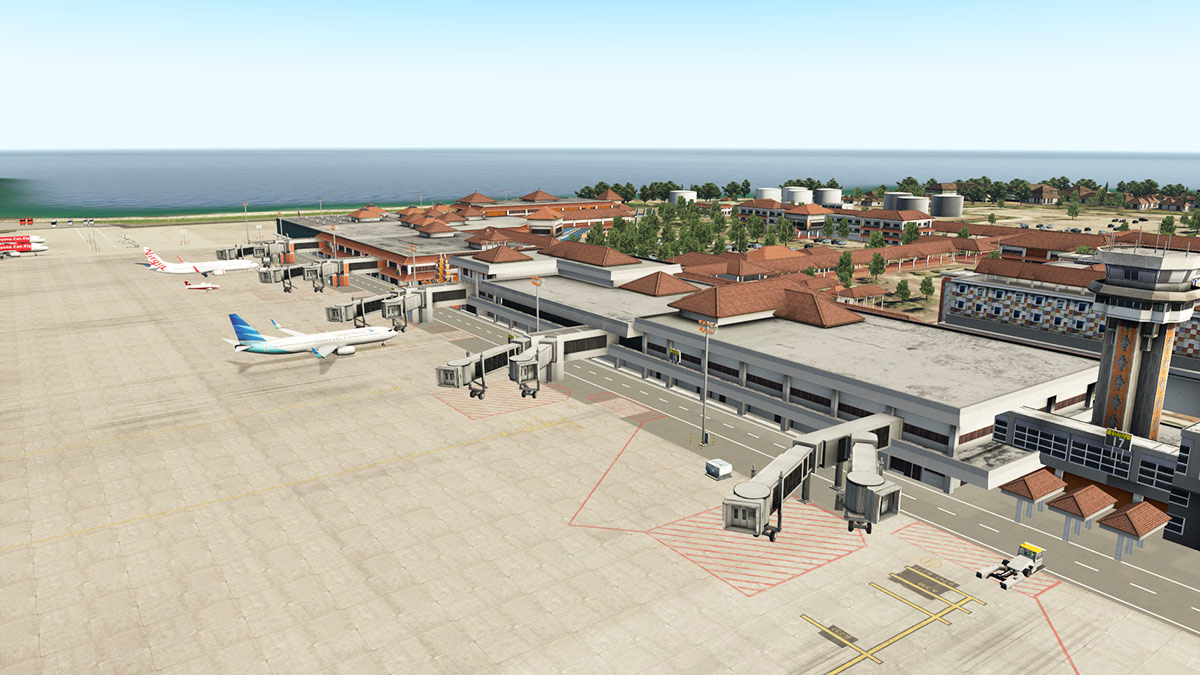

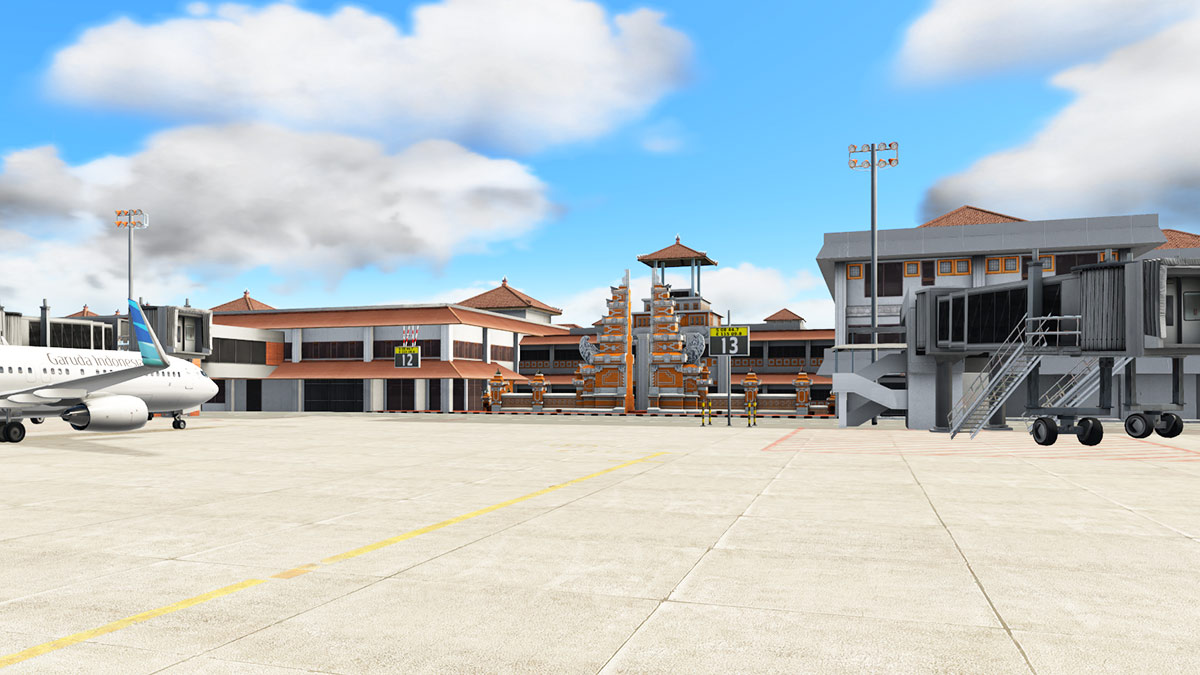

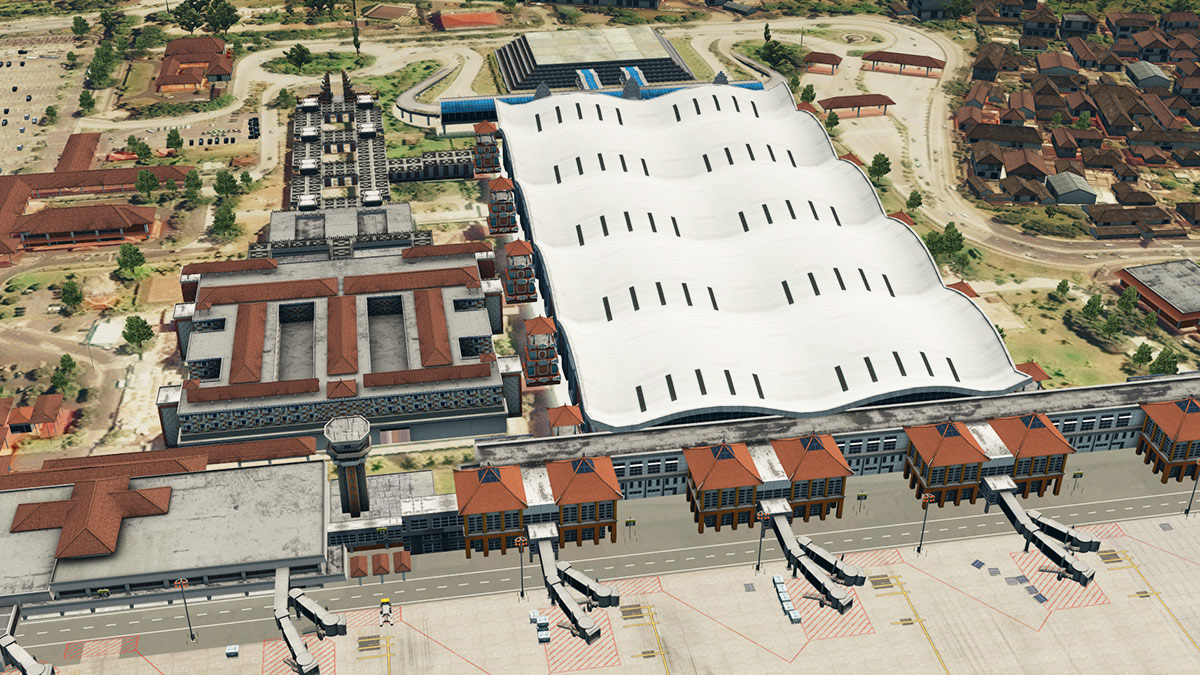
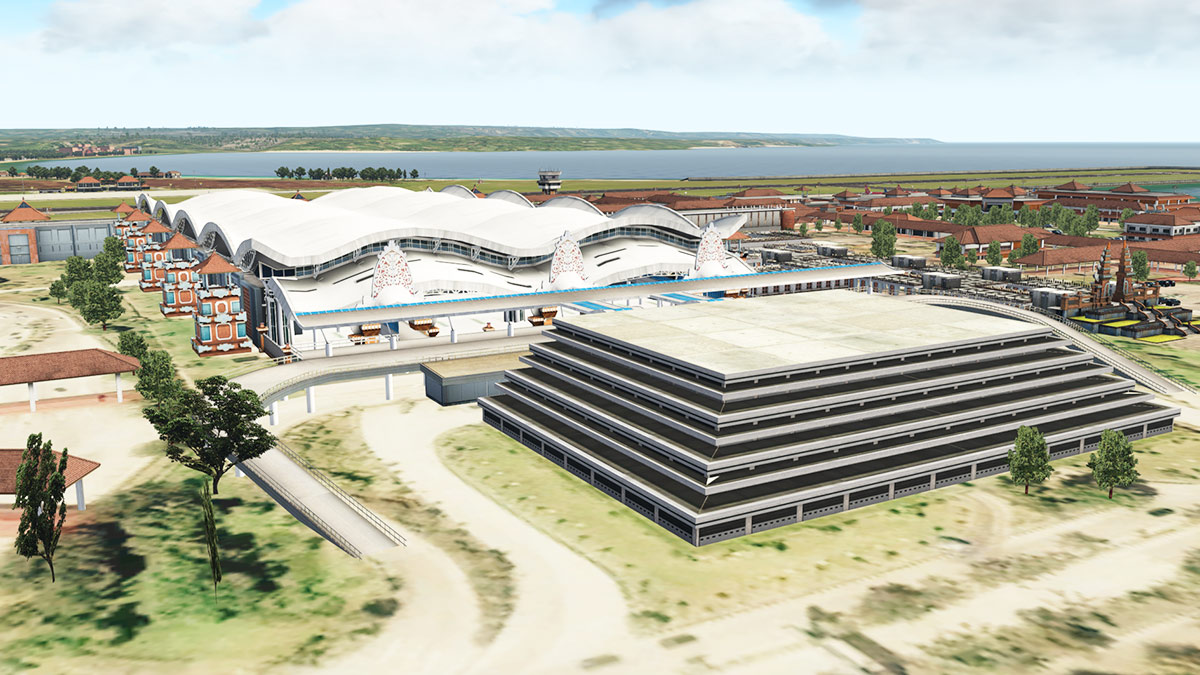
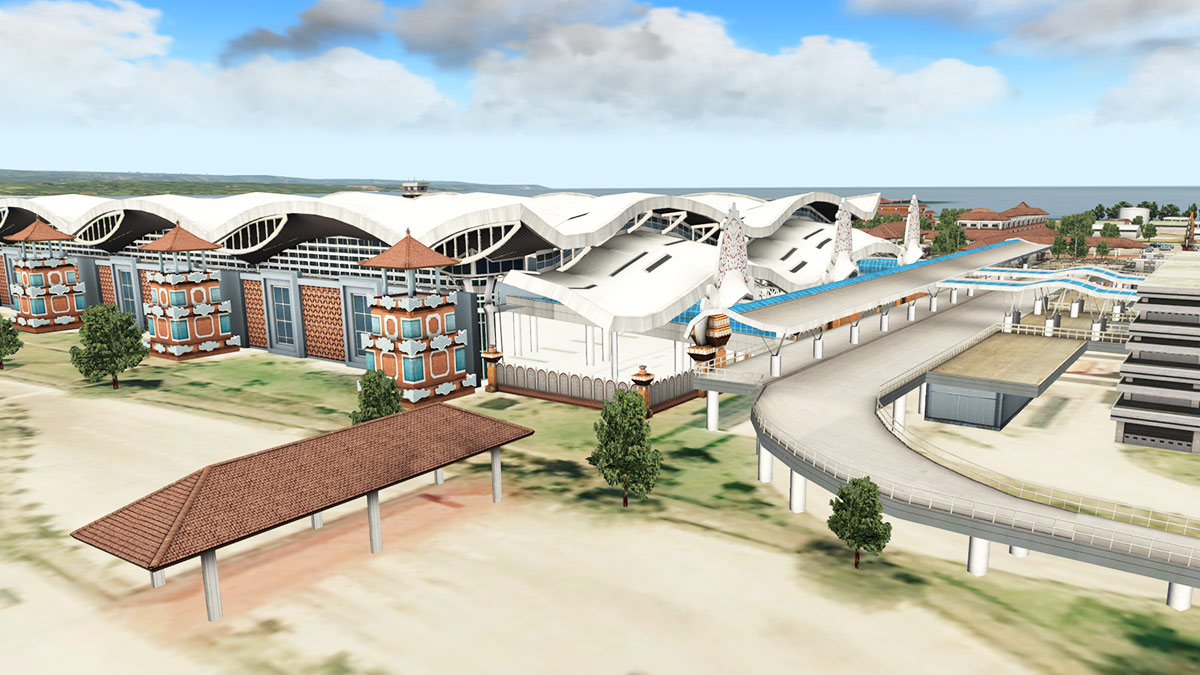


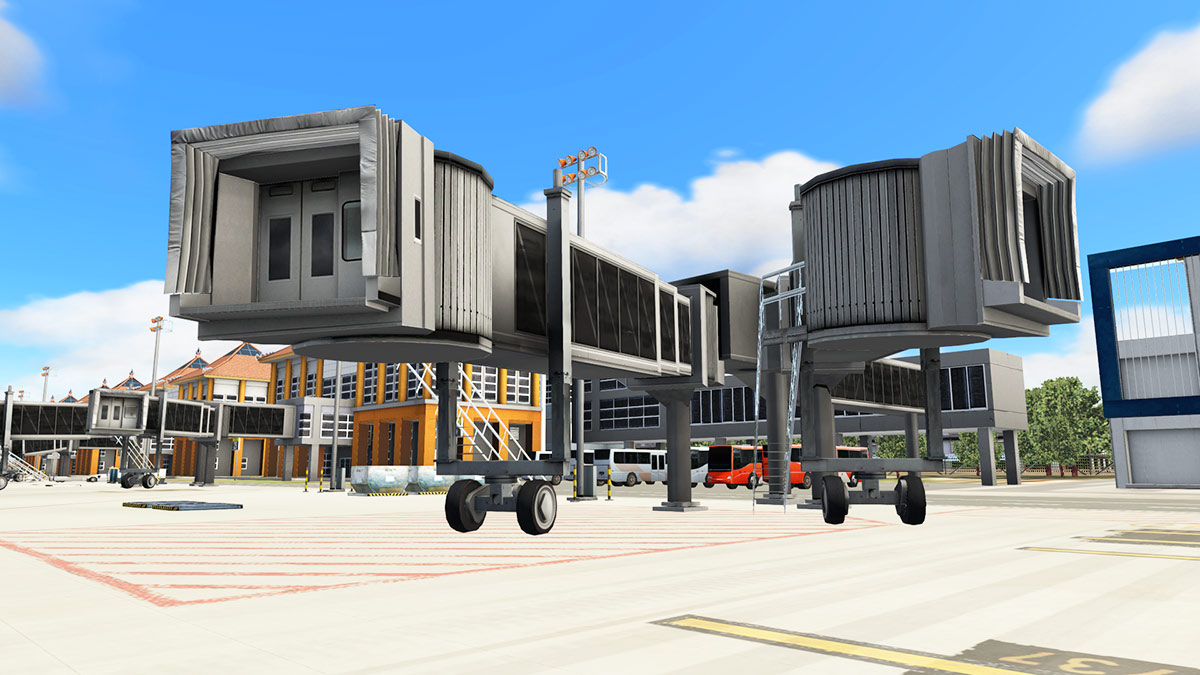
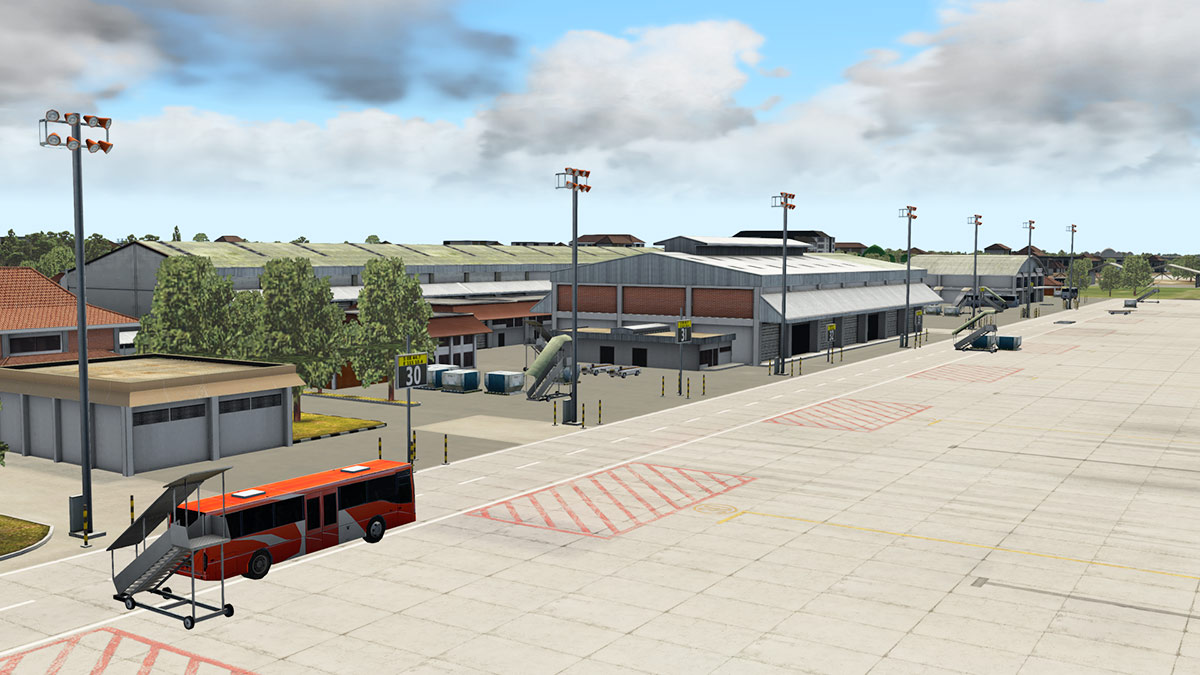

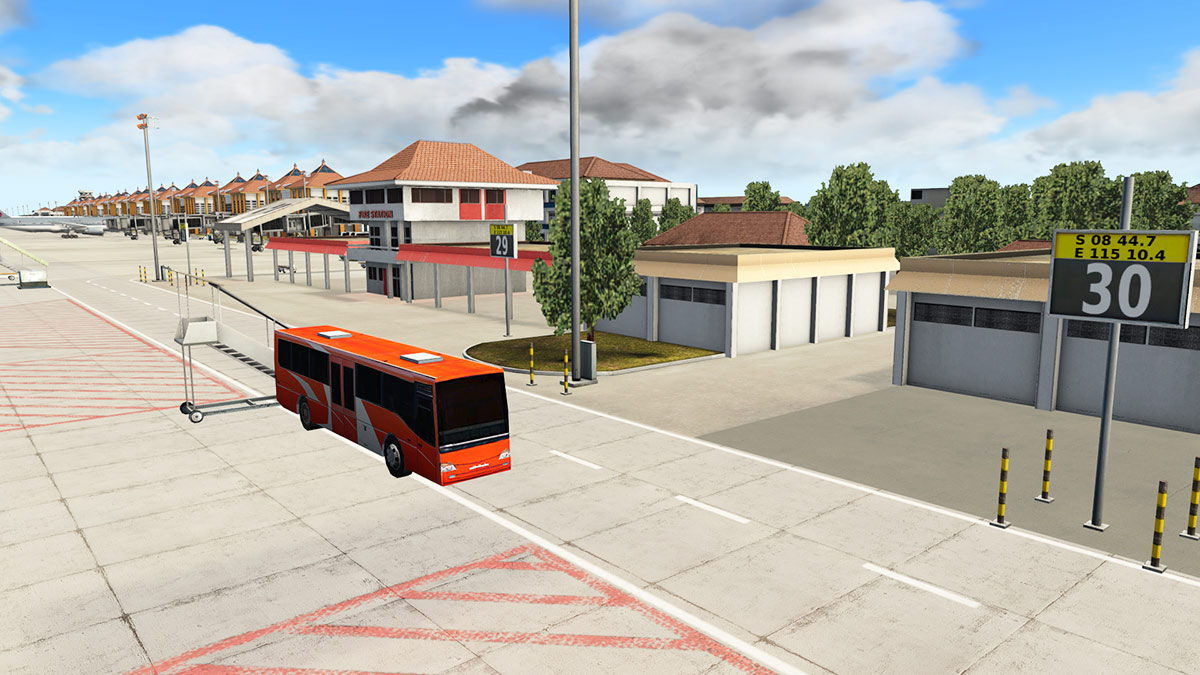

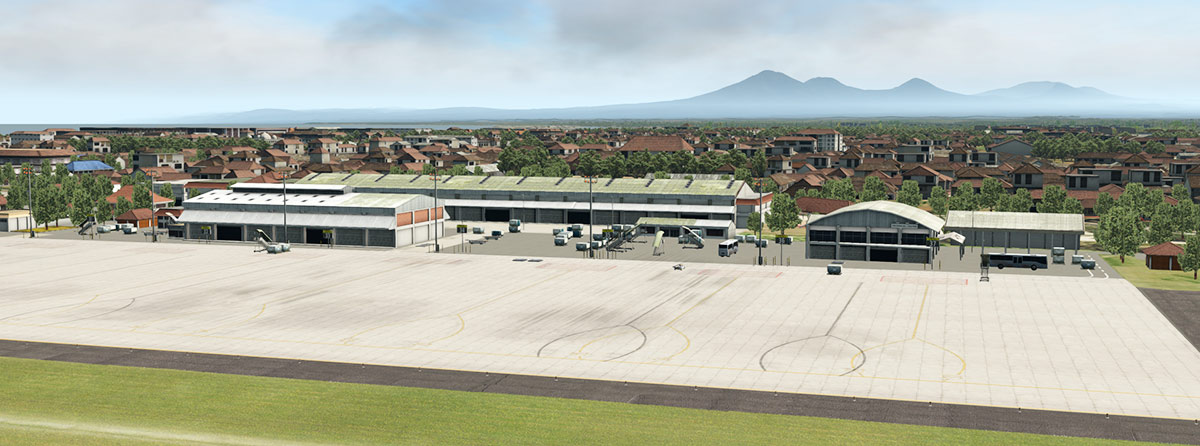


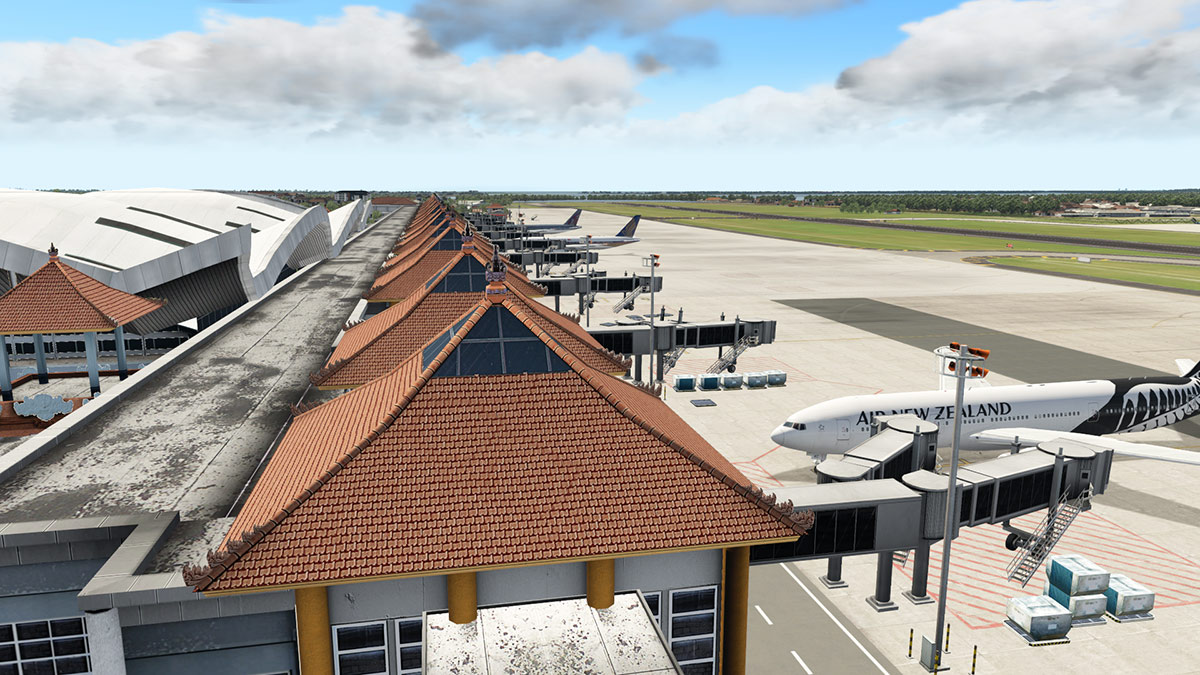
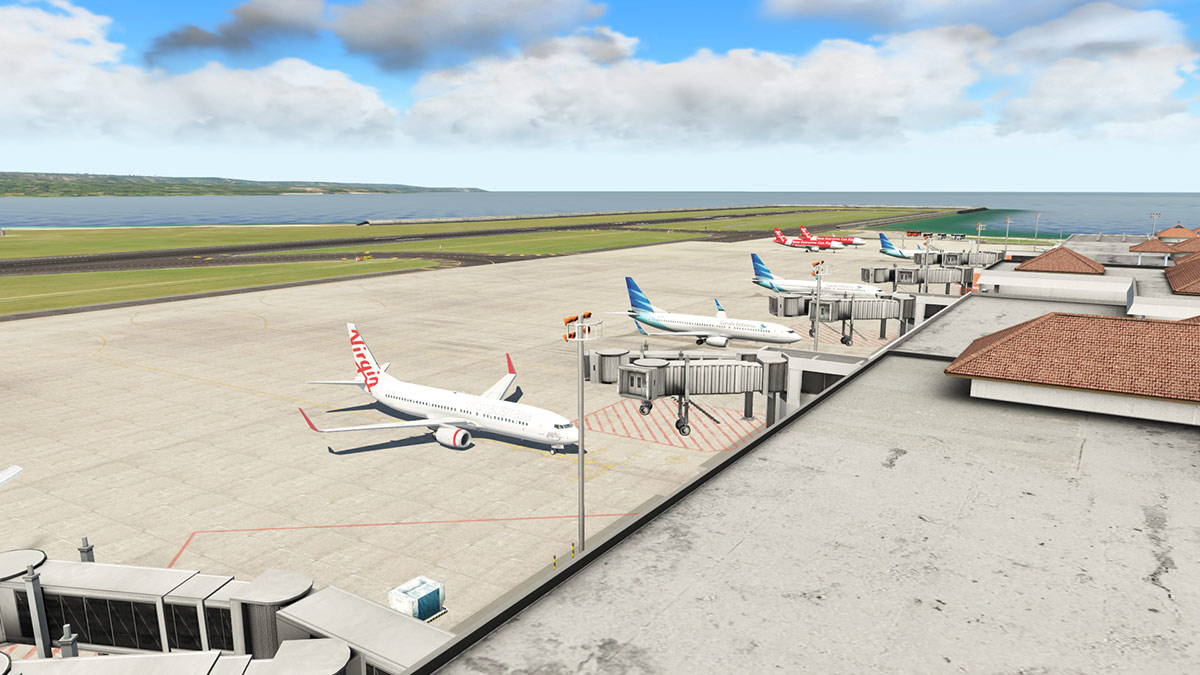
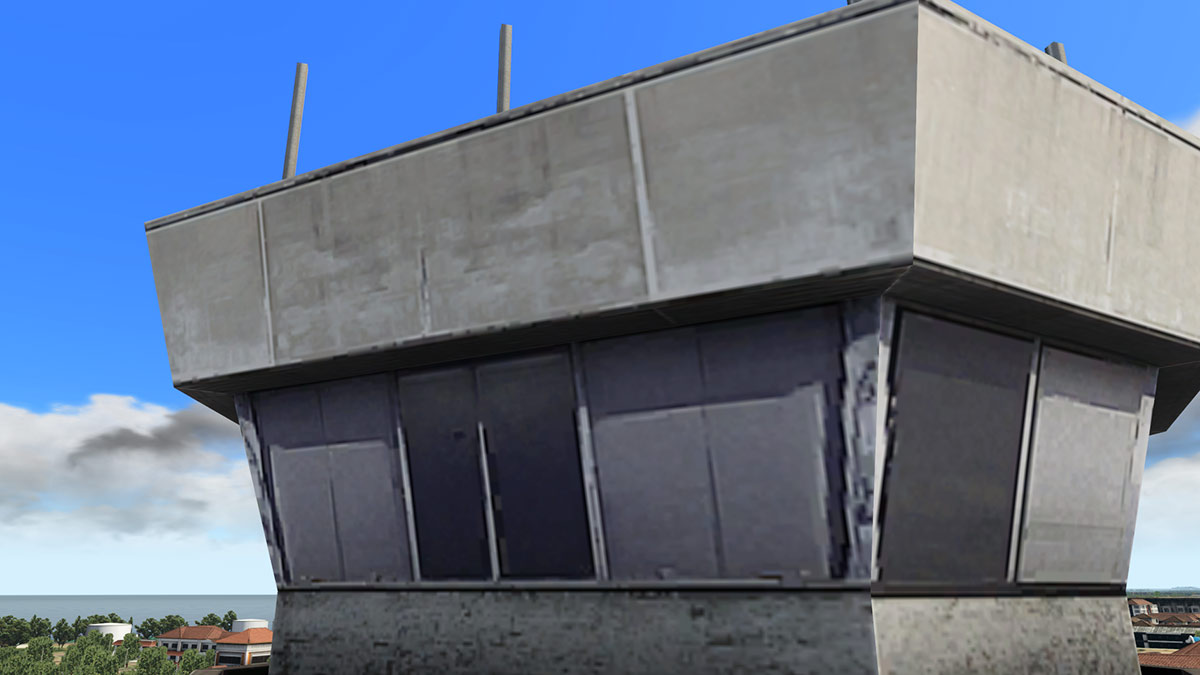

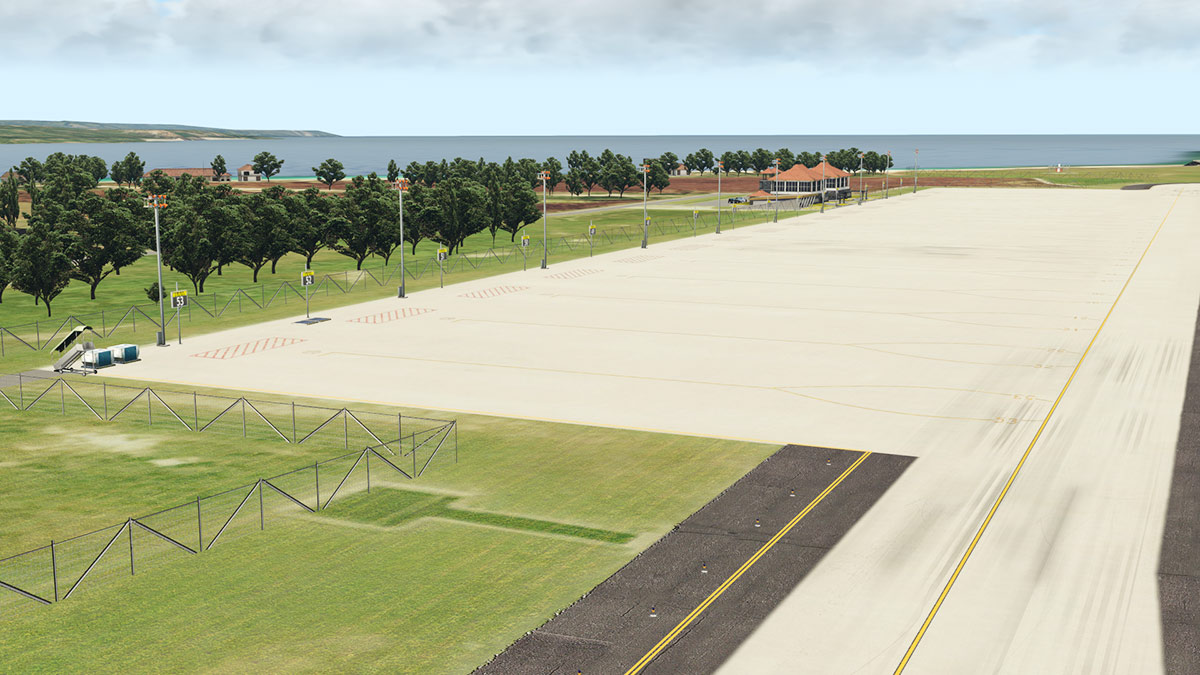
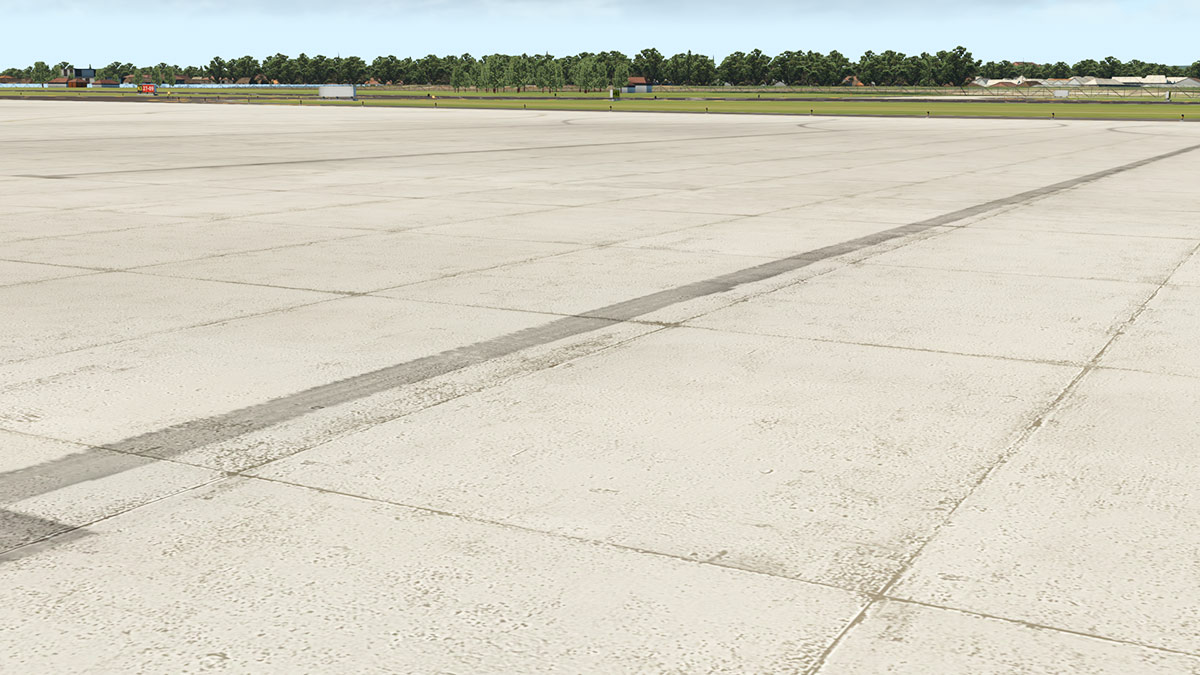

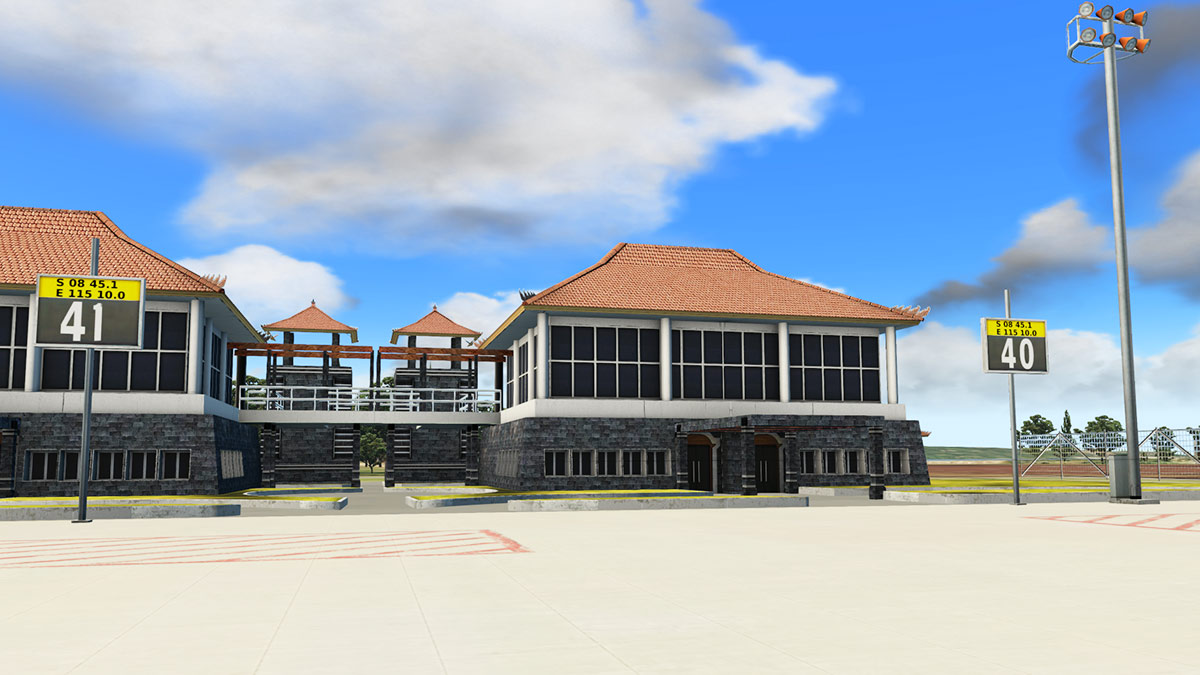
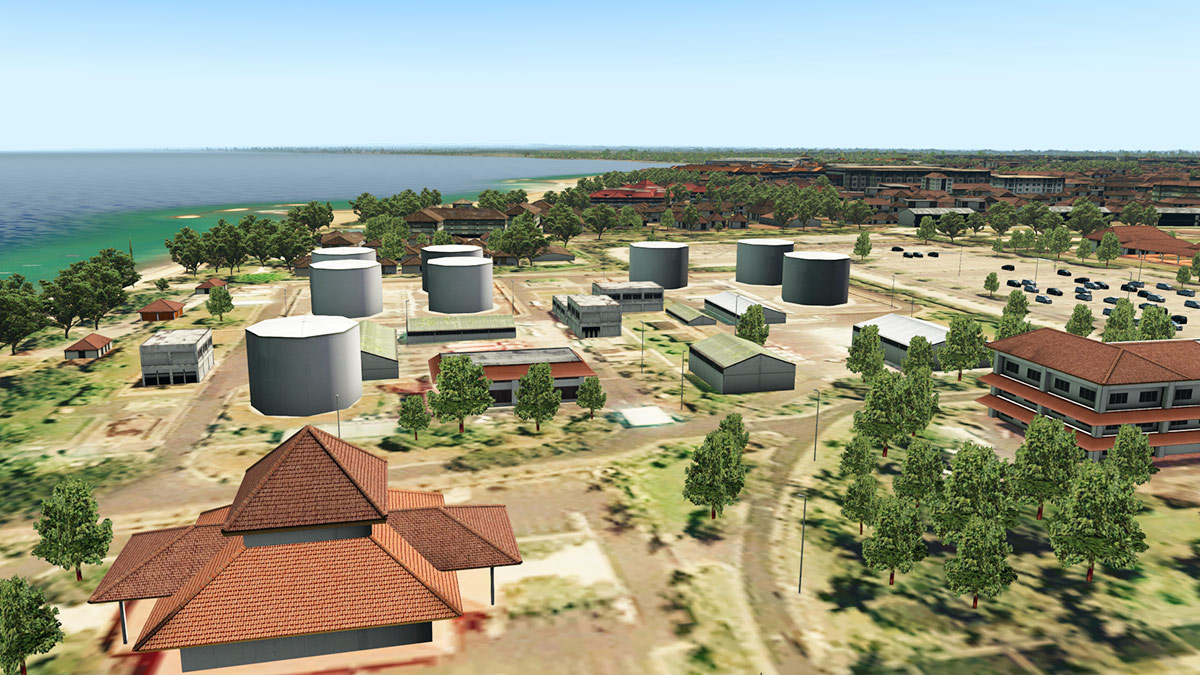
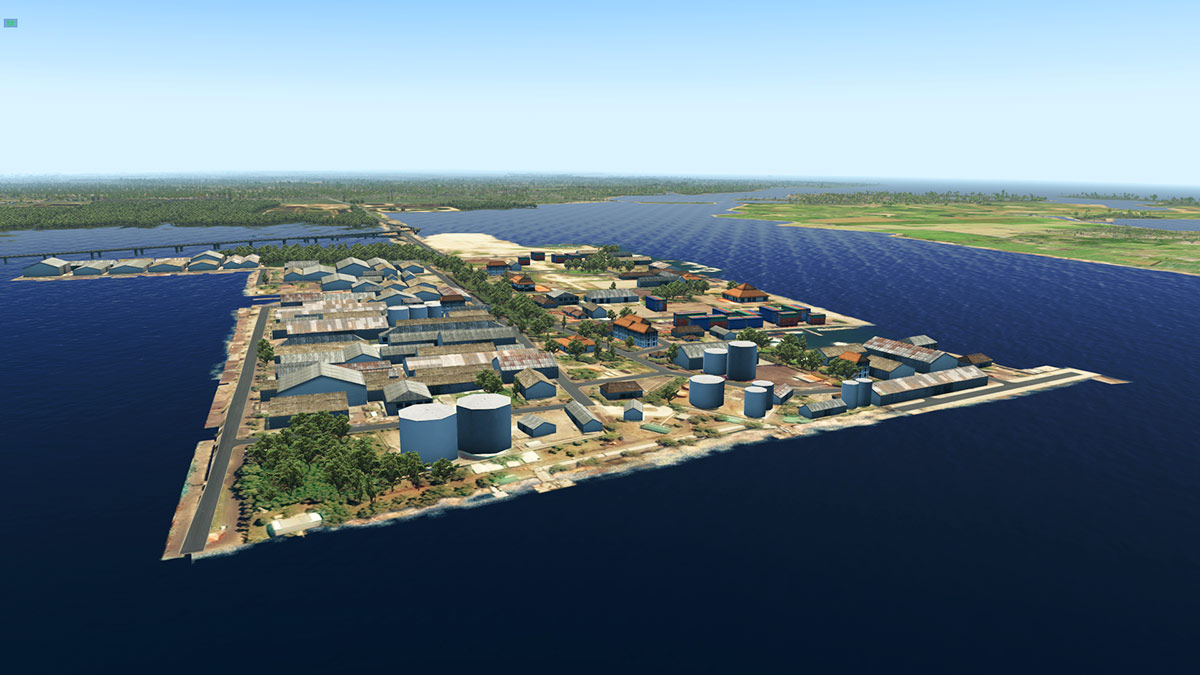
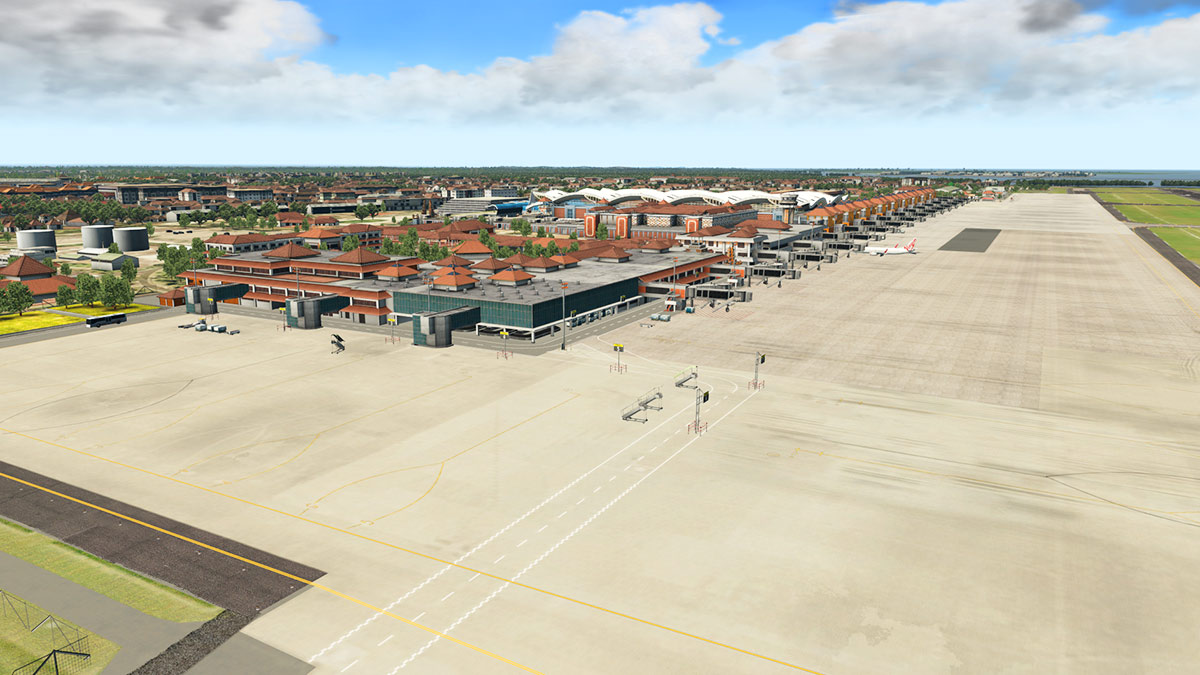
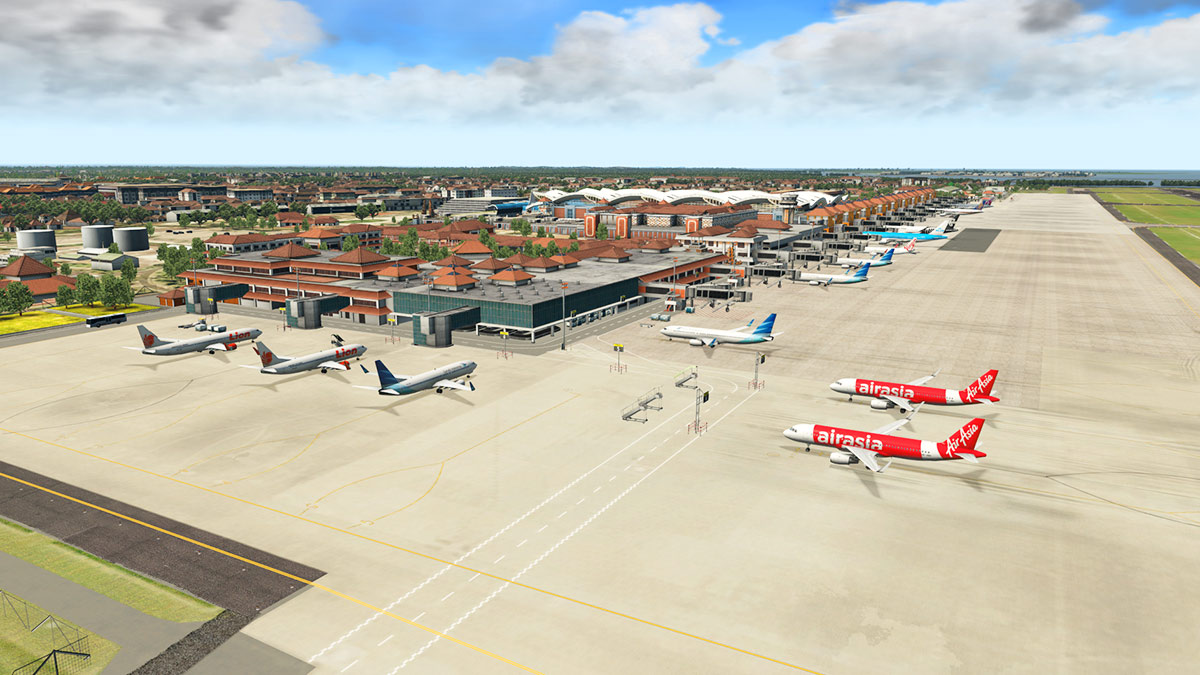
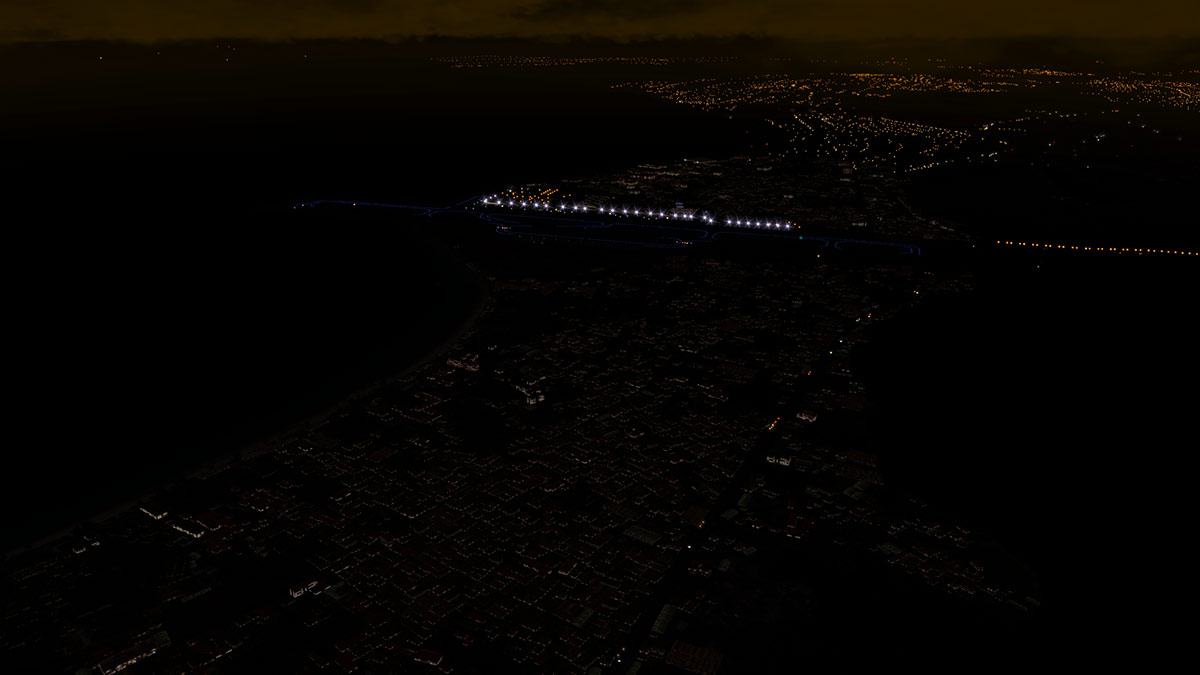

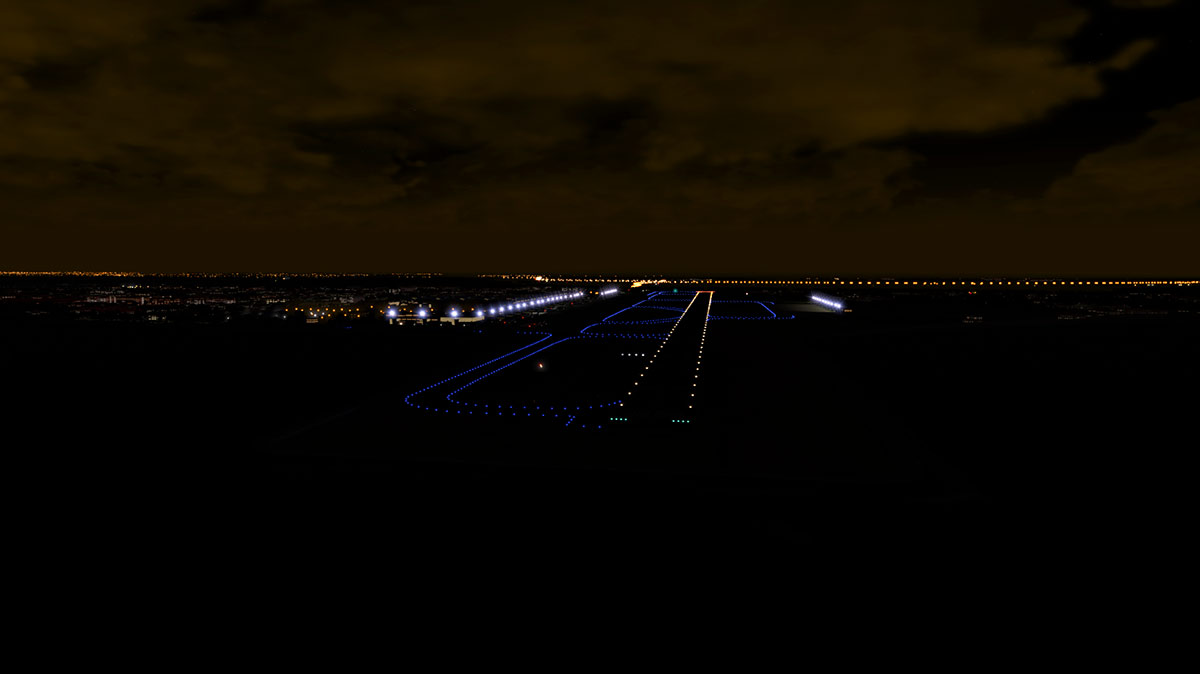
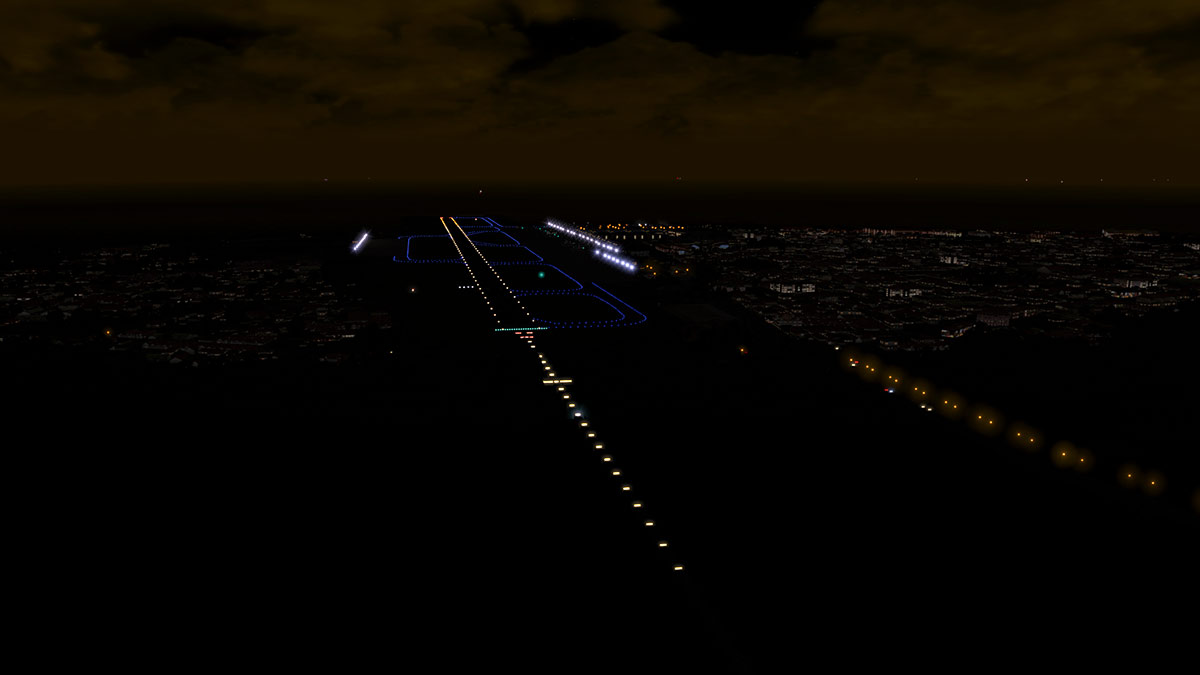
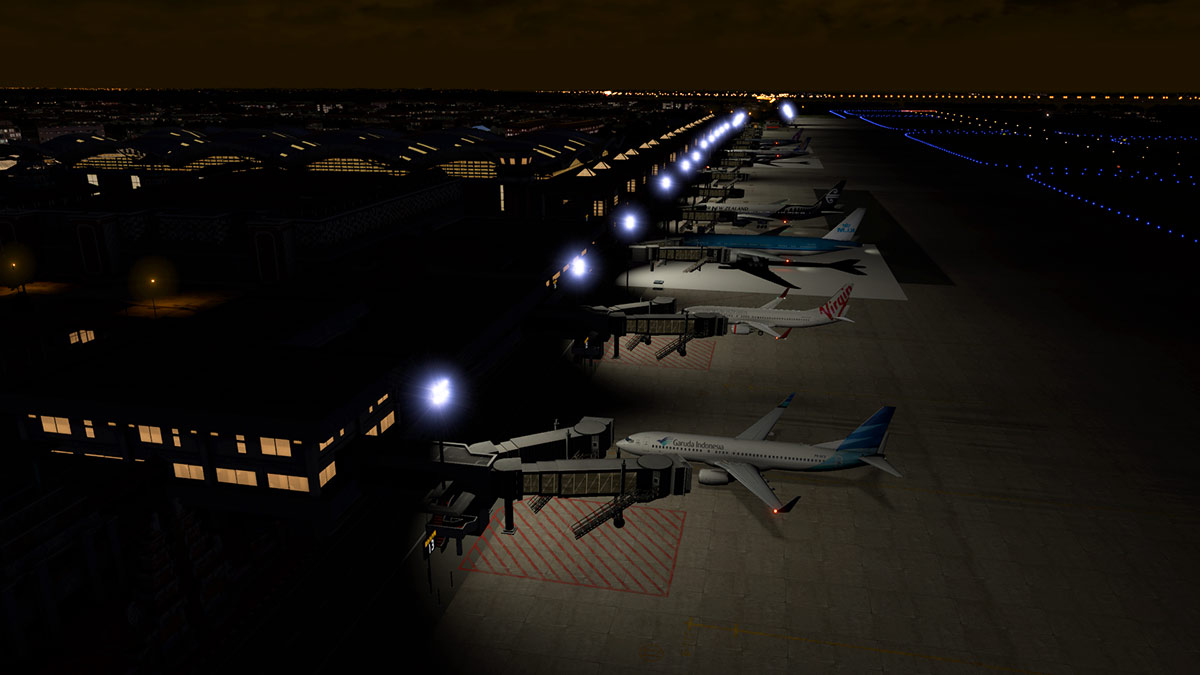


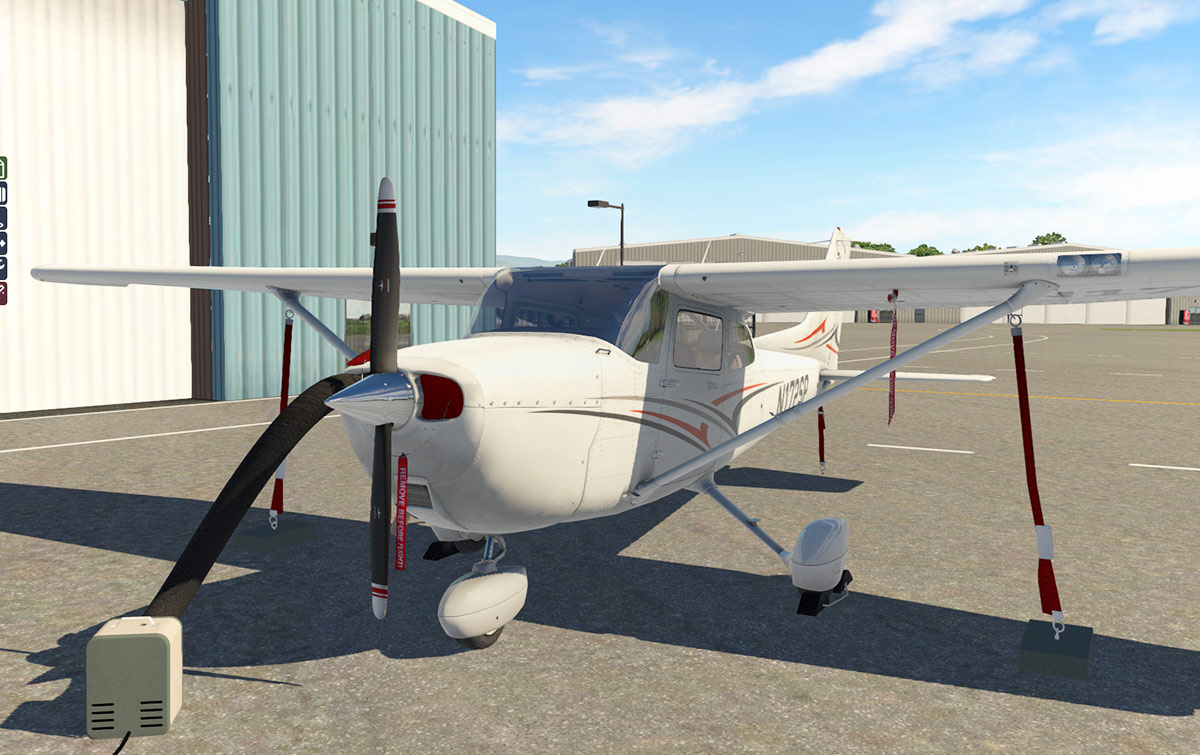
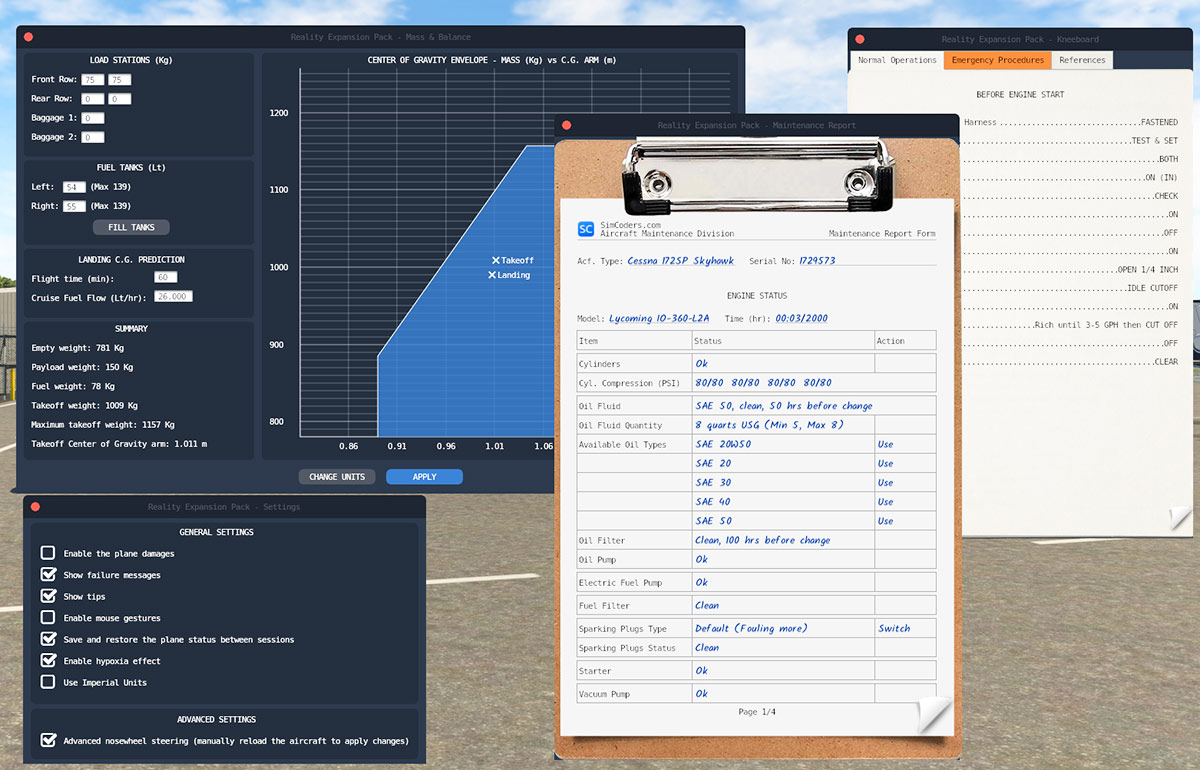


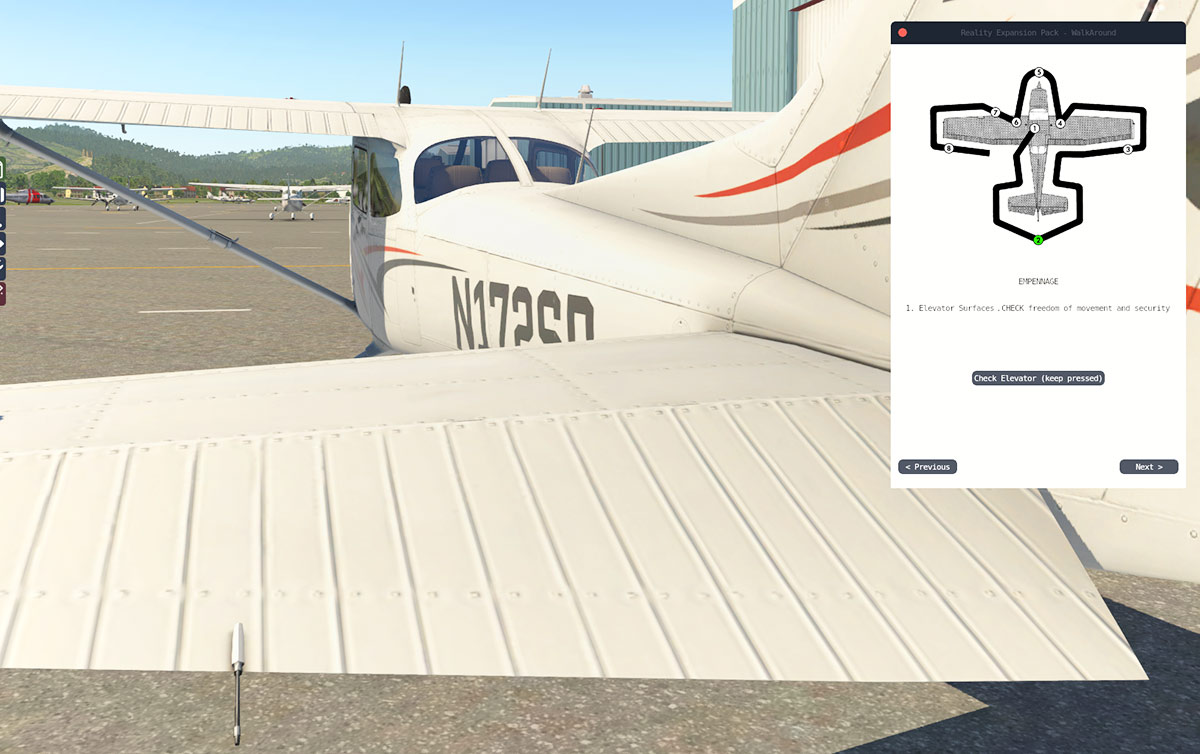

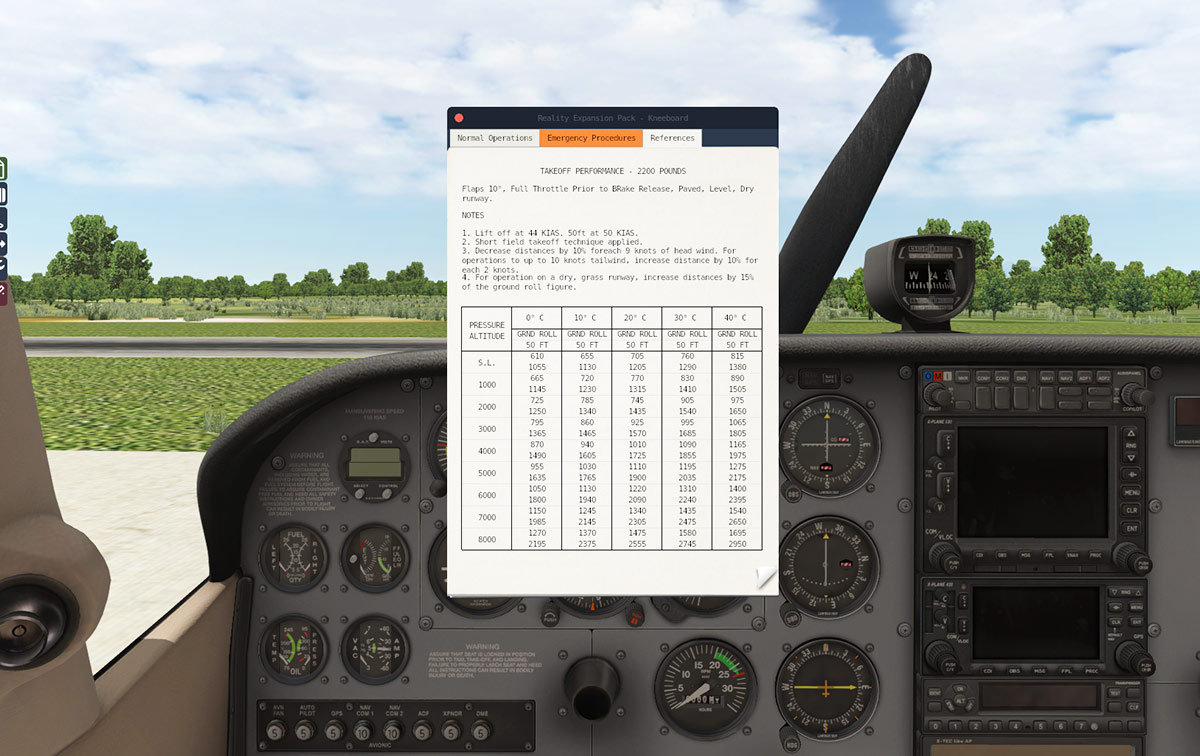

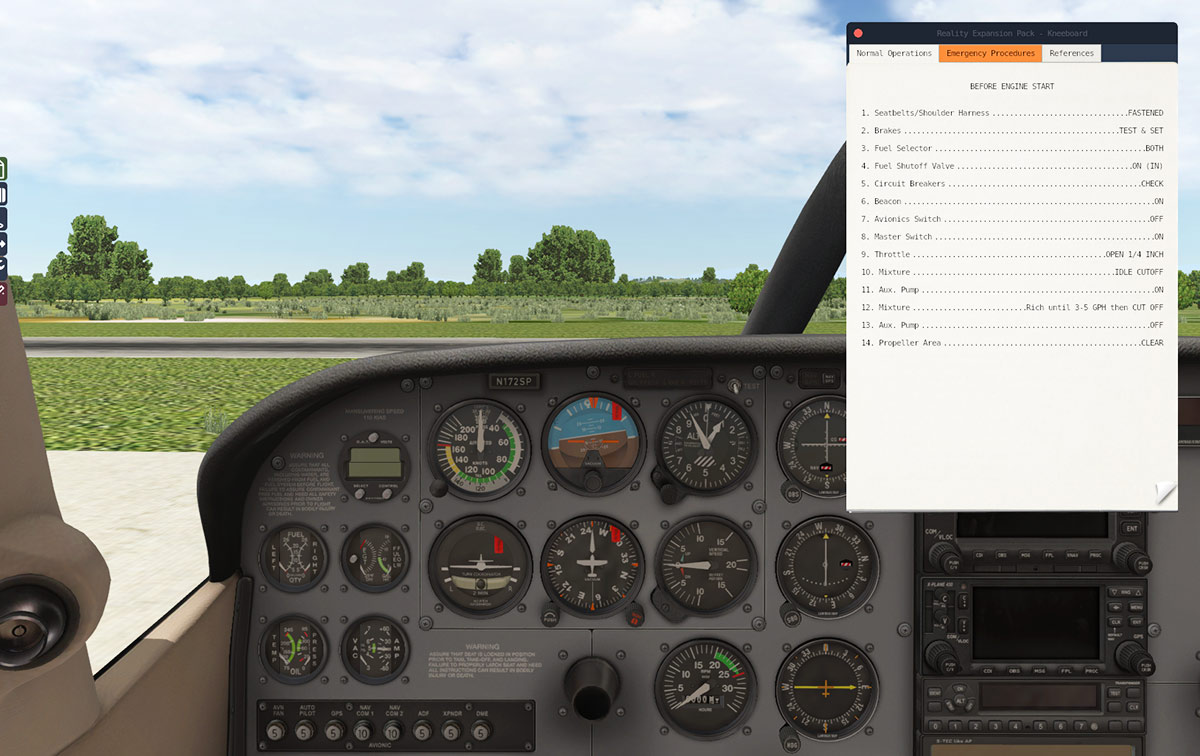
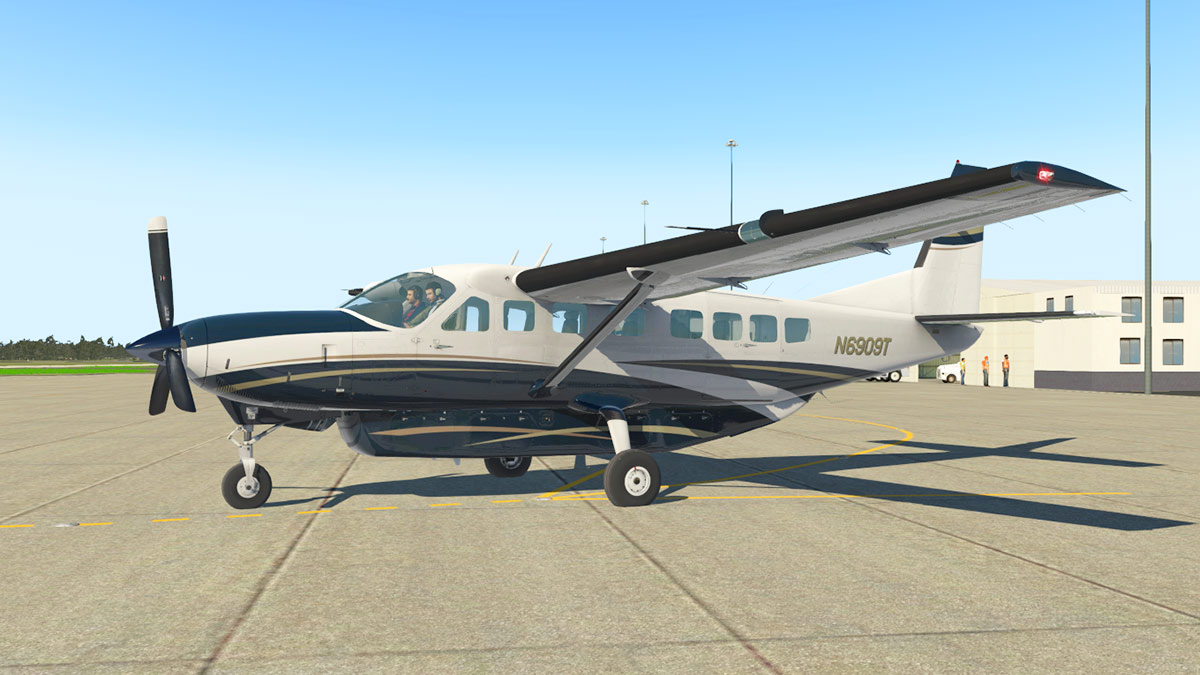

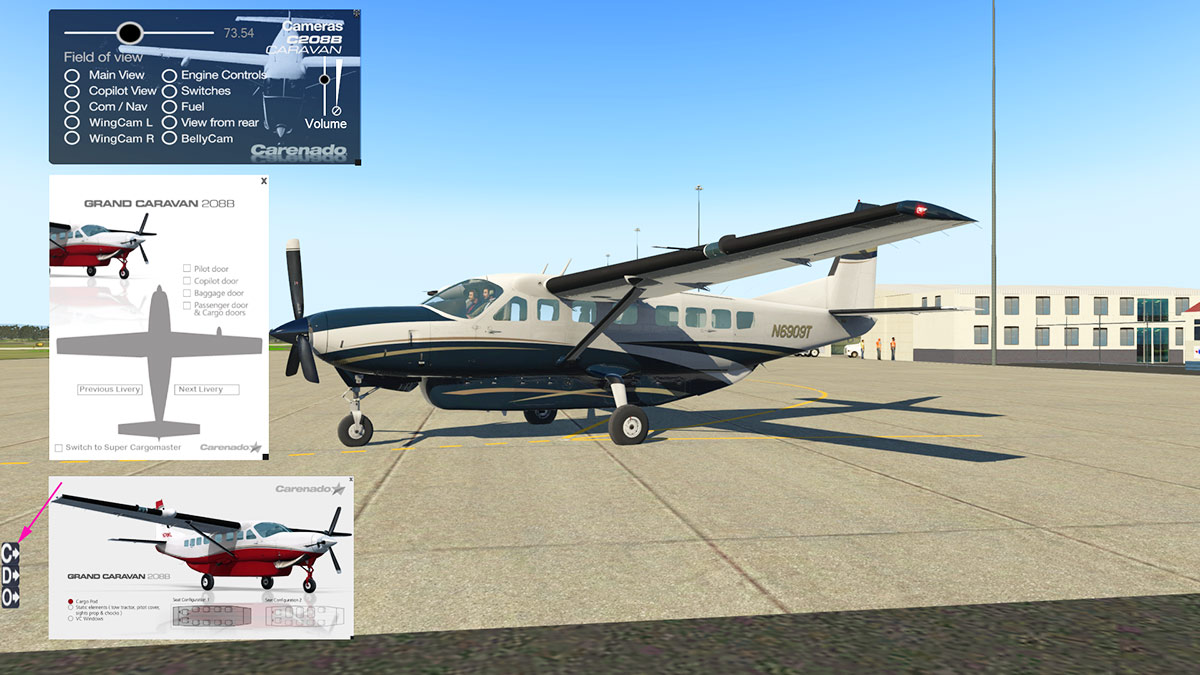
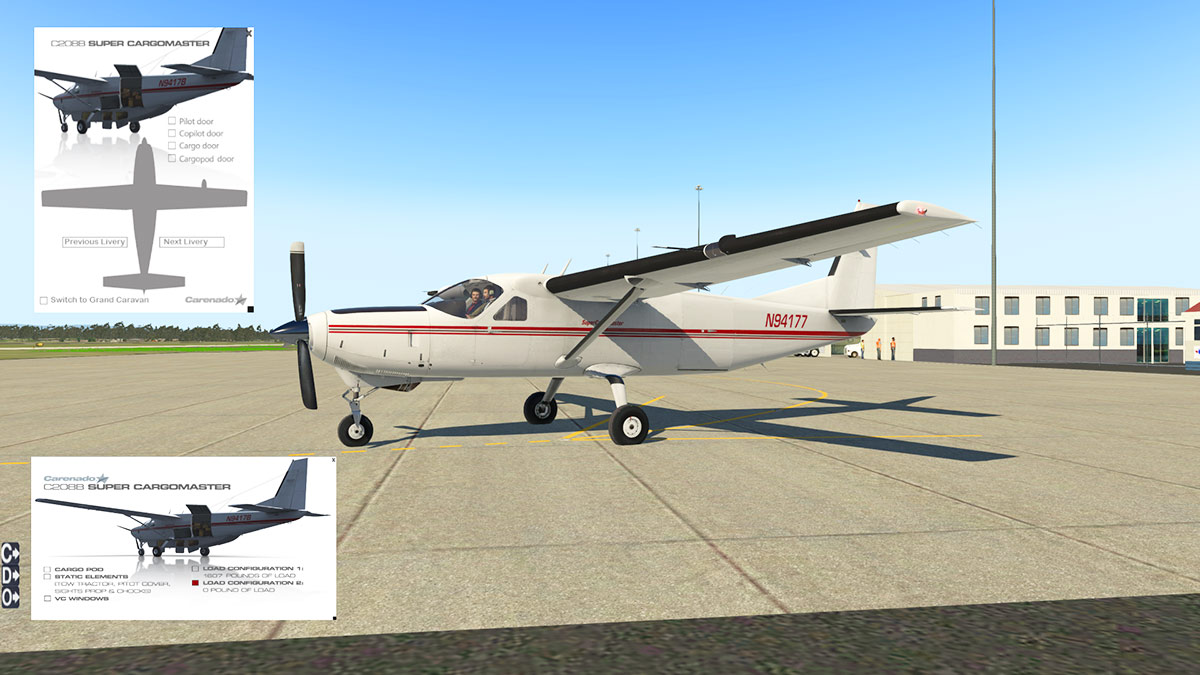

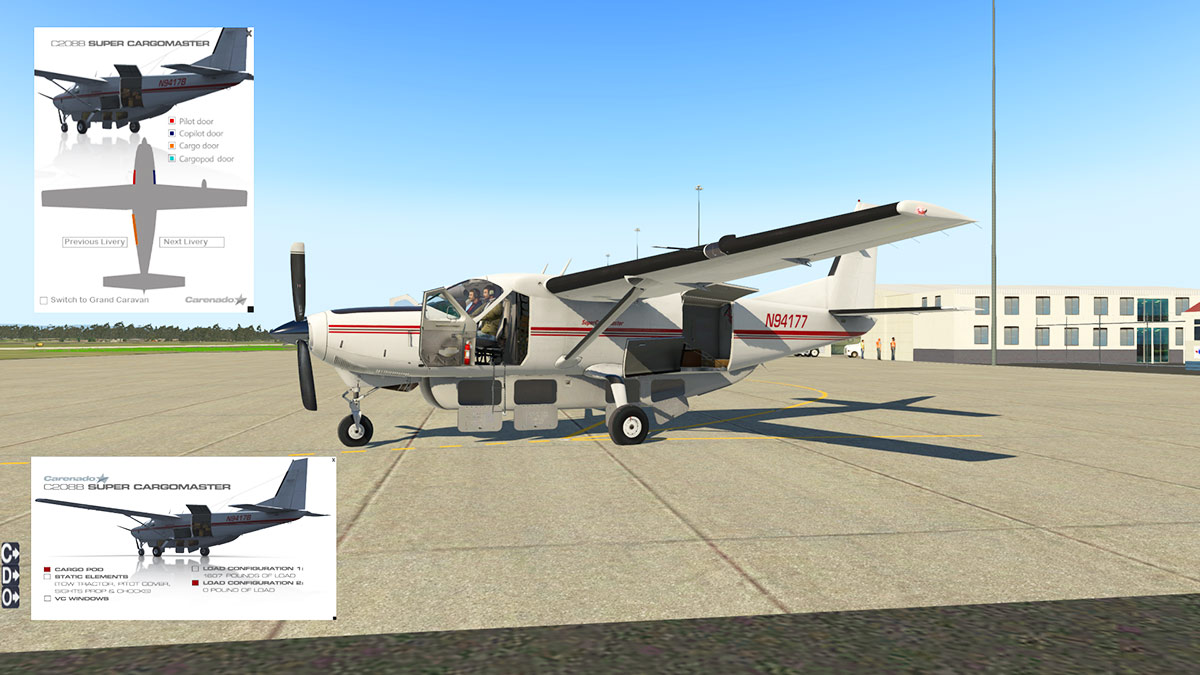
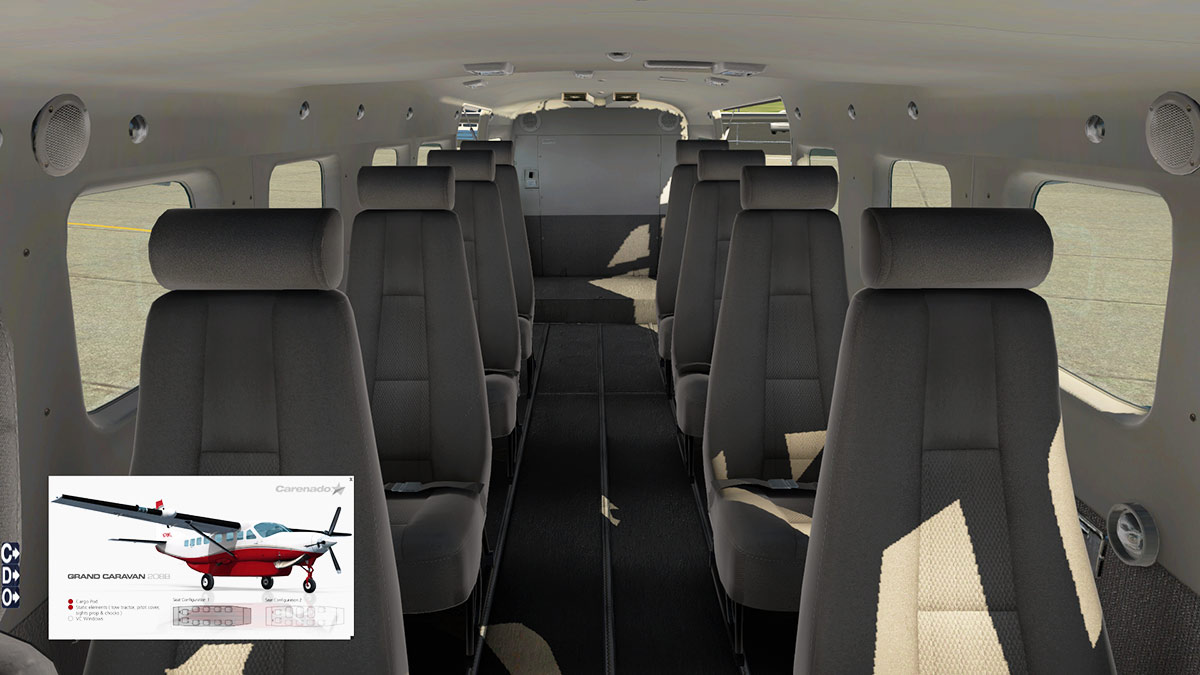
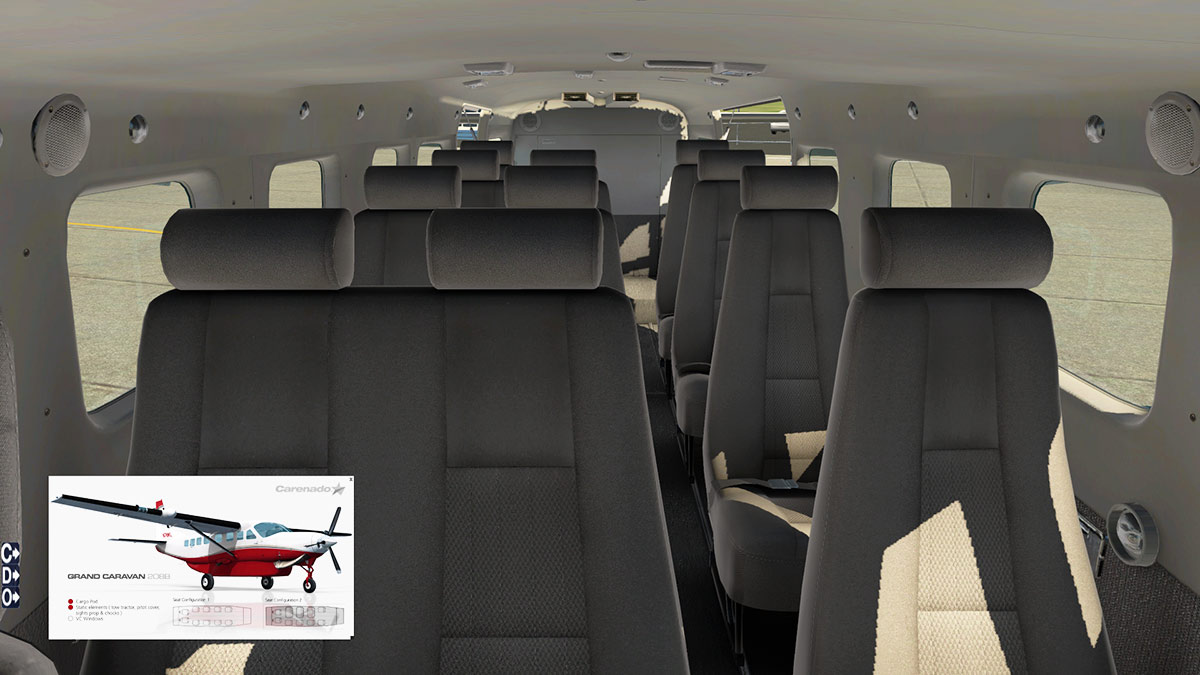

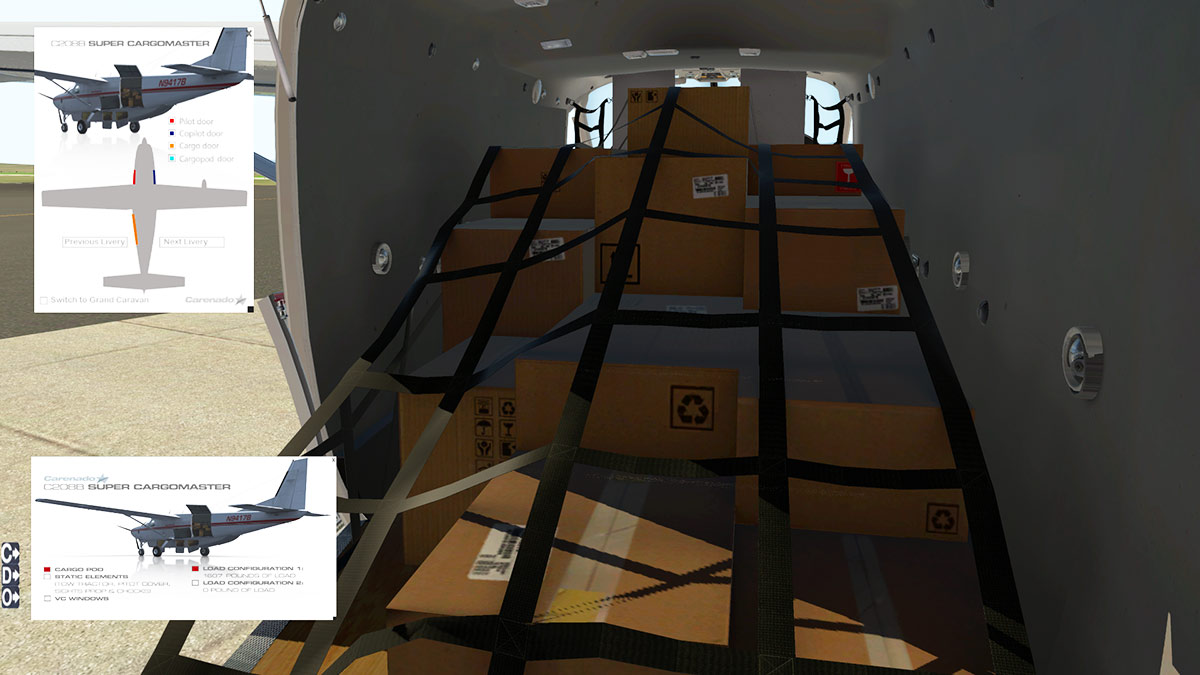
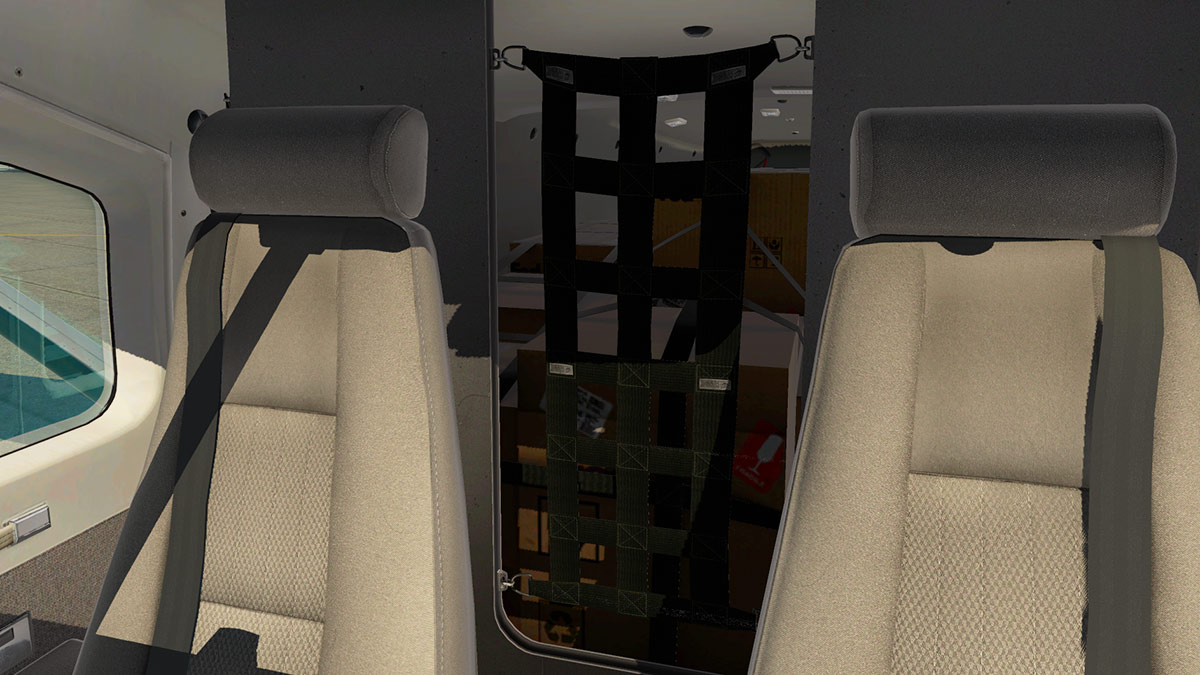


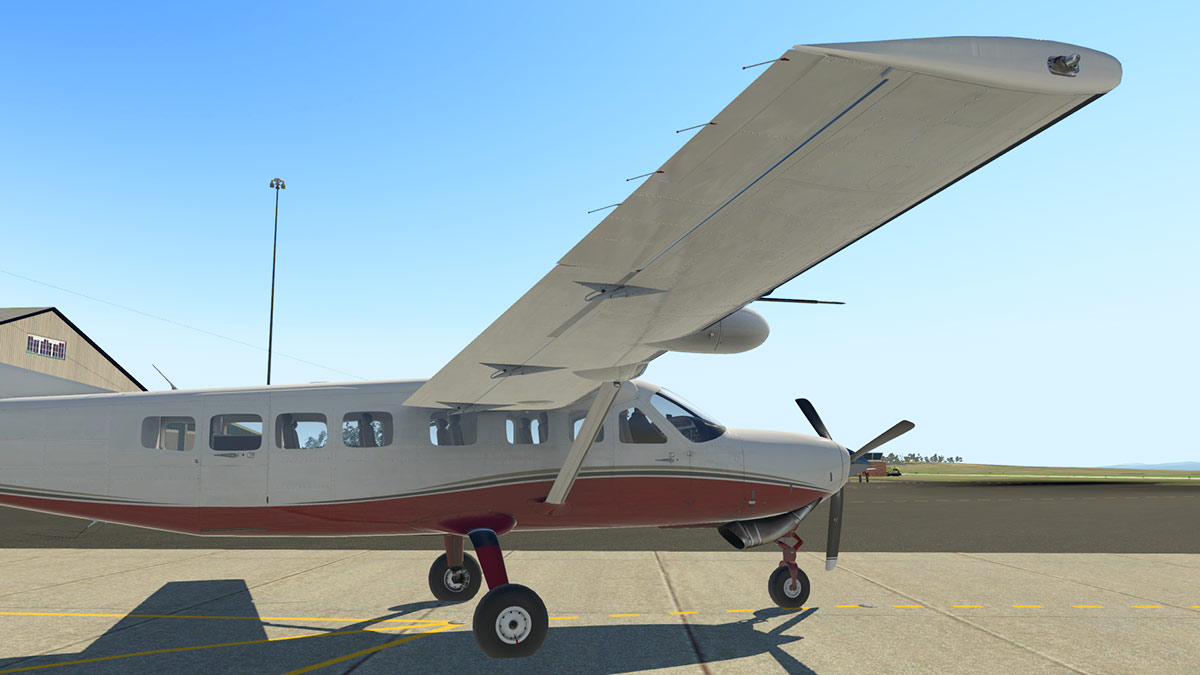

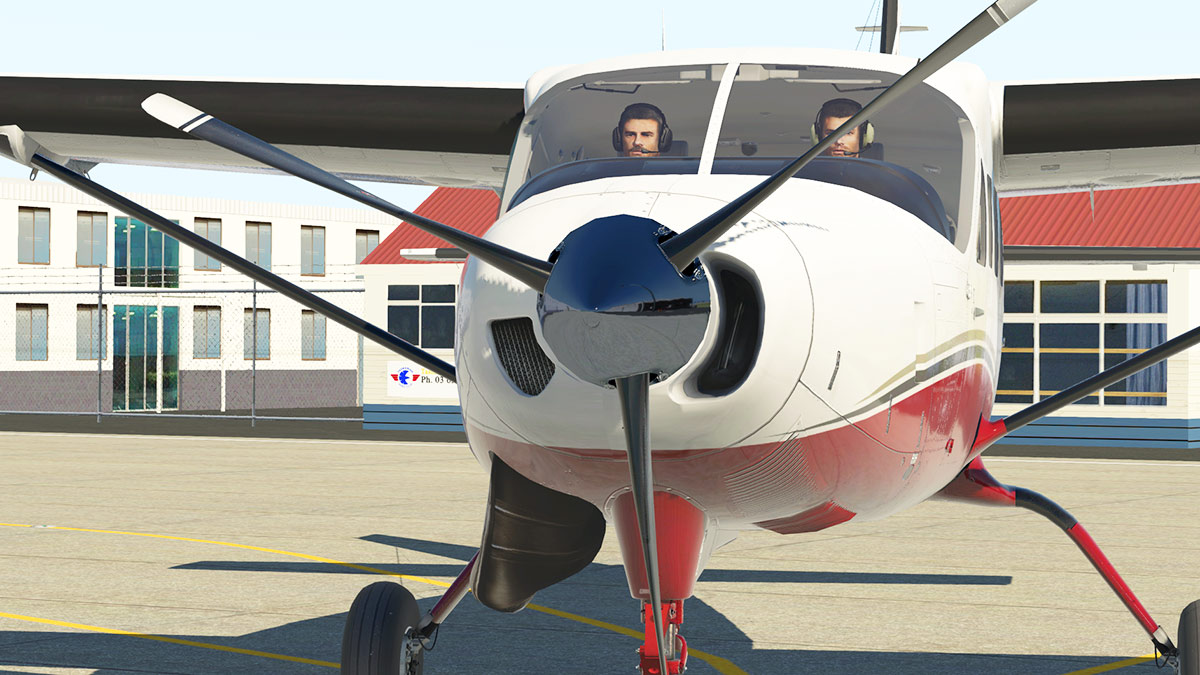
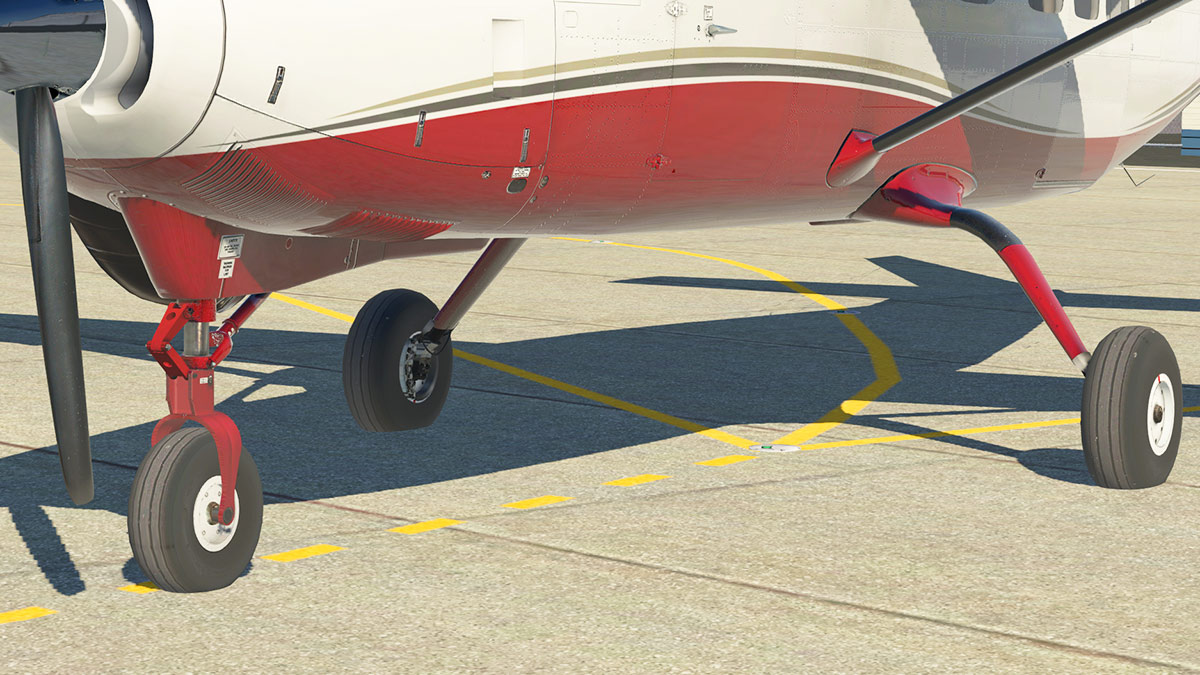


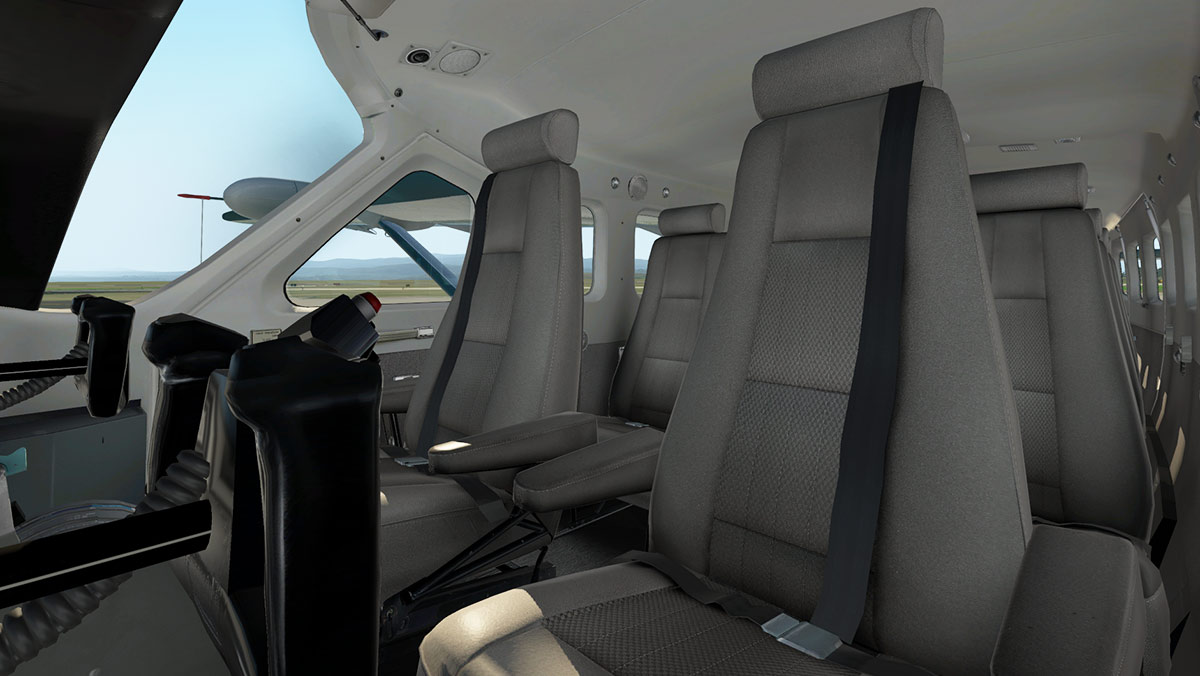
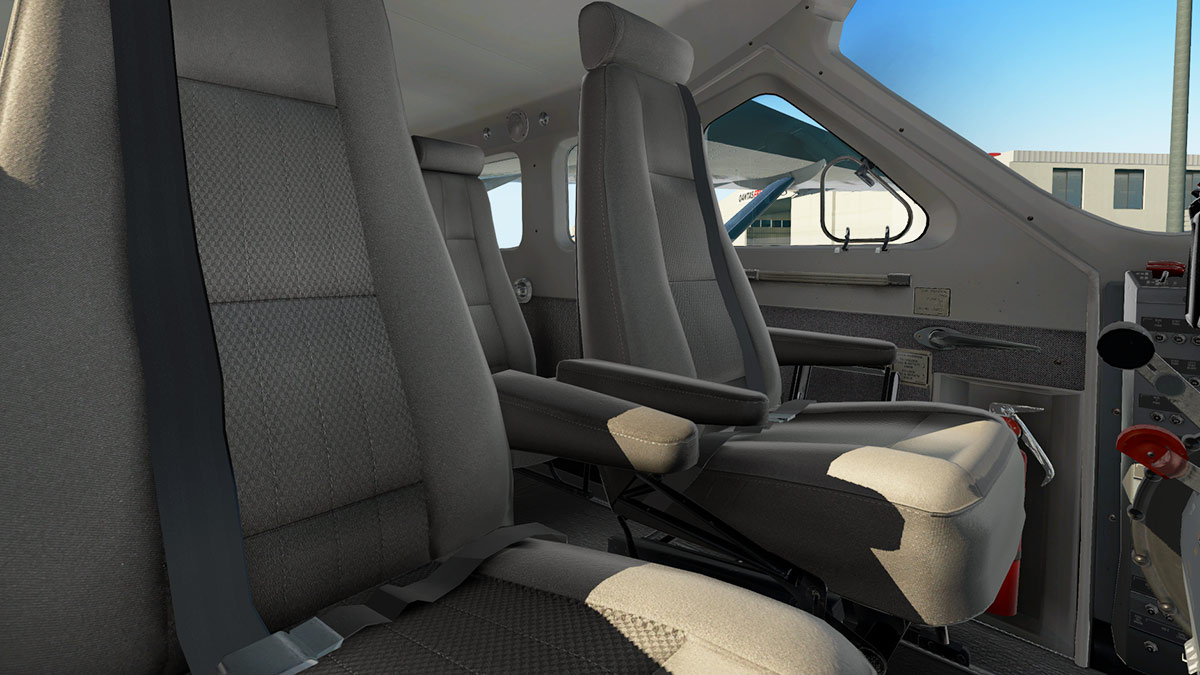
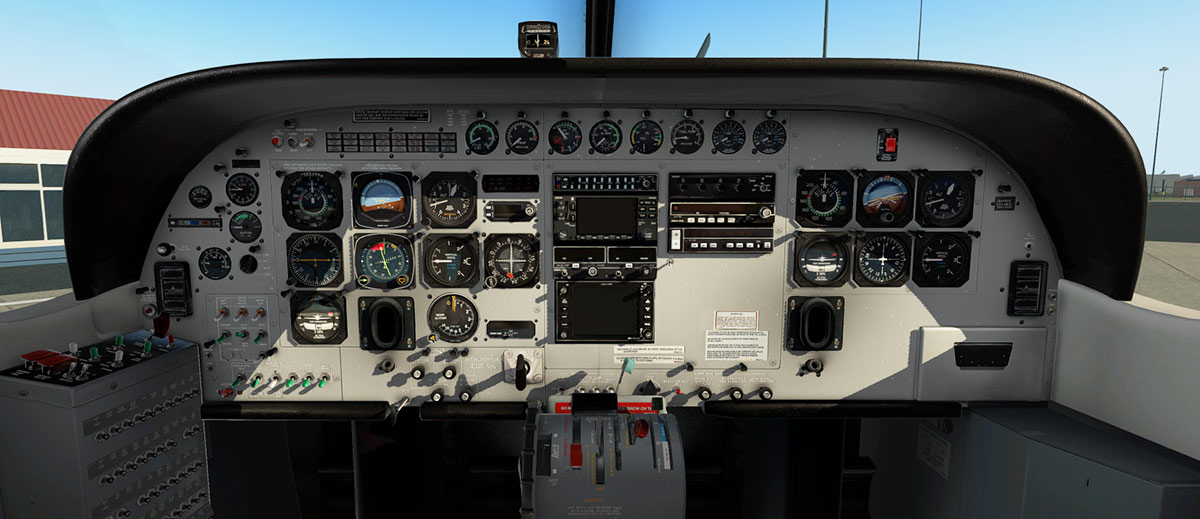


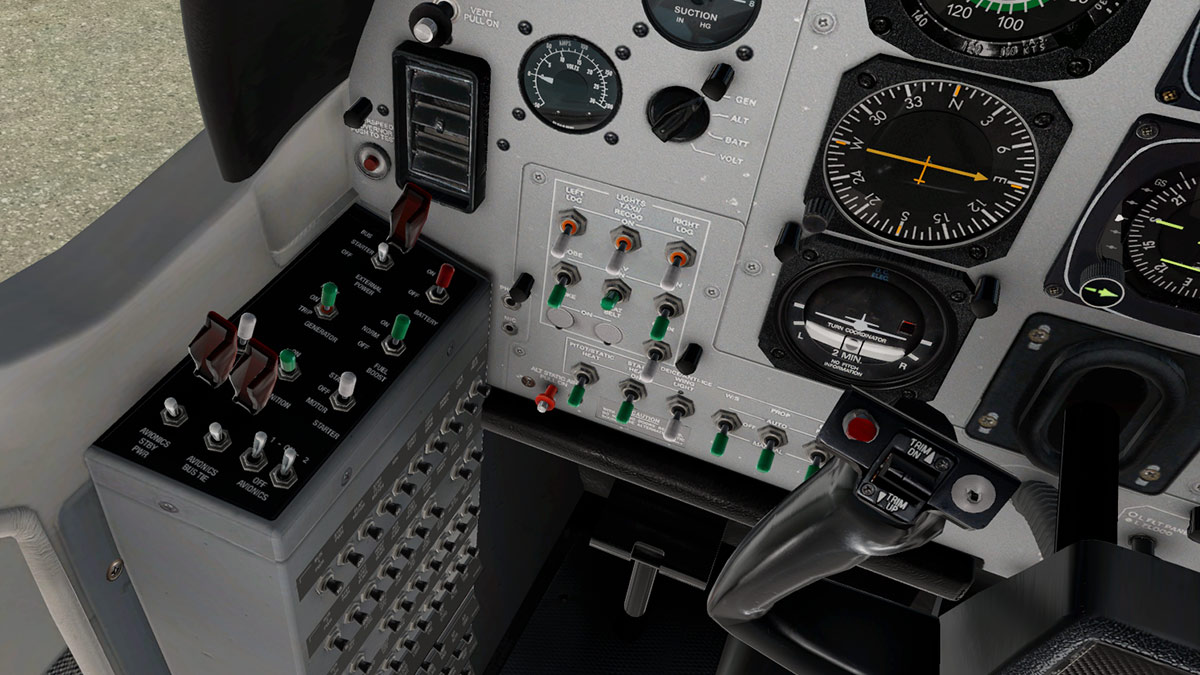
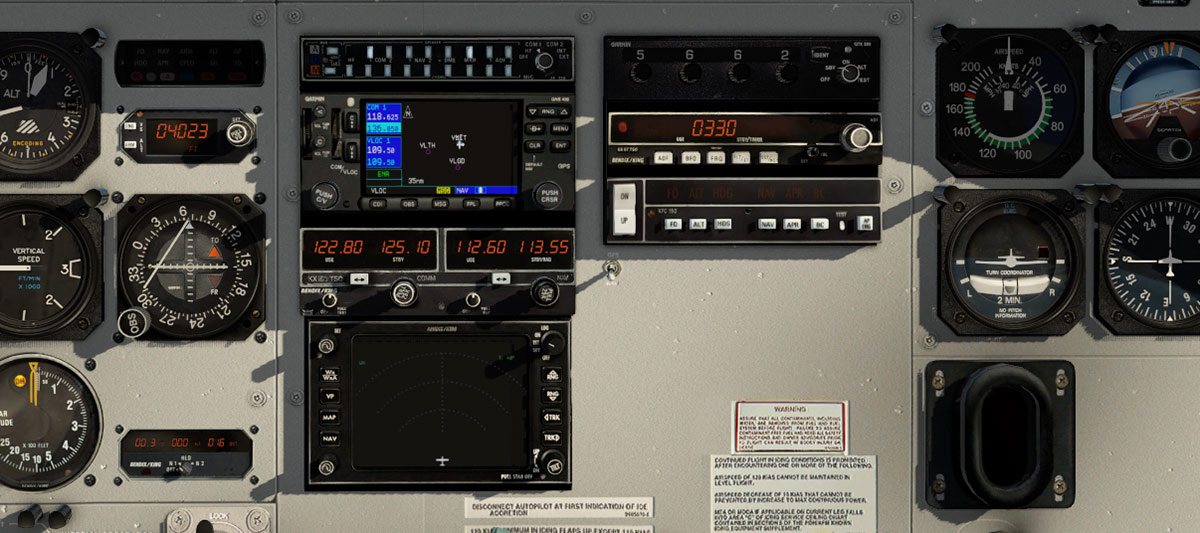
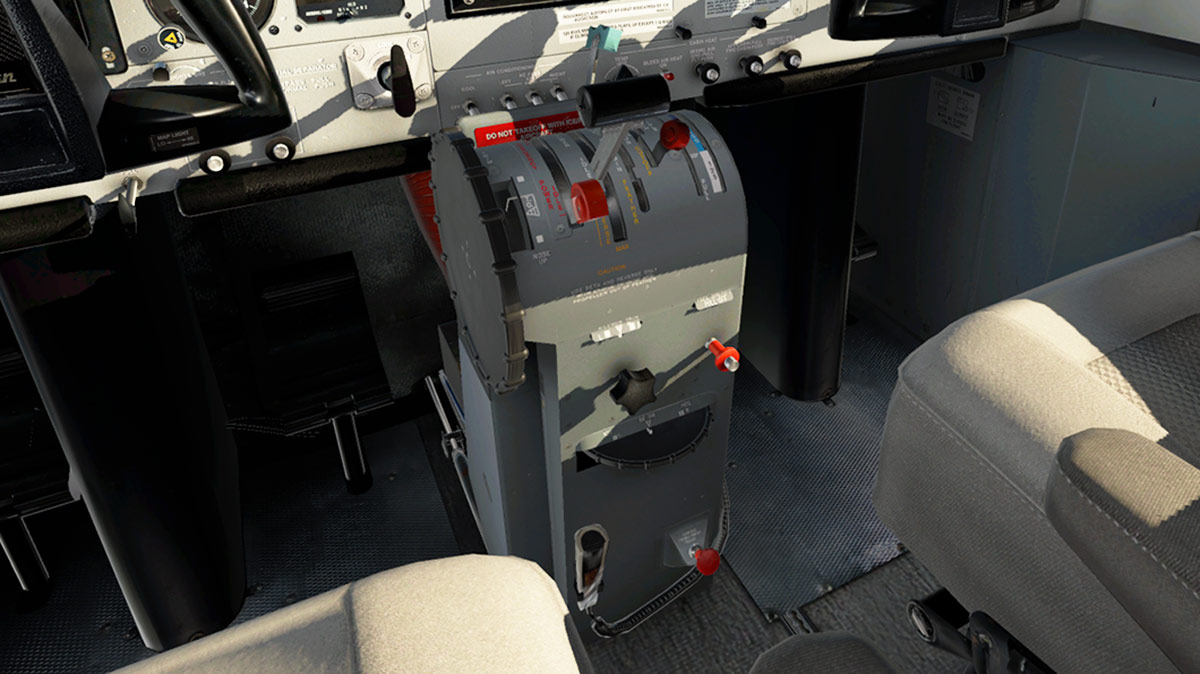
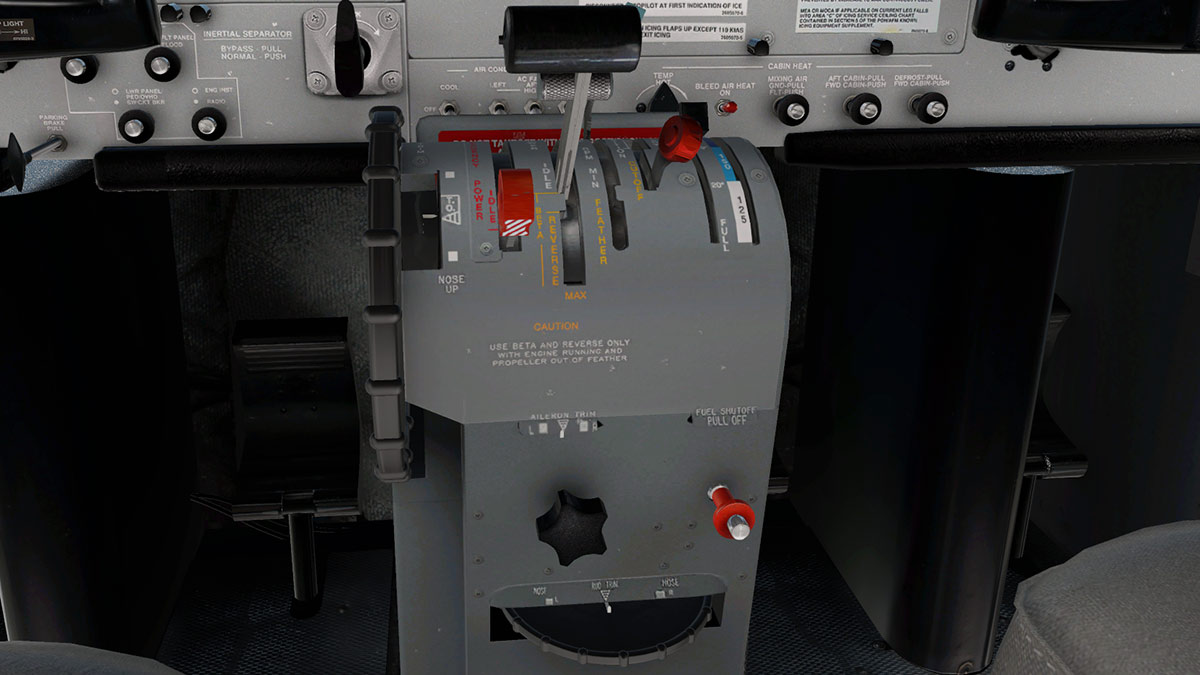
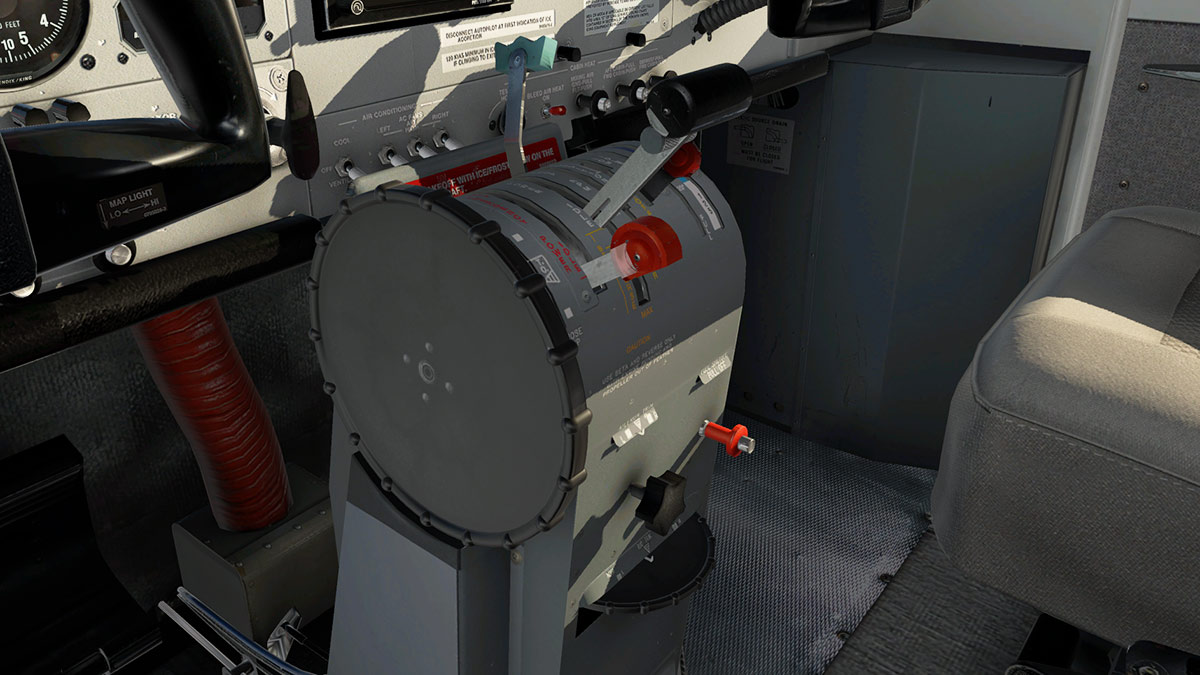
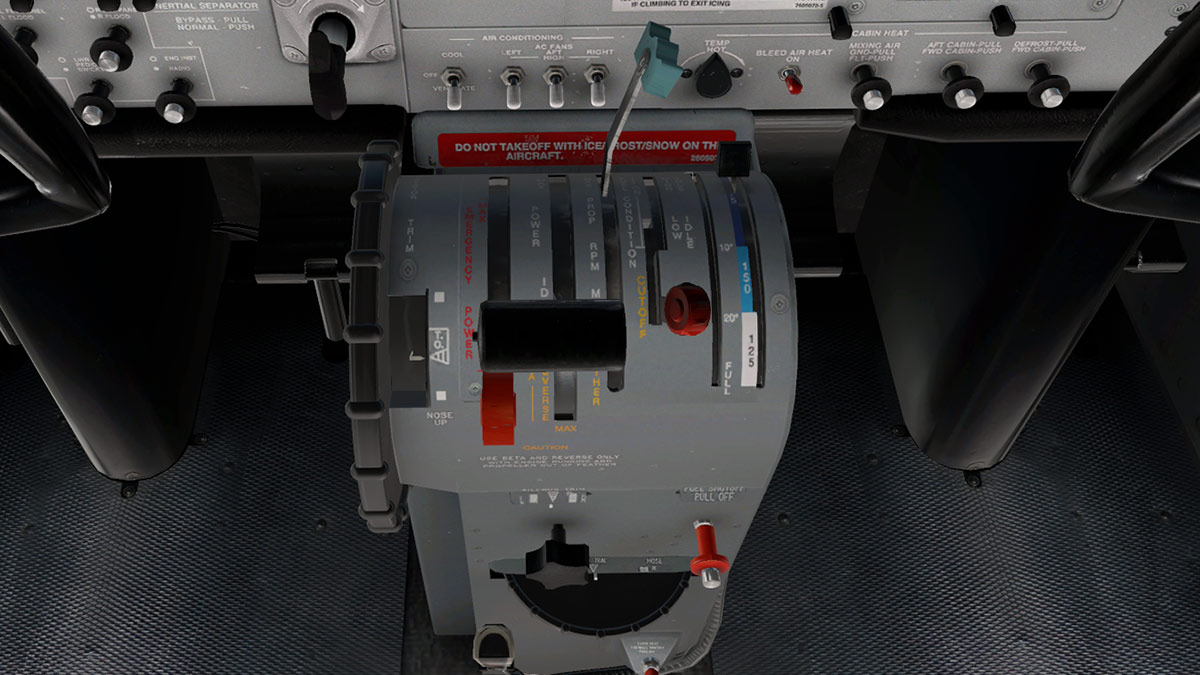

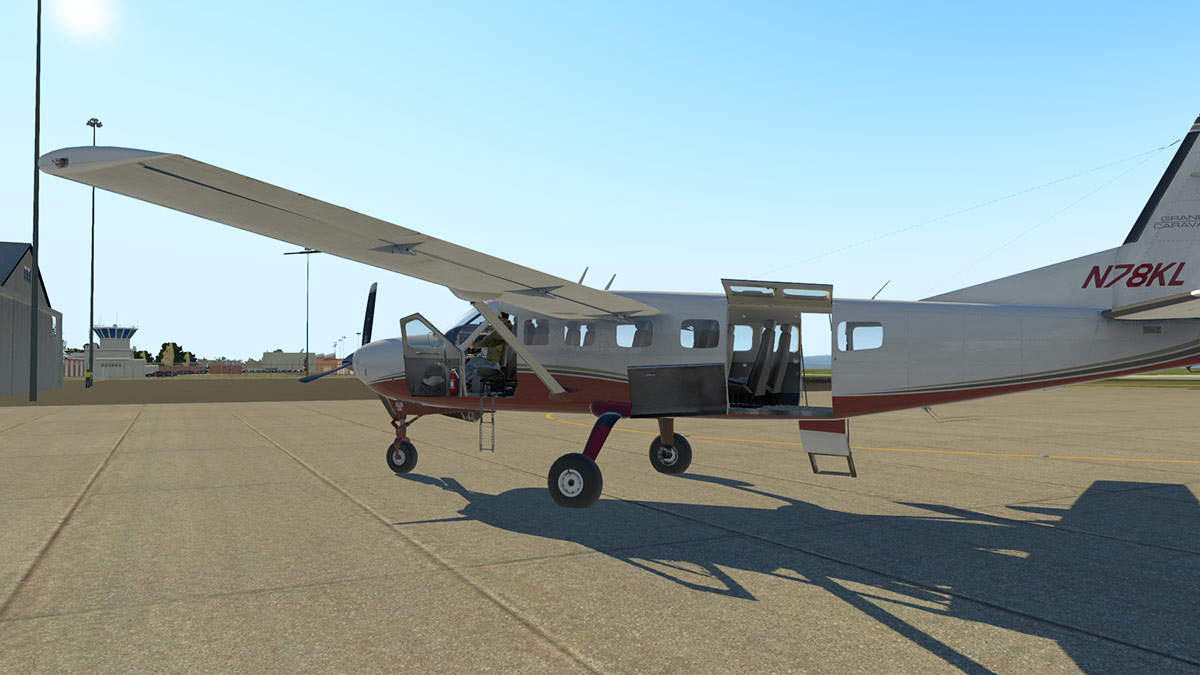
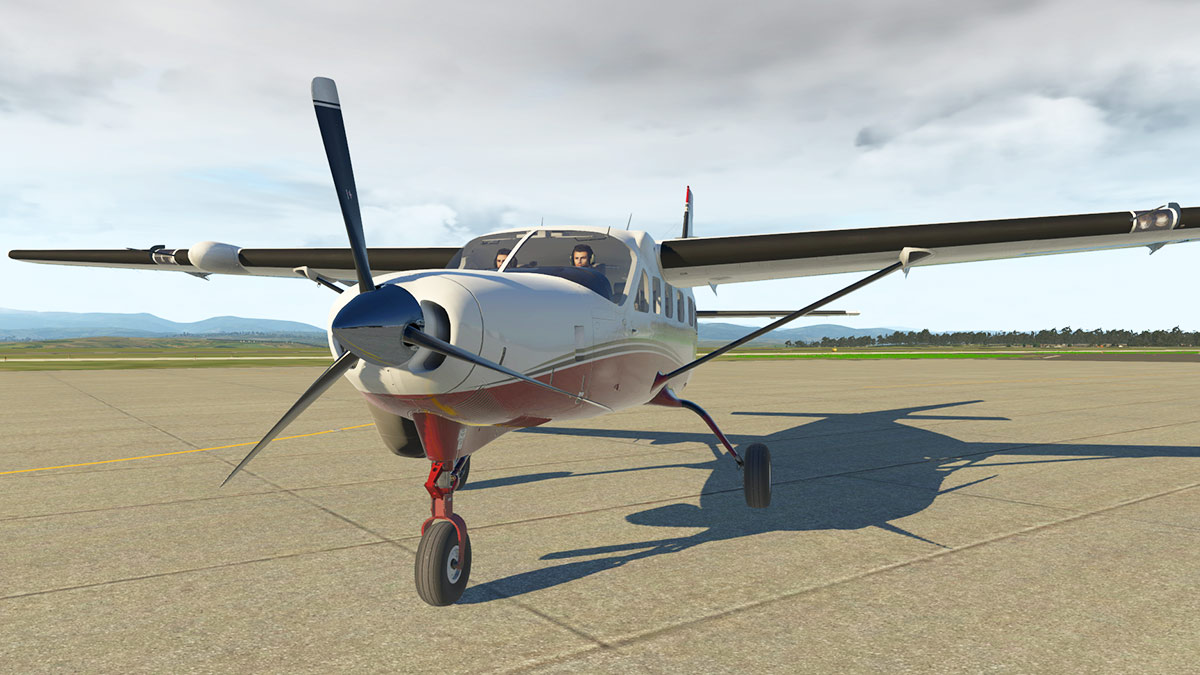
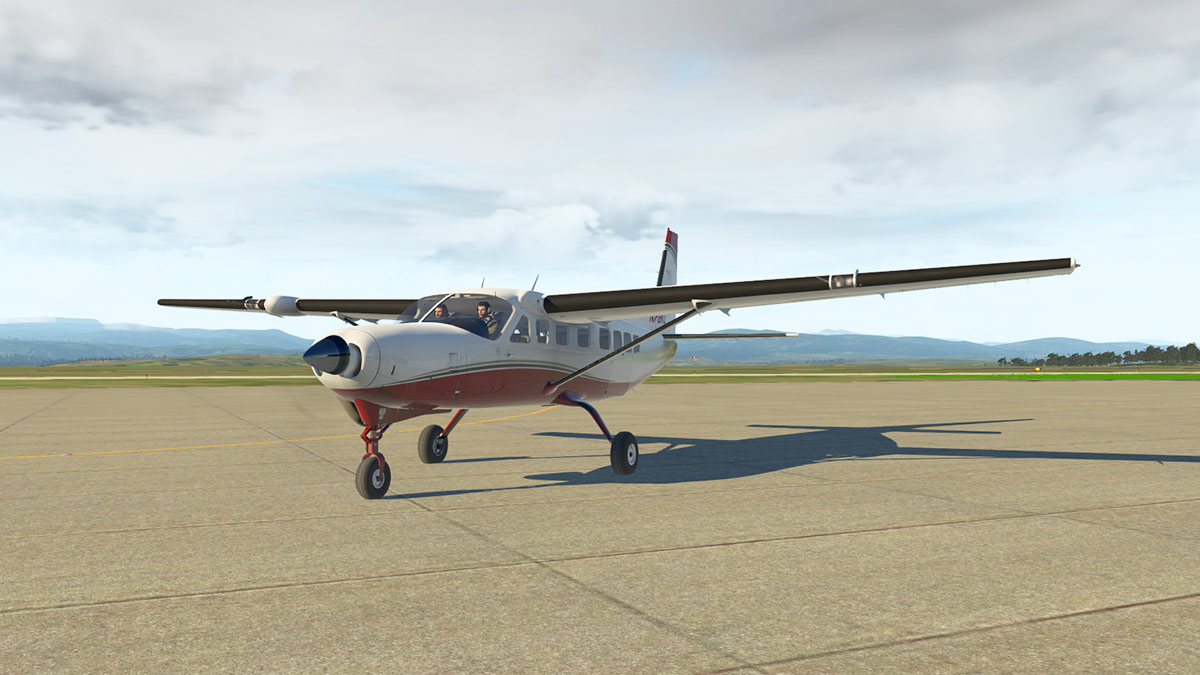
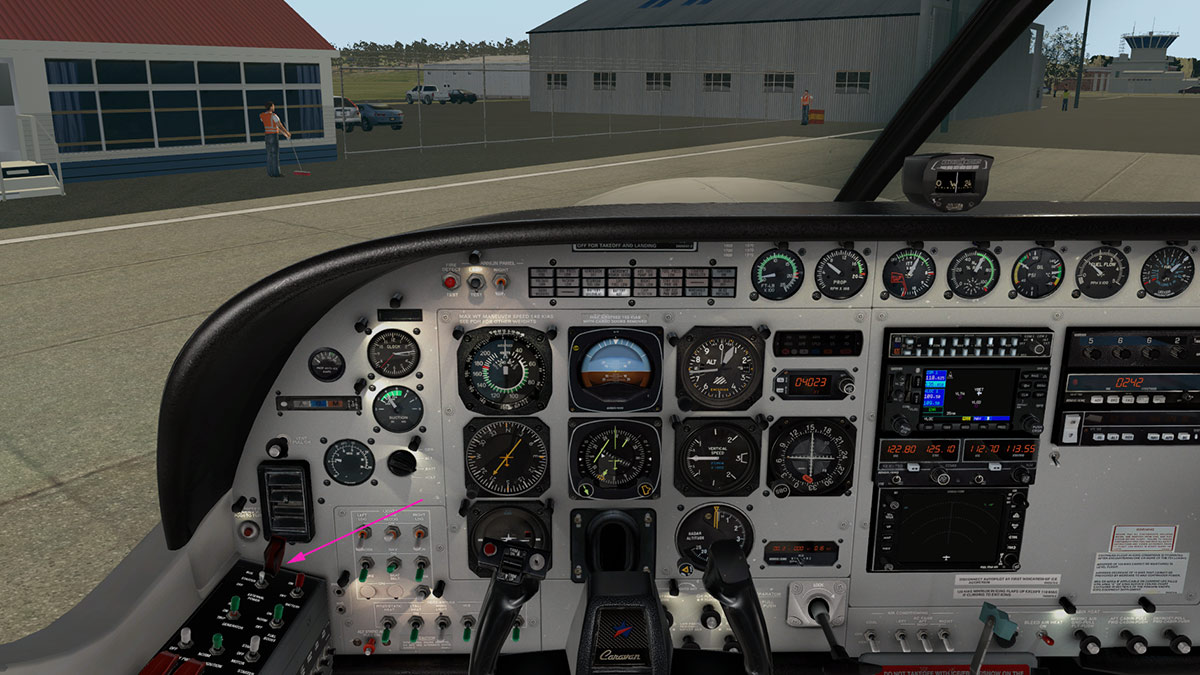
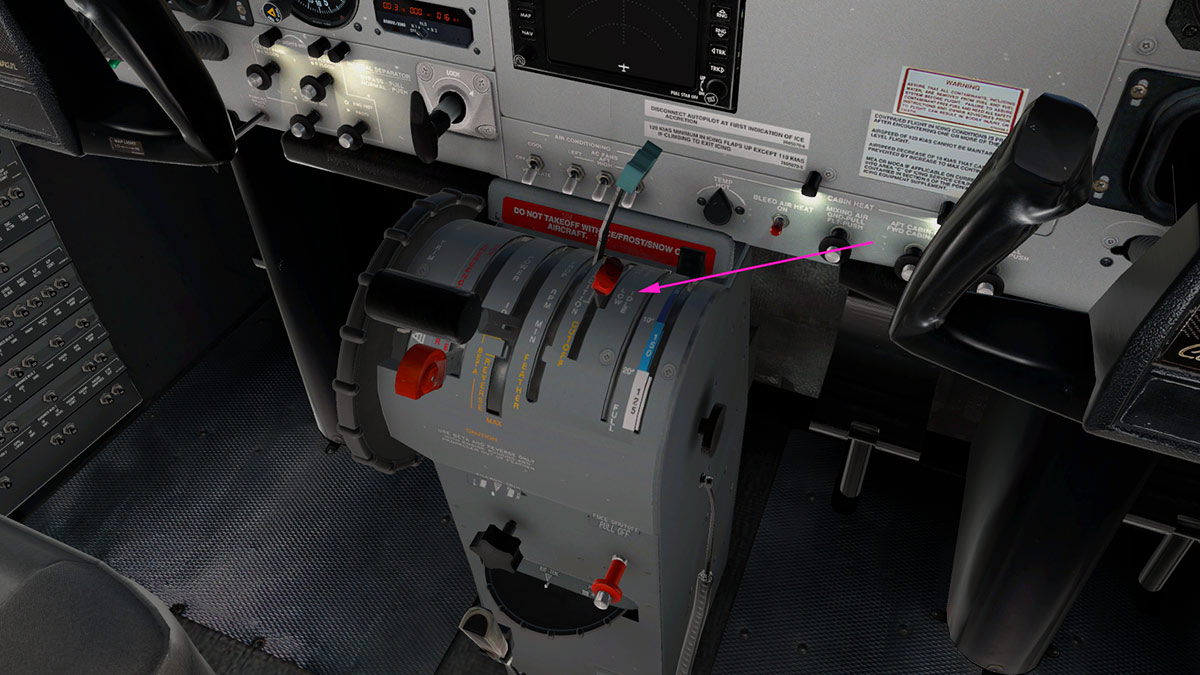

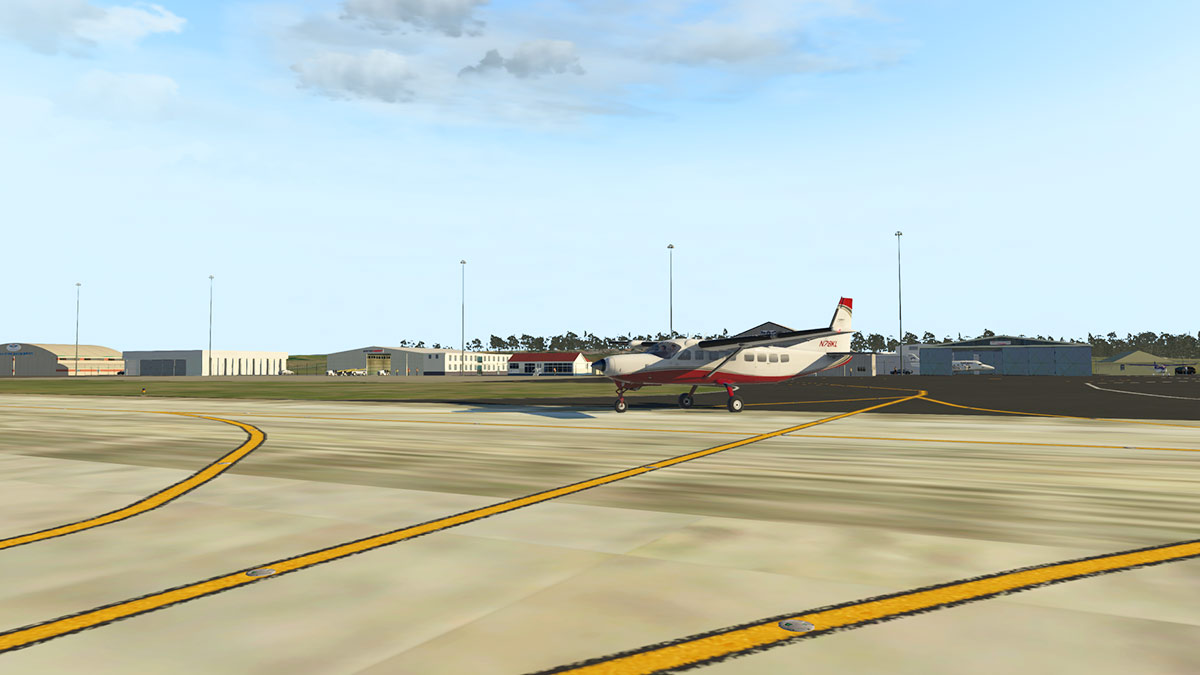
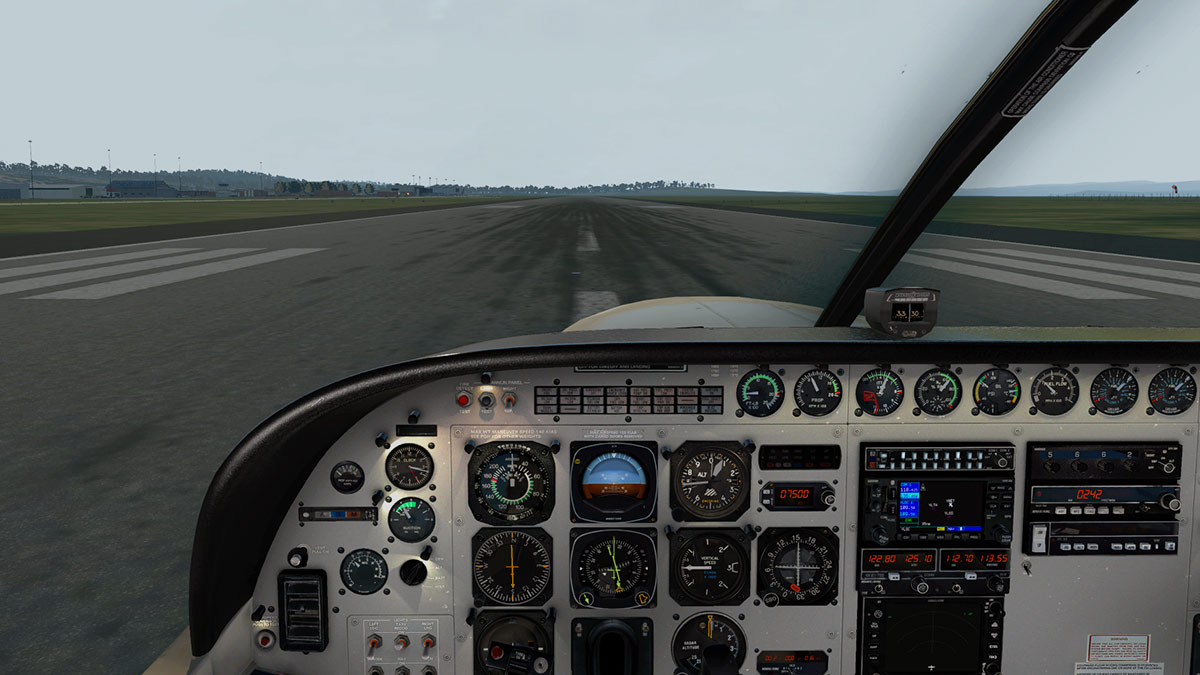


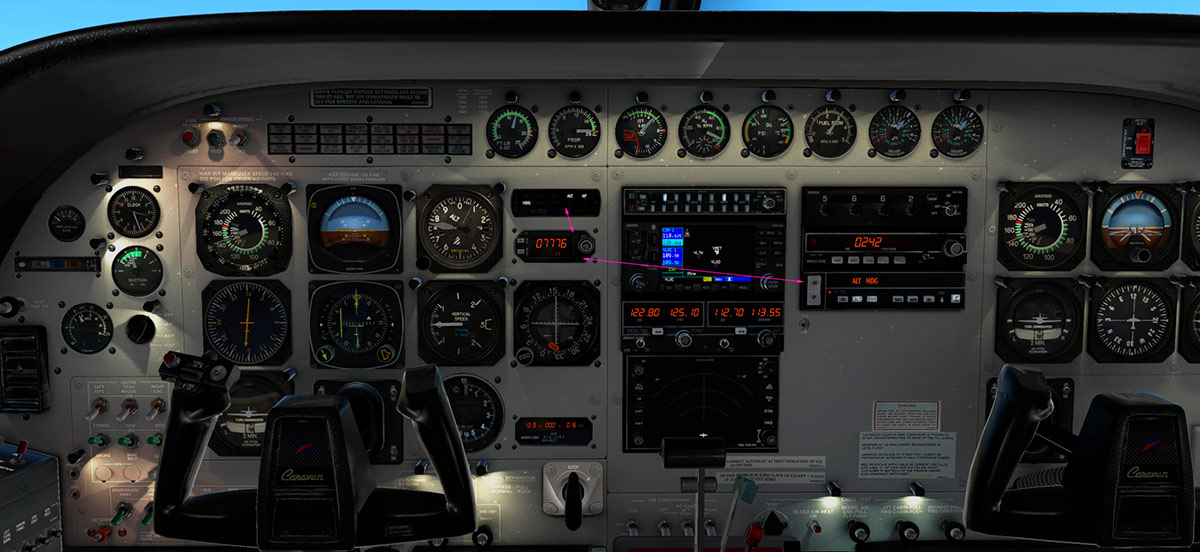

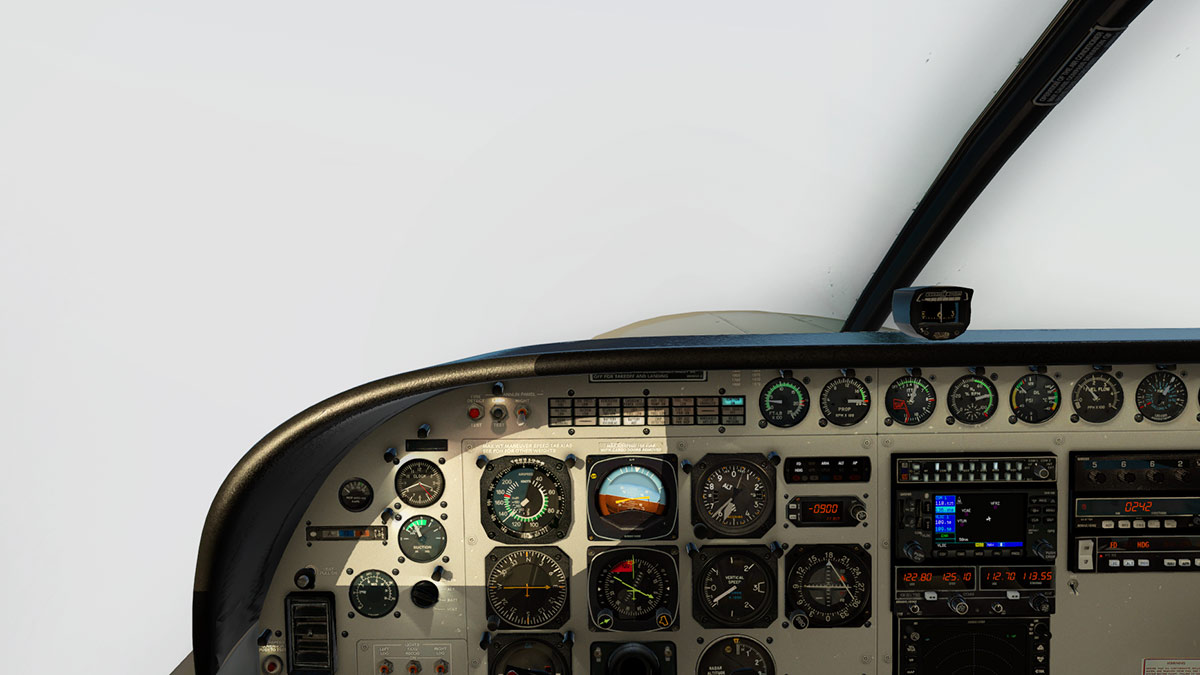


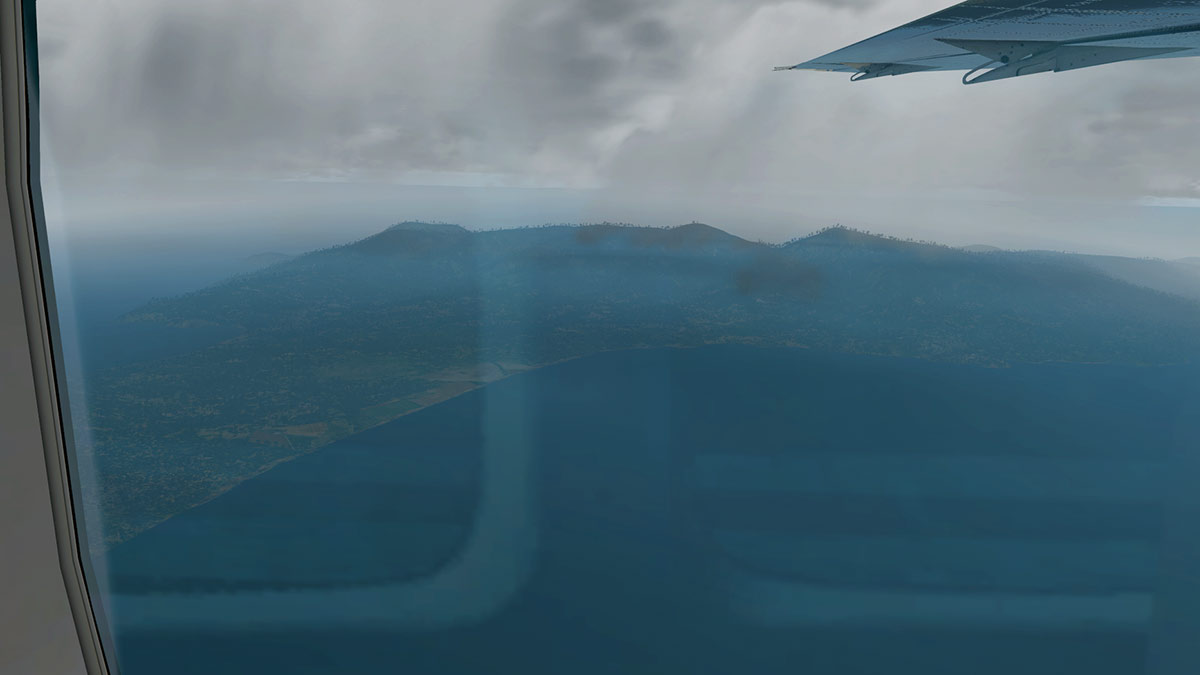


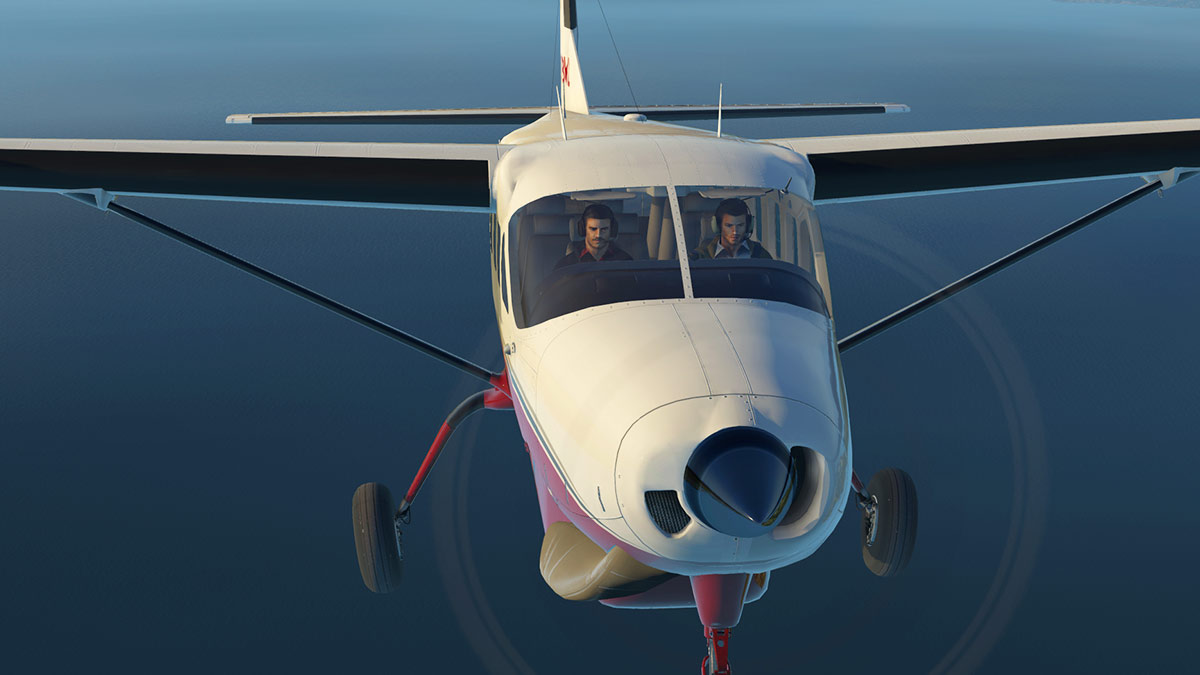
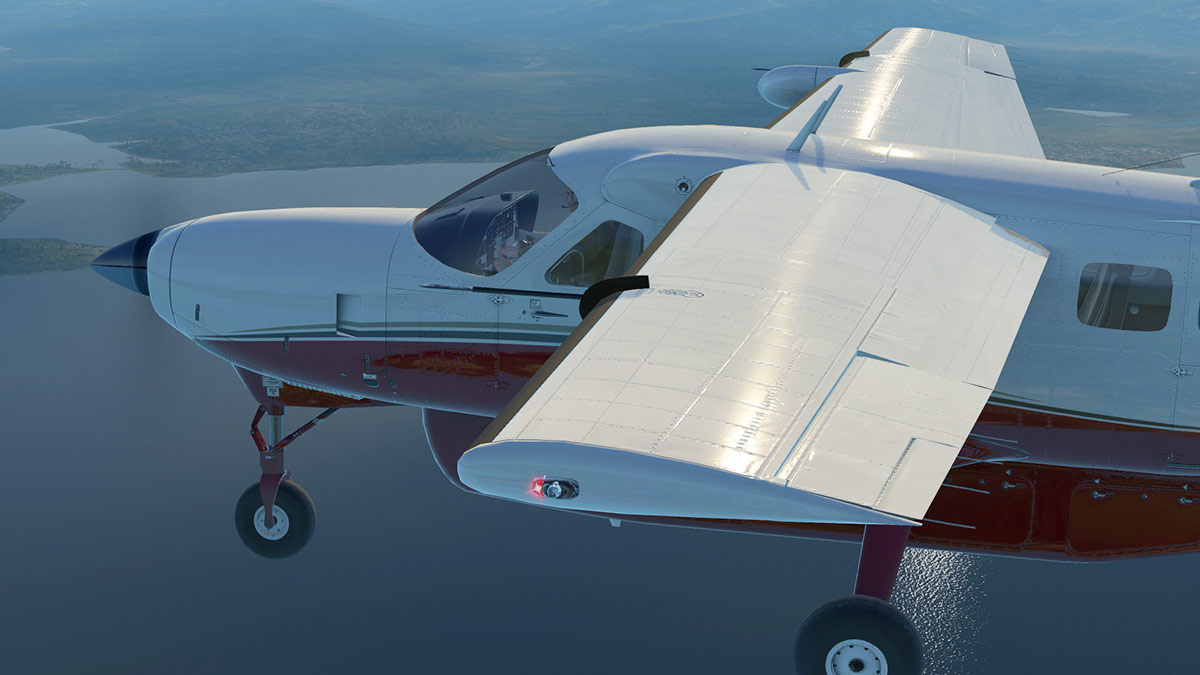

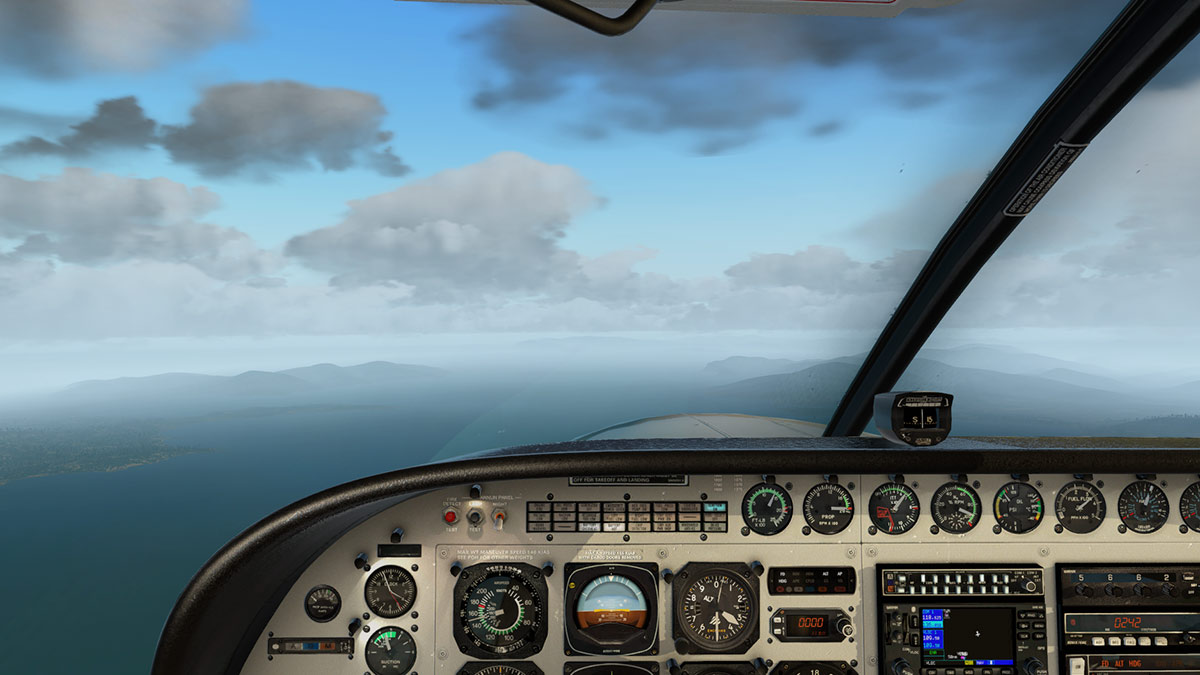
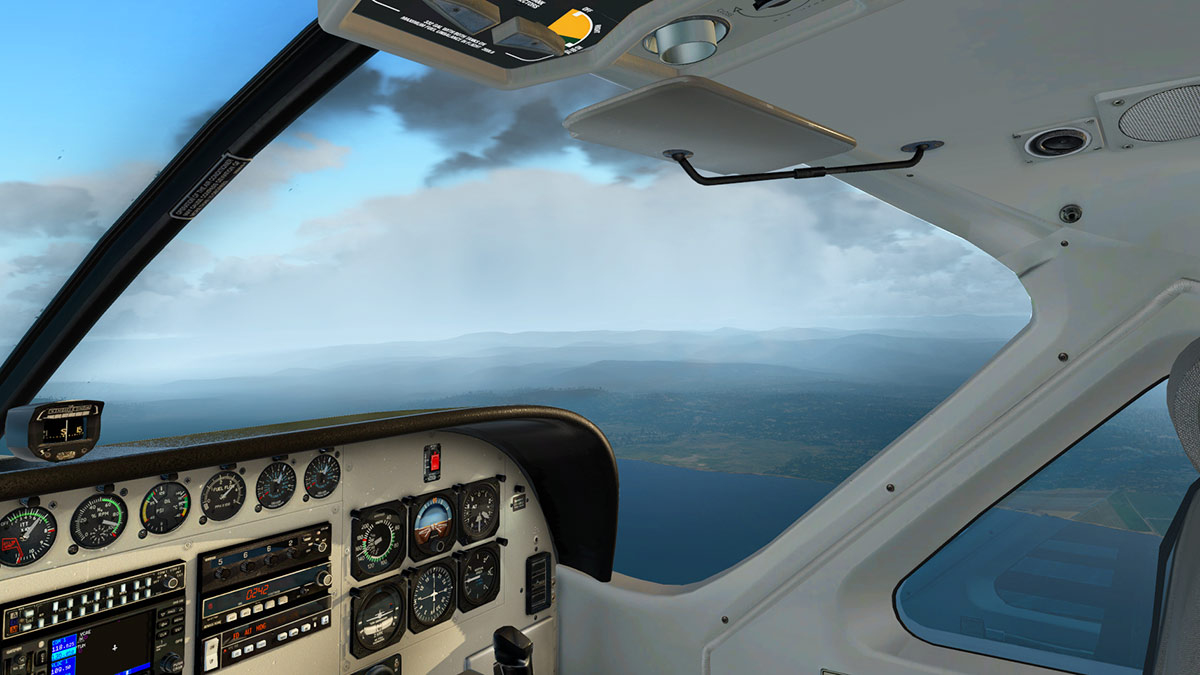


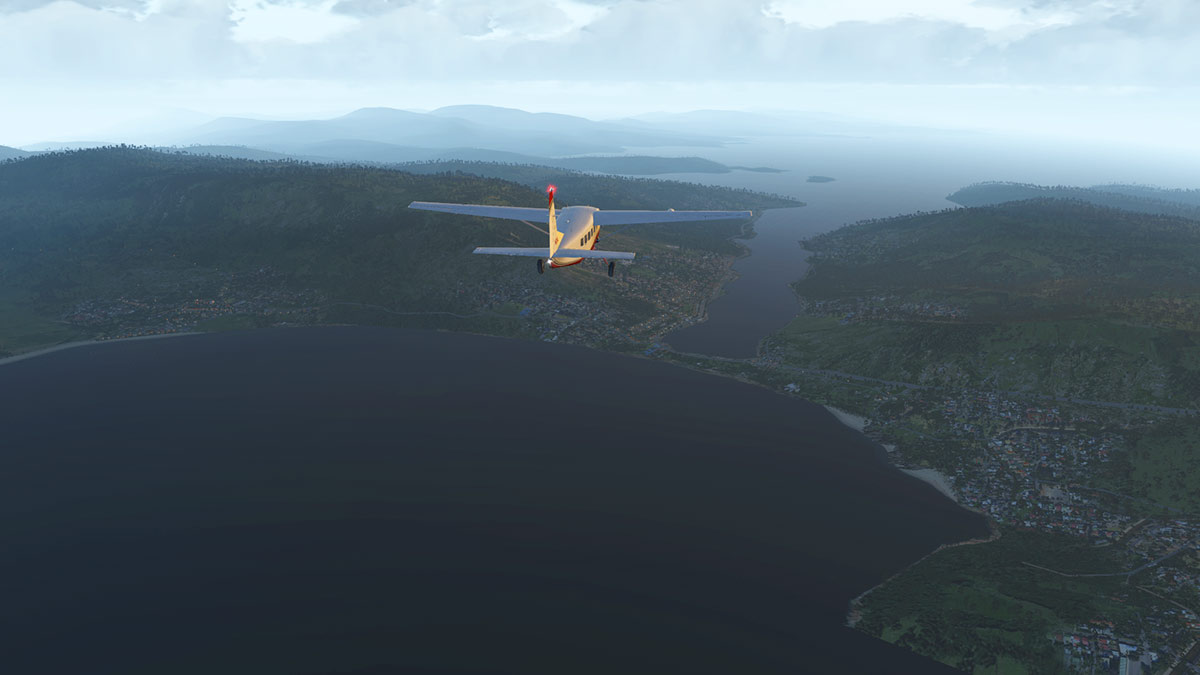
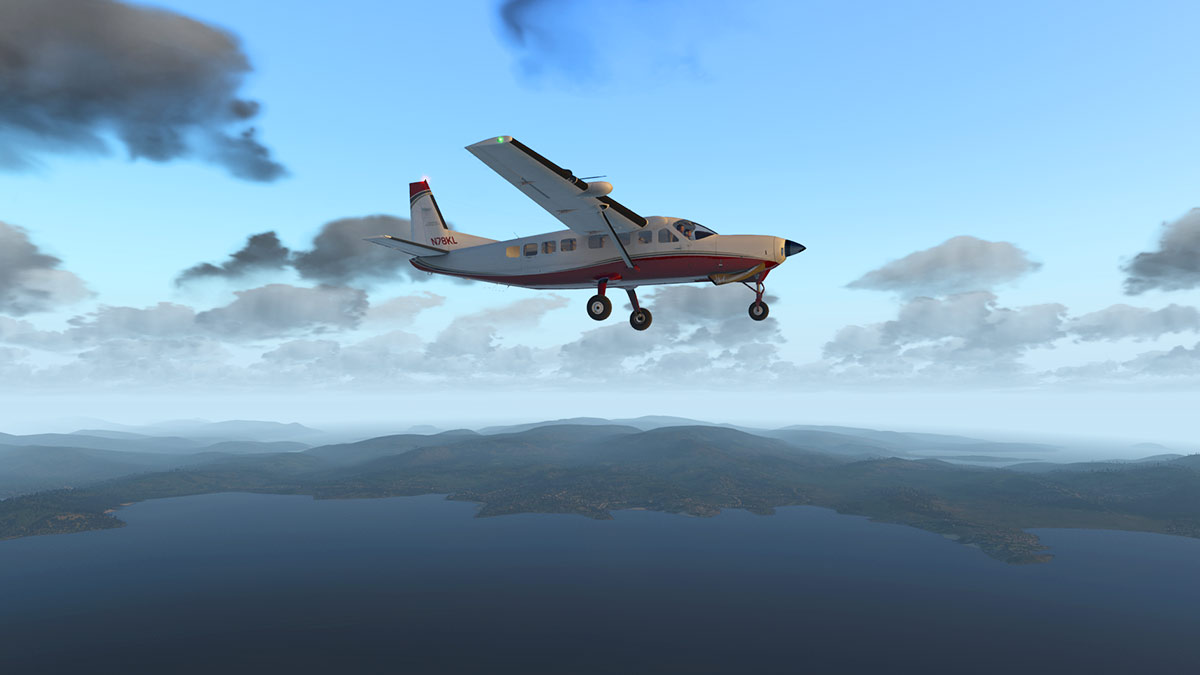


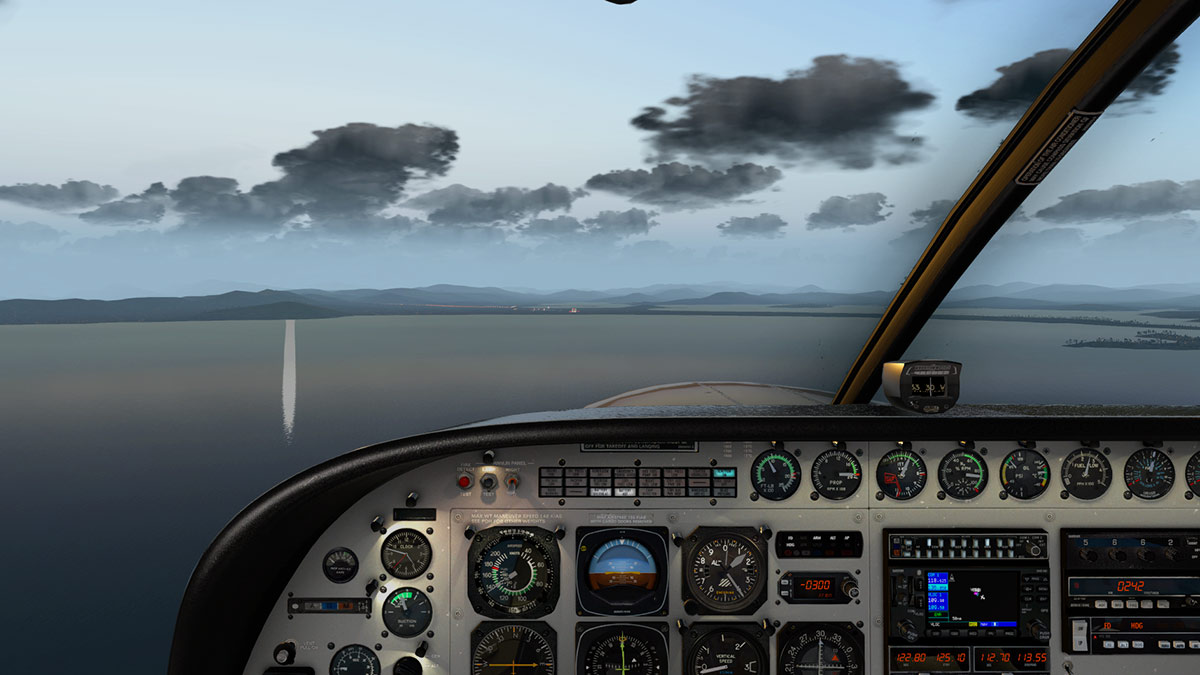
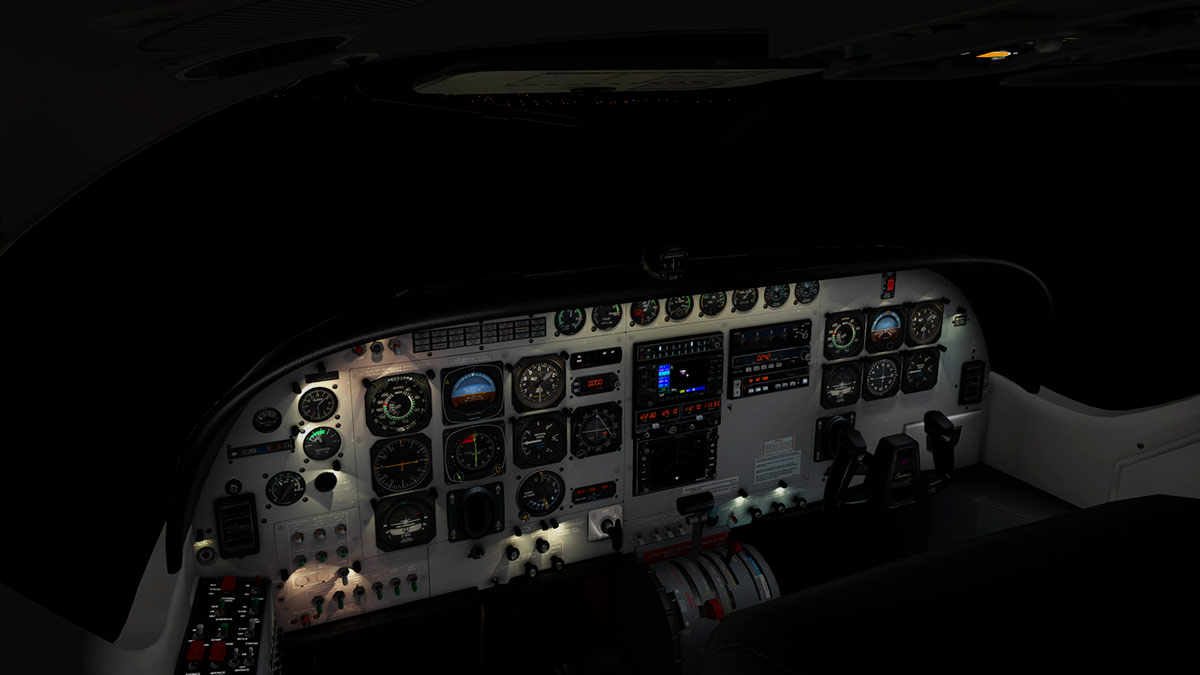

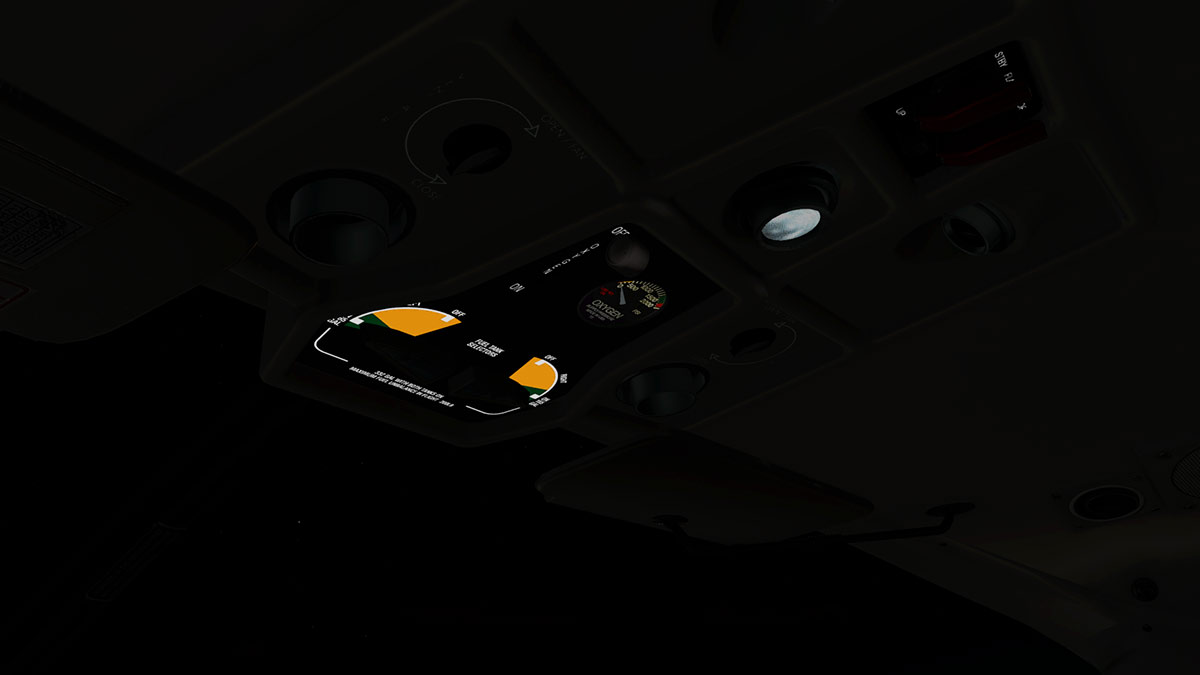
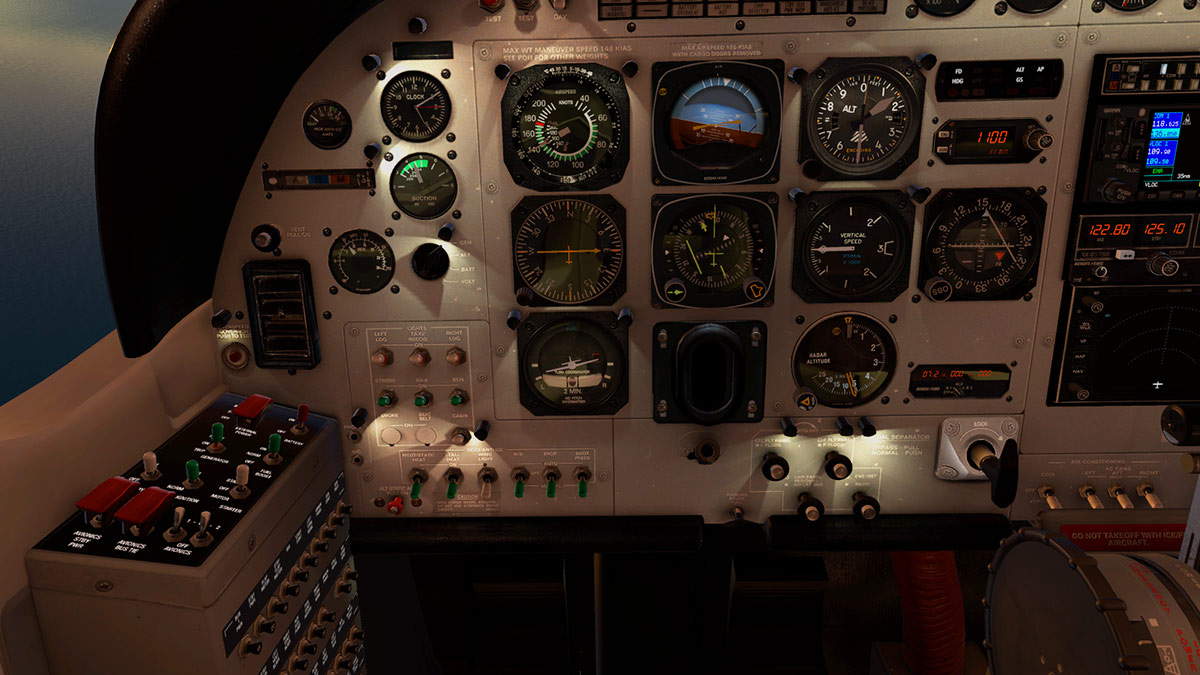
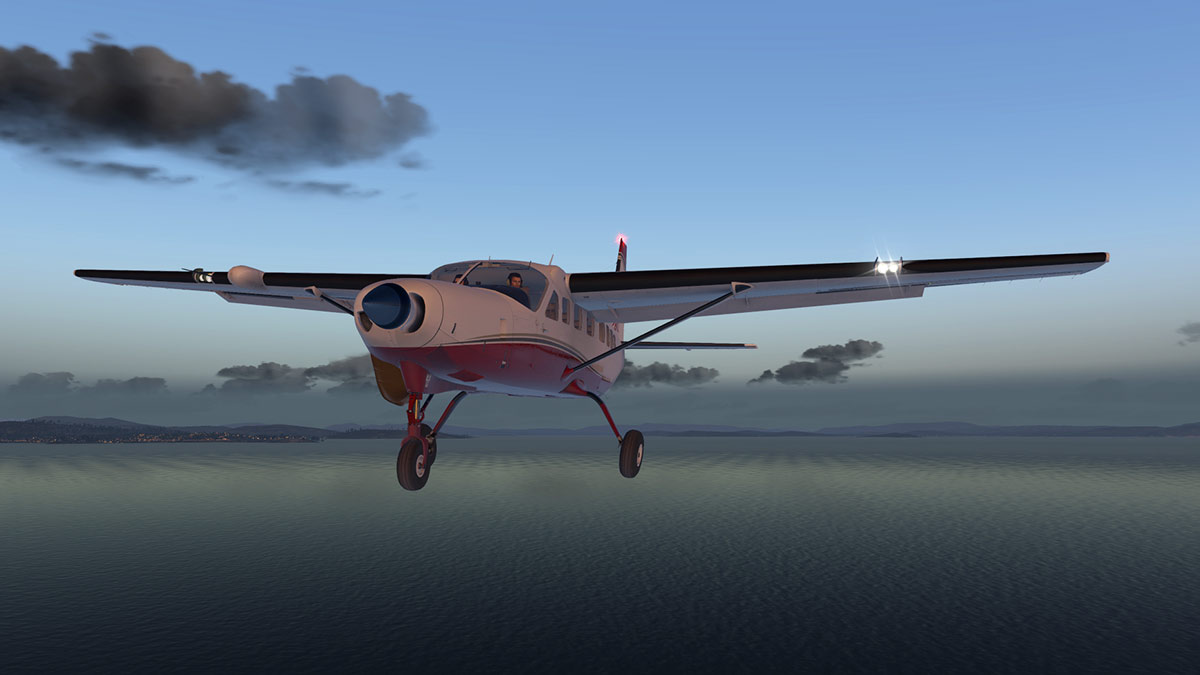
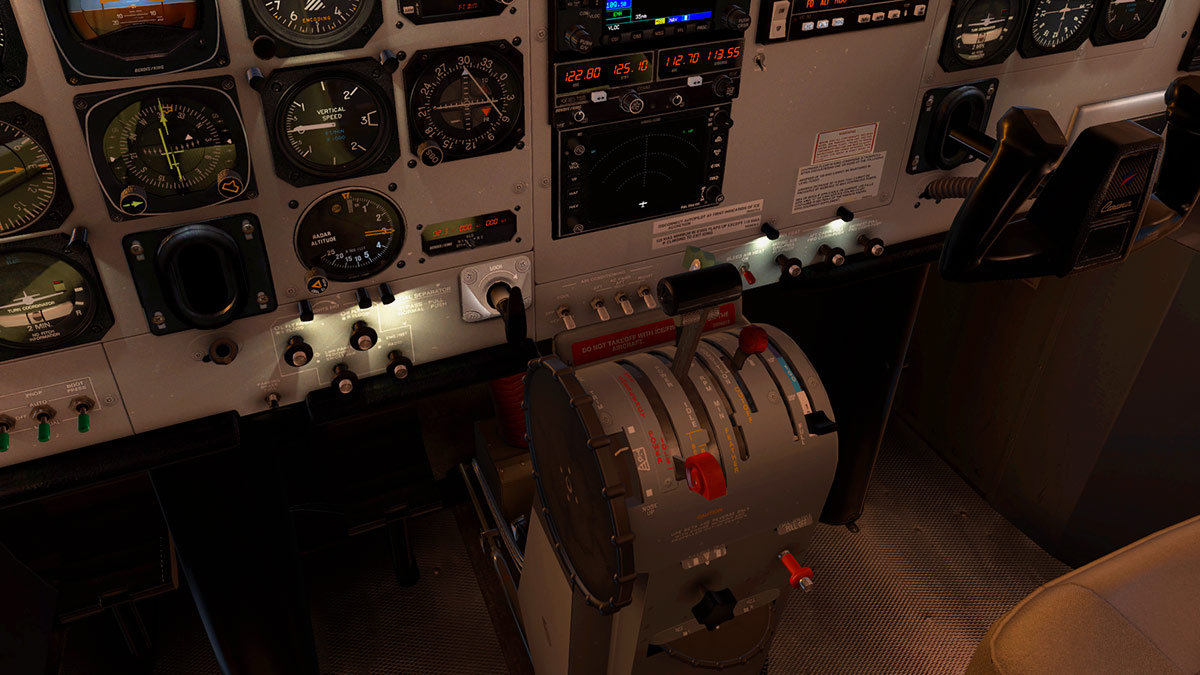

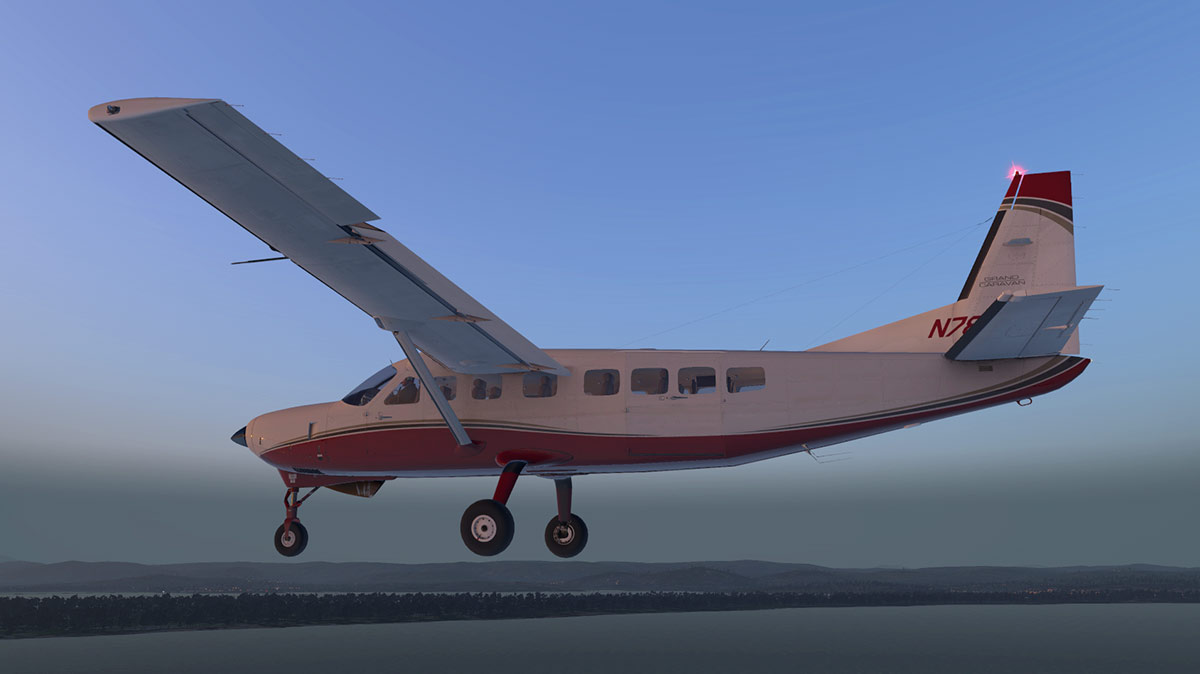
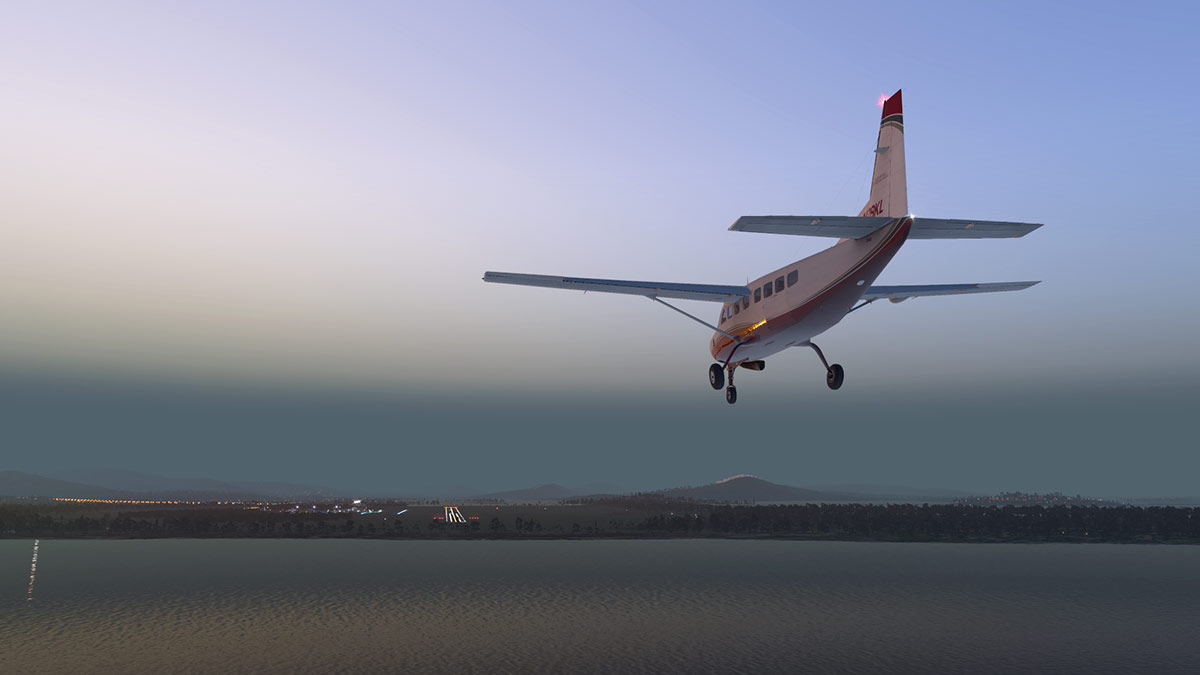
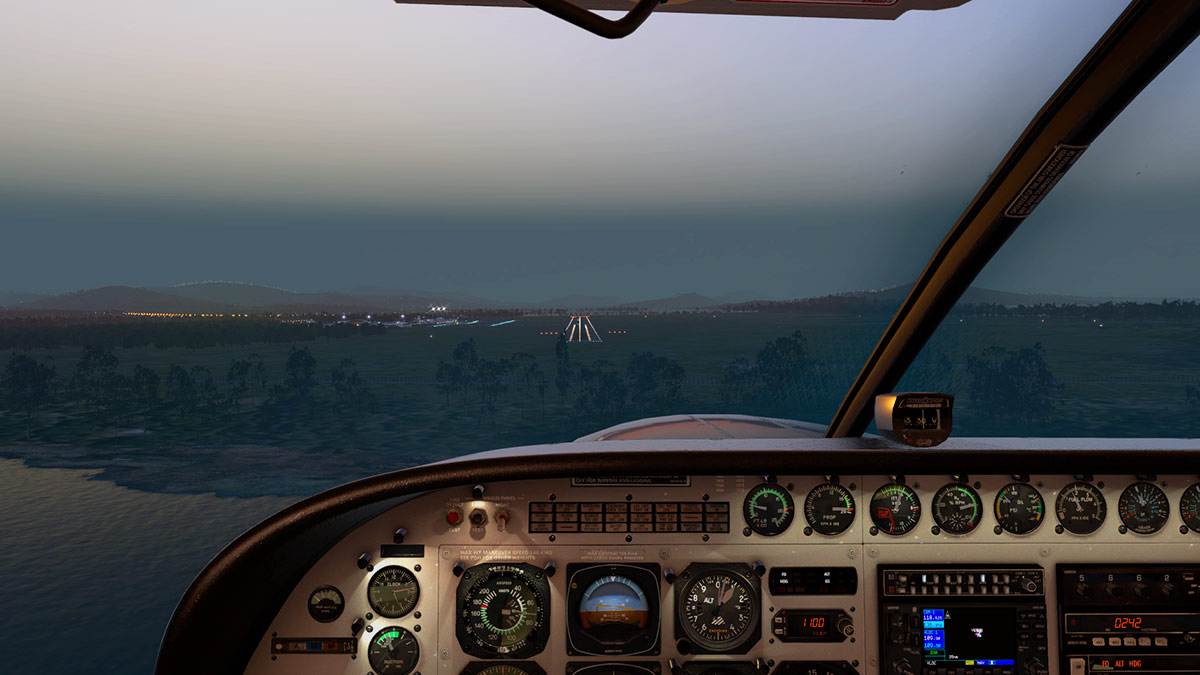


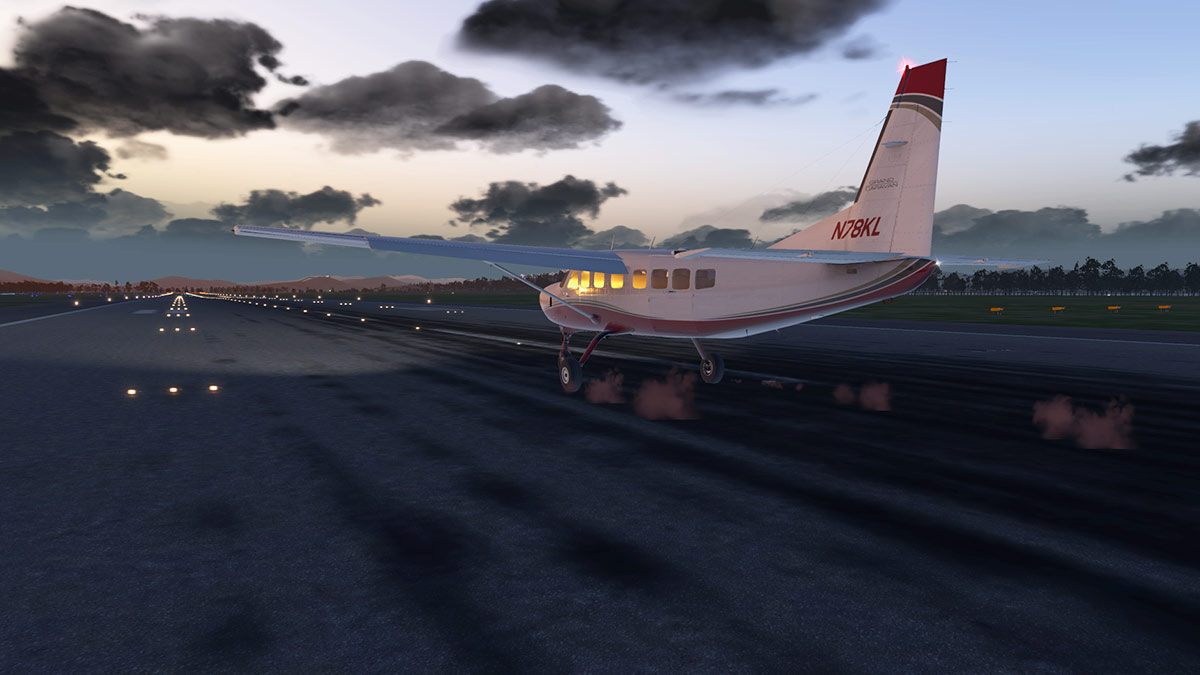

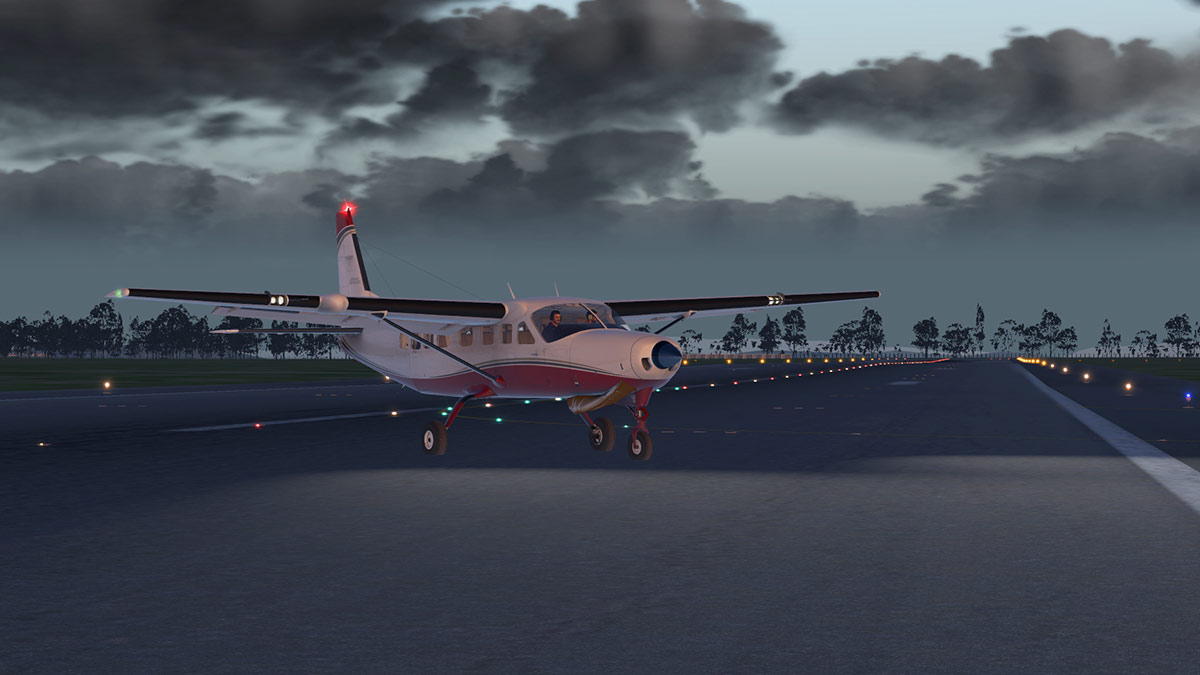
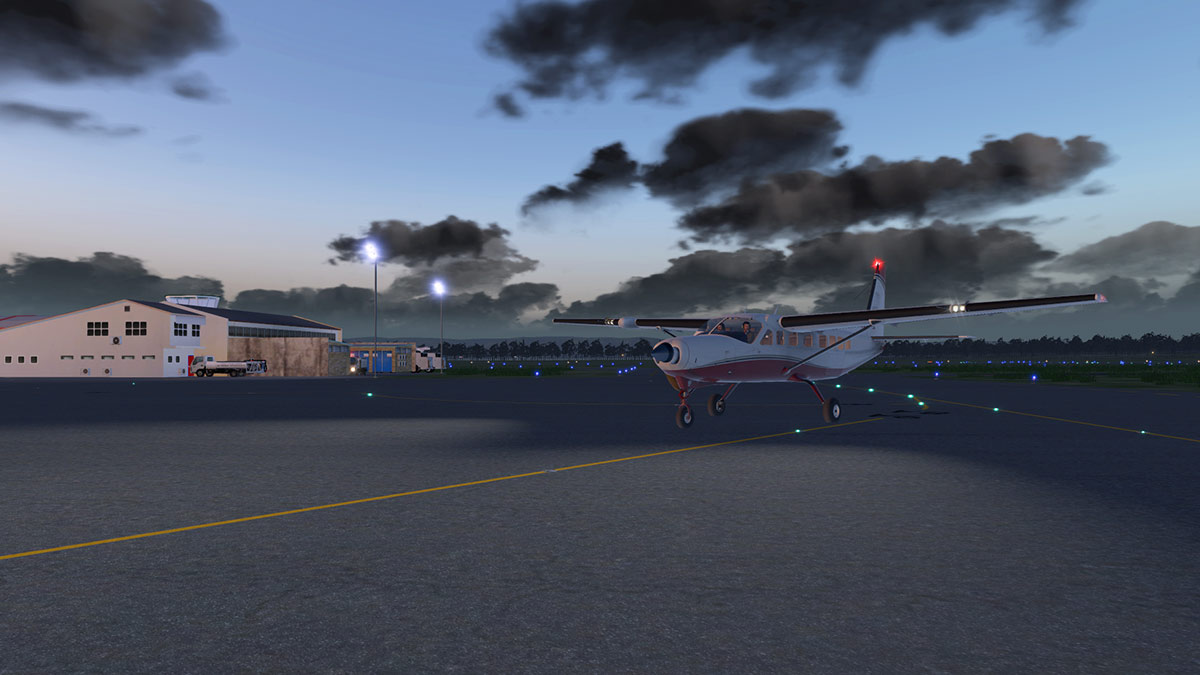

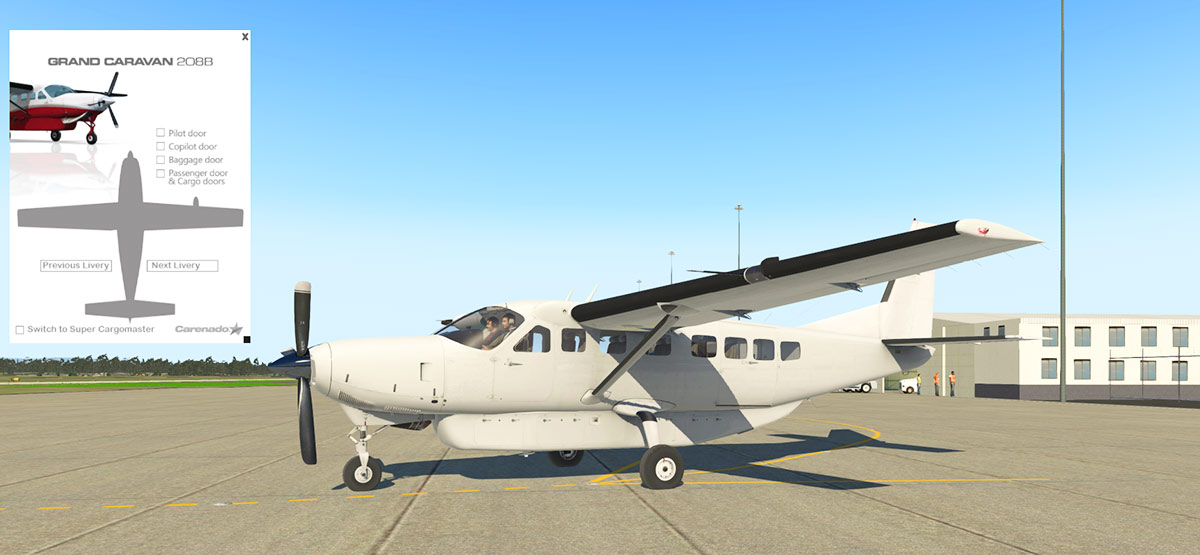


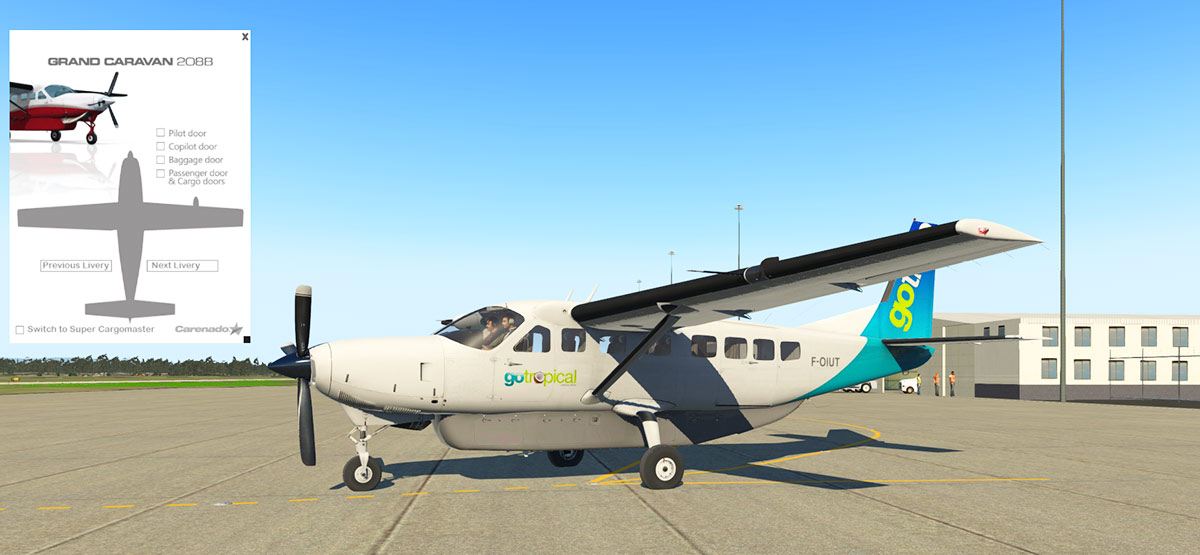
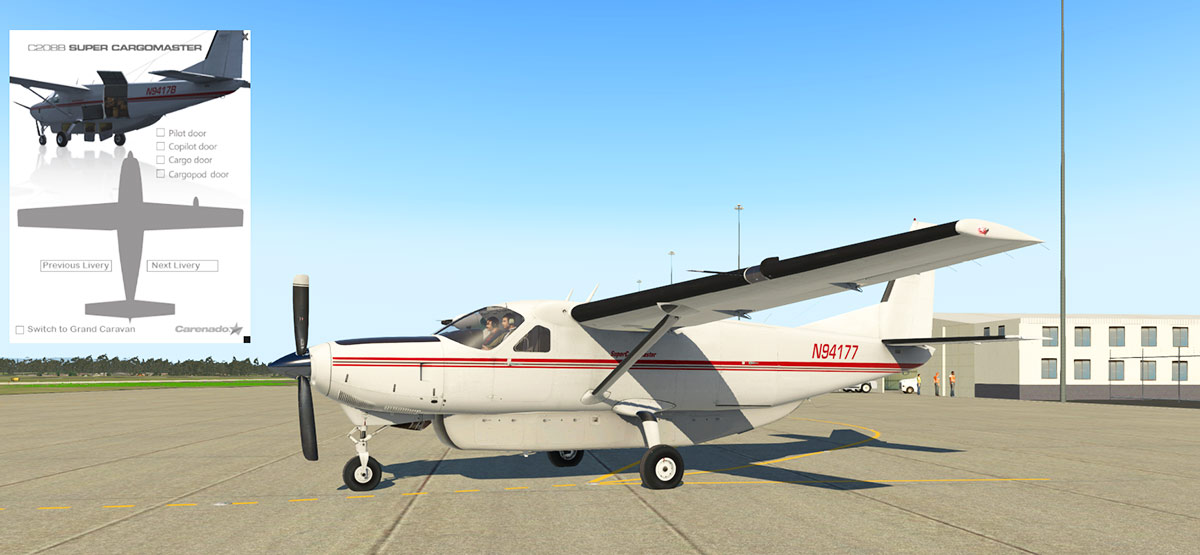


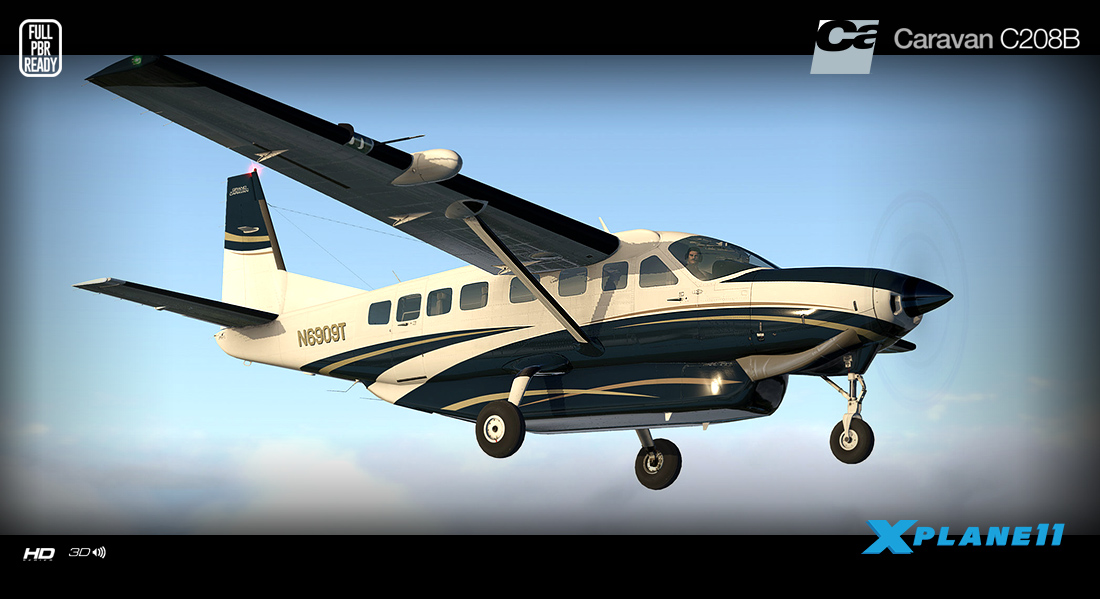

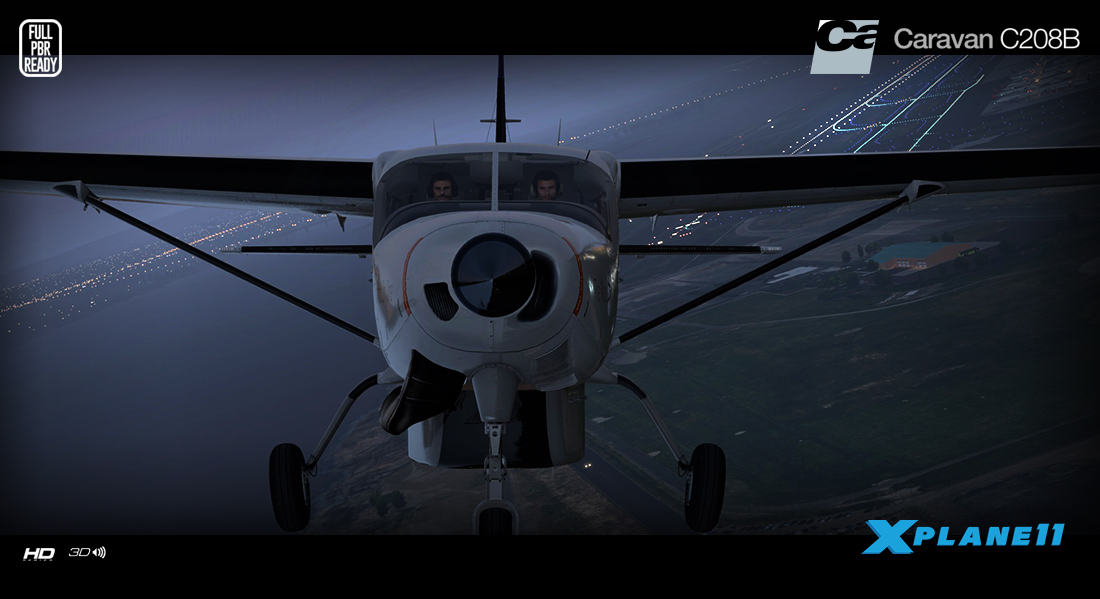
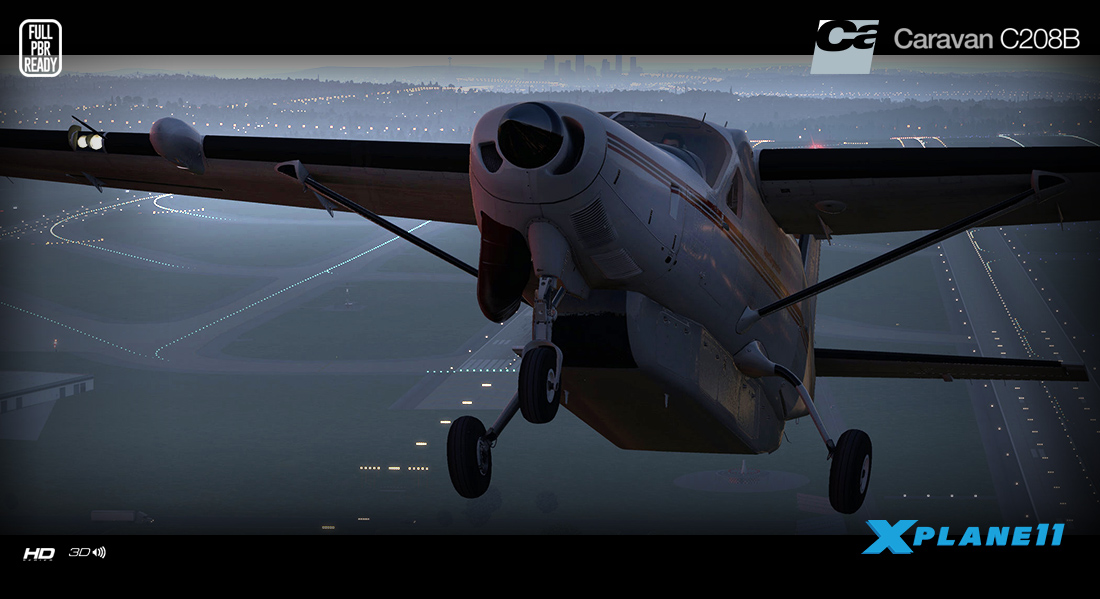
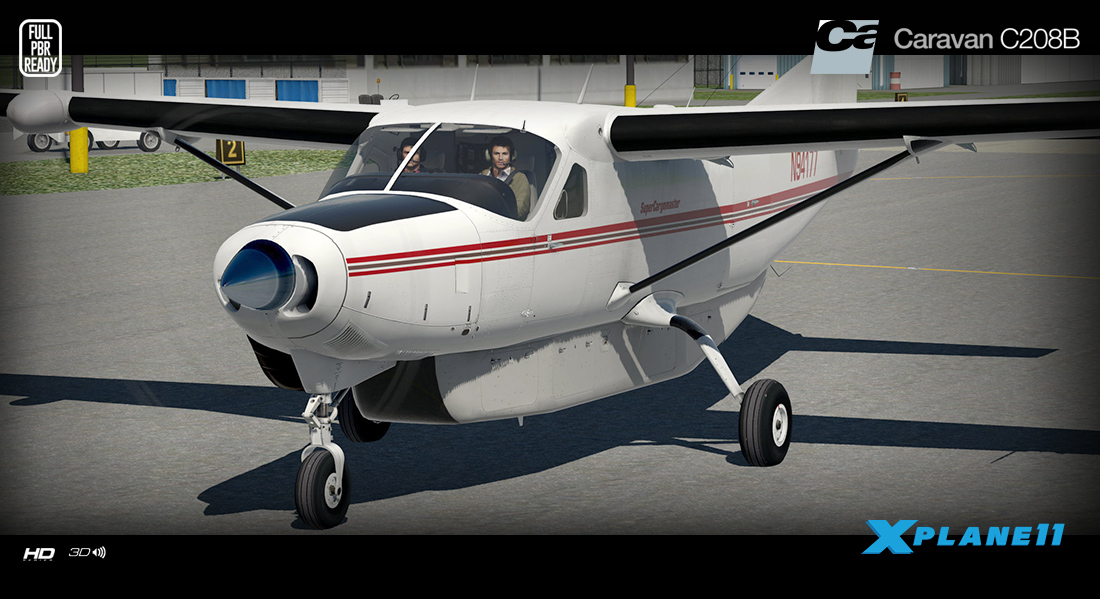


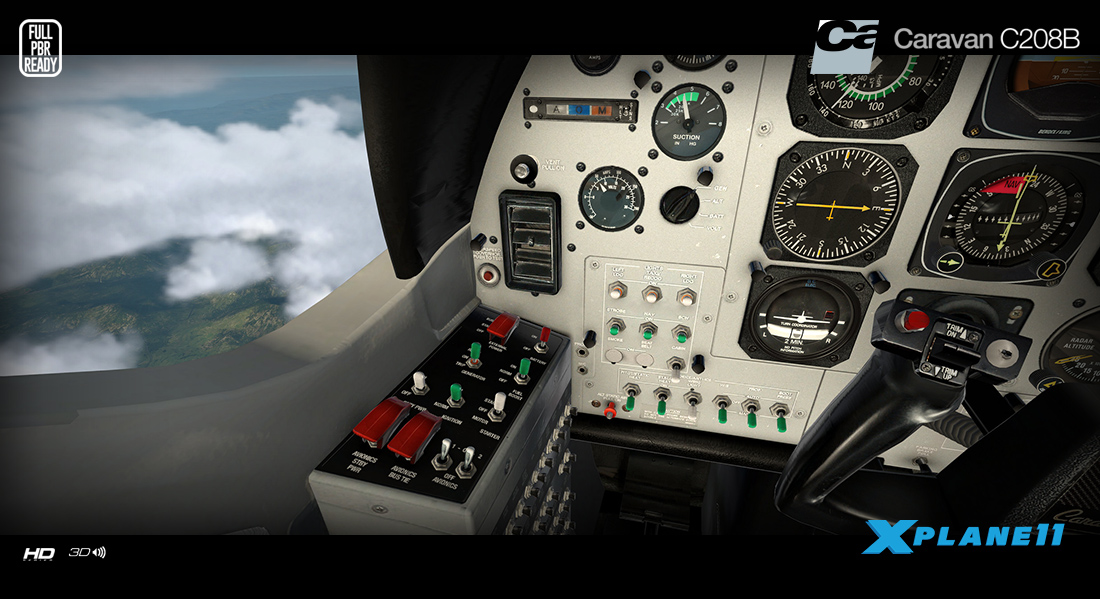


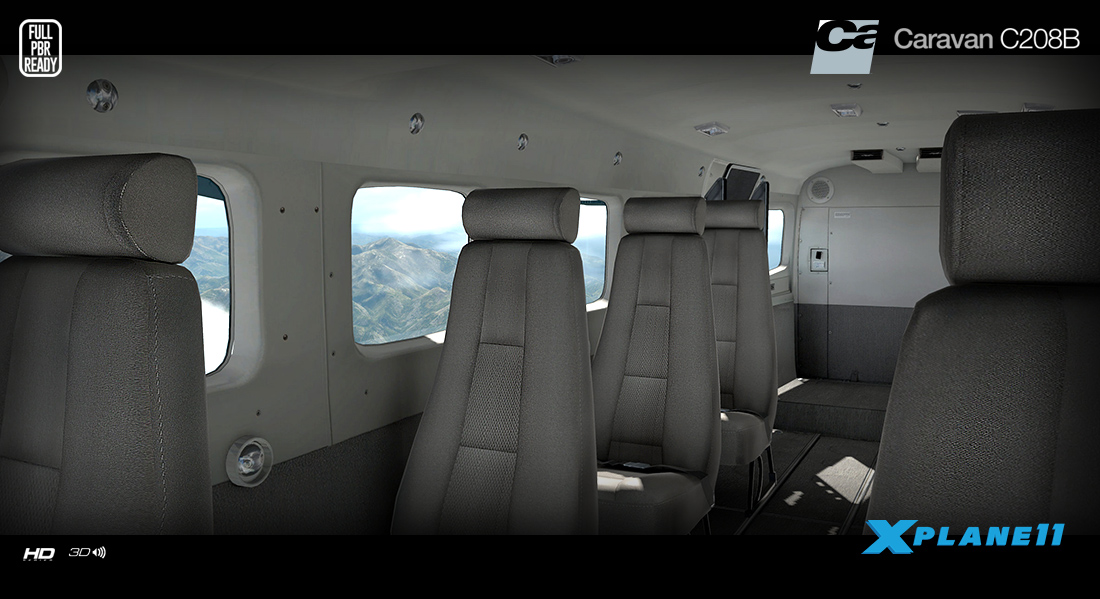
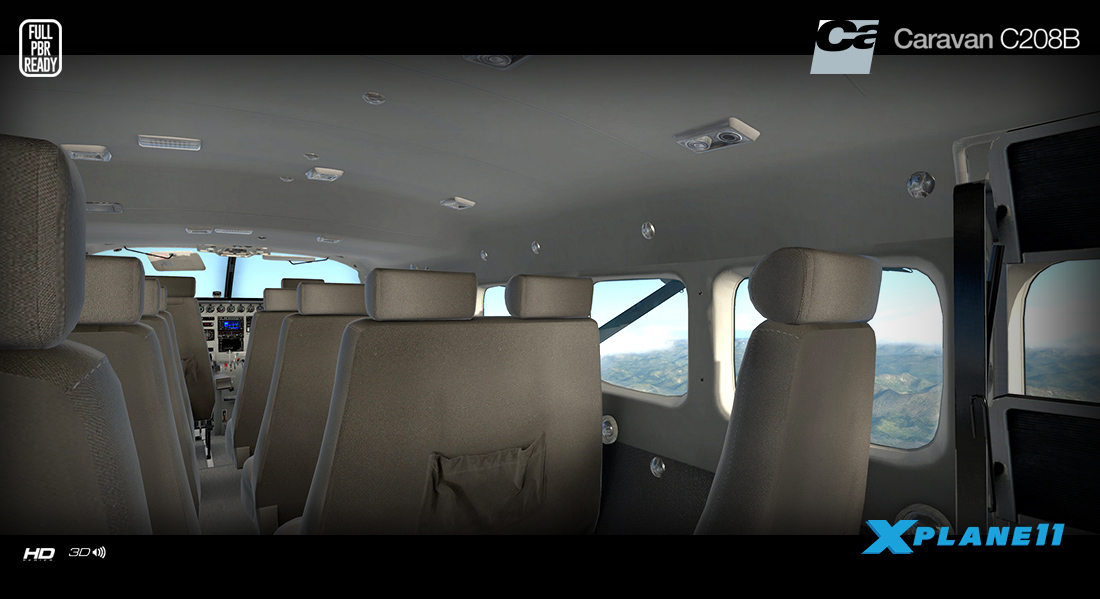
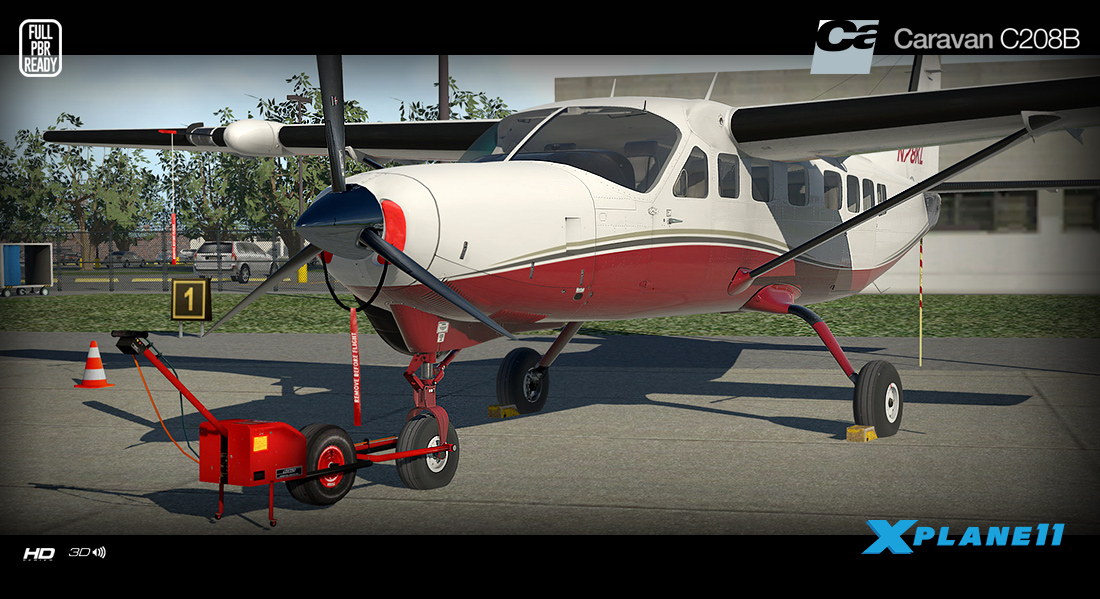


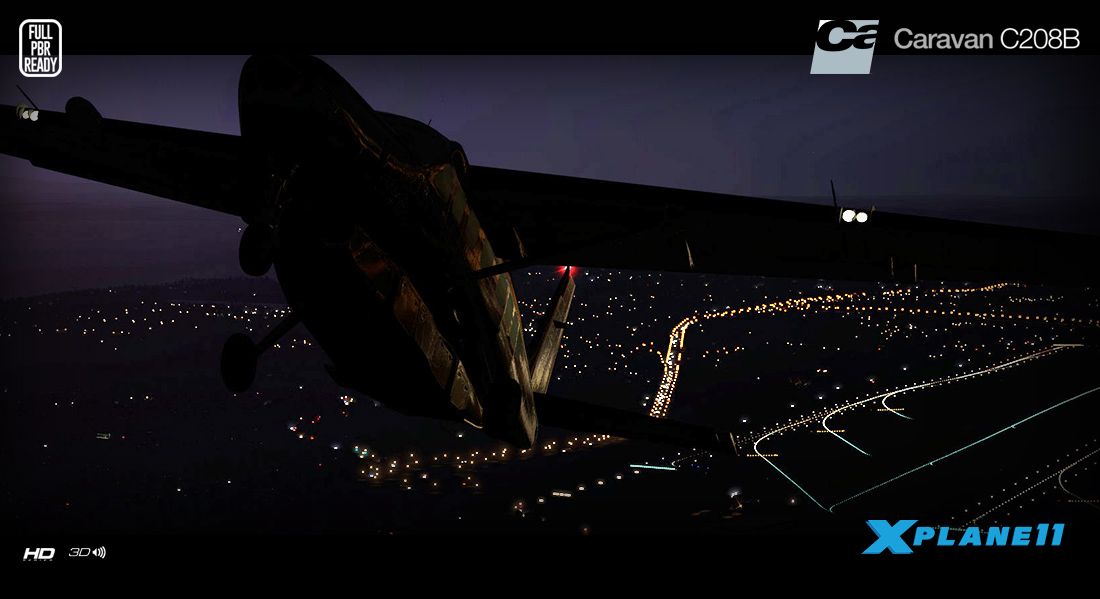
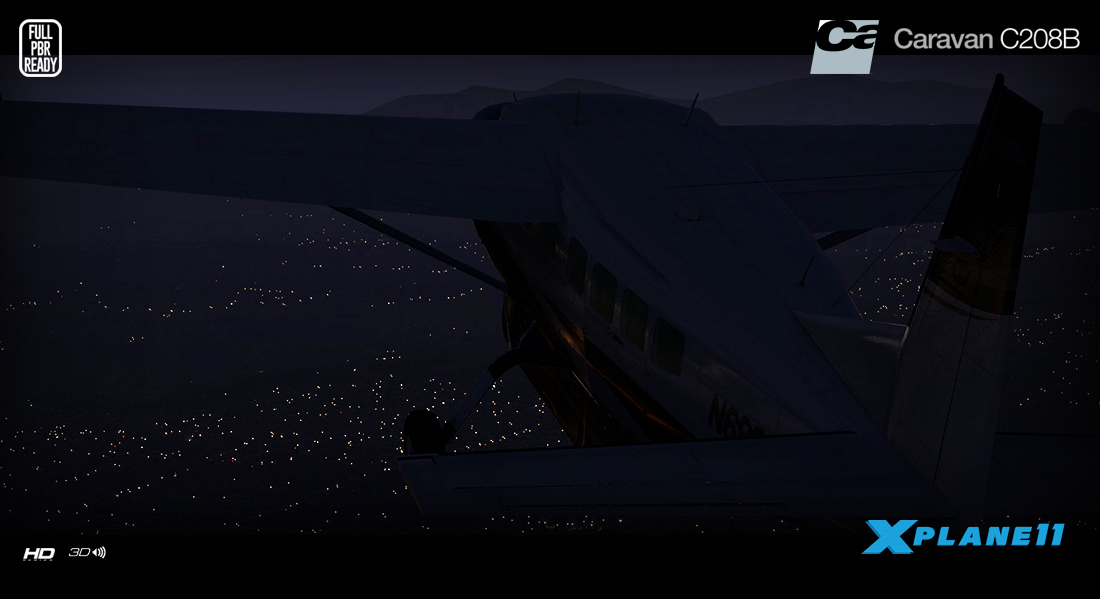
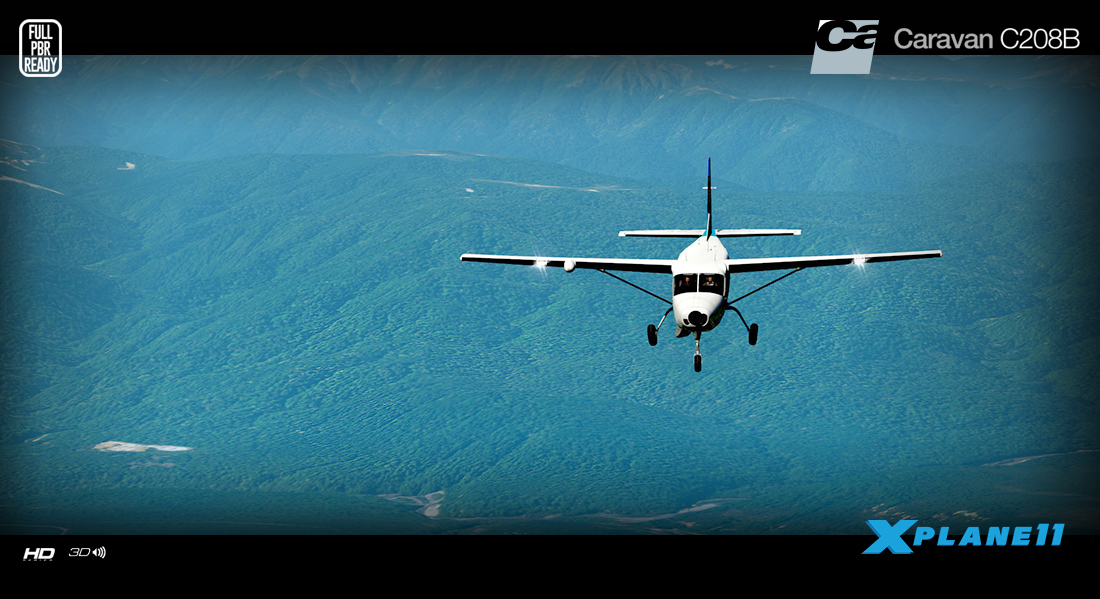


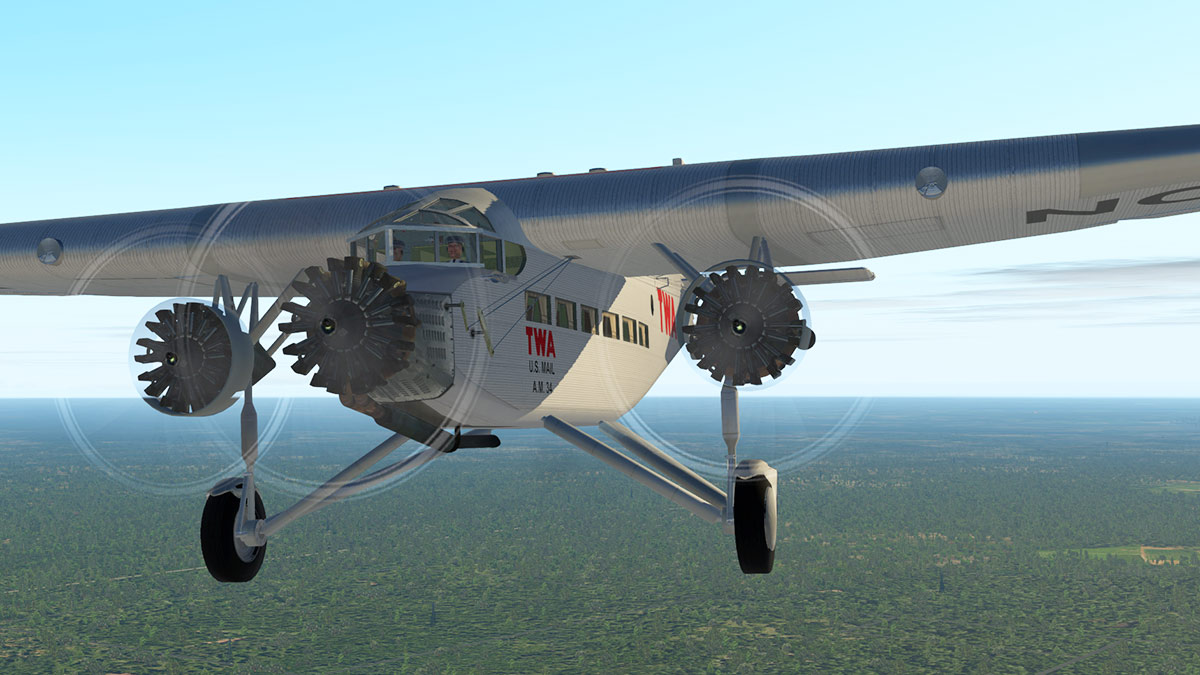


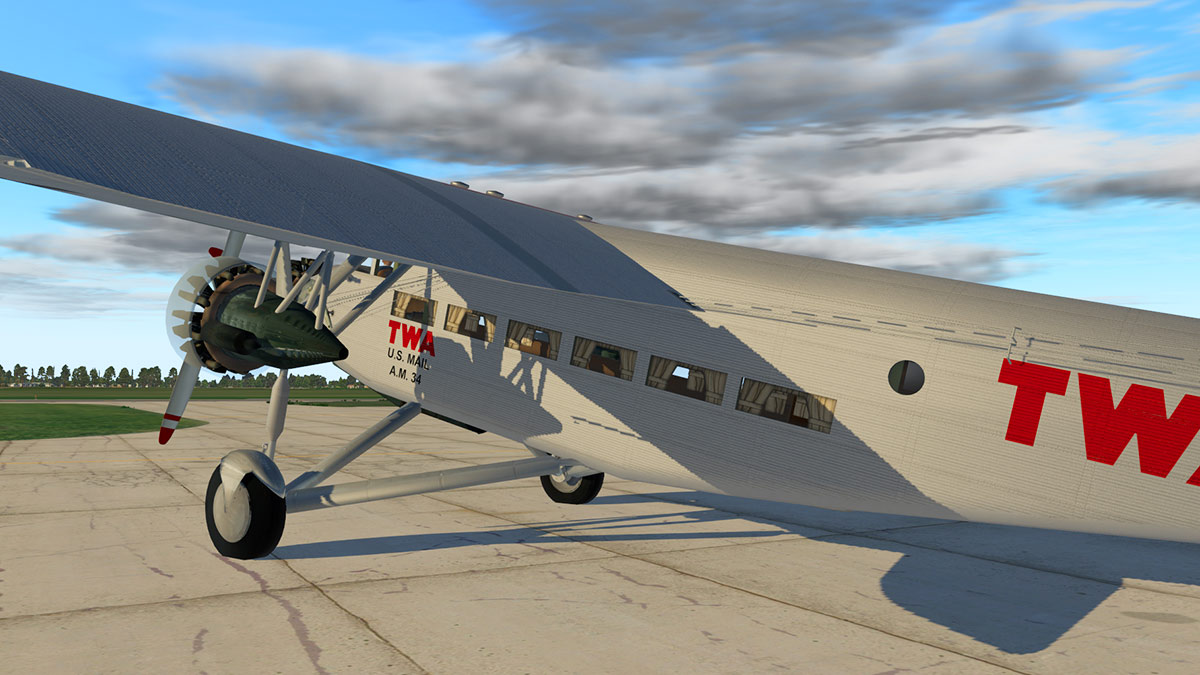


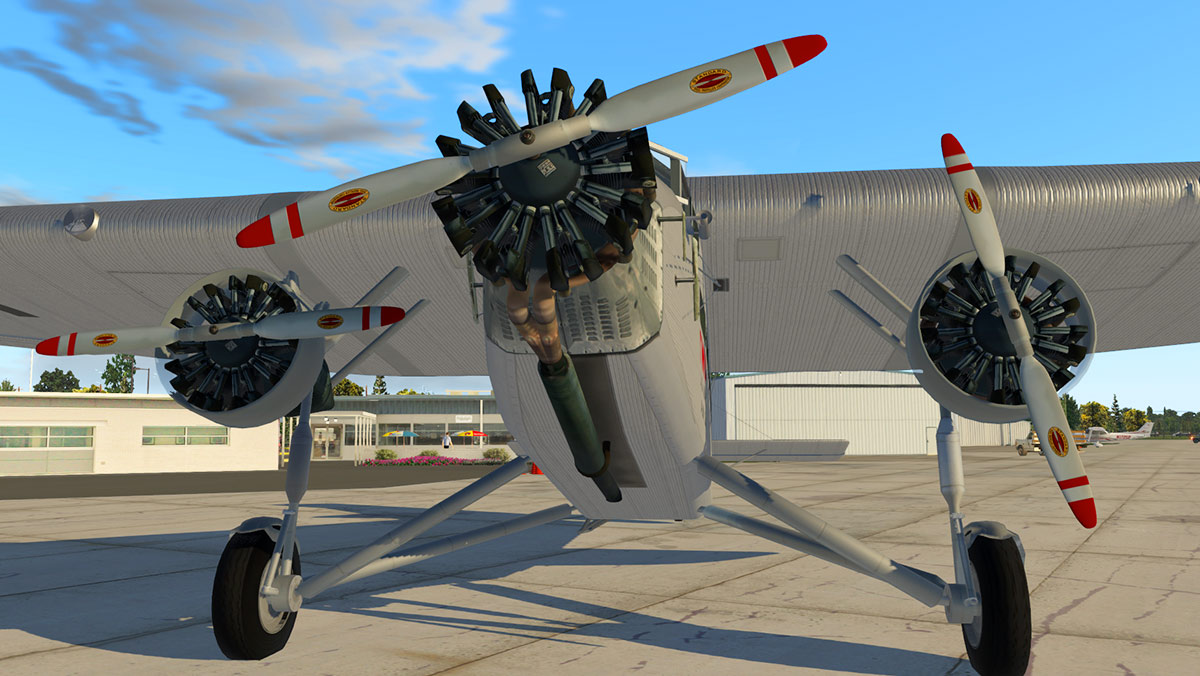
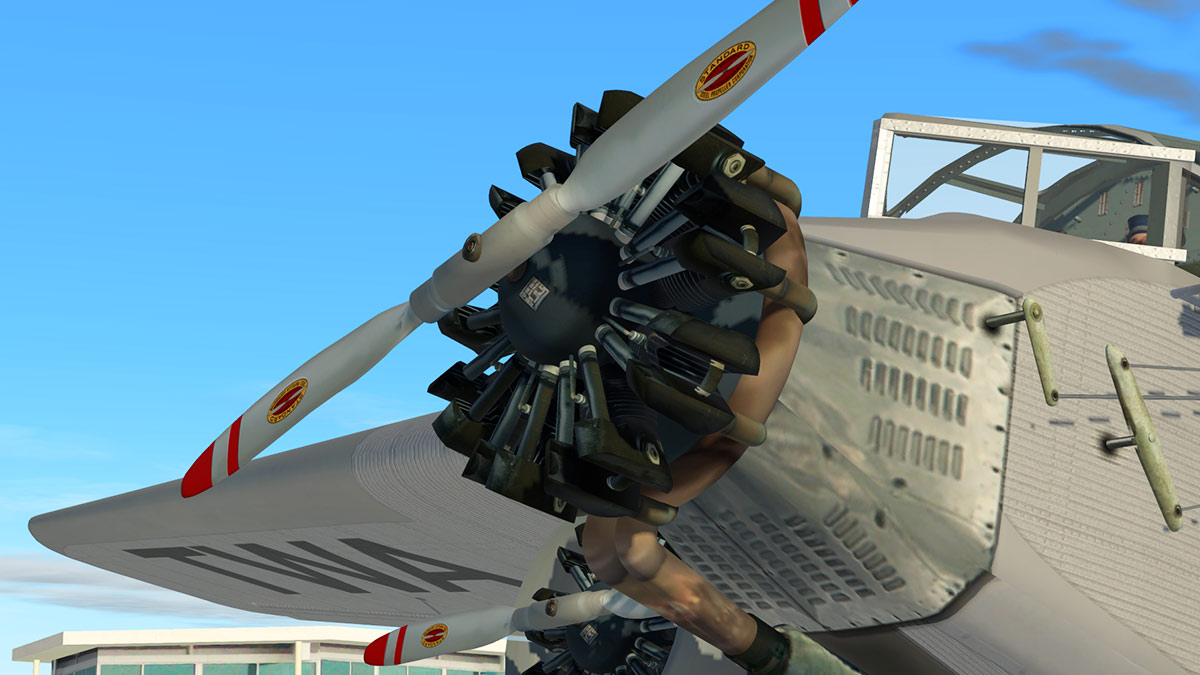


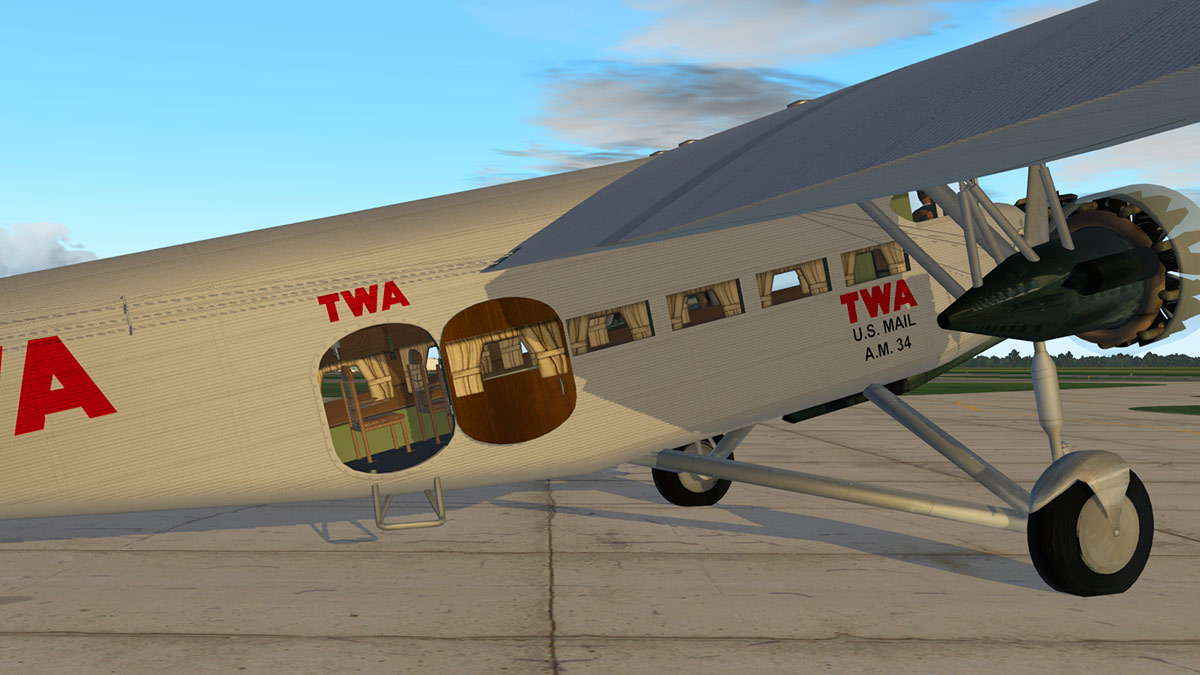
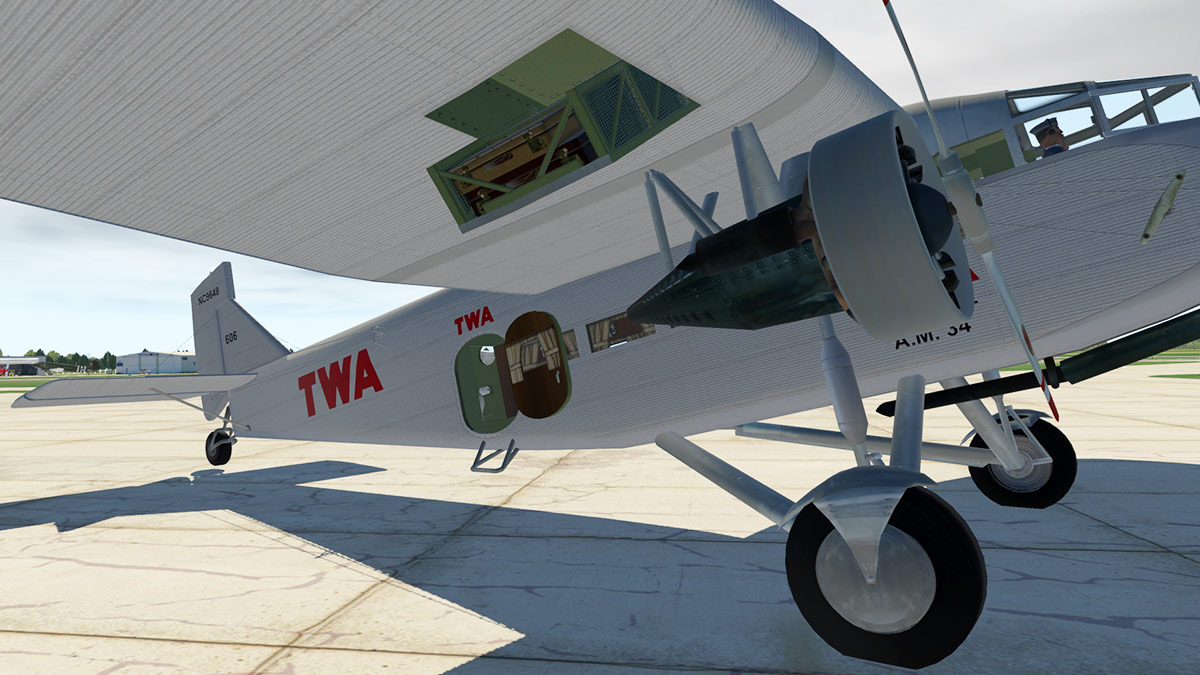


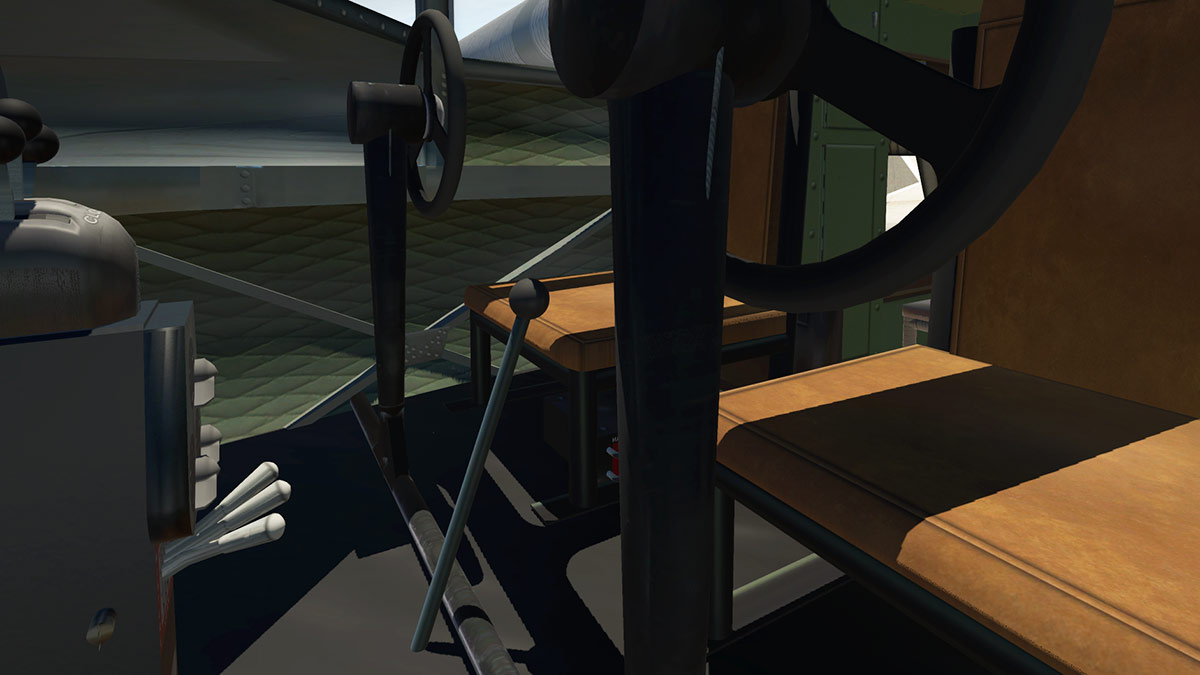

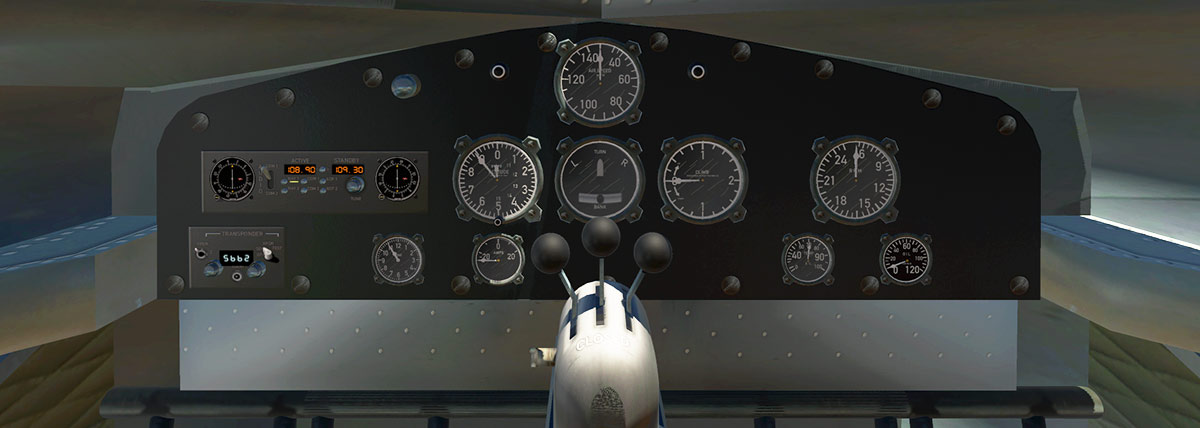


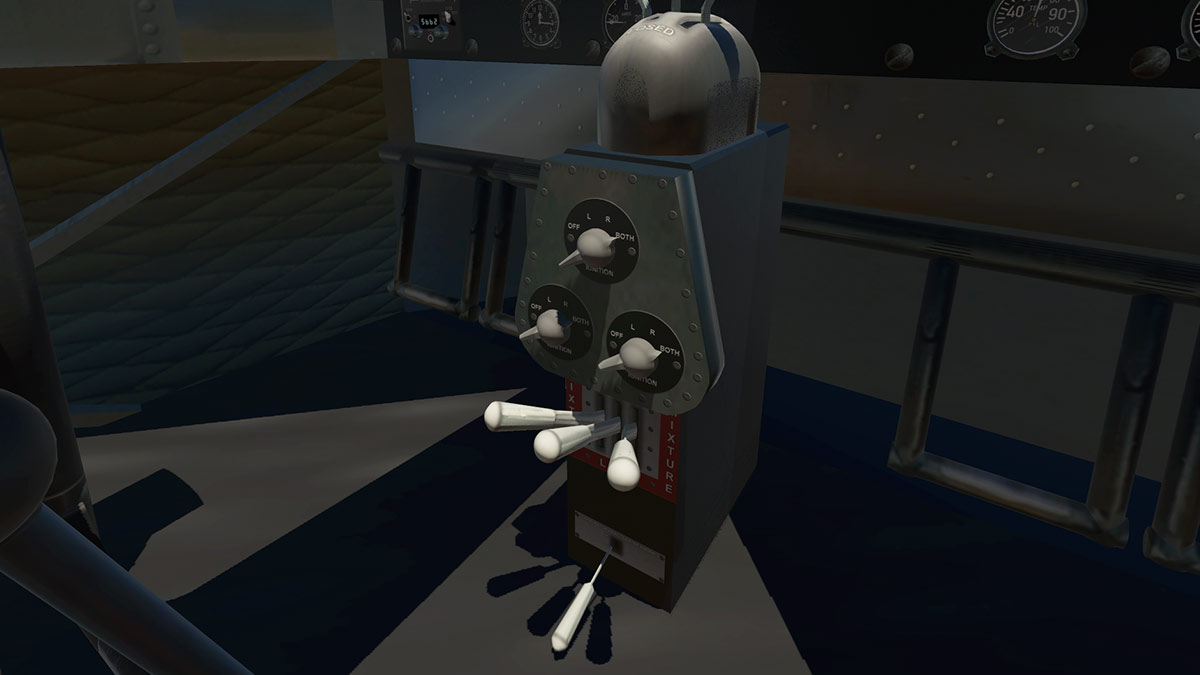


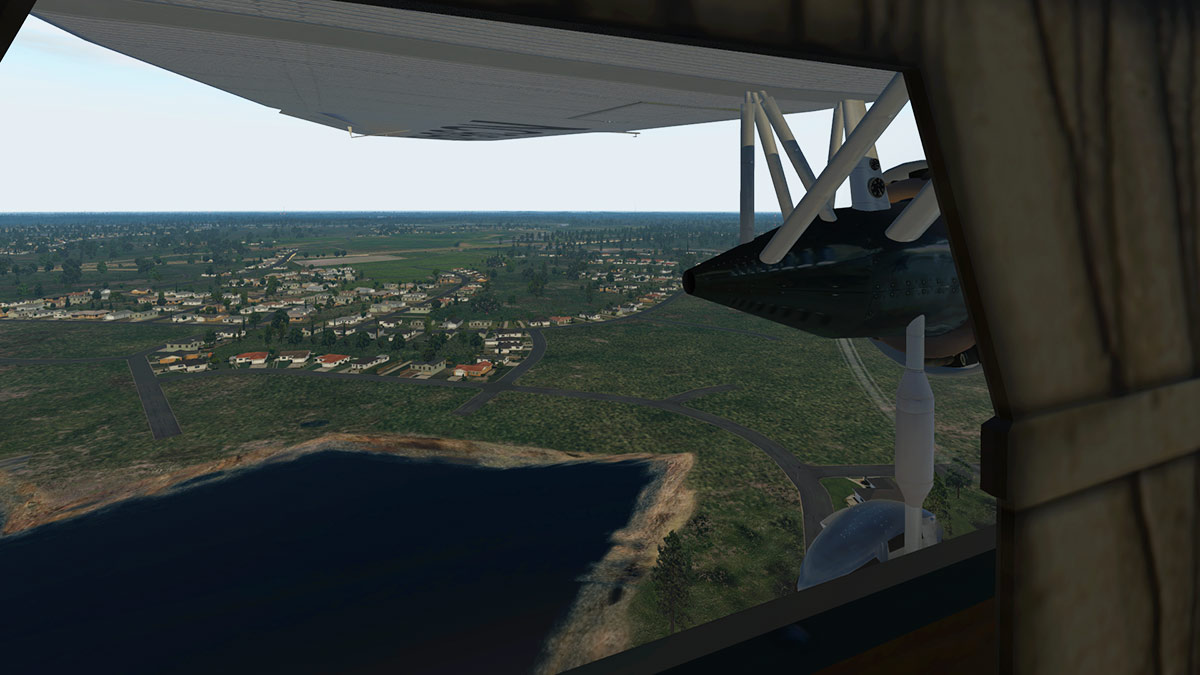


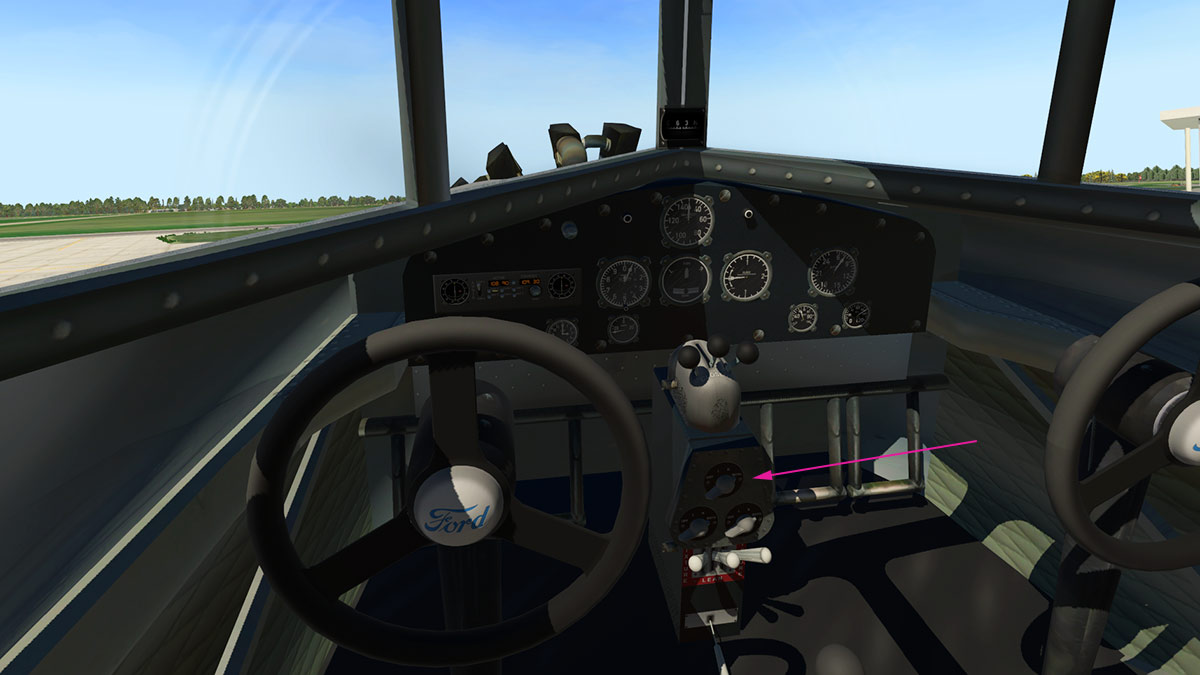
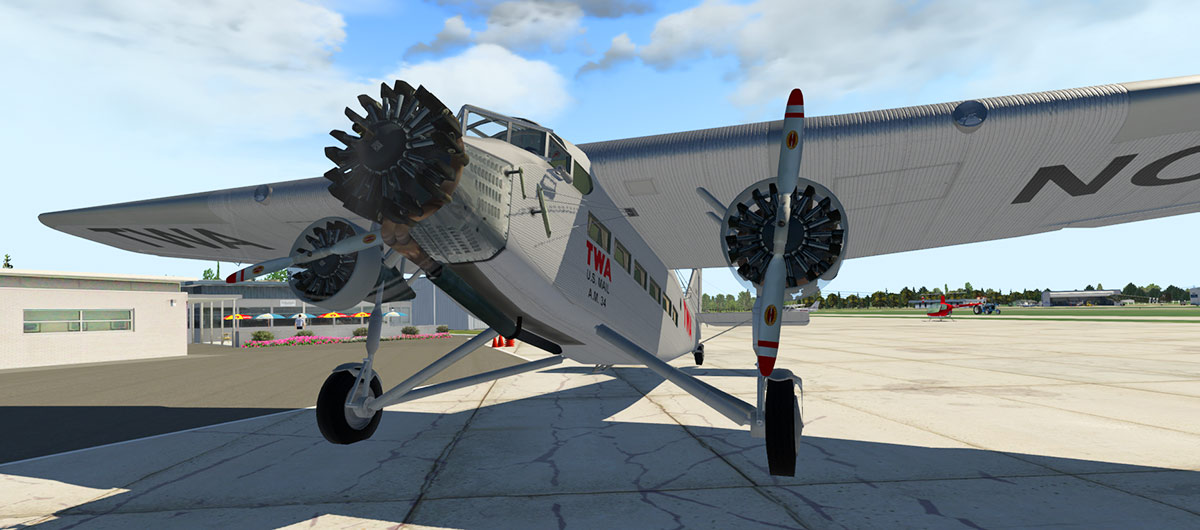


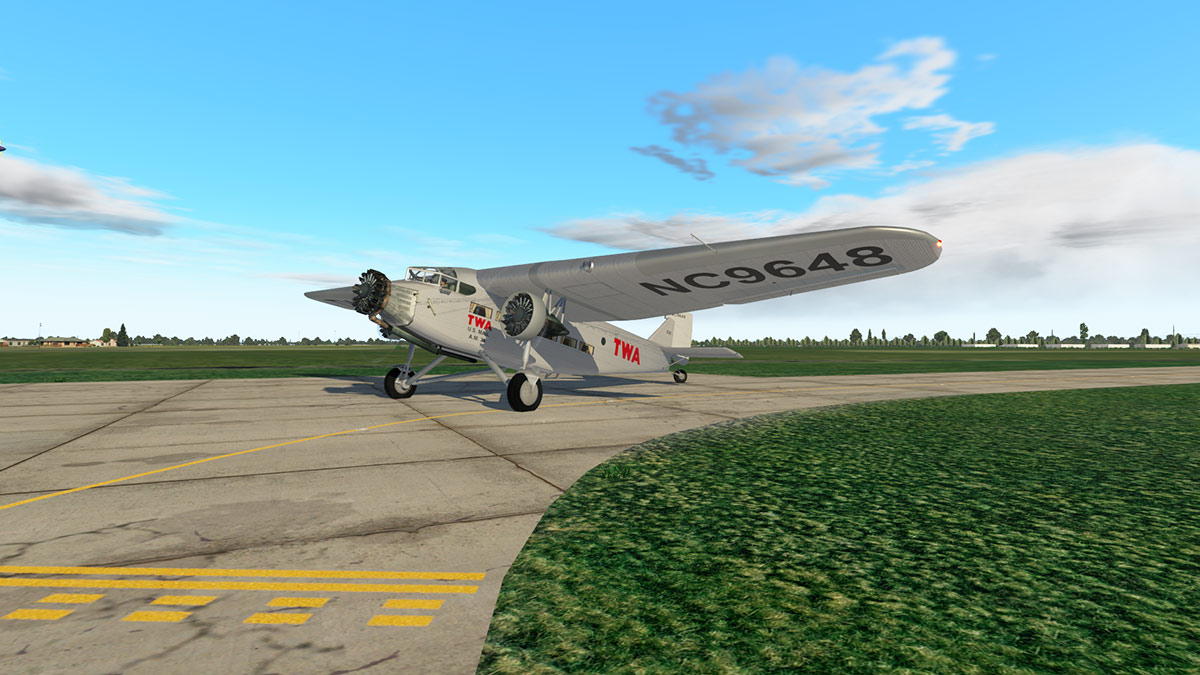

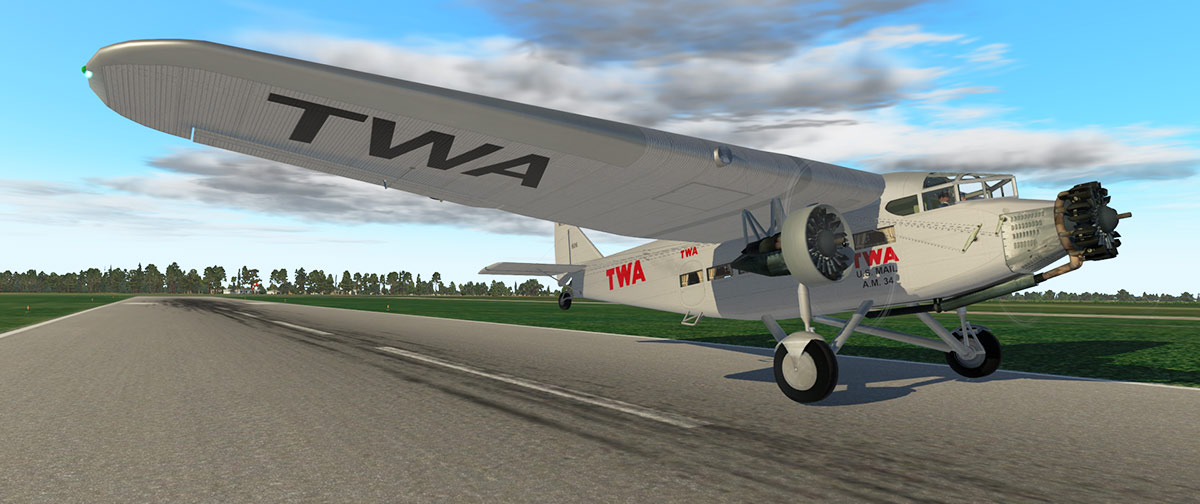

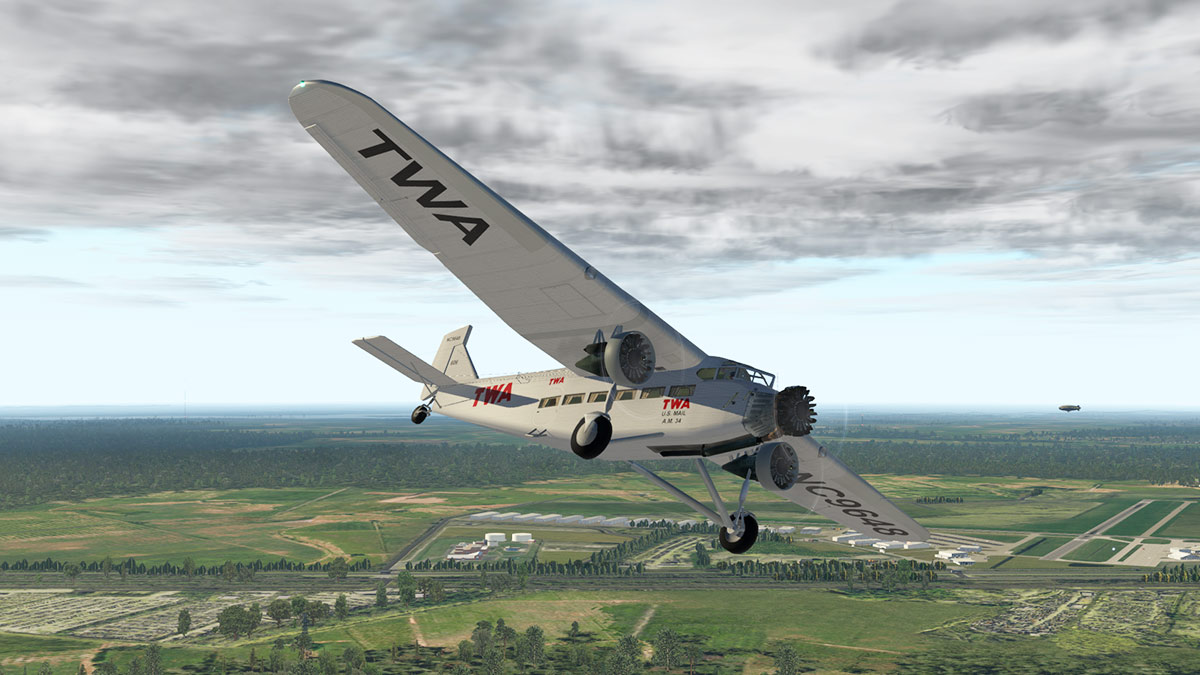
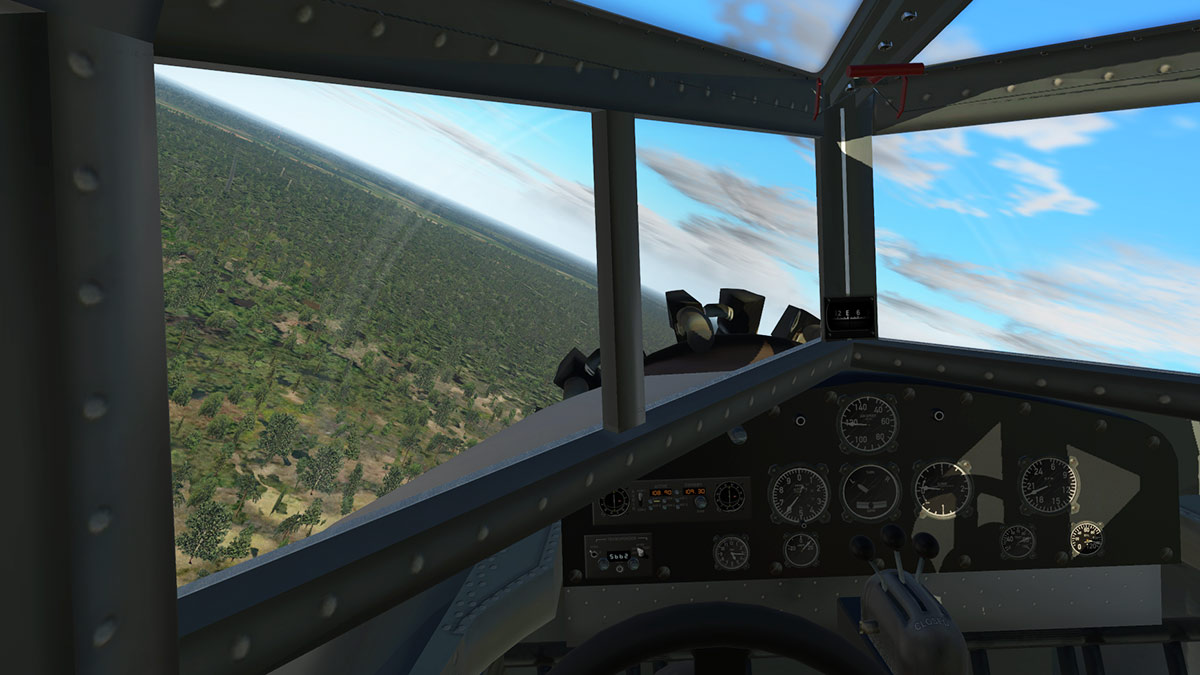


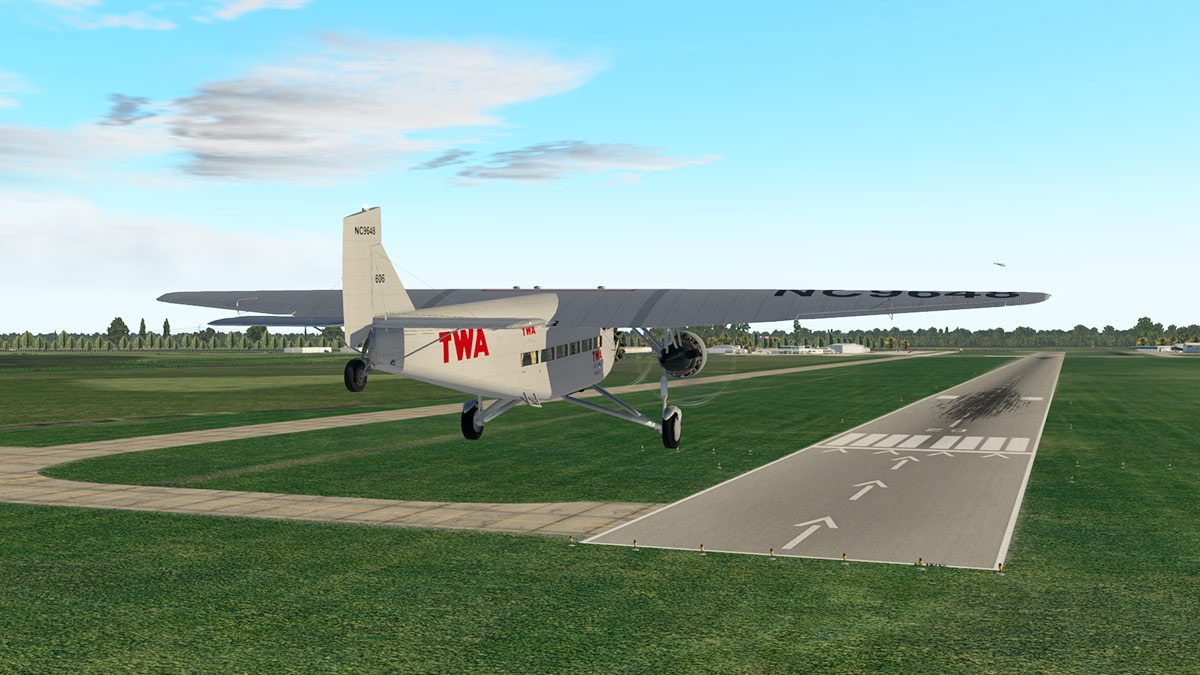
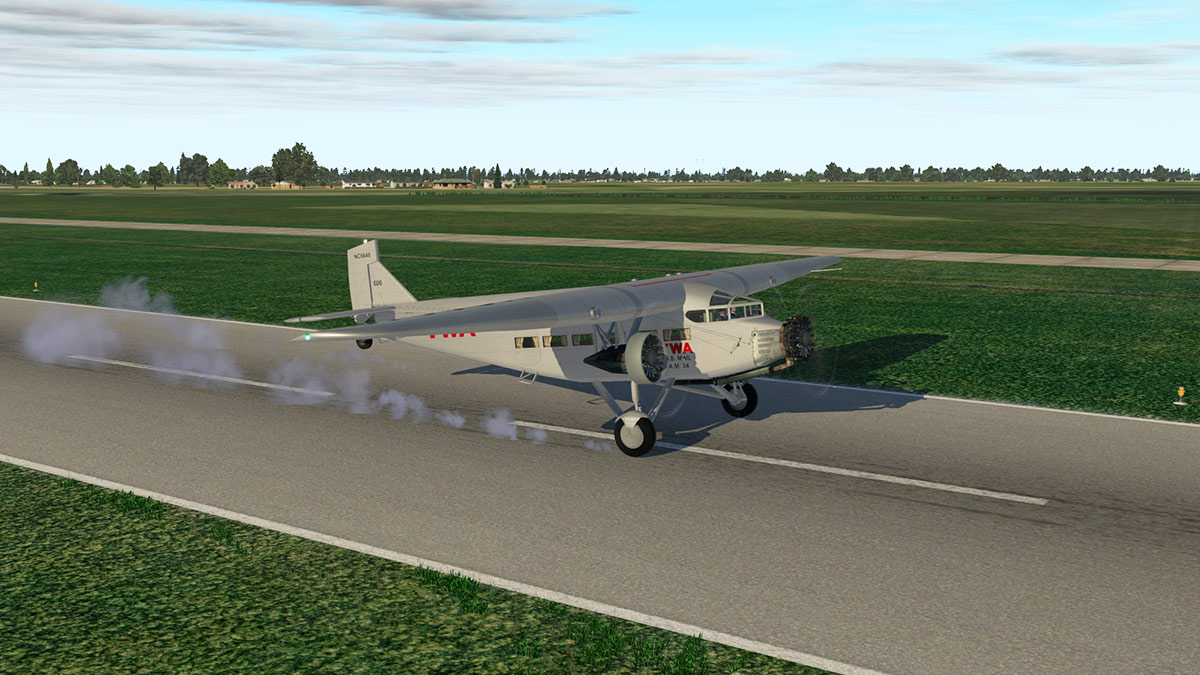

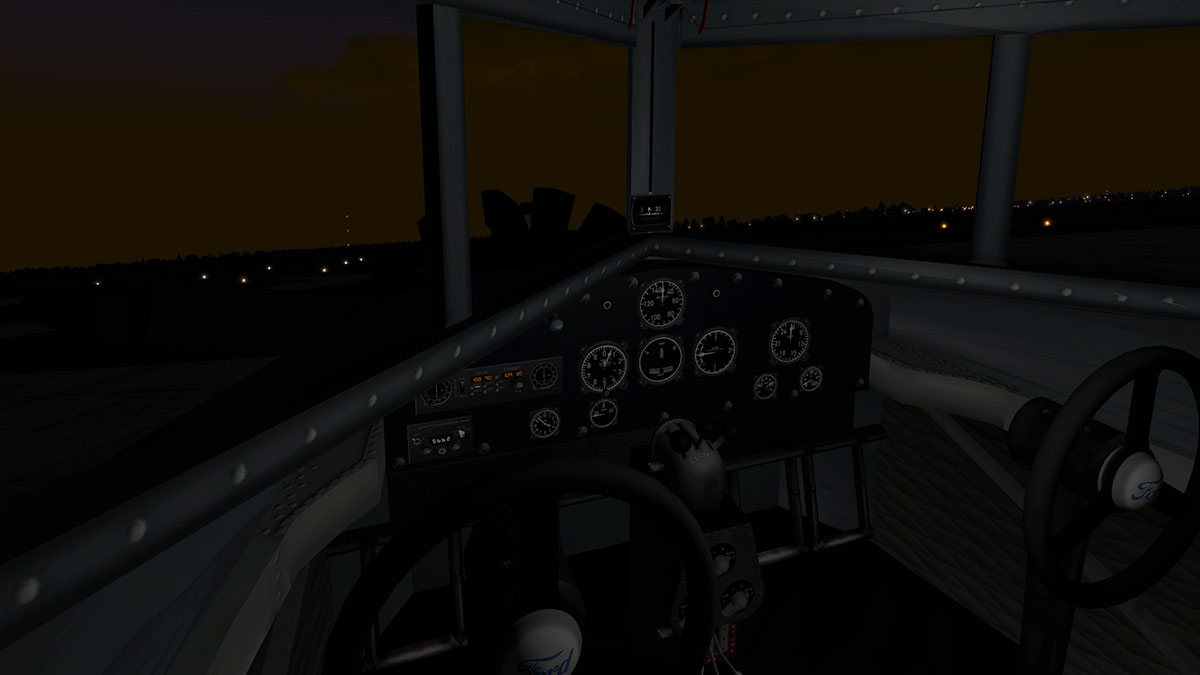

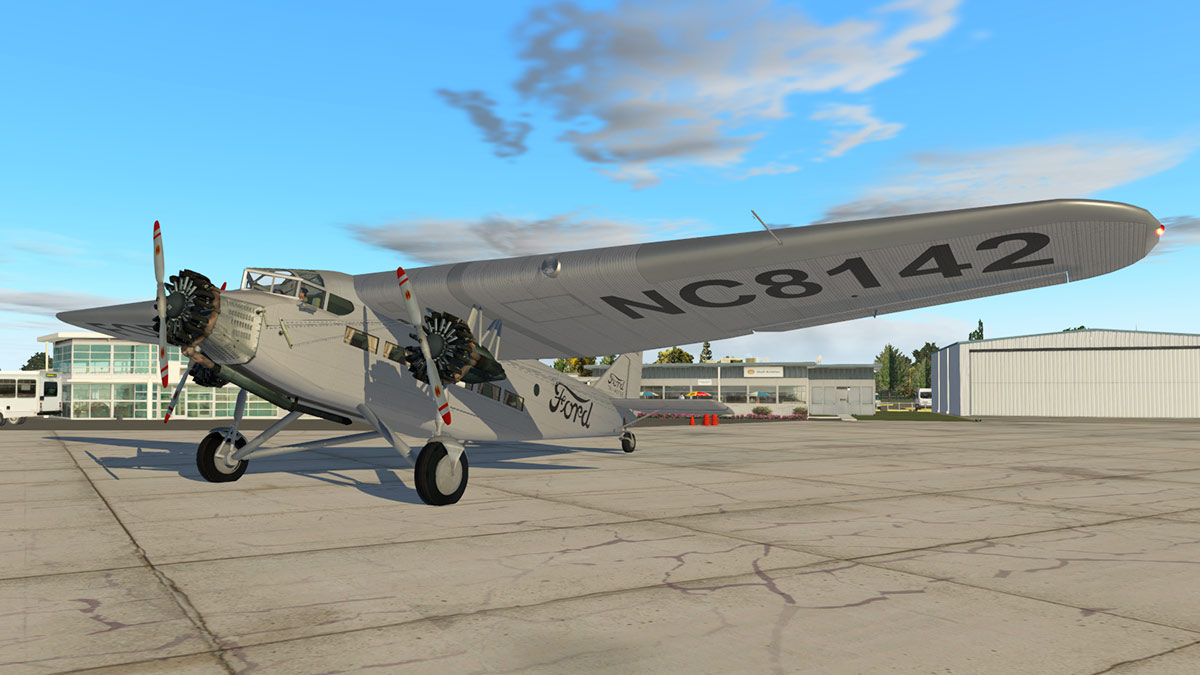
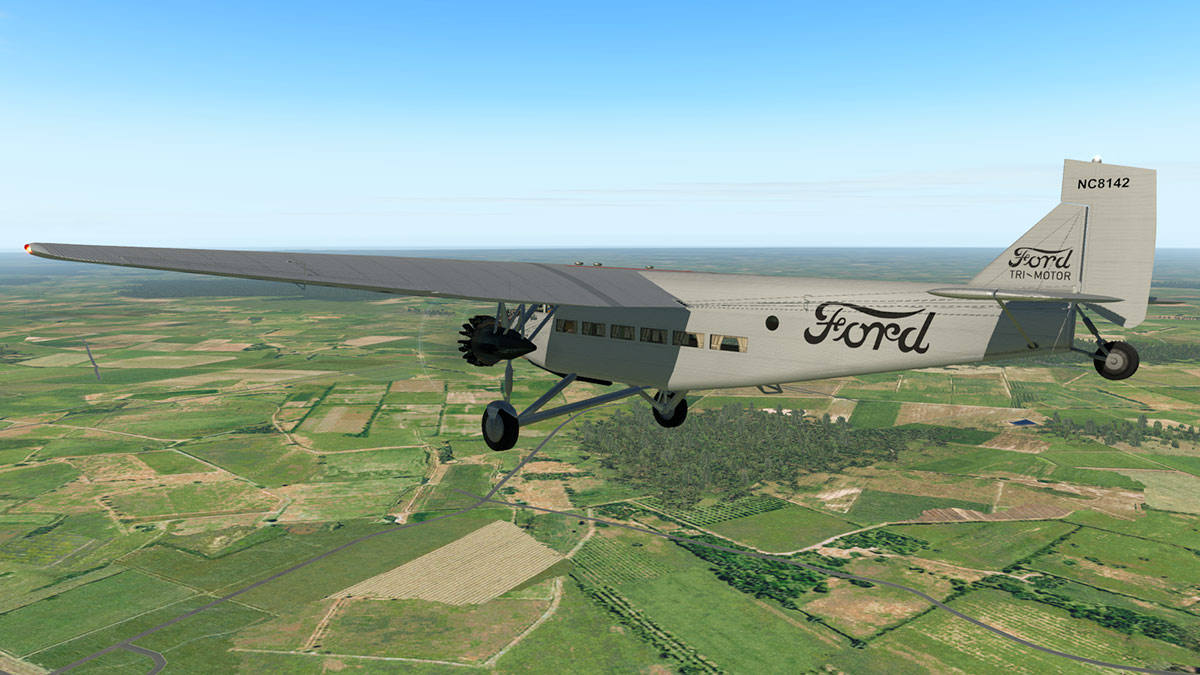
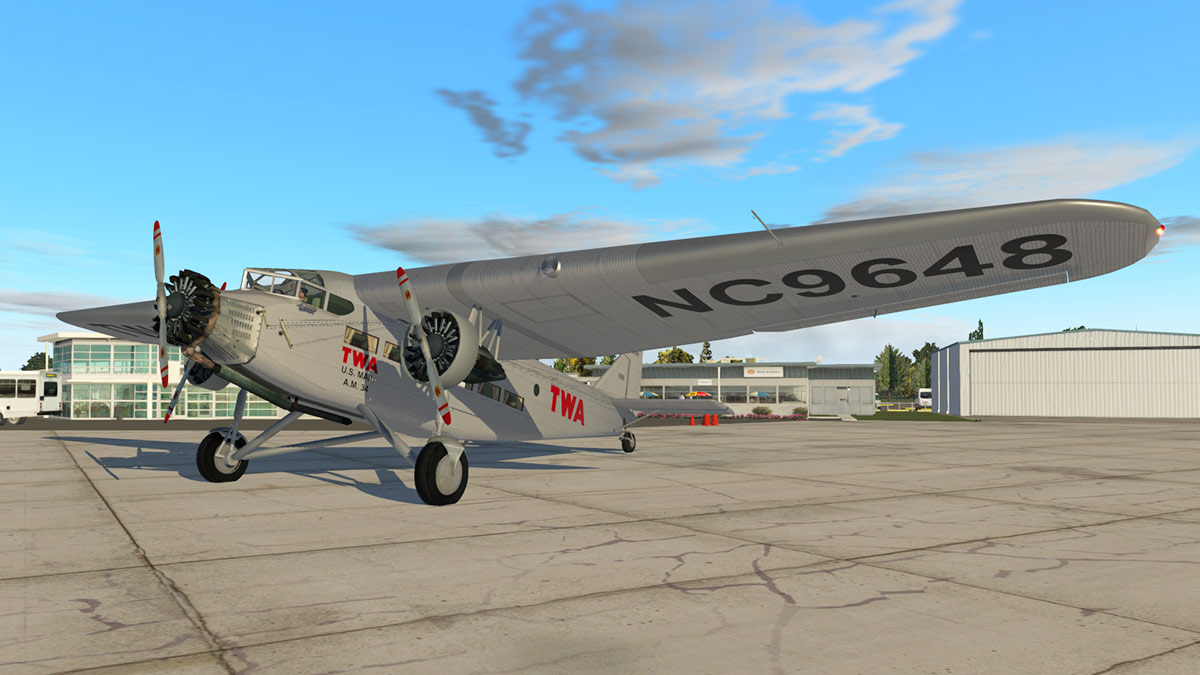
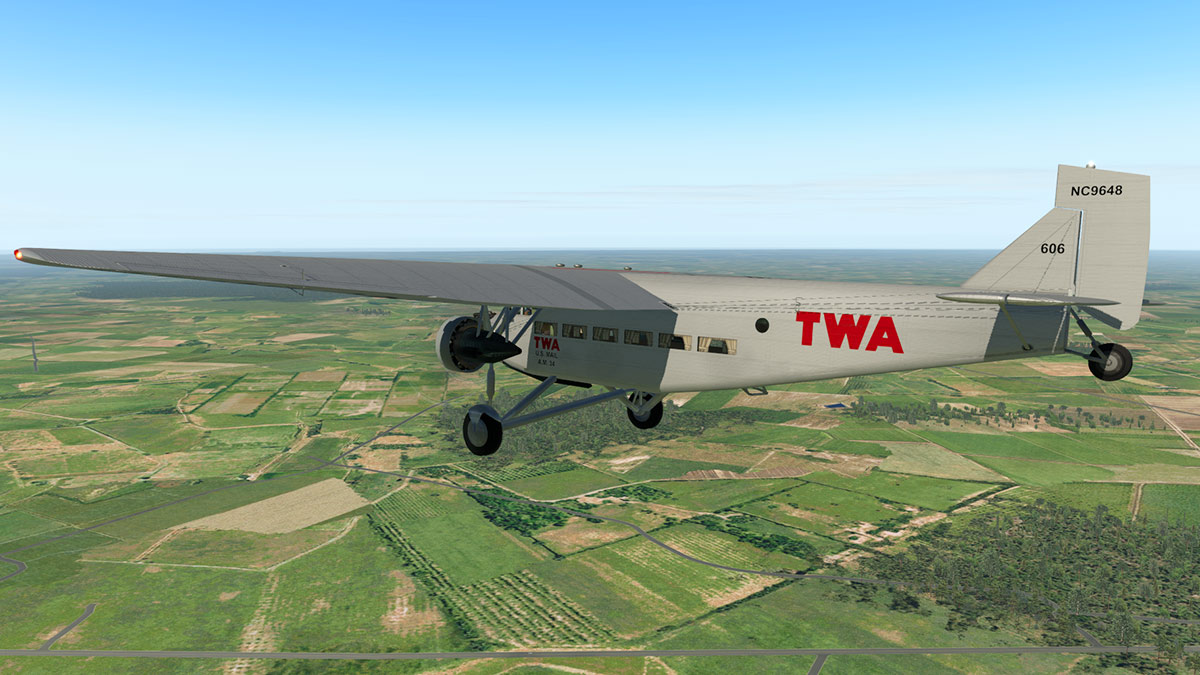

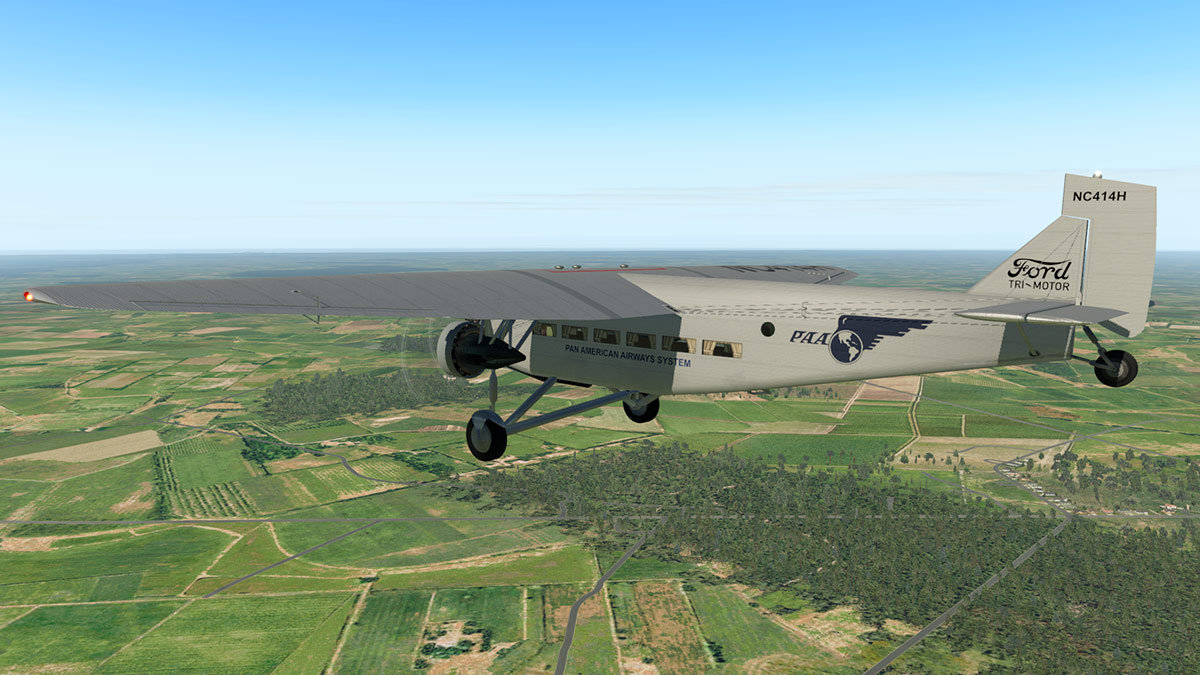


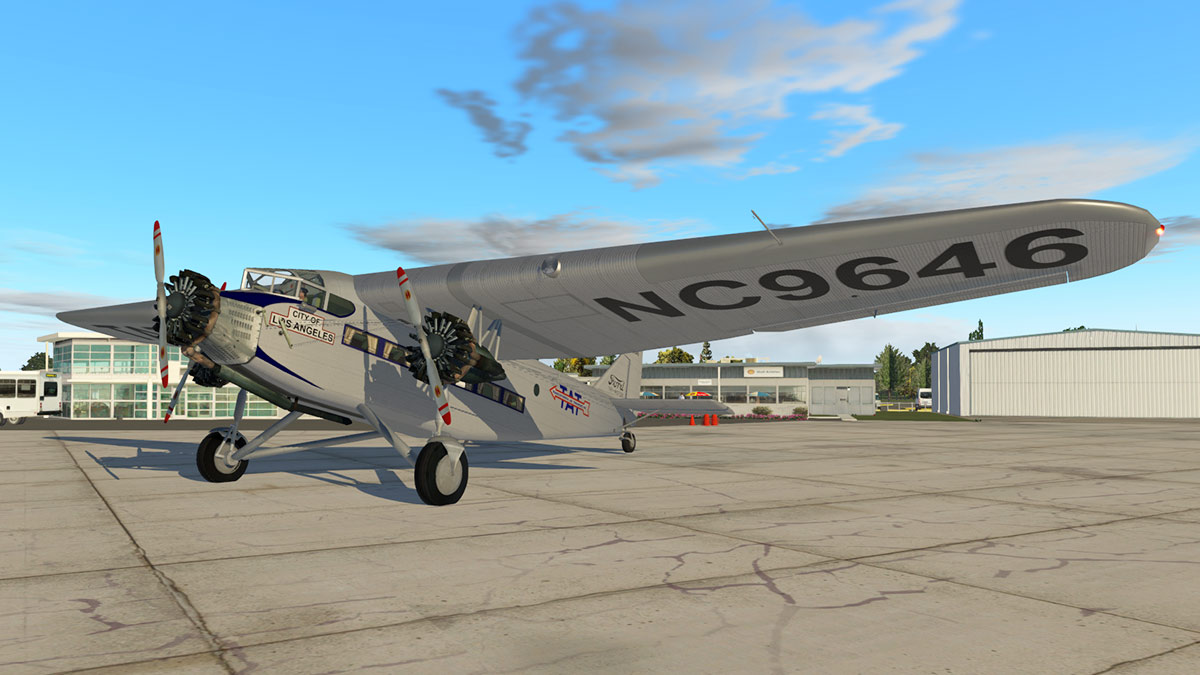
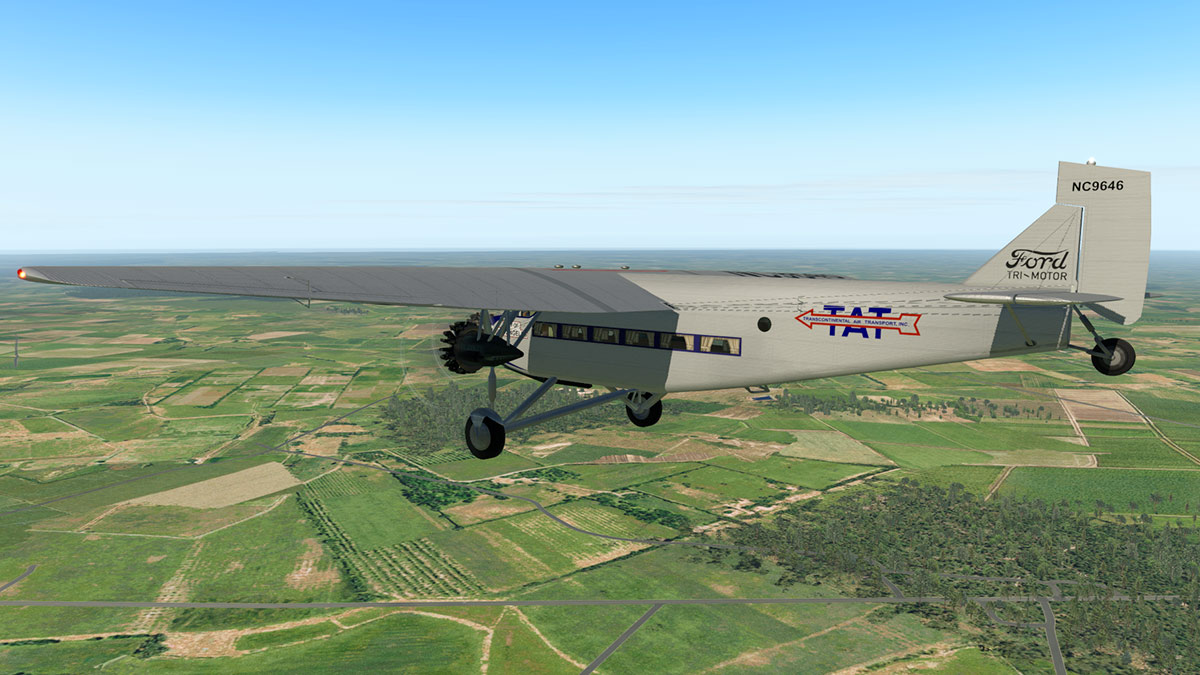

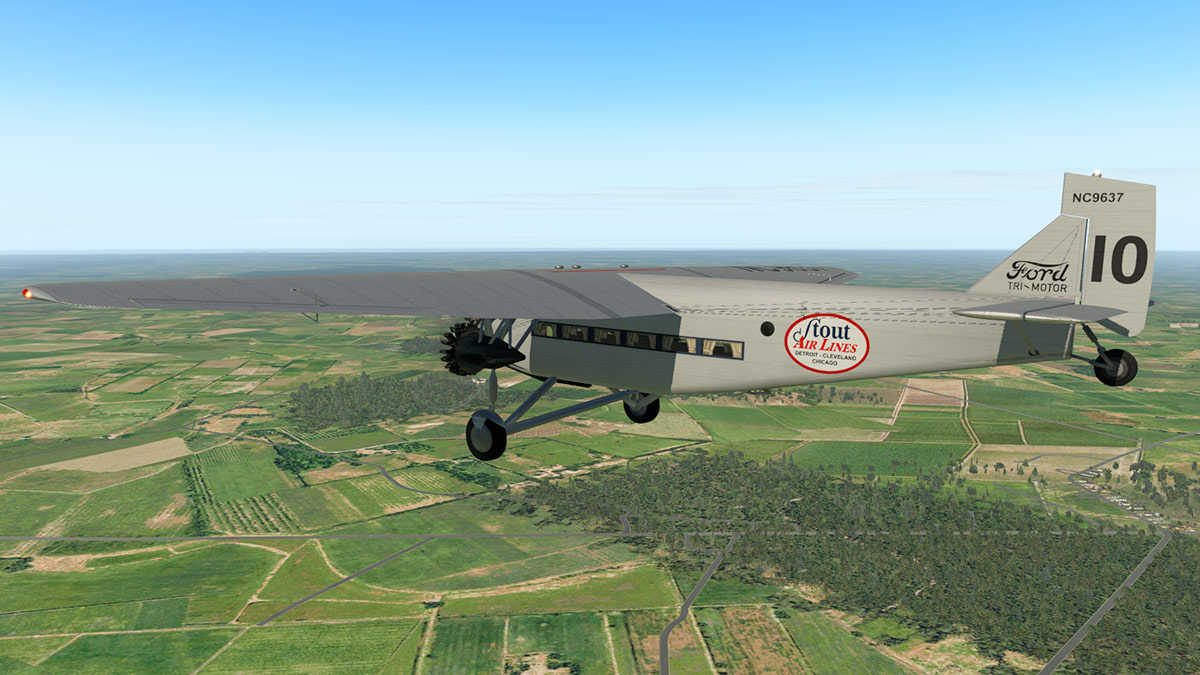
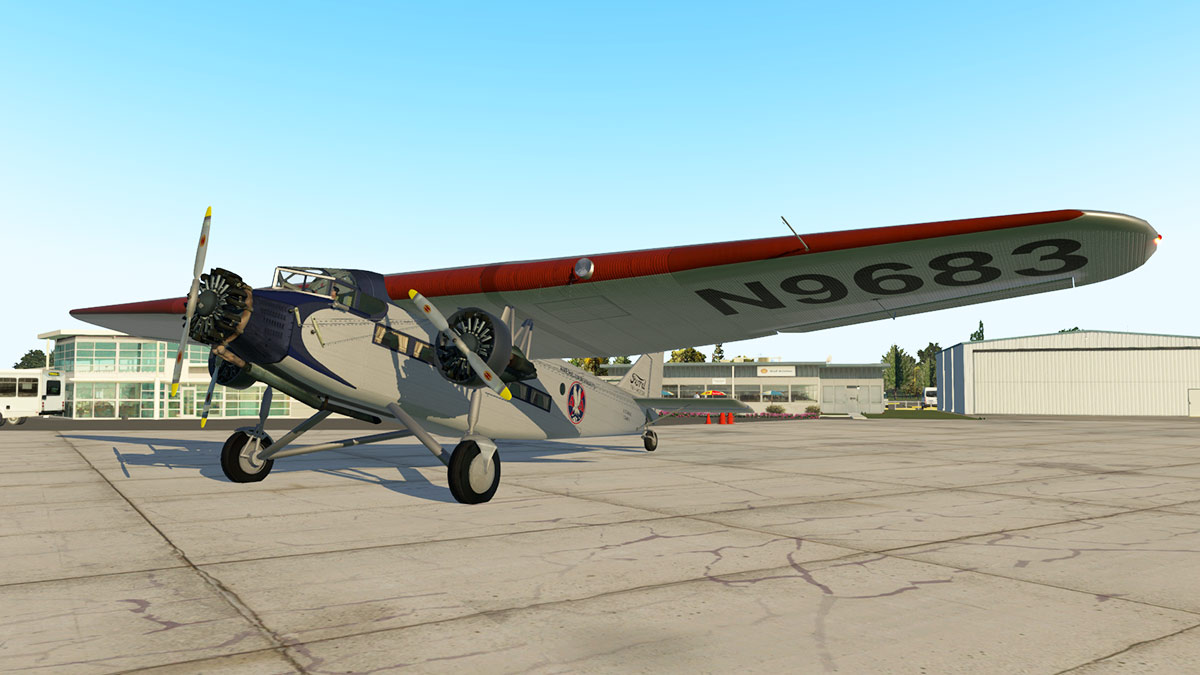


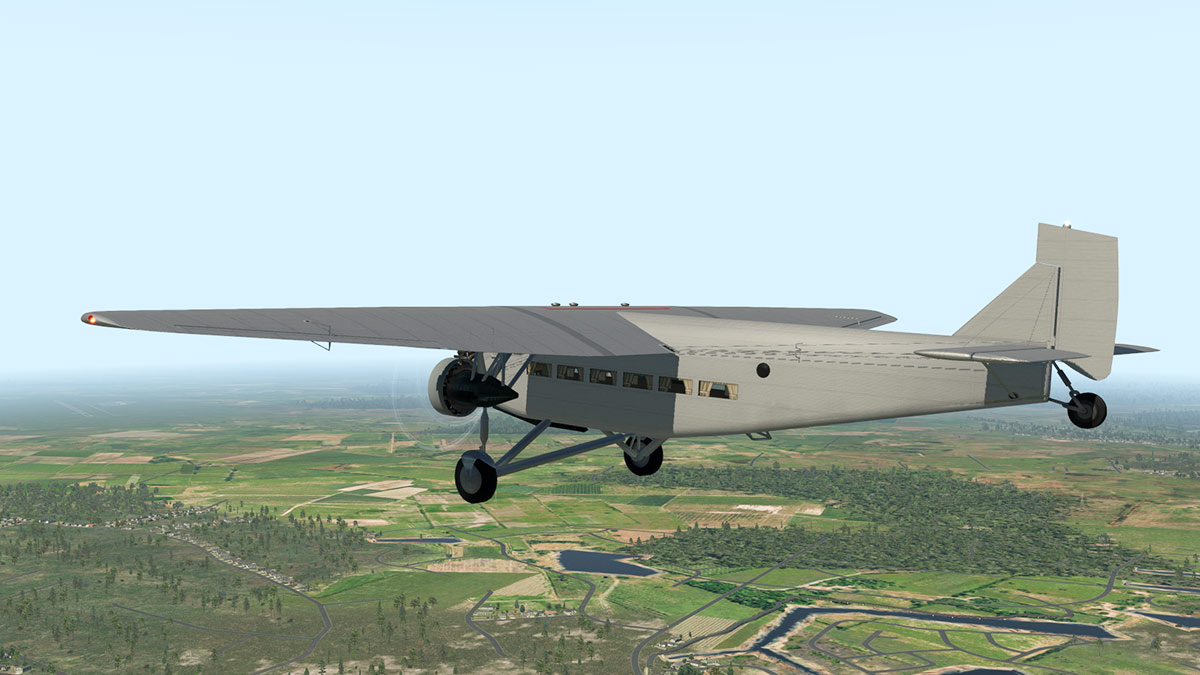
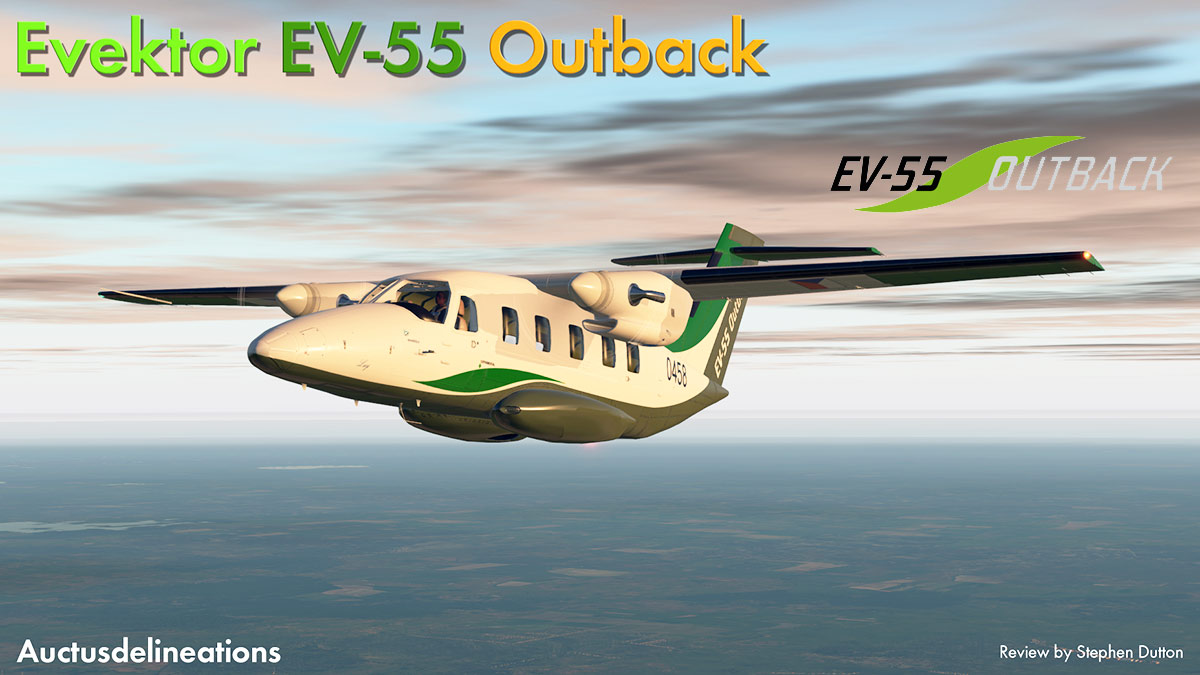

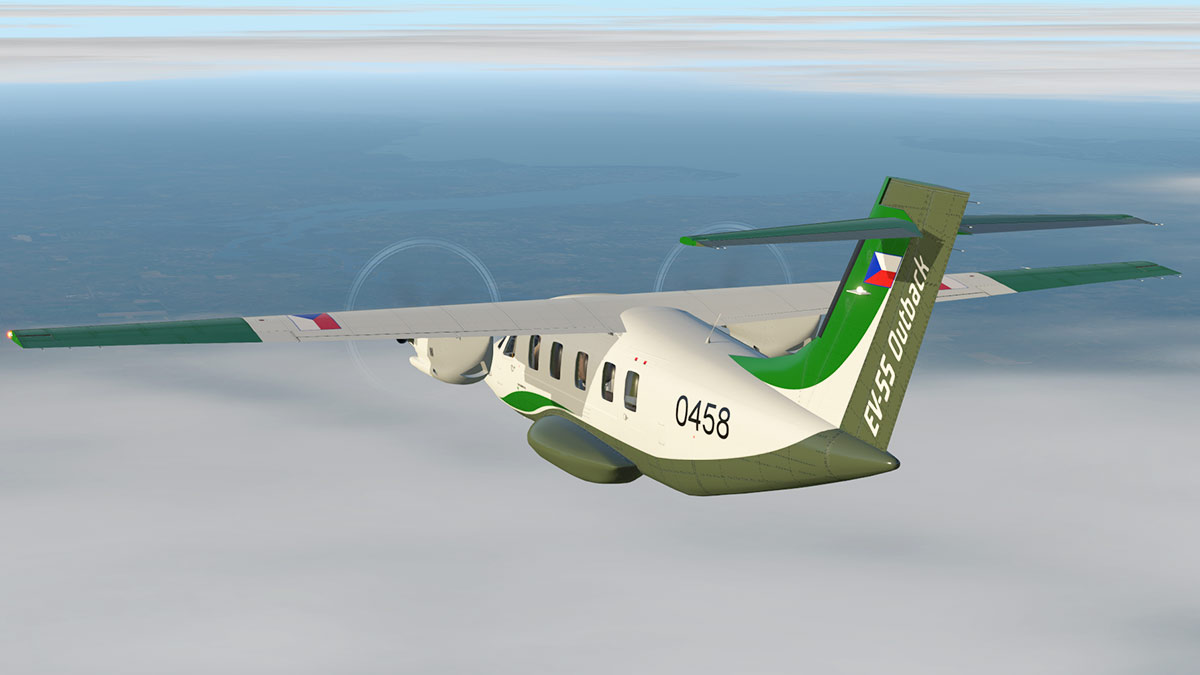
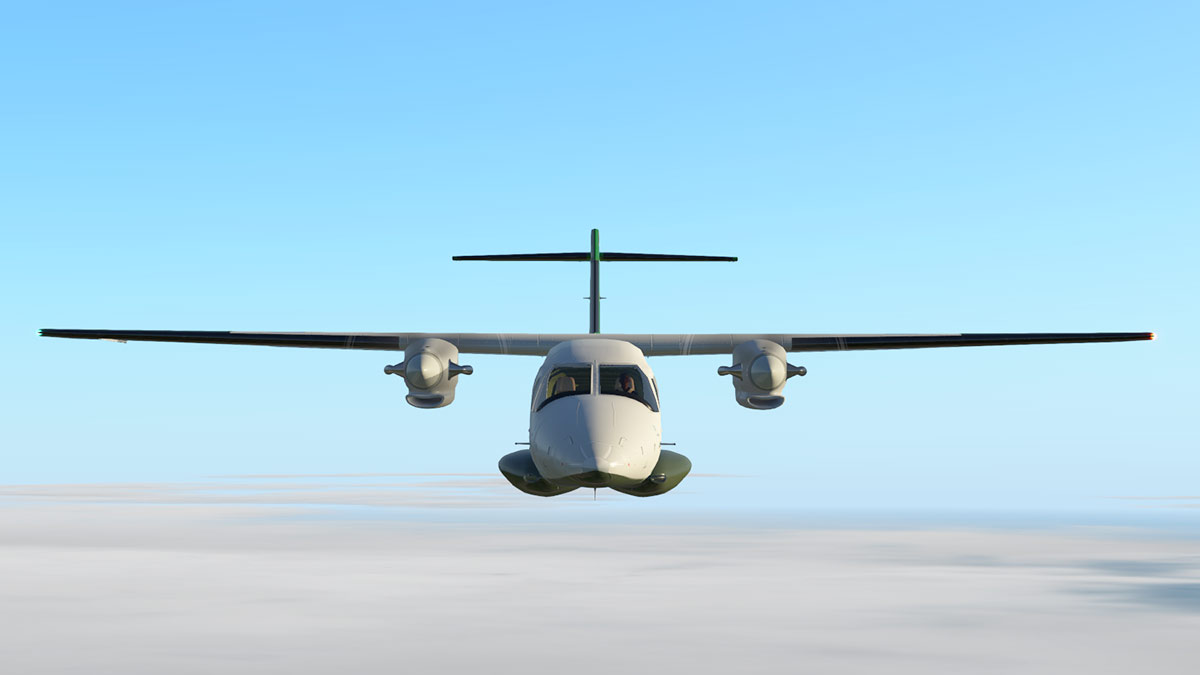
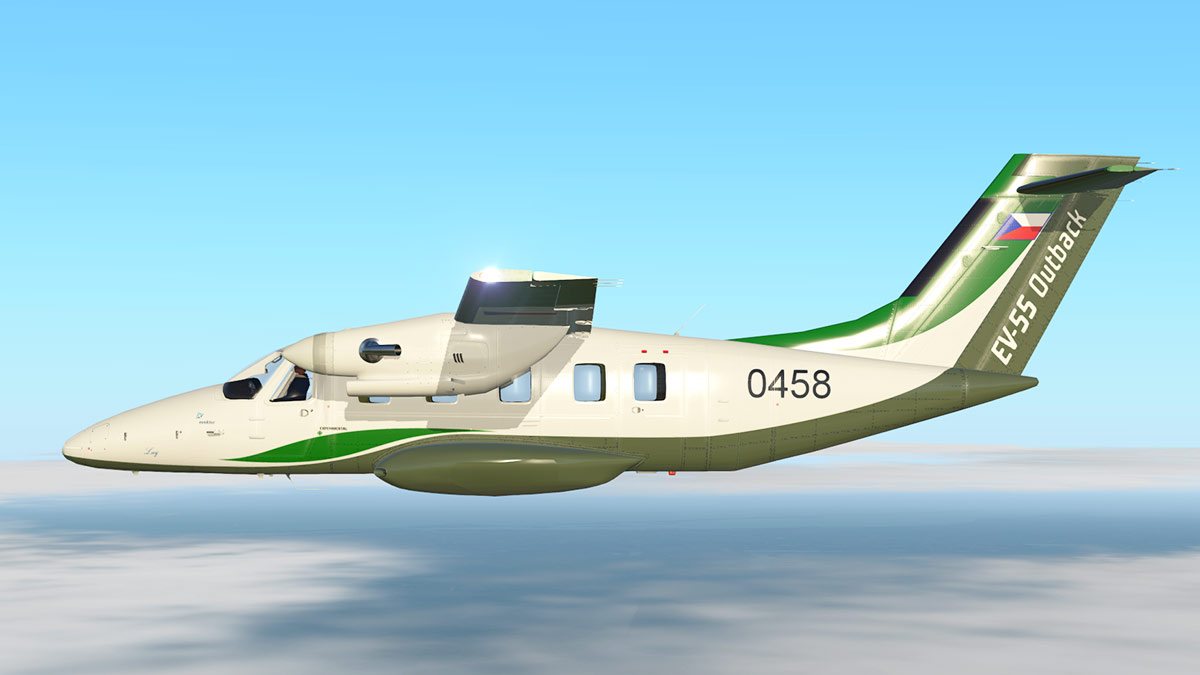

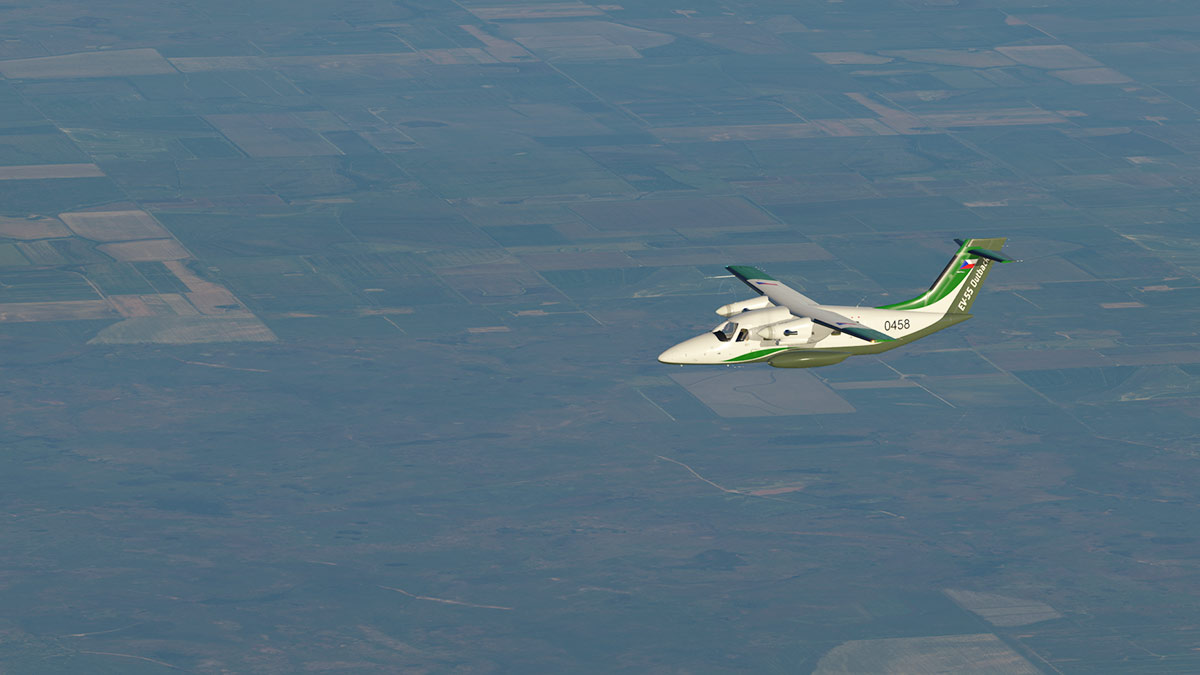


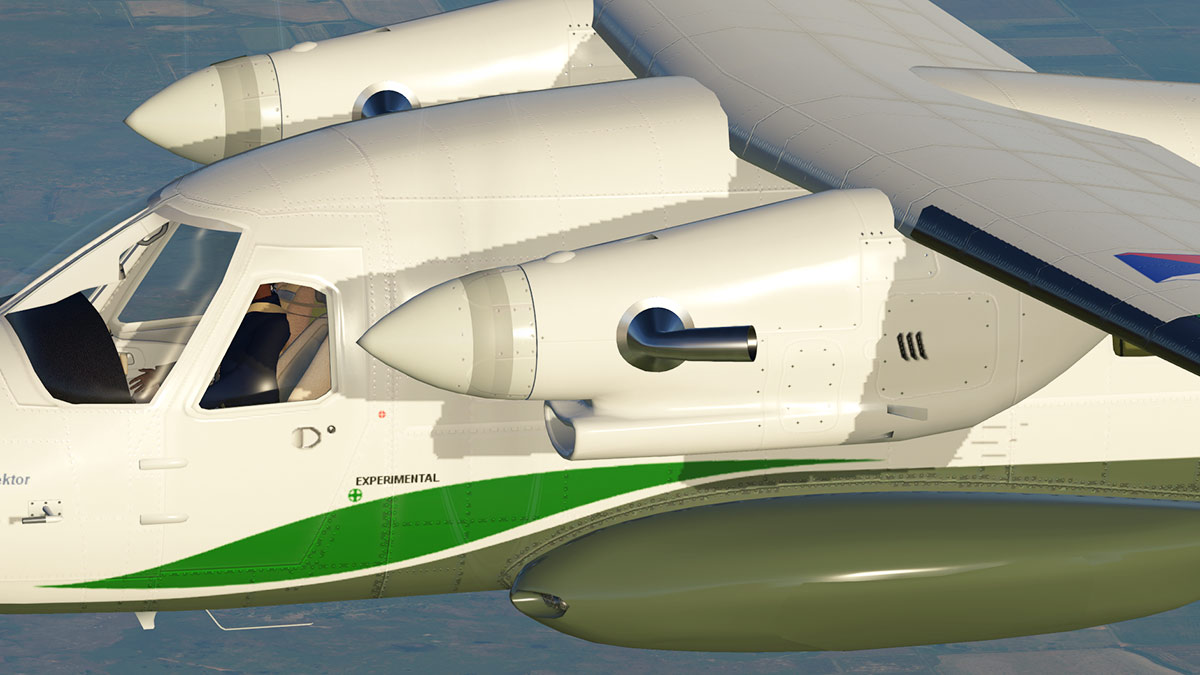


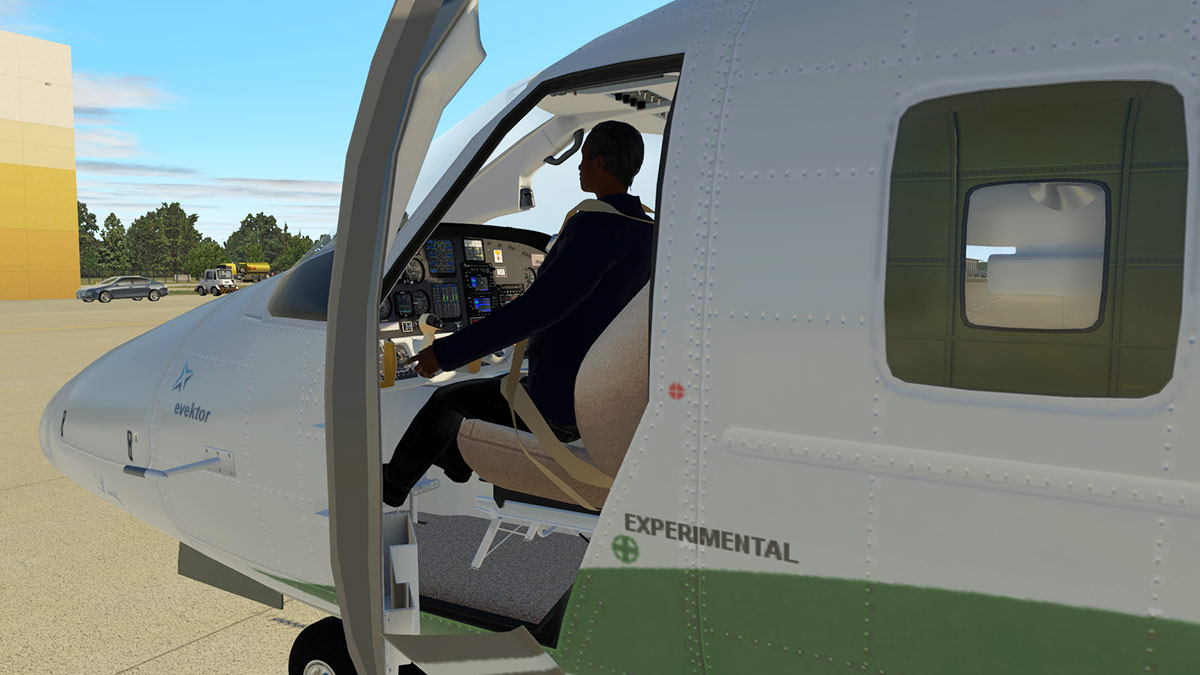
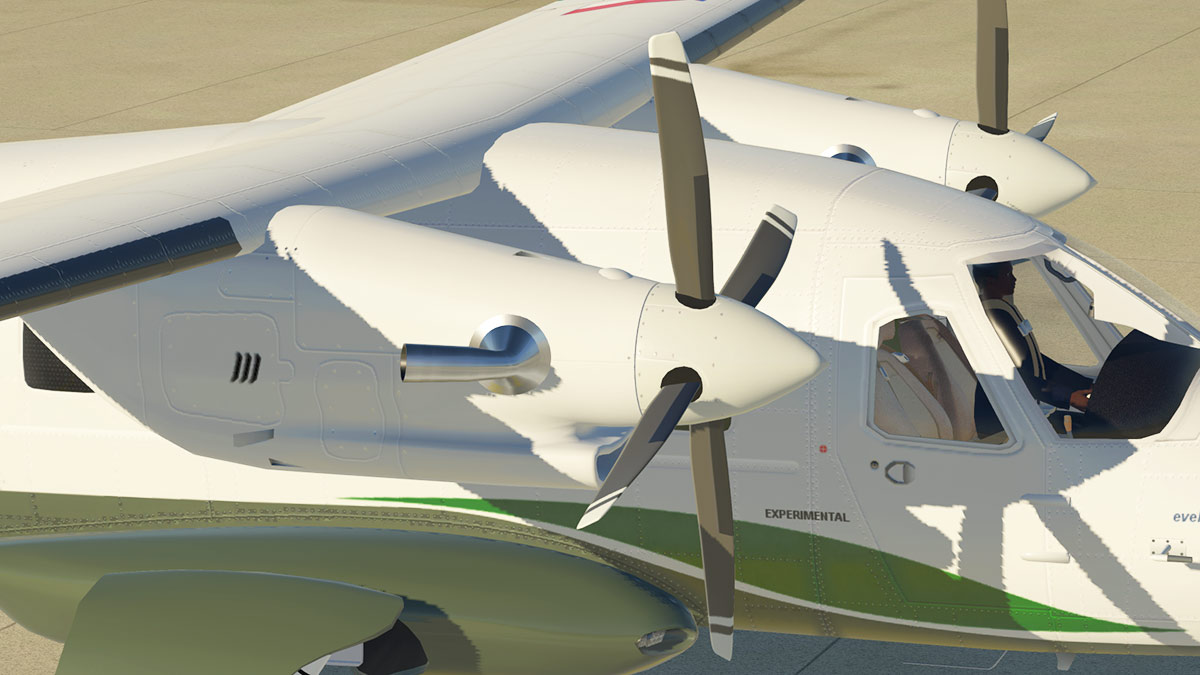

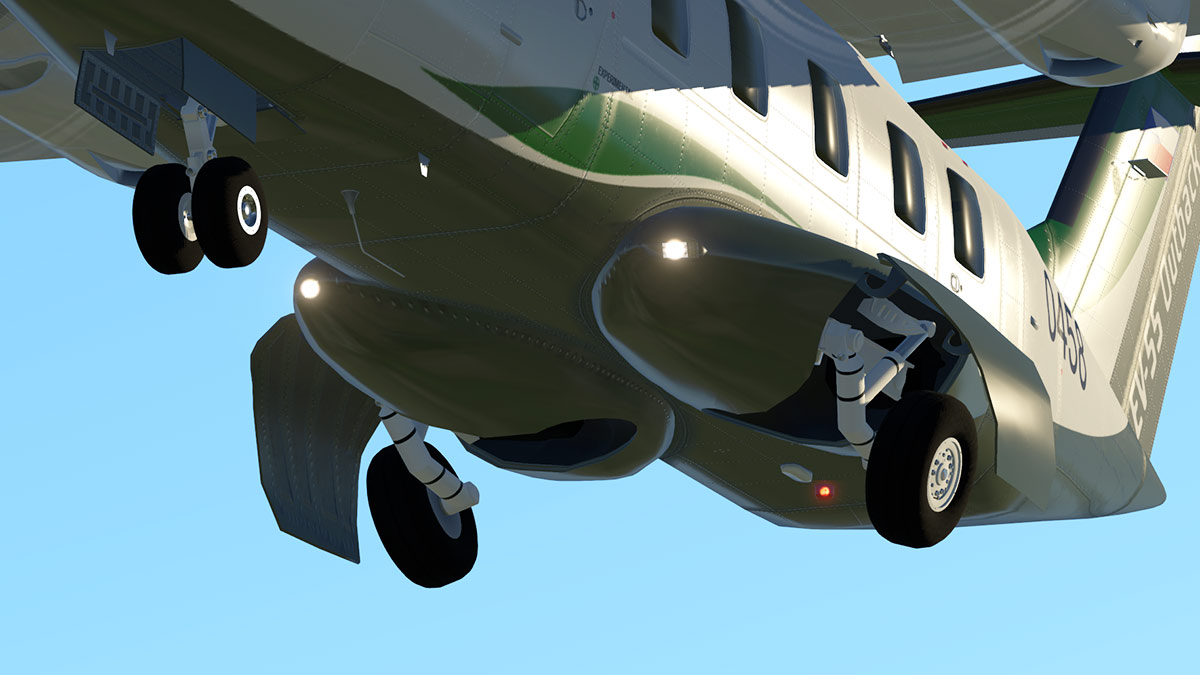
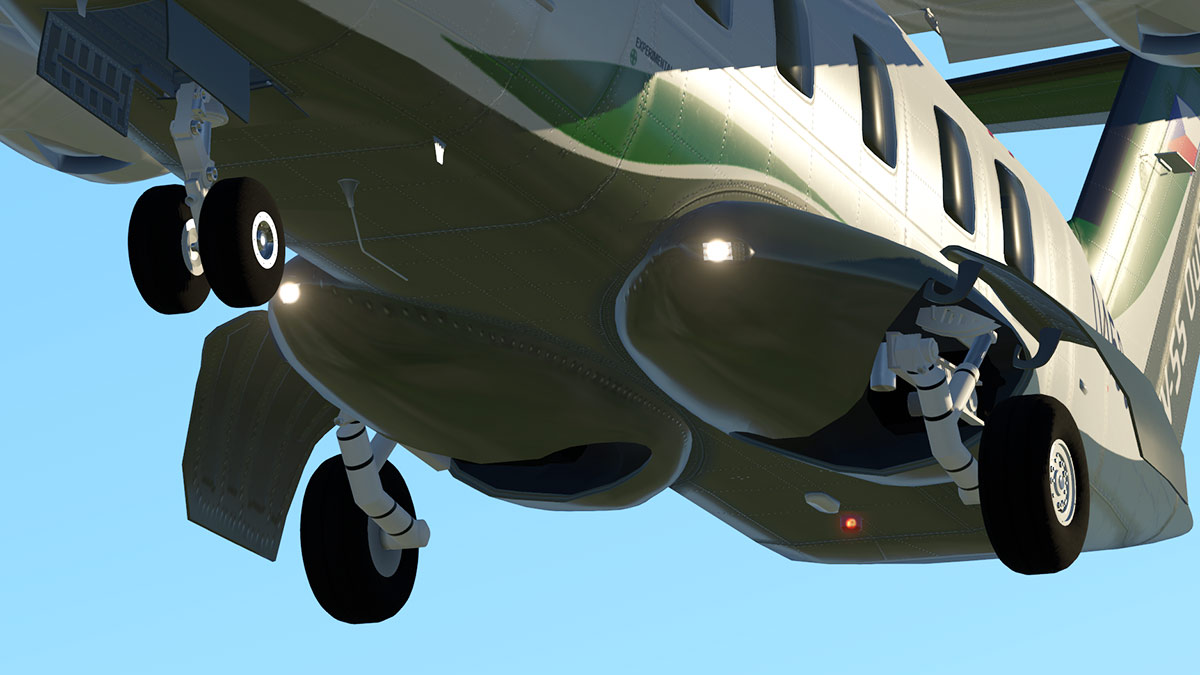
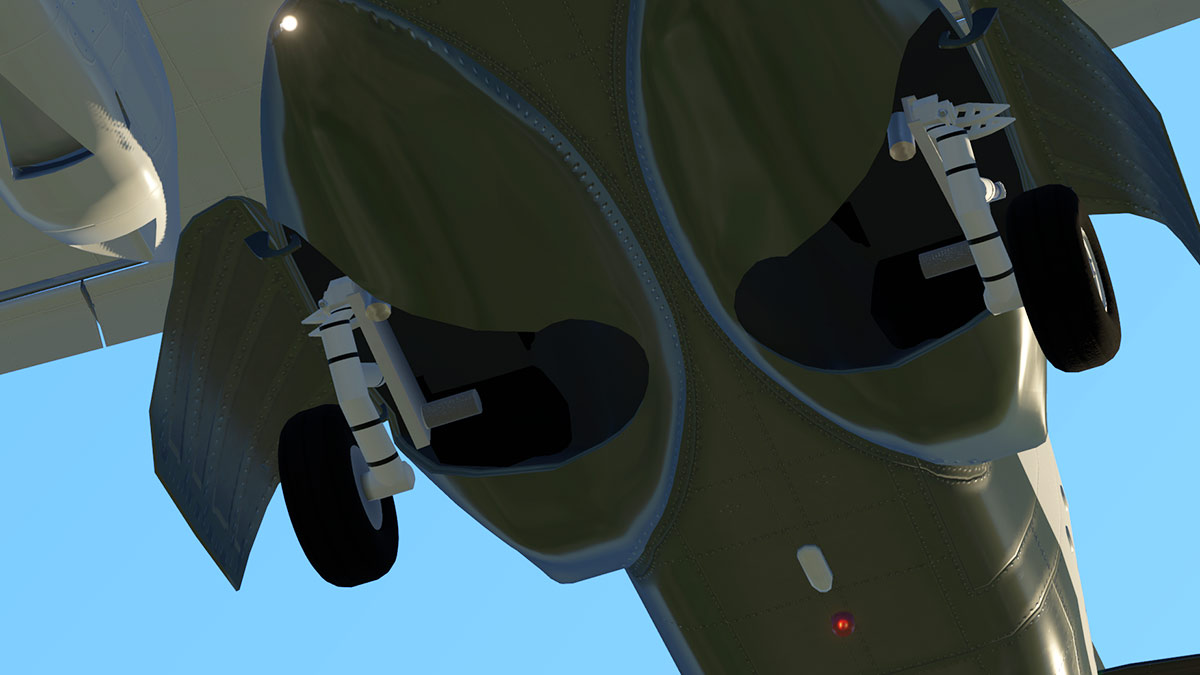
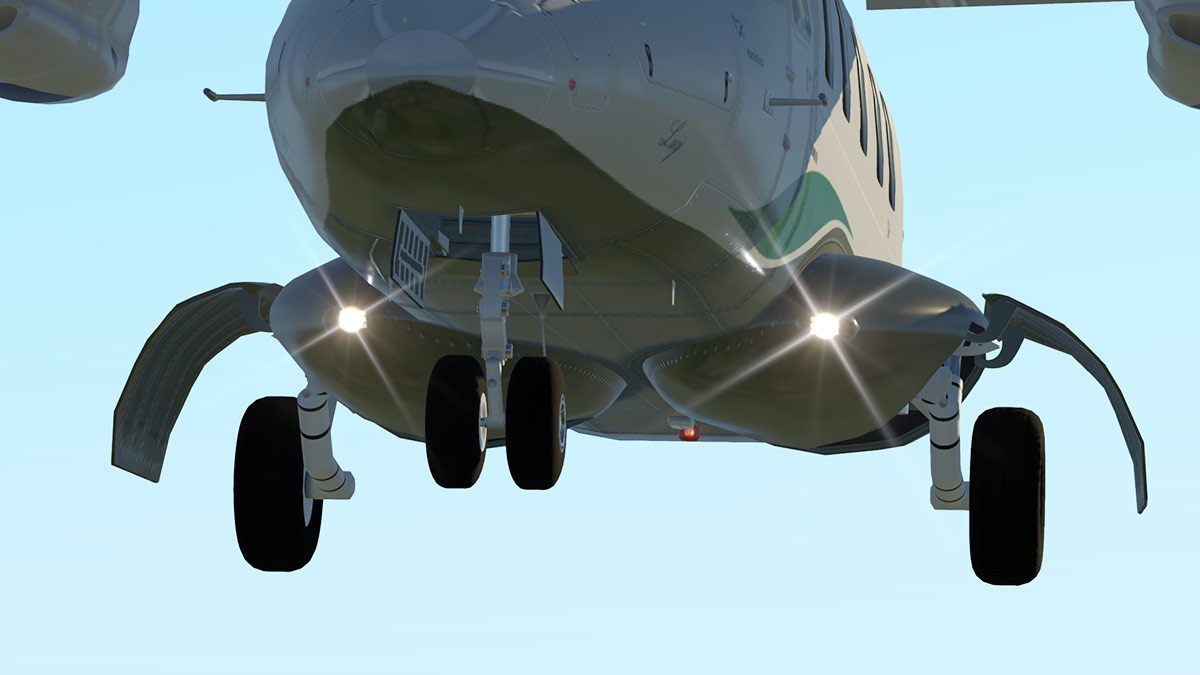

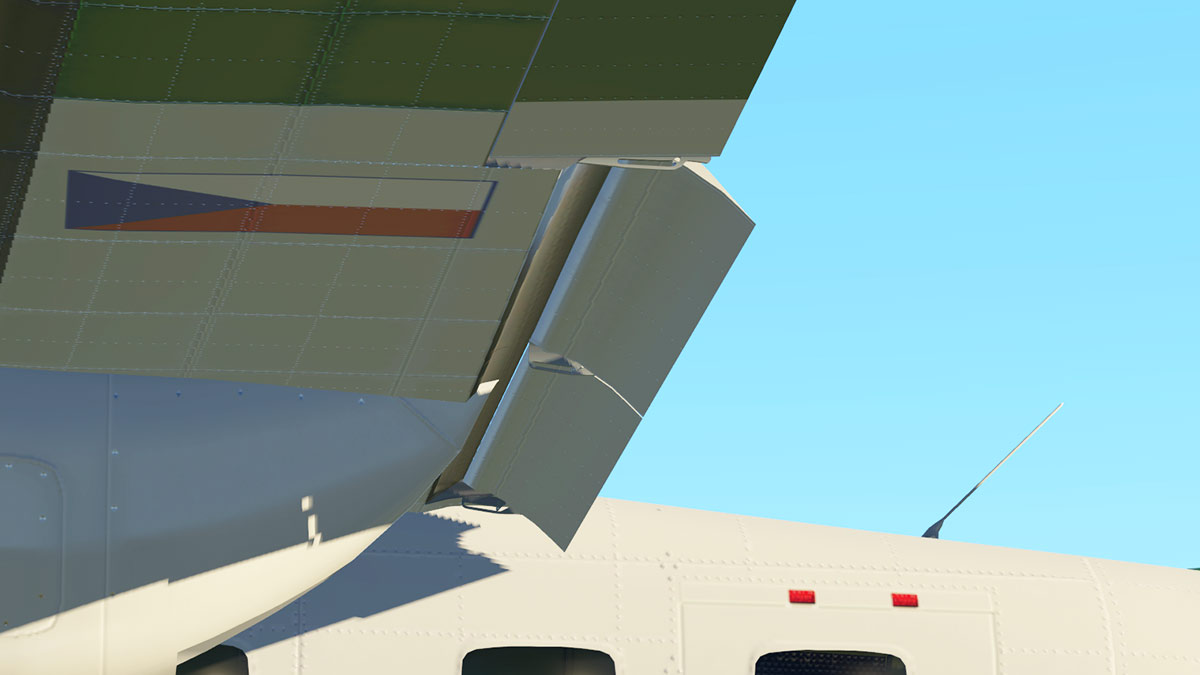


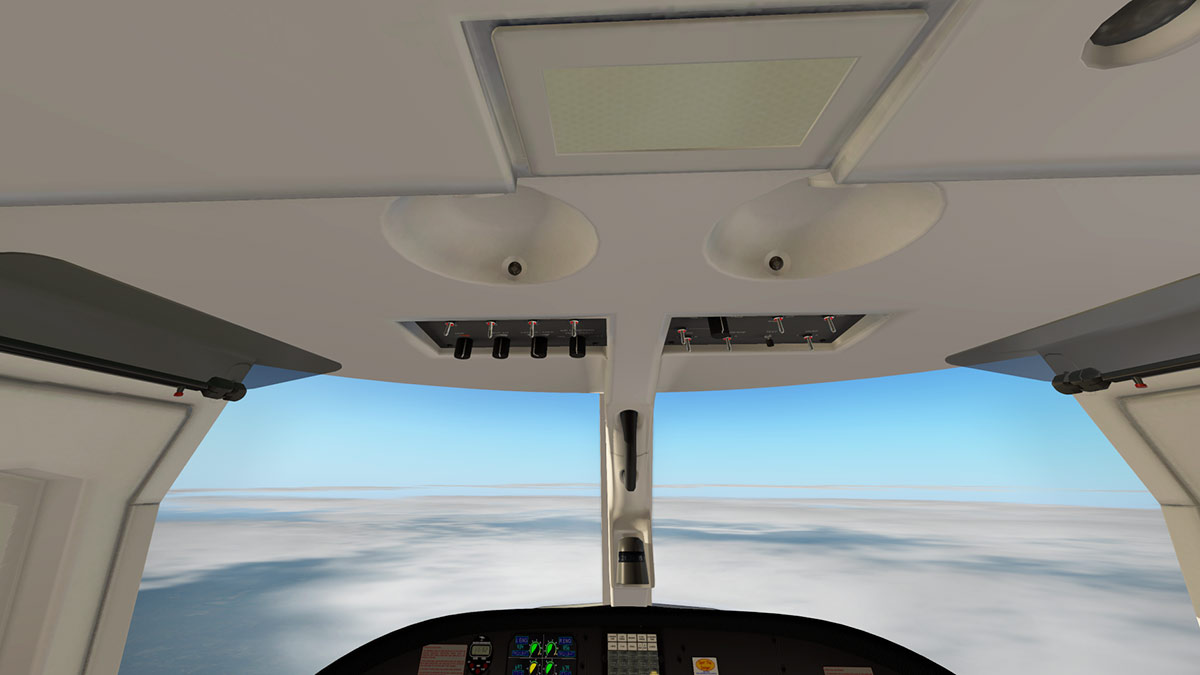
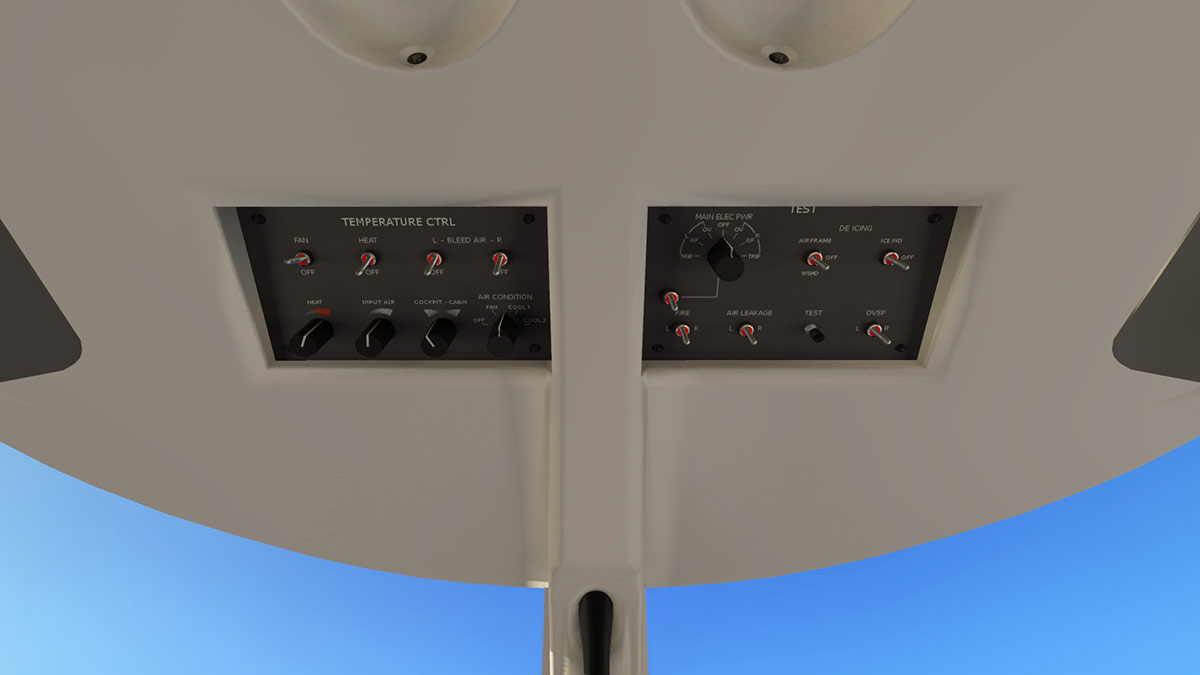
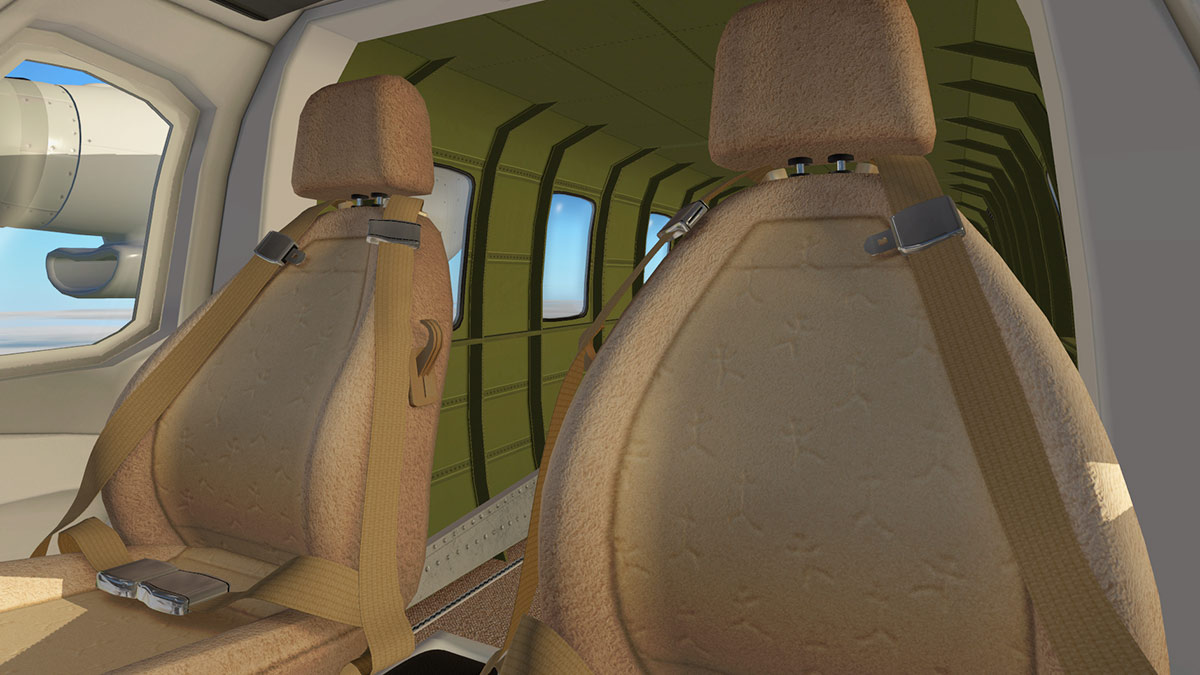


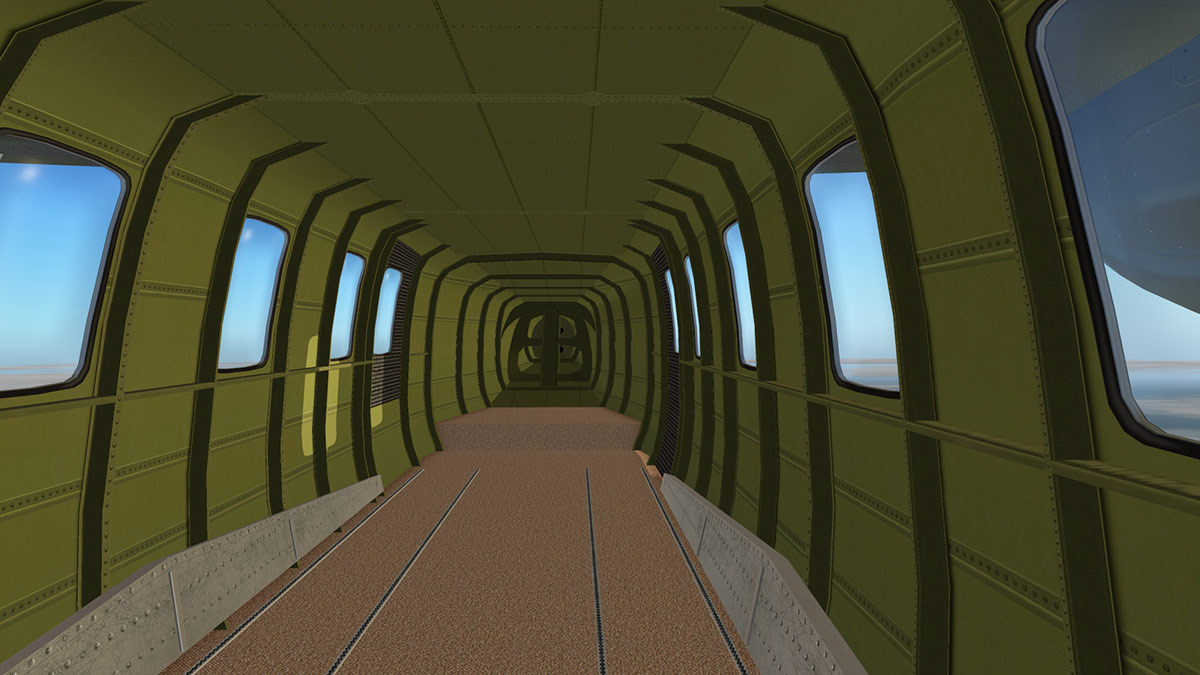


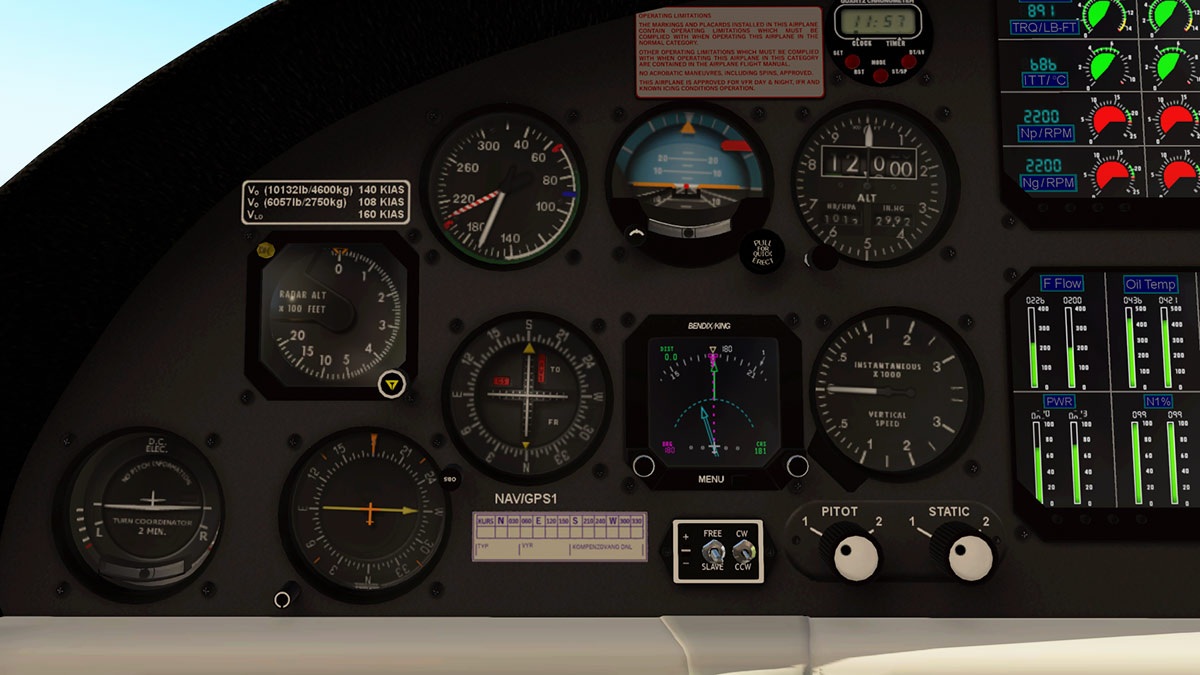


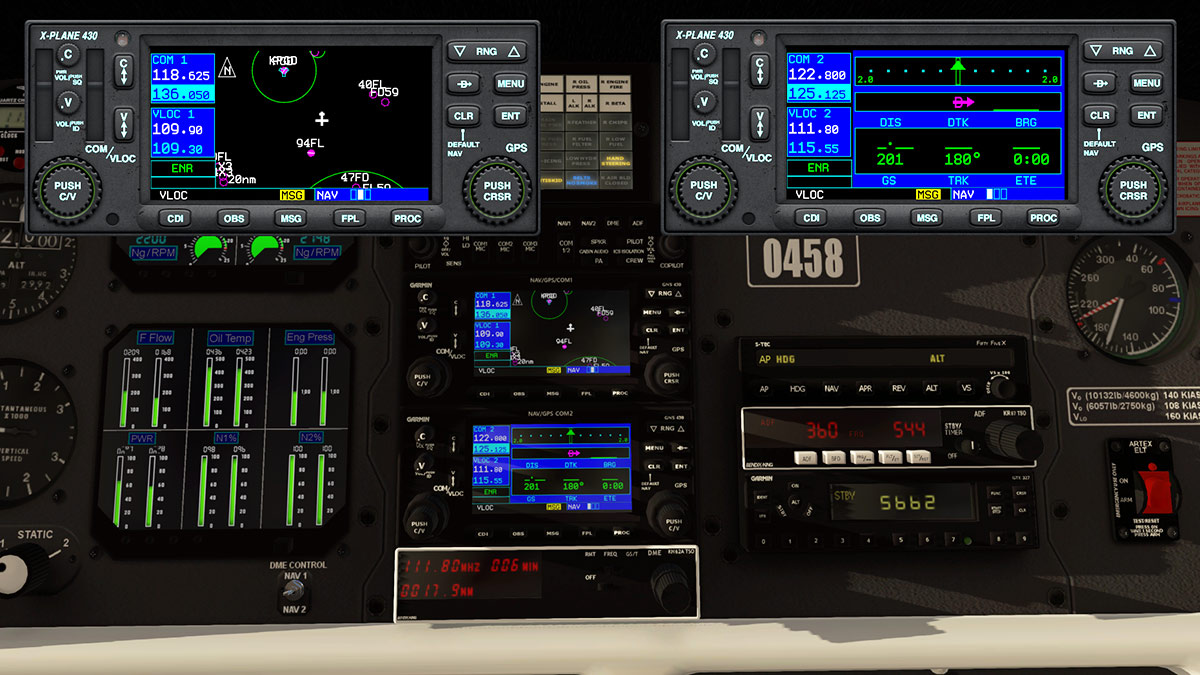

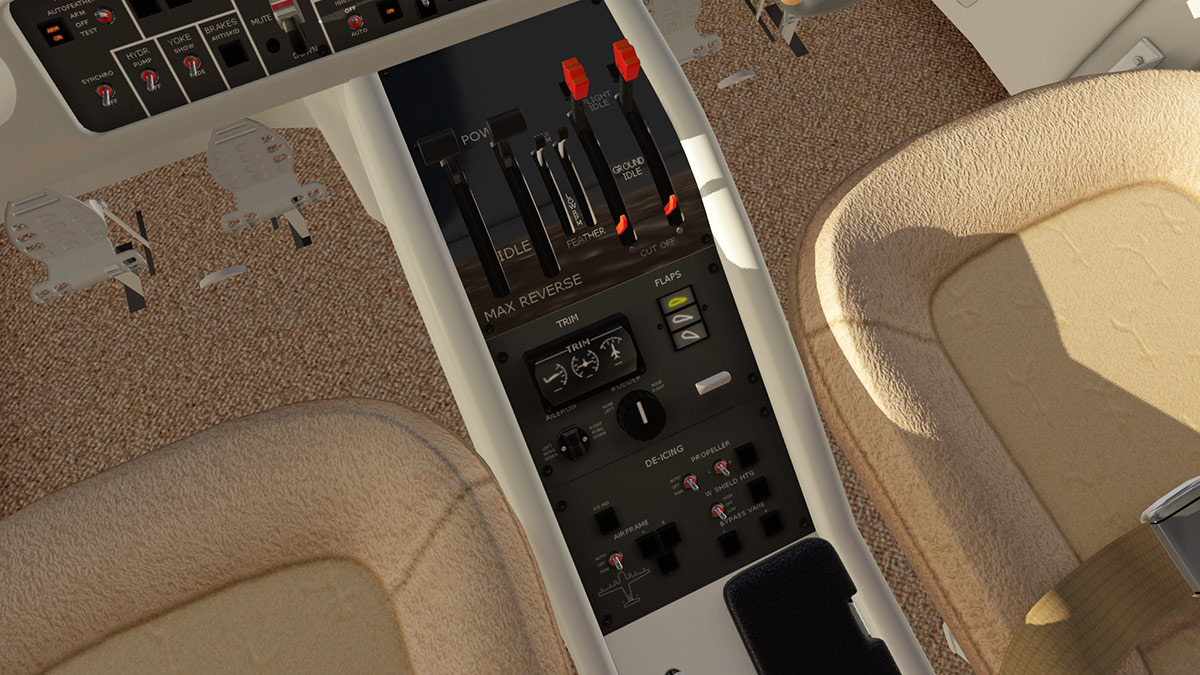
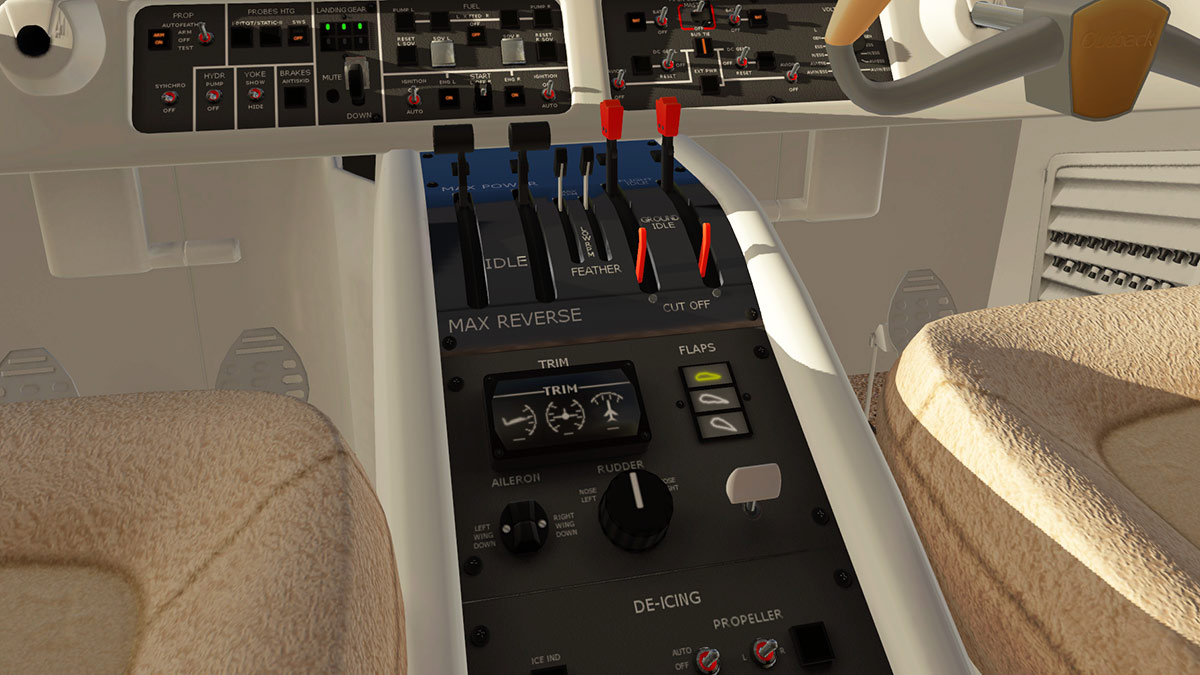


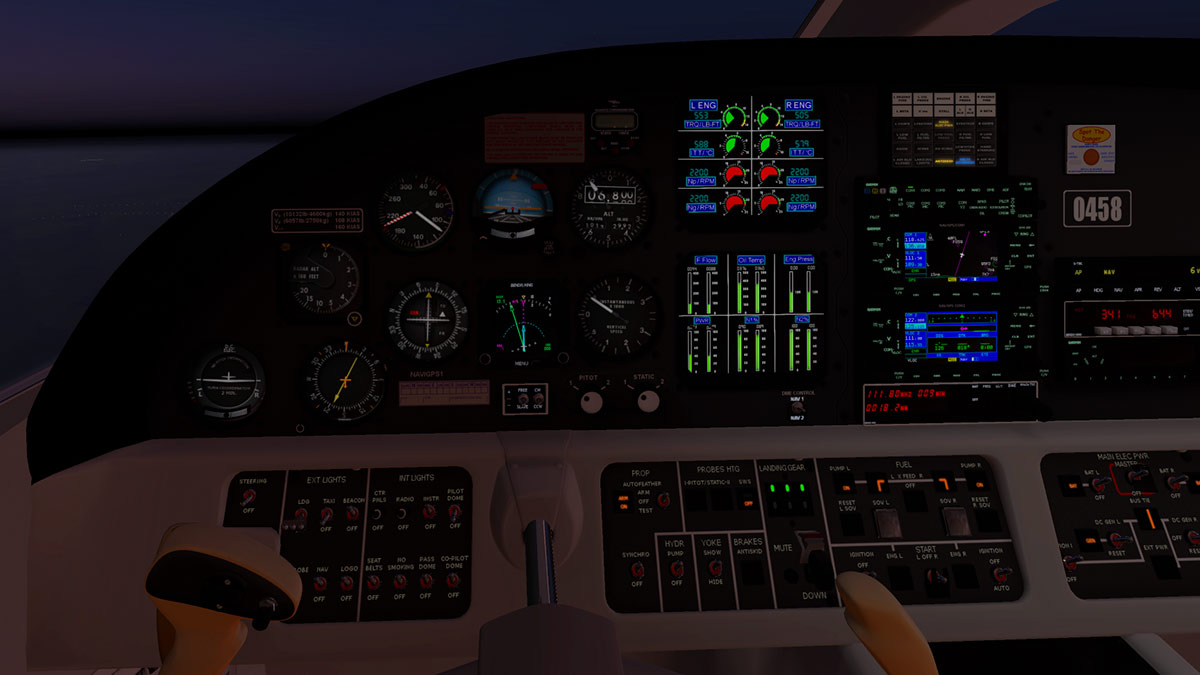


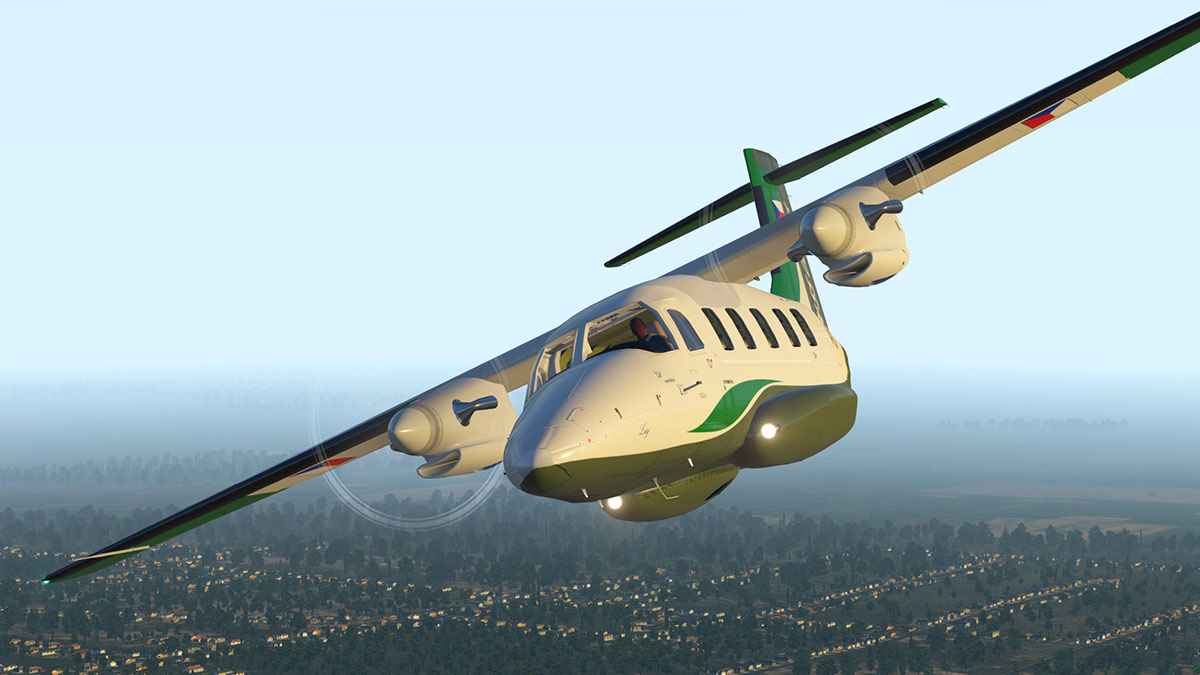


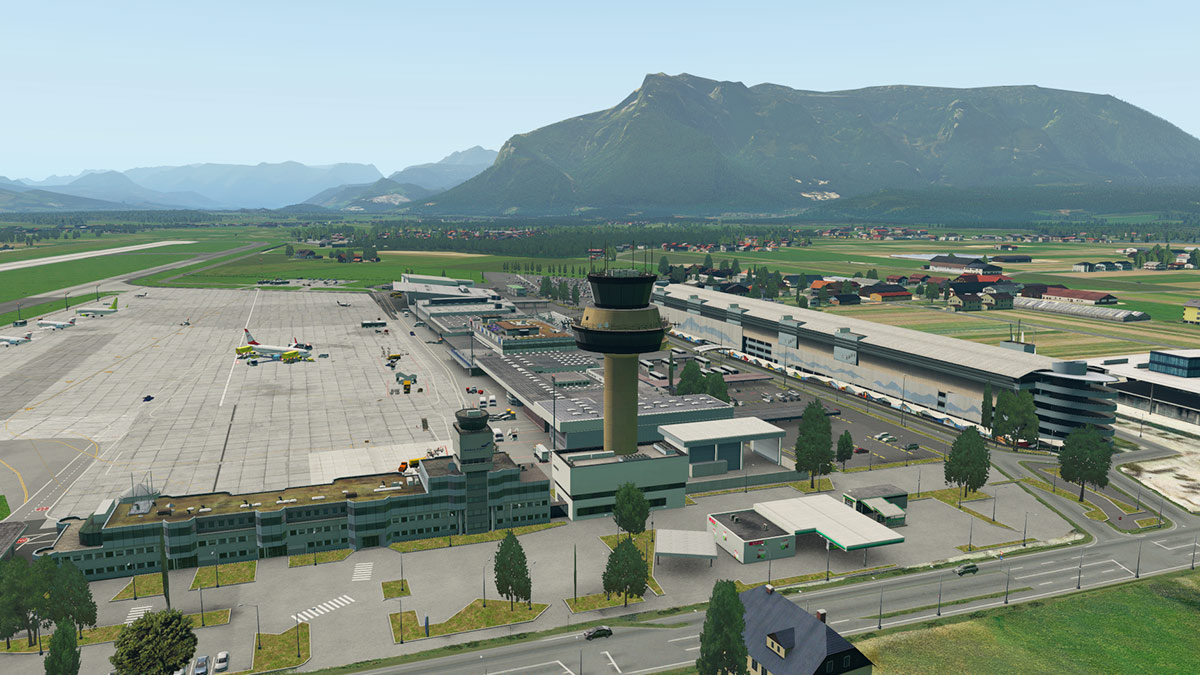
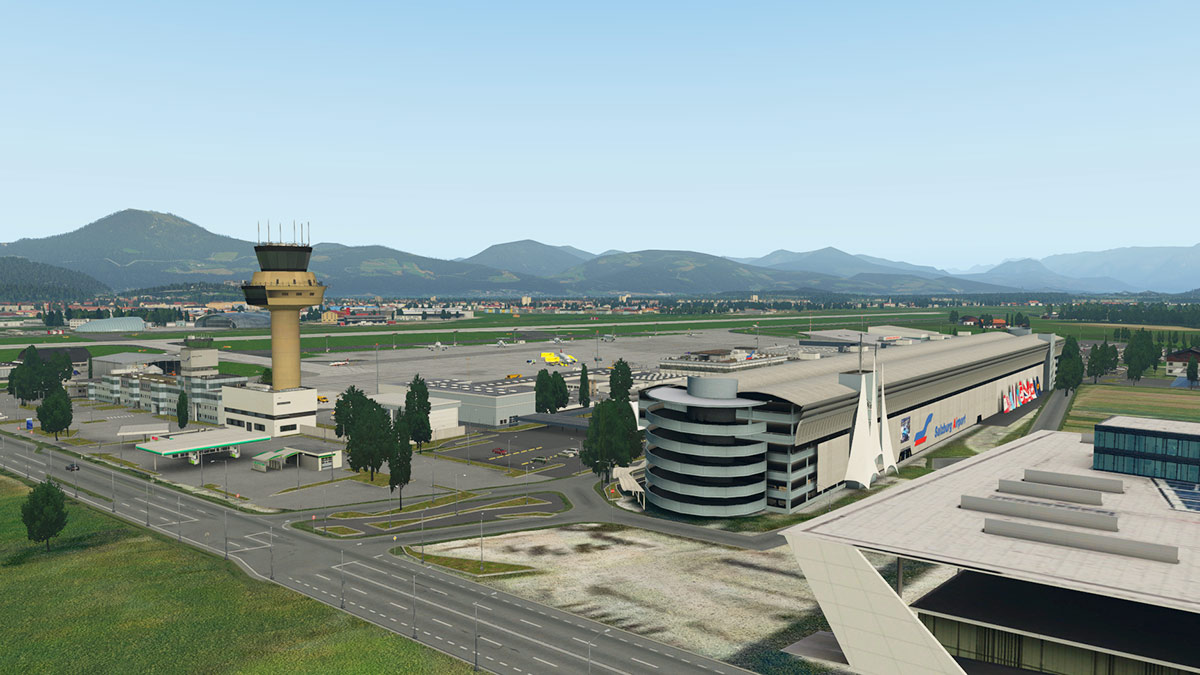
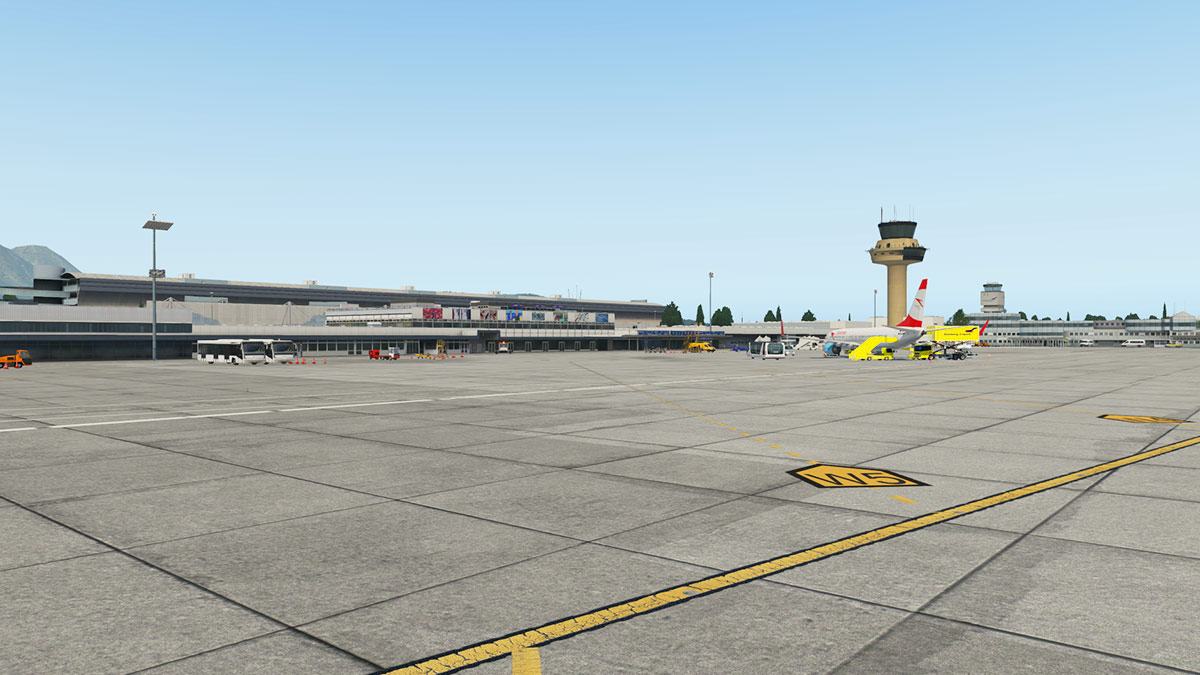


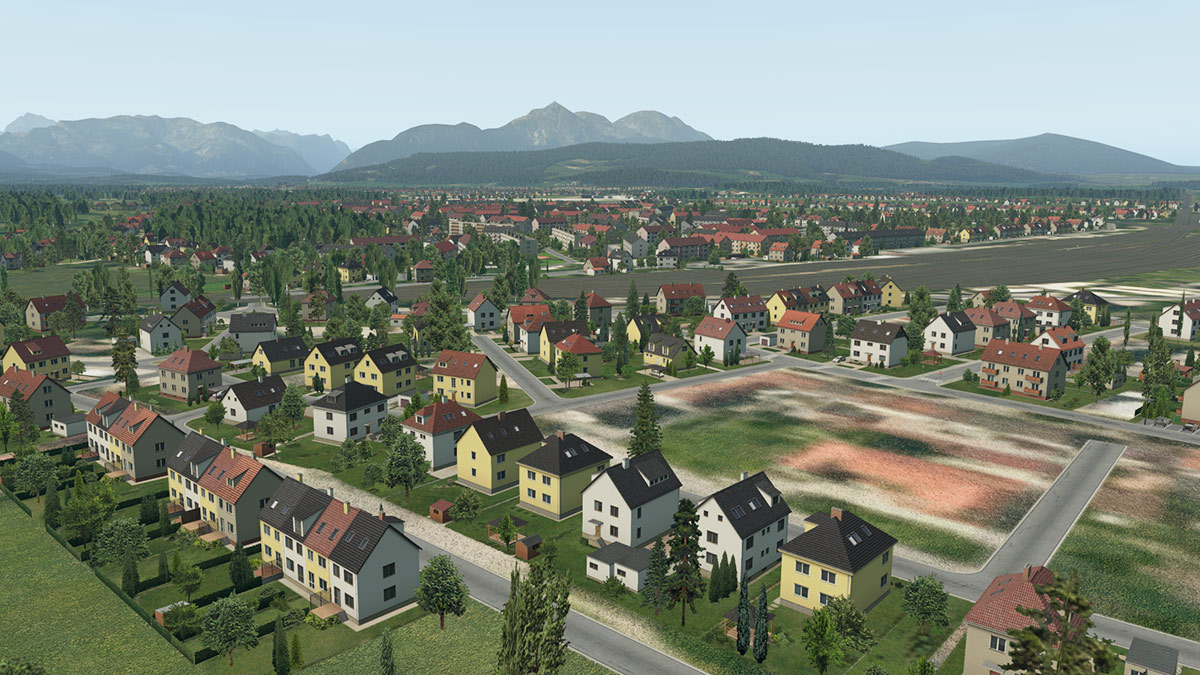
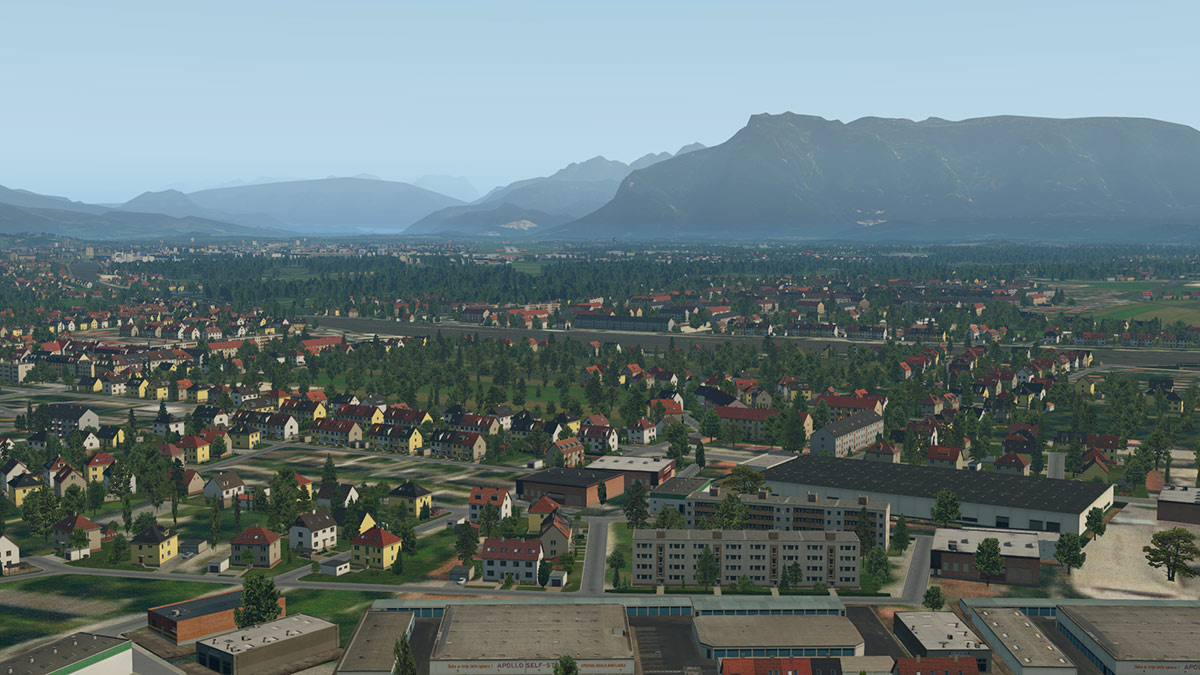
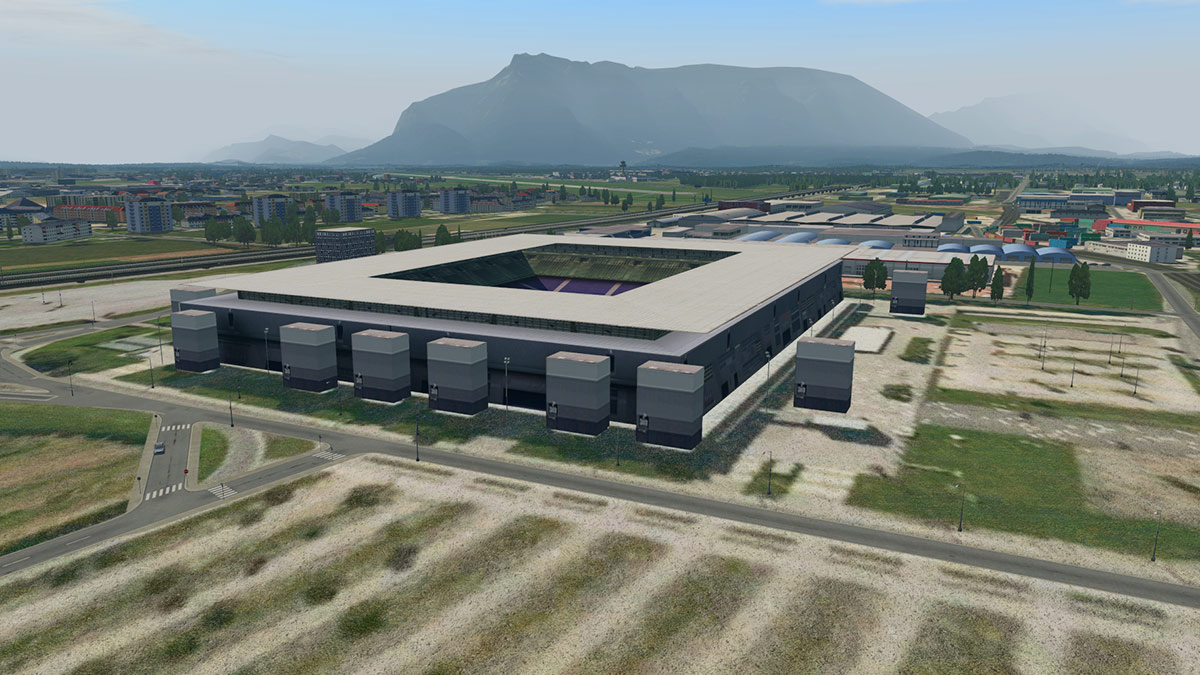
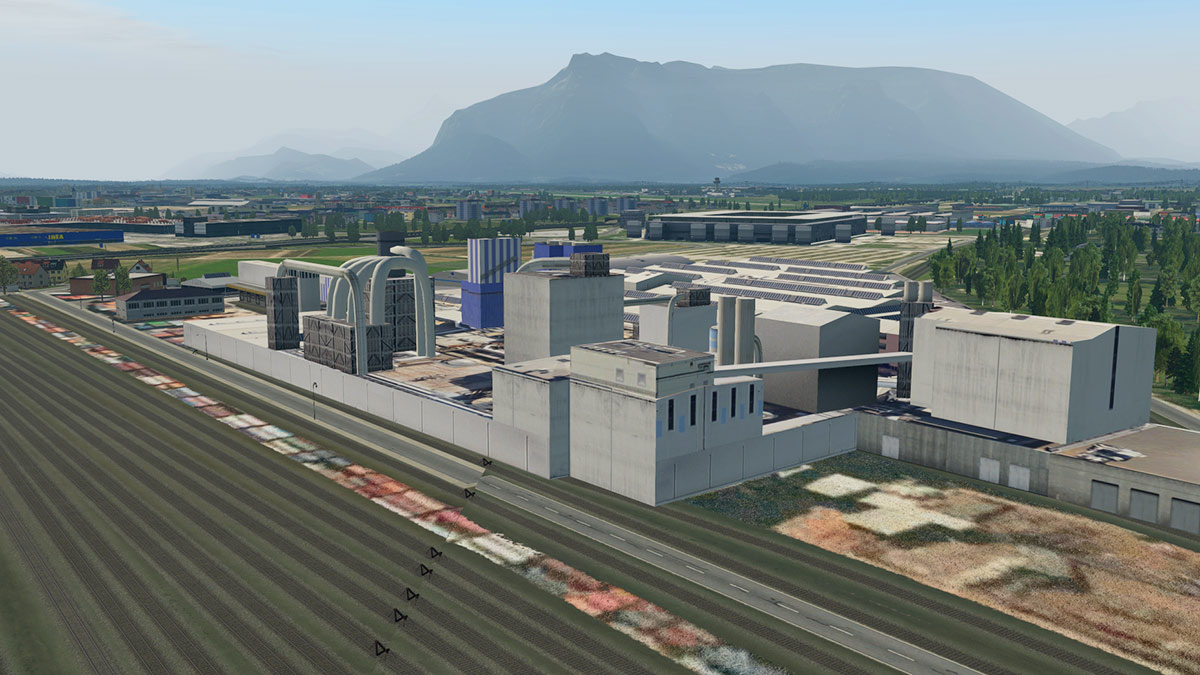
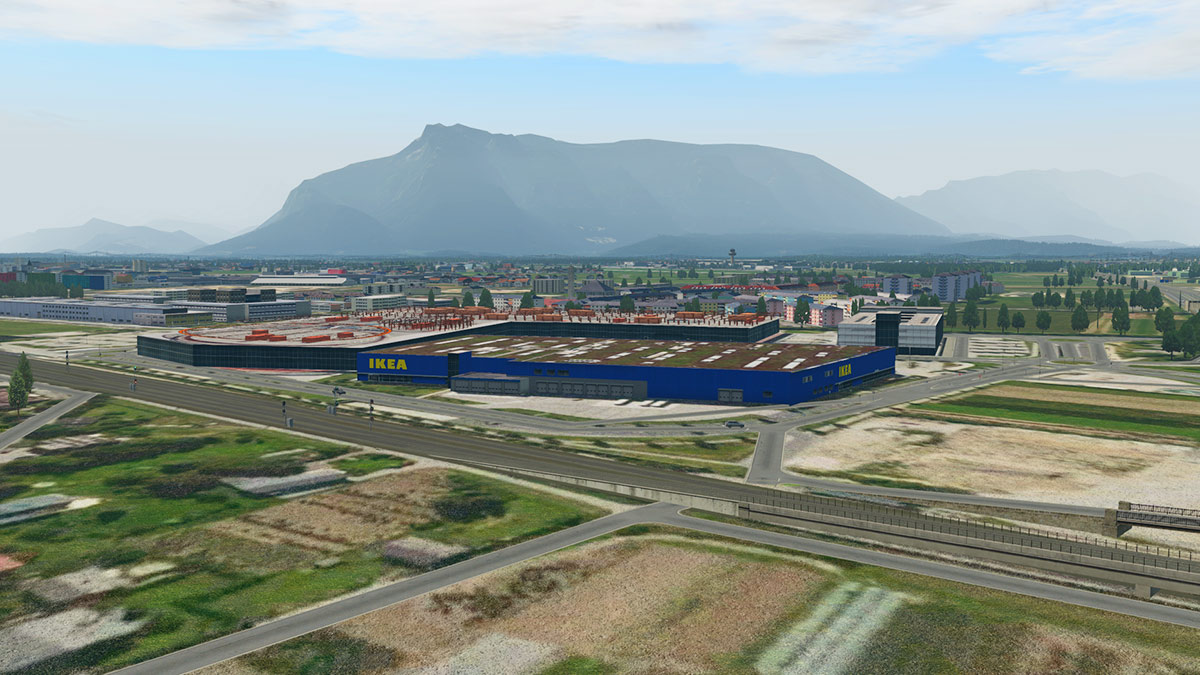
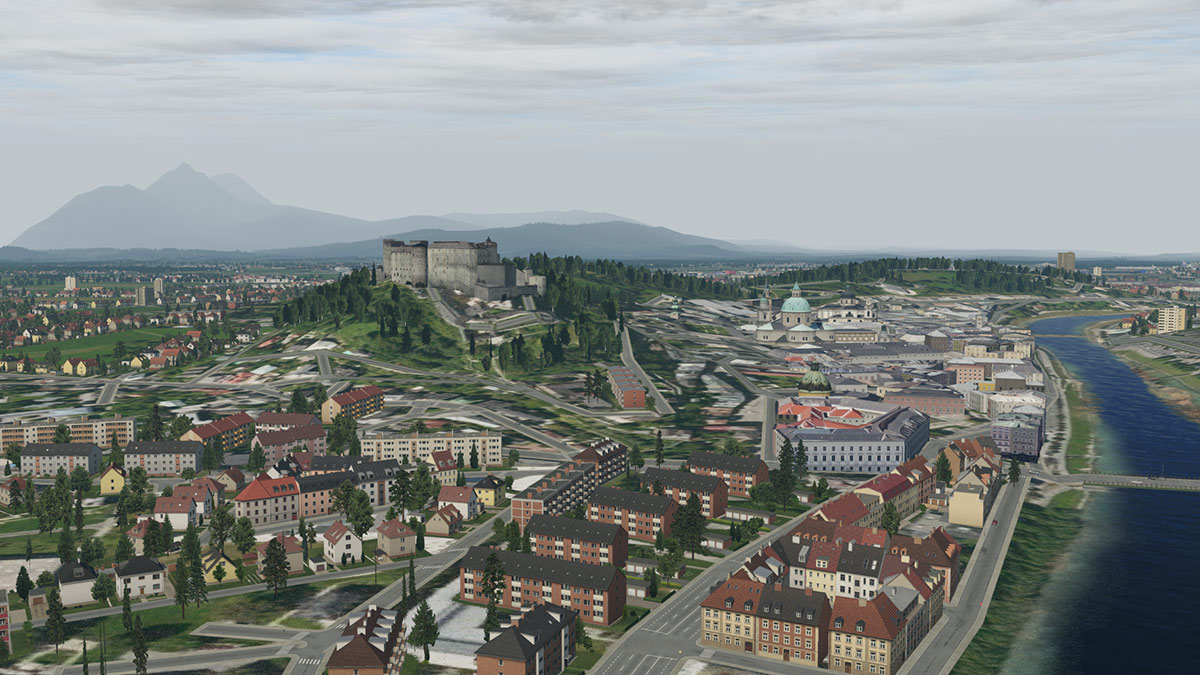

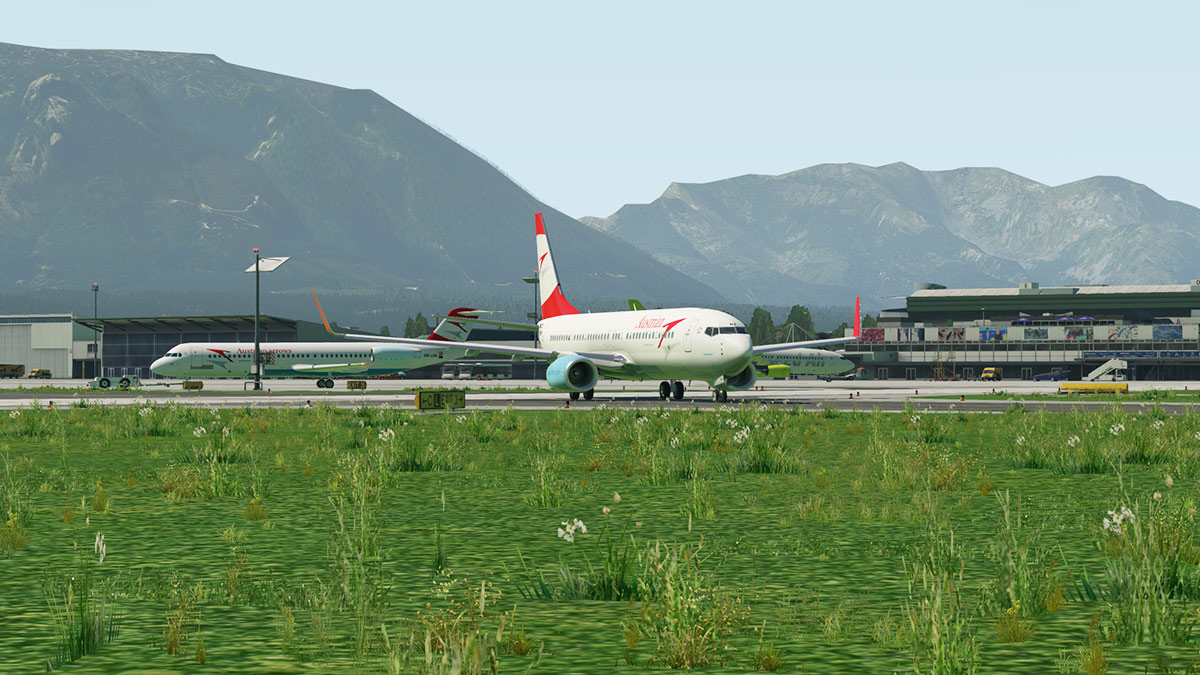

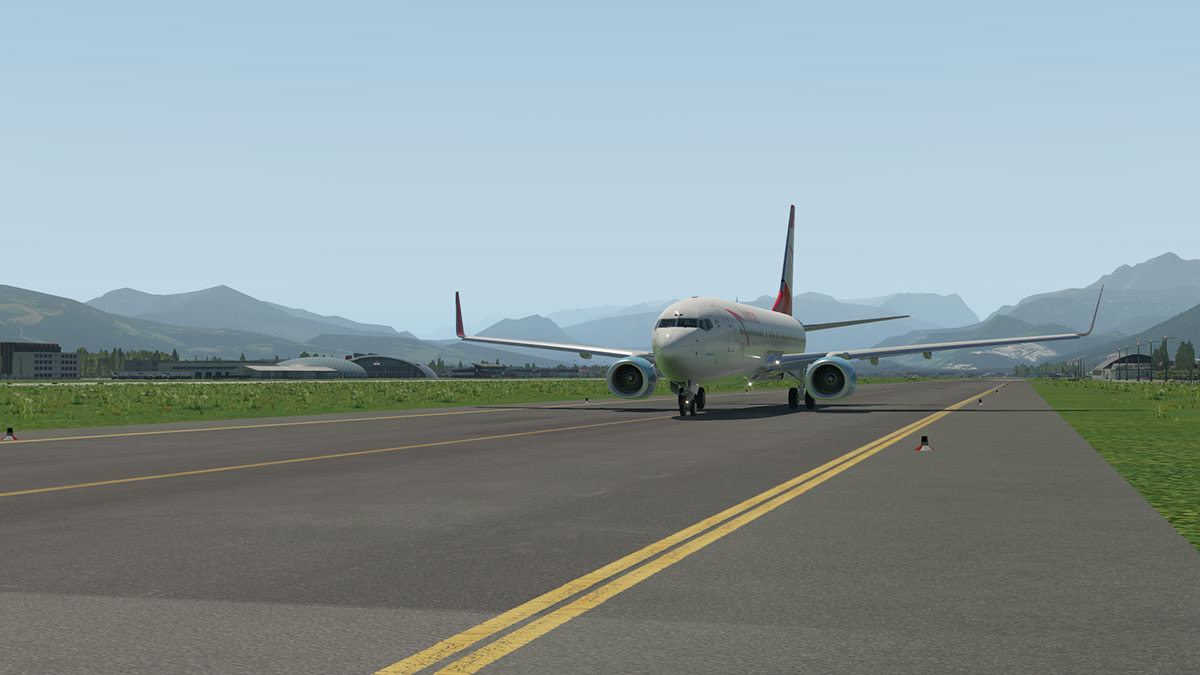
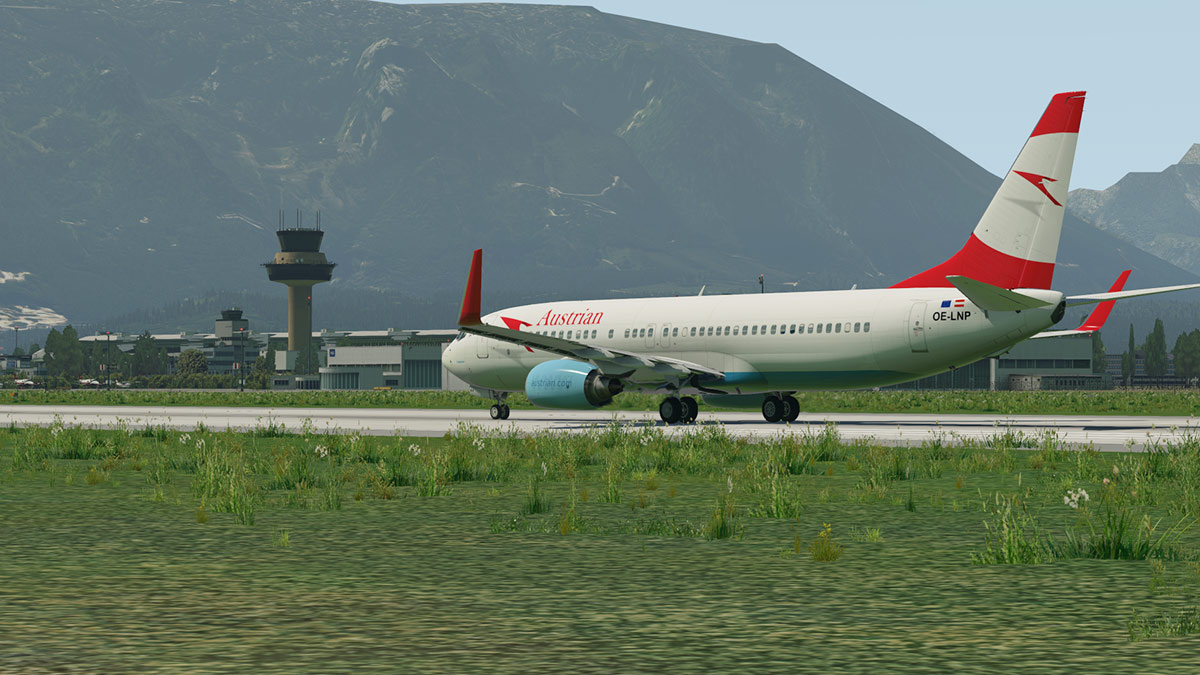

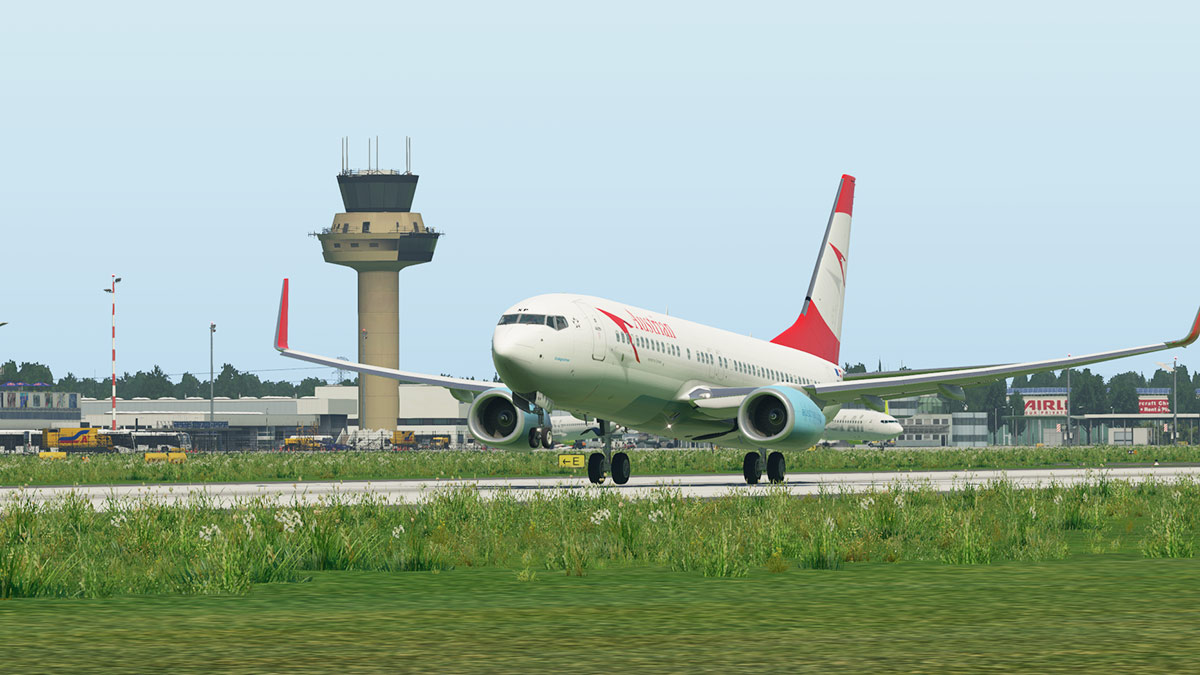


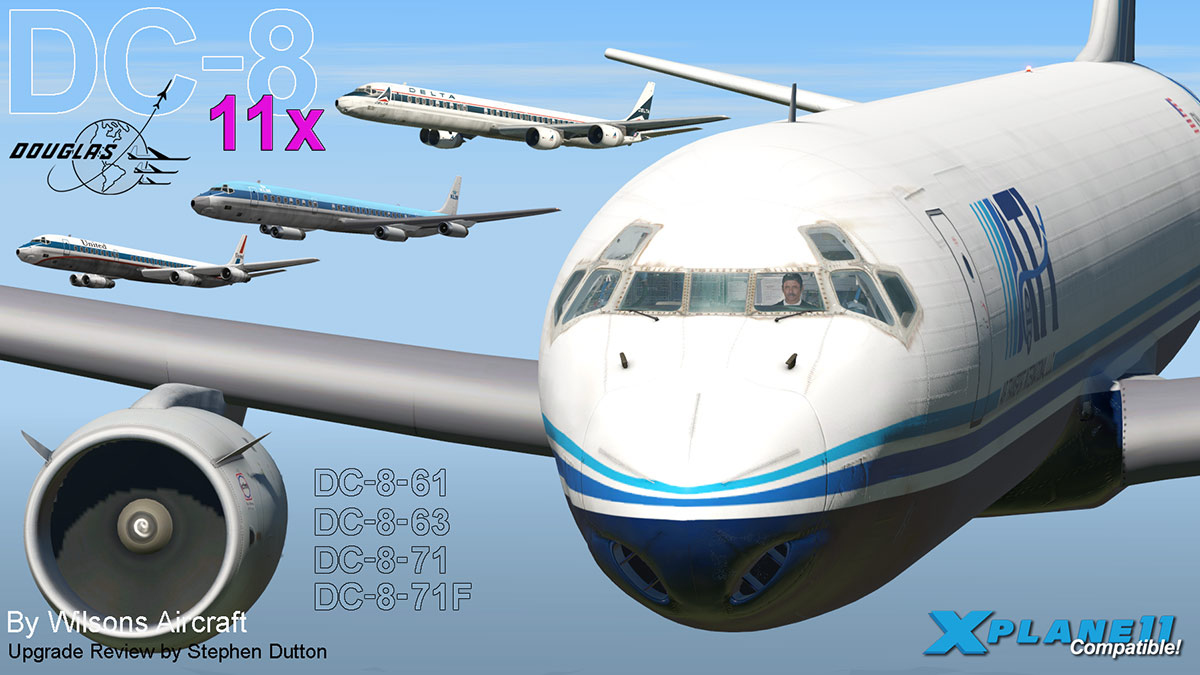
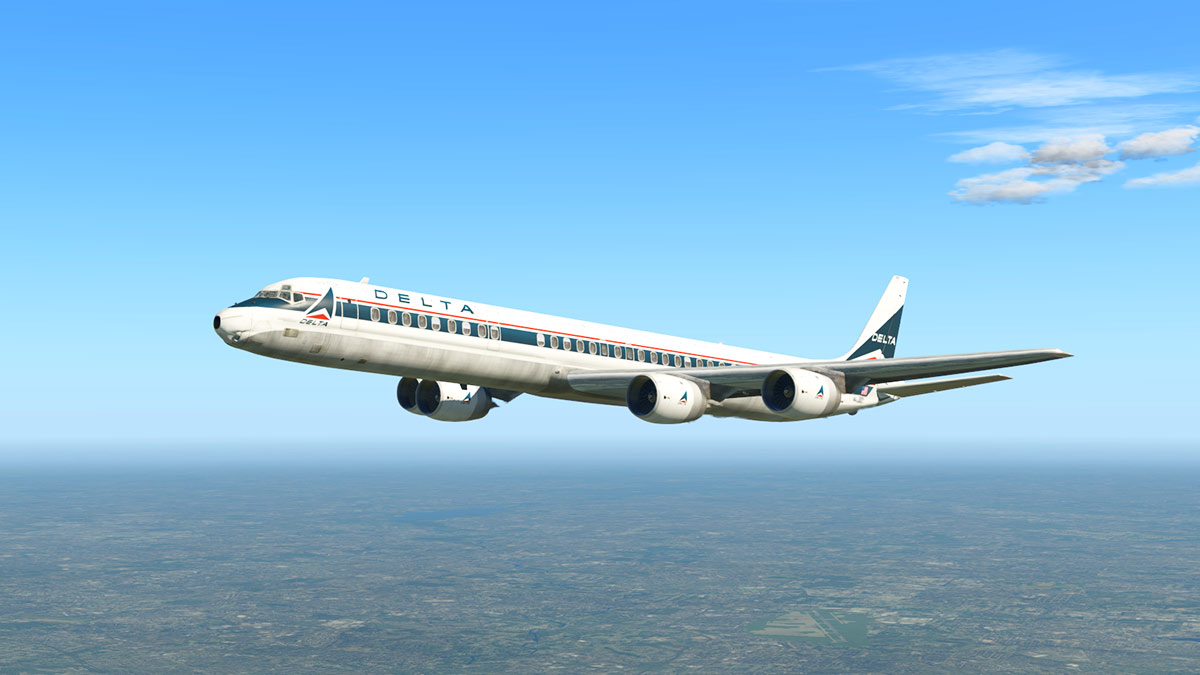
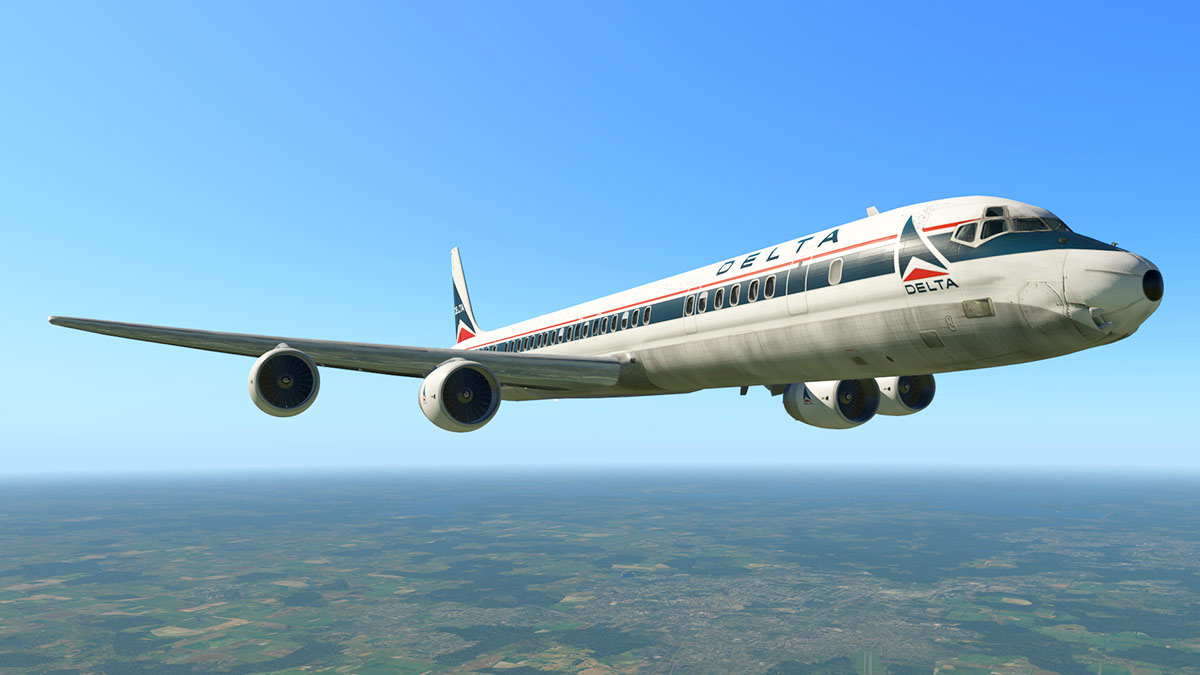
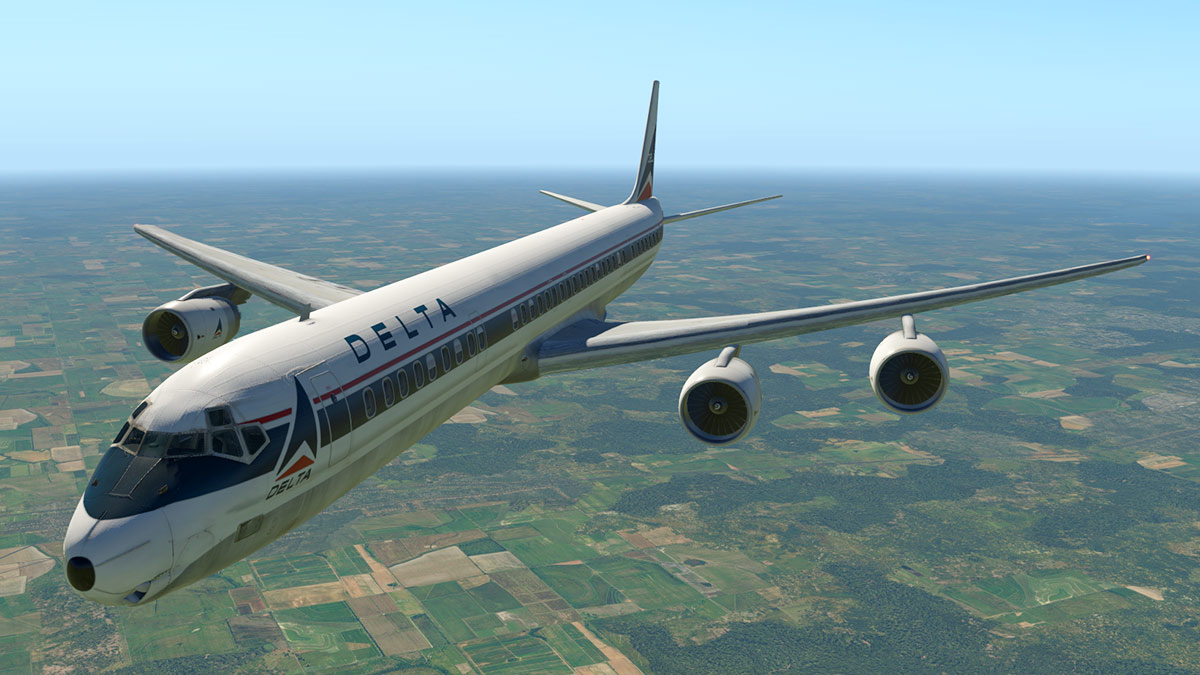


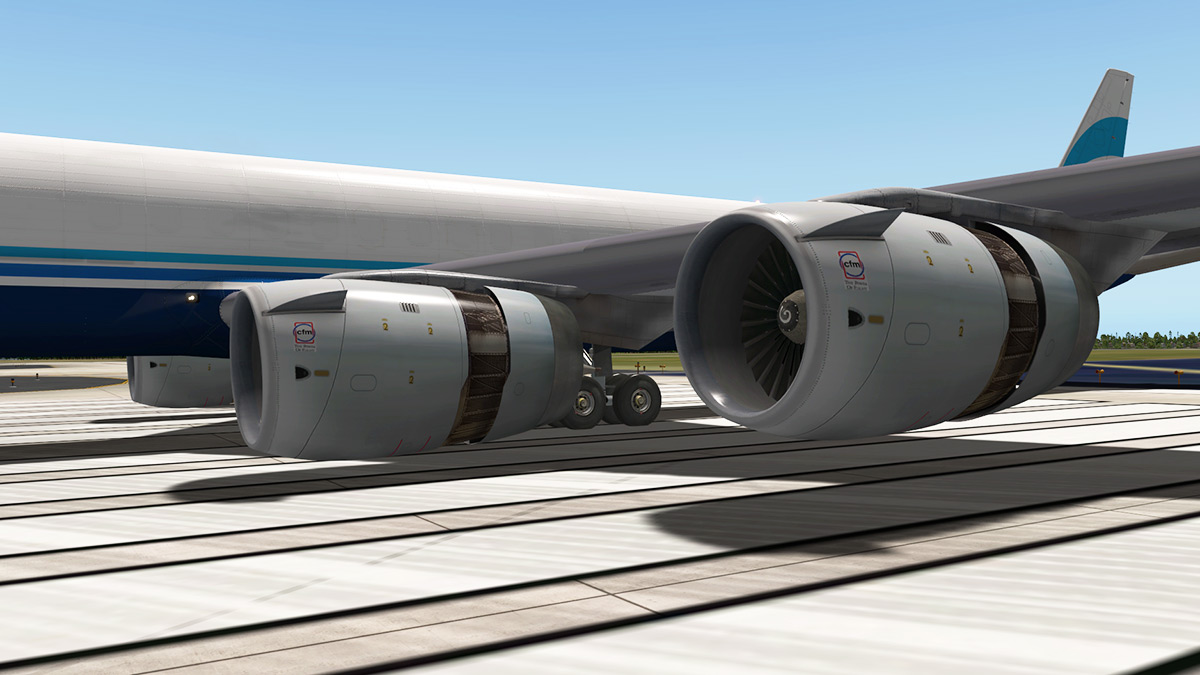


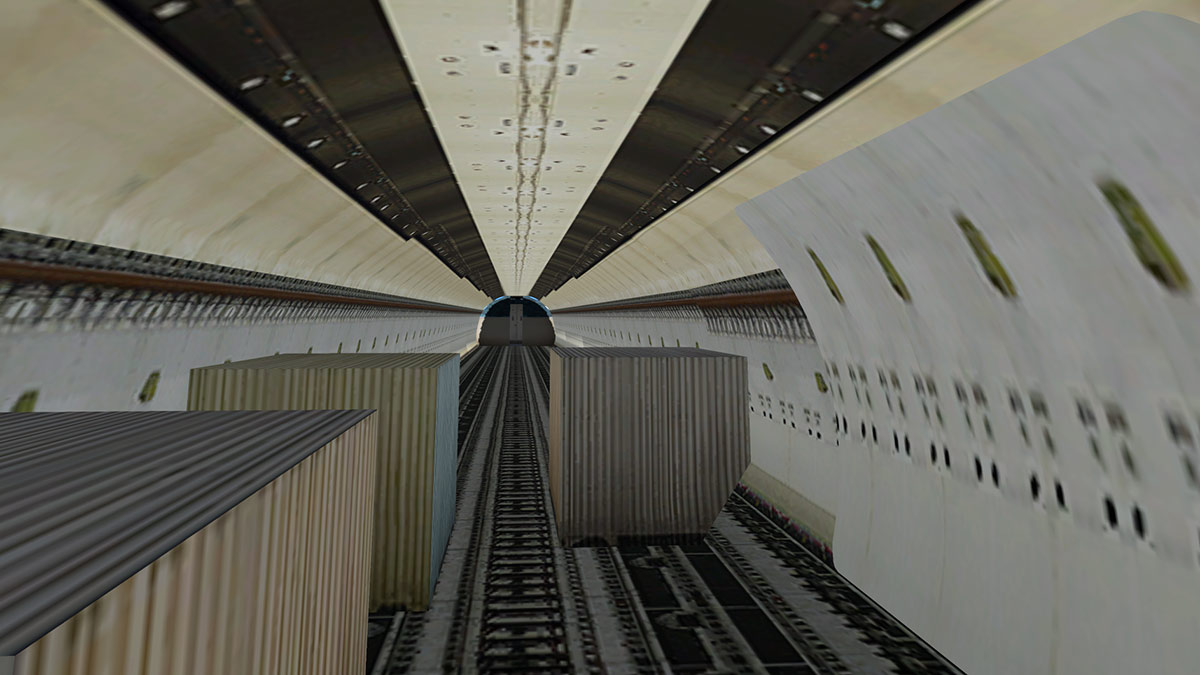
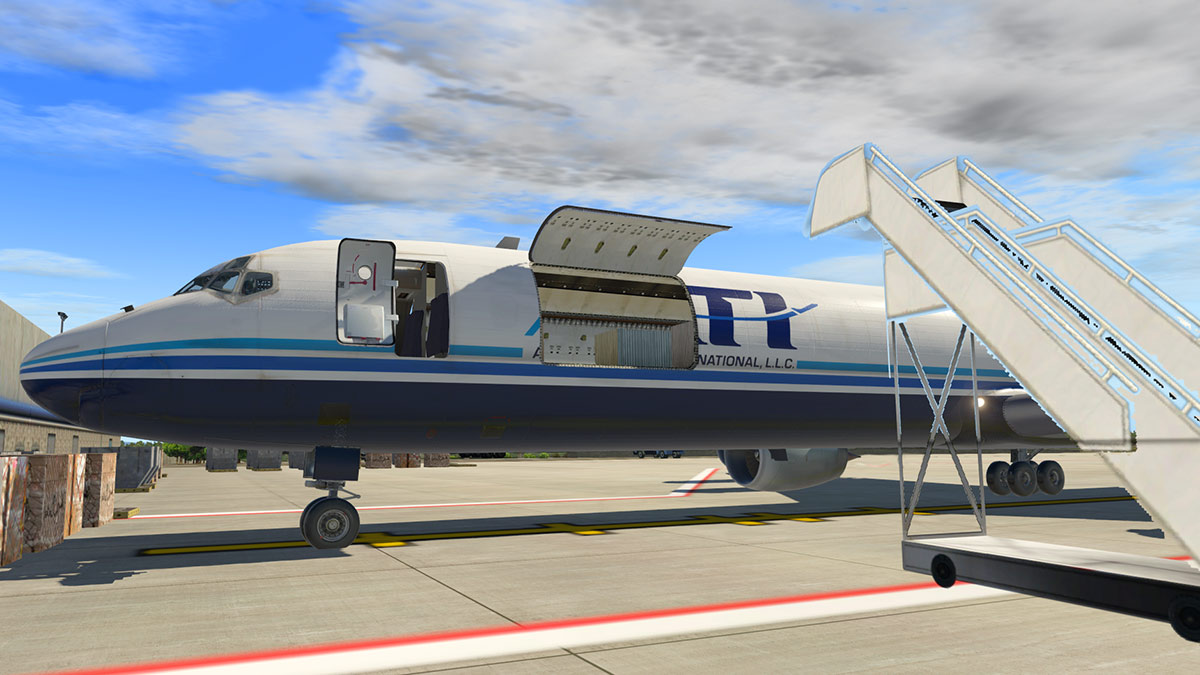
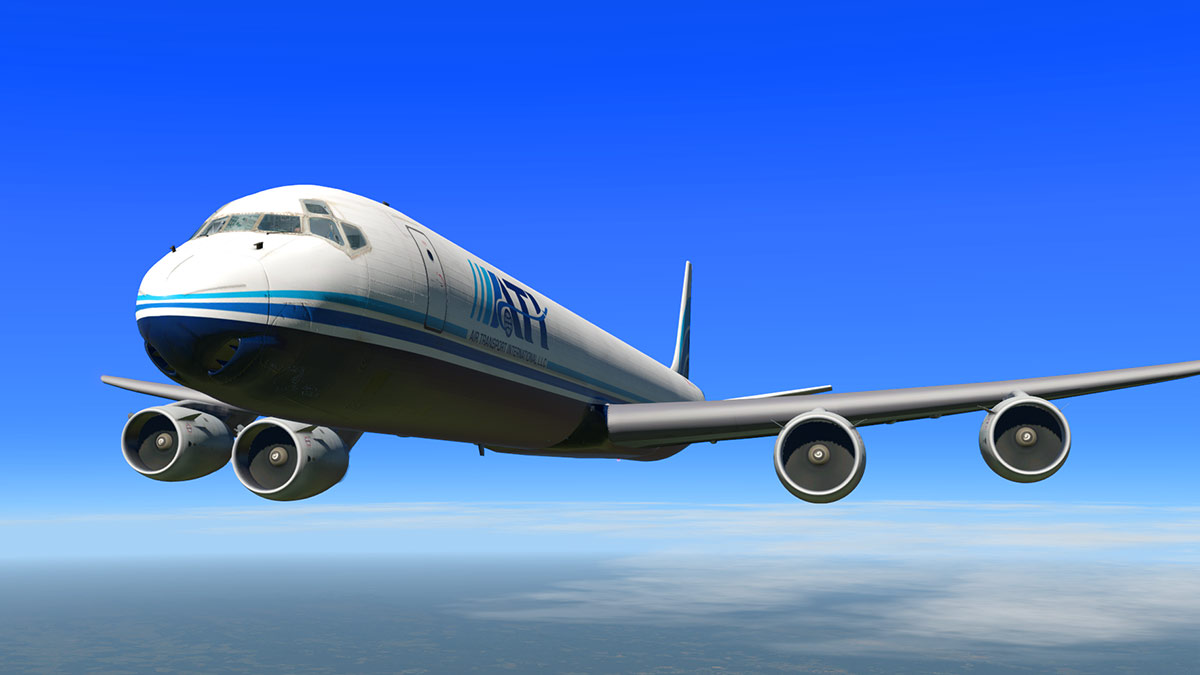
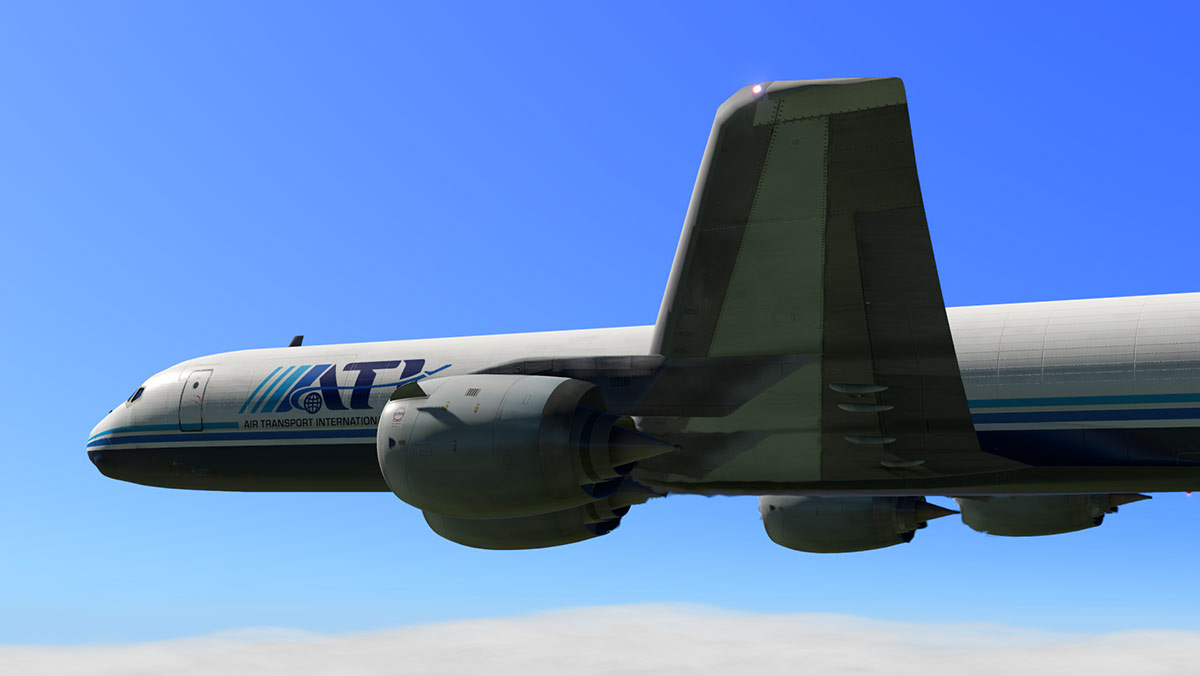


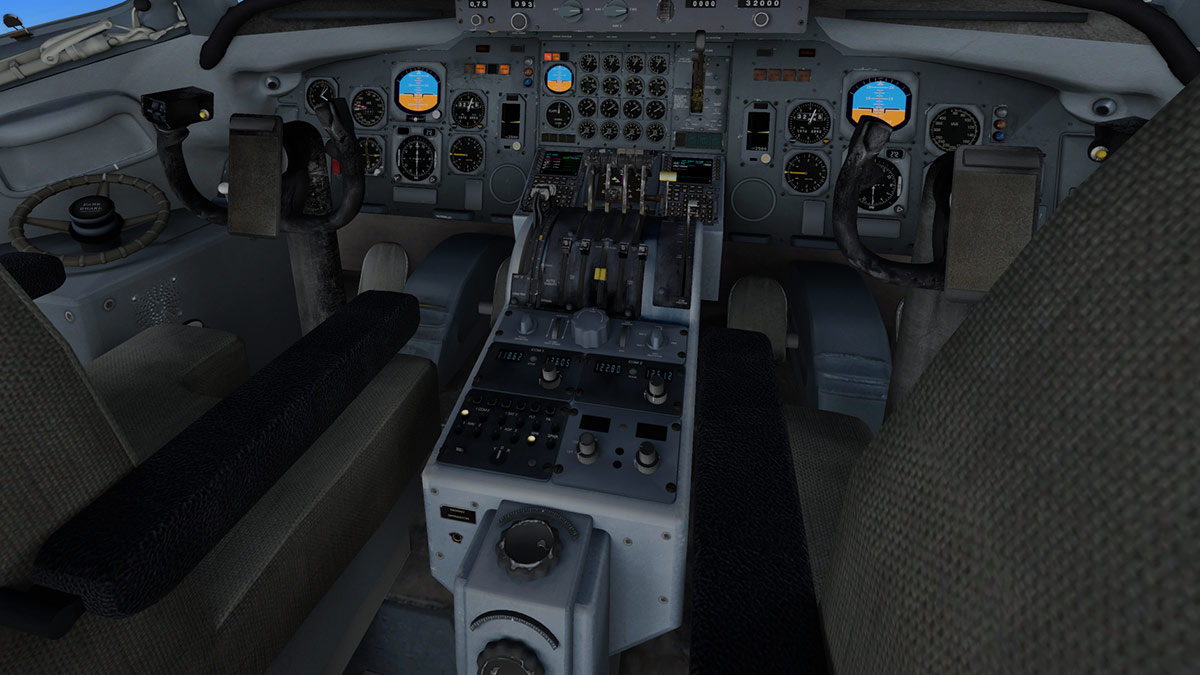


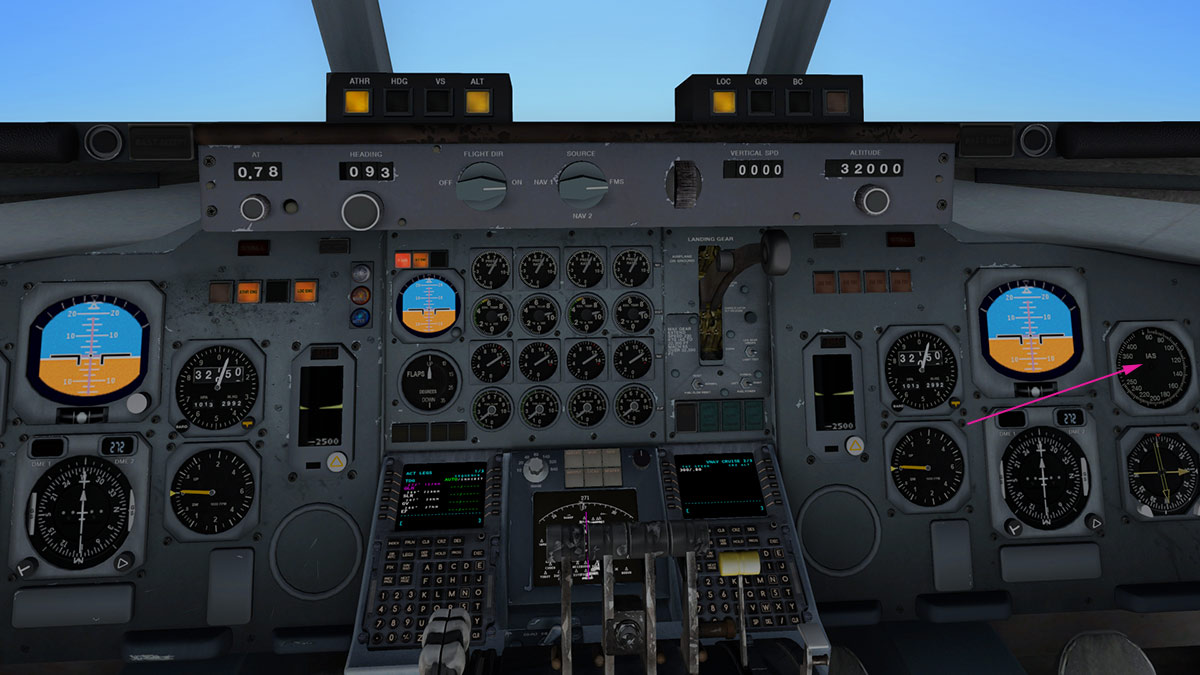


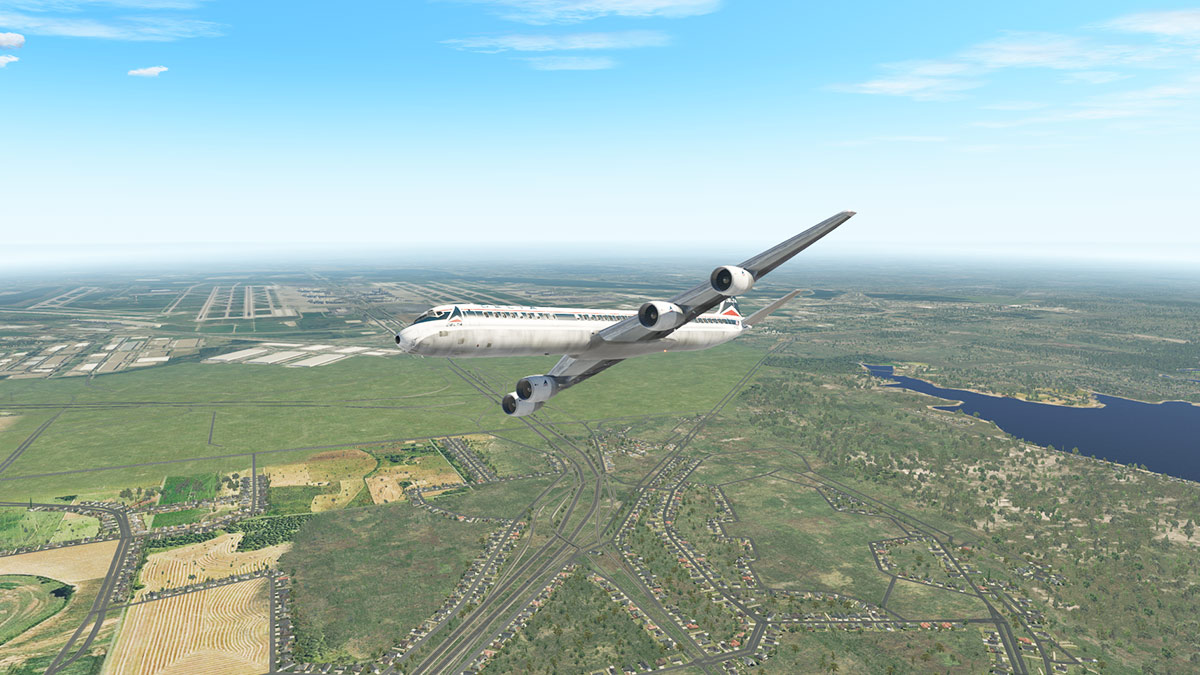

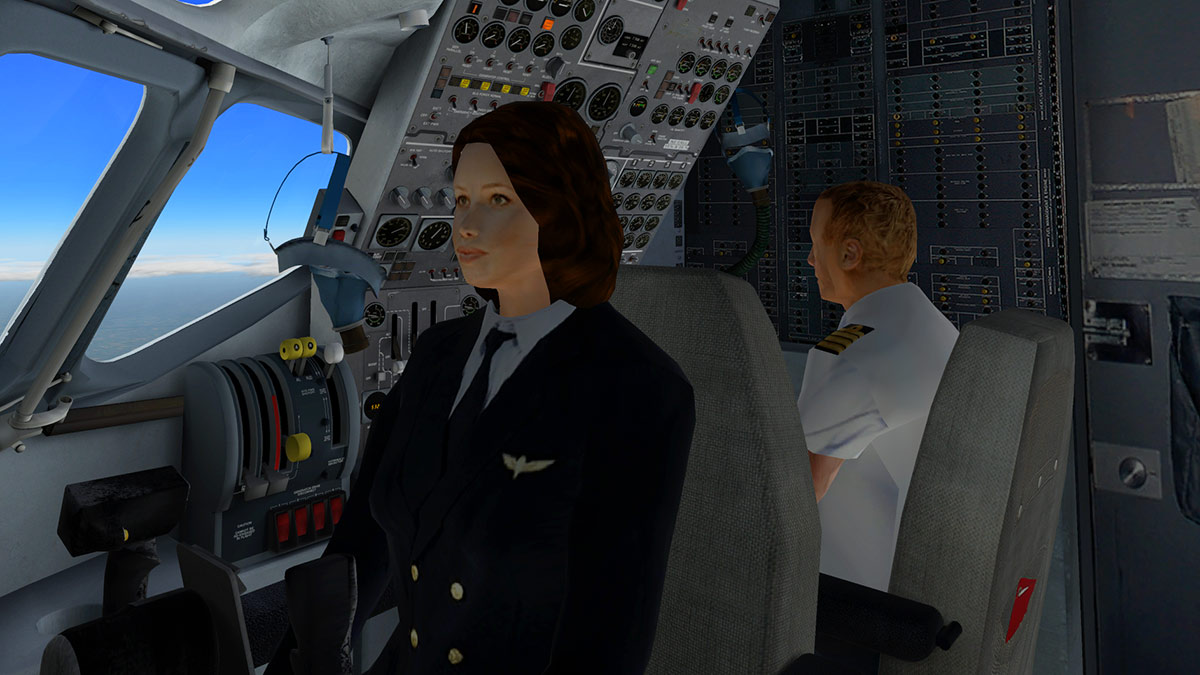
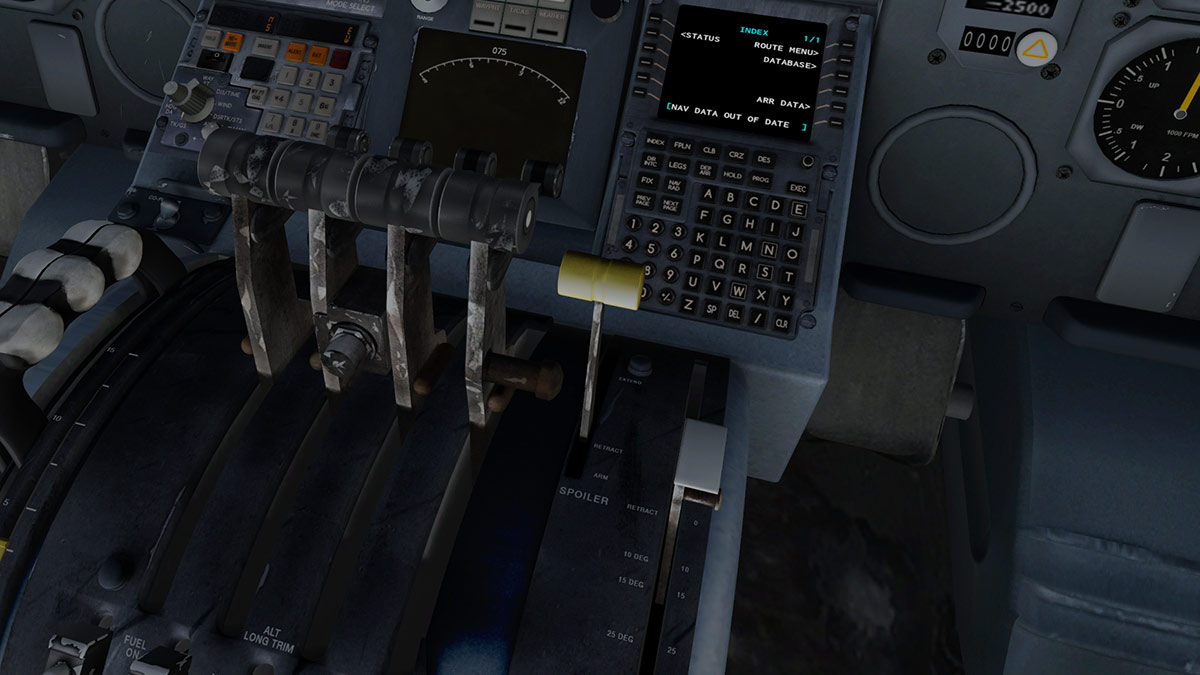


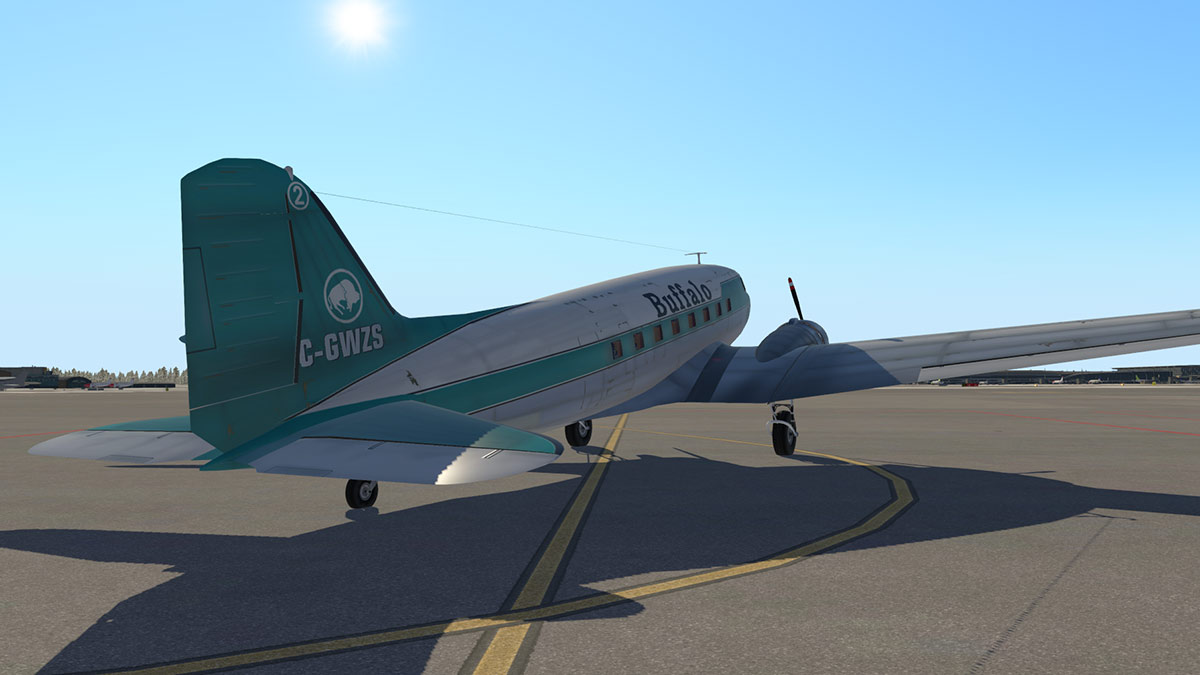


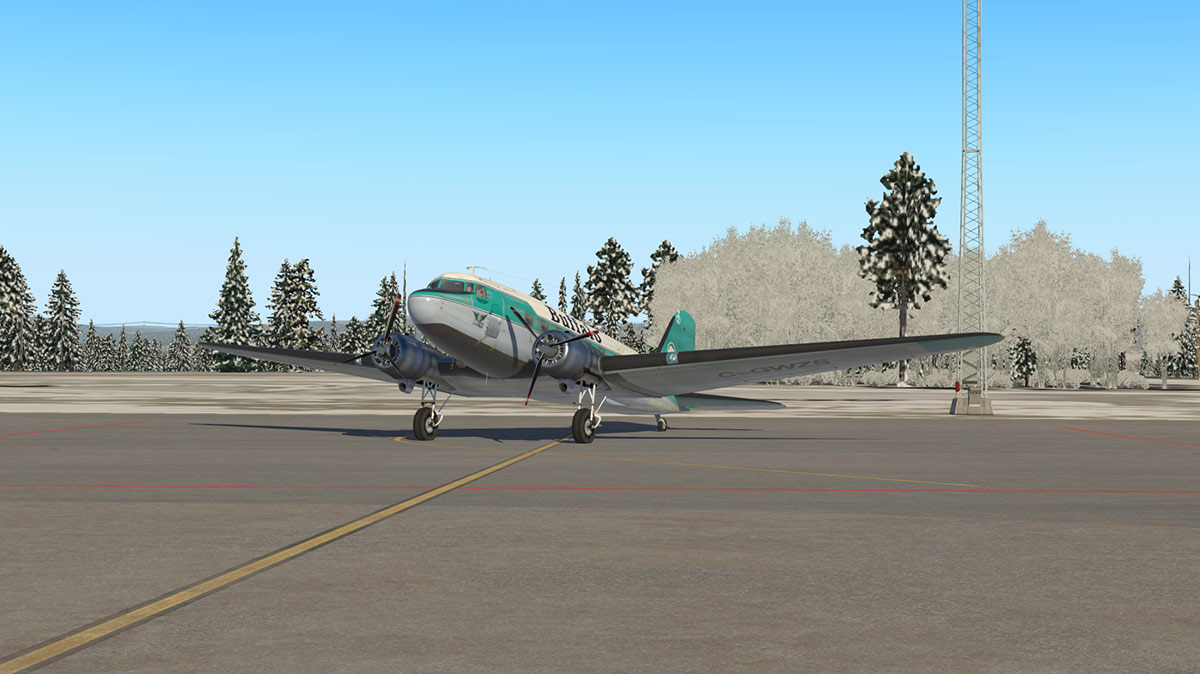

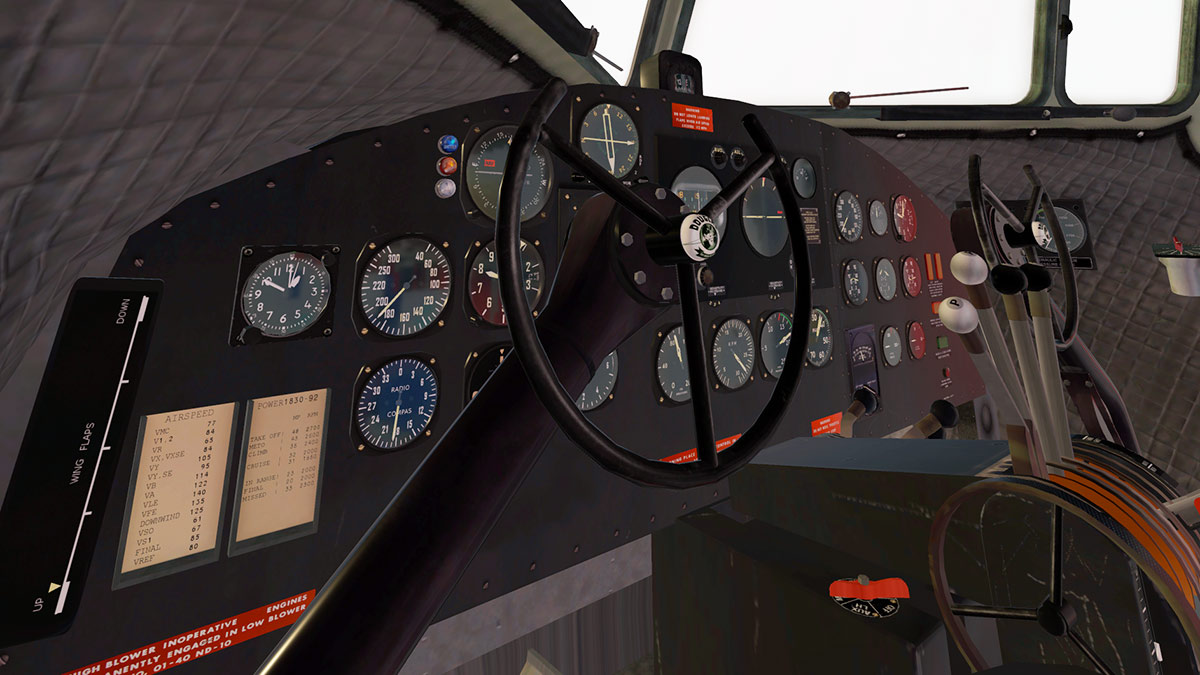


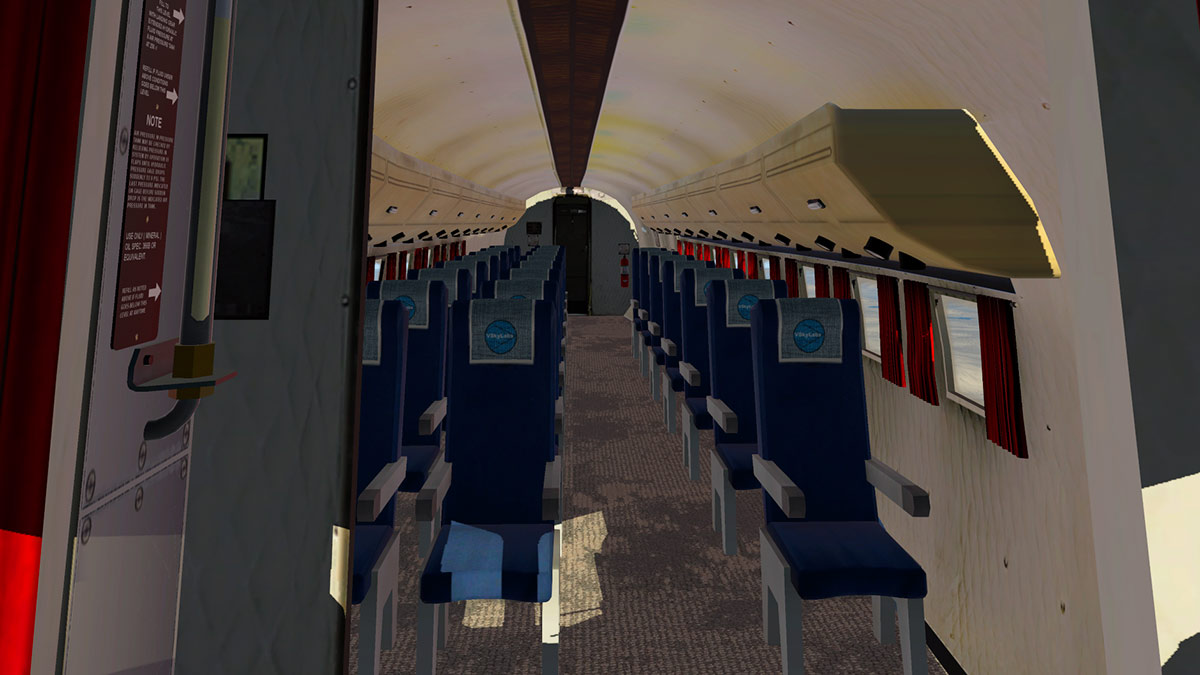
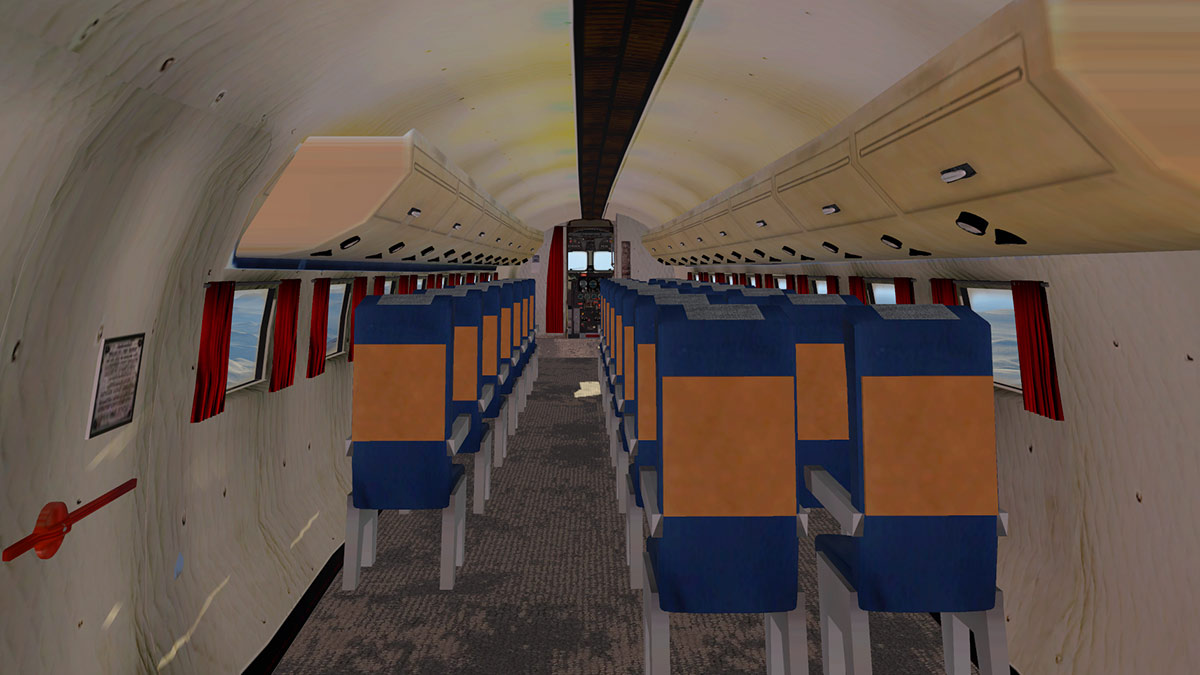

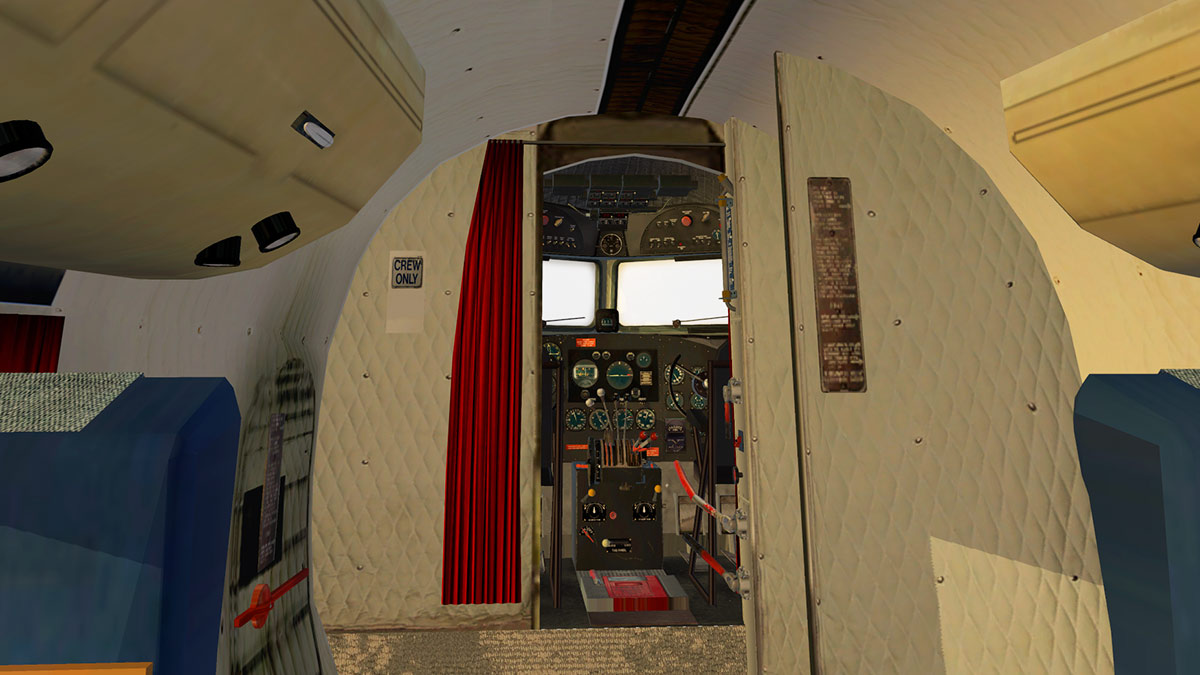


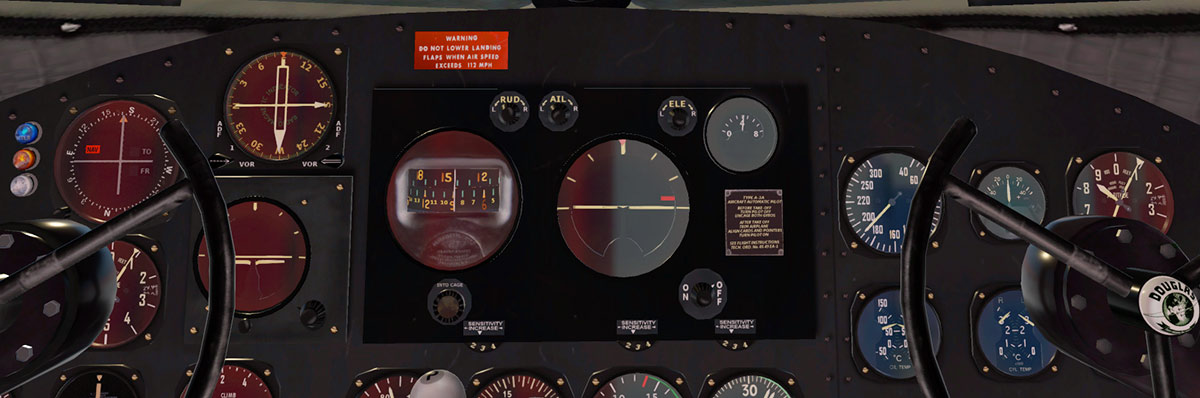
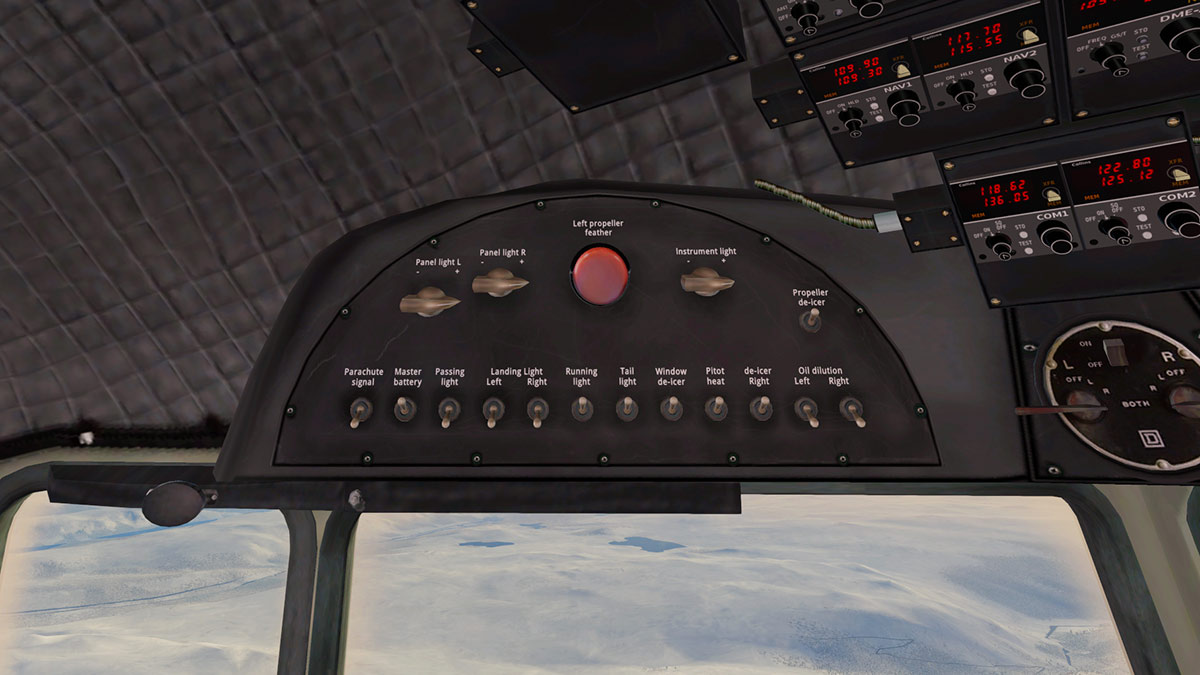
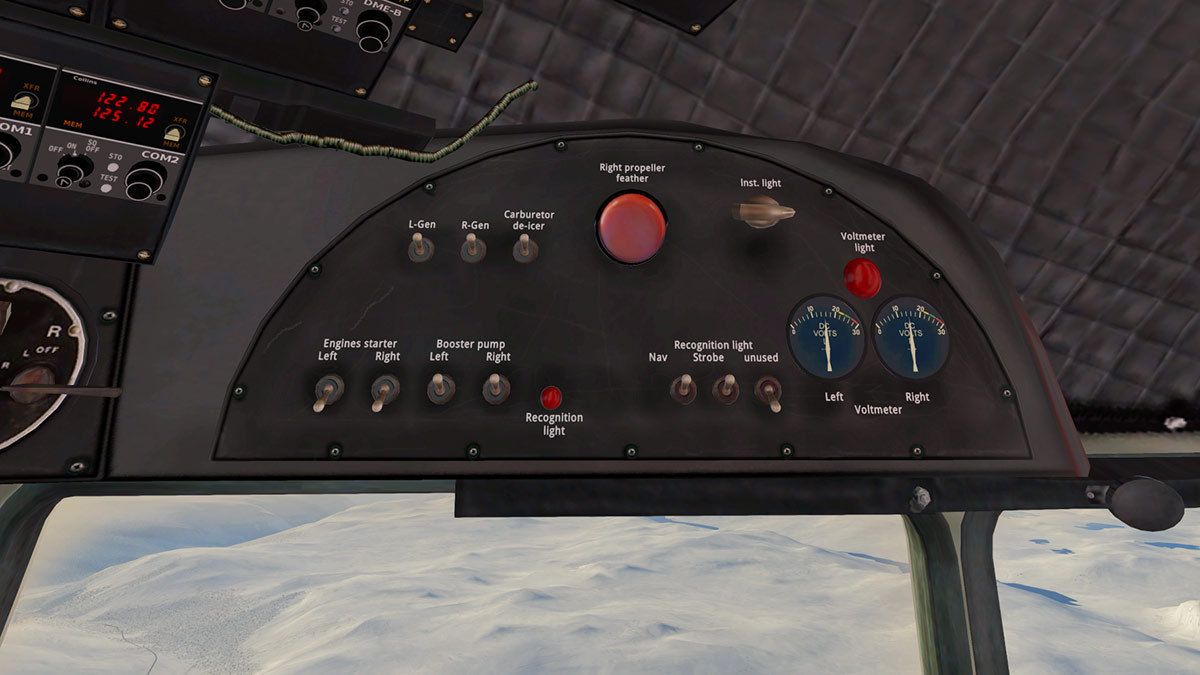


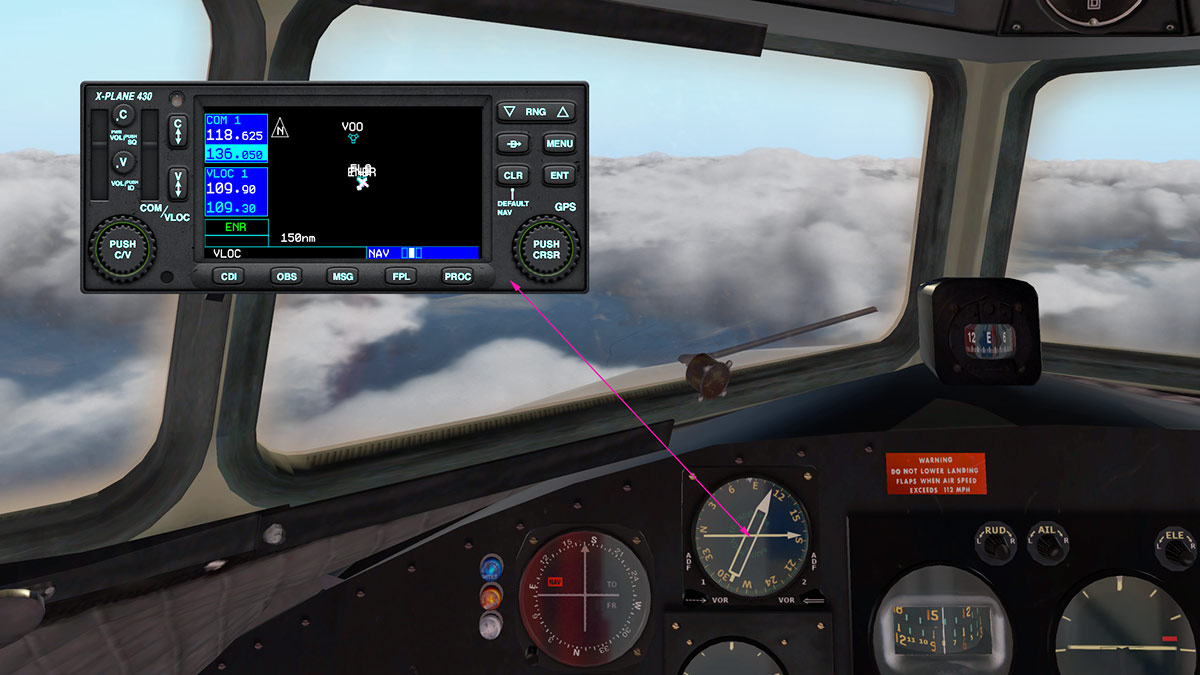


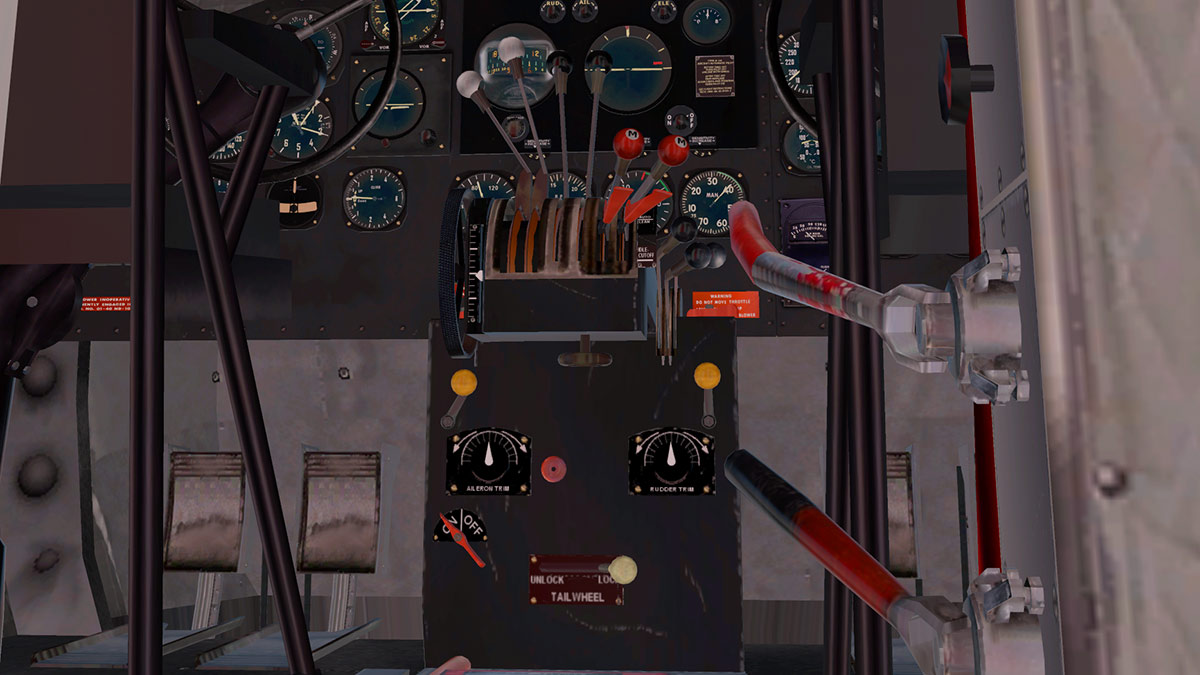

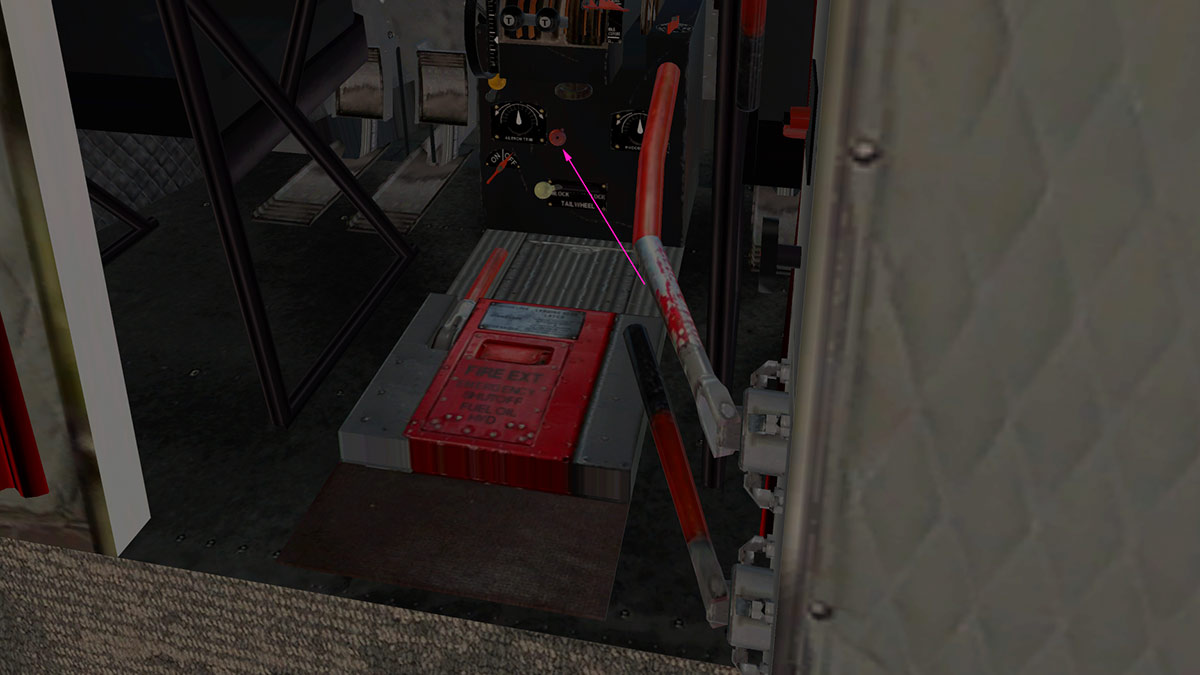

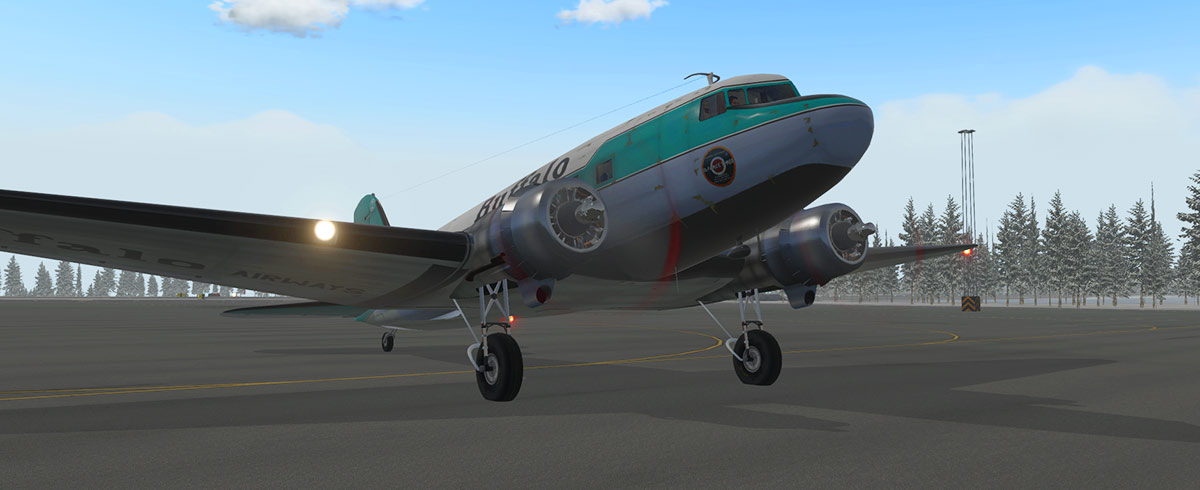


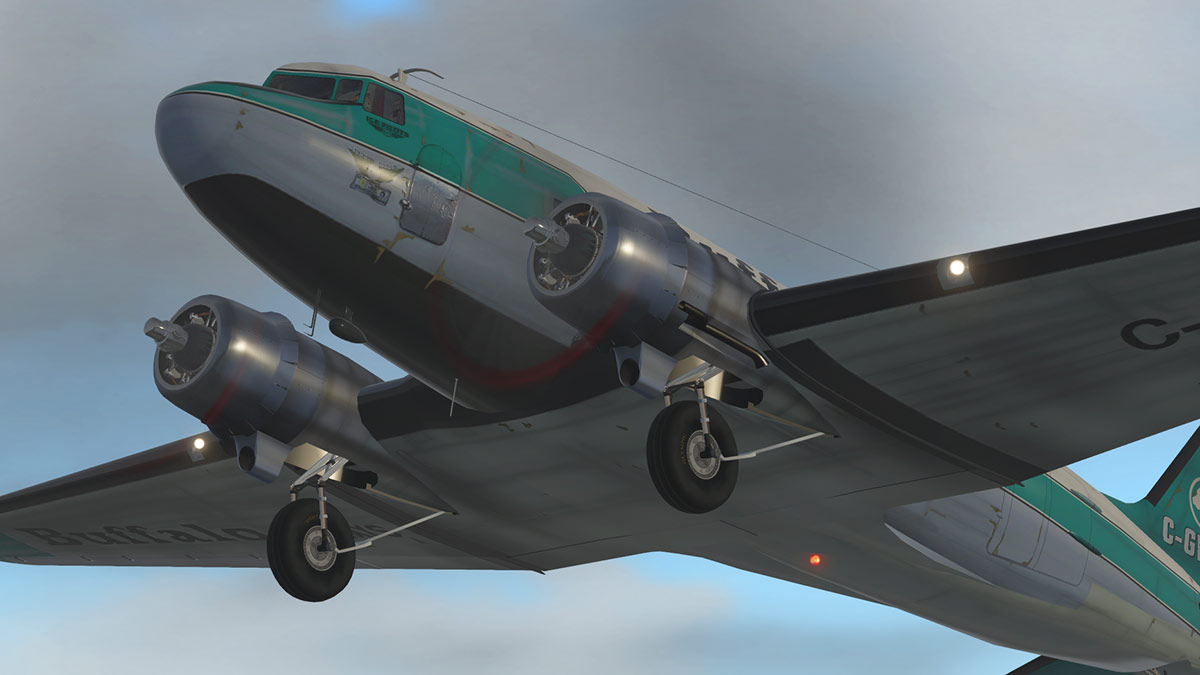
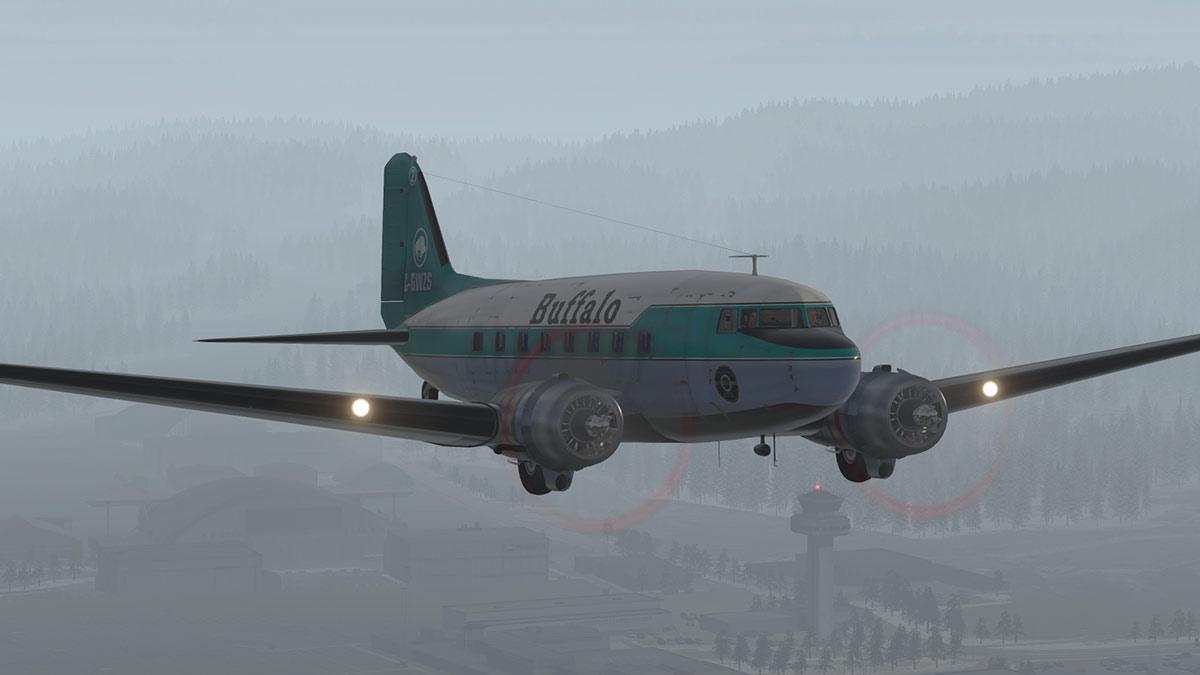


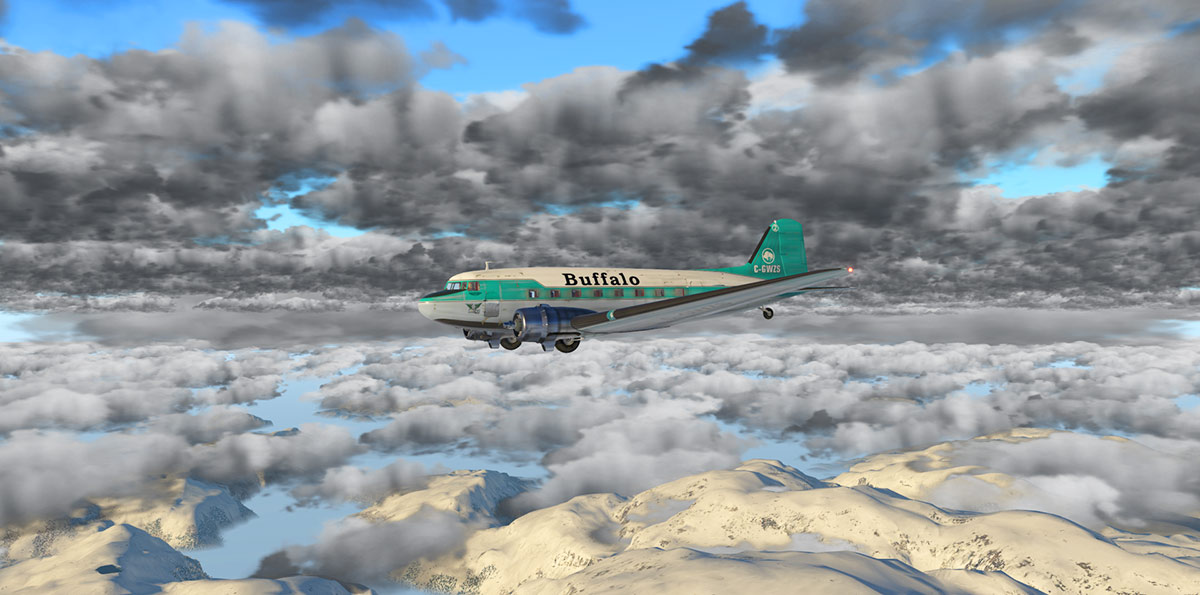


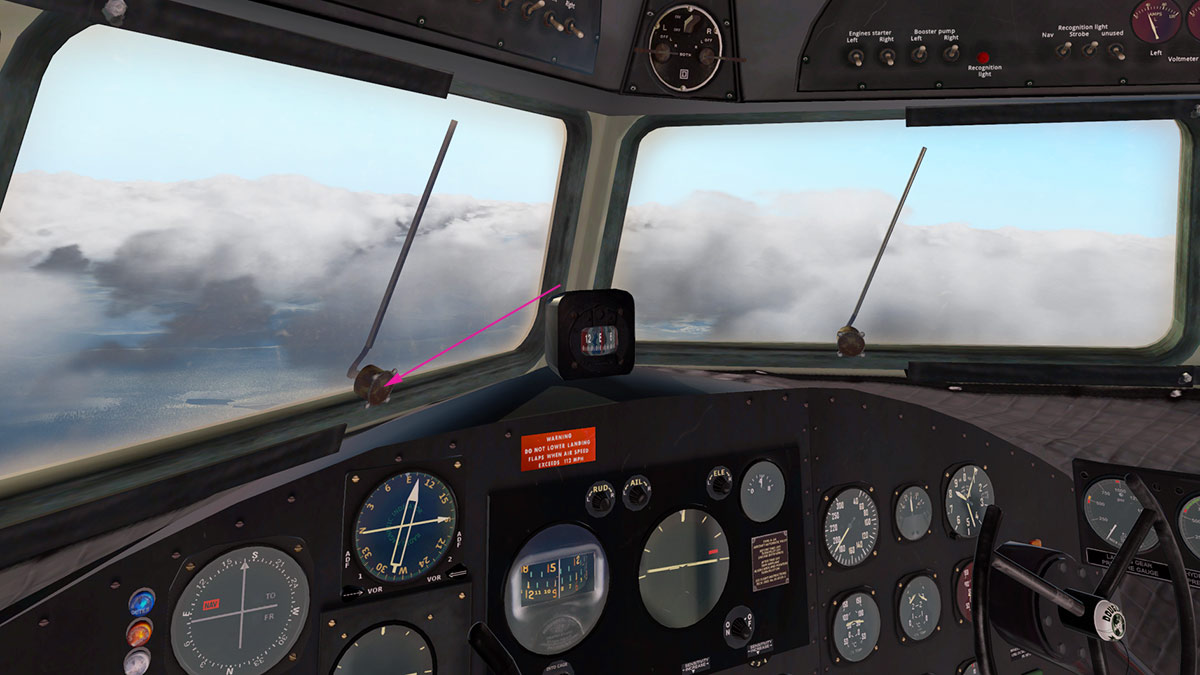
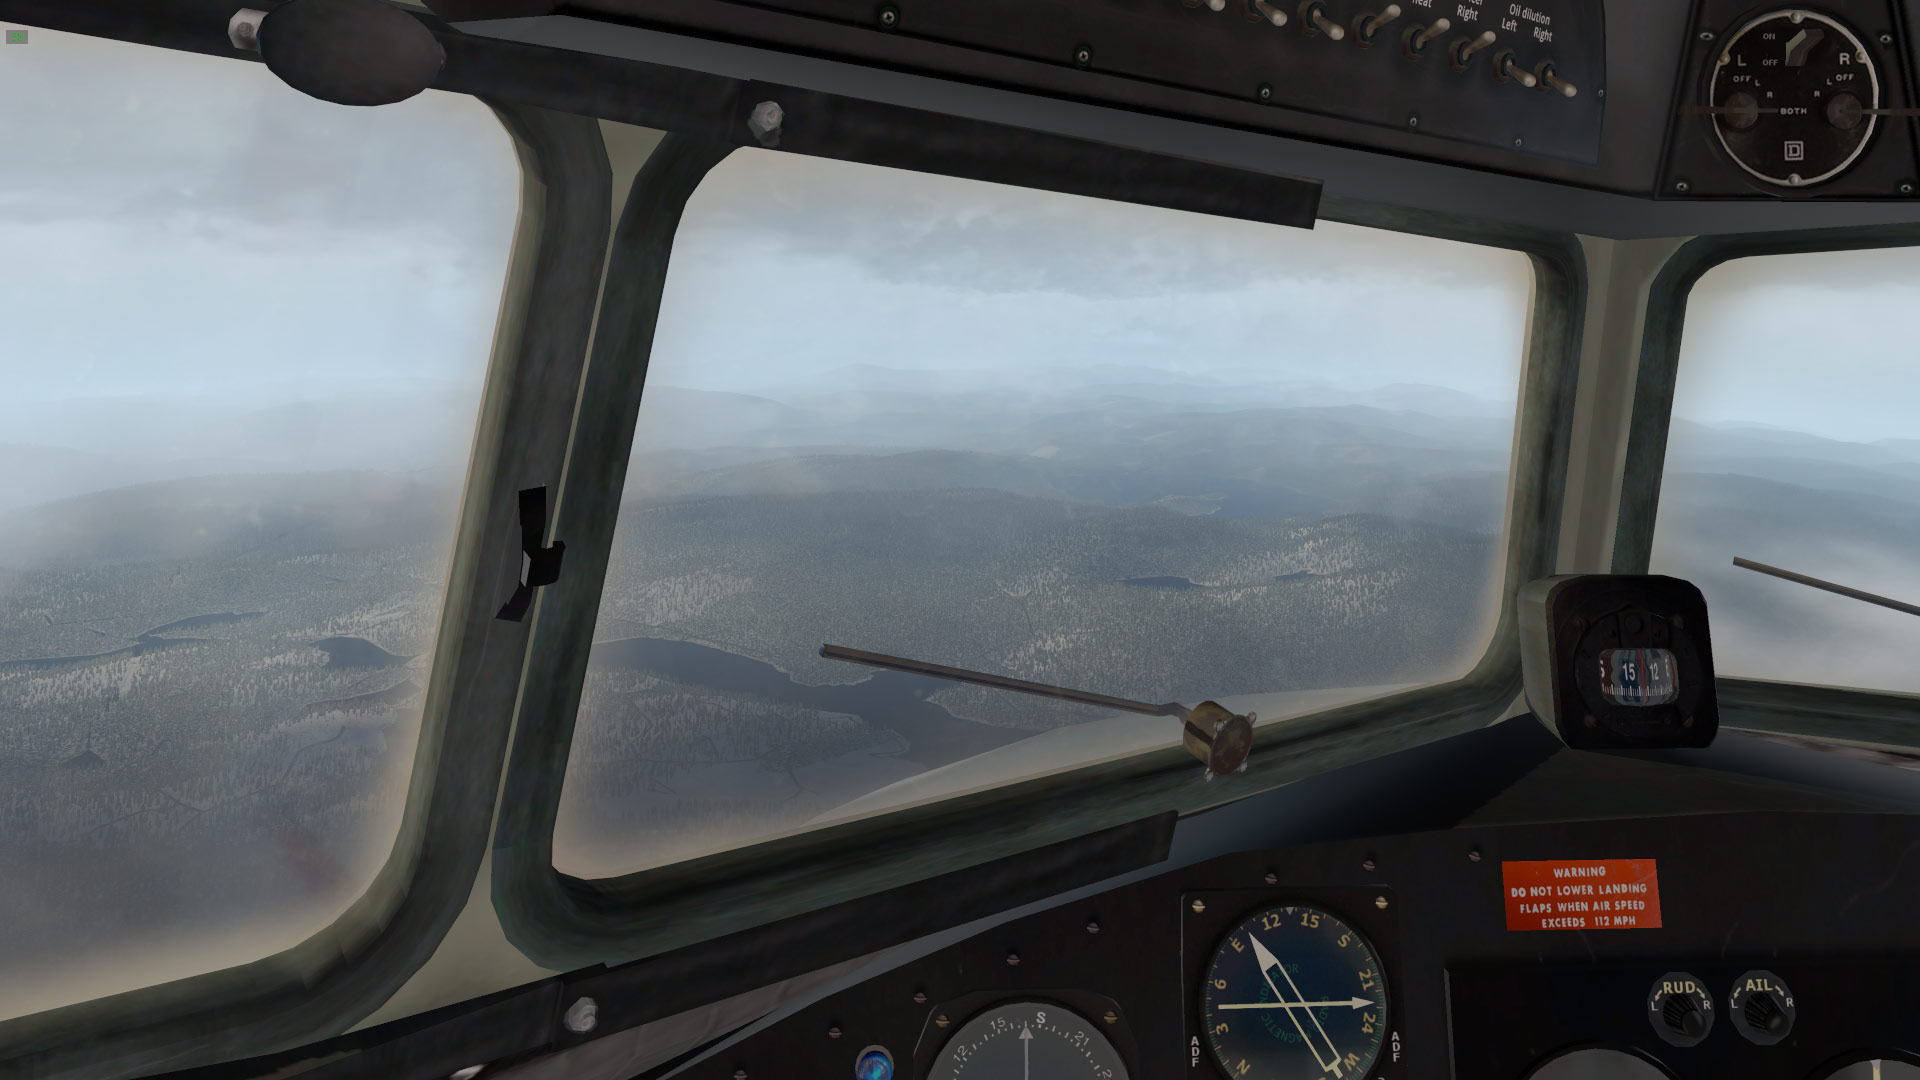
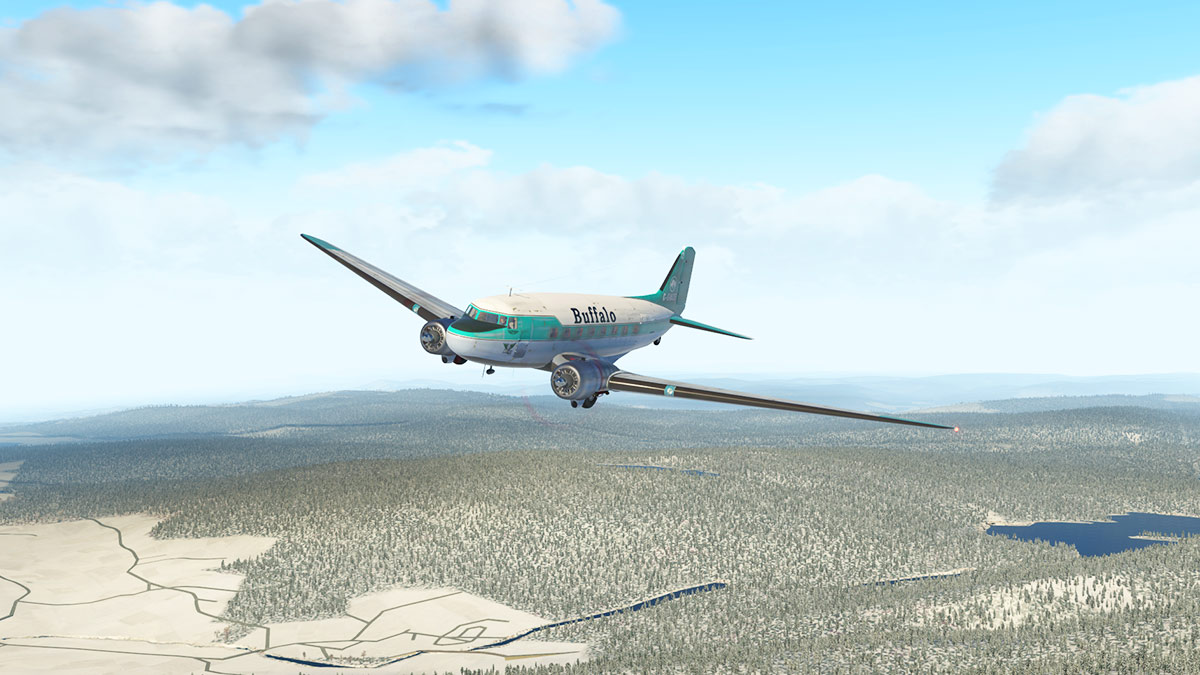
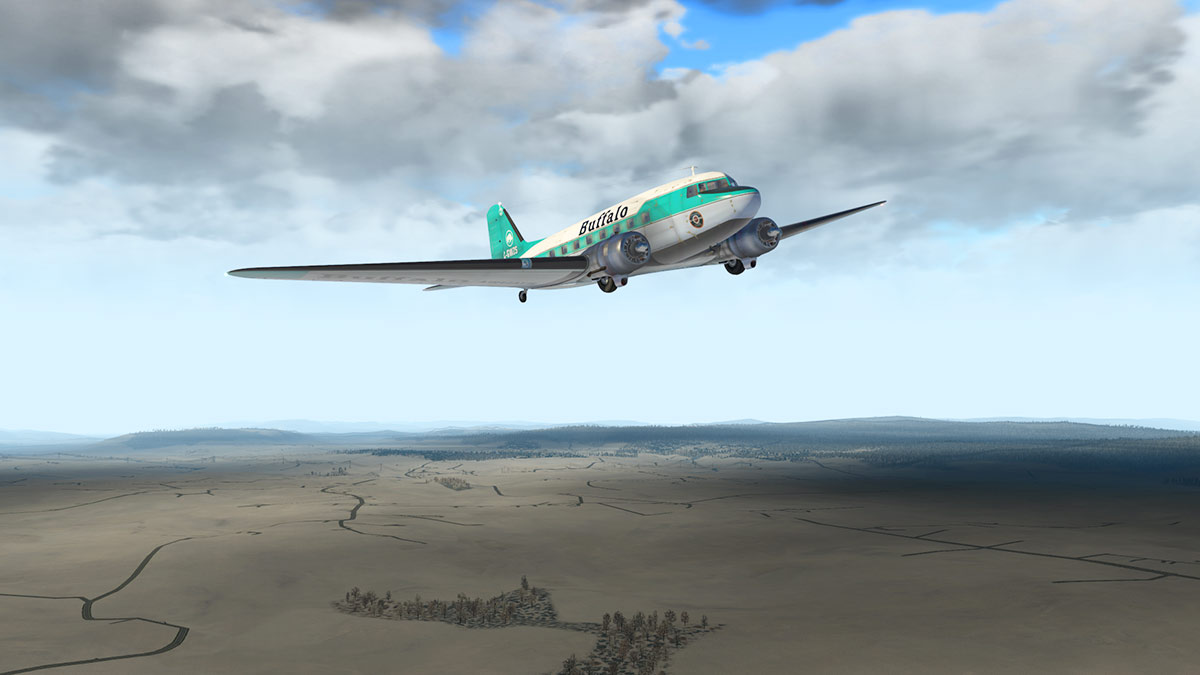
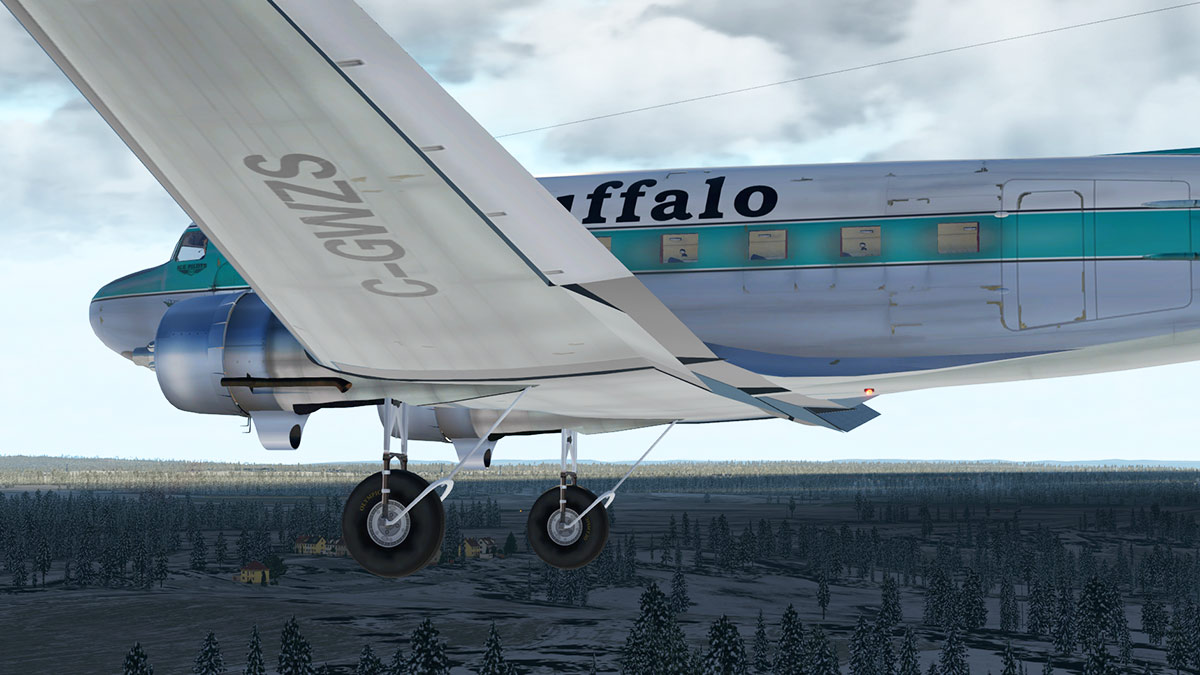

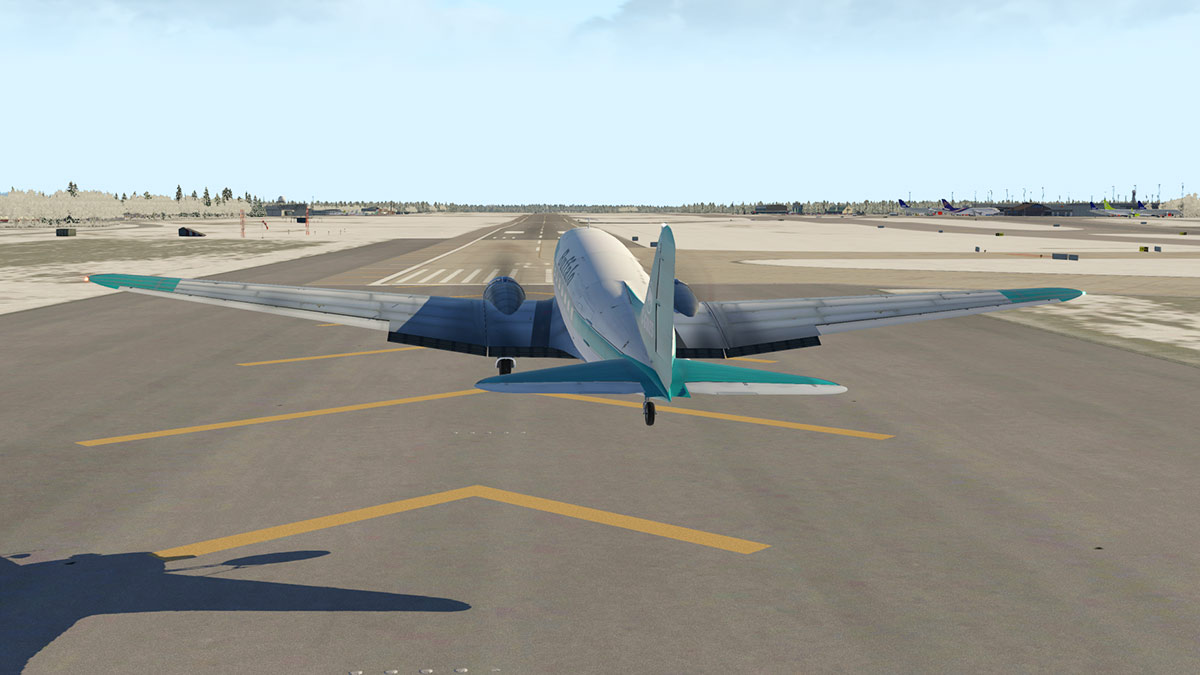


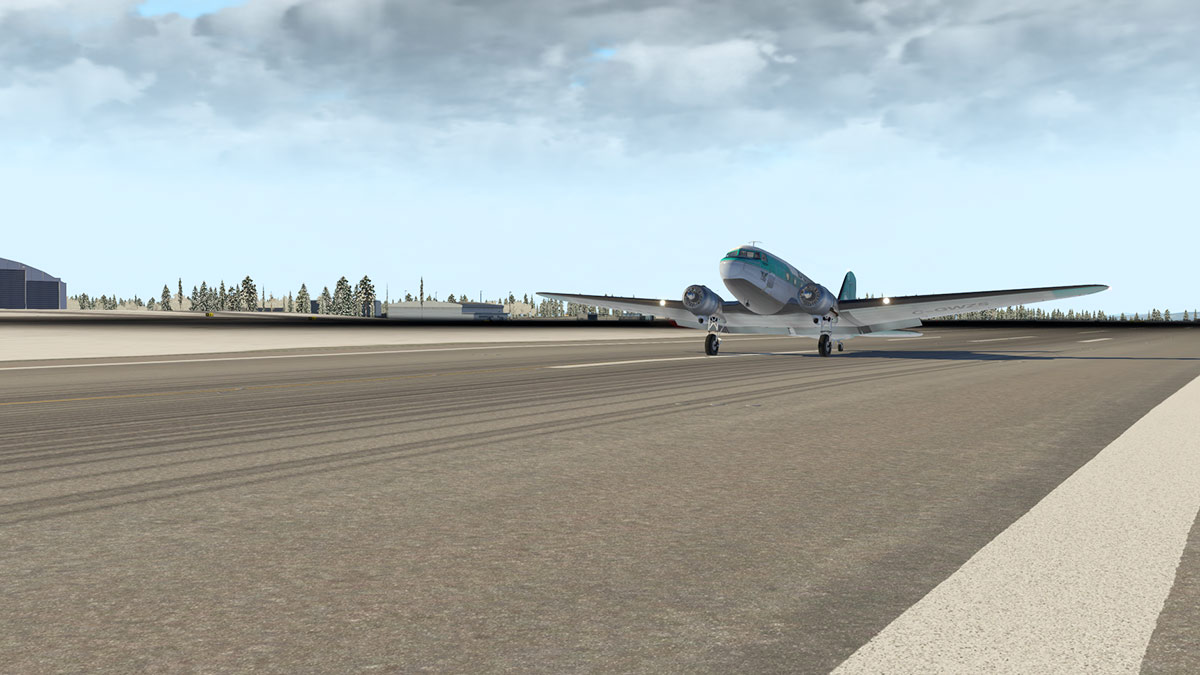

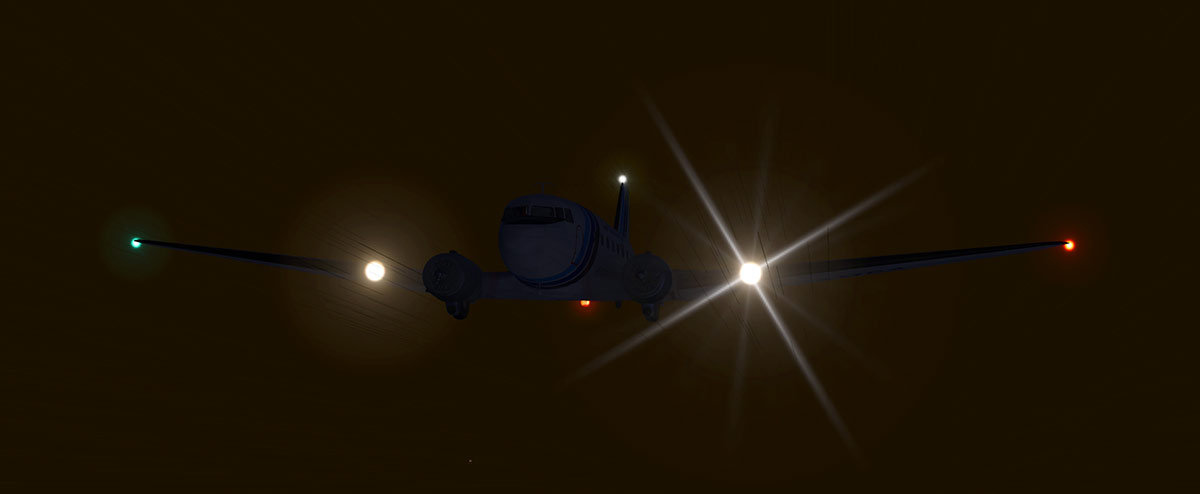
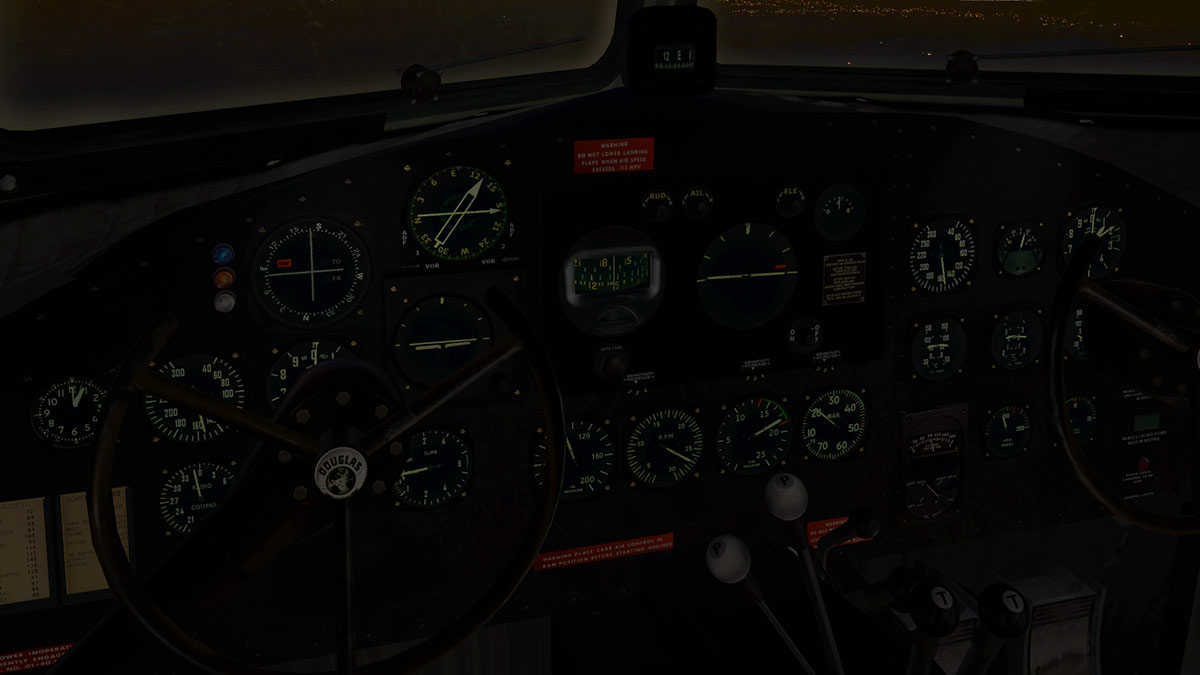


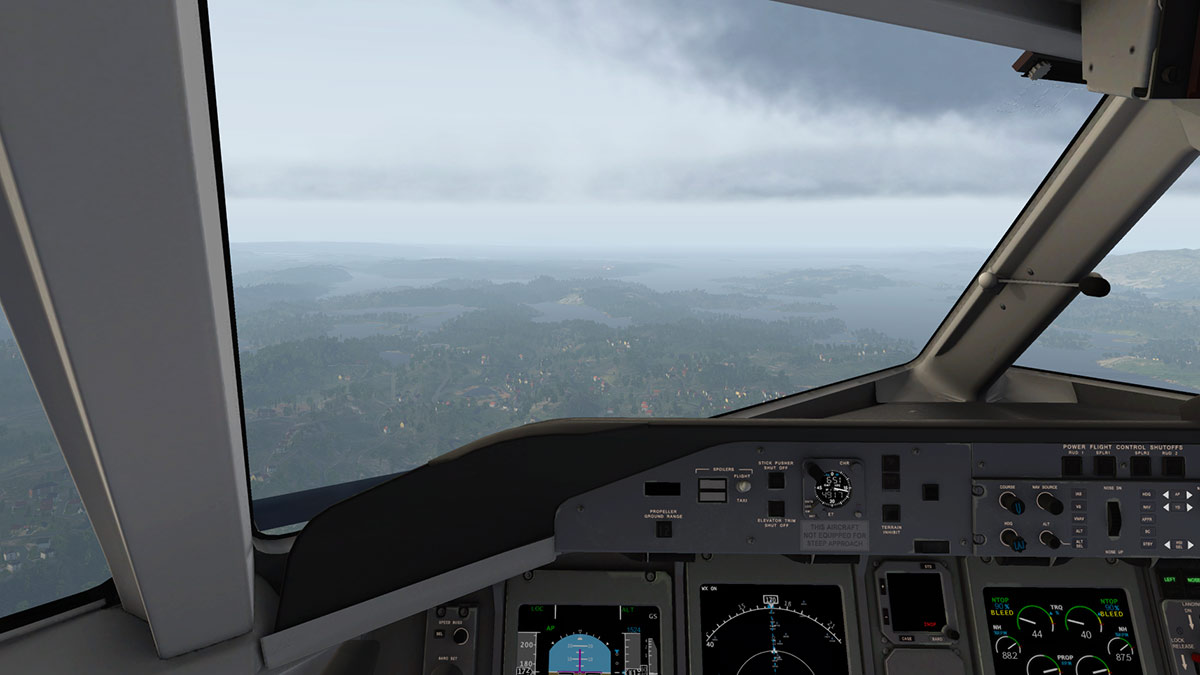
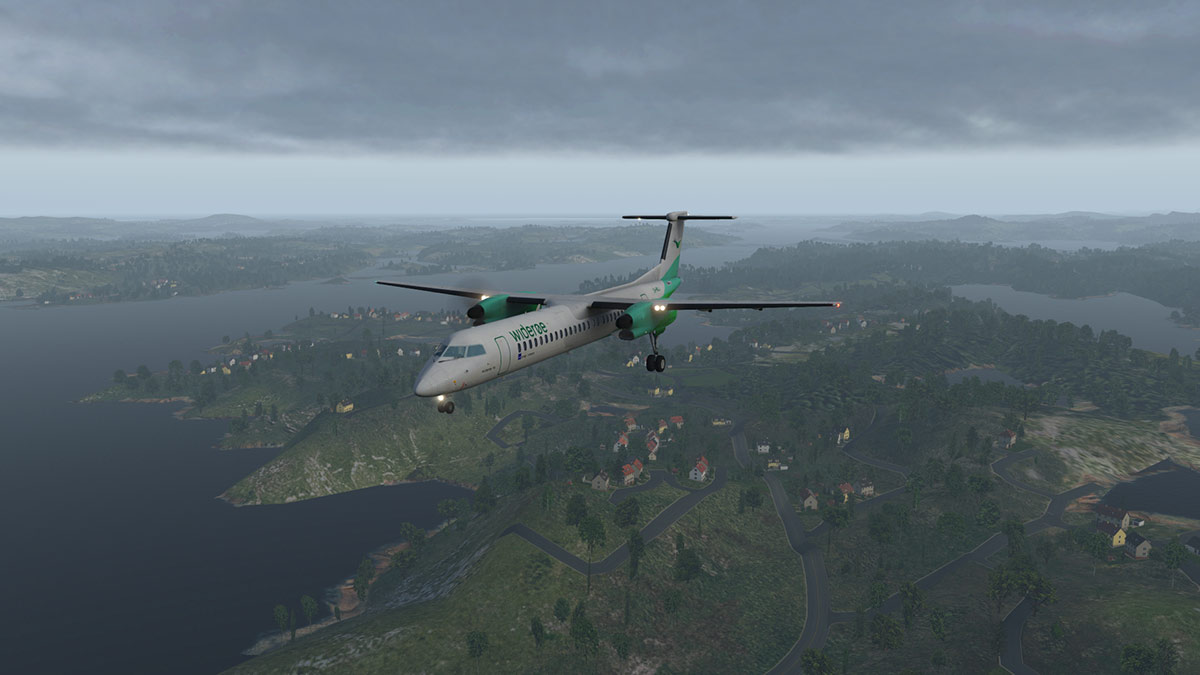

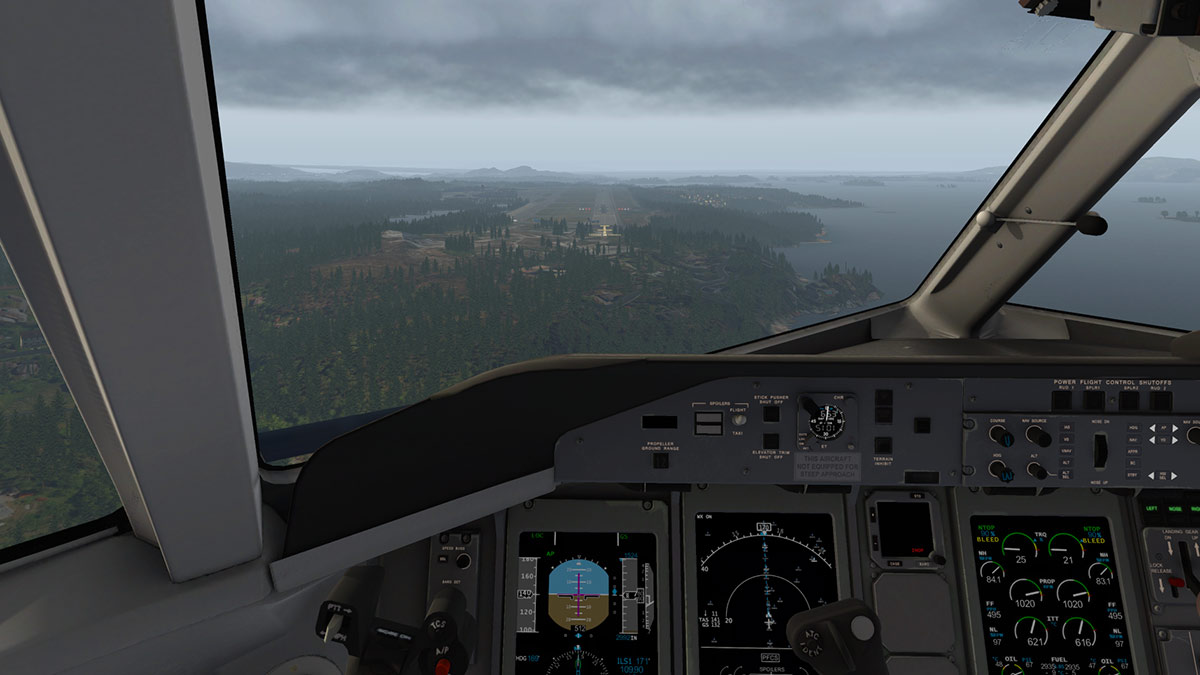
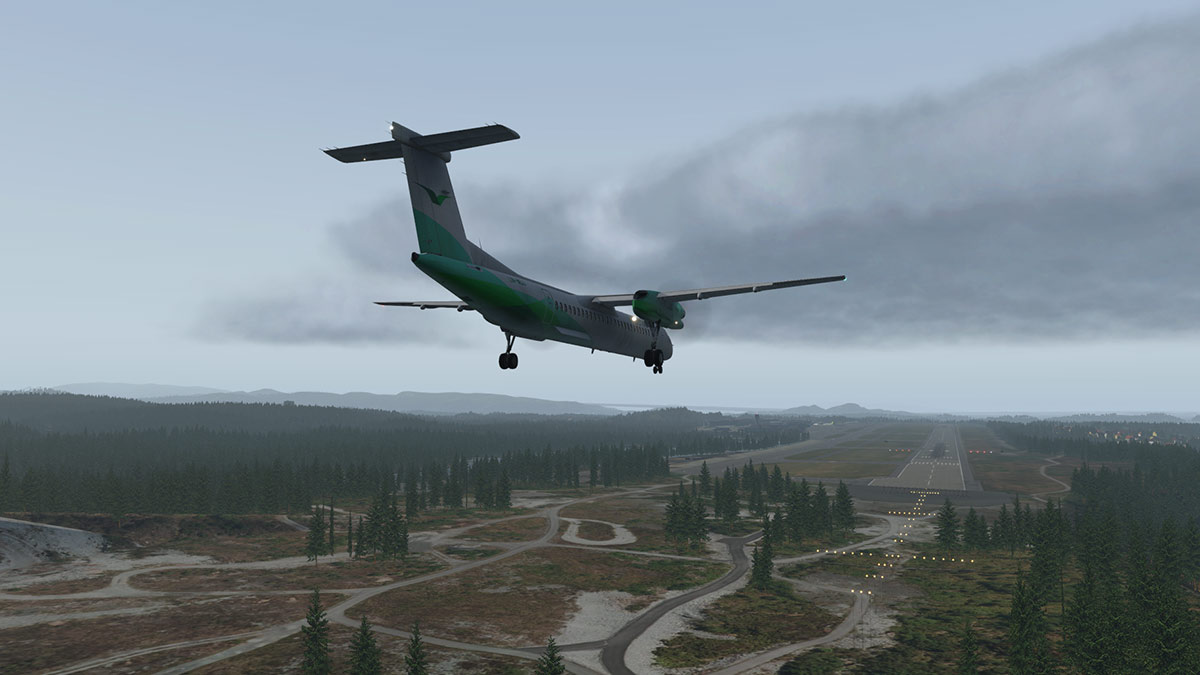


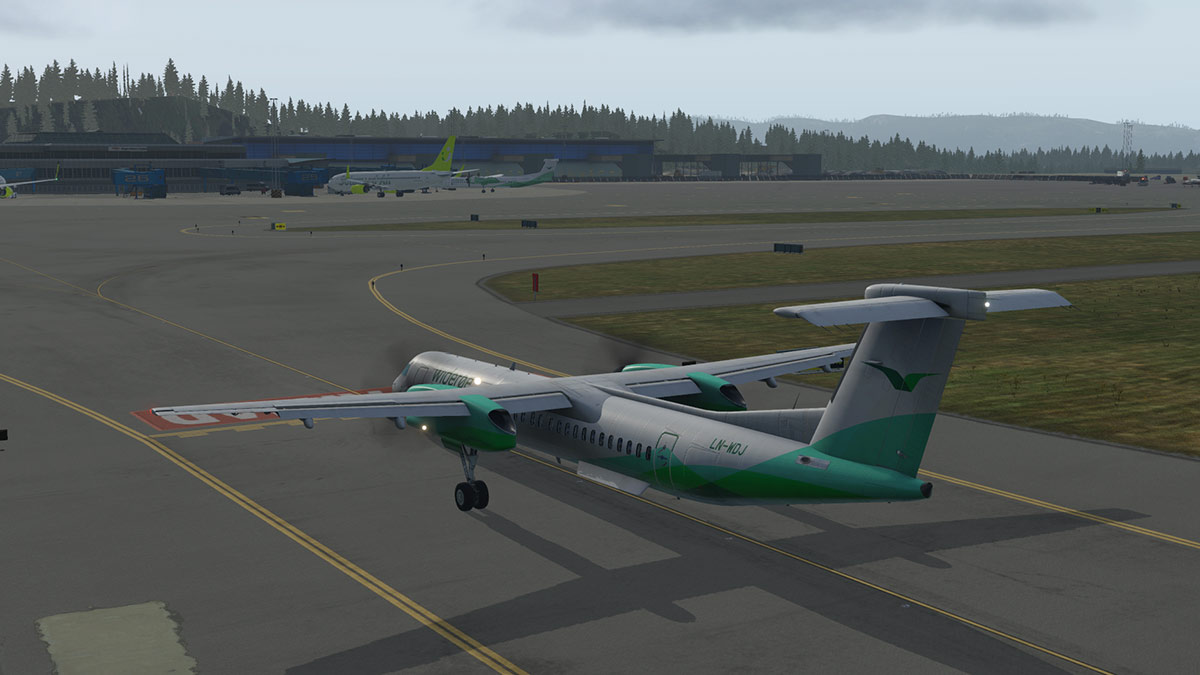


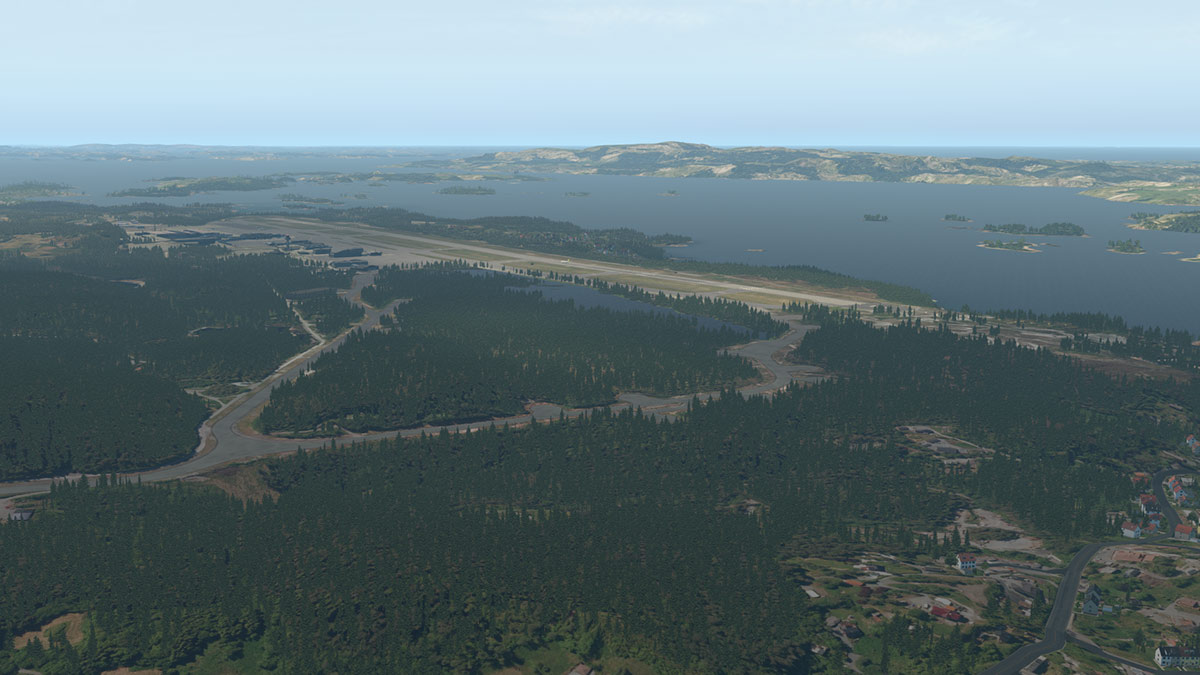
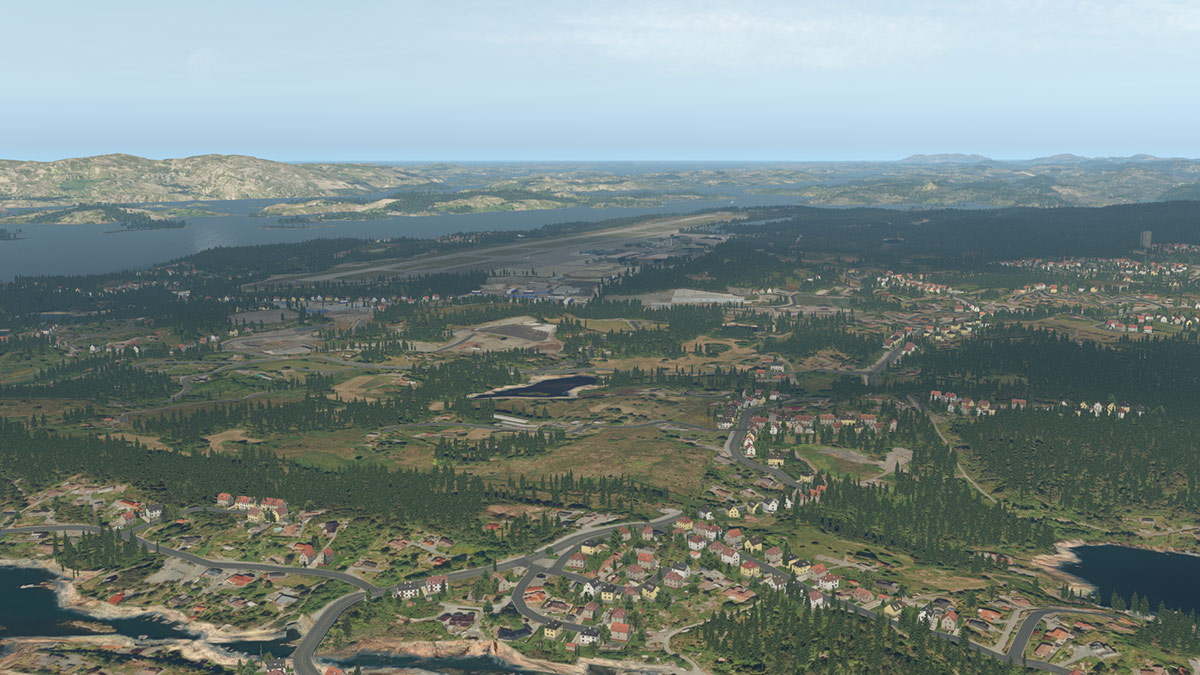


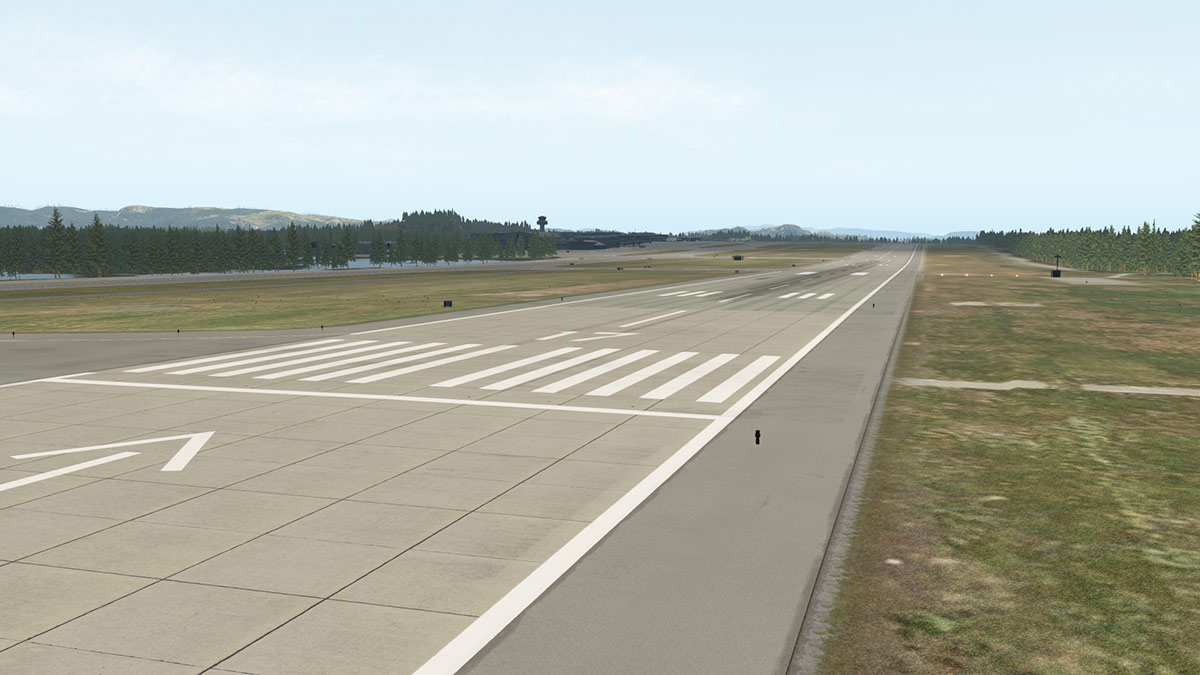


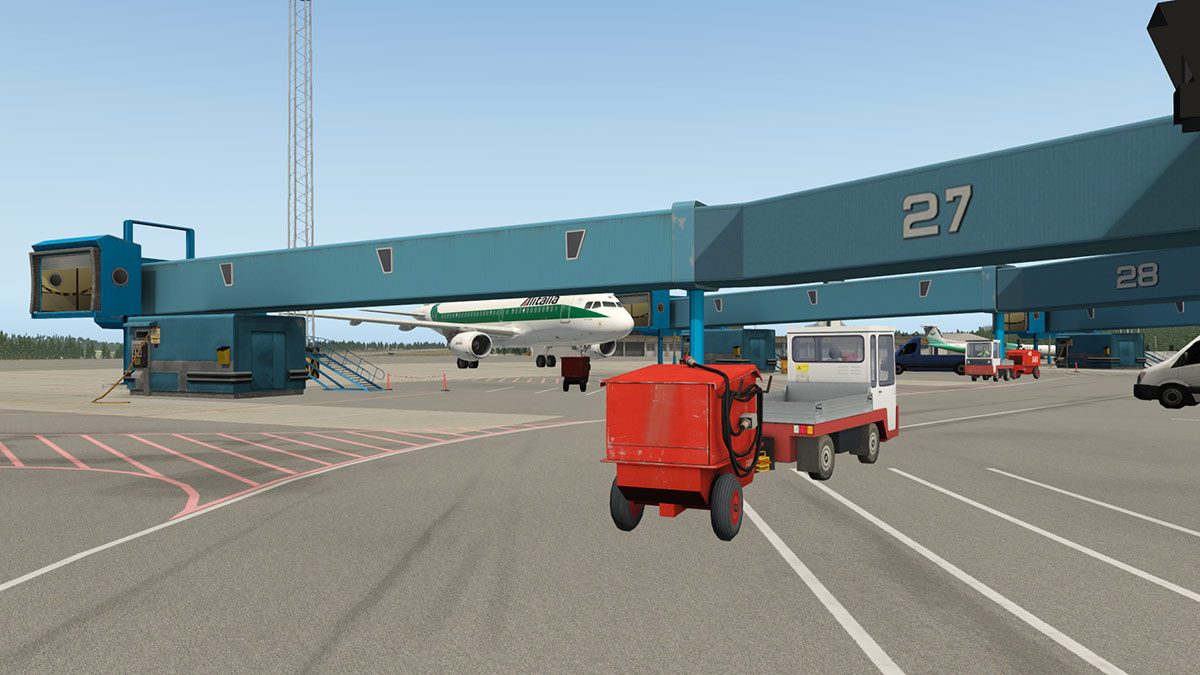


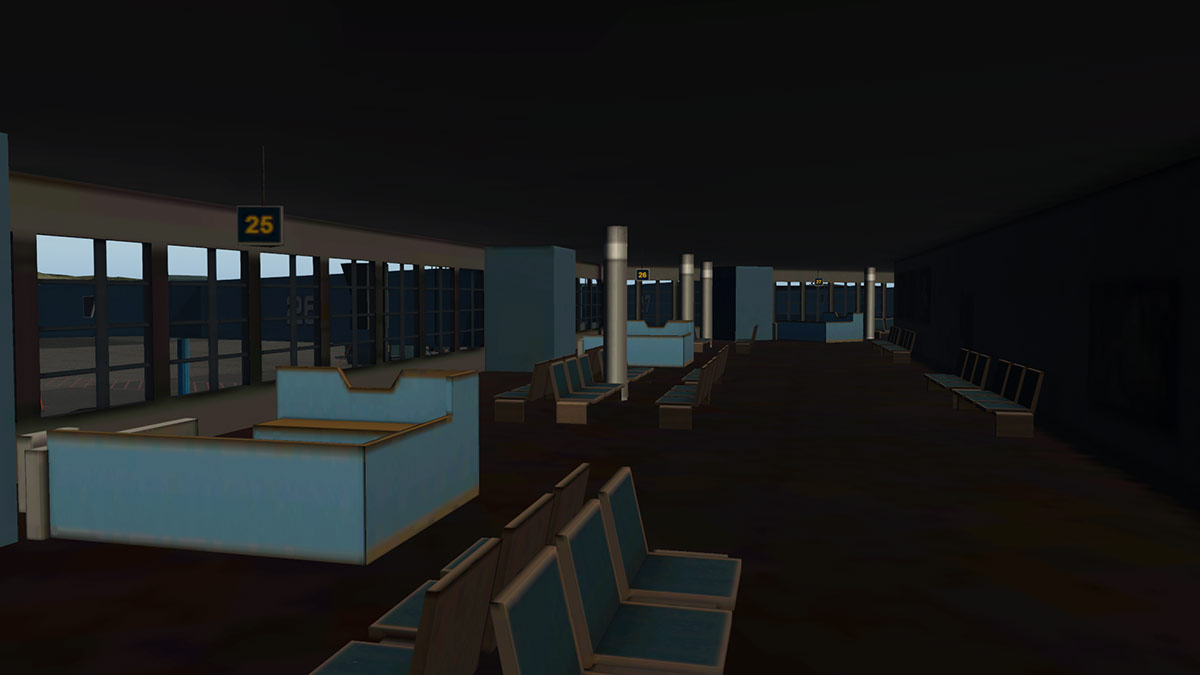

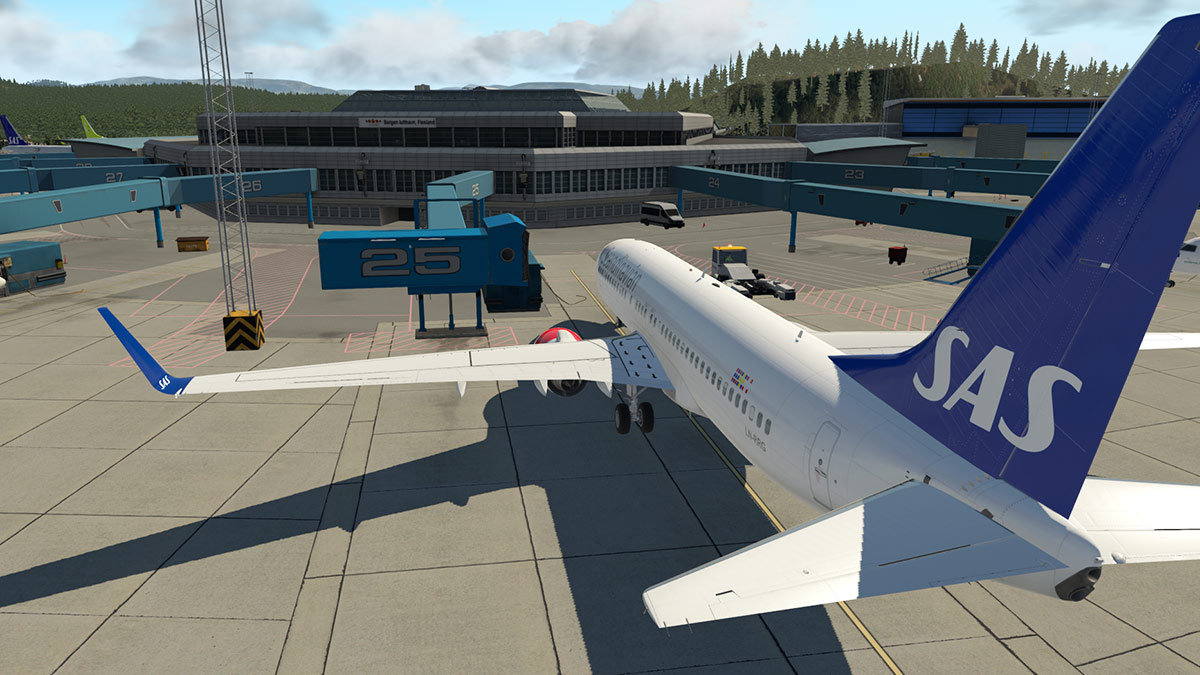

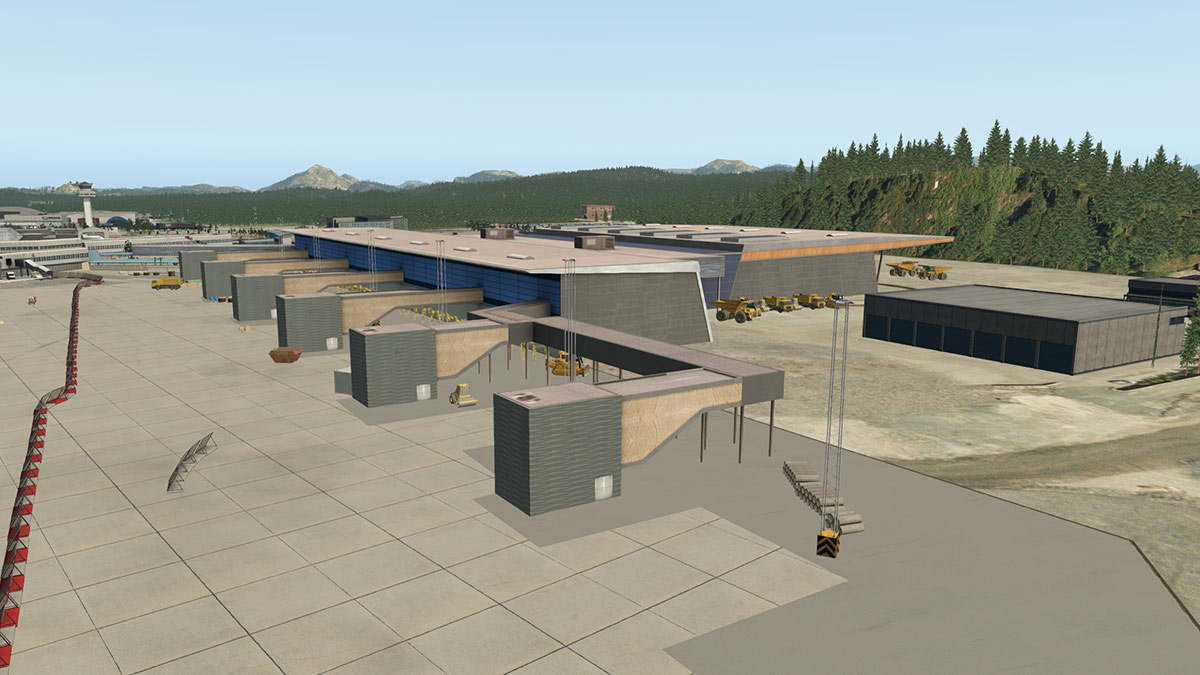
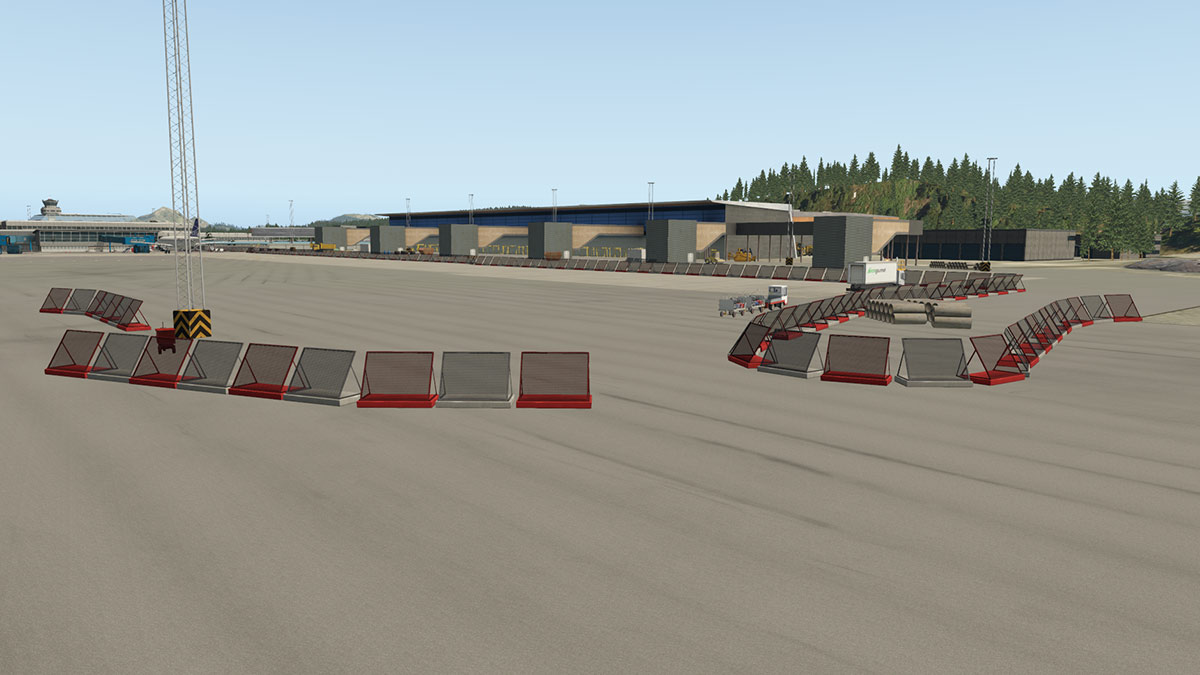
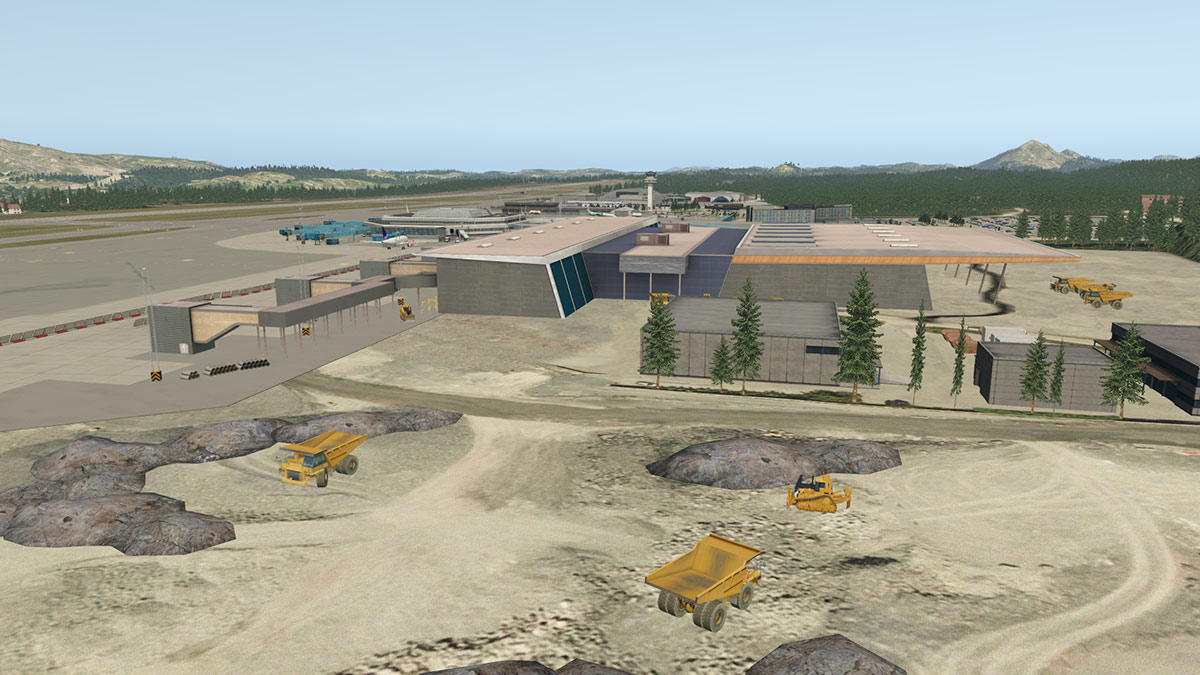
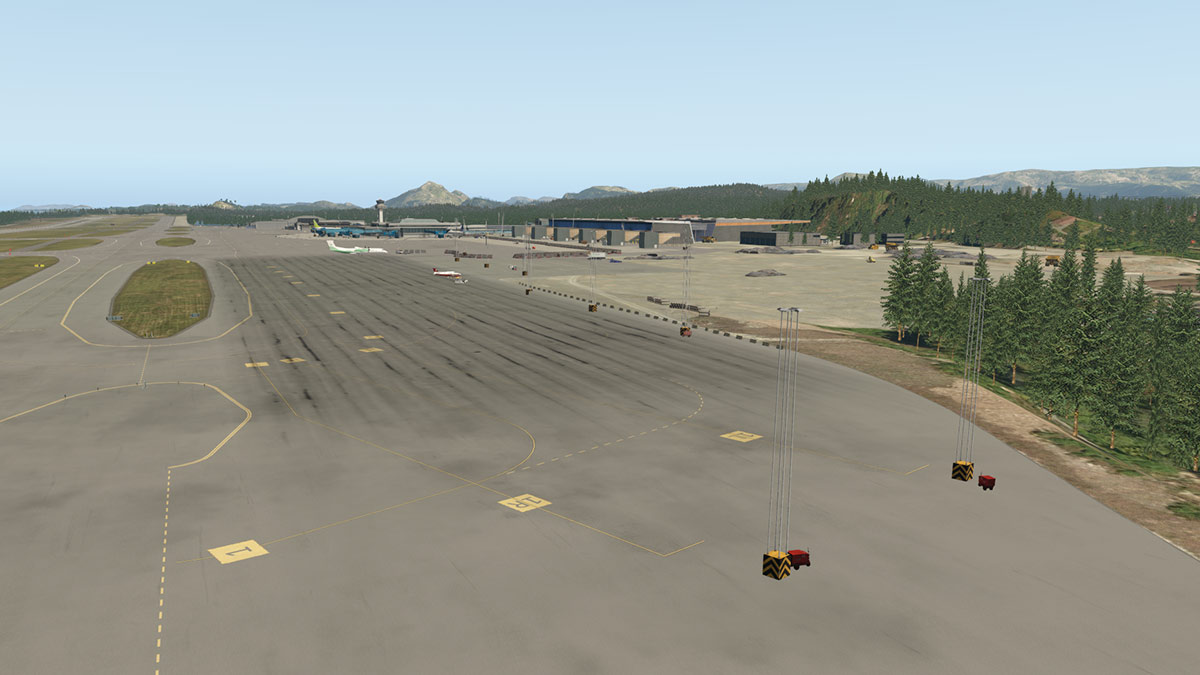

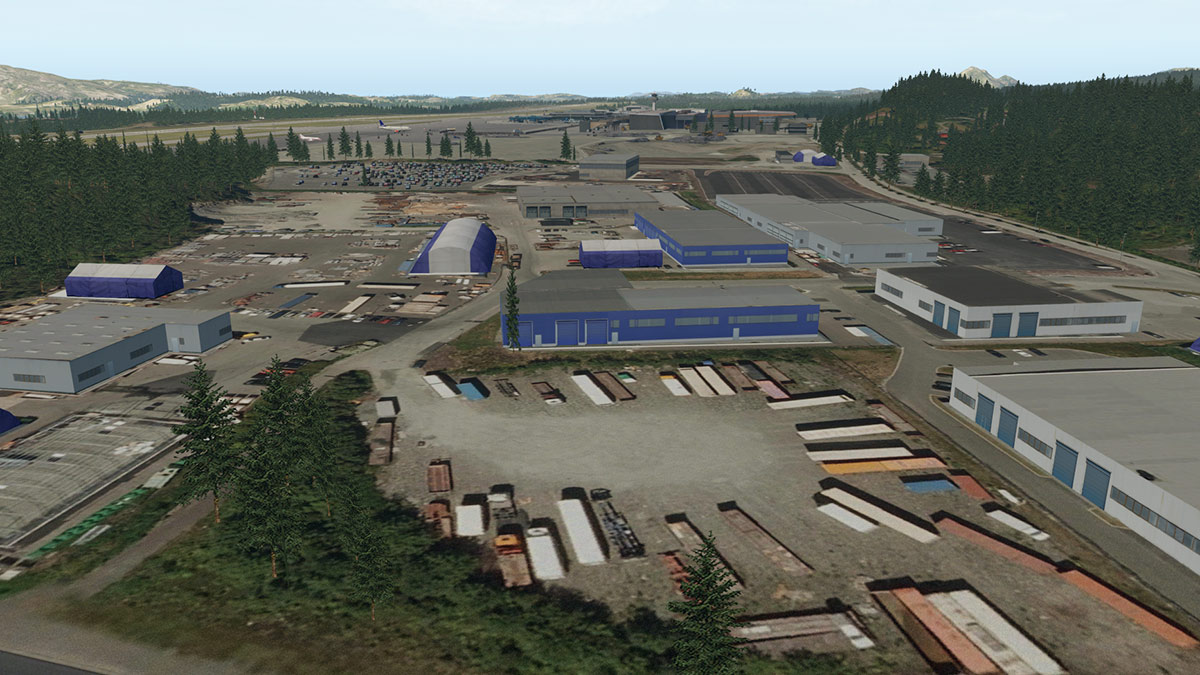


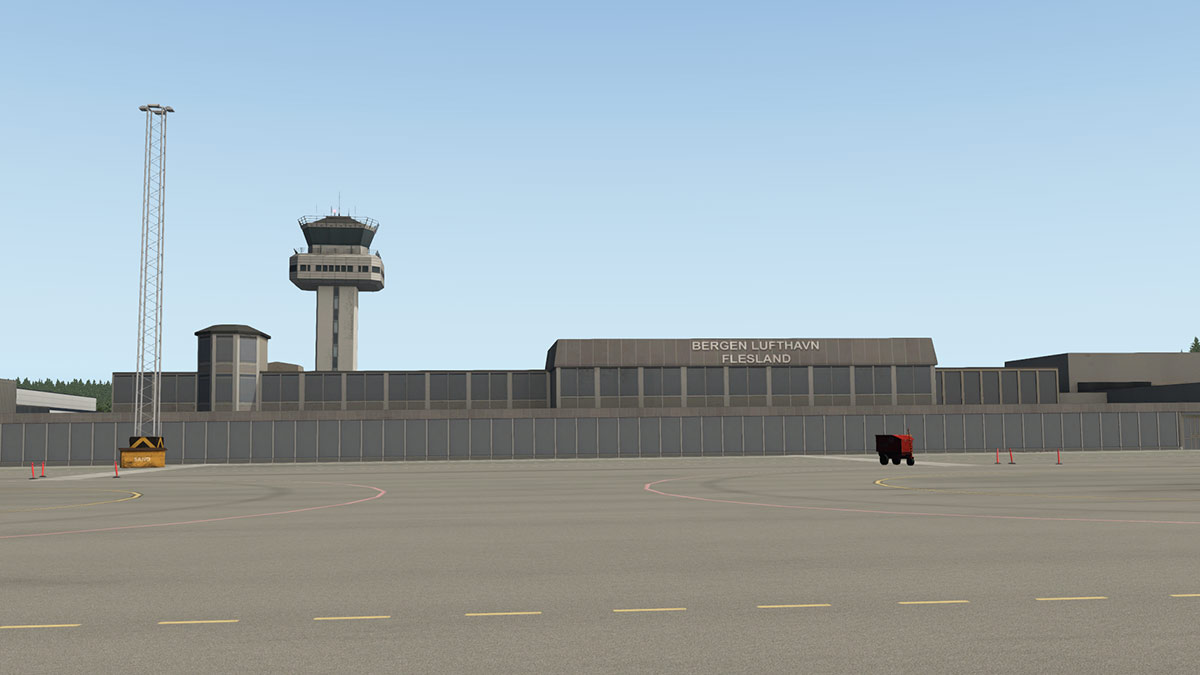
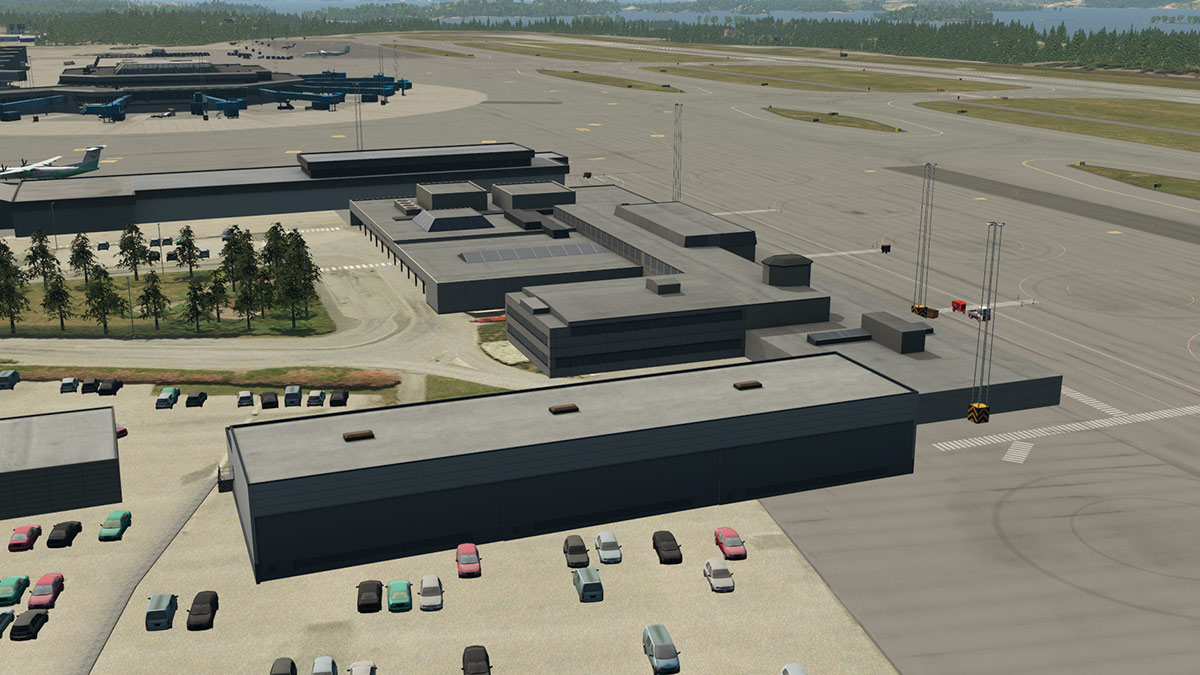


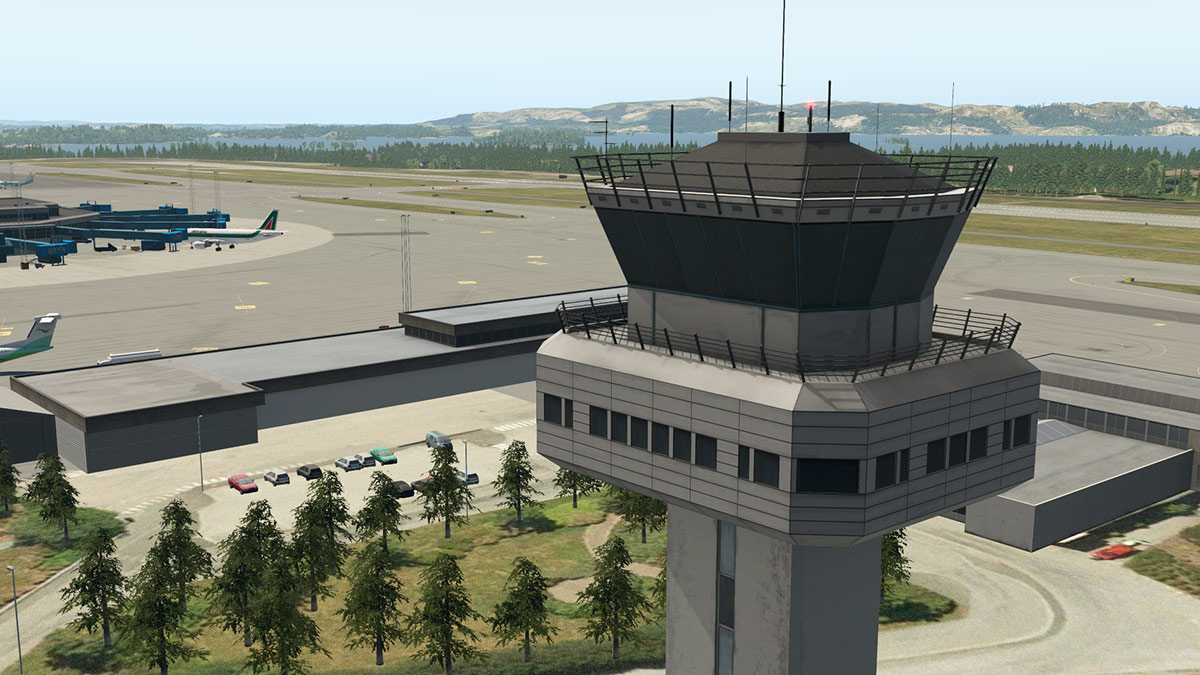


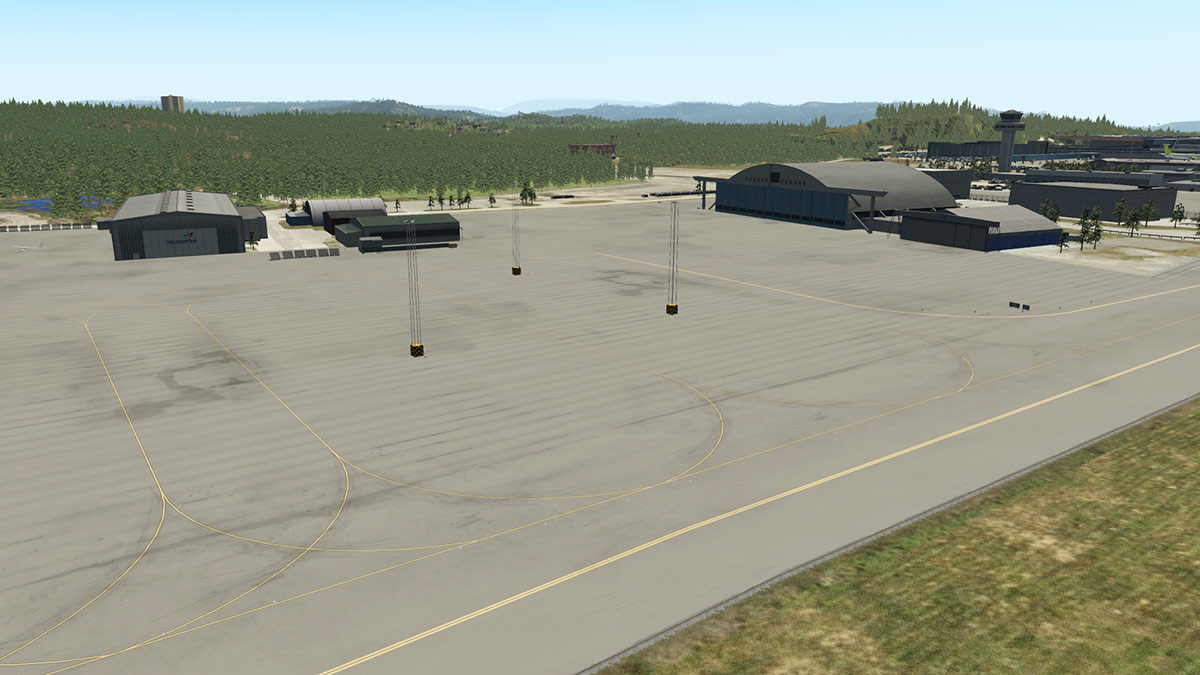
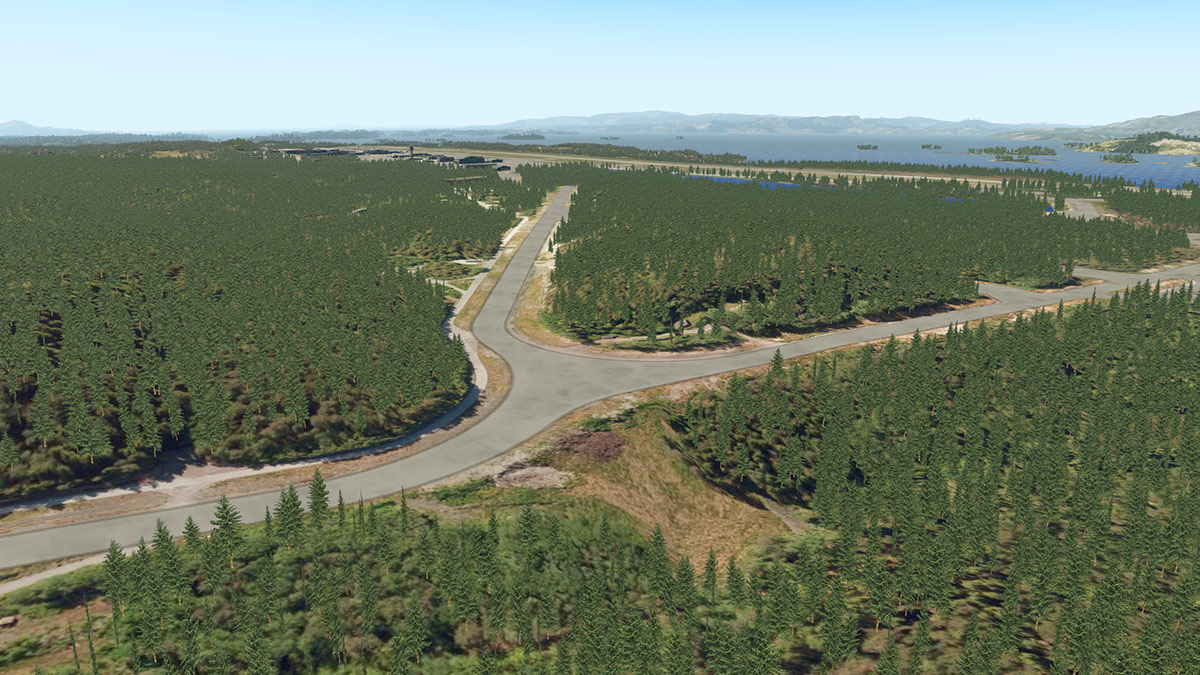
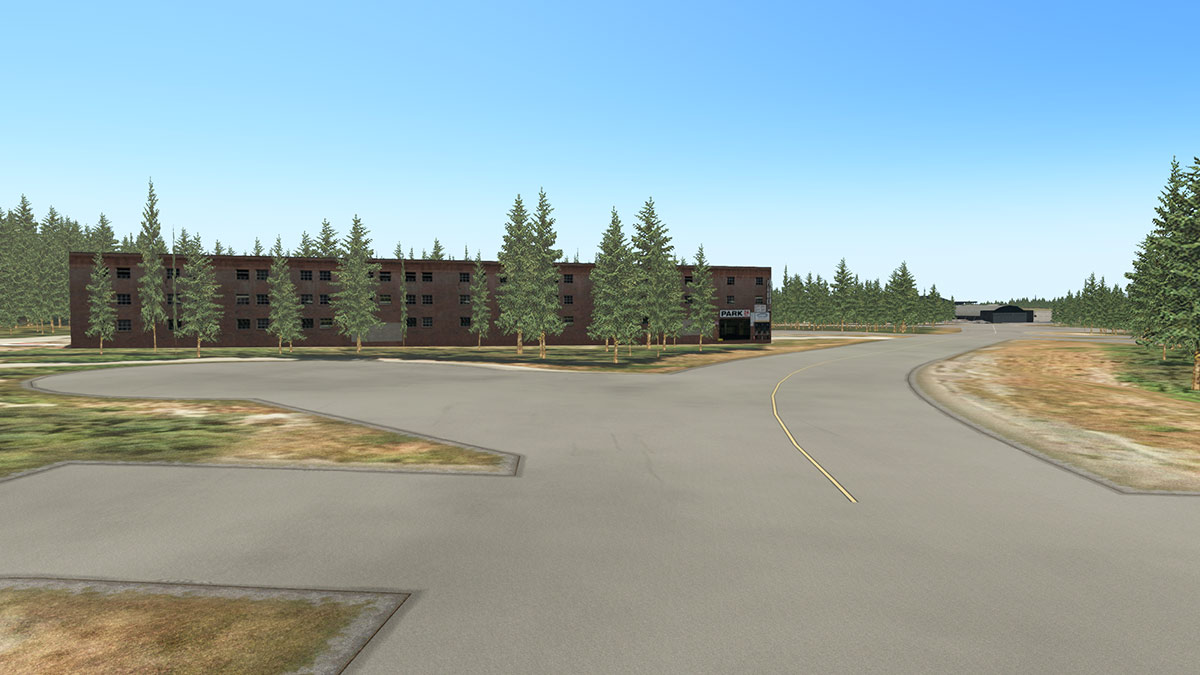
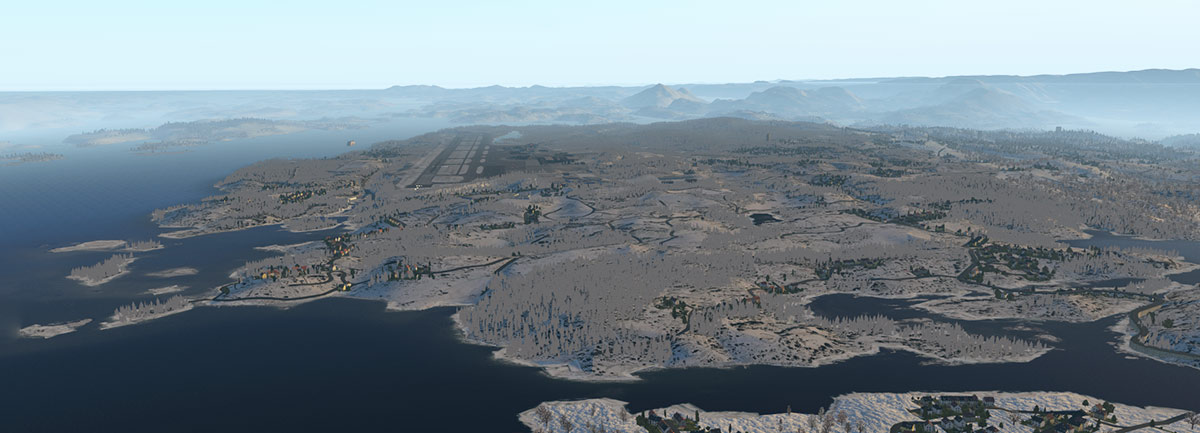

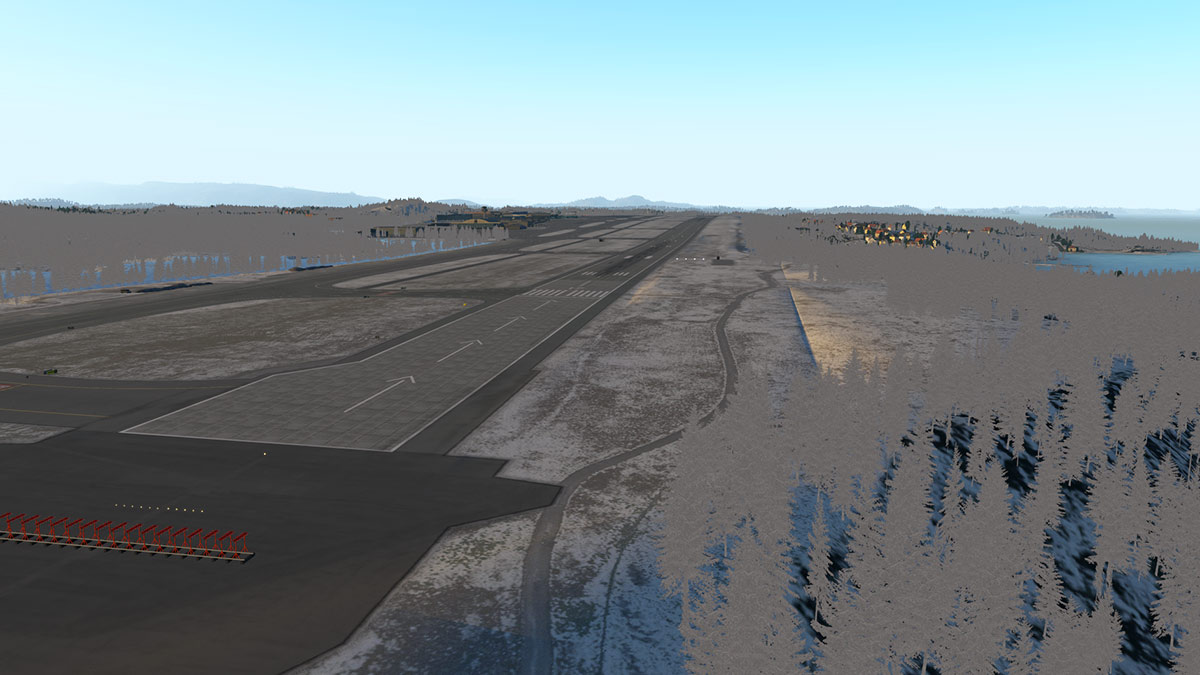
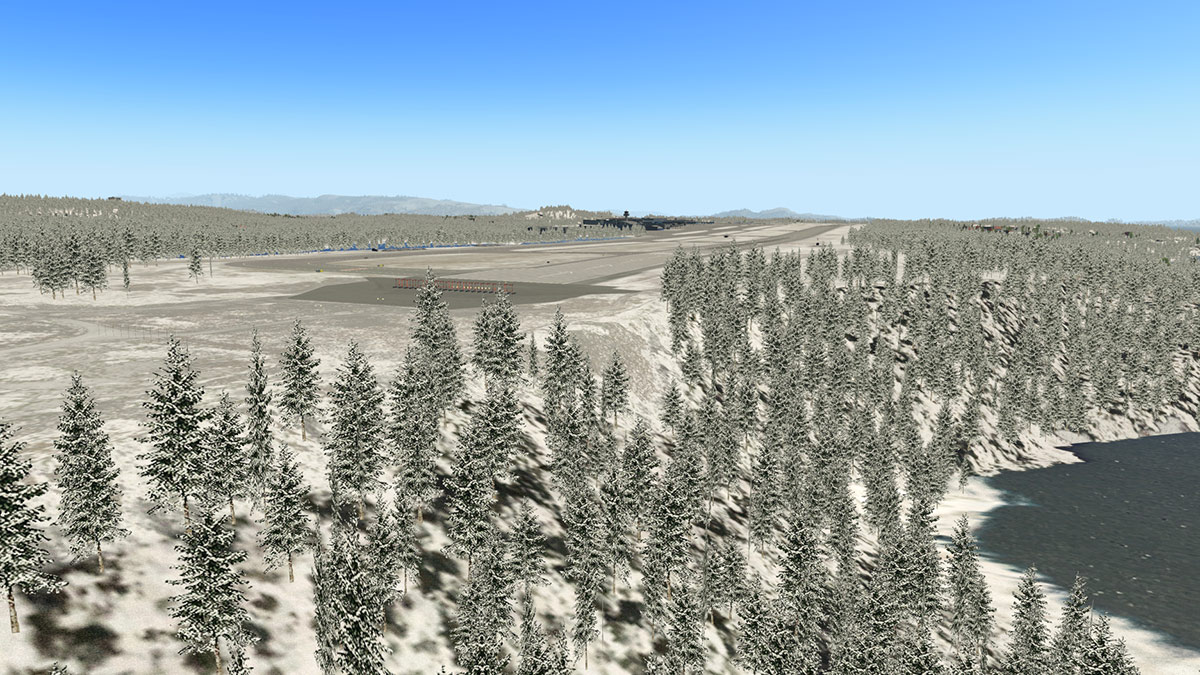
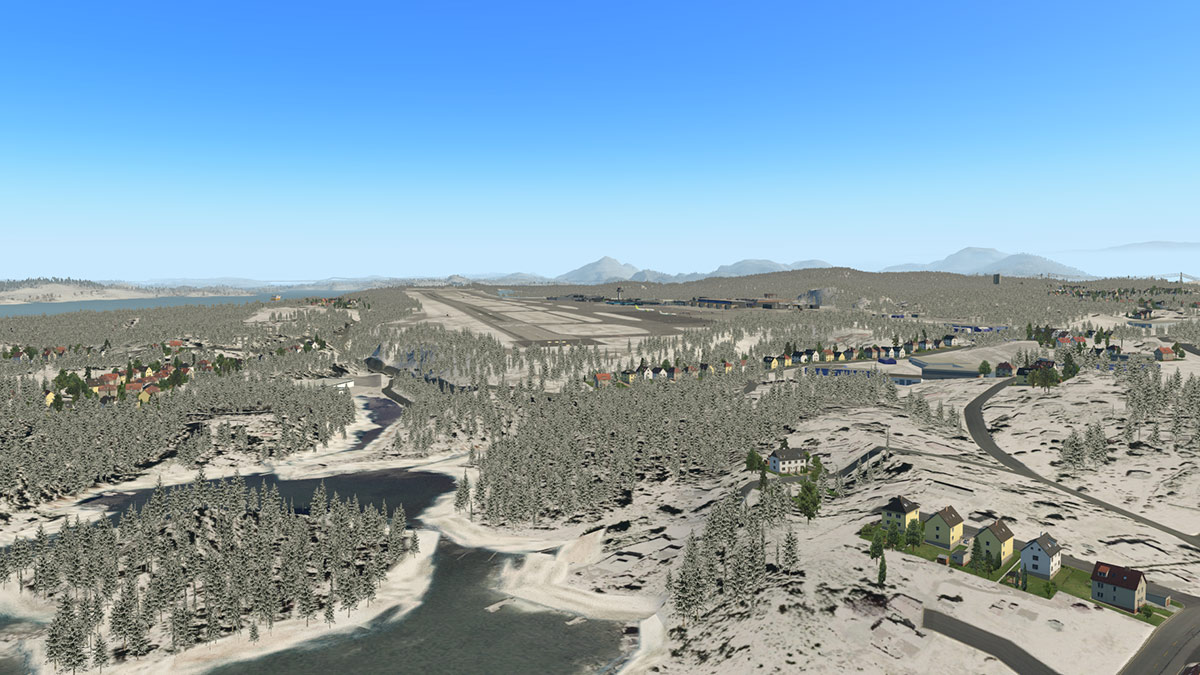

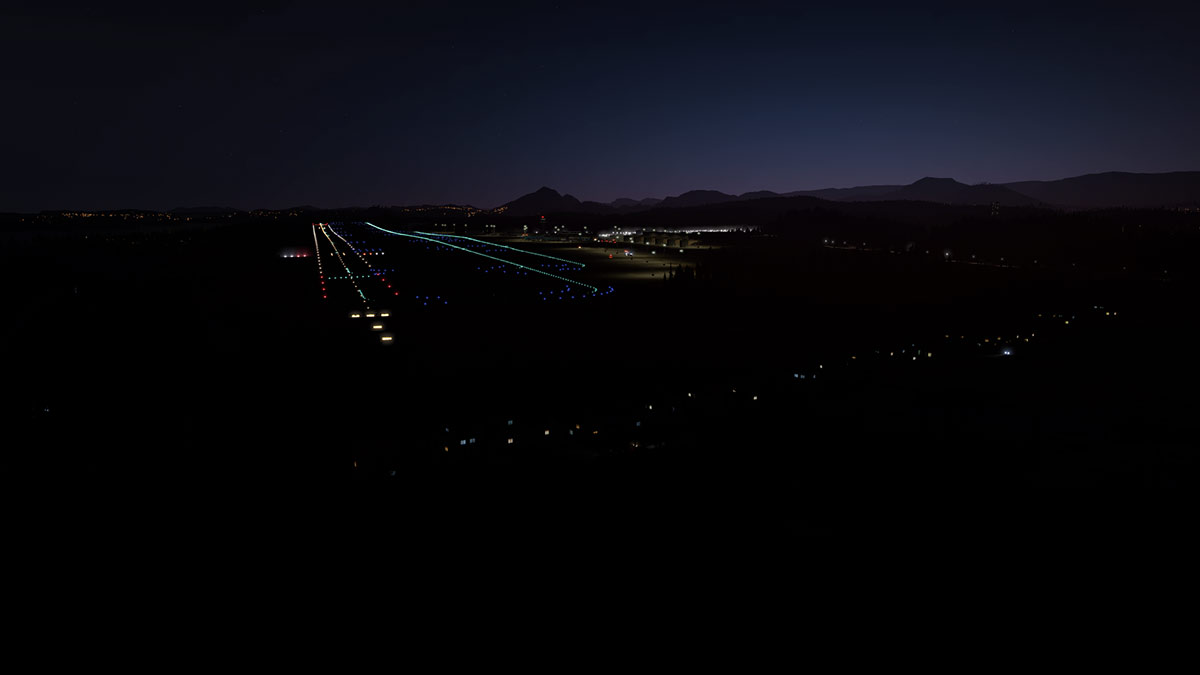
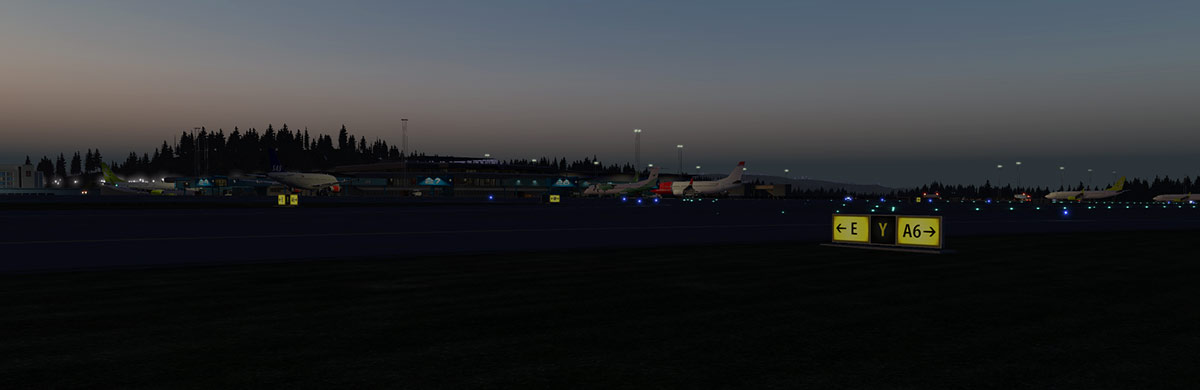

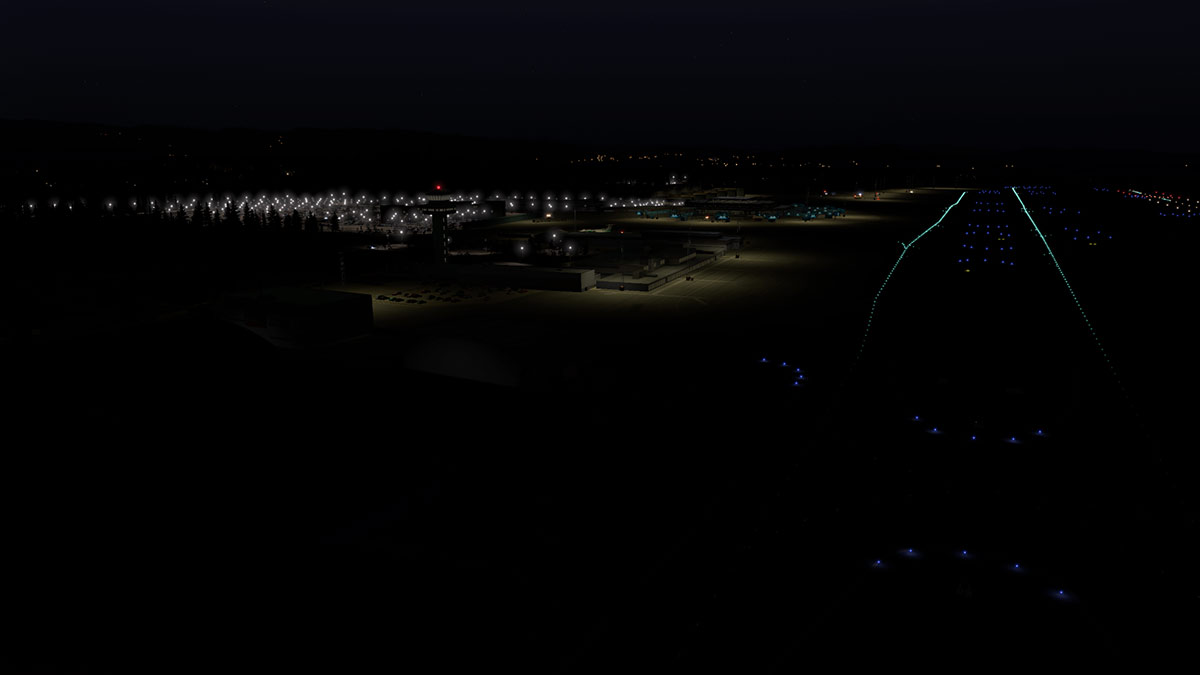


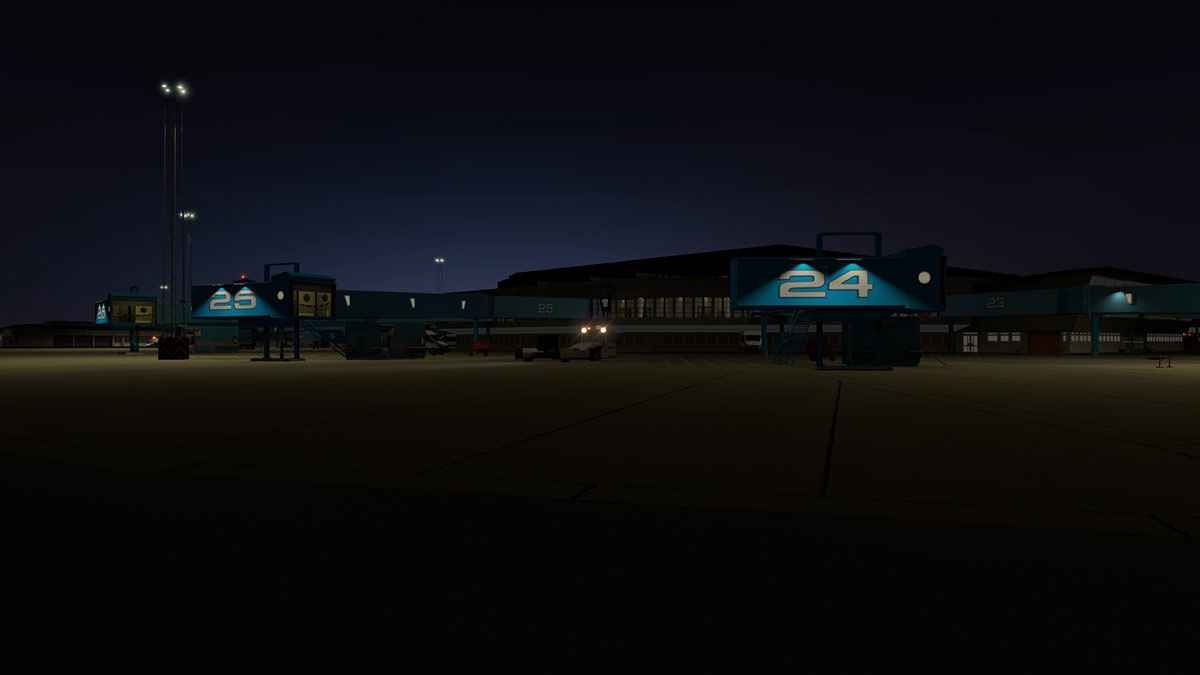
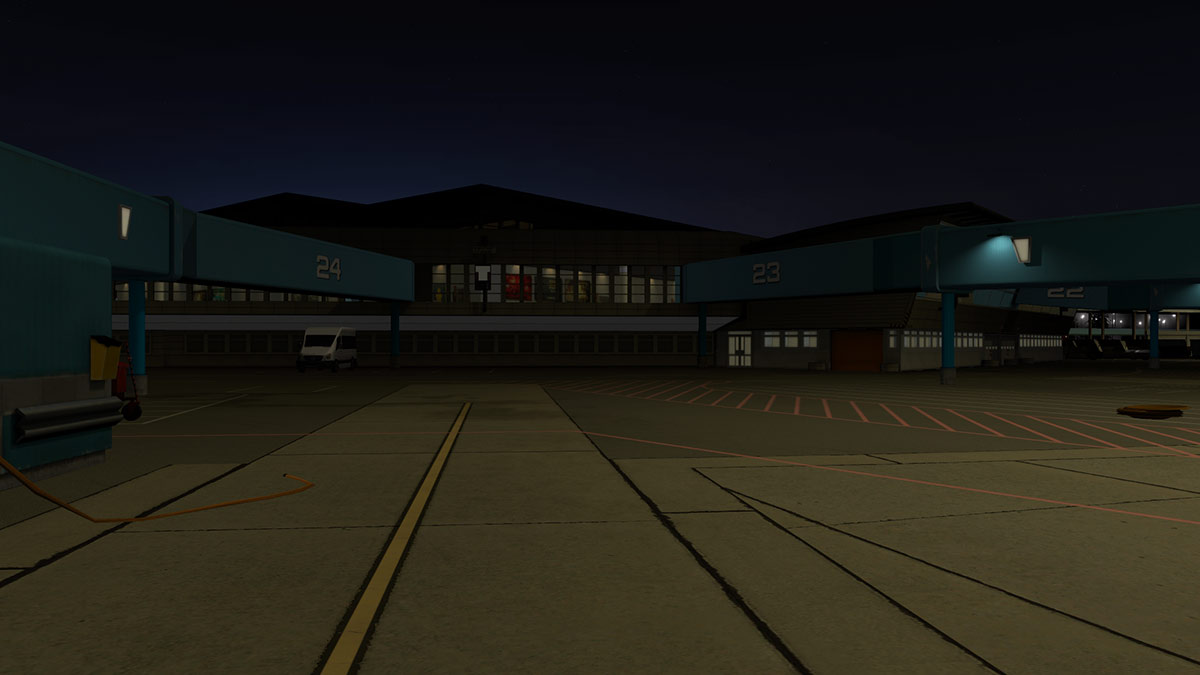
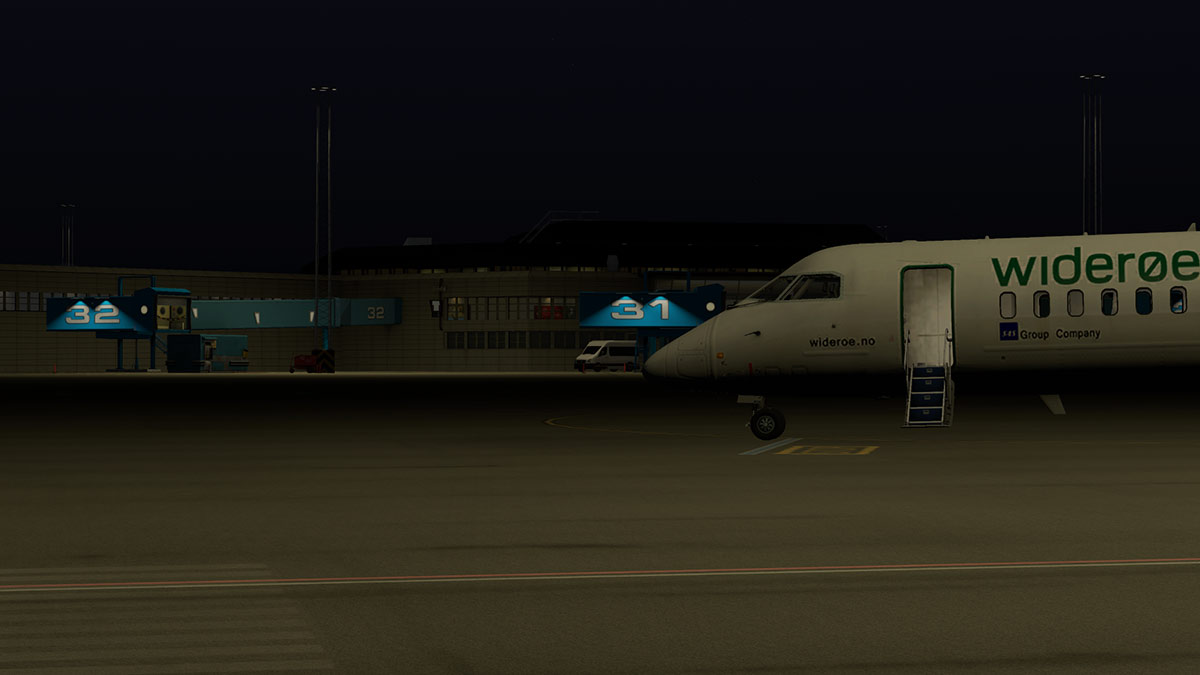


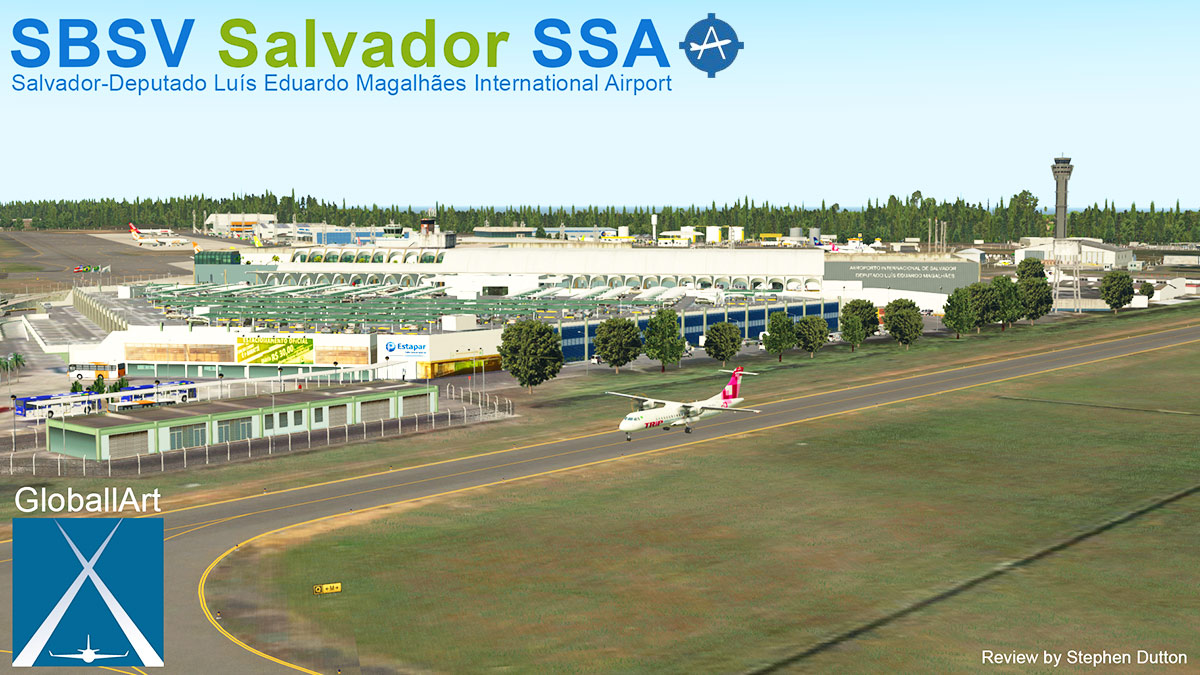


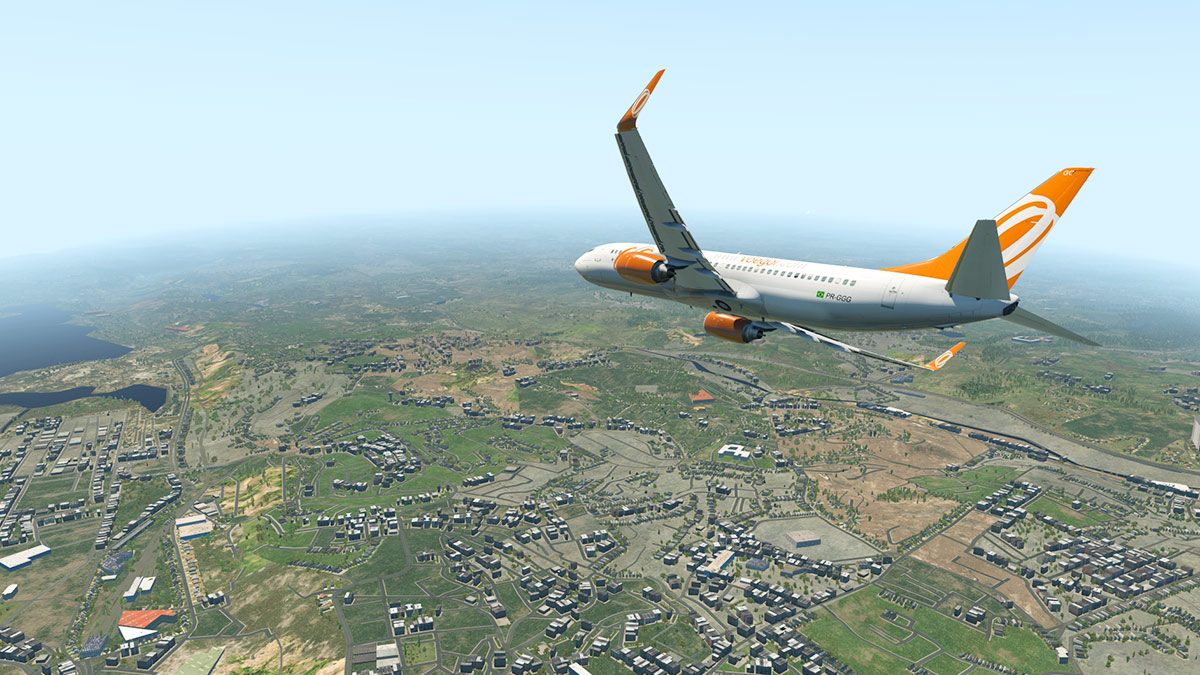
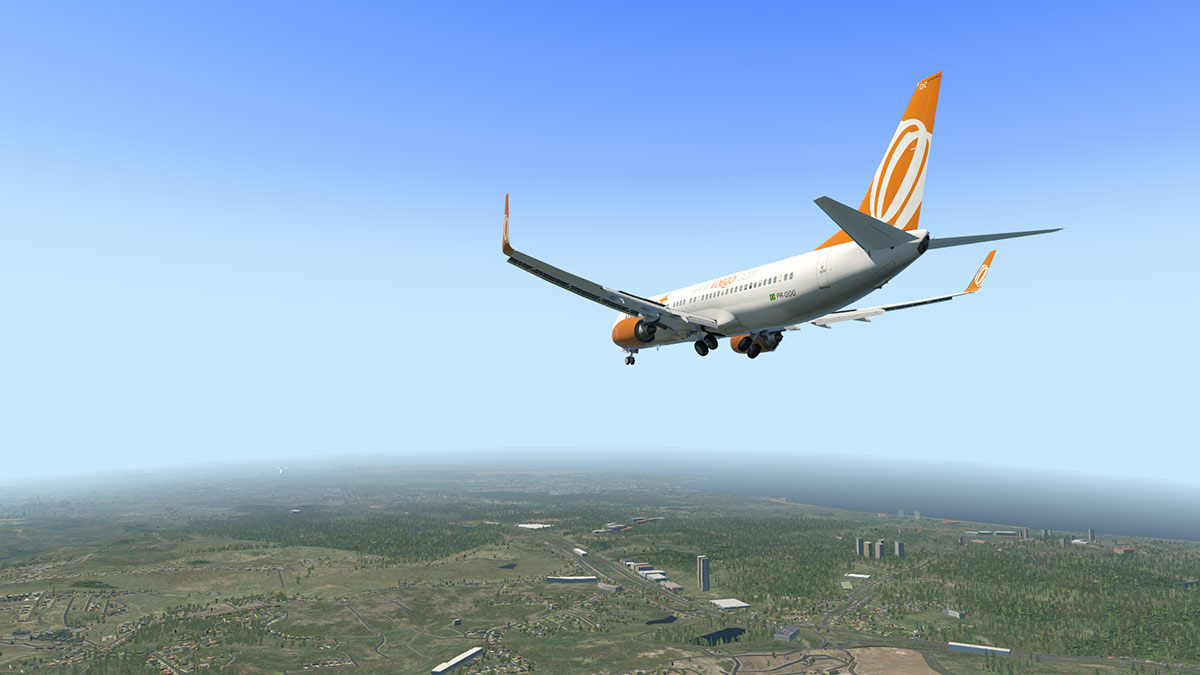

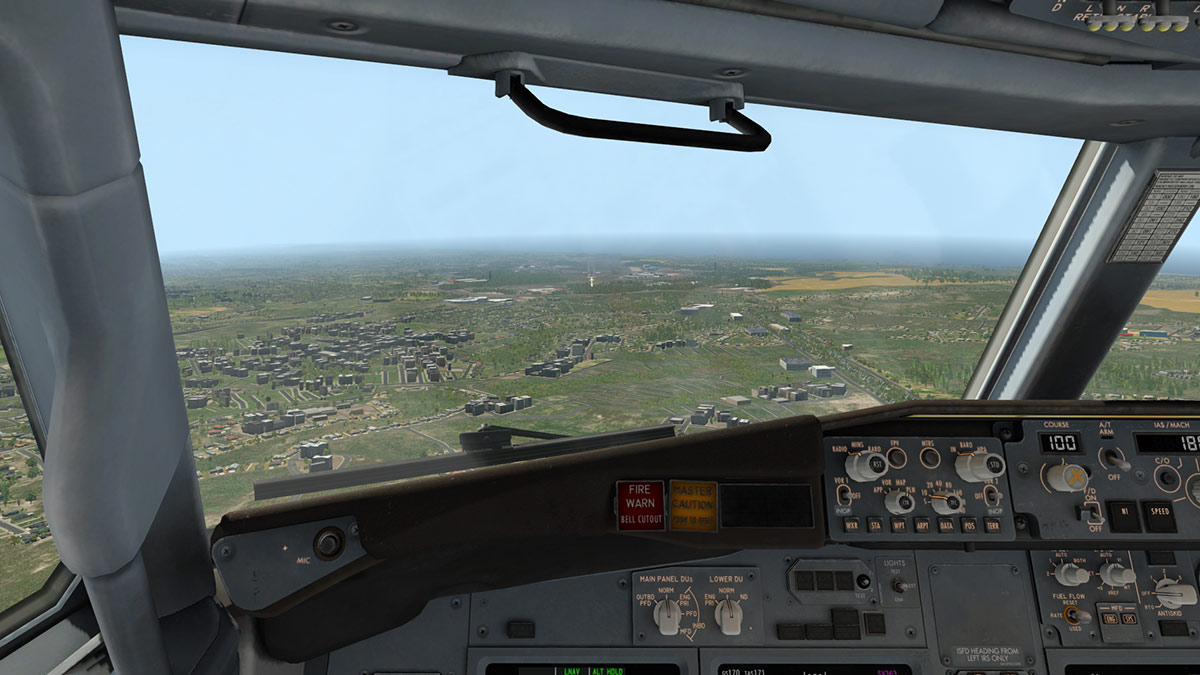

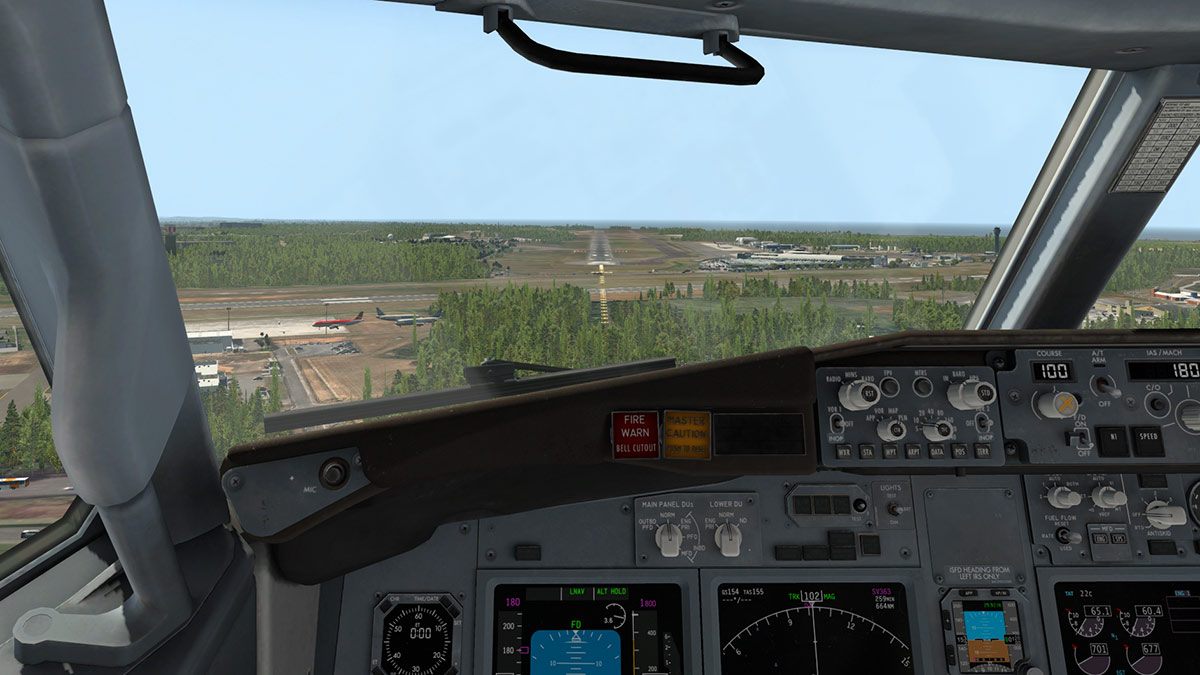
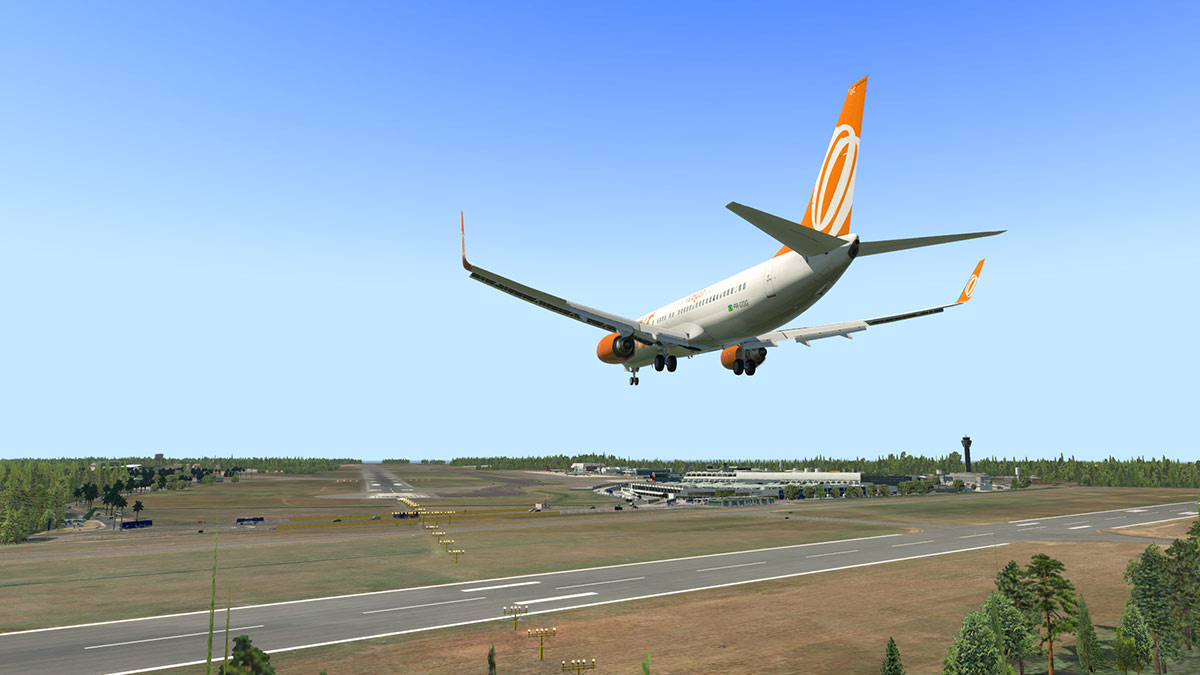
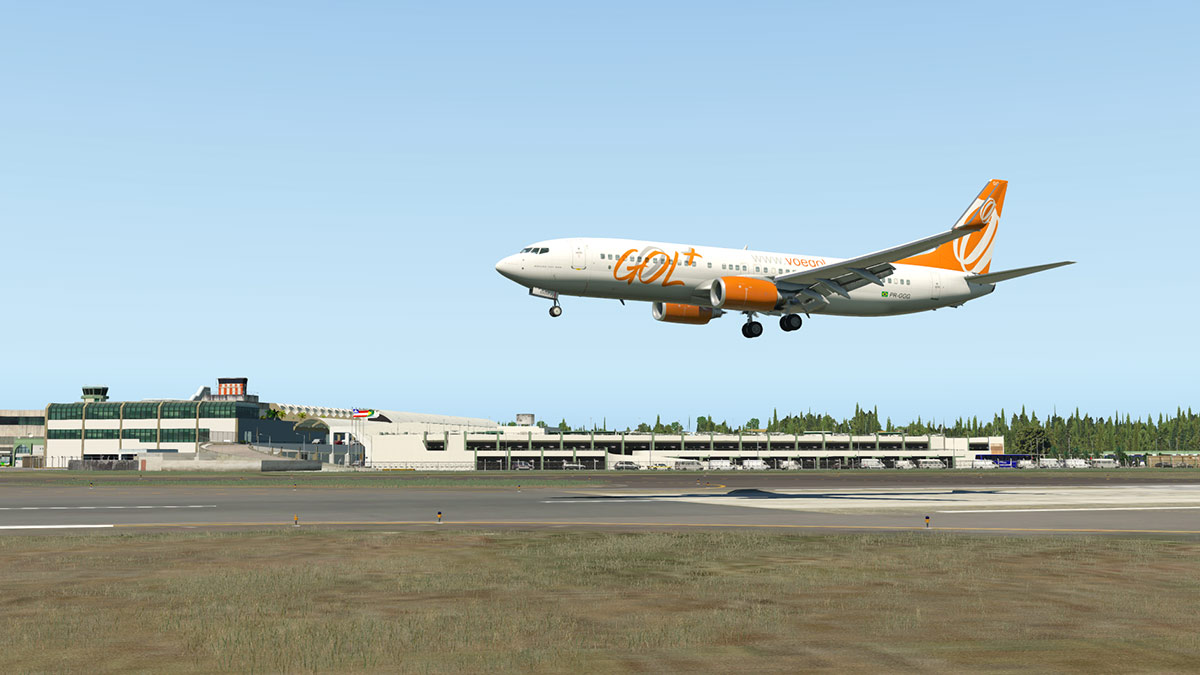
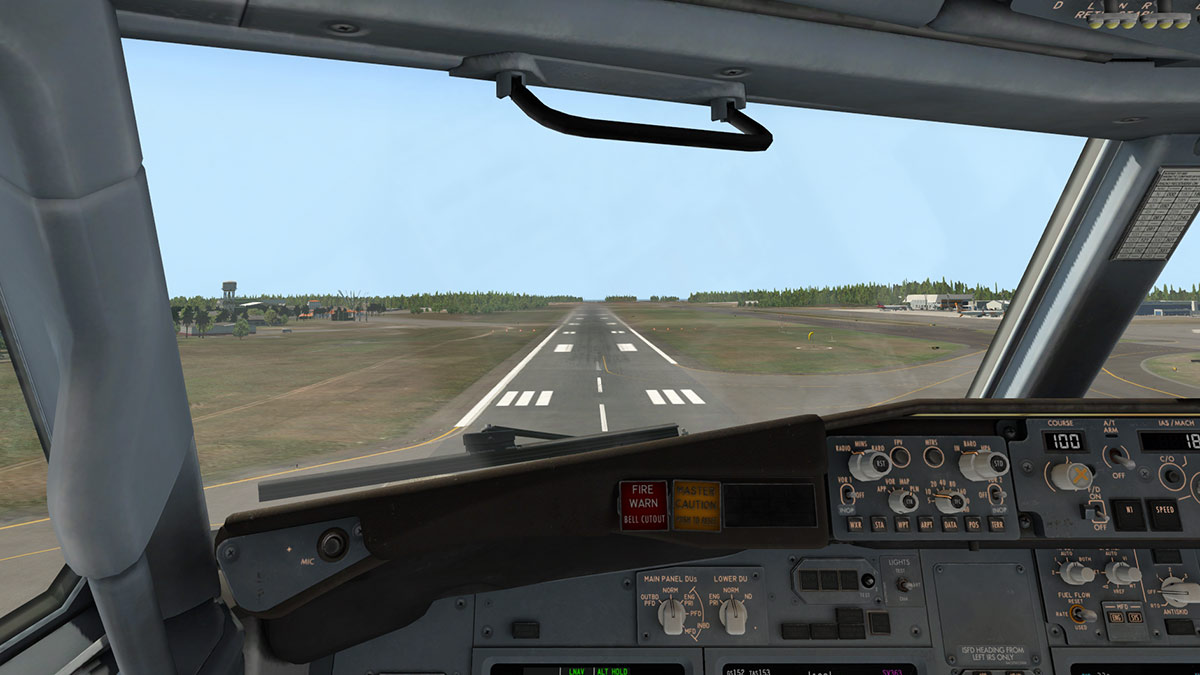

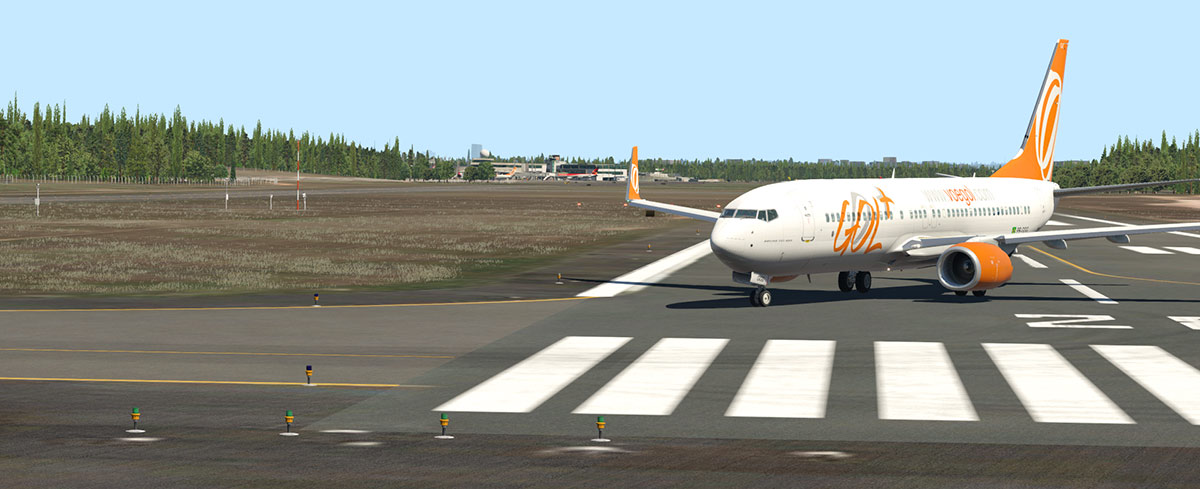
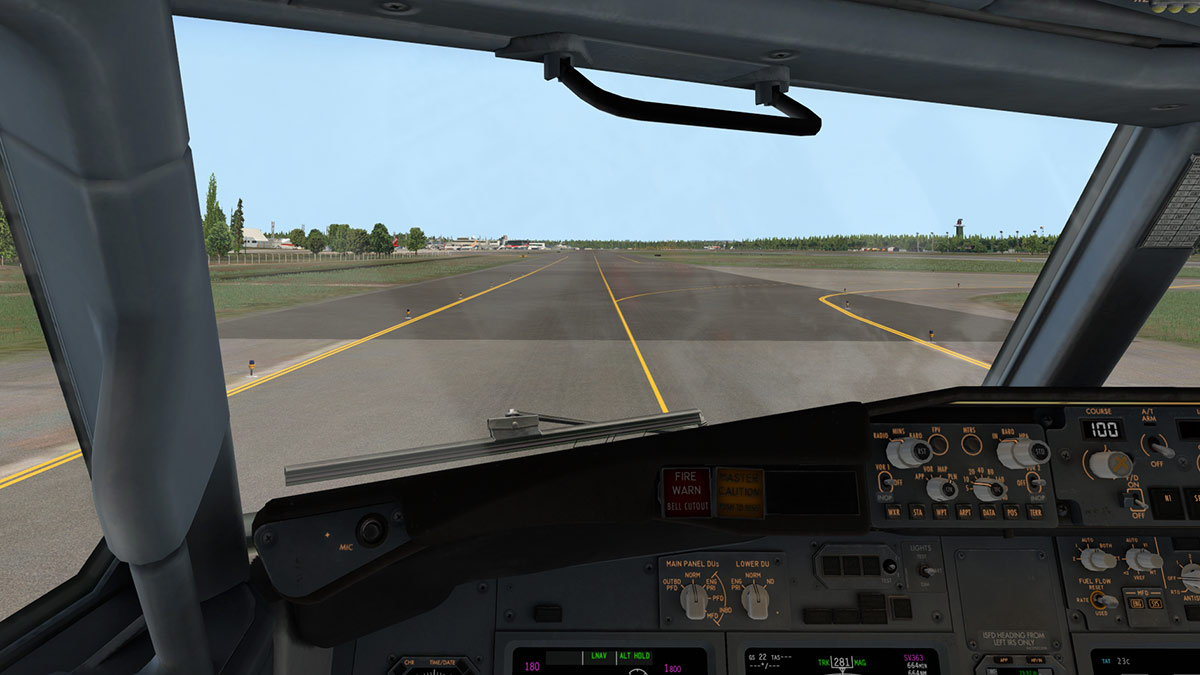
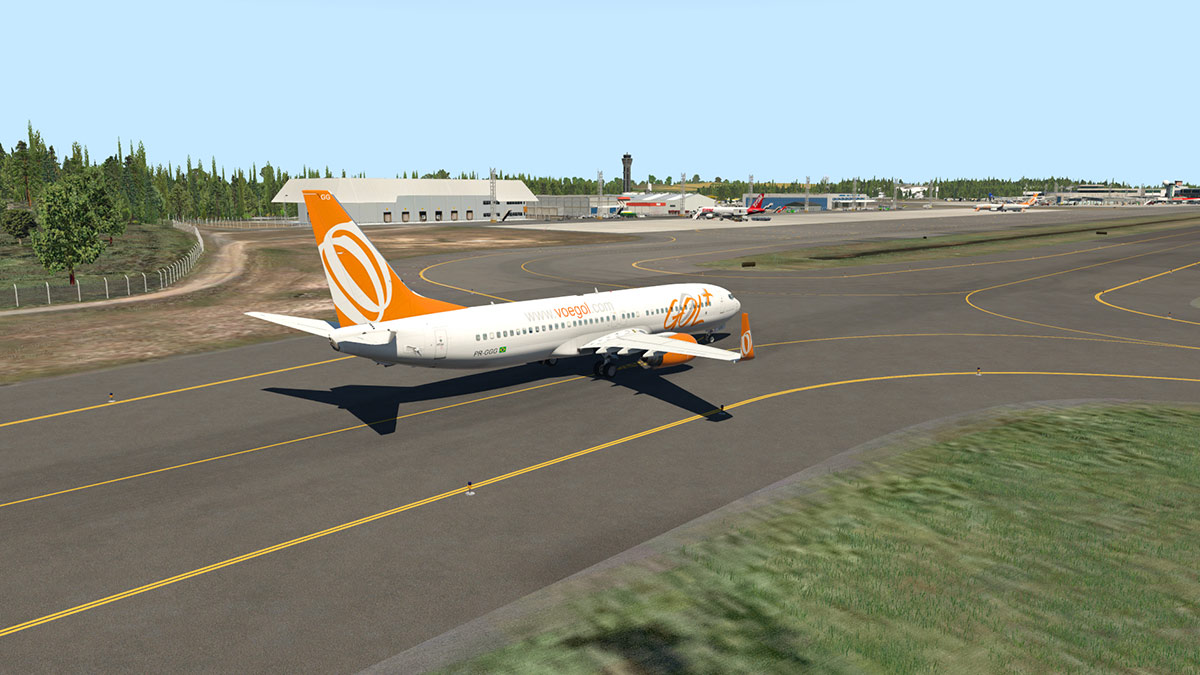

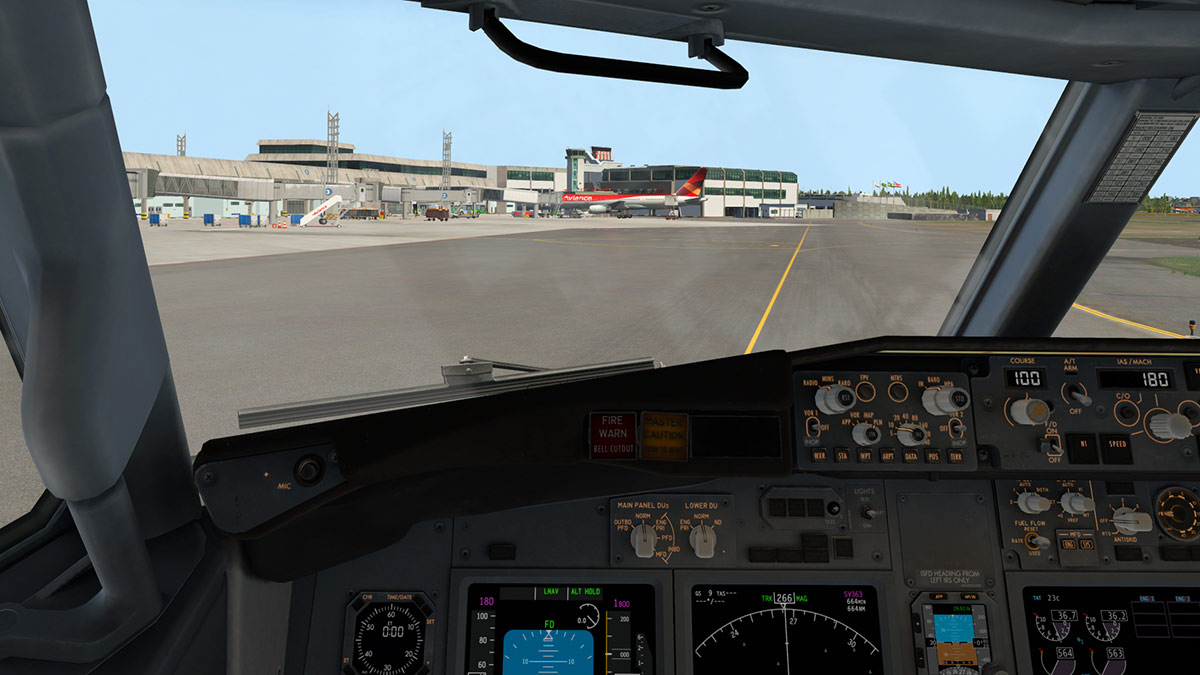
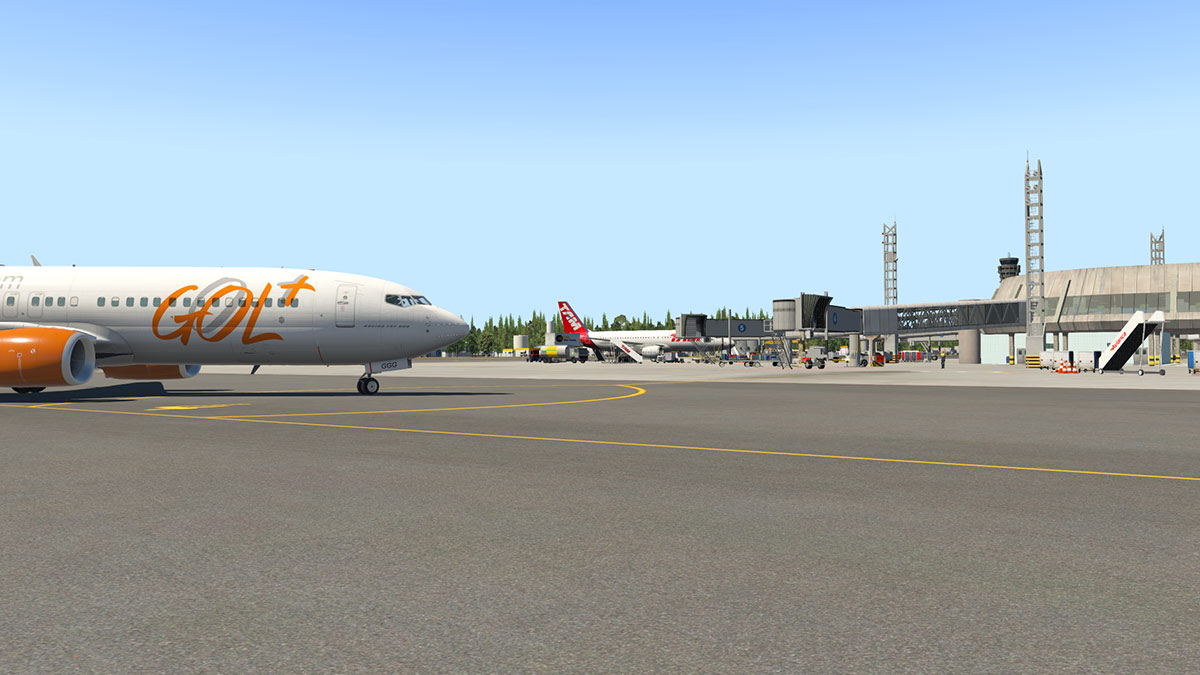

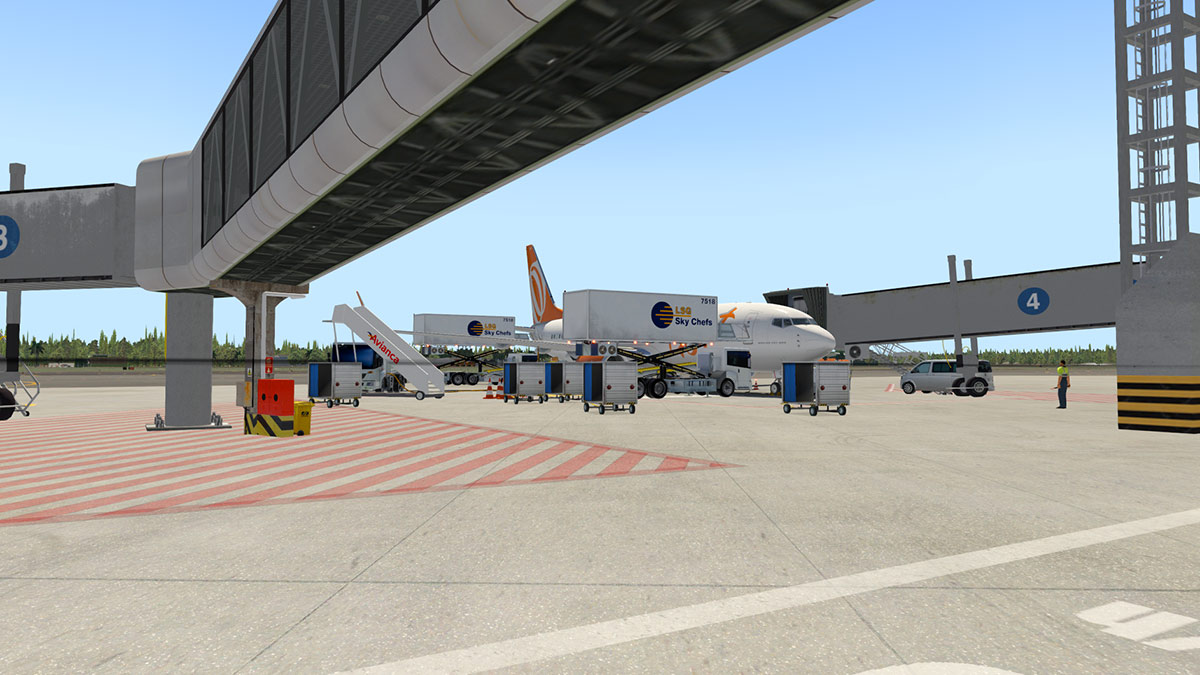
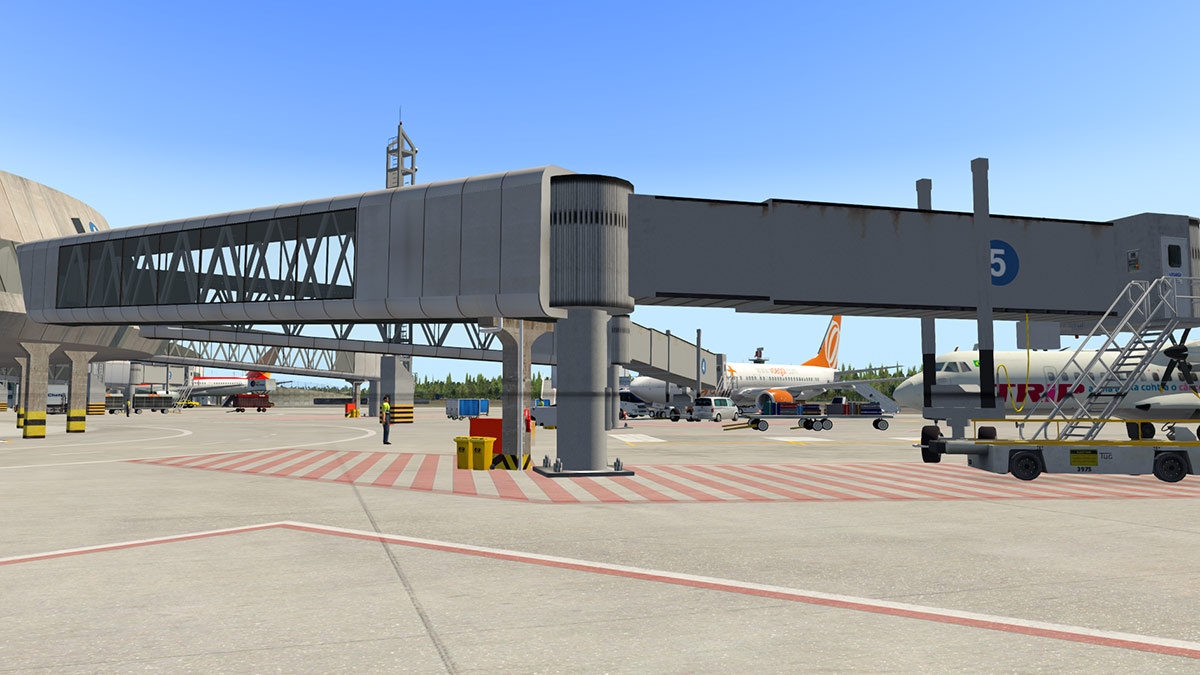
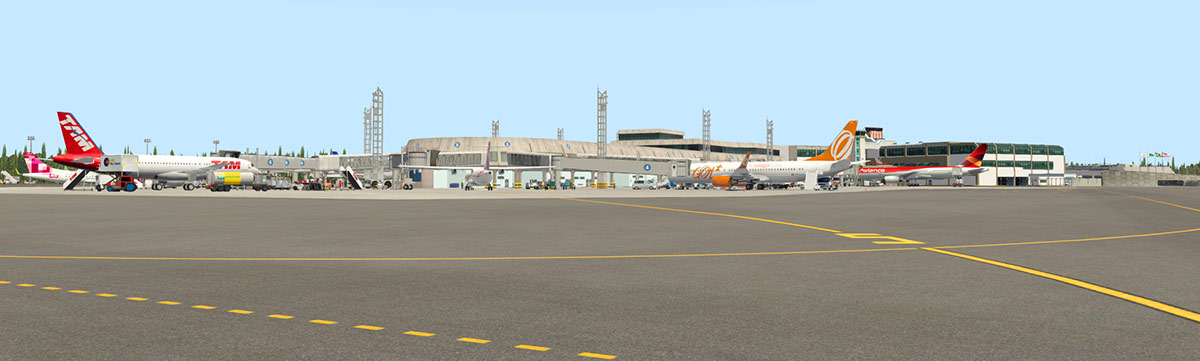

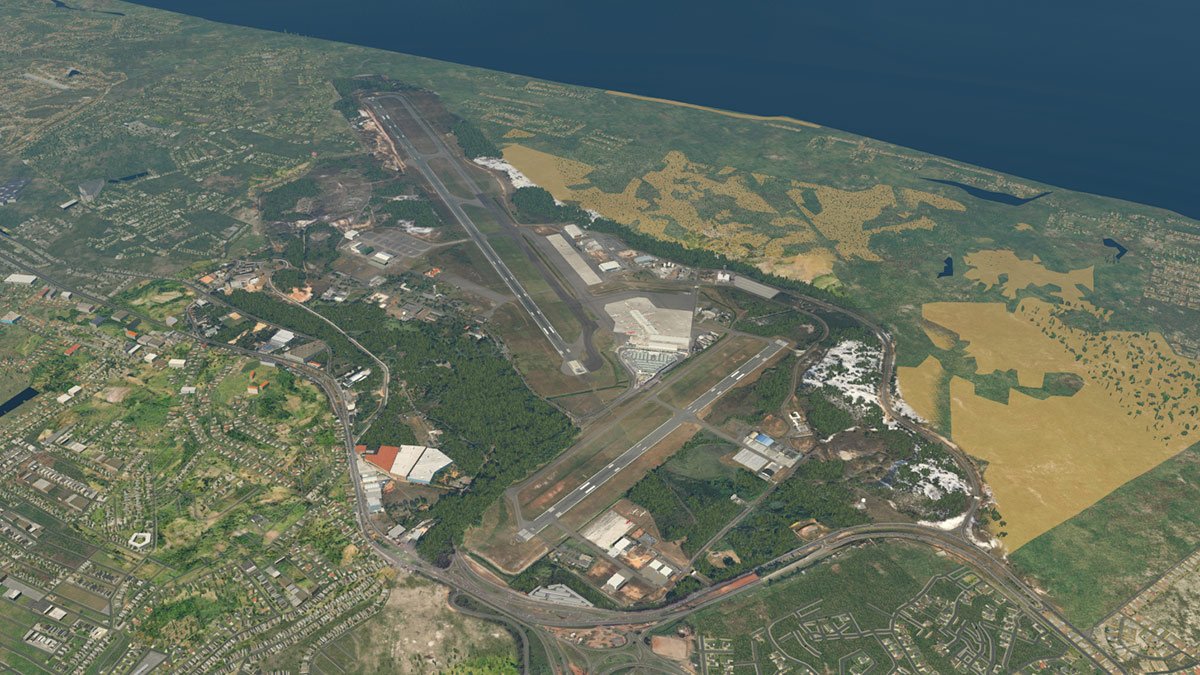
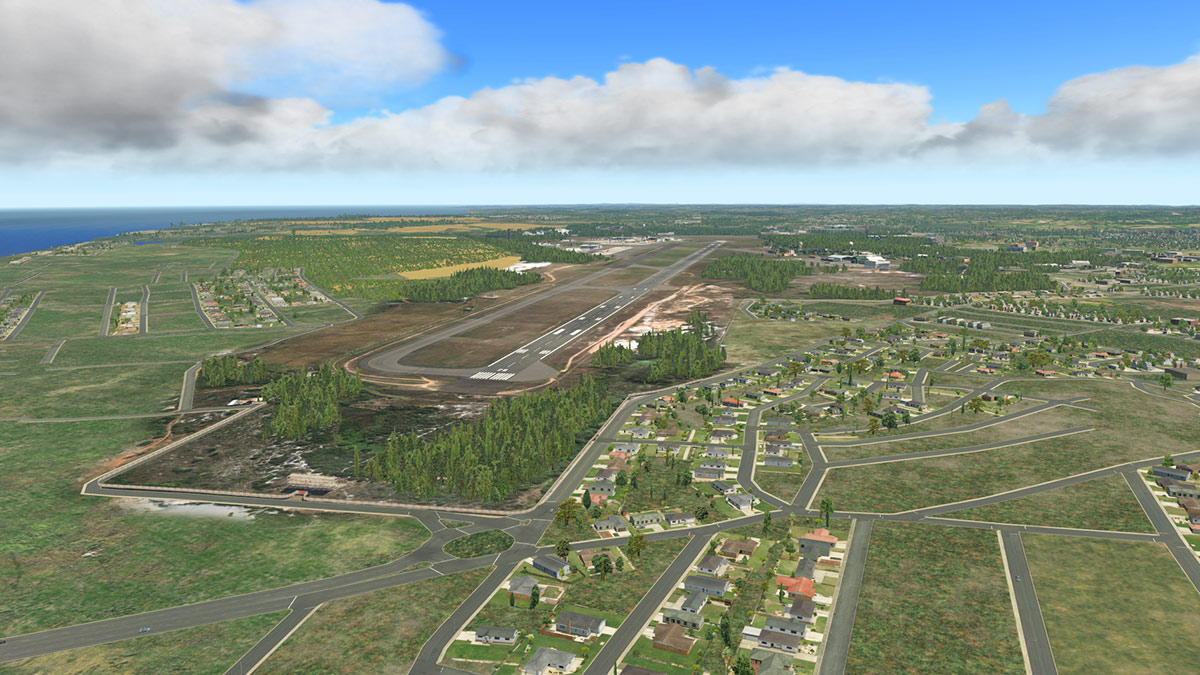


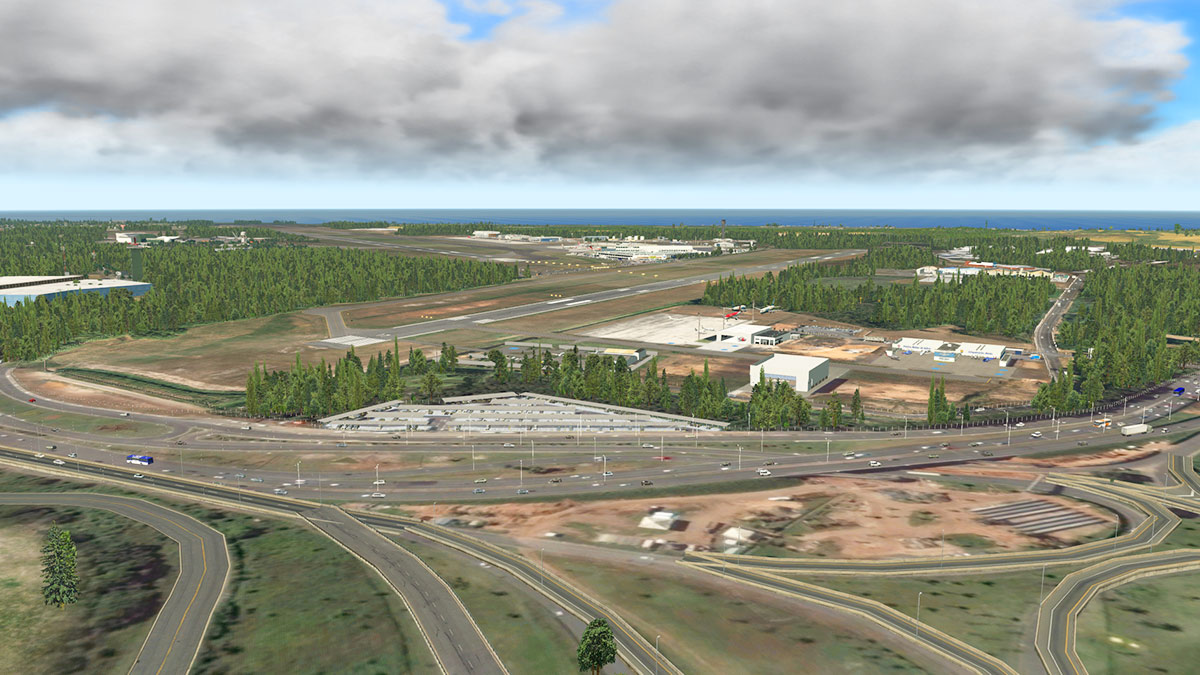
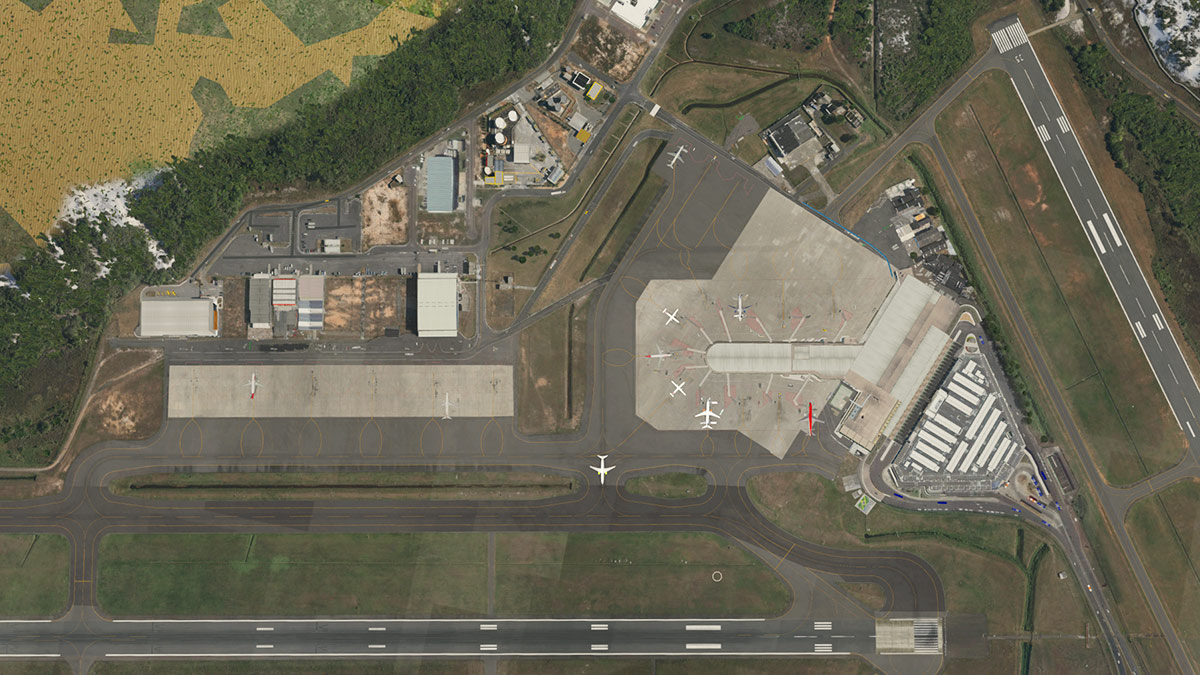
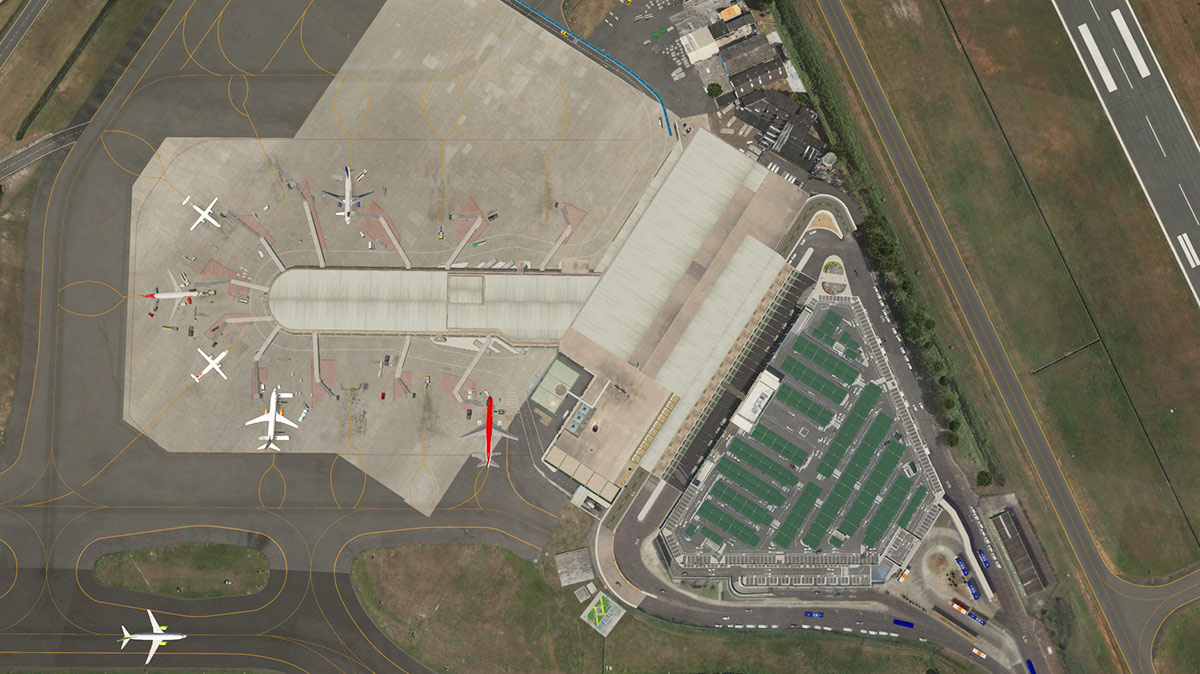
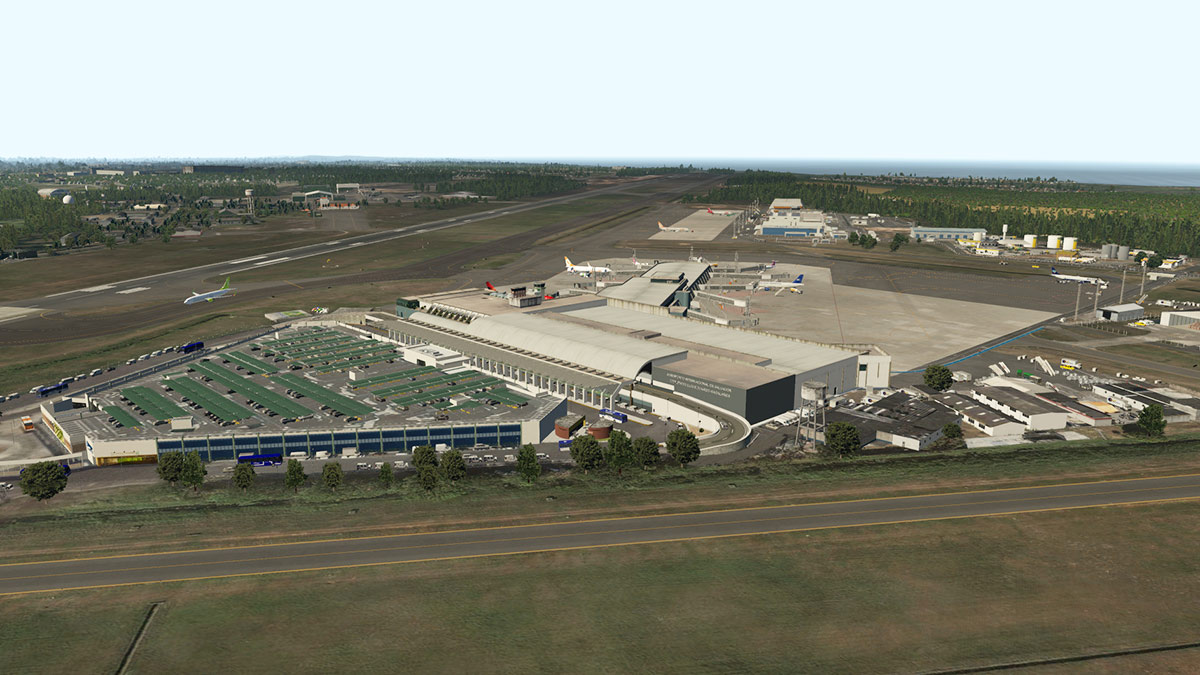
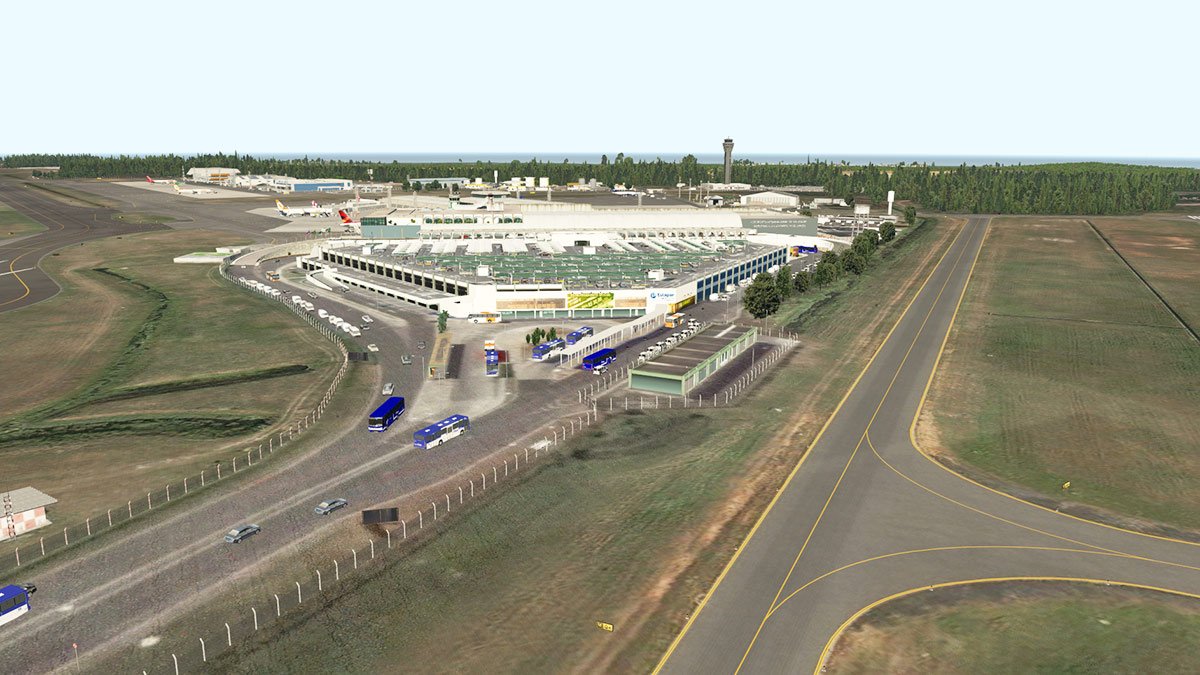

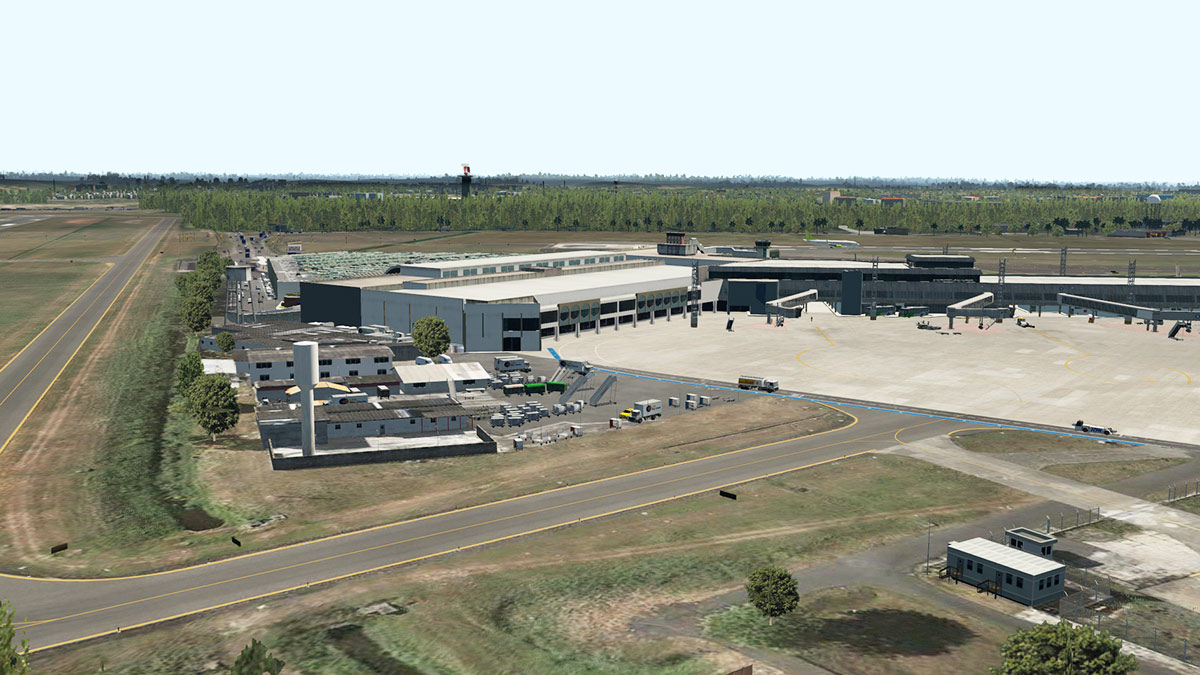
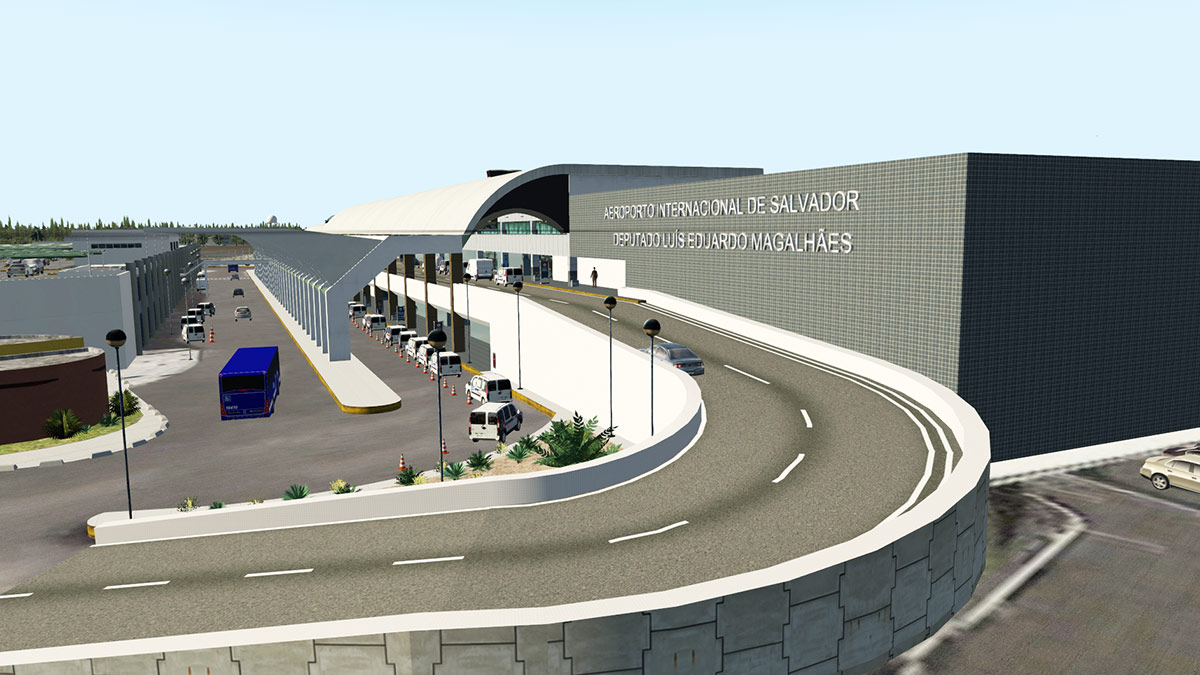
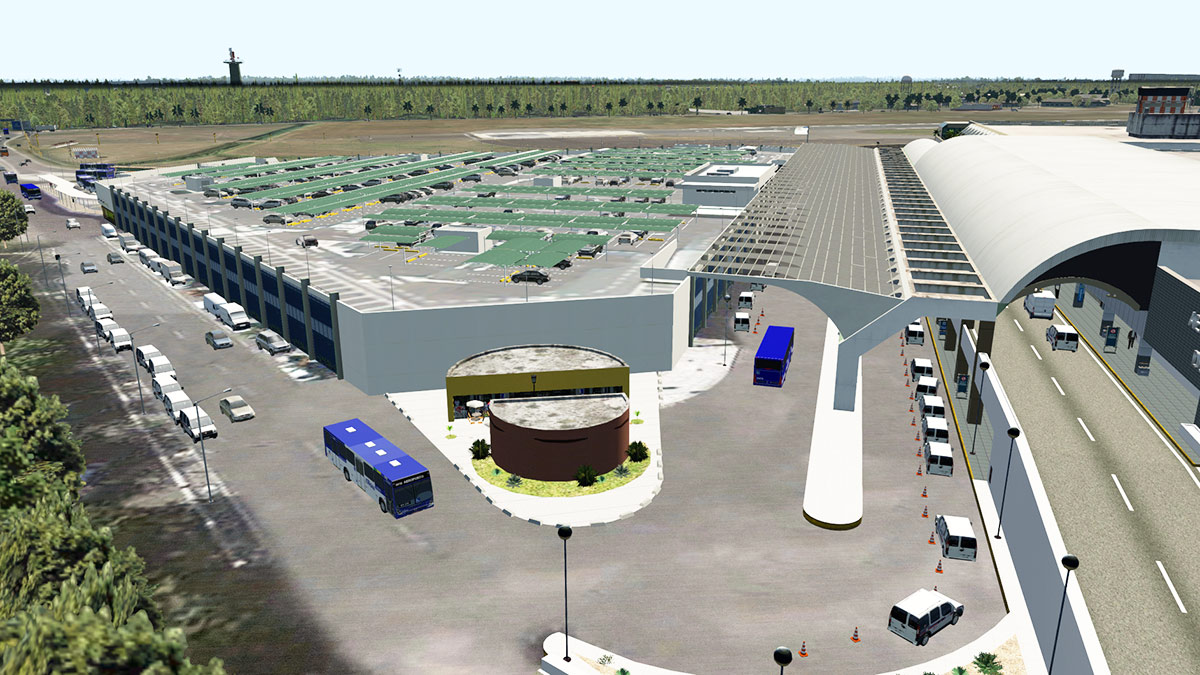
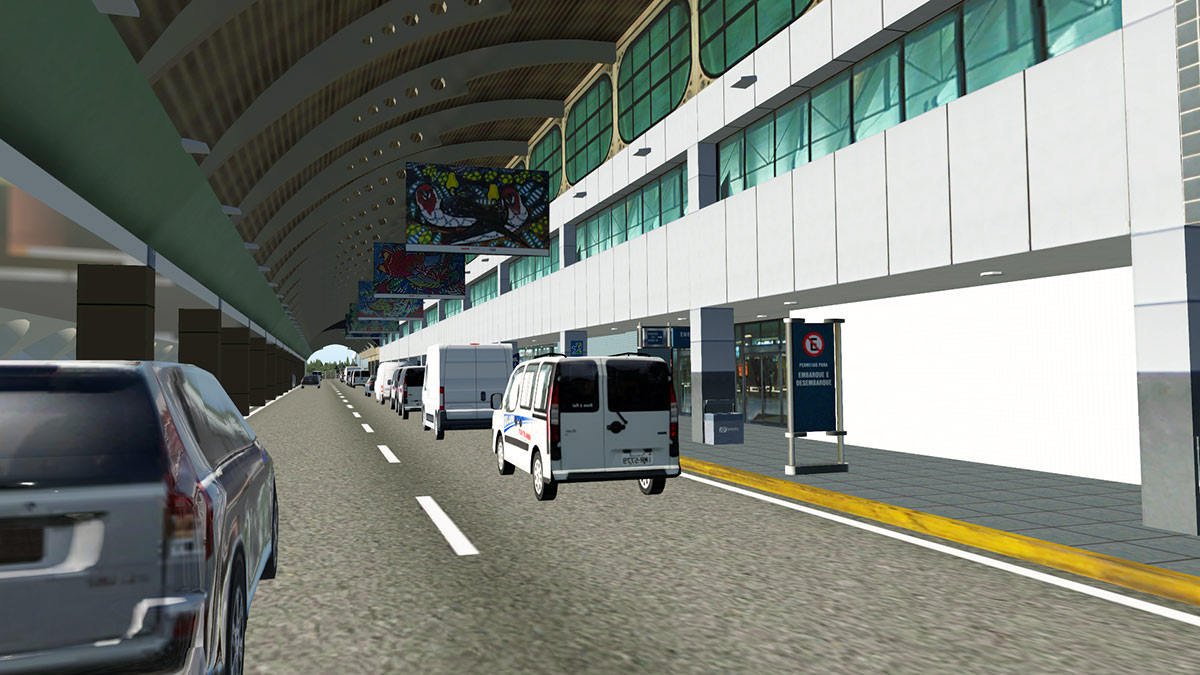


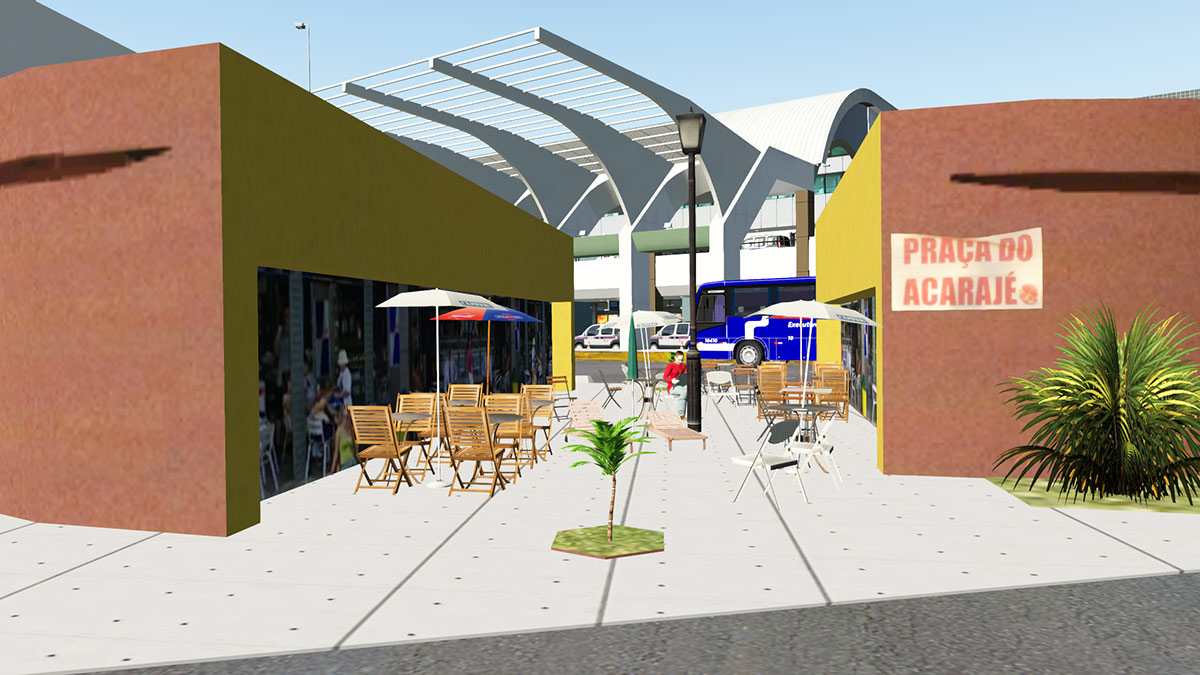

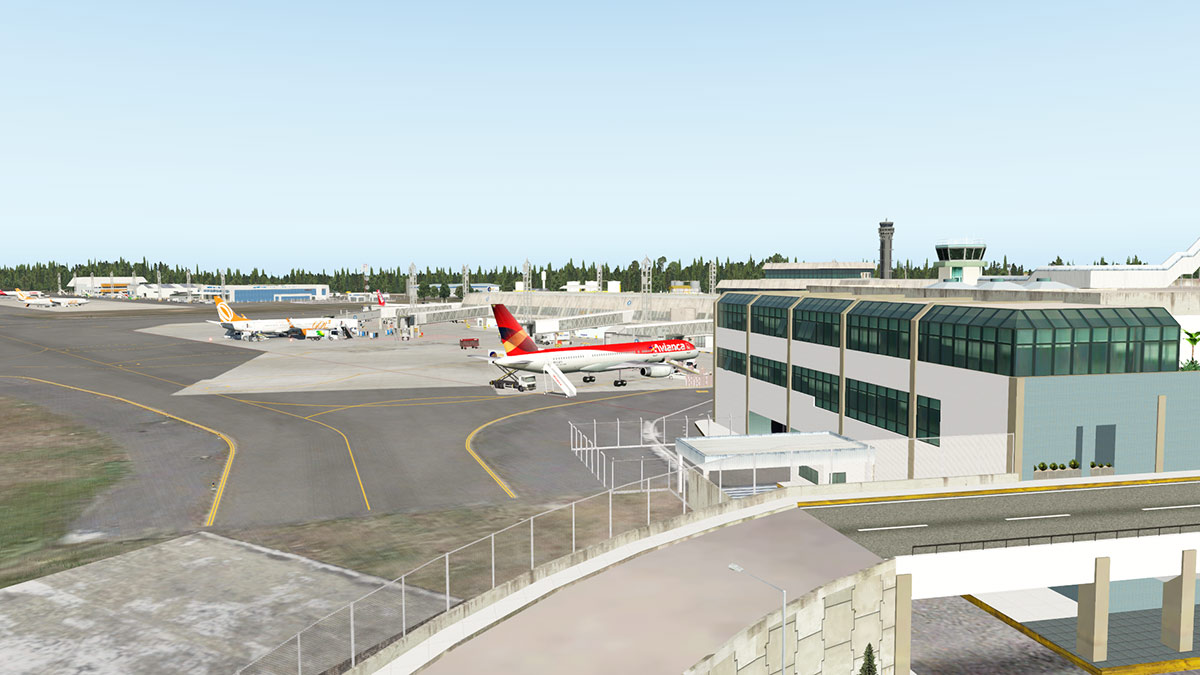


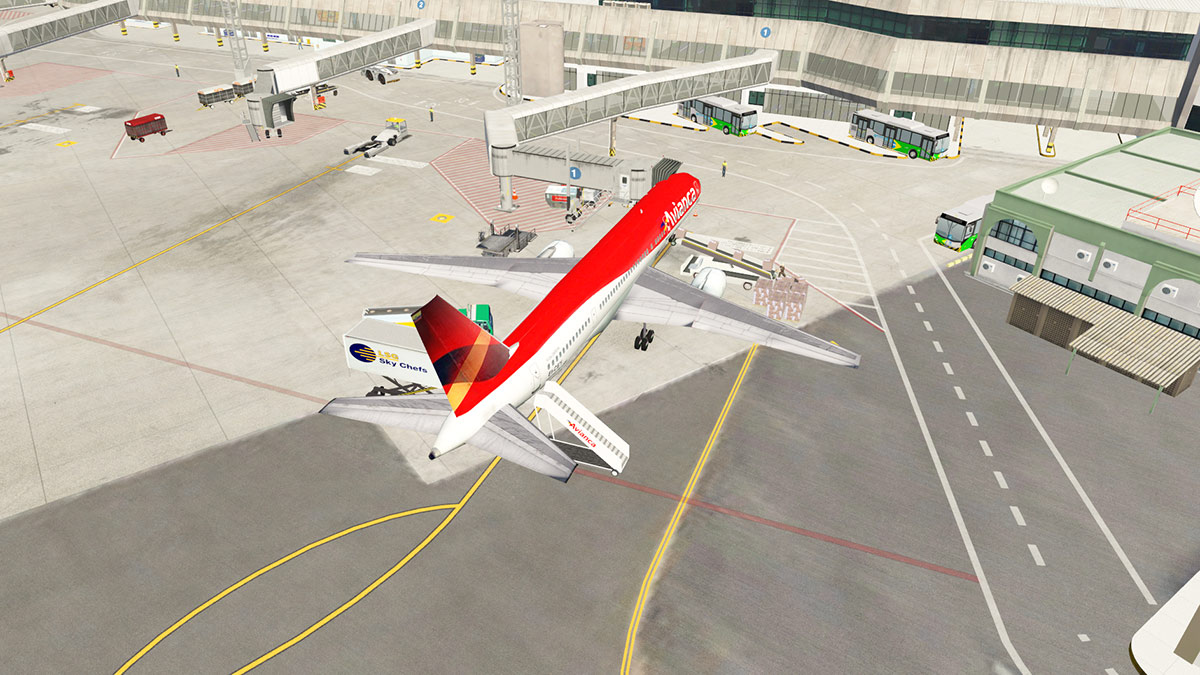

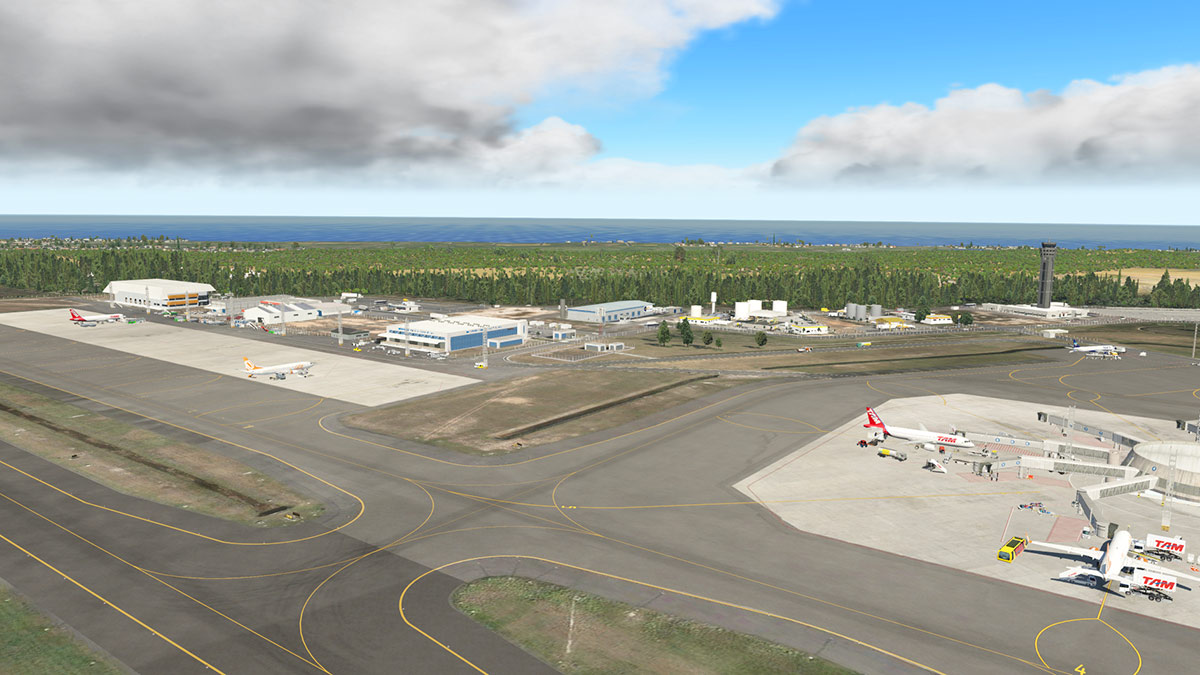
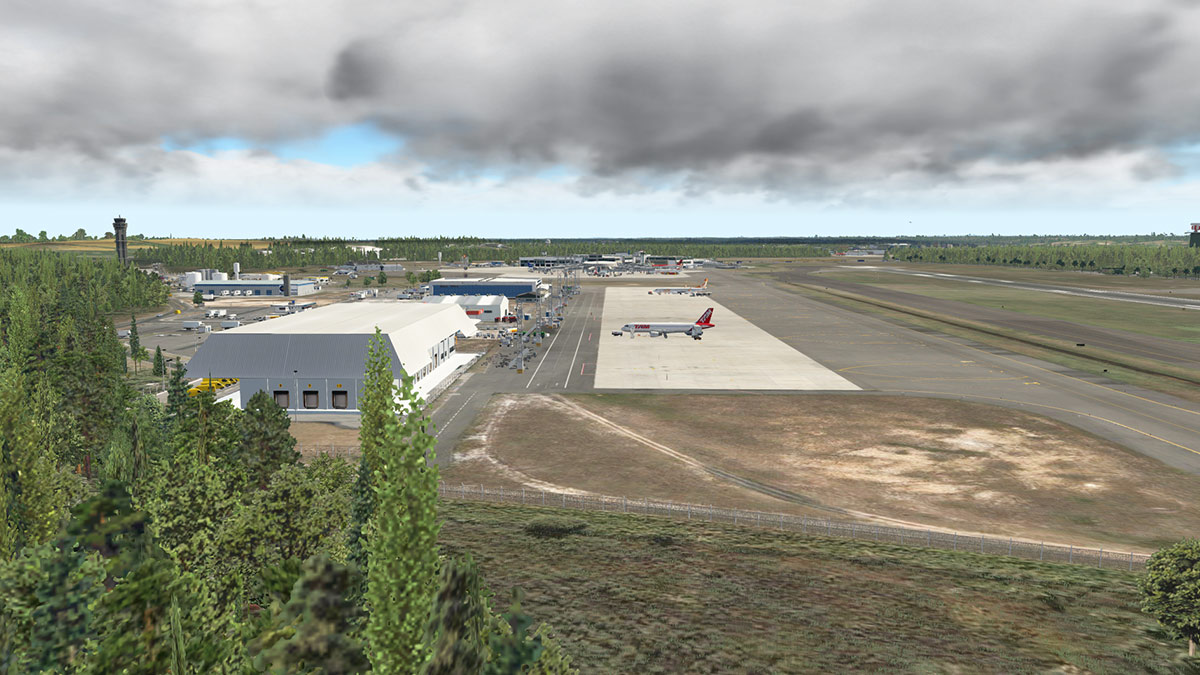

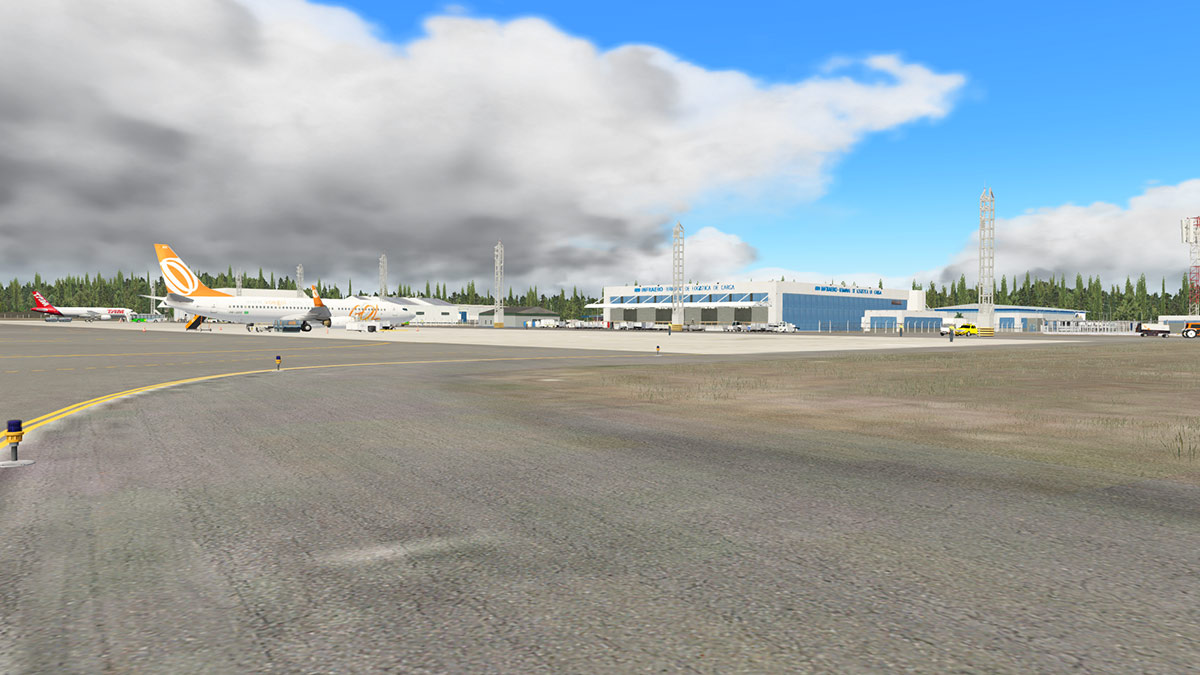

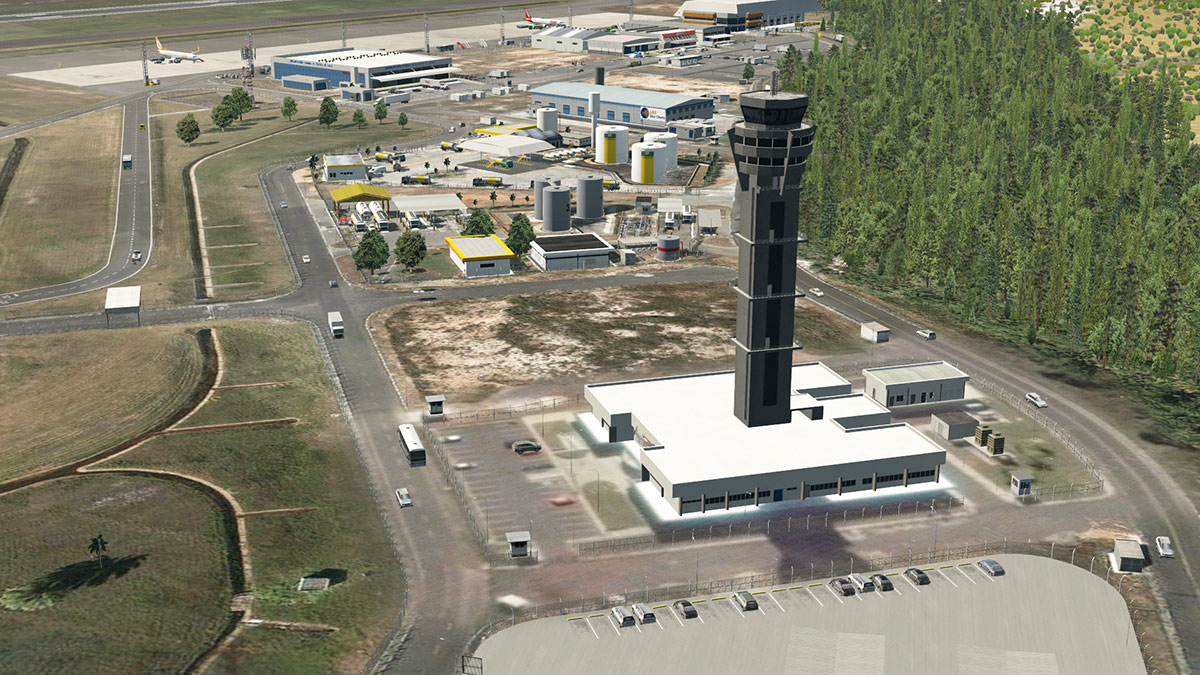

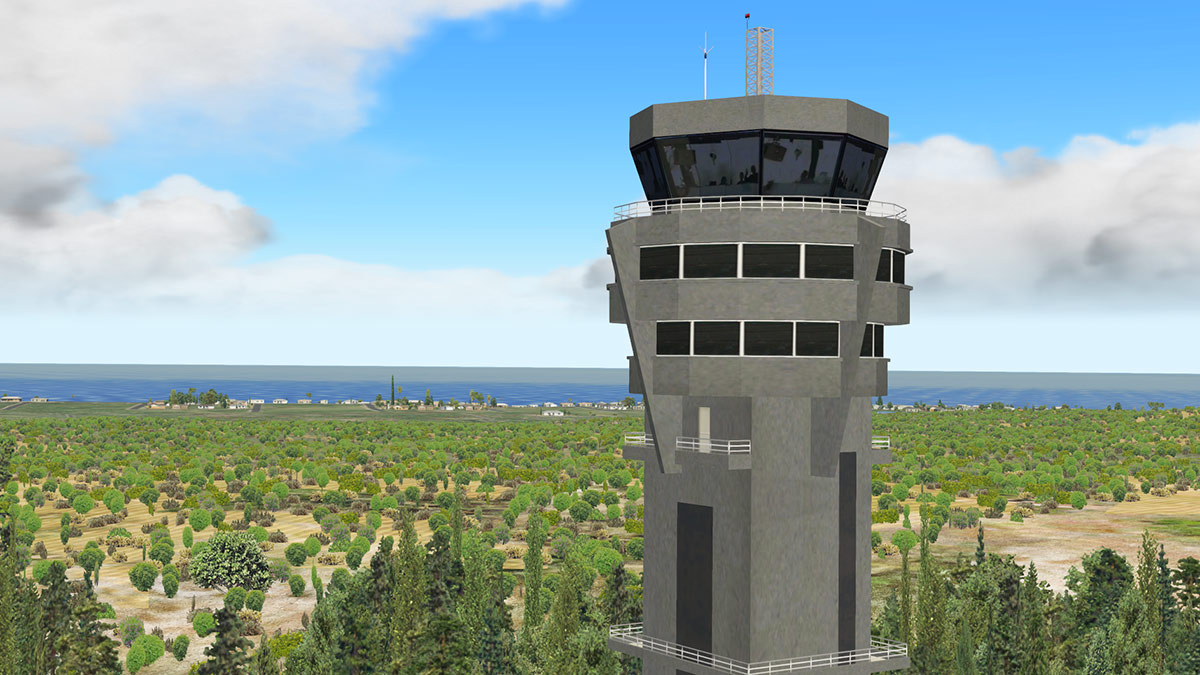

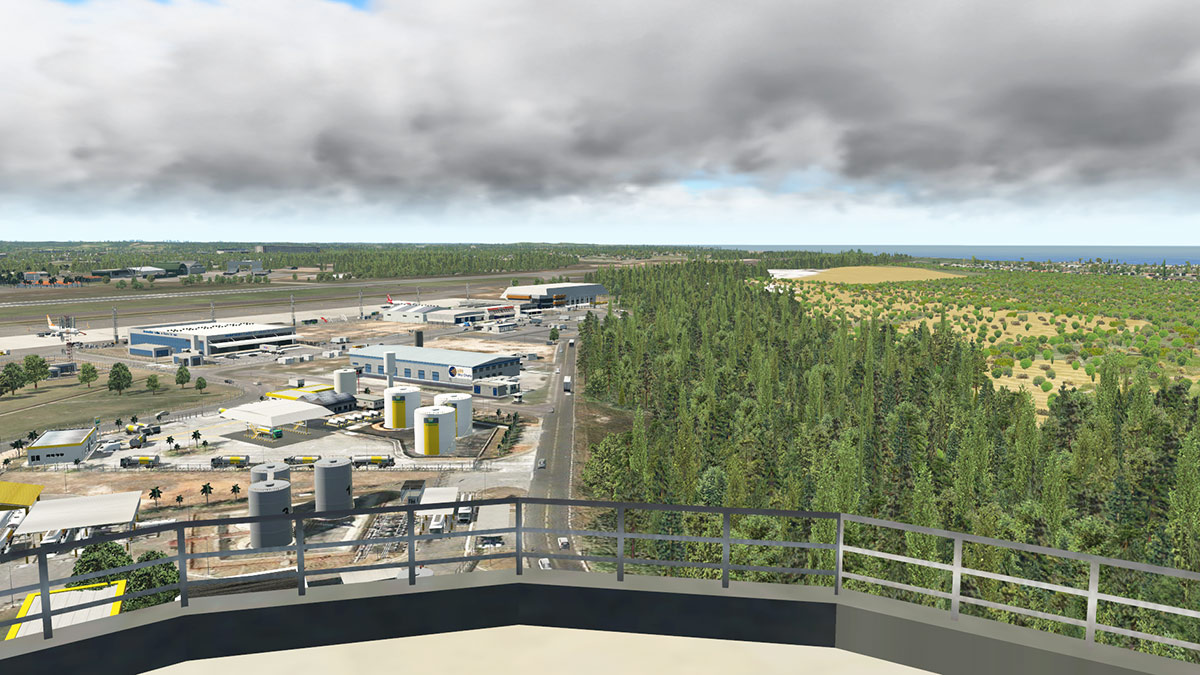
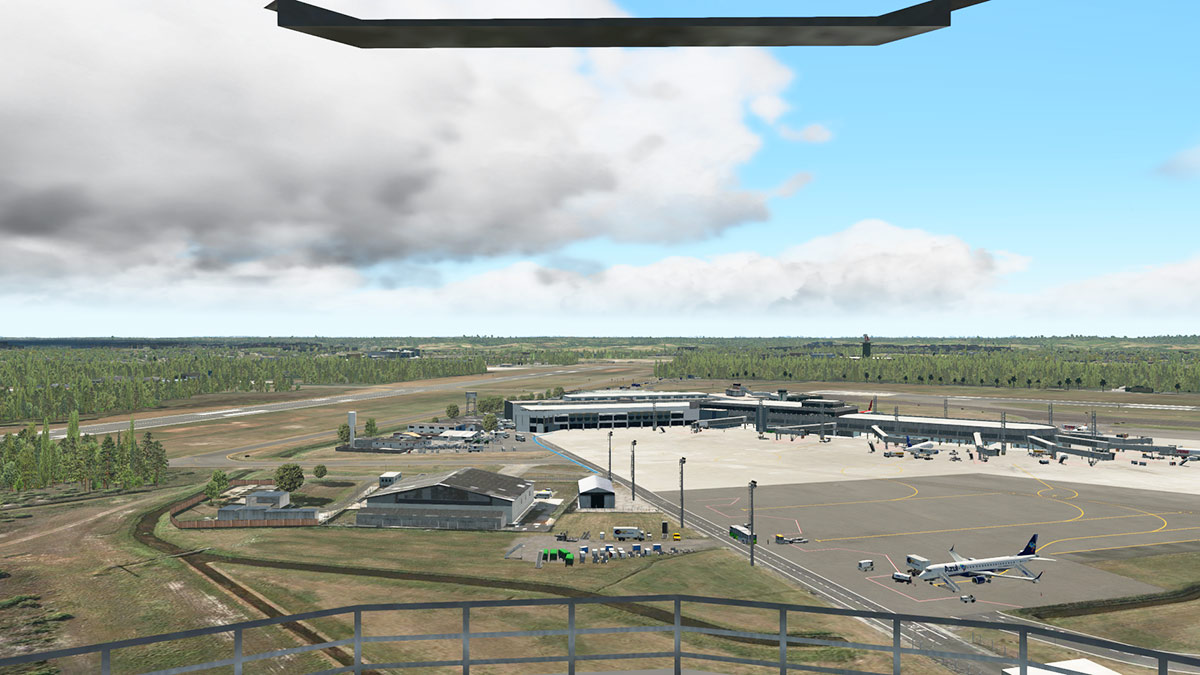
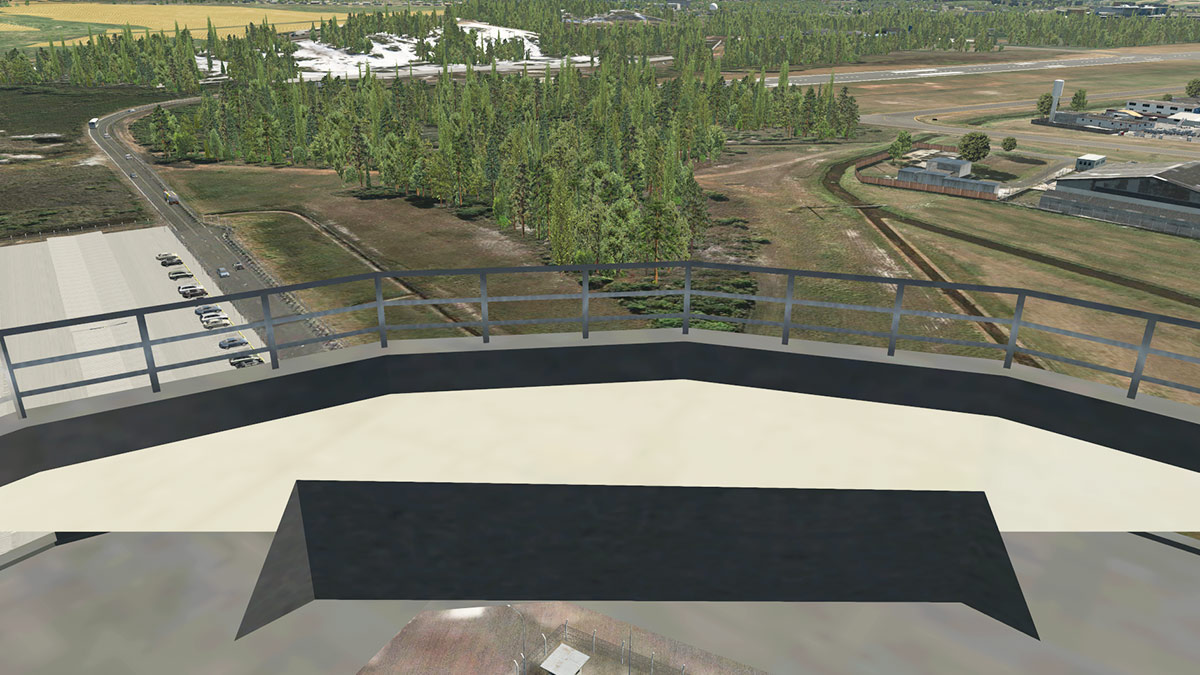
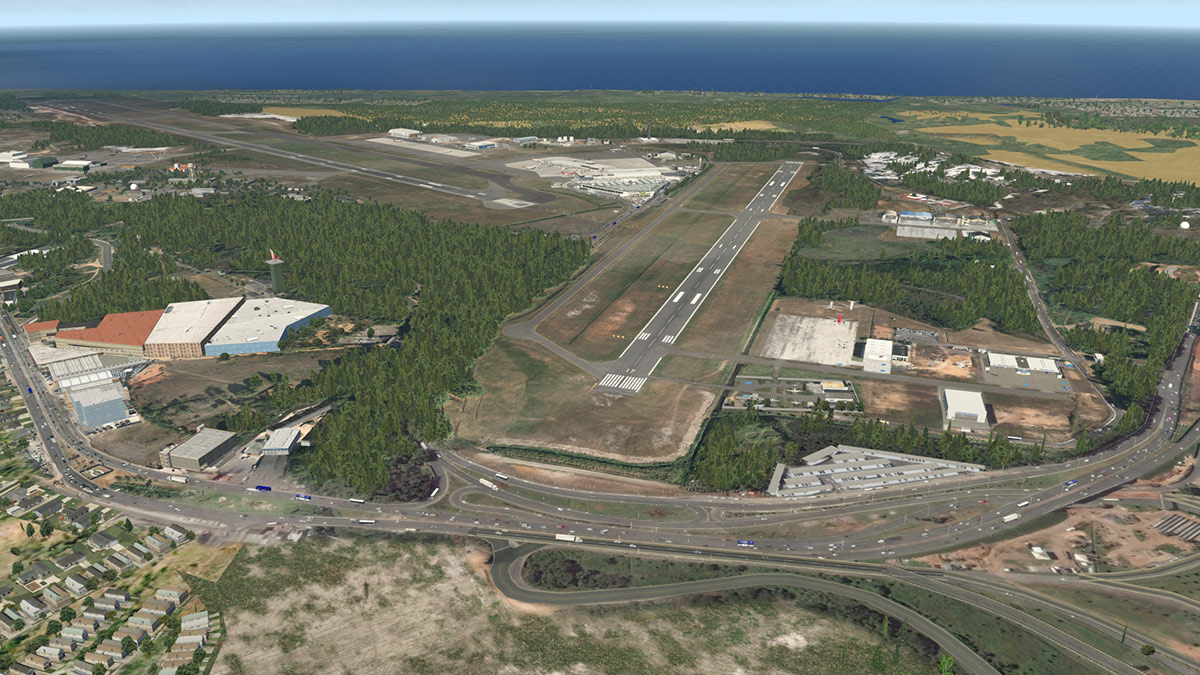

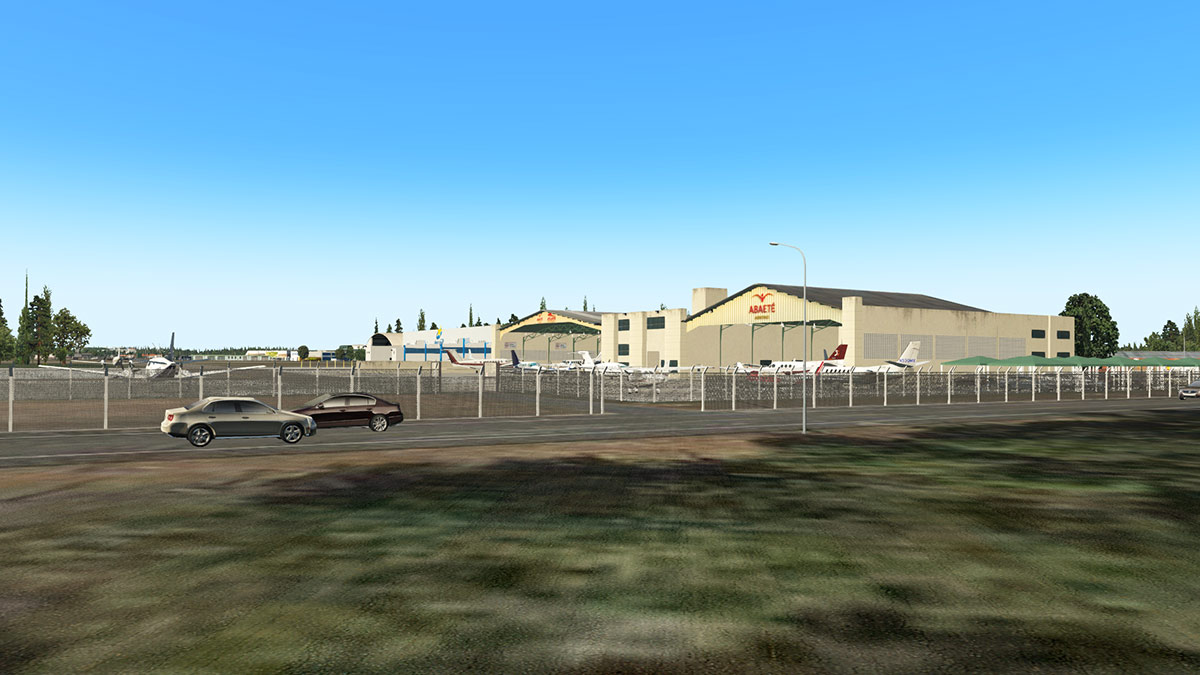
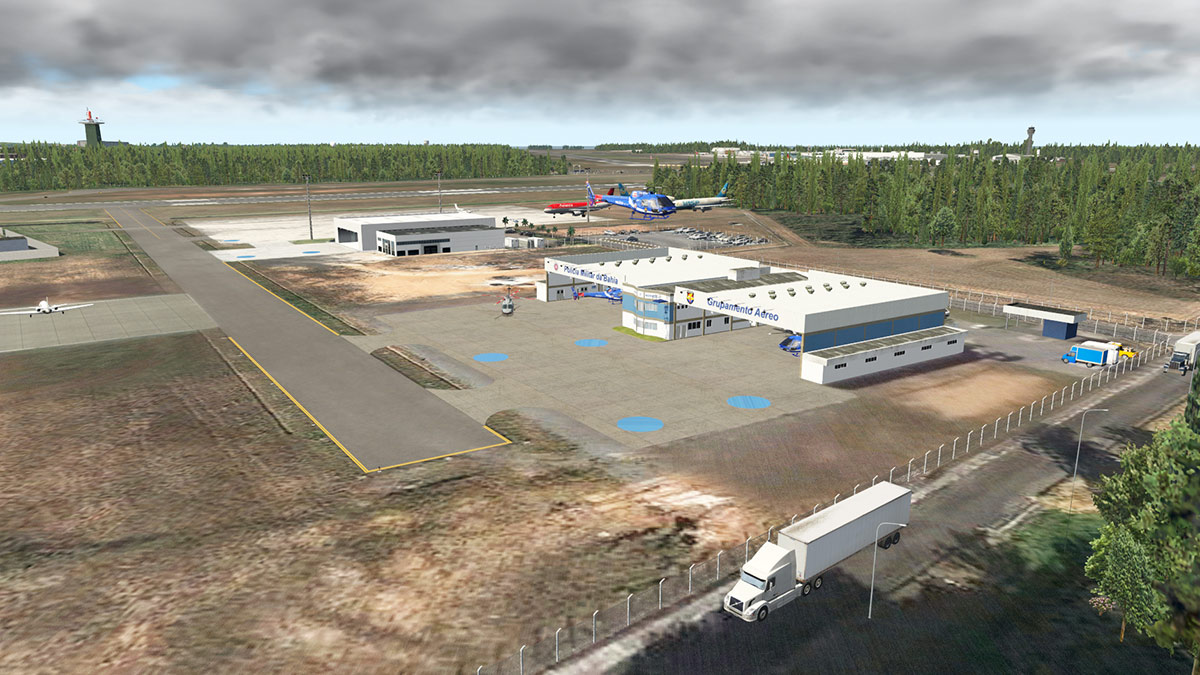
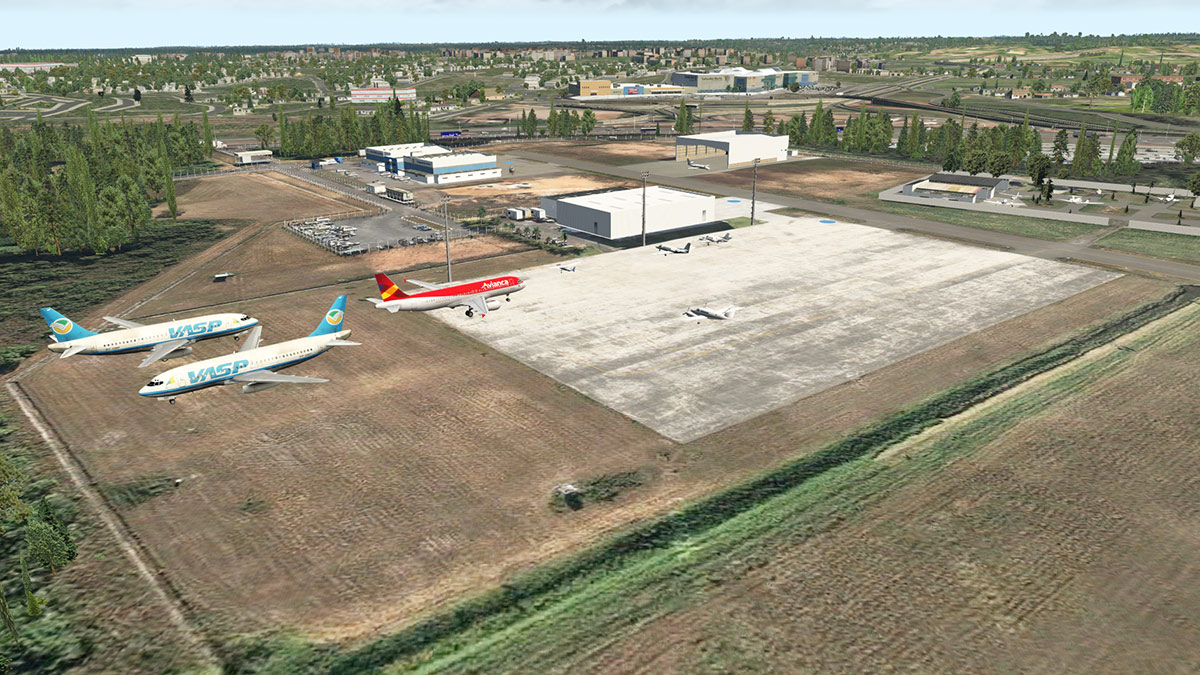
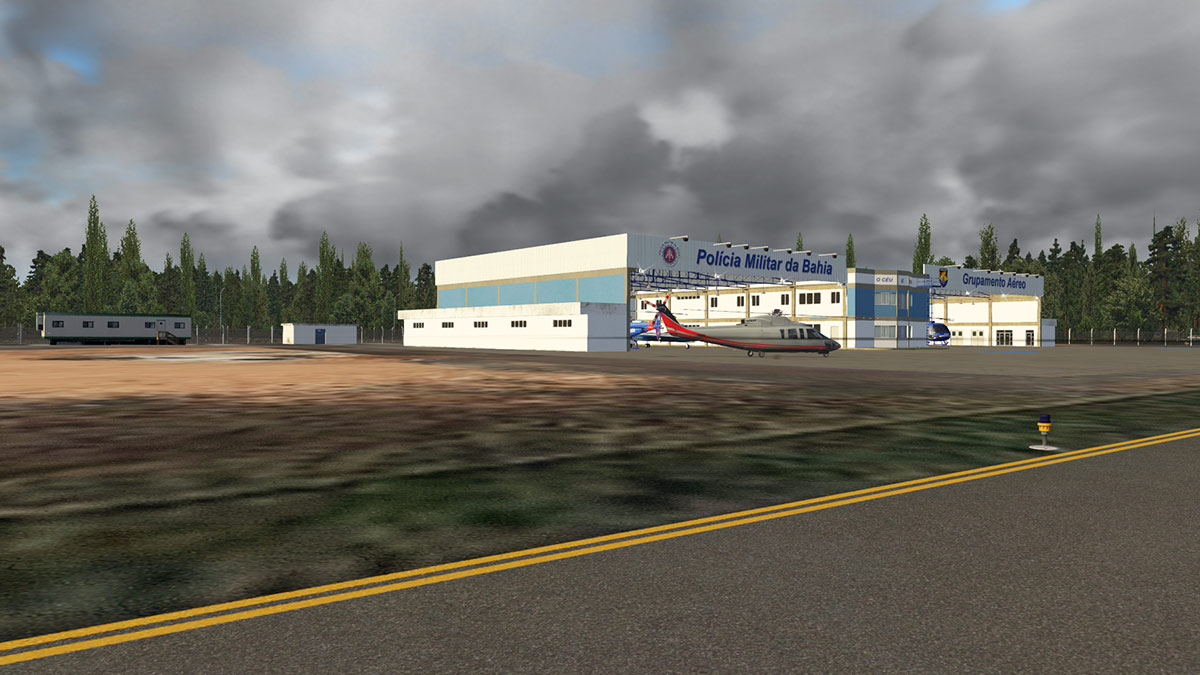

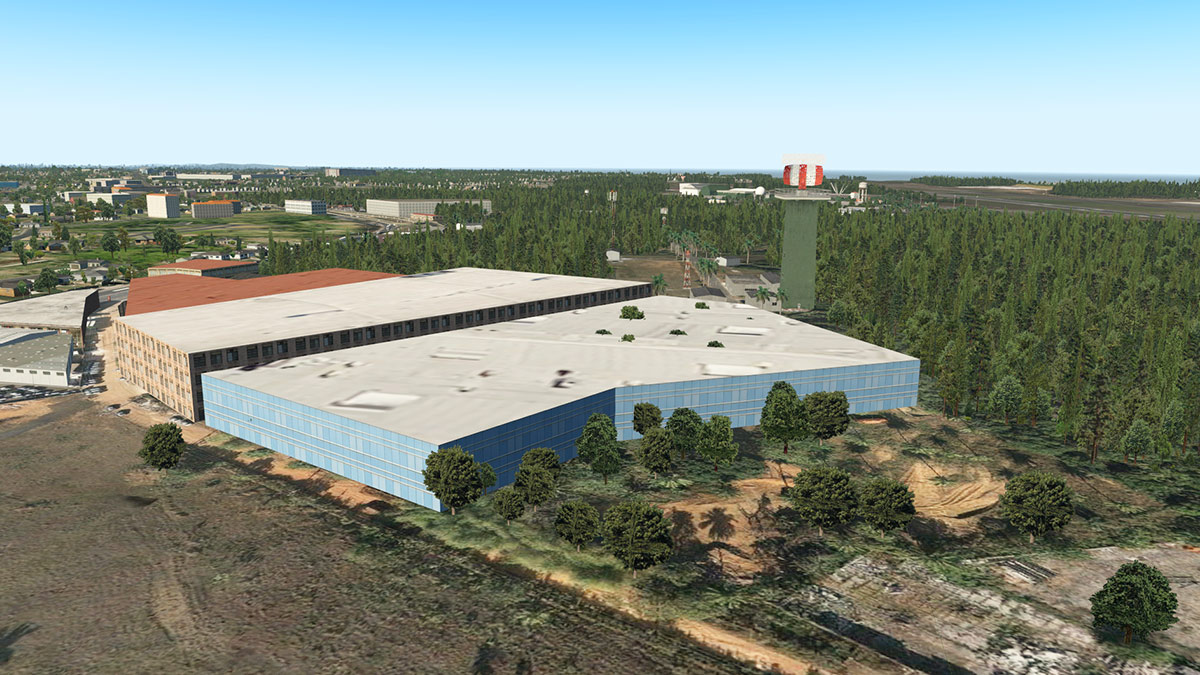
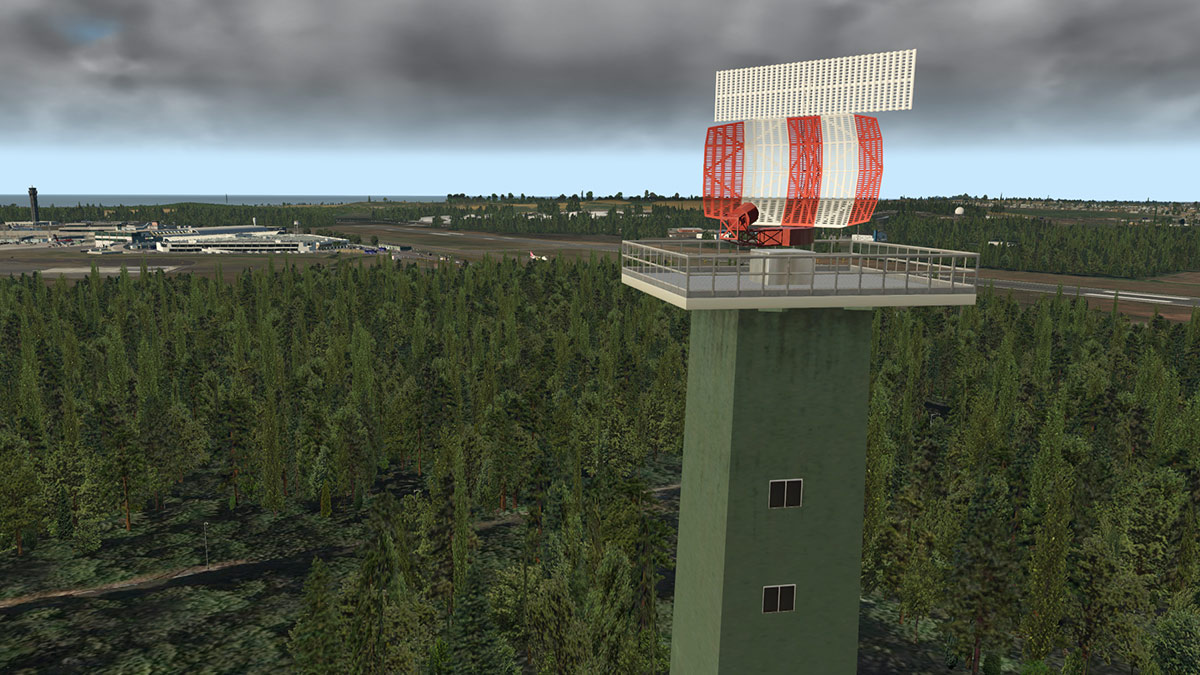

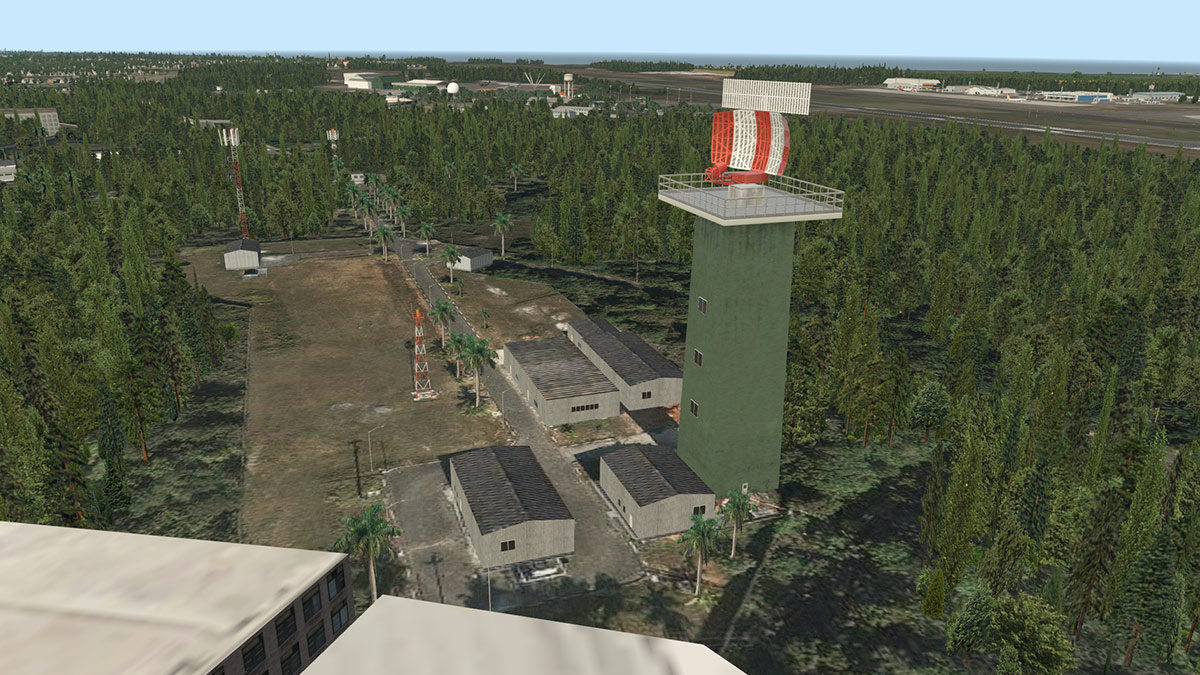
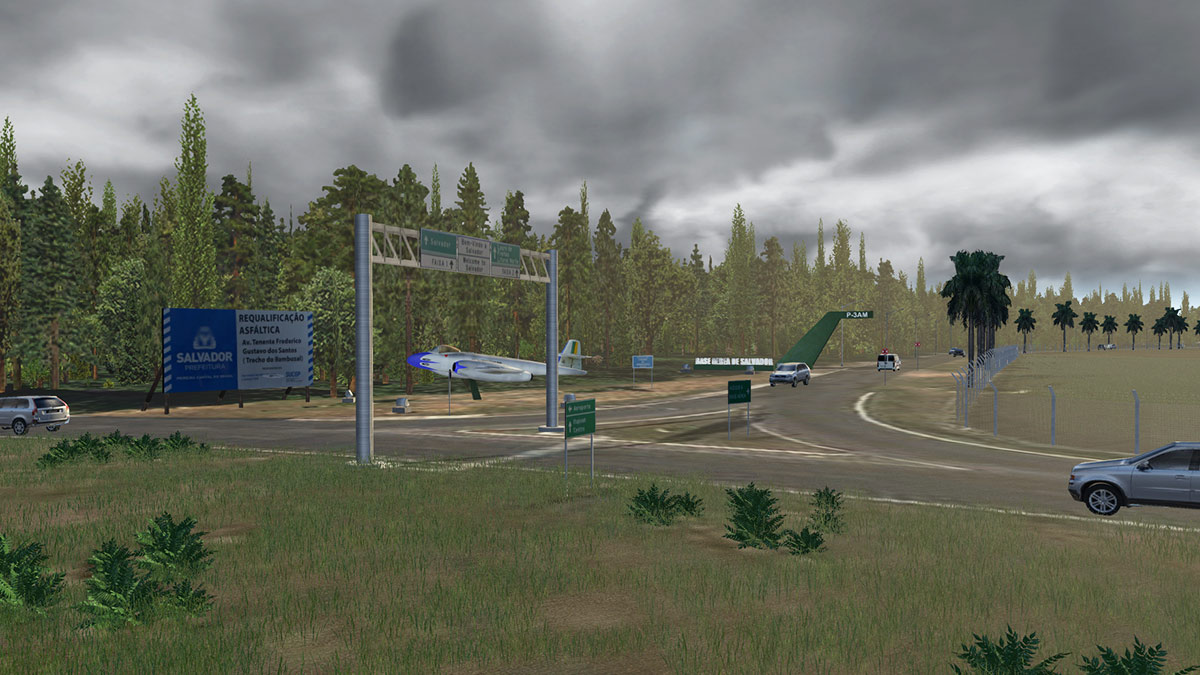


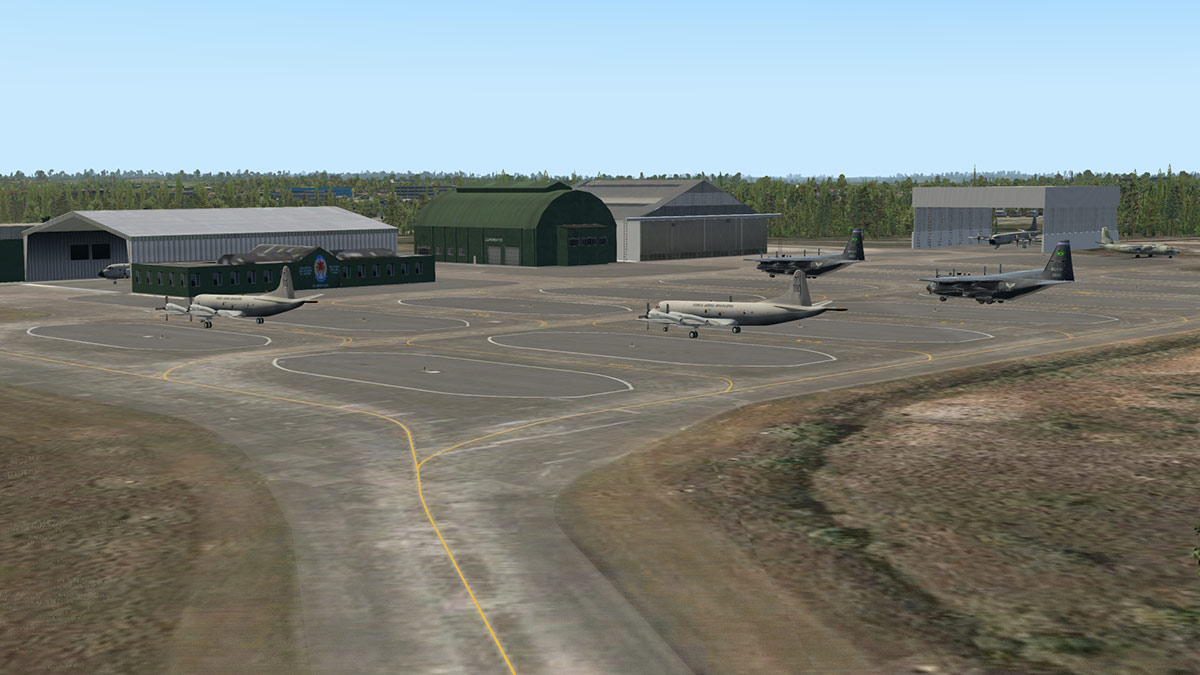
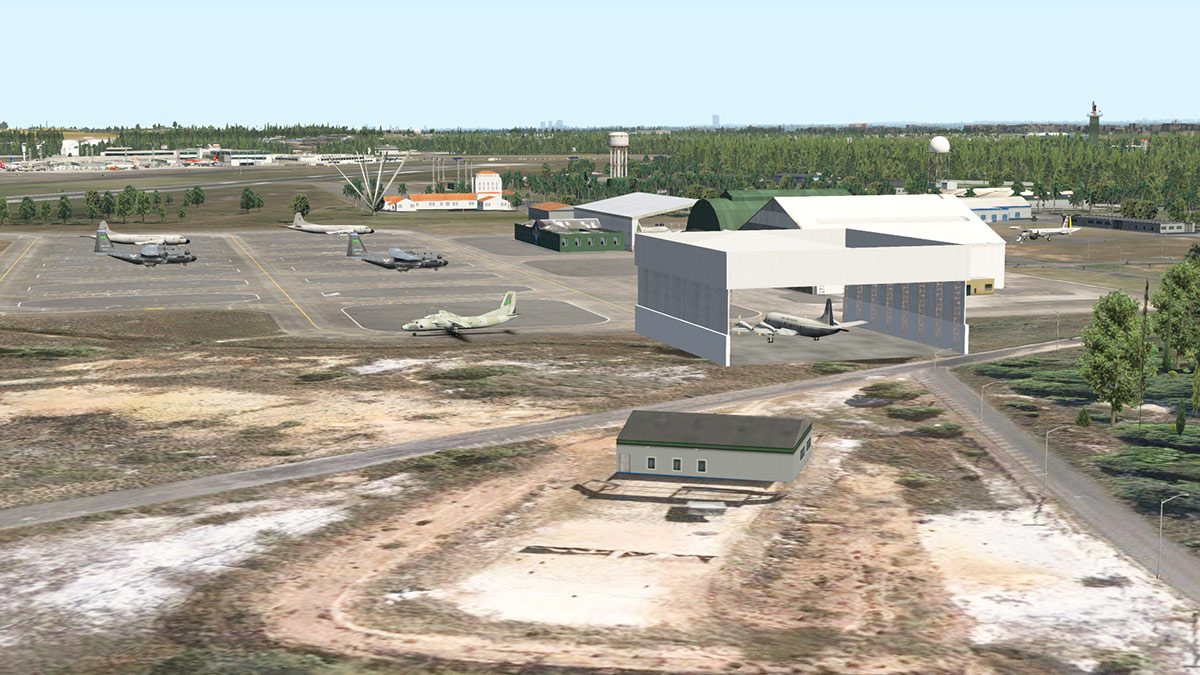
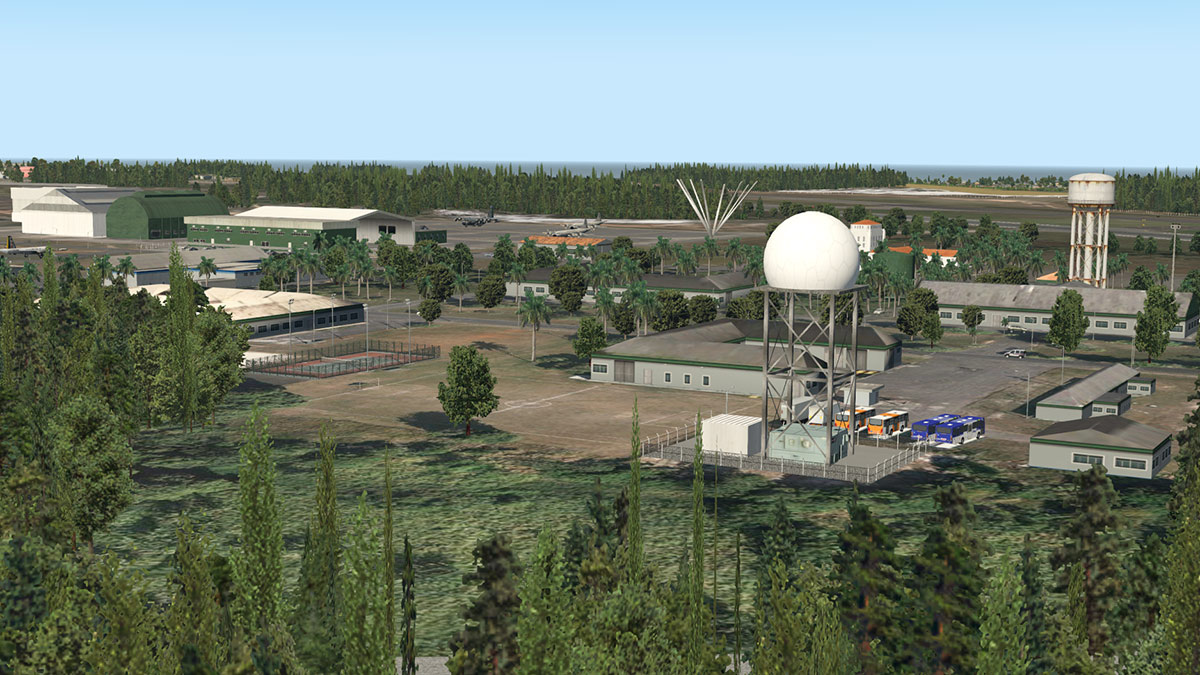
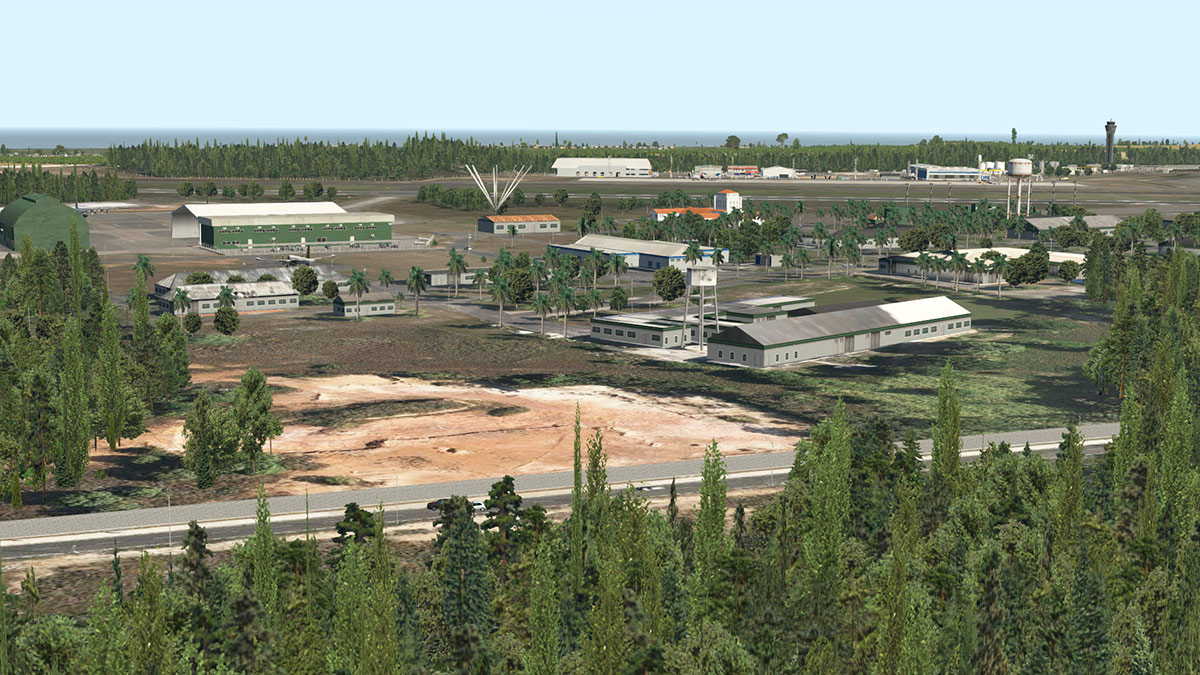
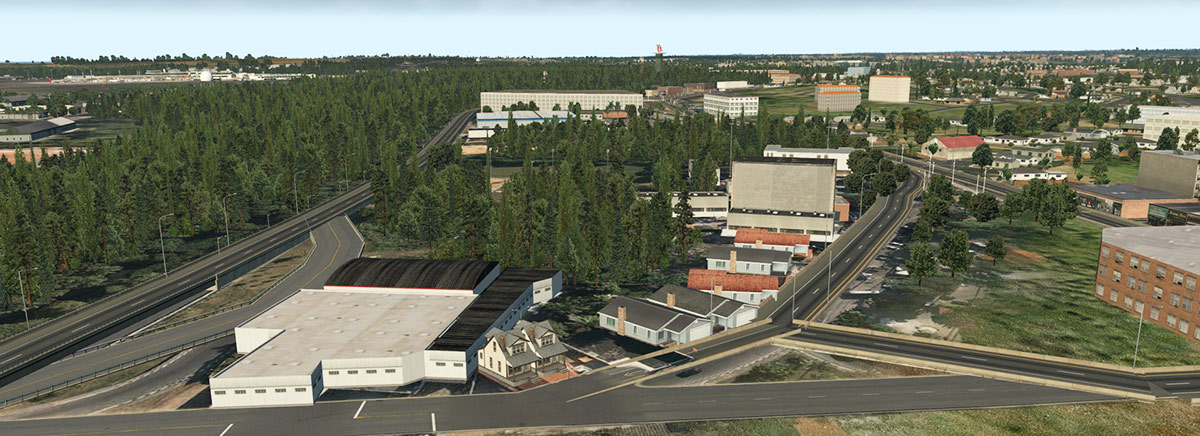
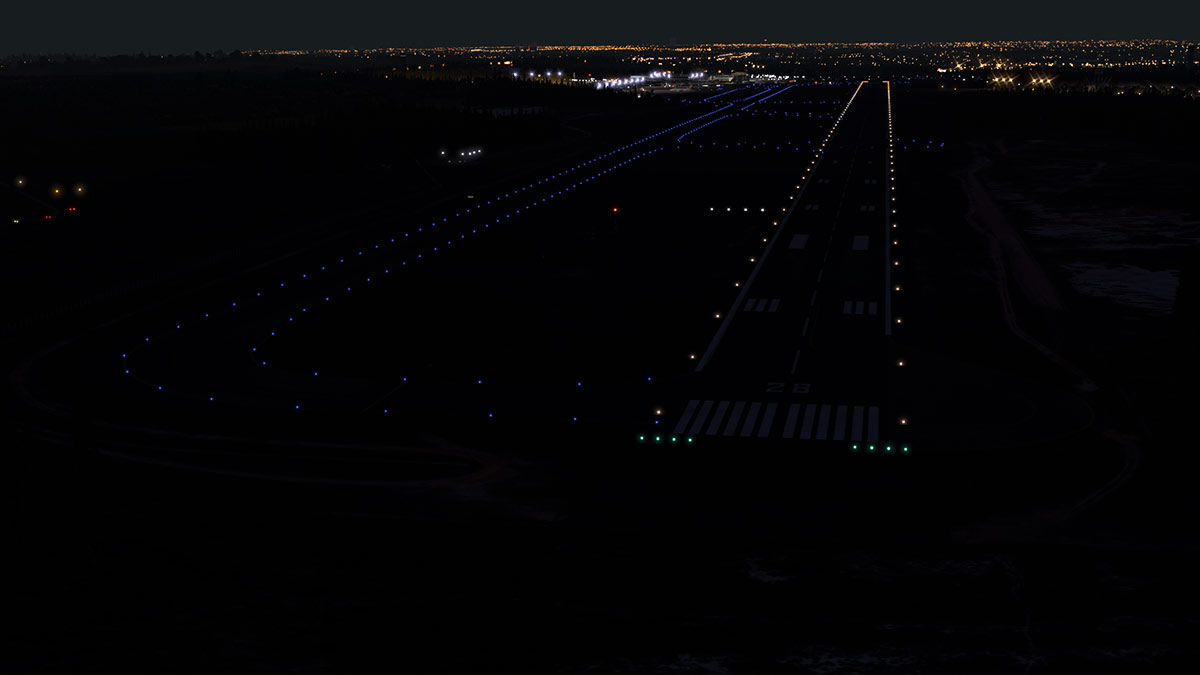
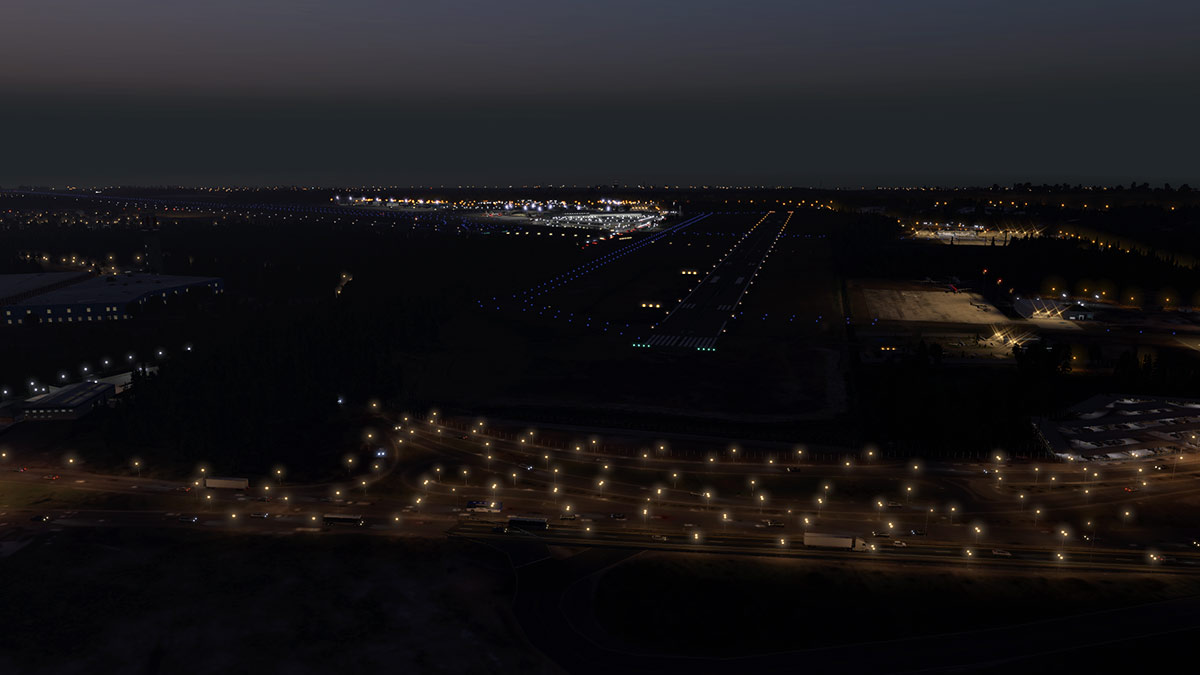
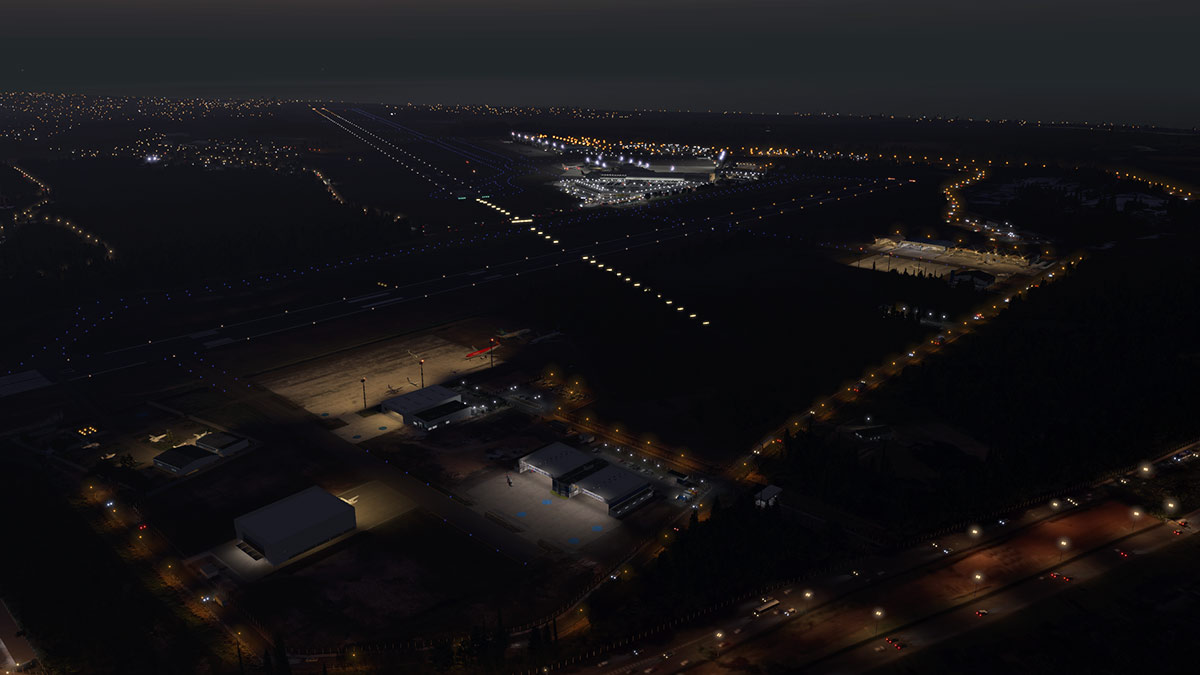

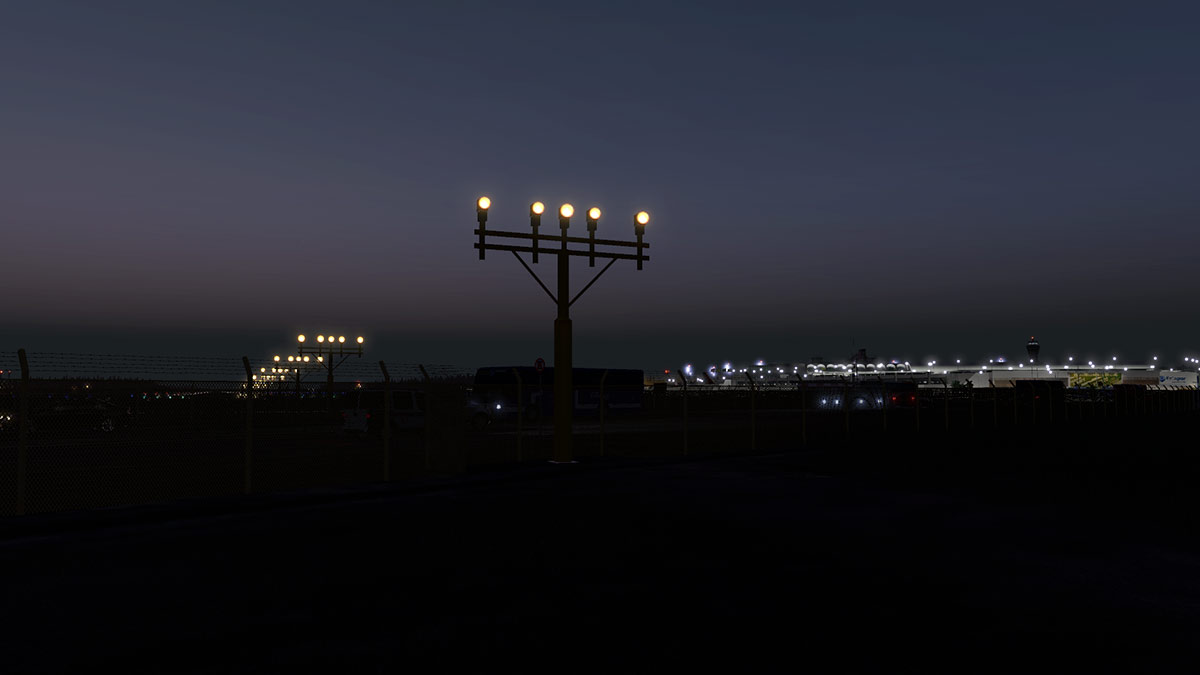
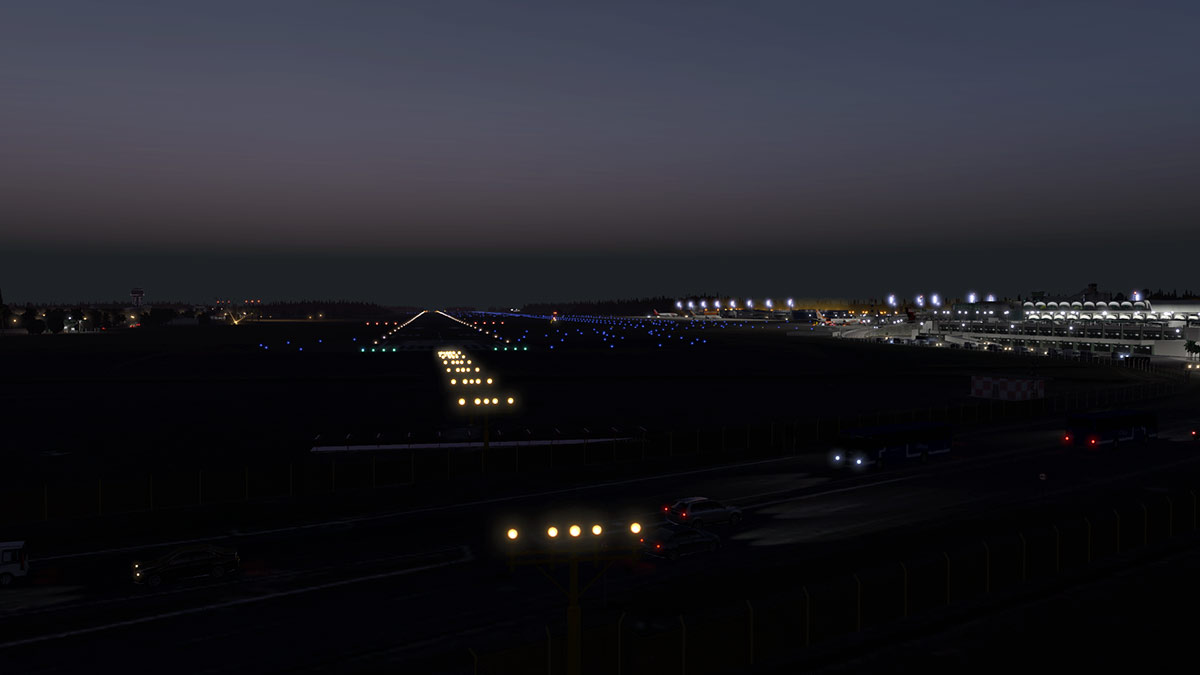


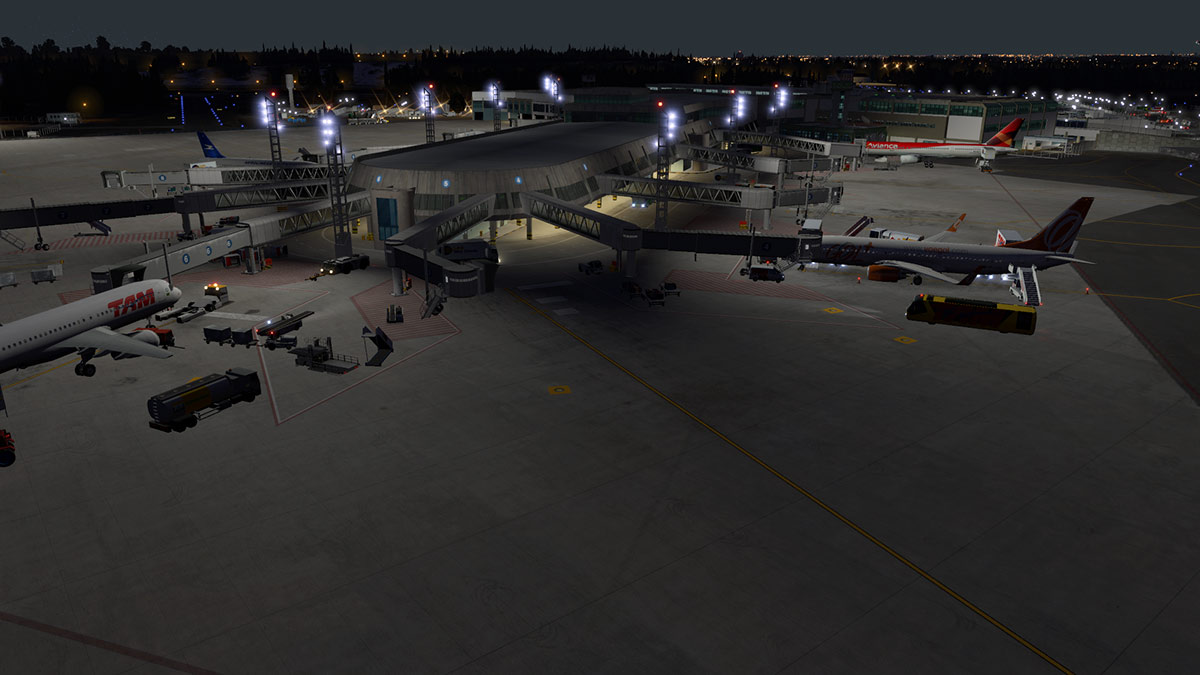
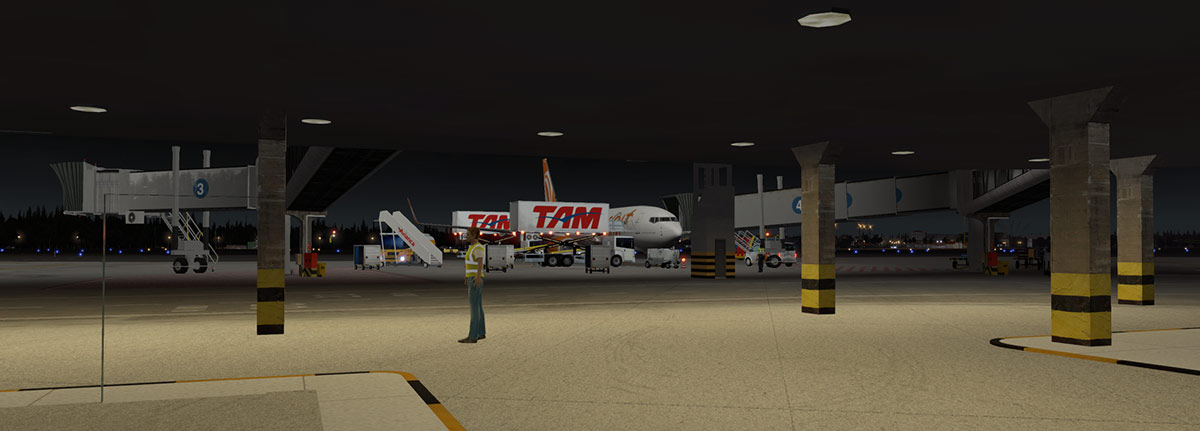

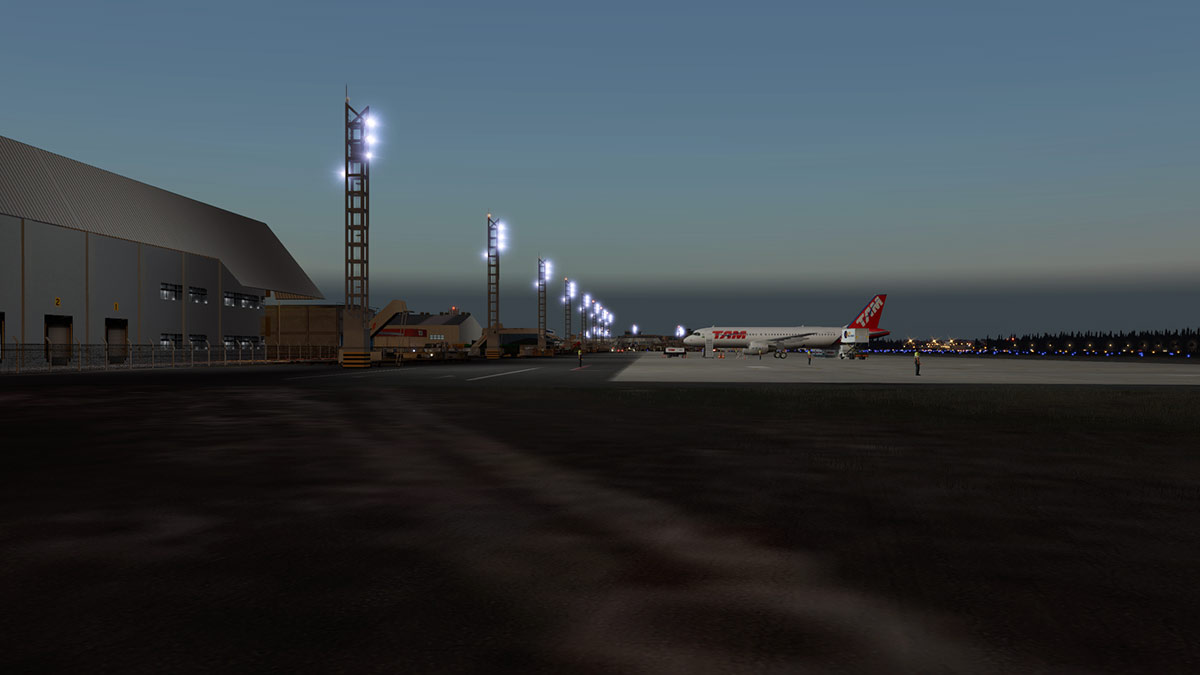
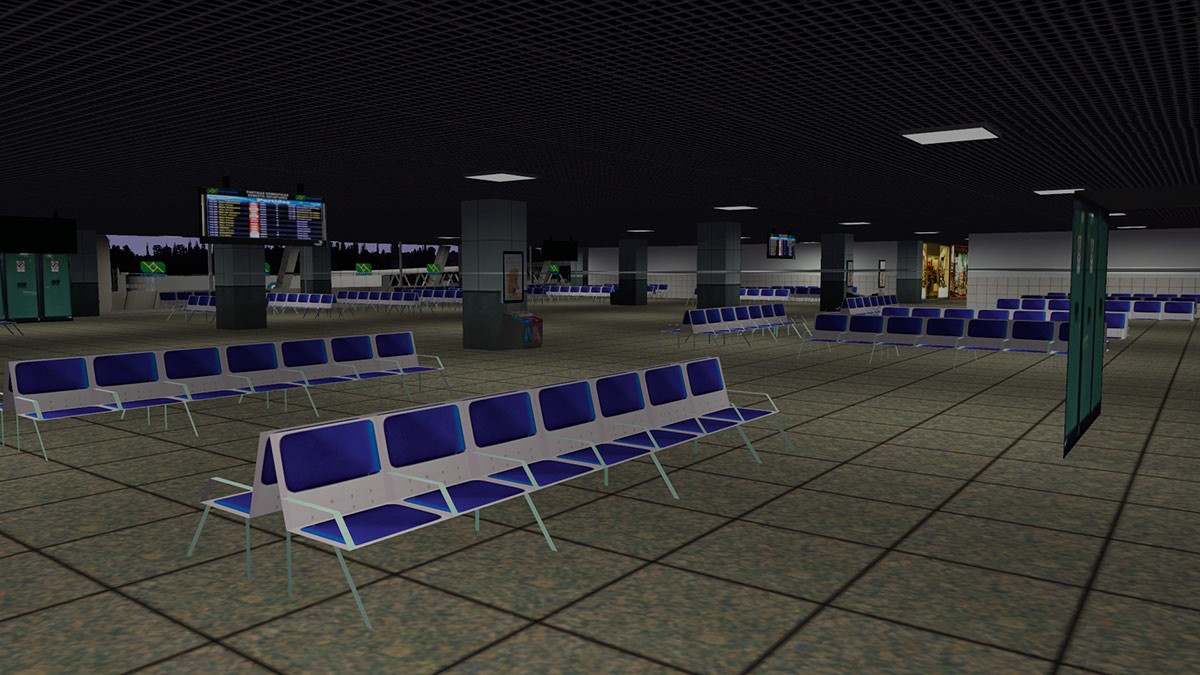
 '
'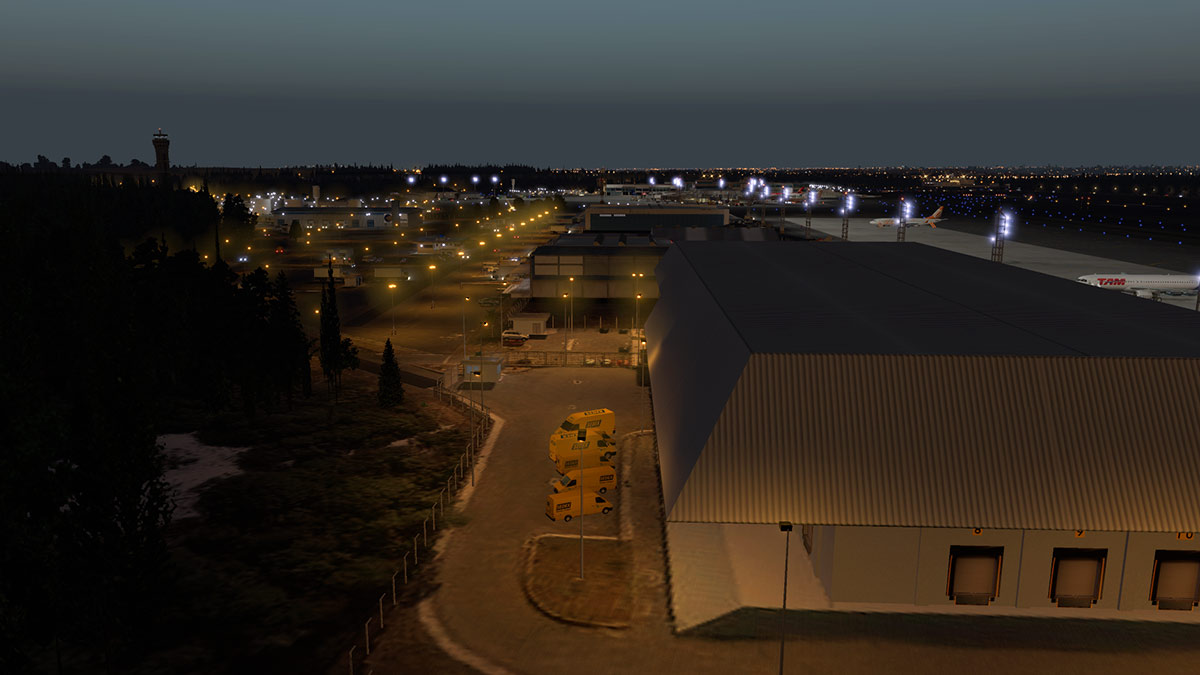
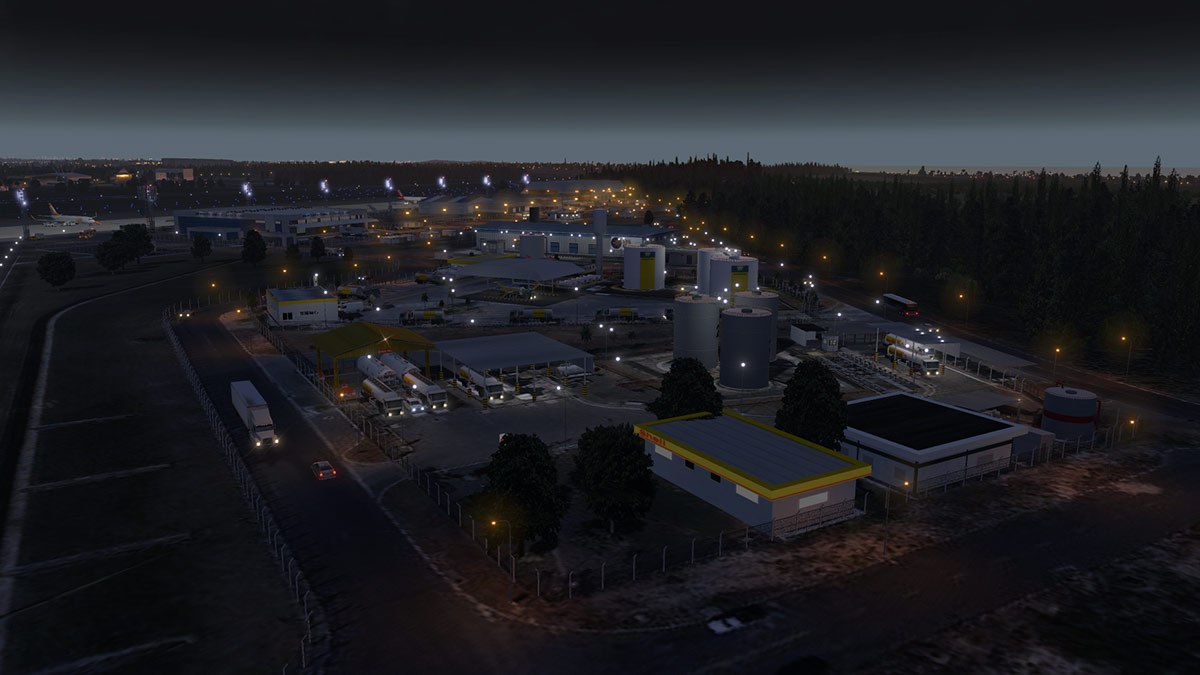
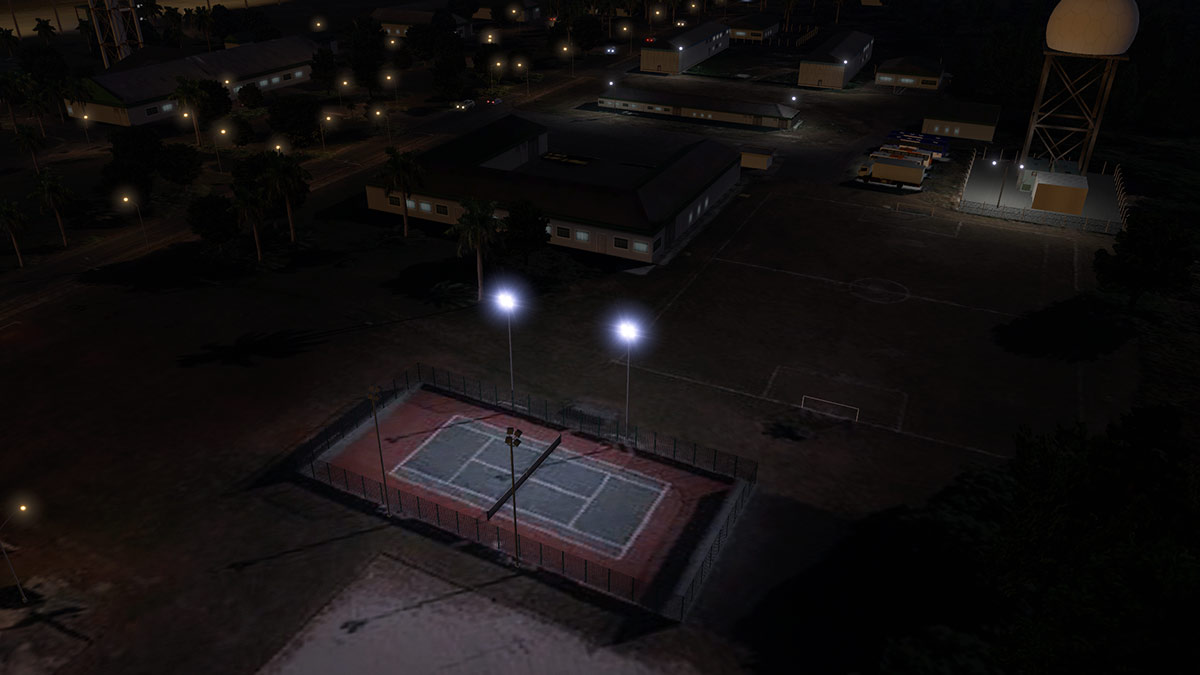


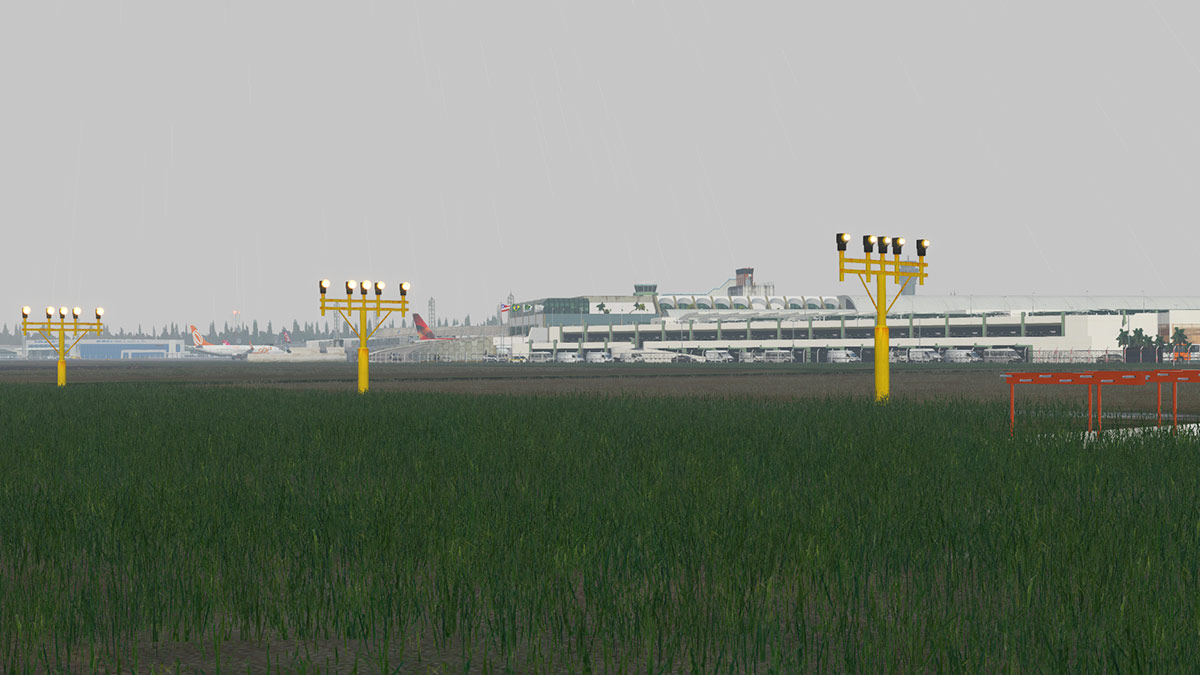
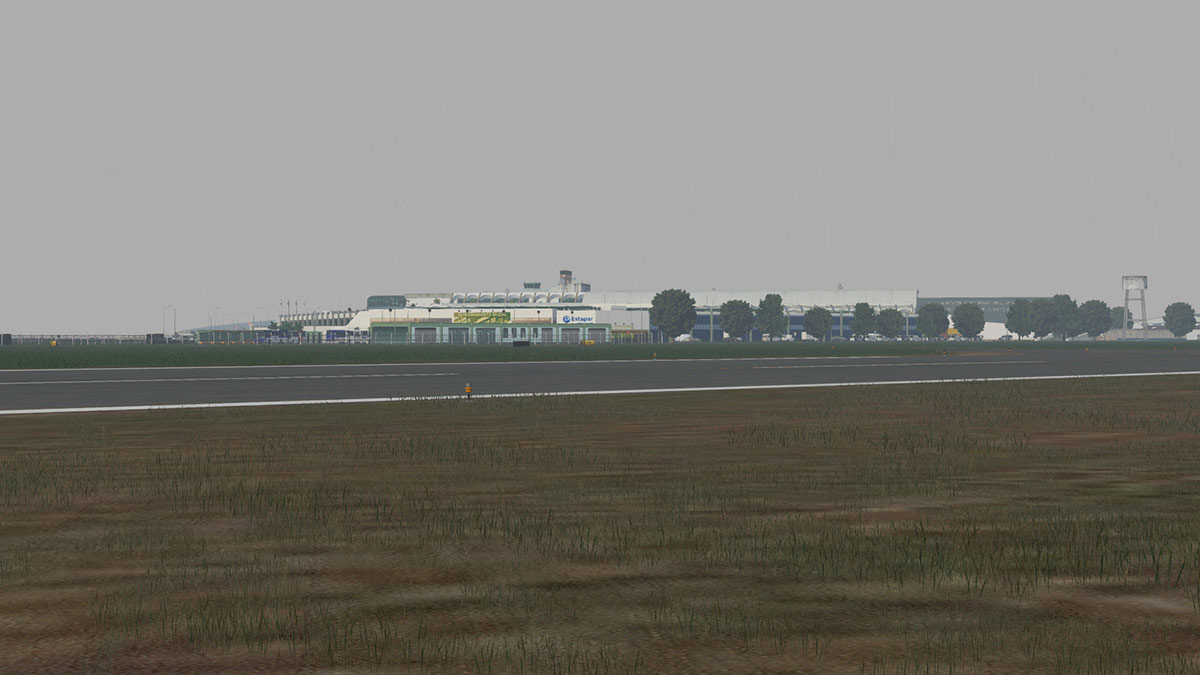


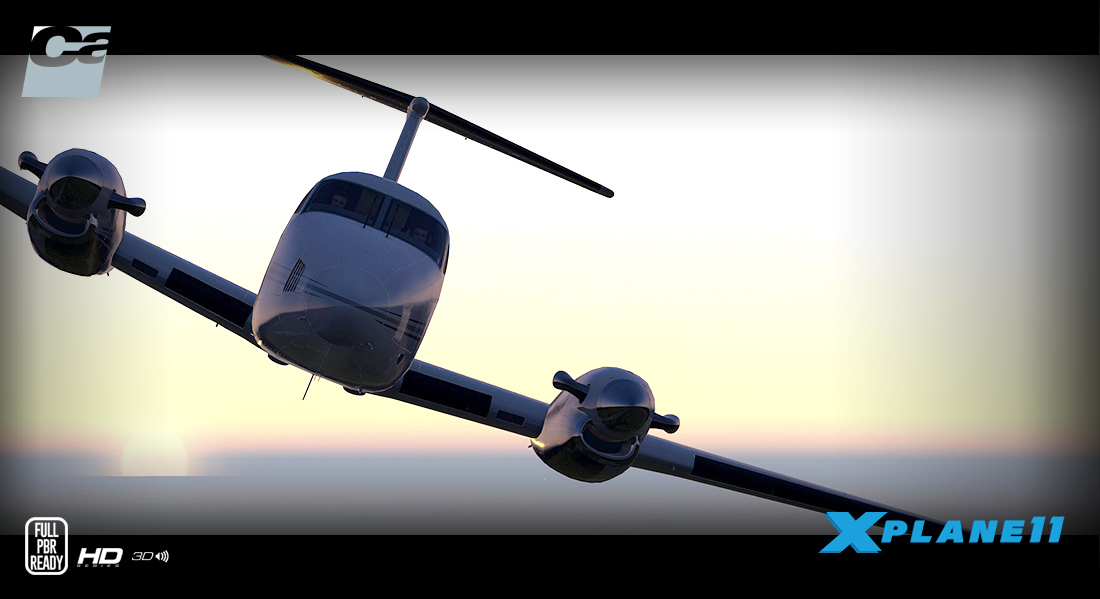
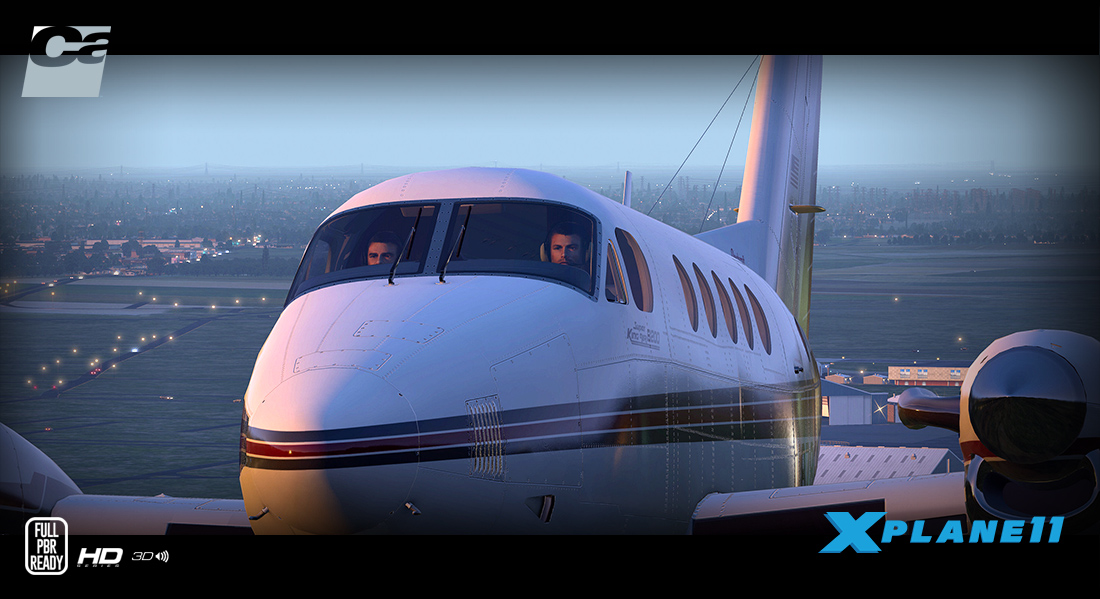
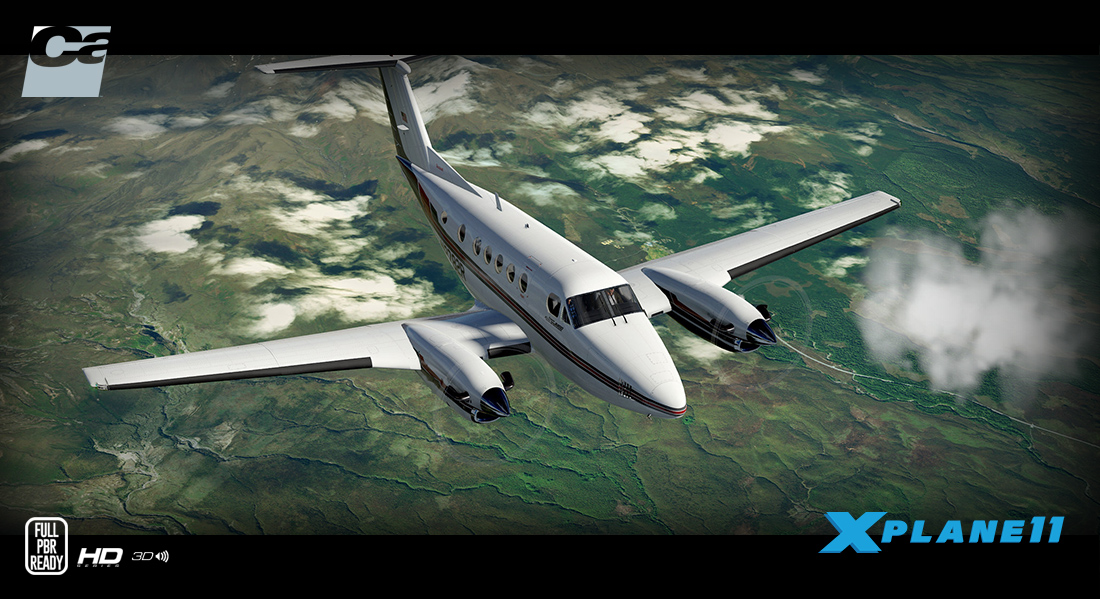
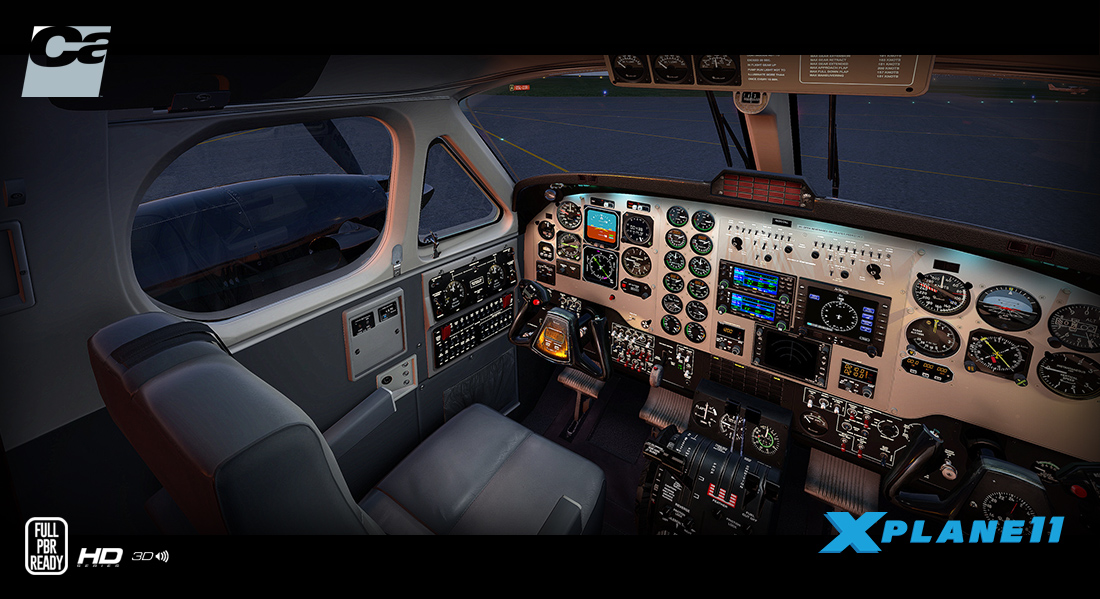

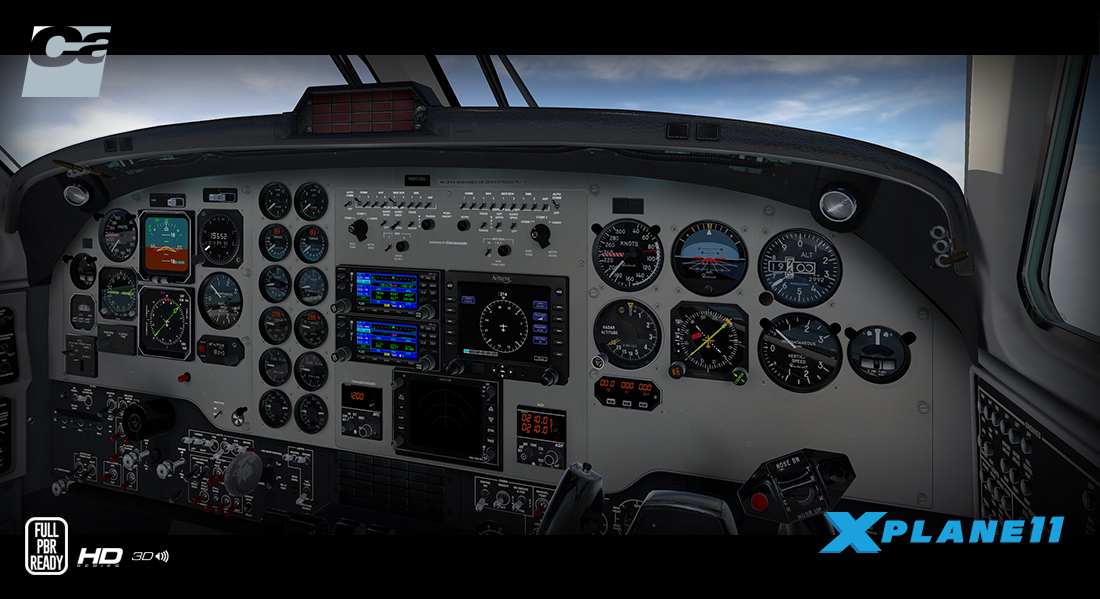
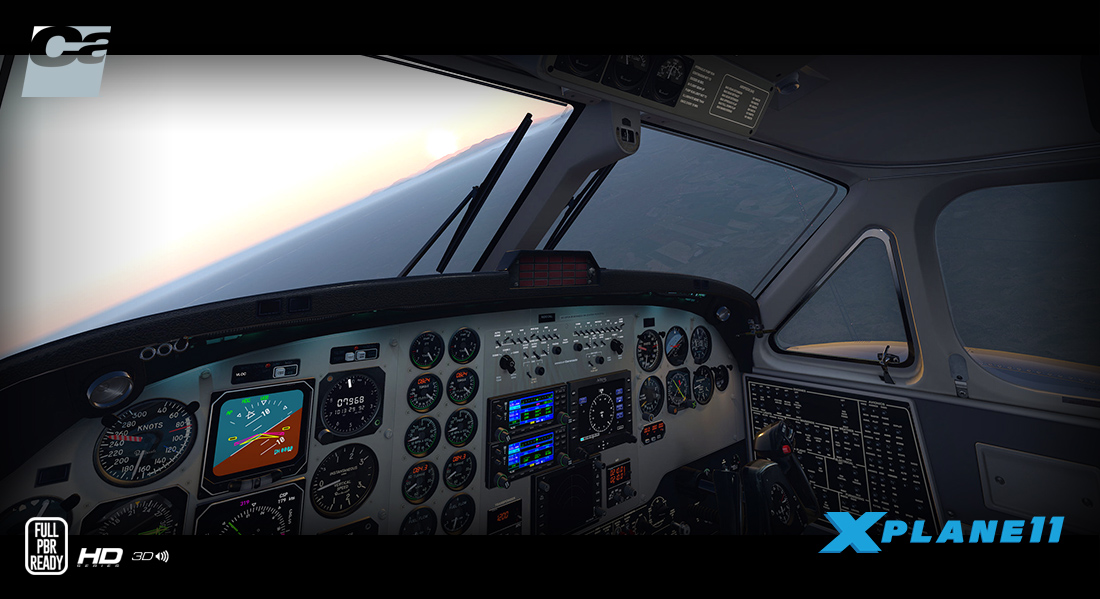
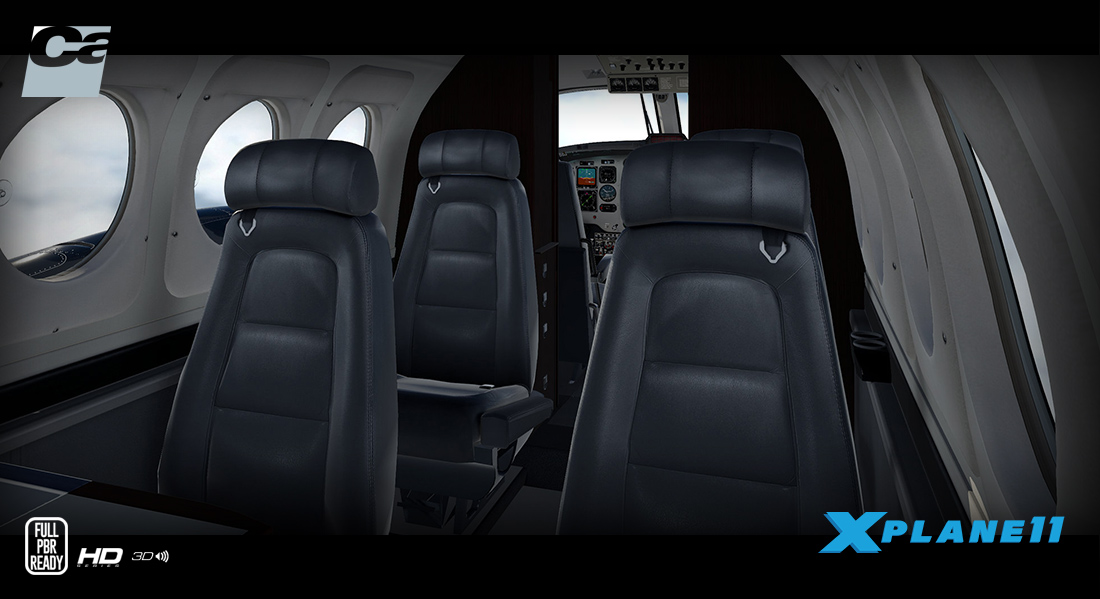


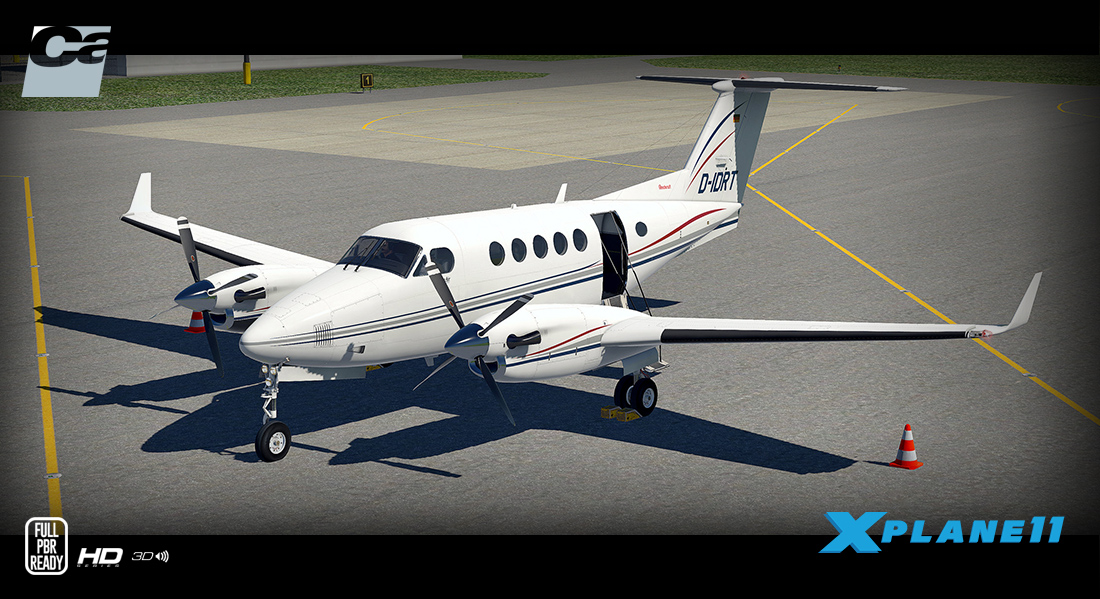
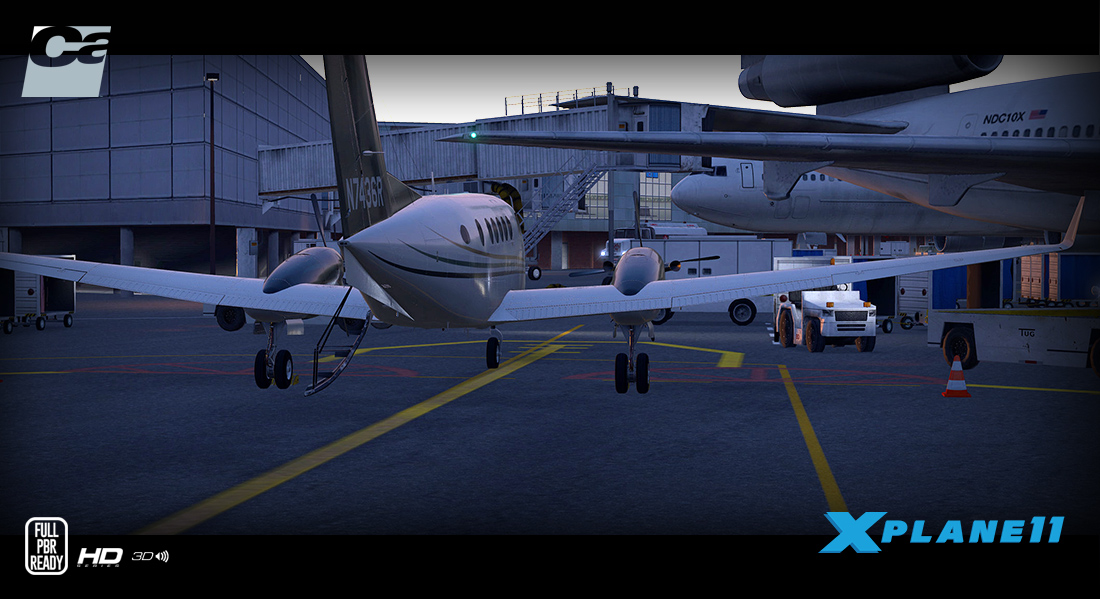
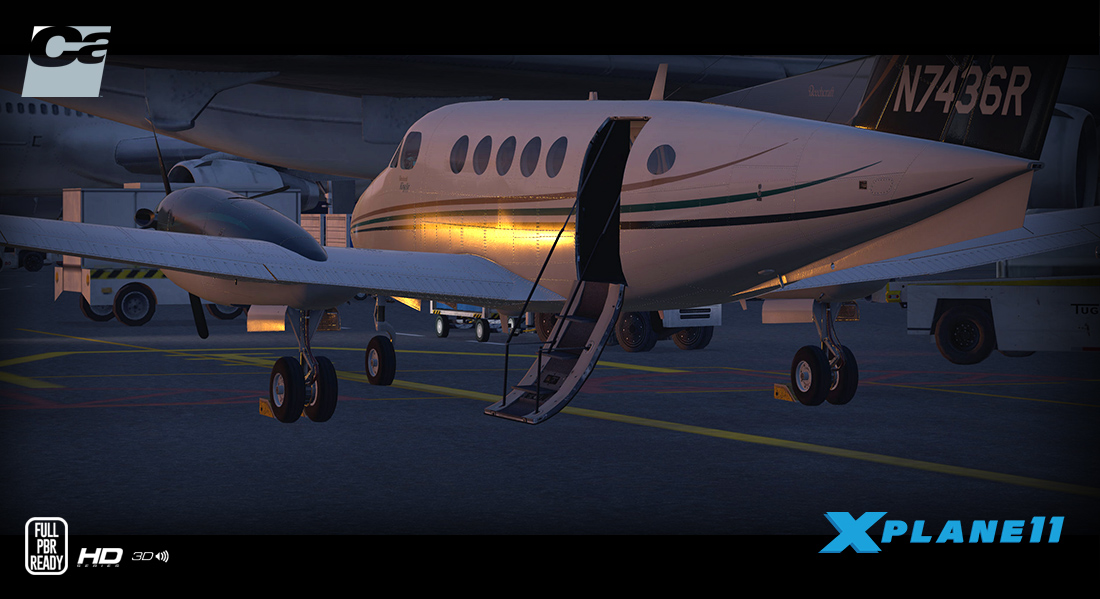


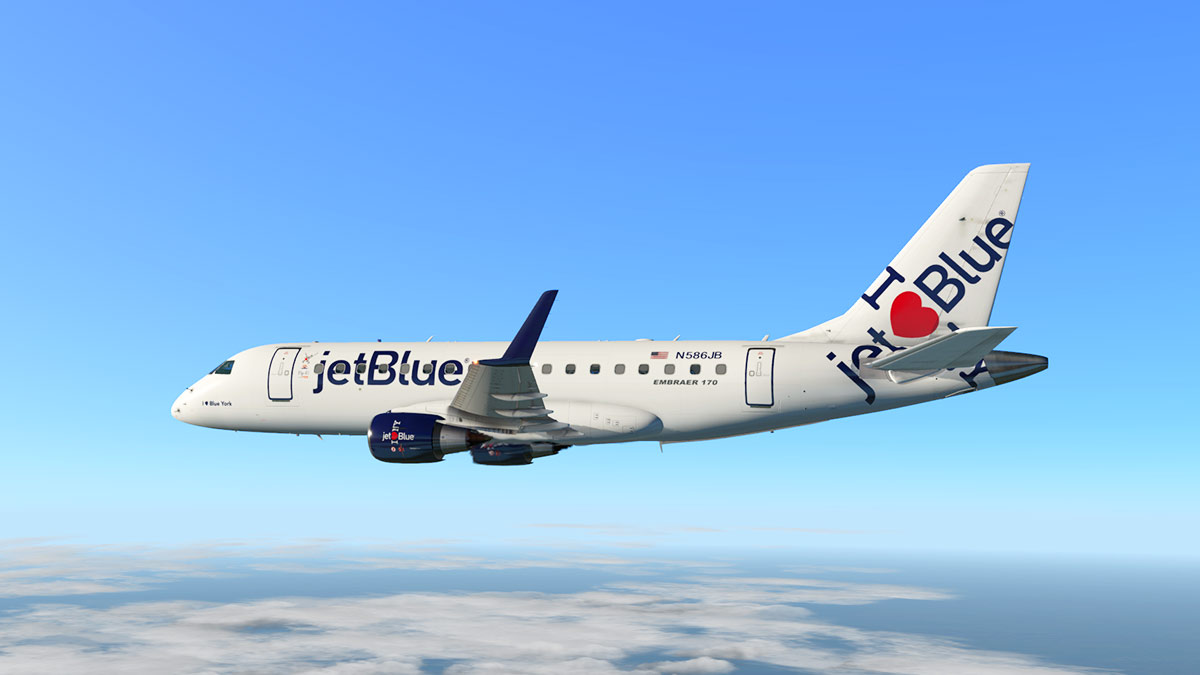
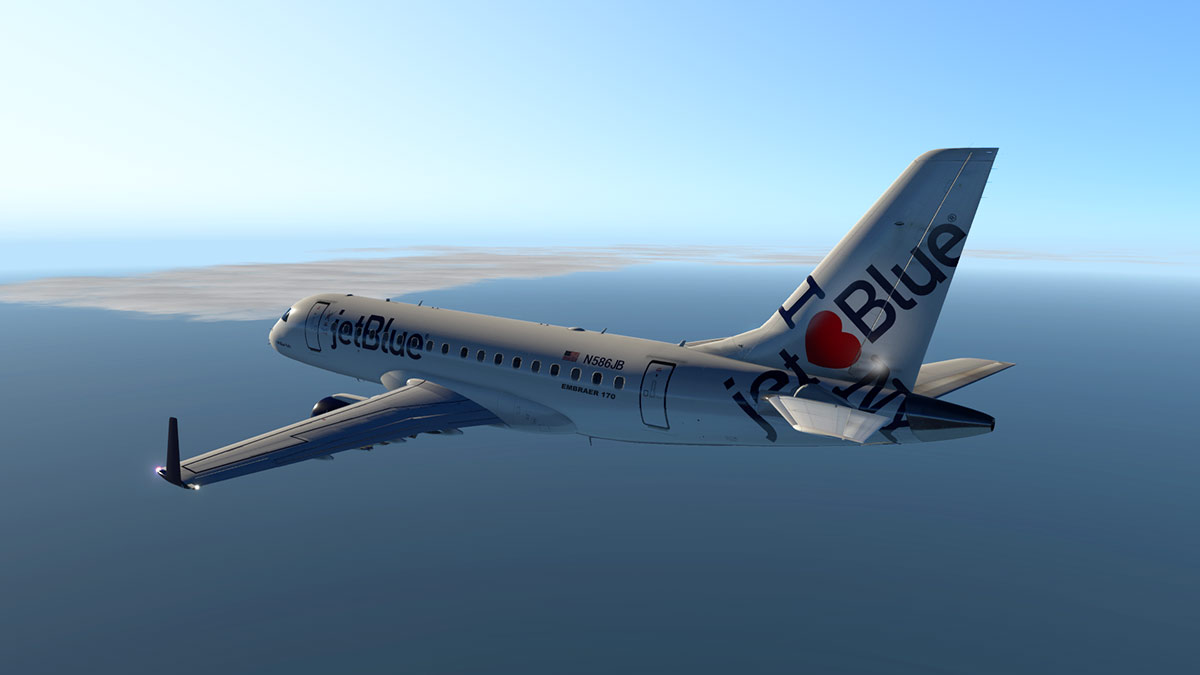


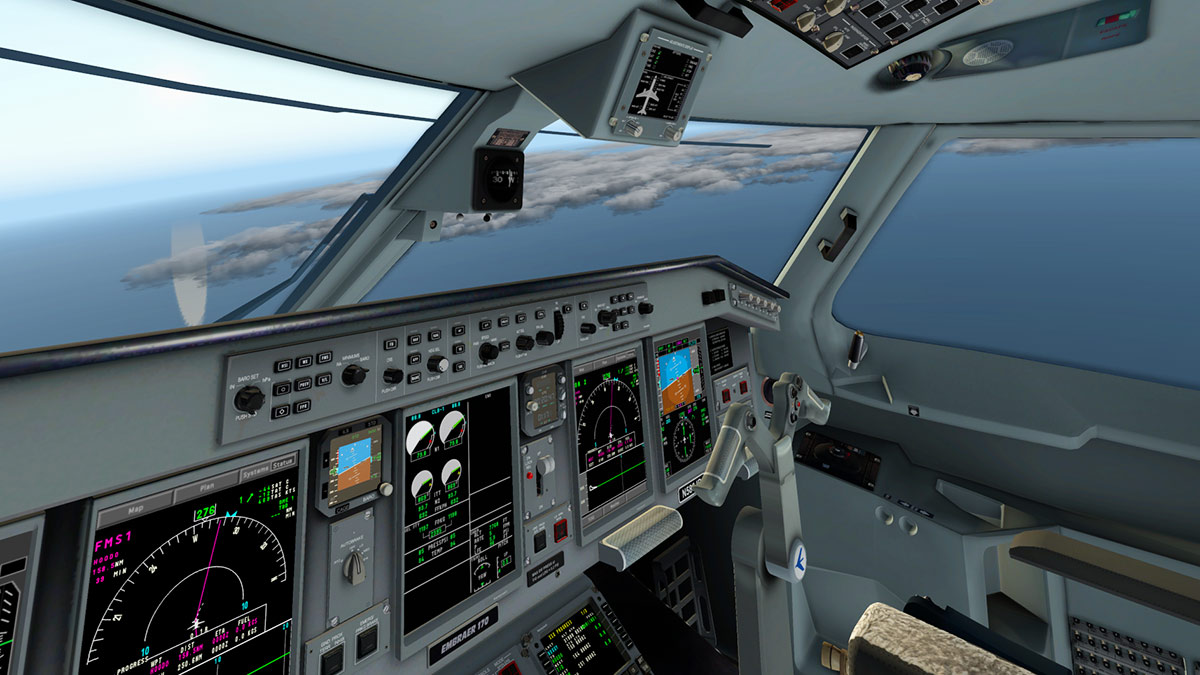

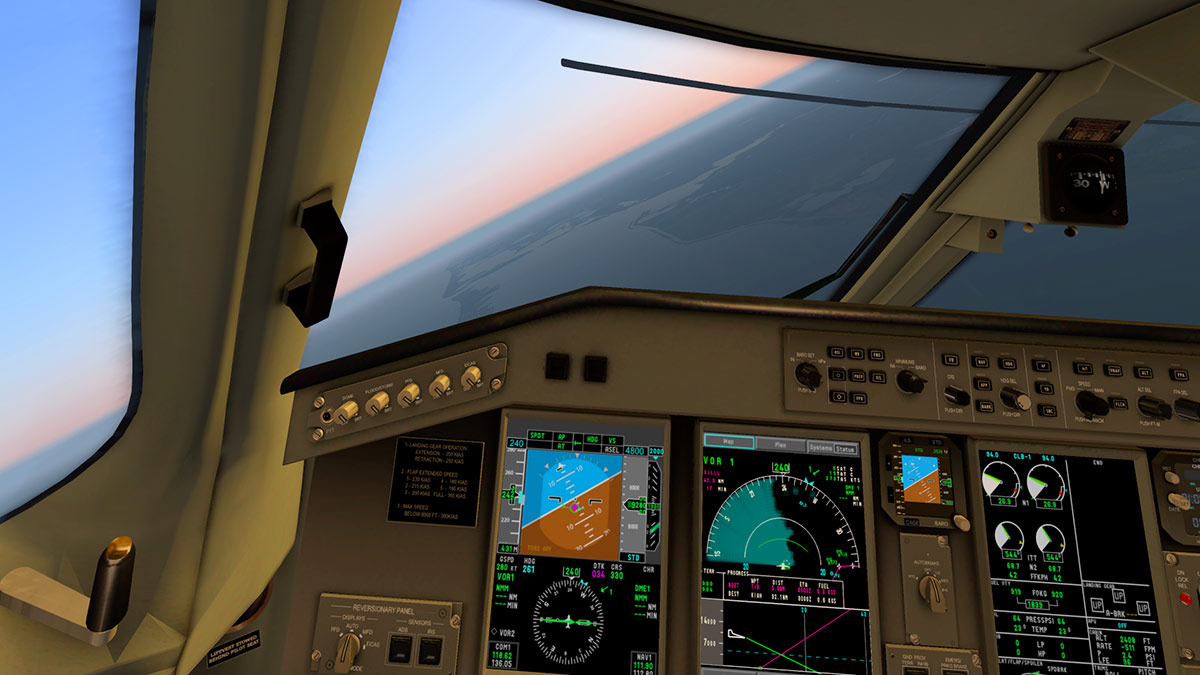


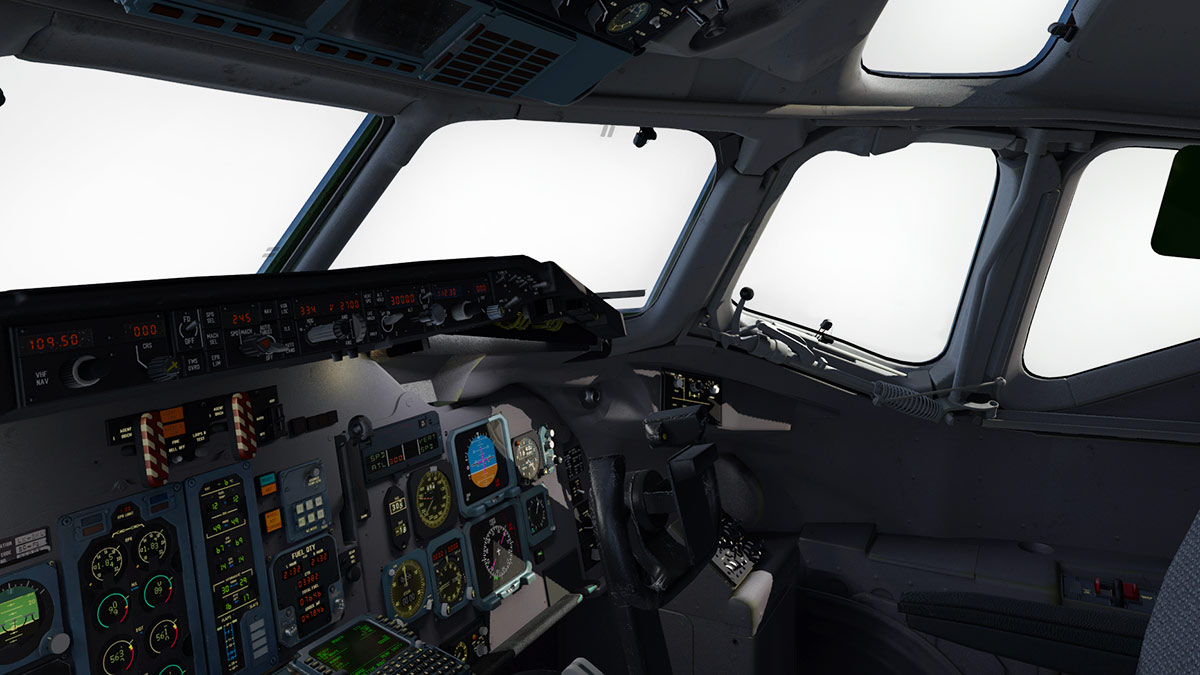


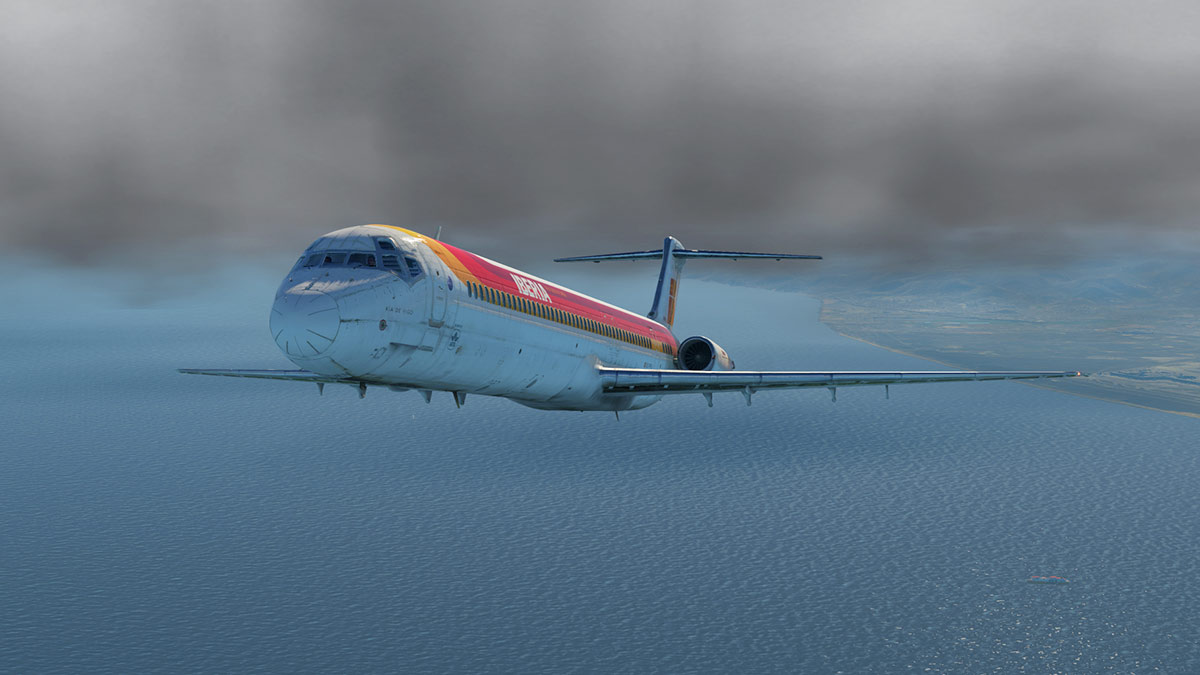
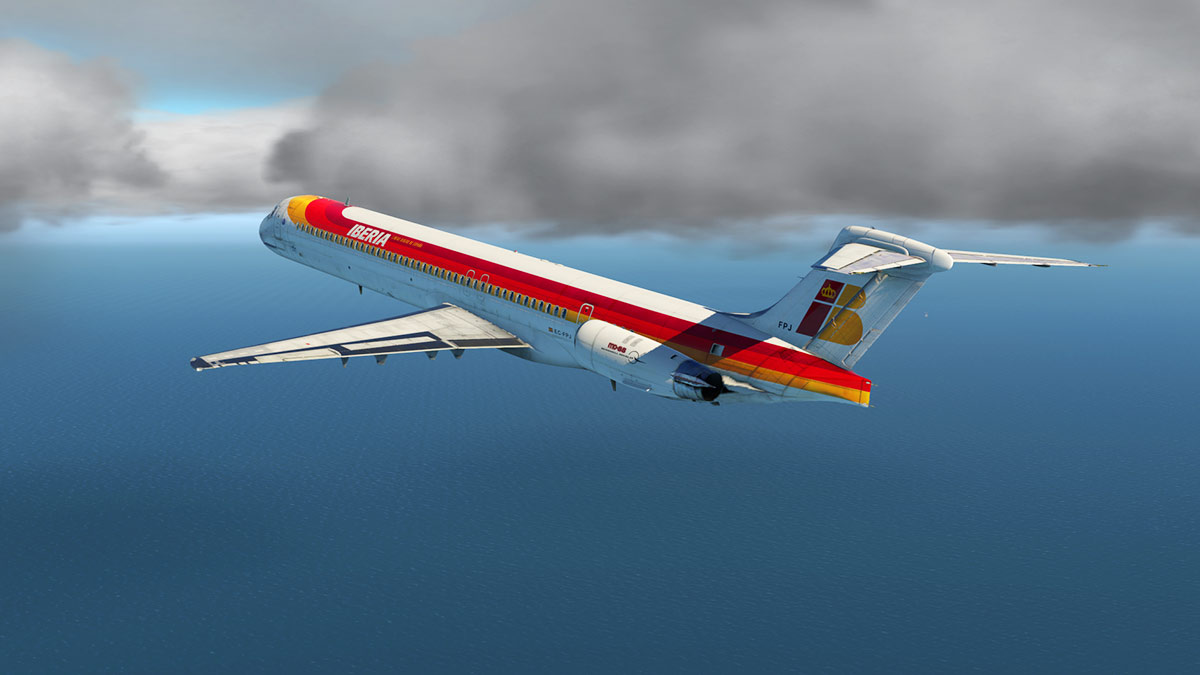

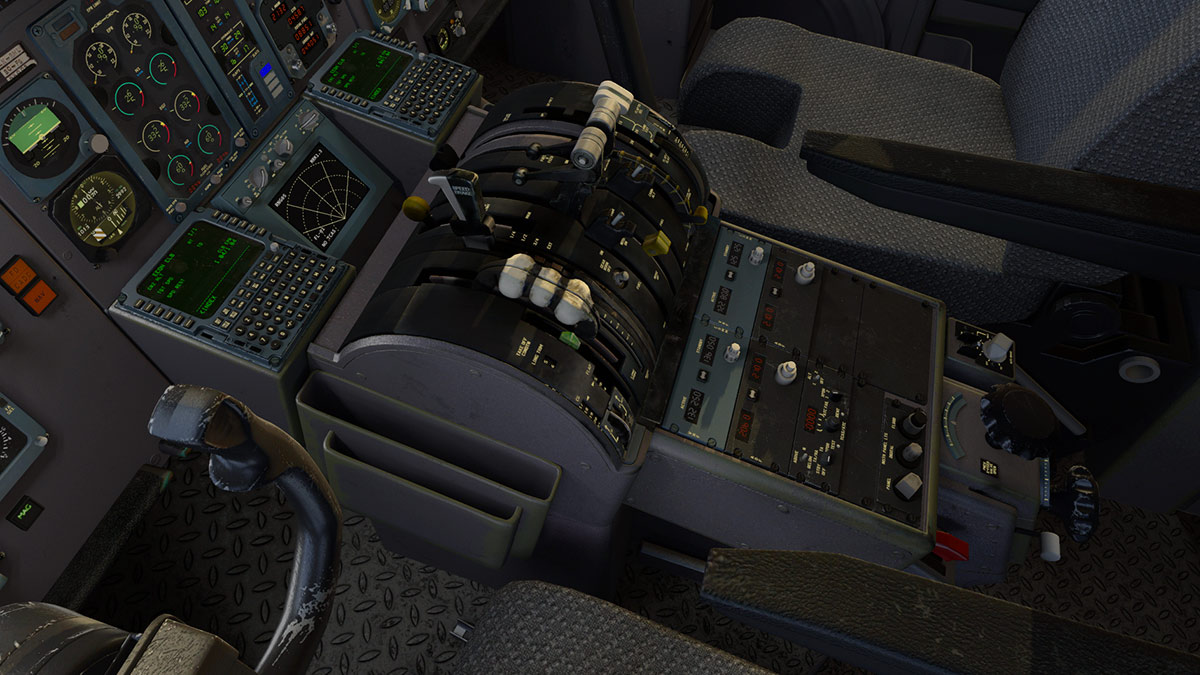
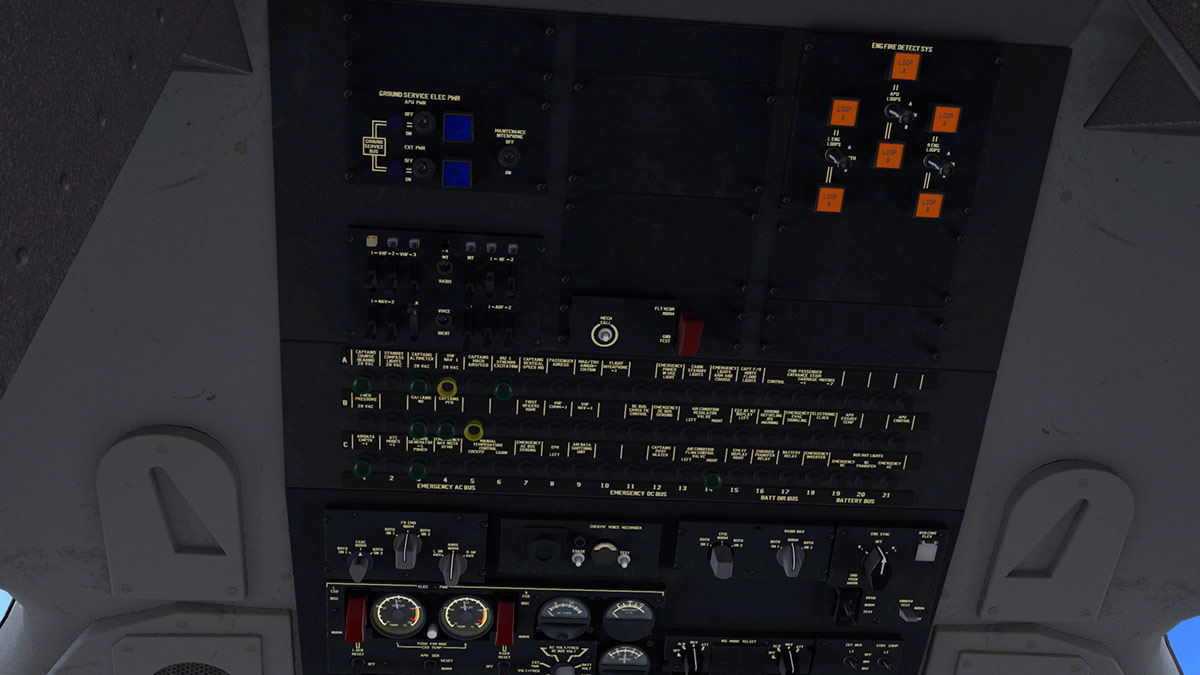
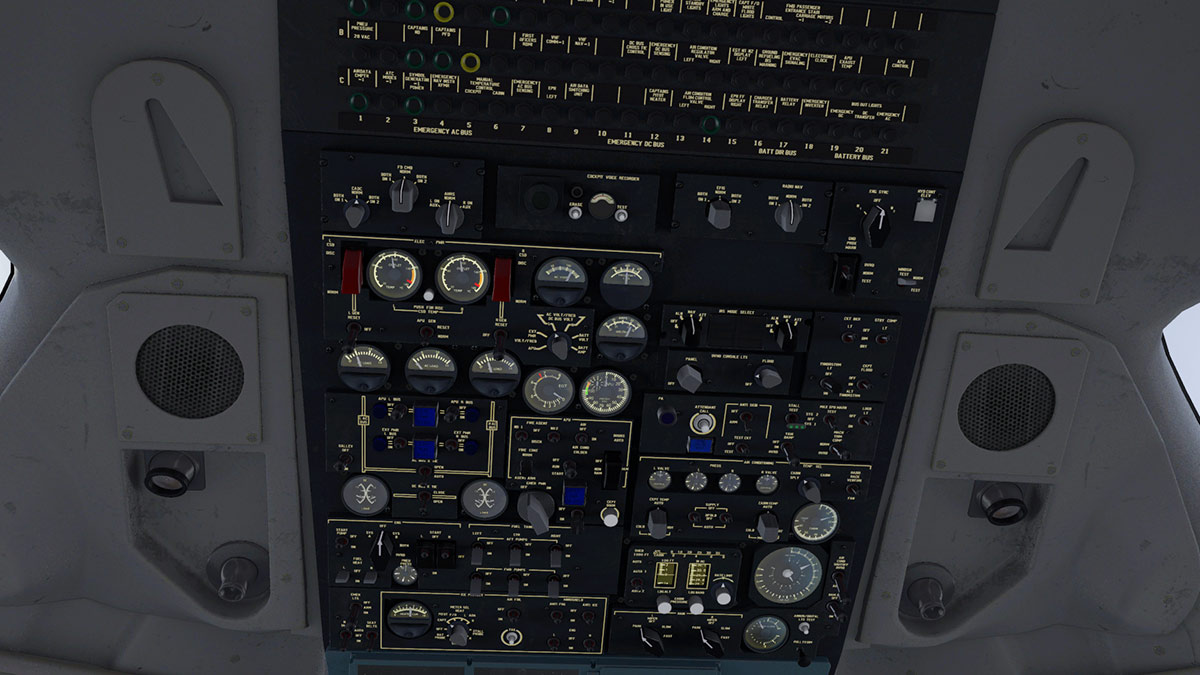
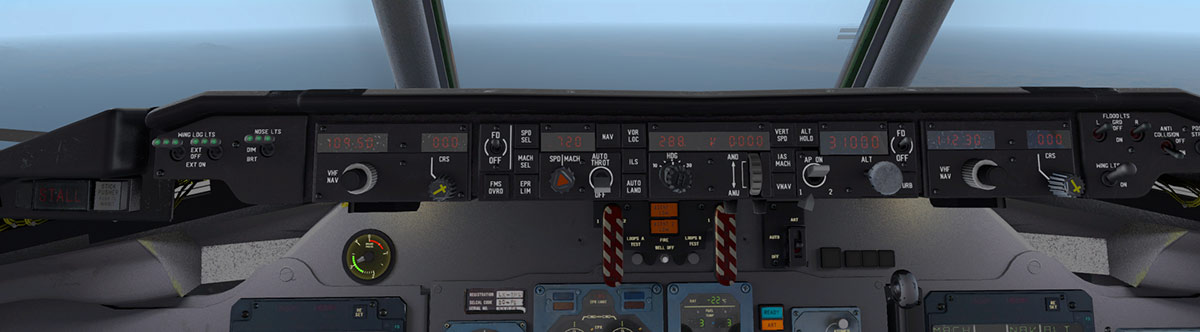
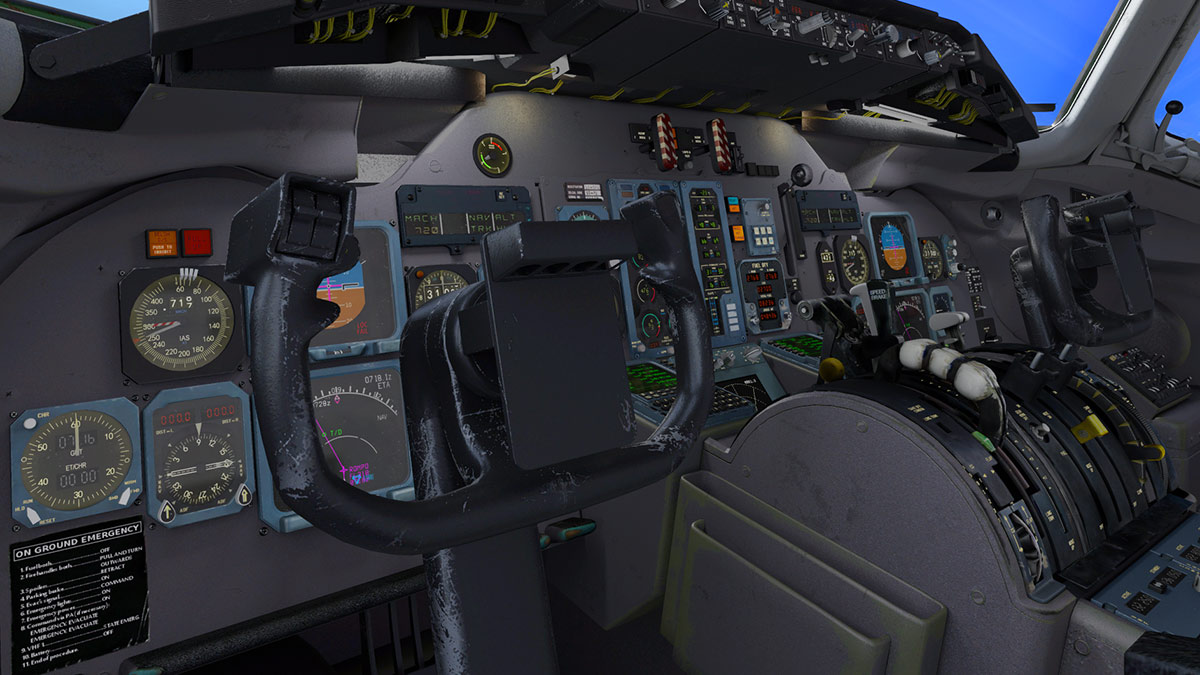
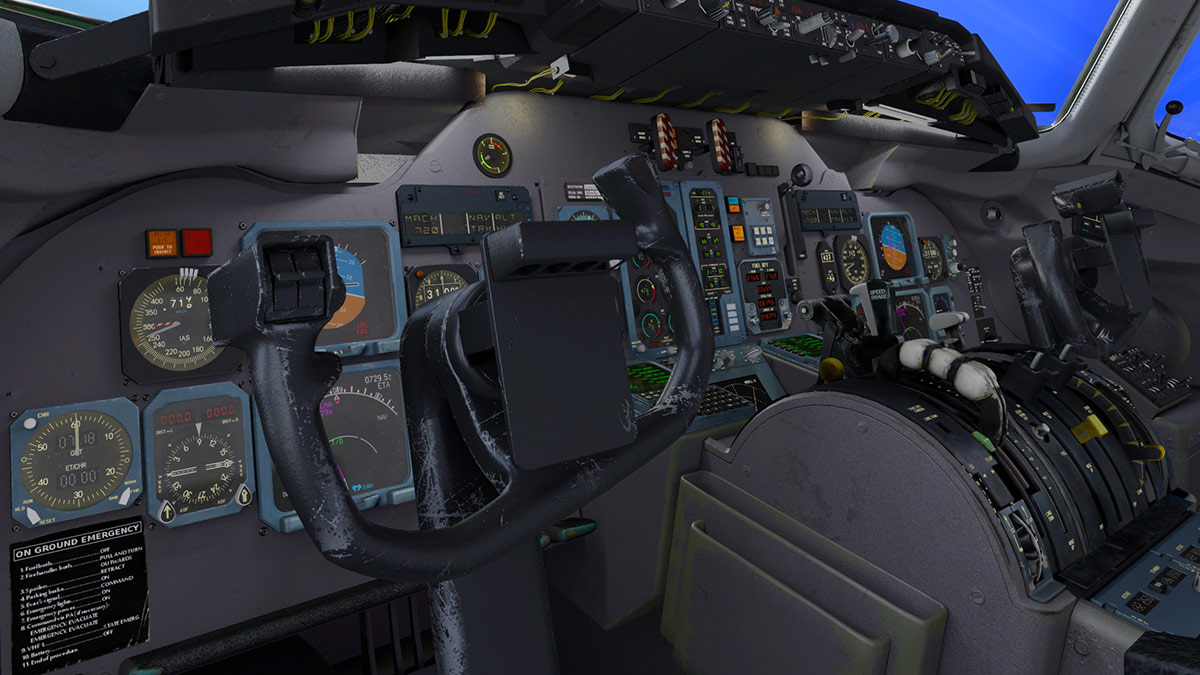


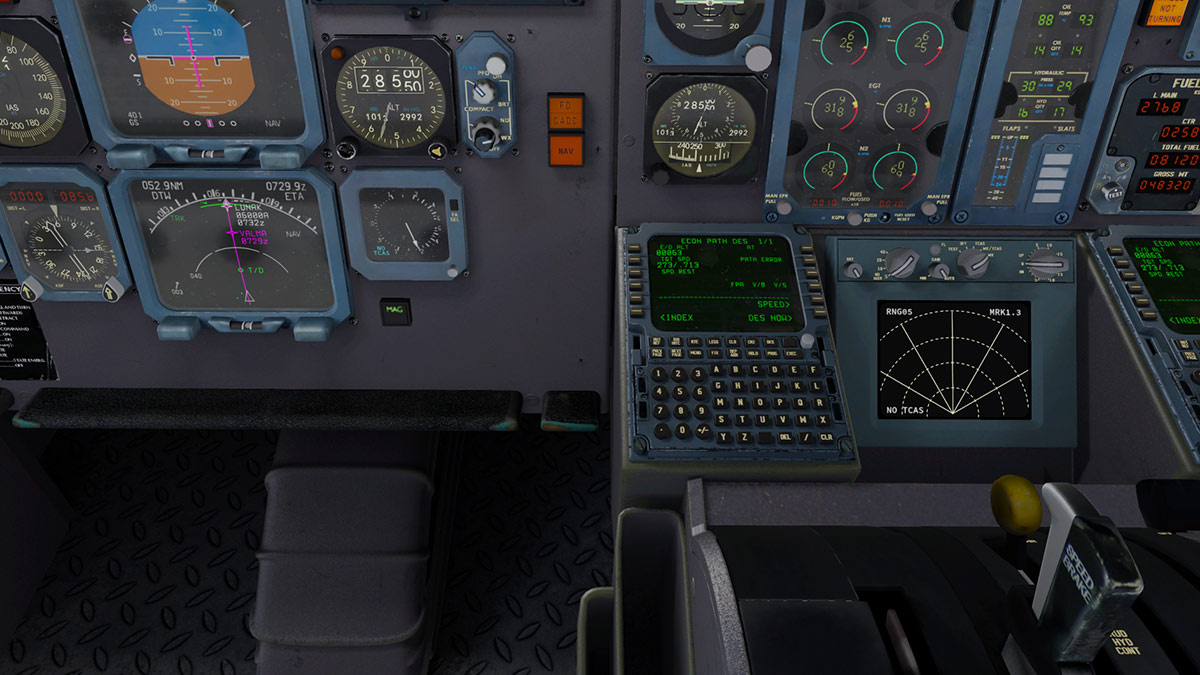


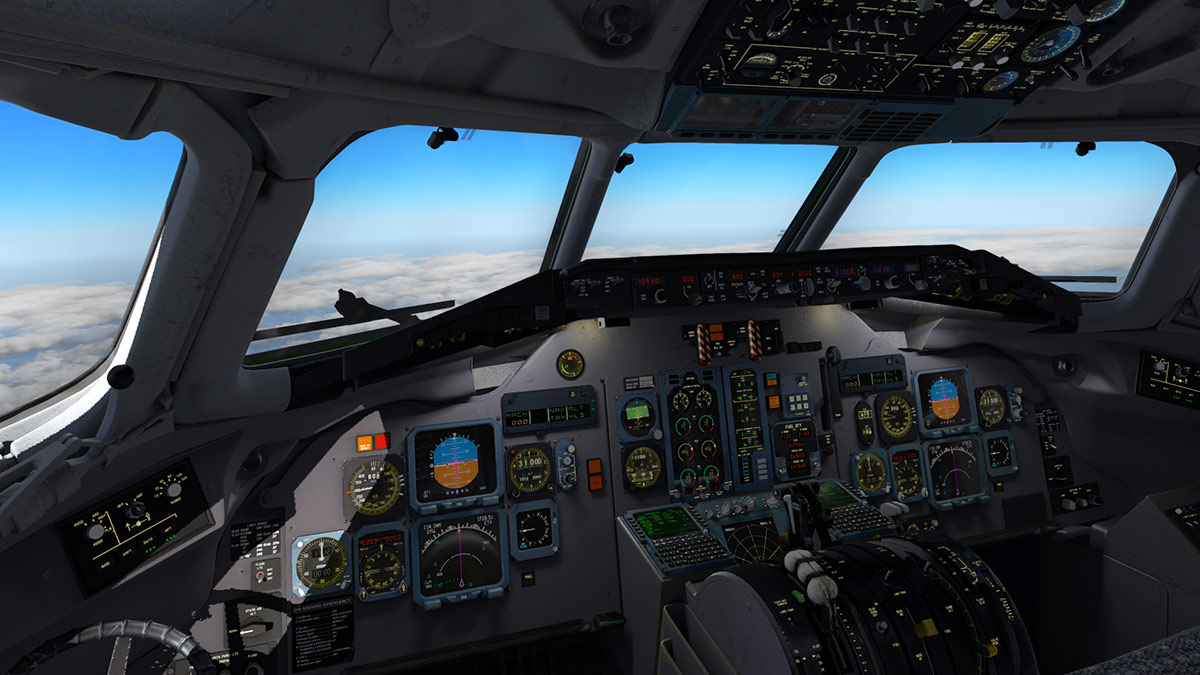


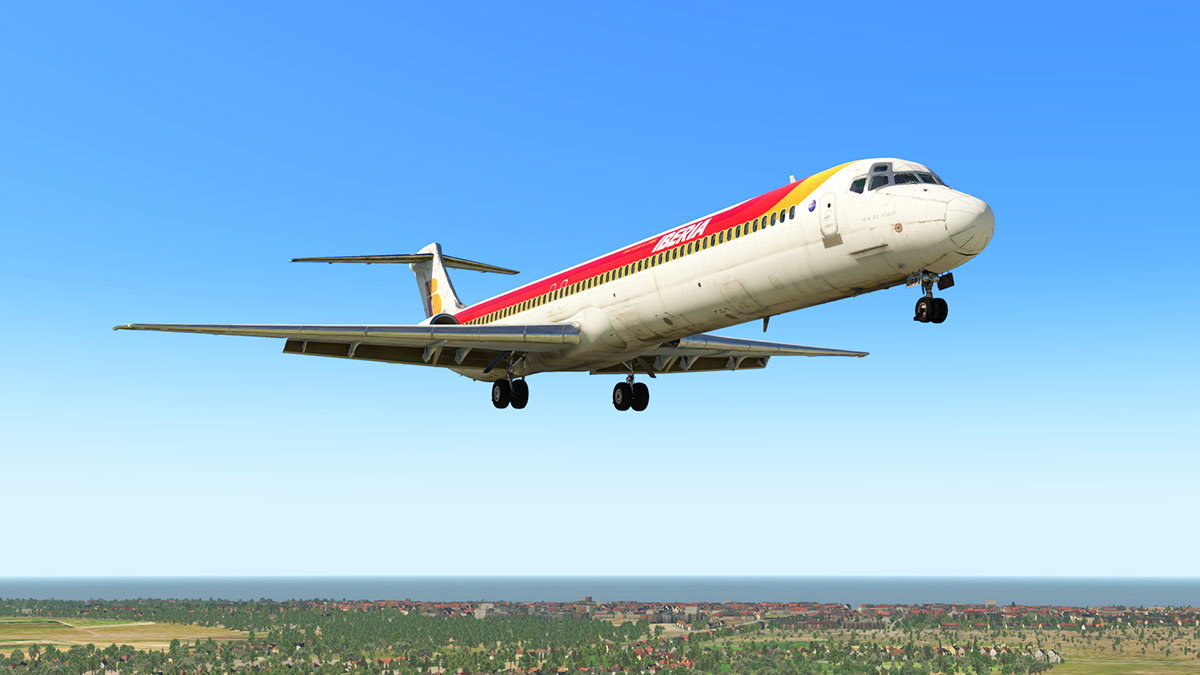
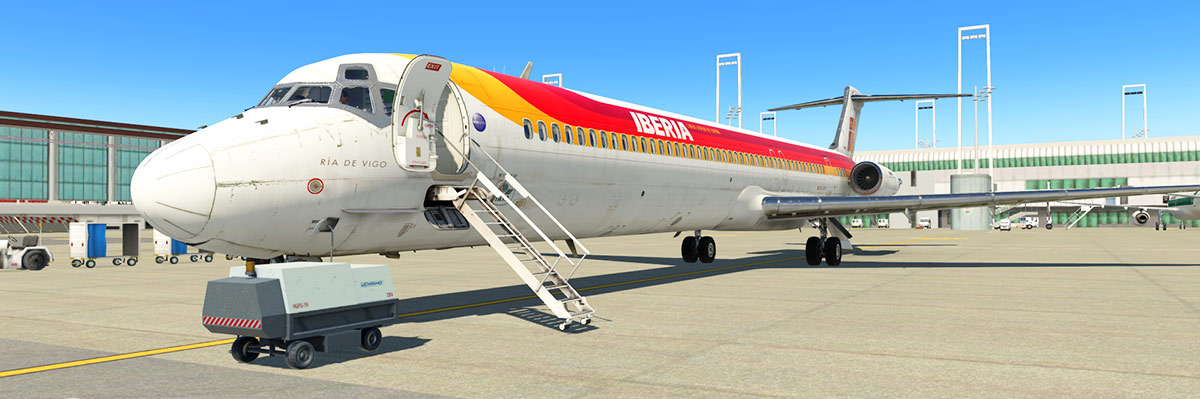
Scenery Review : KHAF - Half Moon Bay by RD Studios
in Payware Airports and Scenery Reviews
Posted
Scenery Review : KHAF - Half Moon Bay by Rising Dawn Studios
Passion, it gets things done. Passion gets things completed even if you can't face another minute of it, overall Passion drives X-Plane. If it is not an aircraft you particularly want to bring to life or a place that is important to you then Passion will get it done. Well KHAF or Half Moon Bay is certainly important to Peter Suranyi of Rising Dawn Studios as he had certainly a lot of passion of the place to bring it to your desktop.
KHAF - Eddie Andreini Sr. Airfield is on the coast just over the peninsula and 18 miles (30 km) south from downtown San Francisco which is a public airport in San Mateo County, six miles (9 km) northwest of Half Moon Bay, California.
The airport was renamed to Eddie Andreini Sr. Airfield in December, 2015, to commemorate his contributions to the community - he had learnt to fly at Half Moon Bay in 1953, and became an airshow pilot. Sadly, his love for flying eventually became his fate: he died in an airshow crash in 2014, at the age of 77.
So lets get straight into a first impression
First Impressions
I flew in from the south and you could easily pick out the scenery by the prominent Pillar Point Air Force Station. The air station provides radar coverage for Vandenberg AFB space launches and naval operations, there is a museum located there as well. The Pillar Point AFS is part of this KHAF scenery.
Once past I did 180º turnback and reduced speed and height to 500ft to get a closer lower flyby look at the airport.
From a distance it looks a little barren, but there is in reality not a lot out there as the airport itself is situated on a slight outcrop of land.
KHAF is only a small GA airport that does do an air/car show twice a year called Pacific Coast Dream Machines and provides a variety of emergency service and response functions including: Air ambulance and Medevac flights; law enforcement and homeland security patrols and Coast Guard sea-rescue operations.
The Pillar Ridge Trailer park is also highly noticeable on the west side as is Princeton by the sea township itself in the background. The airport has only one runway in 12/30 5,000ft (1,524m) long (alt 66ft or 20m)
The Pillar Point AFS is always going to be your focus in landing from the north as you can always keep a focus on your current position and line up turn points anywhere in the bay by its prominently positioned radar globes.
You can go slightly inland to align directly into RWY30, but the sweet curve of Half Moon Bay also gives you a very perfect slight left down wing trajectory straight into the runway, it is there so why not use it.
Princeton by the sea itself is now your focus, there is a harbour with Pillar Point Harbor's huge marina and the town is directly at the end of RWY30.
It is a very open space directly on the Pacific Ocean, so it is to be aware of sudden winds that can come out of nowhere as you get closer to the land.
Princeton by the sea has a lot of modeling with marine and boating suppliers highly visible as is with on the coast side is the Pillar Ridge Trailer park but the trailers are very close together and colourful.
Runway is super wide at 150 ft (46m) so you have plenty of space to adjust to those crosswinds.
Runway textures are first rate, great markings and a great realism feel to the ground. There is great 3d grass as well for added realism, but you have to be almost on the ground to see it, but it is very good. The trees are interesting so we will get to them in a moment.
Signage is excellent, in fact this pilot information for noise abatement sign at the end of RWY30 is a great marker of where to turn off to the taxiway...
... there are also a lot of container style aircraft hangars or boxes? littered all over the airfield. And I love the way the yellow taxi guidance lines are not actually perfectly straight but have been painted by someone by hand as it weaves around here and there in places. All runway and taxiway textures are ambient-occlusion refined and they look very realistic and worn.
You have to be very aware of having the "Draw Parked Aircraft" tickbox on. If it is you get loads on Piaggio pusher aircraft and Cessna Caravans, the scenery comes with static aircraft that you can either show or not, it feels more realistic with the checkbox off as in reality there is not a lot of parked aircraft sitting at the airport, and was well certainly not very full when the google car drove past taking images.
This is a pure and simple General Aviation airport, even a small jet feels big here and the stands are too small for one as well.
A quick tour past the excellent "Frank Sylvestri Terminal Building" or shack with refreshments provided by 3-Zero Cafe.
Once parked I went over my arrival and overall it is a really great scenery to fly into, very interesting with a lot of great features, but there are a couple of odd notes we will get to.
KHAF - Half Moon Bay Airport Overview
Eddie Andreini Sr. Airfield
Half Moon Bay Airport
IATA: HAF - ICAO: KHAF - FAA LID: HAF
12/30 5,000ft (1,524m) long (
Alt AMSL 66ft or (20m)
On the outset you feel there is not a lot in the scenery, but there is a lot of really nice intimate details when you walk around the place.
There are lovely old rusted hangars, and the detailing is quite good. The highlight was always going to be the terminal cum cafe which is very well represented here. My adage is that if you walk around a scenery and it feels like you are actually there then the scenery works from a realism point of view, and that is certainly the point here as I liked walking around KHAF a lot and taking in all the details.
A nice little feature is that when the cafe is closed then the blinds come down and open/closed sign on the cafe door changes as well, I like that.
Finer small details are well done with a fruit stand across the road and a great worn and rusted fuel depot.
Most of the scenery consists of aircraft storage with both modern in container style and older more of the worn style hangaring. They may be not the most visually interesting buildings but it is faithful to the airport, so it works very well.
One hangar in 58-9 is for your own use. This hangar is fitted out for you to use and even customise to your own specifications, which is a great feature.
There is a lot of options you can do with your hangar including changing the poster on the wall and 10 are provided including B17, Cropduster, F35, Jumbo, Mustang, RD Logo (default), Trainer, US Flag, Yee Haw or you can insert your own image as 1024x512 in dimensions and as a .png file.
Other options include seven different metal beam colours, two types of lighting in strip or old fashioned bulbs and a clean or dirty hangar.
There is full details on how to change all the different options in the manual, but you do have to overwrite the main scenery files, but RD Designs do make that easy by a folder set up. I used a different way than recommended by using the MOD (JSGME) tool to switch over the files, this way I didn't touch the original files and I could switch them back and to as I wished.
You can place your aircraft inside the hangar, but it is quite small. The Bonanza F33 just nicely fitted, but the Phenom... well it just didn't.
Other areas to see is a SFPD Police car storage and maintenance area with nice well done mobile cell towers set behind.
Surface features
All runway and taxiway surfaces are excellent, but more than that they are also reflective, and beautifully so if there is a little rain around.
They are quite lovely in the right lighting conditions.
Animated Trees and Powerlines
One feature that is new to X-Plane is animated trees and powerlines... The 3d trees move in accordance with the current wind speed and close up it is very effective as they swish in the wind, as do the powerlines which you can set at three speeds, none, light and full movement positions.
But even if this is a really great feature, I certainly don't like the look of the trees... (boo hiss). It may be the X-Plane11 lighting effects but they don't look not very realistic at all, in that the heavy cross form of the trees that is heavily highlighted and quite badly. I loaded in the extra provided standard 2d trees (above right) and they didn't look much better either? great idea though, but it basically doesn't do what it is supposed to do and that is to look and make the scenery be realistic.
The grass is as noted very good when close or on the ground, and fills out the large areas of the scenery. You also have the choice of different grass volumes in density if you are short on performance.
Pillar Point and Princeton by the sea
The Pillar Point AFS is a big focal point in the scenery, but so also is the Princeton township not to be confused with the Princeton in Colusa County.
The great othrophoto ground textures really bring out the Pillar Point landscape with a great fusion of detail as it moves into the sea, the coast line around the scenery is first rate and no doubt the AirForce Station is a real landmark in this scenery.
Princeton by the sea is well recreated, but the ground textures are not overly minute, so you get a slightly spotted ground in some areas instead of detail, but it is overall very good.
The Pillar Point Marina and Oceano Hotel and Spa is the centre point of the township (manual notes it as the Pacifico Hotel?).
Marina is very well done with a lot of detail and static and animated yachts piling the harbour. The Oceano Hotel is really well done and stands out on any RWY30 arrival.
The townships buildings themselves are a bit generic, they however show flats and units were as Princeton it is far more industrial and filled with large sheds and shops (boating and marine is big here). Pillar Ridge Trailer park is well represented and detailed.
Lighting
The lighting effects are a real mixed bag... on the one hand they are really brilliant, but in some areas they are quite basic. This is a daylight hours operational airport and so the lighting at night is always going to be low key.
I am sure the lighting is correct, but RWY30 approach is well done, but the RWY12 approach has no end of the runway marker lighting?
Airport buildings and field lighting is very good...
... no qualms about that area at all, and the Chevrol Fuel area is a highlight. The scenery also comes with the great feature of the field signage is reflective with the ground, which is excellent.
But Princeton by the sea is a bit average?
Oceano Hotel lighting is quite bland, and except for some street lighting the township is quite dark, no housing lights or lit signage to bring it alive?
Trailer park is far better, but overall the township is quite dull at night.
Summary
There is no doubt there is a lot of passion felt in this scenery as the developer has had a personal investment and direct involvement with this airport... and it shows via the excellent detail and all the love that has been lavished here.
You also have to take into account that this is Rising Dawn's first scenery release and overall it is a really good one with a lot of optional features like the dynamic hangar you can tailor to your own tastes, choices of trees and performance options.
Great clever features like animated trees and powerlines, brilliant modern X-Plane11 features for excellent surfaces and lighting and in many areas it is outstanding.
But in a few areas it is a little basic. Those trees are certainly great in action, but look very old fashioned in overall context, more X-Plane8 than 11 in distance viewing, which is a shame as they are a focal point and major feature of the scenery. The township is a little a) rushed to finished or not quite b ) thought through. If you look at Beti-x townships like you would then know why? buildings that match the area and are correctly lit with signage, it feels a little rushed or unfinished, the Oceano Hotel and Spa and Marina however are excellent.
Overall the KHAF - Half Moon Bay scenery is outstanding if you like these small drop in and fly out scenic airports, the excellent orthophotograpic images are excellent from the air and that makes this scenery a very worthwhile destination.
Yes I loved KHAF - Half Moon Bay, great general Aviation scenery with a lot of great clever features, a worthwhile addition to your collection.
______________________________________________________________________
Yes! the KHAF - Half Moon Bay by Rising Dawn Studios is Available now from the X-Plane.Org Store here :
KHAF - Half Moon Bay
Requirements :
Installation : Download scenery file size is 310.90mb. With
RD_KHAF_Airport (327.10mb)
RD_KHAF_Ortho (170.95mb)
In being inserted into your X-Plane "Custom Scenery" Folder
Note the "RD_KHAF_Ortho " must be listed in the .INI situated UNDER the "Airport" file to work.
I found a (major) conflict with ground textures (Ortho) with Tom Curtis's "Golden Gate+South Bay" scenery, so you can't run both sceneries at the same time... sad.
select via the X-Plane "Graphics" menu for "Draw parked aircraft" tickbox off for realism.
Extras including hangar customization and performance are created by replacing the original items with the extensively supplied versions. They are supplied in a folder sequence to overwrite the current scenery files (very clever), but I found the JSGME Mod Enabler MOD tool more helpful and quicker.
Documents
Provided document is a full detailed manual and much included with more information and history:
______________________________________________________________________
Review by Stephen Dutton
27th August 2017
Copyright©2017: X-Plane Reviews
(Disclaimer. All images and text in this review are the work and property of X-PlaneReviews, no sharing or copy of the content is allowed without consent from the author as per copyright conditions)
Review System Specifications:
Computer System: Windows - Intel Core i7 6700K CPU 4.00GHz / 64bit - 16 Gb single 1067 Mhz DDR4 2133 - GeForce GTX 980/SSE2 - Samsung Evo 512gb SSD
Software: - Windows 10 - X-Plane 11.02
Addons: Saitek x52 Pro system Joystick and Throttle : Sound - Bose Soundlink Mini
Plugins: Environment Engine by xEnviro US$69.90 : JARDesign Ground Handling Deluxe plugin - US$14.95
Scenery or Aircraft
- Piper PA30 Twin Comanche by vFlyteAir (X-Plane.OrgStore) - US$29.95 - Review here: Piper PA30 Twin Comanche