


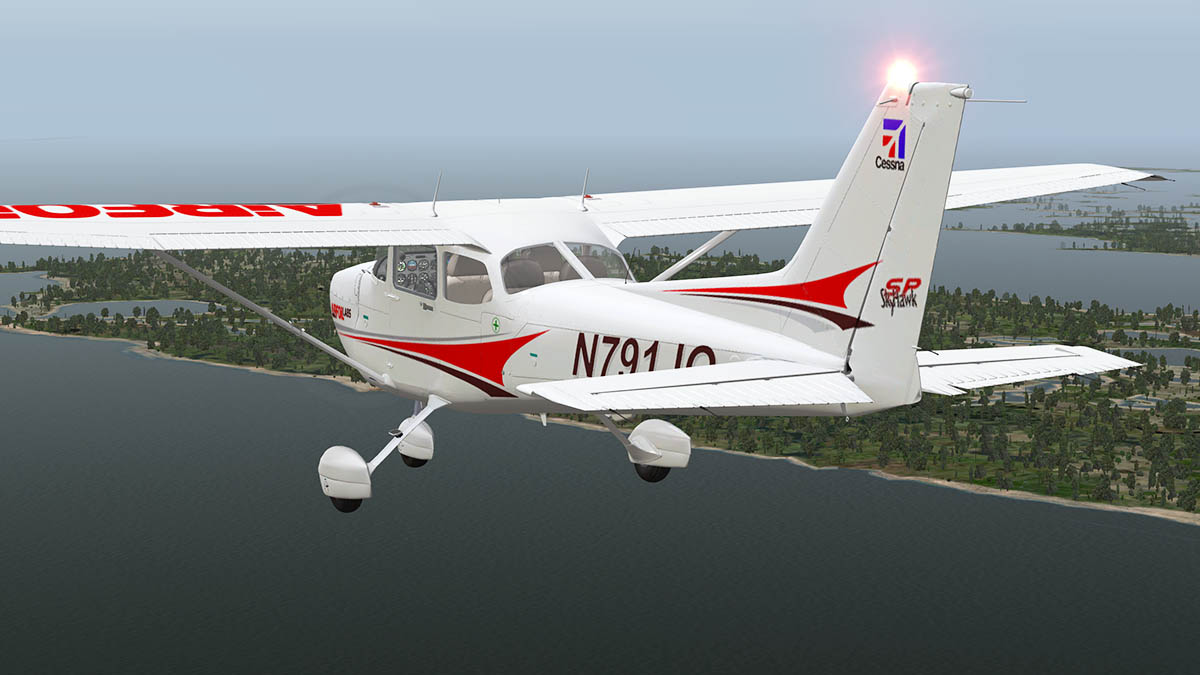
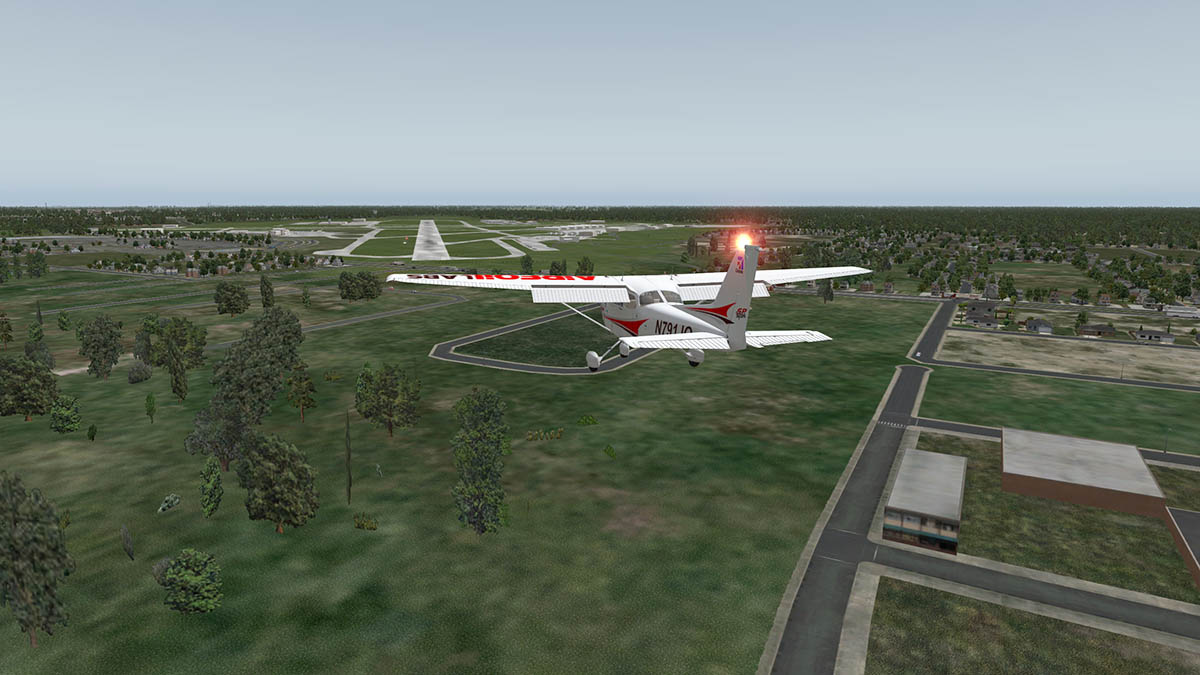


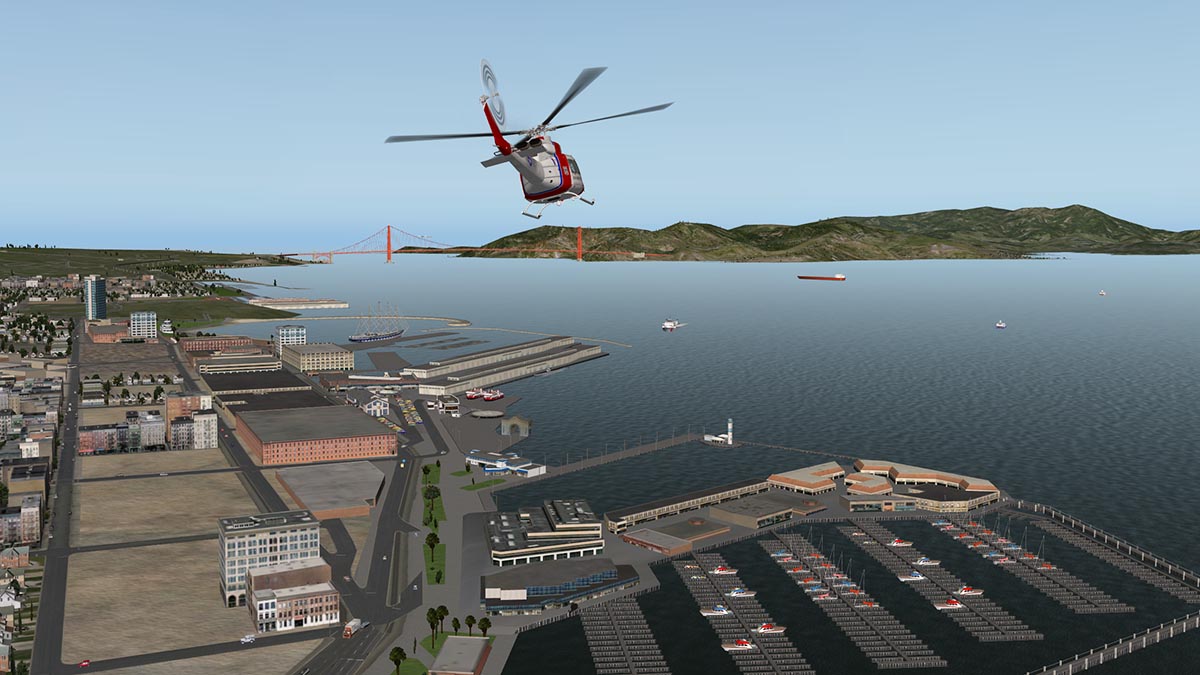


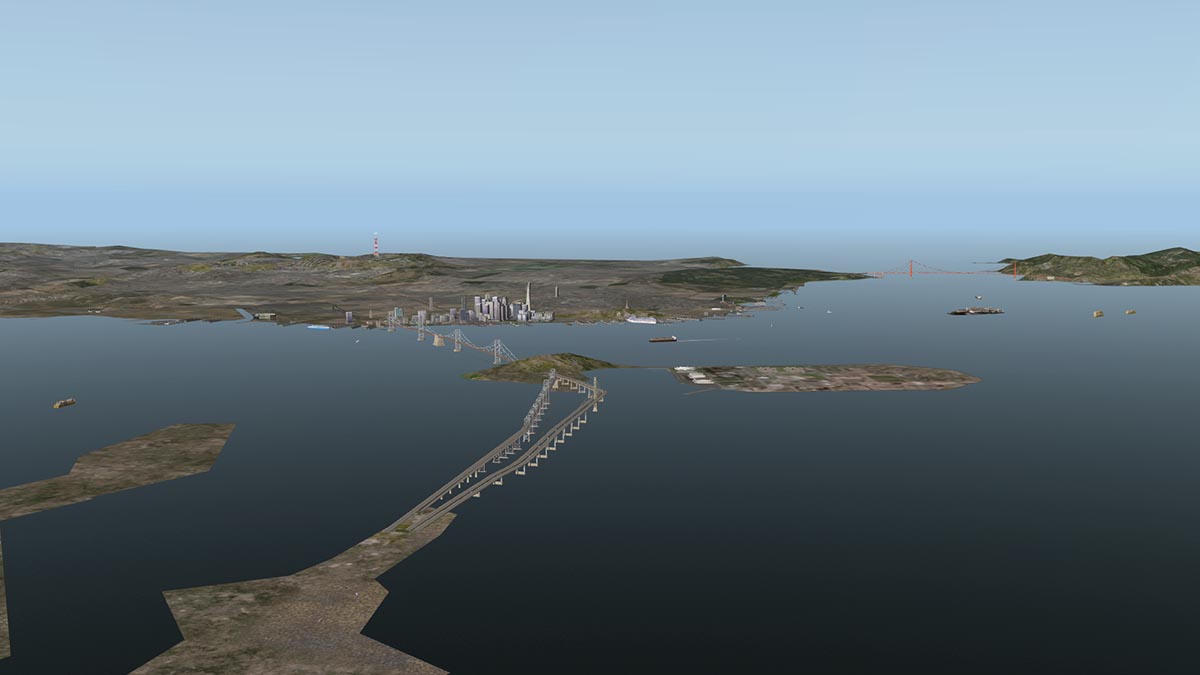

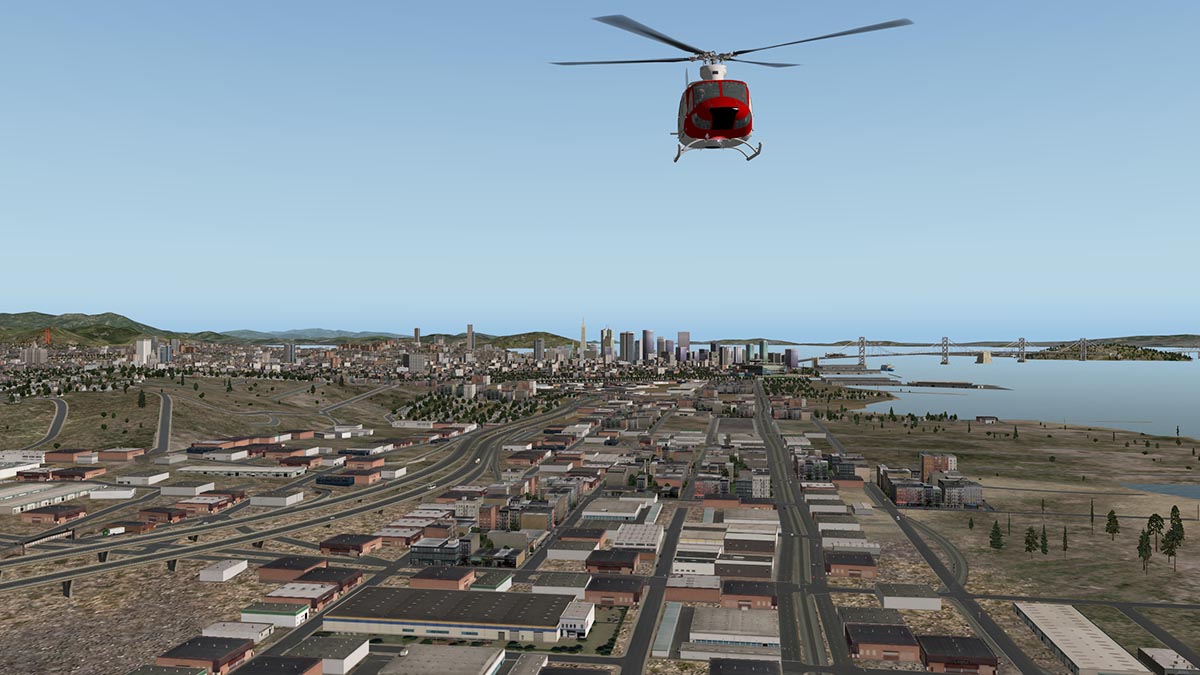


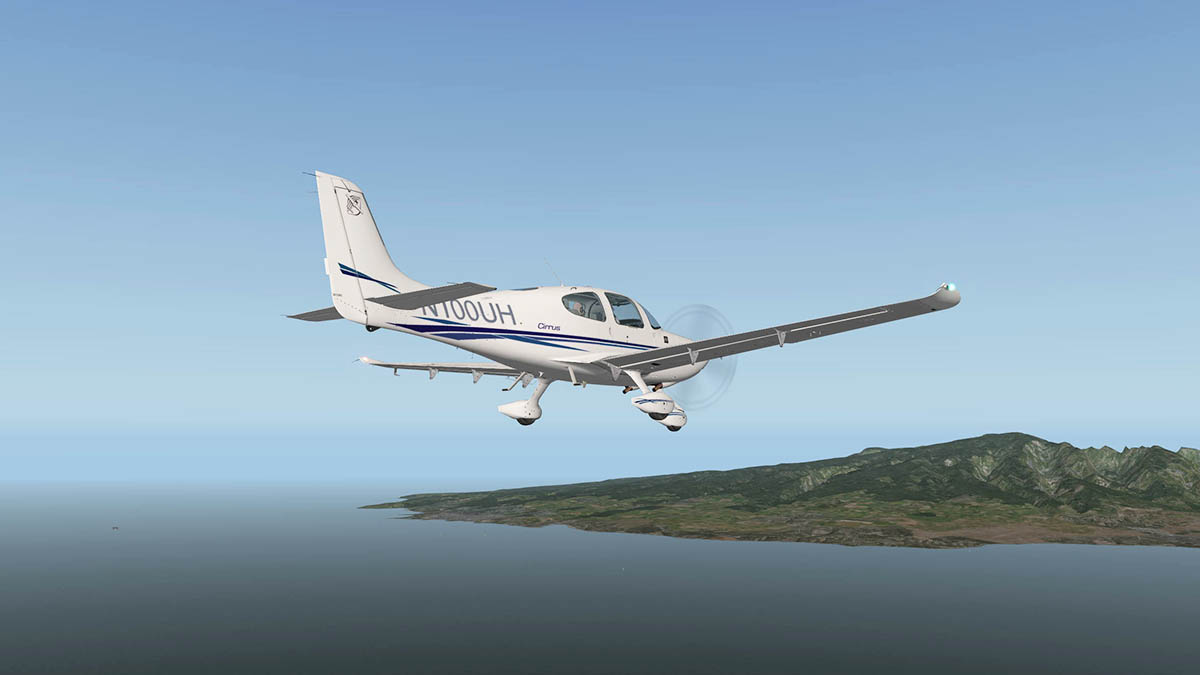
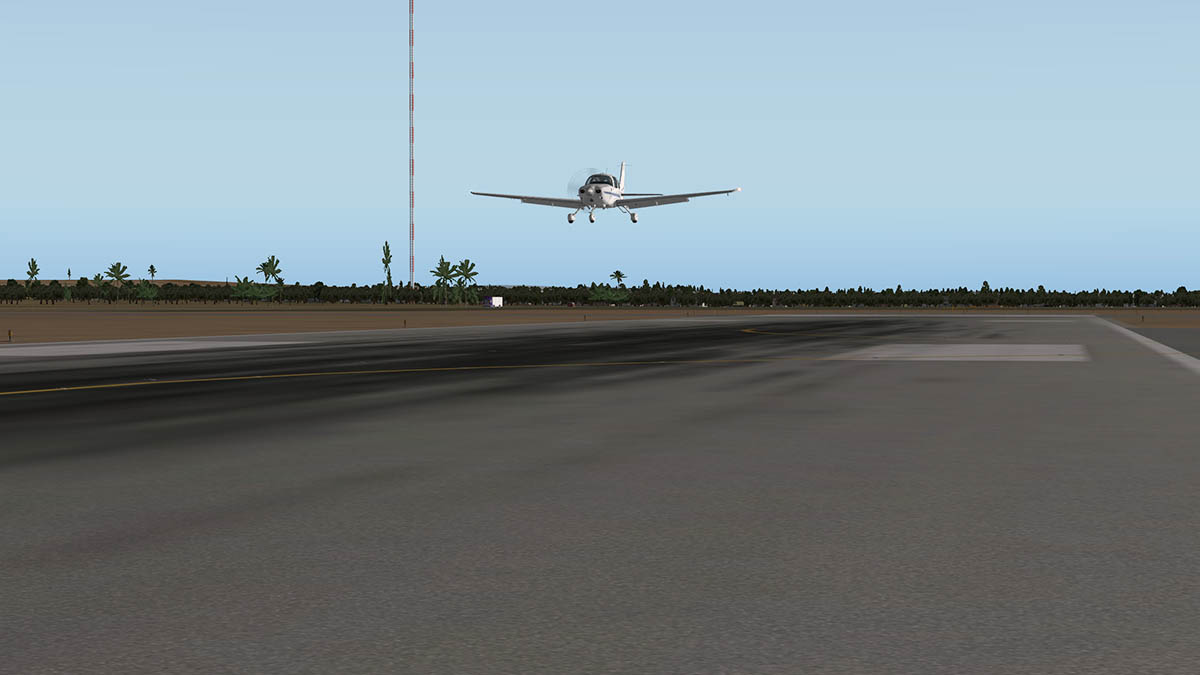
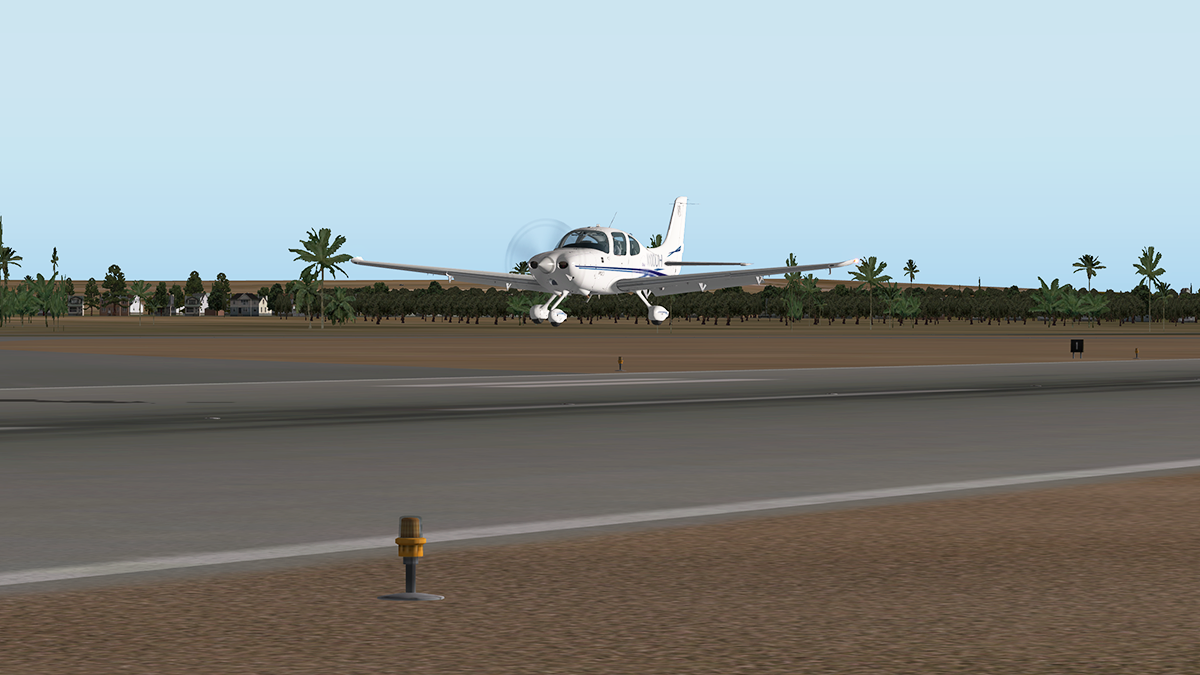
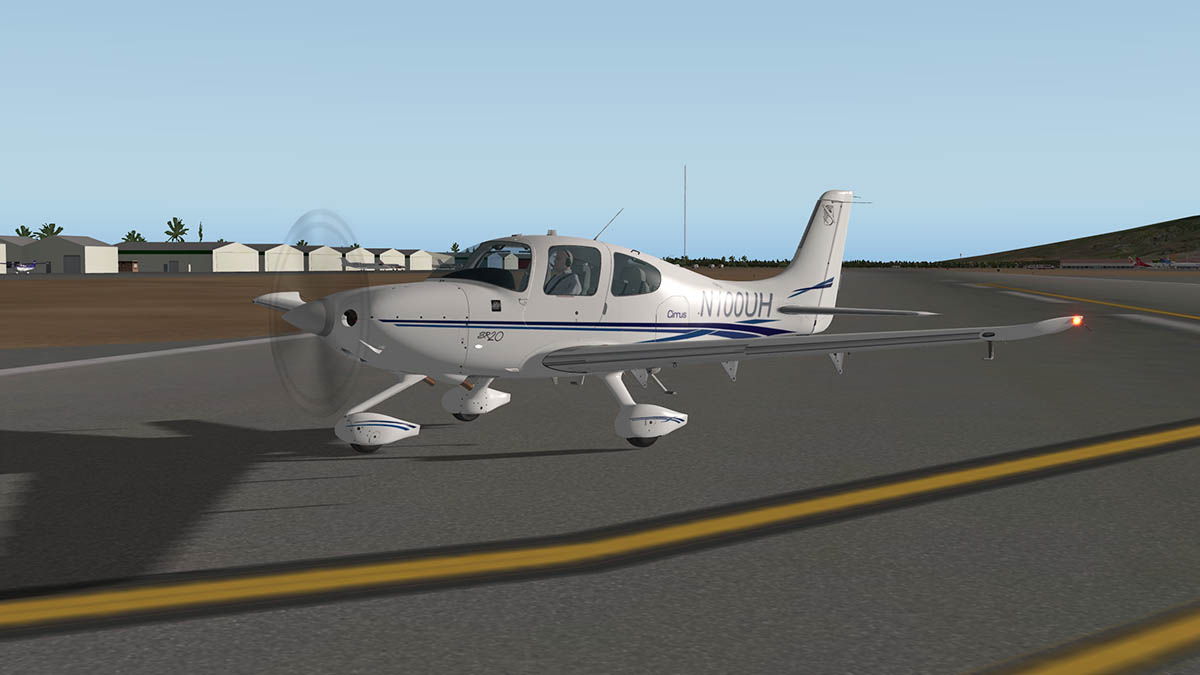
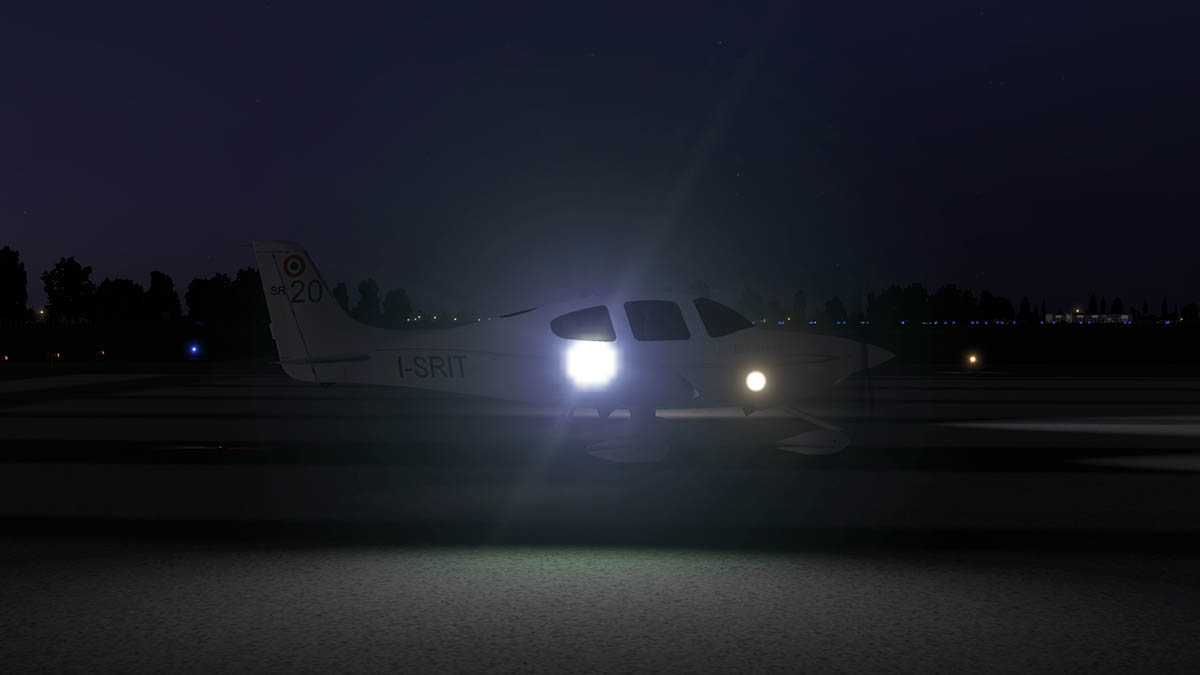


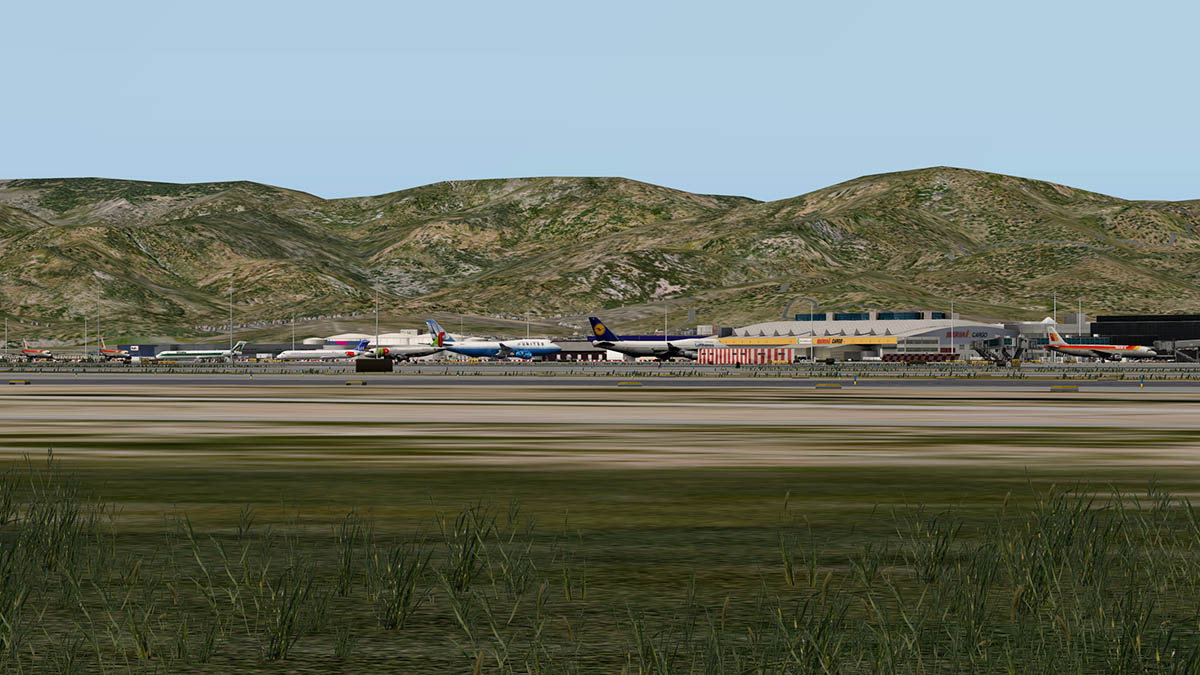


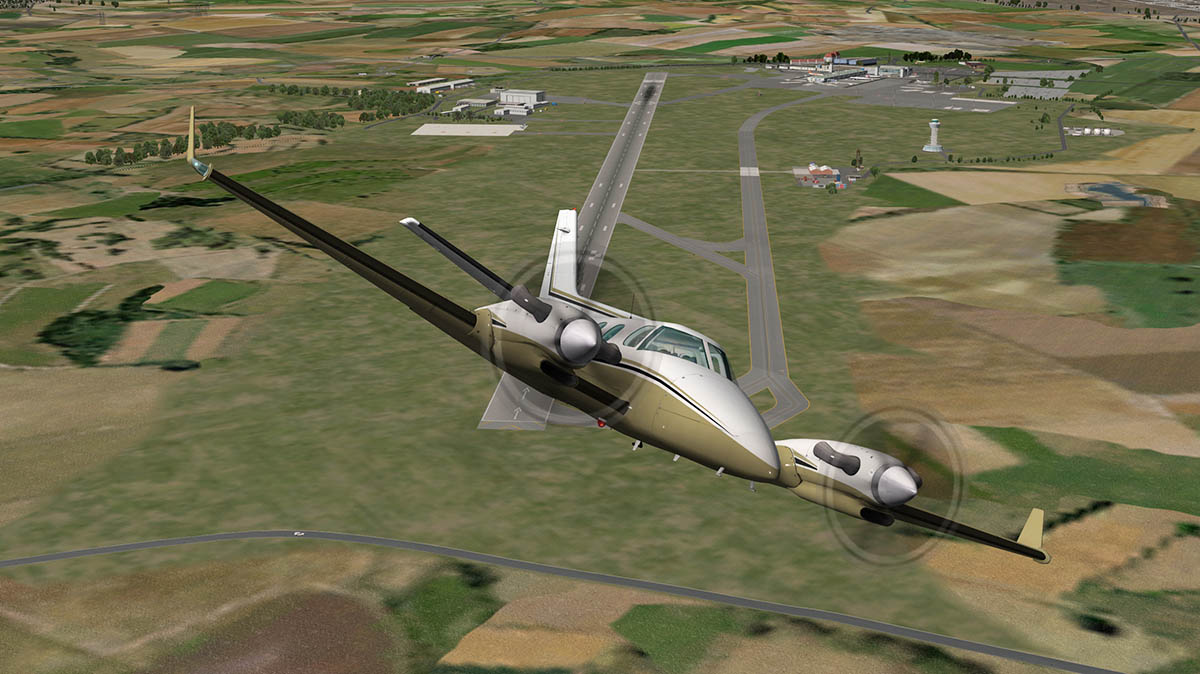
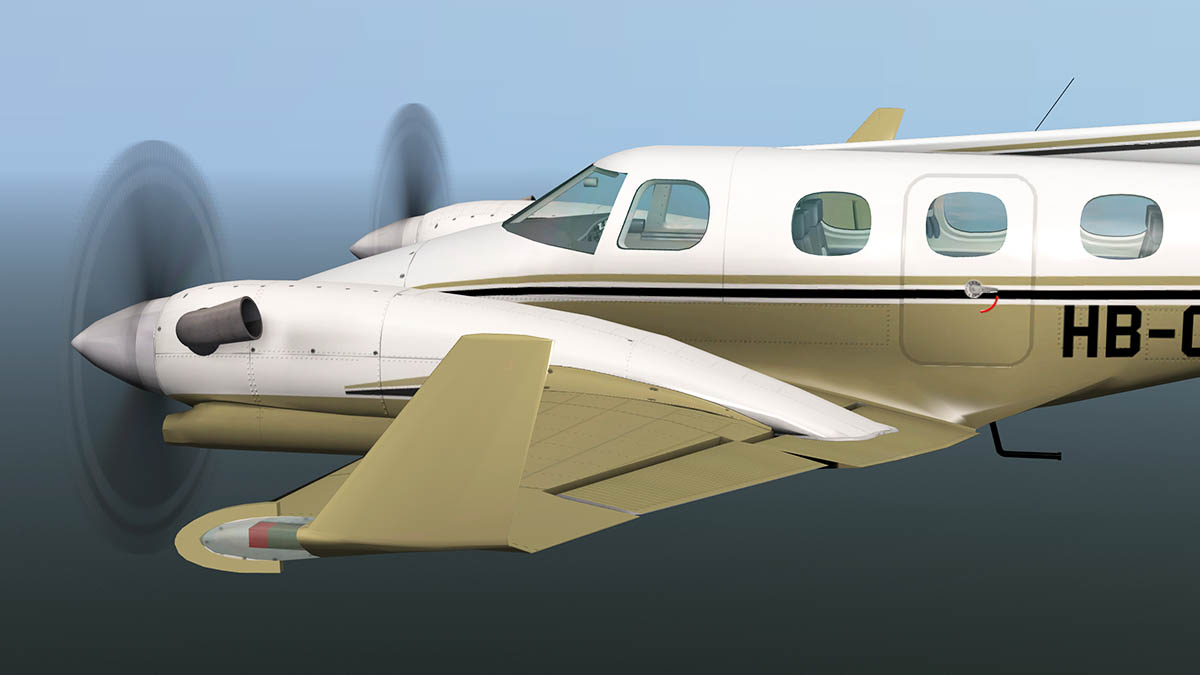
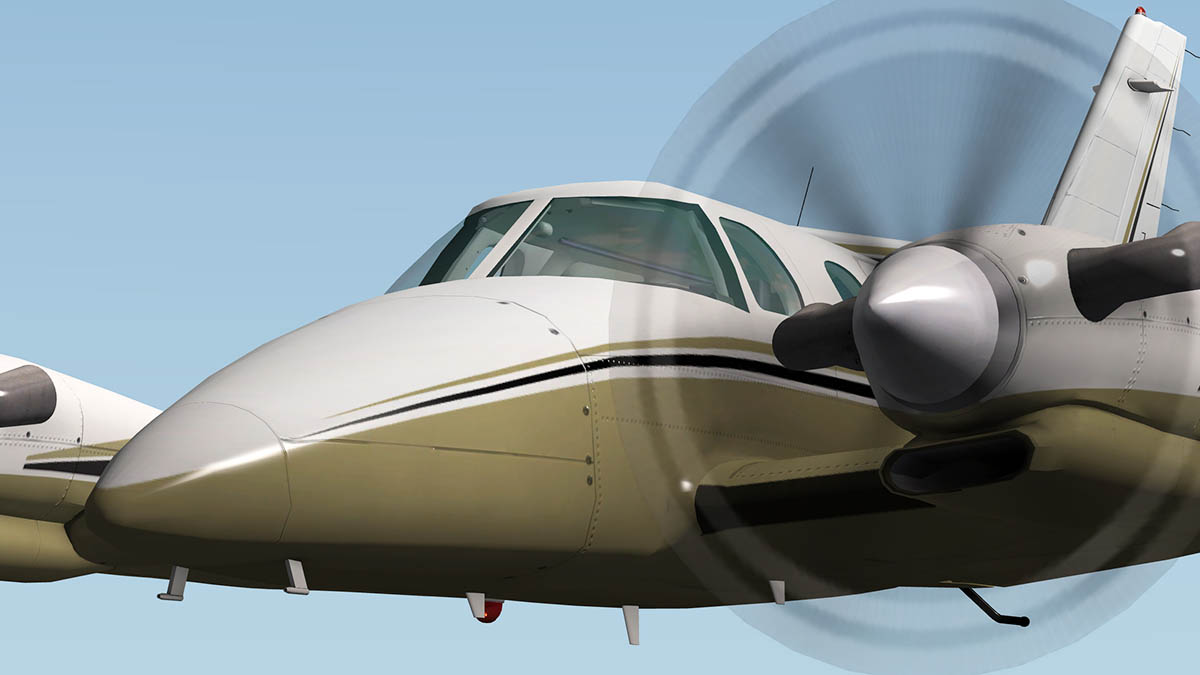
"The latest update for X-Plane 10 is now available for all users. X-Plane 10.40 is a major release that includes a new DSF loader, ATC functionality, digital download, and multiple performance enhancements. Scenery updates to almost 500 airports, including major locales such as London Heathrow, Hong Kong, and Atlanta, are also included.
Visit the briefing page for more information on the major features in X-Plane 10.40.
Instructions for Updating
To update your copy of X-Plane, simply start the simulator and choose to update. It will automatically download and launch the latest installer.
Free for X-Plane 10.40 Users: X-Plane Control Pad
In addition, the new Control Pad app is now available as a free download in the Apple App Store.
Control Pad allows you to control X-Plane dynamically without pausing or interrupting flight. You can change weather, position, and more with the app, or even use it as a portable instruction station to throw emergency situations into the mix."
X-PlaneReviews have done a full review of the 10.40 version that breaks the version down and explains the details... Here:
X-Plane Version 10.40 : What is New
For the full minute details on the release then go here to the X-Plane Developers notes: X-Plane 10.40 Release Notes
Details of the release of the Control Pad App are here: News! - Control Pad App
Stephen Dutton
1st October 2015
Copyright©2015:X-PlaneReviews


Scenery Review : SBGL Rio de Janeiro Intl by Richard G Nunes Scenery
in Payware Airports and Scenery Reviews
Posted
Scenery Review : SBGL Rio de Janeiro Intl by Richard G Nunes Scenery
Nothing was more exotic or remote in the 60's than Rio de Janeiro, it was the sounds of the music that brought it into context or the refrains of Bossa Nova "new trend" which is a lyrical fusion of samba and jazz. And at the same time aircraft became fast and global through Jet propulsion and the VC10's, Boeing 707's and DC8's now ruled all hemispheres and the Jetset were on the move in their thousands. Airline posters of the day (I have a fair collection) where of these exotic destinations... India, Hong Kong, Egypt, South Africa, Japan and Australia, They infused early a dream of world traveling that is still my deepest desire and love.
But for a wannabe jetsetter Rio was the big one, visions of coming into land past the gaze of the "Christ the Redeemer" iconic statue was right at the top of one of my biggest set of bucket list of destinations, the holy grail of travel... the really big one. I never got to Rio (well not yet anyway) but many others have been crossed off the BOAC list, but the dream lives on.
So any X-Plane scenery that can at least fulfill even a slight longing of flying to Rio de Janeiro was always going to be a big deal, it is and here is the main destination for any arrival in that Southern Continent's most vivid city in Rio de Janeiro/Galeão–Antonio Carlos Jobim International Airport .
Rio is also in the news for other reasons lately, the Football World Cup has been won and done, but in 2016 is the turn of the behemoth Olympic & Paralympics Summer Games to grace the city, and SBGL - Galeão will be again at the forefront of the public reception point for the city. The airport is located 20 km (12 mi) north of downtown Rio de Janeiro.
First Impressions.
My entrance to SBGL was via a short flight from Sao Paulo going north and approaching the city from the south. My fantasy of gliding past "Christ the Redeemer" was not going to happen as there is actually no approach path across the front of the summit of Mount Corcovado where the statue is placed. Instead I would be using a direct approach via SANTA CRUZ VOR (SCR-113.60) and MERITI NDB (IT- 290) that gives you a direct approach into SBGL RWY10 though the valley east of Serra do Mendanha. NARA 10 STAR will give you both north and south arrival patterns through SANTA CRUZ VOR.
Visually it is a great approach, but you can't see any of the iconic Rio visual feasts in the forementioned "Christ the Redeemer" or "Sugarloaf Mountain". SBGL Galeão Airport itself is built on its own complete island called Governador Island (Ilha do Governador, in Portuguese) and is the largest island in Guanabara Bay. The name Galeão was a beach on the island.
The history of the airport begins on May 10, 1923 when a School of Naval Aviation was established near Galeão beach on Governador Island. On May 22, 1941 with the creation of the Brazilian Air Force Ministry, the school became the Galeão Air Force Base; a terminal and hangars were built and the runway extended. Those buildings still exist and Galeão Air Force Base is still active. When Brazil declared war against the Axis on August 22, 1942, the aerodrome began to be used intensely by the Allies for military operations related to the World War II.
At the end of the war, Santos Dumont Airport was unable to handle the increased tonnage of aircraft flying on international routes and number of passengers. For this reason, international flights were gradually moved to the site of the Air Force Base. The services were however precarious and a decision was made to build a brand new passenger terminal, opposite to the Air Force Base, and set across the runway.
On February 1, 1952 the new passenger terminal was opened and remained in use with enlargements until 1977. This terminal is used by passenger flights operated by the Brazilian Air Force. The cargo terminal is also located in the area and all-cargo aircraft usually park at its adjoining apron. The whole complex is now informally known as the "old Galeão."
On January 20, 1977, when the airport was receiving all of Brazil's major international flights, this new terminal was opened and all scheduled passenger flights were transferred to the new building. This building is known today as Passenger Terminal 1. During the year 1991, Passenger Terminal 1 underwent its first major renovation in preparation for the United Nations Earth Summit held in 1992. Its annual capacity was increased to 7,5 million passengers/year. On July 20, 1999 Passenger Terminal 2 was opened. (wikipedia)
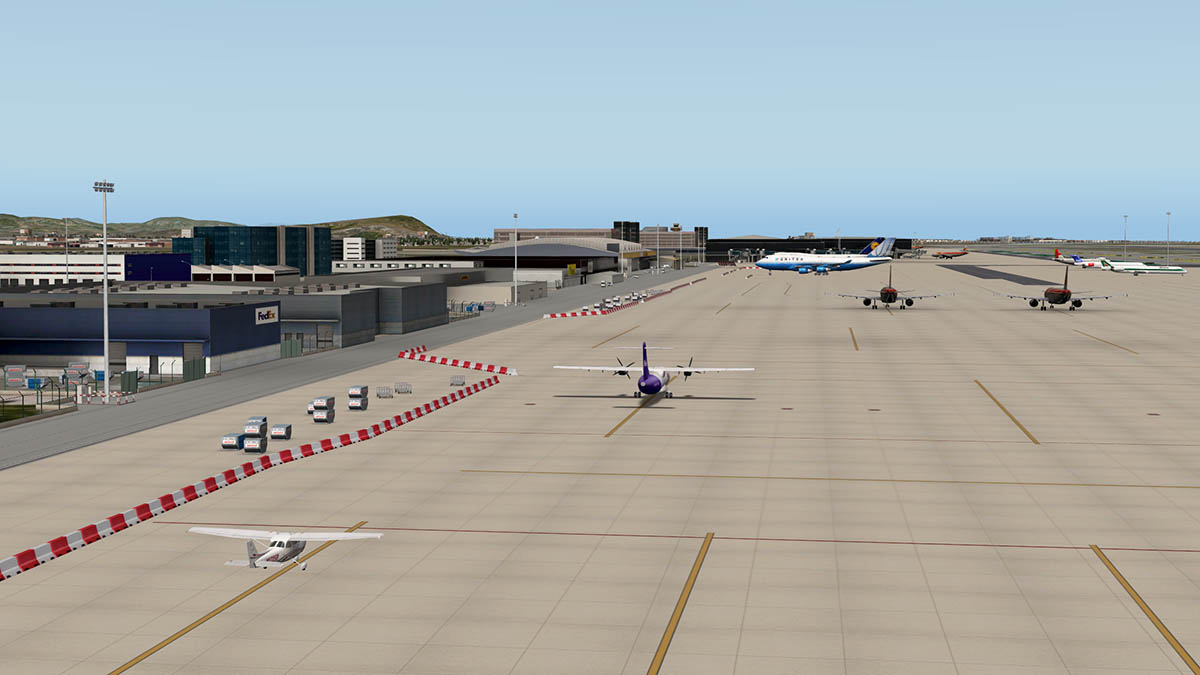
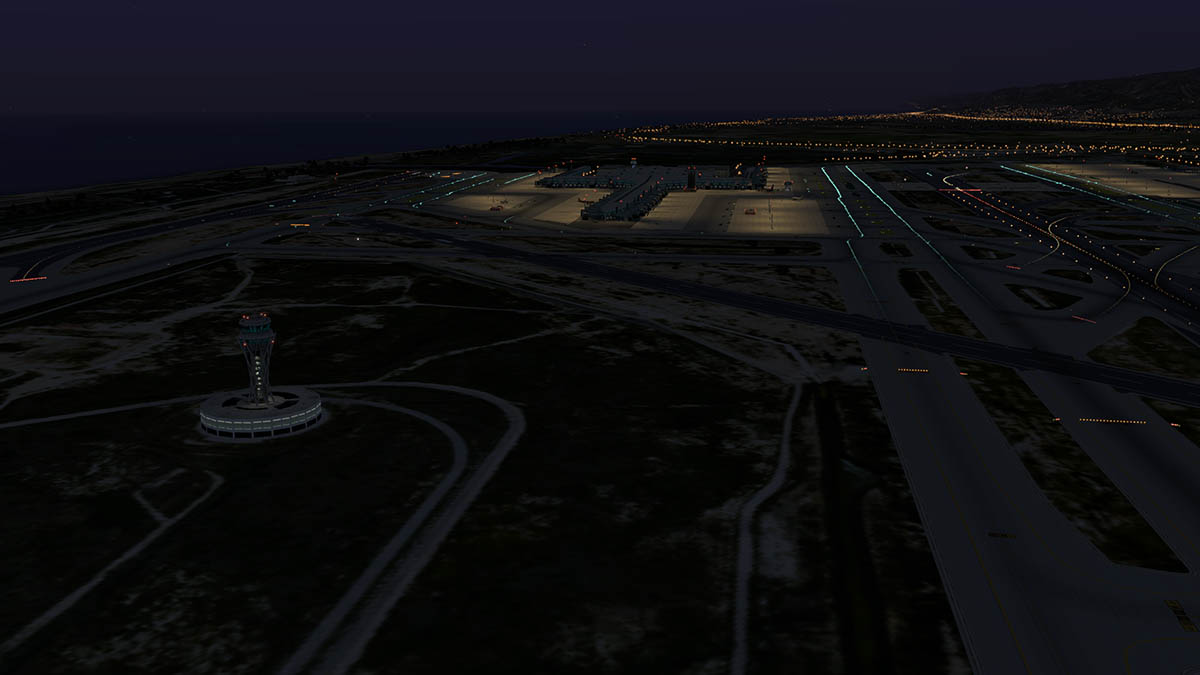
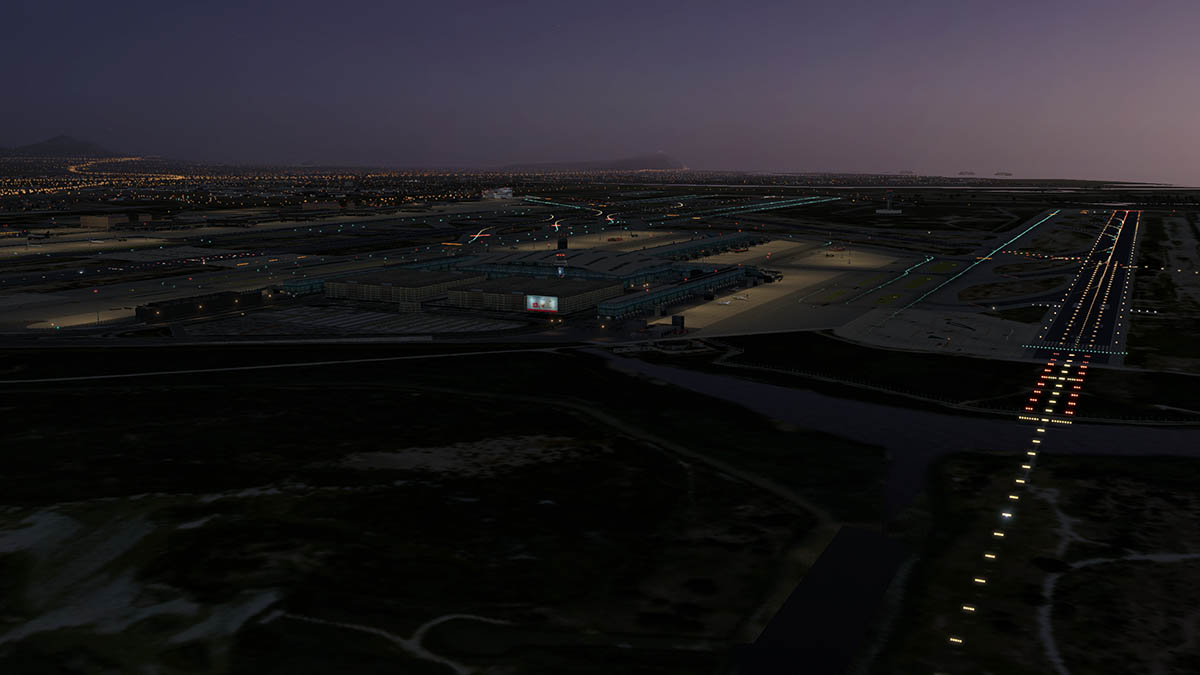
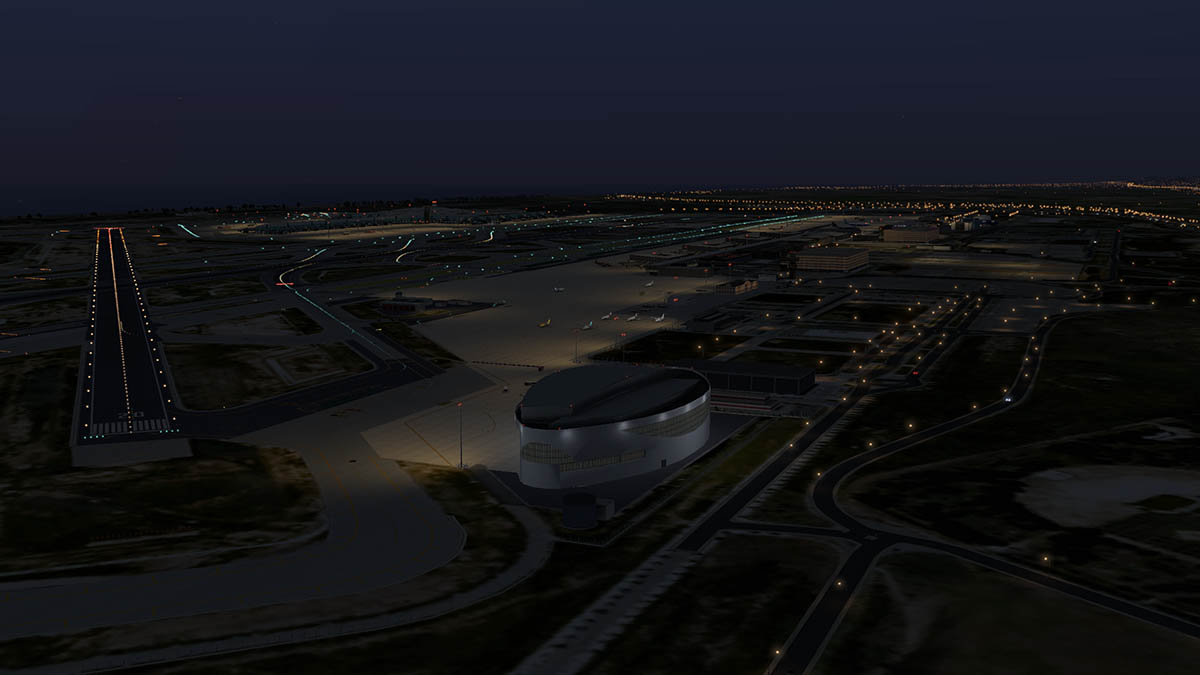
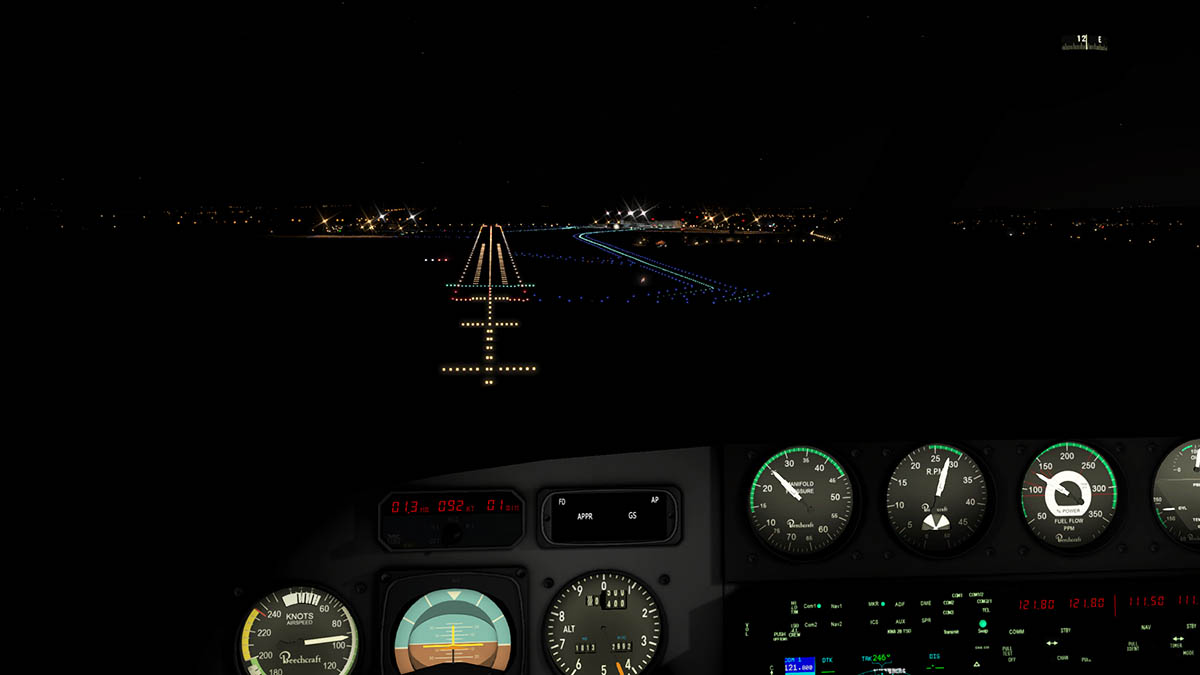
Both runways 10/28 and 15/33 are in a wide V shape coming from the southern direction, with excellent overwater RAIL lighting (Approach Lights Systems (ALS) to guide you in. The main airport terminal complex is in the centre of the V and is an excellent visual sight on both RWY10 or RWY15 approaches.
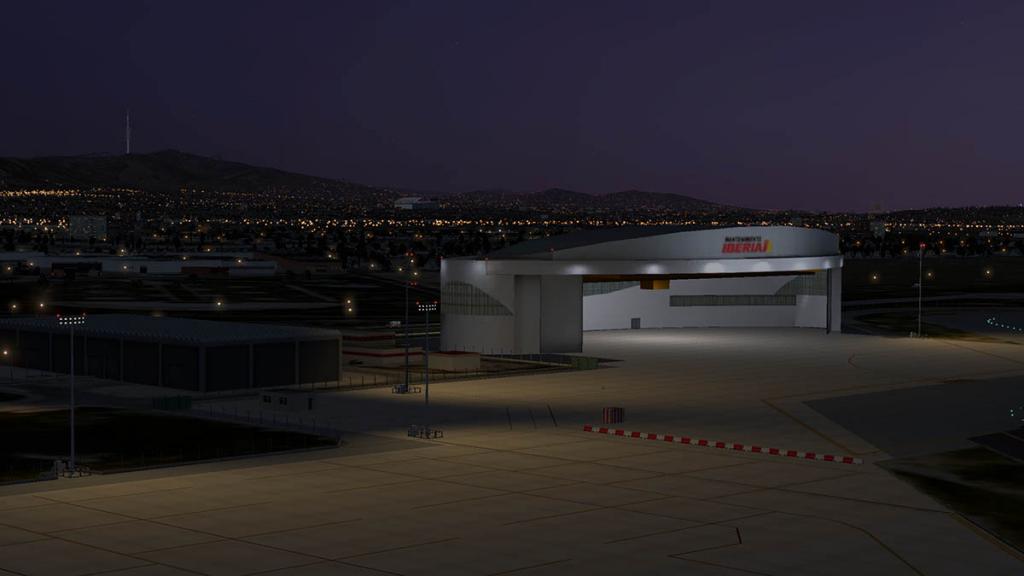
Runway visual features and runway textures are simply excellent 10/28 is concrete (15/33 is Asphalt) and are highly realistic in wear and rubber marking. There is grass, but on approach it looks a whitish than a more darker grass, but still a nice feature. Taxiways are concrete center and runoff wider tone asphalt, and very well done. Departure from RWY10/28 was by link taxiway CC to main taxiway N. On taxiway CC you have the excellent large TAP maintenance & engineering hangar and service ramp area. (yes the same Portuguese TAP, the area was bought from bankrupt VARIG in 2005).
Turn to taxiway N is required but you can't stay on this section. If you run the WorldTraffic 2.0 plugin from Classic Jet Simulations (highly recommended) there are some great sets of ground routes available for SBGL here: GroundRoutes_SBGL v1.0
But no routes. I have listed my settings for the WT Route Generator below as a download to get the routes I created for SBGL and they look brilliant in operation. But one thing is noticeable in that taxiway N is the north direction main departure route and Taxiway M is the south direction route to the terminal area. so you need to dogleg at link taxiway W to get off N to get to M as soon as possible between traffic flows if the departures are to the south.
One thing must be stressed early in using this Richard Nunes SBGL is that the "runways follow terrain contours" tickbox must be on. There are many reasons for this but the main two are that if not the RAIL approach lighting will be very odd and sit well above the runway?
Secondly is for a great feature of the scenery, as taxiway M goes past the main junction of Q and O link taxiways you then cross over a taxiway bridge, M for going west and another bridge for taxiway N going east. Brilliantly done you enjoy the view as an WT aircraft crosses on the other bridge (If "runway contours" is off the bridges will sit too high?)
The one area X-Plane misses out on is this sort of traffic and high taxiway crossings, but here it is an excellent way to create such a solution.
Over the taxiway bridges there is on the right is a fuel storage and airport maintenance collection of tanks and buildings.
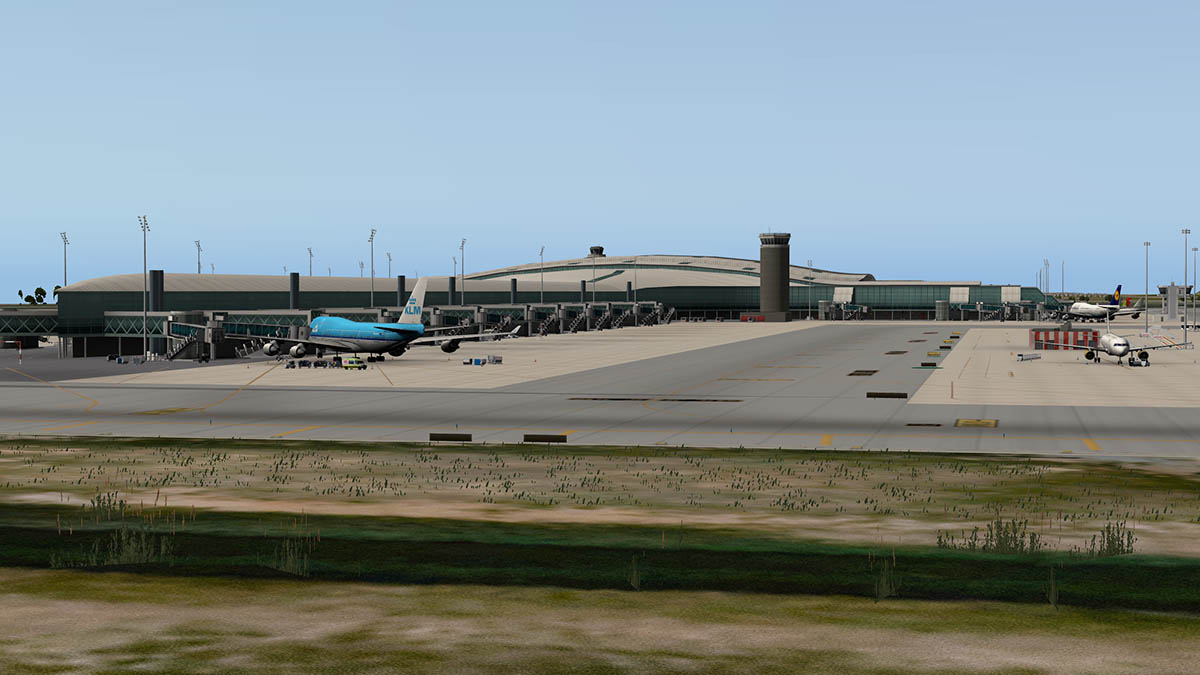
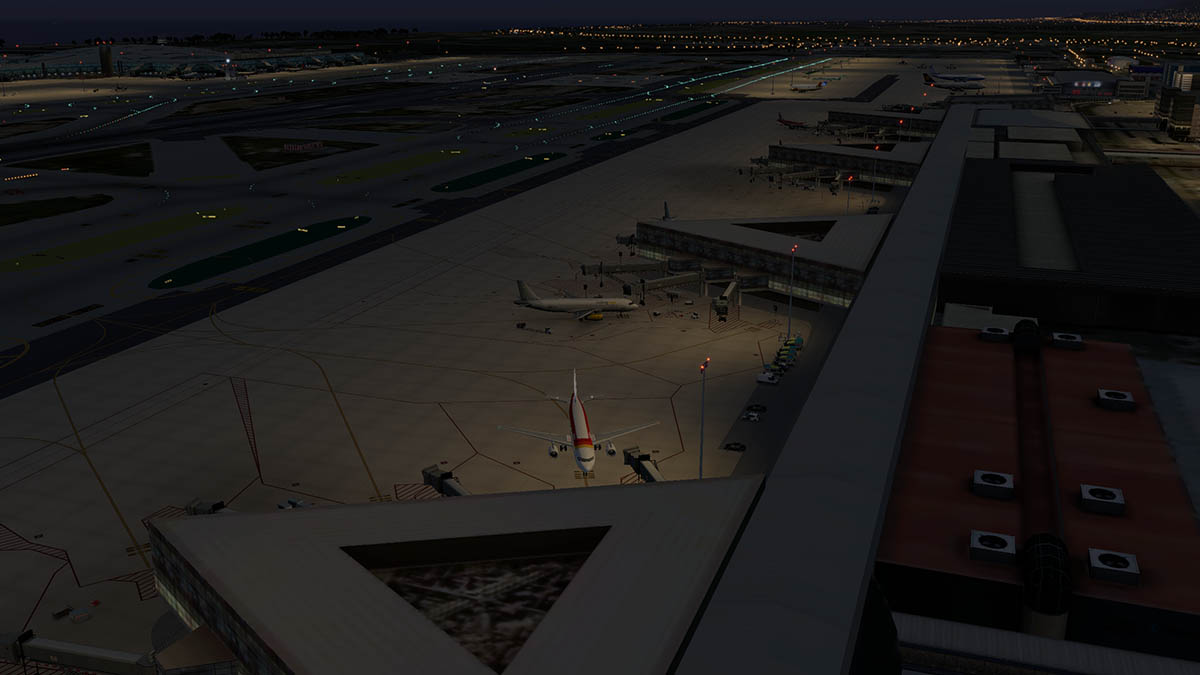
On the left is the appearance of the terminal and ramp areas. The whole area is created like a semi circle amphitheatre, dominated by these huge high concrete lighting towers, it feels very Aztec at a first arrival it is an amazing space. Taxiway and ramp linage is excellent, but going on to the main ramp area it can get confusing with so much lineage, so you do find yourself turning in long wide arcs to get around to the gates
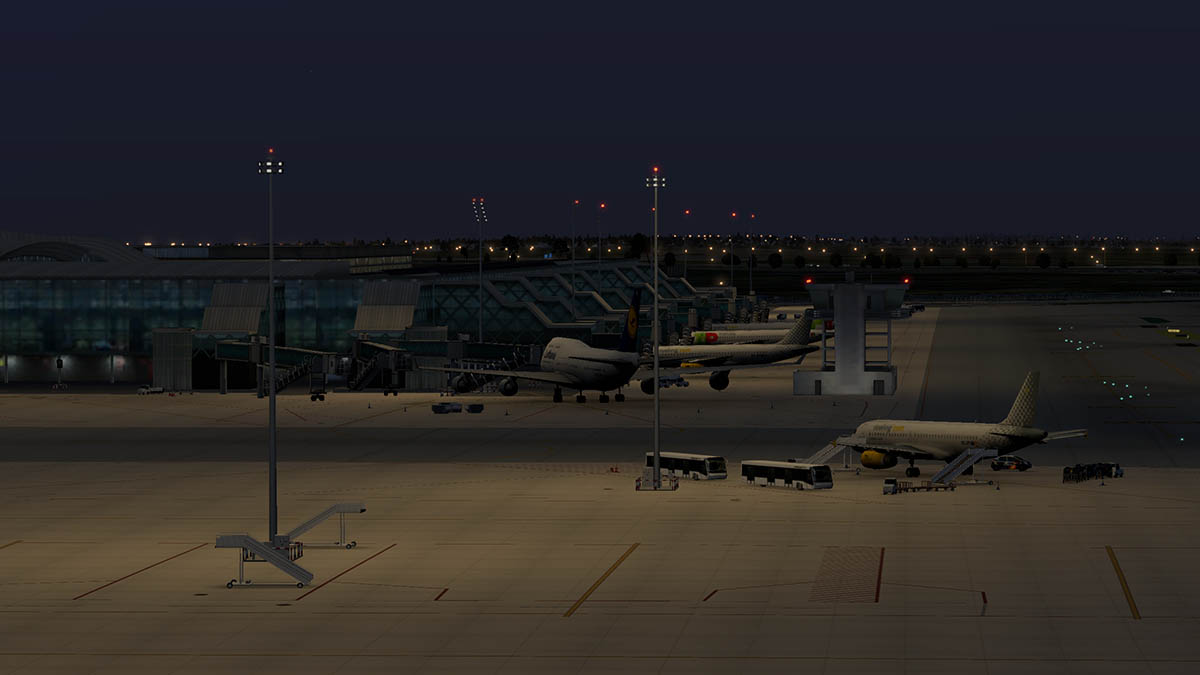
The double huge semi-circle terminal buildings are extremely well represented, highly realistic and there is a large amount of well positioned and well selected static aircraft to fill in the gates (If you do use WT you may have to edit a few gates to get the right mix of static and WT aircraft).
This is a very busy ramp area as well, not only the moving WT aircraft but the scenery comes with a lot of animated vehicles, there is everything going on here in buses, fuel tankers, tractors, tugs, catering and baggage trucks. So you have to be very careful on not hitting any crossing vehicles.
Around the outer rim of the ramp area there is a huge amount of nose in remote parking, and my parking gate 51 was on the second terminal set of gates. All gates have built in (marginal) animation and aircraft parking guidance indicators. In the gate there are also walking worker animations, not that many but they are all spread around the airport work areas going about their business. (the gate marshalls however are static).
So first impressions are very impressive, very realistic and a great way to arrive in Brazil's and Rio's most significant airport.
SBGL Rio de Janeiro International Airport
SBGL Galeão–Antonio Carlos Jobim International Airport
(IATA: GIG, ICAO: SBGL)
10/28 4,000m (13,123ft) Concrete
15/33 3,180m (10,433ft) Asphalt
Elevation AMSL 9 m / 28 ft
With the airport layout set on an island gives you many ways to make a scenery great, and that is the case here with SBGL. There is a slight colour (darker) difference between the airport ground textures and the surrounding X-Plane default textures, but not enough to cause any visual angst. So the layout is very good from any angle, very realistic while on approach or departure. There is great default traffic and bridges around the north of the island that connects the airport to the mainland in two places and traffic flows around and directly into the scenery itself.
The concrete and asphalt differences between the main runways are excellent and the quality of the scenery does show from the attention to detail of all the different ground textures.
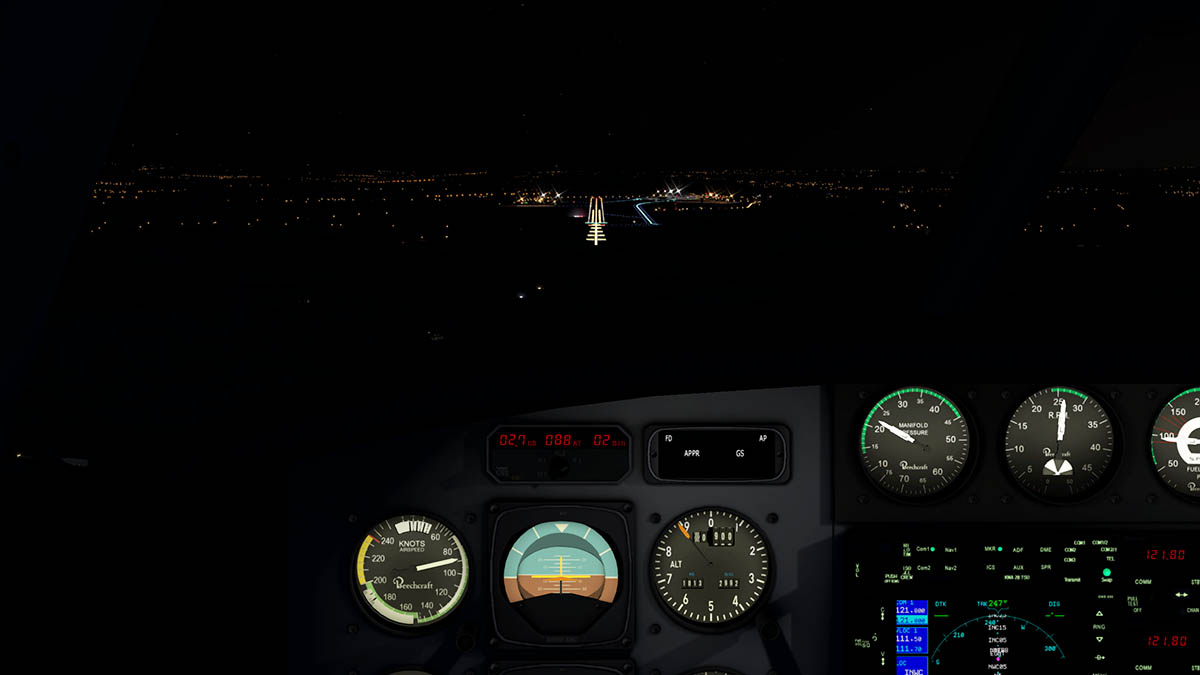
Highlight is the detailed Approach Lights Systems (ALS). A lot of work has gone into this element of the scenery by Richard Nunes and it shows, These features are the ones that standout and make exceptional scenery, visual an approach at almost minimum light and limited visibility and then the RAIL is showing you the way home...
Terminals
Outwardly the two huge terminals look like they were built at the same time, but there is differences and Terminal Two is certainly more modern. There is no separate Domestic or International areas or terminals, but Terminal One covers more International flights. There are no A380 flights to SBGL yet, but both Emirates and Lufthansa run heavy equipment into the airport and a change to the A380 is always possible as the airport is already code F A380 certified with three gates and the Olympic Games will attract aircraft of this capacity.
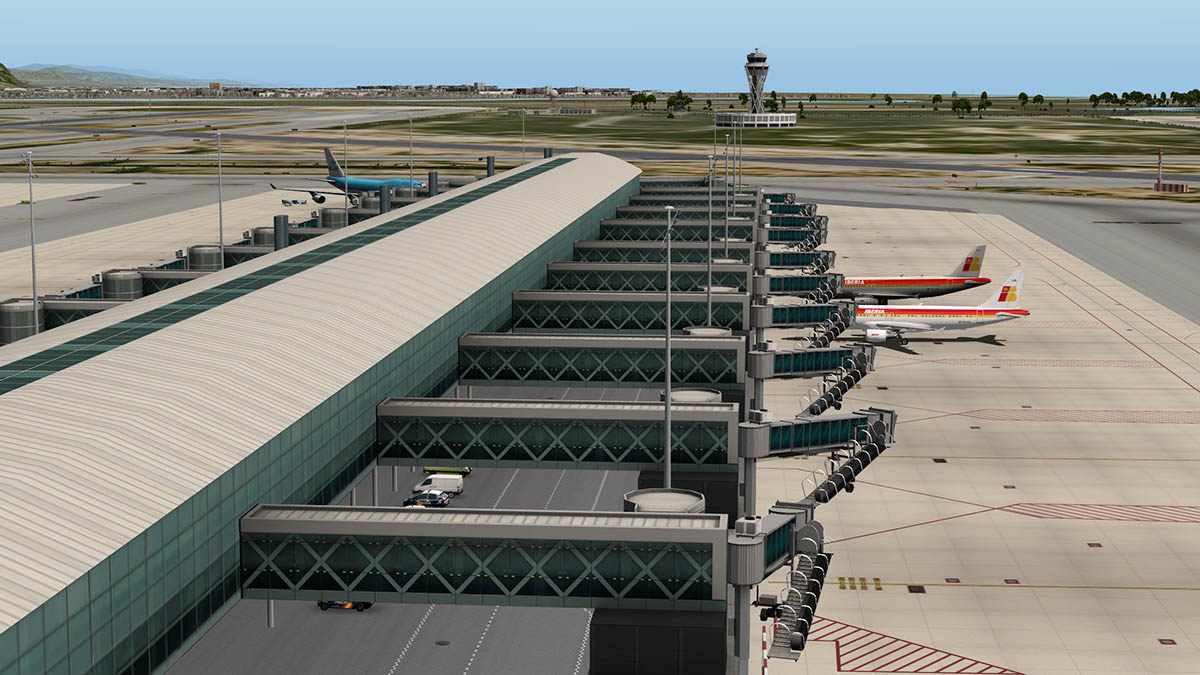
Terminal One
Terminal One has gates 1 - 12, is presently served by Aerolineas Argentinas, AeroMexico, Air France, Alitalia, Avianca, Azul, British Airways, Copa, GOL, Iberia, KLM, & Taca Peru airlines.
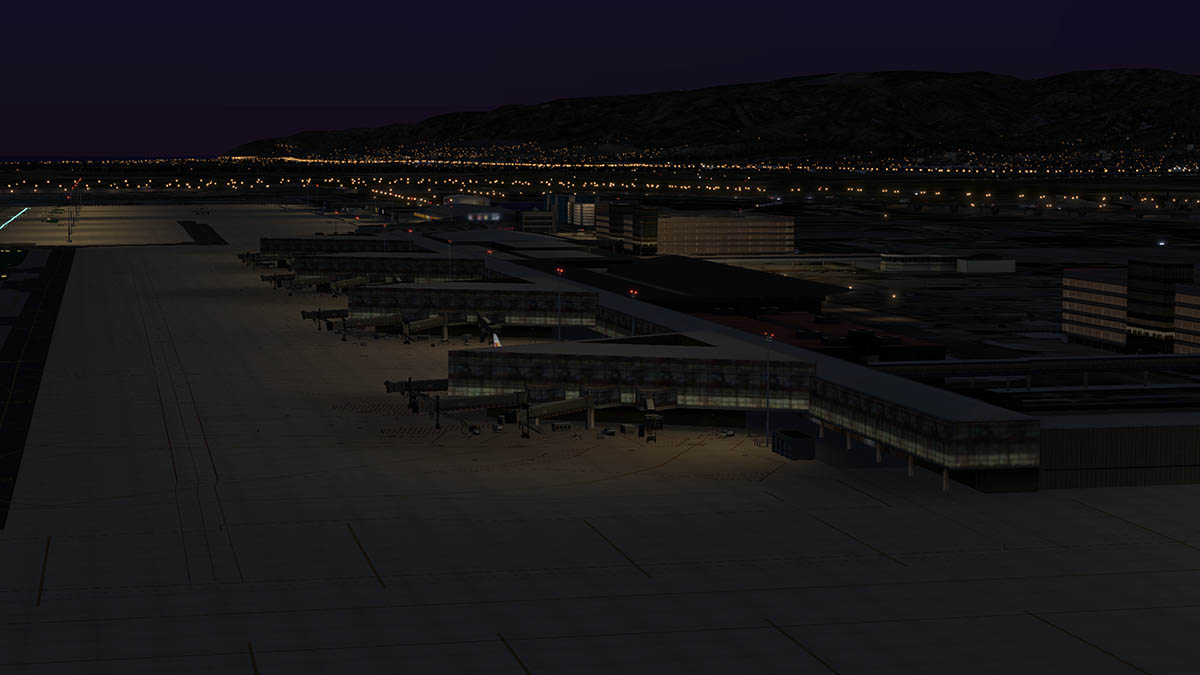
The building is set out in a semi-circle design and the construction here is excellent with great textures covering the faded aged concrete worn look gives the building a real authentic air. There is a huge amount of detailing in covering not only the actual terminal, but the surrounding elements of both the ramp and arrival sides of the building. Vehicle animation is prevalent throughout the scenery and right around the arrivals areas, giving you a great buzz of activity. There is some good ramp equipment, but placement is not overwhelming in that every gate area is saturated with the usual amount of equipment that aircraft servicing requires, walking staff do add to the activity feel.
Those distinctive huge concrete lighting towers are also placed around the the outside of the terminal adding to the feel of the airport and its different cultural aspect... you know you are somewhere different.
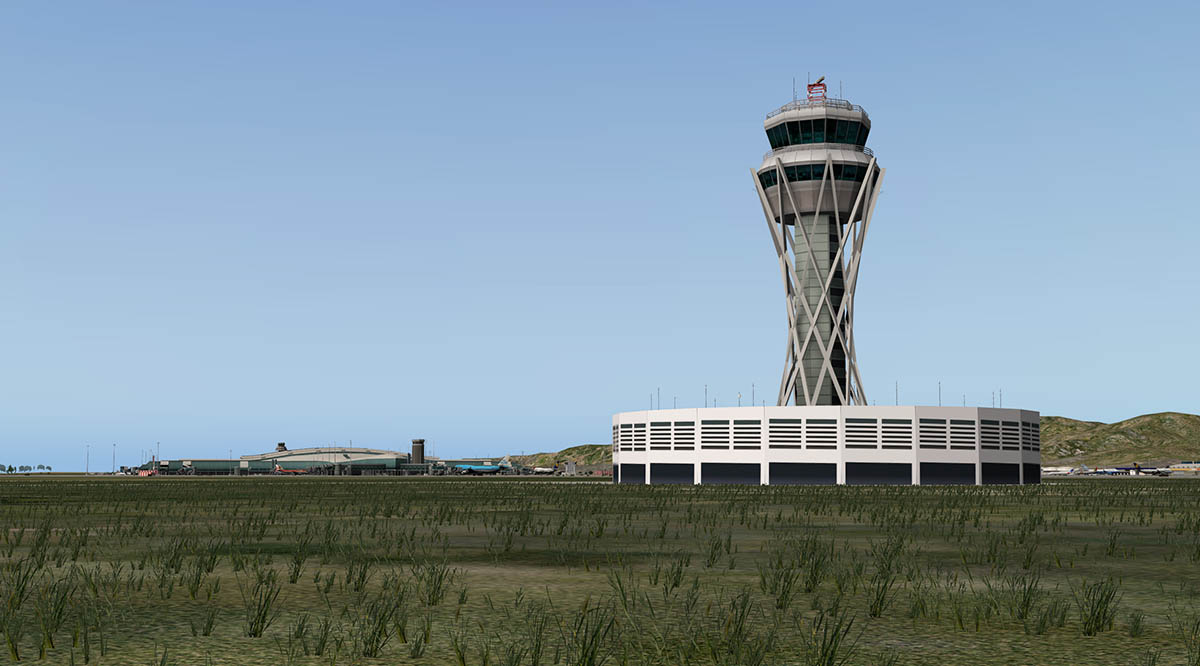
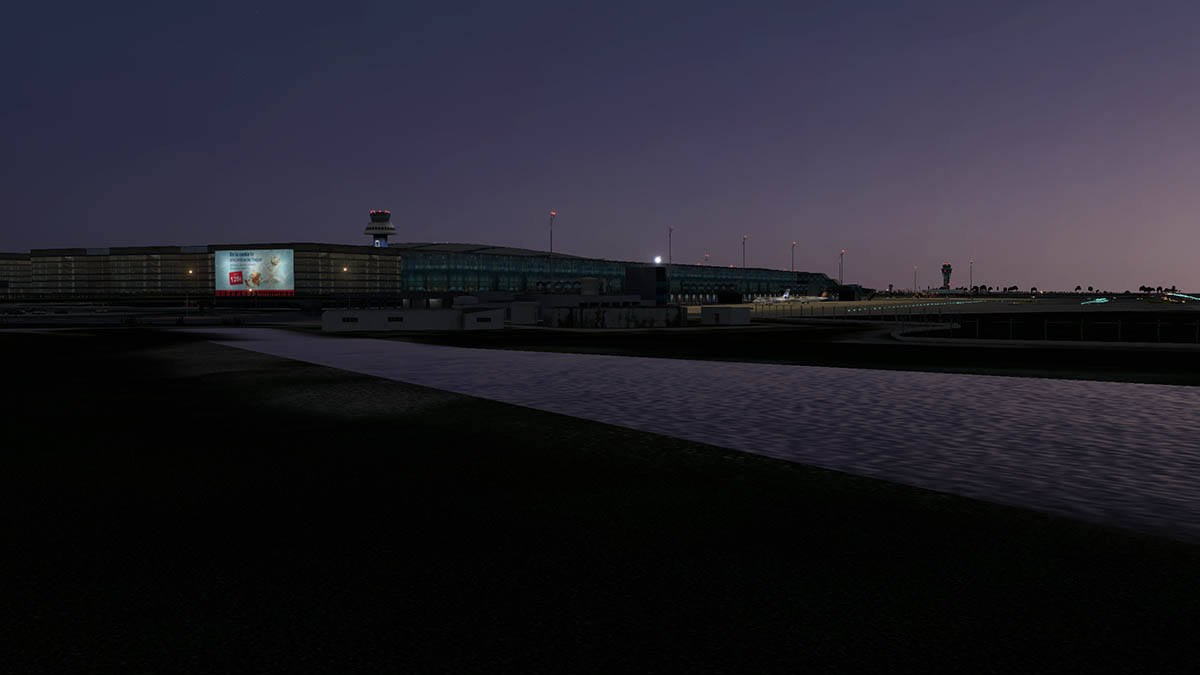
Galeão's distinctive Control Tower which is situated at the rear of Terminal One is well reproduced as along with a lot of associated administration buildings and carparks. It is a great design and the tower can be seen from all points of the airfield to note the location of the central terminal area for good orientation.
Tower view is good, but confined into a window based viewpoint, you can love or hate this sort of viewpoint for aircraft replays, but it does work well here and gives you a great overview look of the airport.
There is a large Airport Administration building that connects between Terminal One and Terminal Two.
Like all buildings in the scenery the Admin building is a great reproduction of the real counterpart and adds a great deal to the overall look of the airport. Detailing at the rear is very good and right down to the excellent road systems, lighting, foliage and signage. There are however a few objects (mostly roofing) that are not placed correctly from these lower angles.
Terminal Two
Has gates 22 - 39, and is currently served by Air Canada, American, Delta, Emirates, Lan Chile, Lufthansa, Passaredo, TAAG, TAM, TAP, United & US Airways airlines (American Airlines).
Outwardly T2 is similar in design to T1, but on closer inspection it is quite different. Roof elements and glass at the rear are a totally different design, and there is a large multi-story carpark built in unlike just a flat open carpark at T1. Again the terminal is faithfully reproduced and well designed.
All gates have full docking (Marginal Plugin) facilities and aircraft parking guidance indicators as noted.
Remote parking
All around the outer rim of the main ramp areas are a lot of nose in remote parking stands. 13-36 are main rim stands and stand 37-43 cover the south boundary.
In front of the stands are the numerous depots of various fuel suppliers, from the well worn to the modern they are all very well represented with animation of vehicles transferring their products around the airport.
The south ramp boundary parking and another good parking area zone adjacent to the Military Base is a fully working building site. Cranes swing and tractors level the red earth, it is busy place and well done, I hope in the future the scenery changes to represent the completed buildings and areas.
Galeão Air Force Base – BAGL (ICAO: SBGL) Terminal do Correio Aéreo Nacional (Terminal of the Brazilian Air Force Passenger Services).
Part of the scenery on the southern island boundary is the original Galeão airport and the current Brazilian Airforce base.
There is a huge amount of objects in here covering a fair area, this would be a significant scenery just by itself... Outwardly it looks more like a Hollywood Film Studio, with not only with its dense maze of buildings, but with chequered water towers, tennis courts and swimming pools.
There is a lot going on in here and it is all very well done to represent a significant part of Rio's aviation heritage.
Galeão Cargo
When the existing relationship between the Airforce Base and Passenger division became overwhelmed as more and more the passenger traffic grew it became time to move the passenger division to a more spacious and separate area. So on 1 February 1952 the passenger terminal area was transferred and opened across the southern end of runway 15/33. This area was operational until January 20, 1977, when the main airport facilities were again moved to what is now Terminal One. After the transfer the older passenger terminal area was converted to the main cargo area for the airport.
In reality the old terminal is there and the area is not much changed over the decades, reproduction of the area like most of the scenery is again excellent... It certainly is not a modern cargo port but that is of course its attraction. There are two main cargo facility buildings and an odd sort of hangars and cargo covered areas.
Cargo ramps are well done but a little empty of activity except for the odd tug, however a few cargo aircraft and equipment would not go amiss to fill out the scene a little.
Road traffic is excellent around this southern western boundary, X-Plane works its magic to create great traffic, so have your settings up high.
Fuel Depot and Airport Maintenance
To balance out the dense building area of the Brazilian AirForce Base in the south is the same for the fuel depot and airport maintenance area on the north boundary.
The fuel depot tanks dominate, but there also a lot of maintenance buildings and offices to fill out the area, the area is very prominent on both RWY10 and RWY15 Approaches... well done.
There are many various airfield buildings and towers dotted around the areas, all very authentic and great visual fillers from the aircraft and seen on the taxiways.
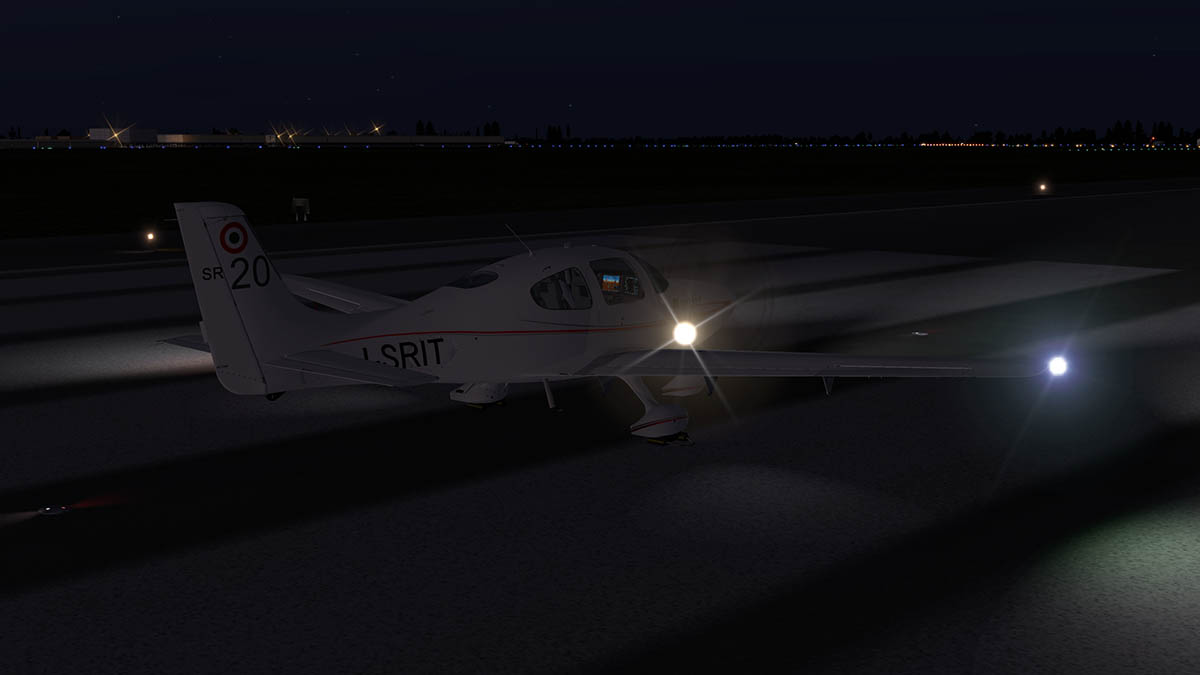
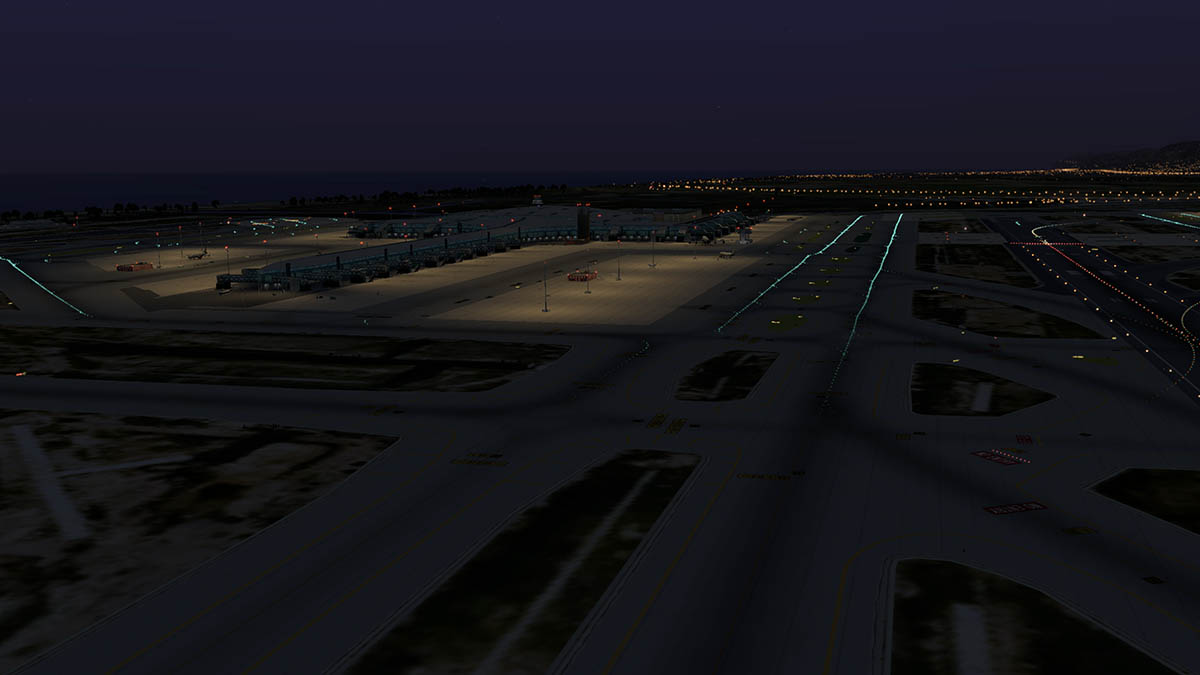
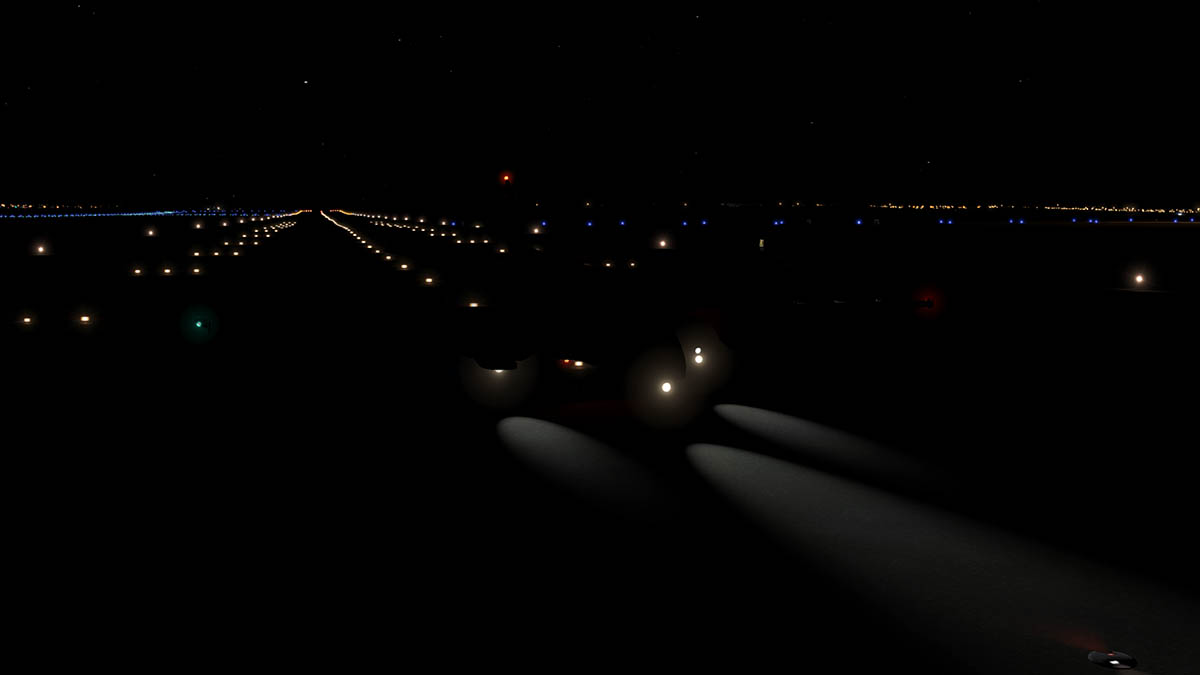
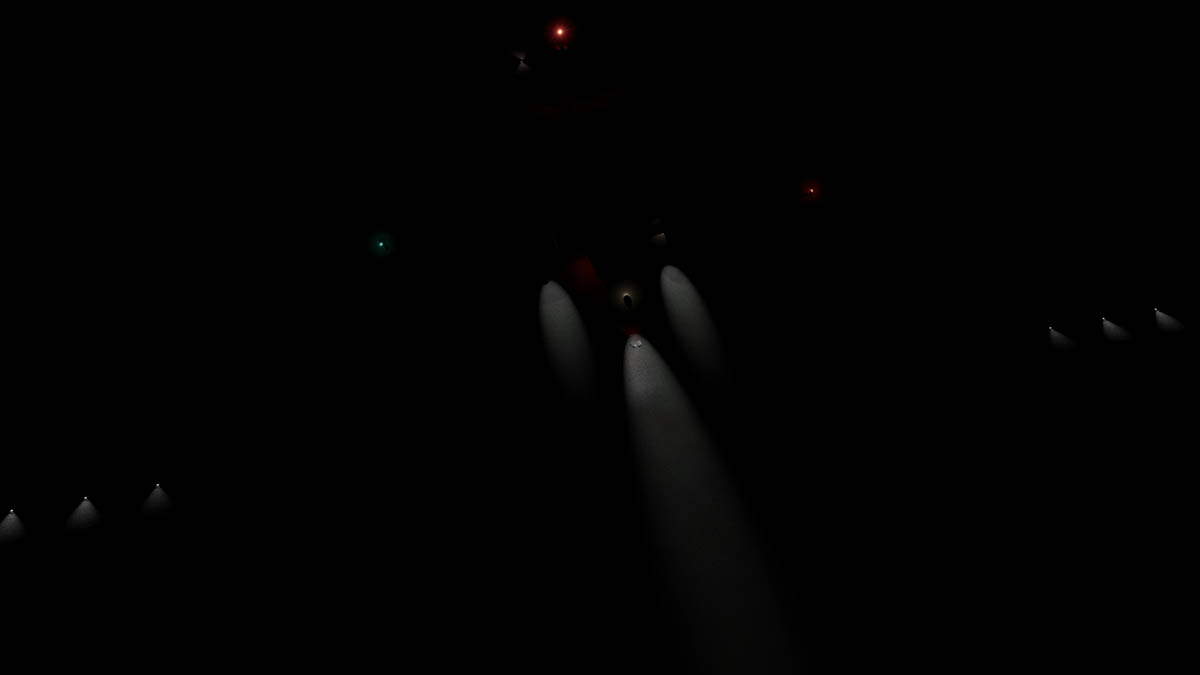
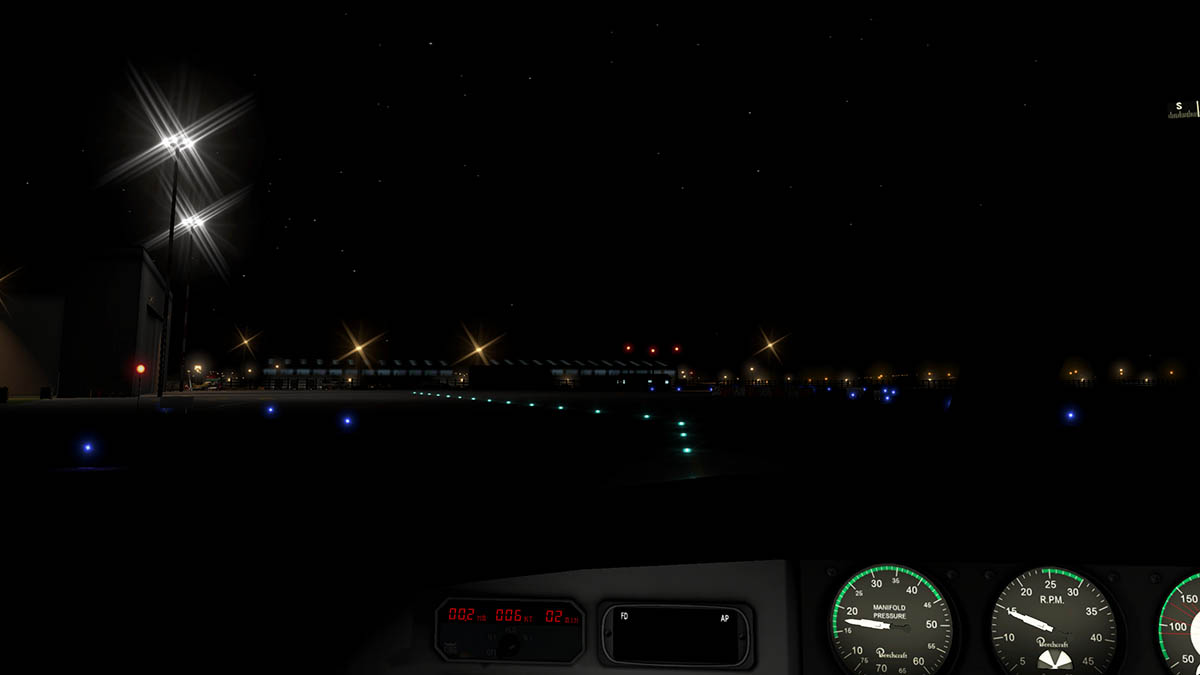
Night Lighting
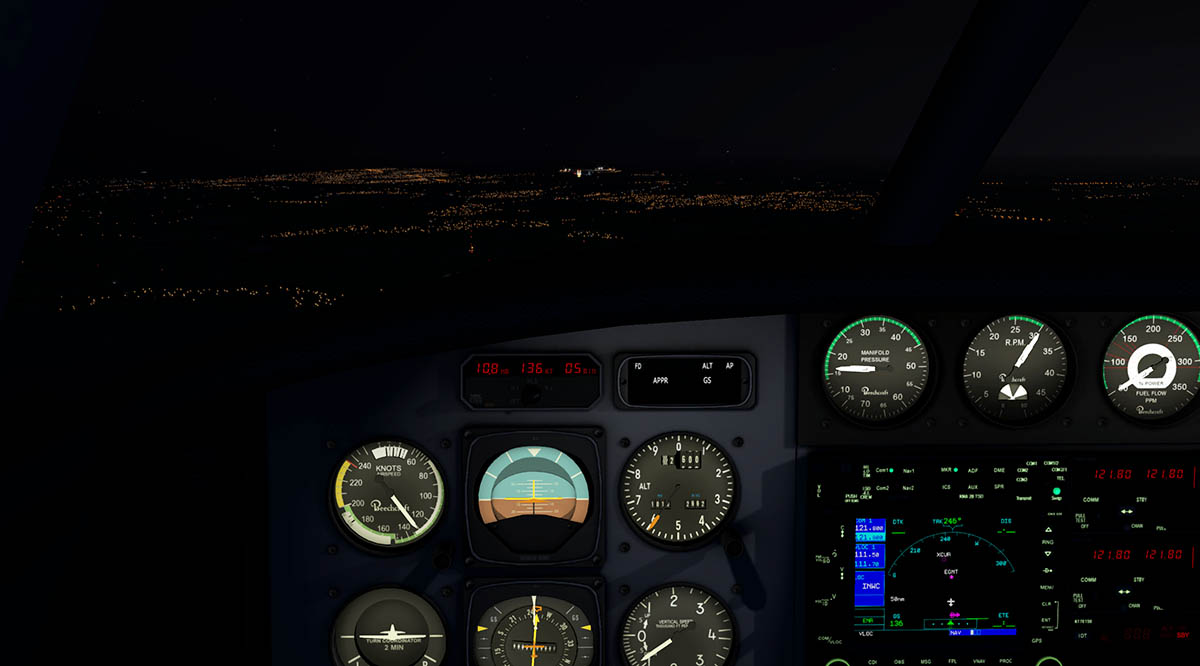
Airport lighting is excellent, really good. You get great lighting area variations with numerous different styles of lights, from any approach SBGL looks brilliant. Runway 10/28 is excellent in lighting and as are taxiway directions, but runway 15/33 does not have any centerline lighting or centerline taxiway (green) lights? so it is a dark trek to the terminal area...
The chance not to use those high concrete towers could have been easily missed, but it wasn't. High powered lighting covers the ramps and it is a spectacular arrival or departure with great flood lighting while working on the ramp, well done done there.
Terminal night textures are also very good, so is the arrival lighting and area coverage with great spot lights.
Fuel depots and the TAP maintenance area is also very good lighting wise and realistic.
Southern boundary areas are also good, with the AirForce base having well lit tennis courts and a swimming pool for a late night game or swim, cargo area is on par with the rest of the airport, and turn up the traffic settings for great night activity.
Christ the Redeemer Statue
The iconic Mount Corcovado "Christ the Redeemer" Statue, can just be seen from Galeão Airport, yes it is just a speck in the distance, but what scenery in Rio de Janeiro would be without it.... it just wouldn't work. It is like having no "Statue of Liberty" in New York's approaches, it just is not on.
Thankfully you get a great statue reproduction here, a really great version to watch over Rio, to get a better look then jump in a chopper or GA and take a flight over to see the Rio-ness of it all.... love it.
More than just the actual statue is that all the tourist trap elements are also covered, ticket booths, cog railway, buses, cafes and their umbrellas are all here, great stuff.
If you thought that "Christ the Redeemer" is great in the daylight, then the wow factor really comes out at night, as it is totally brilliant
"Christ the Redeemer" has all the X-Plane world to watch over as the lighting snakes away to the horizon and Galeão Airport gleaming in the distance... heaven.
Routes and Services
Rio is dead center of the eastern seaboard to cover any roads of South America. This southern continental area is great for exploring and a flights to all points of the continent are interesting and with great visual vistas. International routes are many and varied. Connections to Europe (London and Paris is very popular) and North America in Miami, Atlanta or New York are old routes to be savoured. And don't forget the Olympics in 2016.
Most international popular destinations are:
Passengers
Cargo Operations covers
Summary
To cover Rio de Janeiro/Galeão–Antonio Carlos Jobim International Airport was always going to be a huge task. It is a big area of scenery and in parts very dense with buildings and infrastructure. The airport has a distinct feel as well, those huge lighting towers means you are nowhere else on the planet... it all covers a very impressive arrival.
Quality and detail is excellent as is the sheer number of objects and item presented in the scenery, faithful to the airport, and as scenery and the best scenery for Rio this SBGL cannot be discounted, you even get Jesus! (as a statue)
So I know what you are thinking "All this must come at cost somewhere", well it does but not on the dollar values as it is great value scenery for what you get.
You however need a recommended 2G of VRAM (just get away with 1GB) and a pretty powerful computer to process all those objects. No doubt that this scenery is frameweight heavy. You can reduce your object settings to "default" to help, but even then in my case I was still on the line, switch HDR on and all that lighting effects is another world of power unless you have the fastest HDR resolution setting available.
Great scenery and in a great destination is a wonderful combination in your investment in X-Plane. It's Rio de Janeiro! It is Brazil, now we have the means and now a great destination to deliver another great experience of simulation, Yes SBGL Galeão airport is certainly that, a great destination.
_____________________________________________
Yes! the SBGL- Rio de Janeiro Intl Airport by Richard G Nunes Scenery is now available from the X-Plane.Org Store here :
SBGL- Rio de Janeiro International Airport
Price is US$24.95
Features
Auto Gate Ready
Animated Traffic
Many extras
_____________________________________________________________________________________
Documents and Installation :
Download: 817mb : Installed main scenery 1.73gb, and mesh file (24.10mb) and roads file (15.20mb)
Installation requires three files - SBGL - International Rio de Janeiro Airport v1.1 / SBGL - Mesh / SBGL - Roads.
Roads and Mesh need to installed below (or at the bottom of your ini file) to allow the mesh to conform to the taxiway bridge features.
Runway ILS alignment data needs to be changed and all instructions and X-Plane co-ordinates are supplied (read the manual).
Marginal's "Auto Gate 1.6" and "CustomSBDatarefs004" plugin are supplied for airport docking and animations.
Full set of 62 charts and airport layouts, English and Portuguese manuals included.
Attachment : WorldTraffic SBGL Generator settings, just download and unzip the image.
SBGL_WT Generator Settings.zip
_____________________________________________________________________________________
Requirements
X-Plane 10+ - Windows, Mac or Linux - 1Gb VRAM - 2Gb VRAM recommended
Current version: 1.1 (Last updated October 16th 2015)
_____________________________________________________________________________________
Review System Specifications:
Computer System: - 2.66 Ghz Intel Core i5 iMac 27”- 9 Gb 1067 Mhz DDR3 - ATI Radeon HD 6970M 2048 mb- Seagate 512gb SSD
Software: - Mac OS Yosemite 10.10.1 - X-Plane 10 Global ver 10.42
Addons - Saitek x52 Pro system Joystick and Throttle : Sound - Bose Soundlink Mini : WorldTraffic Plugin
Addons
- Saitek x52 Pro system Joystick and Throttle
Aircraft- Airbus A320-214 CFM Engine by Peters Aircraft (X-Plane.OrgStore) US$54.90