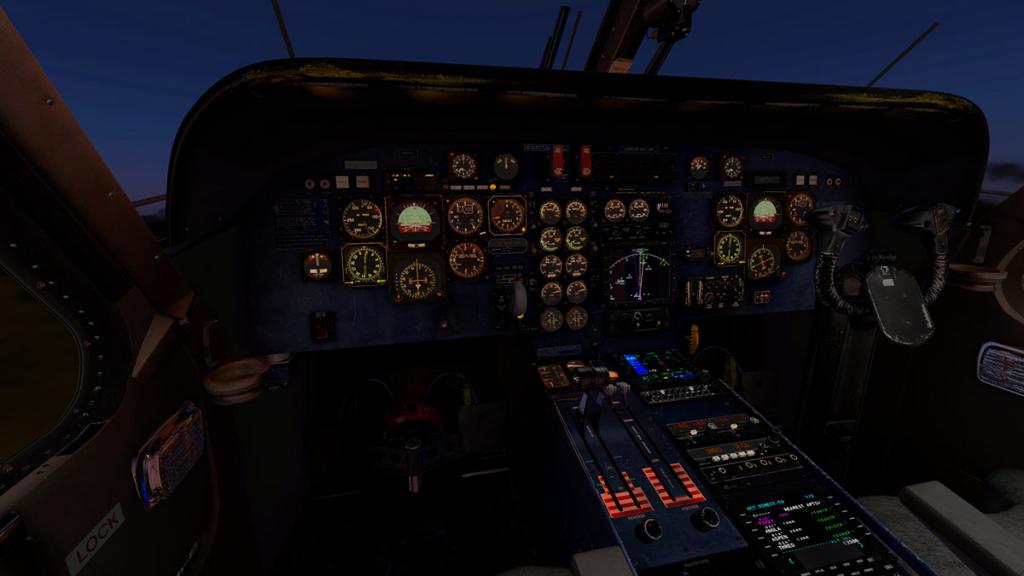
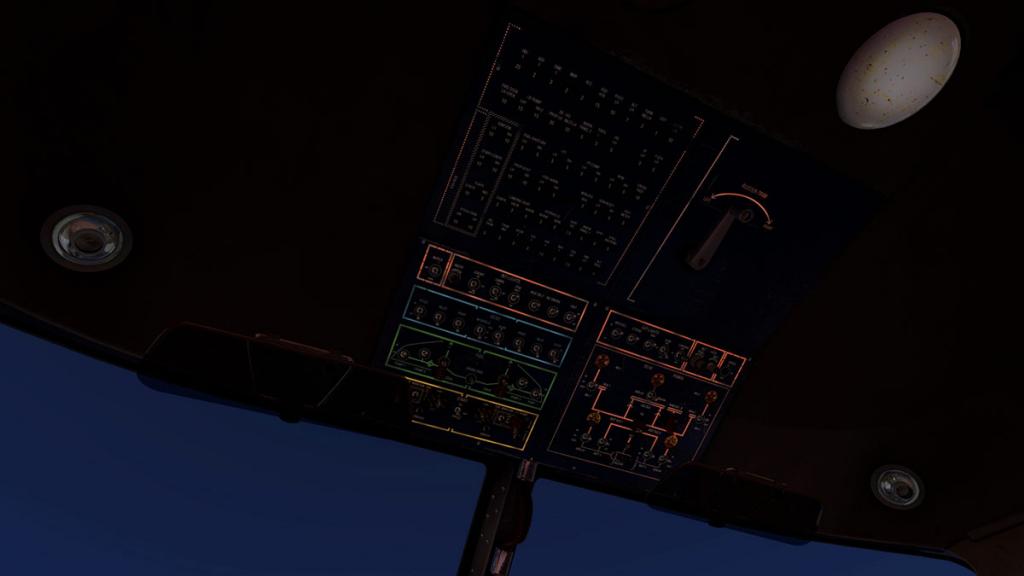
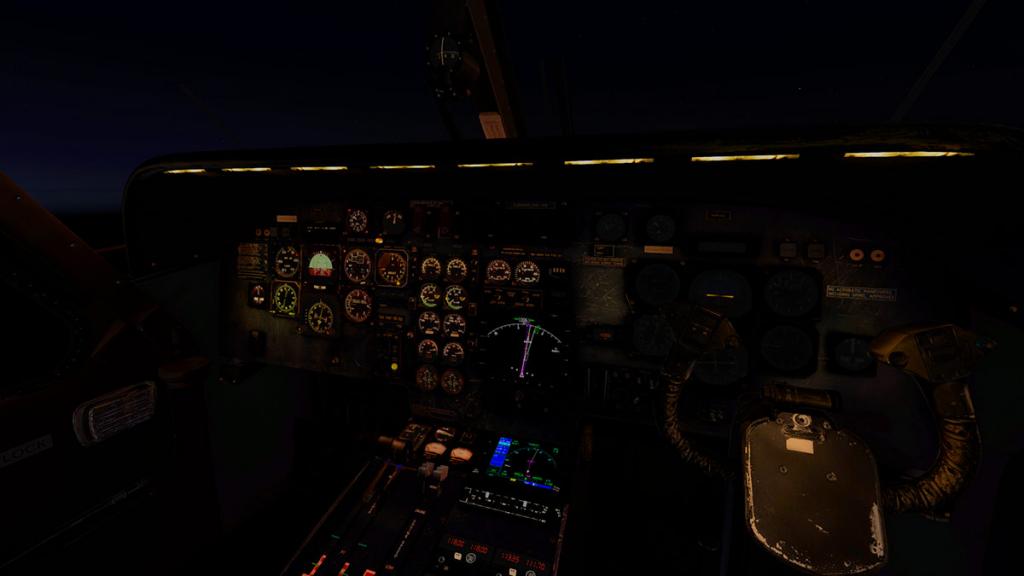
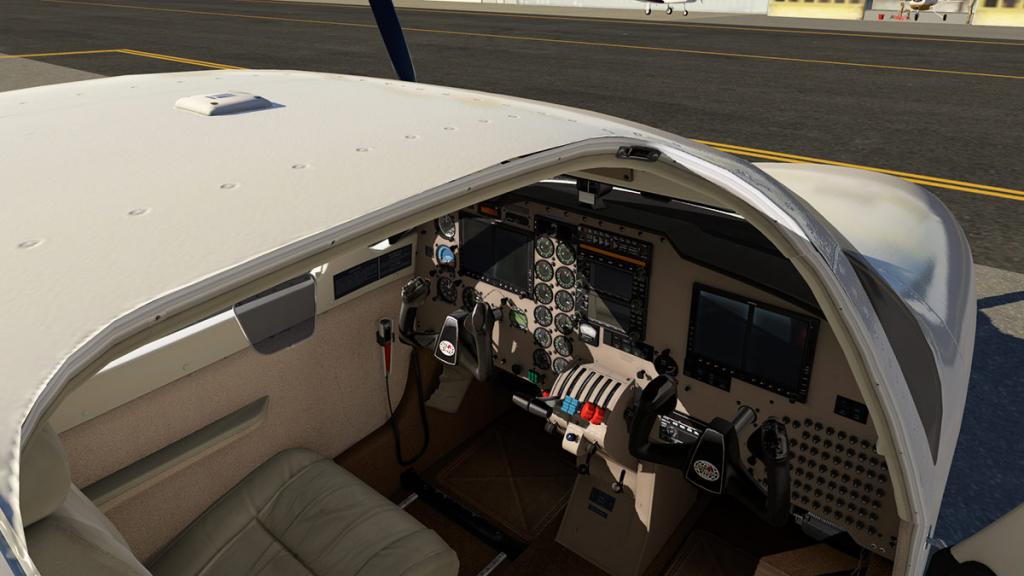
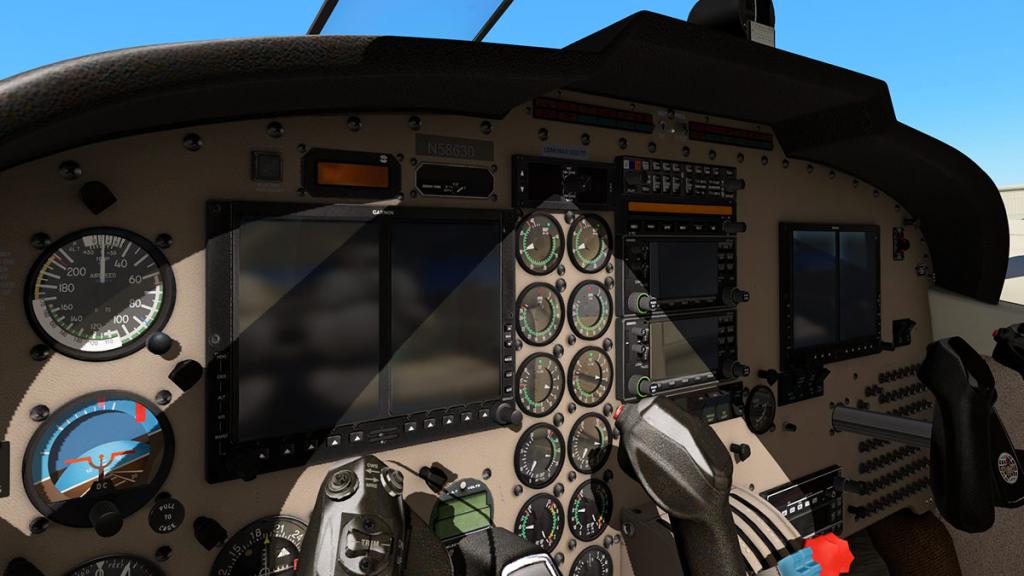
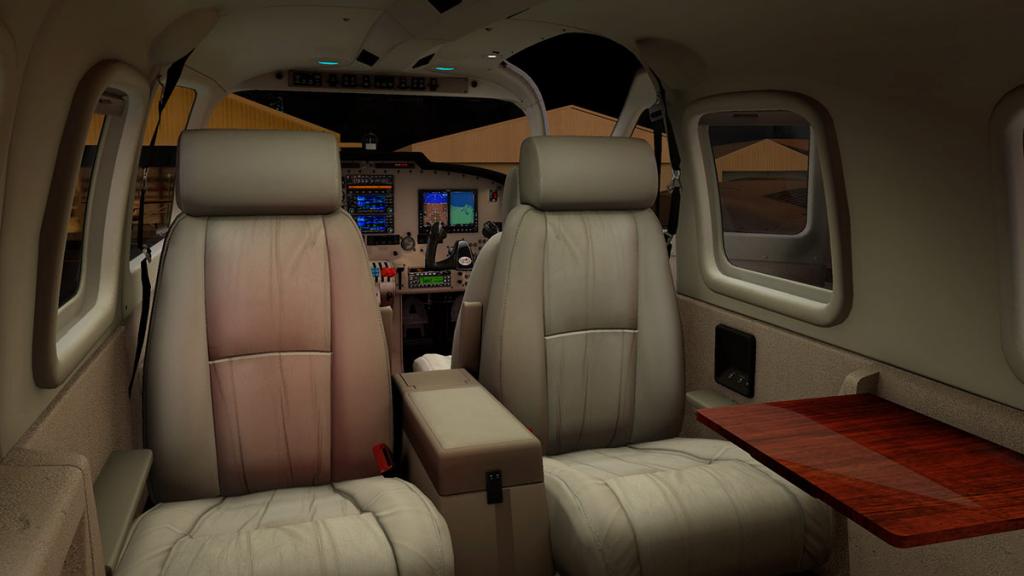
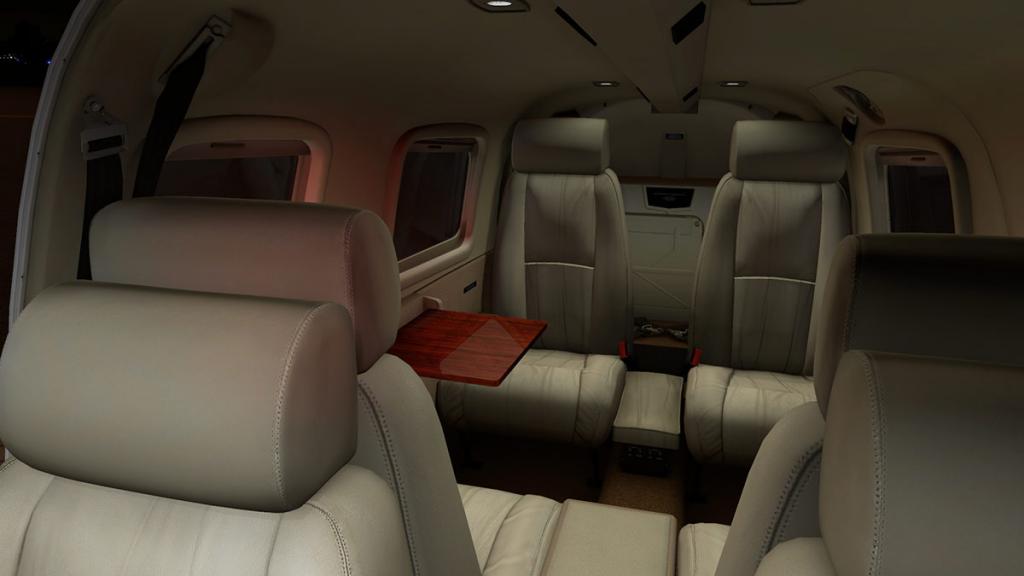
Search the Community
Showing results for tags 'Carenado'.
-
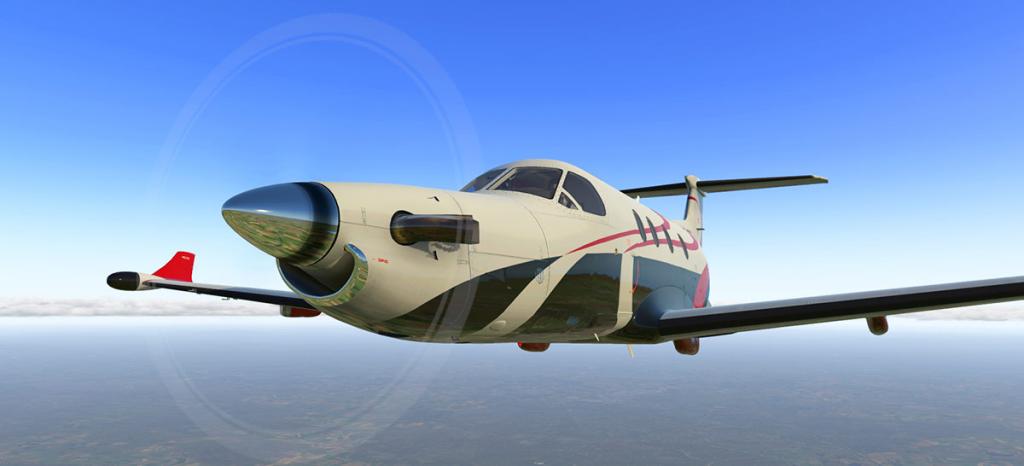
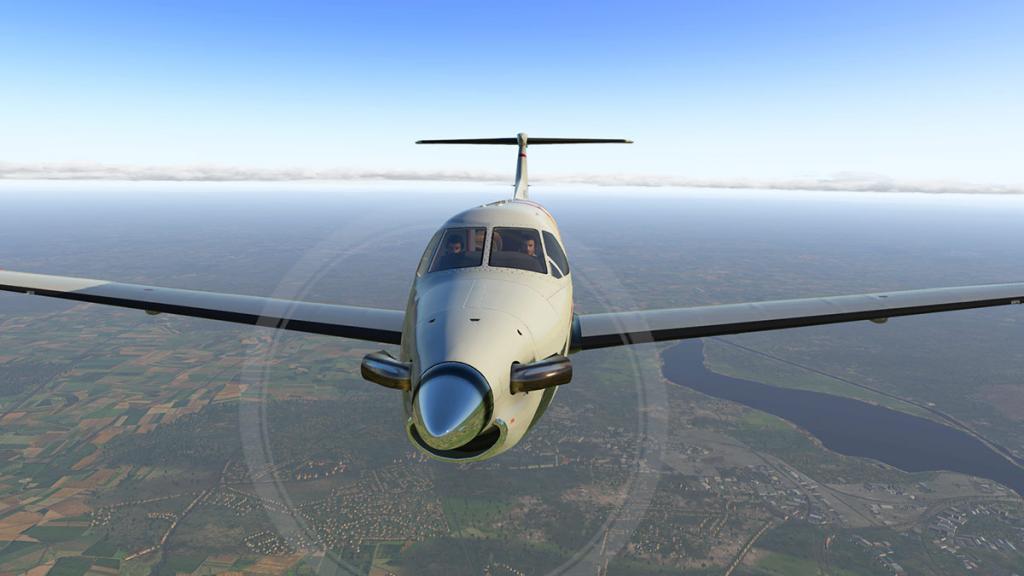
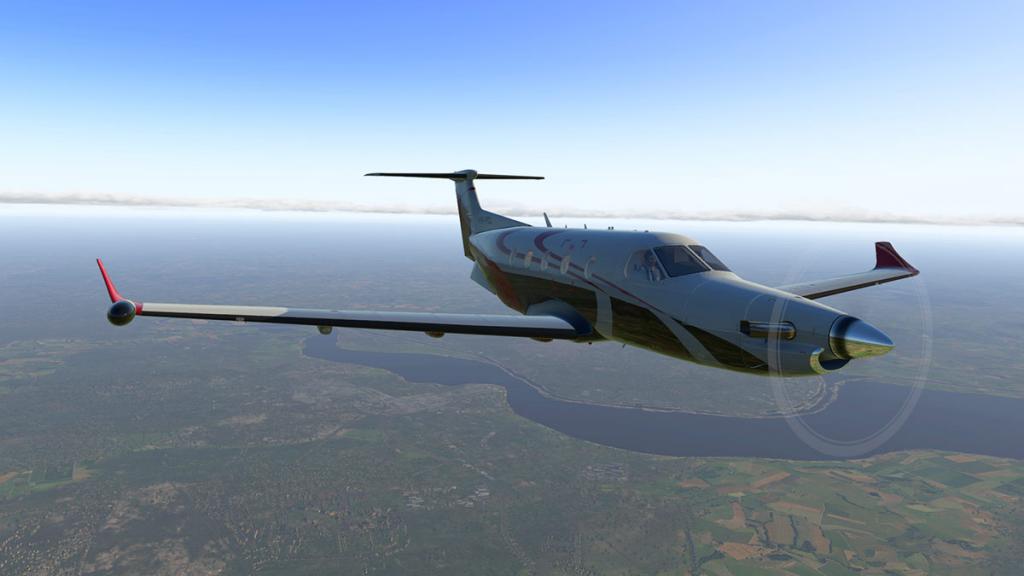
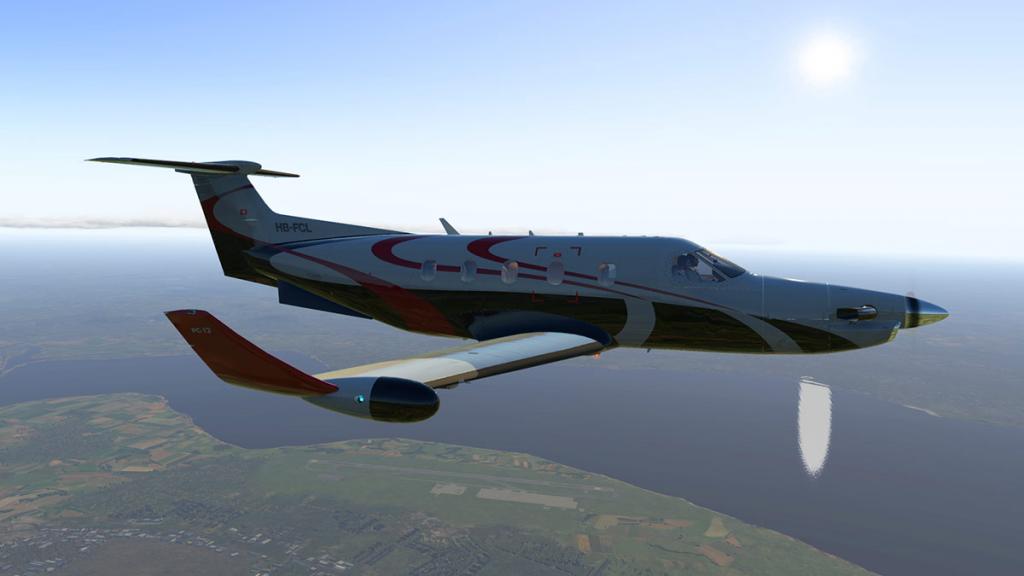
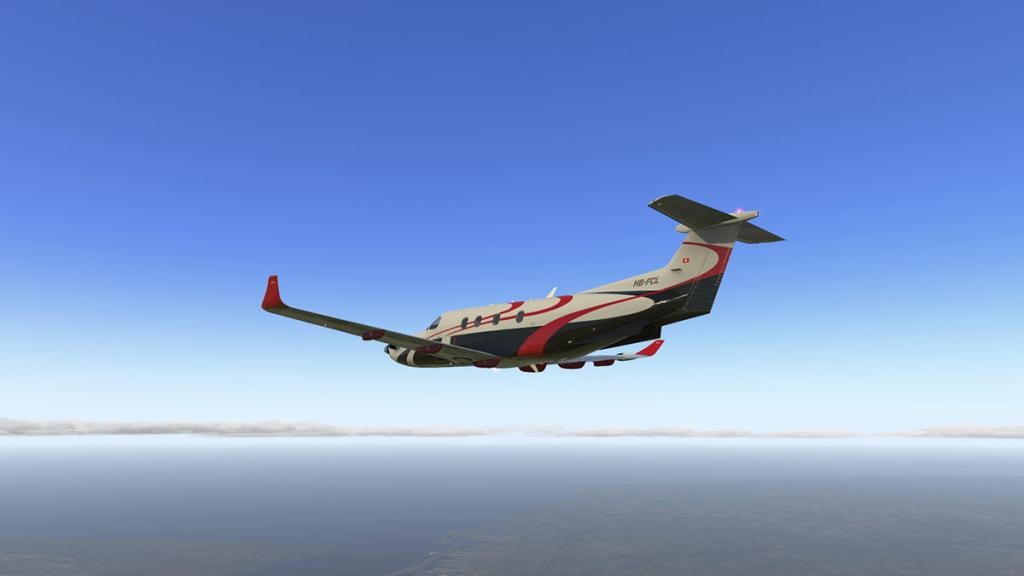
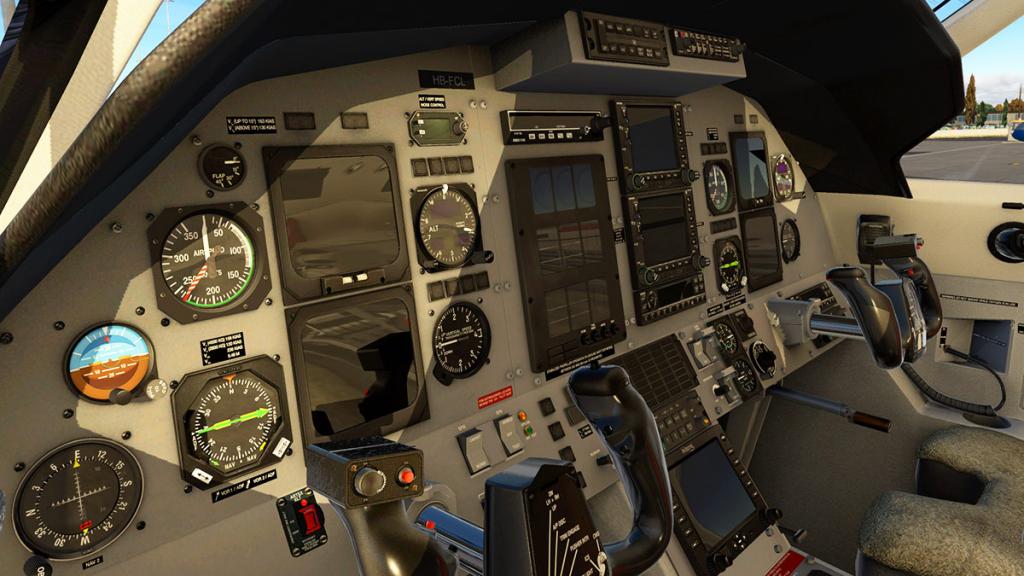
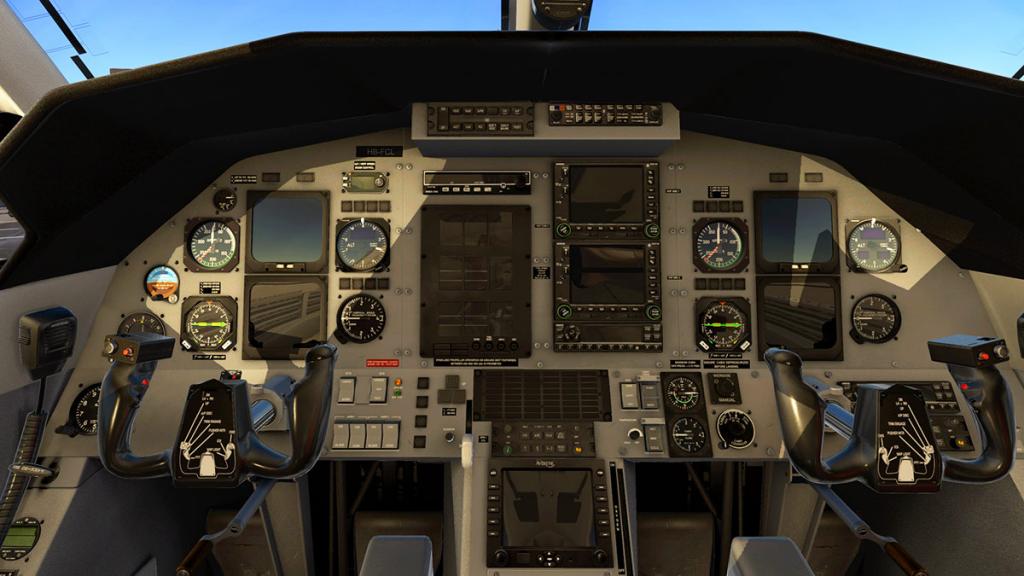
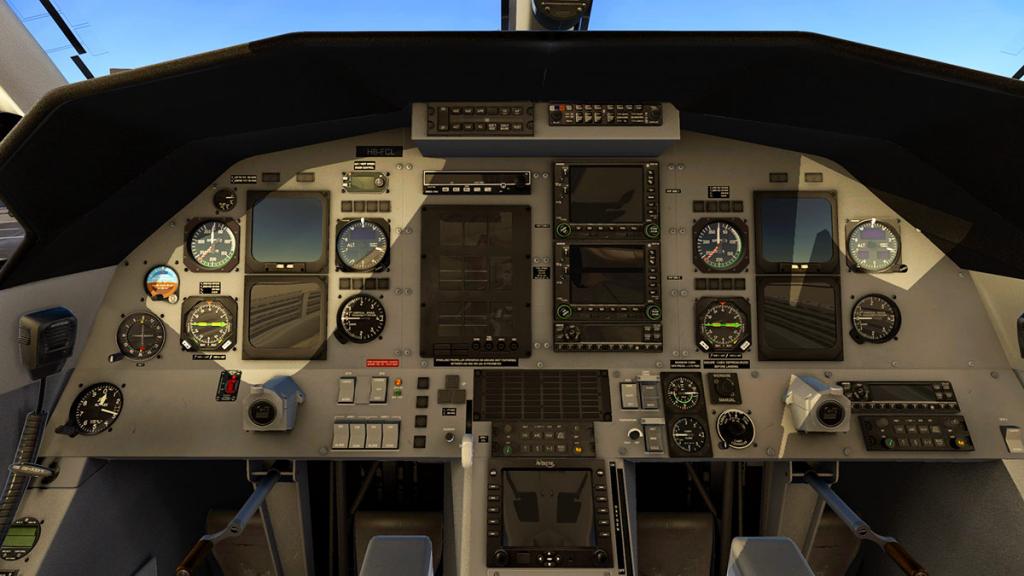
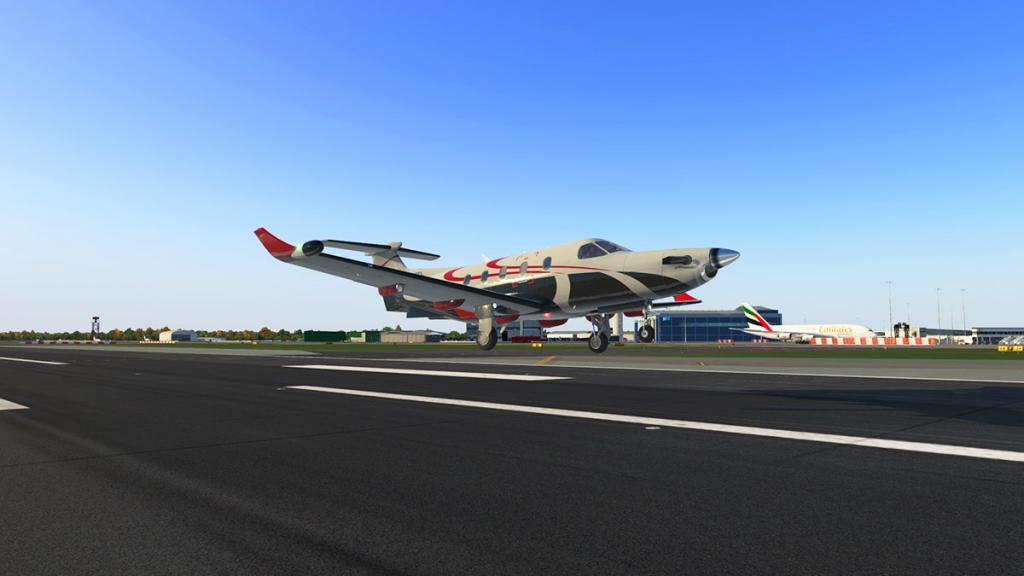
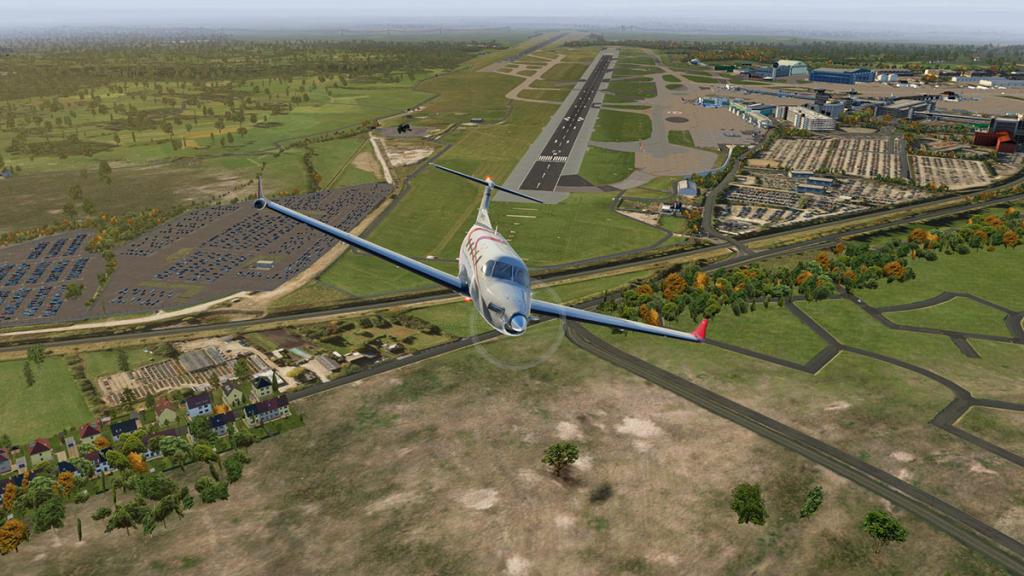
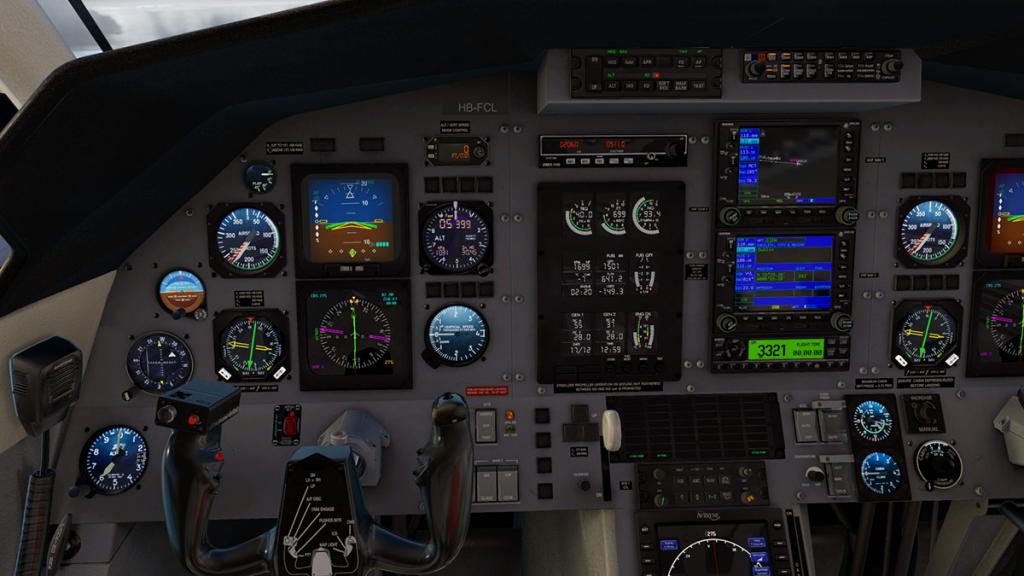
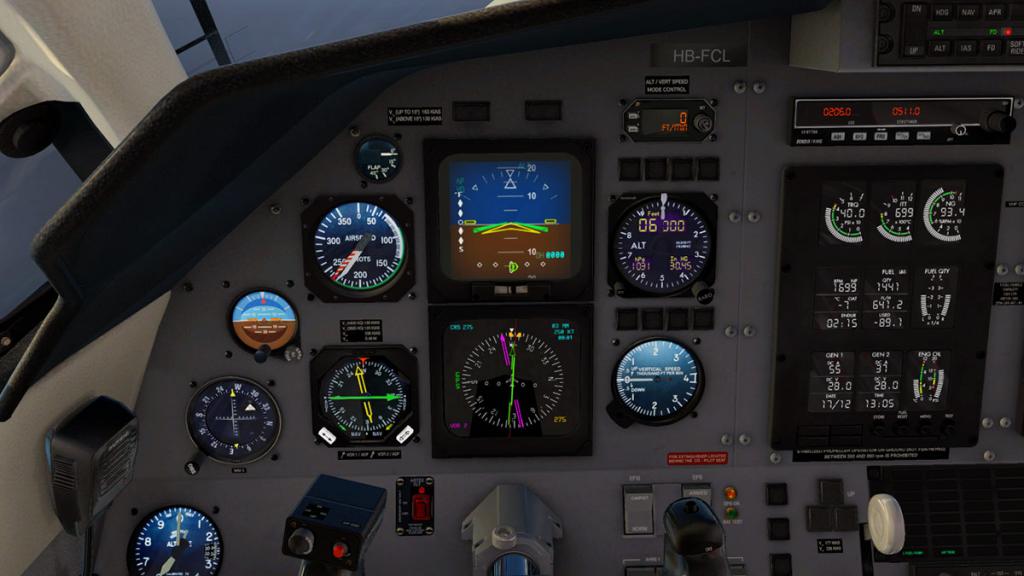
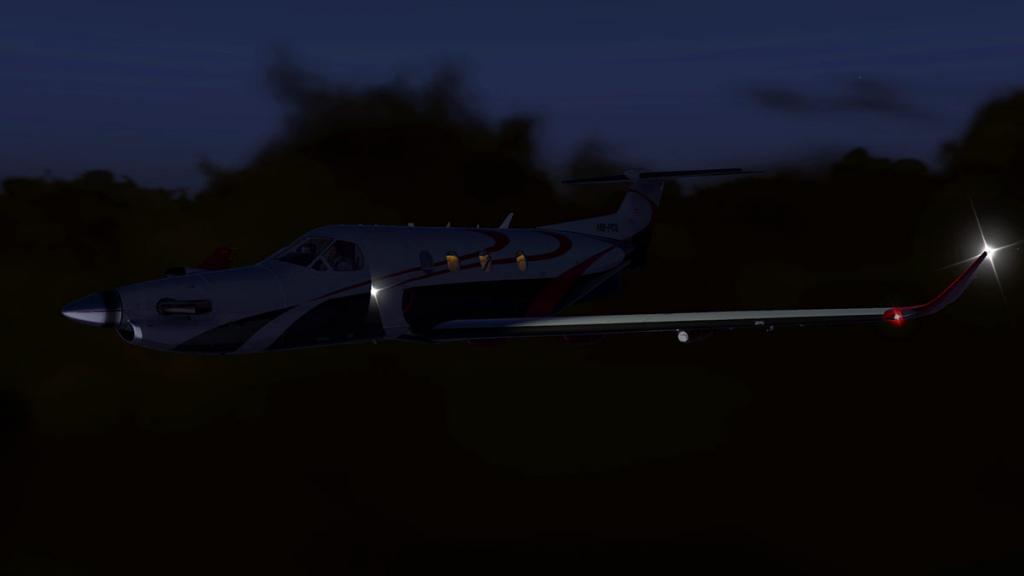
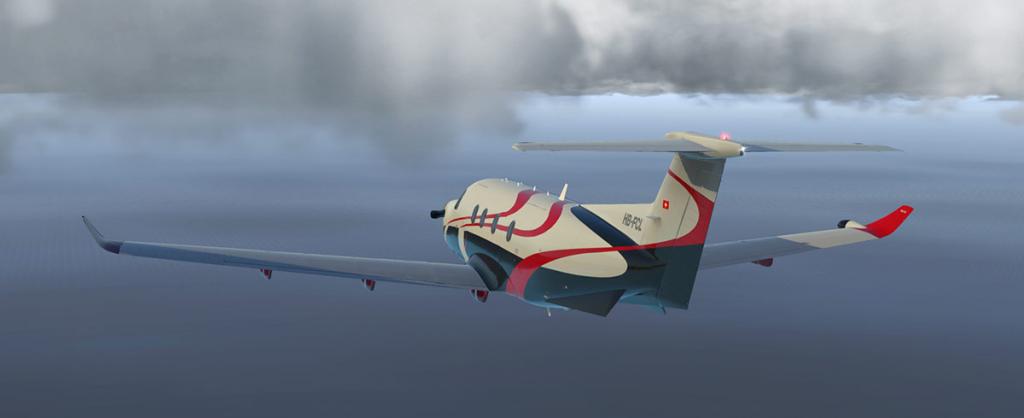
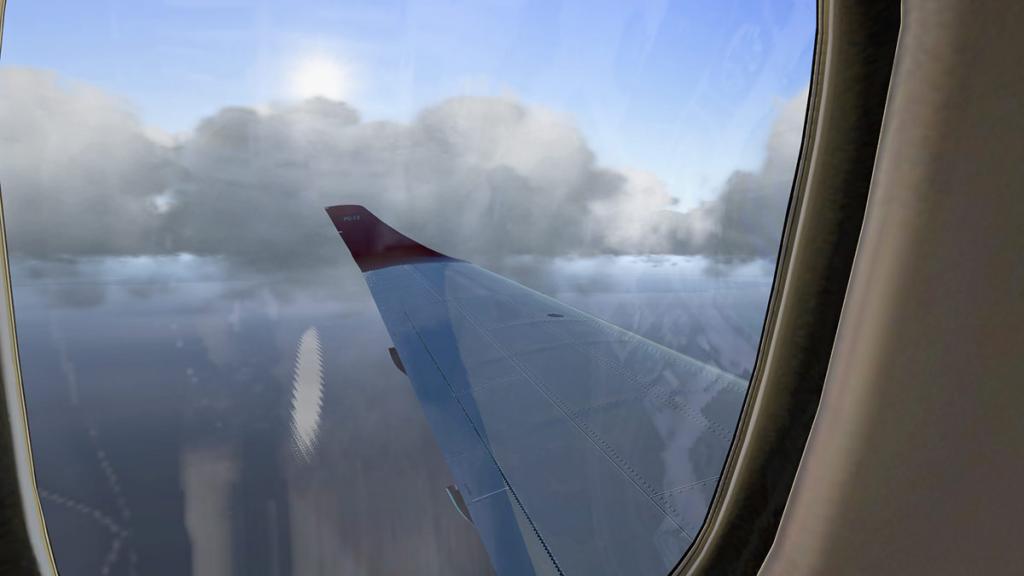
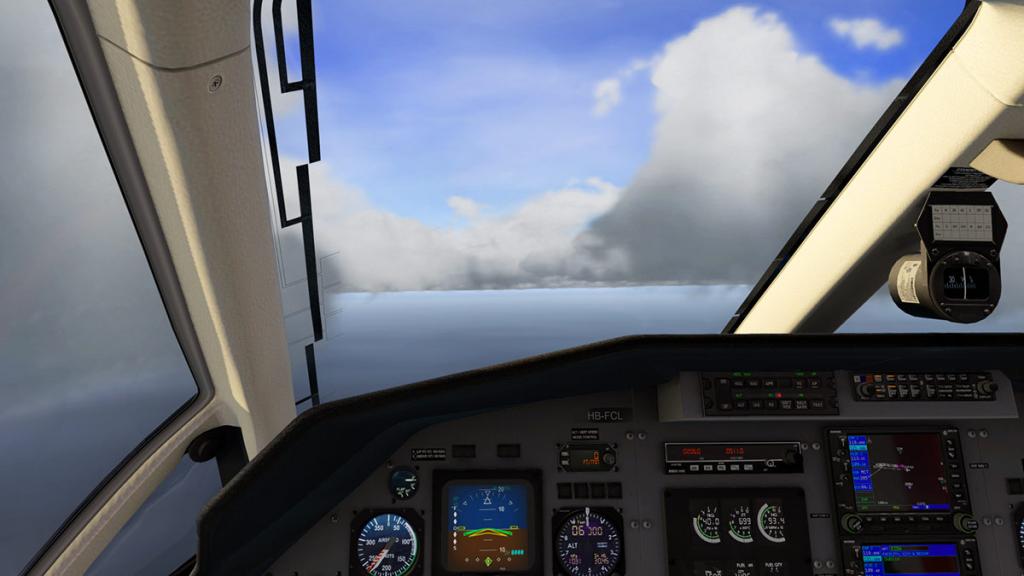
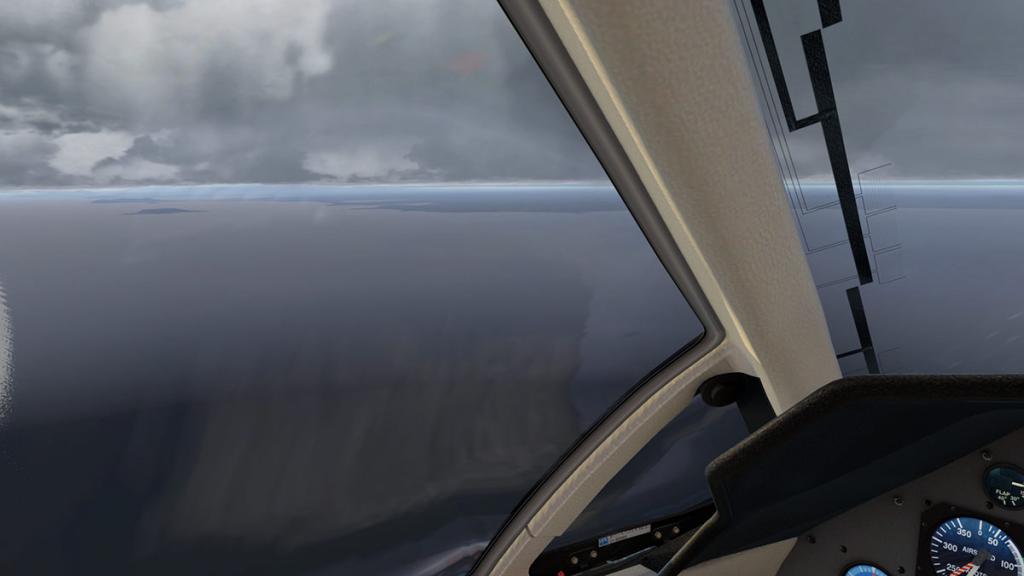
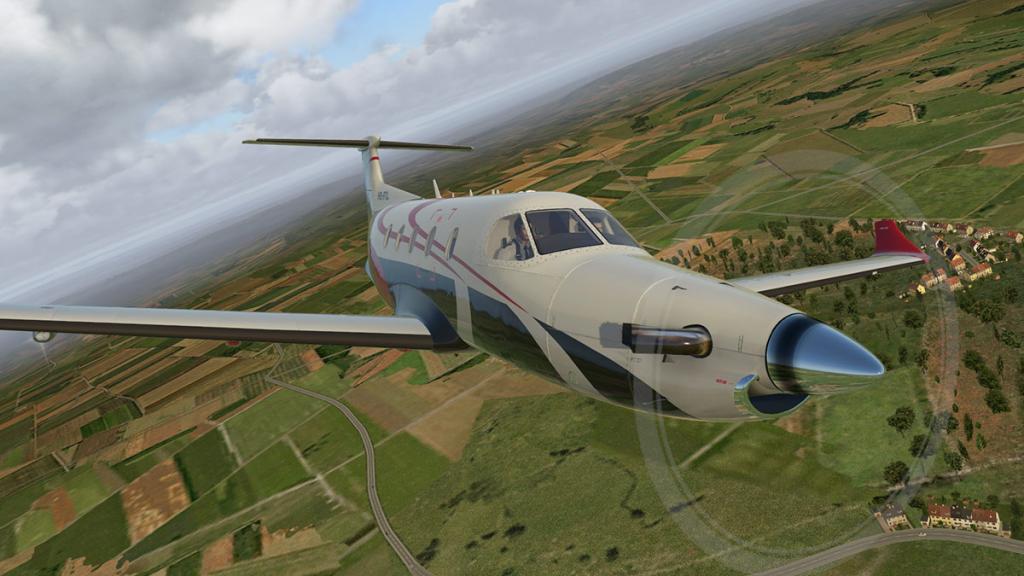
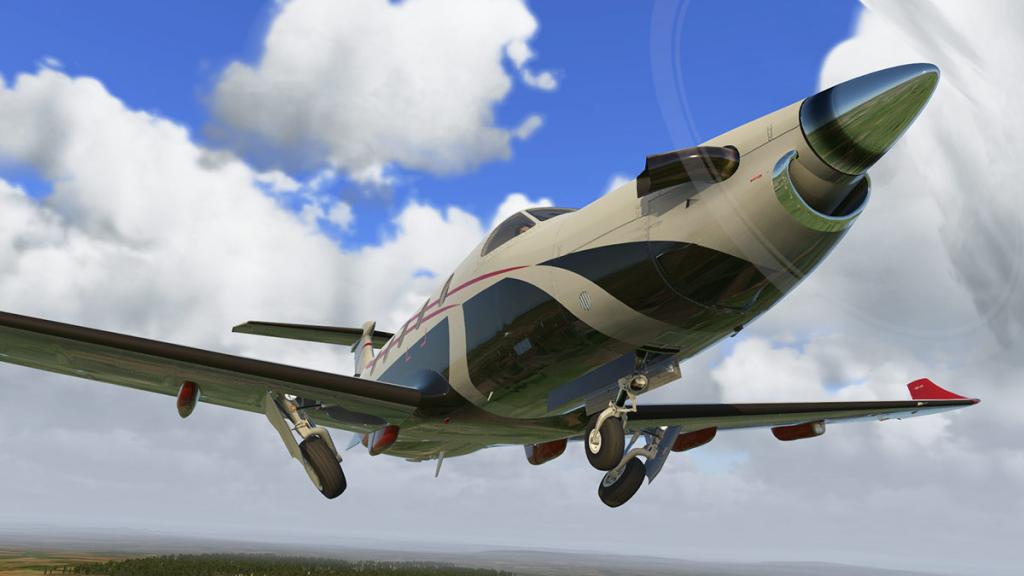
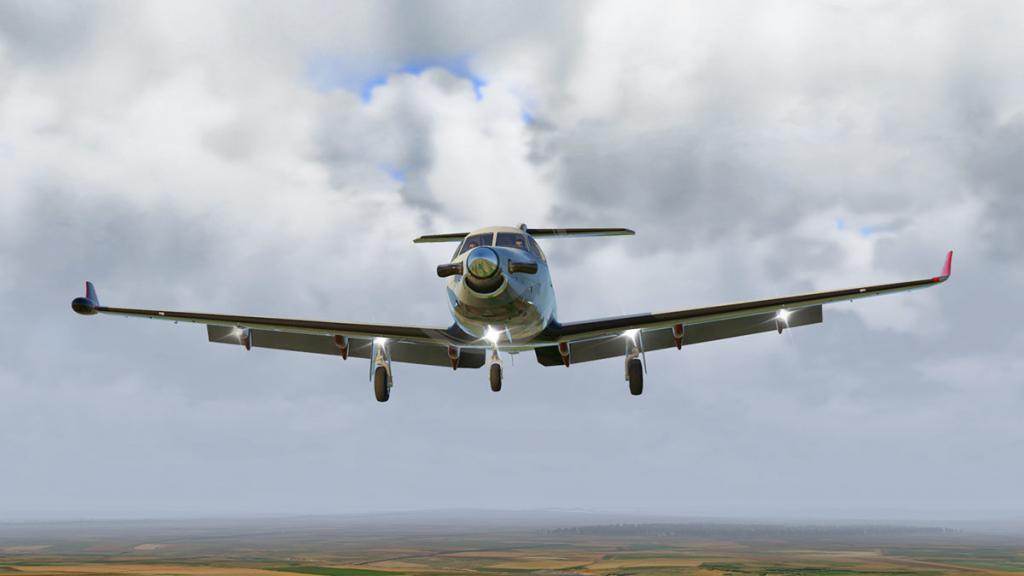
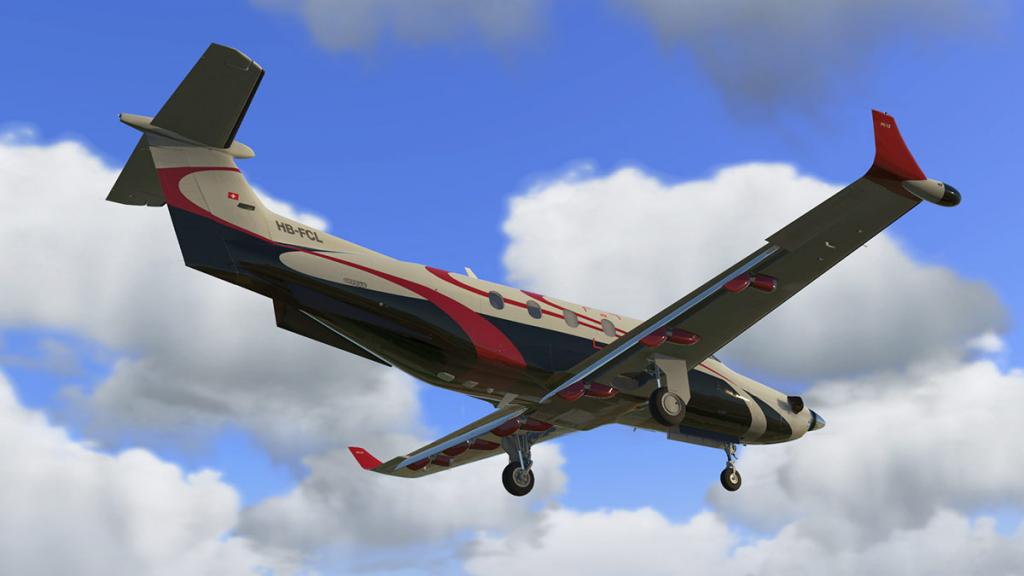
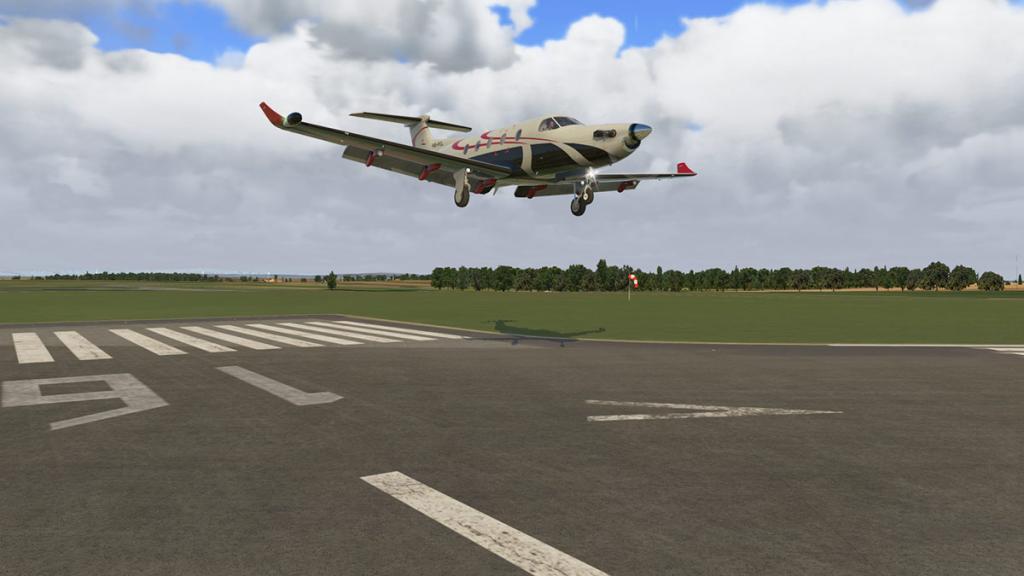
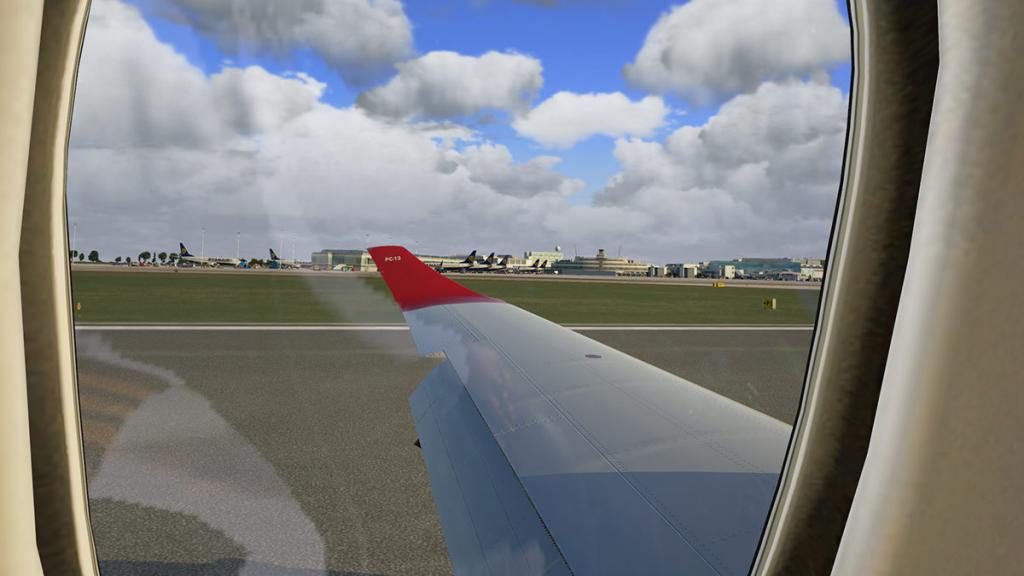
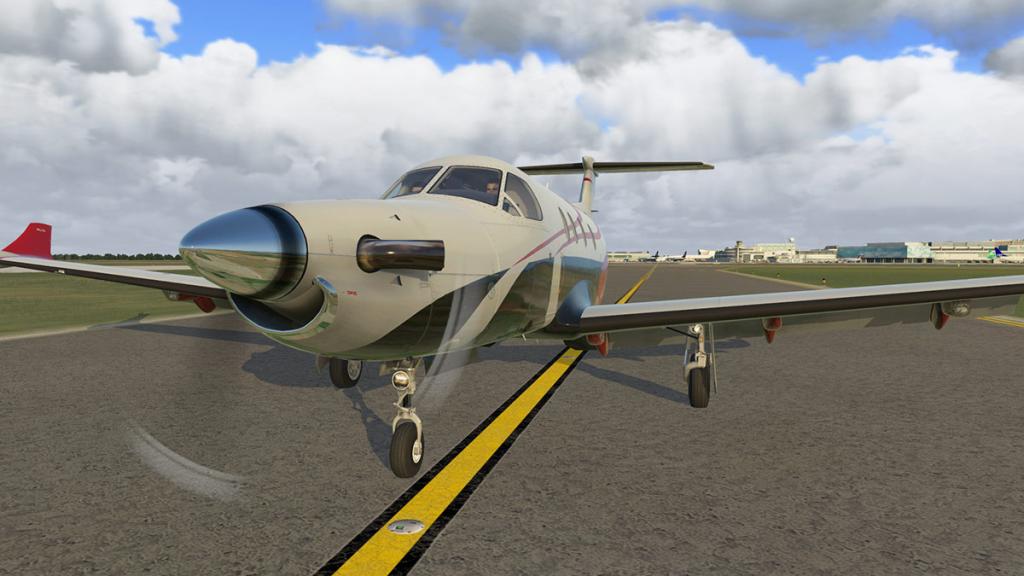
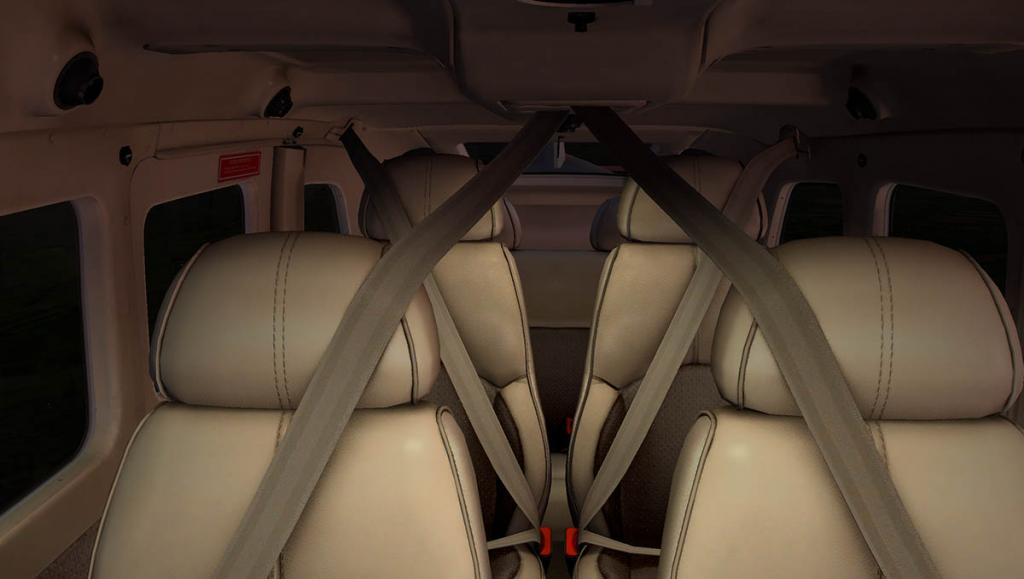
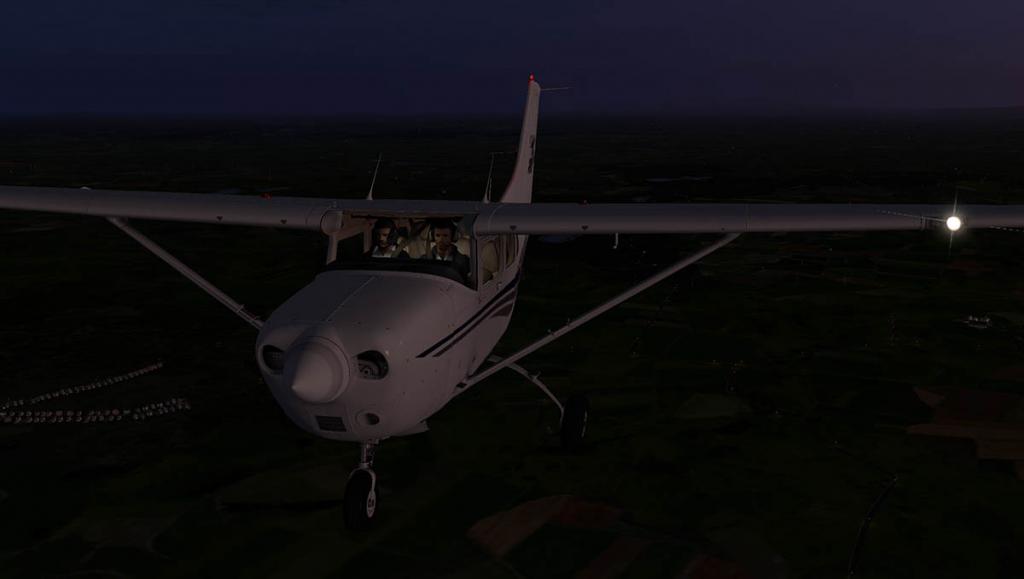
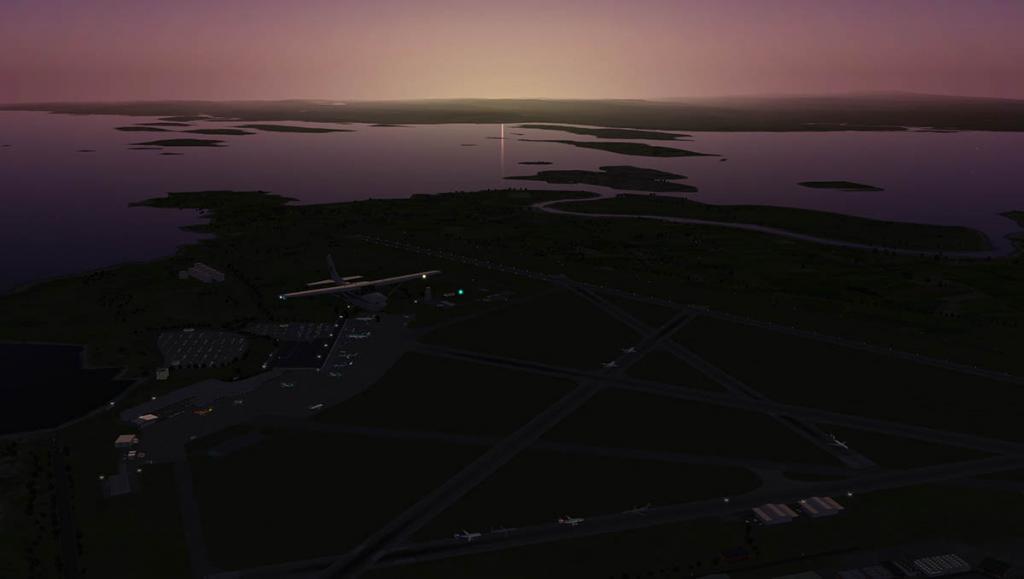
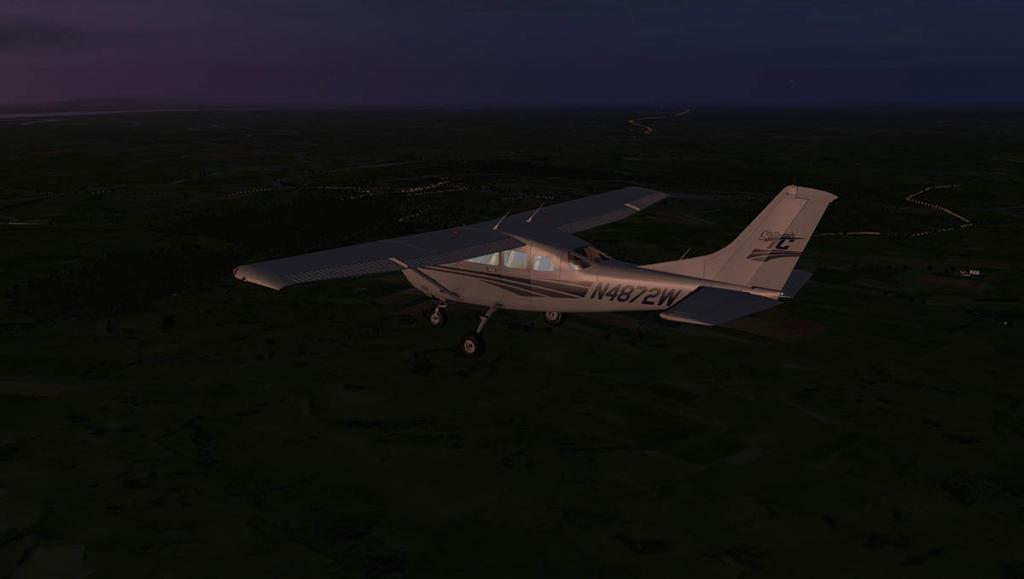
Aircraft Plugin Review : REP for Carenado PC-12 XP11 by SimCoders Simcoders have changed their focus back now to Carenado aircraft for their next REP or Reality Expansion Pack, this is the Pilatus PC-12 in it's XP11 guise... and a very nice choice it is. Powered by the powerful single Pratt & Whitney Canada PT6 turboprop engine (the PT6A-67B, 1200 shp), and the PC12 is certified for single-pilot IFR operations, and a great aircraft to use as a base for the expansion pack. A full review of the XP11 version of the Carenado PC-12 is here: Aircraft Review : Pilatus PC12 HD Series XP11 by Carenado SimCoders REP - Reality Expansion Packs The idea of these packs are to bring a bit more of the everyday running of a GA light aircraft to life. Basically if you have used one REP pack then they are all the same with just the aircraft they are attached to different. Simcoders have an installation notice in the package, to read the manual? In reality it is not hard to install, one folder called "REP" is installed into the aircraft's Plugins folder (not the X-Plane/resources/plugin folder) and the other files are just positioned in the aircraft's root or main folder. The REP plugin does however still show in the main X-Plane/Plugin menu when you drop it down from the header bar... and asks you to "Enable Package". This "Enable" is really an authorisation process and the licence key provided with your download is inserted into the pop-up panel and you then activate (internet connection is required) the plugin via the "Ok" key. When verified then the pop-up panel will note for you top reload the aircraft. I will always note to do a complete desktop start of X-Plane in these sort of aircraft restarts, this makes sure the full systems are reloaded (inline) correctly. When activated the REP menu then changes to a different menu format and you now have twelve separate items in: Settings Wear out to Check Fuel Price at Airport Show Checklists Show weight & balance Toggle walkaround mode Toggle tow mode Show maintenance report Engine autostart toggle static elements disable package About I have coloured the sections so you can note the different area separations because I am not going to go down the list in order. About: They like themselves do SimCoders.... Disable Package: The "Disable Package" option allows you to uninstall the REP package on the PC-12. Settings: REP "Settings" shows all your options available on the PC-12 There has been a lot of changes since the earlier REP packages and this shows here in the settings menu which is different from the earlier version but easier to use. In the earlier settings panel there was only six settings were as now there are twelve settings (up from the usual 3) that you can choose from: Enable the plane damages* Show Failure messages* Show tips Show side menu on mouse hover only Save and restore aircraft status between (flying) sessions Save and restore the windows (sic) positions between sessions Enable hypoxia effect (blackout) Roll axis drives ground steering Use US Customary* (originally noted as "use imperial or metric units") Wind sound level 0-100 Advanced Settings Use advanced steering Smooth brakes Use Carenado panel to control the static elements Tab Menu: There are six tabs to use on the left side of your screen and they match the same menu selections on the drop down menu. The six tabs to use on the left side of your screen, you can have then slightly present, or hide them completely with the settings option. And they are in order: Kneeboard Mass & Balance Walkaround Tow Maintenance Report Automatic Engine Start Kneeboard The "Kneeboard" has three pages of references: Normal Operations, Emergency Procedures and (Speed v) References. The kneeboard pop-up does have a quirk in annoyingly popping up all the time when you press a tab on other menu items, once or twice is fine, but then it gets constantly annoying coming up in your face. Mass & Balance The aircraft setup menu is very good. You have "Load Stations" for pilot & passenger weights, baggage weights and fuel weight (Fill) and all the settings are reflected on a graph of Mass and C.G. (Centre of Gravity). Loading the aircraft is quite easy with the panel filled in, when done you just press the "Apply" button to lock the settings in. You get a "Landing C.G. prediction in flight time and fuel flow and an aircraft summary of your weights in Empty, Payload, Fuel, Takeoff, Minimum Takeoff and Takeoff Centre of Gravity arm (which I think is runway length aim?). You can select from either kgs to lbs on the lower left tab. "Fill Tanks" will fill both fuel tanks to full, but here with the full tanks it puts me over the aircraft's weight limits and hence the red warning. Walkaround The "Walkaround" feature is very good and to a point the heart of the REP package. There are actually three walkaround modes... one for "Lights Check" and one for "Pre-Flight" and another for the later "PostFlight", but to the usual users of REP packages you will notice the walkaround aircraft diagram has been dropped. You can toggle all the light switches on or off by pressing the "Toggle Lights" tab and then use the "next" to go around the aircraft to check the aircraft's lighting with the tail beacon, both leading edge (navigation/strobe), all wing Landing lights and front wheel strut taxi light. The "Lights Check" starts and finishes with the OHP (OverheadPanel). "Pre-Flight" is the main Walkaround of the aircraft. In reality it is same feature here of all the REP packages from the start, but it is very good. Here you move externally around the aircraft via the same (Next) tab and can go back to the previous check point by pressing the "Previous" tab. Some points are cleverly animated in that by pressing the tab you can move (or test) the rear tailplane and rudder... the same can be done with the ailerons and flap flight control surfaces. Static elements can be added or removed like with both wing and tail tiedowns, chocks and pitot covers as you move around the aircraft. There are display gauges on the walkaround to note Tire Wear, Oil quantity and Condition (the lighter the oil colour the better the oil is)... The slight odd anomaly with older REP packages has been fixed with the static elements? If you loaded the older REP with engines running the chocks and static elements are still in place? And to remove them you had to shutdown the aircraft, and then do the full walkaround to the chocks, and then restart the engines to fly? Now there there is the tickbox in the settings to "Toggle static elements" ON or OFF, a nice fix like I recommended. Fuel Contamination (again the lighter the better) and pitot probe temperature. Static elements cover all probes and engine inlets. It is overall a very good Walkaround system, and the walkaround works in with the later tab of "Maintenance Report". The "PostFlight" runs the Walkaround again but sort of in reverse to close up and shutdown the aircraft and add in the various static elements, you can see as well any wear and tear the flight has taken on the aircraft. Tow The "Tow" feature is quite basic but works really well. Selecting "Tow" will put you on the front of the aircraft and then you use your joystick to move the aircraft in forwards, backwards and left and right.... just don't forget to unlock the park brake? Maintenance Report Like the Walkaround you can maintain the PC-12 with this feature... The maintenance clipboard is set out slightly different here for the Turboprop than the piston aircraft... systems are now grouped in like: Electrical System, Avionics, Instruments, Pressurisation Systems, Landing Gear and Braking Systems and Economy System. Areas that need attention are noted in RED and a click will do the job. There are seven pages in the report and it is quite comprehensive Last page "Economy System" has the option to activate the "F SEconomy" or the standard "Standalone System". So the maintenance feature is a pretty comprehensive report and gives you high access to the aircraft's functionality. If you select the "Standalone System" you go to a different sized clipboard with the repairs required... then you will get the bill shock! You have options to accept the "Normal" price or the "Quick Fix" price, either way you will need money in your account to fix the broken PC-12? or you can opt out via the "Disable the Economy System" There is a big connection here to the FSEconomy system, and so you have to be a part of the virtual money earning application to fix the aircraft. Automatic Engine Start There is realism and there is also the "drive you up the wall factor" and starting the engine in a REP pack was certainly in the latter category. But here we now have an automatic engine start feature, and it goes through the process of starting the single Pratt & Whitney Canada PT6 turboprop engine (the PT6A-67B, 1200 shp) engine and tells you via the banner bar on what part of the process is happening. There is still that realism factor, and it can be realistic or a pain depending on your mood. If all your maintenance is up to date and your account is now empty the aircraft will do the full start up procedure for you, and if you have any maintenance issues outstanding then you are going nowhere until you fix them. Wear out to: you have four options of aircraft wear; Brand New, Privately Owned (New), Privately Owned (Old) and Flying Club. Settings set the aircraft into one of the categories set out, but the Flying Club setting has the most hours and a tired aircraft. Aircraft has to totally shutdown to adjust the Wear settings. Check Fuel Price at Airport: This selection is again connected to the FSEconomy system to pay for your fuel. Realism 101 It is just not the external aspects of the PC-12 that are effected, but also so are the dynamics... There is also in the package Realistic taxi behavior, realistic stall speeds & behaviors, realistic climb speeds, realistic cruise speeds and better flying characteristics with the more (set) realistic Weight & Balance. These earlier Carenado's have an urgency to have too much power to taxi smoothly (or slowly) it was one of the real annoyances of these otherwise perfect aircraft. The high taxi speed has been nulled a little here with the new enhancements, but with the mixture set at idle and the throttle at idle you still have to use the brakes now and then to contain the speed, it is however far better than the jack rabbit feel of the none REP PC-12. The PC-12 has a different throttle mixture and built in propeller arrangement, and this custom package adjusts to that, so on ground idle, the first 30% of throttle directly controls the propeller pitch and does not increase NG at all and the custom propeller governor recreating all supported prop modes, the electric auto-feather included all now use the newer X-Plane11.30 governor features. Sounds in the earlier REP Packages were an advantage, but that feel is slightly nulled now as Laminar Research now uses the excellent FMOD 180º sound effects to well "great effect". Simcoders notes that the custom system highlights and is better than the default Carenado sounds, areas covered are Engine ignition, Engine pins, Engine exhausts effects and Fuel pumps, Electric Gyros, Avionics effects, Dynamic touch down, Dynamic ground roll and Dynamic wind. The problem with these sounds that they are good, but you have no control over their volumes except for the wind noise, overall I feel they are yes an improvement, but not a highly noticeable improvement over the now very good Carenado sources. Ditto the featured fuselage wind, landing gear wind and Independent touch down sounds that is used with the SimCoders "Headshaker Plugin", as these again were a great early set of features. But most users now have or use the XPRealistic Plugin that does the same thing but also better and more effectively. But that is not saying it is not a good set of features because they still add in a better dimension to otherwise what is a basic aircraft. Aircraft roll and takeoff sounds with the more "arrrrh, thump, thump" of the retracting gear is far better than the Carenado sounds, as is the wind noise, but you will need to take a little of the wind noise to be more realistic. If you are hard on your aircraft then the REP won't be kind to you? damages are and can be triggered by the pilot actions or poor piloting skills which is based on real world data and can target every system in the aircraft and this is all meant to teach you how to correctly manage the aircraft. You get the more realistic stall speeds & behavior, realistic climb speeds, realistic cruise speeds and realistic weight & balance and in flight you feel and see the differences, the PC-12 feels more relaxed and immersive than what I remember it was before. On release users didn't warm to this Carenado PC-12 aircraft very much and it sold quite slowly, personally I couldn't understand that as I really liked it from the first flight... the non-adjustable and sometimes glaring instrument lighting aside, it is a great PC-12... I think now more are warming to it and understanding more what a nice aircraft this really is... There is secondary fuel flow behavior, realistic lag and custom ITT evolution, correct fuel consumption with better and more realistic engine temperatures, these items are more noticeable on the PC-12's engine displays if you compare to the default version, and the numbers don't lie. Be careful on those landings? the landing gear can be damaged by hard landings and with over-speed operations and the the brakes and tires are damaged if not managed correctly and will have to be replaced... it is an expensive exercise while using the REP pack. Even when your flying day is over the REP will still be working on items like if you leave the power on then the battery will discharge unless you turn it off and that is even if you leave it switched on and close X-Plane? Start X-Plane up again and you will have a dead battery to contend with, just sit and watch the numbers and the battery goes dead very quickly. And that is with also all your current persistent aircraft wear and tear that is recorded and every single switch and lever position is restored when you reload the aircraft as is the the engine and oil temperature which are also restored basing on the time passed. In other words the aircraft is in exactly the same condition (or worse) when you come back to the aircraft for another flight and you certainly don't get a newly set aircraft to fly in, and overtime those hours and the wear and tear will add up in the Maintenance Report and will require attention. Summary What the Simcoder's REP or Reality Expansion Pack does is take a standard aircraft and then supercharges it and gives it a load of features and actions that are not available on the standard aircraft, they also fine tune the aircraft as well to be far more exact on the real machine's performance numbers And the REP does a really good job in this case with the PC-12 and it covers a huge multitude of areas in performance, wear and tear, damages to the aircraft and fluid use. The effects on your systems are also covered in every aircraft area from the electrical systems, Oxygen and mechanical wear and tear on wheels and tires, overall the system coverage is quite extensive and you will need to look after and maintain the aircraft to a certain standard if you want to fly it regularly just like well really a "real" aircraft. The REP has come a long way as well since the earlier versions that were just a little too invasive and made the aircraft just a little too realistic in that it got in the way of actually flying it. The better current menu management really helps here now as does the "auto" engine start up that helps in simply starting the engines, but there is the need for more control interaction as well in menu's, like with the custom sounds FS Economy is now heavily intergrated with the REP package but can be enabled/disabled on the fly, earn your virtual money to keep the PC-12 in the air with payment earned for maintenance and fuel. This REP package is certainly very comprehensive and it goes a long, long way in bringing the PC-12 to life and with far more features and actions than what the aircraft actually has when it comes from Carenado (which was pretty good then). I wasn't a big fan of the earlier REP packages, but this one here is now actually very good on the PC-12, and Simcoders have made the REP's more user friendly and not as invasive as their earlier packs. So if you like an immersive and realistic feel of running of your Carenado PC-12 to a higher more realistic degree, and yes this package does go very deep, then you will love this plugin. The REP-Reality Expansion Package is better than ever and lifts the Carenado aircraft into a more far complex and detailed aircraft for you to intergrate with... ______________________________________________________________________ Yes! the SimCoders Reality Expansion Pack for Carenado PC-12 is available from the X-Plane.Org Store here : Reality Expansion Pack for Carenado PC12 XP11 Price is US$19.99 The PC12 XP11 by Carenado is required for this add-on. It will not work on other aircraft Features: Ultra Realistic Flight & Ground Dynamics * Realistic stall speeds & behavior * Realistic climb speeds * Realistic cruise speeds * Realistic Weight & Balance * Realistic taxi behavior Complex Damages System * Triggered by the pilot actions * Based on real world data * Target every system in the aircraft * Meant to teach you how to correctly manage an airplane Economic System * Can be enabled/disabled on the fly * Earn virtual money when you fly * Use virtual money to buy fuel and do maintenance/repairs * Realistic fuel prices around the World * Fully compatible with FSEconomy. * More info at https://www.simcoders.com/reality-expansion-pack/economy Weight & Balance Tool * Load the airplane and check the C.G. and weight limits at takeoff and landing * The airplane behavior changes when the C.G. moves Popup Kneeboard * Complete normal operations checklist * Complete emergency operations checklist * Complete reference tables (speed, fuel consumption etc.) Simulation state saving * Every single switch and lever position is restored when you reload the aircraft * The battery may discharge if you leave it on and then close X-Plane * When X-Plane is launched, the engine and oil temperature are restored basing on the time passed Maintenance Hangar * Engine maintenance tab * Electrical systems maintenance tab * Landing gear, brakes & tires tab Interactive Walkaround * Cockpit checks * Lights checks * Aileron, rudder, elevator and flaps check * Tire check and choks removal * Pitot tube check * Engine cowl check Interactive towing * Push, pull and steer using the joystick * Towbar simulation Realistic PT-6 Engine Logic * Secondary fuel flow behavior * Realistic lag * Custom ITT evolution * Custom throttle dynamics (on ground idle, the first 30% of throttle directly controls the propeller pitch and does not increase NG at all) * Custom propeller governor recreating all supported prop modes, electric auto-feather included * Custom hot-start behavior (and damages) * Correct fuel consuption * Realistic startup procedure * Automatic startup procedure available to help newbies * Realistic engine temperatures * The engine parts are damaged if not managed correctly Stunning sounds * Fuselage wind sound * Landing gear wind * Independent touch down sounds Realistic Landing Gear * The landing gear is damaged by hard landings and overspeed operations * The brakes and tires are damaged if not managed correctly Electrical & Avionics System * Realistic Battery * The avionics are damaged if on when the engine starts/shuts down Native Virtual Reality Support * Complete support of new X-Plane SDK 3.0 * Menu visible in VR * Windows visible in VR Learn with the in-flight tips * A non invasive tip with a suggestion about the conduct of the flight is shown when you are not flying the airplane properly * A non invasive tip with a suggestion on how to recover the problem is shown when you damage the airplane Custom simulation of Hypoxia * Tunnel vision * Hard breathing Developed with love * Coded by real pilots * Very easy on FPS * Written in C++ with no compromises ______________________________________________________________________ Requirements : X-Plane 11 Important: The PC12 XP11 by Carenado is required for this add-on. It will not work on other aircraft Current and Review version: 4.21 (July 26th 2019) ______________________________________________________________________ Installation : Download is 16.3mb which is unzipped and is inserted to the Aircraft/Plugins folder and root folder. Key authorisation is required. Documentation : includes REP - User - Manual There is an Installation "read Me" but just notes to see the manual? ______________________________________________________________________ Plugin Review by Stephen Dutton 28th July 2019 Copyright©2019: X-Plane Reviews (Disclaimer. All images and text in this review are the work and property of X-PlaneReviews, no sharing or copy of the content is allowed without consent from the author as per copyright conditions) Review System Specifications: Computer System: Windows - Intel Core i7 6700K CPU 4.00GHz / 64bit - 16 Gb single 1067 Mhz DDR4 2133 - ASUS GeForce GTX 1080 8Gb - Samsung Evo 512gb SSD Software: - Windows 10 - X-Plane 11.20 Addons: Saitek x56 Rhino Pro system Joystick and Throttle : Sound - Bose Soundlink Mini Plugins: Environment Engine by xEnviro US$69.90 : XPRealistic Pro v1.0.9 effects US$19.95 : WorldTraffic 3.0 Plugin - US$29.95 Scenery or Aircraft - LSZH - Airport Zürich v2 by Aerosoft (X-Plane.OrgStore) US$27.99 - LEBL - Barcelona Airport XP11 by JustSim (X-Plane.OrgStore) US$21.00
-
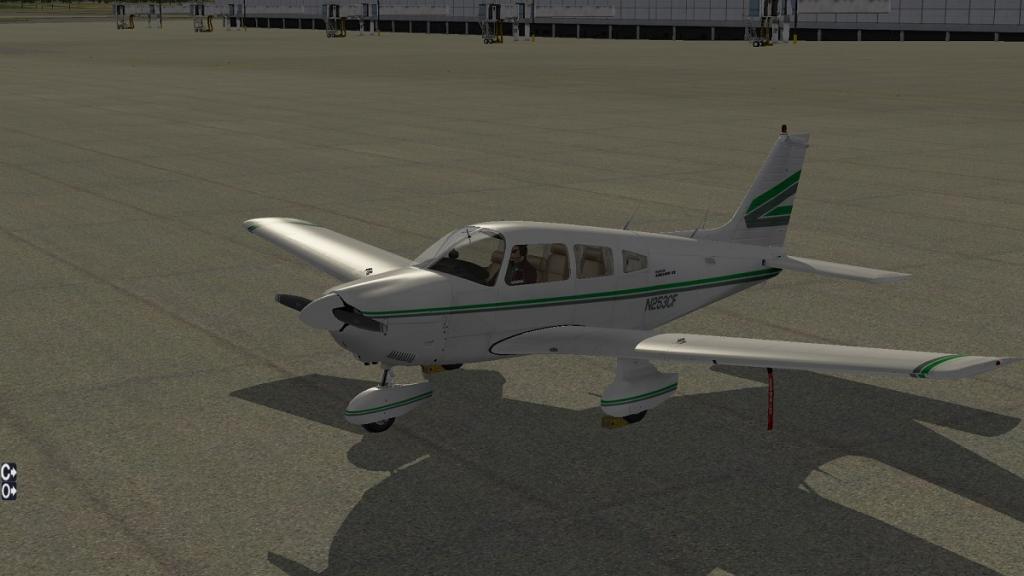
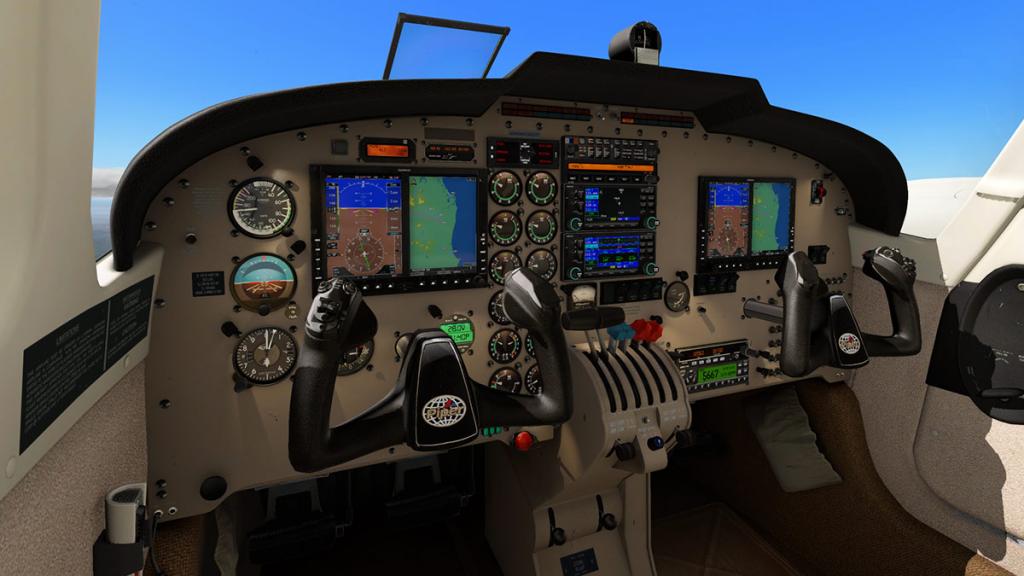
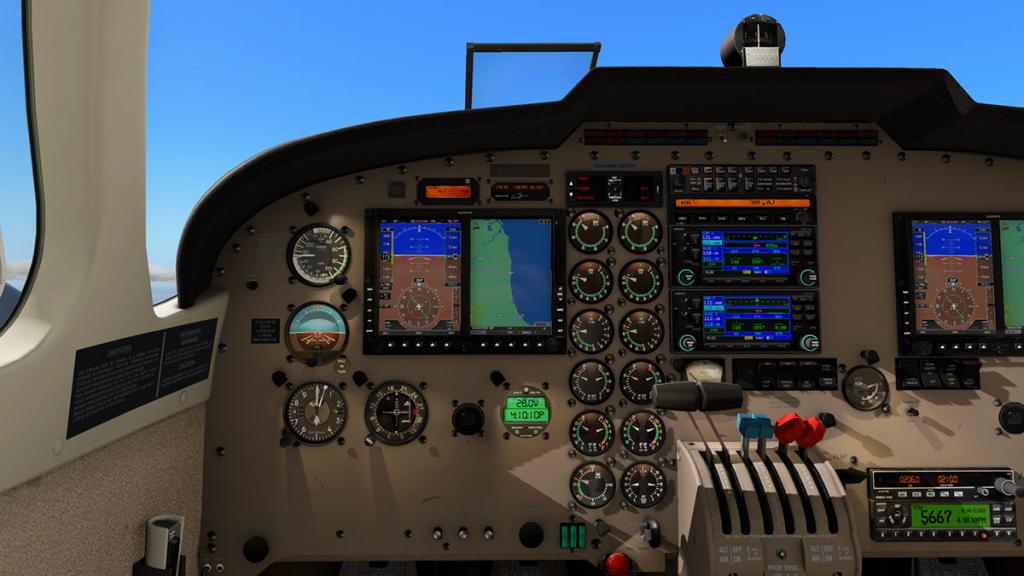
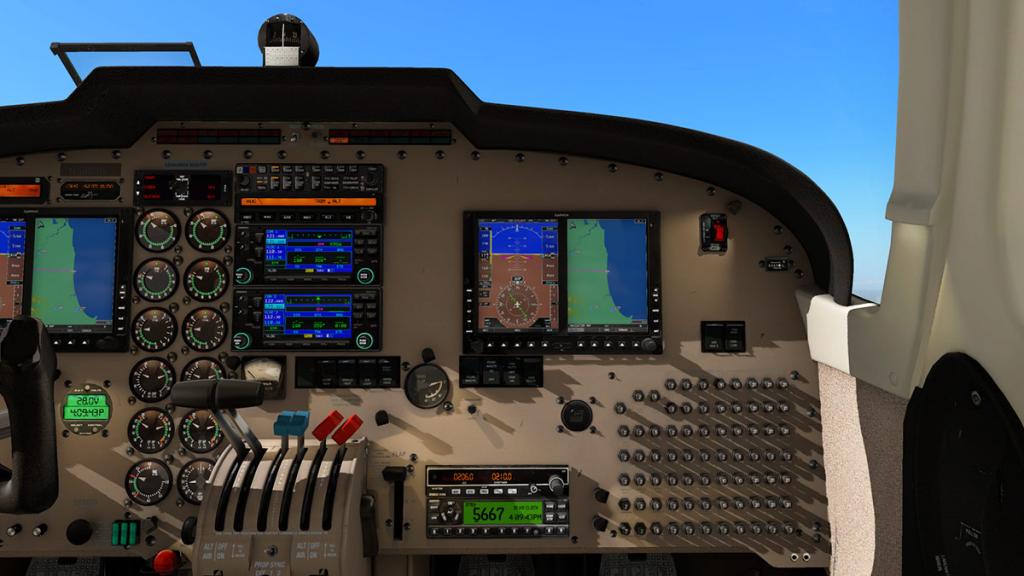
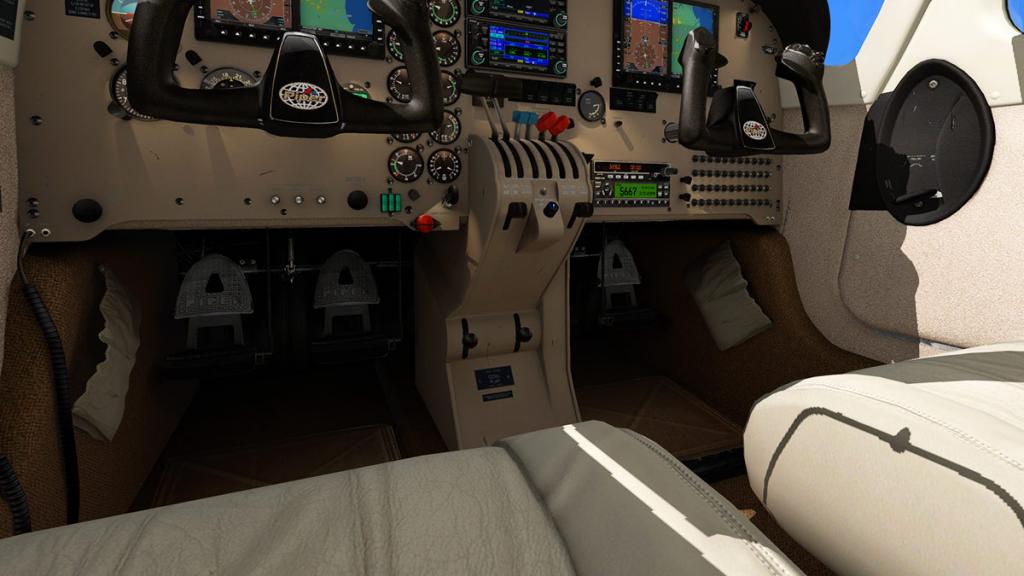
http://newbluejournals.files.wordpress.com/2014/03/image.jpg Aircraft Review : Carenado Piper PA28 181 Archer II Route : VFR Circuits at EGKK - London Gatwick Carenado make the best general aviation aircraft payware, but does this Piper Archer live up to Carenado's high standards? Well I will get to the main message of that in the conclusion but first its time to analyse everything. Despite the size of this small GA plane (general aviation) it is very complex. Carenado have really showed their talents in this plane, it is absolutely fantastic! Over the next few paragraphs I will describe everything about the plane and give an overall summary. Below is a list of features for this aircraft. According to Carenado: - SASL plug in added functionality - 32-bit and 64-bit Mac, Windows, and Linux support. - Stereo 3D sound, with new dynamic effects - Custom prop, which adds realism to the spinning prop etc. - 2D pop-up windows to control camera presets, FOV etc. - Interior lighting optimized for X-Plane v9 and v10. - Overhauled lighting system. - Strobe lights blink in a custom pattern and order. - Landing light features tightly-focused “glare” effect. - Navigation lights have been improved. - Improved ground handling. We start we some real life pictures of the Piper PA28 181 Archer II which can compare to the model made by Carenado, these pictures show the cockpit and the exterior. From the real life pictures you can tell this small GA is great fun to fly, and from past experience I can tell you it most definitely is! With a 180 HP Lycoming engine and an advanced Garmin G1000 Avionics Suite, the Archer is a modern and reliable aircraft for both teaching and cross-country flying. All Specs can be found by clicking the above picture. Having flown this aircraft prior to this review I can say this plane handles lightly, with a rotation speed of roughly 65kts and a cruising speed of 128 ktas, its the feather of the skies. Now onto the Carenado Archer! Exterior The first things I am going to evaluate are the textures of the aircraft. We begin outside which I can easily say looks stunning! From every nut and bolt to door seems can be seen at a good resolution which is always nice when flying in VFR (visual flight rules). However the outside visuals cannot be described as crisp. As well as high resolution on the side of the aircraft we can also find this on the wheels, the tires are crisp pixel sharp and even reflect the sunlight! When in “chase” mode a 3D pilot appears in the cockpit, this is a nice effect when viewing the externals although there should be an option to get rid of him! But he is not just sat static, his head turns according to the input of your flight controls as well as his arms to the yoke and throttle and his legs to the rudder. The prop has been modeled with great care however as the textures are at an acceptable standard we can still find that two logos are blurry (see picture above) but, the prop is only static when the aircraft is stationary so this can go un-noticed. All outside lights have been modelled well especially the navigation lights on the edge of the wing. All the control surfaces have the delay of input movement just like on the real Archer, and the control surfaces are also modelled well. The main feature that stands out though is the reflections on the tires, this is a stunning feature as the sun wraps its rays around the tire. This is also important though as the hear is not retractable, so when your in 'chase' view taking in the scenery, you can constantly see it. 3D Cockpit Moving through the door and into the 3D cockpit the textures are at an amazing resolution, this can be expected as all carenado models are! I believe that the images below speak for themselves, as you can tell the textures in the 3D cockpit and surroundings are photo-realistic which adds to the immersion. The seats and yoke have a weathered effect which adds more realism when flying, it is not an old and battered model nor a brand new plane, but just right for a good weathered look and feel. Moving down toward the floor we find an aluminium plate as a floor scratch/foot pad which has a photo-realistic finish along with the pedals which perfectly match the real ones! Looking back up to the ceiling of the aircraft we find two lights which are interactive. One is a general lamp whilst the other is a night vision light for night VFR flying. There are also animated sun-visors with information on them however the information is blurry. But all information needed looks fantastic if you print out the documentation.The 3D gauges in the aircraft are spectacular the textures on these are great too. Despite living in the 3D cockpit when flying I never had a loss of frame rates which was good, my average FPS was 31. The radio stack and all other knobs are easy to use, this helps a lot if you are flying on vatsim. Above is a mounted compass with a photo-realistic casing, the compass is well positioned meaning it does not interrupt your visual display. Near to this is a window which is nicely animated, sound is also affected when opening or closing the window which adds to the realism when in the 3D cockpit. Even the compartments on the armrests are animated! Also I have a comment which may be debated in the comments, space awareness. To help you understand I will explain. Everything has been positioned well in the cockpit despite whatever filed of view angle you have set in the pop-up option menu everything remains to a realistic degree. This plane will be my first of choice to try with the upcoming release of the Oculus Rift VR headset! As its so close to the real thing! The option menu’s are a great feature of this aircraft, you have two options to choose from, “camera” or “options. The camera menu offers a wide range of camera shots whilst flying, see the picture below. However despite this great camera option there is a slight snag, by the way this is NOT a bug of any kind. For instance I have a 3D cockpit button and a chase button assigned to my hardware flight controls, if you are in the 3D cockpit and switch a camera view via the menu when you go to chase view everything is normal. However when going back to the 3D cockpit using my assigned button I go back to the previous view set by the menu. This gets slightly annoying at times but does not affect anything to do with the plane or my view of the plane. There are two menu’s that are 2D pop-ups which can be accessed on the side of the screen or on the panel in the clicking zones. The camera menu was described in the last paragraph so I will now explain the nice features and animations of the options menu. The first option is used to open the passenger door, the second opens the baggage door, the third triggers static elements, and finally the last option is for wheel fairings. All of these options work perfectly and with ease, changing the options during flight does not effect the frame rates. Night lighting is a big issue with many planes, but not this one. Outside you have the navigation lights and the landing lights, all lights effect the surface glare of the plane. Moving back inside there is a option of three lighting affects. In the cockpit there are two lights on the ceiling, one is for night lighting on the panel which is controlled by a knob and the other is for passenger lighting controlled by a switch. The only thing I don't really like about the ceiling lights is the lack of 3D. It would be nice to see a rounded dome shape on these lights, but mainly your looking out the front windshield so this doesn't bother me too much. The third effect is for integral lighting on the gauges, this scan be controlled by a scroll positioned next to the outside lighting switches. Placed together all lights create a pleasurable night flight experience. Liveries Now to the liveries, excluding the default white paint there are an additional four liveries with this aircraft (pictured above) which are pretty nice. All liveries have been based on real life replicas which is a neat feature of this plane, as a result of this if you have your PPL I am sure you will recognise these like I do! All liveries have reflections etc.. And make the aircraft a beauty to fly. All liveries have the option for wheel fairing's on/off. You can get some extra liveries on x-plane.org under the downloads section but not many which is a shame. When I was flying for real in the Archer the plane had the Gold_Blue skin, its not identical but its similar and I am sure there are many American variants! Flight Dynamics Having flown the real Piper Archer myself I can comment on the flight dynamics of this aircraft compared to Carenado's version. So first I will start with the in-air model. The model of this aircraft behaves quite realistic however it cannot be compared exactly to the real thing. The real Archer behaves with a delay, as you would expect, however Carenado's model does not simulate this to a detailed extent. This model from Carenado is extremely responsive, and if the controls are held in a certain place the aircraft will dive and spin around, this simply wouold not happen in the real Archer. The next test was the stall test. Throttles back, pitch up, and enter stall. Carenado's version responds very quickly, in fact too quickly. When the throttles are applied again and the nose is pitched down the aircraft recovers fast, this is unlike the real Archer as when I conducted a Stall in the real thing it took a lot longer to recover. With throttles and flaps full for take off at a speed of 70 KTAS the Archer "sticks to the ground" this feels very realistic. When pulling back at take off speed the Archer wants to resist as though its very heavy, this feels real and the same as when I took this plane for a spin in the UK. Also when taxiing this plane it took 1/5" throttle to get it moving, in x-plane its a lot less. Overall the flight dynamics are "Ok" at an acceptable level. To lower the response time it may be worth changing the joystick settings. However its not necessary to have an enjoyable flight! Sound Now we move onto sound. The sound for this aircraft is phenomenal, when the throttle is 1/4 open the prop sounds normal, then when the throttle is positioned 2/4 open and you reach 2000 RPM the sound changes and you are then listening to many different .wav files playing. The sound is so close to real, but it does not pan around you like in the new Carenado Mirage. Its a shame but this is an older plane of Carenado's, although in the version 2 update many new features were added with the help of 64 bit processing. To hear this for yourself I recommend visiting you tube to take a listen. As highlighted earlier the door and window changes the sound heard in the cockpit, just like in real life! Conclusion Overall I would highly recommend purchasing this aircraft, whether you are a beginner or post PPL this aircraft will become one of your favourites by far. The systems and animations all simulate the functions just like a real life archer. It is a Carenado plane, Carenado has quality written in its name, this Archer wont disappoint. Another thing is Frame rate. My x-plane settings are all relatively high, despite this fps on this aircraft is an average of 31. This is great as my computer can handle detailed scenery, cloud puffs and extensive framerate killing options. I suffer absolutely no lag when flying this beauty. The only bad thing about this aircraft would be the unclear textures in some areas such as the cockpit interioir roof and prop. Apart from that this is a great plane to add to your virtual hangar! Is it worth buying this aircraft? Yes! Well, its available on the x-plane.org store for the price of $24.95 : Carenado PA28 181 Archer II Carenado Aircraft support: Click here Reviewed by : Joe ©copyright 2014 : X-Plane Reviews Technical Requirements: Windows Vista or Windows 7 (32 or 64 bits) or MAC OS 10.6 (or higher) or Linux XPlane 9.6/9.7 or XPlane 10.11 (or higher - 64 bit compatible) Pentium 2 GHz - 4GB RAM/1GB VRAM 250MB available hard disk space Version 2.1 (last updated June 2013) Review System Specifications: Computer System: - Intel Core i5 3330 @ 3.00GHz - 4.00gb of RAM - Geforce GTX 650 Software: - Windows 7 64 bit - X-Plane 10 Global version 10.25 - Saitek Pro Flight Yoke System - Carenado PA28 181 Archer II
-
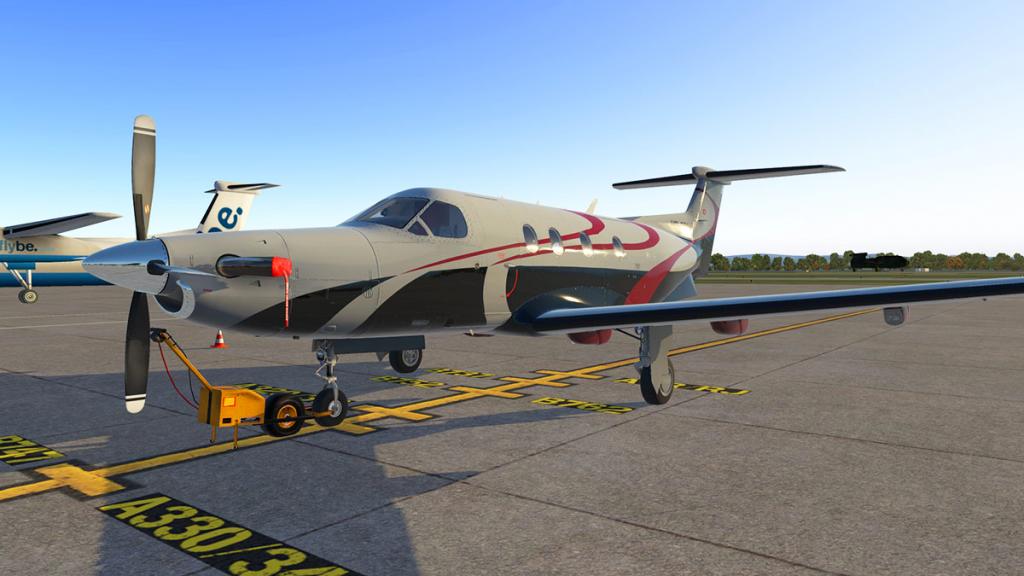
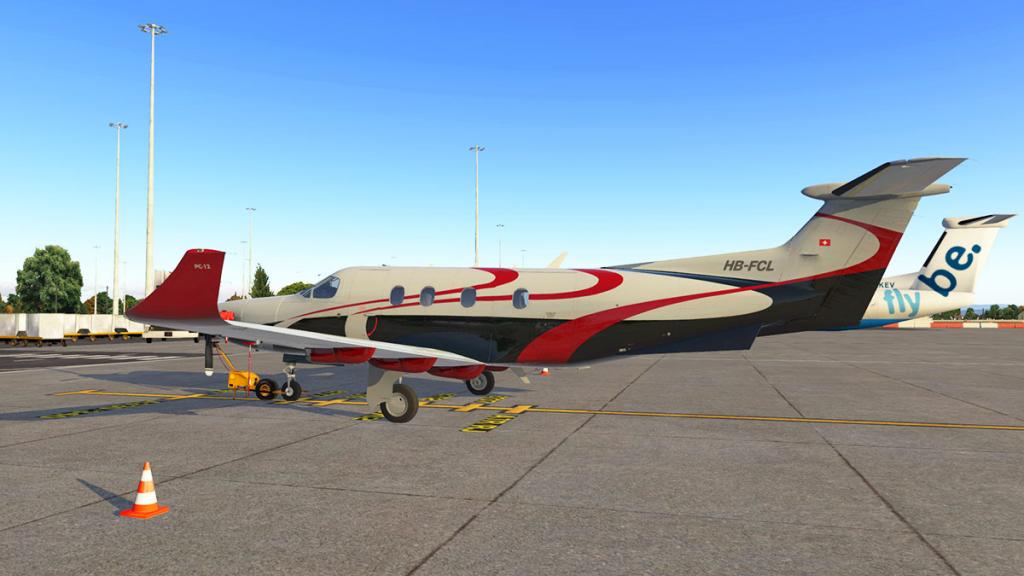
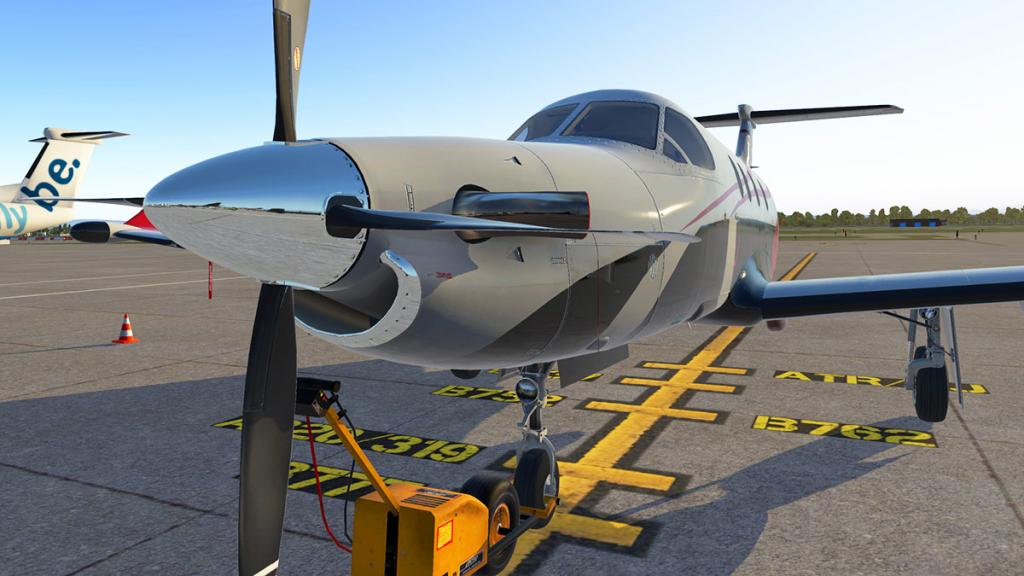
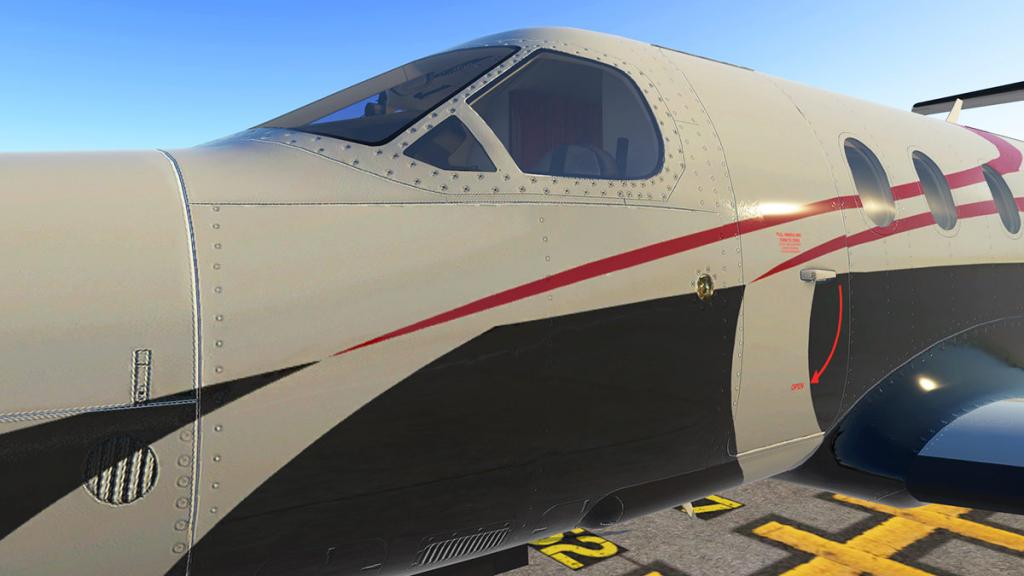
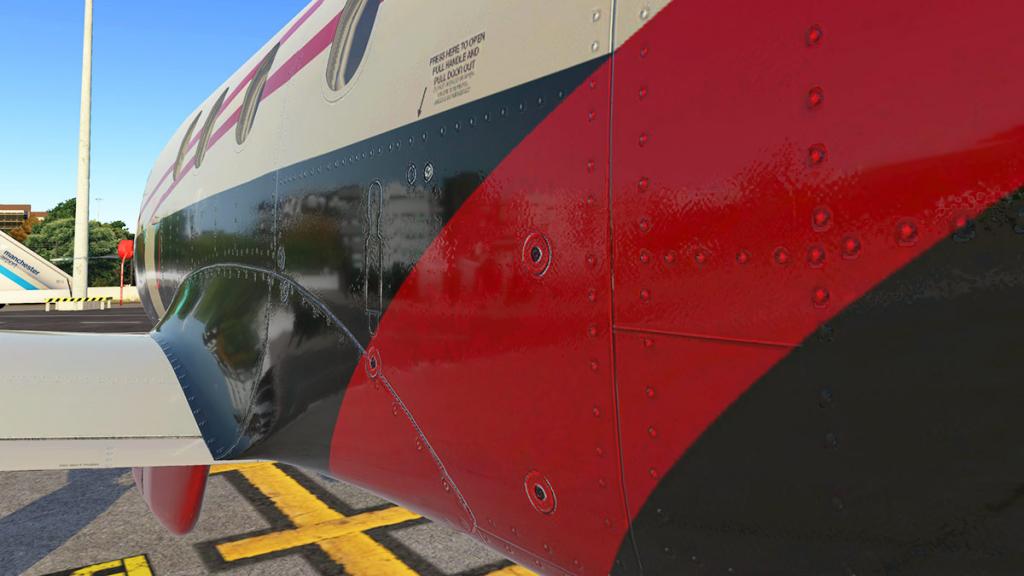
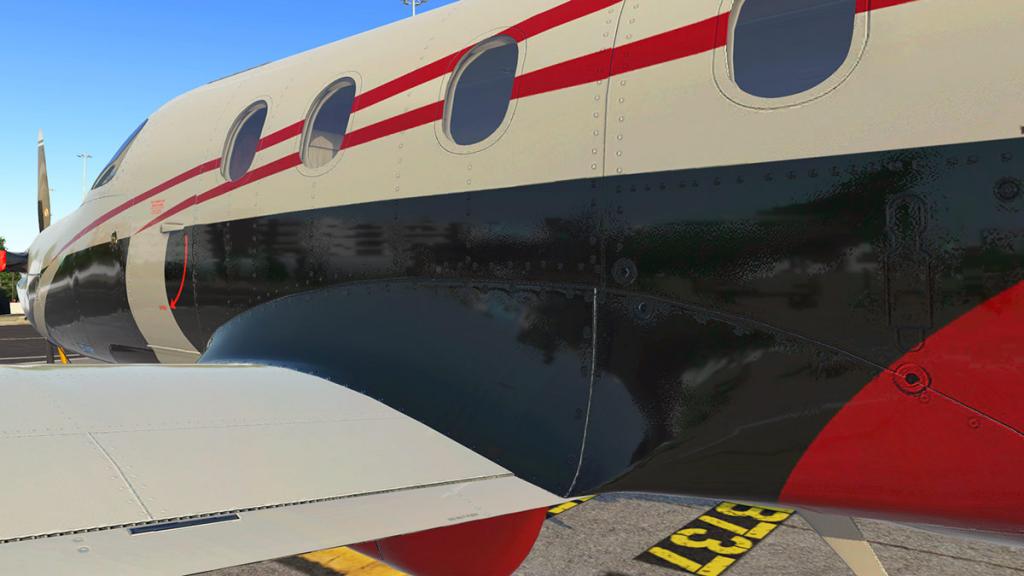
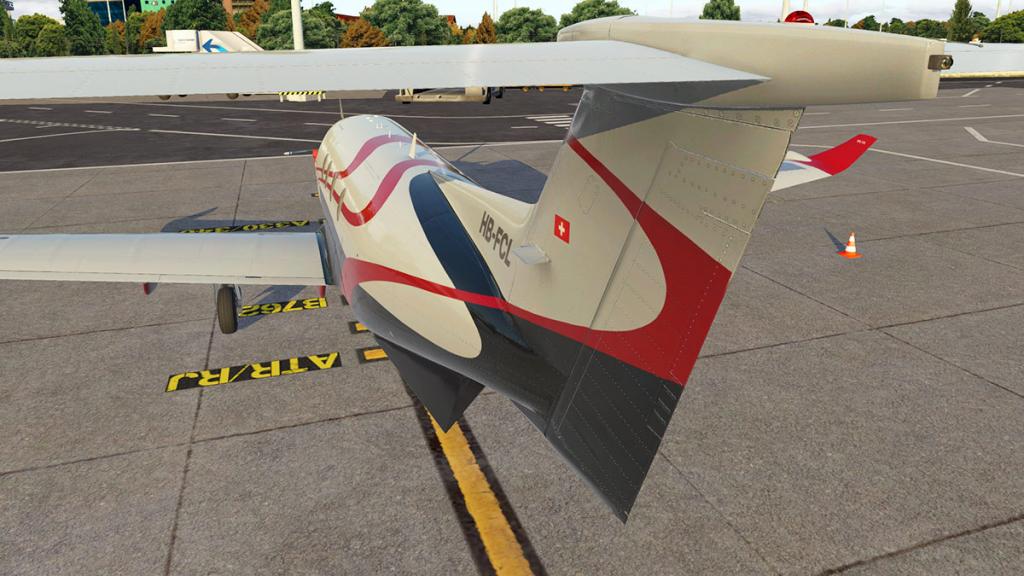
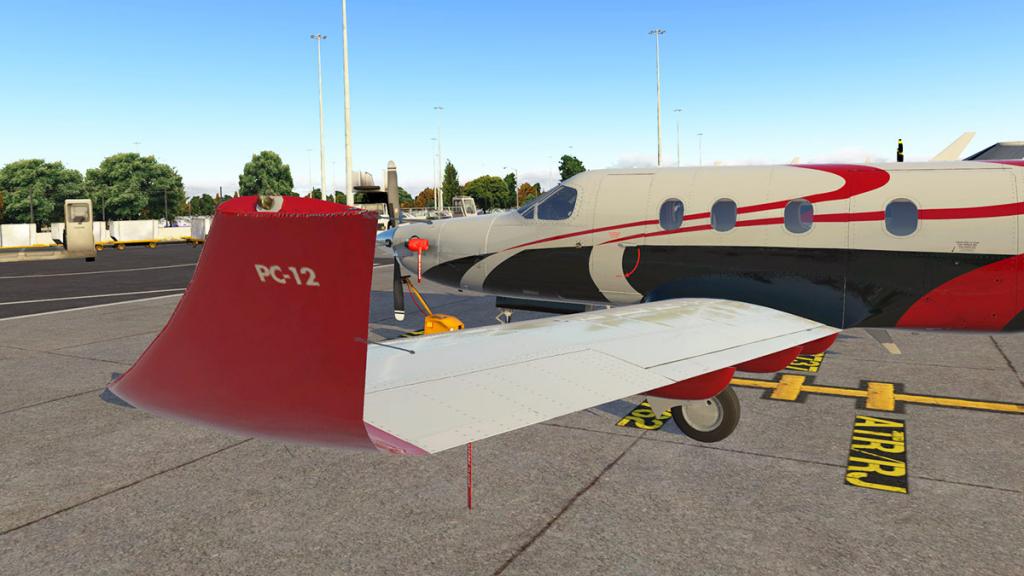
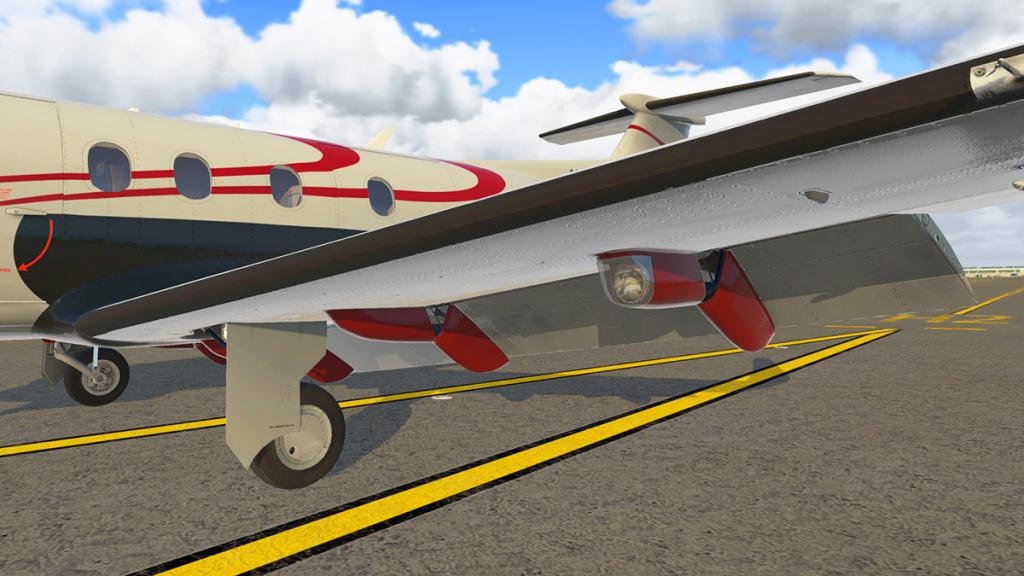
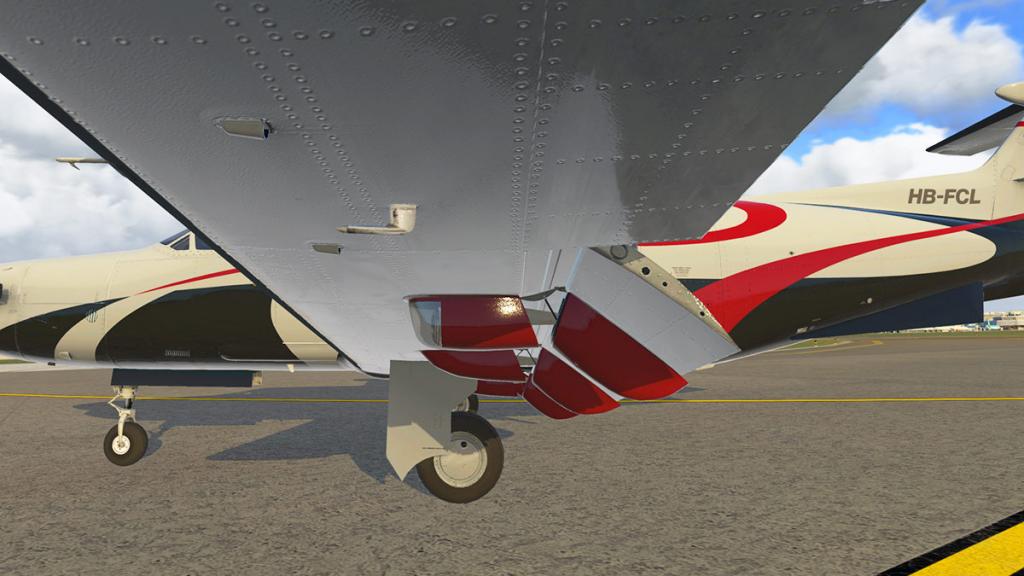
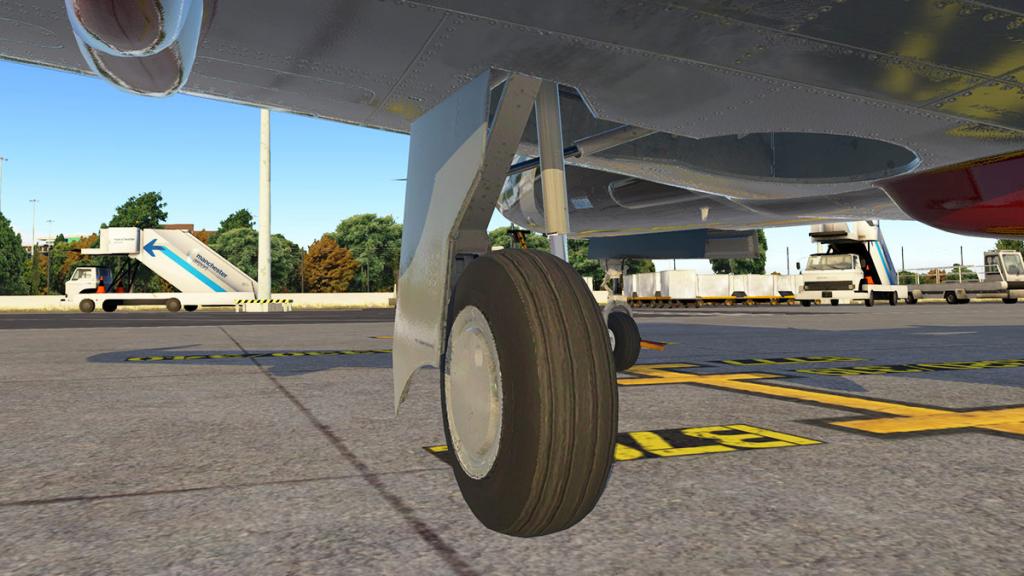
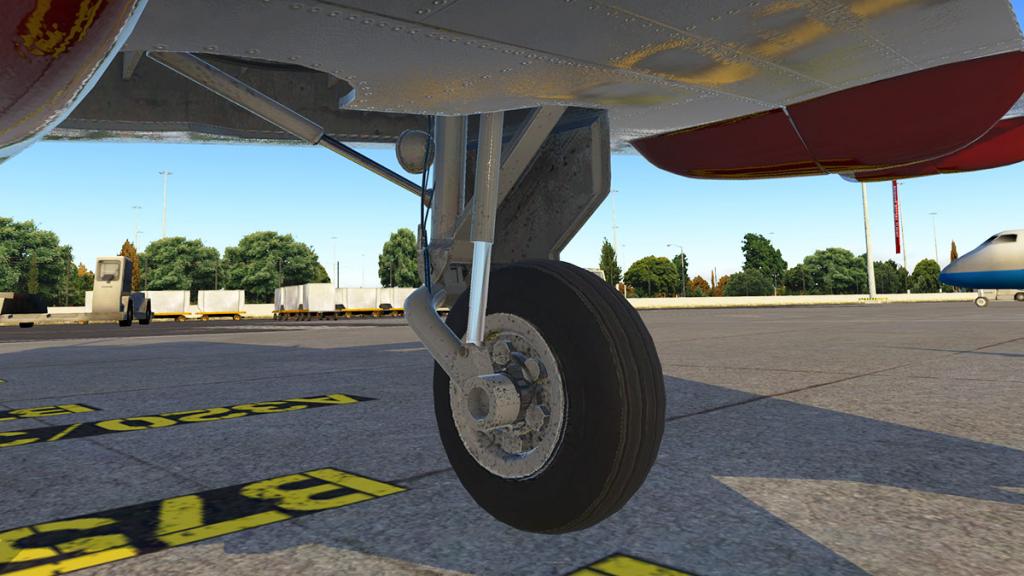
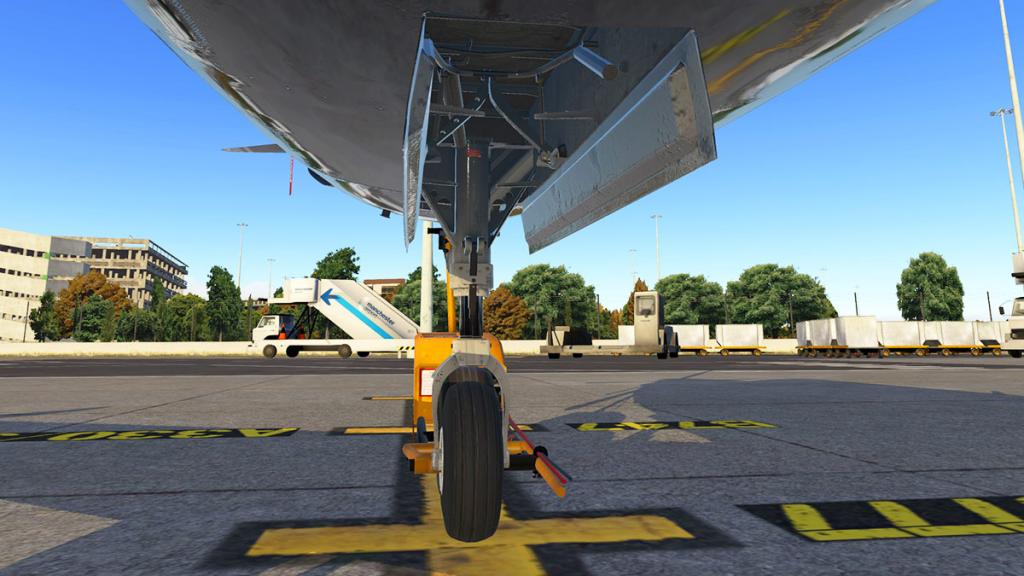
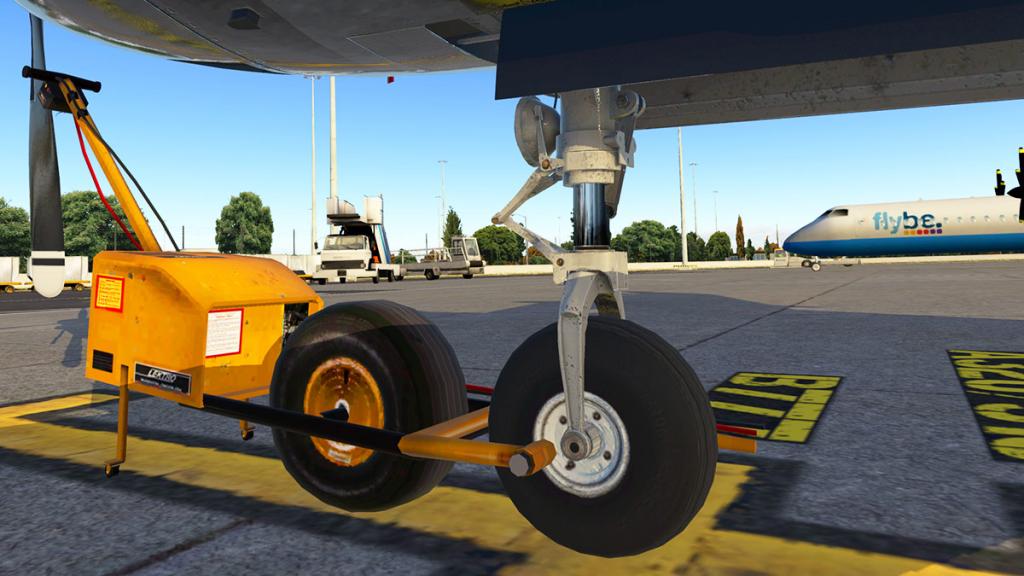
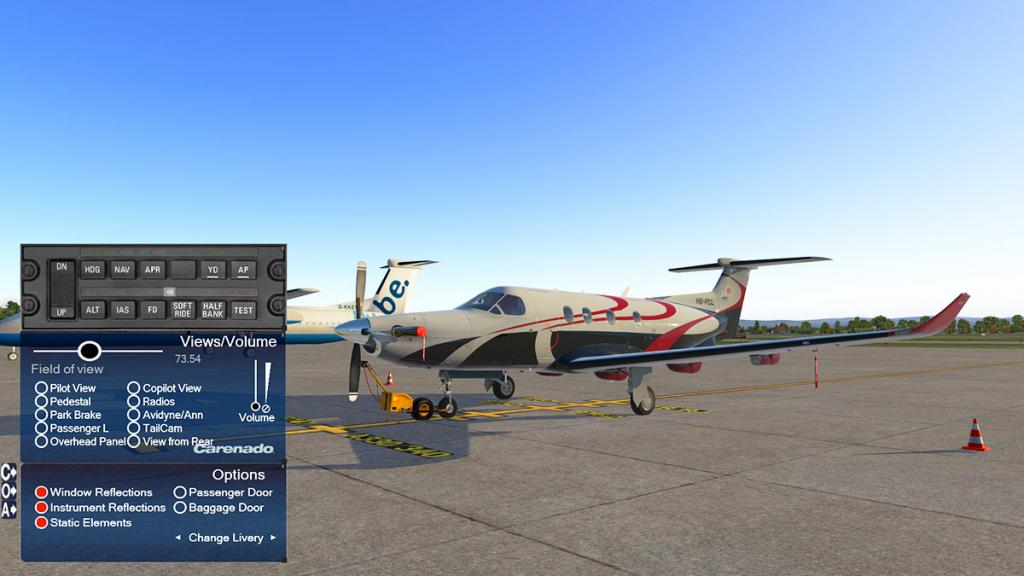
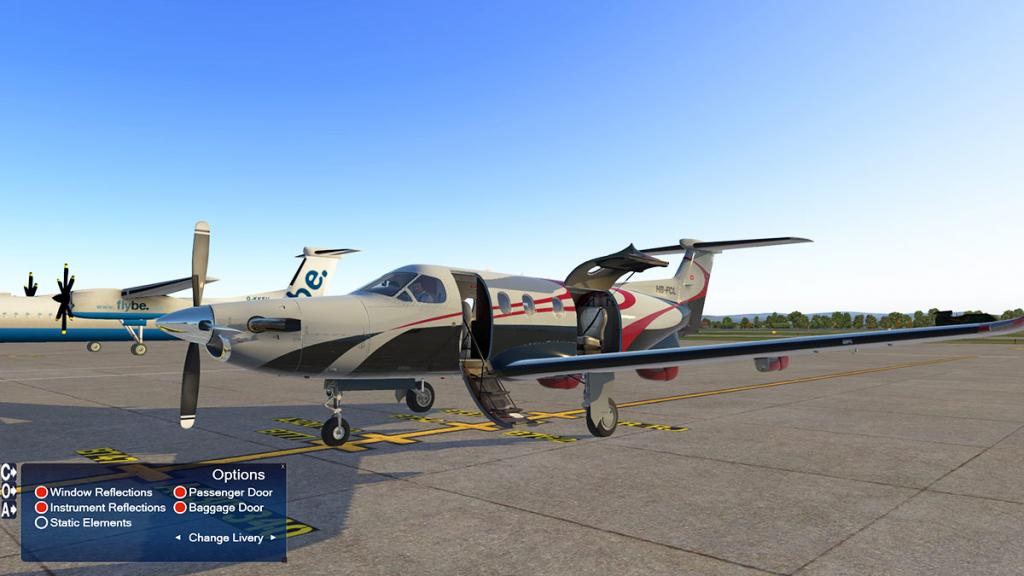
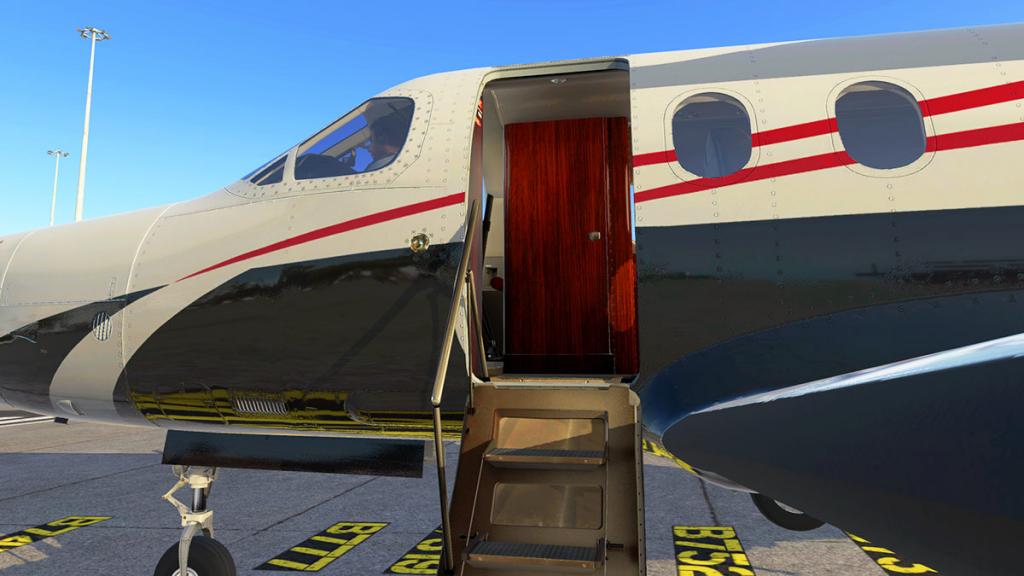
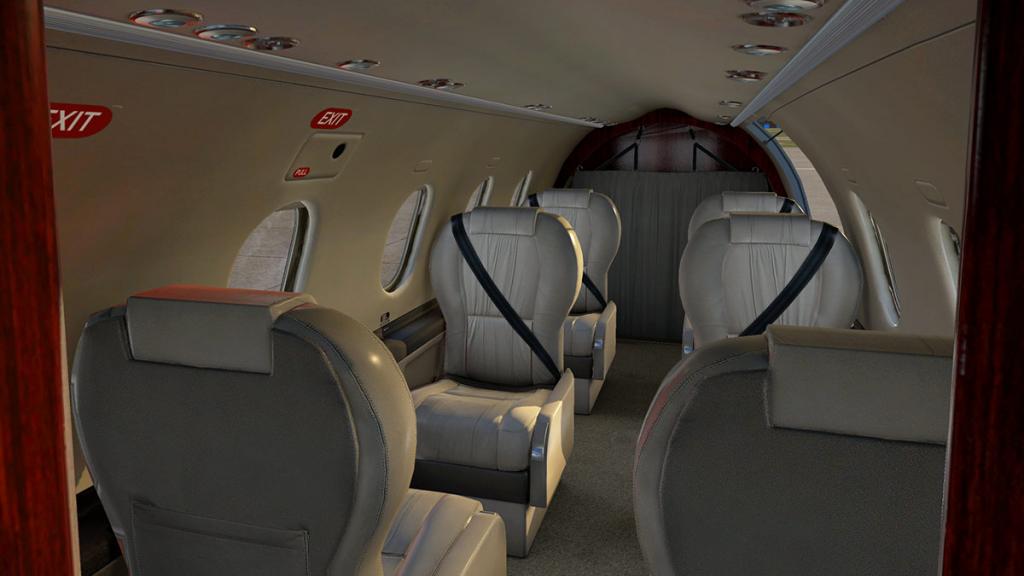
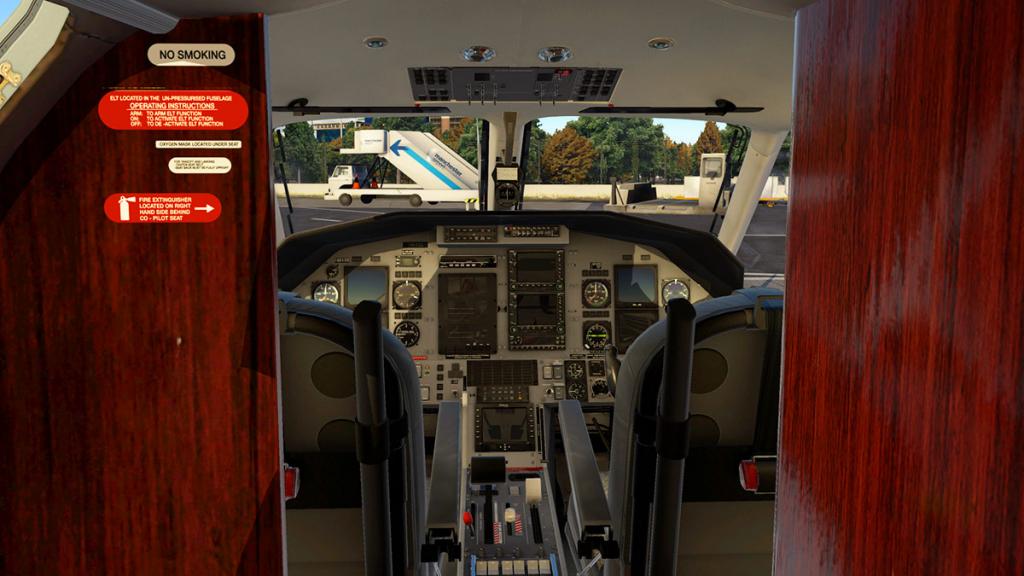
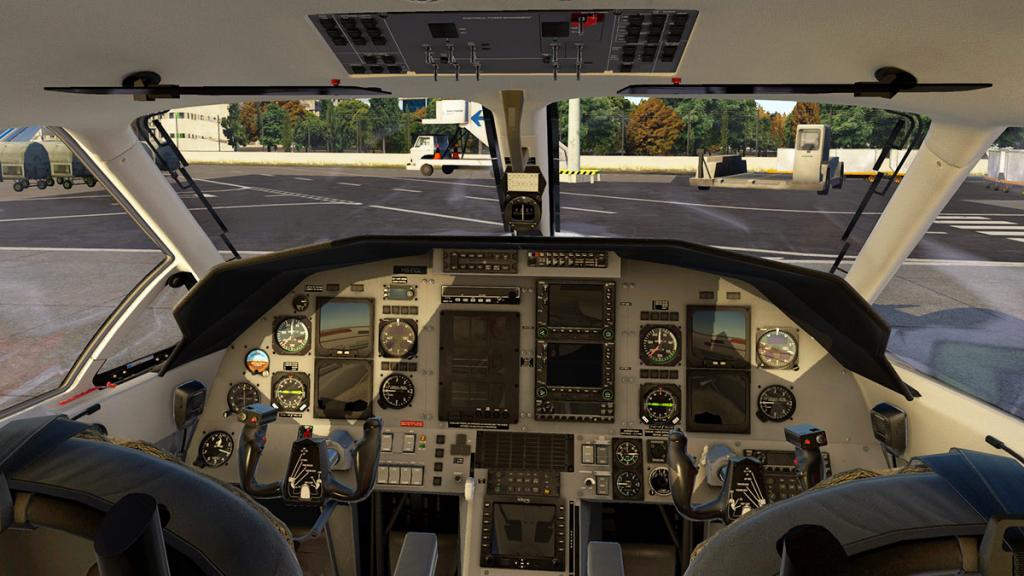
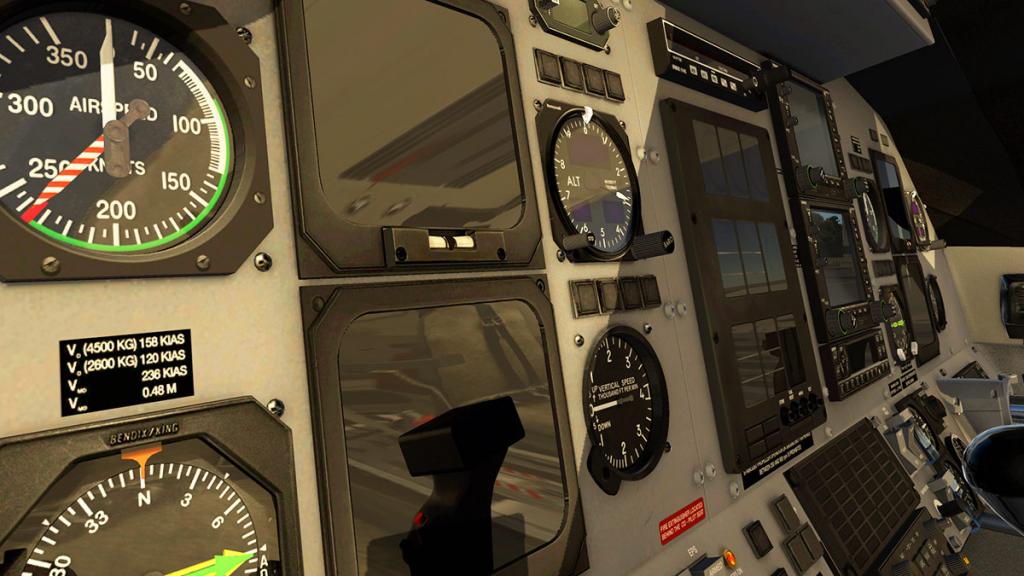
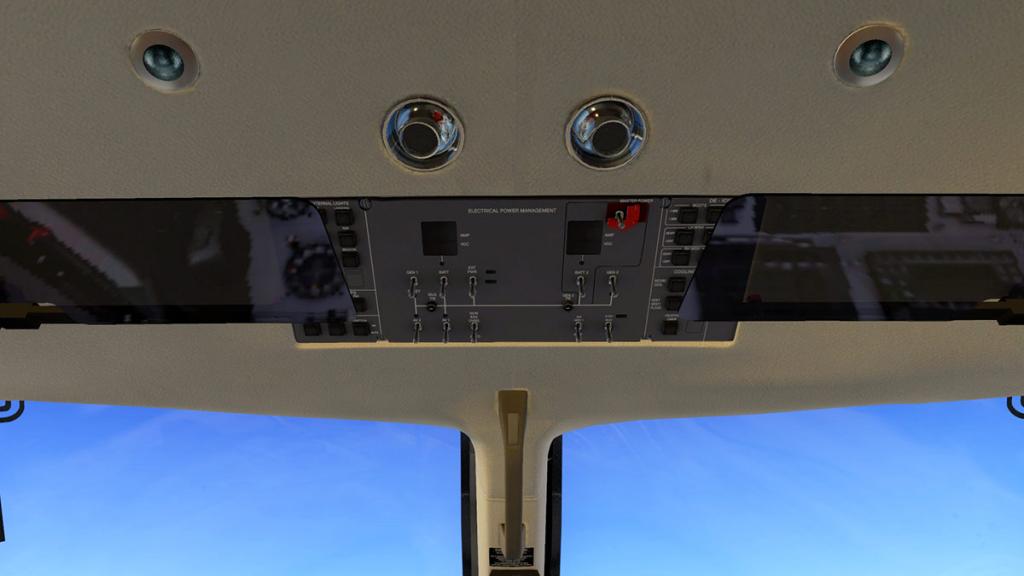
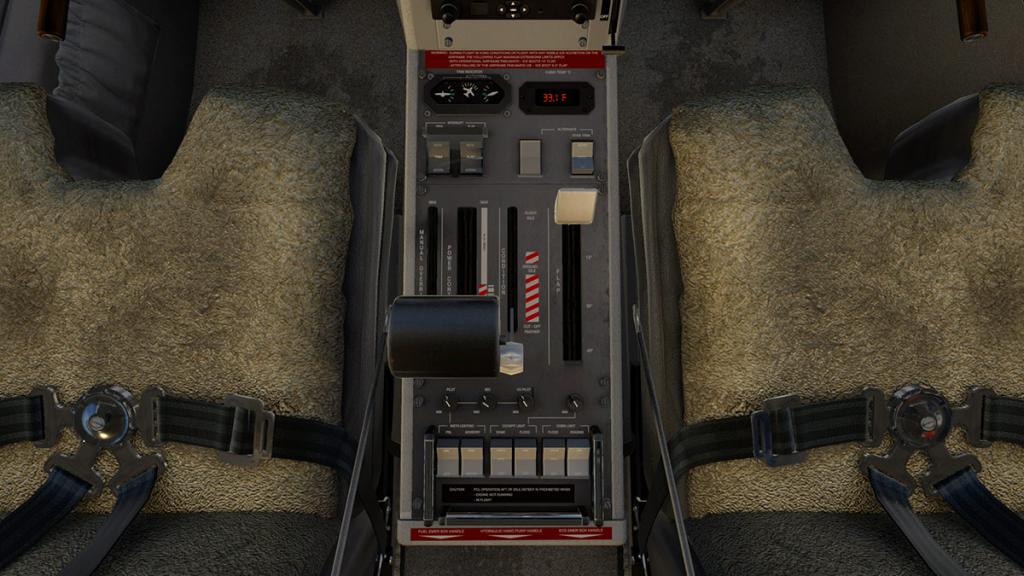
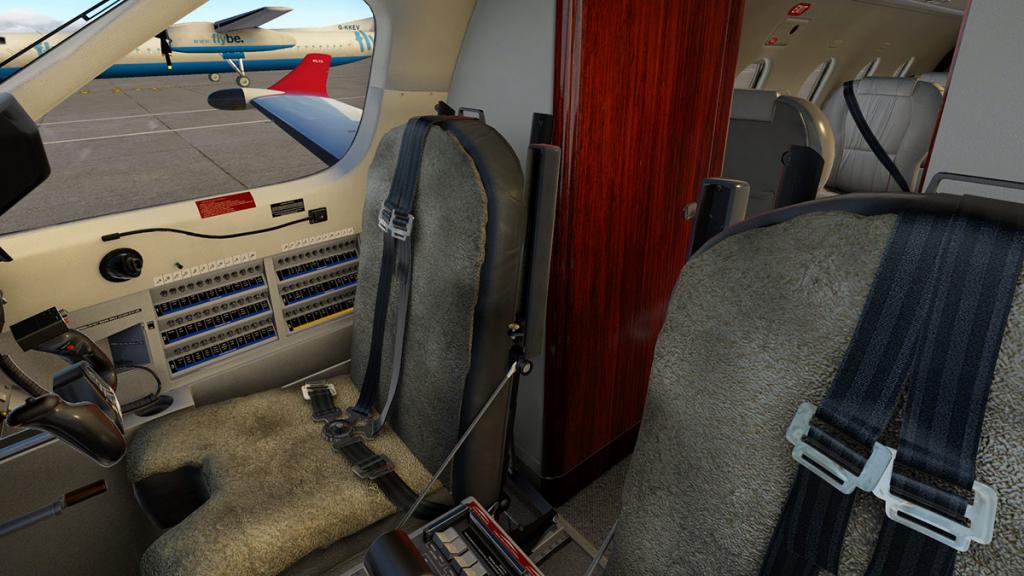
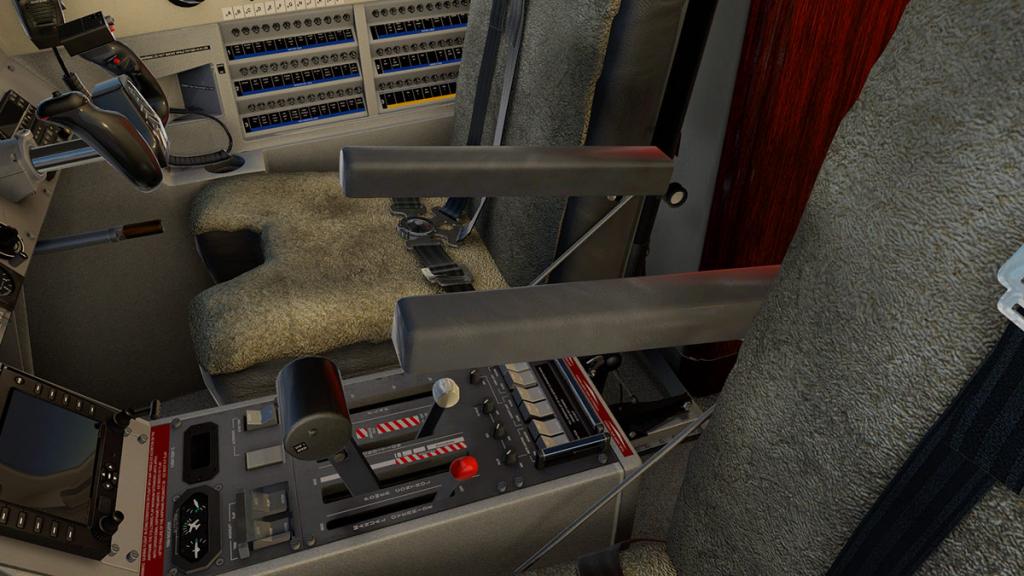
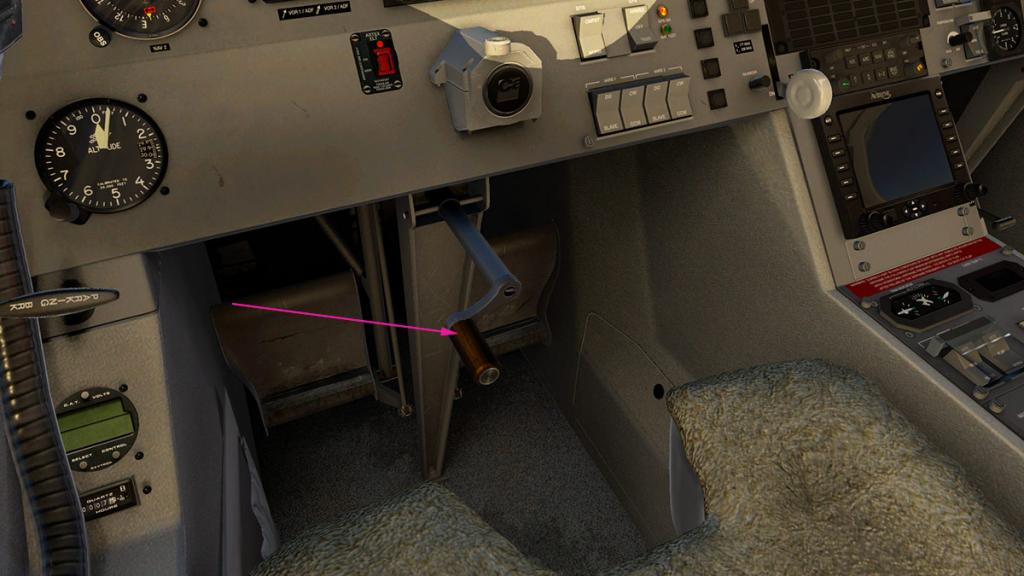
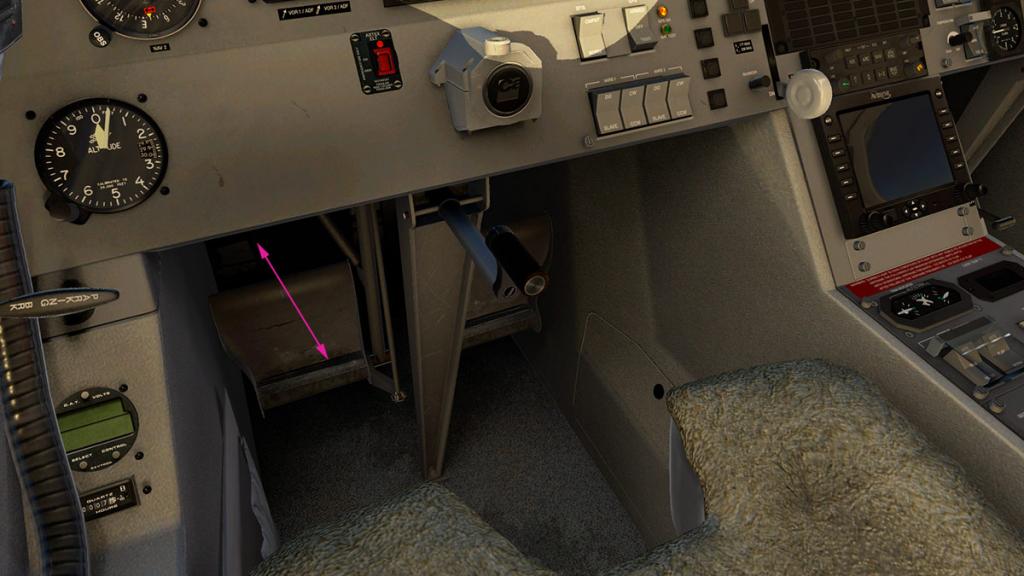
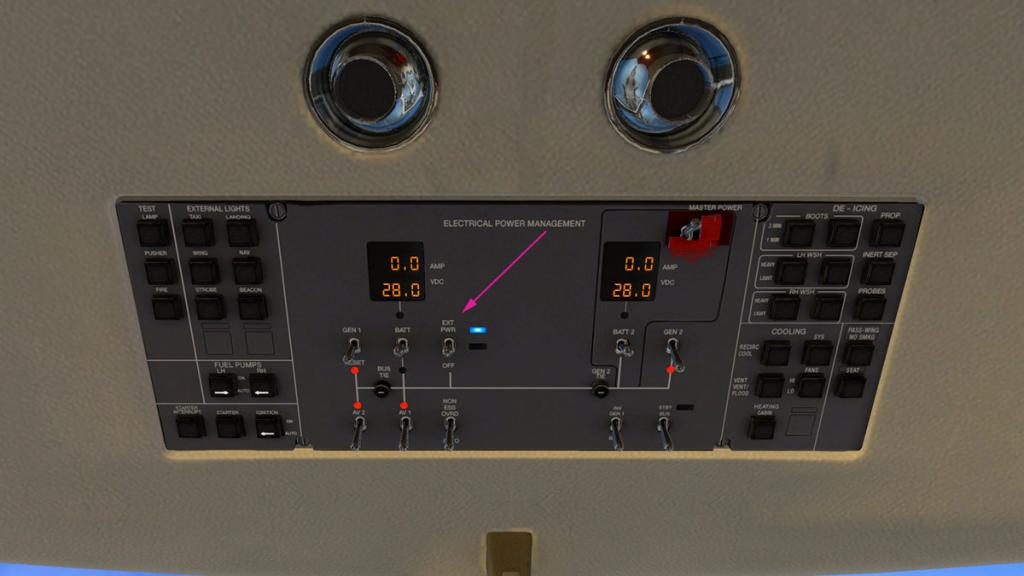
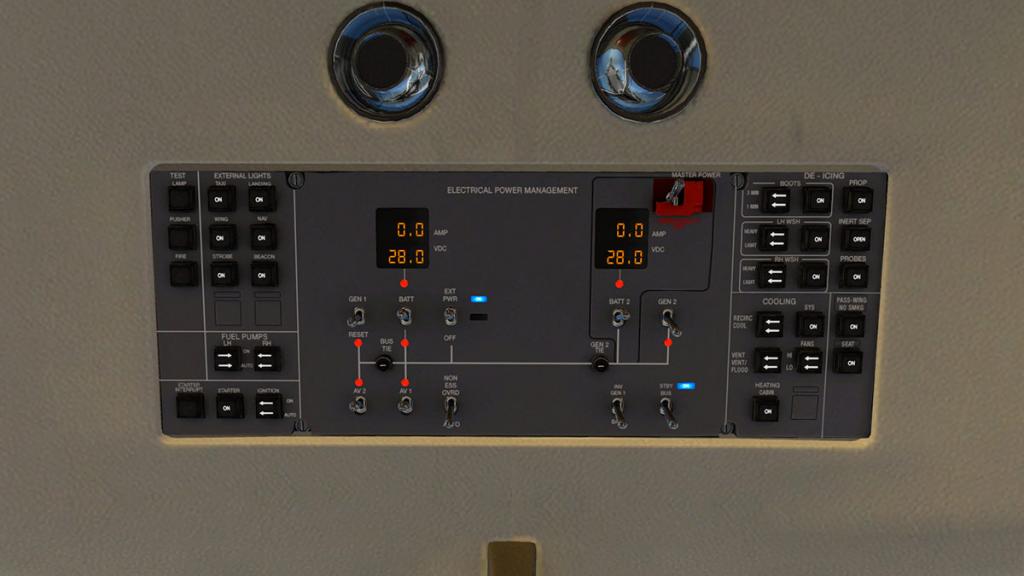
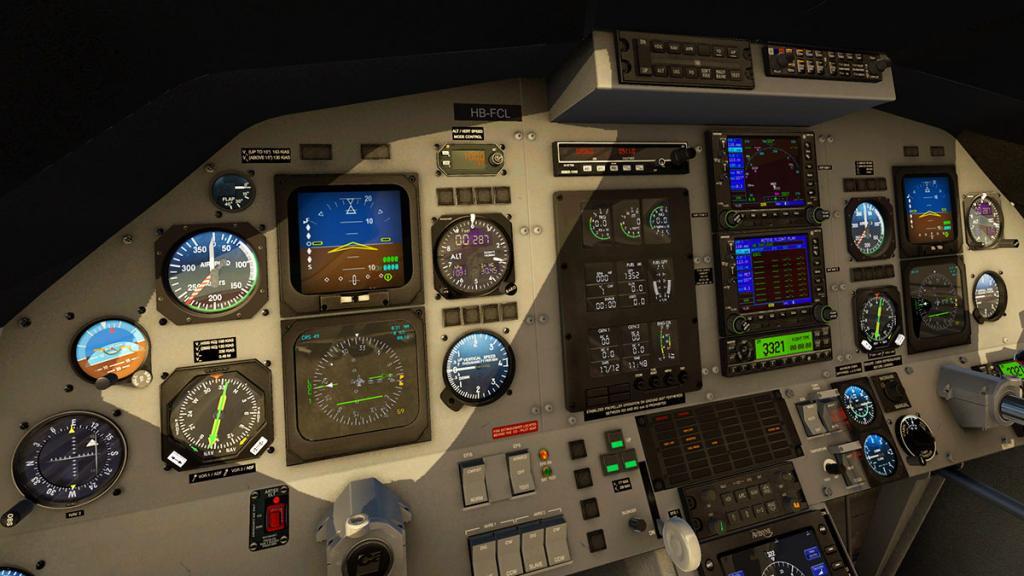
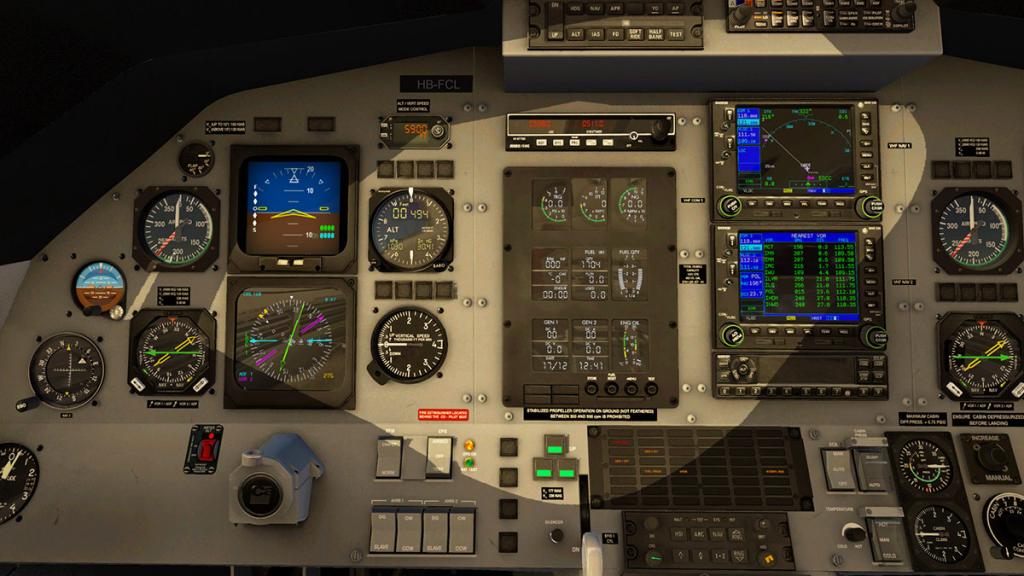
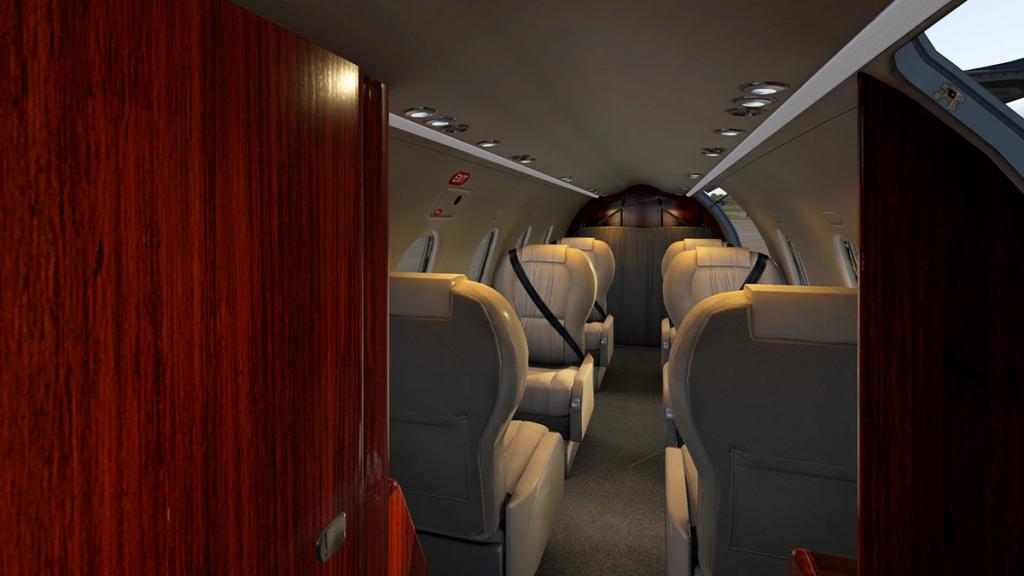
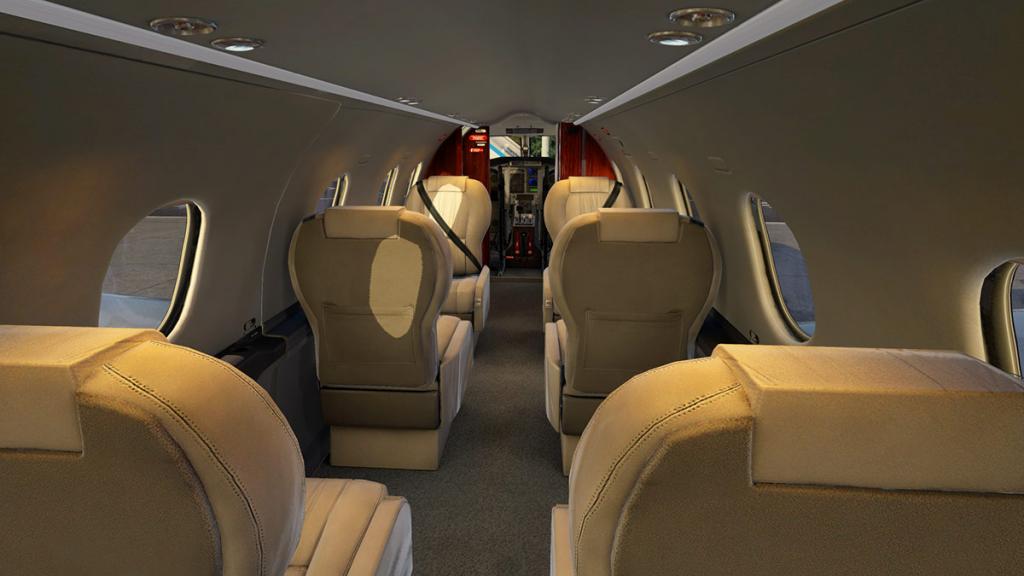
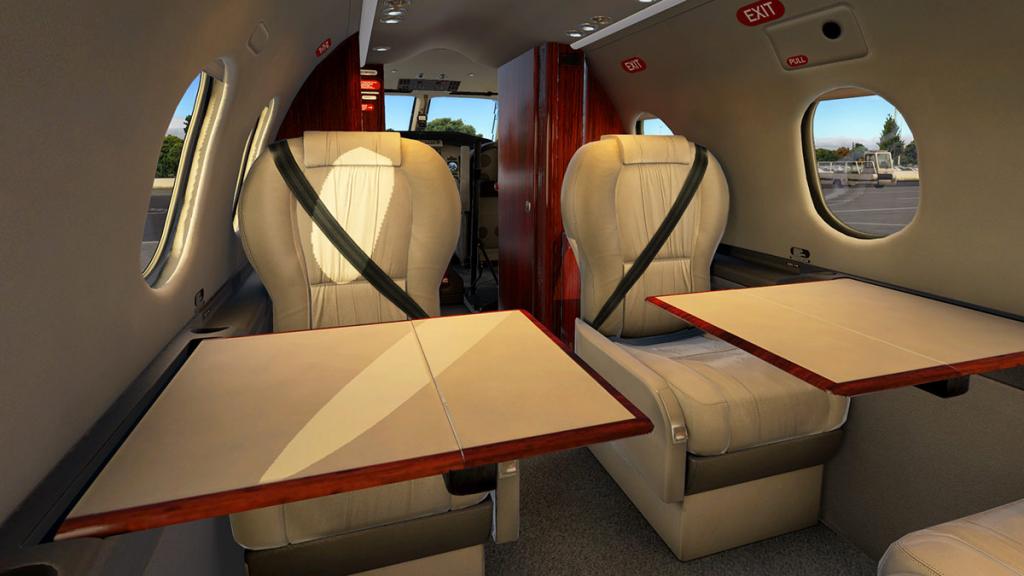
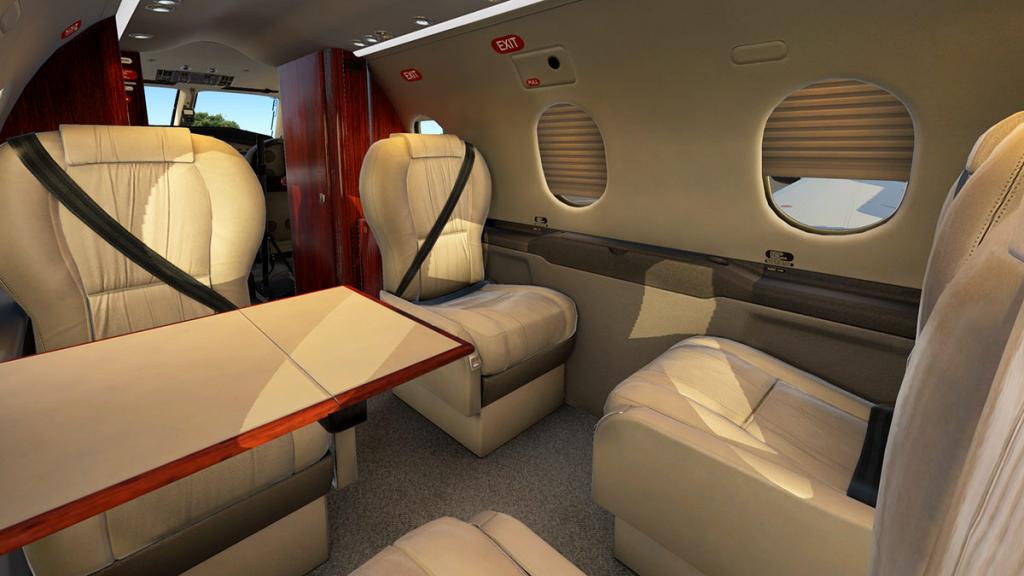
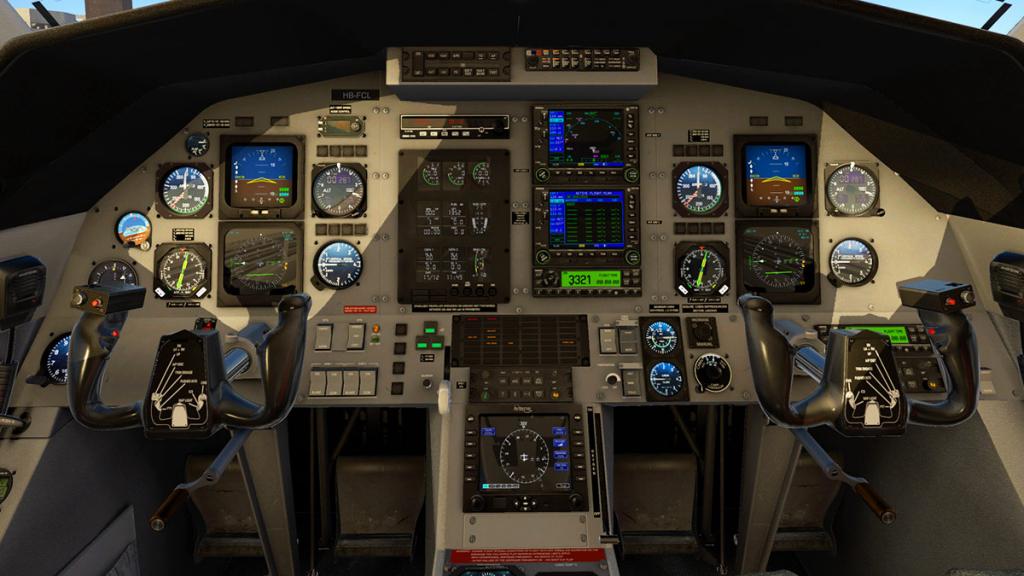
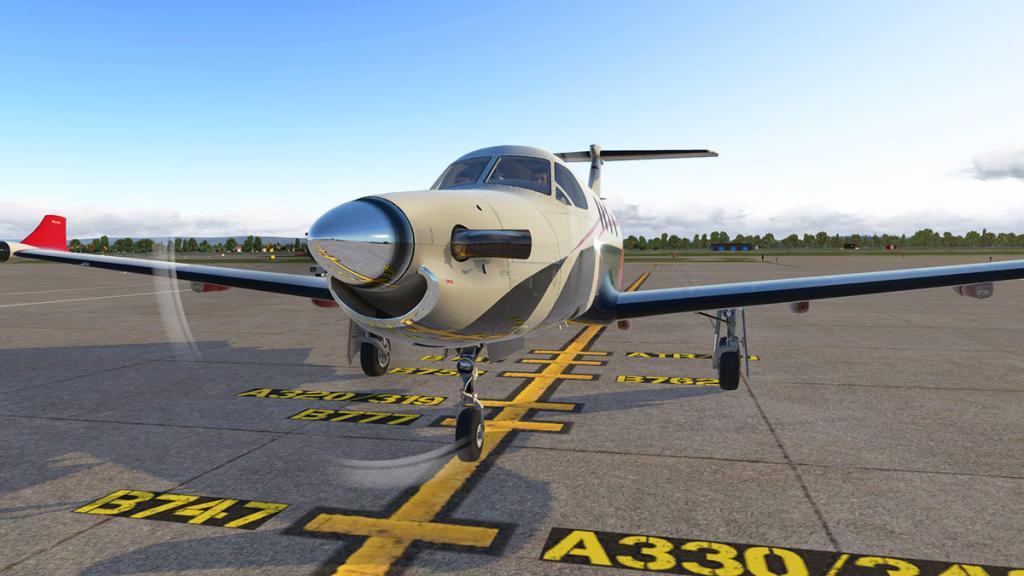
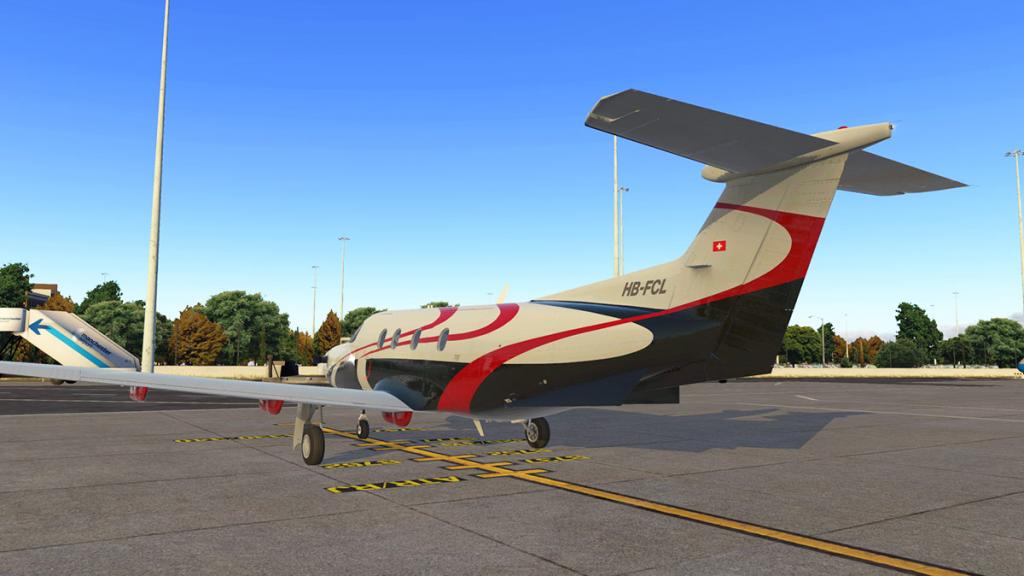
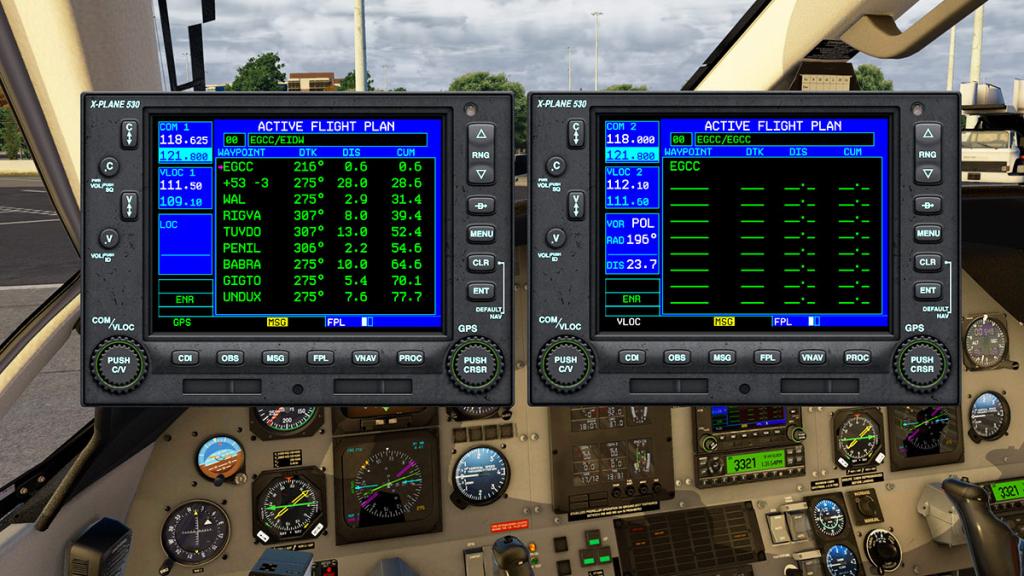
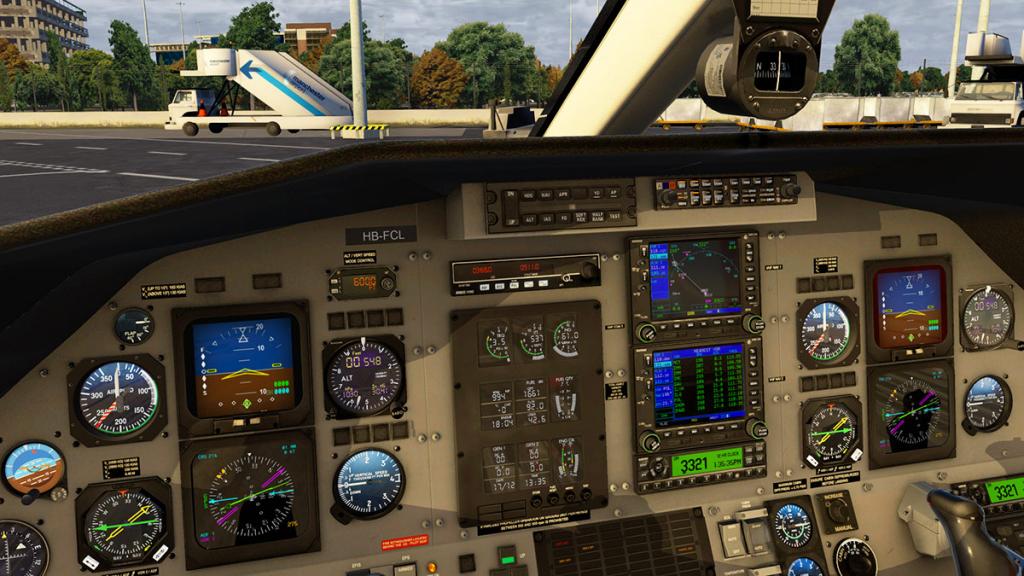
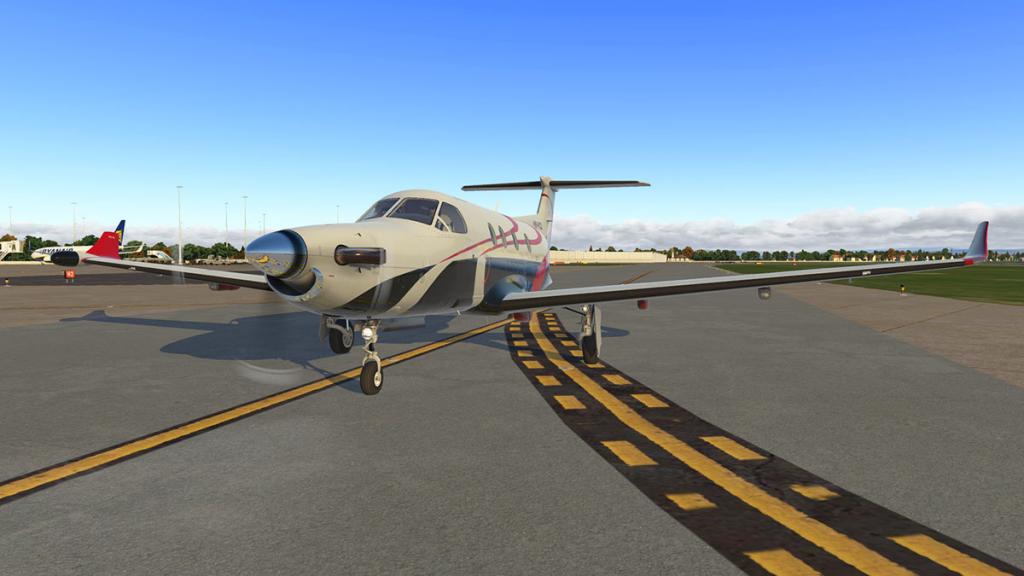
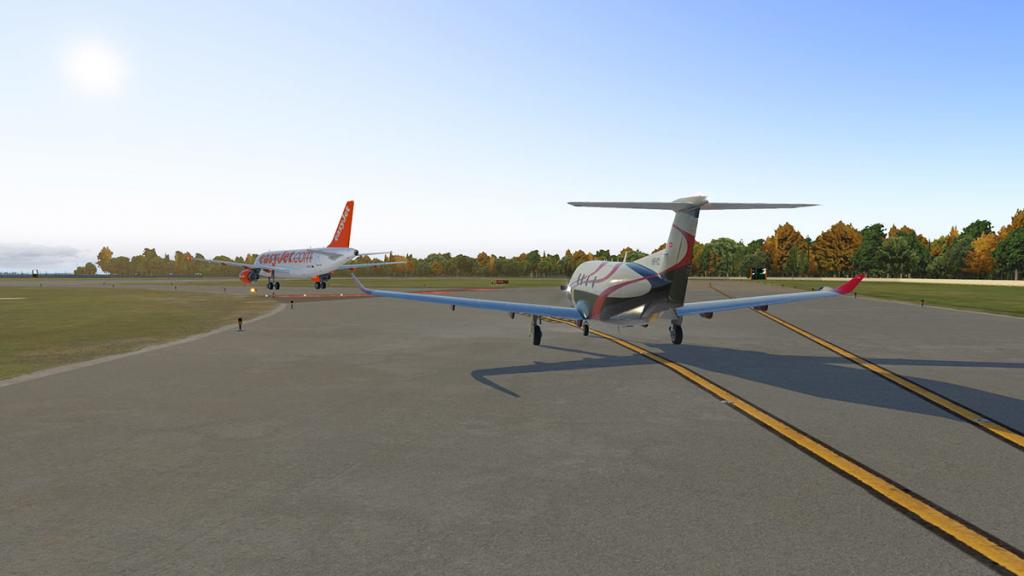
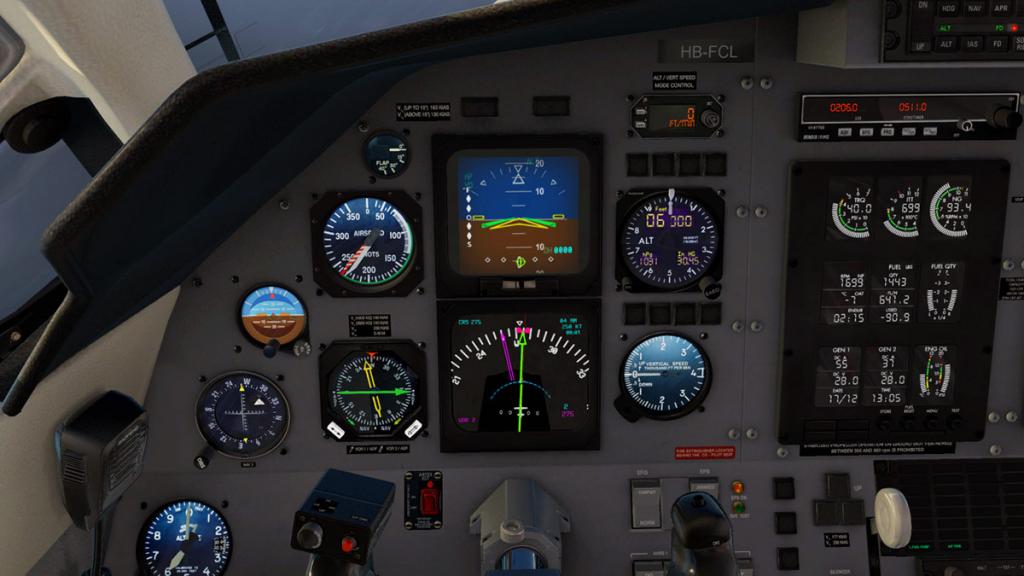
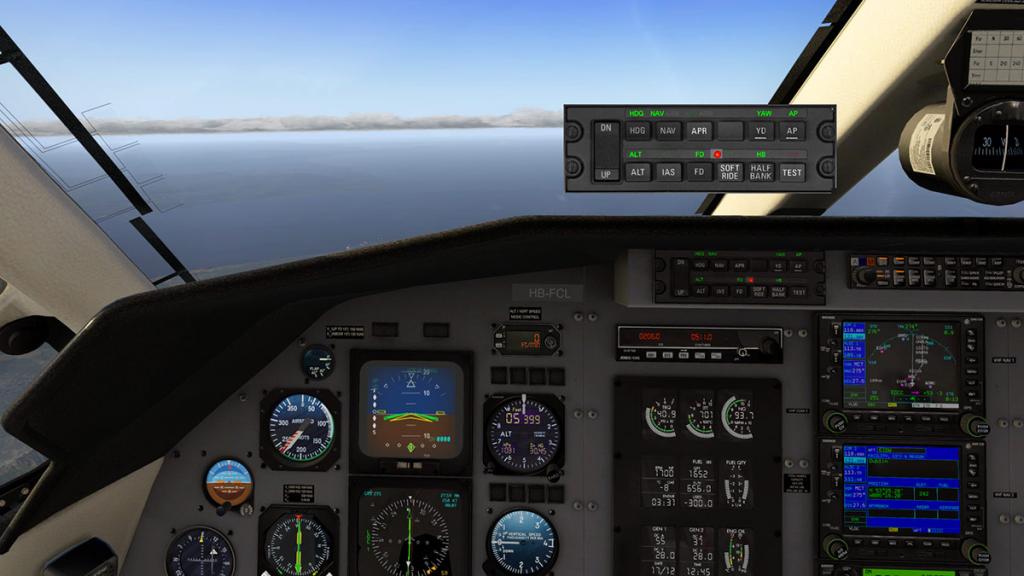
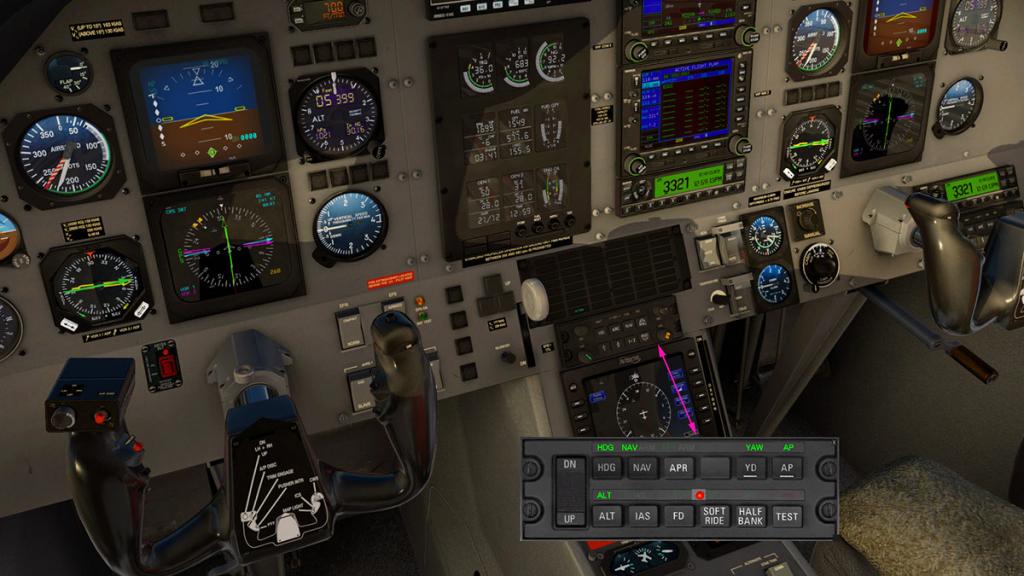
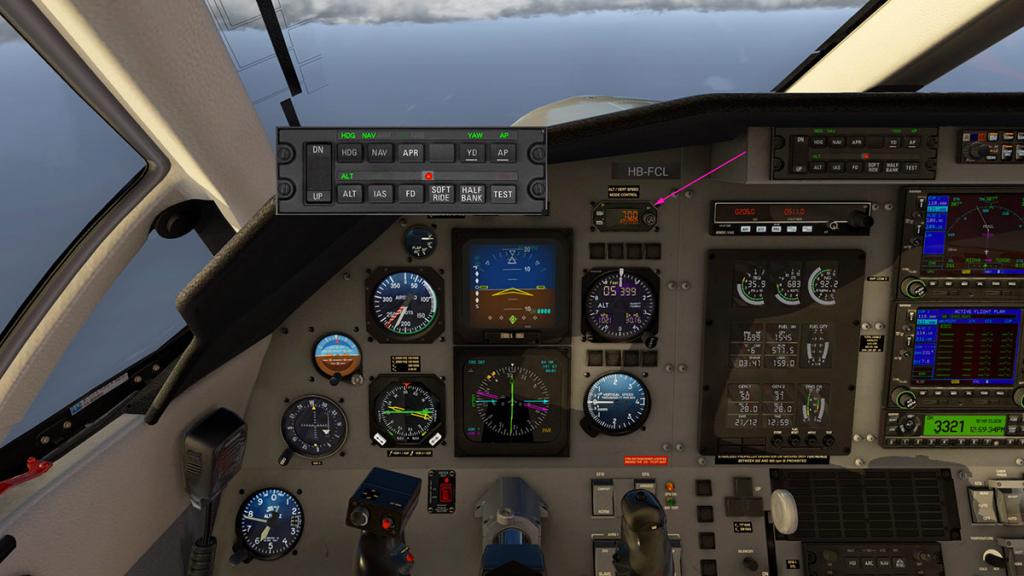
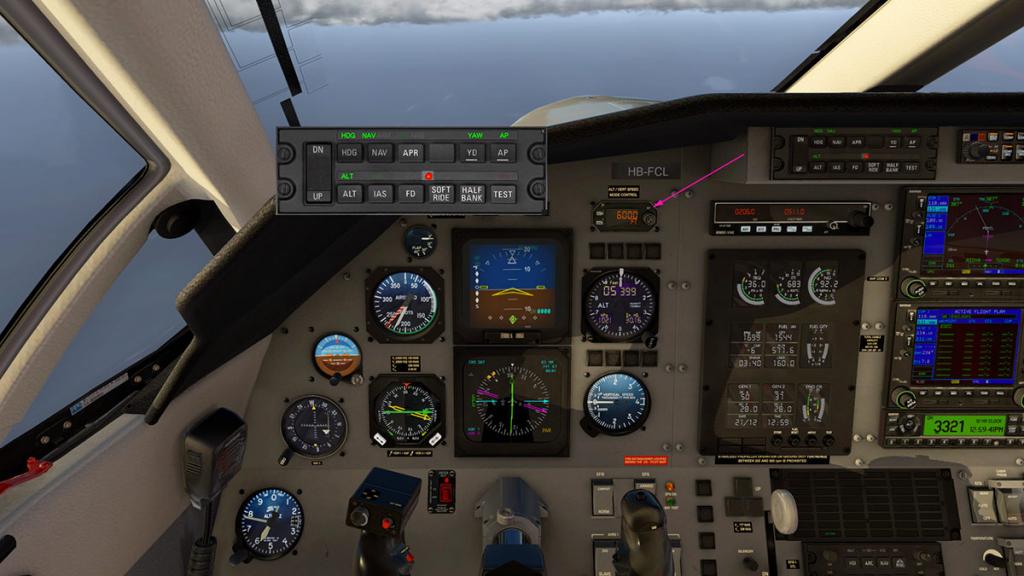
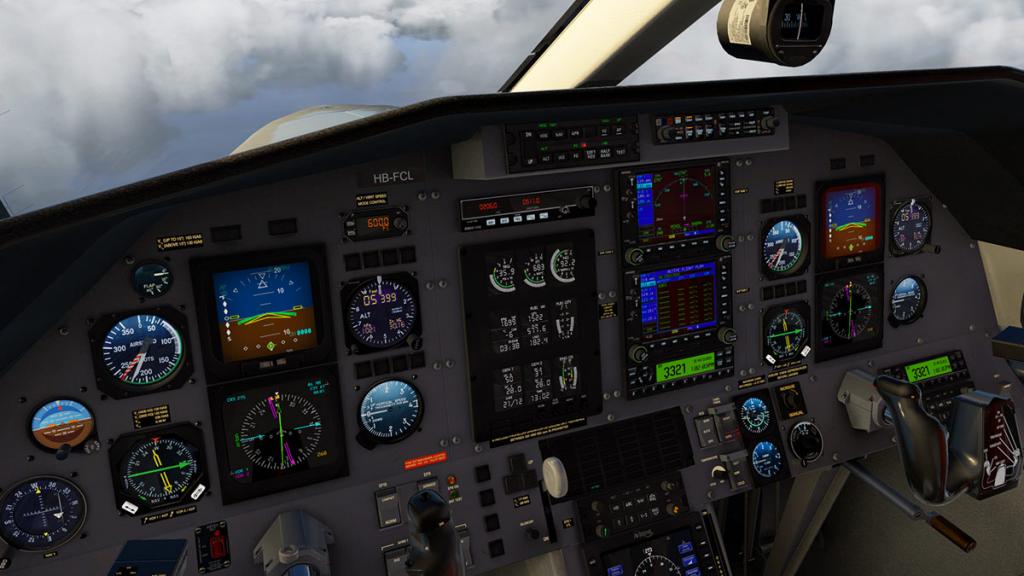
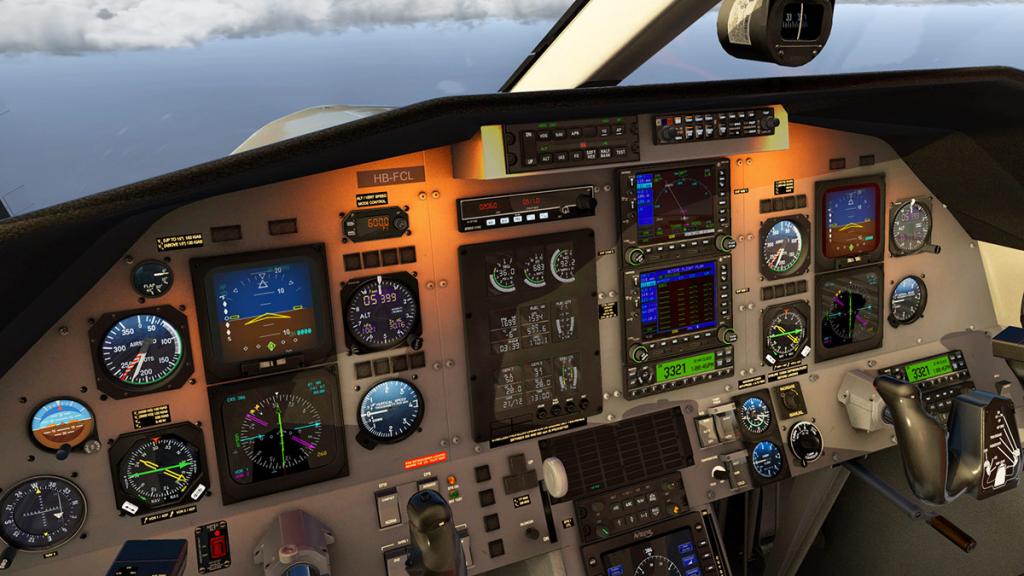
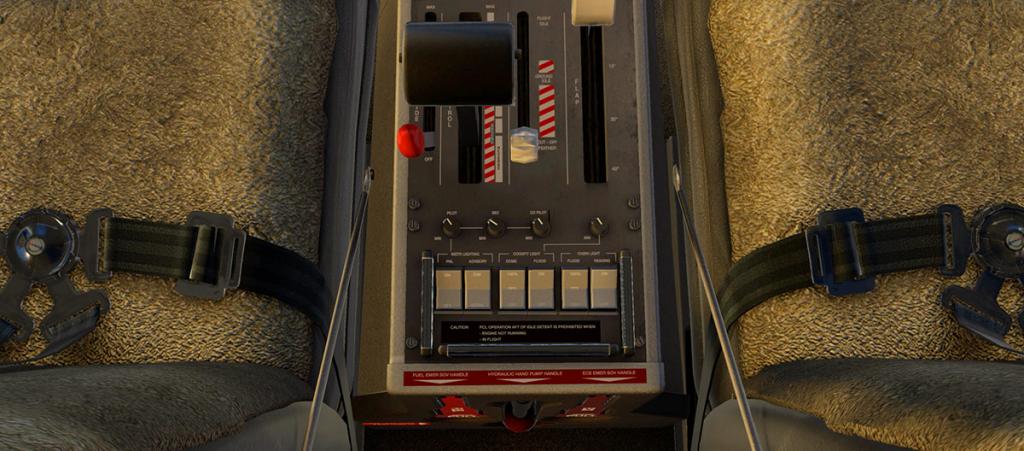
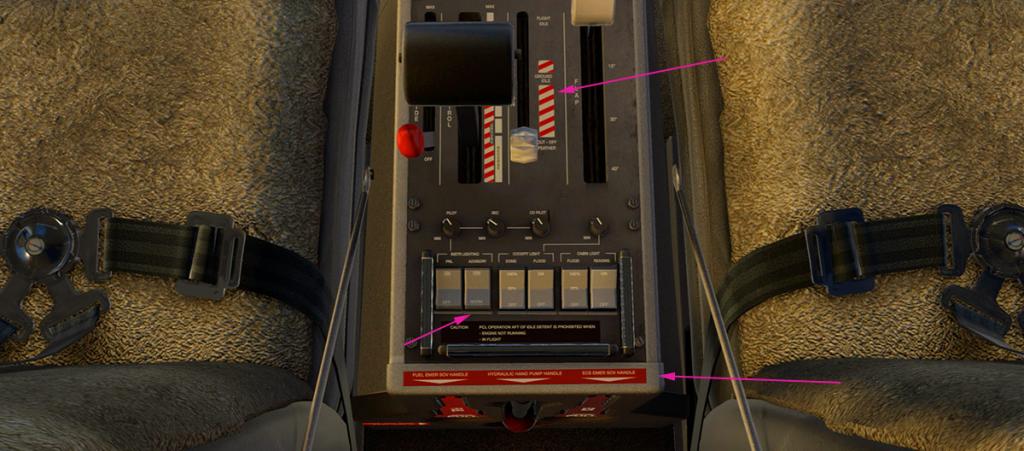
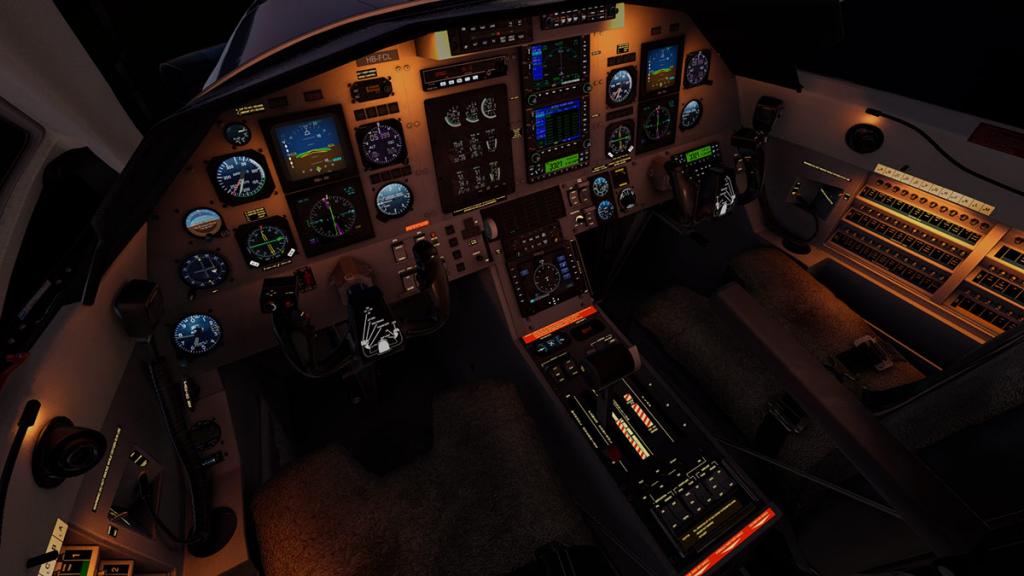
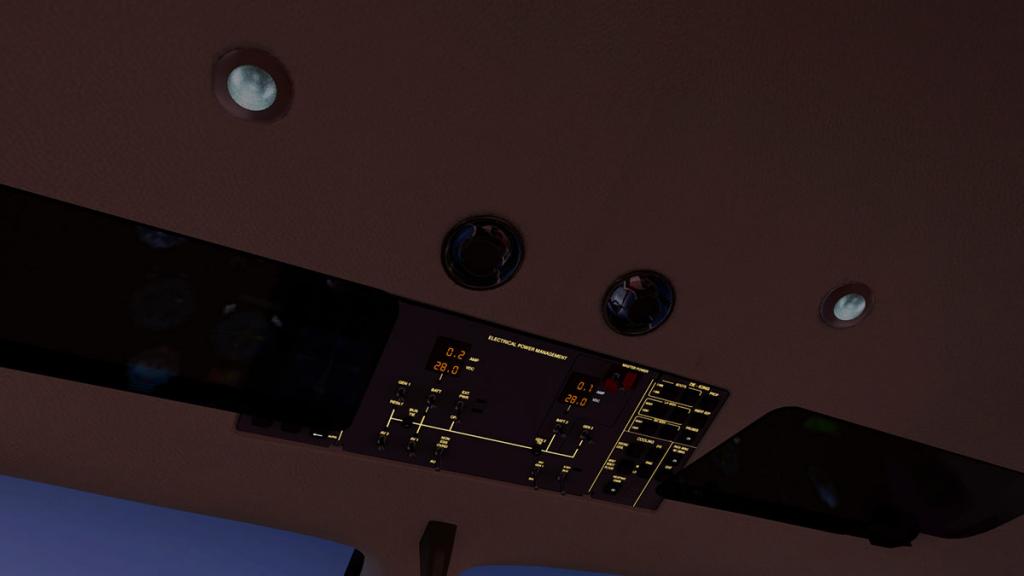
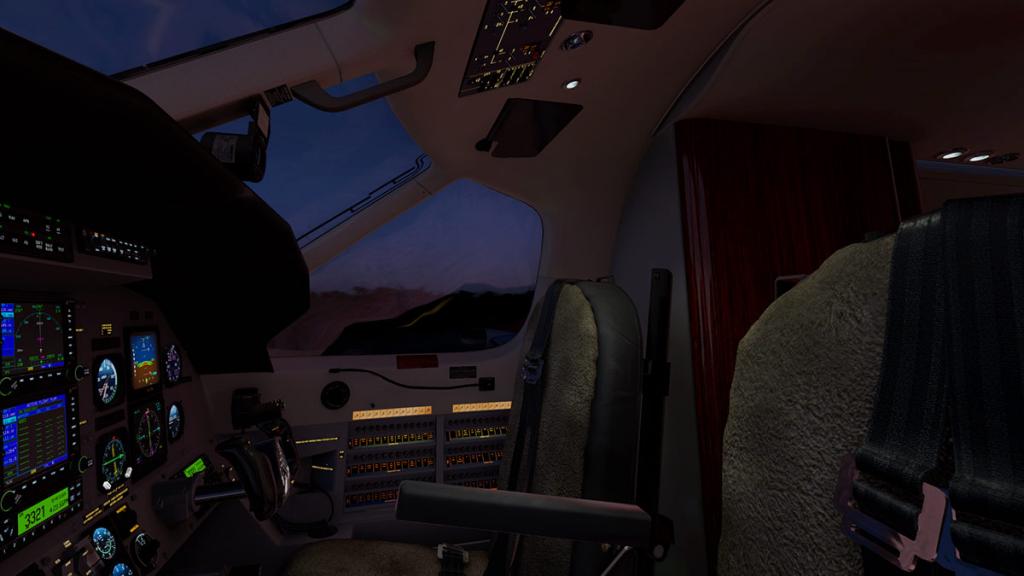
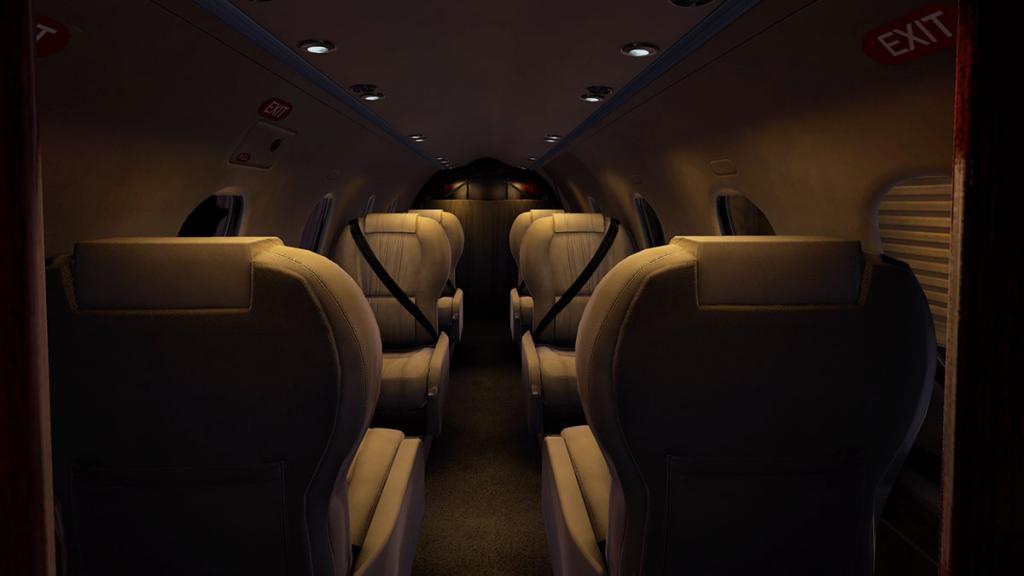
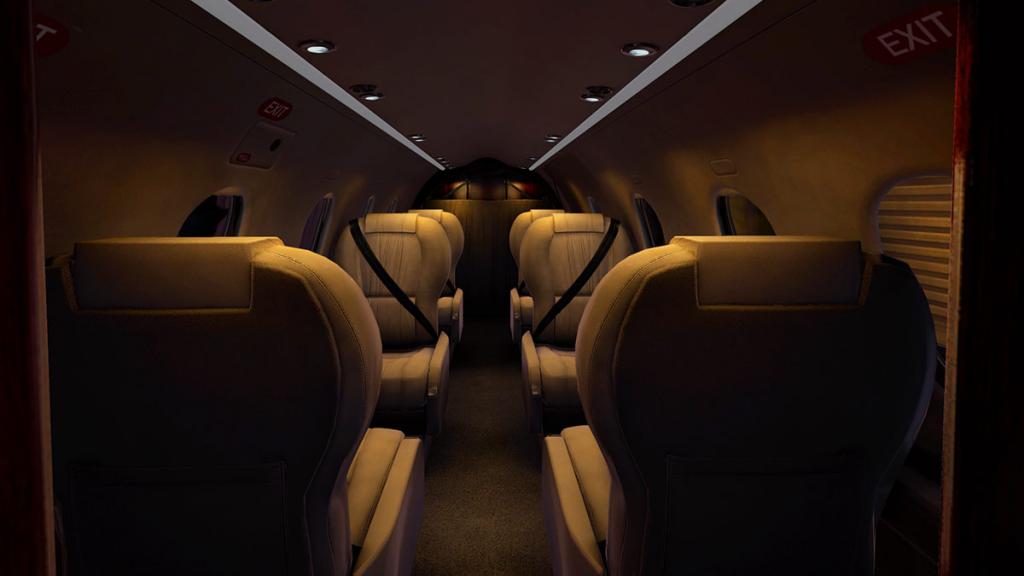
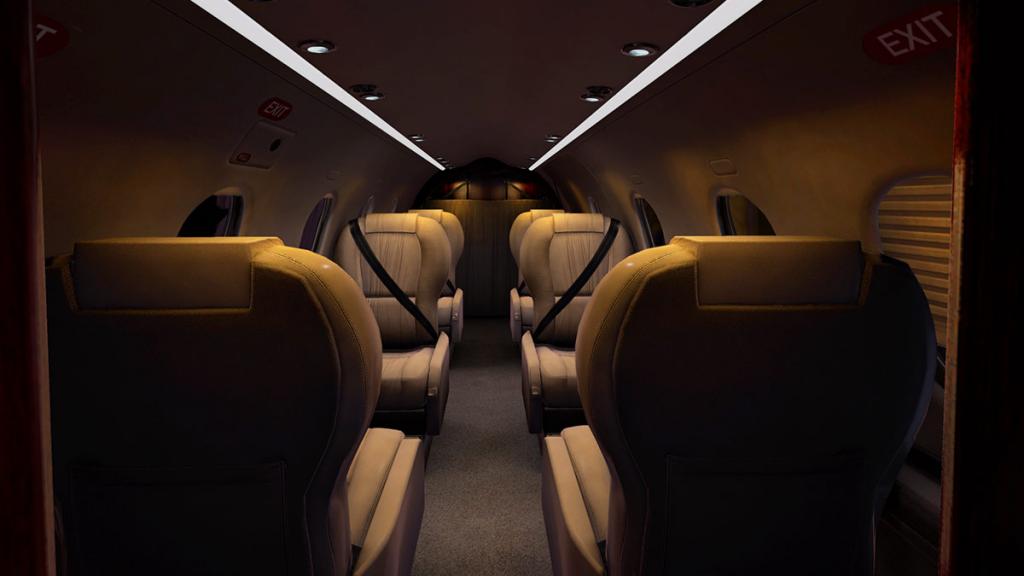
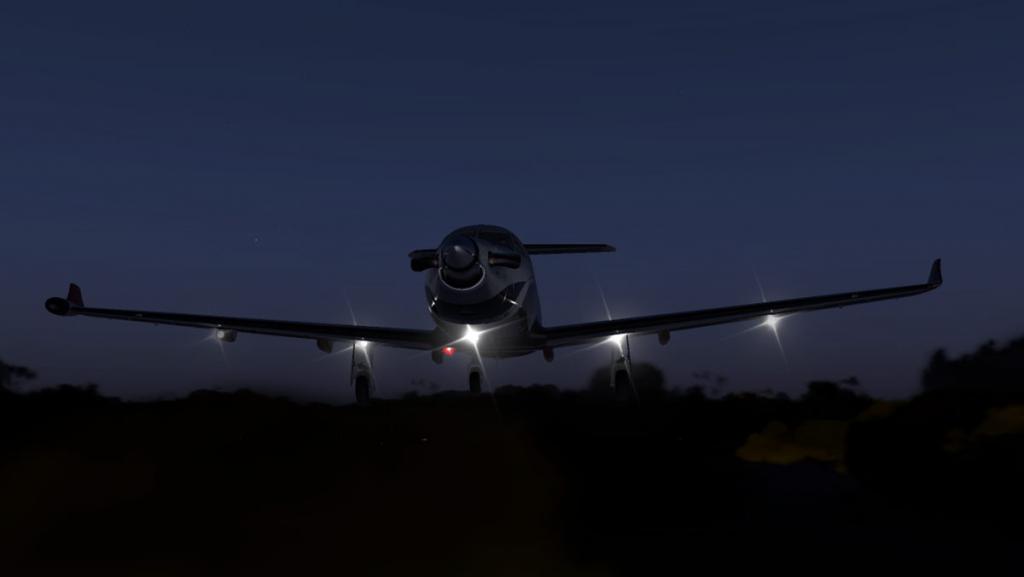
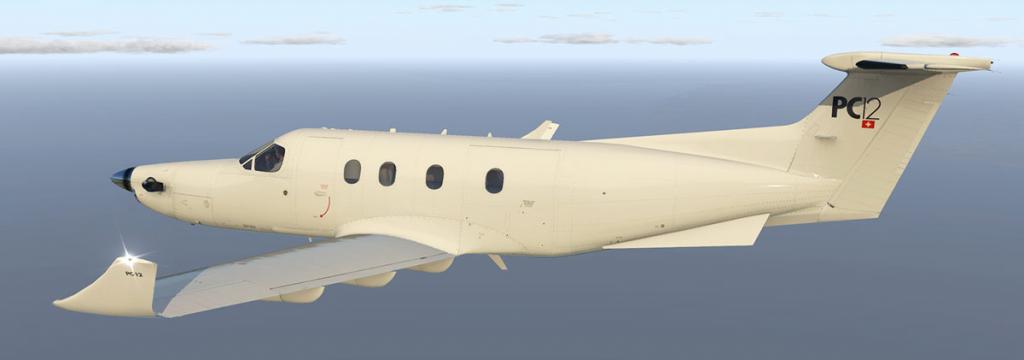
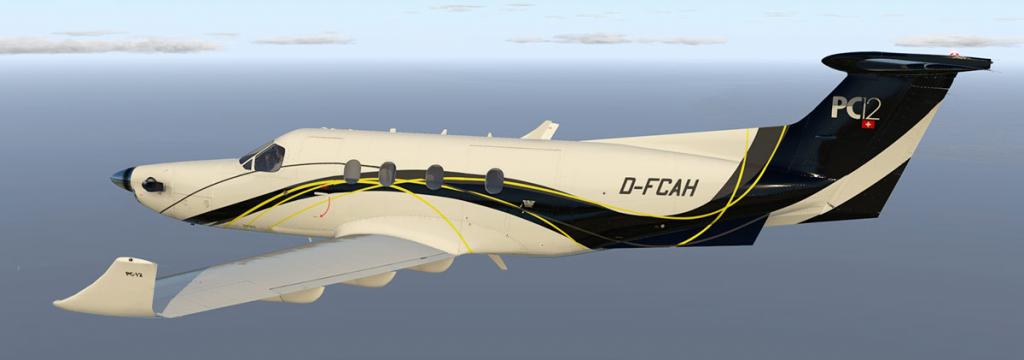
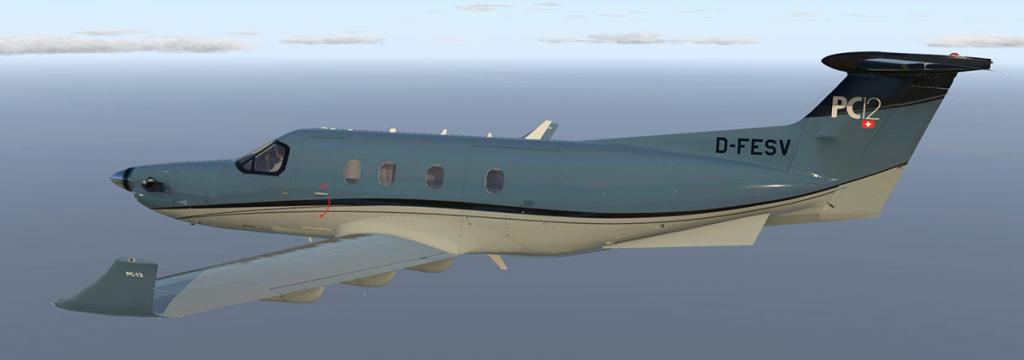
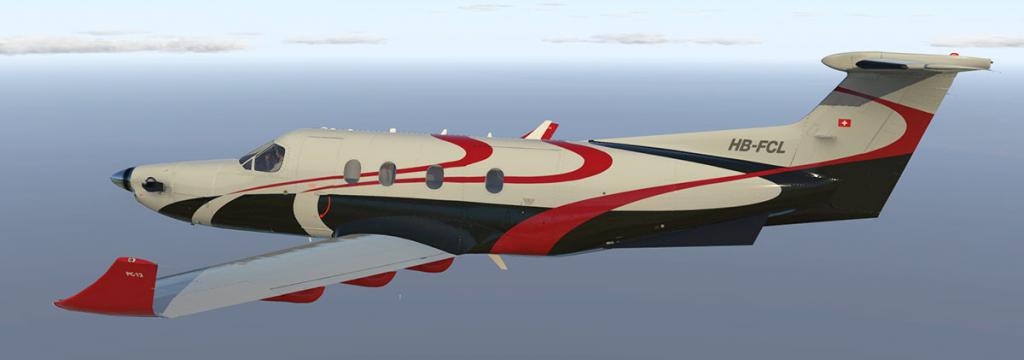
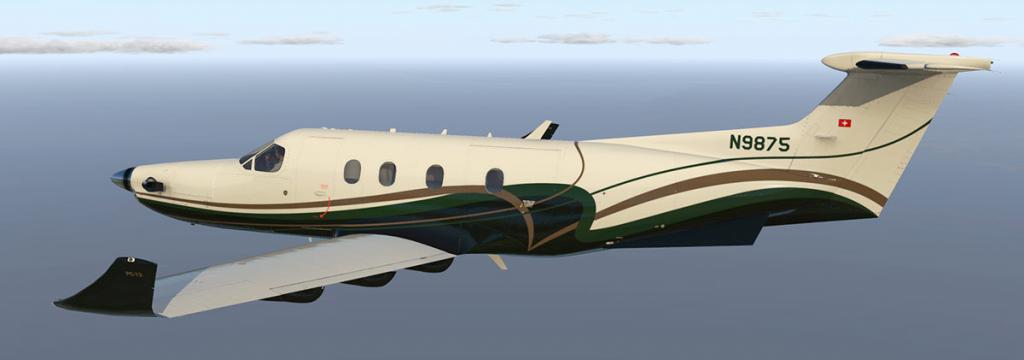
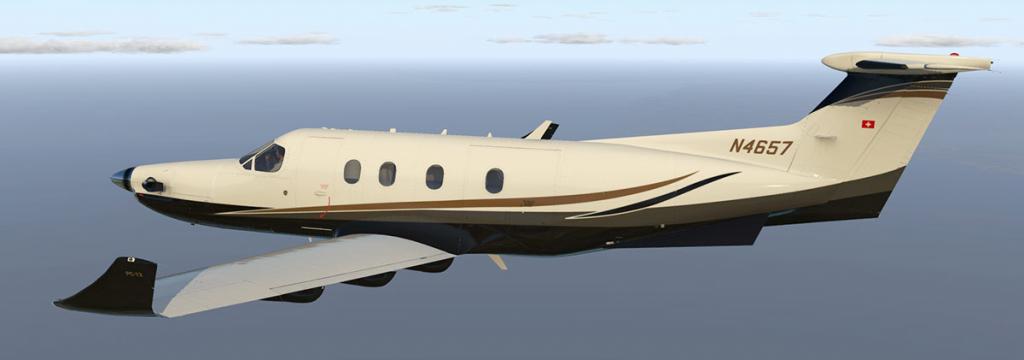
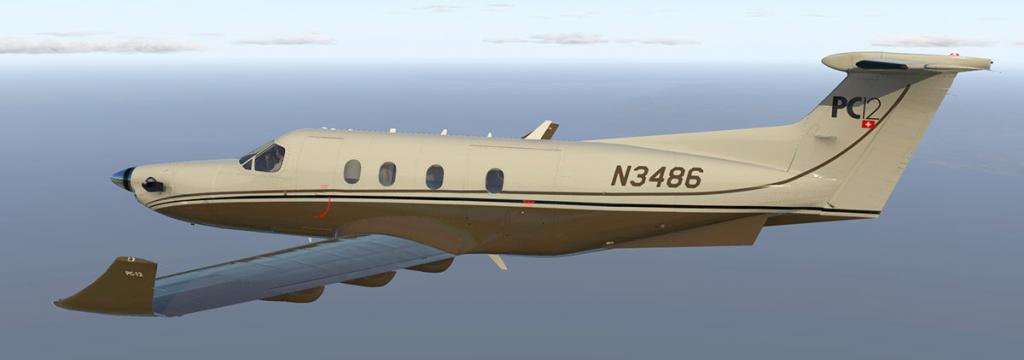
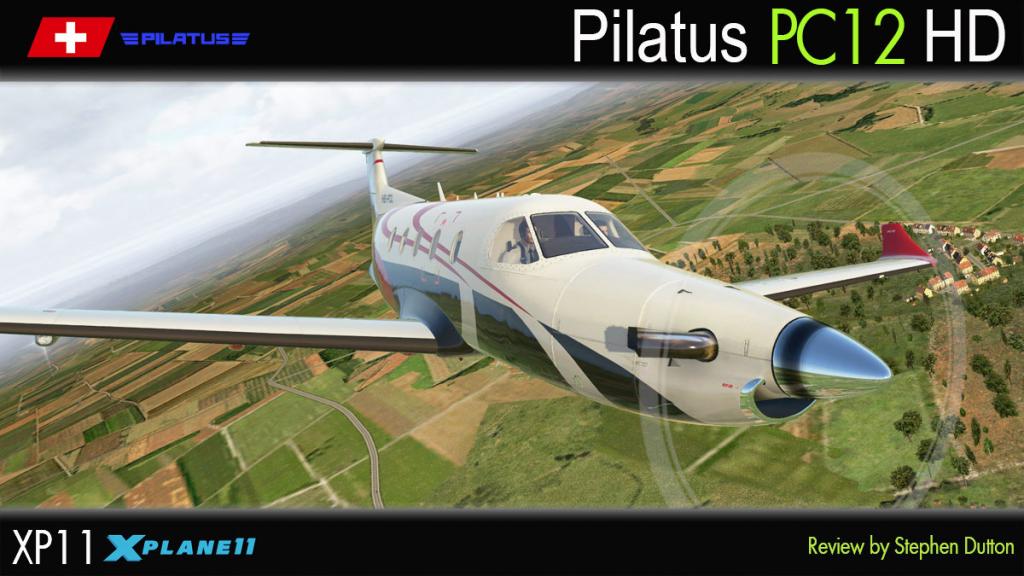
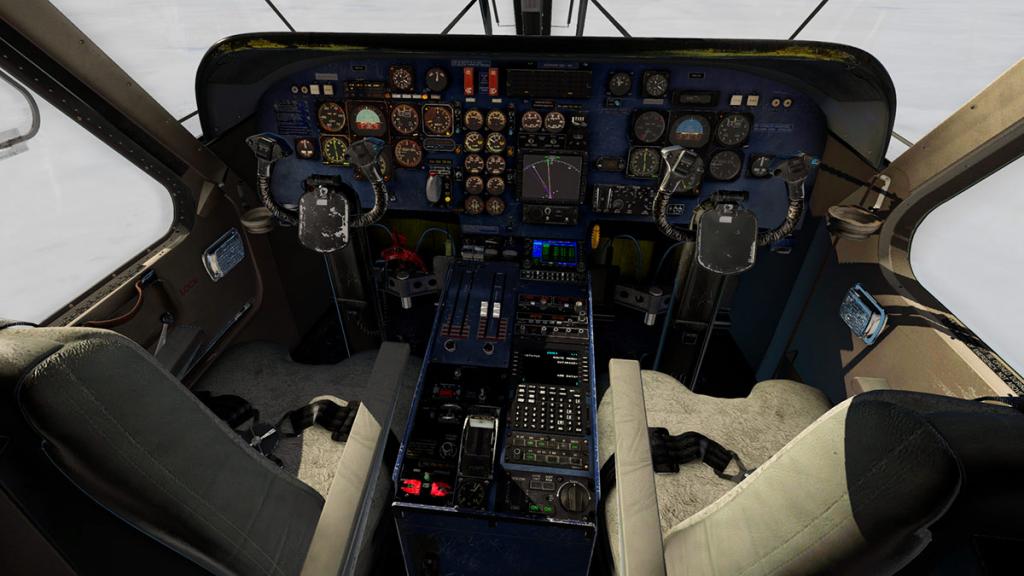
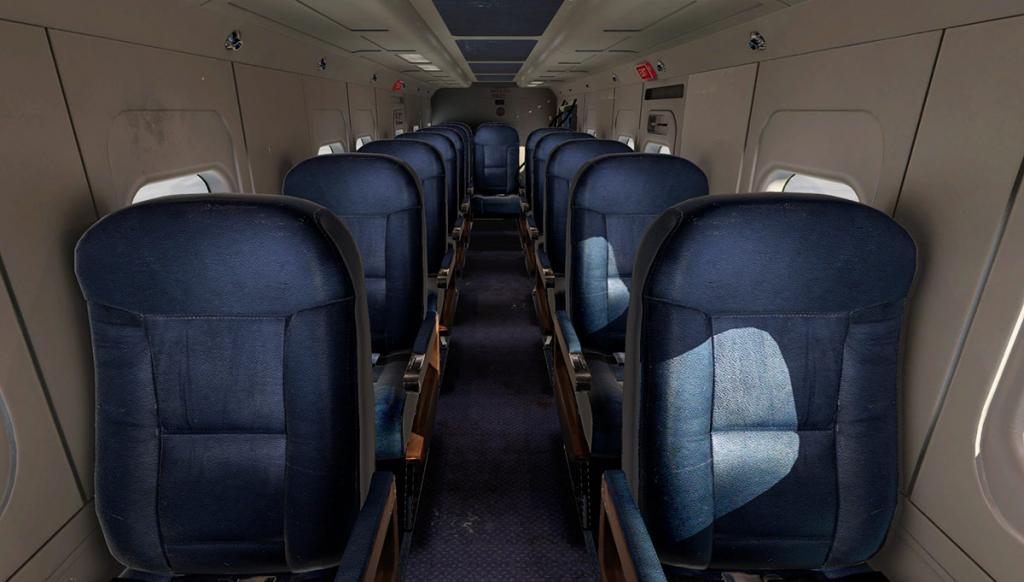
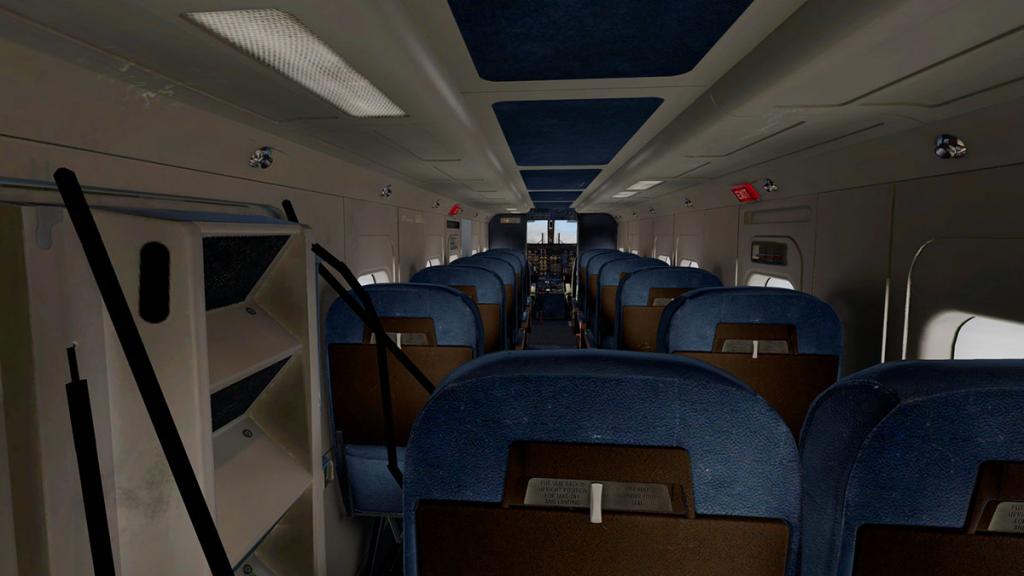
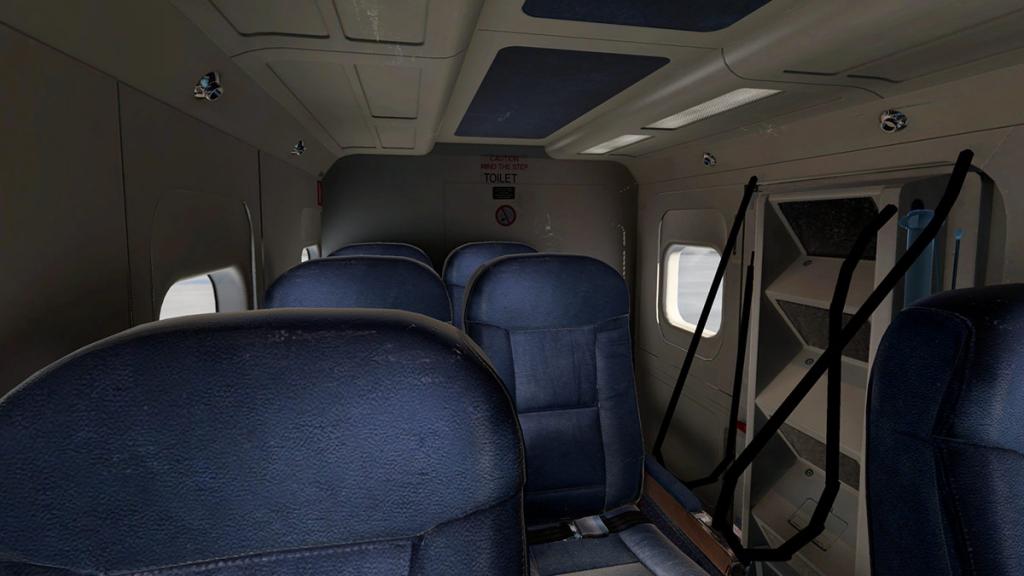
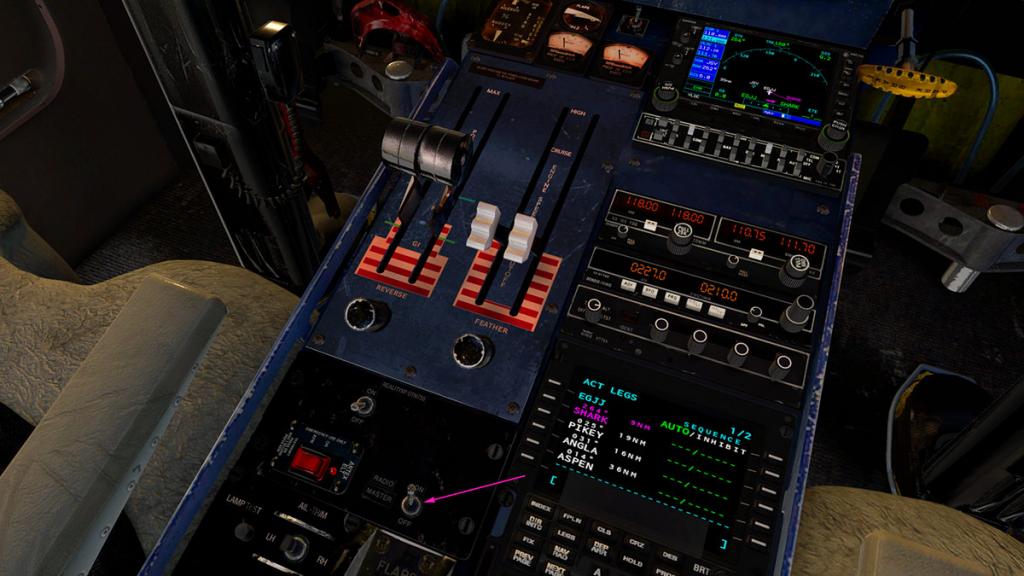
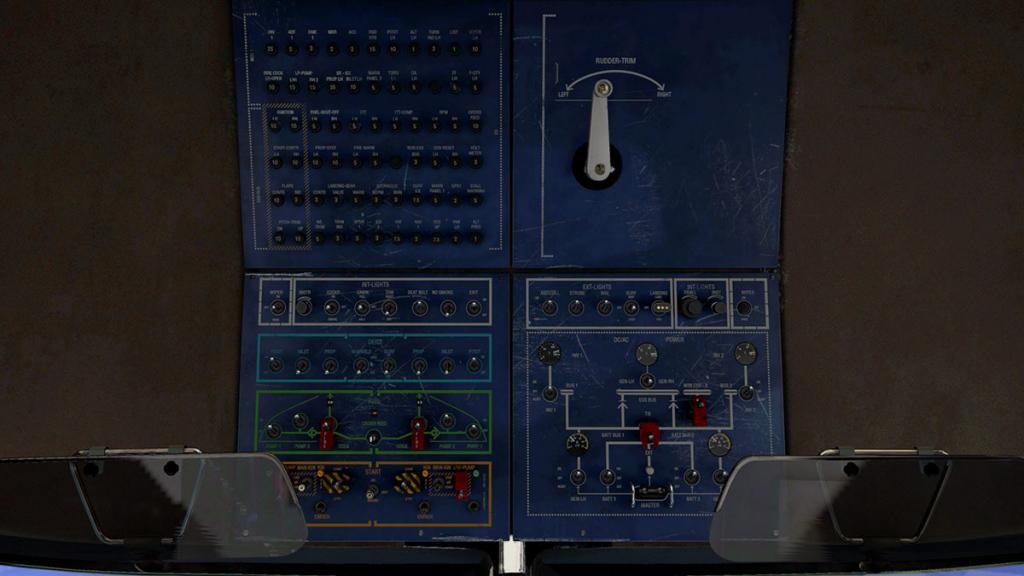
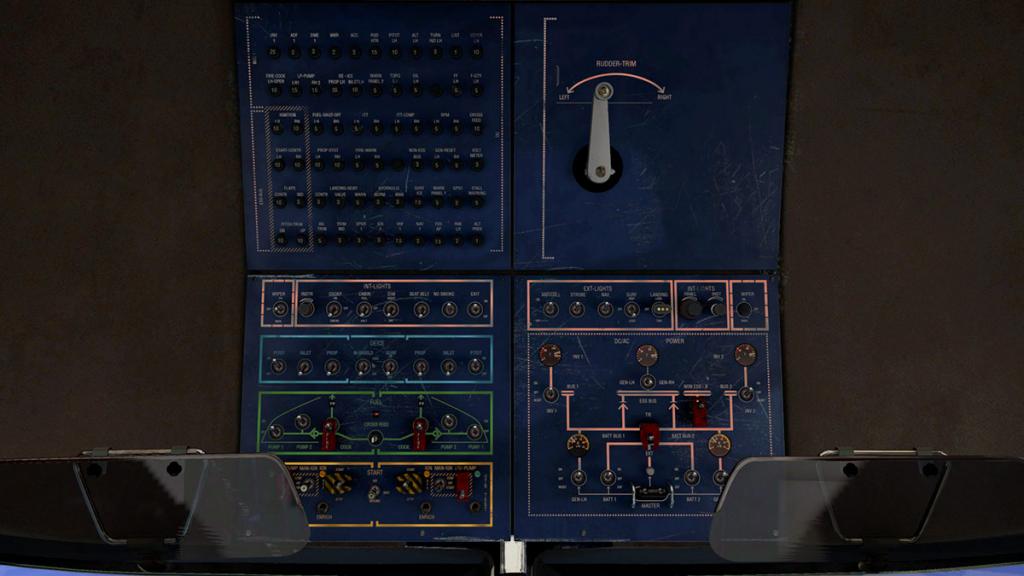
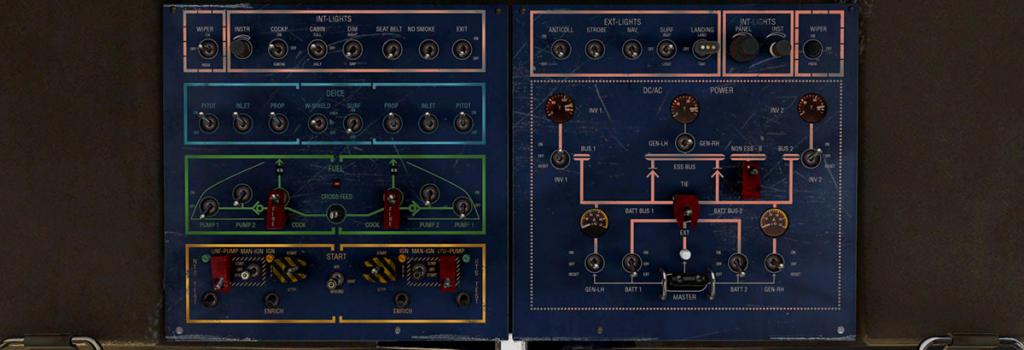
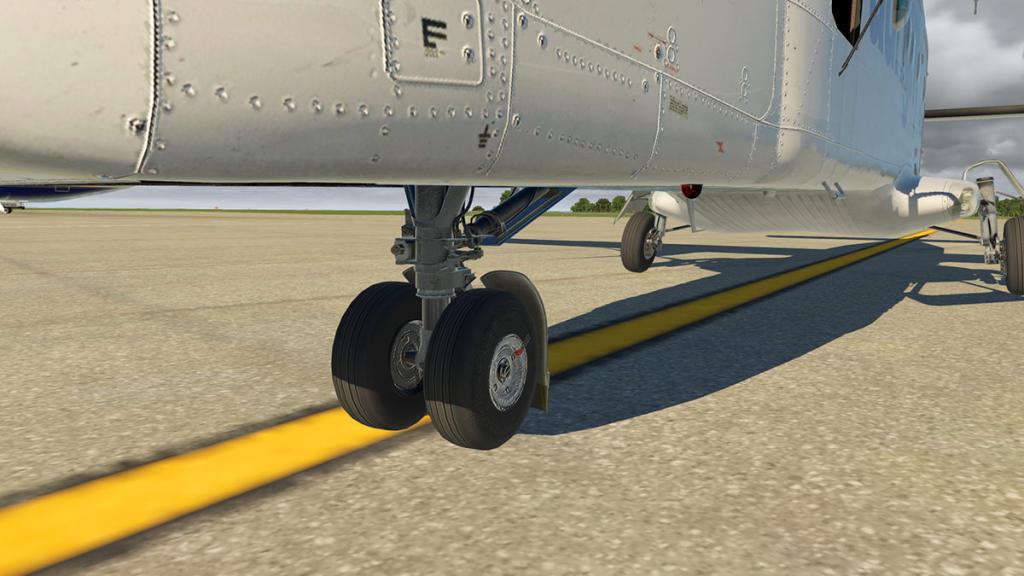
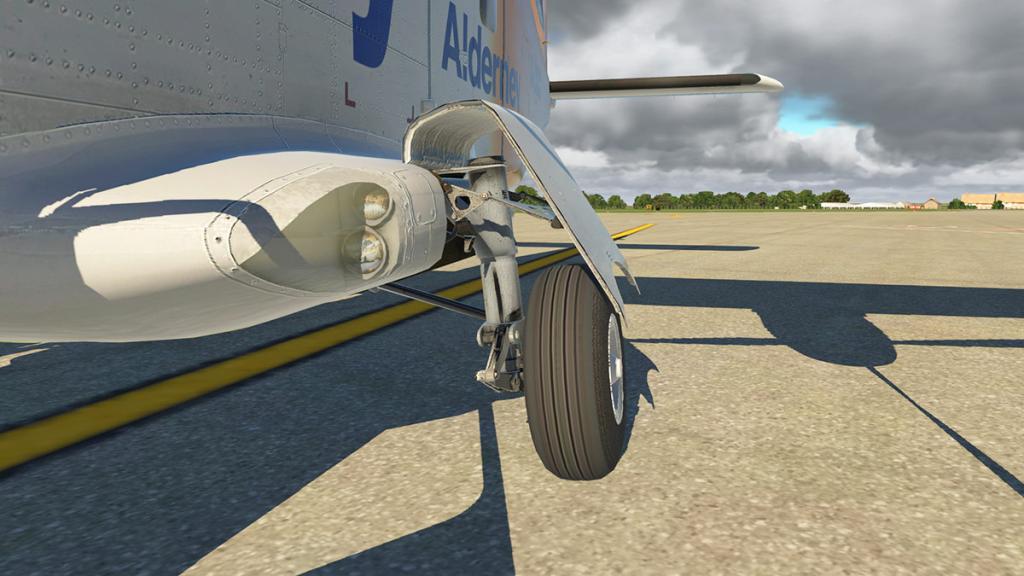
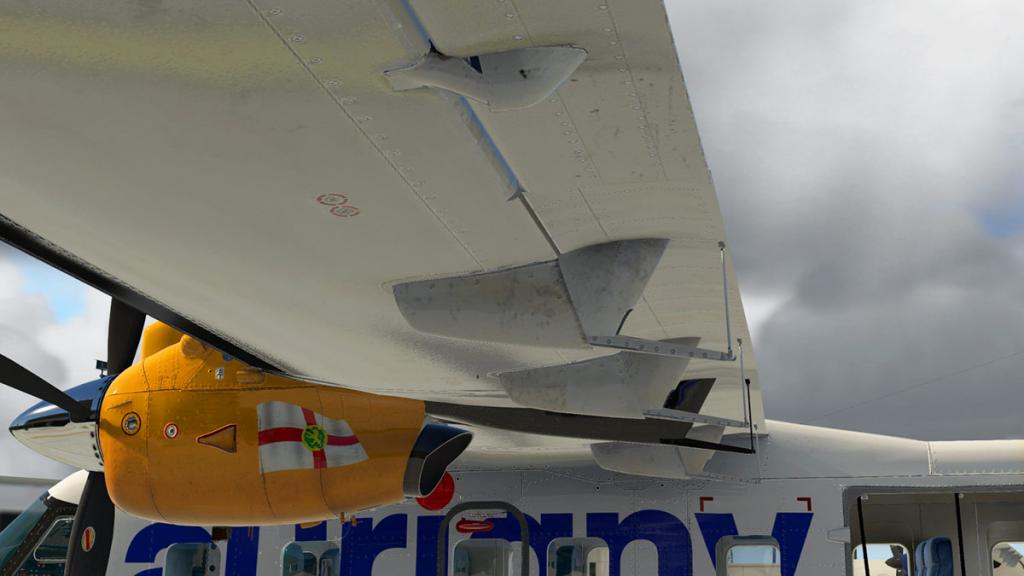
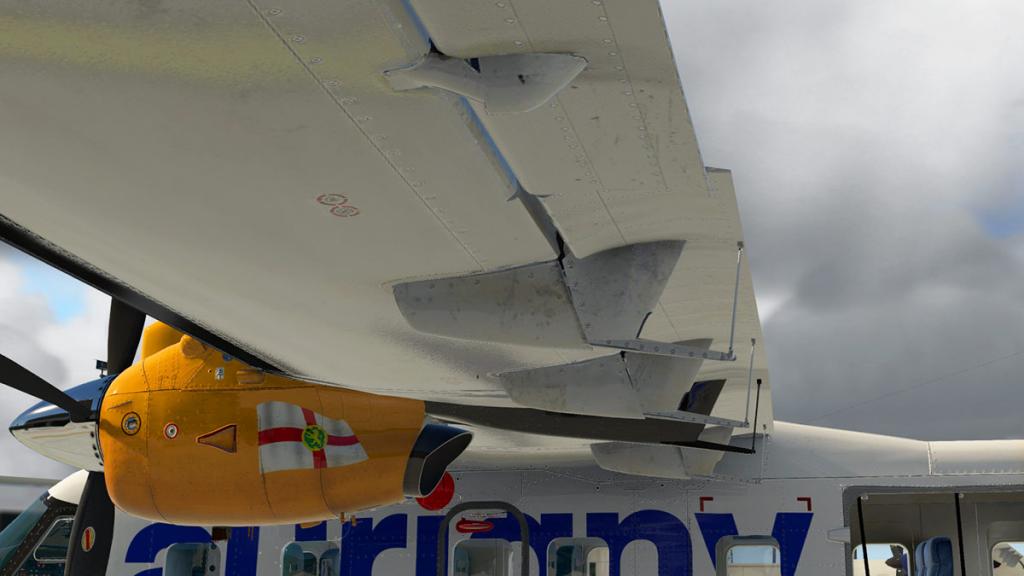
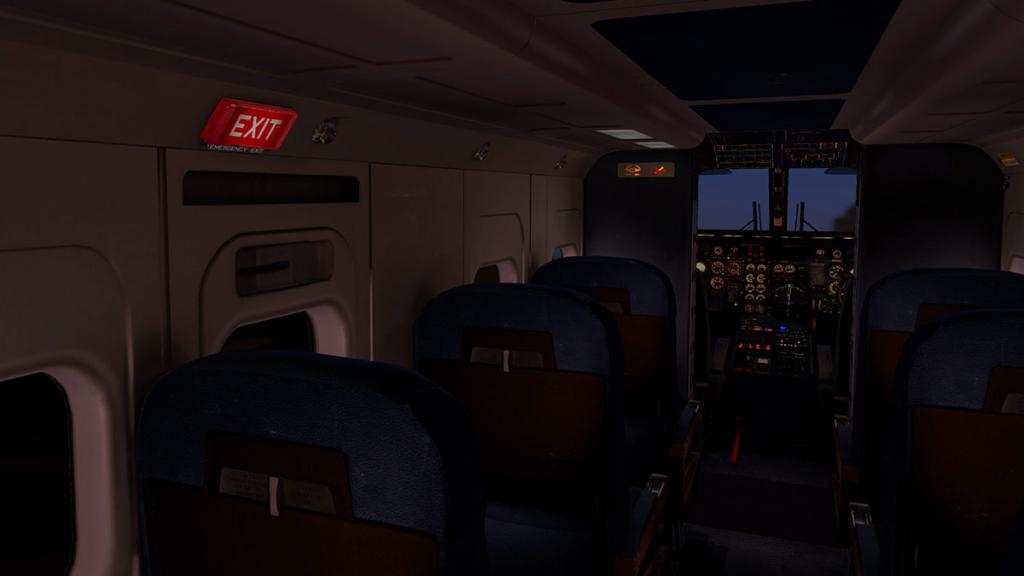
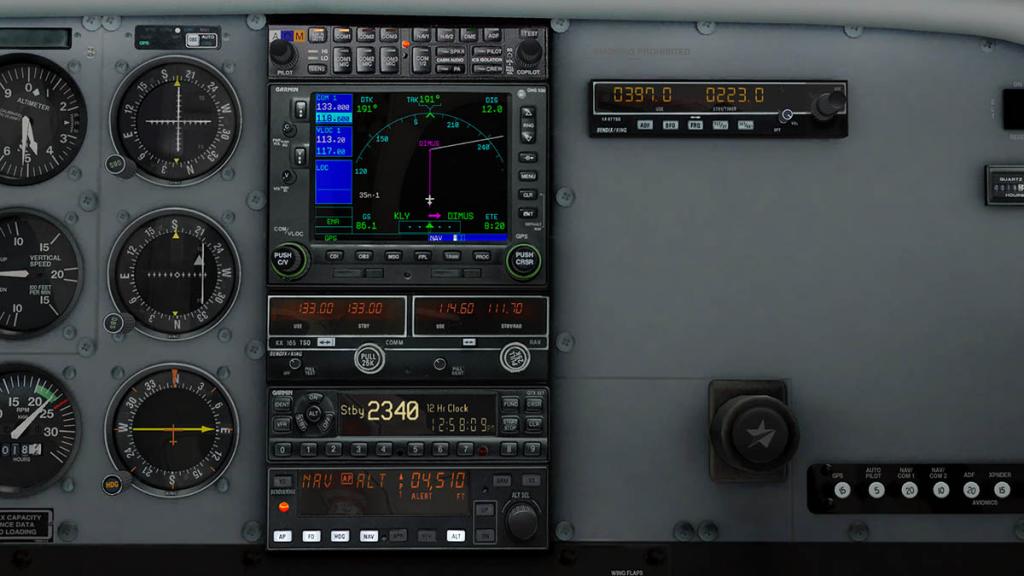
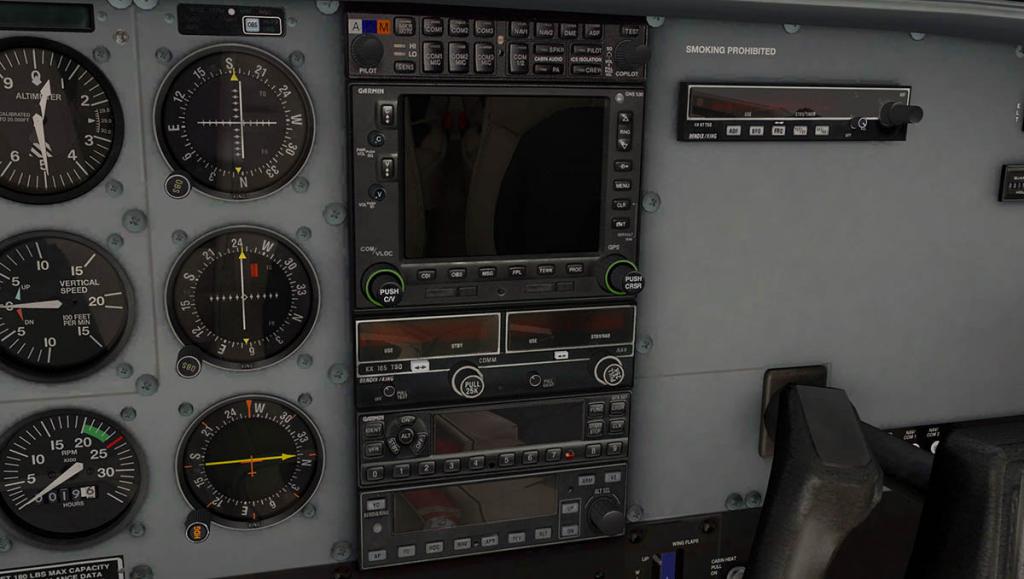
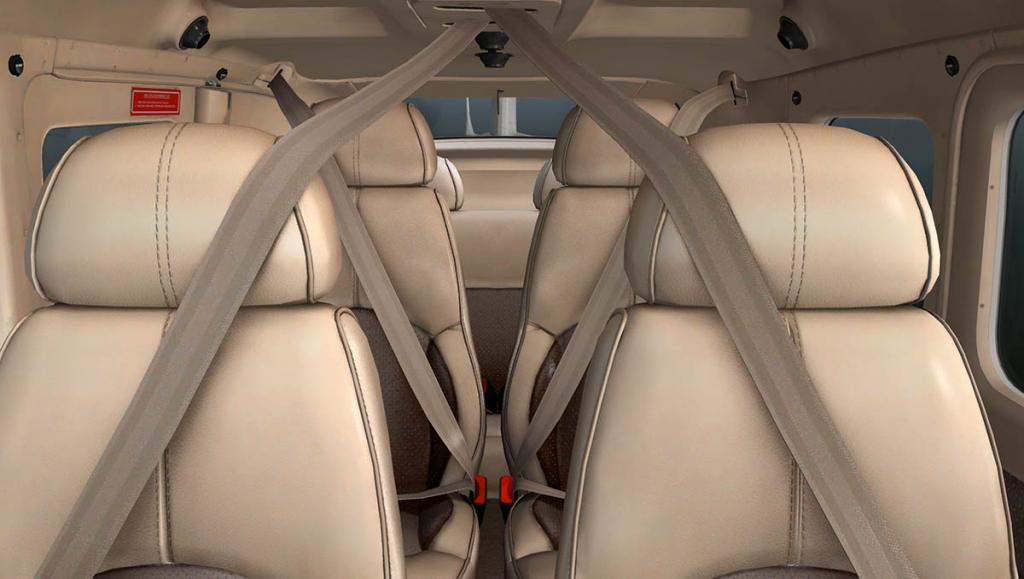
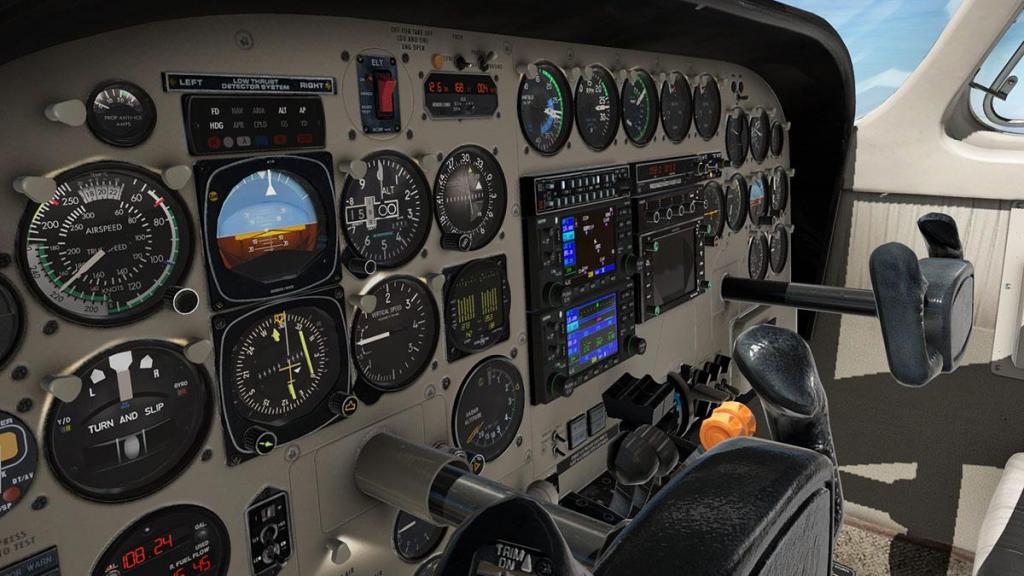
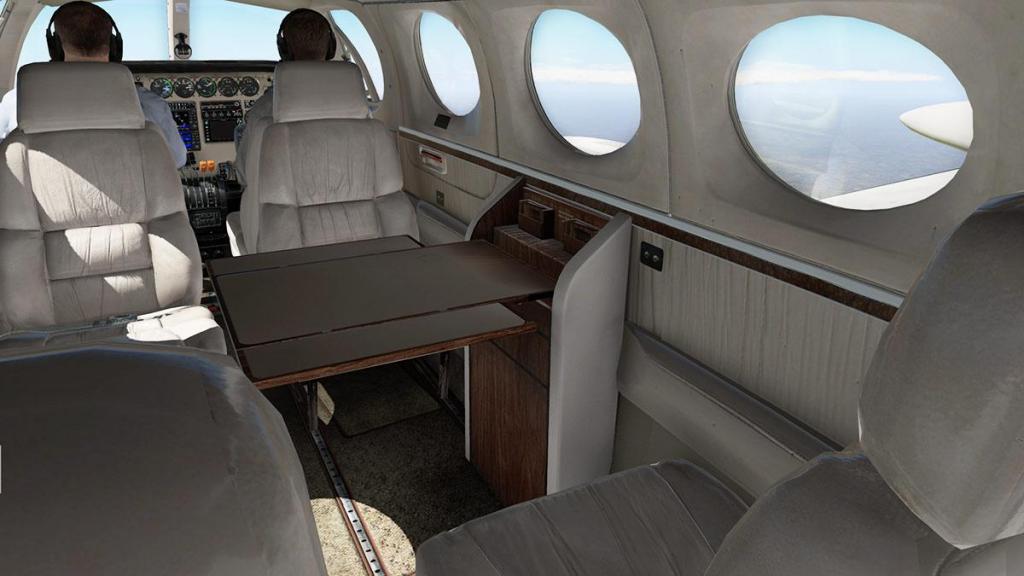
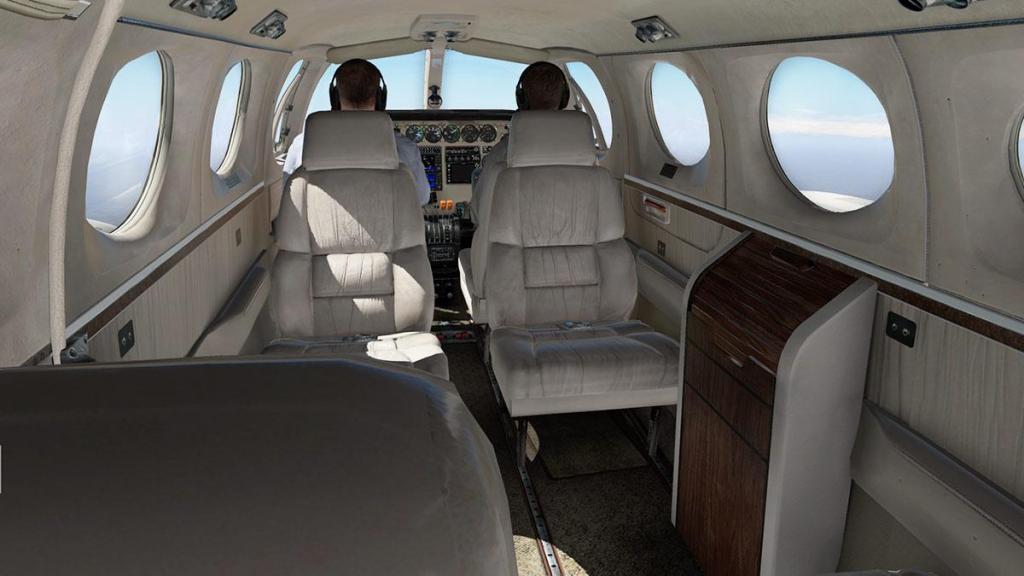
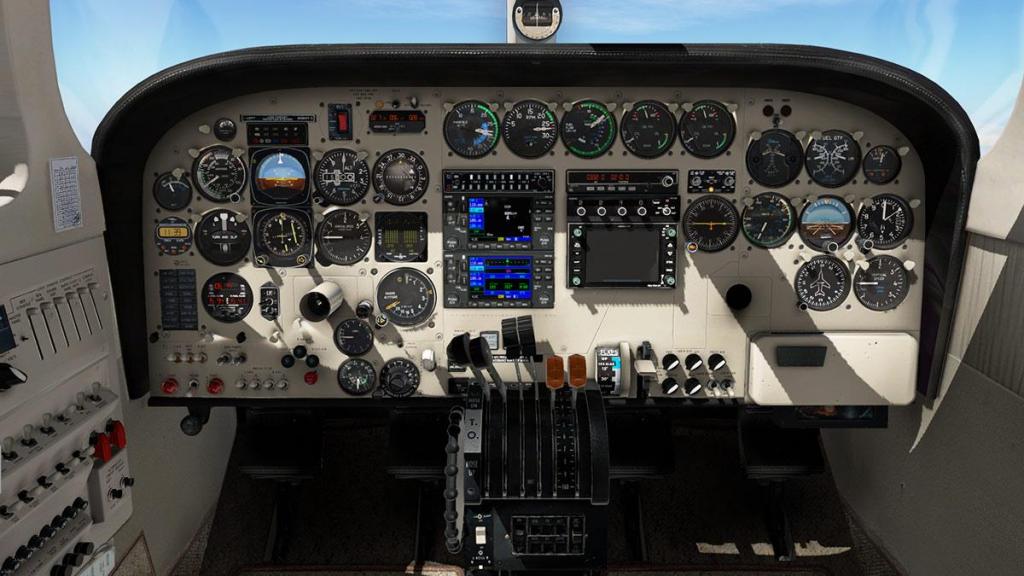
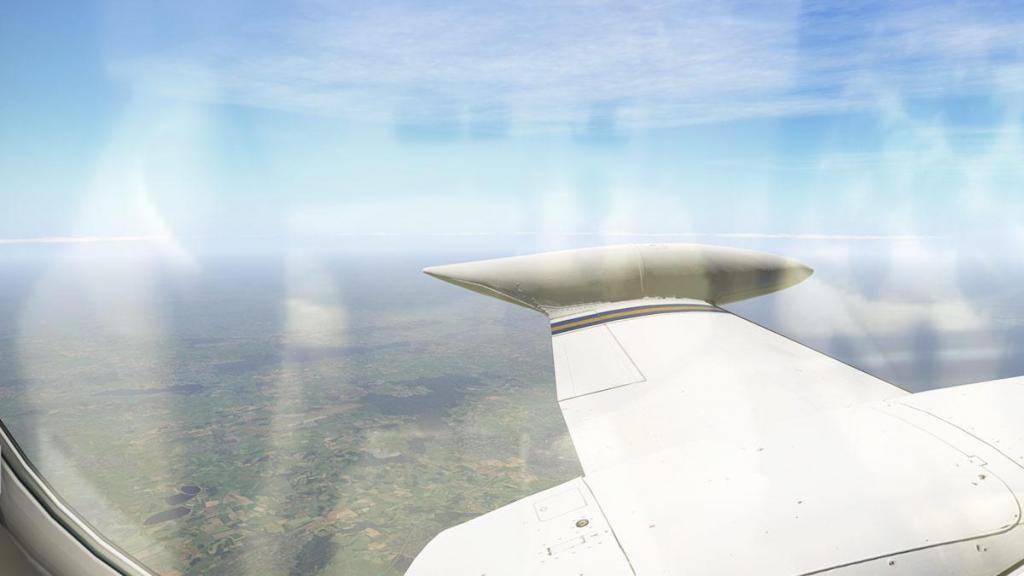
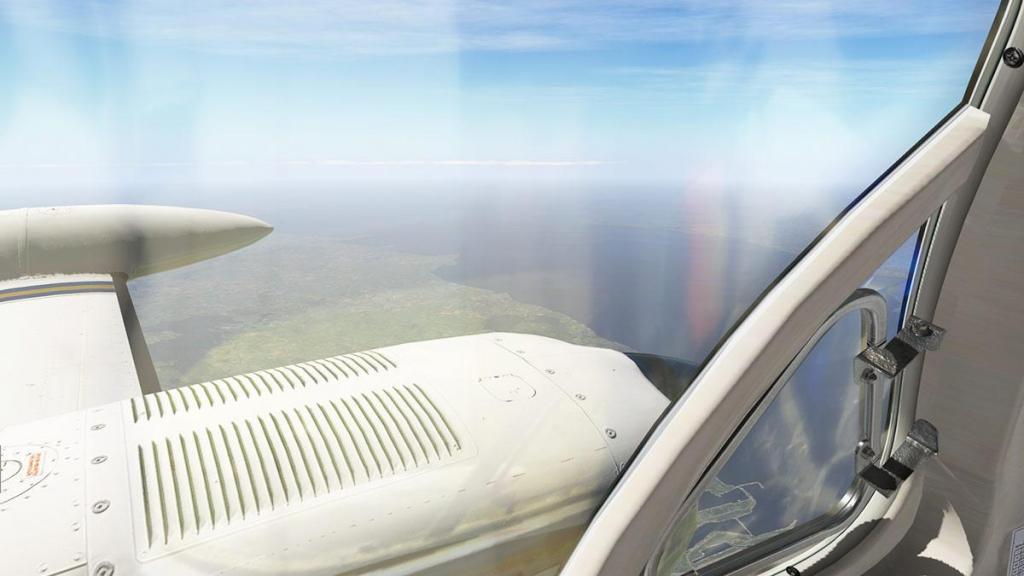
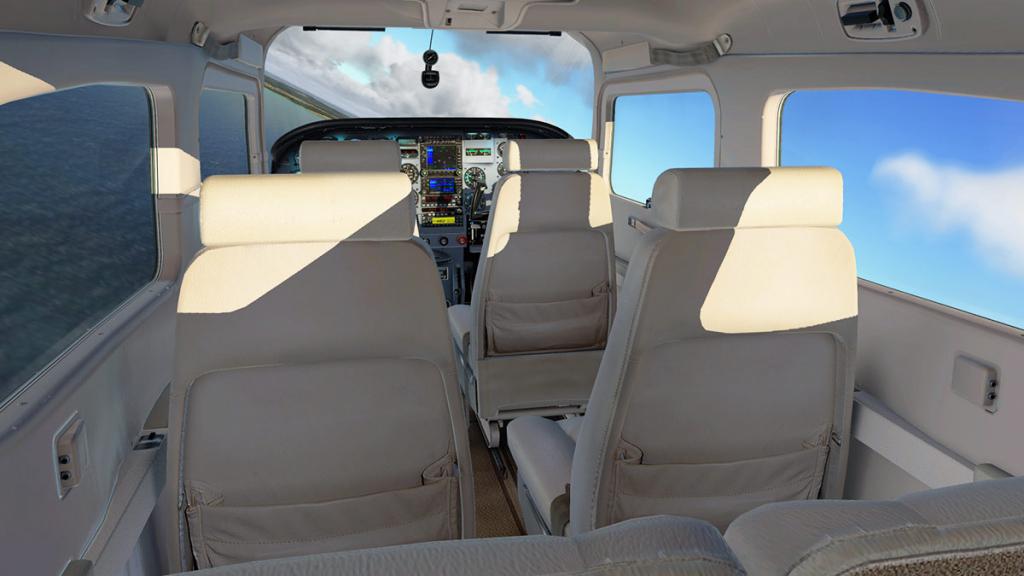
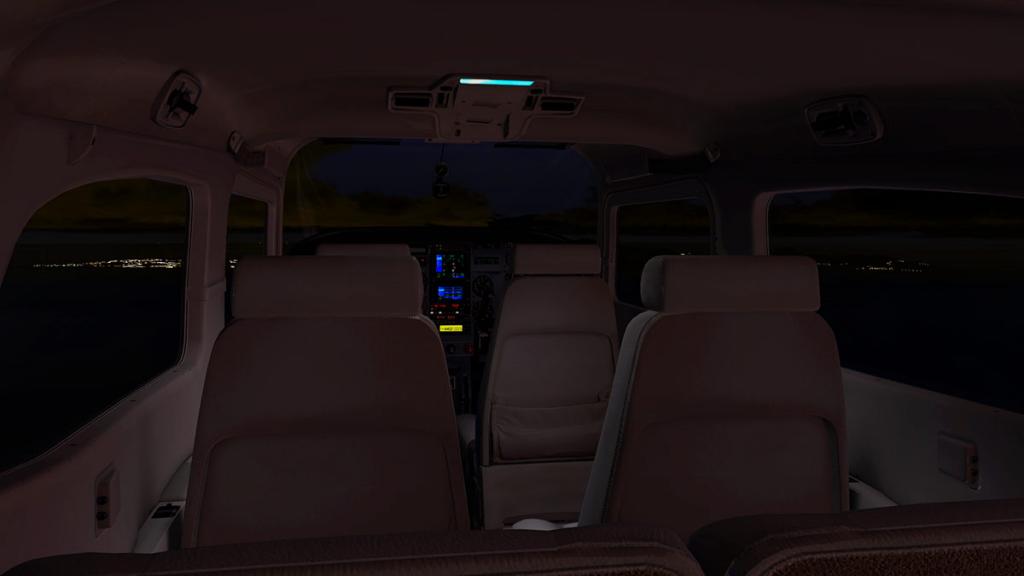
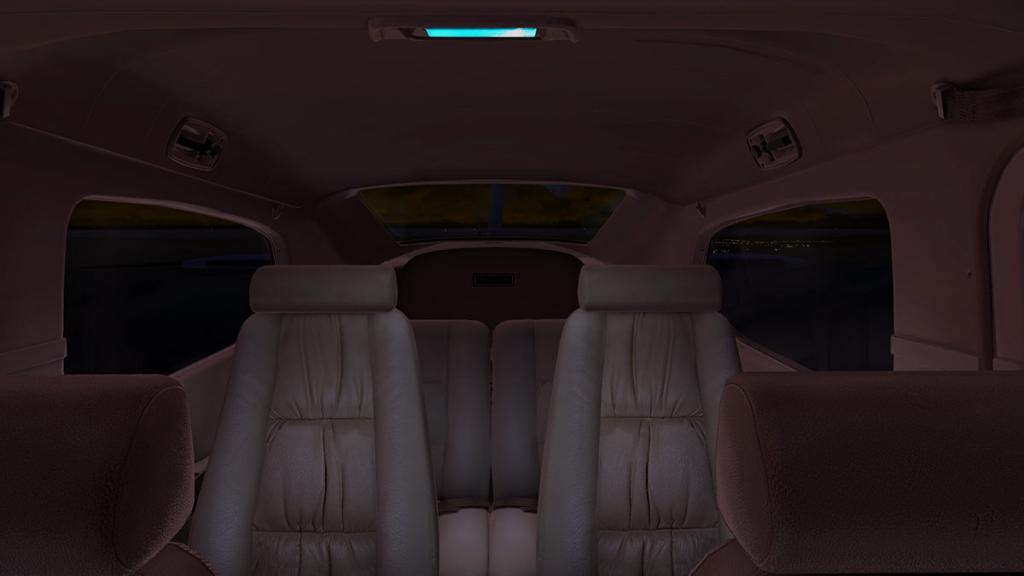
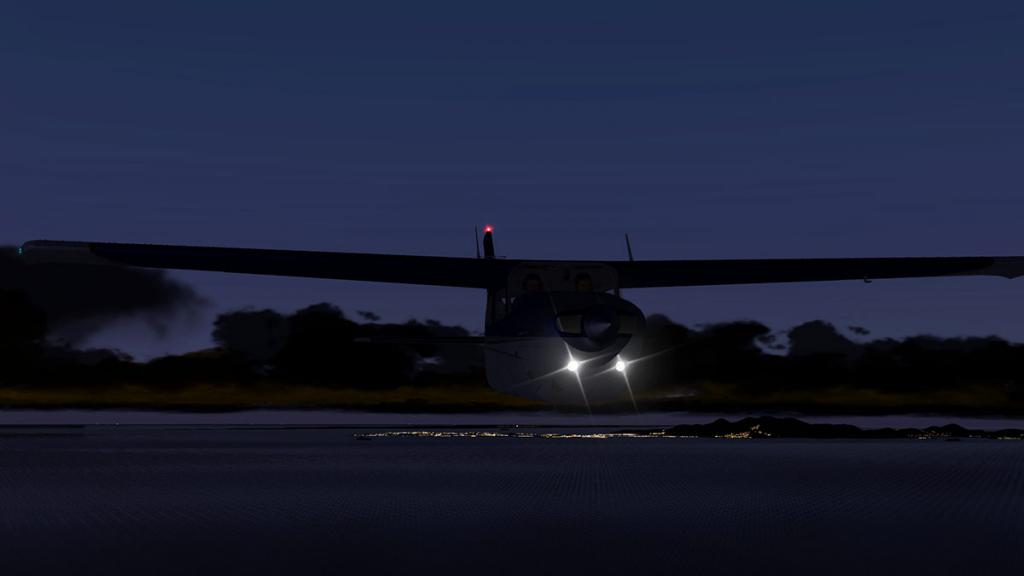
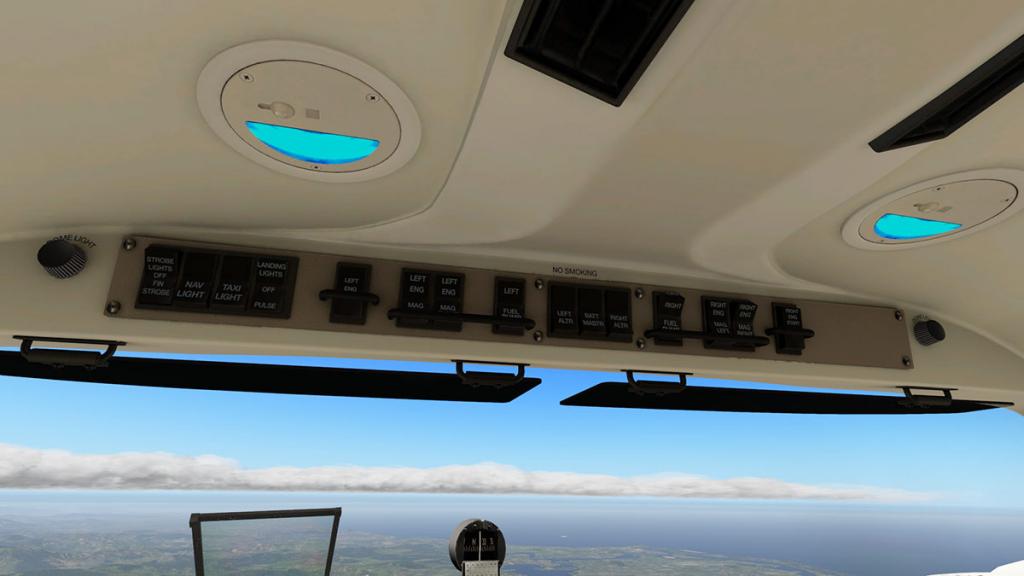
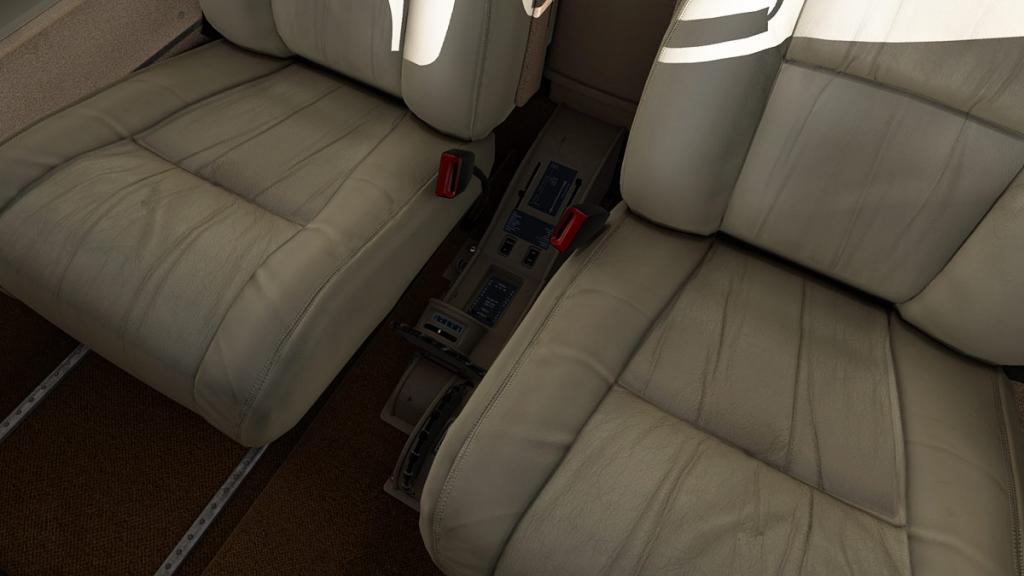
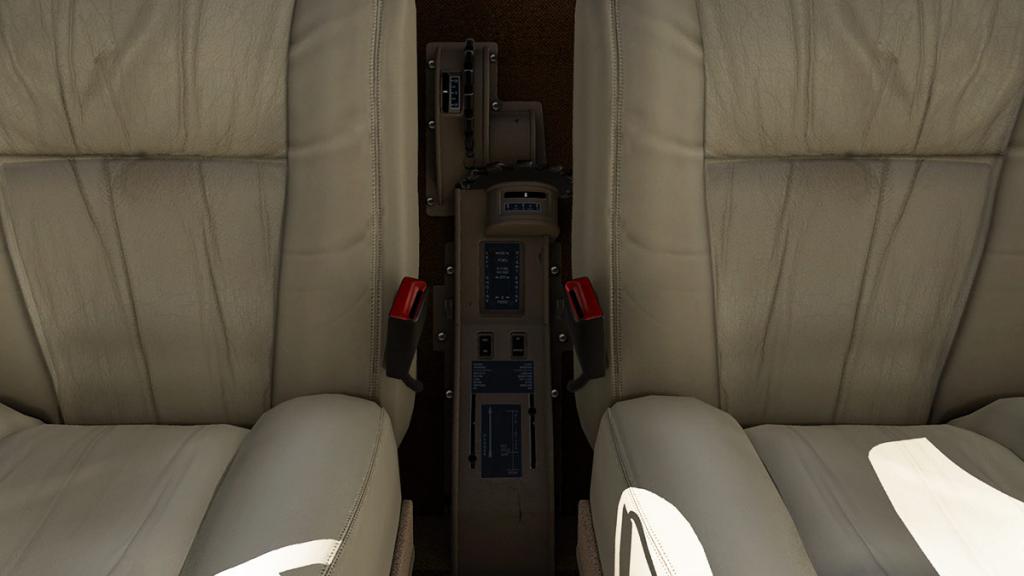
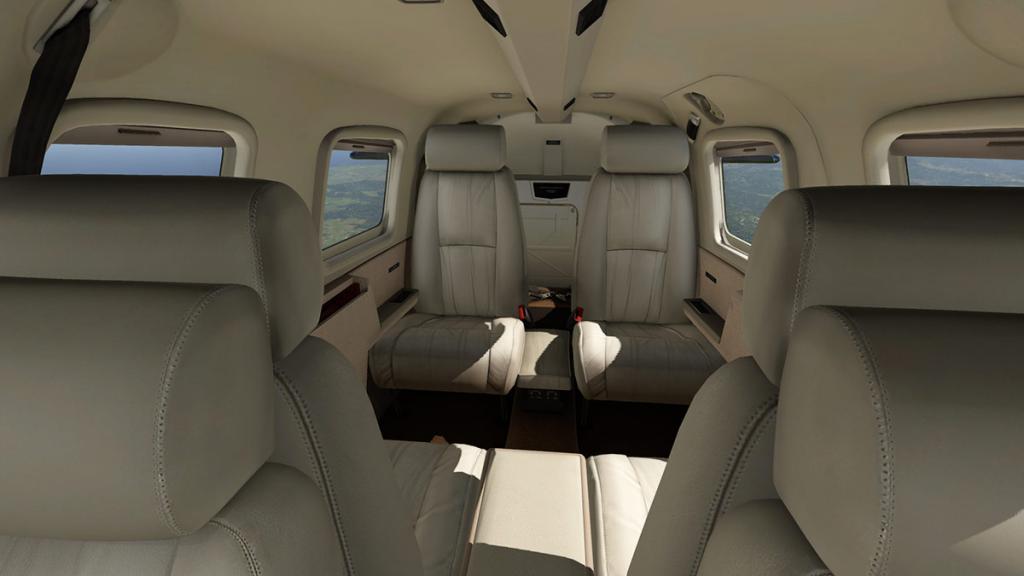
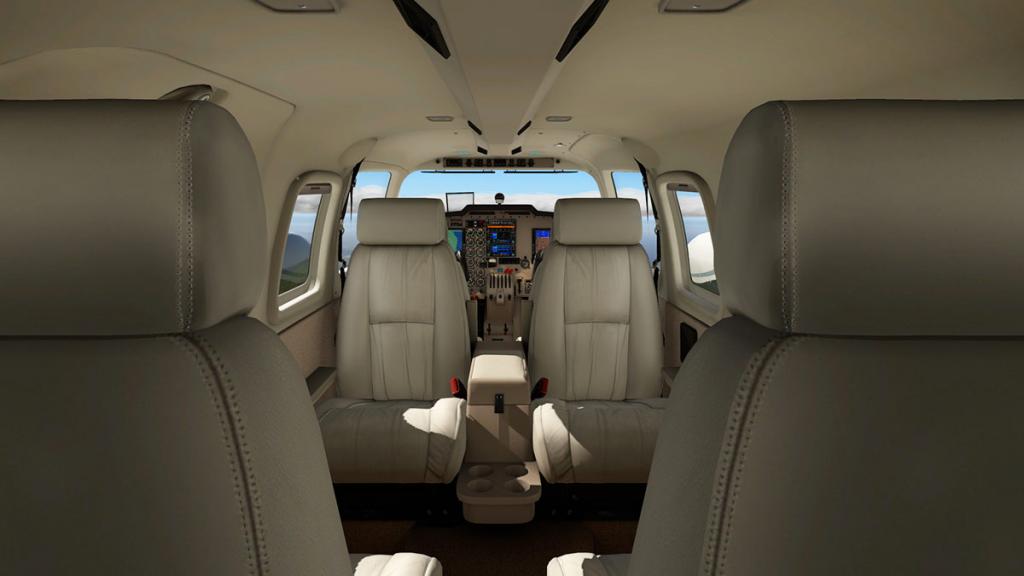
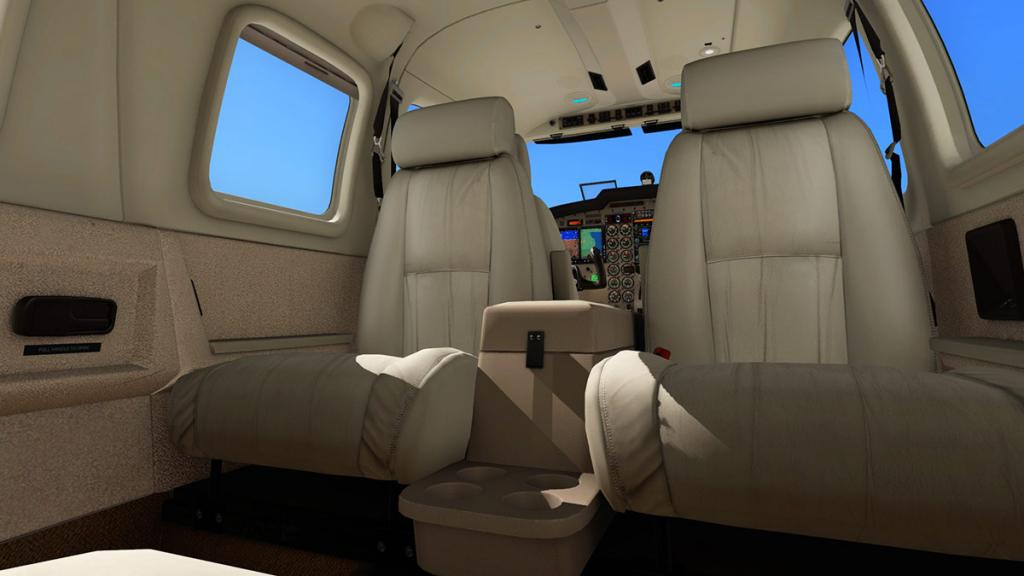
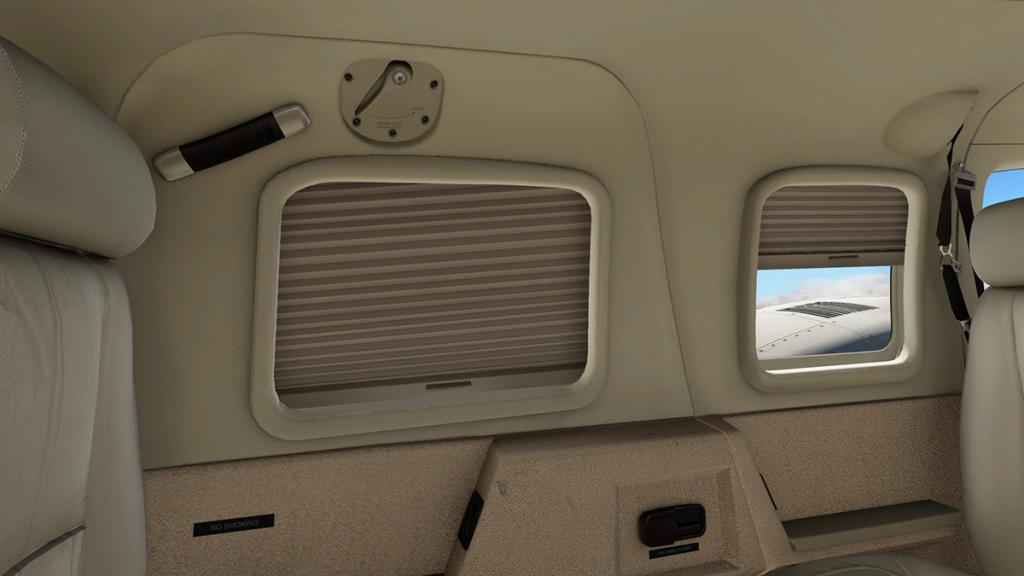
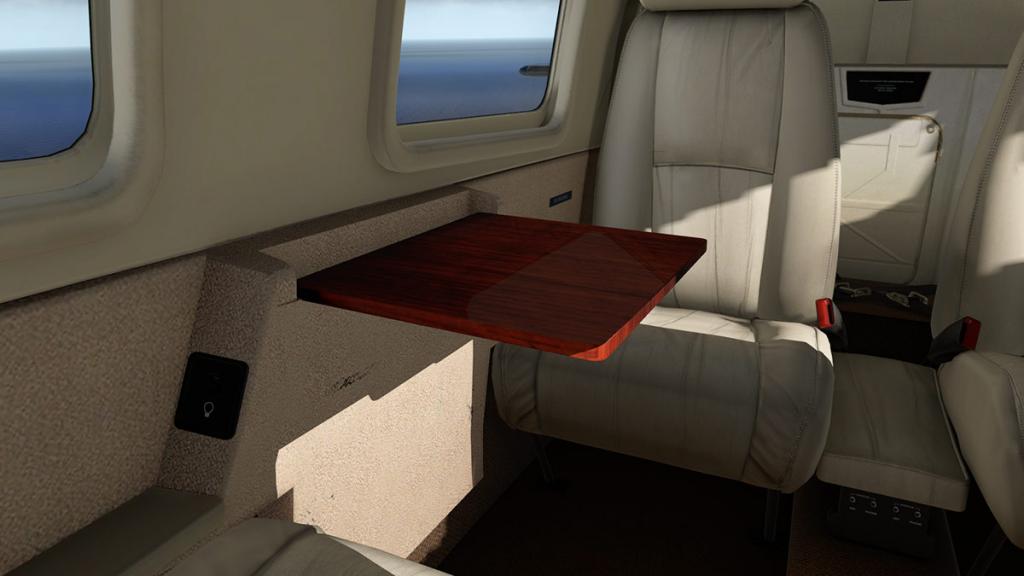
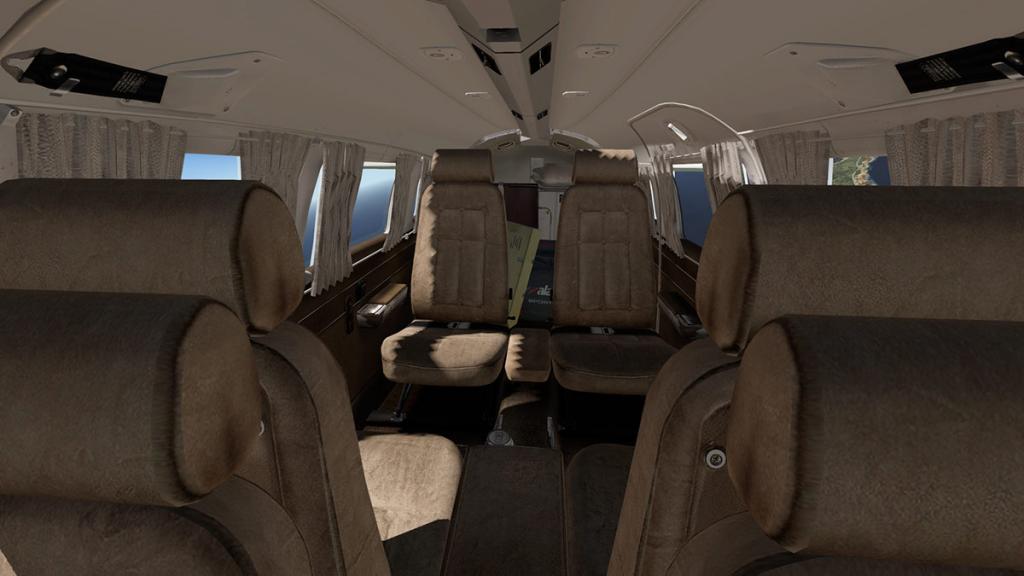
Aircraft Review : Pilatus PC12 HD Series XP11 by Carenado I don't think flightsim users really understood what a ground breaking aircraft the Pilatus PC-12 from Carenado was when it was released for X-Plane back in April 2015. I did and reinforced that the aircraft was a big step forward in the detailing and the quality of the textures and the first aspect of finally getting chrome and it's shiny reflections correct and into the simulator. Now all these aspects are common place, but this was the aircraft that finally put the HD quality into X-Plane. That full release review is here: Aircraft Review : Pilatus PC12 HD Series by Carenado So this is the X-Plane11 version of the same Pilatus PC-12. Note this is a new version of the PC-12 not an update, so it is a full cost purchase, but the ongoing updates are valid for the full life of of X-Plane11. External Overall in features both the XP10 and XP11 versions are identical, what is completely different is the X-Plane11 specific areas that are now used in the new version. You are already coming off a high level of quality standards with the original PC-12, but the excellent X-Plane11 PBR (Physically Based Rendering) built into X-Plane11 just lifts the the game again to a whole new level of detail and quality. The textures have all been processed to specific PBR specifications that brings out huge detail, but also keeps these huge 4K sized textures in a working size that doesn't crush your framerate, in other words you get the best of both worlds in a very high quality reflective aircraft, but without the sheer over burden of weight on your graphic processors. So the original "wow" factor is again for more "heightened" to the point of total realism. X-Plane11 reflection ability is very important as well, and here the refraction detailing is excellent, you almost want to run your hands along the skin of the aircraft, and even that may be possible soon with VR? My points are that in pure realism, it is in the small detailing that really brings out the most in any aspect of creating an almost perfect replication of a real world based object. And this aircraft has that in spades, both in the original modeling and perfection is about as good as anything you are going to get, and note the pure curves and angles on the upswept wing-tip with not a single straight line in sight, this is harder to do than what you expect, but this also what you pay for.... .... highlighting the landing light enclosures under the excellent wings, and the flaps, and their extended running track arrangements, if you had taken them off the parts shelve to look at them, you wouldn't see much difference to the same parts on this aircraft. The trailing single landing gear is also highly-realistic, beautifully created and the chrome now stands out even more with XP11 reflections doing an even better job than the original supports. Wear and tear is well replicated here as well. The front landing gear assembly is also highly detailed, and fully animated for movement. Although the featured aircraft tow puller does not perfectly align with the gear. Menus Two of the pop-up menus are from the original version and standard Carenado, but there is now an extra pop-up A to cover the Autopilot EFIS panel (Electronic Flight Information System). Both original tabs on your left lower screen have the C - Camera and O - Options tabs. Options covers Windscreen and Instrument reflections, Static Elements (handpull tractor, cones and tags), Opening/closing buttons for both the forward passenger door and large rear baggage door (there are excellent animations and great sounds with both actions), and you also can change your livery on this tab menu as well. "Scroll Highlights" has been deleted as there are new manipulators which are included with X-Plane11 that now does the same scroll movements without a separate function and the newer tool is far easier to use. Menu C is programmed built in views. With mostly cockpit focused positions, only one external (TailCam) and one cabin view in Passenger L. You can adjust the "Field of View" and the aircraft's sound "volume" as well. Sound has been upgraded to native FMOD. You had good 180º sound before, but Carenado is now using mostly the native X-Plane tools to do the same job, hence the above deleted scroll feature and now the sounds and the G1000 installation in other aircraft. Internal The PC-12 beckons... the quality of the interior is already evident from the external view. The cabin is still one of Carenado's best, beautifully formed leather seating is made even more exquisite by the PBR lighting effects. I wondered about a more commercial nine-seating arrangement in the earlier review instead of this executive six-seater arrangement here, it would make the aircraft more usable on island services. Left and there is the cockpit.... ... the PC-12 still has one of the most well created cockpits in X-Plane for this genre. And that is up against some serious competition, but it a very nice place to fly from. Deep quality instrument reflections was a major feature on the original PC-12 and they still don't disappoint, but add in the X-Plane11 PBR lighting and shadows and it looks absolutely stunning. Both Yokes can be hidden, but they are better visible as they both have very active features. There is still the featured "Stick Shaker", and so put the aircraft into a stall and the violent stick shaker will quickly pull you back to your senses, it is very well done and I am surprised that the PC-12 is still the only aircraft to use this function? The rain effects also still work, but only at very low speeds. Main electrical and lighting overhead panel (OHP) is still obstructed by the pull down shades, so you have to move them to access certain parts of the switchgear. Nice pedestal has Stabiliser Trim which is electric and the position display is on the upper right of the pedestal, but no yaw adjustment. Nice cabin tempº gauge glows nicely in the day or night. The armrests hide the throttle which hides the condition/feather lever (in one) of which you use a lot, so I had to set out an X-Plane view to get access to it. There are more rocker lighting switches for panel, cockpit and cabin lighting on the rear of the pedestal, but the above smaller extra lighting adjusters here still don't work which is disappointing. The flap selection lever is of 0º - 15º - 30º and 40º of flap, and the flap indicator is positioned in the very top left of the pilots panel. The armrests are animated and fold out of the way behind the chairs which is well done, not for access to the pedestal, but also for easy entry into the (tight) seats. Another great feature on the PC-12 was the rudder adjustment, twist the handle to match your height and feel more relaxed in flight. The adjustment handles now have chrome fittings as does the rear mount of the yokes and seatbelt clasps, all small touches but it lifts the quality of the cockpit. Turning on the two batteries brings power to the aircraft on the OHP. There is an external power switch (arrowed) but still no external power cart (damn). For its small size the OHP is a little complicated as many of the switches have a double function as in the first right switch turns the item on and you then select the choice by the second switch for two selections. It is very easy to use once you understand the functionality. All selections of power use are noted well on the amp gauges with one set for certain items and the other set for selections. Both avionic switches are position on here as well. Once the power is activated then the PC-12 comes alive. Instrument panel for genre of aircraft is excellent, mostly all electronic including excellent engine readouts and a full KFC 327 EADI (Electronic Attitude Director Indicator) and EADI (Electronic Horizontal Horizon Indicator) are part of the EFIS avionics suite. With the power now on the rear cabin is spectacular as well, with excellent (switchable) adjustable lighting (see lighting below). Again the PBR just adds in that extra realism in daytime if the aircraft is in certain lighting positions... ... opening and folding animated tables and drop down individual shades are excellent, and sometimes you just want someone else to do the flying... "I'm just fine back here thanks" Instrument panel The instrument panel looks quite basic, but it is very far from that, there are loads of functions if you are willing to look for them and use them. The panel layout is however quite straight forward but is dominated by the EFIS or Electronic Flight Information System, we will get more into the system in flight. The EFIS takes in two of the six standard flight instruments in the Artificial Horizon and the Heading Indicator. The others are the Airspeed, Altitude, Vertical Speed and RMI or automatic direction finder. There is a backup CDI (Course deviation indicator) but that is also built into the EFIS and two other backup instruments in another Artificial Horizon and Altitude dials. Co-Pilot's side is the same EFIS standard six layout without the backup dials. Center panel top under the extensive deep glareshield is the excellent Benedix/King KFC 327 Digital/Electronic Flight Control System (EFIS) and the autopilot panel pops out. Next to the autopilot is the GARMiN GMA 340 Radio Comms Panel. Your ADF unit is the standard KR 87T50 Bendex/King ADF receiver. Below in another pop out is the engine/fuel display (digital) with large digital readouts for YRQ, ITT and NG and below the RPM, Fuel QTY (analog and digital). GEN 1 and GEN 2 readouts are duplicated from the overhead panel, and you also have the engine oil pressure and temp gauges in digital form. You have a save button and panel alert lighting test button that includes the extensive CAWS (Central Advisory and Warning System) that shows you your alerts and caution items for attention. As standard now are two large GARMIN GNS530 GPS units which are fully 11.10 functional and both pop out for ease of use, but now you can also use the RealityXP's GTN750* (integrated into 3D cockpit, when available) but this is an optional purchase from RealityXP (see below for details). There are two GARMiN 327 Transponders, with one center panel and one right down behind the co-pilots yoke and these units have to be activated separately from the power avionic switches. Climate controls are on the co-pilots left lower panel and the Oxygen lever is easy to miss on the pedestal. Center lower panel is the fairly useless AvDyne display with the EFIS control panel above it, which we will look at in flight. EGCC (Manchester) to EIDW (Dublin) The powerful single Pratt & Whitney Canada PT6 turboprop engine (the PT6A-67B, 1200 shp), and the PC12 is certified for single-pilot IFR operations, although a second pilot is usually the normal.... is easily started with fuel pumps and ignition on and a press of the starter (Condition Lever to Idle). It takes awhile for the engine to whine (that wonderful familiar PT6 start), and the turbine speed up to ignition, then the aircraft comes to life. Sounds (now in FMOD) are authentic PC-12 sounds and are excellent, there is no side pilot window to open, but leave the main door open and then close it to get the full external effect. All sounds are 180º dynamic as well. One thing to note is with the GNS530 GPS. There is two of them with their uses mostly for the Comm/VOR in Com1/VOR 1 (upper) and Com2/VOR2 (lower). But there is something else you need to be aware of? Both GPS GNS530 can both load flightplan's and both can run at the same time? It is depending on which GPS is active under the GPS/VLOC setting? If both GPS 's are set with flightplans then they will both show on the displays. This can be good if you want two route choices, but bad if the routes conflict. Here I have only set up the upper GNS530 for the MAN- DUB route, and made sure it was the only active (GPS) GNS. The other GNS was cleared of any flightplan so the aircraft is not confused at which flightplan it is to use. The lower GNS I then use for information or data and the COM/VOR frequencies more than any routing. One of the areas I am uncomfortable with is common with some Carenado's. Taxi speed is high with no more lower speed position down to adjust to unless you use the brakes. The PC-12 was one of the worse in high revs at a low idle position, the XP11 version is slightly better and and least you are in the lower range, but if you don't regulate the speed with the brakes the aircraft can still build up quite a head of speed. X-Plane11 came with new specially designed engine dynamics and they have been used here along with newer ground physics as well, although the noted ground physics are still currently of a lot of debate within the X-Plane community. Setting your rotate speed is easy in the PC-12... once you are out of the white airspeed zone (130knts), you can pull back on the yoke and depart the runway, the PC-12 has a lot of power for a quick climb at just under 2000fpm (1920fpm), but you use about 1700fpm for a clean pull upwards. Aircraft handling is surprisingly very good, In my first review I really enjoyed the aircraft, and the same feel came straight back immediately, if a little better with the X-Plane11 dynamics. It is a relaxing sort of turn/bank and just watching and feeling the aircraft until you set the course you want. You don't wrestle it or fight it, but just go with the flow of the flying. This aircraft hums along and you quickly fall into a nice thrust feeling of power as you revel in the excellent aural background. EFIS My departure from EGCC was via runway 05L, but I am going West to Ireland, so to connect up with the flightplane I flew first on the heading mode in a departure circuit... ... this is trickier than it looks because the heading knob is down on the EFIS Select panel, and that situated right down on the middle centre console, so most heading changes to keep both the EHSI and the knob in view means your point of view is skewed oddly across the cockpit, a popup panel would be great for these navigation operations, and it is quite awkward when your are say in the landing phase of aligning up with the runway via the heading knob. In a real aircraft this operation is fine with a free right hand, but not in a constrained moving view that you have on a simulation monitor. That said the EFIS Select panel has a lot of features, with Course, DH (Decision Height) and ADF (1-2) / VOR (1-2) pointers built into the EFIS display. You can also switch from the HSI to ARC mode view as well. As noted the Autopilot panel does however popup by the Menu "A" tab, but that is actually easily reached from your pilot's position, however you can move and scale the panel if you need to move it near the EHSI Select panel, if the two panels were reversed in function it would suit you better than this arrangement. You can adjust your pitch to ascend or descend by using the DN or UP buttons on the AP panel or use the more direct "Altitude Preselector" panel to ARM and ENG the set Altitude and Vertical Speed. Overall it is a really good modern glass flight system Lighting There is no adjustable lighting on the PC-12, but rocker switchgear at the rear of the pedestal, some switches are 3-Way switchable (the adjustment knobs are there but are not activated?) So all lighting is very on/off in operation. The "ADVISORY" switch is for the illumination of panel lit elements. And so Instrument lighting is straight on or off, and the main panel lighting is noted as "FLOOD" to cover the whole cockpit in colour. On X-Plane10 this flood lighting was terrible and very oversaturated, and I didn't like it at all, and with no adjustment available... I really didn't like it. Here with PBR it is more calmer, but still oversaturated, but at least it is far more easier on the eye, so I can now live with it. With all the lighting on at night it is very dramatic (lower image). Two overhead spots light the work area very nicely, but it is both lights on at the same time and not in individual spots. Cabin lighting is more flexible. Spots only over the seats (Reading), and two overhead settings in 50% and 100%. External lighting is excellent. There are five sets of lights for landing with two landing lights in the wingtips and three taxi lights on each of the landing gear struts. The taxi lights of course only work when the gear is down, but they are highly effective and all on together and they are highly dramatic. Effective wing/Ice light is also very handy on the ground for embarkation and disembarkation. Excellent strobes (new flash style), Navigation and beacon lighting is perfect. External cabin feel is very good and realistic as well. EIDW - Dublin Ireland is now on my port side, and it is time to descend. The flight over the Irish Sea is really a very short hop, but this aircraft in performance can cover some serious ground in altitude (30, 000ft) and distance (3,389 km (1,830 nm, Ferry mode) Performance : Cruise speed: 500 km/h (312.5 mph/270 KTAS) : Stall speed: 120 km/h (74.8 mph/ 65 KCAS) : Service ceiling: 9,150 m (30,000 ft) : Rate of climb: 512 m/min at sea level (1,680 ft/min) : Power/mass: 3.7 kg/shp (8.2 lb/shp) : Range 0 passengers: 3,389 km (1,830 nm) - Range 9 passengers: 2,804 km (1,753 mi) (1,513 nm) Aircraft's window reflections are very good and highly realistic from the cockpit or from the passenger cabin windows. Originally in the earlier PC-12 versions I found myself very careful around the approach phase. The wing is very efficient, but still required modifications in final testing in a redesign of the wings with increase of wingspan and addition of winglets to ensure performance guarantees. I found the PC-12 stalled very, very quickly at full flap. Stall speed is 120km/h or 65 KCAS, but I never ever got that low, and if it lost lift it was very hard to recover. Using power was the only way to keep the aircraft aloft, so you had to find that approach speed and hold it and not dare to reduce it further. So I compensated usually with faster approach speeds. X-Plane11 changes all of that theory. One of Austin Meyer's main focus areas in XP11 was around Turbo (Turbine)- Prop engines like the PT6 and the like everything in X-Plane11 the thrust capabilities are now far more highly refined and more flexible. This bodes well for aircraft like the PC-12 and it shows in the flying, or more importantly in the approach phase. So now you do get far more control at those slow speeds, yes the stall point is still there, but you have far more feel and input from the throttle than before in controlling the aircraft at those low approach speeds, and in this PC-12 it makes a serious difference right down to the centreline touchdown. I still stay around the 110knts to 100knts zone on approach, but have quietly lowered the final speed around to 95knts, but old habits still die hard as I was before in the approach phase very wary in the aircraft, but now I revel in it and enjoy the feeling of what the minute throttle adjustments make to my approach path. Yes you have to be aware of flap and gear drag, but the throttle feel easily compensates for that now as it didn't before. So the overall flight performance of the PC-12 is far more enhanced in this XP11 version, it makes it a very nice aircraft to fly now in a more professional way.... and the passengers get a better flight and not so bumpy a landing as well. Liveries There are one blank (White) livery and six completed liveries of mostly Swiss, German and American in origin. All are high 4K quality and highly refined for the best efficiency and ease of loading. The noted seventh "SUBSTANCE" livery is just the white livery repeated. Summary I was surprised this Carenado PC-12 was not received as well as it was on release, users just didn't take to it as much as it deserved. The main thought's are directed in that they had mostly already invested heavily in the STMA ( Shade Tree Micro Aviation) with their Pilatus PC12/47G version of the same aircraft, it is cheaper but older in design. Both are very good, but I prefer this Carenado version and far more now with it's XP11 enhanced features. In only few areas do I still have some concerns or quibbles. The ground taxi speed is better, but still hard work as being still a touch too fast, so you bounce under braking than more taxi over to the runway. The EFIS Select panel is awkward to use and would be good as a pop-out unit and even though the cockpit lighting is excellent, more light adjustment via working knobs would give you a better lighting tone to work in and for separate spot lights for each of the pilot's. Overall this Pilatus PC-12 from Carenado is excellent and certainly far more better in it's X-Plane11 form. It is also one of the best and lovely powerful single turbine aircraft to fly in X-Plane and the aircraft comes with a mountain full of features including that excellent all glass EFIS avionics system and great electronic engine readouts, brilliant sound, the first class cabin is one of Carenado's best as is the high detailing of the cockpit. External quality is also extremely high with now PBR but that is what you pay for and that is certainly delivered here in this PC-12. Worth the investment? certainly in this X-Plane11 form, and you will be certainly very happy with the aircraft and at 12,000ft and humming along to that distant destination you will be more than content with the PC-12, it is excellent and this aircraft is one of the hidden gems from Carenado. ______________________________________________ The Pilatus PC12 by Carenado is now available from the X-Plane.Org Store here : PC12 HD Series XP11 and is priced at only US$34.95 This PC12 in the XP11 release is not an update but a new upgrade version is priced at full value, but you do get free updates throughout the full X-Plane11 run. Features: Special Features: Version 1.0 of the new XP11 specific model Only for X-Plane 11 Full PBR (Superb material shines and reflections). Features: Specially designed engine dynamics for XP11 Flight physics optimized for XP11 standards Ground handling adapted for XP11 ground physics Physically Based Rendering materials and textures throughout PBR materials authored with industry-standard software used by the film and gaming industries X-Plane GNS530 (FPS friendly) Support for RealityXP's GTN750* (integrated into 3D cockpit, when available). * Optional purchase from RealityXP Goodway Compatible Realistic behavior compared to the real airplane. Realistic weight and balance. Tested by several pilots for maximum accuracy Included in the package: 6 HD liveries - 1 HD Blank livery PC12 Electronic Flight Information System (EFIS) PDF PC12 Emergency Checklist PDF - Normal Checklist PDF PC12 Performance Tables - PC12 Reference PDF Recommended Settings PDF Requirements: X-Plane 11 (not compatible with X-Plane 10) Windows 7, MAC, or Linux 4GB+ VRAM Version 1.0 (last updated Feb 1st 2018) Installation : Download is 609.17mb that is unzipped to 667.60mb to your X-Plane - "General Aviation" Folder. (I use my regional aviation folder). The intergration of the Reality XP GTN 750 Compatibility is also available. Documents: Carenado don't supply manuals, mostly system info, Procedures (Checklists) and performance tables, and all are provided here. Copyrights.pdf Credits.pdf PC12 Electronic Flight Information System.pdf PC12 Emergency Procedures.pdf PC12 Normal Procedures.pdf PC12 Performance tables.pdf PC12 References.pdf Reality XP GTN 750 Compatibility.pdf Recommended settings XP11 .pdf _____________________________________________________________________________________ Review by Stephen Dutton 12th February 2018 Copyright©2018: X-PlaneReviews (Disclaimer. All images and text in this review are the work and property of X-PlaneReviews, no sharing or copy of the content is allowed without consent from the author as per copyright conditions) Review System Specifications: Computer System: Windows - Intel Core i7 6700K CPU 4.00GHz / 64bit - 16 Gb single 1067 Mhz DDR4 2133 - ASUS GeForce GTX 1080 8Gb - Samsung Evo 512gb SSD Software: - Windows 10 - X-Plane 11.11 Addons: Saitek x56 Rhino Pro system Joystick and Throttle : Sound - Bose Soundlink Mini Plugins: Environment Engine by xEnviro US$69.90 : XPRealistic Pro v1.0.9 effects US$19.95 : WorldTraffic 3.0 Plugin - US$29.95 Scenery or Aircraft - EGCC - Manchester Airport by Aerosoft/Icaruos (X-Plane.OrgStore) - US$22.00 - EIDW - Airport Dublin V2 by Aerosoft (X-Plane.OrgStore) - US$24.95 (X-PlaneReviews Dublin update review is available here here: Scenery Update : EIDW Dubin v2 by Aerosoft)
-
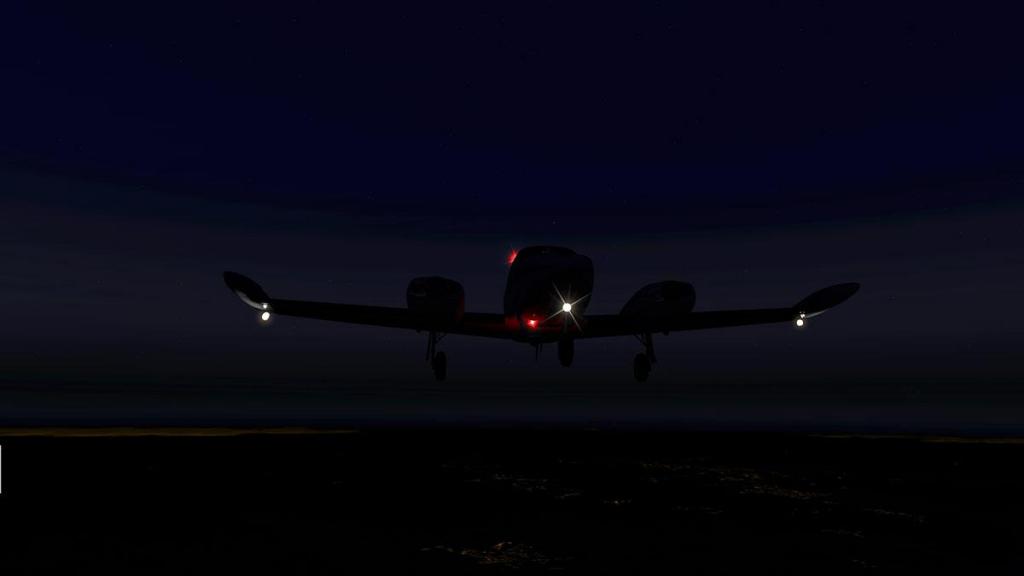
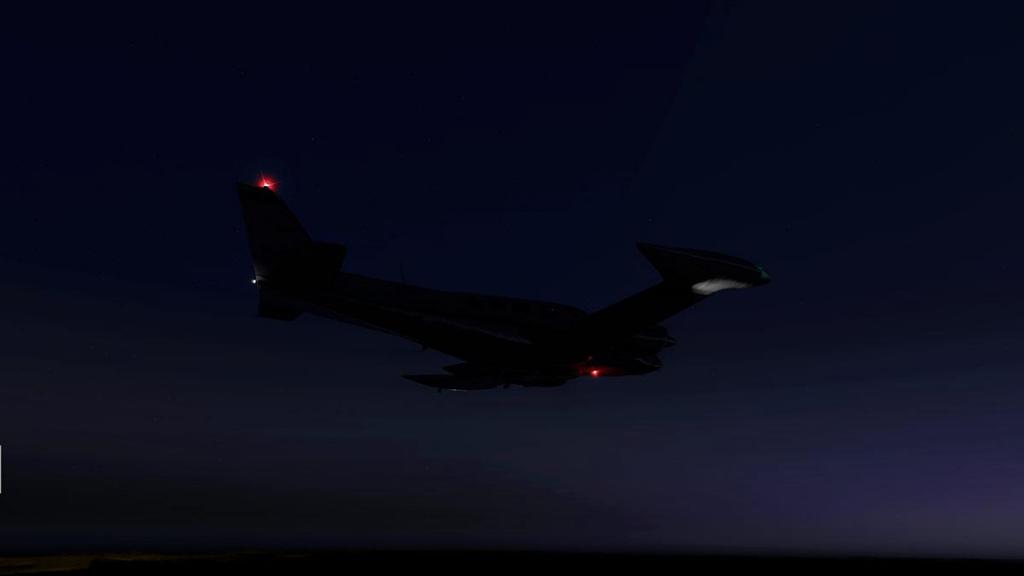
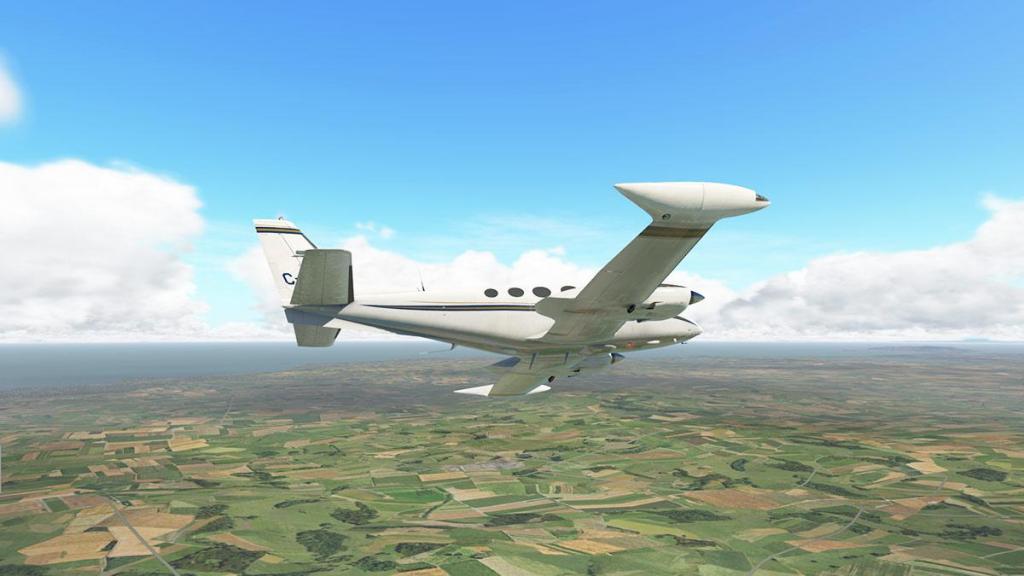
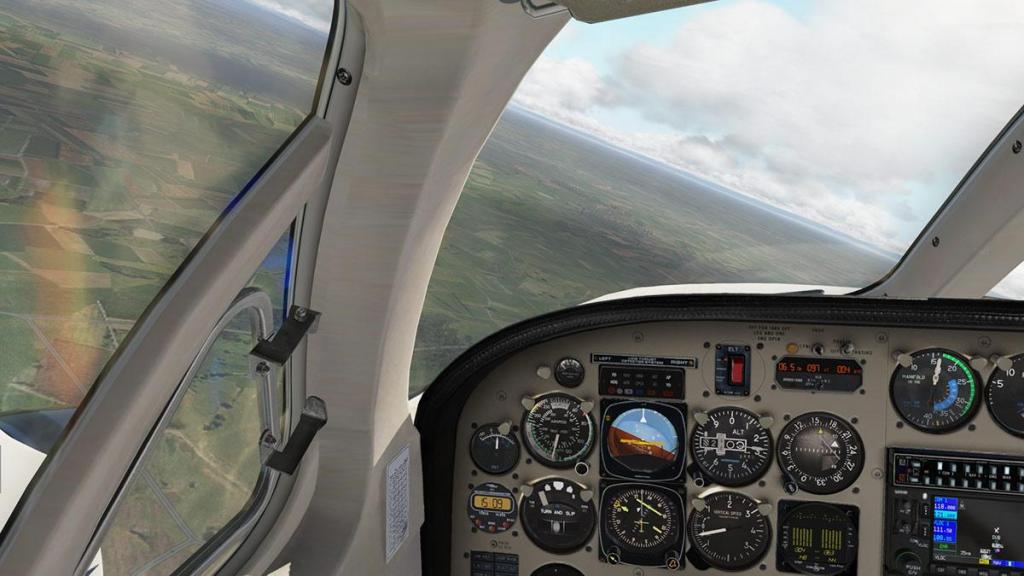
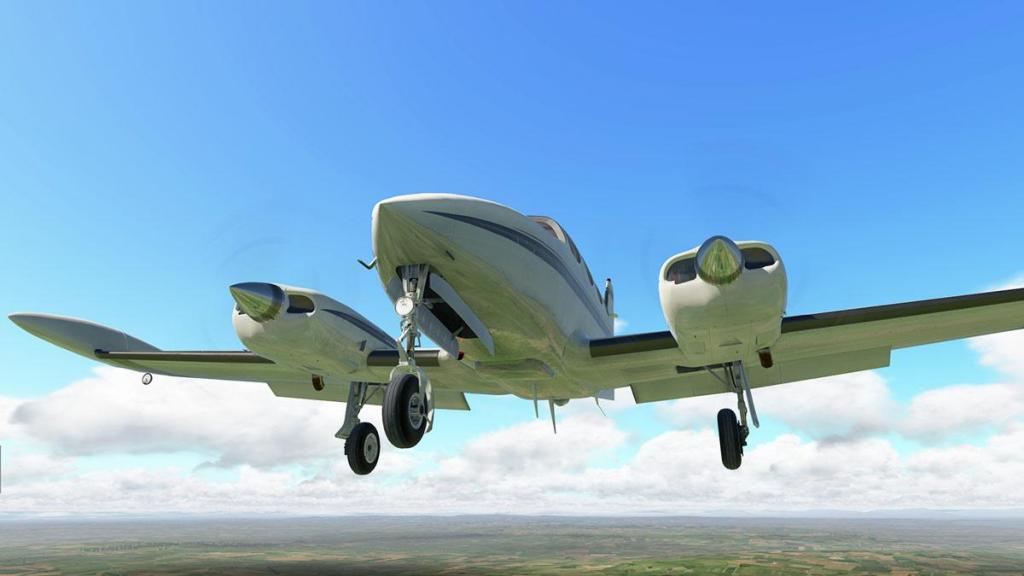
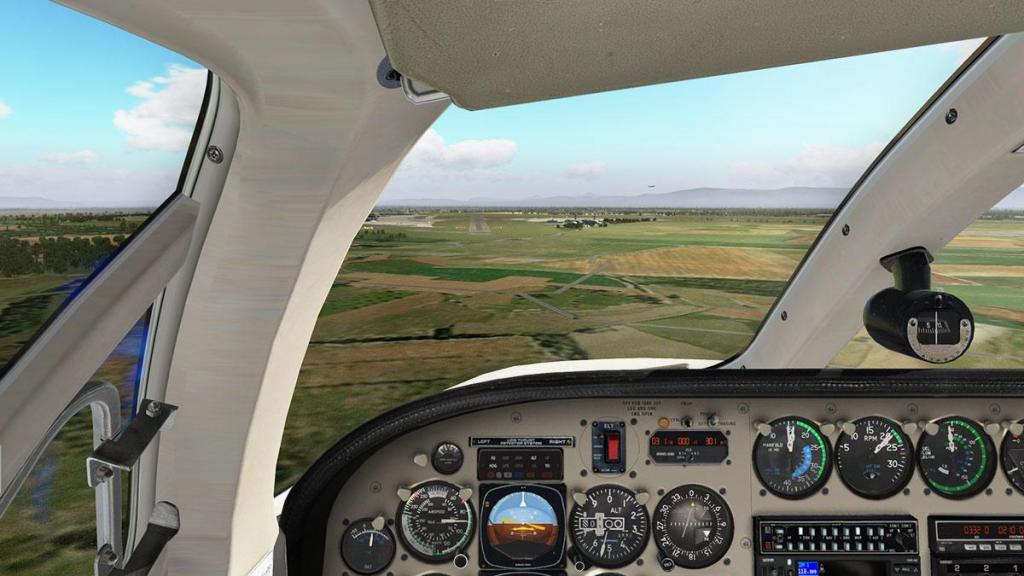
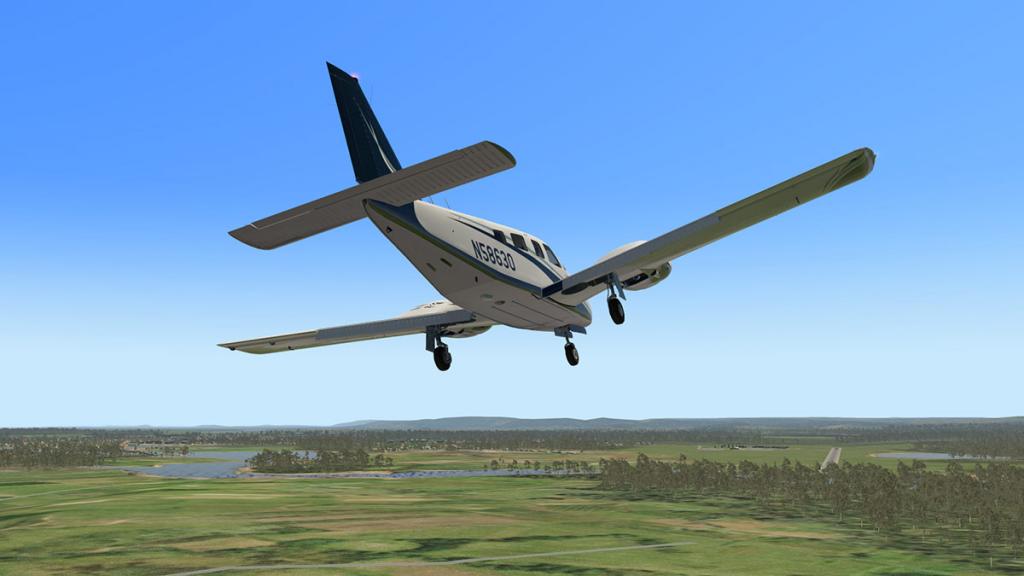
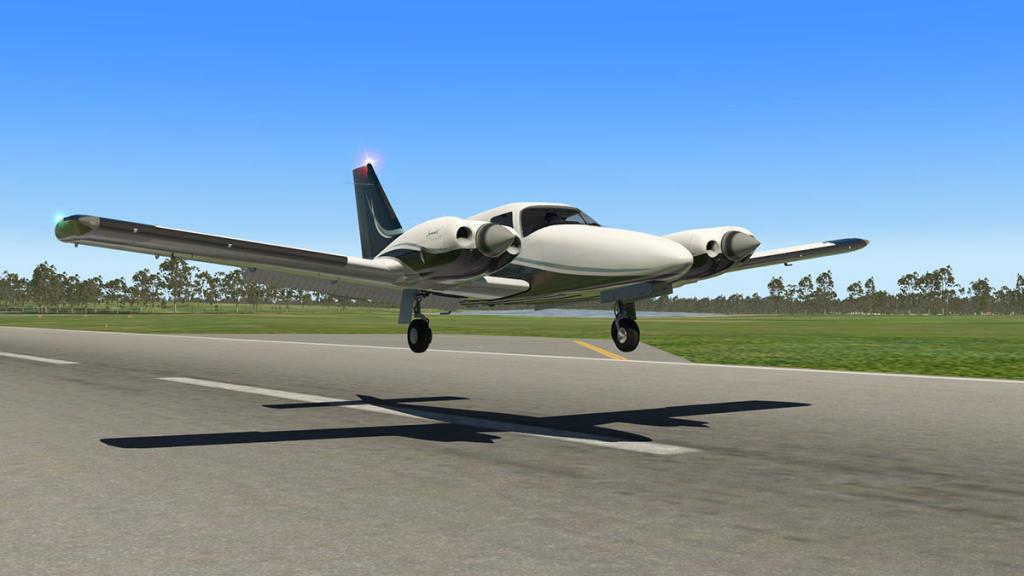
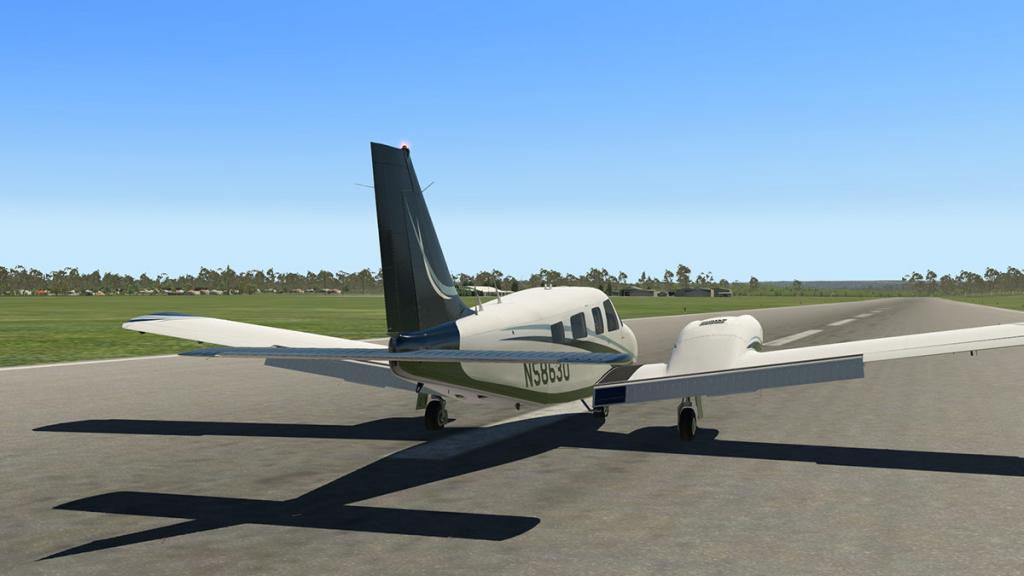
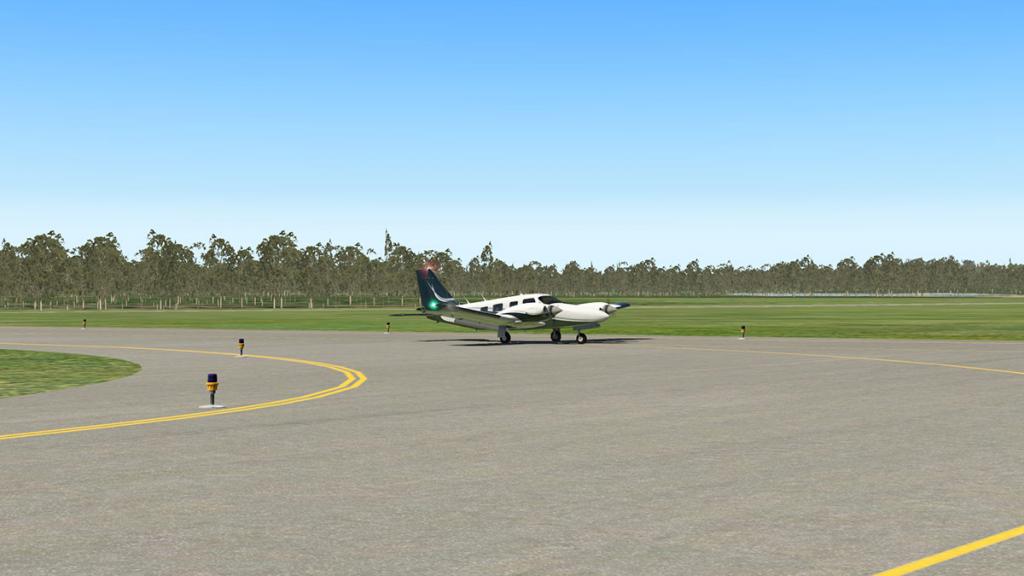
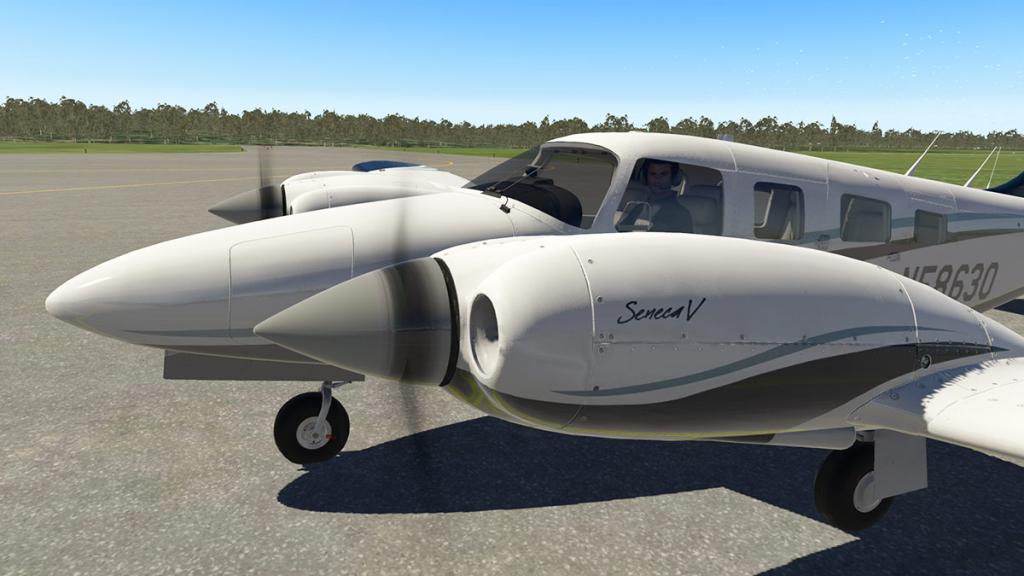
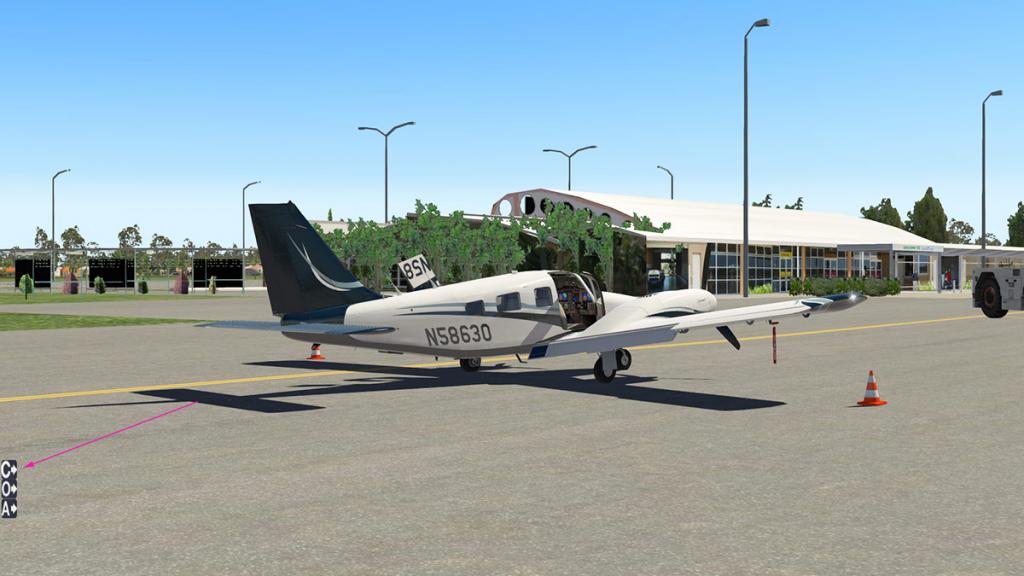
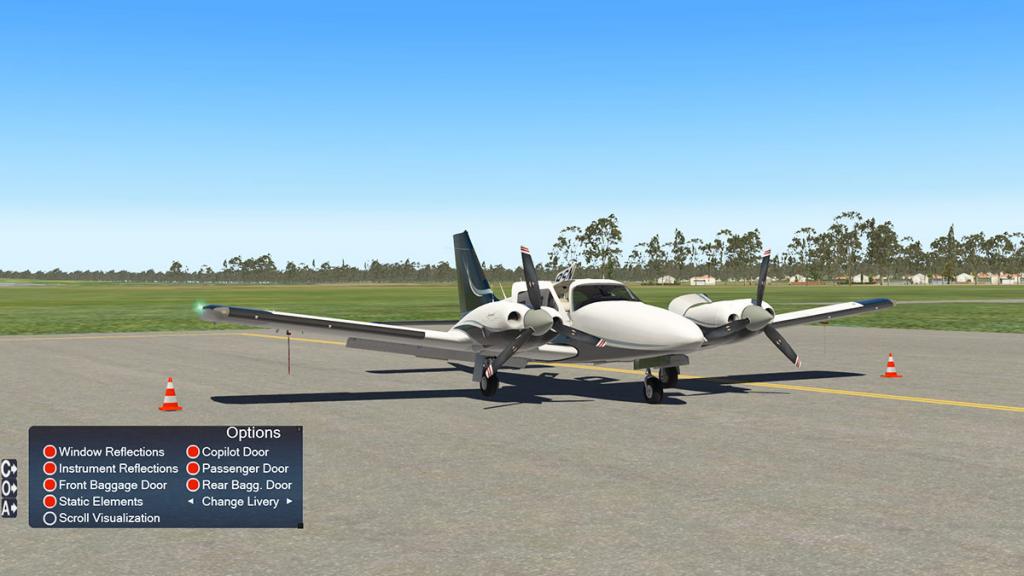
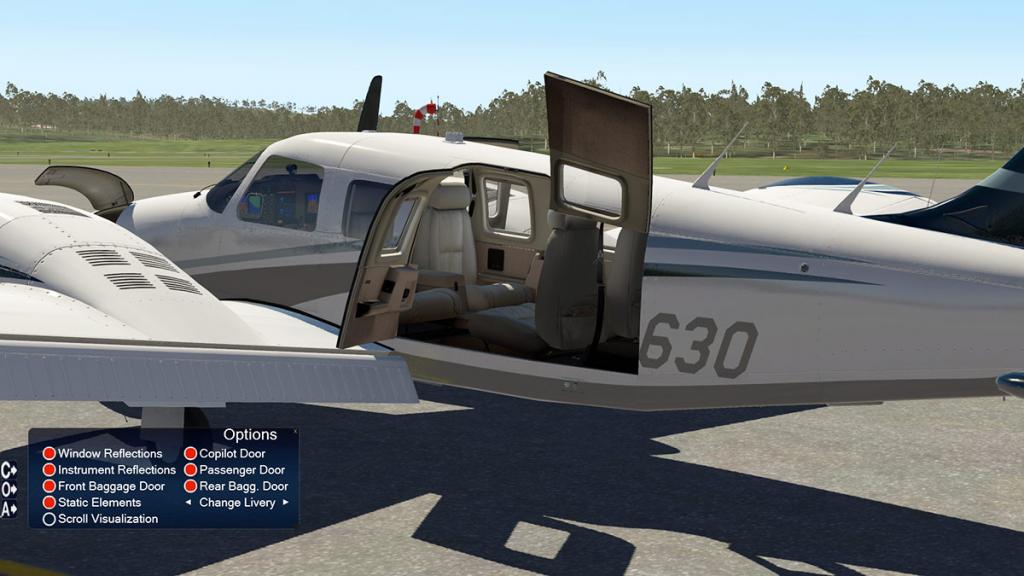
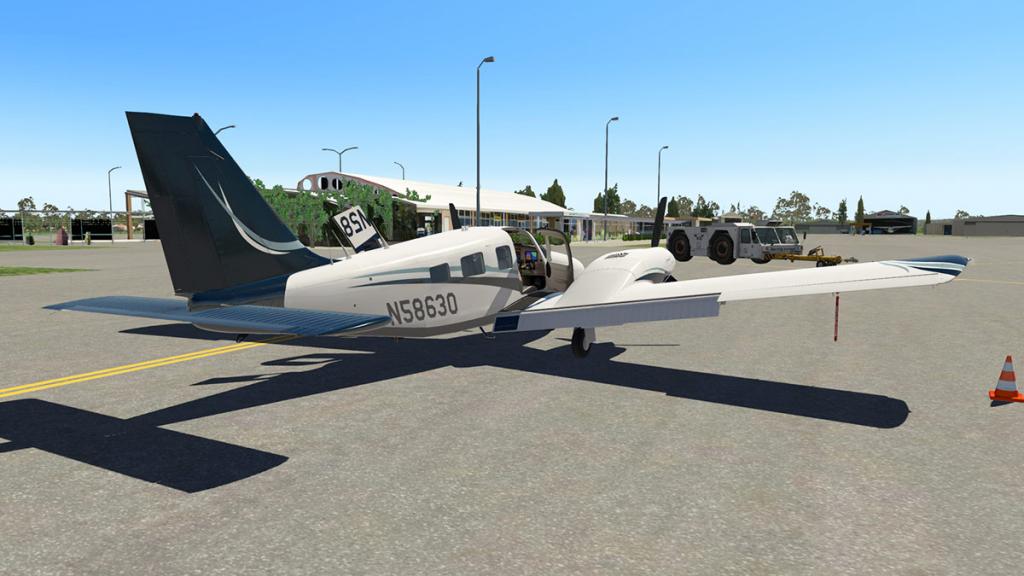
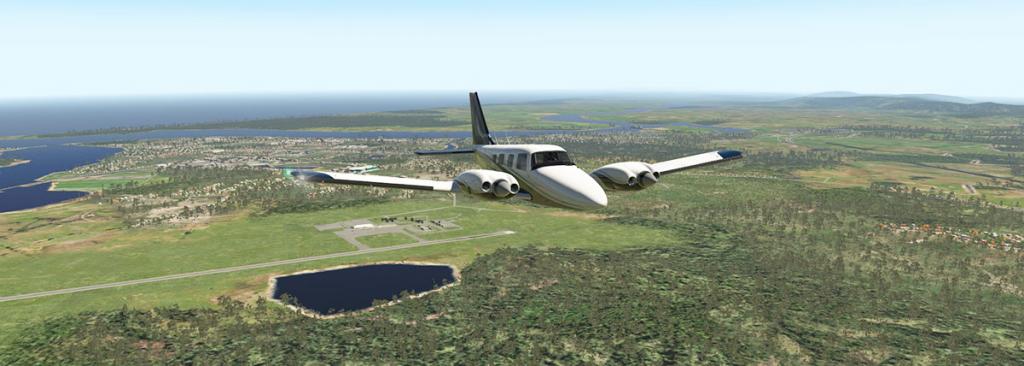
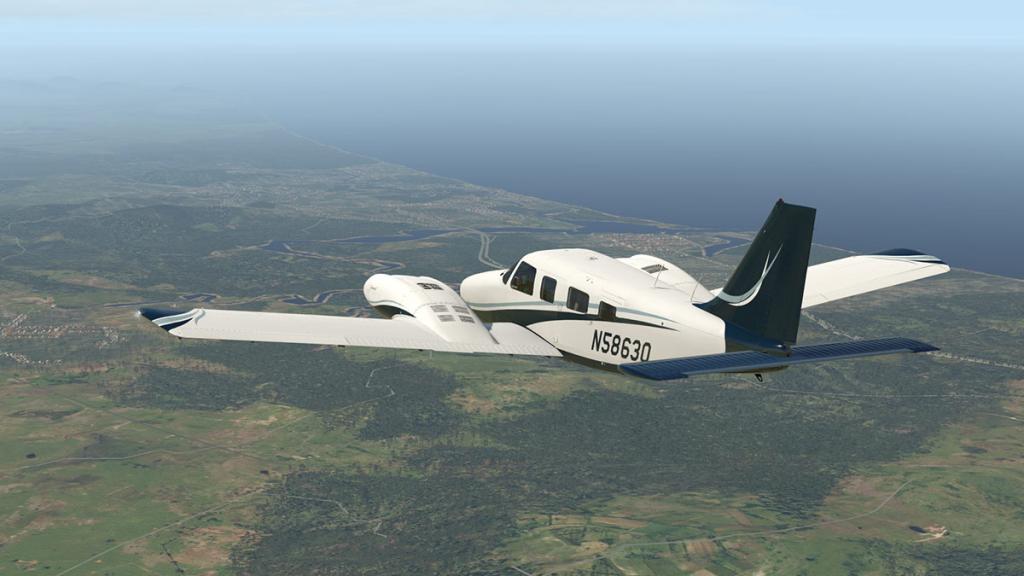
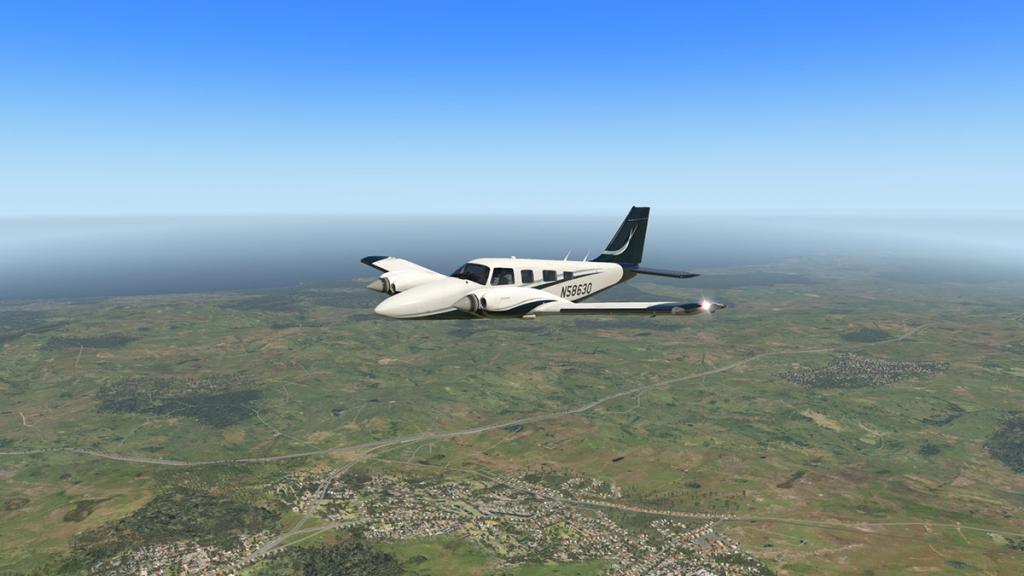
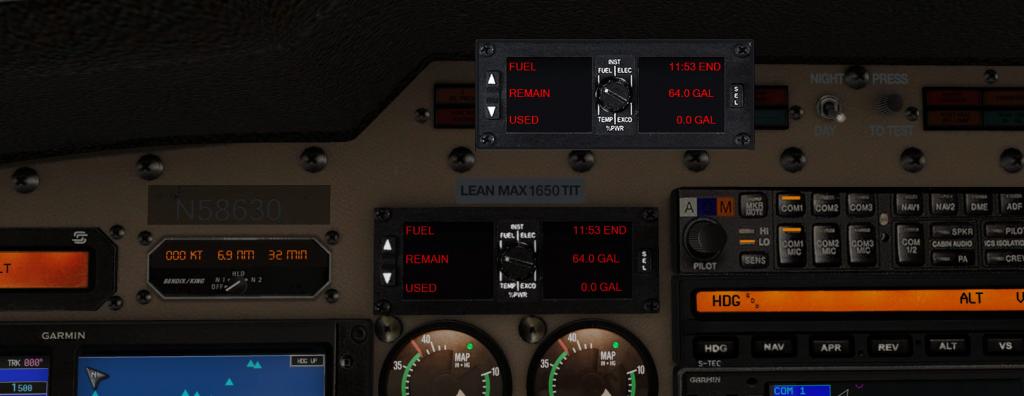
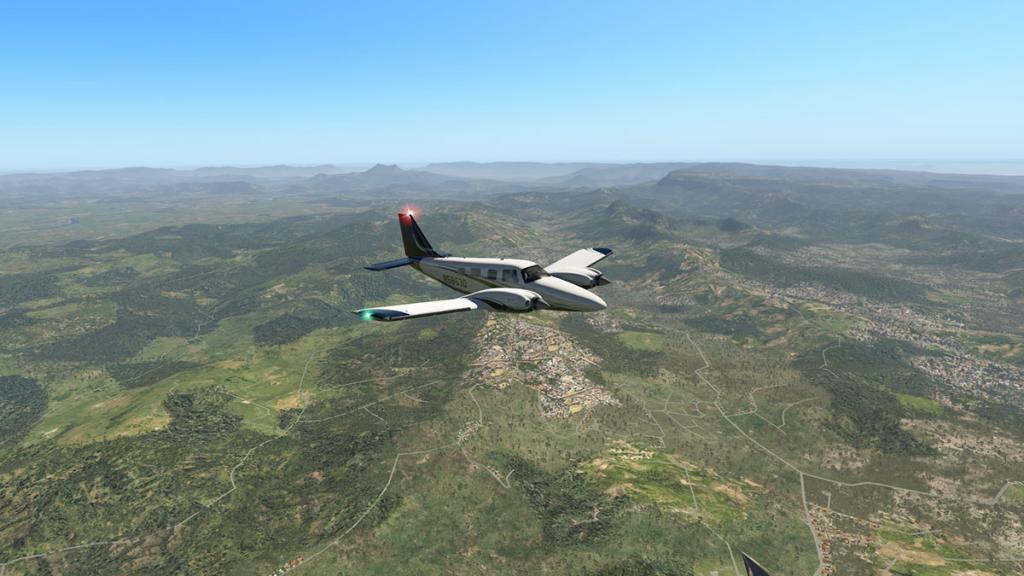
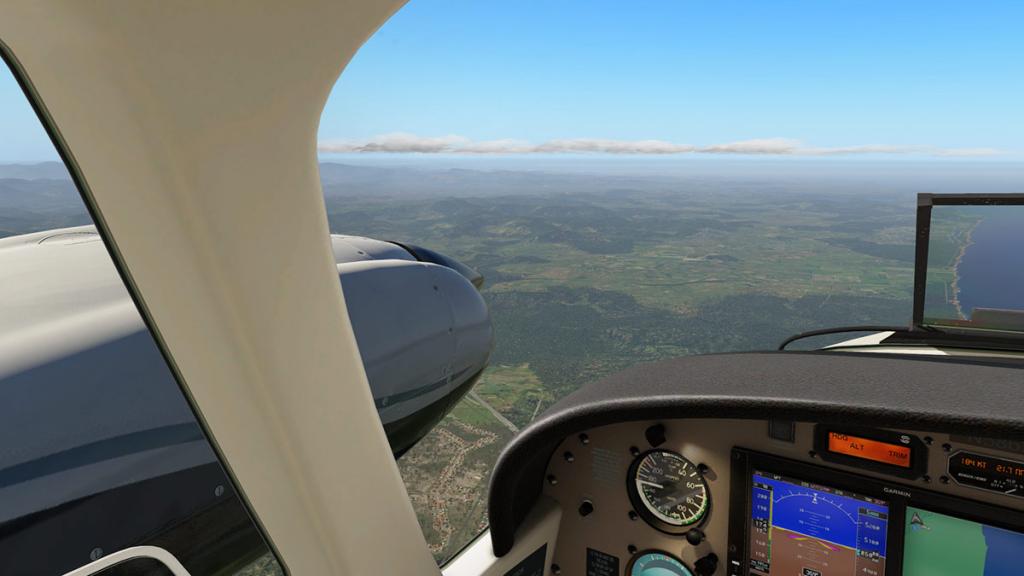
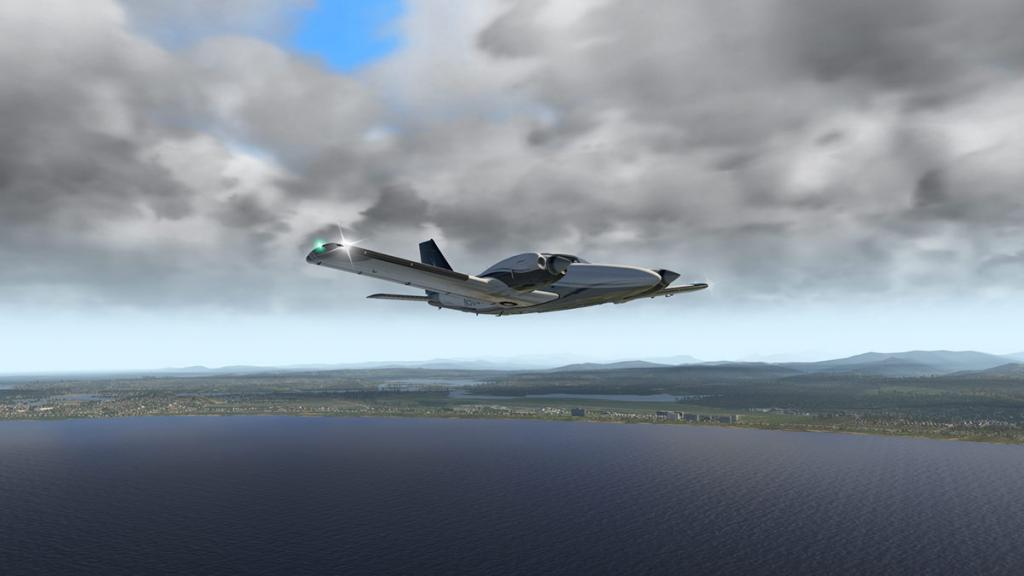
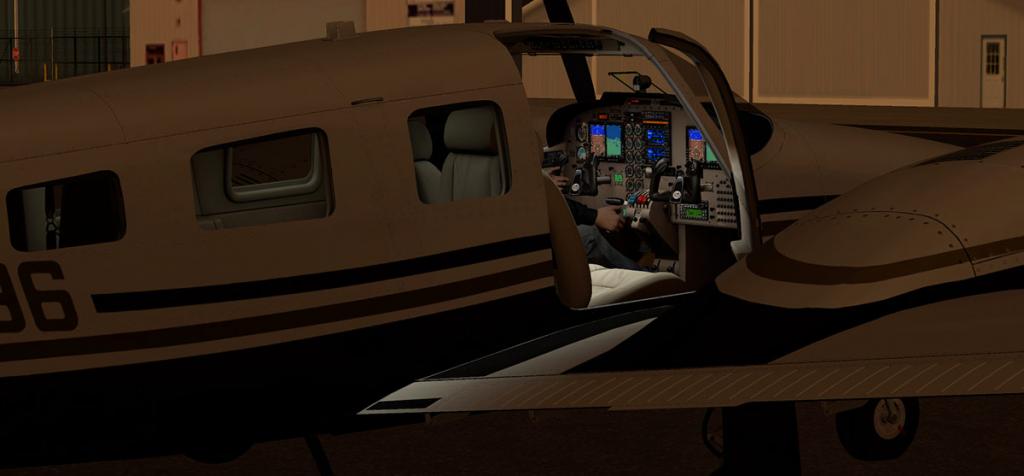
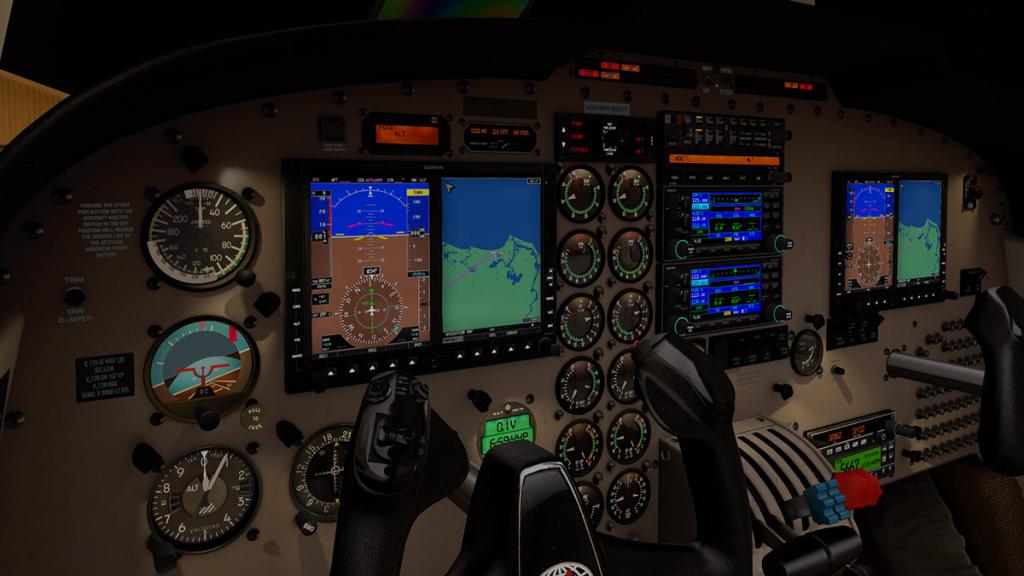
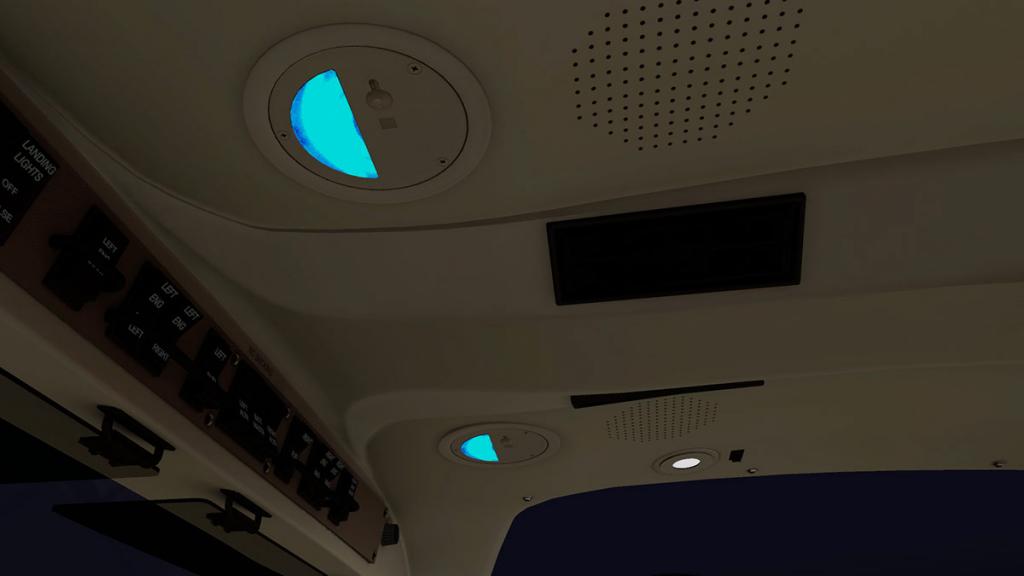
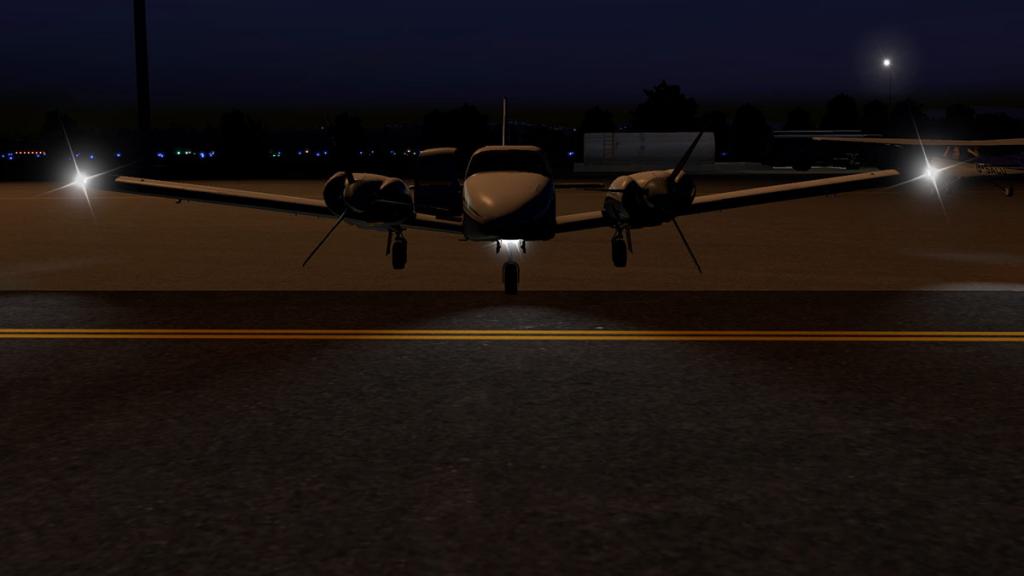
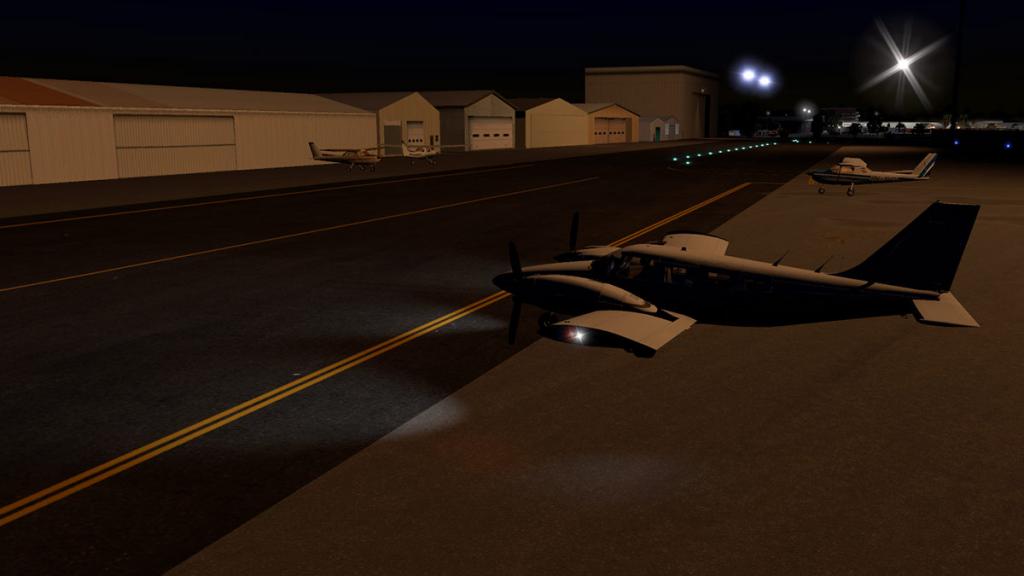
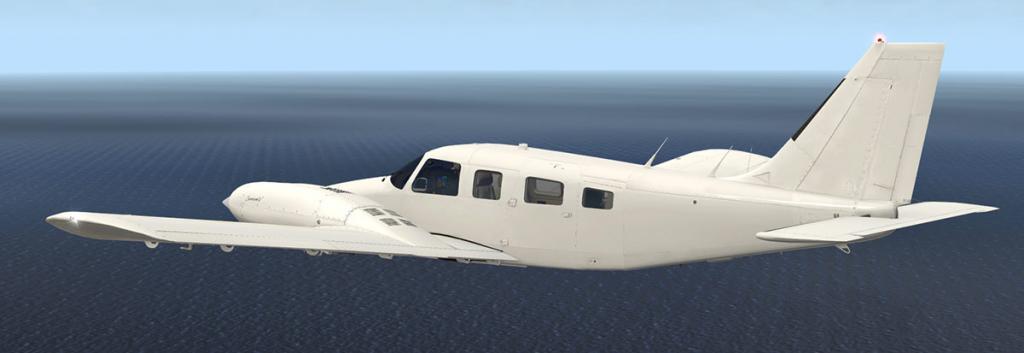
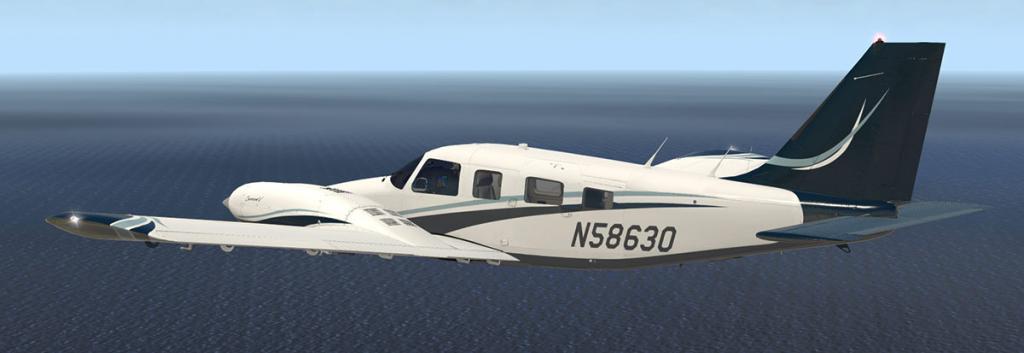
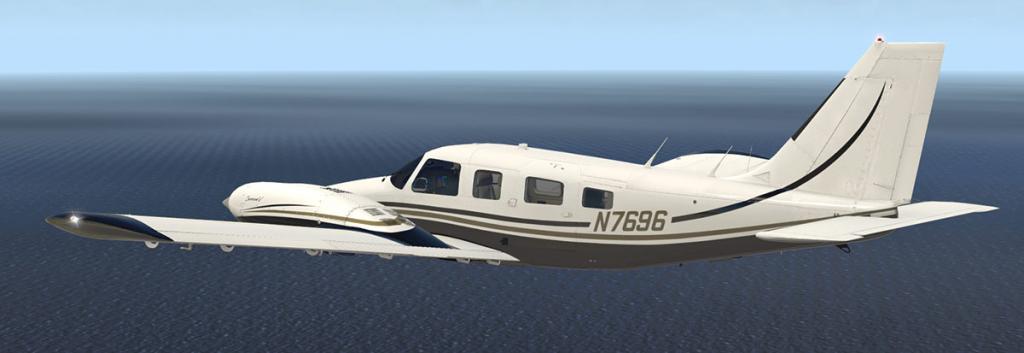
NEWS! - REP for Carenado PA31 Navajo by Simcoders Simcoders have released their next REP package for the Carenado PA31 Navajo. The idea of these Reality Expansion Pack REP packs are to bring a bit more of the everyday running of a GA light aircraft to life, and to also add in more functionality and extra features not found in the original package. Basically if you have used one REP pack then they are all the same with just the aircraft they are attached to in being different. The feature list included in the Navajo REP package is quite long and detailed... Features Code driven flight dynamics - Super smooth to fly, requires your attention all the time - Realistic takeoff, landing, cruise, and overall performance - Realistic roll speed at both high and low speeds - Realistic slow speed behavior Interactive Walkaround - Cockpit checks - Lights checks - Aileron, rudder, elevator, and flaps check - Tire check and choks removal - Tie-down removal - Pitot tube check - Engine cowl check Realistic onboard systems and procedures - Custom Kneeboard (in-sim) and PDF Normal and Emergency Checklists included - Custom Oxygen (O2) system - Custom vacuum system - Custom steering system Mass & Balance Tool - Load the airplane and check the C.G. and weight limits at takeoff and landing - The airplane behavior changes when the C.G. moves Complex Damages System - Triggered by the pilot actions - Based on real-world data - Target every system in the aircraft - Meant to teach how to correctly manage an airplane Simulation state saving - Every single switch and lever position is restored when you reload the aircraft - The battery may discharge if you leave it on and then close X-Plane - When X-Plane is launched, the engine and oil temperature are restored based on the time passed Economic System - Can be enabled/disabled on the fly - Earn virtual money when you fly - Use virtual money to buy fuel and do maintenance/repairs - Realistic fuel prices around the World - Fully compatible with FSEconomy - More info at https://www.simcoders.com/reality-expansion-pack/economy 100% Custom Piston Engine - The Lycoming TIO-540-A2C is modeled down to the smallest bolt and breathes air like a real engine - Realistic turbocharger behavior - Custom fuel pumps and fuel filter - Custom vacuum pumps - Realistic Oil System affected by Oil Viscosity. Choose the best oil grade for your kind of operation. - Spark plugs fouling. Change the spark plugs type in the maintenance report. - Working engine preheater - A custom algorithm simulates the fuel/air mixture and its combustion - Custom injection system simulation - It is possible to switch the default fuel injectors with balanced ones (provide better performance) - High fidelity power curve - Custom system failures - Realistic startup behavior and procedures - Automatic startup option for a quick start - Differencies in throttle, propeller, and mixture levers setting from left and right engine to achieve the same power make the simulation more realistic (engine differencies can be disabled in settings) Engine Preheater and Winterisation Kit - The engine may be warmed up upon start with the provided electrical heater - Once activated, the electrical heater runs even when you close the simulator Interactive towing - Push, pull and steer using the joystick - Towbar simulation Electrical & Avionics System - Realistic Battery behavior - The battery can be disconnected if the airplane is not used for some time - The avionics are damaged if on when the engine starts/shuts down Realistic Landing Gear - The landing gear is damaged by hard landings - The brakes and tires are damaged if not managed correctly Custom simulation of Hypoxia - Tunnel vision - Hard breathing Learn with the in-flight tips - A noninvasive tip with a suggestion about the conduct of the flight is shown when you are not flying the airplane properly - A noninvasive tip with a suggestion on how to recover the problem is shown when you damage the airplane Native Virtual Reality Support - Complete support of new X-Plane SDK 3.0 - Menu visible in VR - Windows visible in VR Developed with love - Coded by real pilots Automatic Updates - The airplane is constantly improved - Issues are quickly fixed Very easy on FPS - Written in C++ with no compromises Developed by Simcoders support forums for the REP PA31 Navajo Important: the Carenado PA31 NAVAJO HD SERIES XP11 is required for this add-on. It will not work on other aircraft Images are courtesy of Simcoders ________________________________________ The Reality Expansion Pack for Carenado PA31 Navajo by Simcoders is now available from the X-Plane.OrgStore!... Here: Reality Expansion Pack for Carenado PA31 Navajo Price is US$19.99 Requirements X-Plane 11 Important: the Carenado PA31 NAVAJO HD SERIES XP11 is required for this add-on. It will not work on other aircraft Current version: 4.6.1 (March 28th 2022) ________________ News by Stephen Dutton 29th March 2022 Copyright©2022: X-Plane Reviews Disclaimer. All images and text in this review are the work and property of X-PlaneReviews, no sharing or copy of the content is allowed without consent from the author as per copyright conditions) All Right Reserved.
-
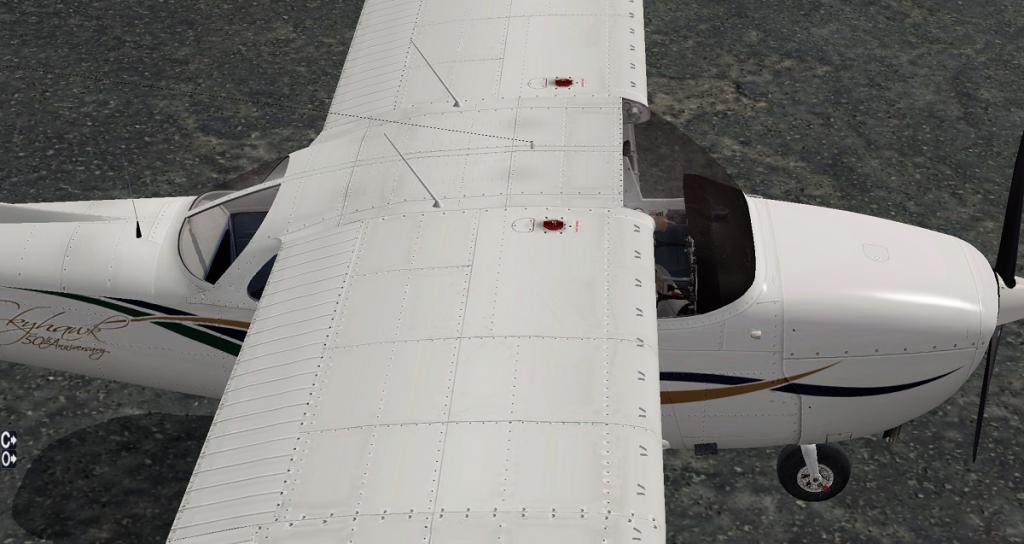
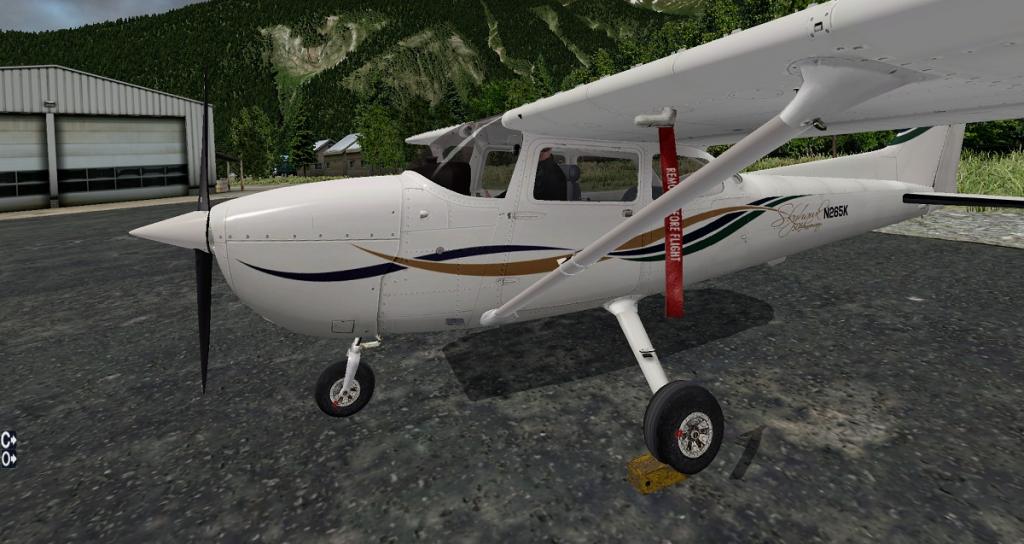
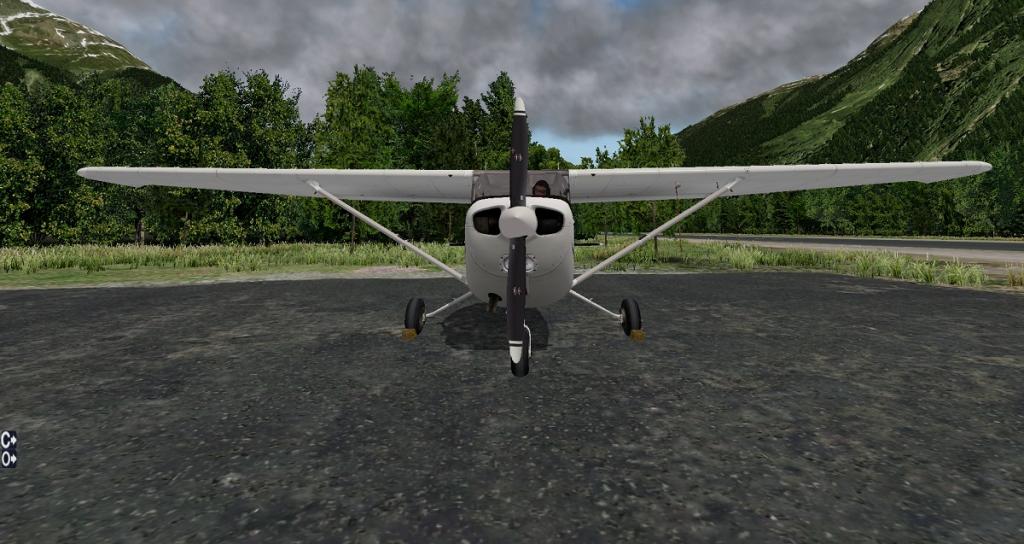
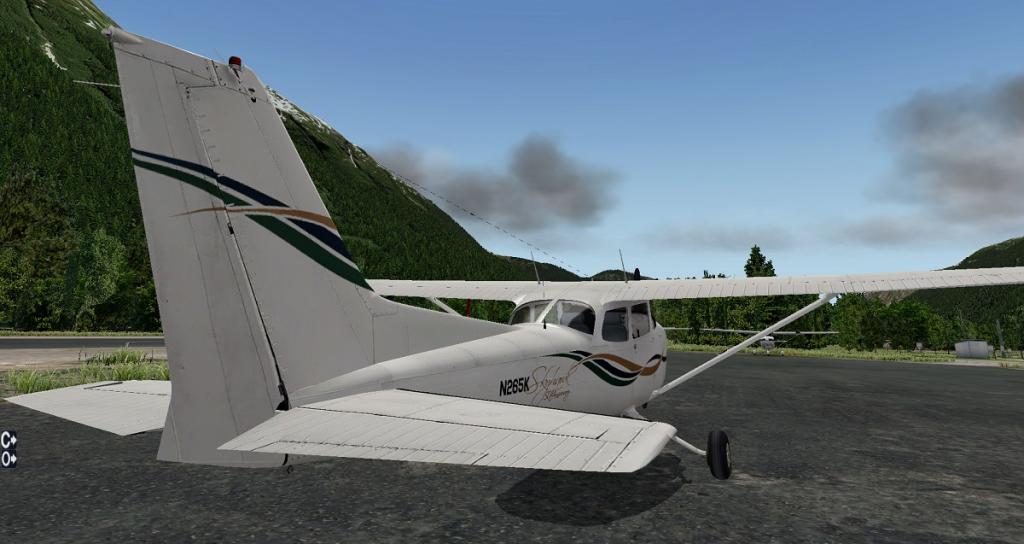
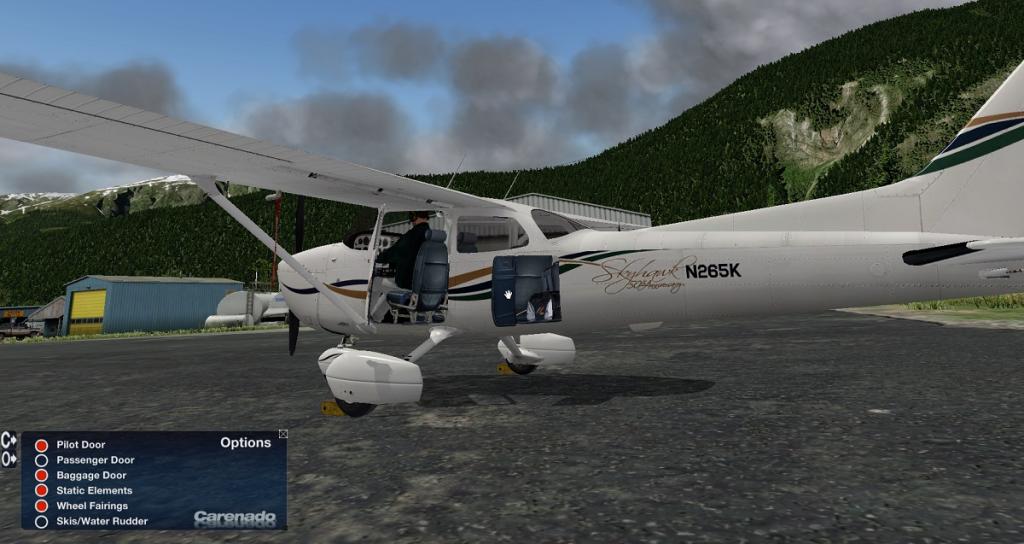
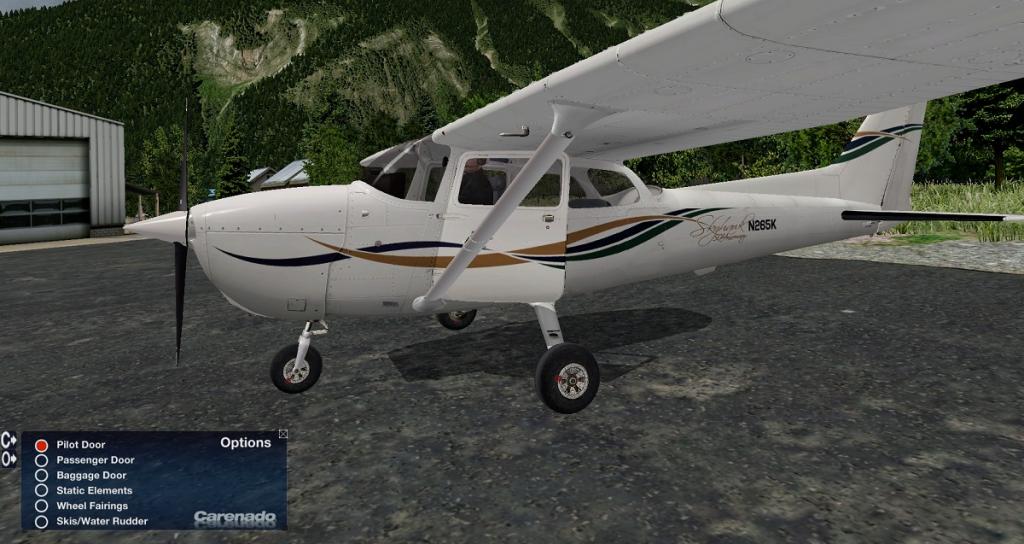
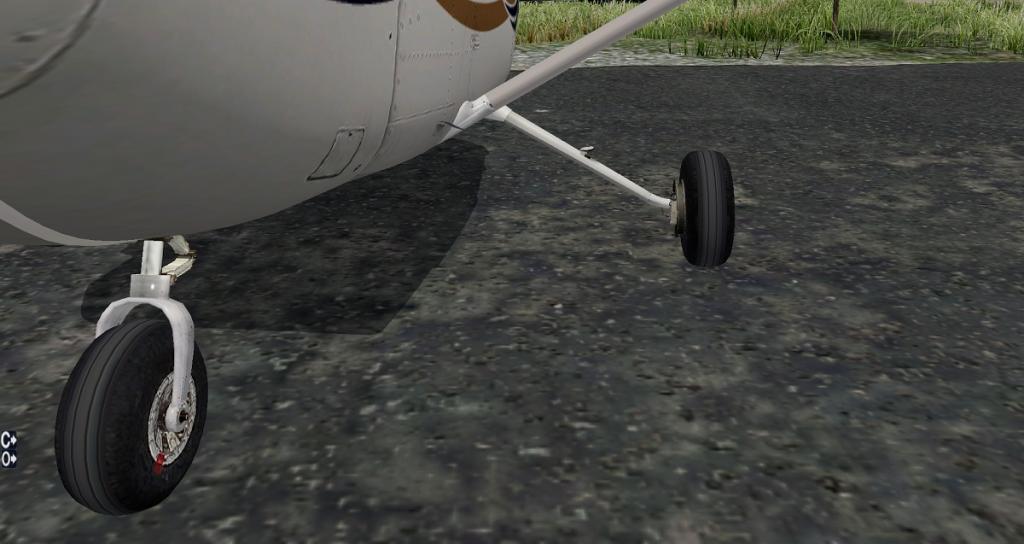
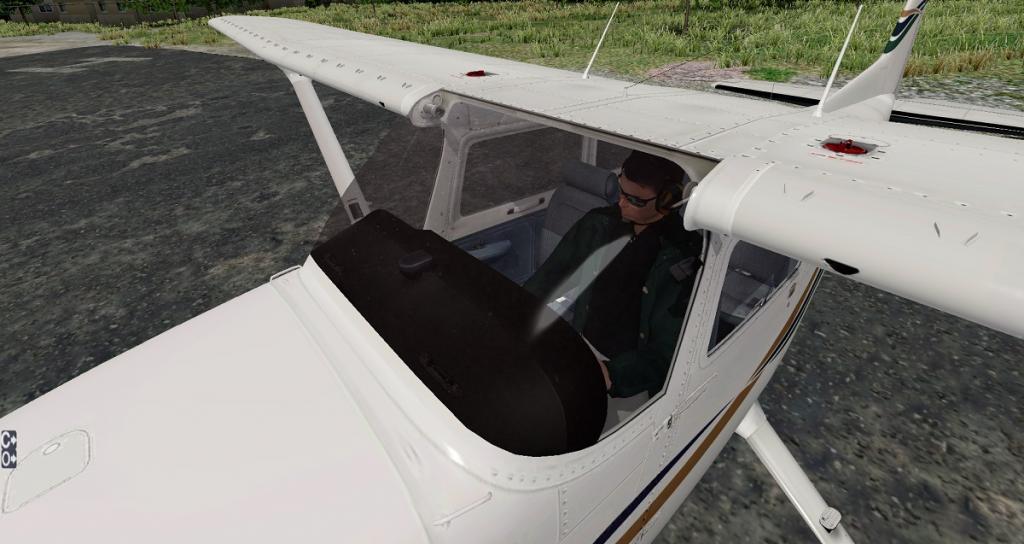
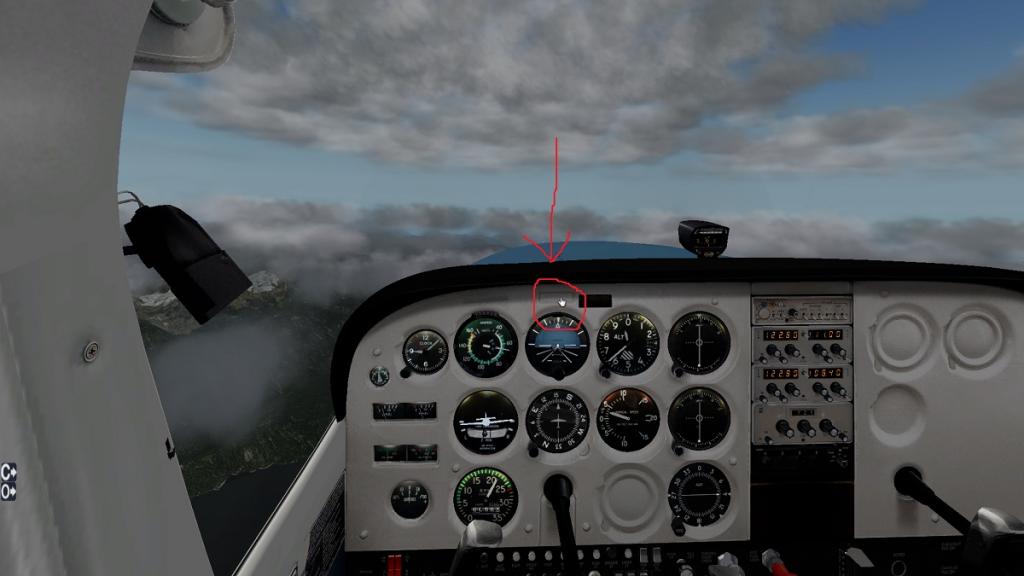
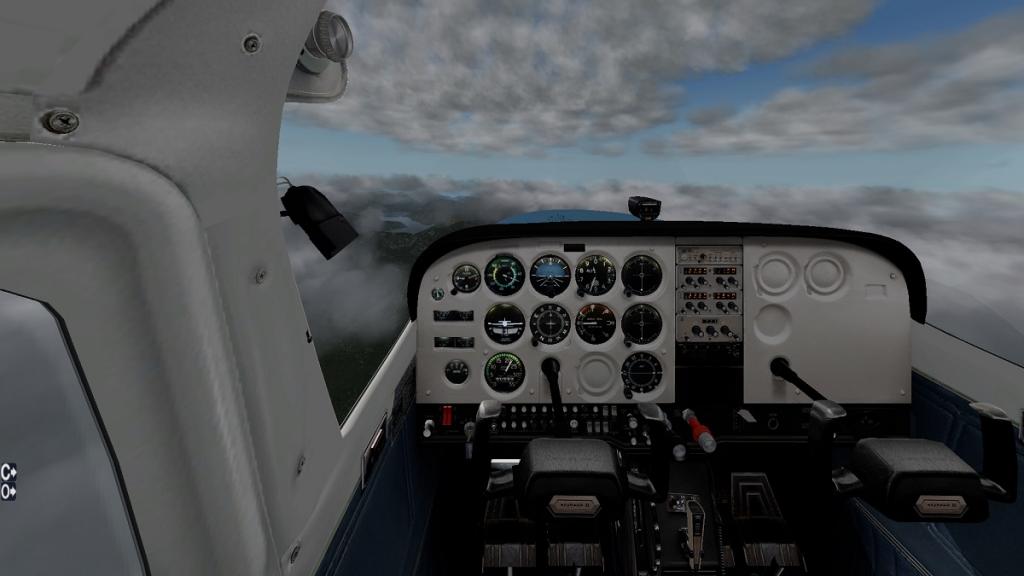
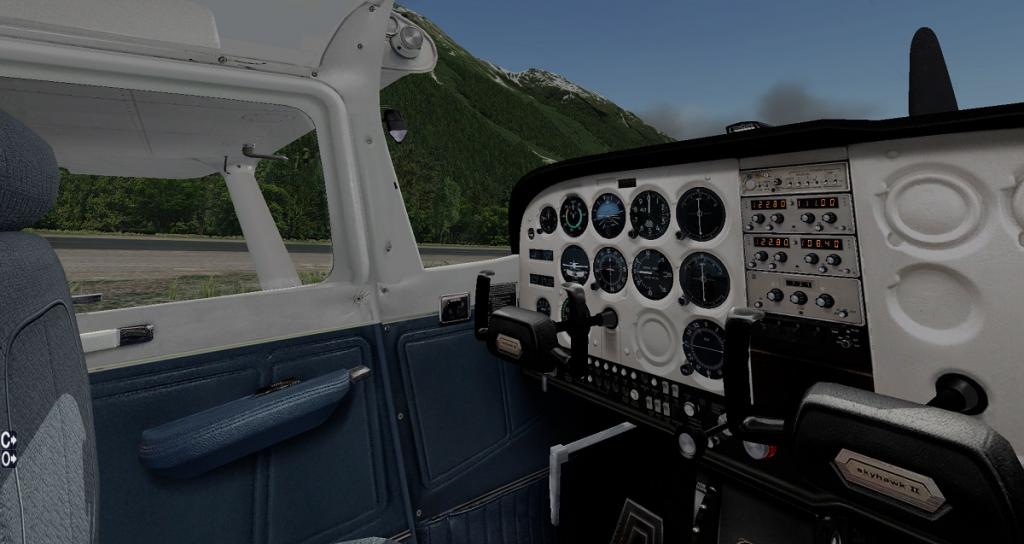
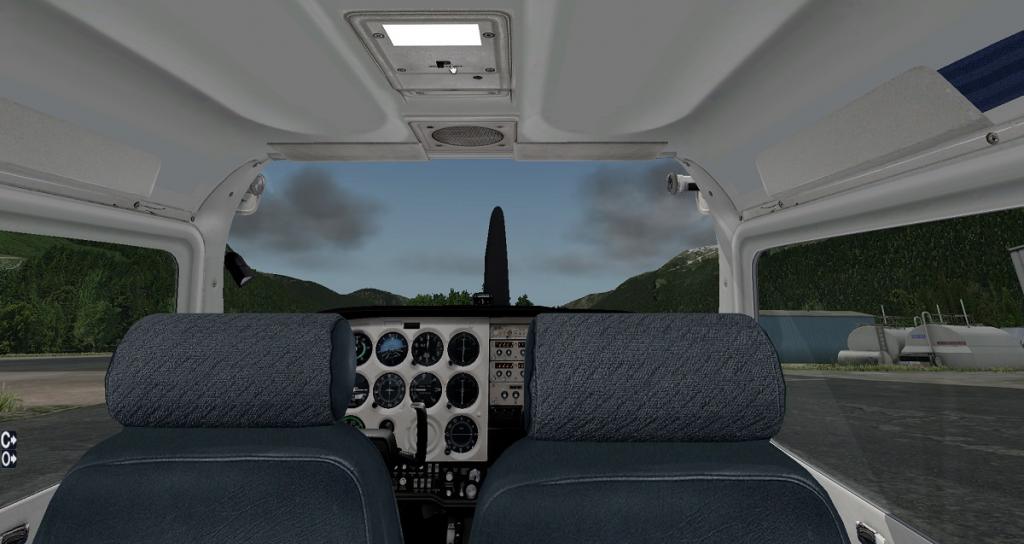
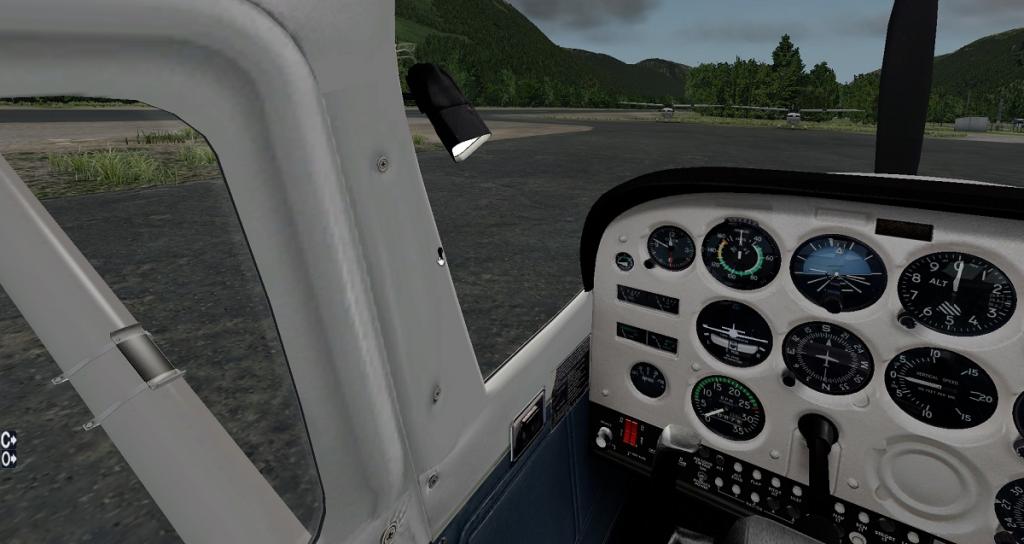
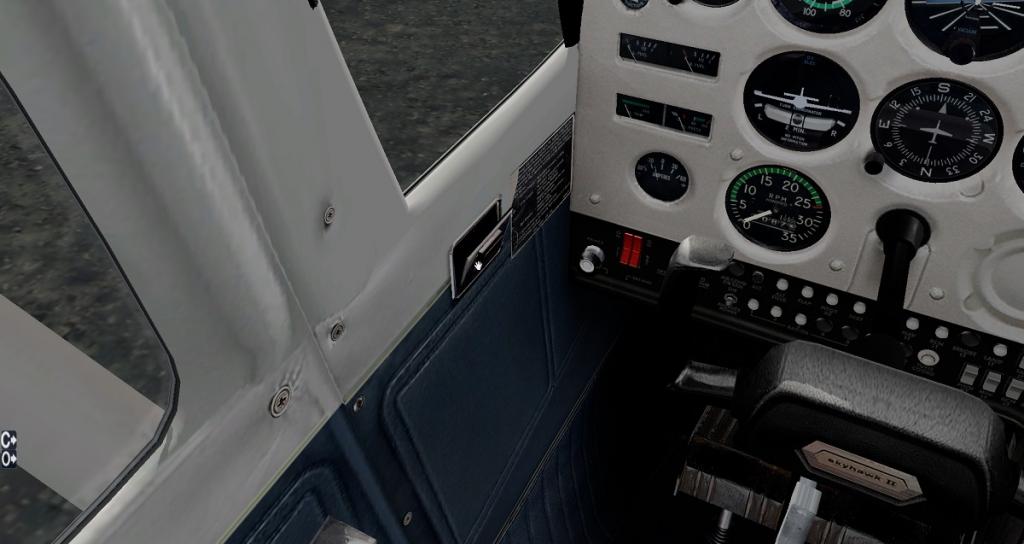
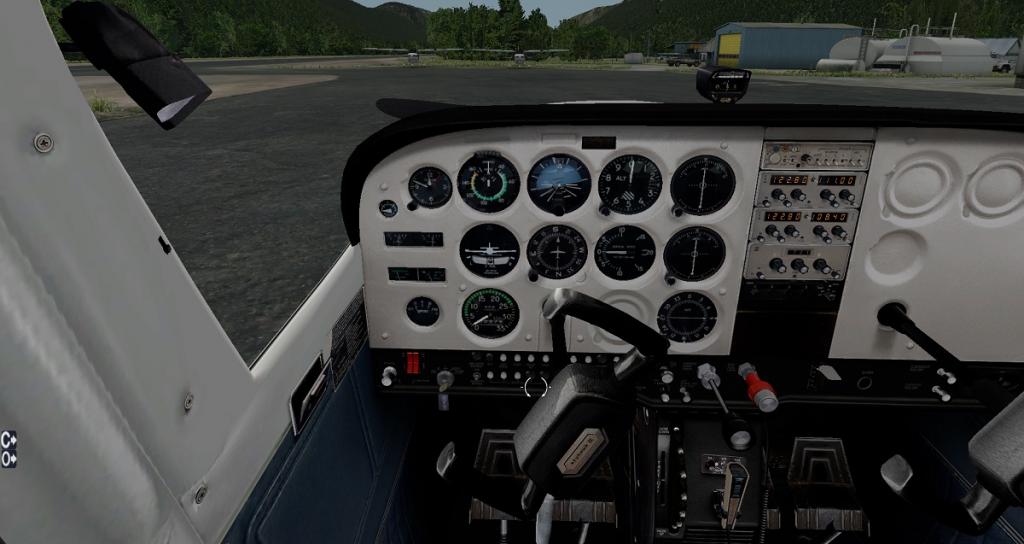
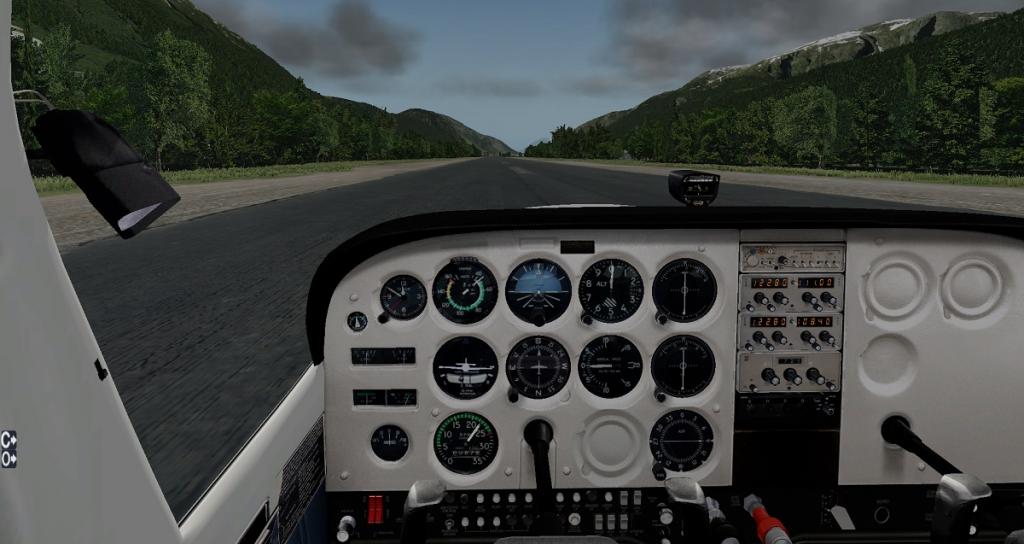
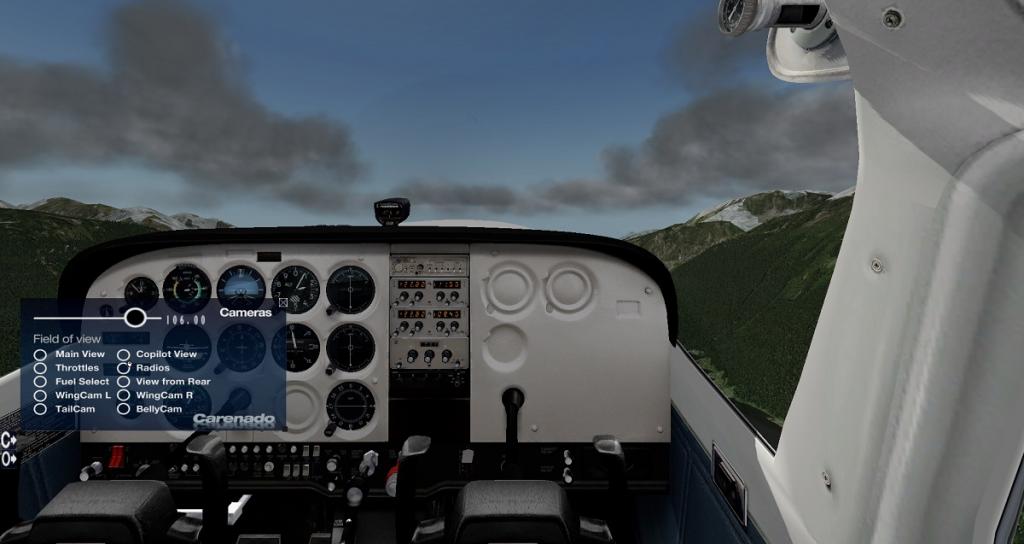
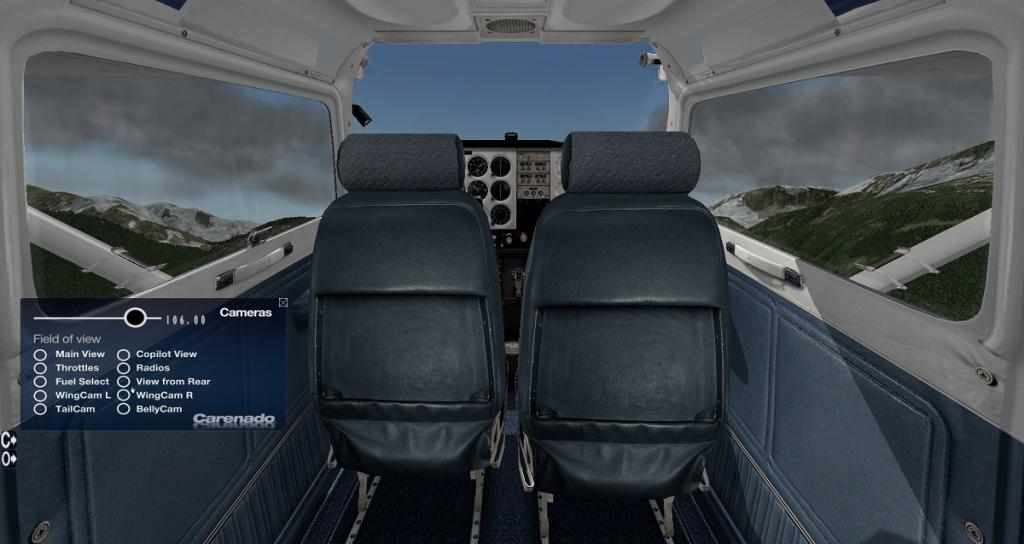
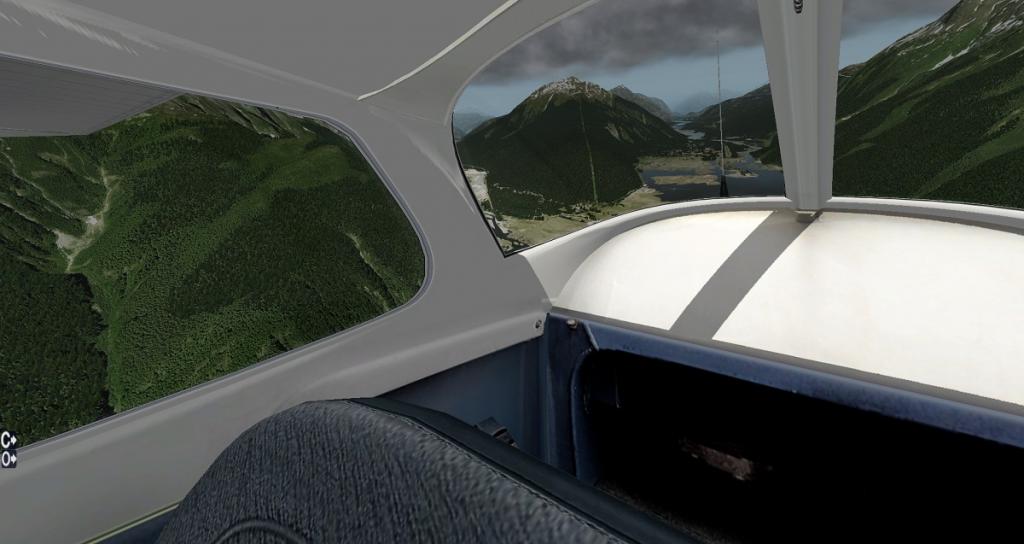
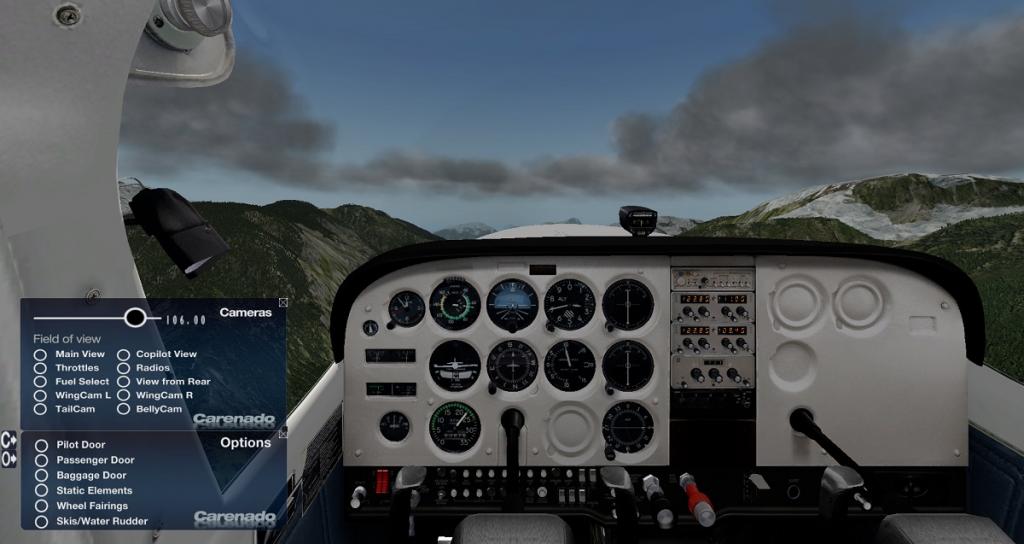
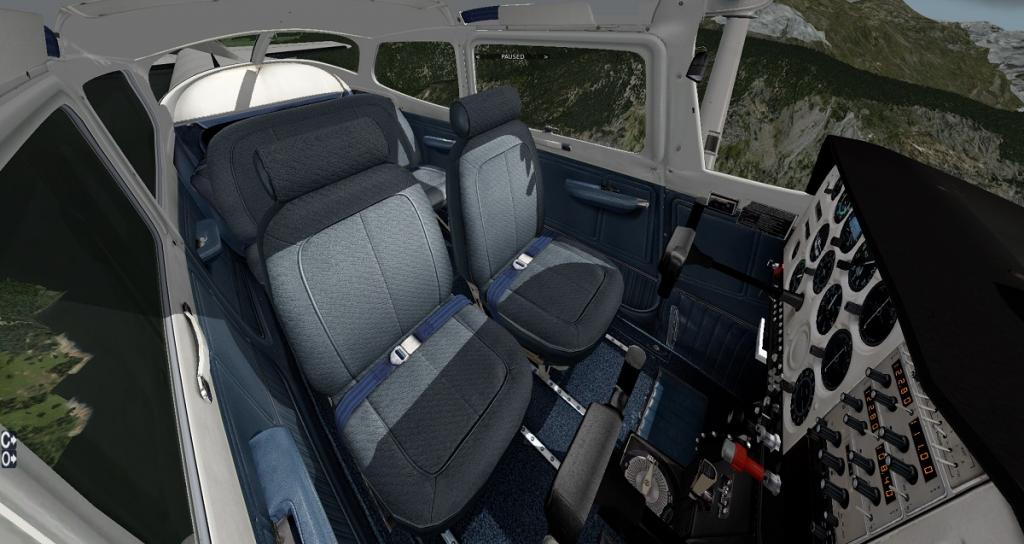
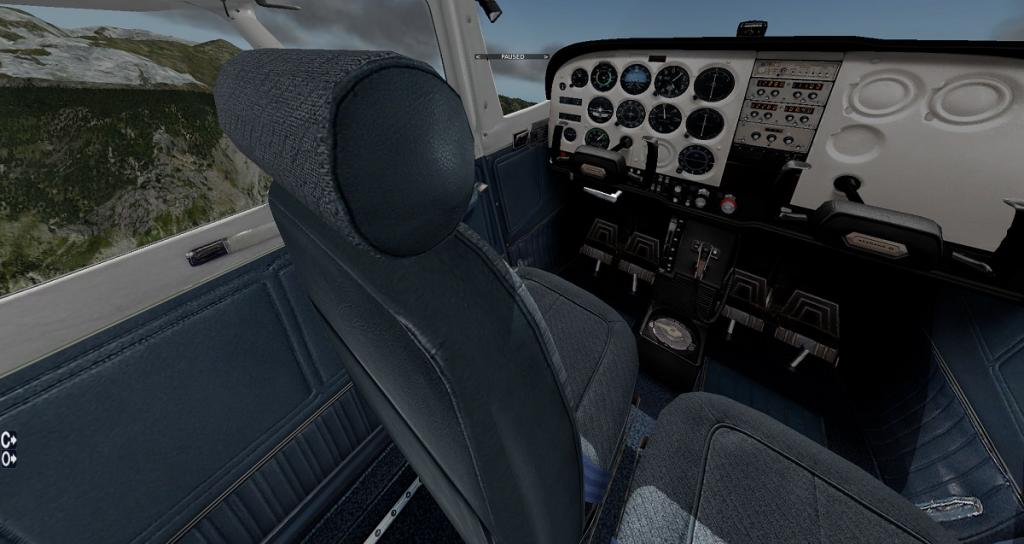
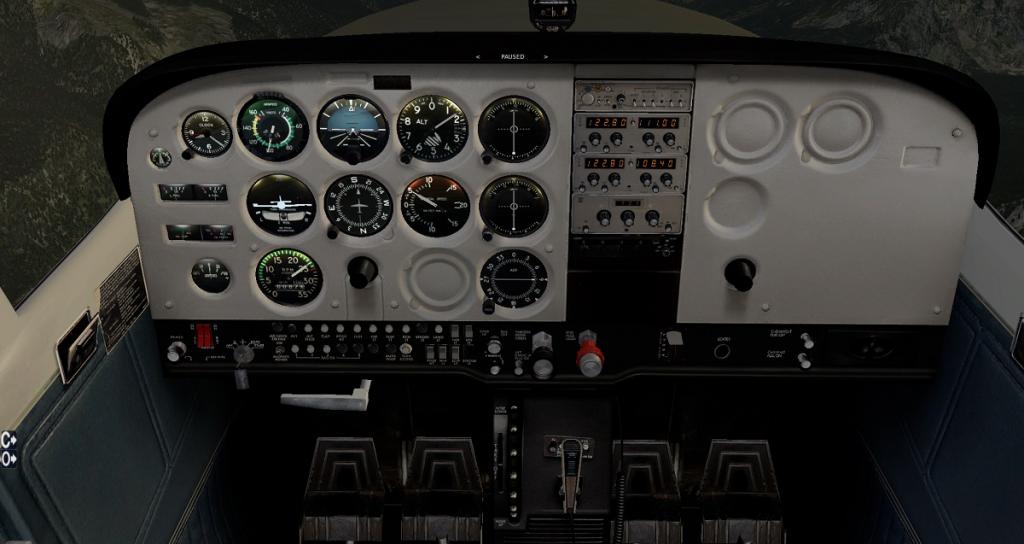
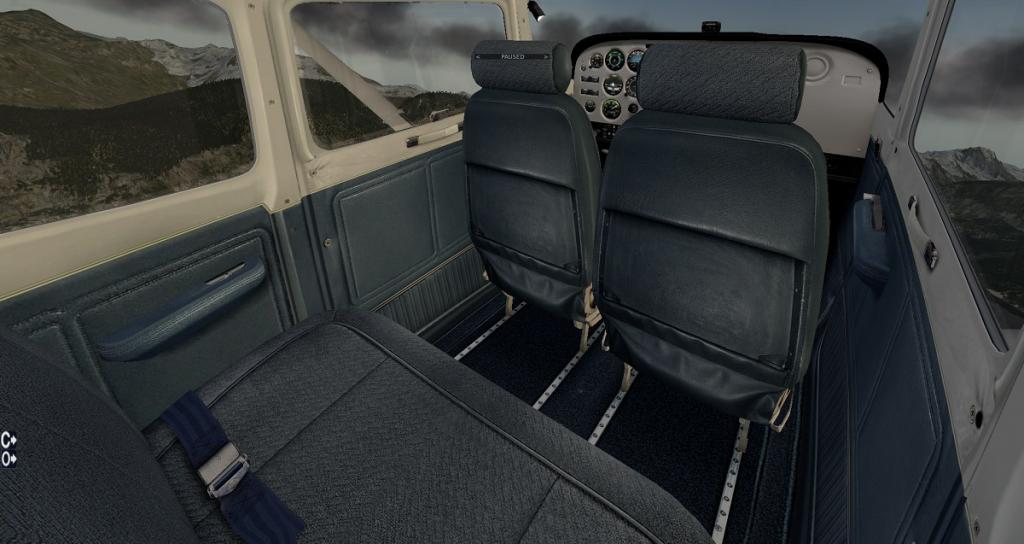
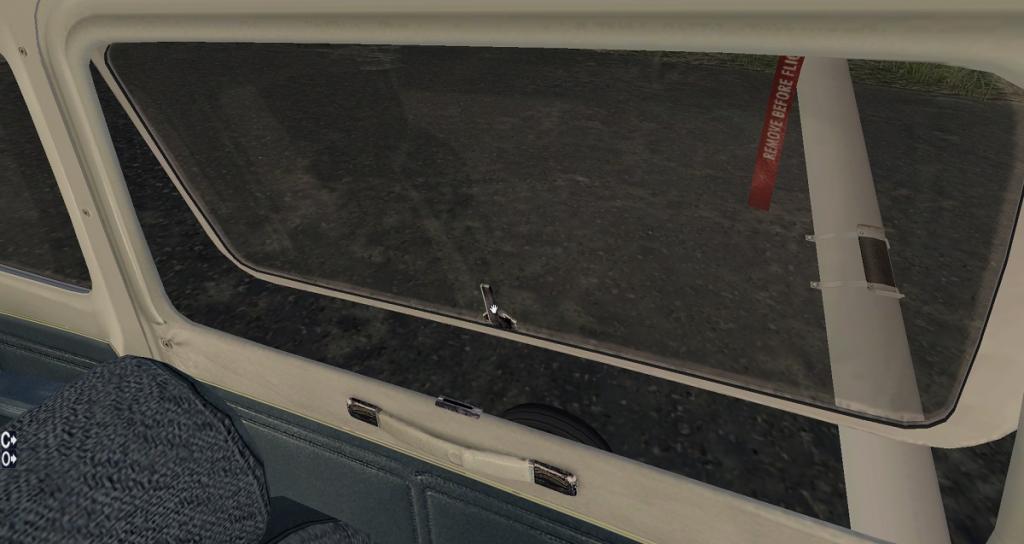
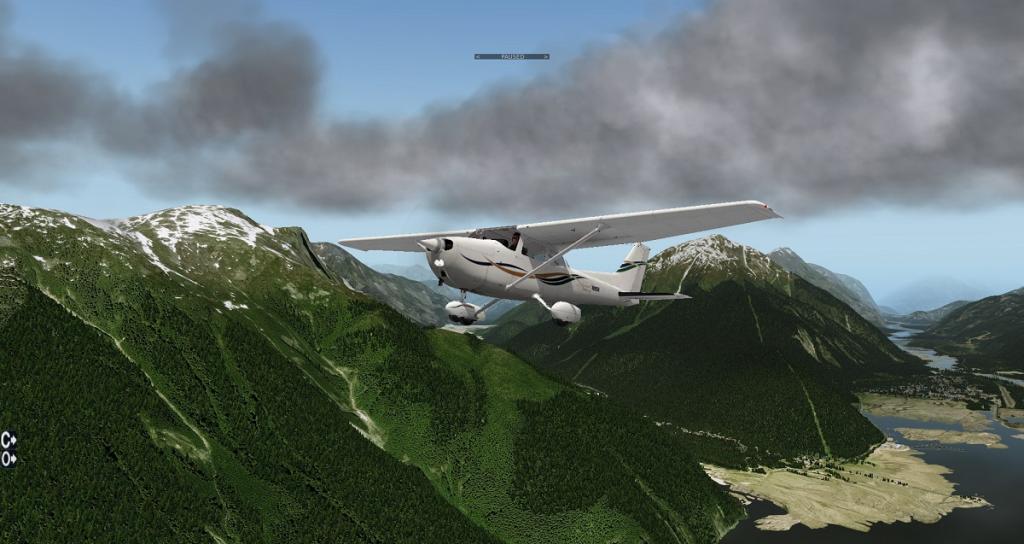
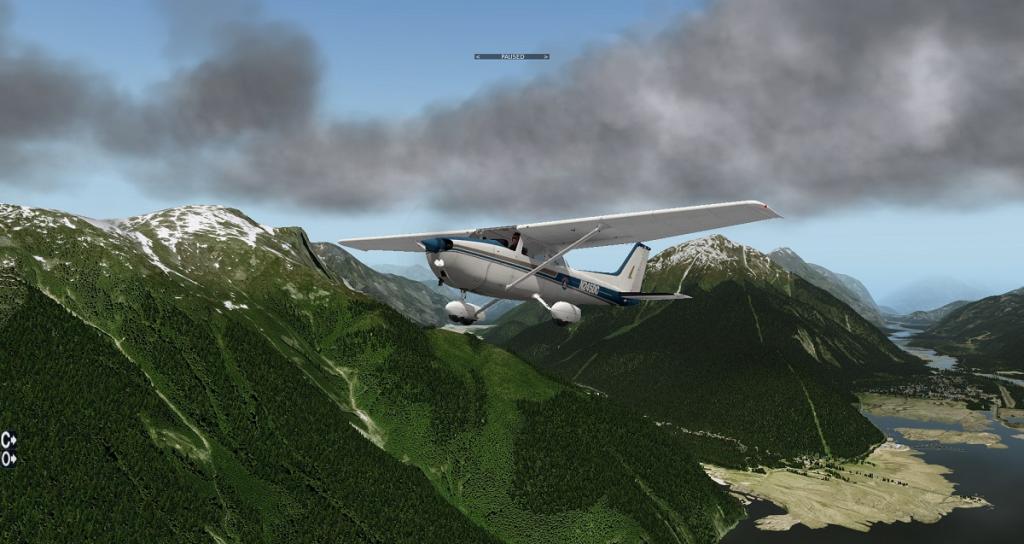
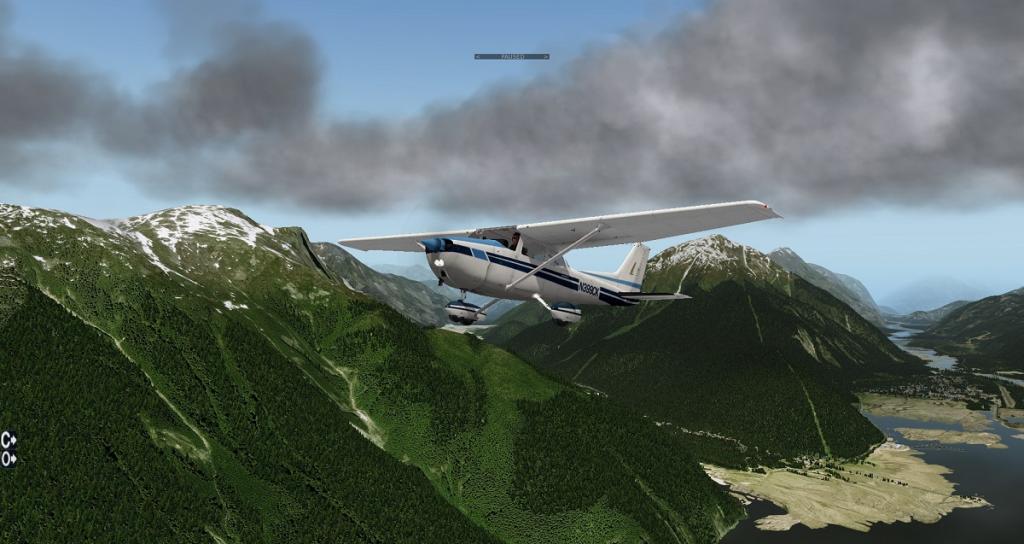
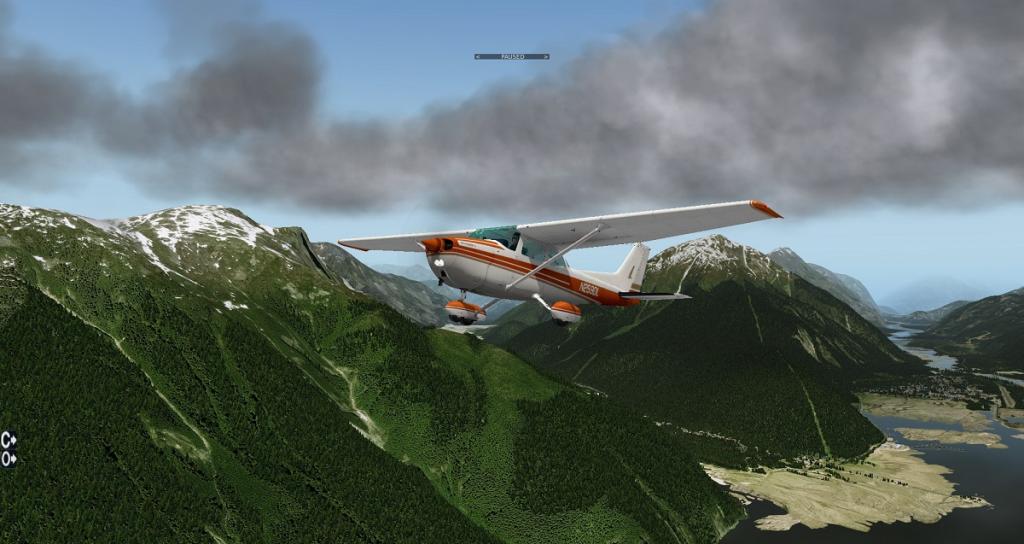
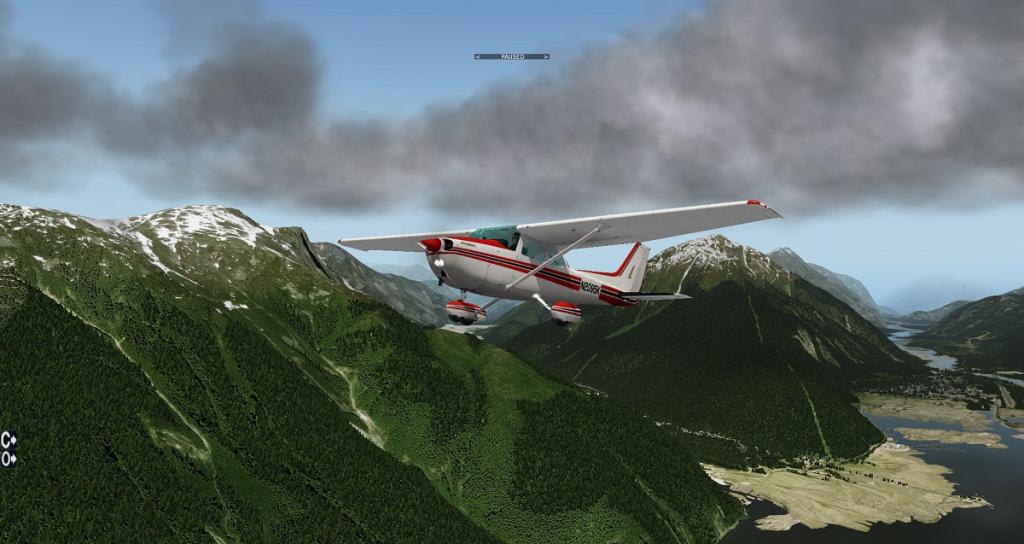
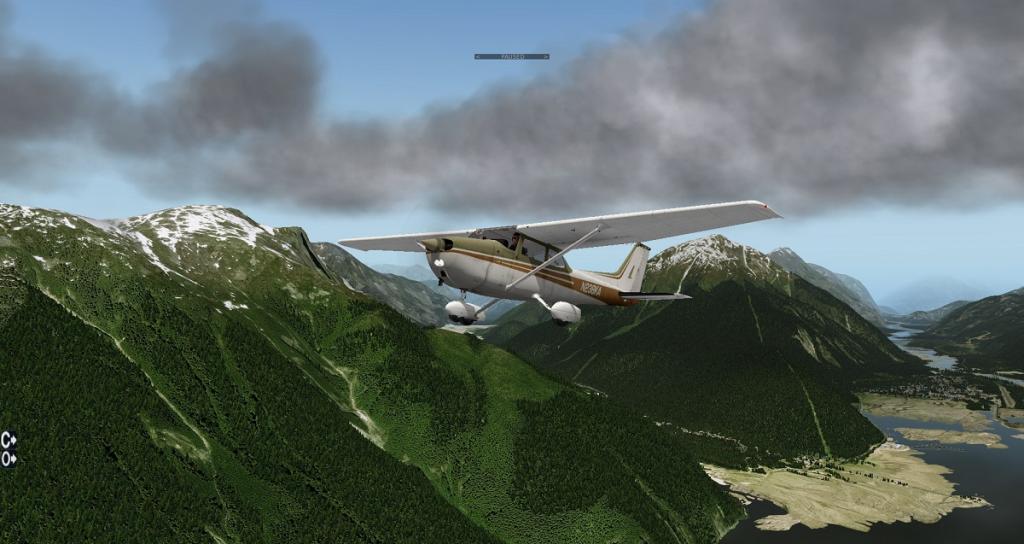
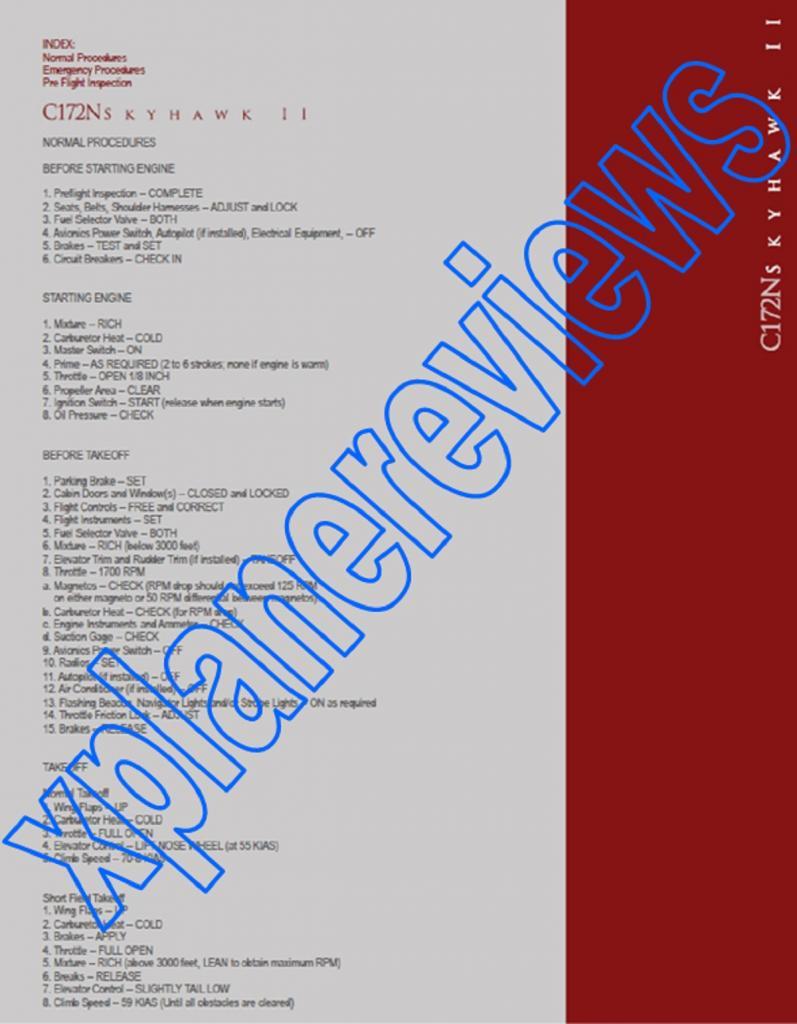
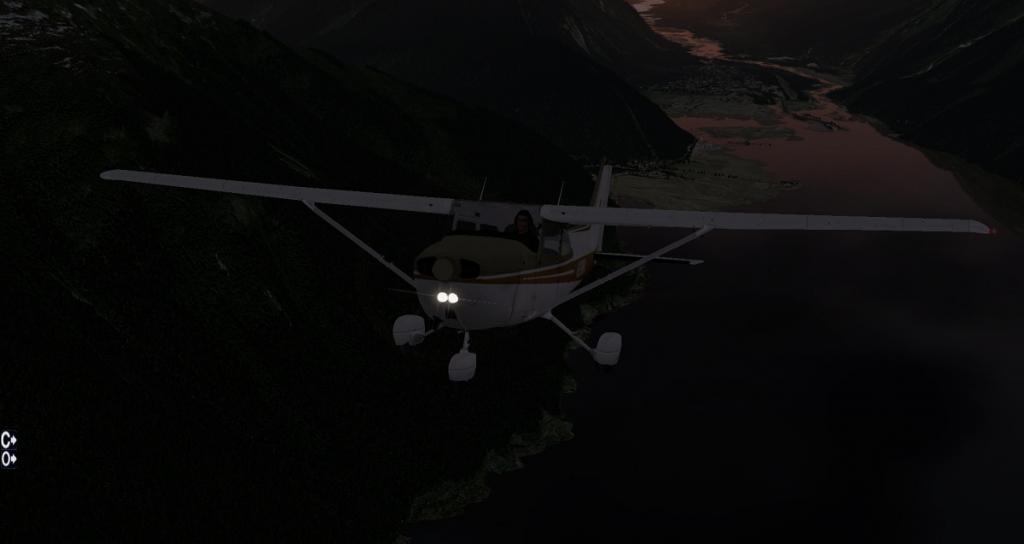
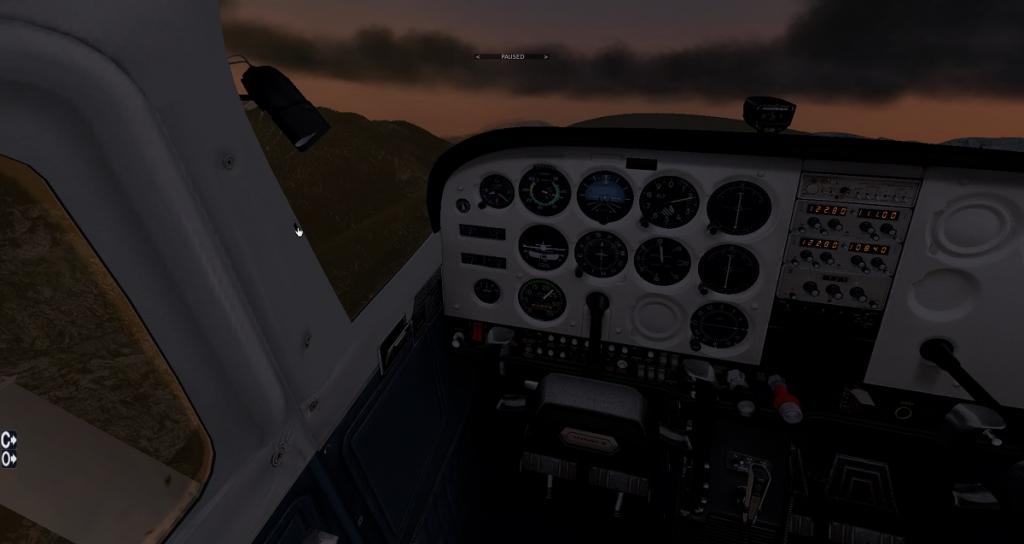
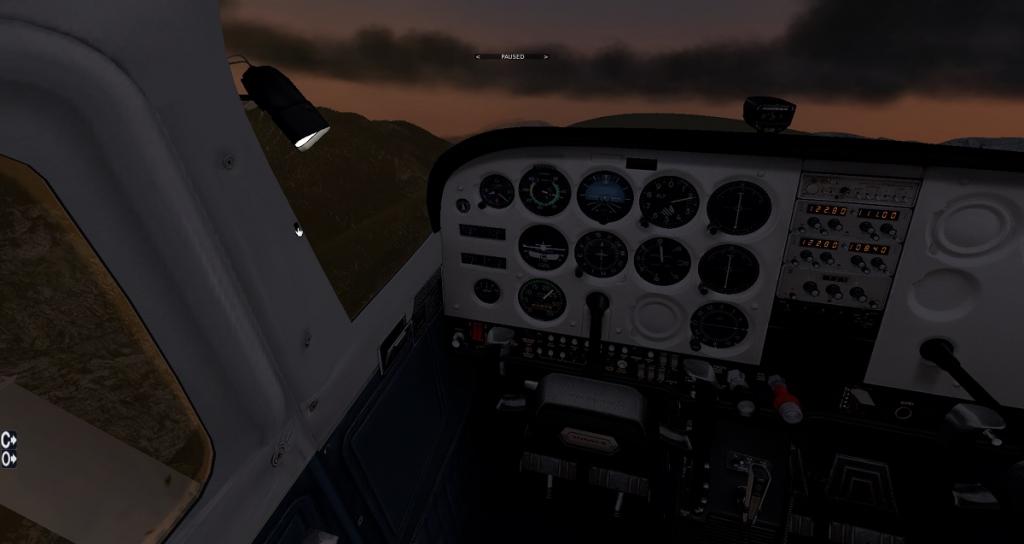
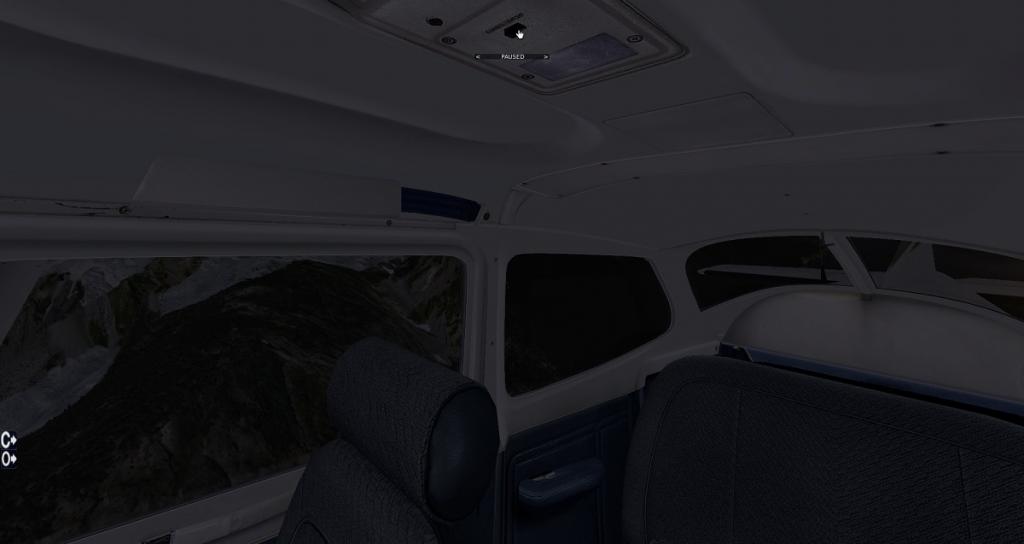
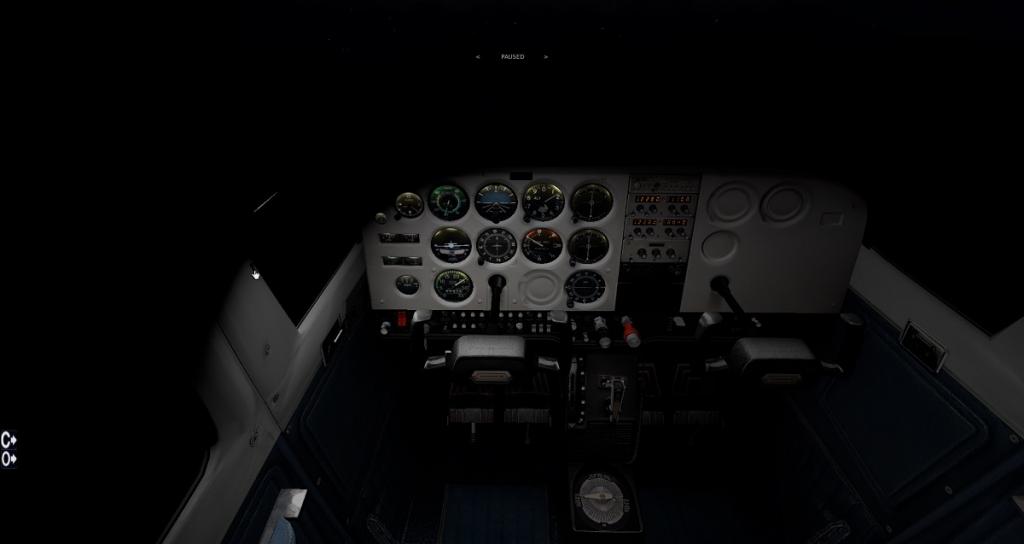
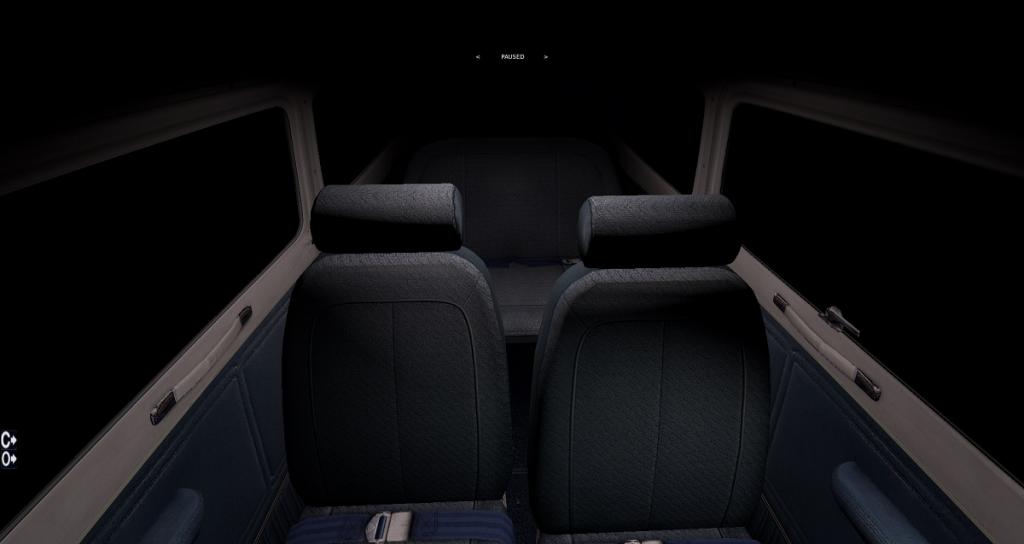
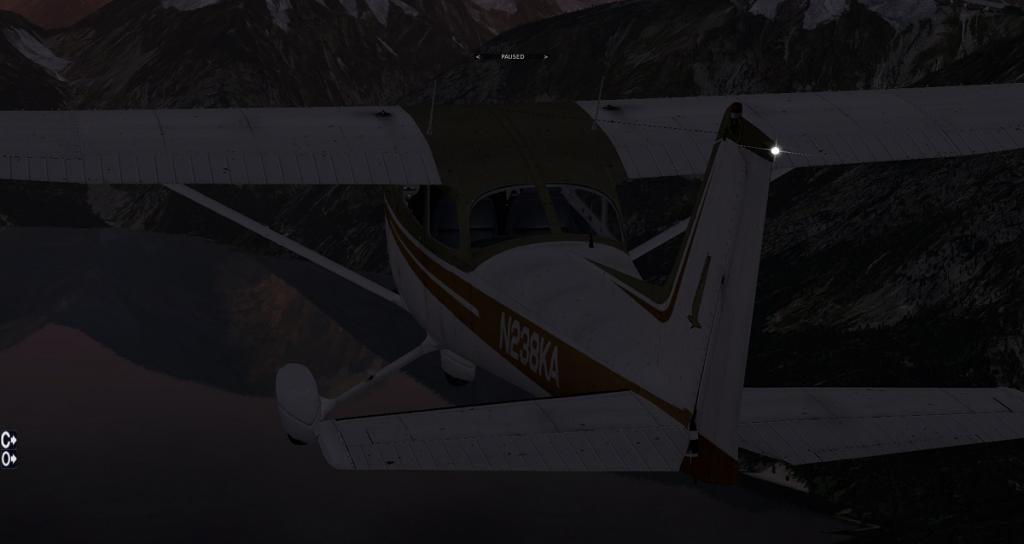
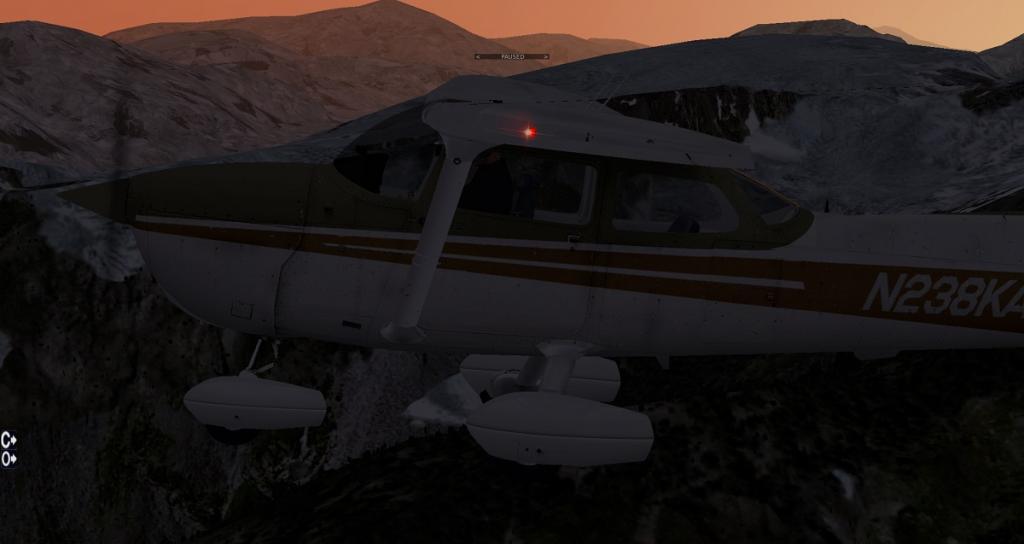
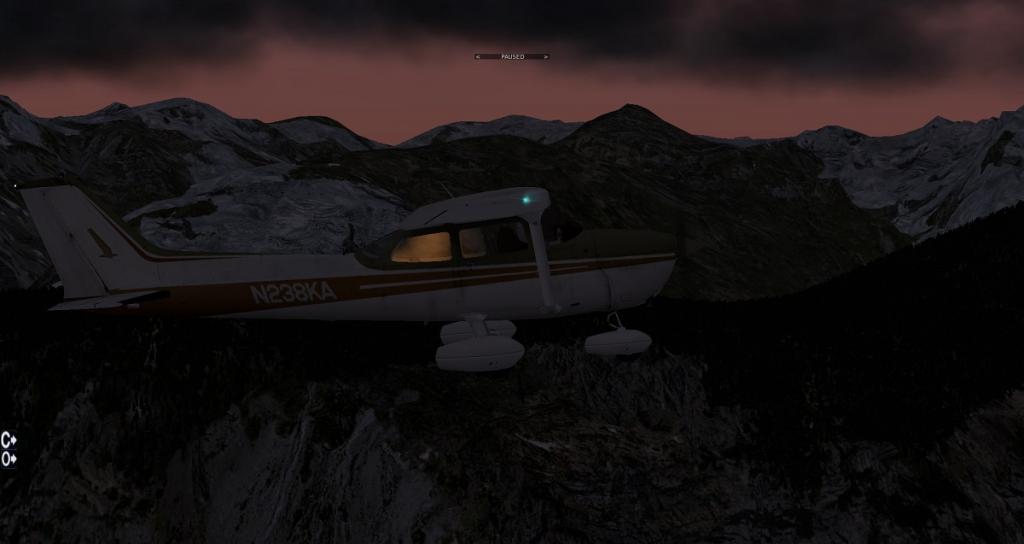
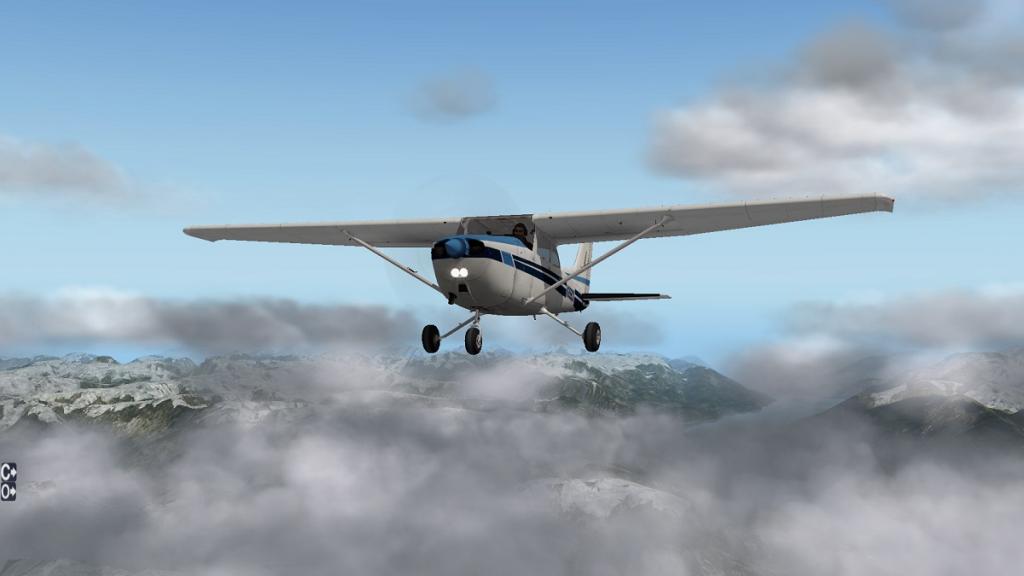
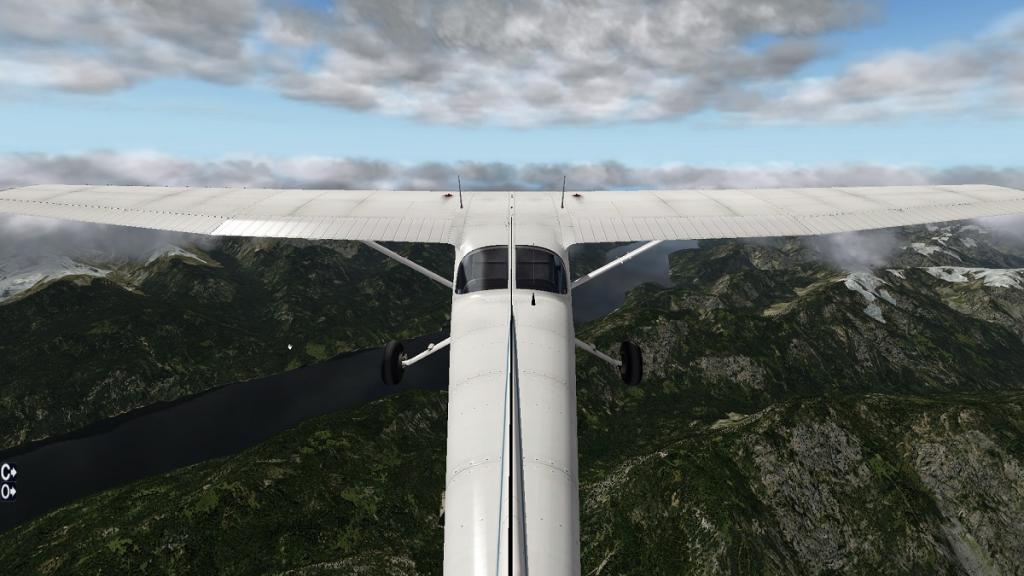
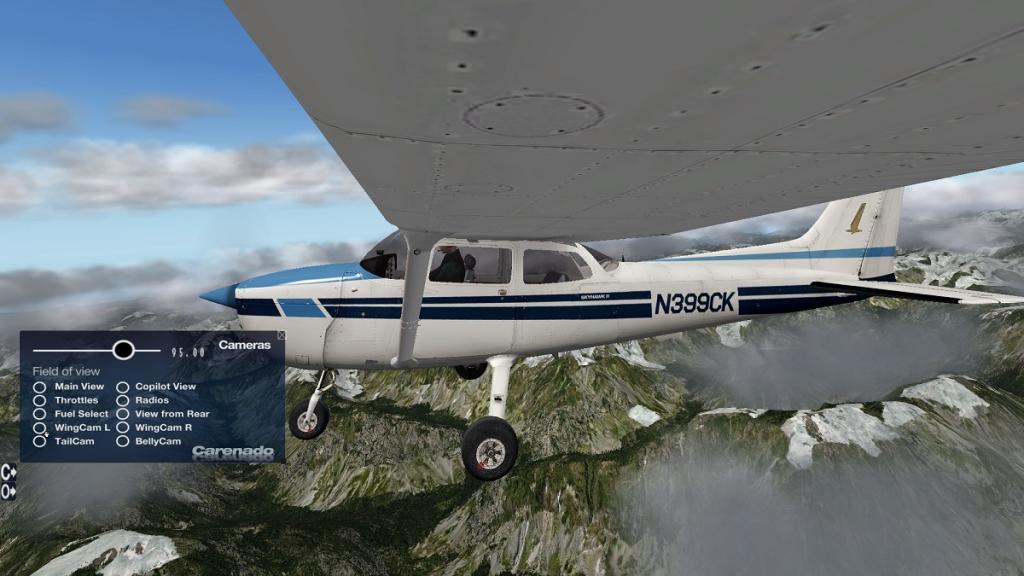
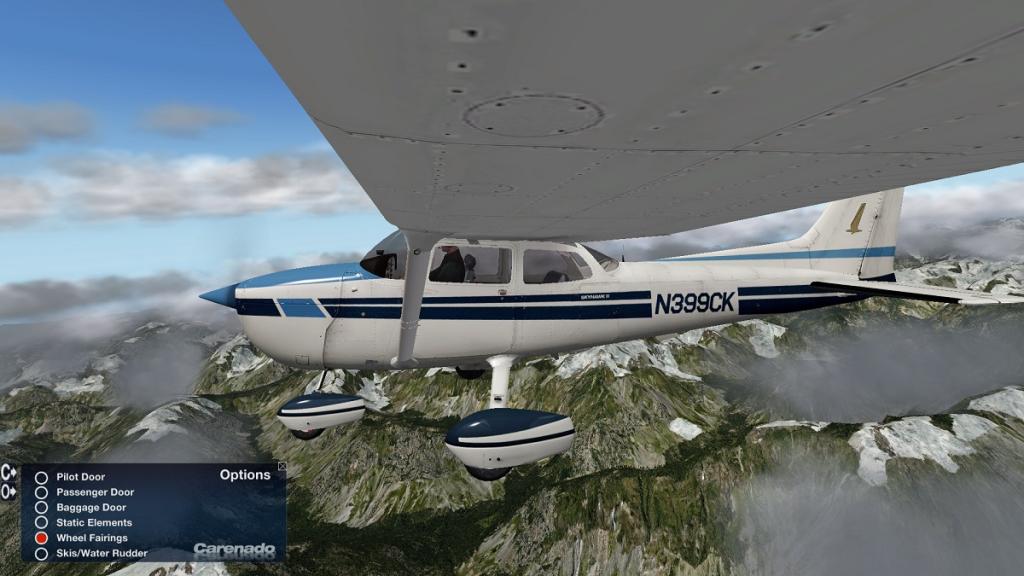
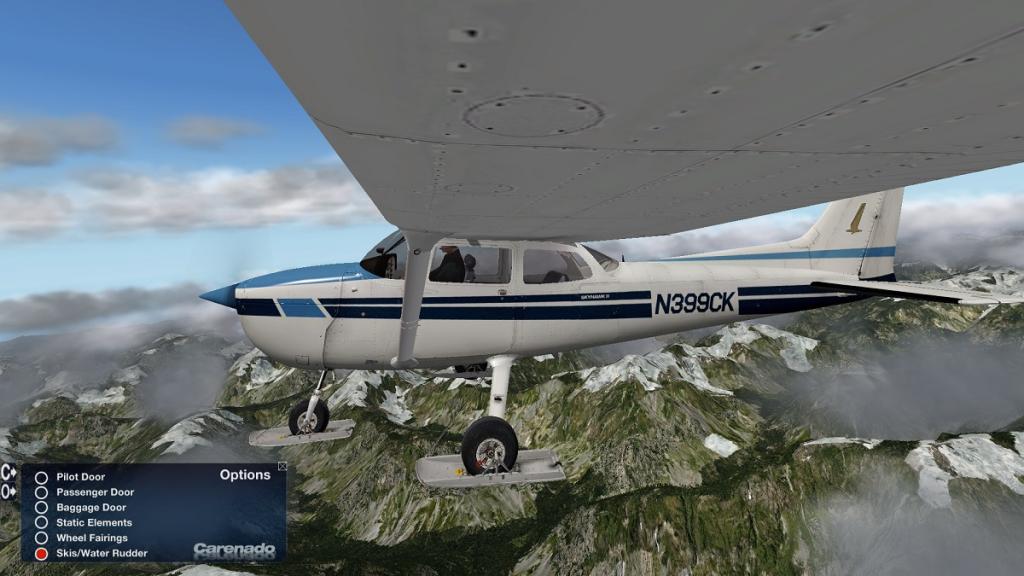
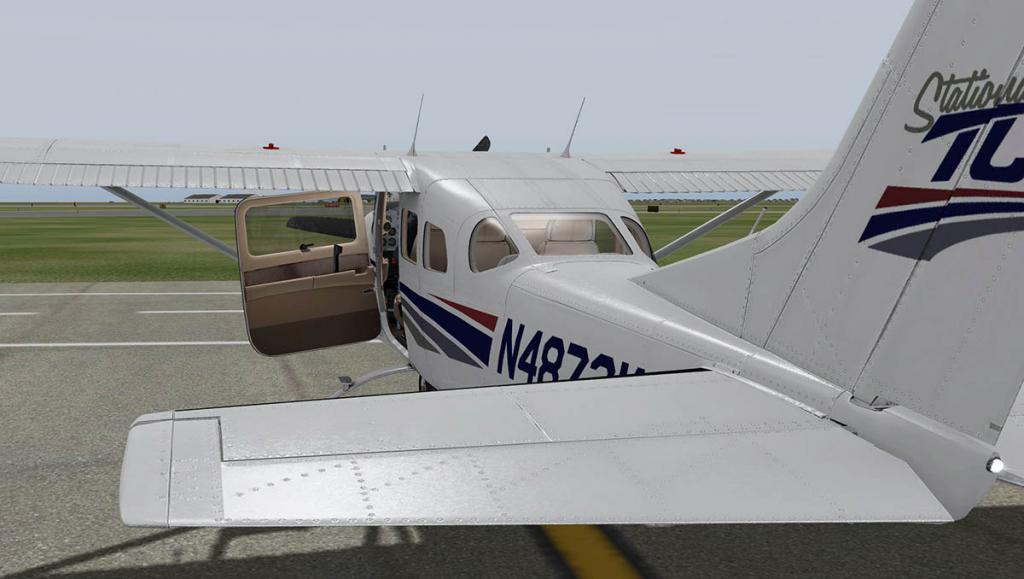
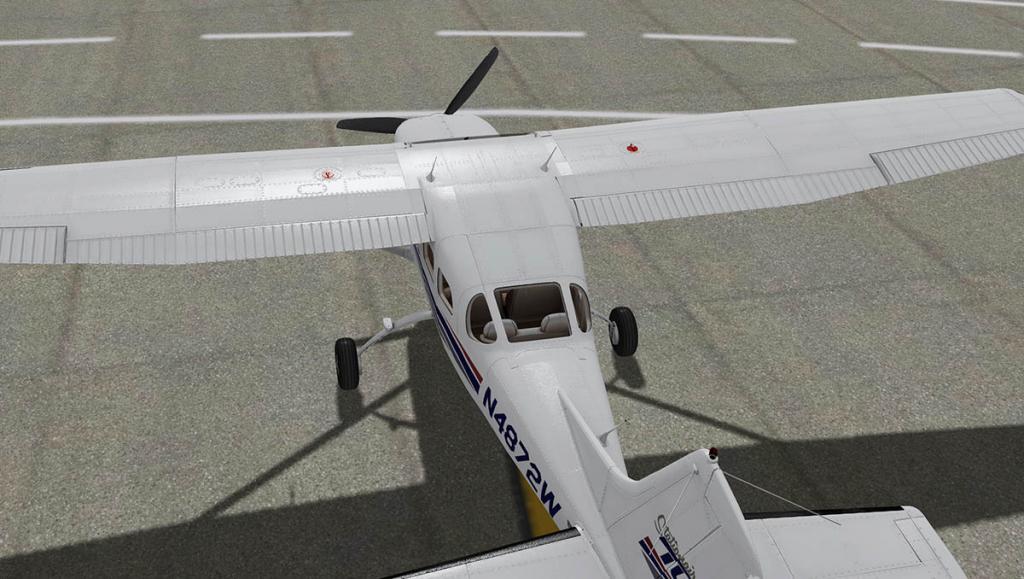
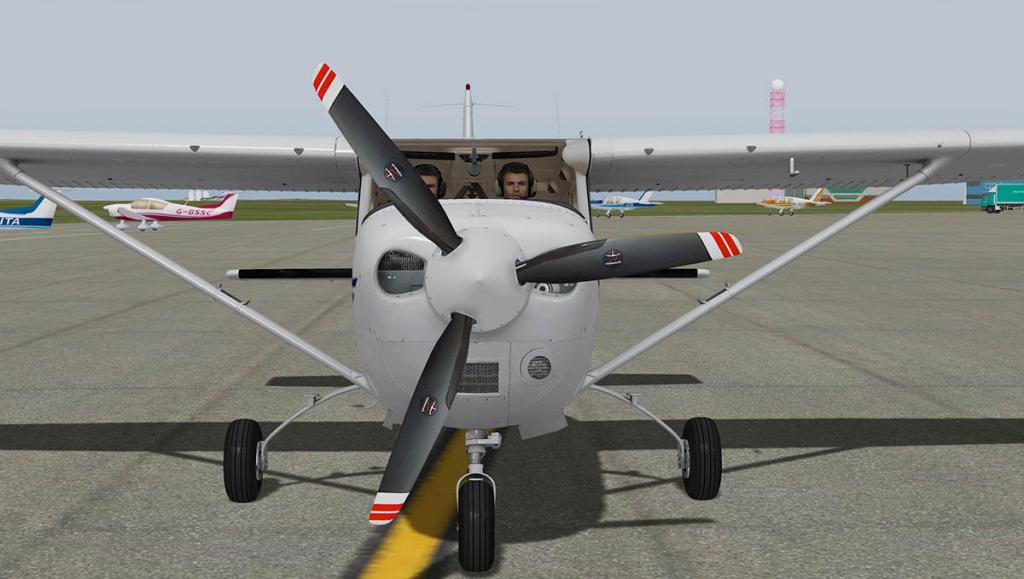
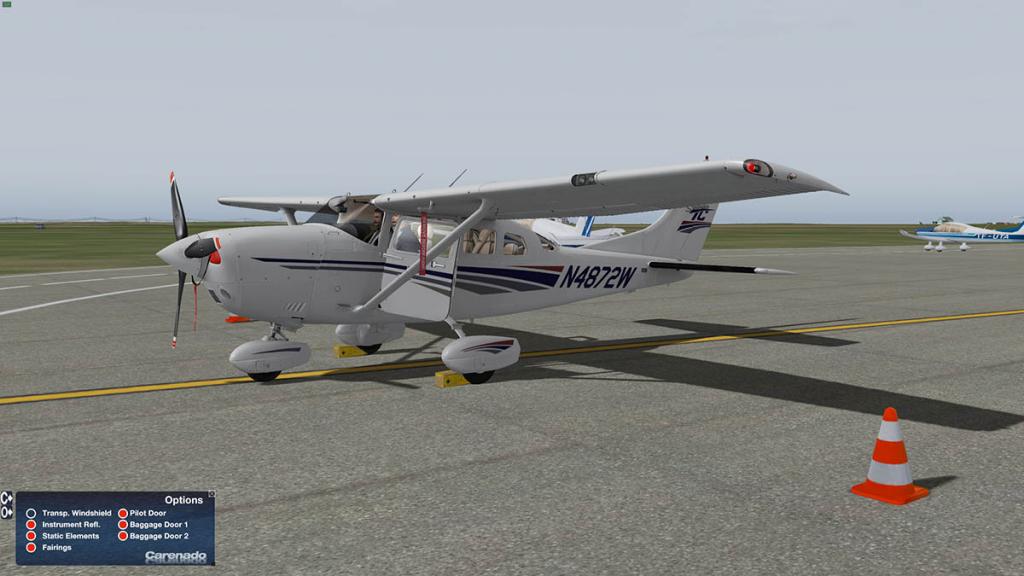
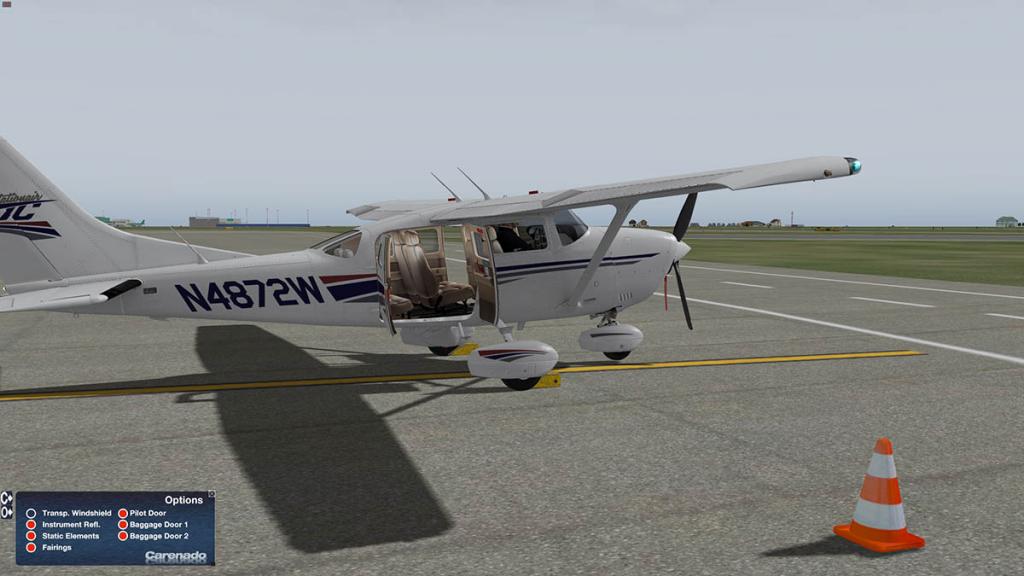
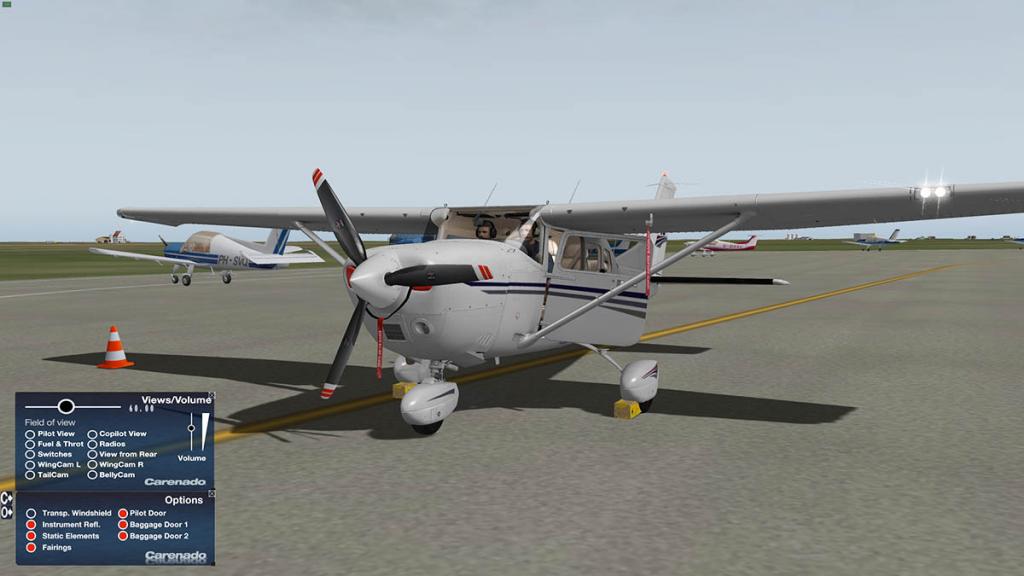
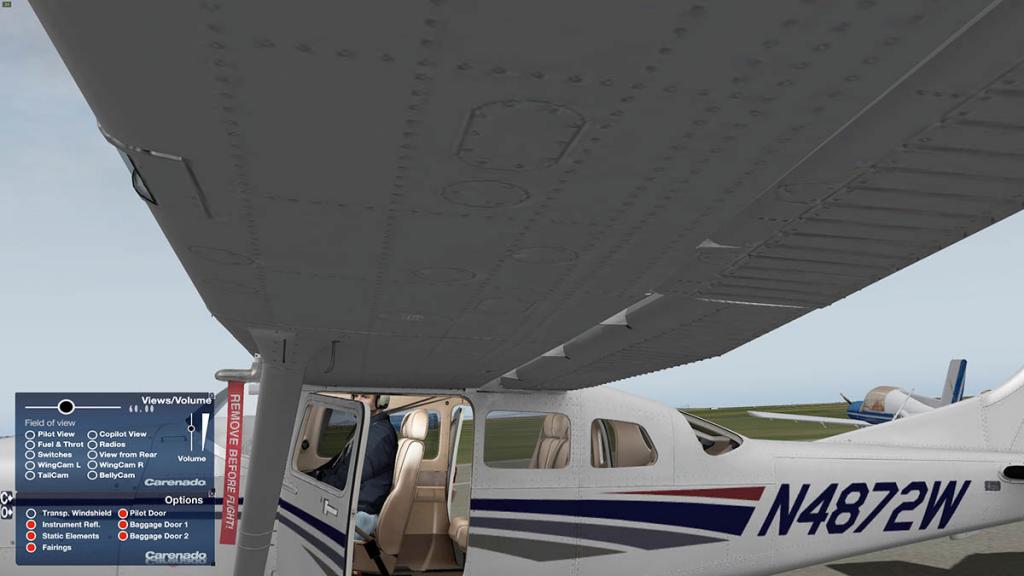
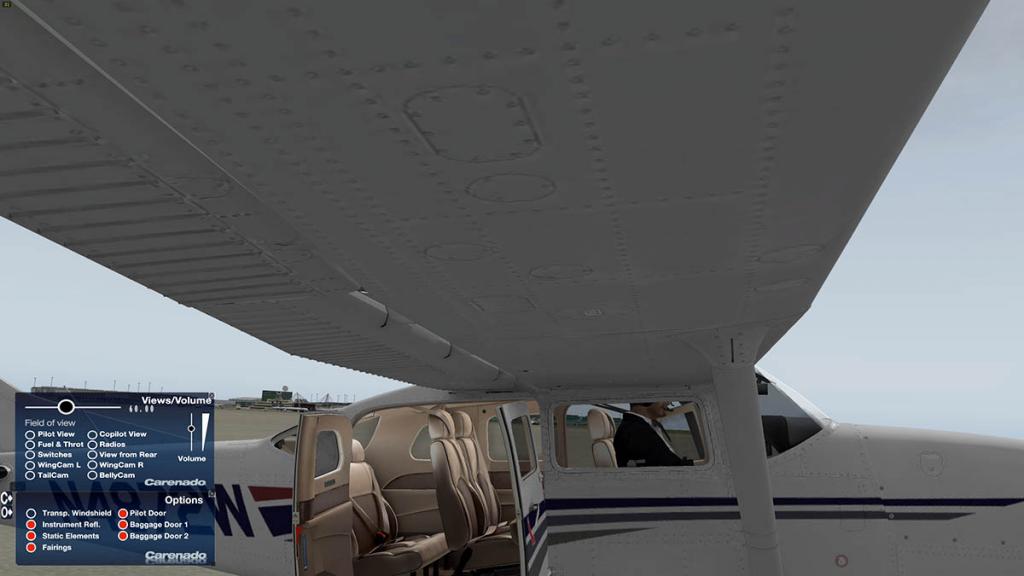
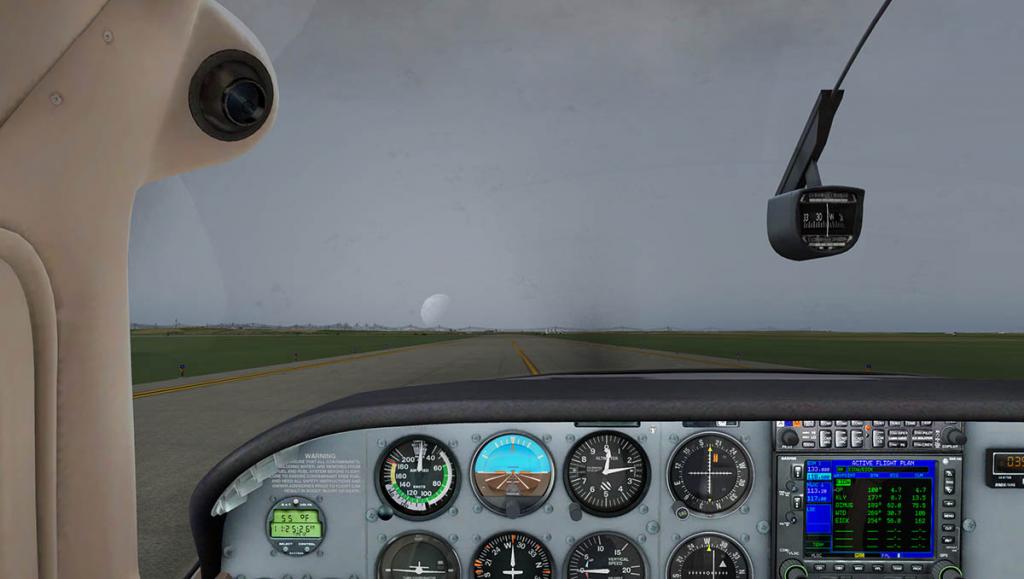
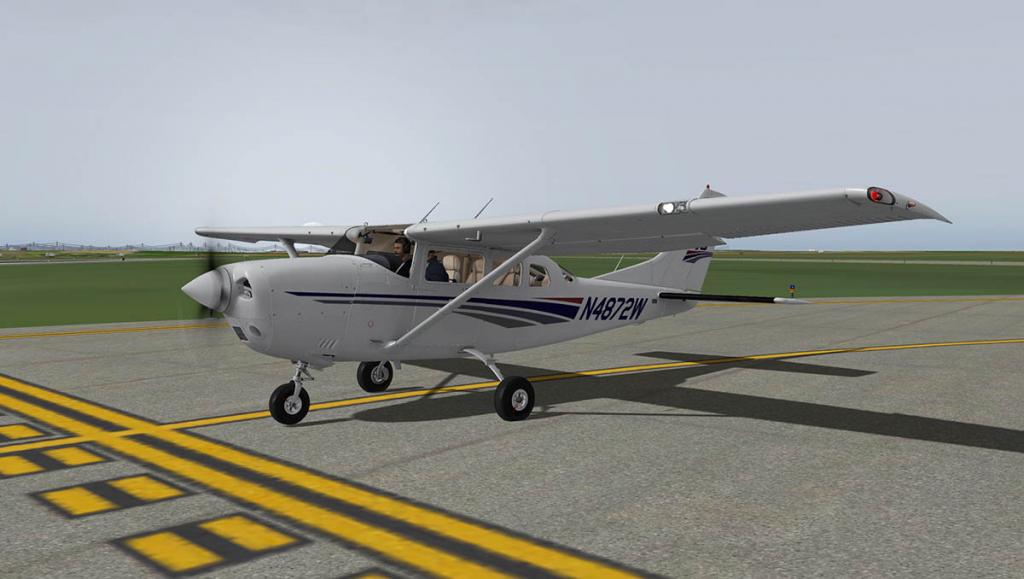
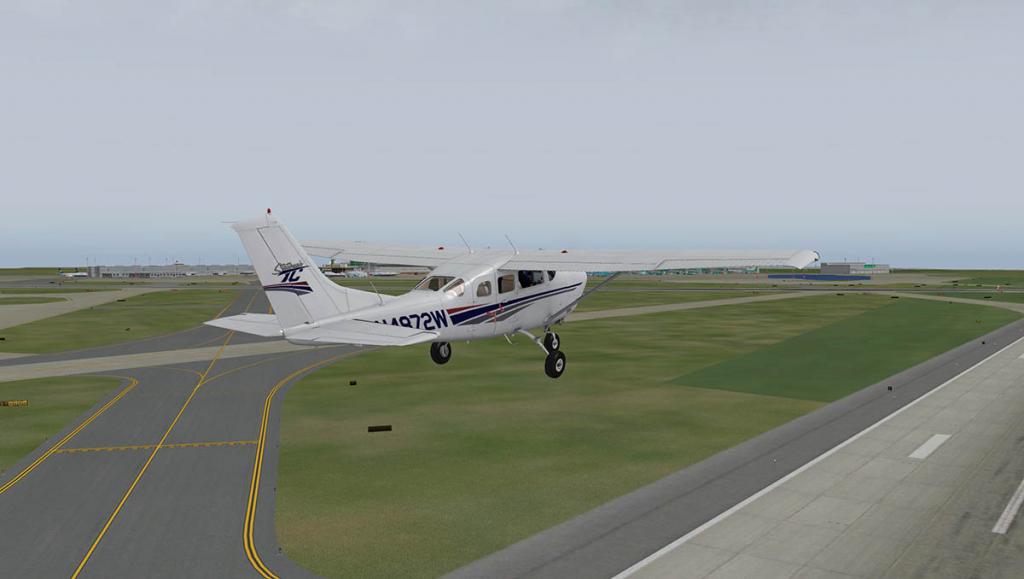
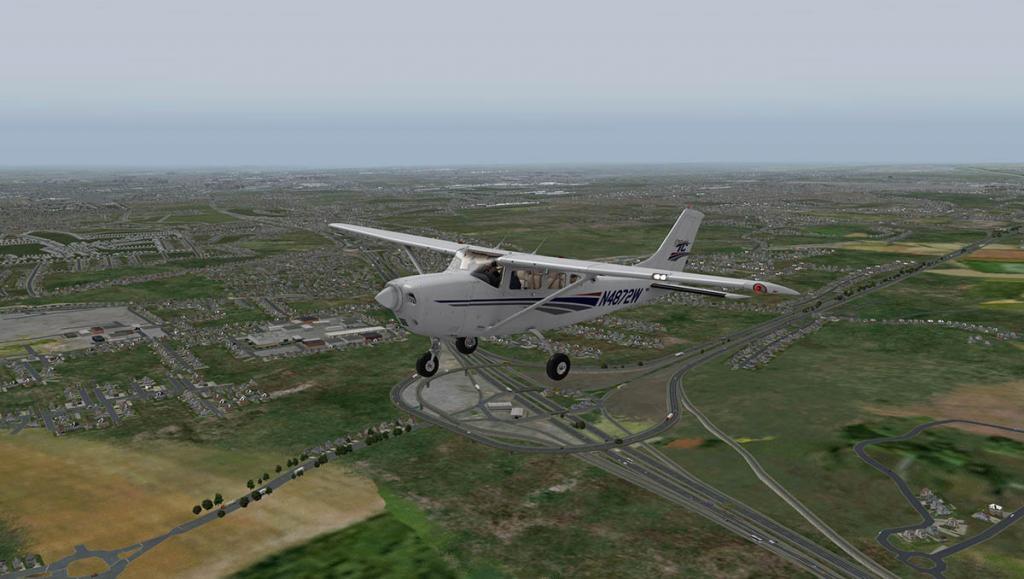
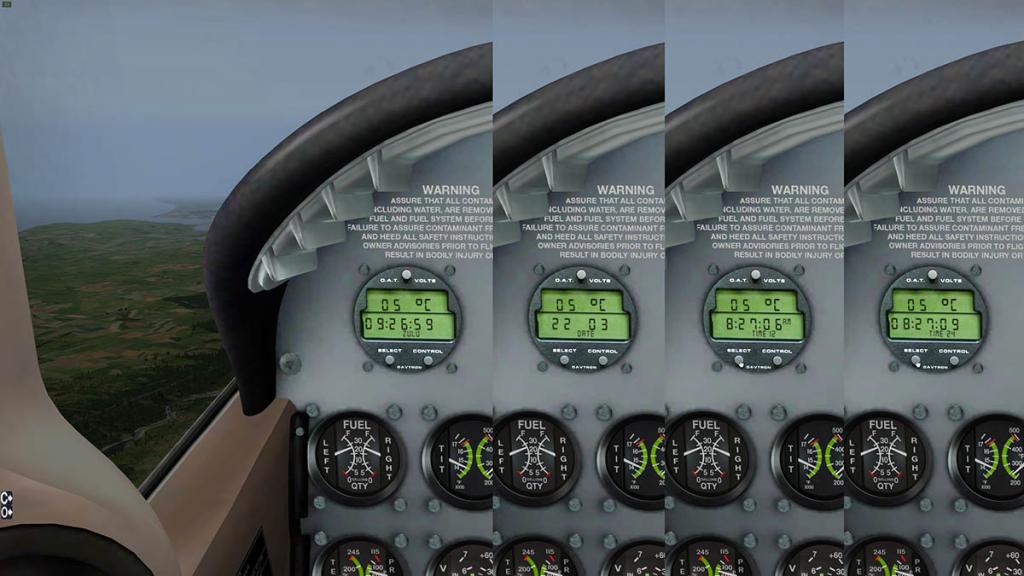
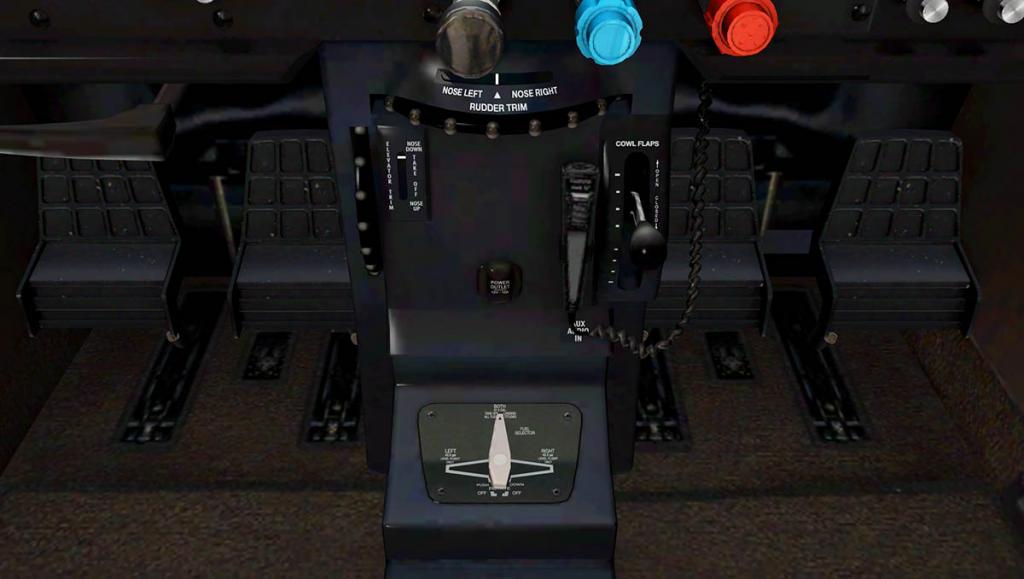
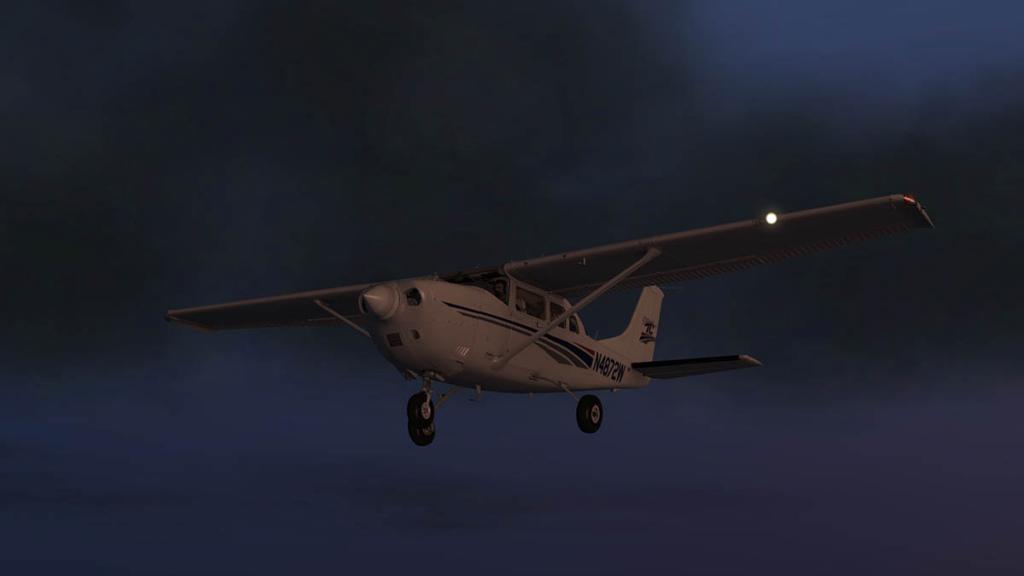
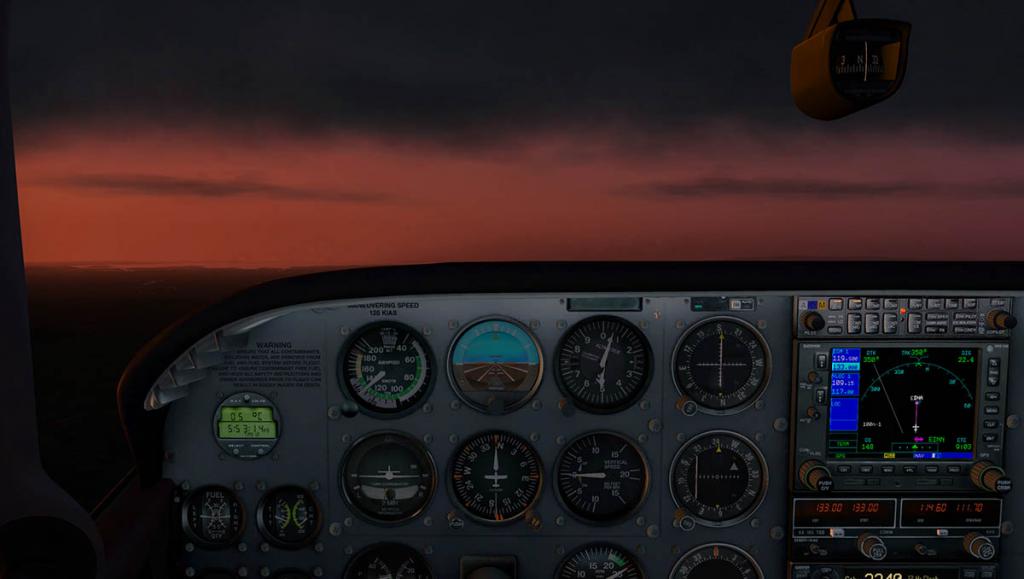
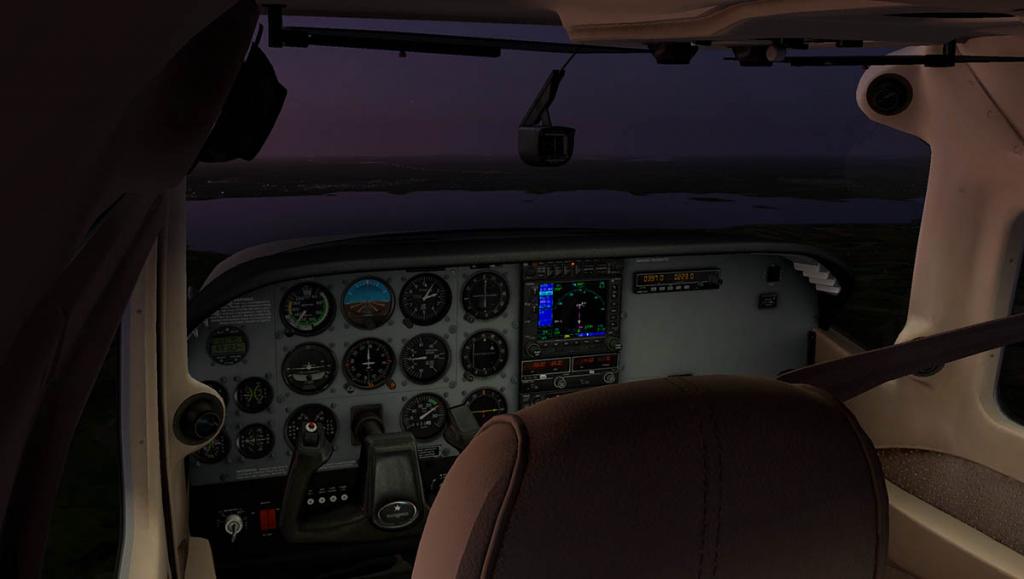
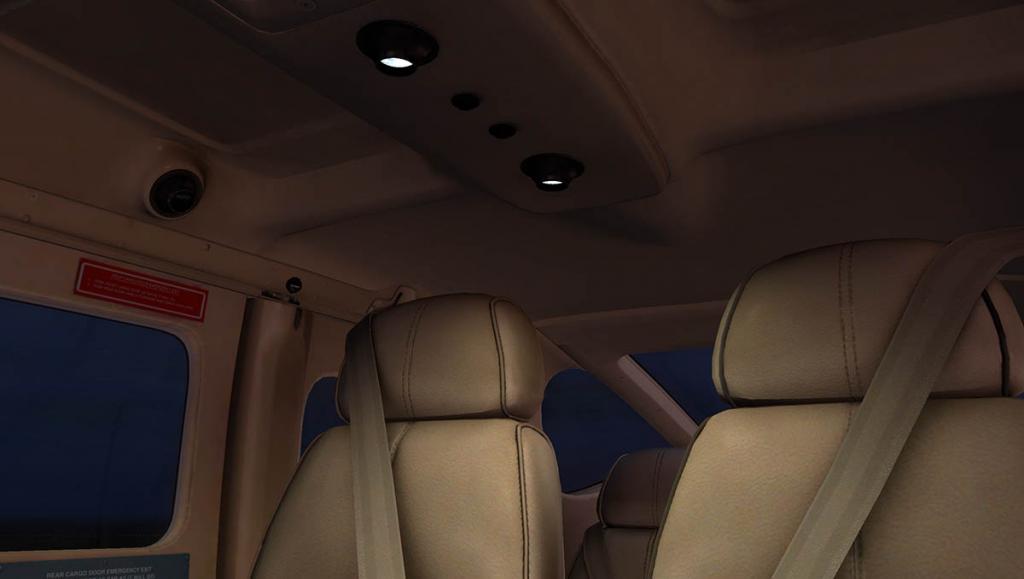
Aircraft Review : Carenado C172N Skyhawk II (version 2.1) Route : CZST-Stewart - to - PANT-Annette Island Depart runway CZST 18 - Arrival Runway PANT 12 When you think about Carenado you certainly think about the high quality and extremely detailed aircraft they produce, as well as the new experience their planes bring to X-Plane, well the C172N Skyhawk II is no exception. Over the next page I will analyse all of the features and qualities of this incredible aircraft. The C172N Skyhawk is a lightweight fixed gear aircraft powered by a 180 hp Textron Lycoming Piston engine. Its propeller, manufactured by McCauley, is a two blade metal, fixed pitch propeller. Its capabilities take it to a range of 640nm. The aircraft can seat up to four and is single pilot certified (obviously), it also has a maximum cruising speed of 124 ktas at a weight of 415.94 kilograms. During this review I will be using a Saitek Pro Flight Yoke and X-Mapper Pro on an IPad. If your unsure, X-Mapper Pro is a live map for x-plane which tracks your movements across the globe! From the app you can also control your aircraft and vital things like radios and Autopilot. I think it's a great add-on to enhance your sim, all for £1.99! So, what's the Carenado version like of the C172? Well, I decided to take a trip to the beautiful British Columbian Fjords, taking off at Stewart , to find out! I will now describe my encounter... I found myself at CZST - Stewart, parked on the ramp at around 11:00am , the weather report wished a pleasurable day for a flight to PANT, 17 cavok visibility and clouds with a base of 4000ft, and the temperature, about 9 degrees Celsius. First I start with a walk around inspection of the C172 (without floats). Features: X-Plane 9.6/9.7 and X-Plane 10.21 or higher X-Plane 64 bits compatible Polygon optimized model Interactive virtual cockpit Full moving parts: Ailerons, Elevators, Rudders, Flaps, Rolling wheels Animated sections such as : doors, pilot's window, co-pilot seat, sun visor and fresh air control Realistic lighting: Navigation lights, beacons, landing lights, cockpit lights 3D modelled pilot and cockpit area Many details, such as : pitot pressure chamber, antennas, chocks, pitot tube cover. Custom panel and gauges Realistic textures and original paint designs Realistic light effects on gauges Accurately reproduced flight characteristics Real weight and balance System Requirements: (at the minimum) Pentium 2 GHz - 1GB RAM 210MB available hard disk space X-Plane 9.6 (or higher) - X-Plane 10.21 ( or higher) Windows XP - Vista (32 or 64 bits) or Mac OS 10.6 (or higher) or Linux Walk Around: The exterior of this aircraft is phenomenal, every nut and bolt can be seen from a considerable distance away. The glass reflects the light as well as the liveries, which is a nice touch and adds to the overall immersion. The 3D modelling of this plane is great, the fuselage matches identically to the real one! The control surfaces have been recreated with extreme care, I especially like the weathered look around these parts which can be found on all liveries. The weathered look of the aircraft gives it a worn characteristic, this is one of many factors which contribute to create the 'new experience' in x-plane flying! On top of the cabin and in various other places small antennas have been placed which look fairly thin and small to me but I'm sure carenado would have modelled them on accurate dimensions. Another feature which Carenado planes normally have is reflective tires, its a shame that I couldn't see that on this aircraft. Now we move onto the menus: Provided with this aircraft are two on-screen menu's, if you are familiar with Carenado aircraft this will look normal. The first menu is called 'C', you can use this menu to navigate through a series of camera positions, we will talk more about that when we are up in the air! The second menu is the 'O' menu, most of its features apply when you are stationary on the ground with the engines off. The first option is to open or close the pilot door, the animation for this is smooth with no guttering and the sound effects are in synchronisation with the animation. The sound effects them selves are clear and dominant, you could say they sound slightly weird when your stationary on the ground and its silent in game! Anyhow the effects are still immersive. This also applies to the 'passenger door' and 'baggage door'. The next option is static elements, this involves the option to have the chocks and pitot covers on/off. The chocks are at a high resolution and so are the pitot covers. However I did notice one thing, the pitot covers don't actually have a sock that covers the actual tube. The next option on the list is for the wheel fairings. The wheel fairings look great when using any livery, they are also modeled quite nicely. The last but not least option is for 'skis/water rudder' on/off, this is a neat feature if you wish to land on an icy strip or water if you are using the other model. We will discuss this later on in this review when analysing the 'float' model (different acf.). Now we move onto the 3D cockpit. 3D Cockpit: Well, I am sure from the pictures above you can see the high quality that this aircraft was made to by the interior. All gauges have 3D knobs that can be used easily, although some can be a bit tricky to turn, it's just a matter of getting used to the way the knobs work. Another thing to mention is the shadows that are casted into the cockpit. The shadows are reflected in the gauge glass as well as the yoke which is a nice touch. When flying this route I was using the Saitek Pro Flight Yoke system which is great, as I moved my Saitek Yoke it was in synch with the one on-screen, this meant that when I turned my Saitek Yoke it's movements were reflected on the glass of the gauges! In the 3D cockpit there is also a clickable region which brings up the 'O' (options) and 'C' camera menus, this is illustrated in the first picture. Now, time to talk about the 'C' camera menu. This menu has many different features which you could call 'unique' to Carenado. The first feature is FOV (field of view) this is adjustable using the slider, this is a nice feature to get your head in the exact position you want it in. This helps when you want to see the lovely scenery as you fly by as well as your important instruments. Underneath this are many different pre-set camera positions, all work fine and smoothly, although this can also be pretty annoying! The reason it can get annoying is because it adjusts your 3D with command look option, on my Saitek yoke I have two buttons programmed for view. One is 'Chase' and the other is '3D with command look', if I am say pre-set to 'belly cam' (using the menu) when using my yoke to return into the cockpit it does nothing! However despite this feature being annoying in my set up you have a massive range of pre-set camera positions to choose from! The 3D cockpit and cabin also give the feeling of space awareness, you actually feel as though you are crammed in a small C172 cockpit for real! This is a good time to plugin Track IR, but I do not own that, I believe the Oculus Rift will take care of that in the future! The colours of the textures are nice inside the cabin, the high res seats talk for themselves, although the ceiling of the aircraft from inside looks a bit 'washed' with white. Anyhow this is compensated by the high res leather and fabric on the walls and seats. The 3D cockpit also has 'clickable yokes' this gives you the ability to 'hide' the yoke which gives you more panel visibility and the ability to get to hard to reach places. As always you have the 6 instruments you need for a VFR flight; speed, Artificial horizon, Altimeter, Vertical Speed Indicator, Heading Indicator, Turn co-ordinator. All instruments work exactly as they are supposed to according to the position and where about of your aircraft etc.. now onto levers and buttons. The lever furthest to the right is for flaps, this lever extends four times. Next to that is the mixture control, followed by the throttle. Sat beside this toward the left of the plane you find every switch and lever you would find in a real C172. This includes lights, circuit breakers, park brake, ignition key input, master and avionics switches and engine prime etc.. Liveries: As you can see from above, you get a wide range of liveries to choose from. All liveries are at a fine textured quality and based on real life designs. With all liveries you get the choice of wheel fairings on/off or Skis/water rudder on/off. You also have the same liveries when you load up the 'float' variant. All liveries have a weathered look, this is especially emphasised on the green rustic livery where you can find dried oil marks on the under carriage. As well as all of these liveries you also get a 'blank white' livery, this is mainly used in paint scheme developments. As well as the liveries listed above there are many more available on the download section of x-plane.org. Documentation: Included with this aircraft you receive an extended amount of documentation, this includes every thing from recommended settings to start up checklists. Today I will focus on the checklists. With this aircraft you receive three PDF documents each one focuses on a certain model variant. This includes ' float ' 'normal' and 'ski'. Each checklist is very detailed with information for emergencies and normal procedures. I think the checklists are great, I have them in my drop box using the IPad app, this gives me off screen checklists. However trying to use X-Mapper pro at the same time can be tricky! So the last option is to print out the document. I didn't actually do this for the C172 however I have done this for the Carenado C208 caravan, it adds an extra sense of realism holding the checklist! From the picture above you can see the level of detail that was put into the documentation. The documents also look aesthetically good. Night Lighting: There is not much night lighting on this plane, but this aircraft is mainly used for VFR flights I suppose. But anyway as dusk began it was time to turn on all of the lights. As you can see all lights work and cast spill onto objects beneath them, also switches for the lights are easy to use. This is demonstrated on picture 2 + 3, and 3 and 4. There is also a twisty switch which operates internal lighting of the gauges, this is a great effect as they cast an orange dark faded look. Outside the navigation lights, beacon lights and landing lights are dim. From picture 14 above you can see the effect of the sun reflecting on the windows, this looks great when blended in with the aircrafts exterior lights. The night lighting is not very adjustable however, despite the twisty switches for the internal gauges, it would be great if the spot light on the pilots side could be adjusted to spin around and point to different areas of the cockpit. Sound: This plane comes with many custom sounds. First we shall start with the engines, unfortunately I can't supply sound files for you to listen but don't worry youtube has some videos of the incredible sounds that this plane produces. The sound quality is great and it feels as though it pans around me when I slowly increase the rpm. As well as engine sounds many other small custom sounds are played when you do certain actions in the cockpit. For example when you open the pilots window you hear to opening sound and closing sounds which are both different, the same is applied to the doors and baggage door. Its a shame that there are no sounds when moving the co-pilot seat but this hardly got moved on my flight. I believe that there are also sounds for the light switches however due to the complexity of the engine sounds I may have heard wrong. Conclusion: So, you could call it a big decision to make the choice to buy this mighty plane. This is because there is the default C172. But don't be fooled by think you already own a C172 in your sim hangar because the Carenado C172 can not even compare to the default C172, Carenado's version is better in every single way! Also both models handle different as the default SP model has a higher RPM. The only limitation will be computer specs, but you will be fine if your computer will run X-Plane! The C172 is great fun to fly especially around CZST - Stewart. Its light weight and strong capabilities make it durable and a great addition to your Sim hangar. Carenado make the most finest payware for the X-Plane sim in terms of GA (general aviation) planes. If you purchase this plane you wont be disappointed. Since the update to v2 and now being 64 bits compatible this aircraft has many features that aren't even necessary, such as side pockets that can be operated and sounds that are extremely realistic. The aircraft doesn't have many instruments but if you are learning fly, real world or just on-screen, this will most certainly benefit you. If you are post PPL this is a chance to re-live the memories of the C172! Along with add-on scenery such as CZST by Beti-x, parking your C172 on the ramp like I did will give you a great experience. Realism at its best! Is this aircraft worth buying? Yes! Well its available to buy on the x-plane.org store for the cheap price of $24.95 Carenado C172N Skyhawk II Carenado Aircraft Support : Click here Reviewed by : Joe ©copyright 2014 : X-Plane Reviews Payware scenery used : CZST - Stewart by Beti-x Technical Requirements: Windows Vista or Windows 7 (32 or 64 bits) or MAC OS 10.6 (or higher) or Linux XPlane 9.6/9.7 or XPlane 10.11 (or higher - 64 bit compatible) Pentium 2 GHz - 4GB RAM/1GB VRAM 250MB available hard disk space Version 2.1 (last updated Dec 10th 2013) Review System Specifications: Computer System: - Intel Core i5 3330 @ 3.00GHz - 4.00gb of RAM - Geforce GTX 650 Software: - Windows 7 64 bit - X-Plane 10 Global version 10.25 - Saitek Pro Flight Yoke System - CZST - Stewart by Beti-x - Carenado C172N Skyhawk II
-
Aircraft Review : Dornier Do 228 100 HD Series by Carenado There is one aircraft that easily holds the record of the most hours flown by myself in X-Plane and that is the Carenado Beechcraft 1900D, and it is not hard to see why... The B1900D is a very versatile machine in that it is hub and spoke master, a short range regional buster, Island hopping guru and simply a great aircraft in the capacity of flying 19 passengers virtually anywhere within a 500nm range... and so yes both me and the B1900D have had a very long and intimate relationship. So when Carenado announced the Do 228 for FS/P3D my interest picked up as the aircraft has very similar performance and the aircraft is the same size as the B1900D. Obviously we had to wait for the X-Plane version and now here it is, and very nice aircraft it is as well. First of all let us clear one thing up. I noted the Do 228 has the same performance as the B1900D and it does comply with that. It has the same 19 passengers + 2 crew loading, the Beechcraft is however slightly faster at 280kts to 223kts, but the real difference is in the range. The Beechcraft can run at 500nm as to the noted 213nm for the Do 228, but you can run the same range per weight in the Do 228 at 1500kg for the same 500nm range as the B1900D or load up 14 passengers at a 1325kg payload weight to achieve a longer 700nm range, so the same routes are achievable as the B1900D if you get the weights right, and a long ferry range is set at 1,276 nmi (2,363 km) with a 547 kg payload. So that point is worth noting if you want to use the aircraft for certain longer routes. In the late 1970s, Dornier GmbH developed a new kind of wing, called the TNT (Tragflügel neuer Technologie – Aerofoil new technology), subsidized by the German Government. Dornier then tested it on a modified Do 28D-2 Skyservant and with Pratt & Whitney Canada PT6A-110 turboprop engines. Finally, Dornier changed the engine and tested the new aircraft, which was named Do 128 with two Garrett AiResearch TPE-331-5 engines. The company developed a new fuselage for the TNT and TPE 331–5 in two variants (15- and 19-passenger) and named both project-aircraft E-1 (later Do 228-100) and E-2 (later Do 228-200). At the ILA Berlin Air Show in 1980, Dornier presented the new aircraft to the public. Both of the prototypes were flown on 28 March 1981 and 9 May 1981 for the first time. After German certification was granted on 18 December 1981, the first Do 228-100 entered service in the fleet of Norving in July 1982. The first operator of the larger Do 228-200 entered service with Jet Charters in late 1982. Certification from both British and American aviation authorities followed on 17 April and 11 May 1984 respectively and by 1983, the production rate of the Do 228 had risen to three aircraft per month; at this point, Dornier had targeted that 300 Do 228s would be produced by the end of the 1980s. In November 1983, a major license-production and phased technology-transfer agreement was signed between Dornier and Hindustan Aeronautics Limited (HAL) was signed; a separate production line was established and produced its first aircraft in 1985. RUAG, who had acquired the type certificate for the Do 228 in 2003 from a cash strapped Dornier, and then announced their intention to launch a modernized version of the aircraft, designated as the Do 228 Next Generation, or Do 228 NG. On 18 August 2010, the Do 228NG received its airworthiness certification from the European Aviation Safety Agency (EASA). The majority of manufacturing activity for the type is located in Germany; however, most airframe subassemblies, such as the wings, tail and fuselage, are produced by HAL in India. The main changes from the previous Dornier 228-212 model were a new five-blade propeller made of composite material, more powerful engines and an advanced glass cockpit featuring electronic instrument displays and other avionics improvements, to date Dornier/RUAG have produced 245 aircraft and 125 Do 228s has been produced by HAL in India. (wikipedia) Carenado Dornier 228 100 As a pretty aircraft in looks go then the Do 228 is well a bit... unusual, or with a dodo bird sorta look about it. But I will admit it looks quite nice in the flesh. Certainly the great Carenado design helps here enormously and the sheer detailing gives the aircraft a serious presence and it looks quite brilliant in the right lighting conditions. The severe angled wingtips add in to an odd wing shape as is the long bulbous toucan nose, but there is something quite complete about the aircraft and it is a actually a noted STOL utility machine and not a sporty speedy design in the first place anyway. The exterior looks clean and quite modern, but the cockpit gives away the aircraft's real age with the help of Carenado's worn out and torn feel. It is exceptionally well done with the sheer craftmanship at making the aircraft look highly used and very realistic. The design is the old clockwork dials and gauges style, so the moving over from the B1900D cockpit style is quite easy. Note the really worn out and used yokes... lovely with active trim buttons, and they can be hidden away from view. The cabin is very similar in a boxy sort of way to the B1900D as well... ... it is highly detailed with beautiful seating and panel work, as for perfection... it is pretty close. Instrument Panel The blue worn scratchy instrument panel facia does not help out here in making the panel look more complex than what it actually is... ... if the panel had say a cream or white background like on the Caravan you would see a more modern style and a more clearer simpler design, but it does give you a real feel for the 70's and 80's period that has been worn and run down by the the intervening years, and oh yes... I totally love it. The Standard Six instruments that are centred in line of sights of both the flying pilot and co-pilot with the Airspeed Indicator, Artificial Horizon and the Attitude Indicator on the top row and the VOR/ADF pointer, Heading Dial and Vertical Speed Indicators set out directly below, the bank/turn coordinator is built into the artificial horizon and also a pointer version to the far left (far right on the co side). The are two clocks each side top, with a rate fast/slow gauge on the left and an outside temperature dial on the right. Chunky gear lever is bottom panel. The pilot get a few extra instruments in a radio altitude meter and the autopilot display. there is a KDI 572 Distance Measuring Equipment (DME) below the rad alt dial (arrowed below). There is a very nice annunciator panel that you can test and this will also test the autopilot display text as well (far left arrow). Co-Pilot has the altitude setting panel and the air conditioning/bleed panel that actually works with great fan noise that goes up in volume the more you set the fan speed higher. Centre panel is the main engine gauges that is almost exactly the same layout as the B1900D with the standard twin sets of gauges set down the centre left of the main panel and they cover the twin engines.. Torque (%), ITT (*Cx100) - (Interstage Turbine Temperature), Fuel Flow lbs/hr, Turbine % RPM, and Oil temps. Two fire handles are top of the engine gauges for each engine. Usually centre panel right is the avionics stack, but here in the Do 228 this layout is different. Top are the twin main fuel gauges (x100lbs) and a resettable used fuel counter in lbs. Then are the switchable tank switches for each aircraft side tank group which contains a total usable fuel capacity of 2,078 pounds. The fuel setup is an Inboard Tank - Outboard Tank and Feeder Tank for a total combined usable fuel load of 4,155 lbs. Below the fuel tank setting switches is a Universal MFD-640 display that shows the default X-Plane map display. Centre Console The centre console is quite complex with most of the avionics, autopilot and radio units that are laid out on here. Top left is the aileron, rudder and stabiliser positions with the flap settings to the right. Then some very nice looking BF Goodrich prop de-icer gauges in amps, they work when you switch on the electric de-icers on the OHP. Right console is your avionics stack, with the GNS530 built in top, then a KMA 24 radio selector. Then two radio sets in the Bendix/King KX 165 COMM 2/VOR-NAV2 set (COMM1 and VOR-NAV1 is set on the GNS530) and the Bendix/King KR 87 ADF radio tuner below. The transponder is a Bendix/King KT 76A, basic but it works. Lower right console is interesting because there is also the default X-Plane FMS panel installed. In reality it allows you to use both GPS systems for setting up your flightplan... one with the GNS530 unit for a simple flight plan (which I did here), or use the more complex FMS unit to add in SID/STAR and Runway allocation points to your flightplan. You can also invert the flightplan (on the GNS530) as well and both units will accept the rerouting changes. Autopilot is bottom right panel with the pop-up scalable version available from the left lower menu tab (A). The autopilot has two feature settings in "Bank Limit" and "Soft Ride". Bank Limit is obvious but is only used during cruise flight, Soft Ride is used during turbulence to prevent the autopilot from over-correcting. The only odd item is the FD Off button in that when on it is blank and shows "Off" only when switched off, so you tend to push it as you think it is already switched off and not on? The aircraft's hydraulic system is powered by an electric motor. System pressure is indicated on the pressure gauge located on the hydraulic panel at the aft end of the center console. The hydraulic system affects these systems in Landing Gear extension and retraction - Wheel brakes and Nosewheel Steering (NWS). The switches are covered by red "Do not Touch" flaps and so you "Don't touch" them unless if you want to fly everywhere with the gear down, as they deactivate the gear mechanism and nosewheel steering. Throttle and Engine Speed (mixture) levers are excellent with nice chrome handles for the stubby throttle levers. The Do 228 has a "Start Lock" system where as the propellers are flat when starting up the turbines... So to engage the start locks, the power levers are then briefly pulled back into reverse while the engine is between 60% and 30% RPM, then to disengage the start locks, the power levers are briefly pulled into reverse while the engine is above 60% RPM. However start locks must be disengaged before attempting to taxi or takeoff. The Avionics power switch is quite hard to find... It is labeled "Radio Master" and not "Avionics" and it is situated behind the throttle levers (I lost a lot of time looking around with that one), another switch here is for the optional to install the Reality XP's GTN 750 unit, but this is an addon extra and costs you another $49.95, and that replaces the GNS530. Overhead Panel Like everything else in this Do 228 cockpit the excellent Overhead Panel (OHP) is worn and very realistic. The Dornier has two engine-driven starter-generators of 28 V and 200 amps each that is controlled by the two GEN switches for two nickel cadmium batteries at 24V, 25 amp-hour and both are normally connected to Bus 1, this then supplies power when either BATT is on and MASTER switch is ON. AC current is two static inverters to provide 26/115 VAC 400 Hz current busses as the 115V Bus - 26V Bus. And the systems are very realistic in operation and tree settings. Ground power is switchable on Batt 1 and Batt 2 in the lower position, but there is no external GPU provided which would have been a nice feature. The main electrical panel is on the right. Internal light switches are top left and the External switches are top right, lighting for the pilot and co-pilot (Instr) are both ends with the main panel lighting right. De-Ice is left centre and fuel pumps are left centre lower. Bottom left panel is the ignition and starter panel, which is a little tricky until you work it out... The window blinds in their stored position does cover parts of the ignition and starter panel, they are odd things too and not very effective but they are well done. Top of the OHP are the fuses and the (active) rudder trim handle. Internal fittings are excellent and note the great chrome touches and even a cup holder. There is so much detail in simulation today and it can be overwhelming. The armrests do slip up (animated) and that is required to access the centre console in certain areas. External Details The external detailing is just as high quality as the internal fittings. Carenado have always been the leaders in the sheer detailing and perfect design work that others till struggle to match (that gap is however getting more closer) but this Do 228 proves certainly how high the standard is today. Panel and rivet work is just sensational, perfect panels and the joints that are holding the whole aircraft together. Even a year ago chrome was not an exceptional X-Plane feature, but boy that is not the case today... the spinner chrome work here is simply awe-inspiring as is the engine and wing construction. Glass is also now highly evolved and very realistic and note the excellent spotters window. Undercarriage detailing is exceptional as well. All struts are highly animated with force effects to recreate perfect gear movements when either on the ground or extended in the flowing air. The aircraft's ground stance widens and changes to the aircraft's weight as well. Note the excellent main rear gear struts and highly realistic textures of wear and tear with the perfect tyre rubber and great hubs, there are nice lighting housings as well with both the taxi and landing lights perfectly recreated. The aircraft's flap animation is well worth highlighting. There are four flap positions in: Up - 1 -2 - DN. The movement between Up and 1 is very slight but crucial, then the larger movements to 2, the 3 and finally the full DN (Down) position. Detailing of the flap rod - track system is excellent. Menu The menu system is standard Carenado with three tabs, lower left screen in (A) Autopilot, (C) Cameras (Views & Sound) and (0) Options. (0) Options has switchable (on/off) Glass and Instrument reflections. And four animated door options for nose Baggage Door, Pilot Door, Passenger Door left (1) and Passenger Door right (2) and another Baggage Door in the tail. You can change the livery here also. Static elements have gone a little basic with Carenado. And here you only get the options of chocks and cones, but now when you do deploy the static elements the pilots disappear! No more leaving them sitting there in the cockpit in the dark all night... now they go home to their families. If you want the crew visible with the static elements then you can have that as well, via the "Pax" logo on the (C) - Views menu. Flying the Dornier Do 228 Engine start is making sure all the right switches are correctly placed... ... you have to "Enrich" or prime the engine after switching on the fuel pumps, then set the IGN switch to start, this is not the actual starter switch, that is the one under the protective cover. "Start" is set to ground or air depending on the engine start. and your Engine Speed (mixture) levers are set to minimum and the "Start Lock" is set. If you got the procedure right then the engines should whine and start. Once running with a little more engine speed then turn the IGN off and reset the start switch cover to protect... Sounds are excellent, if brilliant. All sounds are of course FMOD and 360º directional, start up, taxi and in flight and you really feel the aircraft through its aural background, and there is no boring droning sounds here either to drive your nerves up the wall... no you can spend a lot of time in the Do 228 and enjoy every last minute of it. Like most Carenado's the Do 228 is sensitive to taxiing speed. Here you need the Engine Speed levers (red arrow below) to be as low as you can get them, or you will find the aircraft running away from you. And then there is a trick... two throttle levers even slightly up is too much power, but one lever (green arrow below) is fine and the aircraft will still track straight quite easily Getting out of tight gates is always a pain with light props, as you can't turn out without hitting something and the pushback truck overwhelms the aircraft. I found the Do 228 was great with using the reverse pitch to do the job... If this is a real world action I am not sure of (I did check) but I used it anyway. The Do 228 has the beta gate behind the throttles, but the beta system does not work that well in X-Plane and is confusing in different aircraft. But I did find the X-Plane setting "Toggle thrust reversers" did switch the pitch from forward to reverse, so I use that. You do need to use both throttles in this case, but it works fine, you use the same setting for pitch reverse on landing and it works fine there as well... There is setting for "beta" prop in the X-Plane settings but I found it didn't actually work and you have to keep switching it over every time you change the aircraft, toggle thrust reversers does the same job anyway with both prop and jets. The forward windows are huge and the view is almost helicopter like. the wipers only cover the lower half, so you have to look out low if the weather is heavy. Taxiing is a joy, nice speed (on one throttle feel) and great tracking. Runway lineup on EGJJ (Jersey) RWY26 and don't forget to put the Engine Speed levers to "high" or full power and flaps only to the "Flap 1" setting. The Do 228 is a STOL utility aircraft, so if you flap setting is too high it will lift up quite quickly and suddenly. The yokes don't really infringe that much on the instruments, so you can leave them visible, they do cover a little of the lower Vertical Speed instrument, but not the upper positive pitch area which you are only now using. I am relatively light at 4177kg, so the Do 228 leaps off the line and powers it's way down the runway, rotation is around 138kts or the yellow marker (green arrow) on the airspeed indicator... .... rate of climb is 1,570 ft/min, so just under that at 1400 ft/min is fine. Gear retraction and animation is excellent, and well worth observing. The Do 228 handles really nicely (when trimmed, but you don't need much of that), this is a really lovely aircraft that responds to your every whim, you really feel the Do 228 as that unique wing has very special qualities. With the Autopilot (AP) activated you can use the VS to hold your pitch, this is different in the case that in most times with using the VS (vertical Speed) in that you press the VS then you set your climb angle. In the Do 228 it is a different system in that the VS only holds the pitch, to adjust the pitch manually you have to switch the VS button OFF and then use the "pitch" wheel to descend or climb. Another note is that to lock in the flightplan you have to press three buttons in the "HDG", "NAV" and NAV/HSI to connect. The NAV/HSI does the same operation as the GPS/VLOC on the GNS530. A couple of quirks... the window reflections are very strong, too much so. You can hide them of course, but I love great window reflections. An odd one as well is the reflections in the cabin windows are the cockpit view? very strange. The drop down front window blinds are not really effective and as noted cover some of the switchgear on the OHP, but they are however realistic. Yes you can fly around up here all day, nice sounds and with a great X-Plane view... A lot of flyer users struggled to get the Do 228 down to a slow speed of the blue marked 100kts. You won't unless you tune back the Engine Speed levers to "LOW". There is still plenty of power to keep the Dornier happy, and unless you need a lot of power or are in a go-around situation the low mode setting is fine. In fact that 100kt zone is a nice place to be, but only full flap at the last minute because it has that bit more heavier drag... In low light and restricted visibility the heavy window reflections became quite strong, yes I could still turn them off, but why should I have to do that. Basically if you follow the yellow 138kts, Blue 110kts and Red stall 70kt markers and you can't can't go wrong and then work and get your approach speed down to a comfortable 85knts. Flare should be a smidge over or even on the Red 70knt marker. Control in the final moments is very good with lots of feedback and feel. Hitting the reverse pitch is like walking into a wall, it is very effective and I easily found I could use the first exit off EGHI's RWY 20. It is a STOL remember, and you don't have to give out full throttle power either to slow the aircraft from an already slow landing speed... reverse prop sounds are excellent. Reducing the engine speed earlier allows you to easy transition back to your taxi speed, but remember only to use one throttle lever, any side can be used and also helps while doing the turning at the tight end of runway in turnaround situations. Last but not least is the way you shutdown the aircraft's Honeywell TPE-331-10 turboprop, 776 shp (579 kW) engines. If you pull the engine speed levers to the full reverse the engines will still rotate... You will need to go back up to that actual starter switch, that is the one under the protective cover and switch it over to "STOP", and only then will the Honeywell's finally slow down a stop. Do 228 Lighting Lighting is excellent and very versatile. There is both taxi and landing lights, but you can only use one or the other as they are both on the same switch... ... there is very good tail lighting and a wing (Inspection/Ice) light, but again both are on the same switch so it is again one or the other. Cockpit lighting is very, very good. There is both separate instrument lighting for both pilots, under glareshield strip lighting and overhead dome lighting and all are adjustable and you are able to find the right lighting conditions that you require. OHP is separately controlled as is the strip lighting. The cabin is actually even better! There is three cabin settings in: Off - Dim - Full Seatbelt & No Smoking signs are separate as well and even the Fire exit signs can be switched on or off. External has good navigation, beacon and the new double strobe flash. However the window reflections are quite bad at night and need to be turned off. Liveries There are eight liveries with the default white called "Substance". All liveries are 4K and very high quality textures, and they do take a fair bit of power and framerate to run if you have your Texture Resolution set high, your best option is to down the texture resolution a notch to pull it under the 4gb graphic limit. Other liveries include: 57-06 (German), Aerocardal (Chile), Air Caraibes (French Guadeloupe), G-EMEK and Aurigny (UK), MM-69231 (Mexico) and Kustwacht (Netherlands). Summary You marvel at the changes, now more than ever as the quality goes higher, aircraft go more complex and you have even more extreme detailing, last years brilliance is this years middle shelf life and on it goes. But how good is this Dornier Do 228-100. In every area it exceeds, and you get so much now for your flying dollar. The only blight on the copybook are the reflections, just too strong and become even intrusive in certain lighting conditions and have to be turned off, the cabin window reflections are the wrong ones as well. But that is a smidgen of the smallest of the smallest of things compared to what you have here. The Do 228 does have some quirks that you need to adjust too, but again that is part of the familiarization of flying different aircraft. And to note the aircraft is VR compatible as well and ready for your Virtual Reality headset. The quality is just outstanding as is the detailing with outstanding full PBR (Superb material shines and reflections) that are working overtime here, features are excellent and it flies extremely well once you are accustomed to its design and observe its weight restrictions. Two types of FMS systems are also available and its your choice on which one you use. Lighting internally is excellent as are the FMOD sounds... it is just a great aircraft. Is it then better than the B1900D its main competitor? Overall the Do 228 is a more modern construction from Carenado than the far older B1900D, so it has a more deeper feel and very expansive and a higher quality feel. But the B1900D is still extremely good when you take it in its latest XP11 form, so both aircraft are really line ball the same in many ways. Certainly for me I will be putting more hours in the Do 228 as it is so good and nice to fly, so overall the choice for those short regional/hub&spoke routes are now simply down to a coin toss? B1900D or the Do 228, either way you are a certain winner which ever aircraft you choose. The Do 228 is however highly addictive to fly in X-Plane11... the best yet from Carenado, and maybe yes... it is overall excellent. ______________________________________________________________________ Yes! the Dornier Do 228 100 HD Series by Carenado is NOW available from the new X-Plane.Org Store here : DO228 100 HD Series Price is US$37.95 Features Specially designed engine dynamics for XP11. Flight physics optimized for XP11 standards. Ground handling adapted for XP11 ground physics. Physically Based Rendering materials and textures throughout. PBR materials authored with industry-standard software used by the film and gaming industries. X-Plane GNS530 (FPS friendly) Support for RealityXP's GTN750 (integrated into 3D cockpit, when available). VR compatible click spots. Goodway Compatible. Realistic behavior compared to the real airplane. Realistic weight and balance. Tested by several pilots for maximum accuracy. Requirements: X-Plane 11 Windows, Mac or Linux 2GB VRAM Minimum. 4GB+ VRAM Recommended Note the 4GB VRAM is highly recommended, to use the 2GB minimum your texture settings will have to be set quite low. Installation Download of the Arrow Dornier 228 is 668mb and it is installed in your General Aviation Folder as a 898.00mb folder. As noted liveries are 4K and very high quality textures, and they do take a fair bit of power and framerate to run if you have your Texture Resolution set high, a notch below is recommended. The Reality XP's GTN 750 unit can be installed, but this is an addon extra and costs you another $49.95, and that replaces the GNS530 on the centre console. Documents Documentation is very good, but no real POH (Pilots Operation Handbook). Quickstart manual is good to find all the great features, but it is no flying guide. X-Plane FMS Manual.pdf Copyrights.pdf Credits.pdf DO228 Emergency Procedures.pdf DO228 Normal Procedures.pdf DO228 Performance Tables.pdf Do228 Quickstart Reference Guide.pdf DO228 Reference.pdf Recommended settings XP11 .pdf _____________________________________________________________________________________ Review by Stephen Dutton 17th November 2017 Copyright©2017: X-PlaneReviews (Disclaimer. All images and text in this review are the work and property of X-PlaneReviews, no sharing or copy of the content is allowed without consent from the author as per copyright conditions) Review System Specifications: Computer System: Windows - Intel Core i7 6700K CPU 4.00GHz / 64bit - 16 Gb single 1067 Mhz DDR4 2133 - GeForce GTX 980/SSE2 - Samsung Evo 512gb SSD Software: - Windows 10 - X-Plane 11.05 Addons: Saitek x56 Rhino Pro system Joystick and Throttle : Sound - Bose Soundlink Mini Plugins: Environment Engine by xEnviro v1.07 US$69.90 : XPRealistic Pro v1.0.9 effects US$19.95 : WorldTraffic 3.0 Plugin - US$29.95 Scenery or Aircraft - EGJJ - Jersey by tdg (X-Plane.org) - Free - EGHI - Southampton Airport by Pilot+Plus (X-Plane.OrgStore) - US$19.95
-
Aircraft Review : Beechcraft Bonanza F33A XP11 by Carenado What makes up the criteria of your best aircraft to fly in X-Plane, or your favorite? This is not the best aircraft in X-Plane for overall features or details, but the best aircraft for you. For many user fliers it could be in a relation to a real aircraft, either in the one you own, owned or are now learning on, that particular aspect is important. But what about the rest of us... For me it is Carenado's Bonanza F33A and we go back a long, long... time. The aircraft originally was one of the first released for X-Plane by Carenado, and the fourth if I think right and that was right back in January 2012, or just over six years ago.... it was also really the first of really high-quality releases from Carenado that was certainly far ahead of its time back then and even better than that period's X-Plane10 quality. My own actual investment in the F33A was a bit odd. I bought it as a birthday present for myself, flew it twice then basically stored it for just over two years? Even looking back now I just can't work that out why? but I think that my basic flying skill's were not up to the same level of the aircraft... so what changed? Carenado did an update on my mothballed F33A and I found now how it all handled very nicely, but more importantly I also suddenly found it was the very best aircraft in X-Plane to do some serious practice on, that is the very basic flying training in circuits, touch and go's, banking techniques, speed control... then I found myself using the F33A for more advance training with VOR navigation and extensive GA flight-planning and route navigation. In every aspect the F33A was the perfect aircraft to cover all these important flying skills, and ever since year after year the F33A has been my aircraft of choice for all of these practise and training skill work. It also is used as a benchmark to X-Plane itself, because I know the F33A so very well, so if X-Plane is out or not configured correctly then it will show on this aircraft. So the point is would that make this review biased because already this Bonanza is an aircraft that I think that everyone should have in that hangar, and that is a fair point... I accept that now there are certainly far better aircraft in X-Plane than this F33A because basically even if advanced for its time then this design by Carenado is still six years old. A note here in that the livery "BlueHawk Flight Training" which I have flown the F33A under for years is not an official Carenado livery... but however it is one of the best looking for the aircraft, it also needs a few adjustments if you want to use the livery with this XP11 version, but it is well worth the effort. Carenado Beechcraft Bonanza F33A XP11 Over the years since it's original release Carenado have kept the aircraft up to date with constant updates, and that was even into X-Plane11, but that was mostly just to conform to X-Plane11's basic performance changes and for the introduction of PBR (Physical Based Rendering), and overall the bonanza flew fine in that configuration. But in time the F33A needed to completely upgraded to X-Plane11 and to take advantage of the new simulation version and add in the more modern elements we expect now in X-Plane, and here it is in the Bonanza F33A XP11. Outwardly you are surprised enough that when sitting in the F33A XP11 version for the first time in that it looks and feels almost exactly the same? In a way that is very good thing if you are like I am in being very familiar with the aircraft, and you don't want things you really like then being messed around with or changed. But there are a lot of differences and details to take in. All the aircraft for XP11 are now 4K (4096 x 4096) texture quality with the (PBR) Physically Based Rendering materials and textures that are redone throughout and this is all done with (gaming) industry-standard software for the best highest quality to the best efficiency (framerate to me and you) ratio. A note that the F33A has a lot of custom 2K freeware liveries available on the XP.Org. They do actually still work quite well, but as noted you need a file name change and a few adjustments in say photoshop to make them compatible, obviously the quality is not at the official level, but if you do have a favorite livery for the F33A you can at least save it and use it. N927CF is an official livery to see the quality and detail now in this XP11 version. You were always aware of how very good it was originally, but it needed for X-Plane to catch up to Carenado and not the other way around. Certainly X-Plane11 does that here, but the changes also reflect the fine tuning of those super realistic material shines and reflections. Now there is a lot of chrome on the aircraft, like with the beautiful spinner and foot supports. Wing lighting assemblies are absolutely perfect, and highly realistic. Note the nice small wing fences. The advancement of computer power over the years also now allows us to take advantage now of higher quality texture settings and anti-aliasing, The quality of the undercarriage is phenomenal, ultra realistic and fully animated. To note the advanced movements of the animation has been refined here to XP11 standard's and to a point they are better than that, as movements in taxiing and wheel travel shock are almost now perfect, you thought it was always reacted like that until you went back and flew the F33A from only a few years ago, but no we have come a long since then, a very long way. Glass is also better, more refined with great reflections and here comes in two versions of clear and the tinted green (far better). External detail is complete with HF and RF aerials and great detailing with control surface manipulators, lightning wicks are all animated for airflow realism. Aircraft construction riveting is very good, but does show that this is still a few years ago since it was created, nice waves and shapes in the metal paneling gives realism. Cabin Looking into the cabin and it is very well detailed, beautifully created. The F33A was the aircraft that I was in when I first saw the X-Plane11 PBR light and dark shadow feature, It was a total "wow" moment then, and it still is very dramatic now with the cream facia panel and the black instrumentation. Internally the cabin is very tight, the F33A is a very small intimate aircraft in reality. Seats are beautifully crafted. The interior has been re-textured, it is now a woven cloth grey, with a distinctive pattern. It certainly modernises the cabin and it feels fresher... ... but I did also really like the old blue interior, certainly it looks like the more older style Bonanza, but it still works for me. I goes better with the BlueHawk livery as well, so I adjusted it to be used on the same livery, again photoshop was required, but you don't lose any quality in the transition. I think it is nice to have both versions between different liveries so it is certainly worth doing. Panel is sensational, highly realistic and I should know as I have spent countless hours behind it. The aircraft comes with dual-arm yoke bar, this setup was pre-1984, with the change to the standard in the panel twin yokes setup that is post-1984. The bar hides by pressing the bar in the centre by the panel. It does obstruct a lot of the lower switchgear, lighting adjustment rotary and vertical trim wheel, but I found I could work around it with the bar in place with familiarity. Pilot's yoke has built in working electric trim, autopilot disconnect and XPDR IDENT functionality. A digital clock is also built into the front of the yoke for convenience. Panel glass reflections are all very new and highly realistic, but in some conditions they can now go a bit grey with the seat mirroring the reflection, a tone down of the reflections is noted from Carenado. Menu The menu hasn't changed from the earlier version... still the same three panels to cover the standard Carenado A, C and O menu staples. A is the Bendix/King KFC 150 autopilot pop-up. C is ten "Views" with "Field of View" and two sound adjustments. O is for "Options" including opening Co-Pilot (passenger) door and a Baggage door left rear. Static elements provided are very basic with only, wheel chocks and engine inlet/flag, wing pipit cover and there is also window and Instrument reflections and the choice of changing the liveries without going to the main X-Plane menu. The twin pilots are new and replace the younger cooler guy in the shades, but they are very well created, far more realistic and are both highly animated, they also disappear when you activate the static elements. Not on the main menus. but it is now available for use is a "Weight & Balance" menu courtesy of Thranda. It is activated by setting up an X-Plane key input via the Thranda key settings. The W&B menu is basic, but still covers all that you need in set up and you can now adjust the four passengers weights and baggage via a animated C.G (centre of Gravity) graph, Fuel can also be set and the results are set out in lbs and inches are all listed below. Flying the F33A Bonanza The F33A can be a very recalcitrant aircraft to start from cold, but once the 285 hp Continental IO-520-B engine fires it soon settles down. I always run the Continental for a few minutes to warm it all up, once the gauges are showing normal temps and pressures, then you can go. This aspect is very well done by Carenado as the gauges just don't just go straight right up to their operating points but they all take their individual routes to get there showing realism. My X-56 Rhino throttle setup works well here as I use the second throttle as the mixture lever, this gives my more control over the richness of the fuel, and only 2/3rds mixture is required for taxi and ground movements. You can feel how long a way we have come now over the years, earlier this Bonanza was a bit of a handful on the ground, but now it is just a soft pussycat more than a rampant tiger, and you have more if sublime control of your speed and direction movements, that is of course the X-Plane11's level of more diversity in this area, certainly the F33A is still a bit of a handful on taking off and landing, but that is a common problem with X-Plane's ground effects at the moment than more than the actual aircraft, but skill can overcome the worst of Laminar's theatrics. All sounds in Carenado aircraft when upgrading to X-Plane11 are now FMOD, and the Bonanza gets the same treatment. The sounds have been increased substantially right thoughout the whole range, this is highlighted at the idle point, if you adjust the mixture even minutely the sounds are really, really good in conveying on what the engine is feeling, with power, climb and the cruise sounds of the aircraft of which are all excellent. I only give the F33A about half-throttle gradually until the aircraft builds up speed, once the speed is constant and you are tracking true against the left pulling asymmetrical thrust, then go straightup to full throttle, no flap uses more runway, but I get more speed of which I like. 100knts is the right point to pull back on the yoke bar, and the F33A will nicely clear the runway... ... rate of climb to 600fpm is best to climb out and also build up more speed. The Bonanza has a unique gear sound, in a pneumatic "peeeeooow" sound, which I love and the detailed gear retraction or extension is excellent. I keep the power up and level out at 1500ft. Performance is very good for this type of aircraft. Top Speed: 182 kts with a Cruise Speed of around 172 kt and the Stall Speed (dirty) is around 51 kts. Range is an excellent 717 nm. Official Rate Of Climb is 1167 fpm and the Ceiling is noted at 17858 ft. Once the aircraft is trimmed and set at a nice cruise pace I climb again to 7500ft, Mostly I climb high easily at 800fpm, but with the W&B manager I added in a lot of weight of 3250pounds (3401 is max) so 700fpm is my base climb rate today, I drop that again at 6000ft to 300fpm to keep the momentum of the speed. Instrument Panel By all accounts the F33A instrument panel is not complicated, but the instruments that are here are set out to be extremely useful. Standard Six instruments are centred in the line of sight of the flying pilot with the Airspeed Indicator, Artificial Horizon and the Attitude Indicator on the top row and the Garmin OBS VOR pointer (VOR2), Heading Dial and Vertical Speed Indicators set out directly below. The Turn Coordinator is far left of the six pack with a radar altimeter directly below, lower left instrument panel I will come back to in a moment. Centre panel is dominated by two large dials that cover engine manifold pressure (inHg) and fuel flow (gallons per hour) and the second dial is the RPM gauge with built in hour meter. Both the gauge and the dial are highly animated to reflect the engine's performance, needles twitch and flicker to throttle or fuel flow changes that makes them highly realistic. Below is the left and right fuel gauges that are separated by a cluster of four gauges that cover Cylinder Head Temperature (CHT), Oil Temperature top and Ampreres and Oil Pressure below. Lower left is an Insight digital read out for EGT - CHT and lower right is an Instrument Air gauge (Inch-Mer). A small note here on the Instant EGT - CHT digital readout, in flight it looks like it is not working, but it is. To see any activity, then just lean the fuel mixture and the display will come alive. The avionic instrument stack is very good with a Bendix/King KR 24 radio set, X-Plane Garmin GNS 430 GPS, Bendix/king KX 165 COMM (Comm2)/NAV (VOR2) unit, Two Bendix/King KR 87 ADF units and a Garmin GTX 320 Transponder... the Bendix/King KFC 150 autopilot is far left of the instrument panel. You can also use the GTN750 payware add-on by RealityXP in this Bonanza. On the co-pilot's far right instrument panel is one flying instrument in an altimeter, and a Garmin OBS VOR indicator (VOR1). Two smaller gauges cover EGT and Prop Amp. A note on the altimeter, You have to remember to adjust both altimeters in their mb/in.hg settings, this far right second backup altimeter setting is hard to see in being so small, but it always needs to be adjusted when required, or (obviously) the altimeters will show different altitudes. Lower right panel is the circuit breaker panel (non-working). The set up of the Bendix/King KFC 150 autopilot is excellent in the Bonanza. Handy to the lower left and remember there is the pop-up feature as well (press Tab A), which is both movable and scalable. Note for the AP to work you have to press the FD (Flight-Director) button before engaging the AP button. Easy to use the KFC 150 actions are noted on the upper panel in line of your eyesight, and there is the built in V/S - ALT mode to set your altitude and rate of climb (or descent) and they all work perfectly together to ease your workload. Next to the V/S-Alt mode selector is a BendixKing VOR N1/N2 distance, speed and estimated TOA (Time Of Arrival) display. Next to the KFC 150 is a fuel flow display that (switchable) covers GAL REM (Remain) GAL USED, GAL to Destination, GAL Reserve and Endurance (HRS:MIN) to use this instrument correctly you have to have be running flightplan in the GNS 430, but if not you still get fuel remaining and that sort of fuel flow info. VOR Pointer/Course Dials To understand why this little Bonanza is a very good training tool for early fliers is to understand the use of two instruments, and their setup here in the F33A. I have always been a bit vocal in reviews if the VOR/DME instrument is not a pointer tool and it is usually the older basic VOR/DME heading instrument... in the F33A it is a pointer instrument, but better still it is positioned directly besides the heading/course instrument. Here I am approaching KRSW - SouthWest Florida International (arrowed) and the VOR pointer is set to the airports VOR (Lee County RSW 111.80). Yes I know that the RSW VOR/DME is slightly to the north of the airport, but it will still show how to use the pointers effectively. I have set the "Course" pointer to the RWY06 heading as my guide, but I will for the moment still fly southwest to clear the airport before going into the south circuit to land from the west. Set my heading to the course direction (24º) to go into the circuit and that will put the F33A parallel to KRSW and RW06/24. The VOR pointer will show your relative position to the airport and your distance from the VOR/DME and to the airport for the correct turn point (unless you are under ATC instructions), Then a 90º turn on the course to (33º) turn in ready to find the runway centre line. Again the VOR pointer is crucial on the right time to turn to the runway heading, if you rely on the ILS alignment on the course pointer, you will know that it usually activates just a little too late to get the final right 90º turn to the runway, the VOR then gives you just that little more time to get the turn rate correct. I also use the same procedure in a big jet, the VOR pointer will give you the runway alignment if set against the runway course setting a far longer way out distance from the airport than the ILS alignment does, so you can have more time to set up your approach in line with the runway... if you are correct then both the VOR and Course pointers should be aligned parallel on the final turn as they are here (below right), the runway 06 should then be in the correct position for your approach. You can see by using both pointers on how this F33A is simply great for practise flying, in circuits and for VOR point to point routes, and when you don't have this set up in other types of aircraft you really miss those pointers and the workload get a lot harder. Two points then is that yes it is just as easy to look out of the window and visually gauge your turn, that is natural, but in many conditions you just can't do that, and yes here at KRSW the VOR is slightly off the airport but it still works in context. Landing Overall the F33A is a lovely handing aircraft, just watch the trim is -0 when taking off and landing, it will be out at this point if have used the AP. The trim wheel is right there in front of you a little to the right (pilot) or on the yoke. I am finding this earlier XP11 version a little fast on approach? But I usually get the speed down to around 100knts when coming into the final approach phase. If you leave the taxi light switched on it will shut off when the gear is raised and then relight when you lower the gear for landing, it is great to watch in operation. External lighting is pretty basic, with the landing and taxi light in the nose and a huge red beacon on the roof. Navigation and strobe lights are updated for XP11 and are excellent. Gear down and you do lose a lot of speed in the drag if you don't counter for it. Flaps are 3 positions Up - 15º - 30º, 150knts is vFE but I am usually well under 100knts before I will move them down a notch. ditto to 30º flap as I will go down to 80knts before going to that position, I found you need a lot of throttle to counter the 30º flap not so less for even the 15º setting. I admit I am a little bit high here, but those trees at the end of RWY06 have a habit of catching me out in the dark. 80knts approach speed is down to just under 70knts for contact, stall is 51knts so I feel the approach speed needed is a currently a little too high from Carenado, around 60knts, should be more closer to the mark. A lot of hours in the F33A means I can put it down pretty anywhere I want to, it is not a hard aircraft to land, but you will need to feel the aircraft and get the speeds right, overall Carenado have done a class act on delivering X-Plane11 performance to this version, it feels far more alive and more intimate than the earlier versions, and yes it is totally better all round. For the limited lighting available you do get a good view in the dark to moving around on the ground from both the taxi and landing light. Internal Lighting Instrument panel lighting is basic, but very good. Most instrument lighting is indirect, and I remember it being actually a little bit brighter? You can only adjust the indirect lighting and the some of the backlight/avionic lighting individually... overall it is great for night flying. Overhead lighting is two lights forward with one large light directly above and a small one in the exit passenger door... ... in the rear are two spots and all roof lighting is controlled by the three buttons on the roof. Liveries There is one blank and four liveries with the package, all are high-quality and 4K, the highlight is the nice Lufthansa Nevada Training aircraft. Summary Six years is a long time for any aircraft in X-Plane, but we are dealing with Carenado here and the aircraft was never ever going to the one to be left on the shelf, in fact the constant updates and now this huge D-Check of a strip to the bones and rebuild of the F33A Bonanza means one of the brightest stars of Carenado's fleet is certainly going to keep on flying well into the X-Plane11 version for many, many years to come. It is a new version for X-Plane11 in its new clothes, but the Bonanza feels new and it is now certainly also quite different from its earlier versions without losing its original charm. Optimisation is high here as a lot of areas have been covered from newer materials and textures throughout, to performance and the more realistic behavior with flight physics optimized for XP11 standards and better comparison to the real airplane, better realistic weight and balance with now a even a W&B menu set up panel. The aircraft is now fully VR (Virtual Reality) compatible and has better and even more refined PBR (Superb material shines and reflections). FMOD sound is completely new and far more right across the whole range with newer added sounds that are more detailed and intimate, in other words the Continental IO-520-B engine sounds brilliant. The Bonanza F33A is one of Carenado's biggest success aircraft in X-Plane and in reality it is not hard to see why, it is priced very well for what you get as well, in that you get really a $35 deal for only $26.95 for the same quality and features as the common Carenado higher price. Yes in a few areas the F33A is still the same earlier aircraft, but it is now part of its charm more than anything else. This is my favorite personal aircraft in X-Plane, could that be a bias? but no in reality the aircraft that I reviewed has just only re-enforced of why it was so good in the first place, more so now with this excellent extensive upgrade. I just simply love flying this machine, it is also the best for any type of practise and for developing my (online) flying skills and to a point I can push them to the limit in this aircraft as I know the aircraft so well... The hard part of this review, is that I now have to move on from the F33A and can't keep on flying it around Florida anymore... "Okay just once more and then I will move on.. I Promise, I will honest... yes only once, I really, really promise... ". Highly addictive and highly recommended. ______________________________________________________________________ Yes! the Beechcraft Bonanza F33A XP11 by Carenado is available from the X-Plane.Org Store here : Bonanza F33A XP11 Price is US$26.95 This XP11 is a new version of the F33A Bonanza, so a new purchase price is required, however updates are free to the aircraft for the full run of the X-Plane11 version. Special Features Version 1.1 Optimized for X-Plane 11 State-of-the-art configurable FPS-friendly logic system. Fully VR compatible Full PBR (Superb material shines and reflections) Features Specially designed engine dynamics for XP11 Flight physics optimized for XP11 standards Ground handling adapted for XP11 ground physics Physically Based Rendering materials and textures throughout PBR materials authored with industry-standard software used by the film and gaming industries X-Plane GNS430 (FPS friendly) Support for RealityXP's GTN750* (integrated into 3D cockpit, when available). Goodway Compatible. Realistic behavior compared to the real airplane. Realistic weight and balance. Tested by several pilots for maximum accuracy. *RealityXP GTN 750 is sold separately Included in the package 5 HD liveries + 1 HD blank texture F33 Normal and Emergency Procedures PDF F33 Performance tables PDF - F33 Quick reference table PDF Autopilot KFC150 Manual PDF Recommended Settings X-PLANE 11 PDF ______________________________________________________________________ Requirements : X-Plane 11 Windows, Mac or Linux 4GB+ VRAM - 350MB available hard disk space Version 1.1 (last updated May 18 2018) ______________________________________________________________________ Installation : Download is 281mb which is unzipped and is inserted in your General Aviation folder as a 478.40mb flie. Key authorisation is required. The review "BlueHawk Training" Livery is here: BlueHawk Carenado Bonanza F33 v2 Livery 1.0 But the livery does require some changes to work in XP11, but it does come in both 2K and 4K versions. Changes are not hard, but watch for the chrome spinner and that it is showing, make sure that the all the textures changed are not transparent, or you will get see through wings! Documentation : includes Bonanza F33 Normal _ Emergency Procedures - Performance tables.pdf Carenado Copyright.pdf Credits.pdf F33 Bonanza reference.pdf General Information.pdf KFC150 Autopilot.pdf Recommended settings XP11.pdf ______________________________________________________________________ Plugin Review by Stephen Dutton 23rd May 2018 Copyright©2018: X-Plane Reviews (Disclaimer. All images and text in this review are the work and property of X-PlaneReviews, no sharing or copy of the content is allowed without consent from the author as per copyright conditions) Review System Specifications: Computer System: Windows - Intel Core i7 6700K CPU 4.00GHz / 64bit - 16 Gb single 1067 Mhz DDR4 2133 - ASUS GeForce GTX 1080 8Gb - Samsung Evo 512gb SSD Software: - Windows 10 - X-Plane 11.20 Addons: Saitek x56 Rhino Pro system Joystick and Throttle : Sound - Bose Soundlink Mini Plugins: Environment Engine by xEnviro v1.07 US$69.90 : XPRealistic Pro v1.0.9 effects US$19.95 : WorldTraffic 3.0 Plugin - US$29.95 Scenery or Aircraft - KFMY - Page Field - Fort Myers, Florida 1.0 by timbenedict3 (X-Plane.Org) - Free - KRSW - Southwest Florida International Airport by Aerosoft (X-Plane.OrgStore) - US$24.95 - KDAB - Daytona Beach by Aerosoft / Stairport Sceneries (X-Plane.OrgStore) - US$28.99
-
First Quick Impression : C90 GTX King Air HD Series XP11 by Carenado The Beechcraft C90 is the stalwart aircraft of the King Air series, certainly there is a few of them for X-Plane and even Laminar Research's default C90 King Air is a basic but always a nice flying machine, so why buy another one? Well Carenado have not one but now two Beechcraft C90's for X-Plane11, the standard version C90B, but now here is the GTX version. The GTX is a accumulating part of a three version lineup above the standard C90. The C90GT came with the PT6A-135A engines, 750 shp flat rated to 550 shp, for better climb and cruise performance, the C90GTi came with the "glass cockpit" Collins Proline 21 avionics suite and the GTX is the combination of both of those versions plus the winglets now added as factory-standard, and with the maximum Take-off Weight was increased to 10 485 lb (4756 kg) for better full-fuel payload flexibility. Carenado C90 GTX The C90 GTX is the executive version of the C90 range, more faster, more powerful, but carries less passengers in only six seats, plus two crew. Carenado modeling and quality abound, you expect the best and again you get that high quality detail here. Notice the lovely panel ripples and detailed riveting, best in the business and very authentic, the days of flat sided fuselages are now well gone. Engine cowlings with chrome inlet engine inlets and chrome spinners are are also excellent as is the double huge heated trumpet exhausts. Nice NACA Ducts and pressed metal louvre air-vents are also very good and are the C90's signature look. The GTX winglets are also well crafted, but the static wicks tend to droop and are static, remember how not long ago Carenado static wicks used to flicker in the airstream, well that sort of detail doesn't happen anymore. But the modeling is very good, note the rear lighting assembly, tail and elevator detailing and so overall this is a very nice C90 King Air. Cabin Executive also means corporate grey interiors and Carenado don't disappoint here, you get a lot of blacks and dark greys in the cabin. The teak wood highlights are very nice and contrast well with the beige upper cabin trim. Nice seating details include built in ashtrays, seatbelts and great leather textures. Cabin comes with twin animated pop-out tables to work out on your next business deal. Over all the cabin fit-out is very good, but a little dark inside. Cockpit The same theme follows through into the cockpit, dark colours with beige highlights. It is all very well done, with the usual gauges replaced here with the three display (Two PFD - Primary Flight Displays and one left central MFD - Multi-Function Display or NAV/MAP) of the Pro-Line 21 avionics system. The C90 XP11 version had a beige panel, so that tends to lighten up the instrument panel, but the all dark panel here does feel more authentic to a professional flying office environment, and it feels more modern as well, overall I like it. Highlights are the lit yokes, they look and feel the part, but you lose the auto-trim function on the left handle over the C90B version. The standard King Air twin fuel panel is the same, but both wall panel circuit breakers (fuses) are now colour coded, and they look very nice, but they are also static and don't work. Pro Line 21 Avionics Main attraction to the GTX is the Pro Line 21 avionics suite. This is the third aircraft from Carenado with the Pro Line 21 after the Falcon GX50 and the 390 Premier Jet, however the layout here is the same three panel display like in the 390 Premier. The PFD and MFD both pop-out on scalable windows (press the top of each panel to open). Operations are via the centre DCP (Display Control Panel). The PFD has the standard glass cockpit layout of Speed and Altitude strips, Artificial Horizon, Vertical Speed and Rate of Turn built into the upper section, lower section has a built in Navigation and Map and COM1/ATC/UTC/TAT/COM2 strip at the bottom. MFD has Engine readouts top. Middle section covers flightplan waypoints: Distance, Section times and Route times and set lower in the MFD it covers: GS (Ground Speed), TAS (True Air Speed), SAT (Actual Air Temperature) and ISA (International Standard Atmosphere). Basically it is a select and change menu system. Press the selection you want to change on the DCP and frame keys and then move the Menu setting knobs, then press the centre of the knob to activate your selection... Only difference between the PFD and MFD is the MFD has the PLAN mode (arrowed) that works with the FMS to show you your flightplan, but the aircraft position (Aircraft Symbol) is fixed on the waypoint that you have selected, rather than showing you were you actually are on the flightplan? DCP gives you three other selections with REF (Speed References) with three pages with the third page used for settings... Second selection is the "NAV/BRG" button that will bring up the NAV SOURCE (FMS1/VOR1/VOR2) and Background (BGD) pointers for FMS/VOR1/ADF1 top and FMS1/VOR2 lower, again just select the required selection button and the select blue box band.... adjustment is again via the Menu knob. Pressing the RADAR button will bring up the TERR/RDR setting the same as in the menu option. Top of the MFD is the engine readouts, with ITT (Interstage Turbine Temperature) per engine and fuel temp, PROP, TQR (Torque), FF (Fuel Flow), (Fuel) Pressure, Oil Temp cº. The readout shows you your torque position and a nice rotation animation. The Pro Line 21 avionic panels all work in with the "Flight Guidance Panel (FGP) or autopilot... that is also a pop-out adjustable menu panel. FGP is quite comprehensive for a big twin aircraft with: FD (Flight Directors), CRS (Course) 1 & 2, VS (Vertical Speed), VNAV, FLC (Flight Change), NAV, 1/2 Bank, HDG (Heading), APPR (Approach), ALT (Altitude) YD (Yaw Damper), CPL and AP (Autopilot)... with full YD/AP DISC (Disconnect). A note on the 1/2 Bank, it works as it should, but you don't get any visual clues it is on or off in the PFD, ditto the YD indicator. Collins radio selector is very nice. Two pages with Com1/NAV1/ATC/ADF1 on the first page and COM2/NAV2/ADF2 second page. ___________________________ C90 GTX in the air Any King Air is a nice aircraft to fly, the C90 is the most basic of the series and you can't go past that Carenado feel and quality. The C90 office is a nice place to be, with a great set of testable large panel of annunciator lights. Laminar Research's basic FMS used is okay, but not very authentic or very versatile as an FMC, I found that there is a requirement to start this C90 up from only the desktop, otherwise the bugs creep in like with no route line on the Pro Line 21? the lighting behaves badly as well and the sound goes plain weird, sounds are good but only average. Externally the C90 sounds good, but if you zoom in closer to the aircraft the change in range is not great, and sometimes you get odd sounds and even clicks and pops, and sounds are missing in parts of the cabin as well... in some angles you feel you are watching the start of the Alien movie with it's spooky space sounds... it is all very odd. .... blinds are animated, but restrictive in their movement and are not visible externally (unlike on the C90B)? The lighting is odd as well. King Airs have that very comprehensive roof lighting panel, but a lot of the knobs don't seem to work? It looks very nice though with the glowing blue drop down and the yoke notepad lighting... .... each side of the instrument panel and side panels can be faded in or out to your taste and the roof overhead panel is adjustable as well, but the main cabin downlight ((Flood) is on but doesn't shine anywhere? Cabin is now single selection spotlights over the seats and tables... remember on the older C90B from Carenado, then all the individual spotlights could be switched on/off but were also adjustable to shine them in the direction you wanted too? You seem to be getting far less for more money in terms of features in the GTX... Externally the aircraft lighting is very poor? Main front strut Taxi and Landing lights don't work, wingtip recognition lights are extremely weak as it the Ice lighting and the barely visible tail light? Navigation, Strobe and beacon lighting is fine. You do get some very nice vortice effects off the wings and off the top sides of the fuselage, and these effects are in addition to the nice heat engine outputs. You have with the GTX a maximum cruise speed 274 kts over the 266 kts of the C90B and a max altitude 30,000 ft, the range is 903 nm, so the GTX is 8 kts faster but the range is slightly down than with the C90B (940 nm). Flap selections cover three positions UP (Flap) - APPROACH - DOWN, Approach speed is around 130 knts, and fully down is 95 knts, stall is around 83 knts. Note the ILS alignment option on the backup Artificial Horizon mid-panel. I found a nice descent speed of around 90 knts, and the aircraft very stable in that phase... ... with around 86 knts on touch down. Beta reverse works well and is very powerful, but I needed the "Hold Thrust Reverse at Max" setting to make it work correctly under my joystick trigger. Sounds are again patchy, the reverser sounds over-ride the normal sounds and it feels odd, strange as Carenado are usually very good at getting these transition sounds correct. Menu There are the usual Carenado three tabs in the left side down corner. The three tabs are noted as: A ) is for the lovely authentic Collins Proline 21 FGP pop-up Autopilot panel, that is quite screen filling large but can thankfully be moved and scaled to a smaller size. C ) Is the standard Carenado ten preselected Views, Field of View and Volume panel. And O ) is the Options panel. Options include Window and Instrument reflections. The static elements provided here are still very basic with only two cones, wheel chocks and flag/pitot covers and some nice engine inlet covers, but you can only have all or nothing. The highly realistic pilot and co-pilot animated pilots in flight uniforms do disappear when you activate the static elements. Other menu items include left and right opening twin engine access doors (one per engine) and left side main entrance door... overall the menu and selections are the same set up as the Carenado C90B. The livery Selector is now on the options panel than from usually the Carenado tab. Liveries There is one blank and Five liveries with the C90 GTX, four are all U.S. Registered and a lone German registration. ______________________________ Summary This is the GTX version of the King Air C90 series. Over the standard C90 aircraft the GTX has the upgraded PT6A-135A 750 shp engines, Pro Line 21 Avionics and the factory winglets, the layout is also executive class in detailing and trim. The usual Carenado modeling and detail abounds here, and yes this is a very nice aircraft. It flies very well and looks very good as well. Fit-out includes all the GTX features including the Pro Line 21 avionics, more powerful engines and the winglets. Cabin is created in a corporate design of a lot of blacks and greys, with a beige trim, all very nice. The Pro Line 21 is very good with a lot of menu options, but it is not study grade in depth and detail, awkward knob controls also creates mis-steps in tuning the Pro Line in detail. Obviously converted from the Carenado C90B XP11 version, but what you get here is really the stripped out version? Lighting is downgraded, sounds are badly managed and there is a load of bugs from the poor external lighting, internal lighting detail, sounds, FMS routing, and considering Carenado had their excellent C90B as a base it all feels quite buggy to fly and use, but an update should fix up all the bugs. Menus are as noted on other recent Carenado reviews are now feeling limited and quite basic. If you already have the Carenado C90B you would see the differences between what is basically the same aircraft. Yes I like the GTX, it is great with the Pro Line 21 avionics and who doesn't love more power, but overall the C90 GTX is not the best Carenado they can do, worthy, but not excellent. _______________________________ The C90 GTX King Air HD Series XP11 by Carenado is now available from the X-Plane.Org Store, and is also available from Carenado directly: C90 GTX King Air HD Series XP11 Priced at US$37.95 Special Features Full interior and exterior PBR 3D interior and exterior with MANY details Rain effect support* (with Librain Plugin) Customized FMOD sounds Carenado Proline 21 RealityXP GTN750 support (sold separately) Features Full VR compatible Specially designed engine dynamics for XP11. Flight physics optimized for XP11 standards. Physically Based Rendering materials and textures throughout. PBR materials authored with industry-standard software used by the film and gaming industries. Realistic behavior compared to the real airplane. Realistic weight and balance. Tested by several pilots for maximum accuracy. Included in the package 5 HD liveries +1 HD Blank livery C90 GTX Normal Procedures PDF C90 GTX Emergency Procedures PDF. C90 GTX Performance tables PDF C90 GTX Limitations PDF Carenado Proline21 PDF Carenado RTU PDF Flight Guidance Systems PDF Recommended Settings XPLANE 11 PDF Requirements Windows XP – Vista – 7 -10 or MAC OS 10.10 (or higher) or Linux X-Plane 11 Windows, Mac or Linux 4 GB VRAM Minimum - 8GB+ VRAM Recommended Download Size: 340 MB Current version and Review version : 1.1 (February 27th 2020) Installation and documents: Download for the C90 GTX King Air HD Series XP11 is 340mb and the unzipped file is deposited in the aircraft "General Aviation" X-Plane Aircraft folder at 429.70 mb. Download for the required LIbrain rain effect plugin (add into the aircraft's plugin folder) Documentation: Huge amount of documentation, with ProLine21 introduction, Laminar FMS manual, Performance and reference tables. Carenado Copyright.pdf Flight Guidance System.pdf Carenado C90_GTX_King_Air Normal Procedures.pdf Carenado C90_GTX_King_Air Limitations.pdf Carenado Proline 21.pdf Carenado C90_GTX_King _Air Emergency Procedures.pdf Carenado C90_GTX_King_Air Performance tables .pdf X-Plane FMS Manual.pdf Carenado RTU Manual.pdf Recommended settings XP11.pdf ______________________________________________________________________ First Quick Impression Review by Stephen Dutton 6th March 2020 Copyright©2020 : X-Plane Reviews (Disclaimer. All images and text in this preview are the work and property of X-PlaneReviews, no sharing or copy of the content is allowed without consent from the author as per copyright conditions) Review System Specifications: Computer System: Windows - Intel Core i7 6700K CPU 4.00GHz / 64bit - 32 Gb single 1067 Mhz DDR4 2133 - ASUS GeForce GTX 1080 8Gb - Samsung Evo 1TB SSD Software: - Windows 10 - X-Plane 11.41 Addons: Saitek x56 Rhino Pro system Joystick and Throttle : Sound - Bose Soundlink Mini Plugins: Environment Engine by xEnviro US$69.90 v1.07 : LIbrain rain effects - Free Scenery or Aircraft - KDAB - Daytona Beach International by Aerosoft (X-Plane.OrgStore) US$28.99
-
Aircraft Review : CT206H Turbo Stationair HD Series by Carenado Route : EIDW (Dublin) - EICK (Cork) - EINN (Shannon) The Cessna Model 206 is a high wing, six-seat light aircraft that was introduced as a 1964 model and was built until 1986 as Cessna halted production of its single-engined product line. It was then re-introduced in 1998 and the current version still remains in production in 2014. The aircraft is also known as the "The sport-utility vehicle of the air" as it has a lot of rear space and clam-shell rear doors and is genenally flown for aerial photography, skydiving and other utility purposes. These clam-shell doors are also why in some markets the aircraft can only be registered as a 5 seater as this is due to concerns about passenger egress through the rear clam-shell door with the flaps extended. The “H” model is generally similar to the previous 1964 original U206 configuration, with a pilot entry door and a rear double clamshell door for access to the middle and back seats. The "H" is marketed under the name "Stationair" or "Stationwagon" of the air. The turbocharged version (this aircraft from Carenado) the T206H is powered by a Lycoming TSIO-540-AJ1A engine of 310 hp (230 kW) with a gross weight of 3,600 lb (1,633 kg) and turning a McCauley Constant Speed, 3 Blade Metal Propeller. Performance : Maximum speed: 174 mph (151 knots, 280 km/h) at sea level : Cruise speed: 163 mph (142 knots, 263 km/h) at 6,200 ft (1,890 m) : Stall speed: 63 mph (54 knots, 100 km/h) : Range: 840 mi (730 nmi, 1,352 km) : Service ceiling: 15,700 ft (4,785 m) : Rate of climb: 988 ft/min (5.0 m/s) Our flight today is from Dublin to Shannon in Ireland via Cork. And our aircraft is the CT206H Stationair from Carenado. This is Carenado's first light-single engined aircraft released for X-Plane in a while, as they have been lately concentrating on mostly big twins. Even if the aircraft has been around from the early sixties it is by and large quite modern in this Turbo form. Approaching the aircraft it however a typical Cessna through and through. Detailing is as expected from Carenado absolutely exceptional. Any steps forward in quality are always more harder to distinguished once you get to certain point, as your eyes fool you, but it is in the finer smaller detailing that the gains can be seen. The CT206H is very complete, solid and beautifully detailed. Get in close and the design and perfectionism stands out,. standouts are the ridged trailing edges of the high wings, exceptional panel fit and the riveting along the panels. It is noted that the setting "draw per pixel lighting" can really highlight this wonderful detailing, but it does come with a frame-rate cost because of the Hi-Def textures, so yes you can enjoy the craftmanship if you have enough headroom to do so, but if you don't it can help to turn the "per pixels" off to gain headroom. Still the highlights will keep on coming in the various aerials, great top of the wing fuel tank caps and that lovely McCauley 3-Blade Propeller. Options Carendo provides an (0) Options menu on the lower left of your screen. with Transparent Windshield (front), Instrument Reflections, Static Elements, Fairings (wheels), Pilot Door, Baggage Doors 1 and 2 (clam-shell). These are all excellent for setting up the aircraft on the ground, I couldn't make up my mind if I liked the wheel fairings on or off, In the end I decided to keep them off. The second menu available is the © or "View" menu that is positioned just above the options menu. This is the standard Carenado views with PoV (Point of view). To GNS or not to GNS! This aircraft is the first aircraft from Carenado that is not available for X-Plane9®, Only X-Plane10® from this release forward. It will significantly speed up the release periods between aircraft as now a lot of the time just to cater for X-Plane9 and a dwindling market is seen as a sign of the times for that X-Plane version. Another feature that comes with the Stationair is that it is also compatible with the 10.30 release of the updated GARMIN GNS GPS equipment. A look inside the cockpit gave me a shock! Not the new but two of the older GNS430 versions? I was disappointed... gutted, and whatever. A note to Carenado and the reply brought me back to my dream world. The GNS350 is available and located in your aircraft folder in a zip. file. (acf for 10.30 beta (GPS530).zip). unzip and you will have a second acf file. But you don't get to choose which aircraft file you want to from when loading up X-Plane. It is either one or the other version. In every case the acf flie has to be noted as "Car_CT206H.acf". So your option if you want both aircraft is to duplicate the Stationair and make one for the GNS530 and another one for the two older GNS430's. In reality there is really no question of which version you will use... The 10.30 GARMIN GNS530 is simply gorgeous and far more functional than the older version. That noted it will mean I will have to fly in the 10.30 beta to have access to the feature. I did check the CT206H in the standard 10.25 final and it actually performs better in 10.30b on my computer (I found 10.30 is far more efficient than 10.25F, of which for me was mostly a dog with low dragging frame-rates). The route is quite simple to Cork, because there are not really many fixes to choose from. The route is OP (NDB) - KLV (VOR) -DIMUS - WTD (Waterford - VOR) - EICK (Cork). It does however keep you on the coast for most of the route, which is what I wanted to do. Leaving Dublin With the electrics on, the fuel tanks just below full and the GNS530 programmed with the route it was time to turn the starter switch. With a throb and then a louder throb, the now puffing propeller pulsed into life. Sounds are excellent, but it is far noisier in the cabin than on the outside, opening the side window(s) gets you a no louder noise from the outside than like you do on the older Carenado aircraft. I have a bose (Soundlink -Mini) portable speaker that runs off the Mac by WiFi, and it sounds brilliant when idling (and on the power), so all sounds are in 3d and are multi-directional and are sensational. Brake off and a little throttle and we are moving. You have find the sweet spot which is very small to maintain the momentum when taxiing, too low and the propeller idles and a little to high and you are gripping the air with too much force and you are then on the brakes. But otherwise you can set the right speed. I set the flaps at one step down. You don't need any flap for takeoff if you don't want to, but a little flap will get you airborne quite quickly once the speed is over the 85knts. The weather is quite overcast with low drizzly cloud at 5000ft, but the wind is quite light at 6knts. power up to 2500rpm, there is a restriction on the power at 2500rpm, as you need all of the power but it doesn't show more than the red line. And then come off the throttle a fair way and it still sits well into the red line zone? Heading down the centre line you don't get that menacing pull that can weave you all over the runway that you can get from powerful singles, so it is easy to keep your tracking straight. Once in the rotate the aircraft climbs away quite easily, but the high glareshield makes it hard for you to see forward, you need to look left and down to keep your track right. The Stationair will easily power up at 800fpm (feet per minute), the aircraft is not struggling at all. I click on the GPS at 500ft to follow the flightplan and activate it via the excellent KFC225 Autopilot (NAV). For a small unit, as an autopilot the KFC225 is very powerful and all you really need. You can set your V/S (Vertical Speed) but it is a little messy switching between the altitude and V/S modes. But it does work well and with an ALT when the set height is achieved (6000ft), after my first turn at "OP" I decided to reduce my height back down to 4,500ft to get out of the cloud cover, and that felt right with the speed set at just under 140kts... There is good documentation supplied on how the KFC225 works but I found that setting the altitude directly is a little hit and miss, I wanted 4,500ft, but I will get 4,510ft? The beautiful overhead lit panel gives the aircraft a very modern look. You have to be very subtle with the adjustment, because it can be quite too bright or too harsh as a few of these images show. But get it right and it looks sublime. Instrument wise the aircraft is very sparse. Just dials on the left pilots side and nothing on the right. The standard six (Artificial Horizon, Altimeter, Airspeed, Heading/Compass, Bank turn and Vertical speed) dominate and are added by RPM and Temperature (TIT/CHT), Oil Temperature (Temp and Pressure), VAC pressure and AMPS, Manifold Press and Fuel Flow and two OBS - Omni Bearing Selectors (VOR) with course selector. There is Fuel gauge for left and right tanks and a great clock that reads... Zulu, elapsed time, date and outside temp, 12 hour and 24 hour clocks. The centre equipment stack has also besides the GNS530 (or the two GNS430's) and the KFC225 a Bendix/King KX 165 TSO Comm 2 and VOR 2 (NAV2) radio (bottom OBS dial) , GARMIN GTX 327 Transponder (and clock), Bendix/King KR 87 TSO NDB/ADF unit and the standard COM/NAV select unit. Having the GNS530 certainly gives the aircraft a better equipment package, but everything here works very well. In fact because you are not overwhelmed with a panel of dials it helps in the way the aircraft is quite restful to fly and navigate. Switched on or off the panel reflections are simply amazingly good, so very realistic. Under the main panel left are the starter key switch and main toggles switches and in the centre is the trim wheels (Elevator/Rudder) and engine cowling flap lever. Right down near the floor is the fuel tank switch, left - right or OFF. Dead centre of the panel are the usual three push/pull knobs of - Throttle - PROP RPM - Lean MIx and finally to the right the flap lever with 0º 10º 20º and 30º settings. Internally the aircraft is very nicely appointed, great side and roof detailing and beautiful seat covers abound, with those slashing seatbelts that fasten to the roof, no table in here like most aircraft and behind the main rear seats the last two seats look for children only (or small adults). I would have liked the idea of a small cargo version to carry parcels or what not or for carrying parachutists, That would have been a great fun version. Smaller details abound in the perfect sunvisor's (great transparency) and manual in a lower pocket. Liveries Over the last year Carenado have listed their liveries as just - White (default), Blue, Green, Grey, Maroon and stripes and that is what you get here. They are extremely good liveries, but just all American and nothing really adventurous. I was now down close to the South and most Eastern tip of Ireland and sailing along towards DIMUS fix which is just slightly of the coast by Rosslare Harbour. It is noisy in here, loud but enjoyable. Carenado note to put your joystick/yoke settings at 25% across the board and I would second that as any higher than 25% and the aircraft is slightly twitchy. As the weather cleared up nicely I climbed back up to 6000ft and my speed remained at 138kts. I was loving the GNS530 and the data it displays to my destination including my heading and time of arrival. A map display showed my track and direction. Detailing on the fixed tri-cycle undercarriage is simply excellent and they are well sprung in the right flex on the main rear gear and the with right amount of absorption and bounce in the nosewheel on landing (or taking off). The engine vents can be closed (as noted) but watch that temp gauge. Once past the turn at DIMUS I focused on WTR - Waterford and how I would approach Cork Airport, I had a choice, fly to south and land on RWY 35 or from the North over Cork to RWY 17. The GNS530 would only give me the airport as a fix, but as I got closer to EICK I found there was another fix directly inland and in line back to RWY 17 at NEGEL. The GNS530 can give you a lot of information about the airport and close Nav-Aids, but I found the GNS530 was not as complete as the GNS430 in airport information and other smaller detailing. It will come to the same standard as the 10.30 beta is finalised. Using the DIR (Direct) mode on the GNS530 put me on a direct course with the fix, and then when close to NEGEL I did another DIR direct back to EICK and RWY 35, this worked better than putting the new waypoint in to the flightplan, because NEGEL is just a little to far West past the direct line to the angle of the runway. So I press the DIR just at the point I wanted to with out going all the way out to the fix. When I was first in the Stationair I wondered why there was two sets of OBS (Omni Bearing Selector) dials?, Yes they would be good for setting two VOR points, but in most cases one is enough to go VOR to VOR. Getting close to EICK you realise that the upper OBS is used on the NAV1 frequencies and also as a lock and display of the ILS bars, the lower second OBS dial is for the standard NAV2 VOR navigation. I was slightly still off angle to the runway but the horizontal bar put me on the centreline where a click of the APP button on the A/P locked me directly in. Flap was set at 20º and the speed at 90kts, Stall speed is at 54kts and it is very easy to be close to that at 30º. Soon the horizontal bar was coming down to the cross and I was in the ILS. I don't usually use the ILS for GA aircraft as the approach is too steep, I get down to about 1000ft above the airport elevation and set a slightly less approach pitch to keep the speed in check. The low grey cloud and wet runway had reappeared as I touched down on RWY 35, But there was no wavering around and I stopped nice and straight. A small taxi to the Flying Club was were I was to lose an hour or so. The weather had worsened while I was on the ground in that two hours. You don't have a lot of external lighting and only two with a taxi and landing light in the far edge of the left wing. But with both on they did give you good coverage of the way ahead, and that was good as the taxiway was a bit narrow. Once on RWY 17 it was now raining and I was having second thoughts on if this was a good idea with rain, low light and low dark clouds. Once clear of the runway I set the GNS 530 DIR (direct) to EINN, as It didn't really need a full flightplan for such a short hop. But once I had climbed to 6000ft I found it was all quite serene... and beautiful. X-Plane turned on a show I haven't seen in quite a while, but certainly the b10.30 update contributed to the view as the with the heavier ominous clouds there was the wispy softness that floated by, you can see and feel the difference in grading of the translucent areas that combined with the light, then produced an amazing effect of naturalness and colour. Internal Lighting With the HDR on the internal lighting is very good. You can turn the panel lighting down and turn up the two spot lights above the pilots head and the lighting can be just as good to fly by. In the rear you have two more spots in the roof, but there looked like four spots on each side of cabin, but I couldn't find any buttons... or they could have been just airvents? From the outside the cabin is quite bright when lit up. Nav, strobe and one beacon up high on the tail completes the set. To my right the view gets busy with snaking roads and traffic with housing lighting now down below, I drop down to 2,500ft and join the circuit parallel to RWY 09/24 and track North East until I was 17nm past to a final 180º track back to RWY 24 at 1200ft. My fears of very low clouds and zero or no visibility were unfounded as the night became quite clear and crisp and RWY 24 was perfectly aligned. The lighting was very and good enough to easily gauge the height of the runway to have a nice touch landing. EINN Shannon's glory days are well in its past, but the airport is still seriously busy. Taxiing amongst the larger aircraft can be daunting, but we found our parking area quite easily in the dark, and I was able to finally turn the CT206H in for the night. Summary Would the CT206H be as good without the GNS530 option? Yes of course... but it is far, far better with it. So the GNS530 version is really the only way to go unless you are wanting the aircraft just for training or for it to exactly like your own aircraft. As usual Carenado have produced another gem. And still there are many notices around the aircraft that they are still moving the quality forward like with the exceptional reflections. Liveries are becoming a little boring and really too few for this price range? and a few features that was on earlier Carenado aircraft have disappeared, like the Carenado key fob, Bags and outside sounds when opening windows. The aircraft is a milestone for X-Plane in many ways, from the loss of the X-Plane9® version to the introduction of the b10.30 features. It is the way forward for Carenado to keep these excellent machines coming into the simulator. The weight and balance of the CT206H are real world, and it has been tested by real world pilots and it shows. There is a full set of CT206H Performance tables included and to get the best out of the aircraft it is best to study and use them. But in design and detail of an excellent General Aviation aircraft the Stationair is faultless, It is very nice to fly as well, but with the 10.30 GNS530 option it is also great aircraft to do any sort of navigational journey and have you planning flights every time you want to step onboard. Certainly another winner from Carenado _____________________________________________________________________________________ The Carenado CT206H Turbo Stationair is now available from the X-Plane.Org Store here : Price is US$29.95 - Carenado CT206H Turbo Stationair Installation and documents: Download is 290.20meg and the aircraft is deposited in the "General Aviation" X-Plane folder at 347.20 meg. Note - you will need to expand the (acf for 10.30 beta (GPS530).zip) and replace the "Car_CT206H.acf" file to have access for the GNS 530 and you have to run the aircraft at this point in the 1.30beta to access the feature. There are seven documents covering the aircraft: Developer Site: Carenado Dev Support : Carenado Support _____________________________________________________________________________________ Review By Stephen Dutton 28th June 2014 Copyright©2014 : X-Plane Reviews Technical Requirements: Windows , MAC OS 10.6 (or higher) or Linux X-Plane 10.2 or higher - 64 bit compatible - X-Plane 10.30+ for GNS 530 4GB RAM/1GB VRAM - 250MB available hard disk space Current version: Version 1.0 (last updated July 1st 2014) Review System Specifications: Computer System: - 2.66 Ghz Intel Core i5 iMac 27” - 6 Gb 1067 Mhz DDR3 - ATI Radeon HD 4850 512mb Software: - Mac OS Mavericks 10.9.2 - X-Plane 10 Global ver 10.25 (final) and for this review beta10.30b5 - Hi rez planet textures from ISDG - Hi-Res Runway textures by Jack Skieczius Addons - Saitek x52 Pro system Joystick and Throttle - bose Soundlink -Mini portable speaker Scenery - EIDW - Dublin International Airport by Cormac (X-Plane Irish Hub) - EICK - Cork Airport by Cormac (X-Plane Irish Hub) - EINN - Shannon Airport Pro by Renair (.org scenery)
-
Aircraft Review : C340 ll HD Series XP11 by Carenado We have all enjoyed that moment, it signifies freedom, and the chains have been cast aside for awhile. It is the end of another long day, and in my case a challenging aircraft to fly and review and there was still a few ends to tie up before the work is finished. Waiting patiently is the next review of Carenado's C340 ll, and so I load it up and pre-pep the aircraft for a flight from Shoreham EGKA on the Southern English coast to Dublin EIDW on Ireland's east coast. It is a simple route via VOR to VOR that is noted up and the whole exercise to just simply just to see what the aircraft is all about and how it flies... First VOR is SAM (113.35) and so after taking off from EGKA's RWY 20, I direct the aircraft to a heading of 290º and trim the aircraft up. My altitude is going to be 15,000ft, so the official rate of climb is 1,650 ft/min (8.38 m/s), but the C340 will easily sit on 1,500 fpm for the first 10,000ft until I reset it for 900 fpm for the last 5,000 ft or so, I get to altitude around SAM and then direct the aircraft towards BND (Boscome Down 108.20) and with the aircraft settled I head back to finish off the other waiting review. As I work the C340 ll purrs it's way over the western England and is heading towards Wales, a quick check of the VOR heading and fuel consumption and I head back and finish off the review... Soon I am done in the reviewing and all the work for the day. The odd thing in reviewing is that you don't actual have time to fly, yes you fly everything but always in the context of the review, so everything is focused on that aspect, and you are messing everything around or heavily changing X-Plane's settings to get the maximum out of the simulator and best performance out of the aircraft or scenery you are reviewing (worse if it is plugin). But now I am finally done for the day, and the C340 ll is still purring along at 180 knts and the indicated TAS ground speed of 220 quite nicely... It is all very nice indeed in here as well. Panel layout is very similar to the 208 Caravan, as that is a Cessna as well. In the rear it is a luxury four seat club layout, all soft pile white leather, and all very comfortable. It is an aircraft cabin that is not too over adorned with fittings, so it all feels clean, plush and modern. The work table is animated with two actions, one to open the top panel and two to pull out the table on the right side of the aircraft... .... but I am not in here to work, so I slide it all away again. Beacon VOR is next (BCN 117.45). Instrument Panel The cockpit is like the sportscar version to the Caravan's utility highset feel, but they are both still very familiar with the creamish backgournd and center pedestal arrangement, and the engine dials are set out here along to top slightly to the right compared to the Caravan's vertical twin dial arrangement. The pilot's instrument package is quite complex and heavily detailed. Standard Six instruments are Airspeed Indicator, Artificial Horizon and the Attitude Indicator positioned top, and the Turn Coordinator, Heading Dial with built-in Course Deviation Bar (CDI) centre and the Vertical Speed Indicator complete the lower set. Left of the SS is the OAT (Outside Temp) top and Astrotech Chronometer below. Right of the SS is the VOR 2 OBS and EDM JPI 760 digital readout and lean find display. Very top of the panel is the Prop anti-ice amp meter, Autopilot display and Bendix/King VOR 2 distance/speed/time display. Lower panel has a very nice and again a very similar set to the Caravan of annunciators that can be tested (arrowed left), lower panel is the oxygen dials and adjustable settings (arrowed right) to keep the cabin at the right pressure as you have a 29,800 ft (9,085 m) ceiling in the C340 ll, on returning back to the ground the system can be also be depressurised via a switch. Digital Fuel Flow readout for each engine and fuel remaining display is left and adjustable radar altitude dial is right. Copilot's side is quite sparse of flying instruments, and most positioned here are in the back up capacity. Airspeed Indicator, Artificial Horizon and the Attitude Indicator are central, with a heading (aircraft silhouette style) and Vertical Speed Indicator... a ADF pointer is left. Top right panel is a Alcor EGT (Exhaust Gas Temperature) readout and Suction dial. The aircraft has a very interesting if complex fuel system. Main wing tanks are 50 Gal each and those tanks are the "(Wing) Tip Tanks" and not the in the wing tanks. The inner wing tanks here are the backup "Aux" tanks 31 Gal each, so you have to remember which tanks you are feeding from. On selecting the "Aux" via the floor positioned fuel selector, then if the inner wing aux tanks are selected there are two lights shown (arrowed) for each of the tanks above the fuel gauge, and the gauge is now showing the "Aux" quantity of fuel and not the main fuel quantity. All fuel on each of the wingtip tanks will crossfeed with the opposite tank, but the "Aux" tanks don't crossfeed, and the full fuel capacity is 162 US gallons. The "Aux" fuel pumps can be set to "High" or "Low" but when in flight it is best to switch over in the "low" boost setting to stop any fluctuations of fuel supply. Lower flap selection is noted as UP - 15º (168 kias) - 30º (124 kias) - 45º, and the flap selector can be hard to see from the pilot's position. The engine dials are all twin needle (L & R) with left to right Manifold Pressure, RPM, Fuel Flow... then there is a set of gauges for each engine covering Oil Pressure, CYL (Cylinder) and Oil Temperatures. Equipment stack is just the basics, with a standard issue Garmin 347 audio panel top and two X-Plane Garmin GN350 GPS system's (COM 1/ NAV 1 - COM 2 / NAV 2) below. Then there is a Bendix/King units KR87 TSO ADF and a Garmin GTX 320 transponder below. The crappy basic Bendix/King weather radar rounds out the avionics. The RealityXP's GTN750 can also be used if you have that option. The pilot's left side panel is for electrical. Internal instrument and avionics lighting sliders are lovely and easy to use, external switches are below. The landing light switch acts rather odd? It wants to be a three way but it is actually only a two way operation. This in case it is caused by me having a switch on my Saitek throttle for switching the lights on and off, but the lights also retract into the wing? so my throttle switch will turn them off, but I still have to throw the panel switch to retract the lights themselves, a three way switch would have worked better. There is a very nice Cessna branded AMPS/Volts meter that is switchable. Right panel is the Air-Conditioner switches, Oxygen cylinder quantity and Hobbs hour meter. Note the very nice Bose branded headset interface. Twin yokes are both beefy and in the "I just want to hold them" category, beautiful is to be almost perfect... sadly or oddly for Carenado the usual electric trim thumb switches don't work? Center pedestal is almost the exact same as on the Caravan. Top twin sets of levers to cover: Throttles, RPM and Mixtures, side large vertical trim wheel and rudder trim is set in lower and by a roll trim knob. Autopilot is very basic but thankfully pops-up and is also scalable. Two push/pull levers bottom opens or closes the engine vents, but use with caution and watch the engine temperatures. Lighting Lighting is very good, if beautiful as well.... importantly you have very clear instruments. Like the Caravan the instruments are lit indirectly, which gives it all a nice glow to the panel... ... and there is a nice blue glow created by an overhead blue light, and two overhead lights that can only be adjusted directly. There is switch called "Courtesy Light" but I couldn't see or find what it did? Cabin lighting is excellent with four fully adjustable spot lights and one for each seat. The rear entrance door had the odd reflections of the instrument panel? But otherwise the window reflections are excellent. External lighting is also very good with the now standard neon strobes, two offset beacons and navigation lights. When the wingtip landing lights are extended they reflect nicely on the underwing and tip-tanks... taxi light is built into the front wheel strut and switches off on gear retraction. But I am not at 15,000ft to do a review, the work today is now done.... ... nope, and this is my time. This is where we came in, I'm flying now as if I am driving home, that carefree moment that you are tired but happy the day is done, you are taking it all in, and now just flying in X-Plane as it should be. Below the English countryside passes by slowly, and the sweet afternoon light fills the cockpit... The C340 ll is doing all the work. It is time for reflection and the pure joy of flying without the stress, and the C340 ll is very much like that, it is calming and very easy to live with, "this is a damn nice aeroplane". X-Plane is behaving as well, no jutters, no pops... the weather is calm and comforting, it is just you and the sky and you feel it will all go on forever. Time for another heading change and this time at STU or Strumble (113.10) and the final hard turn towards Dublin and out over the Irish Sea... Quality is a known with Carenado, it is usually excellent and the C340 ll does also not disappoint here either. The industry-standard software used by the film and gaming industries is evident in the shine and depth of the Physically Based Rendering materials and textures throughout the aircraft, detailing is again first rate as is the lovely chrome spinners and pitot probes. Glass is reflective and perfectly formed, it is hard to believe now in that in the early days on how bad real reflective glass was, now we take this quality as normal. I really do like the look and feel of the C340 ll, as it is clean and sleek, it feels more like a twin-engined version of a private small jet in say a Lear than a GA. The C340 is nearly as quick as well with a maximum speed of 244 kn (279 mph, 452 km/h) and with those twin large bulbous wing-tanks you get a range of 1,406 nmi (1,606 mi, 2,603 km) at an economy cruising speed. But guilded moments can't last forever, as moments don't last either or they never do... Time to take control as Dublin is coming near. I set my descent at minus 1,400 fpm, but pull the throttles back over half way and the alarm goes off!, I need less speed than that? I Go into the circuit to land from the North on EIDW's RWY 16 and level off about 3,000 ft to roll back the speed. Dublin passes to my left... Turn to approach and heading 16º for the Rwy I drop the gear to get access to the flaps and to be able to lower my approach speed. Undercarriage detail is excellent, as is the extraction (and retraction) of the gear. The flaps are unusual in that they are under of the rear of the engine cowls, but a bonus is that one setting to 15º and the flaps act like airbrakes and control or slow the speed until you can get a more 30º setting and the slower 110 knts in speed, the transition of the flaps to speed is very good with no lift or stall. Internal construction detail in the flap box is very good and highly realistic, as is the nice rear cowl on the front landing gear strut... ... final transition to full 45º flap and a nice 100 knt final approach speed is again effortless, the aircraft is very stable on approach. Like all X-Plane11 aircraft, then throttle control is crucial, as even slight adjustments can gain or lose you height, but don't get me wrong the C340 ll is very easy to fly at this point, and you can put it down anywhere easily. 82 knots is stall but I was 80 knts and still in control to go straight into the flare. There is no reverse prop thrust, so it is a little hard on the brakes... or a long run off is needed to flatten out the speed. Dublin is very busy today... the Ryanair pilots strike must be finally over? Menus The C340 ll comes with the standard three tab Carenado menu. The menu tabs are on the left lower screen. A ) is for the pop-up Autopilot panel. This is a 2 Axis Autopilot panel which can be scaled for size. C ) Is the standard Carenado ten preselected Views, Field of View and Volume panel. And O ) is the Options panel. Options include Window and Instrument reflections. The Static elements provided here are still quite basic with only two cones, wheel chocks (front only) engine inlet covers and having no front flag pitot covers is being a bit mean? The twin highly realistic (and new) animated pilots do disappear when you activate the static elements. Doors opening include the main rear passenger door and four... yes four separate Baggage doors with two front nose lockers and those interesting lockers in the rear of each of the engine cowlings. Liveries One blank and four liveries is quite basic, they are all very good and very high quality, but all a bit samey. They include beige, Bluegold, gray and red. Summary Nice medium twin engined aircraft are numerous now in X-Plane and even Carenado's range is also now quite a large one. Do we really need another twin? of course we do... as this excellent Cessna is a real beaut of an aircraft. All the usual Carenado highlights are here in, great quality, amazing detail and loads of great features and aircraft interaction. Lighting is excellent as are the quality reflections and overall the C340 ll flies very, very well with the X-Plane11 dynamics. Overall it is a "damn" nice aircraft and in reality the review summed up the aircraft. I was tired, over the work for the day and just flopped into the aircraft. I flew it and actually rested as I enjoyed the aircraft immensely as it purred along over the south coast of England in sunny summer skies and took me away from the long day, it was shame that I had to actually land in Dublin... _____________________________________________________________________________________ The C340 ll HD Series XP11 by Carenado is a new release for X-Plane11 and is available here at the X-Plane.OrgStore C340 ll HD Series XP11 Price is US$32.95 This aircraft is noted as a new aircraft for X-Plane11, and not an upgrade from the X-Plane10 C340 ll version, so a full cost for ownership is required. The aircraft is directly available from Carenado as well. Special Features Version 1.1 : Only for X-Plane 11 Support for RealityXP's GTN750* (integrated into 3D cockpit, when available) State-of-the-art configurable FPS-friendly logic system Fully VR compatible Full PBR (Superb material shines and reflections) Features Specially designed engine dynamics for X-Plane 11 Flight physics optimized for X-Plane 11 standards Ground handling adapted for X-Plane 11 ground physics Physically Based Rendering materials and textures throughout PBR materials authored with industry-standard software used by the film and gaming industries X-Plane GNS430 (FPS friendly) Goodway Compatible Realistic behavior compared to the real airplane. Realistic weight and balance. Tested by several pilots for maximum accuracy Requirements: X-Plane 11 Windows, Mac or Linux 2Gb VRAM Minimum - 4Gb+ VRAM Recommended Version 1.1 (last updated August 23rd 2018) Download Size: 500Mb _____________________________________________________________________________________ Installation: Download for the C340 ll HD Series XP11 Series is 475.85mb and the unzipped file is deposited in the "General Aviation" X-Plane folder at 550.70mb. Key authorisation and a restart is required. Documents: There is Normal and Emergency procedures (checklists), excellent sets of reference and performance tables. But no full manual. There is a full manual of the C340 ll fuel system. C340 Fuel System.pdf C340 Normal _ Emergency Procedures - Performance Tables.pdf C340 Reference.pdf Carenado Copyright.pdf Credits.pdf Recommended settings XP11.pdf _____________________________________________________________________________________ Review by Stephen Dutton 25th August 2018 Copyright©2018: X-PlaneReviews (Disclaimer. All images and text in this review are the work and property of X-PlaneReviews, no sharing or copy of the content is allowed without consent from the author as per copyright conditions) Review System Specifications: Computer System: Windows - Intel Core i7 6700K CPU 4.00GHz / 64bit - 16 Gb single 1067 Mhz DDR4 2133 - ASUS GeForce GTX 1080 8Gb - Samsung Evo 512gb SSD Software: - Windows 10 - X-Plane 11.25 Addons: Saitek x56 Rhino Pro system Joystick and Throttle : Sound - Bose Soundlink Mini Environment Engine by xEnviro v1.07 US$69.90 : XPRealistic Pro v1.0.9 effects US$19.95 : WorldTraffic 3.0 Plugin - US$29.95 Scenery or Aircraft - EGKA - Shoreham - Brighton City Airport by NKdesign (X-Plane.orgStore) US$15.00 - EIDW - Airport Dublin V2 by Aerosoft (X-Plane.OrgStore) - US$24.95
-
Aircraft Review : SAAB 340 XP11 by Carenado As a design studio then Carenado was always categorised very firmly into the General Aviation category. And even when they released their medium twin-engined six to ten seaters like the Dornier Do 228 it was still very much positioned in the large general aviation division rather than into the small regional airliner category. There was still this boundary you thought Carenado would not really ever not pass over, and the reason was that to go up into the next category required a major shift away from the way Carenado designed aircraft. Small airliners required a very different kind of application, because they push into the study grade territory and and with that comes all the required in depth features and systems. Certainly Carenado's GA aircraft had a lot of depth in systems and in fact the design studio was usually on the forward edge of those detail and systems. But a regional airliner is a totally different ball game, it has to deliver a much higher depth of intergration... So in reality there was always the thought that Carenado would always stick to designing what they excelled at and leave the next level of highly complex aircraft designs to other the studios that were better catered to designing these more highly detailed machines. But over the last few years Carenado have moved upmarket so to speak, as many of the lower GA aircraft once the domain of Carenado are now supplied by Alabeo, so the earlier noted Carenado's are now in the same quality and bracket in Alabeo disguise as Carenado moves upwards on to the more complex and larger aircraft territory, but airliners still felt like a level too far... That all changed with the release of the SAAB 340 for FlightSim (FSX/P3D), but for X-Plane that was still a dream too big to realise. The S340 was followed up by the F27 Fokker Friendship and the Shorts 360 (boxcar) so we knew that Carenado was serious about their future market... X-Plane however was still a maybe. But here is the X-Plane11 version of the SAAB 340... and with all that next level in intergration, and could Carenado really fly with the specialist airliner developers... it is a big question and the core of this review.... in one area though X-Plane's users knew straight off the line was that the SAAB would look brilliant in the better dynamics of the 11.30 simulator and in that thought they were certainly not wrong there. The point to make is that the development of the Carenado SAAB is very much up to date, with modern tools to create the very best detailing and getting the most efficiency out of the design... so yes the detail is very detailed and highly refined. Texture mapping is first rate in that shows every panel and rivet that holds the airliner together, but the real mapping detail is in the strengthened areas of fuselage that gives it body and realism... every area of detail is well covered and to highlight this is the small laminar flow airfoils on the tail and rear elevators. Panel design detail is first rate, but the PBR effects give you also a very realistic feel to the aircraft in their perfect shines and reflections, as noted Carenado use only the very best tools to get these dynamic reflections, realistic metal and dielectric material effects perfect... and it shows. Obviously there will be a lot of comparisons the the Leading Edge (LES) Saab 340, that has been around X-Plane as long as I can remember, always updated, but still dated by design. The debates will go on forever and as I don't have or use the LES Saab 340 then I can't compare it to the Carenado version either. But what I do know is that this SAAB 340 from Carenado is "State of the art" in X-Plane and to all the current 11.30 dynamics and effects. Undercarriage detail on larger aircraft are often the make or break of detailing (the correct animations are important as well). In this area the SAAB is outstanding, highly detailed, but the highlight is if you poke your head under and into the front gear bay. Crafted assembles of major components are excellent and highly detailed. Chrome features are exceptional and the distinctive SAAB ribbing on the fuselage is also very authentic... note the lovely landing light housings. To a point this sort of high quality detail was not going to be a surprise from Carenado, as they have produced some of the best quality for years now, but it is also very nice to see and feel it anyway. Carenado Menus One of the limitations Carenado faces is that it's menu system is still the same as it was from day one, three tabs in the left side down corner... there are two now known issues, space for items and VR support. Here even with a far larger aircraft that demands a lot of feature choices, it is all really just still the same. The three tabs are noted as: A ) is for the lovely authentic Collins Aerospace APS-85 pop-up Autopilot panel, that can be moved and scaled to size. C ) Is the standard Carenado ten preselected Views, Field of View, livery Selector and Volume panel. And O ) is the Options panel. Options include Window and Instrument reflections. The static elements provided here are still very basic with only two cones, wheel chocks and flag/pitot covers and some nice "SAAB 340" engine outlet and inlet covers, but you can only have all or nothing. The highly realistic pilot and co-pilot (and new) animated pilots in flight uniforms do disappear when you activate the static elements. Other menu items include opening the rear baggage door... .... opening internal cockpit door and the selection of a nice "HOBART" GPU (Ground Power Unit). The GPU is important here as the SAAB 340 has no internal APU (Auxiliary Power Unit) to provide power or pressure to start the engines, if you shut down the engines you are then only on short span battery power, so the GPU is usually required to be operating before you shut down to continue the aircraft's power supply, same with starting the engines and the GPU cart is required until the running engine provides power to the systems... Once one engine is supplying power you can then disconnect the GPU and start the second engine from the first. SAAB's are noted to go dark inside if there is no GPU available on landing. There are two selections to first open the Passenger door.... then another section to fold out the built-in air-stairs Both detail and animations are first rate, very authentic. Finally on the options menu is the selection of liveries that can be changed from the menu. Cabin The SAAB cabin is a huge surprise.... first though is that you can open and close the passenger door manually and also manually extended or retract the air-stairs. Pressing a point on the left part of the crew headrest will animate the stairs down or up... the retracted air-stair is certainly well crafted here Opening the main passenger is easy by touching the door lever, but it is a bit hard to close it again if you are not in the right position to move the lever with it hidden... you aim for a spot on the wall, but in your own position you have to be close to the door and turned before the active area works, in most cases the menu selection is far easier. The cabin looks really, really well done... love the nice shape and detail of the seating... ... but use the cabin lighting panel left of the doorway, and the "wow", then becomes "WOW" astounding! Window drop lighting, overhead strip lighting, seat number row lighting, galley lighting and illuminated "EXIT" signs all create a cabin to die for. You jaw is down, but now it will now hit the floor with a thump.... The overhead passenger drop lights are all individually switchable, so is calling the Flight Attendant, and the blinds can also be moved down (or up)... ... seatback meal trays can be lowered, armrests moved and so can the seatbacks to a reclining position... ohhh heaven! Only one word of warning... ... now if you spend in flight a considerable amount of time making the passengers very comfortable, dropping shades, switching on the overhead lights, lowering meal trays, slipping back the seats and adjusting all the armrests, then be aware that there are no global settings to get the cabin back ready for landing, and every single former adjustment will have have to be totally redone. So yes do so and certainly make the paying punters happy, but not for every seat and every light. Best airliner cabin now in X-Plane, yes certainly, but only just a whisker past FJS's B732 Twin-Jet v3. Cockpit Open the cockpit door and the distinctive SAAB lighter tone cockpit is all there. Detail is excellent, fine detail is excellent... ... Carenado can sometimes go to a darker more overwhelming set of beige tones and contrast in many of their aircraft, but that aspect is certainly not present in here, as they get it all perfectly right. Yes you can detail very well a C172SP (which Carenado also do very well), but this is on totally another scale The level of quality and realism is always going forward, but once you see almost no areas that "could" be created by a 3d tool, then you have the ultimate realism... the reality of the cockpit just takes over. Detail can be interesting areas, take the rear cockpit air-vents and the lovely overhead lighting... ... all beautifully crafted and created, and nice touch is when the cockpit door is closed you can drop down the jump seat, the pilot's and first officer's armrests are also animated. Seat detail is astounding, with chrome lifters and the knob lever to raise or lower the seating position in detail. Nice yokes can be hidden, also have built in AP disconnect and working trim switches. The overhead panel (OHP) is surprisingly large for the size of the aircraft, but all the different system areas and switchgear work. The pedestal is also very comprehensive and well detailed. Lets power up. OHP panel colourful Annunciator lights can be set to BRIGHT or DIM, both look authentic, but both settings look brilliant at night... Pedestal is excellent, but the standard X-Plane default FMS is a bit glaring. The real S340 uses the UNS-1K Flight Management System, which is a lovely bit of kit, so this FMS is a bit of a compromise as the XP default FMS is a compromise anyway, it looks not very professional and a bit gaudy as well... the RealityXP GTN750 can also be fitted and if you can afford the high price then that would be my option... but still the Universal original would still be my overriding preference. The Collins Aerospace APS-85 pop-up Autopilot panel is part of an extensive system set out all around the instrument panel, the (A) menu pop-out panel is a good way to see all the system in one location, but at least it is totally authentic. Note the older style radio frequency Collins digital units... the lovely throttle levers and mixture levers are all excellently reproduced here. There is "GUSTLOCK" on the throttles that is released by a switch in to use the lever to lock the yokes forward... when in operation the rear elevators are also locked down. Environmental controls are all mostly automatic, but well replicated here.... Flaps settings are UP - 15º - 20º - 35º. There are two friction levers for the levers that affects the pressure on the throttle movement, try them out at different points to get the best feel results, but as I use a Saitek throttle it affects the speed of the throttle movement... the full friction setting can seen to give quite a slow reaction to the movement. Instrument Panel The full instrument panel looks complicated at first glance but it is not, but there are a lot of small areas and switches that you need to study and know of their operations. The SAAB 340 is not an easy aircraft to jump into and expect to fly without first some study. These are mostly related to warnings and small actions to certain operations. The SAAB has the dual Electronic Attitude Indicator (EADI), and the Electronic Horizontal Situation Indicator (EHSI) instrument system (NAV) as it's primary flying instruments. Many would call it an early glass cockpit layout. Most selections to adjust either display is on the DCP selection panel above right (arrowed). EADI has the Artificial Horizon, Rate of Turn, Turn Coordinator, Pitch and Flight Director operations. ILS and Fast/Slow indicators and AP modes are also displayed. All instruments are Collins instruments inscribed. The EHSI NAV covers heading, Nav1/Nav2 and GPS functions, with VOR1 and VOR2, ADF pointers... the aircraft has two Course pointers with the second pointer connected to the secondary OBS VOR2/ILS dial below left (arrowed). A secondary VOR/ADF pointer instrument is left centre. IAS speed (knts) is top left and Attitude Indicator, Vertical Speed Indicator is right... A clock is far left. Center panel left are the backup instruments for Artificial Horizon, Speed and Altitude. The MFD85 Weather/MAP screen is bottom, but it is basic. There are two sets of Annunciator panels, left the L&R Engine and the larger grid Annunciators. With so many warning lights it does get confusing, certainly as the Master "Warning" and Caution" lights are always going off and pointing to something somewhere, so study and even printouts are required to use all the different annunciators correctly. Engine dial readouts are comprehensive... Engine - Torque, Temp, RPM %, Pressure, Oil Temp and Fuel flows... Middle four dials cover "PROP" RPM, and Prop Pressure and Oil Temp. Both lower dials cover the twin Fuel Quantity. The SAAB has Four Fuel tanks (two either side of each engine), but the are counted as one each side of 2,803 lbs capacity with a 5,606 lbs total capacity. Each half has an XFEED valve to level those two sets of tanks, to level each side there is a CONN Valve that balances the twin sets of tanks across the aircraft. Top right centre is the gear lever with a manual release and lock, Flap indicator and lower a very nice control position indicator. Second Officer position is quite simple, with just the same EADI and EHSI and other main flying instruments in the same arrangement. The only difference is that the pilot's OBS VOR2/ILS dial is replaced by a nice "Fuel Used" counter that can be reset. Autopilot panel glareshield is standard, with the main AP sections centre, with the VOR 1 and VOR 2 frequency radios on either side... Each end is the EHSI NAV DCP panel to set the various functions for each pilot and second officer, it is again a bit complicated and study is required to understand all the complex choices that you have. You have both Rose and ARC heading (below) modes available... Altitude selector is middle top. Side panels are excellent. Pilot's side panel has the Park Brake top, Then a "Flight Recorder" number that can be set, lower is a nice XMIT radio panel that is adjustable by sliders... Tiller Wheel/Knob is set bottom. There are extensive circuit breaker panels but Carenado don't still do active circuit breakers. Second officer's side panel has Oxygen pull top (Oxygen supply pressure gauge is on the upper panel side), TAWS Flap and Rudder Overrides, Pusher disarm... then the "Cockpit Voice Recorder" panel, lower is the same XMIT Radio selection panel. Systems The working aircraft systems on the S340 is comprehensive... From the top of the OHP and left to right is first the "ICE PROTECTION" Then "FUEL" with the noted XFEED and CONN valve switching and the main AIR COND (Conditioning) panel. Lower are the Fire pull handles and Extinguishers. Centre OHP is "ENGINE" covering AC Heat and AC Gen switching, "PROPELLER" (Manual Feathering), AC/DC Electrical Panels and secondary AIR COND Bleed panel (most can be left on "AUTO"). Lower/Front OHP is "STAB & WING", Engine START and the main DC ELEC (Electrical) Panel and main Electrical switchgear, including the EXT PWR and Generator selectors. Far right is another nice set of Annunciators to cover the aircraft's current situation, like open doors and status... Far front OHP is all the 'EXT LIGHTS" lighting, and CABIN switchgear and individual wiper switches. INT (Internal) LIGHTING panel is mid lower panel. Almost every system, switch or selection works as real... there is no doubt this is the most comprehensive Carenado aircraft ever created for X-Plane. If your eyes are not yet glazed over by the sheer amount of system detail you have to absorb, you can now see where the study factor comes in. In a rare publication (for) Carenado they have created a "Systems" manual for this S340, it is not as deep as a formal manual, but it will get you out of trouble and you can download the manual here : Carenado Saab 340B for XP 11 Systems Manuals.pdf and there is also a Carenado Saab 340B for XP 11 Flight Tutorial v1.0 tutorial as well. Provided also is a manual for the X-Plane FMS, and a layout of the DCP Panels. The Librain rain effect plugin is also on the aircraft. It was on the S340 that I first saw the librain plugin in action, and it looked a bit underdeveloped. But Carenado by version v1.1 (release) have done some more refinement and it is very good now. It is also featured on both the cockpit and cabin windows. There are however still a few quirks, one is that the bathroom window rain effects show hanging in the rear of the cockpit, that would be even scary in VR. Second is looking into the cockpit from the cabin you can see all of the rain effects of both of the forward windows? As development does go forward you can expect both areas to be addressed. Flying the Carenado SAAB 340 Spoke and Hub operations today takes us from Daytona, Florida to Atlanta, Georgia. This route is typical of the sort of services the S340 covers, with a maximum 34 passengers and crew. Ground distance is 357 NM and fuel load in lbs is 3692 lbs for a total weight of 27,995 lbs of a max weight of 29,300 lbs. (SimBrief routing). No APU means no hydraulic pressure either, so you have to set the pumps to work manually before removing the chocks, battery power is fine, but you are better on GPU power... Passengers in and loaded... don't forget you still need the GPU cart to start ("NO BAT START" will be extinquished). There is no PROP lever to set the Feather as it is automatic, and the feather position is noted on the Mixture lever gate... so set all throttle and mixture levers to start. Select the IGN switch to on (No 2 engine), press START R and wait for the whine... it comes and boy it is good, this is a brilliant startup procedure aural experience. With an engine providing power and the generator switched on you can now remove the GPU and start No 1 engine the same way as you start No 2... .... you can easily see the startup of the engine from the cockpit, which is rare mostly. Once both engines are settled and warm you are ready to go. Again the running and system sounds just waiting for the engines to come up to operating temperature is really realistic, the aircraft hums with the urge to go. Back in the cabin the experience is awesome and highly realistic from our usual passenger position (note all the seatbelt and EXIT signs), a look out of the window is also extremely real. The real S340 has a HOTEL mode or the engine is running but the gearbox can be disconnected and the prop braked and feathered… usually used for taxiing, as most passengers then freak out that only one propeller is turning while taxiing (most Prop regionals do this fuel saving trick anyway). But you can't brake the Prop here, so the best you can do is switch one Prop to manual and keep it totally feathered. You adjust the mixture on one engine to give the prop bite, but the point of contact is very on/off in too much power or nothing... You can find that sweet spot with one engine at full idle (feathered) and one engine doing the taxiing work and get a nice slowish taxi speed, but personally I would like far more adjustment at the PROP feather stage to stop the surge of power even from one engine. It is just far too full on or off for me, but there was that sweet spot (still a fraction too fast) to control the taxi speed. You can't even advance the mixture to full (MAX) until you are lined up ready to go, it is just too much thrust. I usually set the mixture levers at the hold point, but I couldn't here unless I wanted to visit the scenery. I did try in only starting one engine until I was approaching the taxiway hold point of the runway, then starting the other on the taxi, the effect was quite good, but on part of the engine start as the other engine's generator kicked in you lost your power to the instruments.... but I liked the idea. Note that all three altimeters (including the standby) have to have their pressures adjusted... With Flaps set at 15º, then press T/O INH button by the flap dial... there is the option to use the CTOT - Constant Torque on Takeoff; CTOT is a fancy system to meter fuel during takeoff and during an Auto Coarsen (optimized blade angle of 55 1/2 degrees) event. Turboprops can be finicky about setting takeoff power due to "torque bloom" as the aircraft accelerates, 90% is the recommended position but you can set 100% if the runway is short, the panel is located lower left on the pedestal, and the Auto Coarsen switch is MID-OHP. Speed bugs are adjustable on the IAS Speed dial, but there is a selectable bug as well for speed control in the EADI, which is great for setting both first your rotate speed and then your desired climb speeds. Carenado provides extensive performance tables for takeoff speeds and their weights, highly recommended and worth printing out. As you advance the throttles the range of the engine tones in change are simply amazing, the best I think I have ever heard. You get a different sound for a different engine condition, you really do feel the power and movement in the sounds. Pitch back around 100 +10 knts, and you clear the runway easily, but you have be really aware of right climb pitch and hold it tightly as the flaps are retracted and the speed builds, you need to really concentrate on your flying as the aircraft demands that to keep it all smooth and correct. As the gear goes up you get a very quick peak into the gear bay, and yes it is all very good in there. Feel and control is Amazzzzing, as there is so much feedback as you bank left to clear the airport... rate of climb is 10.2 m/s (2,000 ft/min), which really is a bit tight for a small airliner, you would expect around 3,000 fpm or even more... so you don't climb up as fast as you would think you do so, 1,800 fpm is the line before losing power. You will now need to turn off the CTOT, it is a bit tricky in increasing your power to a slightly higher level, then turning the CTOT off and then resetting the power back to 95% torque. It needs a little practice to get perfect and not lose power when you disconnect the CTOT. It is so easy to go onto the FMS route and wing it, but I want to Fly this aircraft, so I banked left (with permission) than go right to the flightplan.... I want manual control here for as long as I can have it, and it is short cutting the flightplan as well. Even in the cockpit the roar of those General Electric CT7-9B turboprops, 1,305 kW (1,750 shp) is very real, you feel the power as you climb. The S340 has been completely refined to the new 11.30 performance features and details, so power reflections and numbers are exactly correct to the real aircraft. The engine exhausts are poring out the burnt carbons courtesy of 11.30 particle effects, and yes they are very good and realistic. My jollies over I have to get back to and on to the flightplan... the Collins APS-85 pop-up panel is huge and it can easily fill the largest of screens, but thankfully it can be scaled right down to a workable size... Carenado note the APS-85 system as 2-axis, but the official system is actually 3-axis, it looks like a 3-axis system as well in the way you use it. The MFD85 map (weather) screen is positioned very low in the instrument panel, but you can pop it out and even resize it to use both the AP panel and the Map screen in one view (FMS screen as well)... certainly the pro users will scoff and do everything per the normal cockpit routines, but the simulation tools are there if you want them. The autopilot I named "Colin" was now doing all the flying... the A340's service ceiling is 7,620 m (25,000 ft), which again is a surprise but the same as the Dash, the Q400 version can go slightly higher to 27,000ft. Range is 1732 km (935 nmi, 1076 mi) and cruise speed is 467 km/h (252 knots, 290 mph) at 7,620 m (25,000 ft) (range cruise) - Max speed is 502 km/h (271 knots, 312 mph) (VMO) (IAS), 0.5 Mach MMO. Time to finally sit back and revel in the safe purr of the twin CT7-9B engines, all with the range of sounds that still astounds me... it is nice up here. Lighting As expected the lighting system in Carenado's S340 is complex, but exceptional.... Panel drop down lighting is adjustable as is the panel instrument lighting. Main cockpit lighting is via two overhead lights, both on via the "Dome" OHP switch, but either side can be switched on via either pilots side switches... Adjustable Yoke document holder lighting is absolutely gorgeous, it also highlights the yokes other text items. Two directly click on/off forward overhead spots are powerful and can be moved to shine on to the areas required. OHP is in flight mostly just an outline of the systems... note the battery temp, and the temp display can switch to three positions; L Bat/R Bat and Fuel temp. It is not what you want to see in-flight, but the annunciator warning lighting is very impressive. As expected the cabin lighting is extraordinary... ... as the realism factor is overwhelming. You can spend hours trying out the different lighting conditions in by the way you use the overhead seating lighting, the various window and overhead lighting selections to get the effect you want. I did however find an odd situation in that the rear of the cockpit was constantly lit... I wanted a fully dark cockpit and the adjusted instrument lighting for night takeoffs and landings, but no matter how many adjustments I made in the cockpit I made it was just always too bright? The worst was either side rear (below) and on the rear of the pedestal... I was about to give up and then I found the offending lighting... it was a lot of bleed from the galley light and it was coming into the rear of the cockpit, turn off the galley light and the cockpit finally went dark. I doubt Carenado can actually fix this bleed, but at least with the galley light turned off I can set up the instrument lighting perfectly for the night time operations (below). External lighting is very good as well. Beacon, Navigation and Strobe lighting which is all excellent as well as the engine positioned wing (Ice) lighting... logo tail lighting is really well done with the lights shaded outward..... ... highlight is the inner wing landing lights that illuminate the underside of the aircraft and give a brilliant view of the engines out of the cabin windows, a lot of users get very excited about these sort of features, but in this aspect you can't blame them. There is a single taxi light on the front gear strut. In flight Your aim is for a dull instrument and OHP. No warning lights or anything flashing will make you happy, but with so many different systems and switch positions it is harder to achieve nirvana than what you think it is. I personally would like more brightness on the EADI/EHSI displays, they certainly look good, but can be a little dull in some lighting conditions... you don't need a lot but something, and overall they look dull in context with the rest of the instrument panel. ET time on your EHSI is really your block to block timer and not to destination, very nice though and selected on the DCP panel. Blinds are animated and move to any position... handy. Arrival at KATL now had a wind and runway change, so my initial 27R was changed to RWY 10, so the flightplan was abandoned for a circuit approach to RWY 10. Final to KATL RWY 10 (IOMO) One speed bug can be set to control your speed in too fast or too slow on the EADI, the other bugs are set to your flap position speeds as required. 160 knts is flaps to 7º, and the approach speed of 140 knts is 15º flaps... gear down. You actually hear the hydraulic pumps working and thump.. thump as the gear locks into place. ... final speed bug sets the speed at around 118 knts and flaps at 35º, you can go straight from 15º flap to 35º without any due course. Speed control is tricky, but experience will help in getting the right numbers, my worries are always the full mixture speeds on landing, any adjustment lower and that on/off power causes issues and you stop, the other setting is far too much power and the aircraft is hard to slow down. Stall speed dirty (flaps down) in landing configuration is 82 knots. Control on finals is excellent, but you really have to work the yoke to keep the S340 straight, not big movements but tight small ones. BETA mode works well, set the X-Plane "Full Reverse Thrust" key/trigger to activate the BETA mode, the top blue annunciator lights note the reverse thrust is activated. Finding that idle/taxi speed was again a distraction, I sorta found something, but you needed the throttle set quite high to move and KATL has a lot of angled taxiiways that saps the speed... At the gate, remember to switch on the GPU before shutting down the engines... Liveries Carenado supply one blank livery for the S340 and nine branded, all of course are excellent and highly detailed... but two of the liveries in the airlines supplied have already gone bust? SAAB favorites are well represented, with excellent Loganair (Scotland), Flybe, Silver, Nextjet and REX Australia. 459 S340's were built between 1983 and 1999, but still 210 S340s are still in service with 34 operators around the world. So there is a lot of choice of brands to choose from. And the current fleet average is at 35,277 h and 39,446 cycles – a mean 0.89h per flight, less than halfway of its remaining life. SAAB has also extended the airframe life from 45,000 to 80,000 flight hours and 90,000 cycles and so the Saab 340 should remain in service for at least another 30 years. As the FSX/P3D Carenado version has been already released a few years, there is already a huge crossover of liveries ready available and with loads more coming to the X-Plane.Org near you... currently here are a few already released... with Norwegian, Westjet, American Eagle, Delta, Crossair (launch airline) and Air Rotatonga. Summary 2019 will be a banner year in X-Plane if you love regional aircraft. FJS are redoing their Dash Q400 to a high standard, SSG have their CRJ-700, X-Craft's has the ERJ-145, The JROLLON CRJ-200 is supposed to be also in redevelopment... but the first of the year's batch is now released in this fabulous SAAB 340 from Carenado, yes the Carenado version is not the first S340 in X-Plane as that title goes to the Leading Edge version, but this is the brand new and up to date 11.30 version were as the LES is an highly updated early XP10 version. This S340 version also certainly gives all the other regional aircraft a major high starting level to compete with as this S340 is already a class leader. The questions were out there in the fact that would a segment dominating developer house with general aviation would then be able to move into another far more higher and technical (study) grade category or just deliver their usual but in a far bigger size. That question is now without doubt here, as this S340 is an outstanding aircraft and I would note it as "Study" grade as the systems and details delivered are also very highly developed, but only a user with the full understanding of the aircraft's systems and quirks would only ultimately be able to answer the "Study" question. But make no doubt, in that this Carenado aircraft DOES require a lot of study to understand how it operates, it is highly complex and you will require a lot of time to really get everything worked out and operational, even in the few weeks of doing this review there was a lot of ground to cover and a lot to learn, so the aircraft is certainly not for the novice or users that have not had much experience in high level complex aircraft. In the design and details, the the S340 really does deliver and again in many areas it even sets the new higher standard. Quality here is simply outstanding a level above, but I always look to the side points and not the focus areas to see if the detail is covered and how well those areas are done. So the points of like hidden under the pilot's seat are as detailed as the artificial horizon instrument, and that is so why cabins are always and usually the benchmark. Why because they are really an add on factor and not the focus of the actual aircraft, if the developer has devoted as much resources to these side areas you can be fully aware the rest of the aircraft is going to be just as good. In the S340 this cabin is outstanding, and maybe now even the best airliner cabin in X-Plane, as the detail is excellent, but so also are all the amazing features, if this area can reach such a high standard the rest is simply a no-brainer. The attitude to a highly developed cabin is always going to be controversial, from my perspective they bring a whole concept to the simulator, a whole compete airline that adds in a different dimension... and yes I am a huge fan when they are so right as it is here.. Sounds are exceptionally good as well, and aircraft were you feel and hear sounds that reflect and adjust to the realism of the real world aircraft and you actually "believe" you are in that aircraft then the developer has delivered exceptional sounds, both the important areas in the cockpit to the cabin are all well covered as is the feel and noise of those lovely CT7-9B turboprops, the sounds and effects totally deliver here end of story. So are there any negatives? All the issues are really nit-picking rather than the glaring variety. Carenado sometimes delivers aircraft that have a poor range in the idle/taxi mode, and that is also the case here, as in this S340 it is very hard to find the sweet spot in a controllable taxi speed, so in most cases you are being pulled fast towards the scenery with heavy braking, as it is all very on/off and with no middle range to find the right taxi speed and the aircraft on landing finds it hard to translate down to a decent taxi speed with the engines either roaring or feeble in their power response, it takes the edge out of the full total entertainment factor. Light bleed into the cockpit from the galley is work-aroundable, but annoying and the now older Carenado menu system is 2D (No good for VR) and limited for an aircraft of this scale. The rest is pure perfection. Reading this extensive review and you will understand the depth and quality delivered here by Carenado with their S340, but even after all that in the sheer overwhelming detail and features presented here there is another one big final surprise... the price. US$39.95, and that is not a sale or reduced price either... it is the actual price. So the value is as outstanding as much as the aircraft delivered, my price on this aircraft with what you see delivered would be US$59.95, so it is priced US$20 below what in my case thinks is it's actual value. Big review and a lot ground covered with the Carenado SAAB 340, but it certainly delivered on all levels, certainly this an aircraft to savour and totally enjoy, but requires a lot of study and skill.... the highlight of 2019 by this date.... Highly Recommended. _______________________________ The SAAB 340 XP11 by Carenado is NOW available! from the X-Plane.Org Store here : SAAB 340 XP11 Priced at US$39.95 Features : Latest X-Plane 11 enhancements: Engine design optimized for XP11 new turboprop model Flight dynamics optimized for latest improvements in XP11 Ultra-High resolution Model High-end 4k PBR (Physically-based Rendering) graphics throughout, with ultra-realistic materials rendition (Dynamic reflections, realistic metal and dielectric materials, etc.) Includes 9 highly detailed liveries Extensive HDR lighting with gimballed 3D lights and dynamically illuminated tail logo and ice lights for amazing night lighting effects Extensive VR support with snap points in every passenger seat (All knobs, buttons, dials, handles, etc. also optimized for VR usage) Functional stewardess control panel Visible and functional Ground Power Unit All passenger seats support seat backs, table trays, arm rests, HDR reading lights, stewardess call buttons. Main door has optional retractable passenger stairs. Extensive Custom Systems Functional gust lock system Custom electrical system Custom Starter Logic Custom Fuel System Custom prop logic Custom Bleed Air System Custom Avionics busses Custom Hydraulic Logic (Requires, among other things, pressurizing brake lines prior to chock removal) Custom Electrical Temperature system Custom de-ice logic Custom independent windshield wiper logic (with functional off and park positions) Airspeed Indicator with "Barber Pole" and functional test sequence Support for "librain" plugin, including wiper support (Requires separate plugin install) Librain support also includes visual ice effects on windows. Ground steering (tiller) system Includes air conditioning, pressurization, and oxygen system Custom EHSI and EADI instruments and custom MFD85 with moving map, all featuring detachable pop-up windows Features reversionary logic for EHSI and EADI. Custom APS85 Autopilot with detachable pop-up window Integrated FMS with detachable pop-up window (Laminar default) Other features End-user customizable via Manifest.json file. Runs latest SASL 3.5.1 plugin software (optimized, improved features, and latest fixes) Goodway compatible RealityXP GTN750 support (with 3D panel display support High-end 4k PBR (Physically-based Rendering) graphics throughout, with ultra-realistic materials rendition (Dynamic reflections, realistic metal and dielectric materials, etc.) Fully customized in-depth annunciator logic Fully customized in-depth aural warning logic Fully customized in-depth throttle logic, with friction control, gate, flight idle and flight idle override. Fully customized Custom Torque on Take-Off (CTOT) system Fully customized pusher (anti-stall) logic In-depth FMOD sound design implementation, including distance effects, realistic prop reversal effects, etc Requirements X-Plane 11 Windows, Mac or Linux 4Gb VRAM Minimun - 8Gb+ VRAM Recommended Download Size: 582Mb Current version and Review Version 1.1 (March 5th 2019) Installation and documents: Download for the SAAB 340 XP11 is 569.20 Mb and the unzipped file is deposited in the aircraft "Regional Aircraft" X-Plane folder at 805 mb. (there is no "Regional Aircraft" folder in the X-Plane aircraft folder, so just make one... you will need it anyway) Both the LIbrain rain effects is required to use the new feature. Documentation: Huge amount of documentation, with Laminar FMS manual, Performance and reference tables. Carenado_SF34_Version History.rtf Copyrights.pdf Credits.pdf DCP.pdf Recommended settings XP11.pdf S340 Emergency Procedures.pdf S340 Normal Procedures.pdf S340 Overhead Panel Layout.pdf S340 Performance Tables.pdf S340 Reference.pdf X-Plane FMS Manual.pdf Thranda also provide for download for the Carenado S340 a Flight Tutorial v1.0 tutorial and a S340B for XP 11 Systems Manual Carenado Saab 340B for XP 11 Flight Tutorial v1.0s.pdf Carenado Saab 340B for XP 11 Systems Manuals.pdf ______________________________________________________________________ Aircraft Review by Stephen Dutton 11th March 2019 Copyright©2019 : X-Plane Reviews (Disclaimer. All images and text in this preview are the work and property of X-PlaneReviews, no sharing or copy of the content is allowed without consent from the author as per copyright conditions) Review System Specifications: Computer System: Windows - Intel Core i7 6700K CPU 4.00GHz / 64bit - 16 Gb single 1067 Mhz DDR4 2133 - ASUS GeForce GTX 1080 8Gb - Samsung Evo 512gb SSD Software: - Windows 10 - X-Plane 11.31 (v11.30 is required for this aircraft) Addons: Saitek x56 Rhino Pro system Joystick and Throttle : Sound - Bose Soundlink Mini Plugins: Environment Engine by xEnviro US$69.90 : WorldTraffic 3.0 Plugin - US$29.95 : LIbrain rain effects - Free Scenery or Aircraft - KDAB - Daytona Beach by Aerosoft / Stairport Sceneries (X-Plane.OrgStore) - US$28.99 - KATL - Atlanta International by Nimbus Simulation (X-Plane.OrgStore) US$23.95
-
Aircraft Upgrade Review : SR22 GTSX Turbo HD Series XP11 by Carenado For decades the big three American general aviation manufacturers of Cessna, Piper and Beechcraft have dominated the American light aircraft industry. Their aircraft are very good, but in reality their designs and aircraft construction were born out of the 1950's and early Sixties, and in time they kept to keeping in to what they knew or to what they could sell in high numbers. This blinkered approach made the big three very reluctant to change or even to innovate. Like for Tesla in car manufacturing this then left a huge gap in the GA market for any enterprising designer to try something a little different and even to create a far more modern single-engine four-or-five-seat composite aircraft. This idea has been so highly successful in the fact that since it's first flight in November 2000, the Cirrus SR22 series has been the world's best-selling general aviation (GA) airplane every year since 2003. With 6,149 units delivered from 2001–19 alone, and in combination with the earlier SR20, there is a total of 7,645, SR aircraft produced and quickly making the SR22 among the most-produced aircraft of the 21st century, and is also the single most-produced GA aircraft made from composite materials and accounting for over 30% of the entire piston aircraft market. The big three has suddenly become the big four. Carenado SR22 GTSX Turbo This is not the first SR22 GTSX Turbo from Carenado. In fact this is an upgraded version of the aircraft that was released four years ago in March 2016, the review is here: Aircraft Review - Cirrus SR22 - GTSX Turbo G1000 HD Series by Carenado The aircraft itself back in 2016 was very good, but it was lumbered with the internally very poorly Carenado developed Garmin G1000 avionics system. It had many features, but the system was extremely very inefficient that translated into a painfully slow interaction with the avionics, in time Carenado would completely dump the idea when Laminar Research released their built own default Garmin G1000. The original SR22 from Carenado was under the HD (High-Definition) moniker. But this was still back in X-Plane10 and not with the more highly refined current Carenado and X-Plane11 dynamics. Here the SR22 is upgraded and you notice the dynamic differences immediately from the more slightly semi-gloss version back in 2016, detail is far significantly higher as well of what is essentially the same aircraft. It is amazing what faster computers and a more highly refined process can do to the same design, it just also highlights the extraordinary quality of the original modeling and textures. But make no mistake it is still exactly the same as the original in every area, It has just all been just better defined. Lovely wing doors are still well done, and give ample access to the cockpit when open. It feels far darker and more glossier in the cabin. Carenado cabins are always dark and foreboding anyway and there still isn't much lightness or brightness in here to cheer you up. Again the seating materials are exactly the same, but don't look so much under the newer high-powered gloss treatment. The instruments and panels are all angled and set out around the flying left seat pilot. The right hand seat pilot can fly the aircraft with a yoke and rudder set, but the instrument screen panel and the switchgear would then be all offset to them. Overall the aircraft has minimum switchgear and controls, just provided are the basics you simply require for flying the aircraft and nothing more. That does not mean the aircraft is not well equipped because it is, but unlike the older generations of aircraft then these modern versions have been refined to a higher easier flying level and one of the major attractions to modern pilots. Yoke or flying handles are unique, in their push/pull and twist actions, but they also clear a lot of space in front of the pilots. Here they are both beautifully rendered. Biggest change here is obviously the Perspective G1000 (which is now based on default G1000 of X-Plane)... gone is the slow and clumsy Careando G1000 to be replaced with the usual and now very familiar Laminar version. You also lose a lot of features noted in the earlier review but the speed and efficiency of the new displays more than makes up for that. Pop-ups are the standard Laminar G1000 PFD (Primary Flight Display) and MFD (Multi-Functional) display panels in a window format... ... retained though is the excellent ENG (Engine) mode screen. Note; the engine parameters viewed here is shown to be not running. Engine parameters covered are "Engine Power%", "Engine RPM", "Man In HG" (Manifold Pressure), "FFlow" (Fuel Flow), "Oil" Pressure and Temp. "Engine Temperatures" are covered in CHT ºF and EGT ºF. Anti-Ice Amount (in GAL) and Oxygen Pressure. Electrical output section covers both Current (A) and Bus Volts (V). The Fuel section displays "Fuel Qty" (in GAL) for both tanks, and fuel calculation data in "Used" - "Rem" (remaining), "Time Rem" and "Range" on the remaining amount of fuel in both tanks. I found the fuel data really helpful in planning and in flight on managing your range and fuel tank selection. Air data in altitude and OAT (outside Air Temp). Notes include that the COM1 & COM2 are sited on the PFD, but most frequencies are here noted on the MFD, including the same COM1 & COM2 Frequencies, your active GPS/NAV1/NAV2, GS (Ground Speed Knts), DTK (Direction degree), TRK (Track) and ETE (Estimated Time Enroute). Pressing the RED button mid panel will convert both displays to the "Backup" function or "Get Home" situation, in that both displays are exactly the same in showing both PFD tools and MFD Engine parameters. I have always been a big fan of the design of the centre console. Instead of the MFD knobs being on the actual display they are all set out here for a much more ease of use and access on the centre console. Three sections cover (top to Bottom) MFD controls, Input keyboard panel and lower the AP (Autopilot) panel. It was always a great setup for creating flightplans with ease... but on this release the selection knob actually doesn't work, so you can't input anything or even select a saved flightplan? Not very good Carenado... as it makes the flightplan feature in the MFD totally useless? Lower is first the standard COM Radio and a Bendix/King KR 87 ADF radio, bottom panel is an Oxygen panel and Flap selection in: P - 50% - 100% Directly in front of the pilot are three lower standby dial instruments in "Airspeed", "Artificial Horizon" and "Altitude". All backup dials are very clear and well presented and a clever sited position of clear use. Main switchgear panel covers the Ice Protection On-Off, MAX or NORM Ice setting, Pitot Heat, Exterior lighting (Nav - Strobe - Land). Three knobs on the far right adjust the panel and interior lighting. First knob adjusts the instrument lighting, then the red cowl lighting and the last right knob covers the overhead spotlights. Nice big throttle lever dominates the lower console in look and feel. This "Single Lever Throttle Control” automatically adjusts the propeller speed through the use of the throttle lever. There is no separately-controlled propeller lever on the aircraft. To the right is the red knob "Mixture" lever with "Rich" to "Lean" adjustment. You can switch to each fuel tank via the switch, but have to press the red "OFF" panels to turn it off. Very nice tank gauges are set out above and are very clear for use. Sets of fuse breakers are on the left inside of the centre console (non-active). Menus There are three menu tabs on the lower left side of the screen. (A) is the Autopilot panel, but this is a significantly reduced pop-up menu panel from the earlier version, the MFD controls and Input keyboard panel are now missing and in now leaving only the AP part of the panel visible. This is a huge loss because I used this pop-up a lot to programme or input the flightplan (the older extended panel version is shown on the right). Standard Carenado in the (C) or Views/Volume menu has the standard internal and external views plus three views for the Throttle and Switches and the Avionics, the volume slider is up/down on the side and point of view slider across the top. Lower tab is the (O) or Options tab that covers Window and instrument reflections, Static elements in mostly just tags and bollards. Pilot, Passenger and left side baggage door of which all doors can be separately opened and closed, both main doors can also be opened by the latches inside. Single pilot has again been replaced by the more realistic newer twin pilots, and they will also disappear when you use the static elements. Flying the SR22 Overall there is the feel that there is not much difference in performance between the earlier and this later X-Plane11 version of the SR22, but Careando have changed the engine dynamics for XP11 and the flight physics have also been updated and optimised for XP11 standards. The 310 hp (231 kW) Continental IO-550-N piston engine has a lot of power to climb up to the 25,000ft ceiling available. But with a rate of climb of only around 1000fpm (official is 1,250fpm) that is slow for such an altitude, however it is here the Turbo comes into its own and more importantly it is the extra turbo performance boost you need as you go higher. The aircraft's ceiling is 25,000 feet, but it's easy enough to estimate that at an average of close to 1,000 fpm for the entire climb would take between 25 and 30 minutes from sea level to FL 250. So you would never really do that height as you would waste too much performance just getting up there. Top speed in that upper thinner air is impressive at around 215knts but the average speed is usually flown around 12,000ft which is then set around 194knts in the cruise mode. Range is 1,049 nmi (1,207 mi; 1,943 km) with reserves at a setting of 65% power. Lighting The SR22's lighting was very nice, it still is to a point with the white overhead lighting,and also still that RED hue that is also available and both are adjustable... and note the modern feel to the Whiskey Compass. But the roof rear cabin lights now don't work (they were also + manipulator adjustable), so that earlier lovely light filled cabin feel is now gone and has been replaced with complete darkness? Externally the three LED landing lights have been upgraded and are better, the rest is basic navigation, strobe and rear facing white lighting. _________________________ A few notes on the SR22 XP11 on a flight from the Gold Coast (YBCG) to Brisbane (YBBN). The SR22 has a castor front wheel, so it is not steerable, well sort of. Like we found in the original review in to change direction on the ground you had to have a bit of speed up, or if not then the castoring front wheel will lock. So you are putting on a lot of power to move quickly forward and then quickly reducing the power when pointing in the right direction. It maybe realistic in to trying to match the real world free castor nose, but it is also difficult and not very realistic in the simulator... in the end your turns are more shonky than real. A more halfway approach would have made the turning action a little more realistic. I really like the Cirrus aircraft, it is the right size, the right power to go distances and a very modern aircraft... easy to fly as well. But with this Careando version you are not getting the features and depth it deserves in this upgrade, it is nice, it is easy, but you get the feeling of wanting more and not less which is fact of what you are actually getting for the same money.... dirty as well, notice the amount of carbon coming out of the exhaust. The bugs keep coming as well... the pop-up AP menu panel works fine, but the centre console AP panel has areas that don't work, like with the V/S (Vertical Speed) wheel? vFlyteAir's version of the SR20 that X-PlaneReviews reviewed here, is far better in most cases than this SR22 Carenado release, but the SR20 also has not had an update or upgrade since v2.6 and April 2018 but it is X-Plane v11.20 tested and out of it's original X-Plane10 release version. The famous Cirrus built in safety feature of a parachute called the "Cirrus Airframe Parachute System" in case the engine goes wonky or you forget to switch over the fuel tanks. It is set out on the roof and you can pull off the cover and pull the handle. Unlike the VflyteAir SR20 version were as the parachute does actually physically work... here you are just sent to the closest airport runway in an instant. The parachute system in real life has been used and deployed 79 times in carrying or saving 163 survivors. Sounds are really quite good and has the highly customised FMOD sound package, consistent and 180º dynamic. But there is an unusual high-pitched noise coming from the centre console (radio?) but in most cases it is hidden via the main engine sounds, but overall I found them all and the range very good. Flying into YBBN (Brisbane) RWY14 and you realise the SR22 is a nice general aviation machine to travel around in, simple enough for the budding new pilot, but deep enough for the professional as well. A nice approach speed full flap was around 80 knts with a slow throttle reduction down to 74 knts that allows a slow descent down to the runway... 71 knts is touchdown speed... stall speed is around 60 kn (69 mph, 110 km/h) flaps down. You can't run off the speed completely as you need some to keep that front castoring front wheel in vogue, so you tend to leave the runway quite fast, and then even speed down the taxiways and then taking corners as you go. A note the vFlyteAir SR20 is very much the same in the castor, but it will hold a wheel to turn and you can rotate on that to turn the aircraft... overall it is a requirement for a speedy taxi or moving quickly around on the ground. Librain The librain rain drop effects are also now active for the SR22, and very good they are too. The plugin is required. Liveries There is one blank and five liveries... four are exactly the same as the original, but one that was once a flat Grey is the same registration N6693C but is now a lovely chrome metal. _______________________ Summary The Carenado Cirrus SR22 Turbo was released released four years ago in X-Plane10, and this is the upgraded version for X-Plane11. The SR22 is light modern four-seater aircraft that is one of the most popular aircraft in production today, and to a point Cirrus has taken on and even beat the dominating big three general aviation manufacturers of Cessna, Piper and Beechcraft with a far more modern and composite aircraft. In reality this XP11 version of the Carenado SR22 is just a total revision of the earlier aircraft. The basics in the modeling and design are exactly the same, but refined with the newer XP11 dynamics and PBR textures (deeper colours and more gloss) and better sounds. Biggest change is the dumping of the original if highly featured Carenado Garmin G1000 avionics for the Laminar Research default G1000 system, but with the twist of the fully featured ENG (Engine) mode screen. The Carenado Garmin G1000 avionics was in reality a slow, heavy and clumsy package that had more bugs than a beehive, but it was highly featured as noted. The default G1000 by comparison is quite basic, but still light, familiar and easy to use. Release version of Carenado's SR22 is quite buggy and mostly related to the MFD (Multi-Functional Display) interface centre console. A lot of the buttons and switchgear don't work, and the flightplan can't be either accessed or even created?. Worse is with the removal of the same panel of MFD controls and Input keyboard panel are now also missing and in now leaving only the AP part of the panel visible in the menu so there is now no other options of input available. Internal lighting has been ruined as well with now no rear spot lights in the cabin either. The SR22 is also still extremely tricky to turn and taxi on the ground. This new XP11 release feels like a one step forward and two steps backwards from Carenado. Yes the bugs will be fixed up and that will make the aircraft easier to use overall, but a release in this condition with glaringly obvious issues is surprising for this developer, but overall the Cirrus SR22 is a nice aircraft and nice one to fly regularly, and overall this release feels like a version update more than an totally refined upgrade except for the PBR effects. __________________________________________________ Yes! the Cirrus SR22 - GTSX Turbo G1000 HD Series XP11 by Carenado is NOW available from the X-Plane.Org Store here : SR22 GTSX Turbo HD Series XP11 Price is US$34.95 Special Features Full interior and exterior PBR. 3D interior and exterior with MANY details. Rain effect support* (dynamic drops movements). * Requires downloading Librain plugin: Click Here Customized FMOD sounds. Carenado Perspective G1000 (based on default G1000 of X-Plane) Features Full VR compatible Specially designed engine dynamics for XP11. Flight physics optimized for XP11 standards. Physically Based Rendering materials and textures throughout. PBR materials authored with industry-standard software used by the film and gaming industries. Realistic behavior compared to the real airplane. Realistic weight and balance. Tested by several pilots for maximum accuracy. Requirements X-Plane 11 (Fully updated) Windows, Mac or Linux 4GB VRAM Minimum- 8GB+ VRAM Recommended Current and Review version: 1.1 (March 25th 2020) _____________________________________________________________________________________ Installation and documents: Download is 296.93mg and the aircraft is deposited in the "General Aviation" X-Plane folder at 880.30 mg. Installation key is required on start up and is supplied with the purchased download file. Librain (rain effects) plugin is required, get it here and install in your plugins folder: Click Here Documents supplied are: Carenado Copyright.pdf SR22T Reference.pdf SR22T Performance tables.pdf SR22T Emergency Procedures.pdf SR22T Normal Procedures.pdf Recommended settings XP11.pdf Carenado G1000 SR22T.pdf X-Plane G1000 Manual.pdf ______________________________________________________________________ Upgrade Review by Stephen Dutton 30th March 2020 Copyright©2020 : X-Plane Reviews (Disclaimer. All images and text in this preview are the work and property of X-PlaneReviews, no sharing or copy of the content is allowed without consent from the author as per copyright conditions) Review System Specifications: Computer System: Windows - Intel Core i7 6700K CPU 4.00GHz / 64bit - 32 Gb single 1067 Mhz DDR4 2133 - ASUS GeForce GTX 1080 8Gb - Samsung Evo 1TB SSD Software: - Windows 10 - X-Plane 11.41 Addons: Saitek x56 Rhino Pro system Joystick and Throttle : Sound - Bose Soundlink Mini Plugins: Environment Engine by xEnviro US$69.90 v1.07 : LIbrain rain effects - Free Scenery or Aircraft -YBCG - Gold Coast Airport 1.0 by tdg (X-Plane.Org) - Free -YBBN - Brisbane Airport 1.0 by tdg (X-Plane.Org) - Free
-
Aircraft Review : Cessna CT210M Centurion ll XP11 by Carenado Some aircraft just stick there. You get a lot of different aircraft coming across your screen when you review for X-Plane, the choice is high and most are usually in the very, very good category and a lot of that in great general aviation aircraft category usually comes from Carenado. So how do you sort out the very best from the rest. One angle is a personal choice of an aircraft you have savoured for years and usually from your childhood memories. But once I became far more proficient at flying in X-Plane my choices changed quite significantly from the heart to the head. Still my number one aircraft for GA flying is still the Carenado's F33A and the reason why is the aircraft's excellent avionics suite. In this area it is still excellent and certainly with its DME pointers that allow runway alignment with the "Course" pointer makes the aircraft excellent for basic flying practise and circuit training, as for anytime that I want to scrub up on my general flying skills the F33A is the aircraft I always to go to. The newer JustSim Arrow series are now another set of interesting machines to up and test my flying skills and vFlyteAir has some interesting challenging GA aircraft as well. So where does this leave the CT210M Centurion? The one thing I really liked about the aircraft was that it was actually different. Most GA aircraft are usually focused on the naturally large base market of 60's and 70's era aircraft, but the CT210M felt like a more modern take on the single-engine four seater model. For one it has undercarriage that does retract, although that gear's spindly design is not going to be a really big drag on the performance, but also it has besides a very clean fuselage design with a 310 hp (231 kW) TSIO-520-R turbo engine as well, and so it goes "fast", in I mean very fast for a GA aircraft (most 210's only have a 250 hp to 285 hp engine) so cruise speeds are around 160 kts to 200 knts (at altitude) with (vno) speeds at 170-210kts... nice. CT210M Centurion ll XP11 So it was an instant like from me when I first flew and for the many times after with the CT210M aircraft. It fitted me to a glove and I enjoyed our moments in time together very much, but reviewing can be a busy business and to a point the CT210M has lately languished a little in the back of my hangar, as remember the original release now was back in early April 2013, yes that is five years ago! I did pull it out for a flight not only a few months ago, but the time had caught up with the aircraft and mostly with the now very old original GNS 430 gps avionics of which at the time the CT210M was one of the first aircraft to have two GNS 430's set together. It still flew very well but overall it did feel well... old. So when Carenado noted the the CT210 Centurion ll was getting the update to XP11 treatment, a quick smile came across my face... and here it is the updated and X-Plane11 version of an old favorite. Basically the updates to all Carenado aircraft are mostly all the same. Textures are updated with Physically Based Rendering materials and textures are redone throughout and this is done with (gaming) industry-standard software to bring out the very best in detail and quality with the bonus excellent framerate. As I looked at the older version of the CT210M it's biggest turnoff was that it now felt dull and even bland, but not now in XP11 the newer effects of PBR brings out the metalness of the panels, the aircraft feels alive and dynamic again, it shines beautifully in the sunlight and all the detail is again alive and realistic. The Flight physics have also been optimised for X-Plane11 as has the very different engine dynamics, so the Centurion does feel quite different to fly and you seem to have more of that Turbo power available to you. And to note one of the biggest areas covered by Laminar Research was in these more varied aspects of engine performance like with Turbos and Turbo-props and that was one of the biggest focus points of the changes to the X-Plane11 simulator, and that performance aspect certainly does show here with this engine and aircraft combination. The excellent gear retraction and extraction is still as great as ever... Internal The CT210M's instrument panel is also still as glorious as ever... and now it comes with X-Plane11's lighting dynamics... The panel's night lighting is just as spectacular. There are two lighting angles with the under the glareshield dropdown lighting and the overhead red lighting on the forward roof. They can be both highly adjusted to get the right variation that you want from working in the the aircraft to minimal approach lighting conditions. A note is that there is a switch (hidden) under the glareshield to turn on (or off) the main panel lighting, I never knew that was there before? The installed flight instruments are quite basic, all are for the left seat pilot only. Both the yokes can be hidden and the left yoke has built in (working) trim switches. The Standard Six instruments are centred in the line of sight of the flying pilot with the Airspeed Indicator, Artificial Horizon and the Attitude Indicator on the top row and the Turn Coordinator, Heading Dial and Vertical Speed Indicators set out directly below. Left of the six pack top is a clock and on the right side top is the display panel for the KFC225 Bendix King autopilot with a BendixKing (speed/dis) display (N1/N2) below. Garmin OBS VOR indicator (VOR2) and the same lower is the ADF dial indicator. Backup instruments lower left is a Artificial Horizon and lower bottom is another Attitude Indicator. The radio stack has been moved around from the original layout. The two (crappy) Garmin GNS 430′s are gone with now the larger revised GNS 530 top and the smaller GNS 430 set below. The GARMEN GMA 340 Audio Panel is still at the top of the stack. The fabulous KFC225 Bendix King autopilot is in the same place with the Bendix/King KR 87 ADF radio below and bottom is the very modern GARMEN GTX 327 transponder that uses a different (but nicer) yellow background colour. Engine instruments cover the left side of the panel as there is no second pilot SS flying instruments. Top are four needle gauges that cover: Ampreres, Oil Pressure and Temperature and Cylinder Head Pressure. Below is an excellent and very active Fuel Flow/Man Pressure gauge and below an engine RPM dial. There is a standard Hobbs meter and the EGT (Exhaust Gas Temperature) and Suction gauges roll out the instruments. All switch-gear and electrics are bottom lower left panel, with Flap lever (º0-10º-20º) and heating/defrost knobs right lower panel. Below the panel are the excellent trim wheels (easy to use for a change), cowl flap levers and right down on the floor the lovely well presented fuel tank switch and tank gauges are still there to feast your eyes on. Cabin The cabin interior is still very good as well, but remember the design is now over five years old and interior cabin design in X-Plane in that time has come a long (long) way, but it still holds up very well in today's frame of reference. The cabin lighting is very good as well. Coverage is only one big (blue) centre roof light, but it works nicely in lighting the rear. External lighting is updated to X-Plane11 dynamics with the latest strobe effects helping out as well. Landing (light) looks effective from the outside, but it is not very effective in practise, as the runway is dark until you are nearly down on to the hard stuff and can be also not be the best effective lighting when taxiing around the taxiways. You get by, but by craning and peering hard into the darkness to see where you are going. Menus There are three menu tabs lower left of your screen and all are the usual standard Carenado A, C and O menu staples. A is the Bendix/King KFC 225 autopilot pop-up. C is ten "Views" with "Field of View" and two sound adjustments. O is for "Options" including opening Pilot, Co-Pilot (passenger) doors and a Baggage door left rear. Static elements provided are basic with, two cones and engine inlet/flag, wing pipit cover and there is also Window and Instrument reflections and the choice of changing the liveries without going to the main X-Plane menu. The twin pilots disappear when you activate the static elements. The KFC 225 autopilot pop-up is excellent and works very well with the display panel, it can be moved around the screen and also scaled to size. Liveries There is one white (paint) default livery and five original supplied liveries. Clockwise: White (blank) - Electric Blue - Light Blue - Red - Light Green - (dark) Green. The UK reg Light-Green is the best. They all look the same original liveries, but they have been totally revamped and upgraded to 4K (4096x4096) size and High-Definition (HD) quality, in other words they are all excellent and the electric blue used here in the review looks great in any lighting. Dynamics The CT210M was always a great aircraft to fly, did I mention fast? well it still is, and that means you can cover a lot of ground quickly. Maximum speed as already noted is hit the wall at 204 knots (235 mph, 378 km/h) at 17,000 ft (5,200 m) however the normal cruise speed is193 knots (222 mph, 358 km/h) at 20,000 ft (6,100 m) and the final ceiling is around 27,000ft... yes that FL270!, that is very high for a little bugger like this. And with a rate of climb just under 1,000fpm (930 ft/min (4.7 m/s)) you are going to get up to that altitude quickly as well... Range is great as well with 900 nmi (1,036 mi, 1,668 km) or full range with econ cruise at 10,000 ft (3,050 m). Stall is around 58 knots (67 mph, 108 km/h) with flaps down full. Overall the CT210M's X-Plane11 performance is very good, but the aircraft is a little tricky in crosswinds, and especially in the slower speeds landing phase... Sounds are now FMOD and converted from the excellent original 210 sounds, and they come with a 180º degree soundscape, so yes the sounds are also excellent. Note in that you can also use the RealityXP GTN 750 add-on (extra cost) with the CT210M and there is the SimCoder REP-Reality Expansion Pack also available (recently updated for this XP11 version!). You can check out the REP pack here on this B58 Baron REP pack review, the aircraft is different, but the REP package and the price is identical. Summary The Carenado Cessna CT210 Centurion ll was one of the developer's most excellent earlier aircraft for X-Plane, it is a fast but very tidy single-engined, four go anywhere seater. But that release was five years and a simulator version ago now. So here the aircraft gets its X-Plane11 upgrade, and out of the changes the aircraft shows again on how really a great GA this was in the first place. The Cessna gets the standard Carenado upgrade treatment. The newer (but far better) X-Plane11 dynamics and performance, PBR effects and better quality and again far better texture performance, It is VR (Virtual Reality) compatible and also the avionics have been slightly switched around and the native GNS gps units have been upgraded from the far two older GNS430's to the newer twin set of a GNS 530 and a GNS 430, so all in all the full X-Plane11 performance package. I'm trying to think of a negative? no there isn't one except the Ct210M can be a little tricky to fly at low speeds, but that is a skill set thing and not a flaw situation. I doubt this updated X-Plane11 Centurion ll will be chocked up again a returned in the back of my hangar. It needs to be flown, used and loved like never before. It was one of Carenado's best, now it goes right back up there again to the top of the list of a "Must Have" and a "Must Fly" aircraft, all you can say now really is "welcome Back" and believe me this aircraft is very welcome to be flown again. Highly Recommended. ______________________________________________________________________ Yes! the Cessna CT210M Centurion ll XP11 by Carenado is available from the X-Plane.Org Store here : Cessna CT210M Centurion ll XP11 Price is US$29.95 Special Features Version 1.1 Optimized for X-Plane 11 State-of-the-art configurable FPS-friendly logic system Largely VR compatible Full PBR (Superb material shines and reflections) Features Specially designed engine dynamics for X-Plane11 Flight physics optimized for X-plane standards Ground handling adapted for X-Plane 11 ground physics Physically Based Rendering materials and textures throughout PBR materials authored with industry-standard software used by the film and gaming industries X-Plane GNS530 (FPS friendly) Support for RealityXP's GTN750* (integrated into 3D cockpit, when available) Goodway Compatible Realistic behavior compared to the real airplane. Realistic weight and balance. Tested by several pilots for maximum accuracy *RealityXP GTN 750 is sold separately ______________________________________________________________________ Requirements : X-Plane 11.10+ (not compatible with X-Plane 10) Windows 7, MAC, or Linux 4GB+ VRAM Version 1.1 (last updated April 2nd 2018) ______________________________________________________________________ Installation : Download is 364mb which is unzipped and is inserted in your General Aviation folder as a 433.40mb flie. Key authorisation is required. Documentation : includes Autopilot KFC225.pdf Carenado Copyright.pdf Carenado CT210 Centurion Version History.rtf Credits.pdf Recommended settings XP11.pdf T210M Centurion II Normal _ Emergency Procedures - Performance tables.pdf T210M Centurion II Reference.pdf ______________________________________________________________________ Plugin Review by Stephen Dutton 6th April 2018 Copyright©2018: X-Plane Reviews (Disclaimer. All images and text in this review are the work and property of X-PlaneReviews, no sharing or copy of the content is allowed without consent from the author as per copyright conditions) Review System Specifications: Computer System: Windows - Intel Core i7 6700K CPU 4.00GHz / 64bit - 16 Gb single 1067 Mhz DDR4 2133 - ASUS GeForce GTX 1080 8Gb - Samsung Evo 512gb SSD Software: - Windows 10 - X-Plane 11.20 Addons: Saitek x56 Rhino Pro system Joystick and Throttle : Sound - Bose Soundlink Mini Plugins: Environment Engine by xEnviro US$69.90 : XPRealistic Pro v1.0.9 effects US$19.95 : WorldTraffic 3.0 Plugin - US$29.95 Scenery or Aircraft - TNCM - Princess of the Caribbean - Part 1: SXM by AWDesigns (X-Plane.OrgStore) US$32.95
-
News! - Released! : CT182T Skylane G1000 by Carenado Carenado have released the X-Plane11 version of the CT182T Skylane G1000. It is really hard not to be confused with their earlier Cessna release of the C172 Skyhawk G1000 in March 2019. Visually and with the same G1000 avionics install they could be noted as very much the same aircraft. The Skylane is a four-seat light aircraft with fixed landing gear, powered by a fuel-injected 230 hp (172 kW) Lycoming IO-540-AB1A5 piston engine, gross weight of 3,100 lb (1,406 kg) for take-off and 2,950 lb (1,338 kg) for landing. It was certified on 23 February 2001 and, as of July 2015, it is the only C182 variant now in production. The earlier Skyhawk has only a Lycoming O-320-D2J (160 hp (119 kW) engine and a top speed of 125 kn (143 mph, 231 km/h), so this newer Skylane however will propel you at 150 kn (170 mph, 280 km/h)... so what you are buying here over the Skyhawk is speed, and lots of it. Special Features of this totally upgraded XP11 version include NEW Full interior and exterior PBR (Redone completely), NEW 3D interior and exterior with MANY details, NEW customized FMOD sounds and the Laminar Research Customized X-Plane default G1000. Other Features Include: Full VR compatible Specially designed engine dynamics for XP11. Flight physics optimized for XP11 standards. Physically Based Rendering materials and textures throughout. PBR materials authored with industry-standard software used by the film and gaming industries. Realistic behavior compared to the real airplane. Realistic weight and balance. Tested by several pilots for maximum accuracy. Recommended System Requirements Windows XP – Vista – 7 -10 or MAC OS 10.10 (or higher) or Linux X-Plane 11 CPU: Intel Core i5 6600K at 3.5 ghz or faster. Memory: 16-24 GB RAM or more. Video Card: a DirectX 12-capable video card from NVIDIA, AMD or Intel with at least 4 GB VRAM (GeForce GTX 1070 or better or similar from AMD) 310MB available hard disk space Included in the package 5 HD liveries. 1 HD blank texture. CT182T G1000 Normal Procedures PDF. CT182T G1000 Emergency Procedures PDF. CT182T G1000 Performance tables PDF. CT182T G1000 Reference PDF. KAP140 Autopilot PDF. Recommended Settings XPLANE 11 PDF. If you have read the X-PlaneReviews review of the Cessna 172SP SkyHawk XP11 by Carenado Then you would know I absolutely loved this little aircraft, it was a gem, so I am very curious on how this more powerful C182T Skylane will compare... ________________________________________ Priced at US$34.95 the CT182T Skylane G1000 is now available from Carenado Now Available here from Carenado Images and details are courtesy of Carenado ________________________________________ News by Stephen Dutton 13th October 2019 Copyright©2019: X-Plane Reviews
-
Aircraft Review : Cessna 208 Grand Caravan EX XP11 by Carenado When Carenado first appeared in releasing aircraft for the X-Plane simulator, we were obviously very excited. Because for the first time X-Plane had access to not only one of the very top tier of FSX developers, but also their experience, quality and features of which where at the time a huge step forward for the simulator. Those first few releases however were from Carenado's back catalogue, and although good (compared to what we had at the time) they were still a little dated with their heavy (older) graphic textures. It was however in Mid-2012 that things really changed with Carenado releasing the C208B Caravan. Not only was the C208B a sensational aircraft, multi-usable but also it was a more modern version of currently released aircraft. The results of course speak for themselves as the Caravan was a sales success and not only cemented Carenado as an X-Plane developer per excellence, but also provided the way in sales for Carenado to see the results of creating aircraft for the X-Plane platform was actually a profitable exercise, the rest as they say has been one of the greatest success on both the developer and user sides in the simulator's history with a current number of around 53 aircraft in being released for the platform. Carenado followed the initial release of the Caravan with an add-on to create a "Super Cargomaster" version, but in the FSX catalogue there was also an "Executive" version, but that layout was never over the years released for X-Plane, why is one of the biggest mysteries, because if you already had one of the most successful aircraft releases, then why not follow them on with more (profitable) versions? Part of the long deferral could be put down to Carenado not having a decent G1000 avionics package of which FSX had, but X-Plane at the time didn't. A project to create a G1000 avionics system system resulted in a poorly written and framerate crushing package that was neither very good or even usable. But when Laminar Research released their own X-Plane default G1000 package for X-Plane11 then the chances of releasing the "Executive" variant was always going to be resurrected, and finally here it is. Cessna 208 Grand Caravan EX XP11 Outwardly you would be very hard pressed to find any difference between the latest updated Caravan HD XP11 series, certainly externally. The excellent hi-res textures, incredible glass (shape, reflections) metal detailing (note that amazing exhaust and nose spinner) and every quality detail is still all here and they are excellent. Menus Carenado provides you with their usual three tabbed menus on the left lower screen that can be scrollable hidden. A ) is for the pop-up window of a Garmin G3X Hybrid Autopilot which can be scaled for size. C ) Is the standard Carenado ten preselected Views, Field of View and Volume panel. And O ) is the Options panel. Options include the usual Window and Instrument reflections. The Static elements provided here are still quite basic with only two cones, wheel chocks and front flag pitots, engine inlet covers and tail support. Doors opening include rear passenger door and separate front nose baggage door, and there is also the choice of changing the liveries without going to the main X-Plane menu. The original Caravan had the lower "Cargo Pod" and it featured "Opening Doors", but the EX version also has the extra feature of a Liquid Ice (storage) Protection Tank. I usually fly clean, or without the extra drag (which is well modeled) of the bulky cargo pod, but many will like it. The now familiar twin highly realistic pilots do also disappear when you activate the static elements. As noted frequently now, I find this old fashioned Carenado menu very restricting, it is still an all or nothing approach, and when parking I need the chocks, but not the engine or pitot covers, and a more separate selection with a "Weight and Balance" feature are now the normal rather than these old fashioned basic element sets. The cabin layout was always going to be the main differential from the utility Caravan of which I really like. Two forward, four seats in a club layout and a tight right jump-seat at the rear gives you a seven passenger seating layout... ... all in leather and wood trim of course, it is all very well done, but feels slightly dated in the texture detail, Carenado have done better, so these chairs must have come from the FSX version. Twin-tables are nicely animated, but the small video screens are inert and blank. You do feel for the poor soul in the tight jumpseat, it looks uncomfortable, and the panel makes it look like a confession box. Cockpit At first glance it looks the same as usual from the front chairs I have spent countless hours flying the C208B... but obviously it is a very different avionics layout. The Garmin G1000 avionics pack in the standard two left and right PFD (Primary Flight Display) and the single central MFD (Multi-Functional Display). The white panel background is gone to replaced by a boring grey, I loved the white modern panel look, but there you go. There is a nice Garmin logo detail on power up... .... and the only significant panel changes are the lower backup instruments to cover Airspeed, Artificial Horizon and Altimeter, a torque dial FT-LB. the instrument and cockpit/cabin lighting knobs has been moved from the left panel to the lower centre panel (the older lighting knobs didn't actually work very well either) All the G1000 panels pop-out as windows (resizing can be fiddly), but you can go as small or large as you wish... the larger size display is very good for setting up your route.... .... but I found the knobs (manipulators) on the pop-out didn't work, so the adjustments still had to be done with the knobs on the main panel display (arrowed). This is the standard default G1000 system with Standard speed and altitude ribbons with built in vertical speed are really good with the rate of turn indicator and all set within the huge Artificial Horizon with built in FD (Flight Director) pointers, as are the radio and autopilot settings in the top banner. Insert (MAP) is switchable and with a good range, but I rarely us it. All lower keys access ALERTS, NRST, TMR/REF (Timer) and of course the Wind strength and direction with comes with three settings, and the same three switchable DME/GPS/VOR1/2 backgrounds with all their points shown are on the heading rose dial. I earlier found these menu driven systems quite confusing, but is now far more used to them, but however at times you can still get lost in overriding key settings. Central MFD has a left side system panel that covers: Engine readout Torque, ITT (Interstage Turbine Temperature ), Prop RPM, Oil Pressure and Temp, Fuel quantity is for both tanks, RPMFuel Flow PPH (pounds per hour), Electrical Bus Volts and Battery amps. A-Ice supply in GAL and the Flap and Elevator position is noted on the right. System switch will give you more data to cover including: Fuel Calculations to show Fuel Flow GPH, GAL USED, GAL REM (Remain) and can be reset, and lower is a full set of Electrical Gen Amps, Alt Amps, Battery amps and Bus Volts. The flightplan view can also be switched from WIDE to NARROW to your preferences There is a lot of depth presented here in these avionic tools, but you will need to read the supplied Laminar Research G1000 manual that comes with the package to get the full total use out of these avionics. The Radio panel is as usual selections set between the displays on the left, but the usual G1000 autopilot panel is missing. The Executive has however a separate Garmin G3X Autopilot panel center top of the MFD. Flying the Executive Starting the Caravan with its PT6A-42 (uprated from to 675shp to 867shp in the Executive) is still an event, you press the start switch and watch the ITT pressures build until the starter kicks in with a whine. Full Customised 180º FMOD sounds are as brilliant as they ever were, with depth and detail that you expect from the Caravan. I am fully tanked to the brim, with a full 285.40 kgs per tank with a total 570 kgs and a 3874kgs in full fuel load and gross weight (Max weight is only 3995kg) so I am heavy for the flight from Brisbane (YBBN) to Hervey Bay (YHBA) a distance of 138nm. Alert box or the Central Annunciator System (CAS) will tell you what items are normal or need attention, but without a panel manual from Carenado, it is hard to work out which switch is which... I never did find the De-Ice switch or the Alt switch (which was I think correctly set) but the CAS alerts continued? These annoyances were on the original Caravan as well, so we just sort of got used to them, internally it very similar to taxi. I set the flaps to 15º because of the heavy fuel and passenger weight, but the setting allowed the Ex Caravan to pitch itself into the air at only around 70knts, so from then on I never set a flap setting for take off and it felt more realistic at around 110knts... .... Obviously I retracted the flaps as soon as I had a level flying aircraft, but I was surprised on how much pitch (get the damn nose down!) trim I needed to control the aircraft in a level flight. The Ex Caravan has been flown and assessed by real Caravan pilots, but it feels basically the same aircraft as the original version to me in feel and operations but you do have more power available and it is noticeable, and it also confers to the current X-Plane11 dynamics.... maximum climb rate is set at 1,330 fpm (405 mpm) The Caravan however has always been a spectacular, feely aircraft to fly... that is why we love it so much. You can hide the yokes, but as they are set very low on the panel there is no need to vanish them unless you want access to the lighting panel. Menu driven interfaces can be messy things with wrong branches to nowhere and sometimes resetting flightplans is a messy operation, certainly when you need the pop-out and only the panel adjustment version works... the text is too small to read, so you use a combination of both the pop-out and the panel knobs to reset a route, but it is hard work to do while flying the aircraft... ... then to activate the flightplan was even more palaver, with getting the route activated, OBS set and correct CDI aligned, it should work first time, but the messy approach can make it hard to activate your route... I recommend to know your way around the menu maze and the G1000 procedures to do an action before you do some serious flying, once the procedures are noted (through the maze) it does get easier with use. The Garmin G3X Hybrid Autopilot is with the top row of buttons in normal view hidden from your finger operation (you can push them not so realistically through the glareshield) so the pop-out panel is usually required... .... it is a hybid panel because on the real G3X there are no course knobs on each end of the panel, but I would rather have the course adjustment than realism, and a few quirks on the pop-out are for one the bank (limit) button doesn't show if it is on or off, so the only way to check is to use it and see if the bank angle changes, another annoyance is the VS (Vertical Speed) roll works only on large increments (around 150 ft) in adjustment, so the arrows (50ft) adjustment on the panel version is a better tool to adjust your VS angle. So overall you always focus on the panel versions of any adjustments than the pop-out panels for the finer movements. The Caravan always had that cab-forward in the windscreen position, and one position I really like... ... the executive lounge in the cabin, it is a very nice place to be, the windows are large for great external viewing of which the Caravan excels. Sounds as noted are very good, but there are again a few quirks... adjusting the external (very loud) and internal (too low) sounds with the sound menu has no effect? and internally in the cabin some areas (mostly to the left side) the sounds disappear. Settle in and it is very nice place to fly up here in the Executive, you can go as high as 25,000 ft (7,620 m) (oxygen remember), a maximum cruise speed 195 ktas (361 km/h) and a range of 964 nm (1,785 km). There is a significant difference in performance if you have the cargo pod attached, and Carenado provide a full set of performance tables to cover the differences. Approaching Hervey Bay (HBA) it was getting into the latter part of the day, the feeling and aircraft were wonderful. Note the excellent "Narrow" view Flightplan setting. Coming into YHBA on RWY 11 in the late day is a tricky business, as the low summer sun is directly in your eyes! Flaps are two stage in 15º and 30º, and they come in with quite a kick unless you get the speed right (yes you will still float). 80knts (even a bit less) for 15º and 68knts for 30º, today I want a slow approach because of the bright sunlight to find the runway as there are no aids at HBA. You could use the animated blinds, but I found them too dark and they blacked out too much of the approach? So you just have to remember your instincts, plus I know HBA quite well. Finally I get an angle on YHBA's RWY 11... final approach speed is around 63knts to 60knts depending if you want to flare or descend, stall is 55knts. I find I use a lot of rudder movement on approaches, but otherwise just use a slight flare and your down... .... you still have to sort of thrust up the power and get a bit of a run to make the steering turn for you, if not the aircraft won't turn around... .... and you need to keep that power while turning until you are facing the other direction, then lose it again as quickly, it becomes a learned trick. The Caravan in analog or G1000 avionics is still a great aircraft, all you want to do is refill with fuel, and just return to your original departure airport again. Lighting The Executive's lighting is average, basically it just on or off even with six adjusters There are two adjusters for the text and line highlights and one for the backup instruments, but the actual G1000 displays are just bright and fixed... There is some nice centre console and side console lighting, but the pilot and co-pilot dome lighting is full on or dark, even when using an adjuster knob? Rear cabin is the same with five spot lights on each seat.. again on or off, gone are the days of flexible animated moveable spot lighting and individual light switches... and missing on an Executive interior as well? External is fine with the basics. Twin taxi and landing lights in the end leading edge are LED, strobe (not halogen), navigation and tail beacon... ... there is however twin down service lights under the forward inner wing, which look great at night (arrowed). The Executive also comes with the excellent Librain (rain) plugin for realistic rain effects, really good here and it works on both the cockpit and cabin windows. Liveries One blank and five liveries are all American registered, and all workman like, they are all not particularly exciting either, you don't get say the exciting GoTropical livery like you had with the original Caravan version. __________________________ Summary The release of the Cessna C208B Caravan cemented and gave Carenado a platform for success in the X-Plane simulator. It was a brilliant and a high quality aircraft for it's time in mid-2012, it was followed by a Super CargoMaster variant that only added in to the flexibility and experience of flying a very unique utility aircraft. Carenado also released later an Executive version, but only for FSX as that platform only had access to the G1000 avionics suite. So with the release of Laminar Research's default G1000 system, Carenado has finally after six years released the Executive aircraft for X-Plane, with the same seven seater club seat arrangement and that G1000 avionics suite. Over the years the original Caravan has had some significant upgrades, not only for the different X-Plane versions, but also for the updated X-Plane dynamics and features, it is very good, as it usually is by Carenado, but the years have not been totally kind to the aircraft either and as updated as it is, it now has a few gremlins and quirks that have crept in. This release of the "Executive" version haven't so much updated the aircraft either, it is really the original Executive with the latest X-Plane updates and in X-Plane11 performance, so yes it is very good, certainly with the default Laminar Research G1000 system, but those gripes are still there, but the Executive version also brings along some of it's own... the manipulators on the pop-out panels don't work, and the internal lighting is a backward step with no adjustment, limited liveries, manual and average menus. Note the G1000 needs some study and practice before use to get the very best out of the system, as a lot of the great features are hidden behind menus. Don't get me wrong as the Caravan C208B in any variant is an excellent simulation and well worth the purchase. Carenado deliver great quality, high detailed modeling and with this version the higher performance with a great value price, you won't certainly be disappointed with any Caravan purchase and in context it is a brilliant aircraft to fly. Still a highly recommended purchase. _____________________________________________________________________________________ The Cessna 208 Grand Caravan EX XP11 by Carenado is NOW available! at the X-Plane.OrgStore and directly from Carenado C208B Grand Caravan EX G1000 Price is US$34.95 Notes: For WINDOWS users: Please ensure that you have all the Microsoft Visual C++ Redistributables downloaded and installed (click here) Features More powerful engine of 867HP G1000 GPS cockpit Special Features Full interior and exterior PBR 3D interior and exterior with MANY details Rain effect support* (dynamic drops movements with Librain ) Options of cargo pod and liquid ice protection tank Customized FMOD sounds Customized X-Plane default G1000 Customized CAS system Default G1000 autopilot Features Full VR compatible Specially designed engine dynamics for X-Plane 11 Flight physics optimized for X-Plane 11 standards Physically Based Rendering materials and textures throughout PBR materials authored with industry-standard software used by the film and gaming industries Realistic behavior compared to the real airplane. Realistic weight and balance. Tested by several pilots for maximum accuracy Included in the package: 5 HD liveries + 1 HD blank texture C208B EX G1000 Normal Procedures PDF. Emergency Procedures PDF C208B EX G1000 Performance tables PDF. C208B EX G1000 Reference PDF Recommended Settings X-PLANE 11 PDF Requirements: X-Plane 11 (fully updated) Windows, Mac or Linux 4Gb VRAM Minimum - 8Gb+ VRAM Recommended Current and Review version : 1.1 (Dec 26th 2019) Download Size: 360 Mb Installation and documents: Download for theCessna 208 Grand Caravan EX XP11 is 360.20mg and the unzipped 447.20mb file is deposited in the "General Aviation" X-Plane folder with this aircraft version X-Plane11 only. Documents C208 Grand Caravan EX Normal Procedures.pdf C208 Grand Caravan EX Emergency Procedures.pdf Recommended settings XP11.pdf C208 Grand Caravan EX Performance Tables.pdf X-Plane G1000 Manual.pdf Carenado Copyright.pdf ______________________________________________________________________ Review by Stephen Dutton 7th January 2020 Copyright©2020: X-Plane Reviews (Disclaimer. All images and text in this review are the work and property of X-PlaneReviews, no sharing or copy of the content is allowed without consent from the author as per copyright conditions) Review System Specifications: Computer System: Windows - Intel Core i7 6700K CPU 4.00GHz / 64bit - 16 Gb single 1067 Mhz DDR4 2133 - ASUS GeForce GTX 1080 8Gb - Samsung Evo 1Tbgb SSD Software: - Windows 10 - X-Plane 11.40 Addons: Saitek x56 Rhino Pro system Joystick and Throttle : Sound - Bose Soundlink Mini Plugins: Environment Engine by xEnviro v1.13 US$69.90 : WorldTraffic 3.0 Plugin - US$29.95 Scenery or Aircraft YBBN - Brisbane International by tdg (X-Plane.Org) - Free - ysfsim's WT3 ground routes for YBBN are here YHBA - Hervey Bay - VOZ by Barry Roberts (X-Plane.Org) - Free
-
Aircraft Review : PA-34 Seneca V HD Series by Carenado In one form or the other the Twin-Engined PA-34 Seneca has been in production since 1971 and that is now 46 years of continuous sales and development. The Seneca was developed as a twin-engined version of the Piper Cherokee Six which was a very popular aircraft of the late sixties. The prototype for the Seneca was a Cherokee Six that had wing-mounted engines installed and still retained its original nose engine. The prototype was flown as a tri-motor aircraft in the initial stages of the test-flying program, but the nose motor was discarded for production. Still in production there are over 5000 of these twin-engine PA-34 Pipers now built. This is the latest release by Carenado of the Seneca Twin. It is not the only Seneca by Carenado as there is already an original Seneca ll version the 200T which is the mid-seventies version of the aircraft. This V or Five version is the current version of the PA-34 and it comes with the G500 glass cockpit system and not the olde world clockwork cockpit of the Seneca ll. We will look at both aircraft soon. To get a feel of the new Seneca V I took a short passenger delivery trip from the Gold Coast to Ballina/Byron, Australia to deliver a few cashed up visitors to the area, and yes I am running this review in X-Plane11. Don't worry as I have run the same flight in X-Plane10 so nothing is amiss and there isn't and this aircraft is noted as compatible with X-Plane11 and is pretty what to expect when X-Plane11 goes final. A small note is that this is in XP11b9 and I am currently finding it very stable after a lot of testing and flights, not totally perfect yet, but the basics are very good. Detailing is exceptional, and the X-Plane11 PBR gives the the Seneca V aircraft a really nice added gloss. But realism in detail has never been higher, note the louvre grills on the engine housings and the door hinges and lock, the riveting is well... riveting in the pure detail of it all. Externally the Seneca V isn't that much different than the Seneca ll 200T which had the Lycoming O-360 E series 210 hp (157 kW) at 2800 rpm, as this V version has the Continental IO-360RB which is almost the same name but a different engine which produces 220 hp (164 kW) at 2600 rpm and that is the significant difference as the engine housings are very different on the Seneca ll as shown below. You do feel the evolution of time though between the 70's Seneca ll and the current Seneca V, small things but the V does feel far more modern as the windshield is now one piece and not the two separate panes with a central bar, and the nose is not quite as pointed. It is only around 144kms to Ballina Airport from Coolangatta and so you get there very quickly if by the scenic coastal route. Takeoff and cruise around 170knts is quite comfortable in the V, but landing is a bit more tricky and in comparing the Seneca ll it is very much the same deal. I found my joystick a bit notchy, so small inputs are the go. But the real focus is on the throttle for landing. Stall speed is noted as 61knts (113 km/h, 70 mph), but you have to be aware that it comes in with a crash or a very sudden loss of lift. So 90knts - 80knts is the lowest fail safe zone on approach with full flap, less than that and you are falling quickly and using 100knts until full flap is a good idea as well. And so you have to hunt the throttle to keep the aircraft airborne and find that right speed to let the aircraft down at a slowish rate, get it wrong in the flare and you will bang down on the runway with a crash, it took a few landings to perfect the approach and flare (using the pitch slightly (up and stall) is a good trick for controlling the last of the descent). Menus Standard Carenado menus apply here, with the usual three tabs on the lower left in C, O and A. C is Carenado or really "Views" with "Field of View" and two sound adjustments. O is for "Options" including opening Co-Pilot door, Passenger door, Luggage door and front baggage compartment door. I like the detail in the front compartment, really well done as if there is a little space to put your bags. Static elements are in the 'hardly worth the effort" zone with two cones and a few pitot covers and flags, You see the differences here on the older Seneca ll with a lot more on show including the excellent baggage. Other selections here include the scroll visualization choice, window and instrument reflections and the choice of changing the liveries without going to the main X-Plane menu. Our passengers delivered and it is time to return to Coolangatta. If you are still sitting on the fence on if X-Plane11 will deliver, then enlarge the images below and look at the detail, as a new era of realism has now been born. Cockpit and Cabin Carenado's new Garmin G500 navigation system dominates the panel, and a very nice installation it is as well and I personally like it better than the bigger display G1000. Backup instruments are to the left and lower with a OBS direction pointer and twin sets of engine dials are excellent, with a high switchable information panel above. Equipment upper panel includes a Garmin 347 audio panel, a S-Tec Autopilot, Two GNS 430 GPS units. Lower panel are an old Bendix-King KR87 ADF and a Garmin GTX 327 Transponder/Time unit. There is a very nice if basic pedestal unit and rudder pedals with under panel alcoves are highly detailed. Roof mounted Lighting and Electrical switchgear is well done but very fussy to use on the lights with three way switches. Nice blue lighting looks cool but ineffective. Looking hard at the pedestal you notice there are no trim wheels attached? They are both mounted deep between the front seats, beautifully done, but awkward to use... A pop-up screen would help here. Cabin is leather luxury, quality detailing is "want to touch" real, you are amazed that this sort of detailing could get better, and it does... look at the really small detail like seatbelt webbing, clasps and the leather seating folds and it is beyond good. Fold out table is in Veneer. Rear luggage bay is empty but very well presented, and the window blinds work. To see the differences and period changes let us look at the Seneca ll. The Seneca ll panel is padded and filled with dials and switchgear 70's style compared to the clean modern look of the V. The cabin in here feels daggy and used, and you can almost smell that old aircraft worn tired aroma and want to remove those tired crappy curtains. G500 I am not a big fan of the push button Menu style modern instruments. I find I am more head down looking through pages of menus than setting the instrument to the action of what I require. That said I like the G500 as it does the setting adjustment better than the G1000 units. The unit has two screens with the Artificial Horizon and Heading rose with Speed and Altitude tapes and bank guide on the left screen, and the Navigation display on the right screen. The G500 also pops out for ease of use. Most of these Gamin units use the left hand knob to change settings, but on the G500 it is easier to use because the main items in HDG (heading), CRS (course), ALT (Altitude), V/S (Vertical Speed) and BARO (barometer) are buttons down the left hand side of the display. And so making the adjustment easy as selecting the item you want and then adjusting it with the lower knob. Sometimes you wonder if that new ideas are really better than the old ones as this system works very well compared to fiddling with the G1000 menus. There is the ADF 1/ADF2 and VOR1/VOR2 pointers that is selectable from the menu. They are both extremely thin and I am not sure if effective in this need to look down and gather information quickly mode, but they are at least available. Navigation display is very good, but the zoom is not very close for local airport flying, zoom out and you get those unused blank tiles showing and it is still slow and jerky when turning quickly. The DCLTR (declutter) is good and you can also bring up a compass rose on the moving aircraft on the map to help with directional headings. A note in that to use the Carenado G500 or the G1000 units you have to download a separate data folder that is deposited in your main X-Plane root folder, it is a hefty download at 870mb that expands to 3.63gb when unzipped and installed. Autopilot The Seneca V uses the S-Tec (now Genesys) Fifty Five X Autopilot. The system is well intergrated into the aircraft's systems, with a centre panel main unit and above the G500 is a situation display and the unit pops-out from the "A" menu tab. It works well. Only note is that you have deselect ALT to move higher or lower and then reselect ALT when you have reached the required altitude. One slight annoyance is that the AP switch is right over on the Co-Pilots side? I can use a joystick buton to turn off or on, but a stretch if you don't have that setup and actually finding the switch? A nice feature is a six position selectable information panel that gives you details on: TEMP, FUEL, INST (engine read out), ELEC, TIME/DATE and %PWR (Engine power outputs). the panel will pop-out for ease of use. Arrival at YBCG Passing over Terranora and a sighting of the coast means we are back on the Coast or the Goldie as is is sometimes called. Like on the Seneca ll those huge engines spoil the view and make looking down quite hard, there is only a small area between the panel and the window frame that you can use. I fall into the circuit over the water that gives you a hard left to hard left and along the beach to YBCG's RWY 14. You aim at the Currumbin Highrises on the beach but the bigger boys in the Jets use the Burleigh Heads Highrises further north for the same job and at only a 1000ft to get the approach right. Tugun Hill and Tugun below makes this approach exciting, you come in low and fast over the forever complaining residents, flaps are three stage and don't give you that nasty lift feel if you get down around 100knts. Tugun Hill makes you give a slight steep slope angle into YBCG, but as noted earlier I found I took a lot of runway before settling the Seneca V easily and far and right down past the usual touchdown zone, but you need to be as slight as you can to get that flare and wheel touch right and perfect. Ground View Back on the GA line and you can admire the aircraft's (and Carenado's) wonderful design work. Bad panel and glass gaps are now non-existent, we are simply now getting brilliant design, and X-Plane11's lighting effects brings us closer to perfect reality. Power off and the excellent reflections on the displays are highlighted. Lighting Internal lighting is very good with lots of great spot lighting in the rear. The rear spot switches are hard to find as they are low and facing the passenger on a panel, and not on the roof in the usual position. There is a very strong spotlight over the Co-Pilot's door, that helps in boarding... Panel lighting looks good and is adjustable, but the blue roof switch lights are not very effective. It doesn't help in that the switchgear is three way awkward, with "off" in the middle hard to find? And the landing lighting (outboard) can be made to flash. External lighting is good but not brilliant. Taxi light is quite weak, and so are the outboard landing lights. Liveries One blank (white) and four American with two Brazilian liveries are provided, but well done but not much choice and nothing really special here. Seneca ll A few notes on the original Carenado Seneca ll that is also available. For its age in X-Plane (it was the very first Twin I reviewed) the old girl scrubs up very well in X-Plane11, it is a nice companion to the more modern V and has that clockwork panel and a great side electrical/starter panel. The only visual note is the forward gear doors don't close. But before you send off a nasty telegram to Carenado it is not actually a Carenado issue but a Laminar Research X-Plane11 bug issue and all early Carenado's are affected as is my beloved A33F. So a fix should come soon as X-Plane11 heads towards final. Summary Nice, Nice, nice. There is a lot to like here if you love Twins as the Seneca is one of the all time great and successful Twin-Engined aircraft of the world. You are probably bored by now at the accolades thrown at Carenado, but give credit due here as the detailing is just so good and so well done and it shows how far we have moved on since the earlier Seneca ll in that level of sheer design. It is with those HD quality textures (4096 x 4096) in size with 422 pixels / meter texture deep and that is detail, that is a lot of detail. It is a thoroughly more modern aircraft to fly as well with the well intergrated G500 unit, and from the user angle wise I think is better than the more menu focused G1000. The ADF/VOR pointers are a bit on the very thin side, and they have gotten all the earlier gremlins now worked out, so it is a now nice bit of kit. Great Autopilot and Information panel features this aircraft is a sub 1000nm distance hauler. It is slightly tricky to land, and has great sounds (a little too quiet in the cockpit though) but overall it one of the best Twins out there. The Seneca V also flies well in X-Plane11, as I saw no issues and thoroughly enjoyed myself flying in our new realm, so it is certainly XP11 ready. The Seneca V is a General Aviation Classic, and you can now own one (if a brilliant simulated version) of this aircraft, quality and thorough design is also part of the deal, so it is a very nice addition to your X-Plane hangar. ______________________________________________________________________ Yes! the PA-34 Seneca V HD Series by Carenado is NOW available from the X-Plane.Org Store here : PA-34 Seneca V HD Series Price is US$32.95 Note: If you purchased the first release 1.0 version then redownload from Carenado to v1.1, as a few details have now been upgraded. The original Seneca ll Is also available here at the X-Plane.OrgStore: Piper PA-34 Seneca II Price is US$27.95 Seneca V Special Features Carenado G500 compatible with X-Plane GNS430 (included) Optimized for XP10.5x - X-Plane 64 bit required All-new sound architecture Volumetric side view prop effect Features Carenado G500 GPS Terrain Awareness map mode Different declutter levels Advance menus and cursor with scroll wheel, click/hold or /drag Crisp, vector-based water data Pop-up windows can be resized and moved around the screen Pristine scroll wheel support FPS-friendly terrain map Original Seneca V autopilot installed HD quality textures (4096 x 4096) 422 pixels / meter textures 3D gauges Original HQ digital stereo sounds recorded directly from the real aircraft 3D stereo effects, such as outside sounds entering open windows. Customizable panel for controlling window transparency, instrument reflections and static elements such as wheel chocks and turbine inlet/exhaust covers. Realistic behavior compared to the real airplane. Realistic weight and balance. Tested by real pilots. Realistic 3D night lights effects on panel and cockpit. ______________________________________________________________________ Requirements : Windows 7+ (64 bit) or MAC OS 10.8 (or higher) or Linux - 64bit Operating System X-Plane 10 fully updated (any edition) - 64bit mode 3 GHz processor - 8GB RAM - 1Gb+ VRAM - 2Gb VRAM Recommended Windows users: Please ensure that you have all the Microsoft Visual C++ Redistributables downloaded and installed. CARENADO G1000 database must be installed Current Version: 1.1 (last updated Feb 5th 2017) ______________________________________________________________________ Installation : Download is 392mb which is unzipped to your X-Plane folder at 478.00mb. Documentation : includes Carenado G500 PDF PA34 Emergency Checklist PDF Normal Procedures PDF Performance Tables PDF PA34 Quick Reference PDF Recommended Settings PDF Aircraft checklists are provided, but no overall aircraft manual. ______________________________________________________________________ Stephen Dutton 8th February 2017 Copyright©X-Plane Reviews: X-PlaneReviews 2017 Review System Specifications: Computer System: Windows - Intel Core i7 6700K CPU 4.00GHz / 64bit - 16 Gb single 1067 Mhz DDR4 2133 - GeForce GTX 980/SSE2 - Samsung Evo 512gb SSD Software: - Windows 10 - X-Plane 11beta9 / Checked install in X-Plane10.51 Addons: Saitek x52 Pro system Joystick and Throttle : Sound - Bose Soundlink Mini : Headshake by SimCoders Plugins: Environment Engine by xEnviro US$69.90 : WorldTraffic US$29.95 Sceneries: - YBCG : Gold Coast International v1.0 by tdg (X-Plane.Org) - Free - YBNA - Ballina - VOZ Australian Scenery by Barry (Bazza) Roberts (X-Plane.Org) - Free
-
Aircraft Review : Falcon 50EX by Carenado The Dassault Falcon family goes back to the early sixties with the release of the twin-engined Mystère 20, but with early deliveries set to Pan American it was marketed as the "Fan Jet Falcon" and the name stuck with a rename of Falcon 20 and it is under this guise that Pan American Business Jets Division placed orders for a combined total of 160 Falcon 20s. It was for it's time the Falcon 20 an exceptional aircraft with a 750 km/h (405 knots, 466 mph) cruise speed at 12,200m (40,000 ft) and a range of 3,350 km (1,808 naut mi, 2,080 mi). Obviously you are going to build on success, so the next step was for a more larger faster and longer range aircraft. To achieve this the aircraft that became known as the "Falcon 50" was to add another engine, and to make it a TriJet, and it came for the time of the mid-seventies the first of the really global transcontinental business jets, it was fast at Mach 0.86 (1,015 kph) at full speed, with a cruise set at 488 kn; 903 km/h (Mach 0.85) and a longer range of 5,695 km (3,075 nmi), but remember the FA50 is still an old design and three dated turbofans were not the most fuel efficient compared to current engines like on the Falcon 6x which can do 10,186 km (6,329 mi; 5,500 nmi) 5,100 nmi at Mach 0.85. The FA50 can still do the distance from London to New York, but you will get there almost on dry tanks... The fuselage cross section and capacity is similar to the FA20, but the FA50 had a far more advanced wing design and this aircraft is the 50ex version with the updated TFE731-40 engines Carenado Falcon 50ex It would have been hard to follow up the Carenado Cessna Citation S550 for mid-sized private jets, it was and still is a stunner of a aircraft for X-Plane11. So to follow that exceptional act then Carenado has to deliver an aircraft of the same quality and detail to at least match that standard, and that is a tough high target to achieve, and so that is the question we are asking here in this review, is the Falcon 50 in the same league. Falcons are very distinctive and very French in design, sharp nose with an late fifties cockpit window layout, straight fuselage with a low cross Caravelle style tail, the trijets are even more iconic, but the three engines do make the aircraft look a little rear heavy. But you are not going to deny that Carenado have not done an exceptional modelling design here, as this is a beautifully represented Falcon 50. Complex shapes are dealt with ease, you will find no sharp modelling corners, or lazy quick circles here, it is a well defined design in the ultra category, and so it should be in this price range, you pay for it, but at least here the Carenado delivers, note the nice leading edge lighting assembly, wing mapping (raised rivets and lines) and flap track housings. All undercarriage components are all really well detailed, not only the usual hydraulic piping and struts (main gear is a simple leg support with an attached hydraulic ram) but with smaller detail with clips, bolts and steel foundry shaped assemblies. Front wheel strut is excellent with high detailing including chrome hydraulic ram components. Internal wheel bays are well kitted out and detailed as well, all round perfection. Cockpit windows are late fifties - sixties style five window designs, very Falcon and visibly different from the more standard four glass design of the later Falcon 7X series. Note the small hidden wiper assemblies. A glass is Carenado perfection, front and side designs in quality, reflection and shapes. Fuselage shaping is also high in detail and the excellent paint reflections are of a very high caliber and all this comes with Carenado's dynamic reflections, realistic metal and dielectric materials... in other words it is very good. The central engine is the only one with a thrust-reverser, it is a clamshell design and in action it looks excellent in animation Menus Menu system is standard Carenado lower left screen three tabs, the three tabs can be mouse scroll hidden The three tabs are noted as: A ) is for the lovely authentic Collins Proline21 pop-up Autopilot panel, that this is quite screen filling large panel, but can thankfully be moved and scaled to a smaller size. C ) Is the standard Carenado ten preselected Views, Field of View and Volume panel. And O ) is the Options panel. The Proline21 Autopilot panel is different (larger) than the one on the Premier 1A, and it is quite large in default mode on your screen, it can of course be scaled HUGE, or very small, but scaling too small can make button actions hard to use. Options include Window and Instrument reflections. The static elements provided here are still very basic with only two cones, rear wheel chocks and flag/pitot covers and some nice "FA50ex" engine inlet covers, but you can only have all or nothing. The highly realistic pilot and co-pilot (and new) animated pilots in flight uniforms do disappear when you activate the static elements. left side is the main entrance door... there is also a nice well detailed "HOBART" GPU (Ground Power Unit). The livery Selector is now on the options panel than from usually the Carenado tab. You have the option of the original wing tip (square) or the newfangled high curved winglets, the superb winglets are an obvious choice. Cabin and cockpit Entrance to the Falcon 50 is via a single left hand forward door with built in stairs, it is animated either via the menu, or the handle internally (arrowed below)... design with nice chrome rail-handles is excellent, in v1.1 the animation has been slowed down a little for more realism, the door looks and moves now like real. Cabin fit-out is all dark woods and heavy leather, it is a very cigar lounge feel, four club seating forward, one single seat aft and a three seater settee to the right side and so that is a passenger seating layout of eight. Cabin fittings and details are excellent, with chrome highlights and highly soft looking cushions to hug... ... a nice touch are the two passenger screen monitors, both fixed, but look great... all the blinds are animated, but I found them a bit in areas overtouchy to use, but still a very nice to have. Odd for Carenado is that the tables don't fold out, more odd is they look like they are created that way and the folded up panels are also there positioned inside, but I couldn't get them work if they do? so I am going to say that they do actually work. There is a folding door to open to access the cockpit... .... to the left as you go in there is a pilot's storage area for books, jackets and other bits and pieces, note the dangerous looking axe? Top is the entrance lighting knob, and an audio panel that has two working knobs. First look into the cockpit is breathtaking, with such overwhelming quality and detail. Armrests flip up to get in to the seats, but you know it will still be a very tight fit. In the left seat and the glareshield overhang is huge, and really well done but it is all very black and dark with no power connected. First look forward reminds me of Concorde with the shield in the full up position. Pressing the EXT Power button with toggle the external GPU, and flick the main battery switches and the effect is "oh wow, oh wow" this is one nice cockpit in lighting and detail. The instrument panel lighting highlights the built in glareshield grab handles and the huge centre mounted park brake handle, very nice and the overhead panel turns into a rainbow of ergonomics... excellent! Instrument Panel Twin authentic yokes have built in electric trim and can be hidden. Yokes hidden then that exposes the four display Proline21 avionics system introduced on the Carenado Premier 1A... ... There are for both pilots a PFD (Primary Flight Display) and a MAP/NAV MFD (Multifunctional Display), both can be popped out but only the PFD and MFD two from either side... other central display panels will also pop-out includes , three engine parameters, backup Artificial Horizon, Fuel/Temp and hydraulics/ VIB N1 - N2 (engine vibration indication). The PFD has the standard glass cockpit layout of Speed and Altitude strips, Artificial Horizon, Vertical Speed and Rate of Turn built into the upper section, lower section has a built in Navigation and Map and COM1/ATC/UTC/TAT/COM2 strip at the bottom. MFD has Engine readouts top, route information lower and the same Navigation and Map layout lower with a GS/TAS/SAT/ISA strip at the bottom. Several points since the debut release of the Proline21, the PLAN function (arrowed right) now works (Yeah!) to see and layout your flight plan, and the text does not overlap. Unlike the Premier where as the DCP (Display Control Panel) which was set vertical between the displays, here on the FA50 it is set both sides up on the glareshield next to the autopilot... BARO, MENU/DATA, TILT/RANGE knobs. The default screen shows: FORMAT (ROSE/ARC/MAP), TERR/RDR, TFC and a PRESET (quick switch) setting on the left, you can adjust on the DCP panel via the "MENU/DATA" knob for either PFD or MFD, switching can be separate with ROSE in say the PFD and ARC in the MFD or vice versa. Selecting the "NAV/BRG" button will bring up the NAV SOURCE (FMS1/VOR1/VOR2) and Background (BGD) pointers for FMS/VOR1/ADF1 top and FMS1/VOR2 lower, again just select the required selection button and the select blue box band.... adjustment is again via the DCP MENU knob There are altogether three (pages) settings of References that can be accessed by repeatably pushing the Menu REFS knob. Pressing the RADAR button will bring up the TERR/RDR setting the same as in the menu option, the TERRAIN feels far better but is quite bright (Red or Blue) and can make the flying and navigation details hard to read, I probably wouldn't use it, except in the RDR - Radar mode. Overall this latest version of Carenado's ProLine21 system is certainly far less buggy, and more functions work than with the release version and expect the same fixes to be translated back over to the Premier 1A. ProLine21 Autopilot panel is excellent, standard layout and easy to use, and note the comprehensive engine fire panel for the three engines. Lower centre panel has Alieron, Rudder and Stabliser positions panel left and SLAT/FLAP positions right, in the middle is a comprehensive annunciator lighting panel, with test and bright and low light settings. To note the speed knobs (arrowed) for adjustment in the PFD. Three lever throttle assembly is a work of art, and seriously detailed, and note the working springs on the stop selection (arrowed below left), lift the red levers to shutdown the engines (switch off fuel flow).... as there are three levers you lose the versatility of a two lever operation with a throttle system (Saitek X56), so you have to lock them all together, shame but it is what it is.... .... single central thrust-reverser lever is again a work of animated art, and you have to understand how it works. X-Plane key setting "Toggle Thrust Reversers" with activate it, but to use it you then use your throttles... the reverser lever moves but the throttle levers stay in position, do the opposite to store the clamshells.... it is a work of art to use. Centre console has top left Anti-Skid, right cabin pressure adjustment with pressure dump (nicely done). The standard Laminar FMS panels and radios... radios can be tricky to set (Transponder is really tricky), so get used to setting the two page (COMM1/NAV1 - COMM2/NAV2, ADF and Transponder) settings on the ground before flying, if not you will struggle later, the radio also pops-out for ease of use. Note a second set of DCP panels. Rear centre console trim Aileron, Rudder and Stab adjustment switches and a really lovely Air Brake lever (arrowed)... right is the Flap adjuster: CLEAN - SLATS - S+FLAP 20º - S+FLAPS 48º, and the flap knob is gate animated to lift and click (very nice). Rear console is the cabin pressure dial There is another cabin pressure dial low left on the pilot's side on the instrument panel, and a clock above on each side. Side consoles have Gyro Align, radio selections and tiller (left), right is oxygen controls and a little OPEN - CLOSE lever (arrowed)? This will move the right side window blind forward for use or stow it away, very nice, but there is not one on the pilot's side (boo... ) but the left blind is still animated and can be used, both rear cockpit windows have animated blinds. OverHead Panel (OHP) is excellent, areas including Electrical, Fuel System, Bleed Air, Engines, Conditioning, Anti-Ice APU, Heating, Exterior and Interior lights are all colour coded, lighting knobs are each side... .... huge circuit breaker field is also colour coded, but none of the breakers are active. Note the really lovely styled overhead DOME lights. Lighting You were expecting the lighting to be good in the Falcon 50, and "boy" you are not disappointed... it is amazing. You have the two overhead DOME lights in the cockpit and two map lights that are highly adjustable, all the panel lighting is breathtaking. If you able to restrain yourself and tone it all down a little, it looks even better and more realistic... note the side spot light. No problems in finding that right lighting for the best takeoff or landing ambience, lovely in here.... roof ergonomic rainbow panels are... UNBELIEVEABLE! Cabin lighting is also exquisite, it is all really nice lighting... ... with main overhead track lighting and eight adjustable spot lights for individual seating positions, there are two overhead entrance lights as well. But there is a quirk? The main cabin lighting will only work with the DOME lighting in the cockpit? so to have the cabin lit in flight means the cockpit is brightly lit as well (fine in the day but annoying at night), the switch position is wrong because there is a three way switch position on the "cabin" lighting for OFF- PAX - ALL, this could be used to move the lighting away from the dome lighting, the adjuster for the lighting doesn't work either, so there is a real missed opportunity here to have it all. From the exterior viewpoint it is about as great as you would want it to be, the entrance night view is excellent. note the nice tail lighting. Flying the Falcon 50 At Zurich the FA50ex is all primed up with block fuel of just a slight over 3000kgs with a TOW 13662 kgs, the luxury cabin awaits the passengers, the route to Barcelona is really quite short at 551nm, but you will fly high (32.000ft) and fast at mach m80. You have a built in APU (Auxiliary Power Unit) but except for the one (arrowed) electrical gauge it is hard to tell it is running... Starting the engines is very easy, fuel-shut off set to throttle lever idle, set all the bleeds to Auto and then just press the engine start of which engine you want to start, I am still going right to left or Engine 2, 3 and then 1, you may want to start the central engine first... a red light on the engine start says it is in start up operation, then just watch the engine gauges do the work, it is all very Auto. The systems in Starter Logic, Fuel System, Bleed Air System, Avionics busses, Hydraulic Logic are all custom designed and highly realistic, but overall this is a very automatic aircraft to use system wise, so that makes it easy for early simulation users, wanting system depth, but not with all the palaver of working through deep system networks. It is very quiet in the cockpit, so you are a bit removed from the engine start up aurally, but externally it is very good with those 180º dynamic sounds, and three Honeywell TFE 731-40 turbofan engines, poring out 3,700 lbf (16.46 kN) thrust each is going to sound good isn't it... well yes, really good. Don't forget that you have full oxygen tanks as the FA50 uses the new Laminar oxygen system, very realistic. Slat operation is excellent, and you can override if you want to. A light fuel load and only three passengers means I am quite light, so the Falcon will move quite easily with a slight push of the throttles, the aircraft is very nice and easy to move on around on the ground. Power up and all that three engine thrust kicks in, and so you move.... engine particle effects are very good, all very hazy and thrusty. Throttles T/OFF markings are noted on the engine outputs to show where to set the throttles for the best thrust ratio and that works fine. As noted you can set all the speed Ref's (arrowed) and they are spot on, rotate v2 is around 140knts, but you feel it earlier as the nose wants to lift... .... so you have to be careful not to over rotate, then secondly keep that pitch in check as you climb out, it is not you will be fighting against the aircraft, but just don't let the pitch runway from your control... official rate of climb is 2,053 fpm, so 2000fpm is easily acceptable, but "wow can she climb". The gear retracts with a thud... and I love the way the front gear retracts forward, the animations on all gear assembles are excellent. Those central mounted speed knobs are very easy to use, but they are only for showing the speed selection only, there is no auto-thrust here, so the idea is to set your speed target and aim for it with the throttles. The FA 50 is quite nice in the air once the wings are cleaned up, but my gut says the flap extension made the aircraft pitchy, and a little bit loose on the centre, but once you get full clean control it is quite nice.... It is very, very easy to get two PFD certain selections mixed up... you can select a preset "FMS/NAV1/NAV2" from the PFD, but you may think this buttom selects the FMS, but it doesn't as it "PreSelects" not selects, so you maybe actually switching it out, when you want to switch it in, it was a mistake I didn't make on the Premier 1A, but somehow kept on doing so here? Note the fuel detail in FF (Fuel Flow), QTY (Quantity) and Fuel. You can say what you want, but the FA50 is a super nice looking aircraft in the air. Over the Alps at FL320 and you are soon at the south french coast, which the Mediterranean Sea then shows up on the radar, standard ceiling is FL490 14,936 m (49,000 ft), so you have a lot of altitude flexibility. You have the ProLine21 autopilot panel that pops-up, but I didn't really need it as the glareshield panel is quite easy to use and handy... so I never used it? Your fingers are just twitching to use that exquisite air-brake lever... go on I know you do, so a 2000fpm descent into Barcelona was an excellent excuse to twiddle with the lever, the air-brakes are tiny but effective. Approch into LEBL - Barcelona's RWY 02 is via BISBA STAR - BISB4N, but it didn't compute the route well on the FMS, so I added in a go around route that followed the STAR close enough via SLL - BISIS - TOTKI - BL620 - Approach. 6000ft was now slowly reducing to 3500ft as I turned at BISIS... ... and you have to love those splendid Falcon wing shapes against the water. You can cruise clean at 250knts, but then it is quite a fall to Slat speed of 200 knts, then again to 190knts for approach and S+20... ... Gear down, thunk, thunk and you are going for the lower landing approach speed, the marker Vrefs are there (arrowed), but you have to find your own points to avoid that steep nose down approach angle most business jets like, I found 116 knts to be ideal and flying nice and slow, but in also keeping the pitch in check.... Flaps at full 48º are slightly draggy, but you have a lot of power to play with, again you have to keep that nose in check on finals. Approach external lighting is good... central twin mounted landing lights and nose-wheel taxi. Wing (ice) lights are good as well with twin red beacons on the belly and tail, standard nav and strobe lights and the nice tail lighting (see below). Over the fence and I am again very aware of not letting that nose get too high on me, my gut says it will just sit there high in the air as the wheels touch, so my flare is very highly controlled, a bit of pitch to slow the aircraft, but not enough to lose the nosewheel... stall speed is 95knts. Nose is a touch up on contact, but it is almost a three point landing, and it feels like a very good landing inside... I'm happy with that. The single thrust-reverser is not that powerful, compared to the usual twins, but the operation is great to use (note the "Green Deployed" light) and it does slow the aircraft of which you will need 658 m / 2,159 ft roll-out. Air-brakes have to be activated manually, but certainly help in slowing down the aircraft... note that using the air-brakes on the ground activates more spoilers than the air-brake function. I will note it took me a few maybe three flights to really get the full feel of the Falcon 50, yes it is easy to use, and yes it is easy to sort for a flight, but you do need to get into a sort of flying groove with it, the first flights maybe even messy, but the more you fly the FA50 then the more confident and together you are with the aircraft. Librain water effects work here as well, they look great internally, but are a bit odd in showing through the fuselage externally... with Librain it is still a refinement process that you have to accept. But to note the wipers are small, and you get only a very small gap to find that runway in the wet and dark... that will test your skills. FA 50 wing and night lighting IS amazing... Liveries You get the usual blank white and six liveries. Three are European and three are US registered including the display aircraft N502EX. Quality of all are very good, but except for the hard coloured red and black aircraft the style is all very similar of wavy stripes Summary Nobody does these large business jets better than Carenado, the Citation S550 was a killer machine and this great Falcon 50ex is certainly on par with the earlier aircraft so it would be now hard to choose between them. The design and detailing in this aircraft is some of the best out there, it is sublime in what you get now for your money, in every area including sound it is simply outstanding. The Carenado ProLine21 is also improved and has had a few bug fixes as well, it is still not totally absolutely perfect yet, but it is now at least in the very good category, and note you can use the RealityXP GTN750 support (with 3D panel display support) in this aircraft and it is VR refined as well. Lighting is excellent inside and out. Systems including Starter Logic, Fuel System, Bleed Air System, Avionics busses, Hydraulic Logic are deep and all custom made for the aircraft, but there is a lot of auto-procedures to help with the ease of flying the machine, however it is still an aircraft to learn and fly and requires a few to many flights to really get proficient on the Falcon 50. Negatives, not many and just a very few bugs, like the tables are not animated (missed and will be fixed) , ProLine21 in areas still in development and the librain is still in need of refinement, the oddly connected cockpit and cabin lighting, and I will note the now standard Carenado menus do now feel outdated, and all circuit breakers are all hard. The review is full of words like... outstanding, excellent, exquisite and so yes this Falcon 50ex from Carenado is an amazing aircraft, and it is very well priced for all the ultra detail and systems that you get here. There is a sort of proud ownership that you get with these outstanding aircraft, you stand or sit inside there wondering how far simulation has come in the ultra detailing and sheer quality you now have available in X-Plane11, but here is a business jet to certainly savour and to enjoy in for your personal use for years to come. _______________________________ The Falcon 50EX by Carenado is now Available at the X-Plane.Org Store, and is available from Carenado directly as well: FA50 EX XPLANE 11 Priced at US$39.95 Features: High-end 4k PBR (Physically-based Rendering) graphics throughout, with ultra-realistic materials rendition (Dynamic reflections, realistic metal and dielectric materials, etc.) Fully customized in-depth annunciator logic/aural warning logic/throttle logic with functioning latches. Optimized for VR. Custom Proline21 avionics system, all featuring detachable pop-up windows Integrated FMS with detachable pop-up window (Laminar default) Custom Autopilot with detachable pop-up window Rain effect support* In-depth FMOD sound design implementation, including distance effects, realistic turbine reversal effects, etc. RealityXP GTN750 support (with 3D panel display support) Custom electrical system/Starter Logic/Fuel System/Bleed Air System/Avionics busses/Hydraulic Logic Extensive VR support Extensive HDR lighting with gimballed 3D lights and dynamically illuminated ice lights for amazing night lighting effects Includes pressurization and oxygen system End-user customizable via Manifest.json file. Goodway compatible Engine design optimized for XP11.30’s jet engine model Support for “librain” plugin (Requires separate plugin install) Librain support also includes visual ice effects on windows. Requirements X-Plane 11 Windows, Mac or Linux 4GB VRAM Minimum - 8GB VRAM+ Recommended Download Size: 580MB Current and Review Version : 1.1 (July 23rd 2019) Installation and documents: Download for the Falcon 50ex XP11 is 551 Mb and the unzipped file is deposited in the aircraft "General Aviation" X-Plane folder at 741.30 mb. Download the LIbrain rain effect plugin (add into the aircraft's plugin folder) Documentation: Huge amount of documentation, with ProLine21 introduction, Laminar FMS manual, Performance and reference tables. Carenado FA50EX Emergency Procedures.pdf Carenado FA50EX Normal Procedures.pdf Carenado FA50EX Performance Tables.pdf Carenado FA50EX References.pdf Carenado FA50EX Version History.rtf Carenado Proline 21_FA_50.pdf Carenado Recommended Joystick Settings XP11.pdf Carenado RTU Manual.pdf Credits.pdf Recommended settings XP11.pdf X-Plane FMS Manual.pdf Carenado Copyright.pdf ______________________________________________________________________ Aircraft Review by Stephen Dutton 26th July 2019 Copyright©2019 : X-Plane Reviews (Disclaimer. All images and text in this preview are the work and property of X-PlaneReviews, no sharing or copy of the content is allowed without consent from the author as per copyright conditions) Review System Specifications: Computer System: Windows - Intel Core i7 6700K CPU 4.00GHz / 64bit - 16 Gb single 1067 Mhz DDR4 2133 - ASUS GeForce GTX 1080 8Gb - Samsung Evo 512gb SSD Software: - Windows 10 - X-Plane 11.31 (v11.30 is required for this aircraft) Addons: Saitek x56 Rhino Pro system Joystick and Throttle : Sound - Bose Soundlink Mini Plugins: Environment Engine by xEnviro v1.11 US$69.90 : WorldTraffic 3.0 Plugin - US$29.95 : LIbrain rain effects - Free Scenery or Aircraft - LSZH - Airport Zürich v2 by Aerosoft (X-Plane.OrgStore) US$27.99 - LEBL - Barcelona Airport XP11 by JustSim (X-Plane.OrgStore) US$21.00
-
News! - More Images : Fokker 50 by Carenado Ohhhh, it is starting to get now very exciting now as Carenado has put out more images on Carenado's facebook page of their forthcoming Fokker 50 to X-Plane11, and the aircraft is now labeled as "COMING VERY SOON!!" aggghh I can't wait... The original set of released images are also shown below... Still feature details have yet been released, but the FSX/P3D version does have Flight1 GTN 750* integration so I would expect that, price on the FSX/P3D version is US$44.95 and that feels about right for X-Plane. The F50 was the refinement of and the successor to the highly successful Fokker F27 Friendship and 213 aircraft were manufactured between 1985 and 1997.... the aircraft is still in service with a few airlines around the world, and also soon in X-Plane11. Images are courtesy of Carenado Announcement via Carenado's Facebook page ________________________________________ News by Stephen Dutto 19th August 2019 Copyright©2019: X-Plane Reviews
-
News! - Released! : Dassault Falcon 50 EX by Carenado Another Biz-Jet, and this one is from Carenado and it is the Dassault Falcon 50. The FA50 could be categorised in with the Carenado Citation S550, in the the same Biz-Jet context, but the Citation was a seriously nice aircraft, so the FA50 will have to be really, really good to match it. The FA50 also comes with the same Collins ProLine 21 avionics system that was previewed here in the 390 Premier 1A XP11 Review Extensive Feature list Includes: High-end 4k PBR (Physically-based Rendering) graphics throughout, with ultra-realistic materials rendition (Dynamic reflections, realistic metal and dielectric materials, etc.) Fully customized in-depth annunciator logic/aural warning logic/throttle logic with functioning latches. Optimized for VR. Custom Proline21 avionics system, all featuring detachable pop-up windows Integrated FMS with detachable pop-up window (Laminar default) Custom Autopilot with detachable pop-up window Rain effect support* In-depth FMOD sound design implementation, including distance effects, realistic turbine reversal effects, etc. RealityXP GTN750 support (with 3D panel display support) Custom electrical system/Starter Logic/Fuel System/Bleed Air System/Avionics busses/Hydraulic Logic Extensive VR support Extensive HDR lighting with gimballed 3D lights and dynamically illuminated ice lights for amazing night lighting effects Includes pressurization and oxygen system End-user customizable via Manifest.json file. Goodway compatible Engine design optimized for XP11.30’s jet engine model Support for “librain” plugin (Requires separate plugin install) Librain support also includes visual ice effects on windows. Included in the package 6 HD liveries. 1 HD Blank livery FA50 Emergency Procedures PDF FA50 Normal Procedures PDF FA50 Performance Tables PDF FA50 Reference PDF RTU Manual PDF Carenado Proline 21 Manual PDF X-Plane FMS PDF Recommended Settings XP11 PDF Recommended System Requirements Windows XP – Vista – 7 -10 or MAC OS 10.10 (or higher) or Linux X-Plane 11 CPU: Intel Core i5 6600K at 3.5 ghz or faster. Memory: 16-24 GB RAM or more. Video Card: a DirectX 12-capable video card from NVIDIA, AMD or Intel with at least 4 GB VRAM (GeForce GTX 1070 or better or similar from AMD) 1.0GB available hard disk space ________________________________________ Priced at US$39.95 the Falcon 50 is now available from Carenado Now Available here from Carenado Images and details are courtesy of Carenado ________________________________________ News by Stephen Dutton 12th July 2019 Copyright©2019: X-Plane Reviews
-
Aircraft Review : 390 Premier 1A XP11 by Carenado 2019 is turning out to be the year of Regional aircraft and Business Jets. Both categories have languished in X-Plane for years, but as the General Aviation category is now becoming a heavily crowded market place then these more marketable aircraft are now coming on stream, and X-Plane users are lapping them up in their thousands. And why shouldn't you in this extremely high quality and but short range designs era, as these aircraft are fulfilling in a major set of class holes in your simulator flying experience. Carenado have also been at the forefront of these releases, and now bungling them out on even now a monthly basis. The earliest E50P Phenom 100 HD was to me slightly flawed, but the Cessna Citation ll S550 was sensational in every department. In regional aircraft then the astounding Saab 340 XP11 is still up to this point of the year the aircraft of 2019. The announcement and successful anniversary release for the FSX/P3D users of the ATR42 also shows no bounds in regionals and hopefully it will be fast tracked to the X-Plane platform. So here comes another if slightly smaller private jet in the Beechcraft 390 Premier 1A. If it looks like a modern day Hawker then your eyes are not deceiving you as the aircraft was a Beechcraft/Hawker design and the updated second generation the aircraft was actually called the Hawker 200, but with the Beechcraft/Hawker bankruptcy the production of their business jets ceased in 2013. Review note: Since starting the review Carenado have updated the Premier 1A to v1.1, those notes are included here, but I have left the original notes intact to see the changes. 390 Premier 1A XP11 First impressions are of another excellent design and high quality machine from Careando... are you even now becoming a bit accustomed or even expect this sort of level of standard of quality... for the money yes, but never take the high level we know and accept for granted in that we should all admire of how good we all have it with simulation design now at these ultra levels. The Premier's design is quite basic or very clean sheet, so details are minute here but are still extremely well done. I always look not for the obvious because that is.. well obvious, as most releases in this category are expected to come up to that detailing standard, in say fittings, modeling, aircraft construction elements and so on... What you are looking for are the skilled elements, like here with the well conceived lovely concave shapes around the twin Williams FJ44-2A Turbofans... ... it is an area easily missed, but it gives the aircraft a perfect realism look from certain angles. The wings chord profile is X-15 razor thin and again really hard to model for realism, but again they are really well done here and it all comes with those lovely chrome leading edges. Landing gear is simplistic in assembly, but again it would have been easy just to have done a strut and a few pipes to cover the detail, but again there is a lot of depth to the modelling when you dig down close to the high detailing... .... you have to love the attached cover plate on the front gear strut... simplicity in itself. All gear movements and animations are the usual first rate. Carenado glass work is always sublime and so it is here, perfect fit and all the great reflections are the norm. Note the realistic inner glareshield. Side windows are perfection as are the pods for the Williams turbofans, again to note how hard it is to get that shape realistically correct and the excellent chrome inlet cowling... masterpiece. T-Tail design and detail is perfect with nice trim tab detail and all the correct tiny aerodynamic air flow surfaces. Again note the lower shaping to the wing root around (and part of) the entrance door, lovely. Menus While still external of the aircraft we will look at the menus... There are the usual Carenado three tabs in the left side down corner. The three tabs are noted as: A ) is for the lovely authentic Collins Proline21 pop-up Autopilot panel, that is is quite screen filling large but can thankfully be moved and scaled to a smaller size. C ) Is the standard Carenado ten preselected Views, Field of View and Volume panel. And O ) is the Options panel. Options include Window and Instrument reflections. The static elements provided here are still very basic with only two cones, wheel chocks and flag/pitot covers and some nice "Premier 1A" engine inlet covers, but you can only have all or nothing. The highly realistic pilot and co-pilot (and new) animated pilots in flight uniforms do disappear when you activate the static elements. Other menu items include opening twin nose and left rear baggage door and left side main entrance door... there is also a nice well detailed "HOBART" GPU (Ground Power Unit). The livery Selector is now on the options panel than from usually the Carenado tab. An unusual option here is the "false" window. This will put a fake fourth window on the cabin, it does look good, but obviously fake. Internal Cabin The drop down built in stairs are beautiful... perfection. Once inside the cabin all you can say is "oooooh", and "ahhhh nice!" It feels all very good in here. Expensive leather and wood fittings abound, this is a rich persons world... or someone with the aims to pay for it all. Seating is a set of wide club four seats and another single row set behind... .... but it is an extremely tight fit knees wise if you don't get the club premier seats, and you don't have a window close either... ... the clubbies have animated fold out tables as well on both sides. Nice detail is the reflective (mirror) panels that look extremely realistic... Click on the doors to open the animated four section moveable panels, behind is a large hand luggage holding area, a bit of a wasted space with the larger external baggage area. forward right is a very small galley area for storing odd bits, but the cabinet is not really usable for meals in flight except for snacks and a few bottles of wine, there is no toilet on board, so you need go anyway very easy on the wine! All window blinds are animated, either by moving them directly, or by the catch on the lower window frame... .... cockpit separation doors are noted to be open on takeoff and landings, the doors all have a very nice veneer wood finish. Cabin lighting is very nice, but confusing? There is excellent ceiling lighting that is noted as "Aisle", but the switchable "Cabin OVHD" lights don't do anything? it should be the other way around, as for the aisle lighting it should be on the floor or lower areas for the emergency exit? "Galley" light doesn't do anything either, mostly this light is used to illuminate the entrance? The rear baggage area is dark as well and for the update v1.1, nothing has changed here? There are however eight lovely separately switchable and animated spot lights over each seat, and the no smoking and seatbelt signs also work. Cockpit You click on the separation doors to open them (right side panel).... On first viewing the cockpit feels tight, smallish. It is first worth looking at those separator doors, they are four separate panels that move on tracks and glide inside each other, the animated detail is well done here. This instrument panel comes with the Collins ProLine21 avionics system, and a first here in this avionics system for X-Plane. The ProLine 21 layout here is a three screen display with one PFD (Primary Flight Display) for each pilot and an offset centre single MFD (Multi-Functional Display). The panel layout is quite simple... each far right and left are the radio panels with the ProLine control panel between the left PFD and the MFD and another more right for the Co-Pilot PFD. Centre right are three backup instruments that cover: Airspeed, Artificial Horizon and Altitude, below is a large panel of annunciator lights, then a CTL22 serial tune control unit (COM1) and an altitude pressurization control panel. Marked lower panels cover (left to right) Oxygen (Pressure/dial), Hydraulic (Pressure/dial), Static Source, Air, Ice Protection, Landing Gear, Electrical, Fuel and Environmental. OVHD (OverHead) Panel is all the lighting switchgear for: Instruments top, test (very good), internal lighting and lower row external lighting. Centre console is again quite simplistic in it's layout.... Top are two default Laminar FMS's but have been modified (okay squished to fit) the console. Then are the twin engine ignition and start buttons, Double Throttles, Flap lever UP - 10º - 20º - DN (30º) and handbrake. Rear are electric Pitch (left), Roll and Rudder Trim (right), and then a manual (working) gear release... The Throttle levers have very nicely done metal levers to allow the engine (fuel) cutoff position. Turn on the power (battery/GPU) and things look very nice. The ProLine monitors might need brightening up to see them via the tiny rocker switches. Panel lighting is gorgeous with the drop down lighting... Yokes can be as usual hidden, but the trim switches don't seem to work, with the complex switchgear set out behind on the panel. Both the ProLine PFD and MFD pop-out for use and are highly usable for custom cockpit fit-outs. The Collins ProLine 21 is from the FSX/P3D version in a new Carenado plugin unit architecture (called pre-fabricated unit) that should make a plug in and use situation into inserting into the different complex simulator systems. This would save huge amounts of time in transferring components from not only from different simulators but also into different aircraft. The PFD has the standard glass cockpit layout of Speed and Altitude strips, Artificial Horizon, Vertical Speed and Rate of Turn built into the upper section, lower section has a built in Navigation and Map and COM1/ATC/UTC/TAT/COM2 strip at the bottom. MFD has Engine readouts top, route information lower and the same Navigation and Map layout lower with a GS/TAS/SAT/ISA strip at the bottom. The ProLine selection panel will pop-out for use.... the default screen shows: FORMAT (ROSE/ARC/MAP), TERR/RDR, TFC and a PRESET (quick switch) setting on the left, you select the item by the button besides the menu and then adjust on the panel via the "MENU" knob (BARO adjustment is the the top knob and RANGE is the lower knob). Here I have switched from "ARC" to "ROSE" (lower right). Pressing the "REFS" button will bring up the speed references... You can adjust any speed reference via selecting the button and again adjusting via the menu knob. There are altogether three (pages) settings of References that can be accessed by repeatably pushing the Menu REFS knob. Selecting the "NAV/BRG" button will bring up the NAV SOURCE (FMS1/VOR1/VOR2) and Background (BGD) pointers for FMS/VOR1/ADF1 top and FMS1/VOR2 lower, again just select the required selection button and the select blue box band.... adjustment is again via the Menu knob Pressing the RADAR button will bring up the TERR/RDR setting the same as in the menu option. Engine MFD readouts cover: N1 - ITT (Interstage Turbine Temperature) per engine and fuel temp, N2, FF (Fuel Flow), (Fuel) Pressure, Oil (Pressure) and Engine Temp cº. The ProLine 21 is part of the Autopilot system and the panel is the standard layout for autopilot glareshield panels, notable is the Vertical Speed adjuster is on the handy left and not the usual "just out of reach" far right position. Pop-out panel is huge. The ProLIne21 is very good, but there is still a few quirks in there, press the selection REFS and NAV/BGD buttons together and they used to overlap badly but now fixed in v1.1, however change one display and they all change together if you press the REFS button of which is not required on the MFD, so all displays are currently sorta locked together (You can however have the ROSE mode on the PFD and the MAP mode on the MFD), Press the NAV/BGD - RADAR buttons on the Co-Pilot's selection panel and it pop-up's the 2d selection panel (oops!), the PLAN mode on the MFD does not work? (No STEPS on the FMS) and neither does the PPOS and the FMS/ADF/VOR pointers all look a bit basic than professional and certainly with the duel VOR2 pointer. So it all feels a little under developed at this point in time, but the basics do work. Cockpit lighting Like in the cabin the switching of the cockpit lighting is all a bit weird? Switch on the main MASTER switch and you get a left OVHD spotlight? if you use the adjuster it will dim the spot, but also kill everything else on the master switch? Switch on the DIM/BRT and volla! the right hand spot comes on? Press the CKPT (Cockpit) FLOOD and... nothing? confused?, well shouldn't the main cockpit flood light the cockpit and the DIM/BRT adjust that?, and why not leave the spots just on the adjuster knobs? One more for fun!... press the CABIN OVHD and the lower panel dial lights go out? There is a knob on the top of the yokes, so do they light up Saab 340 style... well nope, a missed detail but now fixed in v1.1 (below) hurrah! red lighting is nice too. For the update v1.1, the updated cockpit lighting is still all quite confusing? turn on the master switch and you still get the two spot lights, but the DIM and BRIGHT now works (below right)... hint it is still the CKPT FLOOD that should control these spots and not the master! However the adjustment knobs do now turn down the spots without turning off the MASTER switch (above left), so there is an improvement there, the lower sub panel dials now stay on all the time? again hint... it is the SUBPNL & PED adjustment knob to do that job? and turning the knobs should not at any time switch off the rocker switches? Everything overall is here to work fine, but not in the way you operate the different lighting functions. Lighting testing (above right) is excellent including the full set annunciator lights. Overall you can make the lighting work to your taste, but it could be better (and certainly easier) to use. New Command interaction As X-Plane moves beyond the earlier basic interaction with knobs, wheels and levers with VR (Virtual Reality) and homebased cockpits, then the actual interaction with these manipulators and buttons are changing as well. The Premier 1A is also introducing a new background system that moves these interaction qualities forward in creating a standard layer between the action (push or turn the knob/button) and the X-Plane command of that action. In other words the action is now Command based and not Manipulator based, and this new layer of interaction can be used and accessed by home cockpit builders, SmartCoPilot or any 3rd party software. It also creates a Generic set of Commands that can be easily switched from aircraft to aircraft (do you see a common theme here... drop in components and in being highly swappable between a large variety of of aircraft). The Commands besides doing the actual operation can also be synced with different sounds and actions and making them more highly realistic. The Commands will also be available on systems, so a push of a button on a electrical bus will show the correct load on that bus. This Premier 1A doesn't yet use the full range Commands that will be available in the future, but currently 80% of the click spots can be viewed and their preferences can be changed by looking them up in the Manifest.json file. This also then allows them (SimPit, 3rd Party) to customize and re-program the cockpit's main interactions as they see fit. This is future tech and will be a boon for simpit designers and of course VR, and for more realism in the cockpit, currently on the Premier it is still very much in their early phases of development, as VR especially is still very quirky, but the new tech is now built in there. Librain water effects The aircraft has the Librain water effect feature, it is now far more better intergrated with no floating water, and well fitted into the glass areas. ________________________________ Flying the Premier 1A Once the passengers and their luggage are aboard and both the baggage and main door are closed... time to start the Williams turbofans. Flip up the engine ignition switch and just hit the start button, the engine autostart will do the rest. You still need the power cart (GPU) connected while you start one engine, but once you have engine generator power you can activate it and disconnect the external cart, the second turbofan can be started from the power drawn from the running engine. The start up is excellent in sequence, but sound wise it is just a "humm" in the cockpit, externally the sequence start is very good... This is a simple aircraft to set up and fly, just release the brake and give the throttles a small movement and your moving... ... speed references are easy to select, there are also noted on the actual speed strip but it is a good idea to still familiarise yourself or if required to adjust them before takeoff. Push up the throttles and you finally hear the power and noise of those twin Williams FJ44-2A Turbofans that produce 2,300 lbf (10.23 kN) thrust each, and yes you will get that push in your back. Most times you want to push the throttles to the wall, but that is not required here, although you do seriously feel the heavy fuel load in weight which here is set at 3,268 lbs. It will make the aircraft a big sluggish in wanting to clear the runway. v1 is 115 knts, and v2 135 knts I always add +10 so 145 knts and you rotate... VFTO is noted at 140, but 145 knts is fine. niiicce.... and you climb out nicely. I'm following SID EXMOR 1Z to clear Bristol (EGGD) that will take me north, then east before the long route south to Nice (LFMN). You are not working overtime to cover the flying as the Premier is quite a simple aircraft to fly, all you have to do is focus on the heading and watch the climb-out, the aircraft pretty well does the rest. Now on the flightplan when I need to turn sharp north at EXMOR the Premier banks like a fighter jet... note the nice route turn (curve) on the MFD MAP display. North of Bristol I head up the River Seven, then head south to ODH (ODIHAM VOR), I selected the 1/2 bank in so not to scare the passengers a second time in the tight turn, and it works but the "1/2 bank" selection does not show on the PFD? neither did the pointer data for VOR 2, the pointer moved in the lower NAV screen, but the details in of which VOR is selected and distance is not displayed? Turn south done it was time to climb to FL340 cruise altitude from the 8000ft departure altitude... You can set the flight level altitude and it when attained the ProLine will hold that selected altitude, but you have to do the throttle work yourself, in choosing the correct climb power and then as you reduce the vertical speed the correct .M (Mach) speed to not overspeed the aircraft, small adjustments are required enroute as the fuel burns off is also required. There is a marker you can set as a speed reference (arrowed) and it works fine, the Premier doesn't hunt around the speed, so it is easy to keep the speed within the marked limits. Like the non-selectable PLAN the PPOS (Present Position) on the MAP doesn't work either on the MFD (arrowed above right), and you really needed that one. There was issues with the Transponder setting ATC Ident button not working, this has been fixed in v1.1 Once at altitude you settle in for the ride, the Premier more "humms" along more than powers, but it is a very nice place to be... speed is set around M.76, the Premier has a top speed of 523 mph; 454 kn (841 km/h) max cruise or M.80 and a range of 951 mi; 826 nmi (1,530 km) Max Payload or 1,709 mi; 1,485 nmi (2,750 km) in a ferry range, Ceiling is 41,000 ft (12,500 m) and you should burn around 1.67 lb/mi (0.47 kg/km). In the rear you can join in with that glorifed air of the rich, the well very rich, celebrities (the real ones not the cheap influencers)... or my choice "Rock Stars"! As I pass the Eiger (hint) it is time to go down, throttles back and a descent down towards MUS (Nice Cote D Azur NDB) and the NISAR 6R STAR arrival. As the jet hits the cooler off the sea air the particle effects look amazing... .... wing speed brakes are a flip switch on the console, there tiny as well, but do a nice job... I didn't require them here as I could contain the speed easily. At MUS (NDB) I selected the APP button... to line up LFMN 04R ILS (109.95 MHz) But there is no "APP" sign in the ProLine header strip? it does show the Approach ILS details on the lower selected NAV1, but the selector hides a lot of the info, so you need to go to the default screen to see the data... Adjusting the final approach speed to the flap selection is a bit of an art form, the line on the speed tape will show you where your flap speed is and the VAPF (extended/maximum speed for flaps) marker, they are good references, however the Premier is a little tricky in balancing the speed to flap position, I personally handing these low speeds fine but had to work at it, but it might be a bit tricky if you don't know or feel the speeds well... full flap 136 knts is a nice approach speed, dialing down to 120 knts VAPF on the GS.... 92 Knts is stall. ... familiarality will certainly really help here. When you collect the ILS, the GS (GlideSlope) marker does at least illuminate (arrowed below left). I wasn't very impressed with the landing lights? It was pitch black until you were over the runway. The landing lights are positioned tight together under the fuselage and maybe it is hard to get the beam spread right, the external wingtip lighting is only "Recog" or recognisable lights, that could be used as taxi lighting as well... any thing helps here. Even though your landing speed is quite low, you don't have any helpers in rubbing off the speed except the ground friction, no thrust reverse or speed brakes activate (you could click the speedbrake switch manually) so your only choice is to run off the speed by using a long runway before finally touching the brakes, any braking before or under 40 knts is not recommended unless you want to leave the runway too early and at the wrong angle. Make sure you attach the ground power before shutting down the Williams turbofans, as even at this parking slow taxi pace they sound amazing. Job done and rich listers are ready for a few days on the French Riveria, in the cabin it is very comfortable and warm.... I know where I would rather be. I explored the external lighting back at Bristol... The odd fade of external lighting on rotation around the aircraft has been fixed in v1.1 (shown below). The central landing lights though still peak weirdly through the aircraft's nose... (Ice) wing lights are excellent as is the lower fuselage beacon and the set navigation lights. Liveries The Carenado quality Hi-Def livieries make up the visual show of the ultra detail 4K and all are extremely good, with PBR burnt in effects as well with Dynamic reflections, realistic metal and dielectric materials There is one blank (White) and only five designs (if quite all the same in detailed whirly, liney striping), they are all however very good. __________________________________ Summary Currently Carenado in brand new (not updated re XP11 releases) designs have recently focused totally on Regional aircraft and Business Jets, with the Saab 340 for the former and the Citation ll for the latter, and both were outstanding. The Premier 1A is a small business jet from Beechcraft/Hawker and was built between 2001 and 2012, with 292 examples coming off the production line. So the Premier is a very modern and slick little aircraft. It looks brilliant with excellent modelling and has the extreme detailing that we would note now as "Ultra" detail... detail externally and internally is faultless, it is certainly a lovely little machine. Sounds are excellent with realistic FMOD high quality doppler 360º sounds, oh yes and they do all round sound very good. There are also custom electrical system/Starter Logic/Fuel System/Bleed Air System/Avionics busses/Hydraulic Logic systems with the current XP11.30 pressurization and oxygen systems. Two new innovations are also intergrated on this aircraft... the new (for X-Plane) Carenado ProLine 21 three display avionics suite and the new Command interaction for more custom commands for home cockpit builders, SmartCoPilot or any 3rd party software applications. But those two new intergrations are also the main contrary points in the aircraft. Both are very early in their development and in areas it shows. Lighting in switchgear and application internally and externally is a mess, you can sort of work around them because the lighting still looks good, but in reality they should have been far better in their intergration. The ProLine 21 is also very good, but there are a lot of areas still in need of development and a lot of the visual commands (VOR2, APP and 1/2 Bank) that are still missing, some needed commands don't work either, and the screens are still not yet totally independent of each other. Again like the rest the ProLine21 works and works fine, but you miss the detail and tools to fly the aircraft in an expert manner, this also v1.0 and the early review copy... a few areas were fine tuned and sorted in the v1.1 update, but the ProLine21's deeper detail will however only come more in time... in other words "it is early days". Overall for a private jet the Premier 1A is from a pilot's view quite a simple aircraft, that is not to say there is not a depth of simulation here, but in the way modern aircraft are a very much a computerised and refined way of flying aircraft. In flying the Premier is a very nice aircraft and in areas needs skill, but overall you can very nicely wizz around the planet and be a Global Superstar at the same time... once the early quirks are tuned out of the Premier as a simulation and then as an aircraft it will be completely excellent. _______________________________ The 390 Premier A1 XP11 by Carenado is coming soon to the X-Plane.Org Store, and is currently only available from Carenado directly: Premier A1 XP11 Priced at US$39.95 Features : High-end 4k PBR (Physically-based Rendering) graphics throughout, with ultra-realistic materials rendition (Dynamic reflections, realistic metal and dielectric materials, etc.) Fully customized in-depth annunciator logic/aural warning logic/throttle logic with functioning latches, optimized for VR. Custom Proline21 avionics system, all featuring detachable pop-up windows Integrated FMS with detachable pop-up window (Laminar default) Custom Autopilot with detachable pop-up window Rain effect support* In-depth FMOD sound design implementation, including distance effects, realistic prop reversal effects, etc. Custom electrical system/Starter Logic/Fuel System/Bleed Air System/Avionics busses/Hydraulic Logic Extensive VR support Extensive HDR lighting with gimballed 3D lights and dynamically illuminated ice lights for amazing night lighting effects Includes pressurization and oxygen system End-user customizable via Manifest.json file. Goodway compatible Engine design optimized for XP11.30’s jet engine model Support for “librain” plugin (Requires separate plugin install) Librain support also includes visual ice effects on windows. Requirements Windows XP – Vista – 7 -10 or MAC OS 10.10 (or higher) or Linux X-Plane 11 CPU: Intel Core i5 6600K at 3.5 ghz or faster. Memory: 16-24 GB RAM or more. Video Card: a DirectX 12-capable video card from NVIDIA, AMD or Intel with at least 4 GB VRAM (GeForce GTX 1070 or better or similar from AMD) 570MB available hard disk space INTERNET CONNECTION is required for installing this product. Current version and Review Version 1.0 (April 30th 2019), updated version v1.1 tested Installation and documents: Download for the Premier 1A XP11 is 473.60 Mb and the unzipped file is deposited in the aircraft "Regional Aircraft" X-Plane folder at 656.40 mb. Download the LIbrain rain effect plugin (add into the aircraft's plugin folder) Documentation: Huge amount of documentation, with ProLine21 introduction, Laminar FMS manual, Performance and reference tables. Carenado Proline 21.pdf Flight Guidance System.pdf Carenado 390 Premier 1A Emergency Procedures.pdf Carenado 390 Premier 1A Normal Procedures.pdf Carenado 390 Premier 1A Performance tables.pdf Carenado Copyright.pdf Credits.pdf General Information.pdf Recommended settings XP11.pdf X-Plane FMS Manual.pdf is required to use the new feature. ______________________________________________________________________ Aircraft Review by Stephen Dutton 3rd May 2019 Copyright©2019 : X-Plane Reviews (Disclaimer. All images and text in this preview are the work and property of X-PlaneReviews, no sharing or copy of the content is allowed without consent from the author as per copyright conditions) Review System Specifications: Computer System: Windows - Intel Core i7 6700K CPU 4.00GHz / 64bit - 16 Gb single 1067 Mhz DDR4 2133 - ASUS GeForce GTX 1080 8Gb - Samsung Evo 512gb SSD Software: - Windows 10 - X-Plane 11.31 (v11.30 is required for this aircraft) Addons: Saitek x56 Rhino Pro system Joystick and Throttle : Sound - Bose Soundlink Mini Plugins: Environment Engine by xEnviro US$69.90 : WorldTraffic 3.0 Plugin - US$29.95 : LIbrain rain effects - Free Scenery or Aircraft - EGGD - Bristol International Airport by Pilot-Plus + (X-Plane.OrgStore) US$22.95 - LFMN - Nice Cote d'Azur Airport (X-Plane.OrgStore) US$18.50
-
News! - Announcement : 390 Premier 1A by Carenado Carenado have announced their third private jet for X-Plane in the 390 Premier 1A. This is after the Phenom 100 and the S550 Citation ll. Personally I wasn't very partial to the Phenom 100 as it had a few idiosyncrasies that I really didn't like and one annoying feature on shutdown that was never fixed, and for a private jet it was very even extremely slow. The Citation ll though was a masterpiece, their best at the time (only the Saab 340 is better) but not only wonderful to be in, but fly... so here is the new Hawker... opps! Premier. It is no suggestion the Beechcraft 390 Premier looks like the Hawker line of private jets, because in reality it was a Beechcraft/Hawker design, and created to compete with that same Cessna Citation. So some pretty images... The biggest speculation is if the Premier 1A will have the custom Original ProLine 21 System that has had ears burning, I will stick my neck out and say yes, and it will be the first custom ProLine 21 for X-Plane (The system is also noted for other already released aircraft). It was noted that Carenado have been working on this custom ProLine 21 for a fair while, and yes the FSX/P3D version does have the system. The FSX/P3D is priced at US$39.95, so expect that same price point and all the relative features. Carenado also did a big ho-ha on their 20 years anniversary, but it was only FSX/P3D that got any champagne and bubbles. The announcement was for the ATR 42-500 and boy what a nice aircraft this is... I thought for once a duel anniversary release in X-Plane11 would have been a nice statement of the ATR42-500, but alas no, we still will have to wait (years) before we get the chance to savour the aircraft, that point was made even more callous in the fact of how good the Saab 340 is.... here is the pain! X-Plane is also still waiting for the Fokker F50... oh well. Images are courtesy of Carenado ________________________________________ News by Stephen Dutton 23rd April 2019 Copyright©2019: X-Plane Reviews
-
Carenado has released another big twin engined aircraft for X-Plane in the form of the Cessna C340 II HD Series. It is a size larger than the other twins from Carenado in the form of the B58 Baron and the PA 34 Seneca II and at a distance or a glance could be easily mistaken for the X-Plane default GA Beechcraft King Air C90B (The same livery does not help in the confusion) - Come in closer and it is in no doubt a Cessna. Carenado has the special ability to somehow make every one of their releases unique, every aircraft has a slightly different feel and layout that signifies the real aircraft, That is the aim of simulation of course, but how hard is that to reproduce on a computer screen, It is with only skill and the pure detail that Carenado can produce such reproductions that are almost micro versions of the real aircraft. History The C340 II is a larger-class size of the Cessna 310, seating is revised from 4 seats to 6 seats, and the wings were adapted from the C414, the aircraft was pressurized (The unpressureized version is the C335) and it was powered by two Continental TSIO-520-NB engines of 310hp (233 kW) each. Production on the 340 began in 1969 and the first aircraft was delivered in 1971, a crash during flight testing was a small setback to the program. Production was from 1971 to 1984 with 1351 deliveries. The original version was the C340A, The C340 II and the C340 III are only different in the types of avionics suites fitted in each aircraft. Carenado C340 II HD Series (Download and Installation) Download 260mb Installed 315mb Installation is very simple in that you download and unzip the file and then deposit the file in your General Aviation folder. There are two platform versions included for both X-Plane10 (With HDR lighting) and X-Plane9. The C340 is part of the HD Series that has the higher resolution textures (2048 x 2048), but are also refined to give the best performance even on lower performance computers, thoughout the textures are extremely clear and of very high quality. First Impressions and Outside Details The C340 is a very clean skin design, mainly because there is only one door on the left rear, the aircraft is dominated by those large wingtip fuel tanks, they are not just extra supplementary tanks but the main fuel tanks for the aircraft. Detailing is extraordinary good, all the landing gear (NLG) and (MLG) is perfectly realized, with a shin guard on the nose-wheel. Wear and tear is minimal but with weathering is so good it is hard to fault. The airframe is has all the required various vents, fins, pitot-tubes and aerials all over the aircraft, the aerials are rubbery excellent and move with any wind force. The De-Icing tubes are also well noticeable in the front of the main cockpit windows. Glass is well represented, you can in the options select if you want the reflective (dark green) or the clear clean window view, the winglighting (Nav, Strobe) is in-cased in a glass shell that shows the care and detail that goes into these aircraft. Carenado provides three types of popout Menus, that are located on the lower left of the screen. C - Camera: Is the standard set of Carenado views including a point of view slider. O - Options: which includes, Window reflections, Static Elements, Passenger Door (open and close), Left and Right Wing Baggage lockers (Storage), Left and Right Nose Baggage lockers (Storage). A - Autopilot: The Autopilot controls popout for ease of use, useable inside the cabin and external. All the Options are highly usable, and quite clever in detail, however I don’t know if I would want my Gucci Suitcases so close to those hot engines? Interior and Instrument panels The interior is first class and the aircraft has had the all leather interior option selected. There is a crafted wood pull-out animated table on the right side of the cabin, that compliments the four rear club seating arrangement, there are two packages sighted behind the rear seats as well. Every item is weathered and worn, the front seats need a really good clean, and are showing their age, the carpet is simply beautifully filthy and dirty ( I mean in real life would you buy an aircraft this dirty?) But for simulation it is simply the best of the best in detail The main panel is the best workplace available and fully functional in detail. Power off you can see the layout. Power on and dials and screens show depth and their 3d design, the weather map has a rainbow function to to note the instrument is on. Left and right flying controls and instrumentation. All standard six instruments are as detailed as the original items, and a warning and item activation panel is noteworthy on the lower left. Twin engine starter buttons and fuel primer is excellent (no fuel prime then no start!), but I couldn’t find the aircraft key? There is a radar height dial and a twin engine digital readout that is very accurate. There is a ELT (Distress radio beacon) that is very nice to turn on but does not really do anything but flash a red light (the same beacon is the one that recently went on fire in the Ethiopian Dreamliner at Heathrow?). You have a fully set of engine dials; Manifold, RPM, Fuel Flow that are duel engine instruments, if the needles are together then the engines are synced with each other (you can sync the propellers as well) Oil PSI is noted with each engine. The Equipment stack is quite average, with a Bendix KMA 24 radio, two x Garmin GNS430’s (Comm1,Nav1) - (Comm2, Nav2), King KR 87 ADF and Garmin GTX320 transponder. With no doors to open the side panels are very functional, on the pilots side there is a full set of two rows of switches, one (lower set of six switches) for De-Icing, Pitot heating, Stall & Vent Heat, and two main power (red covered) swiches. The upper set (seven switches) are lighting for external Strobe, Anti-Coll, Nav, Landing, Taxi and the main Avionics master switch, a single courtesy light switch is on there as well. Above is a full set of light dimming and adjustment sliders, no fudging under the panel here to set up the perfect lighting, these controls are excellent for day and night adjustments. Bose audio headset panels on each side is also great detail, and so is the working Ammeter voltage selector. On the right panel is the Air-conditioner adjustment, Oxygen supply and hour meter. The central throttle pedestal is like it was removed from a real aircraft and bolted straight in here, there three sets of duel levers for each engine. Each lever can be individually controlled or you can use the pairs in tandem. Left set is for duel throttles, center set is for engine RPM, and the right set are for mixture. Set down low is the autopilot controls that are thankfully on the popup menu. Fuel tank switches and guages are sited between the front seats... Nightlight Night lighting on the panel (with such large adjustments available) are excellent, the dials glow perfectly and have simply amazing depth of detail, unusually you don’t need the lighting on in the daytime in the C340 of which I usually do have in other Carenado aircraft, mostly this is to take away the flatness and give the panels more colour and depth. But at night in the cabin the quality is just so well realised. Above you is a blue night light and the rear cabin has (switchable) spotlights over each of the club seats, Using the X-Plane10 version you will need the HDR on to get this affect. Night or day because of the small sized sidewindows and only one door. It feels cozy in the pilots seat, tight or even cramped would be another point of reference for an aircraft of this size. Taxi, Takeoff and Cruise Prime the pumps and flick start the engines, the sounds are 3D and have been recorded from a real A340. move your position around the aircraft and they will tune to the angle, inside the aircraft the volume feels about right and realistic. Taxiing is tricky, because you have so much power, you give the aircraft a little throttle to get it moving and then pull the thottle back to zero and you are still powering along, braking is constant to keep the speed down and adjusting the mixure or RPM levers doesn’t seem to stop the speed either, pull the levers too far back and both engines will crank to a stop... Usually I can find a sweet spot, and it maybe it is there with a little tuning. I always like to get a good taxi speed, it is for me a big part of the overall experience, and I have been known to trundle for 30min or so to get to the right runway or gate, The Caravan 208B is like this as well but I found that sweet spot to stop that constant escalating runaway speed. The flap arrangement is very different here, the flaps are a duel purpose arrangement in that they do the both jobs of of being both flaps and air(speed)brakes of the same setting. All GA aircraft use flaps in this context to a point, but here it is well integrated into the wing. There are only three settings, Up, Flap 1 and Flap 2, but they are highly effective, once clear of the runway in Flap 1 setting and you will need to retract it and clean the aircraft up before it turns into an effective airbrake. Power up and the C340 will track cleanly down the centre of the runway, there is no fighting the rudder to keep it aligned with almost no asymmetrical thurst that you get from a powerful single engined machine. At rotation of 115 kts the aircraft is extremely stable and light in your hands and has plenty of power to climb easily. The feature of the Autopilot (A/P) settings as a popup is brillant in various ways, If you have flown the default Kingair C90B, you will find the A/P panel buried in the same place as the C340, many a time with scrolling around to set the A/P do you find yourself at a 30º degree angle on the artificial horizon, In a real aircraft it my be an easy hand down to the right and flick a switch, but in computer flying it means scrolling around to find the right panel. Yes you can set a “Quickview” but it still can take your eyes off the horizon even for a moment, all my departures in the C90B were wavy lines on the local map at the point of A/P activation. Here the popup eliminates that problem, and it also gives you the great option of setting the A/P if flying the aircraft externally (Just make sure your heading is correctly set), so as a feature it is a double winner. A small note on the ALT button, if you want to go up or down you must release the button before doing so, if not it will still hold the same altitude, just pressing the up button furiously (okay I admit it) then the aircraft will still not change its position. The wing gives the aircraft a very stable platform and it is very neutral, so flying by the stick is very calm, unless you could adjust for weight in the aircraft (of which you can’t) then any trim is rarely needed, turns are smooth but watch you don’t lose altitude, but otherwise it all very easy. Maximum speed is 244 kts (279 mph, 452km/h), and the stall speed is 82 knots (94 mph, 153 km/h), but recovering from a stall is easy as the power will quickly pull you out and the lift is so good. Range is an excellent 1,406 nm (1,606 mi, 2,603 km) at economy cruising speed, with a very high (It is Pressurized remember) 29.800ft. Losing an engine is always going to pull you in the direction of the failure, but you can easily adjust to the power loss and the aircraft is very stable in this formation. Trickier is turning the power back on. even with a gradual push of the lever the as aircraft becomes unsettled until you balance the thrust. On the ground with an engine out taxiiing is a problem if you want to turn away from the failed engine, it just won’t go in that direction? The C340 II is certainly a nice looking aircraft, and a great choice for Carenado, all aspects show a great design. Note the detail on the cooling grills on the engines. Two pilots are suppiled and have been re-textured to a higher quality, they are animated, but the movements are not as noticible as in the past Carenado pilots. Liveries There is one blank livery (default) and four choice liveries included (Clockwise) Blue Gold, Red, Grey and Beige. All liveries are Hi-Def in quality and all look good. Of them all one didn’t stand out above the others here as something special, the Grey is different, but it is still well... Very Grey. But it is a very good livery. External night lighting is very good, but with just all the basic required items. The landing lights however shine down when retracted? Overall Flying the C340 is a very pleasurable experience, this is a nice aircraft, Carenado do all their aircraft very well, but the larger ones just seem to stand out just that little more. The standard set overall here is just so high, every detail shows and everything works, like here in the tables set out on the moving sunvisor and the folds and feel of the Yoke. Landing and Documentation Although those flaps are large you don’t get those big lifts on a selected flap drop, still there but easily controlled - but you have to watch you don’t rub off too much speed and go into a stall, again the thing that comes back to you in the controls is stable, stable not as in boring, but as in easy to fly. In this review I did a ILS landing and the capture was very good with a direct centering to the runway center line from a 30º offset to the beam, I found 90-95 knts was a good approach speed and the flare was good but fast, again it hard to pull back enough of the power to idle to wind off the speed, The Caravan 208B can be like that as well. You get a full set of documents covering performance and tables but no real manual, two documents are for X-Plane9 and 10 render settings. Frame rate wise it is no worse or better than any other Carenado aircraft even with those HD liveries, I usually run with HDR off unless at night, and that keeps me well in the sweet spot of 25-30fr in most conditions, so not at anytime did I have check my framerate or worry about it (Computer specs below). Summary Carenado is all about quality, and here the C340 II does not disappoint. It is also interesting how Carenado can make these aircraft so different in feel and features that by now you expect a sort of sameness to creep into their products, but that never happens. The aircraft is very neutral in all aspects of flight, and that may come across as bland on paper but not through the joystick, too say it is a sweet but powerful flying aircraft would be closer to the mark, but the C340 is certainly a very good choice to add to your crowded hanger and a real bonus to have in X-Plane as an investment of pleasure. ____________________________________________ Price US$29.95 For X-Plane 9.70 and X-Plane 10.22 (different versions are supplied for each simulator) The Cessna C340 II is available now from the .Orgstore Developer Site: Carenado.com (Note the C340 II is updated to the latest v2 requirments) Review By Stephen Dutton Published 30th July 2013 Review System Specifications: Computer System: - 2.66 Ghz Intel Core i5 iMac 27” - 6 Gb 1067 Mhz DDR3 - ATI Radeon HD 4850 512mb Software: - Mac OS MountainLion 10.8.2 - X-Plane 10 Global ver 10.22 (final) - ExtremeSceneryMAXX Addons - Saitek x52 Pro system Joystick and Throttle
-
News! - Aircraft Released! : Saab 340 by Carenado Carenado have released the Saab 340 for X-Plane11. Carenado was originally mostly always associated with the general aviation market. But a few years ago Carenado changed their direction upwards, with first to the big twin-engined six to ten seaters like the Dornier Do 228, but a true airliner, even a regional one, was not really an aircraft you would associate with Carenado. This SAAB 340 was the the first true airliner for Carenado when released for the FlightSim community a few years back, but for X-Plane it was not really on the table as a release (my guess is because of X-Plane11 and its very changeable performance and dynamics). But with the release of X-Plane11.30 then the situation has of course changed. The Saab 340 is no stranger to X-Plane as for the Leading Edge version has been available for years, Although well updated.... it is still an old X-Plane design. A quick first look at the Careando S340 says, this is a very nice aircraft. Cockpit is pure SAAB, but also very Carenado... if there is such a feel? The feature list is huge : High-end 4k PBR (Physically-based Rendering) graphics throughout, with ultra-realistic materials rendition (Dynamic reflections, realistic metal and dielectric materials, etc.) Fully customized in-depth annunciator logic/aural warning logic/throttle logic, with friction control, gate, flight idle and flight idle override. Custom EHSI and EADI instruments and custom MFD85 with moving map, all featuring detachable pop-up windows Integrated FMS with detachable pop-up window (Laminar default) Custom APS85 Autopilot with detachable pop-up window Fully customized Custom Torque on Take-Off (CTOT) system Fully customized pusher (anti-stall) logic In-depth FMOD sound design implementation, including distance effects, realistic prop reversal effects, etc. Functional gust lock system Custom electrical system/Starter Logic/Fuel System/prop logic/Bleed Air System/Avionics busses/Hydraulic Logic (Requires, among other things, pressurizing brake lines prior to chock removal)/Electrical Temperature system/de-ice logic Custom independent windshield wiper logic (with functional off and park positions) Airspeed Indicator with “Barber Pole” and functional test sequence RealityXP GTN750 support (with 3D panel display support) Extensive VR support with snap points in every passenger seat (All knobs, buttons, dials, handles, etc. also optimized for VR usage) Extensive HDR lighting with gimballed 3D lights and dynamically illuminated tail logo and ice lights for amazing night lighting effects Ground steering (tiller) system Includes air conditioning, pressurization, and oxygen system Features reversionary logic for EHSI and EADI. All passenger seats support seat backs, table trays, arm rests, HDR reading lights, stewardess call buttons. Main door has optional retractable passenger stairs. Functional stewardess control panel Visible and functional Ground Power Unit End-user customizable via Manifest.json file. Goodway compatible Engine design optimized for XP11.30’s new turboprop model Flight dynamics optimized for latest improvements in XP11.30. Support for “librain” plugin, including wiper support (Requires separate plugin install) Librain support also includes visual ice effects on windows. One of the huge features here is the highly dynamic cabin... Moving seatbacks, moving shades, custom overhead seat lighting, full individual cabin lighting and panel, call buttons and even moveable armrests and drop down seat table trays. Breathtaking! Included is : 9 HD liveries. 1 HD Blank livery S340 Emergency Procedure PDF S340 Normal Procedures PDF S340 Performance Tables PDF S340 Reference PDF S340 Overhead Panel Layout PDF DCP PDF X-Plane FMS PDF Recommended Settings XP11 PDF Has there been external stairs on a Carenado before? not sure, but there is now... Recommended System Requirements Windows XP – Vista – 7 -10 or MAC OS 10.10 (or higher) or Linux X-Plane 11 CPU: Intel Core i5 6600K at 3.5 ghz or faster. Memory: 16-24 GB RAM or more. Video Card: a DirectX 12-capable video card from NVIDIA, AMD or Intel with at least 4 GB VRAM (GeForce GTX 1070 or better or similar from AMD) 755MB available hard disk space First impressions really count... brilliantly done and that cabin is to die for. Systems and performance are tricky and require a lot of study to work your way around the cockpit, instruments and the autopilot also requires some study.. sounds are incredible, as they are very realistic externally but very good internally and again in the cabin, It will take time to learn and fly correctly, so don't expect that from the first flight, my thoughts are a semi-grade to full study aircraft. Price is noted as ... US$39.95 Now Available from Carenado ________________________________________ News by Stephen Dutton 20th January 2019 Copyright©2019: X-Plane Reviews
-
Aircraft Review - Cirrus SR22 - GTSX Turbo G1000 HD Series by Carenado Can you have your head in the clouds. Of course you can, and you can even let your thoughts wander a little as well. It helps if you are more than 6000ft above a Greek island, and it is the largest Greek island at that, which is named Crete (Kríti) and as it is the first day of spring you are also in a happy disconnected from reality frame of mind. The transport is a very nice SR22 from Cirrus, and your first thought would be "hang on, haven't we been here before lately?" Well you have in vFlyteAir's version of the SR20 that X-PlaneReview's reviewed only six months ago. But this is the SR22 version that is a development of the SR20 and this aircraft has the larger wing, higher fuel capacity, and the more powerful Continental IO-550-N 310-horsepower (231 kW) engine. It is Turbo-Charged as well for a bit more Vroom, Vroom which is never a bad thing in a small aircraft. The flight is from LGKC on Kithira to LGIR - Heraklion which is on the central northern coast of Crete. And on how I got into this happyish frame of mind started back only a few hours ago when I first saw the SR22 back at Kithira Island National Airport. SR22 Menus There are three menu tabs on the lower left side of the screen. Standard Carenado in the (C) or Views/Volume menu that has the standard internal and external views plus two for switches and the G1000 screens, the volume slider is up/down on the side and point of view slider across the top. Center tab is the (O) or Options tab that covers Window and instrument reflections (always very good on a Carenado), Static elements in mostly just tags and bollards. Mouse Scroll, which is important for me with a single click mouse. Pilot, Passenger and baggage doors, which all can be separately opened and closed, both main doors can also be opened by the latches inside. Bottom (A) tab is a big popup centre panel that covers the A/P Autopilot. HDG (Heading), CRS (Course) and ALT SEL (Altitude Select) knobs. And G1000 input keyboard and control panel. The panel can be resized but is better in the full size for easy button and knob manipulation. Internal Cabin Nicely fitted out cabin is pure Carenado detailing. A lot darker than the vFlyteAir version, but then Carenado cockpits are always like this. In the cabin you have four seats that are beautifully rendered and designed with great almost to the touch signature leather padded textile upholstery. Cabin fit out is bar perfect, very real and well detailed, no complaints in anywhere here. The instruments and panels are all angled and set around the flying left seat pilot. The right hand seat pilot can fly the aircraft with a yoke and rudder set, but the screen panel and switchgear would be offset to them. Overall the aircraft has minimum switchgear and controls, just the basics you require and nothing more. That does not mean the aircraft is not well equipped because it is, but unlike the older generations of aircraft these modern versions have been refined to a higher easier flying level. Yoke or flying handles are unique, in their push/pull and twist actions, but they also clear a lot of space in front of the pilots. Here they are both beautifully rendered. SR22 Instrument panel The SR22 is the second aircraft to have Carenado's unique Garmin G1000 twin-panel display system after the CT182T Skylane G1000 HD Series last year (2015). It is a totally comprehensive system that requires its own separate GPS database that has to installed in the X-Plane root folder, it is a big download at 870mb. The G1000 system for X-Plane has been in development at Carenado for some time and it is almost a fully working direct copy of the real world G1000 system. When you turn on the aircraft's (battery power), you have to wait (a fairly long time) while the database loads into the system. Power is supplied by the first two rocker switches in BAT 1 & 2 on the switch panel located on the shelf under the left hand panel, next two switches are the ALT 1 & 2 (alternator) switches but the last rocker switch to the right of the set is the "Avionics" switch to start up the right hand G1000 screen. When the avionics are switched on you still have to activate the screen by pressing the ENT (Enter) button on the middle console panel or the menu button far right on the display. Before we go into the complexities of the G1000 system, let us look at the instrumentation and the rest of the switchgear. The rest of the main switchgear panel covers the Ice Protection On-Off, MAX or NOR Ice setting, Pitot Heat, Exterior lighting (Nav - Strobe - Land). Three knobs on the far right adjust the panel and interior lighting. First knob adjusts the instrument lighting, then the red cowl lighting and the last right knob covers the overhead spotlights. The red cowl lighting is quite vivid at the full setting, I tuned it down to be more somber in tone, but it looks very good against the fake wood grain paneling. Directly in front of the pilot are three lower standby dial instruments in "Airspeed", "Artificial Horizon" and "Altitude". All backup dials are very clear and well presented. On the centre console at the top is dominated by the huge A/P Autopilot and G1000 input keyboard and control panel, that we mentioned earlier and as noted then it pops up via the menu for ease of use. Then a standard Garmin GMA 350 radio set and lower an ADF Bendix King KR87 TSO direction set. Lower centre panel is the Oxygen selection and Flap selection in "up", "50%" with a 119kias restriction and "100%" flap with a 104kias restriction. Nice big throttle lever dominates the lower console in look and feel. This "Single Lever Throttle Control” automatically adjusts the propeller speed through the use of the throttle lever. There is no separately-controlled propeller lever on the aircraft. To the right is the red knob "Mixture" lever with "Rich" to "Lean" adjustment. You can switch to each fuel tank via the switch, but have to press the red "OFF" panels to turn it off. Very nice tank gauges are set out above and are very clear for use. Sets of fuse breakers are on the left inside of the centre console. Very right of the main panel is an environment control panel for fresh air and heating turn switches. Carenado G1000 Perspective (PFD and MFD) with GFC 700 Control Unit Garmin twin panel G1000 gps sets are now becoming common in X-Plane. These systems are menu driven, which means you select the different functions you require via the lower row of buttons and the changing menu selections to show the items you need. Yes they are very good these G1000 sets but you can get lost in the various menu trees to find sometimes something very simple as say the VOR2 pointer. There are some real world layouts of the various menu trees and the Carenado manual does give you an excellent overview of the complexities of the system, but it does need some study to not find yourself spending a lot of time going through all the many various combinations of menu selections to get to the function of what you want. There are many on screen options and featured here in the lower displays around the heading rose is your NAV1, ADF and right VOR2 pointers. You can fill up your PFD panel with a lot of information. Including NEAREST Airports, A small view of the MAP, References and an engine monitoring side panel. But all this takes away the main objective of these huge displays to deliver clear simple information of flying the aircraft. The objectivity is the use of the huge artificial horizon that covers the whole display. It has built in Pitch, Rate of Roll (very nice with built in indicators called "Trend Vectors"), speed and altitude tapes (built in Vertical Speed - or +) and lower Heading, noted Lower rose heading dial has built in CRS (course) and The Course selector is also your Nav 1, Nav 2 and GPS (autopilot) selection modes and built in CDI (course deviation indicator) for runway ILS alignment. Top of the PFD is an information grid that covers "Engine Power%", Autopilot status, Prev and Current waypoints when the flightplan is active, Distance to the next waypoint, Est time to next waypoint, COMM 1&2 Frequencies. displayed also in the top lower grid is your active GPS/NAV1/NAV2, AP (autopilot), ALT and VS (Vertical Speed) status, Altimeter and VVI and bottom are Baro and OAT temp. If you are familiar with the default X-Plane GNS 430/530 GPS system then the knobs and buttons down the right of the display will be a no brainer. Comm 1&2 selector, CRS/Baro adjustment, Map range, (buttons) Direct-to, FPL (flightplan), Clear and Enter (ENT). PFD/FMS inner/outer is at the bottom. The right hand MFD (Multi-Function Display) display is the more flexible screen that covers a lot more variations and different areas of the aircraft's position and condition. Note that both screens can be swapped around if required for use. There are two main modes for display on the MFD, in MAP (Navigation) and ENG (Engine) modes. We will cover the ENG mode first. Note first the engine here is not running. Engine parameters covered are "Engine Power%", "Engine RPM", "Man In HG" (Manifold Pressure), "FFlow" (Fuel Flow), "Oil" Pressure and Temp. "Engine Temperatures" are covered in CHT ºF and EGT ºF. Anti-Ice Amount (in GAL) and Oxygen Pressure. Electrical output section covers both Current (A) and Bus Volts (V). The Fuel section displays "Fuel Qty" (in GAL) for both tanks, and fuel calculation data in "Used" - "Rem" (remaining), "Time Rem" and "Range" on the remaining amount of fuel in both tanks. I found the fuel data really helpful in planning and in flight on managing your range and fuel tank selection. Air data in altitude and OAT (outside Air Temp). Switch to MAP mode and the engine status parameters are located on a side panel that covers the RPM, FFlow, GAL used (fuel), Oil Pressure and Temp, Current (A) and Bus Volts (V), CHT ºF and EGT/ITT ºF. This engine status panel is the one that can also be visual in the PFD. At the top of the MFD is a duplicated grid of information that is situated across the top of the PFD except the PWR % is missing and is replaced by the NAV 1&2 Frequencies with adjoining adjustment knobs and slider button. Biggest feature of the G1000 is the huge GPS map and terrain options, One thing to keep in mind is that to show a screen of terrain data at this size requires a lot of processing, and a huge task of your computer processing needs. This can make the screen sometime quite slow in responding and mostly if the screen (or the aircraft) is turning to a new heading or redrawing the images on the display. Terrain options include, Traffic - Topo (topographic) - Terrain - Airways. You have a built elevation guide to evaluate the current terrain. Creating and using flightplans are accessed by the FPL button (Green Arrow) on the G1000 Control Unit panel. This button brings up flightplan panel on the MFD display, and here you can create, save, adjust, reload and delete flightplans. To start to create a new flightplan then use "FMS Knob" in the centre of the top part of the main programming control panel. This will give you the standard half-moon manipulators in large and small and also note your current GPS position on the display. The large manipulators are used to move down or up a line of your flightplan (segments), the same as your standard GNS GPS. The smaller higher manipulators will open another window to insert the Nav-Aid/Fix and these inputs are done via the alphabet/numeric keyboard. Note I found the console manipulators really hard to use (mostly the small right half-moons, Carenado note it is the angle you use the manipulators, but it is still too hard) but the manipulators used on the popup panel with the menu tab was fine, and the inputs on mostly the first letter of a waypoint/fix was also very slow and or had to be backtracked and done a second time to insert, the rest of the digits were not so bad. When the GPS Nav-Aid/Fix is done then press ENT to insert the waypoint in the flightplan. Again select the second waypoint by using the inner manipulators to bring up the insert window and inserting in waypoint code. When entered you will note the first departure point of the flightplan the altitude for the airport is automatically inserted. On the second waypoint line you have to insert the altitude you want to use when you arrive at the waypoint. This is inserted in the right hand selected (larger manipulators) box. Then again ENT to save the waypoint into the flightplan. You repeat the process until you have the full route from Departure to Arrival airports completed then you activate the first waypoint of the flightplan (departure airport) by using the MENU (Options) button and selecting "Activate Leg" and pressing ENT to load the flightplan into the system. You can SAVE your flightplan here also, INVERT it (or swap the whole flightplan backwards to start at the current arrival airport) or DELETE the flightplan from the full list which is shown in a separate page window. Basically the G1000 system is still like the standard X-Plane GPS GNS430/530 system, just slightly different on the way you access it. You can zoom in or change the range of the flightplan in MAP mode via the large knob on the right (RANGE). DCLTR will "declutter" the map in three positions. Also like the X-Plane GPS GNS430/530 system, you have a menu system along the lower right part of the MFD. Changed by the manipulators (High/Low) it gives you access to a lot more information. Most are a replica of the standard Garmin system in MAP, WPT (Waypoint), AUX, FPL, NRST. The different one here is the AUX (Auxiliary). AUX has many display pages starting with TRIP PLANNING, UTILITY (timing), GPS STATUS, SYSTEM SET UP ... ... SYSTEM STATUS and CHECKLISTS (Standard and Emergency). A lot of the data shown above is not full realised because the aircraft is stationary and not running, so we will revisit a few moments when in flight to see how they perform in action. Menu panels and G1000 displays all pop-out for ease of use and can be moved around your screen for the best position to access. Pop-outs are just as clear and the same resolution as the fitted panels and that is sometimes very rare. Flying the SR22 GTSX Turbo I tanked up the CIRRUS to give me 5.0hr of flying. You need to select a tank with the pointer selector on the centre console. The "Mixture" lever is moved to "Rich" but it is hard to get at as it is hidden by that large throttle handle, from the Pilot's position you can't move the mixture unless you move the throttle itself, or move your view right over to the passengers right hand seat. You can close the doors from the inside via the latches, and they close with a nice "thunk". Adjusting the panel lighting and you are ready to start that Continental IO-550-N 310. Pump boost on and a turn of the key allows the engine to turn, churn then roar into life. Sounds are as per usual Carenado's in very good if not excellent here. Set the CDI to "GPS" and that it is now ready and waiting for the flightplan locked in once you are airborne. The SR22 has the new Carenado feature that allows castoring of the front steering. I found it a bit too twitchy for my liking, and you need a bit of momentum before it will actual release from the straight ahead position. A lot of Carenado steering is like this and you get used to it, but the slightly higher speed required here to get the steering working smoothly can have you putting on too much speed initially to bring it quickly down again to find your taxi line with it then suddenly locking up again. Once you do get the right momentum and speed it is fine but a bit more usability would be nice. On the line and your ready to go... The Cirrus will track the centre line quite nicely without too much rudder adjustment and you can rotate up at around 100knts. Feel in the air is good and you can easily change the altitude and bank to keep the right momentum and climb with ease. Once leveled out and clean, I selected the A/P on the centre console to take control of the NAV (flightplan) and the rate of climb to the set altitude of 6500ft. The layout of the autopilot and controls on this console panel are excellent, very easy to use and operate. Rate of Climb is around 1000fpm (official is 1,250fpm) and here the Turbo comes into its own, more importantly is the performance as you go higher. The aircraft's ceiling is 25,000 feet, but it's easy enough to estimate that at an average of close to 1,000 fpm for the entire climb would take between 25 and 30 minutes from sea level to FL 250. You would never really do that height as you would waste too much performance. The turbo performance makes a lot more sense down low at the non-oxygen-required altitudes from 9,000 to 12,000, but this is far better performance than the non-turbo normally aspirated Cirrus, or any other non-turbocharged airplane for that matter, because once you get much higher than around 6,000 or 7,000 feet, the lack of air starts to cut down on the airplane's performance, reducing your rate of climb substantially, but not with the turbo as you can keep on giving on with all that extra power, but below 5000ft though the aircraft flies the same with either the normally aspirated Cirrus and turbo versions unless you need that extra push when required. Most sales now are with the turbo versions of the SR22 than the normally aspirated Cirrus. Top speed in the thin air is 215knts but the average at 12,000ft is 194knts in cruise mode. Range is 1,049 nmi (1,207 mi; 1,943 km) with reserves at 65% power. Now as we leveled out at our 6500ft altitude you can see the engine performance on the ENG mode page and the huge amount of data available on the AUX-TRIP PLANNING mode page. Both are impressive in flight. NRST (Nearest) options include AIRPORTS, NDB, VOR and Waypoints and there is a DIRECT-TO function that can be accessed and activated if required. These menu page screen provide so much information you can't cover everything here, but they are excellent in operation and detail. We are cruising now high above the Greek Islands, yes it is nice place to be... best moment in a while actually. The view forward is quite restricted and the blinds tend to make it even narrower to look through the windscreen than it needs to be. You can easily move them to the side while flying and that gives you a more open fuller screen vision. External design of the SR22 is excellent, this is a Carenado after all and you would think of nothing else from them. The tri-gear is a fixture, so don't go looking for an undercarriage lever because there isn't one. But the detailing is superb, first rate and you simply can't fault it. The aircraft's textures are quite shiny, so it can be very washed out in the high Greek sunlight at certain angles, but overall the external aircraft is excellent. Terrain mode on the MAP display is very good. As I skimmed along the Crete northern coast the mountainous ranges were well represented on the display. A must for flying at night or with minimum visibility. You have to watch your fuel usage and be ready to switch tanks as you hit the minimum section in the earlier selected tank, you can lean the mixture a little to find the best performance to economy range and experiment to get performance you like the best. The Cirrus has a built in safety feature of a parachute called the "Cirrus Airframe Parachute System" in case the engine goes wonky or you forget to switch over the fuel tanks. It is set out on the roof and you can pull off the cover and pull the handle. It is however not advisable to use if you are running well on the flightplan. Unlike the VflyteAir SR20 version were as the parachute does actually work... here you are just sent to the closest airport runway in an instant. LGIR - Heraklion “Nikos Kazantzakis” is now just over the next range, time to slip down and get ready for landing on RWY27. At 1500ft I turn off the flightplan and select a heading to be in a circuit parallel line with the runway and a pass and return to the airport is required for the 27º heading landing. Tight, tight 360º turn is neck straining as I search then find the direct line back to RWY27, speed down and flaps down two positions. Flaps and mechanism are very well constructed, but the inside wing texture is a little dubious. Note the excellent panel work on the wings and fuselage... "Heads up mate we are landing!" Even with a small slight crosswind the aircraft is very stable, around 70knts in the final approach and a slow clean descent can give you little bounce on contact. You have to rub off a lot of speed before touching the brakes... I mean a lot. If you are tempted earlier you will simply disappear off the runway to the left and go off straight into the scenery, get it right and you will turn neatly on to the side taxiway. Shutdown and when opening up the door the hot humid Greek air fills the cool cabin, Job done. Liveries Standard Carenado blank/white livery and five designs are all very high 4K quality. Night Lighting There are three adjustment knobs for Instrumentation and displays, the red cowl lighting and overhead lighting. There are four overhead spot lights that are + manipulator adjustable to shine in any direction in the cabin, two front and two rear. The front spots however are under the front blinds, and so to be used effectively you need to move the blinds out of the way. You can certainly find the right feel in the cabin, but full on red under cowl is a bit stark and distracting. External lighting is basic with just Nav, Landing (single light) and flashing strobes. Nice touch are small sets of LED lights located at the front of each wingtip. Summary It is a Carenado and with this brand you know that quality, features and flight dynamic depth are usually first rate to excellent. That is certainly delivered here at a quality price. So you get a lot for your investment. The SR22 is a great aircraft to fly and the depth of instrumentation and details are certainly first rate, that is a given as well. The G1000 Perspective (PFD and MFD) with GFC 700 Control Unit is certainly a huge feature here, but it comes with a big stick. It is a colossal complex sized system that has a huge amount of data to process. It takes time to separately load in all that 3.83gb, yes gigabytes worth of data (It thankfully does not use it all at the same time but just loads a few area tiles). But it does all have a significant impact on your frame-rate and Carenado aircraft are not the lightest aircraft in the hanger in the first round and so your computer processor has to cope with a large chunk more with this GPS G1000 system on top of the aircraft again. My i5 Mac computer just scraped through with its average processing performance, so it is usable. But I would highly recommend a machine with a pretty grunty or powerful sets of processors and memory to give you a fair amount of working headroom and data space. Only other quirk is the twitchy castoring steering which will need mastering at slow speeds. Overall the Cirrus SR22 ticks all the right boxes and gives X-Plane users another great step forward in sound, design, features and even more better quality in a general aviation aircraft. A real nice aircraft to fly as well and with all that Turbo power for great performance. So another great winner from Carenado. _____________________________________________________________________________________ Yes! the Cirrus SR22 - GTSX Turbo G1000 HD Series by Carenado is NOW available from the X-Plane.Org Store here : SR22 GTSX Turbo G1000 HD Series Price is US$34.95 Developer Site: Carenado Dev Support : Carenado Support _____________________________________________________________________________________ Special Features Carenado G1000 Perspective (PFD and MFD) with GFC 700 Control Unit All-new surround sound architecture. Volumetric side view prop effect. Features Carenado G1000 Perspective (PFD and MFD) with GFC 700 Control Unit Terrain Awareness map mode Different declutter levels Advance menus and cursor with scroll wheel, click/hold or /drag Aux- Trip Planning Window Checklist mode Crisp, vector-based water data Pop-up windows can be resized and moved around the screen Pristine scroll wheel support FPS-friendly terrain map Original autopilot installed HD quality textures (4096 x 4096) 422 pixels / meter textures 3D gauges Original HQ digital stereo sounds recorded directly from the real aircraft 3D stereo effects, such as outside sounds entering open windows. Customizable panel for controlling window transparency, instrument reflections and static elements such as wheel chocks and turbine inlet/exhaust covers. Realistic behavior compared to the real airplane. Realistic weight and balance. Tested by real pilots. Realistic 3D night lights effects on panel and cockpit. Ice and Rain effect _____________________________________________________________________________________ Installation and documents: Download is 209.50meg and the aircraft is deposited in the "General Aviation" X-Plane folder at 256.90 meg. Installation key is required on start up and is supplied with the purchased download file. Carenado G1000 data package is also required and has to be installed in the X-Plane root folder (Main X-Plane folder) before using the aircraft. Data download pack is here; GPS database and it is a big download at 870mb. Documents supplied are: Carenado G1000 Perspective PDF SR22 Emergency Checklist PDF SR22 Normal Procedures PDF SR22 Performance Tables PDF SR22 Reference PDF Recommended Settings PDF _____________________________________________________________________________________ Requirements Windows 7, 8, 10+ (64 bit) or MAC OS 10.8 (or higher) or Linux X-Plane10.40 (or higher) running in 64bit mode 2.5 GHz processor - 8GB RAM - 1GB+ VRAM - 2Gb VRAM Recommended For WINDOWS users: Please ensure that you have all the Microsoft Visual C++ Redistributables downloaded and installed. Current version: 1.1 (last updated Feb 29, 2016) Carenado G1000 Database must be installed ____________________________________________________________________________________ Review by Stephen Dutton 4th March 2016 Copyright©2016: X-PlaneReviews Review System Specifications: Computer System: - 2.66 Ghz Intel Core i5 iMac 27”- 9 Gb 1067 Mhz DDR3 - ATI Radeon HD 6970M 2048 mb- Seagate 512gb SSD Software: - Mac OS Yosemite 10.10.1 - X-Plane 10 Global ver 10.45 Addons - Saitek x52 Pro system Joystick and Throttle : Sound - Bose Soundlink Mini Scenery or Aircraft - LGKC - Kithira Island Airport Greece 1.0 by tdg (X-Plane.Org) - Free - LGIR - Heraklion International Airport Greece by tdg (X-Plane.Org) - Free
-
News! - Incoming! : Saab 340 by Carenado Release is getting close for Carenado's next big regional aircraft for X-Plane11... the Saab 340 is a niche aircraft for commuter and regional hub and spoke operations, but that niche with Beechcraft B1900 is very tight market. Interestingly the Beech 1900 is not actually directly competitive with the S340 because the B1900 has only 19 seat to the Saab's 36, but they do the same sort of routings... After the huge success of the last major new design of the excellent Citation Jet then Carenado has "runs on the board" with the S340. No doubt most will compare the new S340 with the Leading Edge version, but although the Leading Edge aircraft has had a lot of updates throughout the years, it is now overall a far older design. Carenado have released some newer images to view over... Expect GTN 750 integration, full custom real world S340 FMOD sound, HD quality pro textures (4096 x 4096), also expect also 9 HD liveries and 1 HD Blank livery. The FSX/P3D version is priced at US$44.95, so I expect that price to be current for X-Plane as well.... release, well soon, but I would say later next week. Images and text are courtesy of Carenado ________________________________________ News by Stephen Dutton 23rd January 2019 Copyright©2019: X-Plane Reviews


