

Stephen
-
Posts
2739 -
Joined
-
Last visited
-
Days Won
358
Content Type
Profiles
Forums
Articles
Posts posted by Stephen
-
-

Behind the Screen : June 2017
If anything then June 2017 was about debates, this about that. Like last month there is always the constant opinion makers sprouting their advisory thoughts on various matters. Mostly their poor frame rate (which I addressed last in last month's Behind The Screen) and of course in that X-Plane11 is far much worse in running on your computer than X-Plane10. Both are myths, and as big as like a certain Scottish Monster that lives in a big lake and eats children at night.
I was there when the changeover from X-Plane9 to X-Plane10 became official. In that case most of the very basic scenery tiles were replaced to take in the changes to OSM (Open Street Map) and the opportunity to make the basic mesh textures into a much more higher resolution. Add in the new weather system, HDR lighting and other processing sapping features then X-Plane10 was a totally different setup from the very light X-Plane9.
The step was huge, even by today's standards and it really killed off the notion of using a 512mb graphics card to do your visual processing. I know because I burnt mine out. 1gb Graphic cards were then basic requirement if you wanted to do X-Plane Simulation and although over its full run with X-Plane10 and the many refinements it was never ever going to a lite simulation were as your computer was concerned as a 1gb Graphics card did get you over the line then a 2gb card was the basic requirement... today a 4gb card should be your normal, but an 8gb card would be very nice.
Like X-Plane10 over X-Plane9, then X-Plane11 is a very different animal in the way it uses your processing, but better threading with the coming Vulcan/Metal API tools will be a huge bonus to the great. But back to the current.
Yes X-Plane11 does require more processing power than X-Plane10, but not in the case of the X-Plane9 to X-Plane10 changeover. In fact the point is if you can run X-Plane10 efficiently, then there should be absolutely no problems in running X-Plane11 with the same specifications. If you were trying to blow out a 512mb graphic chip in X-Plane10 then the same chip is not going to transform overnight into a sparkling efficient framerate champion in X-Plane11. Like I mentioned a 4gb graphic chip and a modern processors is still going to be the basic requirements for running X-Plane11. The basic requirements for X-Plane11 are noted as:
- CPU: Intel Core i5 6600K at 3.5 ghz or faster
- Memory: 16-24 GB RAM or more
- Video Card: a DirectX 12-capable video card from NVIDIA, AMD or Intel with at least 4 GB VRAM (GeForce GTX 1070 or better or similar from AMD)
Laminar Research do note you may get away with a 1gb graphic card and even 2gb, but I doubt that anywhere now.
So if any of the unwashed out there are telling you that X-Plane11 is a far poorer relation to X-Plane10 then they are talking hogwash, or more to the point they are uninformed and have no credibility. Like with the framerate debate it is in their set up that is actually wrong and in mostly being too greedy in what they are trying to process. Even myself I run X-Plane11 with room to spare in the features and effects department and unless you can save up Apple's new Pro Mac at a killer US$5000 you won't be able to run X-Plane at anything near the full settings you would love to do.
Laminar Research has gone a long way to make X-Plane11 far more efficient than its predecessor in not only restricting the twiddlers in messing up the graphic settings and with the last update (v10.02) in getting better efficiency gains from the simulator. If you are not getting the required replay from X-Plane11 and you meet the basic requirements, then you need to take a long hard look at your setup.
The problem with the damage the unwashed do is to give the wrong advice to users that need good concise advice on how to run, buy and move up to the much far better environment of X-Plane11. Too many times I have read that a user thinking of moving to X-Plane11 only to be given poor advice and them turning away is bad for X-Plane and its forward momentum.
Debate two
Another debate that is important but was actually not main stream but involving the coming WorldTraffic3 plugin. Mostly the debate was around tdg sceneries but the implications are far more wide ranging. It is not the WorldTraffic plugin that is at the centre of the debate here but the underlying engine that will power the new WT3 version in the default built in ground routes.
In earlier times X-Plane suffered because it had no traffic system built in. Most Aerosoft scenery came to you blank or empty and you were required to quickly hit the OverlayEditor for hours (and hours) to filling in the huge empty spaces with static aircraft and ground equipment to give you at least some sort of a realistic look when you arrived or departed from that airport.
In 2017 that scenario is now completely the other way around. We are now required to delete our statics and areas that are now active. Over the last few years Laminar Research has built in to X-Plane specialised ground routes for its own built in ATC system. But the ground route system is a bigger and becoming a more important system for animated ground traffic systems. The built in A.I. system by all accounts is still quite basic and to be honest doesn't work that well either. X-Life by JARDesign is far better but the interesting system is WorldTraffic.
To be honest the earlier built in ground route system by Laminar Research was quite basic and that resulted mostly in why the A.I./ATC systems didn't function as good as they should have. But over the last year a lot of work has been done on the networks and more importantly in the way you create them in the WED tool. They are now easy to set up, but also complex in what they can do to help in the visual and animated aspects of the scenery.
World Traffic got around the poor default ground route system by putting in its own ground route system over the top... it worked but was heavily complex and hard to create and edit. Using auto code programmes to create the routes was not perfect either as they created far too many and are still to hard to edit. The newer coming WorldTraffic3 still uses its own ground route system for the extra features and for editing various areas for personal choice. But the creation of the routes will now default back to the built in default ground route system put in place by the WED tool.
The new WT3 ground generation works and far better than you can imagine, but it also creates other important points in the fact that in how much in the future that ANY sceneries ground routes are going to need to be fundamentally correct and more importantly be inserted in the scenery. Any scenery with out these routes correctly inserted is going to be ignored, and no matter how good the scenery is created... which brought us to tdg's sceneries.
There is no doubt that tdg has had a huge impact on X-Plane with his revolutionary brilliant small file sceneries. Without tdg's input and hard work, X-Plane scenery would be a far, far less usable place. But tdg won't steadfastly and even stubbornly will not insert the required ground routes into his WED sceneries? Users have offered help in the cause, but the issue remains that every current tdg scenery won't be active in the coming revolution of animated scenery. This situation is also connected to any payware scenery developer as well? No ground routes then no sale could start to filter through as the usability requirements become more of a standard requirement in every scenery, certainly I will severely downgrade any review scenery without built in ground routes in the future, if you are paying then they should be a standard installed feature. Thankfully most developers have got on board, but there are a lot out there that don't see the importance of the feature, they will soon.
When you use WT3 with and without the built in ground routes, the differences are striking and even confronting. No ground routes will mean not using that scenery in the simulation, it becomes very quickly a black and white choice. There are options of course in first hitting the WED editor and creating the ground routes required, and for a few very important sceneries I use constantly that may be my only option. The second option is that other users create the required ground routes for WT3 (it already has a substantial collection), but simply inserting the required correctly laid out WED routes solves all the problems from the start.
I can already hear the constant complaining of not having the correct routes inserted as I have already sampled the problems on airports not correctly configured in WED, not being able to use a favorite scenery without the traffic animations is a big disappointment and the choice is to always to find another scenery that is correctly configured, I am one, but soon there will far more in the same situation, hence the frustration and debate directed at tdg.
The importance of the correctly configured WED ground routes in scenery can not be over overemphasized here. Not just that they are inserted, but there is a very broad constancy that they are all of the same quality and inserted into every scenery in a standardization of the format. In the past in X-Plane a lot of important items were available only in an ad-hoc situation, but to get a more cohesive flight simulator we have to start getting a few areas more standardised, we can start right here with ground routes.
2017: The Year of the Plugin
From when X-Plane allowed external plugins to be part of the simulation you knew that they would have a big effect on the way you fly in the simulator. Over the years there has been some really clever ideas and innovation in the way that plugins can enhance your flying experience. But for all their excellent contributions they also do come in shapes and sizes and the worst aspect is a badly written plugin that can cause you a lot of issues and constant CTD's (Crash to Desktop).
Overall you have to very picky on what you allow into that golden plugin folder and what not to use. I have always sided on the side of caution than to try anything or everything, more so since you are a reviewer and the need to differentiate the differences of the actual item you are reviewing and if the plugin is affecting the process. So most plugins are tried and tested over long periods to a fail safe position.
But this year in 2017 it has already been a simulator shapeshifting movement in the way that plugins are directly changing the way you visually access and fly in X-Plane.
So what makes a great plugin. For me it is the one that is always there, that it isn't seen or heard but doing its job efficiently in the background. I will instantly dismiss and even some of the really great plugins if they start interfering with me in the foreground, I will tolerate a start up situation as the plugin does its loading sequence, but after that I don't want to see it or hear of it unless I need access to it, which again has to be easy, quick and efficient. And efficiency is another factor as by its standalone position it is efficient, but you are going to add on a few more in the same environment and then the plugins efficiency comes to be a major factor as it competes for space with the other side by side processing elements and that can start to take away some of your overall simulation processing power. In plain English that means your nice framerate buffer goes south.
But why now? Most of the plugins coming into X-Plane now have mostly always been around anyway, so how is that new. We have had weather engines, effect engines and animated effects before so why the difference.
The major difference is that they are more a commercial aspect than the even the brilliant creations of the past. They have to create and reach a certain standard to cover their purchase. This means the new breed are a much more professional product and have to meet the requirements of that significant position to justify their purchase. Not for a moment are these products totally perfect, anything in X-Plane to the simulator itself is an ongoing experiment and is constantly evolving as we live in the world of adjustable software and not wired in hardware.
There are thousands of plugins that you will remind me that should be listed, but these three are significant.
xEnviro; Yes there has been weather engines before and some very good ones, yes it is very expensive, yes xEnviro have the very worst PR and feedback to its customers that can be astounding and yes again that many users can't yet access this plugin either and mostly on the Mac.
But you ask any current user if they would want to not use it anymore and my guess is they would defend it to their deathbed as would I. xEnviro's biggest factors is that it fills some big criteria areas, It is visually amazing (as I have bored you with now for months) but just look at the outstanding images in this site and in the reviews to prove my point. It runs totally in the background (unless your internet connection goes down) and it is very efficient in its operation and it doesn't totally destroy your framerate every time you have some nasty bad weather. Most significantly it changes the total look and feel of X-Plane but too the great, once run and savoured you can never ever see X-Plane and like an older simulator version go back again to the average.
XPRealistic; A new plugin and again on an old theme and this time in effects. I loved my Headshake by SimCoders, but rk Apps simply blows it out of the water with their XPRealistic effects. Again once used you never want it out of operation in your day to day simulator interaction. Clever, very realistic, very versatile and simply great fun. My only apprehension is that it is based on the FlyWithLua plugin, which by all accounts is excellent. But the FWL plugin can have the odd side effects that brought has me to grief already by damaging other lua scripts in the simulator, only losing a day and half and replacing not only the master FWL plugin but replacing a few aircraft could I get back to reviewing, it was lost time I couldn't and still am trying to catch up even with this Behind the Screen entry being late as are a few of our latest reviws. I never wanted the FWL in my plugin folder, but I am still willing to use it because the XPrealistic plugin is so good.
WorldTraffic; Classic Jet Simulations "WorldTraffic" plugin has been around for a few years. For a few diehard souls it has become almost an addiction to the cause. There are X-Planers and there are the WT obsessives. I am sadly one of them, but that is a requirement to get the shear realism out of the plugin's brilliance. The problem with WT is that it is very, very hard to access on a normal basis because it demands very tight editing in ground routes and layout, but get it right and your airport scenery looks just simply outstanding.
Now in final beta is WT3. The latest coming version has gone back to the basics to be like X-Plane11's new interface in giving you the access to the plugins power without the stress or the complicatedness of the original and for current users you will have to throw out a lot of the way you currently have WT setup and the way you actually use it. But the results are certainly worth the effort. For current users the upgrade to WT3 will be free, but for the users that have been a little standoffish of the use of WT then I would say start saving.
Currently all the three plugins noted above are not in their final form. XEnviro requires (badly) an update to X-Plane11 and the v1.07 is due whenever. XPRealistic in its current v1.0.9 version is excellent, but it is not in its total completed form and WorldTraffic3 has still in a little beta work and fine tuning mode still to be done.
But by all accounts that later in the year then all the three of these outstanding plugins then will systematically change X-Plane in the way you access it and use it as much as the way that X-Plane11 has done this year also... and that can't be a bad thing.
As the French say I will wish you "adieu" till next month.
Stephen Dutton
2nd July 2017
Copyright©2017: X-Plane Reviews

-

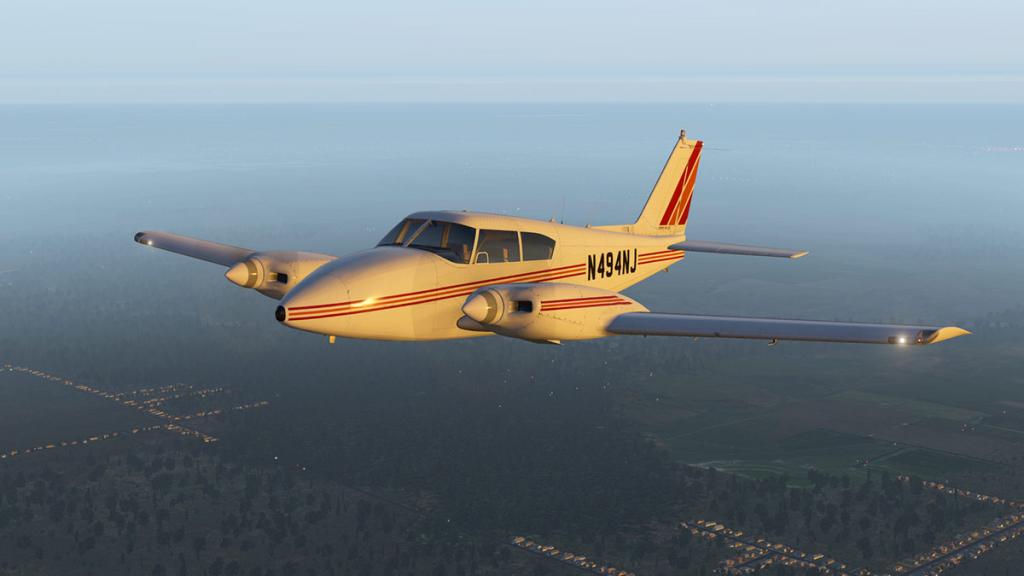
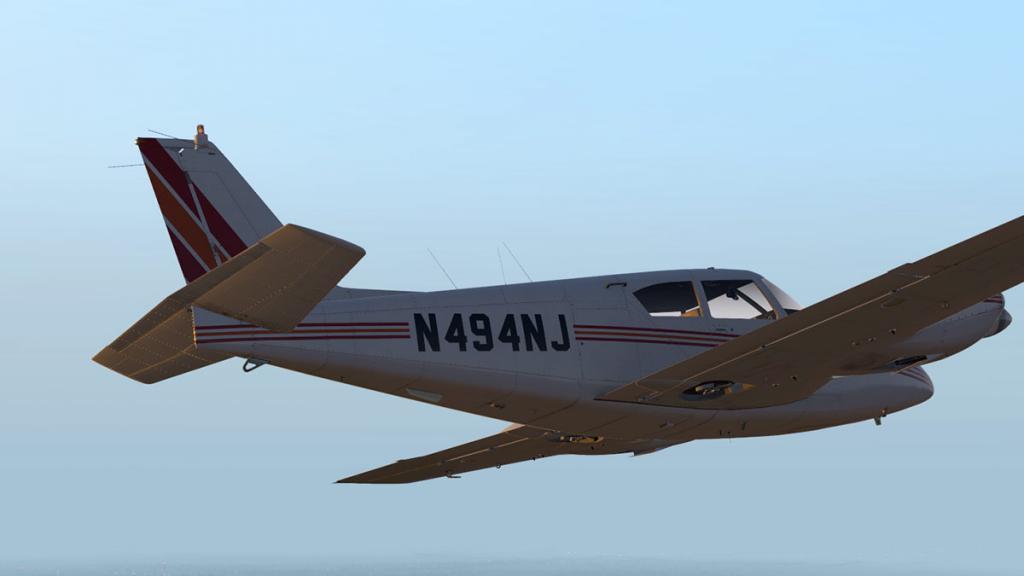
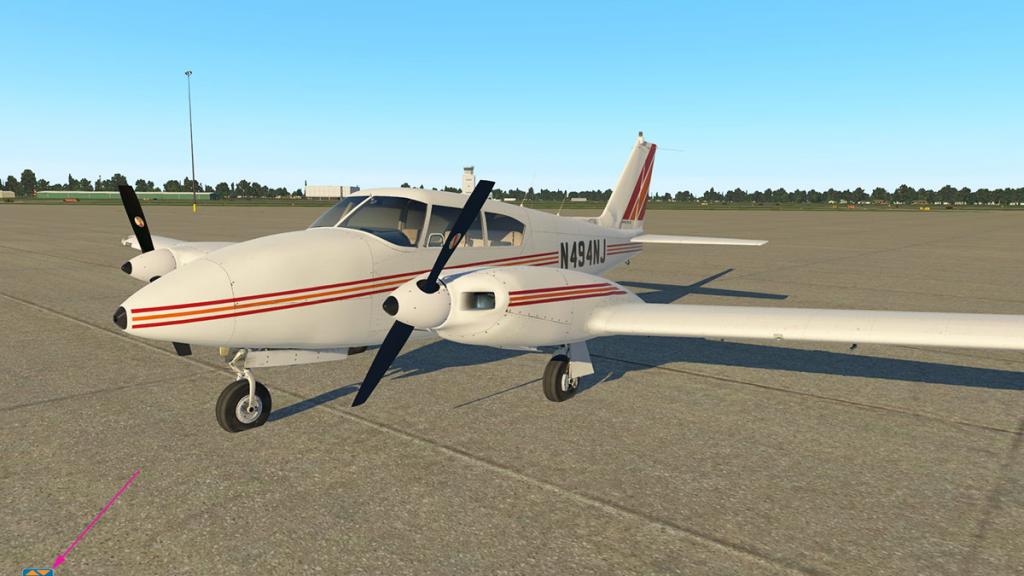
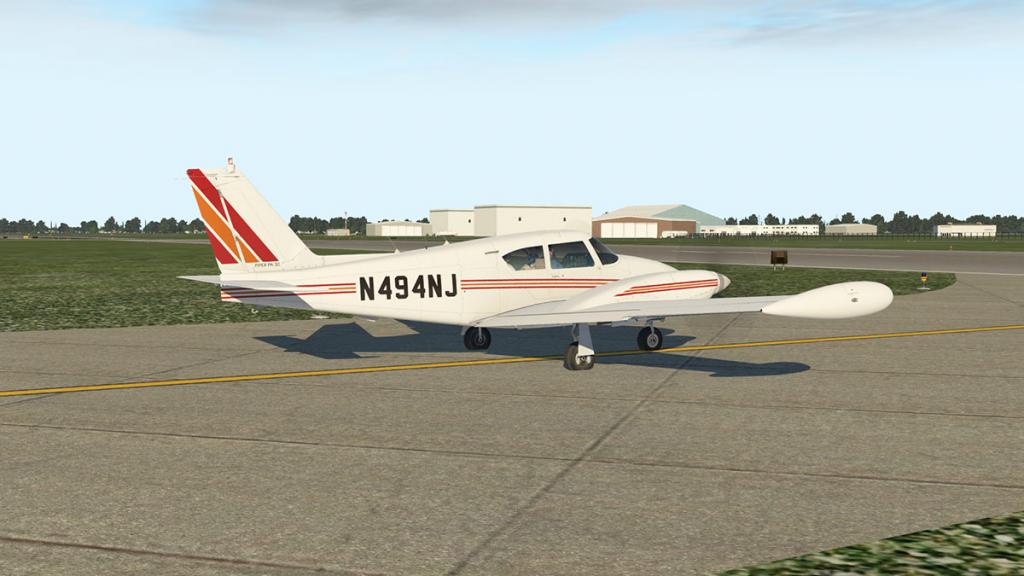
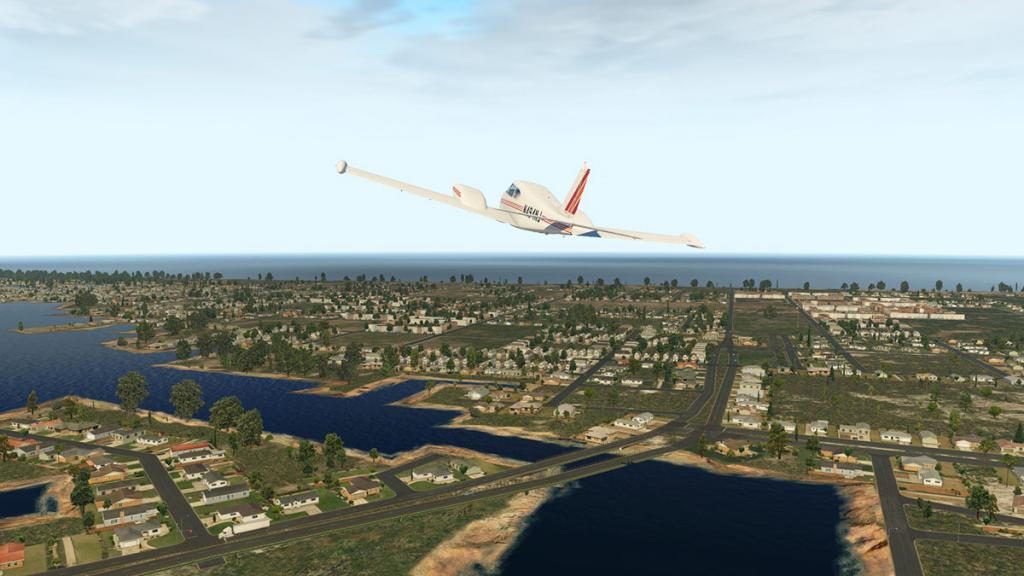
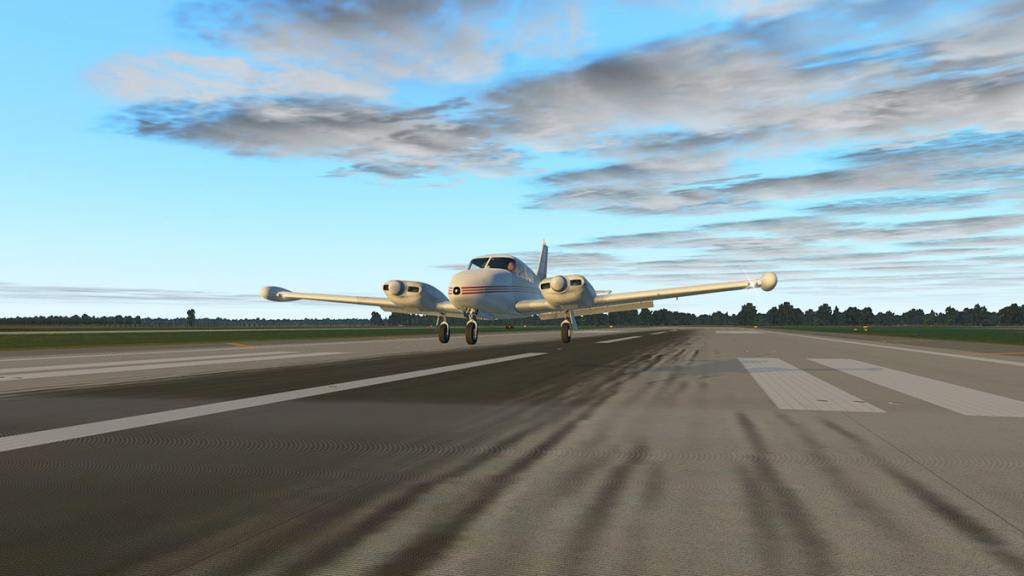
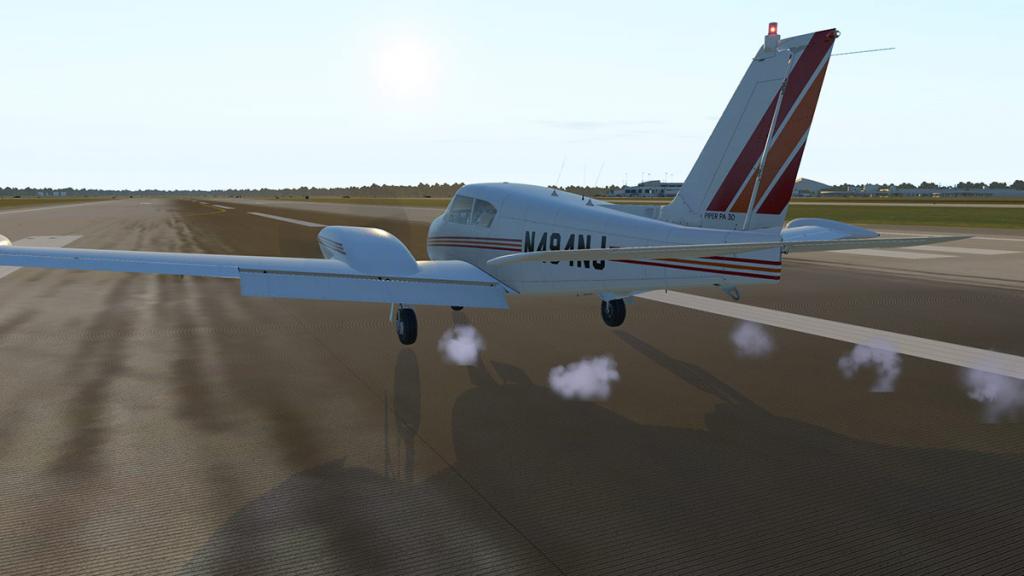
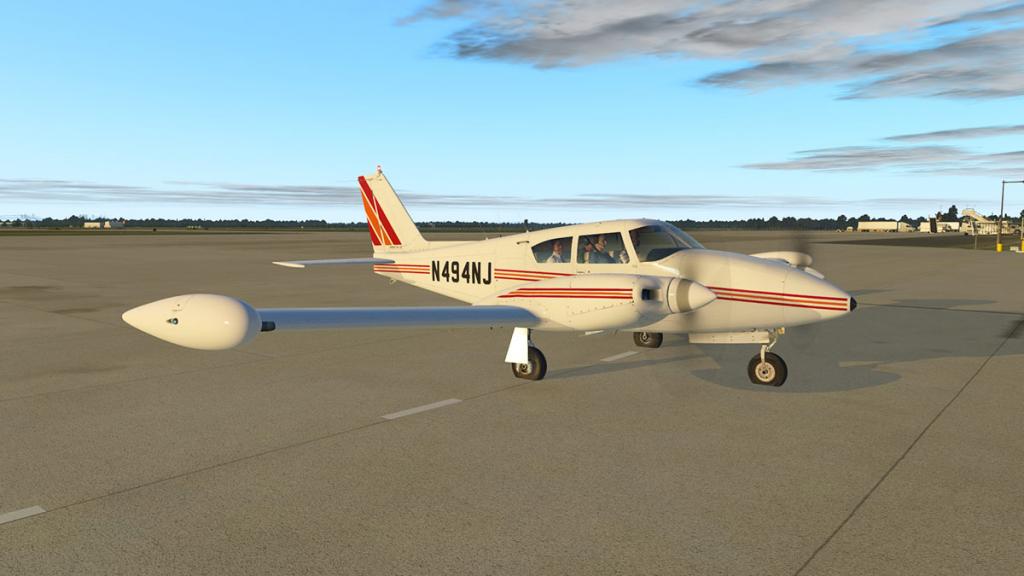
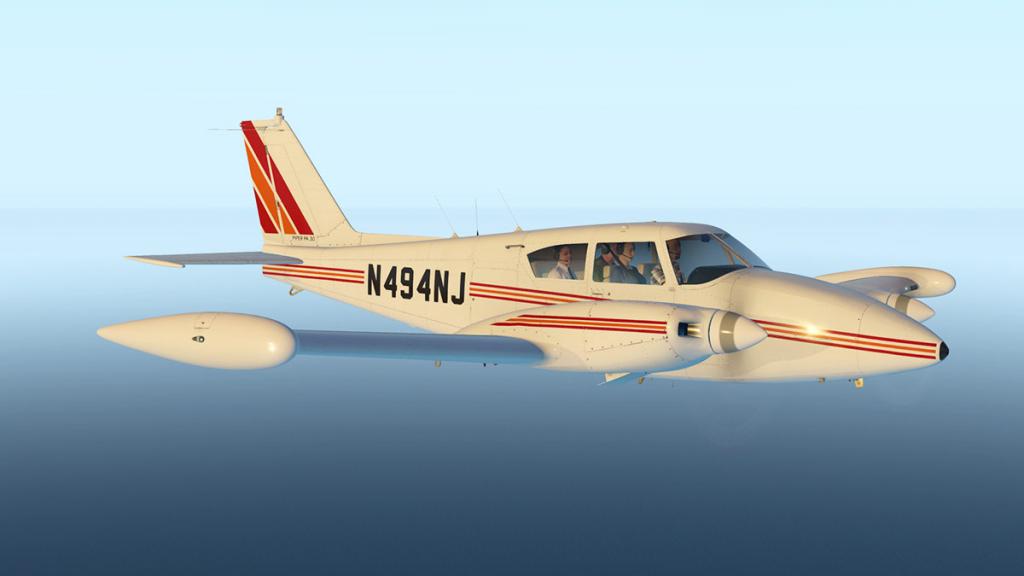
Aircraft Review - Piper PA-30 Twin Comanche by vFlyteAir
There is no better satisfaction in reviewing in than seeing developers transform into the time of greatness. They start mostly like the rest and with usually a few average aircraft or sceneries, but then progress, learn and refine. There is of course along the journey a few low points that would usually make you want to give it all away, but the secret to success is to learn and overcome the challenges and then you finally do see some rewards for all the toil, pain and hardship. Developing is not easy.
What I usually review and you fly is the result of a lot of time and effort. And it is heartbreaking when you see someone's work and you know deep down it isn't up to the quality and refinement that X-Plane demands now, the cost of delivery is also high, extremely high as what was then good to even excellent and released as close as only a few years ago would sometimes not even cut the grade now.
Harder is finding your own niche in the market. It is crowded, certainly not yet to the market standards of Flight Simulator, but X-Plane is now churning out a lot of aircraft and sceneries these days and it is going to get even more competitive as X-Plane11 grows to even more success and widens out its growing user base.
vFlyteAir Simulations started developing aircraft about the same time I started reviewing. Their first aircraft were good, but not exceptional... they "just passed the grade" so to speak. But the talent and dedication was there like with their Piper Arrow III and they steadily improved. I actually liked vFlyteAir's interesting Ryan Navion B aircraft a lot, but a lot of users didn't take to it, but the breakthrough was the lovely Cirrus SR20-G1000 which was a huge jump in quality and with some great features for the developer.
The next aircraft from vFlyteAir was their Piper Cherokee 140 and this machine was a very personal project as well as an aircraft developed for X-Plane. The Cherokee 140 was a replica of a real aircraft N3466K that was flown regularly by the developers. My first impressions were it was a little average, even boring. But by the time I finished the review I found myself having to reappraise my whole view of not only the excellent aircraft but vFlyteAir as well. It was (and still is) an outstanding design. It is not what you see, but you feel that vFlyteAir brings this aircraft to life like none other, it is a perfect recreation of a classic General Aviation aircraft.
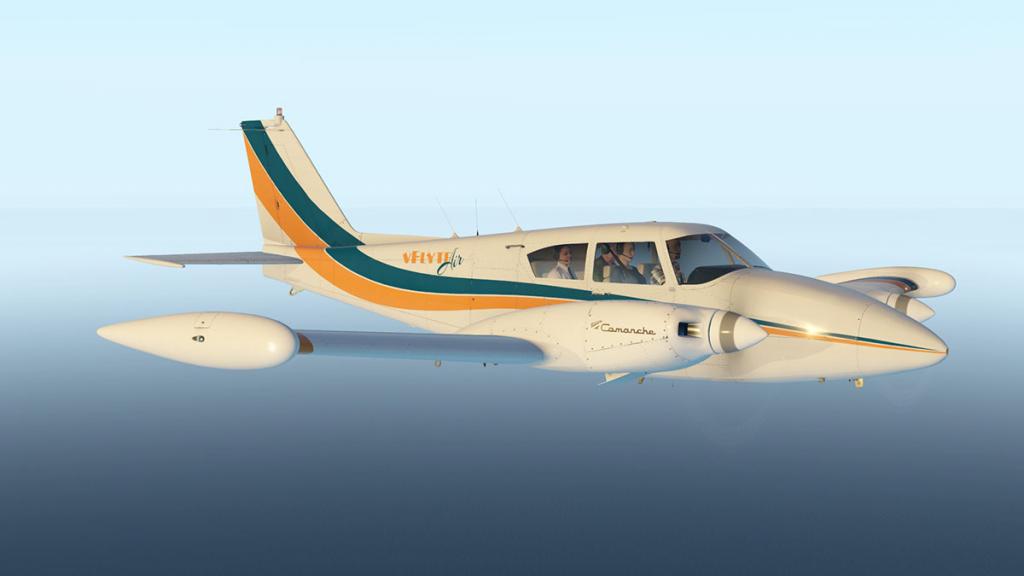
So here is the follow up to their classic Cherokee 140 in the Piper PA-30 Twin Comanche, so what to expect this time, more of the same? or another classic aircraft for X-Plane... it is an interesting aircraft and first a few details.
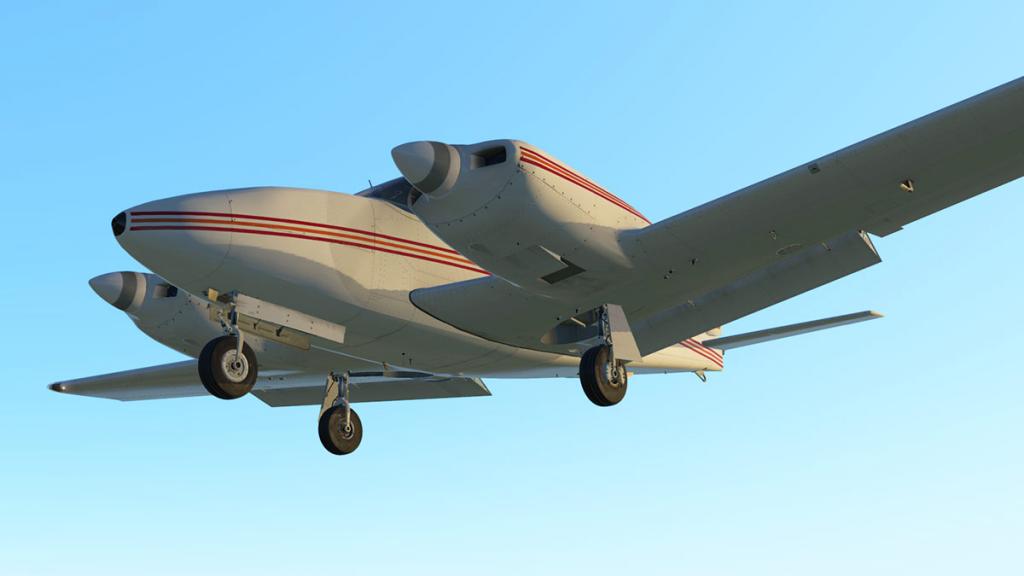
The PA-30 was a twin-engined development of the PA-24 Comanche single-engined aircraft. A variant with counter-rotating propellers was later designated the Piper PA-39 Twin Comanche C/R. But our version here is the standard rotating propeller version. It is a complex light twin, with retractable landing gear, seating 4 (in original models) to 6 (in later models), and has cruising speeds ranging from 160-210 mph from two 4-cylinder 160 hp (120 kW) Lycoming IO-320-B1A fuel injected engines, but 200 hp (150 kW) engines were available as a modification by Miller Aviation.
Twin Comanche is a low-wing cantilever monoplane with a retractable tricycle landing gear. It comes with tip tanks which allows the aircraft to hold 120 gallons (454 l) of fuel. Fuel burn at typical cruise settings is approximately 16 gph (58.7 lph) with a cruise speed of 165 kts. It easily climbs to 18,000 feet (5,500 m) when desired (24,000 feet (7,300 m) and if turbocharged). When compared with the Seminole, the Twin Comanche goes faster, carries more, burns less fuel, climbs more rapidly and ultimately higher, is quieter. With the tip tanks attached it has a range of Range of 1200 miles (1931 km).
The Twin Comanche was produced from 1963 in the same Lock Haven, Pennsylvania production line as its single-engined cousin; production ceased when the factory was flooded in 1972. Piper chose at that time to focus on its equally popular Cherokee 140/180/235/Arrow line instead that was manufactured in Florida.

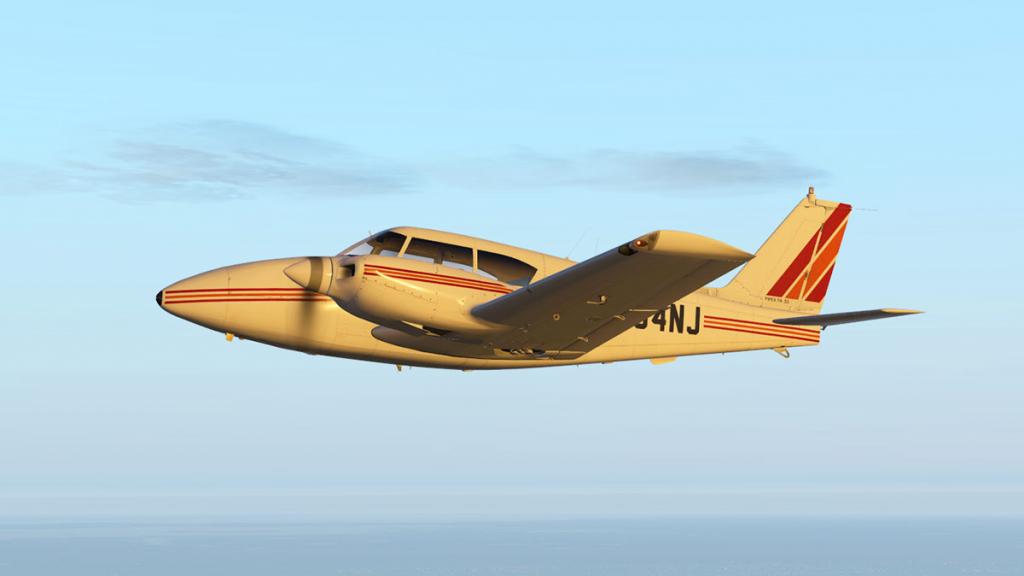
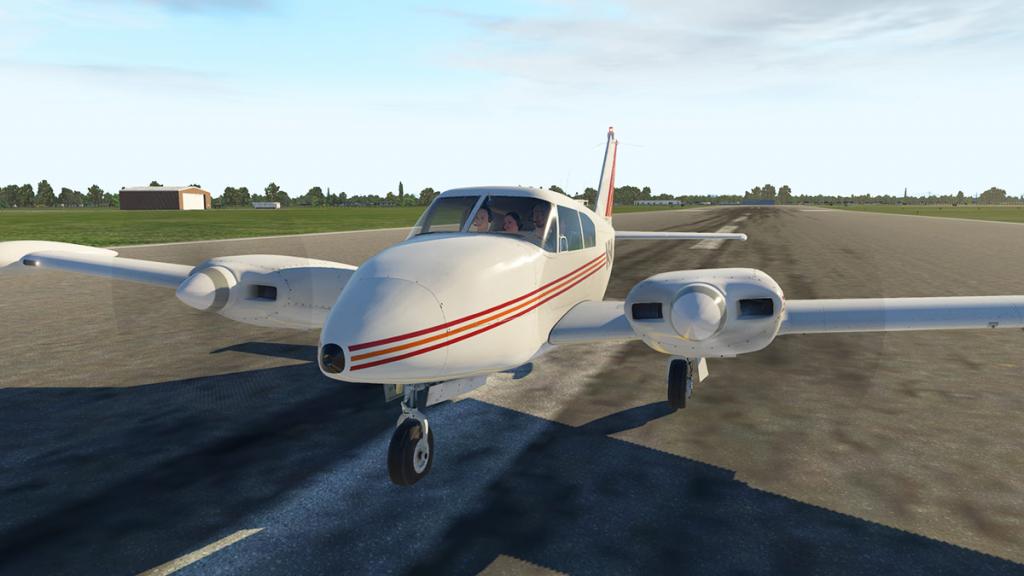
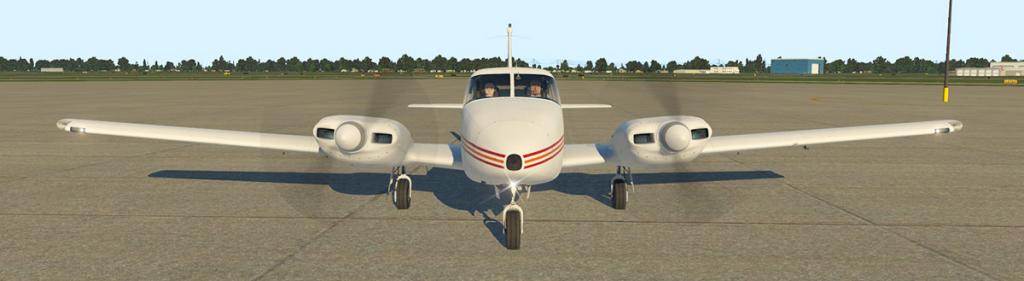
Like their Cherokee 140 your first impressions are again deceiving of the Twin Comanche. Nothing wrong with the actual quality or build of the aircraft as that is not the area I am noting about in reference, as the aircraft is of the highest quality you can get lately in its X-Plane11 form.
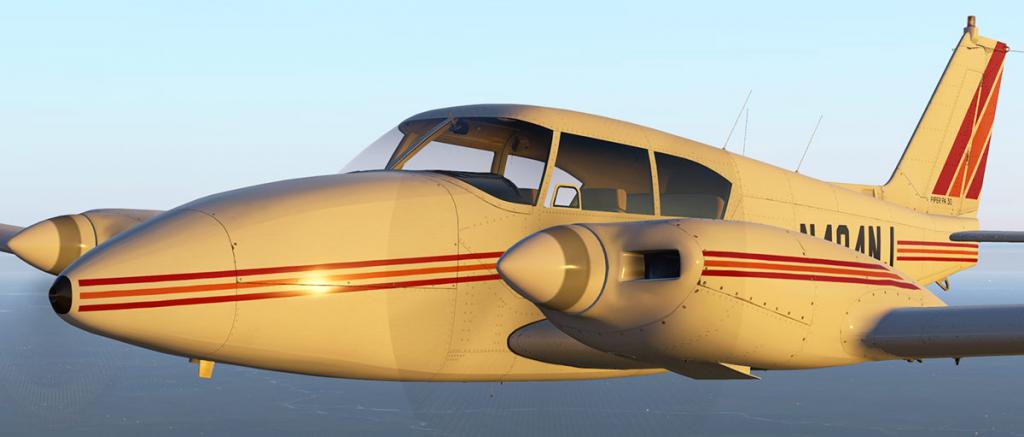
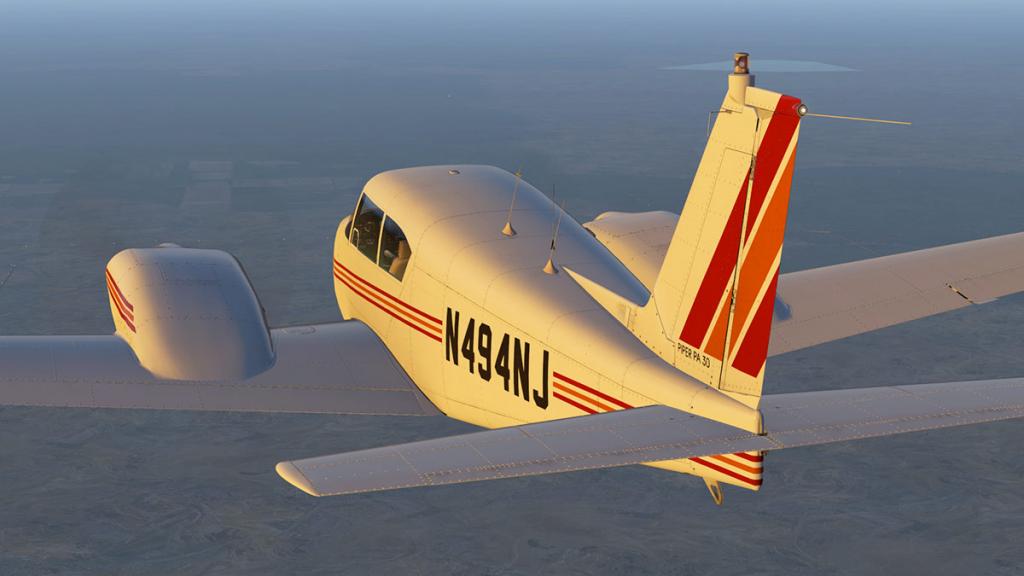
Detailing work is exceptional from vFlyteAir. Every panel, every rivet is noted and even the style and type of rivet as well. Modelling is nearly flawless, you would be hard really pressed to find any poor areas. All the smaller items in brackets, tiedowns, aerials and lighting is really well done, but not just in the actual design, but in the aging as well with the wornout rusty feel on used items.

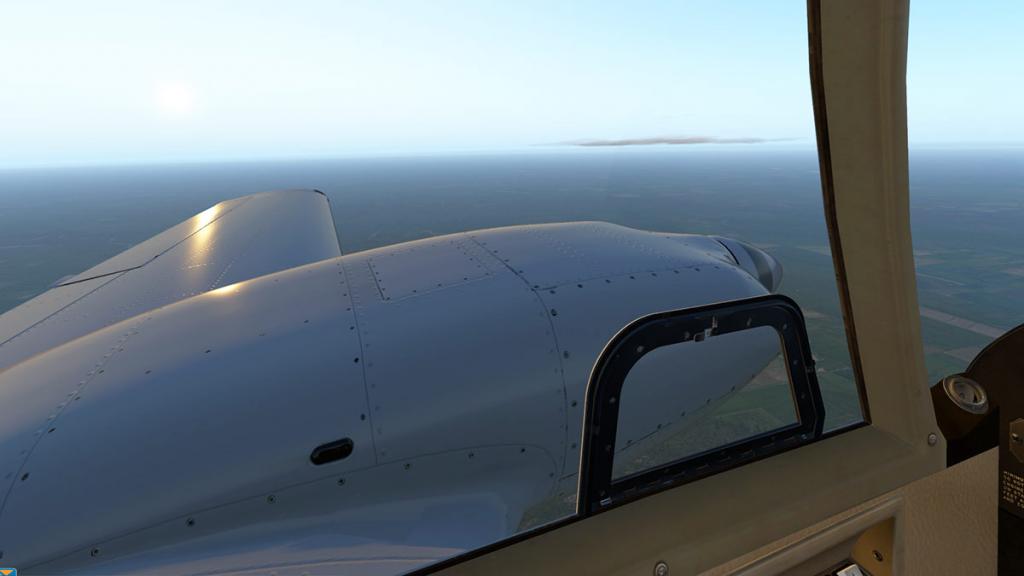

Note the open engine vents, which are animated can and be closed from the cockpit, but watch your engine temperatures as if you do close the vents then so as to not overheat the engines.
To highlight the sheer detail we have on this Comanche then we will look at the undercarriage.
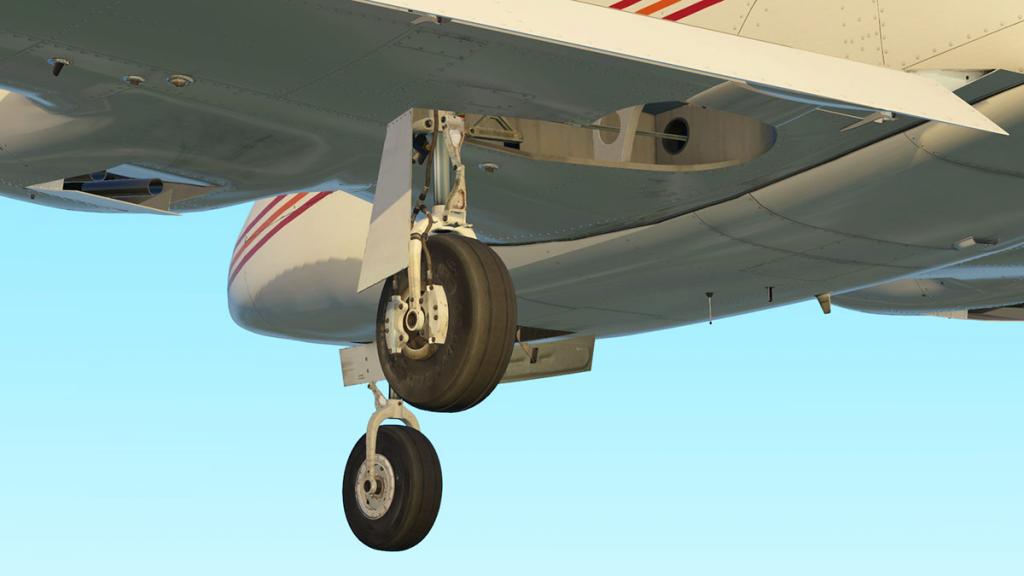
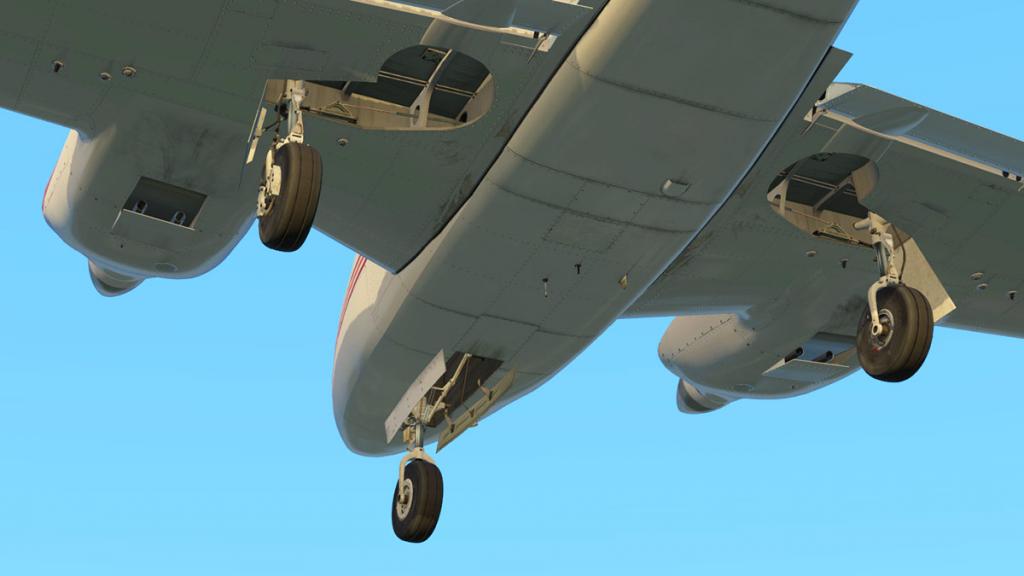
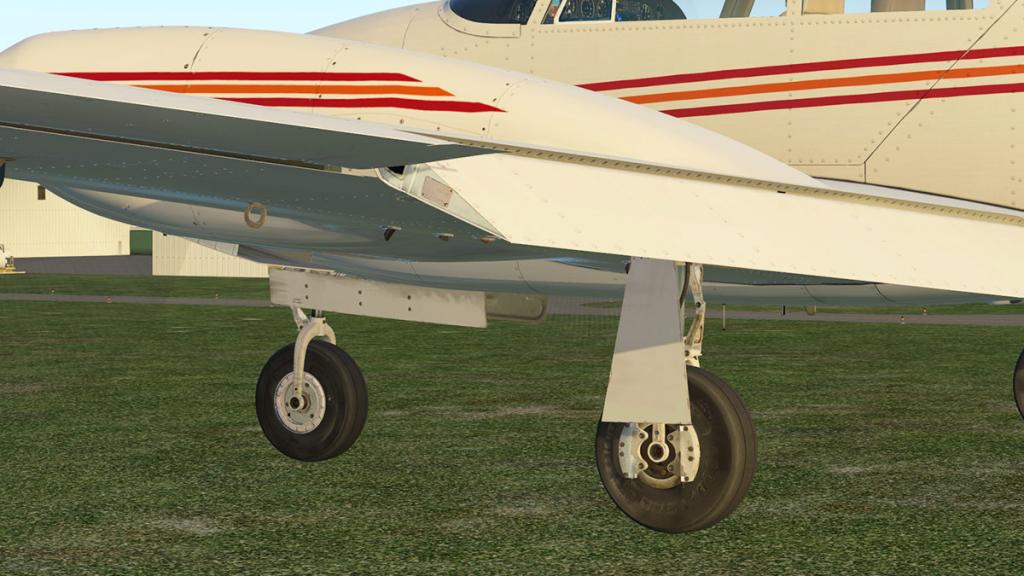
All the gear is perfectly recreated, hard worked tyres, brake assemblies, hydraulic piping and fittings, and all worn and greased up so much you can easily smell it. Flap assemblies (constant movement) are perfect as well and right down to the manufacturers plate on the inside of the assembly. But still really look at the detail? and Internally inside the wheel housing is still more totally recreated fittings, cables, braces and main structure of the airframe... it is even for the most fussy expert really as good as you will get in design.


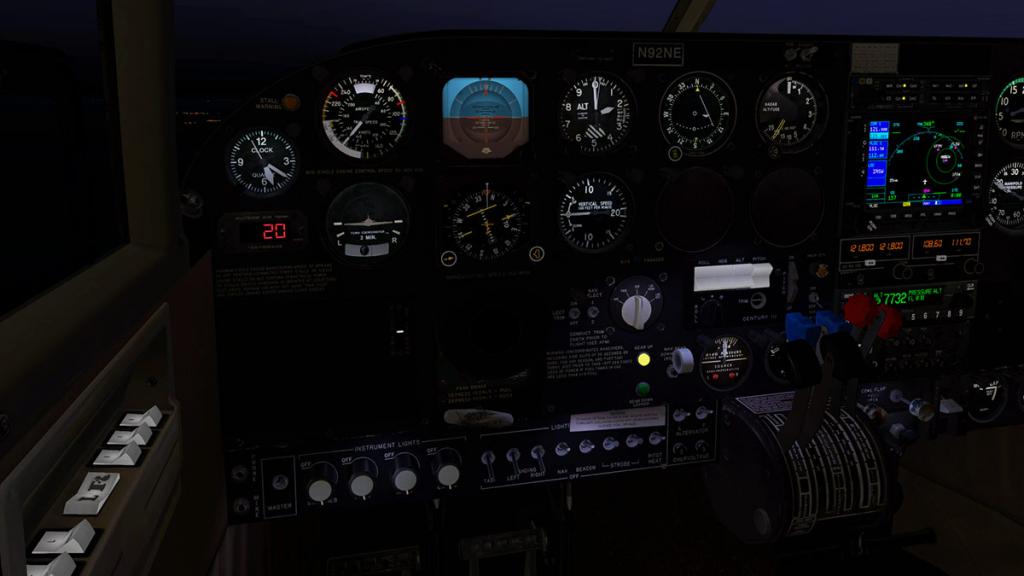
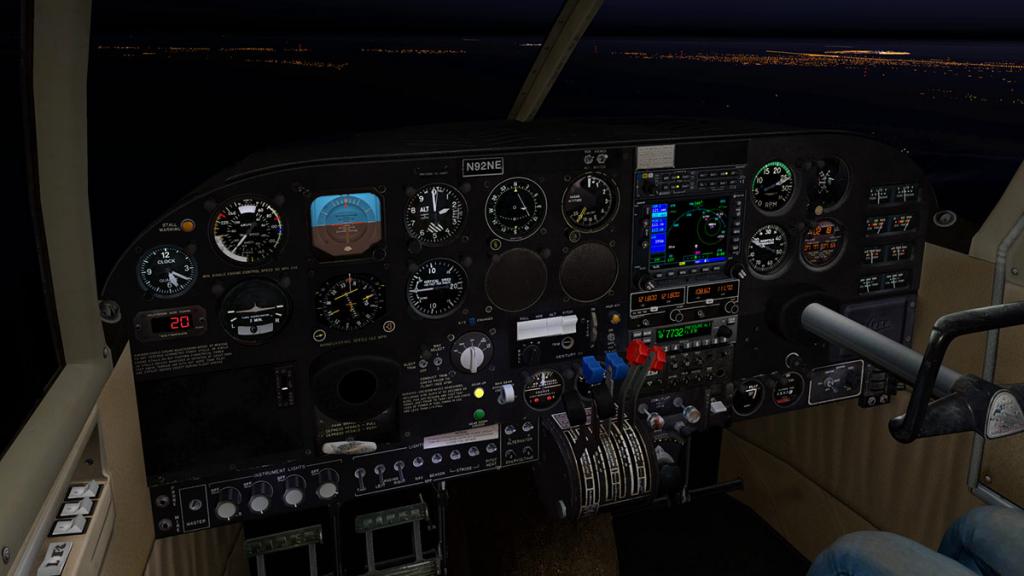
Internally and Mr Fussy won't be disappointed in here either. The instrument panel is close to perfection, the detailing is overwhelming.
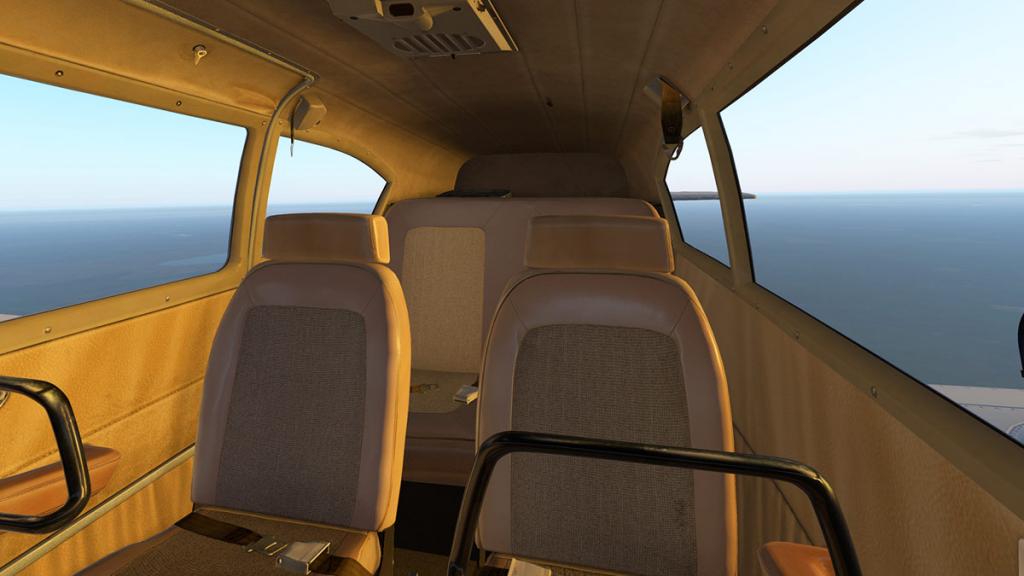
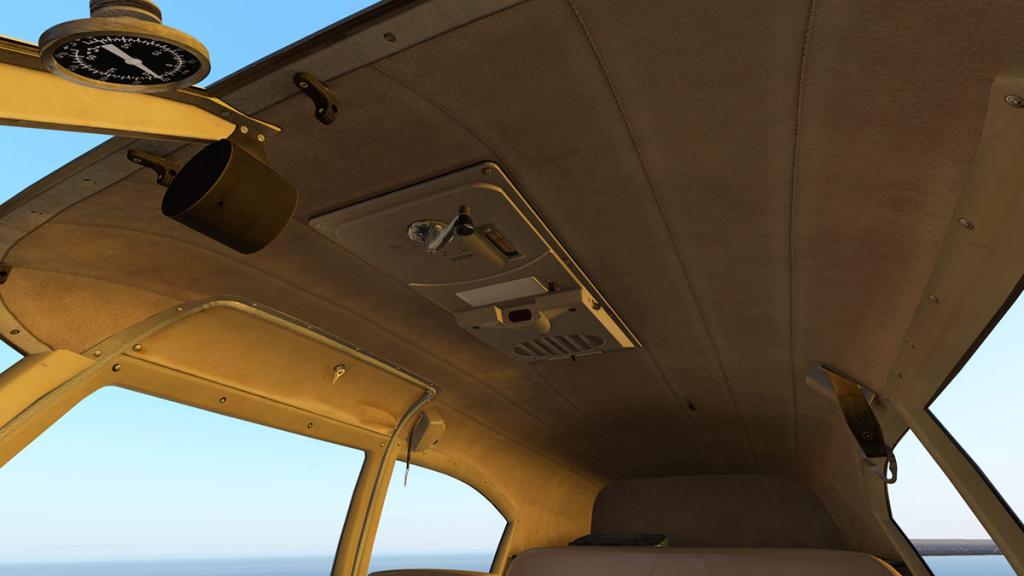
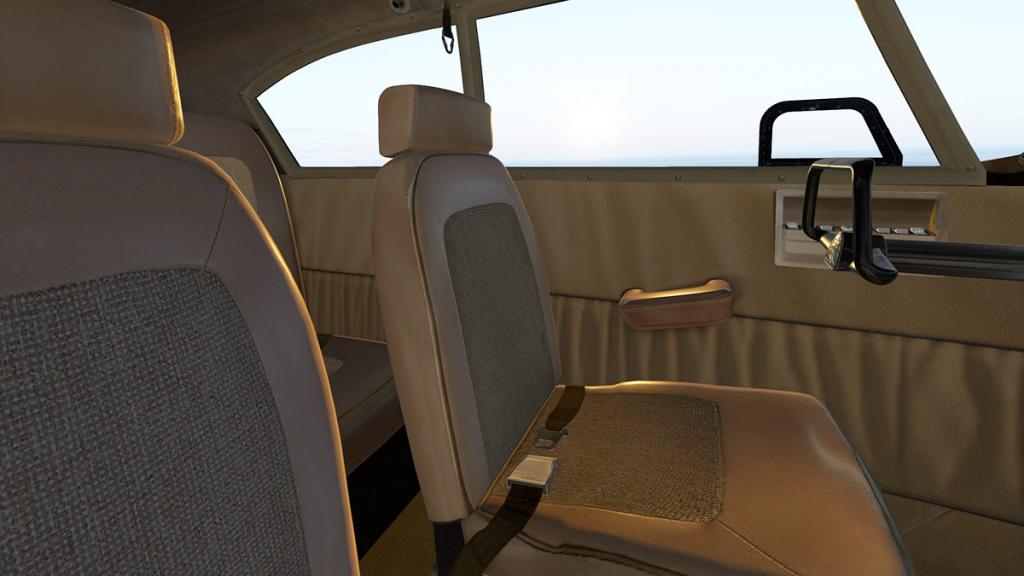

Rearwards in the cabin and you get the full treatment of a well loved and slightly worn (if also slightly smelly) old aircraft, lovely detail is simply everywhere, pinches in the seats, cloth trim, worn roof lining, slightly rusted fuel tank switches between the seats, and the more you look the more you are astounded in the realism of it all.
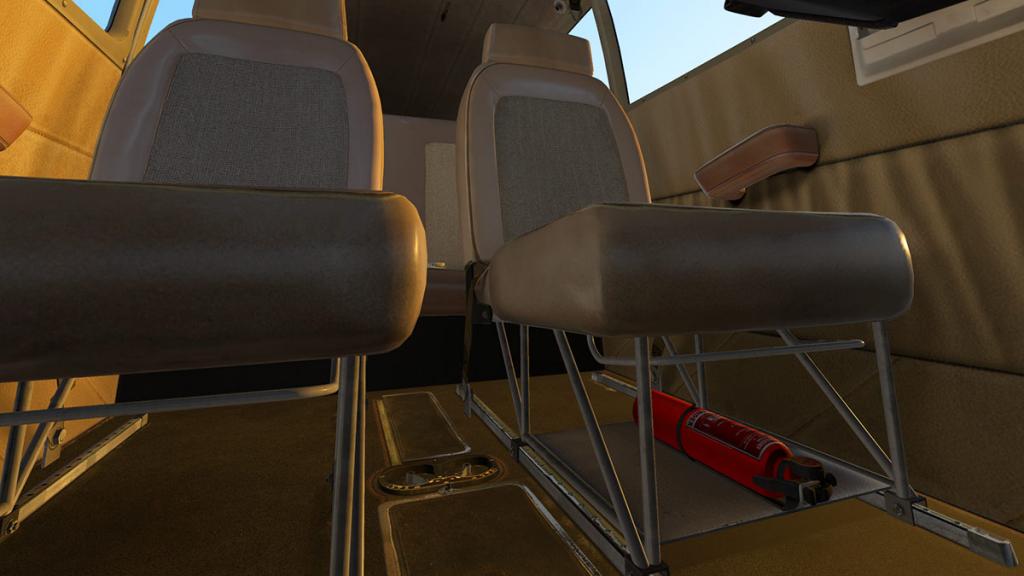
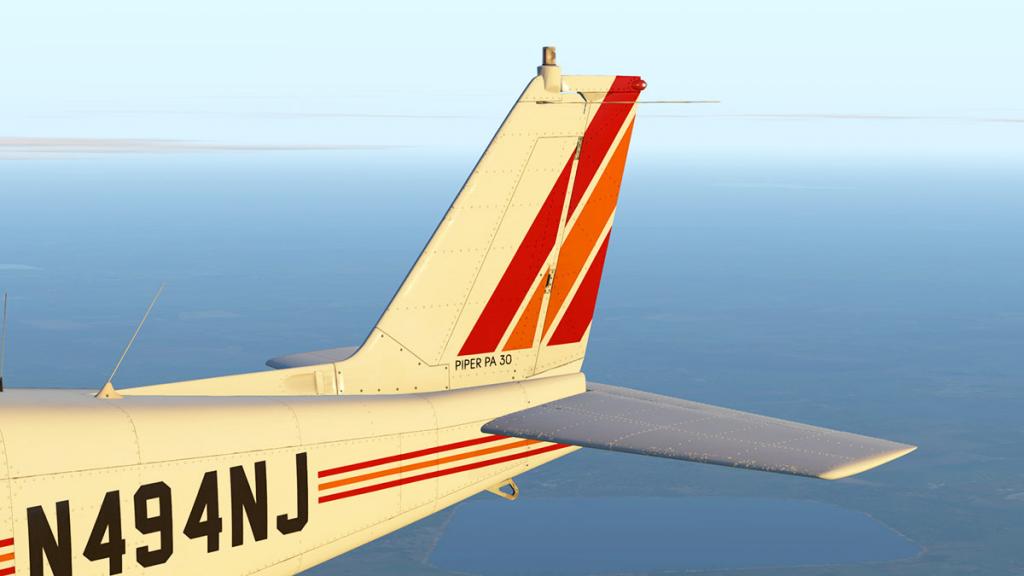
Even the areas you would never look at like under the seats or under the instrument panel and again the detail is totally complete, without doubt like with their Cherokee 140 then vFlyteAir has certainly spent a lot of time with tape measures and cameras looking under seats and poking in every area and every aspect in the aircraft to bring you a perfect reproduction of the Comanche or in this case their donor aircraft which is a 1964 Piper PA-30, serial number 30-459, tail number N92NE.
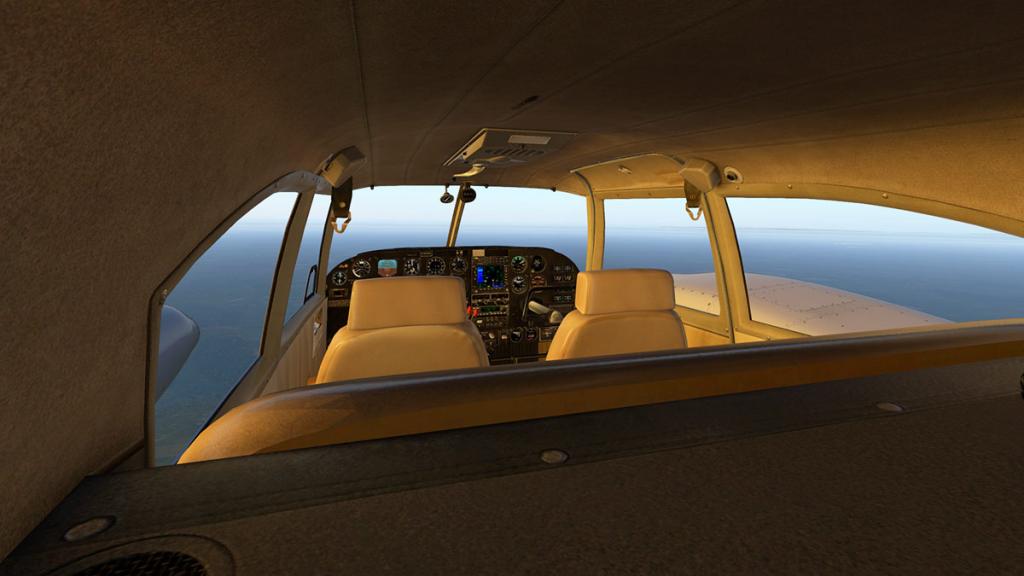
You do get the total feeling though that this Comanche is an old aircraft (1964) and is one of the early production types. It feels old and looks old, but that ageing is really highlighted by the lovely venting on top of the metal instrument panel. It wouldn't be so noticeable but by the fact of how real and realistic the actual panel has been reproduced... it is so beautifully crafted.

Instrument Panel

You have no idea on how hard it is to recreate an instrument panel like the one in the Comanche. This all could have been easily a flat bland metal facia that looks X-Plane9 in design, but it isn't. The detailing is simply extravagant, but perfection is the only word on the tip of my tongue. The trick is the same as vFlyteAir did in the Cherokee 140 with the minute detail of all the required wording and warnings, I really don't think you would ever be bored in this aircraft as there is always something somewhere to read... and most of it telling you what not to do.

The selection of instruments and switch gear is also very period original and authentic. Everything is replicated as per the original item, of course you do expect this sort of intimate design, but when you do actually get it, it is also very confronting as you feel that you have been missing out on something else before. Not that you are a stranger to great design if you fly Carenado aircraft or other highly quality aircraft, but it just lift's the full experience just that one notch higher again.
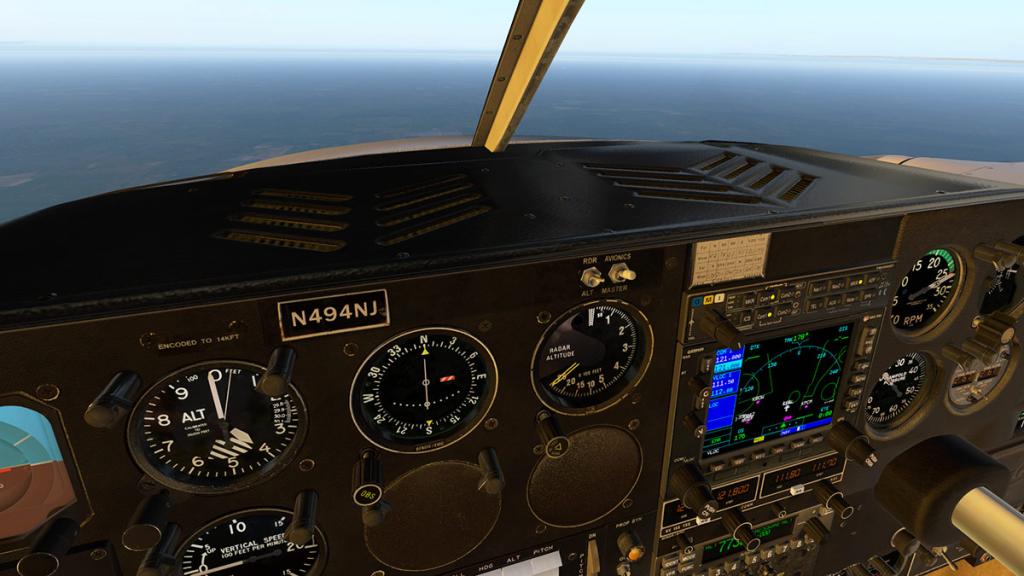
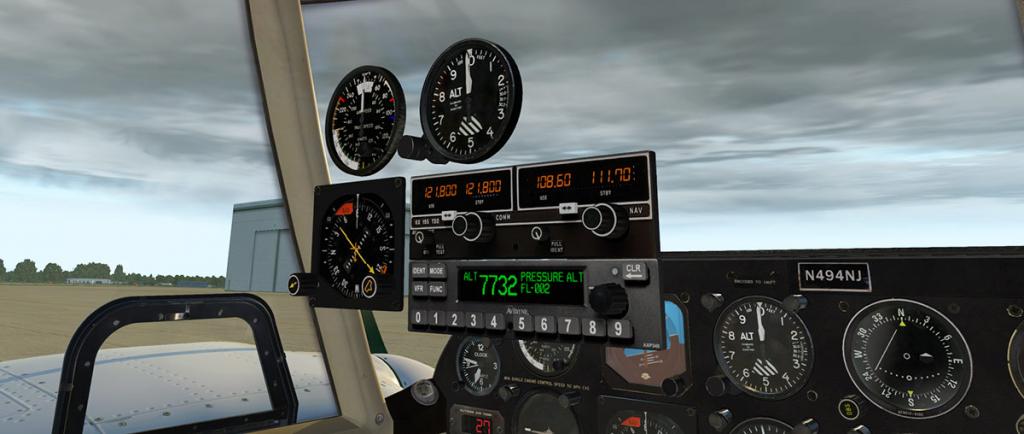
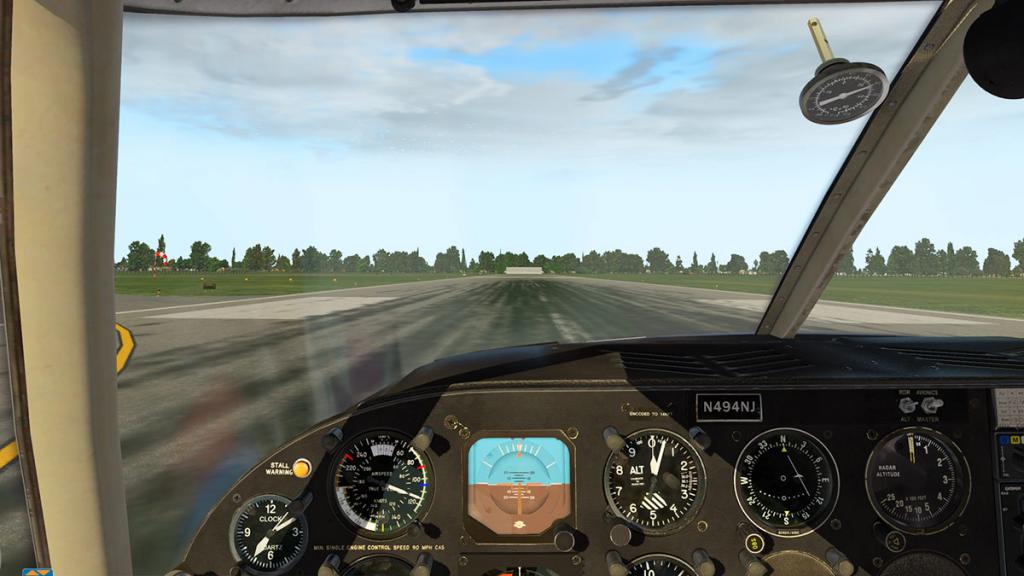
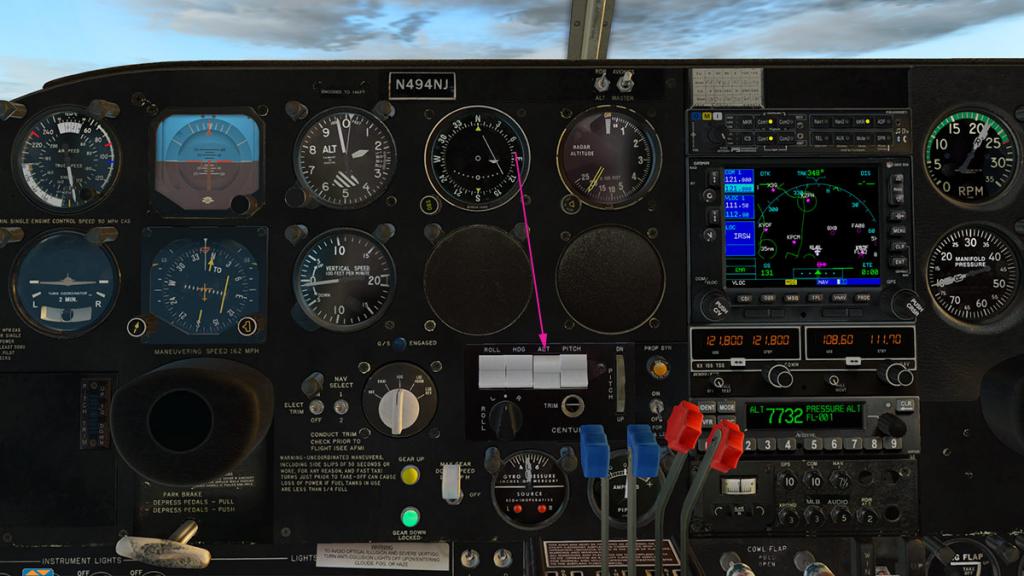
Flying instruments are only on the pilot's side of the panel. Standard Six instruments that are off set of the flying pilot with the Airspeed Indicator, Artificial Horizon and the Attitude Indicator on the top row and the Turn Coordinator, Heading Dial and Vertical Speed Indicators set out directly below. Left of the six pack is a clock and air temp and on the right is a BendixKing OBS VOR indicator and Radar altitude (x100) meter.
ADF
In the period I did start the review vFlyteAir has put out an update (patch v1.1) This patch added in to the left lower panel a Bendix/King ADF unit and pointer. This is an original unit and is very authentic in its fitout in the aircraft, a very nice addition.
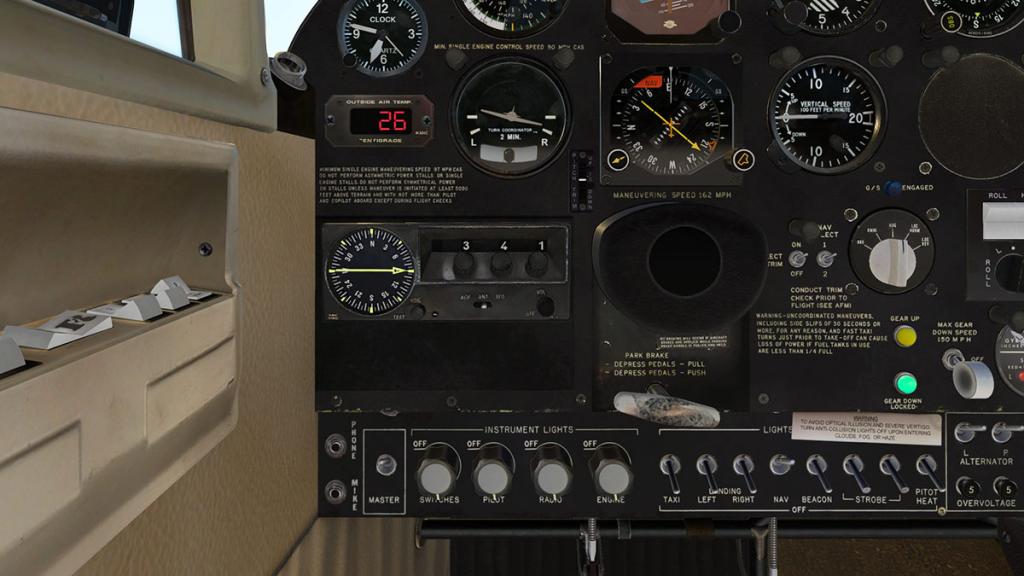
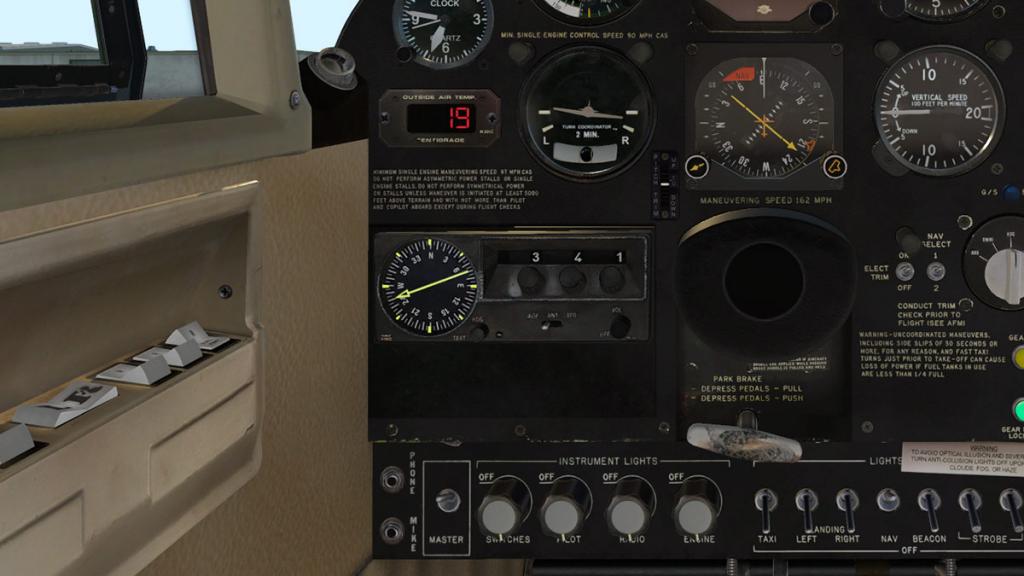
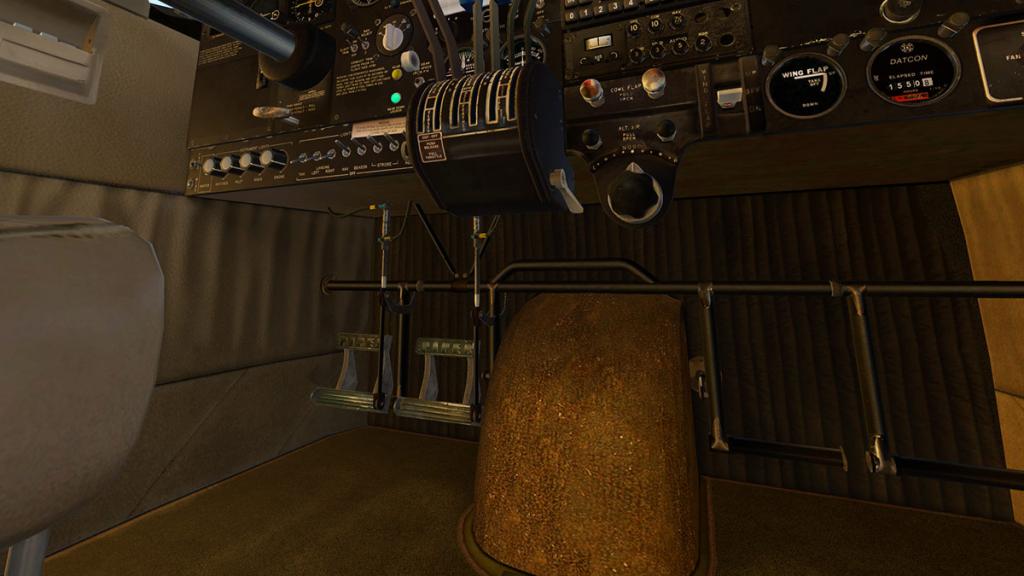
Below the main instruments is a AutoFlite III autopilot. The system is very basic in hold ROLL, HDG (Heading), ALT (Atitude) and PITCH (with adjustment wheel). With the age of the system there is a gyro pressure gauge set below with a hidden amperage gauge to the right. Note center left panel are the Nav1 and Nav2 selection switches. Lower panel is the Instrument lighting knobs and external lighting switches.

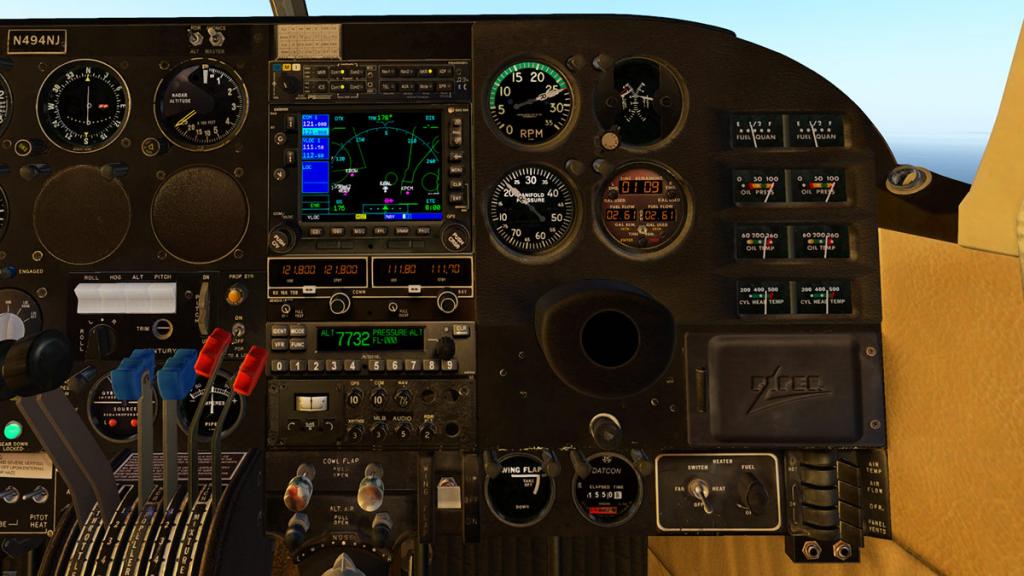
The equipment stack is great mixture. Radio is a PS Engineering PMA8000Ti, then the standard Garmin GNS530. Then a Bendix/King KX 155 COMM2/NAV2 radio (COMM1/NAV1 is part of the GNS530). The Avidyne AXP340 transponder is a nice bit of kit, it covers the transponder, with Pressure Alt, Flight Time, Stop Watch and Flight ID as part of the system. A very nice looking Voltmeter and fuses panel is below the transponder.
Right panel are the engine gauges (both engines are in the same dials) for RPM and right is the CHT/EGT Gauge which has a rotary knob on the CHT/EGT gauge were you can select individual cylinders for display. selections 1 through to 4 are left engine cylinders, and 5 through to 8 are right engine cylinders...
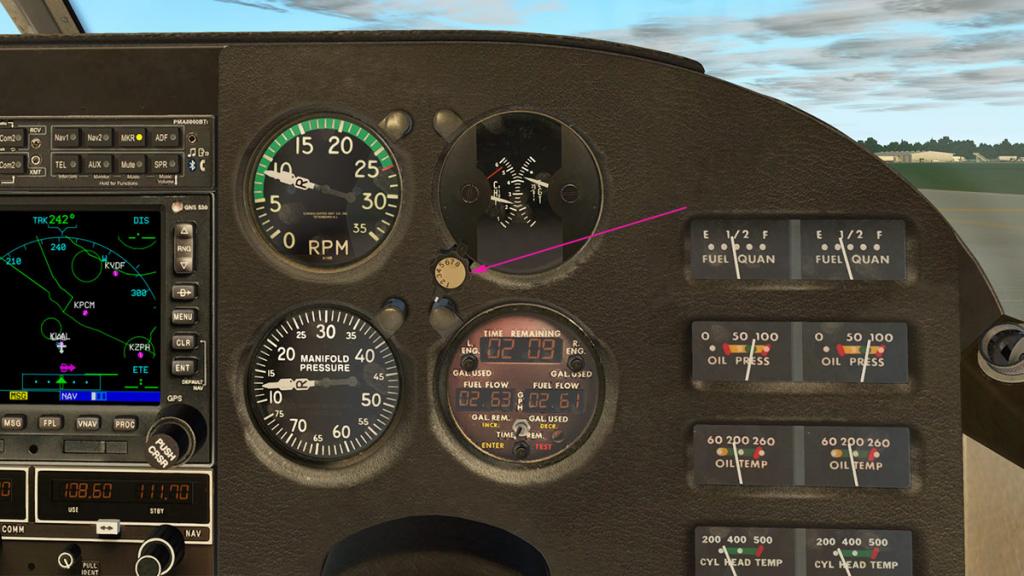

... Manifold Pressure (both engines) and a very authentic fuel flow meter with "Time Remain" is below. Down the right side is a set of eight gauges that covers L&R Fuel quantities, L&R Oil Pressures, L&R Oil Temp, L&R Cylinder Head Temps.
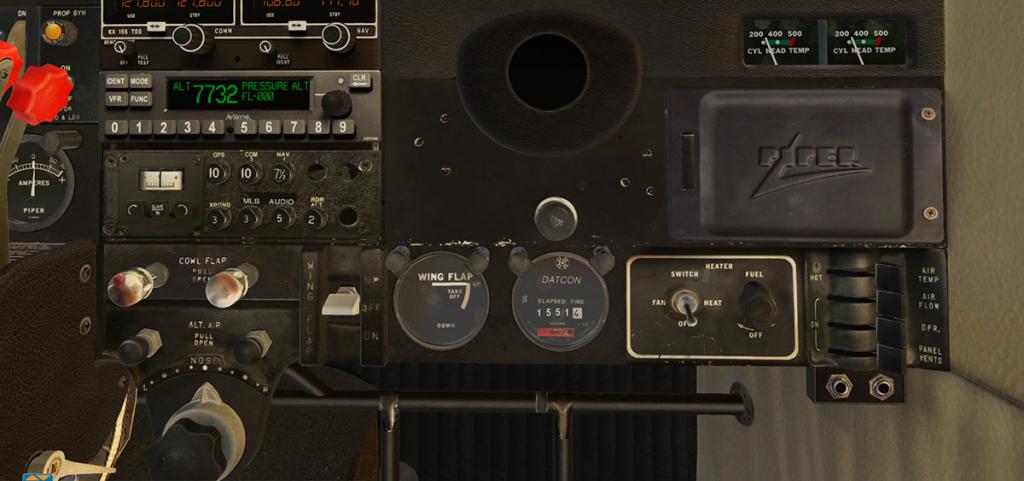
Lower right panel has the engine cowl flap knobs and a very nice Flap switch and indicator. Dobbs meter and heater switches. Far right are four sliders for Air Temp, Air Flow, OFR and Air Vents that do work. An empty (opening) glove box is above.
The Reality XP GNS530 (sold separately by Reality- XP.com) can also be used with a provided “RealityXP.GNS.ini” file that makes the Twin Comanche ready for the RealityXP gns 530W plugin.
A few Instruments do popup or out... but you can't move them around or resize them so they are in reality limited use.
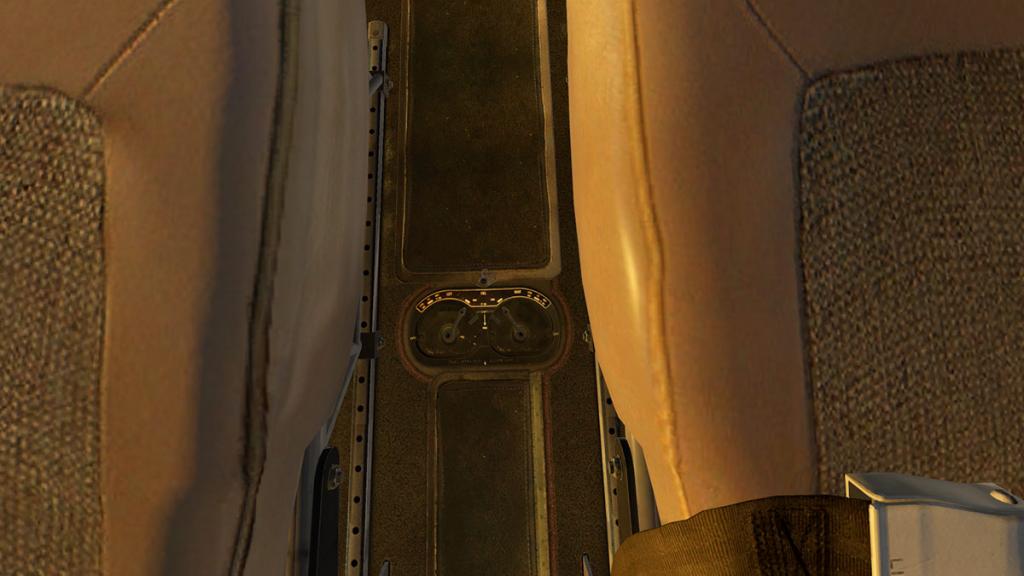
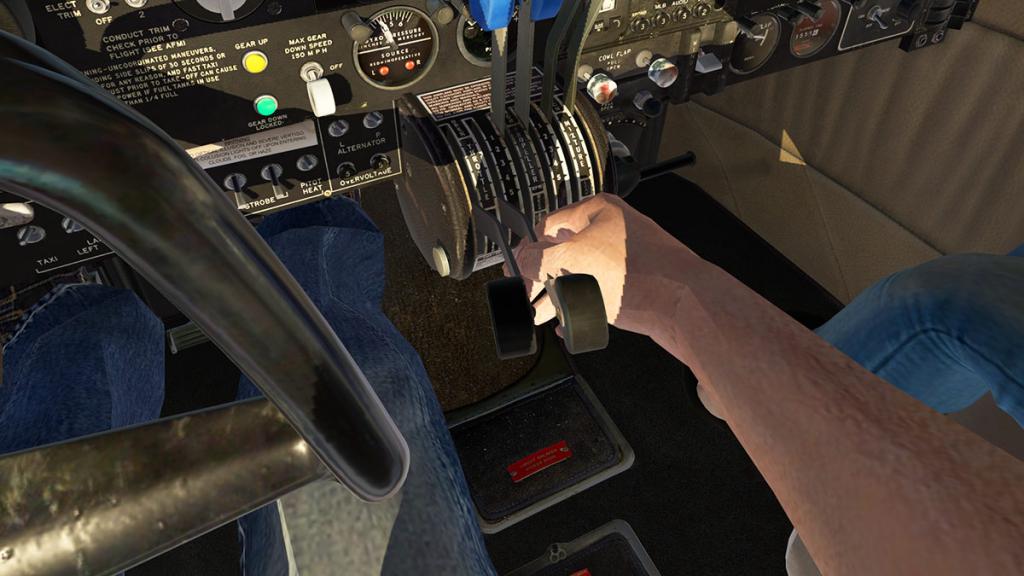
The central mini-pedestal is perfectly recreated, tired, worn but beautiful beyond words. Twin Levers cover Throttle, Propeller RPM and Mixture.
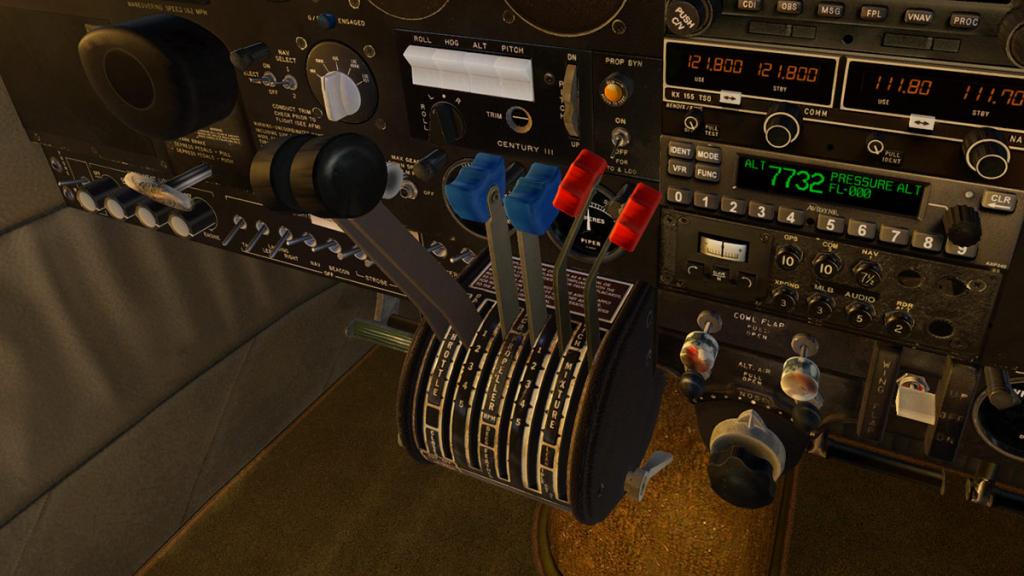
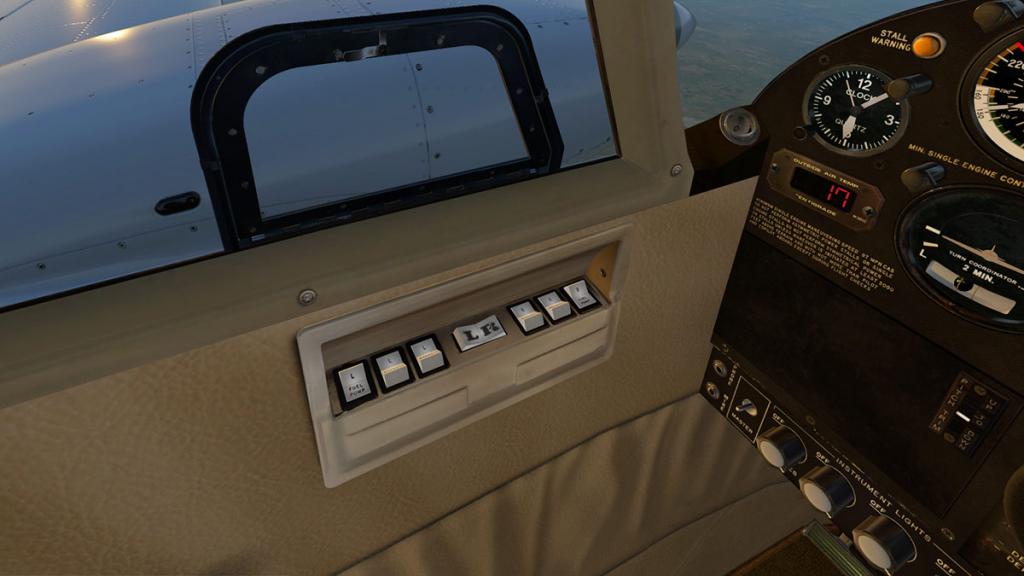
Left side pilot's side is an electrical switch panel that covers left to right L-Fuel Pump, L-Magneto, L-Magneto, Engine start L/R, L-Magneto, R-Magneto, R-Magneto, L-Magneto, L-Fuel Pump.
In between the front seats are two panels. The top one is a fuse box, the lower panel can removed to access the emergency gear mechanism...
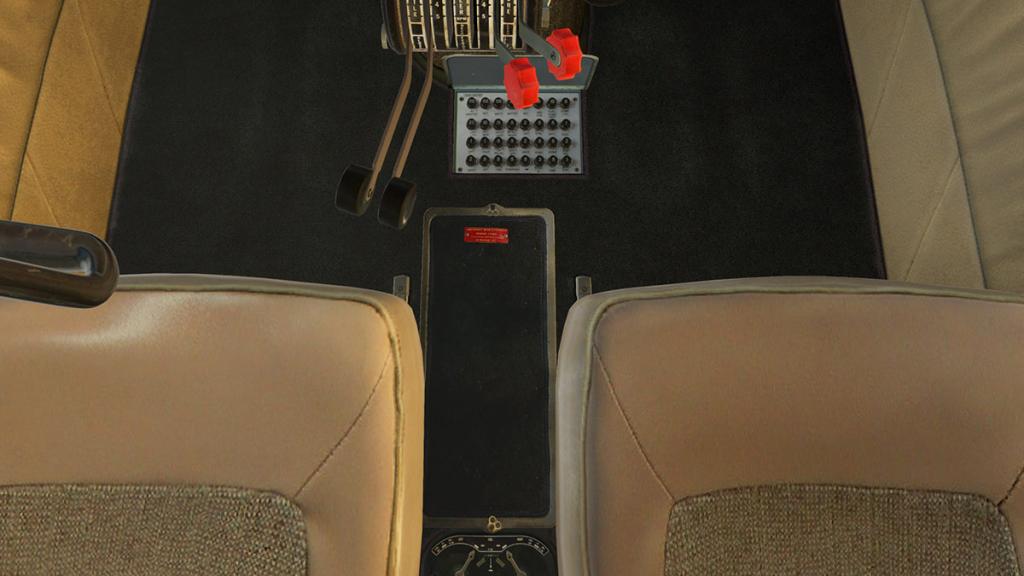
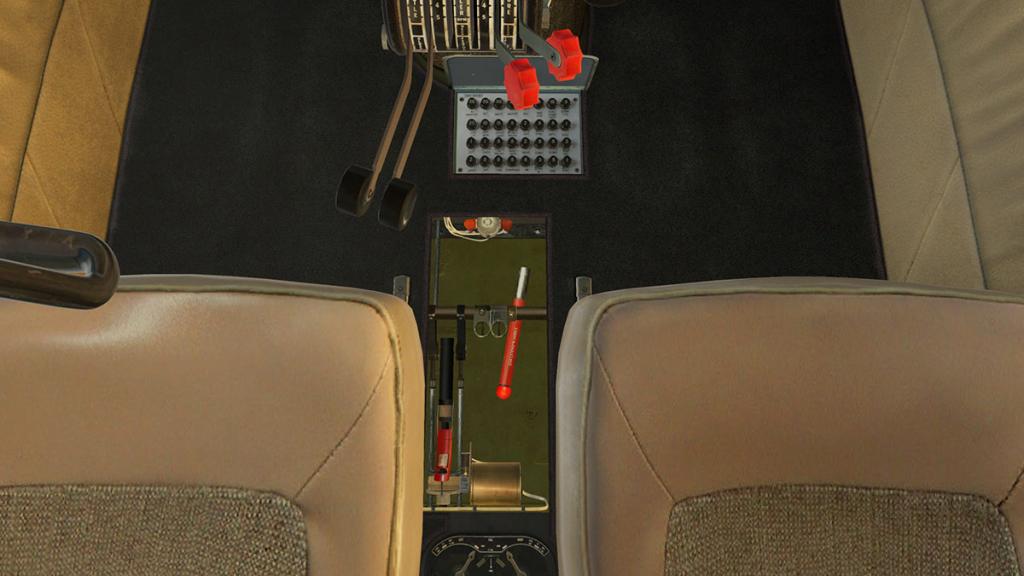
... the idea is to disconnect the gear motor to allow you to manually lower the gear, once lowered you can't reset it until you are back on the ground. This is great to simulate emergency landing procedures.
Menus
For the eagled eyed of you all, did you actually notice the empty aircraft at the start of this review? And as I did my usual practise of jumping straight into the pilot's seat and wanting to do a few circuits of the airport to get a feel of the machine... a totally wrong idea was that one.

Take a long look of my tailplane? That is not right now is it? I know it is a bit of dumb and dumber, but it does emphasise that you do need to set this aircraft up correctly before you do fly anywhere, it is a sensitive soul of a machine.
The menu tabs are on the lower bottom left of your screen...

... this will bring up your menu selections of: Pre-Flight, Weight & Balance, Check Lists and Power Table.
Pre-Flight
The Pre-Flight menu covers all aspects of your options for the aircraft. These include On Screen Notifications, Hide/Show Glass Objects, Nose Gear Steers (for rudder pedals), Custom Engine Start which is that the engines will use X-Plane's default logic instead of the more realistic engine-temperature-based custom code start ( a cold engine takes longer to start).


Final options include Checklist reset and the Co-Pilot can be also visible from the interior viewpoint. On the main diagram you can switch on and off options and ground elements that include: Co-Pilot's door, Baggage (cargo) door, wheel chocks and intake covers. A final selection is for the optional "Tip Tanks" for extra range.
Weight&Balance
The second menu option is the "Weight&Balance" panel. This is an import panel with this aircraft. You have to be very aware of the way you set the aircraft up as the aircraft is sensitive to the changes done here.
You can set all the different amounts in all of the fuel tanks including the optional Tip Tanks and there is six in all. The fuel tankerage is also shown on the Pre-Flight panel as two fuel gauges on each side of the aircraft.

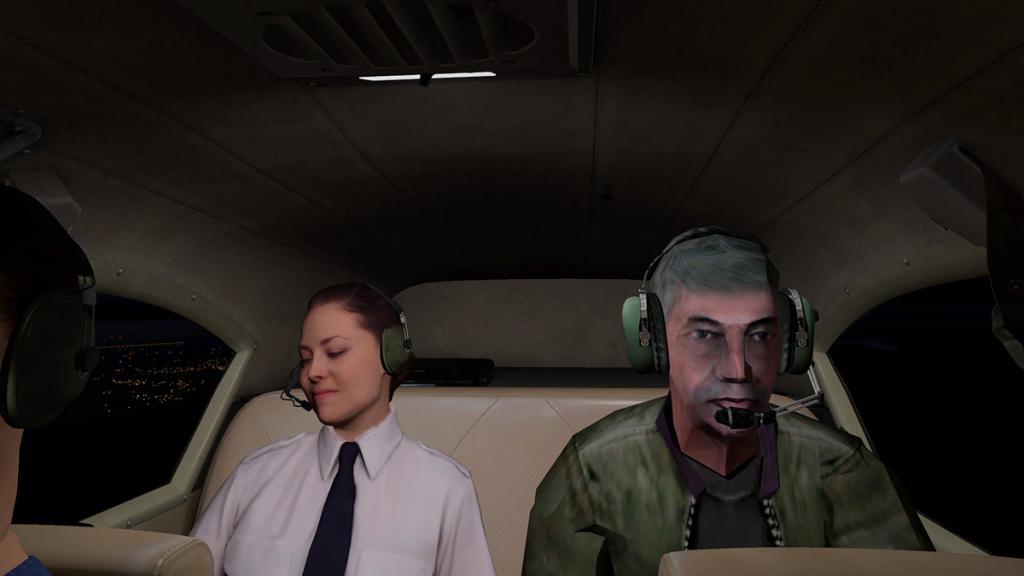
Besides the fuel weights, you can also set the weights of each of the pilots and passengers on the aircraft, moving the sliders will set the weight and also make the people appear in the aircraft, this is great as you can have as few or as many passengers in the aircraft as you require.

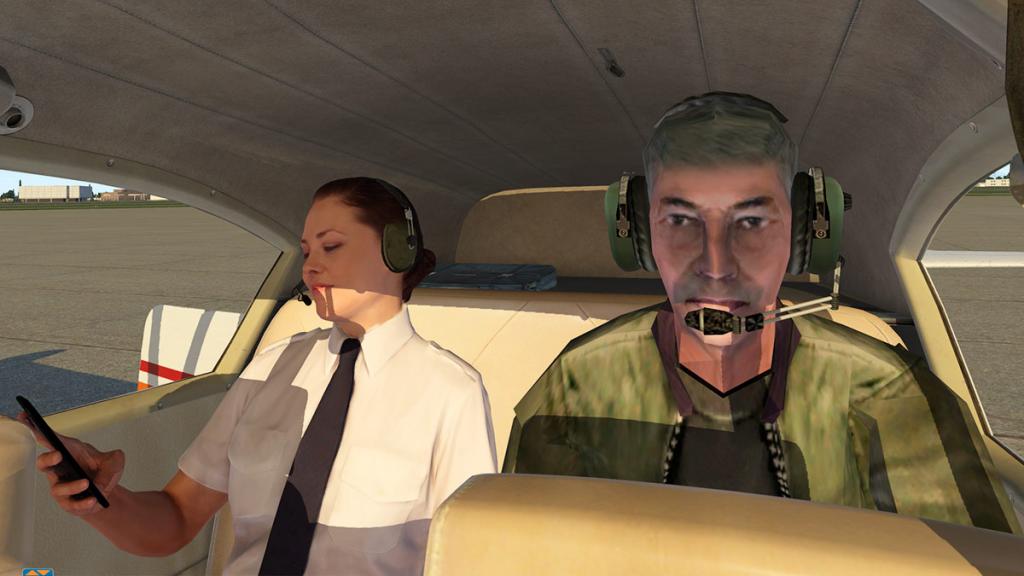
Highly realistic and fully animated (below) if not a little too realistic as the guy in the back feels like the ultimate backseat pilot! (sorry Walker, he just looks annoying in constantly telling you how to fly!)


Last item you can adjust on the Weight&Balance panel is any baggage or cargo you are carrying in the back of the rear seat area. Note that put too much weight in cargo or baggage can easily push your aircraft balance way over the limits. Thankfully there is a very good adjusting CoG chart to get all the settings right and find the correct balance of the aircraft, as I noted the Comanche is very sensitive to the changes on this panel and the full gross weight of the aircraft is also noted in lbs and kgs.
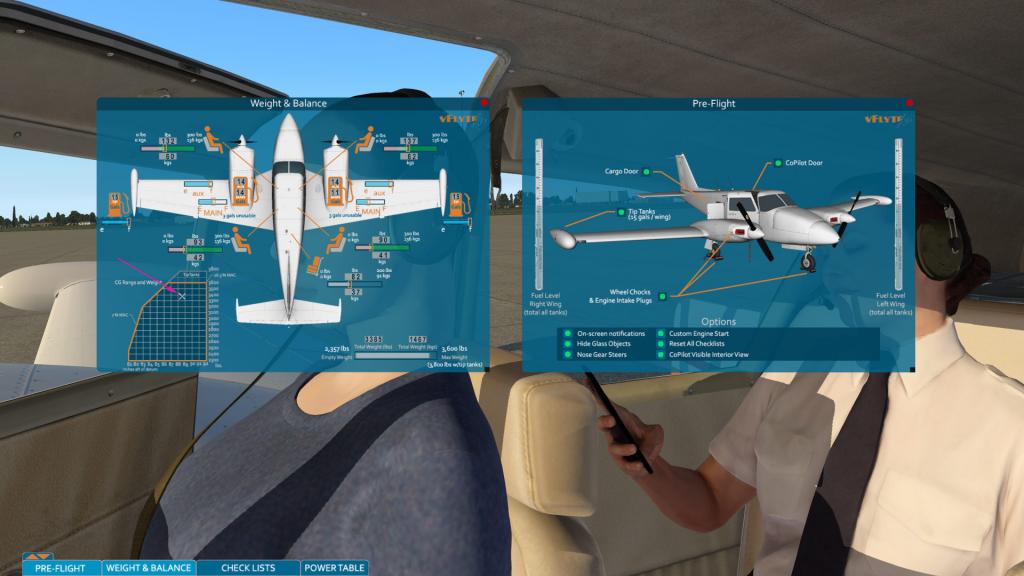
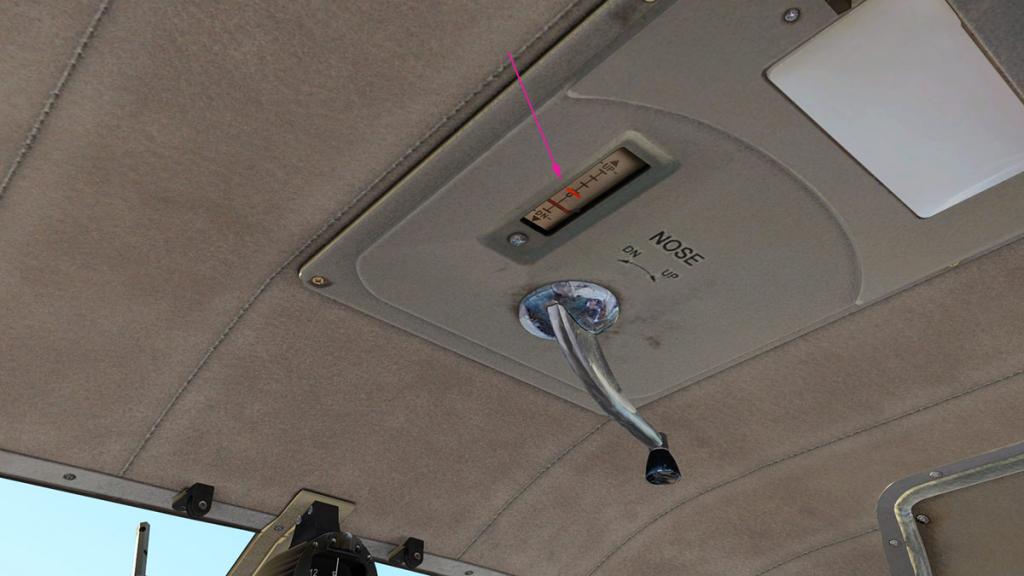
As I noted earlier to incorrectly set the aircraft up can cause you a bit of strife as in my case the aircraft was far too weighted too the rear. A final adjustment is via the beautifully crafted rotating trim handle on the roof with a trim indicator, there is another trim indicator on the instrument panel next to the left of the pilots yoke.
Checklists and Power Setting Table
There are two other menu panels that covers the aircraft's checklists in: Pre-Flight, Starting, Taxi and Ramp, Takeoff, Climb and Cruise and Descent and Landing. You tick off the boxes as you go through the lists and can then reset them on the options panel.
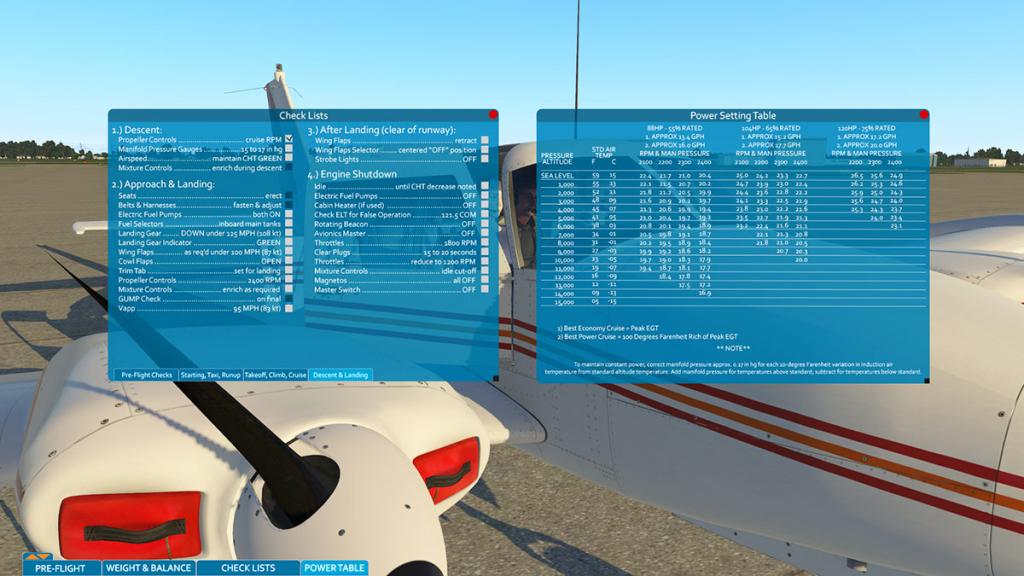
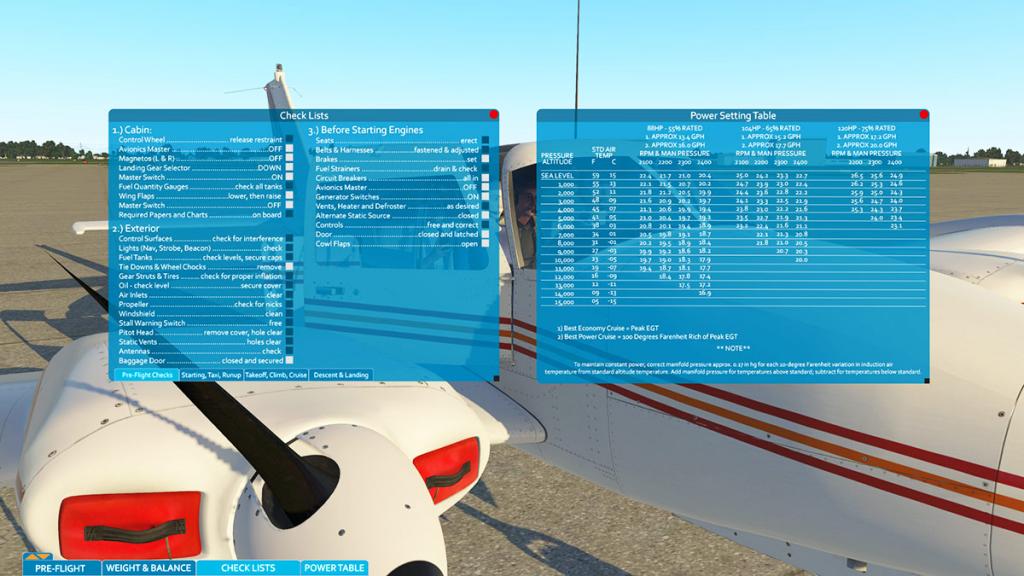
vFlyteAir are very specific when flying their aircraft to fly them to exact power parameters and in this case the power out of the reference of the EGT gauge which is located on the co-pilot side instrument panel which is used for adjusting the mixture settings. So they provide a very comprehensive power setting chart between altitude, air temp and engine power for the correct settings for a certain situation.
Flying the Twin Comanche
After doing a comprehensive resetting of the aircraft via the Weight&Balance's panel it was time to see the difference between the first flight and the current changes. It was only a short hop between KAPF Naples and KRSW (Florida SouthWest) just to the north.
You do have two options for taxiing with the standard X-Plane front wheel direction (with the rudder) or a separate front wheel action with rudder pedals or yaw joystick. I personally kept the action on the standard setting because I am used to that, but a rudder pedal control does make it more authentic.
The Comanche is nice to taxi, speed is easily controlled. It is important to set the flaps correctly for takeoff. They are a variable type and not stepped in operation. The indicator is not in the best place to see from the pilot's position on the very right lower panel, but halfway is the correct setting, but you have to very quickly raise them once you are airborne if not you get a flaps warning.

I am quite heavy at 1490lbs, so I need to be adjust to the weight...
... if you have a twin throttle system like I have with a Saitek x56 then you can get a lot more control over the takeoff by keeping the engines in powering the right side slightly faster than the left to counter balance the same propeller rotation direction. It is a huge help in keeping you straight as you power up the runway. Note here the hand of Walker doing a great job in controlling both throttle levers.

Rotation is around 110knts, and climb out around a 1000ft per minute, the climb rate is noted as 1480fpm, but around 1200fpm gives you the best result from speed and a good climb rate.

There is a real lovely and realistic feel to the aircraft, but I am as noted heavy so I can't throw the aircraft around as much as I would like to.
As I climb out I acknowledge the huge difference between the not set up out of balance aircraft and the correctly set up Comanche, it is a far more stable and flyable machine.

The AutoFlite III autopilot is an authentic bit of kit. All rocker button actions, and it is quite easy to use. I couldn't find an on/off switch, but a key autopilot disconnect will also work.
The selection switch gives you the Nav (GNS530 flightplan), OMNI, HDG, LOC normal (ILS) and LOC reverse are really all standard X-Plane settings.
If you select the heading (HDG) rocker switch the ROLL is activated the same time, if you want just the roll (turn) then turn off the HDG switch and the roll (turn) knob is quite hard to see but located below.


The altitude switch works the same way. Select ALT to hold an altitude, but select PITCH to climb or descend via the scroll wheel, but you have to switch off the ALT switch BEFORE you can use adjust the PITCH control, if both ALT and PITCH switches are on it will just hold the altitude.

Don't press the pitch scroll wheel too many times either as it jumps in 100ft increments, a few clicks to one click is all that is needed.
In cruise the Comanche is a very nice place to be, as noted it does feel like an old 1964 vintage aircraft, but that is part of the charm.

The vflyteAir Comanche is one of the first aircraft (payware) to feature the new FMOD sounds system. It delivers spatial 3D sound location, Doppler effects, custom interior and exterior engine sounds and a variety of different button, knob and switch clicks. And very impressive it is, I will note through that the FMOD system is only as good as its source sounds and is only available in X-Plane11, but I was impressed.


The aircraft is very good to sensitive throttle response, again a twin-throttle addon gives you great control and feel. Adjust either throttle to feel the intimate effects of the different power thrust from either engine and you can use that feel to help in crosswinds or just getting the approach path correct.
A few users noted the flaps tend to be a little too effective and create too much lift at the wrong low speed, personally it was not to bad for me, but then again I do keep the speed as low as possible before I dropped the flaps, they are as noted variable anyway and you can feed in as little or as much as you like, however vFlyteAir has done a few more adjustments anyway to give you more room on speeds to move them down.

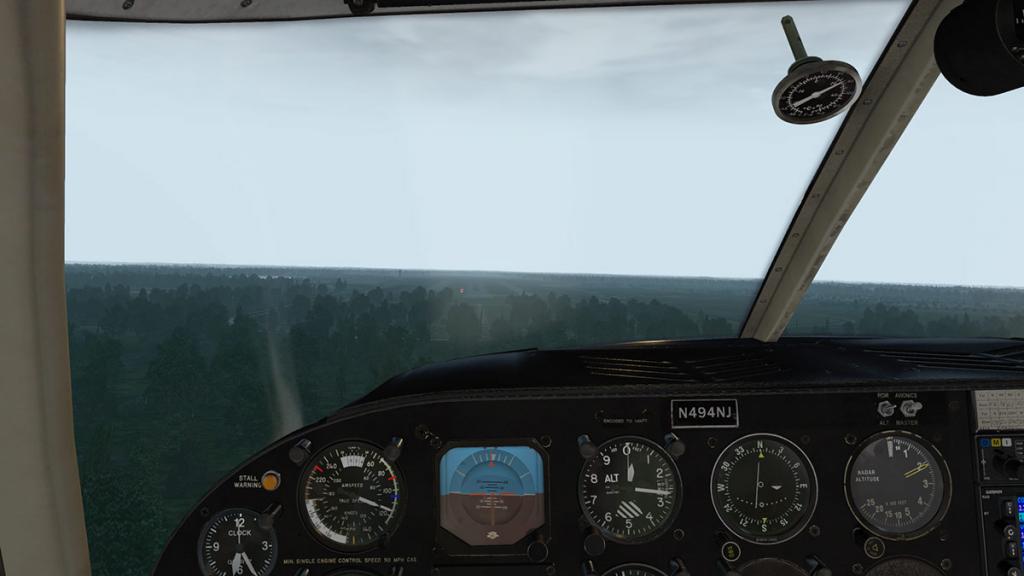
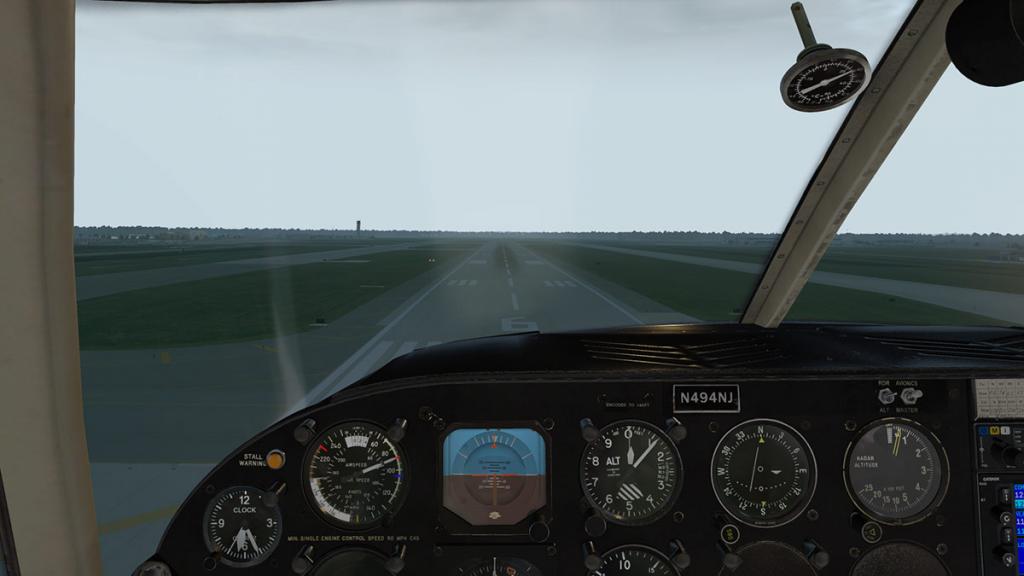
Approach is around 100knt-110knts to a flare around 90knts as the stall speed is a dirty (flaps down) 60knts...

... even at 80knts the aircraft tends to float, control is of course good, but twice in landing now I have gone further down the runway in what I would like to do, fine on a long runway like at KRSW, but on a small short strip it could get you into trouble.
I found the Comanche very impressive, but setting it up correctly is crucial to the experience. A note is that if you want to use the Comanche in a saved replay, then you do have to set it up (fuel, passengers) and with the engines running to have them working or showing correctly in the replay, and the engines won't shutdown like they should do either in the replay.
Lighting
The lighting is excellent, almost perfect and you are perfectly set up for good night landings.
Instrument panel is perfect... all the instruments are clear (for their age) and there is really lovely lighting over the lower panel switchgear. There is full cockpit/cabin illumination provided by two overhead lights, one for the front and one for the rear.

External lighting is adjusted for X-Plane11 and is really good with the usual, Nav, strobe, beacon and landing lights.

Like with the ADF pointer, in the v1.1 patch vFlyteAir have added in the taxi light on the front landing gear strut, it was not on (or working) with the donor aircraft but have added it in to the package as some users requested.
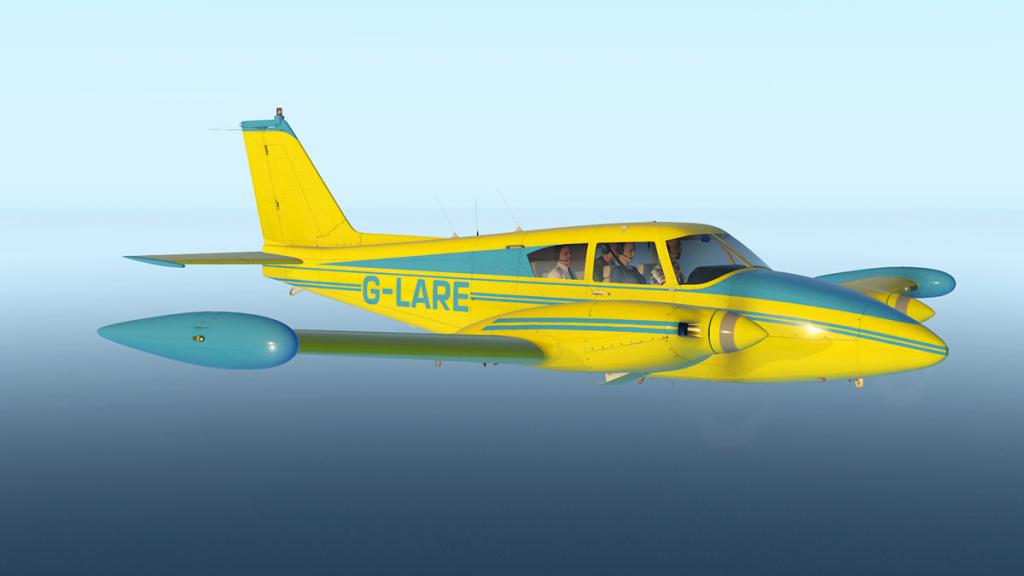
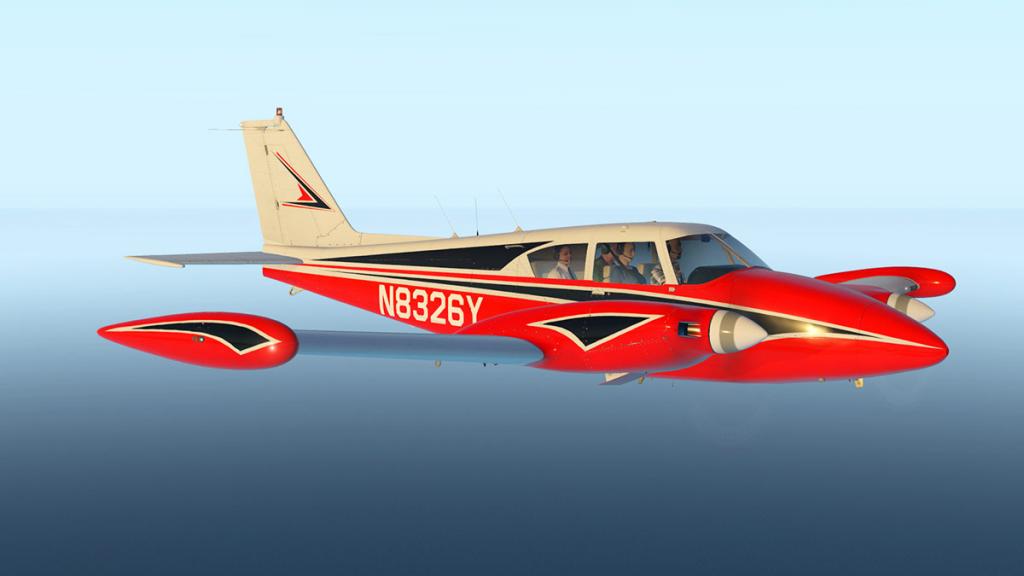
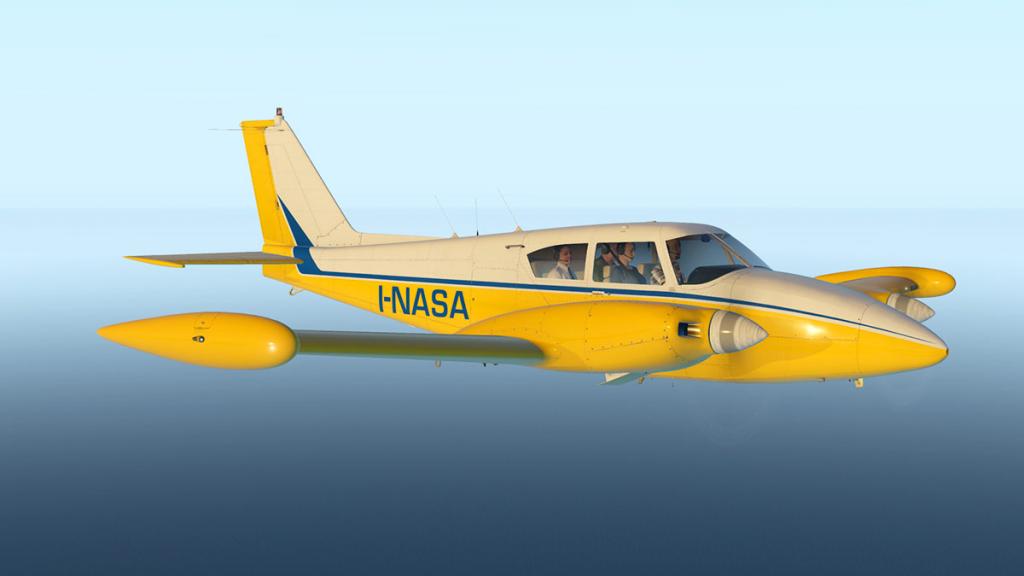
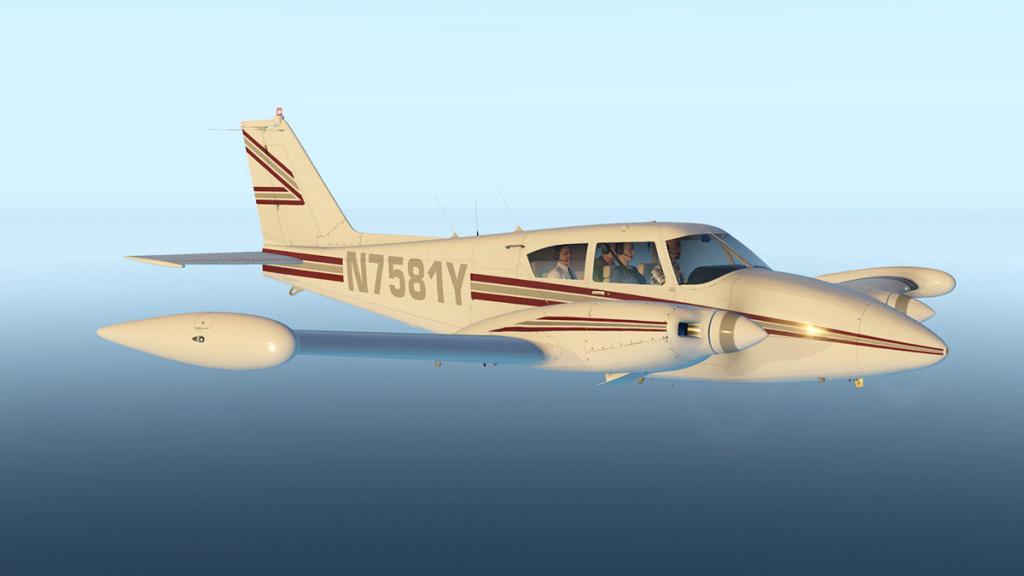
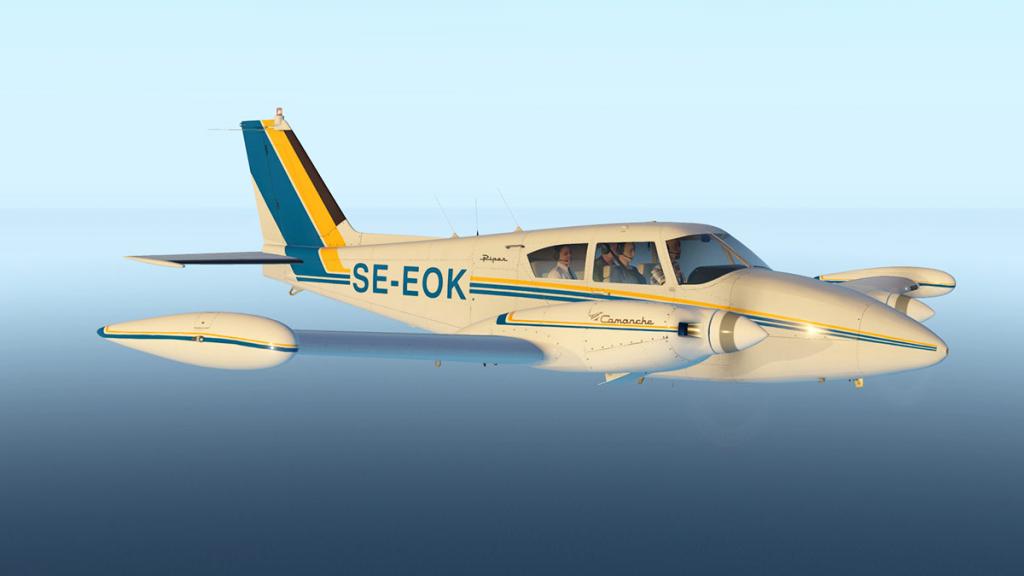
Liveries
There are thirteen excellent Hi-Res liveries from a lot of different regions and a paint kit is available for download, but no donor N92NE livery which is surprising? If you change the livery then the rego number is changed on the top of the instrument panel which is a nice touch...


Summary
I started this review in the mind of what is required to create a very high end in quality and performance aircraft. To what end is a developer a master of their craft and that when they do a release of a new aircraft then it is a must buy.
It is a long and hard climb to that lofty position, but vFlyteAir are certainly one of the great's now with this their latest aircraft. Their Cherokee 140 was outstanding, but the Twin Comanche proves that the aircraft was not a fluke or simply a one off.
Their trick if there is one is that they recreate aircraft they personally have access to, and that access is felt right through both of these aircraft in an intimate detailing in both design, detail and performance. vFlyteAir have real world yardstick to compare to and it shows and makes their aircraft even more fully deeper and a totally more complete experience. But even the availability a real machine is no good unless you have the skills to transfer that aircraft to the X-Plane simulator, but vFlyteAir have not only just done that but done it in a masterful way.
Negatives, nothing really, and even nothing doesn't have to be a complete zero as anything can be improved or adjusted, but out of the package this is a very complete aircraft of quality and performance.
It does require a careful setup with the weights and balances and to fly the aircraft to the required performance specifics to truly get the complete immersion here, but the rewards are certainly worth the effort of getting it right.
There is an optional version coming soon as well for the Twin Comanche with an Aspen Avionics Evolution Flight Display system, it is noted as being released in a few months and that will be certainly an interesting variation of the aircraft to fly.
vFlyteAir's Cherokee 140 won my best GA category award for 2016, and there is now a good chance they will take the same award away again for 2017 with this Twin Comanche, and that is still with the competition of Aerobask's brilliant releases earlier this year. So the quality and all round top level aircraft just keep on coming for X-Plane, but one of the most notable things now is that vFlyteAir are now one of the very best in their class with general aviation aircraft, this PA-30 Twin Comanche absolutely proves that in every area and context.
_____________________________________________________________________________________ 
The Piper PA-30 Twin Comanche by vFlyteAir is NOW available! from the X-Plane.Org Store here :
Priced at US$29.95
Features:
- FMOD Sounds: We built the sound system using FMOD Studio and XPlane 11's new sound engine. Enjoy effects such as spatial 3D sound location, Doppler effects, custom interior and exterior engine sounds and a variety of different button, knob and switch clicks.
- Physical Based Rendering (PBR) textures for exterior and interior objects, to provide appropriate surface reflections and specular high-lights.
- Interactive menu system with intelligent Check Lists, interactive Weight & Balance calculator, Pre- Flight Options menu and pop-up Power Settings table – our new graphical on-screen menu system features interactive user choices and selections in a graphical interface.
- Dynamic pilot and passengers – go to the Weight & Balance menu to add passengers and cargo for your flight. Your passengers will appear in the cockpit of the airplane as you increase their weights on the menu. Extra luggage will appear as you increase the luggage weight. The Total Weight and Center of Gravity dynamically change as you add weight to the aircraft.
- Accurate Avidyne AXP340 Transponder with power-on boot screen, Pressure Altimeter display, Flight ID display, Altitude Monitorfunction, simulated ADS-B OUT, Flight Timer, Stop Watch Timer, and power-off count-down timer. The AXP340 is the most realistic transponder simulation we've ever created.
- Accurate Fuel System: Optional tip tanks are selectable from the Pre- Flight menu. With the optional tip tanks turned ON, the Twin Comanche has six (6) separate fuel tanks. X-Plane does not support separately selectable fuel tanks, so we wrote custom code that simulates running out of fuel on the selected tank. But don't worry! If you get close running out, we'll (optionally) flash a message on the screen to change tanks before you run out of fuel!
- On-Screen Warnings and Notifications: 13 different warnings and notification messages will appear on the screen, depending on conditions and triggers. You can turn off the warnings and notifications from the Pre-Flight menu Options section.
- “Pop-Out” Instruments and Gauges: several key gauges and instruments can be “popped out” of the panel for easier viewing – VR friendly!
- Compatible with the RealityXP GNS530 (sold separately by Reality- XP.com) - we included a “RealityXP.GNS.ini” file that makes the Twin Comanche ready for the RealityXP gns 530W plugin.
- And: Custom HDR interior and exterior lights with custom strobe flash sequence; Custom 3-D Propeller Effects with Prop Feathering; 12 Extra Hi-Res Liveries Included – and a custom Paint Kit is available for dowload so you can create your own livery. Fuel truck locations are set for the Twin so that you can call for Ground Service in X-Plane 11.
Requirements:
X-Plane 11 (not compatible with X-Plane 10)
Windows 7+ or MAC OS 10.6(or higher) or Linux.
2Gb VRAM Minimum. 4Gb+ VRAM RecommendedInstallation and Documents:
Download for the Piper PA-30 Twin Comanche is 719.80mb and the file is deposited in the "General Aviation" X-Plane folder at the same size of 719.80mb
Documents:
One manual: Piper Twin Comanche User Manual (26 pages)
_____________________________________________________________________________________ Review by Stephen Dutton1st July 2017Copyright©2017: X-PlaneReviews(Disclaimer. All images and text in this review are the work and property of X-PlaneReviews, no sharing or copy of the content is allowed without consent from the author as per copyright conditions)Review System Specifications:
Computer System: Windows - Intel Core i7 6700K CPU 4.00GHz / 64bit - 16 Gb single 1067 Mhz DDR4 2133 - GeForce GTX 980/SSE2 - Samsung Evo 512gb SSD
Software: - Windows 10 - X-Plane 11.02
Addons: Saitek x56 Rhino Pro system Joystick and Throttle : Sound - Bose Soundlink Mini
Plugins: Environment Engine by xEnviro US$69.90 : XPRealistic Pro v1.0.9 effects US$19.95
Scenery or Aircraft
- KAPF _ Naples Muni Scenery by Raligard (X-Plane Gateway) - Free
- KRSW - Southwest Florida International Airport by Aerosoft (X-Plane.OrgStore) US$24.99

-

Plugin Review : XPRealistic Pro v1.0.9 by rk Apps - Realism effects
In most cases you cover a review and then move on to another review to keep the X-PlaneReview site's content current. But some items and in this case a plugin (2017 has been a huge year for plugins) in the excellent XPRealistic for X-Plane realism effects in that I am revisiting it only a few weeks since the original review earlier in the month: Plugin Review : XPRealistic Pro by rk Apps - Realism effects
Usually after a initial release, there is a follow up of any new updates and features. But here with the latest release in v1.0.9 there has been a lot of changes and enough to recover the plugin with a more extensive review than just noting the changes. So you will find parts of the original review also inserted here in to save you having to go back and too to that release and not missing anything important.
So first of what this plugin is. It is a way to get more effective feedback in movement and sound. This is called realism effects or the way that movement on the screen will be replicated like within a real aircraft. This new effects plugin is to take the basic movement features and then ramp them up to another level of cockpit immersion, another and a huge factor in a feature is that you can set the level and immersion factor on each individual aircraft from a small GA right up to the largest heavy aircraft in your hangar.
So first let us see how to install the plugin and set it up, then look at its features and ease of use.
Installing the XPRealistic Pro plugin
The XPRealistic zip package includes the XPRealistic main folder, a manual and the XPRealistic.lua plugin.
Inside the XPRealistic folder are two folders for "Profiles" and "Sounds" and a .json file.
XPRealistic Pro uses the "FlyWithLua plugin as its engine. FlyWithLua is run with C/C++ code, and makes plugins with a Lua 5.1 script engine or more like a BASIC interface on top of machine code and is compiled with LuaJIT. It is easy for developers to create clever plugins to do clever things in X-Plane or wherever you can run lua scripts. But a note is that lua can cause plugin conflicts, and many other plugins or even the main simulator can be effected by running the FlyWithlua plugin. In most cases the conflict is not an issue, but you may lose a few favorite plugins because it will clash with lua, obviously Headshake is one of them.
FlyWithLua is created by X-Friese and there are two versions in one 2.4.4b (win, lin, mac) for X-Plane9 and XP10. And now a new version only for X-Plane11 version 2.6.0 (Windows, Linux, Mac OS X) so make sure you insert the correct version.
FlyWithLua is inserted into your X-Plane/Resources/Plugins folder.
In the FlyWithLua (FWL) folder there is a "Scripts" folder (arrowed) on where you install XPRealistic's main Folder and the XPRealistic.lua file (A note in that I removed all the other extra .lua scripts that were part of the FlyWithLua download package except for the Checklist tool). One particular visual script in "Please read the manual" will annoyingly come up on your screen when running X-Plane unless you remove it.
Using XPRealistic Pro
XPRealistic Pro is accessed via the "FlyWithLua" (Macros) plugin in the X-Plane Plugins menu.
Selecting the XPRealistic (XPR) plugin from the FWL menu will bring up the XPR menu on your screen... The old version (1.0.8) on the left and the new (1.0.9) version is on the right.
As you can see the new version is very X-Plane11 in menu design and is very nice visually and has a more friendly feel to the interface.
You can make the window larger or smaller with the + or - signs on the top border and also the new menu comes with a new feature that was put forward by myself. You can now via the "Menu Toggle" list item, assign a key to open and close the menu window. I found it very time consuming and not very efficient in having to constantly find the XPRealistic plugin buried within the FlyWithLua plugin folder to adjust the plugin's immersions, so now a simple one press key access is a great if not brilliant step forward.
When you activate the panel with the current version noted on the header. All green and red text in the panels are clickable or can be adjusted, the rest is just text... The main menu consists of seven items:
- Enable for (aircraft)
- Multi monitor
- TrackIR
- X-Camera
- Menu Toggle
- Freeze Toggle
- Master Volume
Note the changes with Enable instead of "Always Start", Multi monitor is now new, TrackIR and X-Camera have lost the "Are you using", the new "Menu Toggle" and the Freeze Toggle and Master Volume are the same as before.
The best feature of XPRealistic Pro is that it can be set for the current individual aircraft in use. This means when you load an aircraft you load the XPRealistic profile for it as well, and that any changes or settings are kept for that aircraft only. This background set of settings is a great way to always have your own preferences set for that active aircraft and changing to another aircraft (say a heavy) will also load in the preferences for that aircraft automatically.
These settings are stored in the "Profiles" folder in the XPRealistic main folder as .json flies.
- So the first item on the menu "Enable for (aircraft)" is the choice of and if you want that aircraft active with XPRealistic when you load the aircraft (yes/no).
- Multi monitor is new and allows users that use more than one monitor to have the effects work across all screens and not just the central one.
- You can use XPRealistic with both TrackIR and X-Camera and crossover functionality is built in, these two check boxes will allows you to activate or deactivate both these plugins if you don't use them.
- "Menu Toggle" allows you to assign a key to open and close the menu window.
- "Freeze Toggle" will allow you to stop the shaking to adjust knobs or the vibrations if they get too severe. It is used by setting a situation like when in clean smooth level flight and using a key input to activate it, you set it when it says "set now". I used the spacebar and that worked fine.
- "Master Volume" allows you to set the global volume of the plugin.
Active Profile
The last menu item is the "Active Profile". This is activated when you "Enable" the aircraft via the top checkbox. So whenever you restart X-Plane with the activated aircraft switched on the setting is automatically set unless you deactivate this checkbox. On checking the "Enable" if when starting up then the XPRealistic Pro plugin will load and that is noted on your screen (centre).
There are a set of default profiles to use in "GA", "Jets" and "Gliders" and more are promised. The number of profiles available will change as you add in more aircraft or if rk App's add in a new default profile.
Now the clever bit is that you can select the default profile and then press the "Customize" wording to make that GA profile into the "C172" profile which is stored in the as we know in the "Profiles" folder in the XPRealistic main folder as .json flies".
This is the selection of a profiles for the aircraft. Notice I said "a" aircraft. Even though it will note the current aircraft profile you can use another profile on that aircraft as well if you like that particular set of settings or duplicate the other profile and adjust it to your preferences for this aircraft. The number of profiles available are noted by the "profile" (4/15). A note is to point out that the older profiles will still work fine in the v1.0.9 update, but you will have to adjust for the new effects added.
Selecting the aircraft (arrowed) will open a dropdown profile for that aircraft.. This is where you can edit the settings for that profile.
In the profile there are three levels of choices:
Profile Actions
First level of the profile gives you the "Profile Actions" or the main choices in:
Reset to Defaults - To reset all the settings in the profile
Delete Profile - To delete the current profile completely.
Profile Immersions
Second level is your main aircraft editing tools in (effect choices can change for that particular effect):
- Category
- Name
- Enable
- Sound
- Volume
Immersion Preview
Third level will give you a preview of that set profile immersion
Editing Your Profile
Profile Immersions
Category
The immersions are set into (currently) ten "Categories" that include:
(1) All, (2) Atmosphere, (3) Engine, (4) Environment, (5) Flaps, (6) Gear, (7) Ground Roll, (8) Head Movements, (9) Touchdown, (10) Uncategorized
(note that in the current v1.0.9 version the <> change pointers don't work, but holding the pointer over the wording and using your mouse scroll will change the category, this will be fixed soon). You will also note this is a significant change to the earlier v1.0.8 version.
Name
Under "Name" is your immersion effect and in this case "Atmosphere - Airport Atmosphere" and if you select the "info" tab then details of what that effect does pops up to the right of the menu panel. As you select a choice of effect the lower panel adjusts to include the extra settings you can use on that effect. This includes different sound files, the volume of the sound files, shaking effects and movement effects.
Listed under "Category" are your different immersions or effects that you can use.
(1) All - every effect and immersion that you can scroll through.
(2) Atmosphere - Includes: Airport Atmosphere - Cockpit Atmosphere
(3) Engine - Includes: Activate reverse - Engine start - Engine Stop - Reverse Thrust - Side Prop - Throttle
(4) Environment - Includes: Rain - Turbulence - Wind
(5) Flaps - Includes: Flaps drag - Flaps Set - Flaps stress
(6) Gear - Includes: Gear drag - Nose wheel well
(7) Ground Roll - Includes: Ground roll fast - Ground roll slow
(8) Head Movements - Includes: Braking - G-Force effects - Heading Anticipation - Natural Head - Pitch Anticipation - Roll Anticipation - Taxi Anticipation
(9) Touchdown - Includes: Touchdown Front - Touchdown Main
(10) Uncategorized - Includes: Airframe Wind - Ground effect - Rudder Squeeze - Speed Brake - Stall - Stall extra sound
A few notes on the immersions. First there are now 32 immersions up from 26 in the earlier version (1.0.8) and one in "breathing" has been replaced by "Natural Head" that is now more a circular motion than the in-out motion of before. Other new immersions include Airport Atmosphere and Cockpit Atmosphere that puts in noises and other ideas to simulate the environment around you. The original Head Anticipation effect has been widened out to cover not only the left - right look, but now up - down (Pitch Anticipation) and a quick side look (Taxi Anticipation). Even the the left - right look has been split into Heading Anticipation and Roll Anticipation movements.
The immersions can be adjusted to the various areas of their effects that include:
Enabled
This checkbox allows you to have that immersion effect on/off
Sound File
This effect is the choice < > of different sounds to that immersion
Sound Volume
This is the separate volume only for that immersion effect %
Shake Intensity
If the effect has shake or vibration, then you can adjust the movement percentage %
Movement Intensity
Slightly different from the shake effect in more of a slow change than a violent action.
Here is a small selection of the immersions and their editing profiles :
Immersion Preview
Here you can see or hear the changes to the selected immersion by pressing the checkbox on/off.
This is the preview of "Head Anticipation" which is an effect to guess where you are going to look next in the Pitch Anticipation.
_______________________________________________ As for me a general rule with these vibration effects is the line between realism and totally annoying. In that rational I usually have most settings set low, certainly the ones like the "brake" effect that wants to put your head through the windscreen every time you simply touch the brakes.
Mostly (as in life) less is usually more with these choices. The most intrusive are the ones that are over active when you need to control the aircraft and you are trying to scroll knobs or adjust your height or speed. There is the "Freeze Toggle" to help you here, but I would still set the on the side of minimum than maximum for the best effects.
But GA vibrations and sounds always would be more violent and louder than a Jet airliner, I know you would want that feeling anyway, but you can go too far in that direction of effects as well, because at the start it is all very exciting, but after an hour or so in the air in a small slow aircraft the constant noise and vibrations can then send you to the doctor.
So the aim is simply realistic and realism and not the point of that if you even have that huge amount of adjustments doesn't mean you have to use them all.
As there is so much choice available then to GET IT just right in a profile setting will take a little time and a little patience, fly and adjust would be my mantra. Do a flight and "oh that wind noise is too low" and adjust or "that ground roll vibration is too heavy" and then adjust that and so on, and soon you will get a perfect set of profiles for that particular aircraft.
Does XPRealistic have that "Wow" effect!
II have used "Headshake" for a long time, so the effects of XPRealistic will have to really surpass those in a big way as this is payware as headshake is freeware.
So to test the theory out I again took the same three flights as in the other review as in one a GA with the default C172 and one a Jet with SSG's E-170 and the prop regional B1900D (text has been edited from the original review, but the images are the same)
Cessna C172
First to note in that on both aircraft I already lowered right down the settings for the "Natural Head" that replaced the "Breathing" effect to again 20% but it was not as noticeable as the older in - out movement. The old Breathing effect was slightly unnerving in a horror film hiding in the cupboard way. You found the the panel heaving up and down as if you are about to be consumed by it, so that was then downgraded quickly. The "Natural Head" does feel well... more natural so that is a good change there.
With the Head Anticipation changed to Heading Anticipation, Pitch Anticipation, Roll Anticipation and Taxi Anticipation" you have a lot more adjustments now to do in this area. I am still not a big fan of these constant movements and in fact in the few weeks since the original review I switched Head Anticipation off as it got slightly annoying, but to be fair I will give the new selections another go and see if they are better. But I did find the movement were very large and do need a fair bit of culling to restrict them from not seeing the instruments at critical times.
"Braking" (5%) was again adjusted right down as it still felt too high. It is clever but unnerving. I want to be shook and not shaken if you get my drift. The braking adjustment is because I don't want to constantly smash my head forward on the windscreen over and over again.
First noticeable change in v1.0.9 is when you start up the aircraft. The Cessna will vibrate side to side to the vibrations of the starting engine and propeller momentum. It will do the same at shutdown as well and is highly realistic. The throttle setting has had a lot of attention as well with more vibration adjustment and a new movement adjustment. I found the earlier version was that the engine vibration came in very late, but it is perfect now, I ramped both settings up to 90% shaking and 80% Movement for the best effects.
In taxiing you don't so much as go side to side anymore but more of a wide shallow elliptical movement, it is better than before and it does feel more natural. The Heading Anticipation is doing most of the work here by adjusting to your yaw movements.
The aircraft vibrates slightly at a standstill, which is very realistic but I have asked rk App's for more fuselage vibration from the airframe and they say that is possible but not coming yet.
Now let the brakes off and push up the throttle and the vibrations get more vibrant and the throttle (engine) vibrates now even more. Look up at your door window frames and they are very nicely vibrating to the power of the aircraft, love that.
As the engine goes up in its range the instruments will blurr and then settle down again and the aircraft is vibrating to the engine's power.
But adjust the yaw as you keep to the centre line and the "Anticipation" effects kicks in. The combination of the now four head movement anticipations (Heading Anticipation, Natural Head, Pitch Anticipation, Roll Anticipation and Taxi Anticipation) is far better than the original "Head Anticipation" which had that bad flick correction movement back to the centre, I didn't see that once on this check flight.
You can and you probably will adjust each movement to find your sweet spot, but it does sort of swim around as you move, but not enough to want to switch it off like I did before, in fact is is very good at replicating movement in an aircraft. Overall now the ground roll and noises with the vibrations are excellent, you will quickly come to love the realism of it all.
Pull back the stick and the main vibrations cease and the wind noises increase.
A left bank brings the "Heading Anticipation" back into operation again as it anticipates where you are going to look via the turn of the yoke.
It is very good, as you always wanted to look in the direction of travel, but couldn't fly the aircraft and adjust your viewpoint at the same time, so this effect does it for you. It does feel very real, but the same point is valid in that if you have to readjust the other direction with the yoke (or turn straight) you do find yourself looking right or the other way than the direction you want to go? But you get used to it, again the point is not having the effect "Heading Anticipation" adjustment too high as to not go too far each way.
Adjustments can be done on the fly, so to speak is possible...
I tried different wind settings to see what the differences were, it is very effective and you can easily find your preference with a change from one sound file to the next and you can now adjust that particular sound file as well for the best aural effect.
One thing you have to be aware of is plugin crossover. I am running xEnviro and the environment plugin has a similar "turbulence" effect like XPRealistic... So you have to find a compromise between the two plugins so they don't overwhelm you with too much vibration.
It is the same with rain effects, and you will have to be aware of aircraft that have these effects already built in like with FlightFactor's Boeing 767 series.
I did a heavy climb stall to see the effect. It was very realistic, juddering airframe, yoke noises, aileron and elevator banging, so you felt that you was pushing the aircraft past its limits, very good.
Extra wind noises when you drop the flaps, and more vibrations from the airflow... Flap stress will also create a banging in the cockpit that may scare your passengers and another new effect is that the flap switch can now be heard as you change the switch position.
Once back on the ground you get the ground rolling and vibrations again, braking efforts are highlighted as is any reverse thrust if you change the propeller pitch. Again like at startup the shutdown vibrations effects are excellent and that overall scenario in the GA environment the package with XPRealistic active was very effective and highly realistic.
SSG Embraer E170
One of the great features of this effects plugin is that you can tailor the effects to different aircraft, and the differences between the GA C172 and the larger E-Jet couldn't be more noticeable and that is what makes this plugin more desirable. Certainly you would like even more subtle differences between the same GA's and the feel between small regional aircraft and the large A380 aircraft, and yes with a lot of fine tuning I think that is possible here, but a few more immersions to highlight those size differences more would be a nice addition.
If you have used the excellent BSS sound packages like with the JARDesign A320neo then you will know how much a difference that great sound can add to the simulation in feel and feedback. But what about vibration? as that is another dimension again.
This XPRealistic can give that feel on start up and shutdown of the engines, the one great thing is that the plugin represents not just one vibration but the effects of an vibration over the top of another vibration at different frequencies, in that an engine vibration is very different from a rolling aircraft taxiing vibration, the trick is to make them work together to make the whole feel realistic.
The trick again is that both the aircraft developer's designs and the XPRealistic effects don't clash, so fine tuning is required to find that balance. But together feedback realism is excellent it you get it it right, so the point of the specialised profiles for certain aircraft has to be raised to get the maximum effect of both sets of effects working together?
So engine startup and shutdown is featured and there is nothing like vibration at engine starts and running to make you feel a better experience.
Taxiing gives you the vibration, but not as bouncy as the C172 as to be expected. A rainy day gives you the rain effects and the accompanying noise which is highly realistic, the braking as before noted is reduced to (5%) just a slight move forward for comfort and realism and I am finding the v1.0.9 settings just slightly lower than the older version.
The newer "Heading Anticipation" and other anticipations are again far better in the jet environment. Changes of head direction and movement are extremely realistic and that dreaded centering movement which was particularly bad in the E-Jet is now gone and the whole feeling is far more smoother and better. I do feel that as time does go on and with more finer adjustments you are going to find that perfect balance and feel.
One of the great aspects with this plugin is that any adjustments are saved automatically, set and forget is the mantra and with the new key popup it is very easy to access and quickly make adjustments.
Putting the power up brings first the engine vibrations and then the secondary airframe vibrations, and finally the rolling runway vibrations and you can tell which one is which one doing a certain job... it is all very credible.
The vibrations build until the moment of flight and then like in a real aircraft it all ceases and replace with new vibrations and sounds of wind and wind drag noise from the undercarriage until it is retracted.
Don't get me wrong in that all this action is all very dramatic and noisy in that it is totally overwhelming because it is not but kept in context with the simulation and the effects are all close to real to keep it all credible.
You do get that small but significant vibration in the cockpit when out of turbulence periods to keep it realistic. Like with the C172 the better
In level flight I did like the slight movement of vibration of the aircraft moving, your not going to rattle and shake along like in the C172, but vibration is a big realism factor.
The effects are of course not just limited to the cockpit. If you like the window view (mostly for me in replay) in that the effects are highlighted here as well in the back. Again I will note BSS's sound packages in the JARDesign A320neo and A330 and if you use them you will understand (or hear) the significant differences of the varying sounds in the cabin is so very different from the cockpit sounds and how much those effects enhances the overall simulation.
It is the same here and to a point it does bring the same sort of effects that you get with BSS sounds to any aircraft, but of course not to the extreme of BSS sounds. But it does bring vibration, and flap, airbrake noise and undercarriage drag noise to virtually any aircraft in your collection and with that it makes XPRealistic a very handy tool to have.
The "Heading Anticipation" feature works back here in the cabin as well as in the cockpit of course, but could that actually be distracting from your viewing pleasure? But unless you turn it off you still get the movement effect.
But it is a great feel when flying to get that aircraft vibration in the rear. It delivers a more of the real vibration feel of what you remember when trying to sleep at 37,000ft and moving through the air at nearly the speed of sound.
Landing is of course the most dramatic event of flying. And it is here of where any realism plugin can deliver or fail the test of giving you a realistic feedback of this event in motion.
Landing can be akin to a controlled crash, which I suppose is what it really is but with the last minute ground contact being in control. Headshake was very good in delivering that initial gear compression and violent shake as the aircraft was still partly flying and yet parts of it is now connected to Terra Firma...
... switch Headshake off and landings became very quickly very boring. So how does XPRealistic stand up with the same strong expectation of drama and vibration.
Certainly the initial gear contact was very good, but so is the slightly blurry shake vibrations as you still barrel down the runway still at landing speeds. The newer v1.0.9 has now a split rear main gear and forward nose gear vibration effects. So you feel one (heavier) set as the rear gear contacts and then a secondary set as the nose gear grips and aligns the aircraft and there is now two nose wheel well sounds added as well.
Like at takeoff the vibrations come in a different frequencies to cover the different actions like airbrakes, flap movement and mostly the overriding reverse thrust vibrations that shake the airframe to a taxiing speed as is your final braking actions and like in real life it all feels very much quieter and more serene once the aircraft has completed the event.
It will be very interesting to compare different aircraft in this category and use the different profiles to see what different feel you can achieve and experience. But overall the XPRealistic landing is a brilliant experience and highly real.
Like when we left KRSW the taxi vibrations are again good, as is the movement into the gate and the final engine shutdown vibrations from the engines.
This was basically just a gate to gate circuit around KRSW, but it was a great experience of an injection of far more realism into the simulation, I can't wait to use it on one of my well known routes
Beech 1900D
I taxiing out I found "oh, that is quite different, not much happening here?" Well there wouldn't be as I had the "Always Start for B190" checkbox unchecked and then once selected it was quickly back to the vibrations and movement, so there is a lesson in there in checking first the profile is switched actually on.
The B1900D interests me because it is a mid-way aircraft in that it has the genes of a GA but the power of a much larger aircraft, a bit more of a "Rattle and Shake" machine if you know what I mean.
The B1900D doesn't disappoint either as it rattled and totally shook it's way right down the runway to takeoff.
The effects work very well in here, and a bit of turbulence from some heavy low cloud added in to the experience and shook you up a little bit more. The "Heading Anticipation" worked again better in here as well, but you did get a constant motion sort of feeling if you are doing a lot of manual manoeuvres, if I did a lot of this I would probably turn the "Heading Anticipation" effect right down or off in the B1900D, but I loved the look to turn effect of the immersion more in here than the negative aspects.
The landing was excellent with great vibrations of the airframe and the hard pull back and extra vibrations of the prop reversed thrust, I actually put the brake effort up more slightly here to exaggerate that pull back effect for the different style of aircraft.
The slight vibrations at the gate and then the final out of balance vibrations as the props spun down to stop was excellent and better again in v1.0.9, they are highly realistic and you noticed the vibrations really well from the rear cabin window view as the airframe shook to the stopping engines.
At this point there are no profiles for helicopters? In X-Plane11 helicopters do already have a very good vibration effect, and the set up for helicopters would be very different from aircraft. My main slight worry is that helicopters may over exaggerate the vibrations, so it will be interesting to see if a default profile is created and how it relates to the aircraft.
Summary
It is a very fine line with effect tools in that they can be very good or just simply annoying. Headshake had managed to enhance but also not become an in your face tool that you either switched off or threw away. In other words it worked very well in the background and was only noticeable at crucial points like taking off or landing and that was it's successful appeal.
But Headshake is global and that makes the same effects and their vibrations work in every aircraft no matter it's size and type.
XPRealistic is adaptable to every aircraft in large, small, noisy or even older and newer. It works like all great plugins in the background, not seen or heard unless you want to adjust something or even switch it off. And that adaptability means you can have some aircraft active and others not, and then unlike Headshake you can adapt certain characteristics to every different aircraft as you desire, so the plugin is hugely flexible and it also supports X-Camera and TrackIR.
So what are the downsides. Well not that much directly but there are things you need to be aware of in using the plugin. One it uses FlyWithLua for its base coding, and the FlyWithLua as a plugin can conflict with other plugins. So you may lose some favorite plugins or some might not work at all and even worse also create conflicts that could cause the crash to desktop a regular occurrence. I'm glad to say it didn't conflict at all with my regular plugins, but then again my plugin folder set is quite small.
Another point to make early is that you will need to spend time to fine tune your profiles and your desires of certain feels given to certain aircraft, the word "tweeking" come to mind, but I would like the idea that users share their favorite "tweeks" online so we can all enjoy the same settings and profiles that have been refined. But the awareness of the original aircraft's features is also required so they don't overlap or conflict with each other.
This v1.0.9 is a major step forward even from the already very good original version (1.0.8). The newer and more accessible key activated visual menu is a great revision of the original with the multitude of immersions (effects) that are now also split into their various categories for easier access and adjustment. There are now six more new effects mostly in the "Anticipation" effects and the Airport Atmosphere and Cockpit Atmosphere effects, which require a more of a longer view to see if they are effective and I found all the different vibrations and shake more realistic and better intergrated now than they were in the original.
So is this plugin another staple in a "must have" standard. Personally I really think so, as its qualities are excellent but also there is the huge flexibility of the profiles for every aircraft and the return of the effects and the huge immersion factor is going to make this plugin easily an X-Plane standard. It is clever in doing just a simple thing, and because it is layered in effects and sound as well in that it also gives it the absolute wow and realism factor.
So certainly a "Must Have" plugin and you see that again X-Plane go another step forward in simulation realism... XPRealistic immersion is that good.
_____________________________________________________________________________________
The XPRealistic Pro v1.0.9 by rk Apps is NOW available! from the X-Plane.Org Store here :
XPRealistic Pro v1.0.9
Your Price: US$19.99If you have already purchased the XPRealistic Pro v1.0.8. You can update to v1.0.9 by going to your X-Plane.OrgStore account as it is available now. Features- Separate Aircraft Profiles
Create aircraft profiles with dedicated settings. Change sound volumes, shake intensity and much more.- 32 Immersions in 10 categories
Enjoy a growing list of 22 real life scenario immersions along with more than 15 different sound files to choose from.- X-Camera/TrackIR Support
X-Camera and TrackIR are supported, furthermore, we highly recommend to use X-Camera with XPRealistic Pro.- Easy to use
Enjoy a straight forward user interface which allows you to control almost every aspect of XPRealistic features.- Fast Support
We believe that fast response to any issue is the key to keep you happy, we are here if you need us.- Realism and quality
Requirements
X-Plane 11 - X-Plane 10
Windows, Mac or LinuxRequired X-Plane Plugins: FlyWithLua (free)X-Camera(optional but recommended) Current review version: 1.09 (26th June 2017)Installation and documents:
Full installation procedure is noted within the review above
FlyWithLua (free) IS required to use this plugin
Documents:
Manual (13 pages)
__________________________ Plugin Review by Stephen Dutton28th June 2017Copyright©2017: X-PlaneReviews(Disclaimer. All images and text in this review are the work and property of X-PlaneReviews, no sharing or copy of the content is allowed without consent from the author as per copyright conditions)Review System Specifications:
Computer System: Windows - Intel Core i7 6700K CPU 4.00GHz / 64bit - 16 Gb single 1067 Mhz DDR4 2133 - GeForce GTX 980/SSE2 - Samsung Evo 512gb SSD
Software: - Windows 10 - X-Plane 11.02
Addons: Saitek x56 Pro system Joystick and Throttle
Plugins: Environment Engine by xEnviro US$69.90 : WorldTraffic 2.0 Plugin - US$29.95
Scenery or Aircraft
- KRSW - Southwest Florida International Airport by Aerosoft (X-Plane.OrgStore) US$24.99
- E-Jet 170 Evolution - by SSG (Supercritical Simulation Group) (X-Plane.OrgStore) US$49.95
- Beech 1900D HD - by Carenado (X-Plane.OrgStore) US$34.95- C172 - X-Plane Default aircraft (X-Plane11) Free with simulator
-
News! - Aircraft Upgraded to XP11 : Husky A1-C XP11 by STMA
After only a week since their DHC-2 Beaver upgrade, Shade Tree Micro Aviation (STMA) have upgraded their Husky A1-C XP11 to X-Plane11 as well.
The Husky A1-C is one of the better aircraft from STMA's already distinguished fleet. X-PlaneReviews did a full review on the STMA Husky A1-C here: Aircraft Review : Aviat Husky A-1C from Shade Tree Micro Aviation
This upgrade covers the changes to X-Plane11 in the flight model aerodynamics to match the performance of the actual aircraft with the latest power modifications, climb, cruise, and descent performance.
Cockpit is as basic as you can fly, and any of the requirements for switchgear, dials or gauges have been updated to X-Plane11 specifications. The default GNS530 was already installed as is the large digital engine instrument panel known as the "JPI EDM 930 Engine Monitor".
The various undercarriage options are also included with the default Float version, Tundra tyres and Ski version... but no standard wheeled version.
Features include:
- Full featured VFR and IFR flight and navigation suite
- 3D cockpit with 3D instruments using day and night textures
- Laminar G530 GPS
- Dual VOR/ADF RMI
- HSI
- Dual COM/NAV
- Garmin Interphone panel
- Becker Radios (Light weight soaring favorites)
- Custom simulation of the Trio Pro Pilot autopilot system
- JPI EDM 930 Engine monitor
- Custom All-Season Gear and Flap indicator
- Engine and prop sounds created from actual Husky operations
And the new STMA AutoUpdater (AU) that is now delivered with every new STMA aircraft is also installed that allows with the AU turned on and an internet connection the aircraft model updates are automatically downloaded to your model whenever it is opened in X-Plane. You can turn the updater off is you wish as well.
As with any upgrade now to X-Plane11, STMA are charging an upgrade fee of US$5 to the new version for any older purchases of the STMA Husky, so go to your X-PlaneStore account and the Invoice for the coupon code for your upgrade deal.
The Shade Tree Micro Aviation Husky A1-C for X-Plane11 is now available from the X-Plane.OrgStore...
______________________
Yes! the A1-C Husky XP11 by Shade Tree Micro Aviation is NOW available from the X-Plane.Org Store here :
Price is US$24.95
Requirements :X-Plane 11
Windows , Mac or Linux
2Gb+ VRAM Video Card Minimum . 3Gb+ VRAM RecommendedThe aircraft is very light and performance enhanced on frame-rate. No issues reported______________________
STMA site : shadetreemicro - Aviat-A1-C-huskySTMA Developer Support : STMA Hangar and repair shop .OrgImages shown here in this update is the X-Plane10 version, not the upgraded STMA Husky XP11______________________
News update by Stephen Dutton
27th June 2017
Copyright©2017: X-Plane Reviews
(Disclaimer. All images and text in this review are the work and property of X-PlaneReviews, no sharing or copy of the content is allowed without consent from the author as per copyright conditions)
-
Aircraft Review : Piper PA28 Turbo Piper Arrow IV by AeroSphere Simulations
Only a few weeks ago I reviewed AeroSphere Simulations lovely PA28-161 Warrior II. Now AeroSphere have released another variant in the PA-28 Piper Cherokee family with the Piper PA-28 201 Turbo Arrow IV. This release gives you two versions of the Arrow IV with a Turbo IV with that distinctive T-Tail configuration and a Turbo IV with the standard normal conventional low horizontal stabiliser version as well.
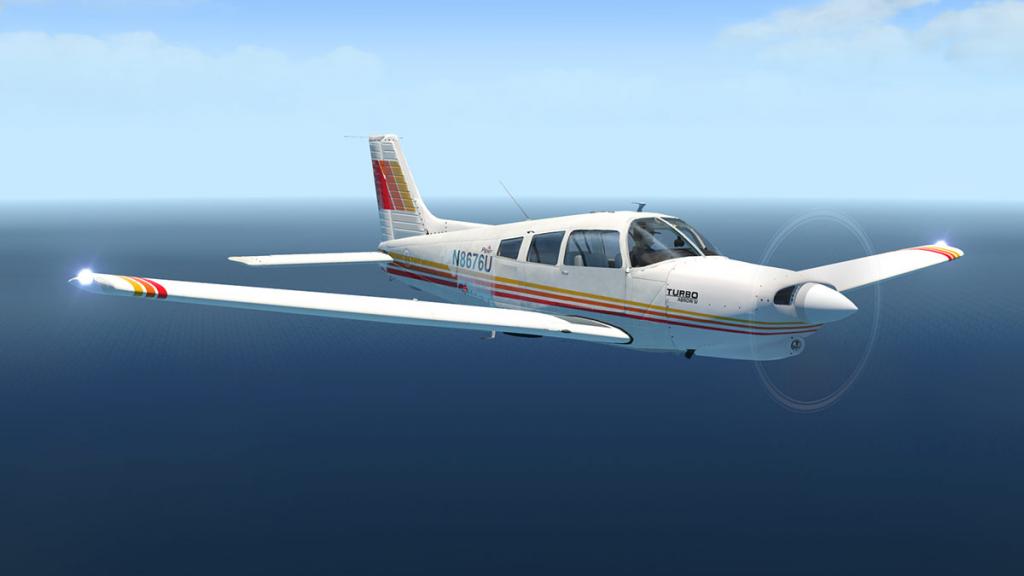
First though a few notes in that why there are so very few Turbo IV's with the low rear stabiliser as they were technically an Arrow III upgraded to Turbo IV specifications, the Turbo IV or PA-28RT-201T was the T-Tail aircraft as built by Piper and they came with a turbocharged Continental TSIO-360-FB engine of 200 hp (149 kW), gross weight 2,900 lb (1,315 kg) and the variant was first certified on 13 November 1978. This powerplant is a step up from the Warrior's O-320-D2A engine of 160 hp (119 kW) and you certainly notice the huge speed difference between the two aircraft in the slow top speed of 126kts for the Warrior and 177kts for the Arrow IV and that is nearly 50kts faster.
Another point to make in both AeroSphere's Warrior II and the Turbo Arrow IV internally with the instrument panel layout and cabin are almost exactly the same as each other, so you are not seeing the same things in the two different reviews. And so that means a lot of the details in this review will be a duplicate of the Warrior II details, in fact they are very closely the same... and in this review will focus more on the T-Tail version as it is the more radical aircraft of the Cherokee family.
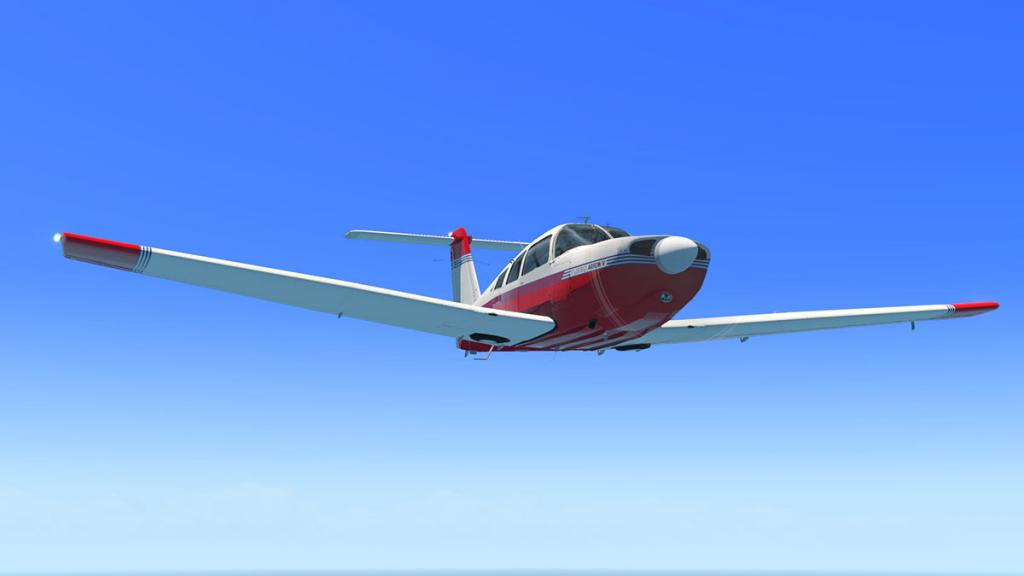
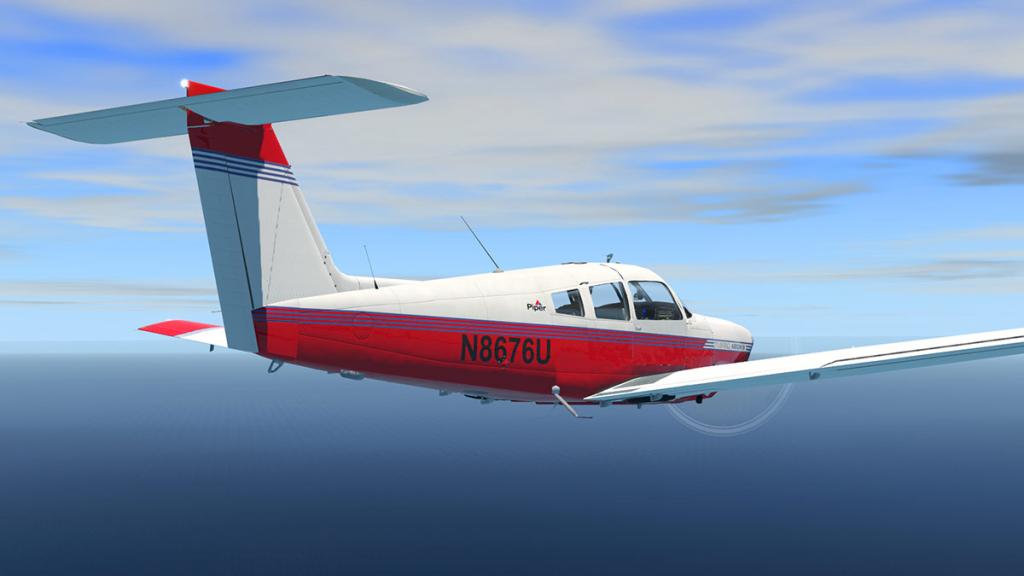

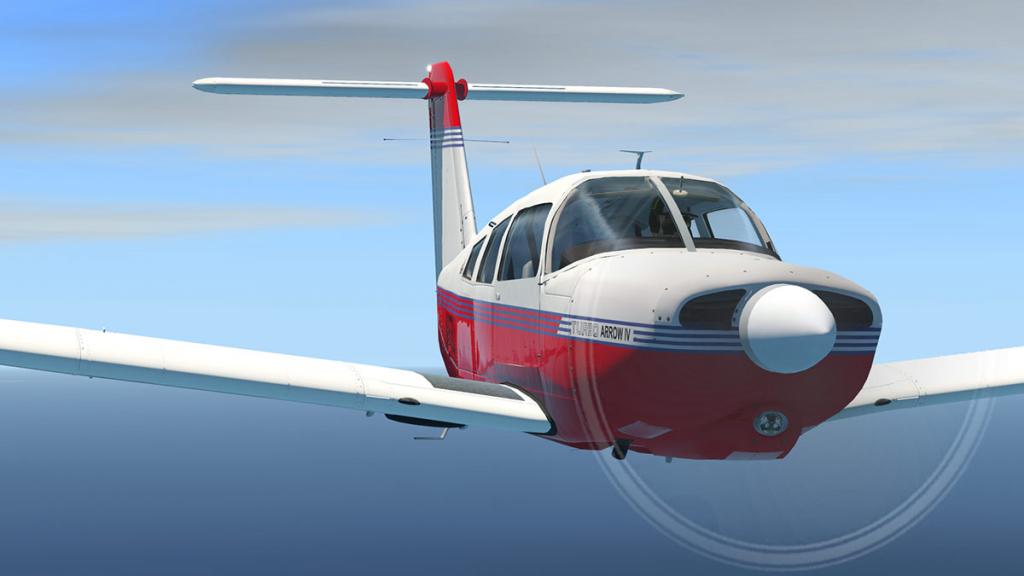
It is quite significant on how different each Arrow IV looks with just a change of place of moving the tailplane just up a few feet higher on to the vertical stabiliser. It makes the rear far more thinner and more streamlined than the Arrow III configuration. People are always more attracted to being different from the normal, so odd aircraft like with say the V-Tail 35 Bonanza or the Twin Boom C337 Skymaster are always more attractive and more well known than their standard configured brethren.
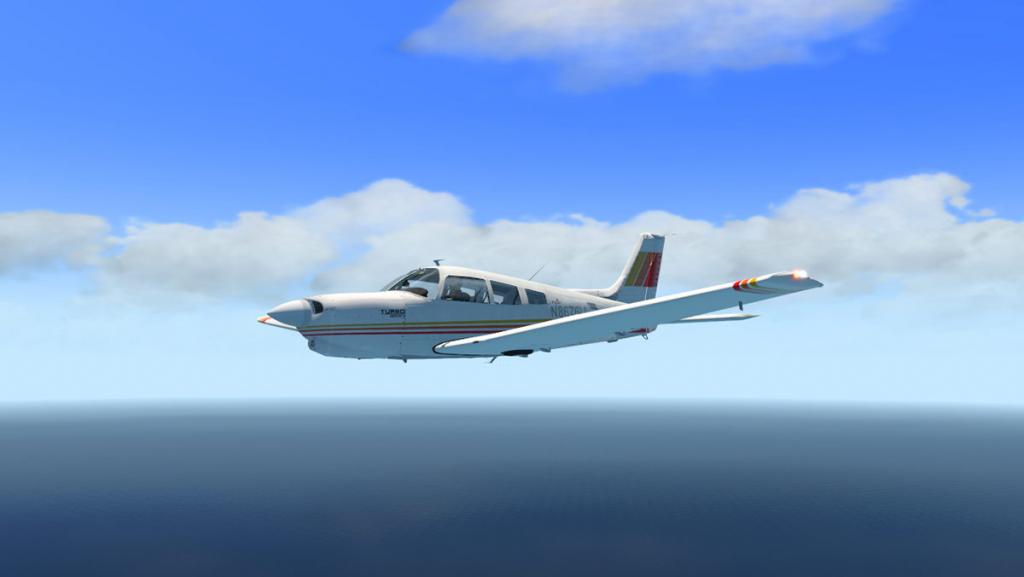
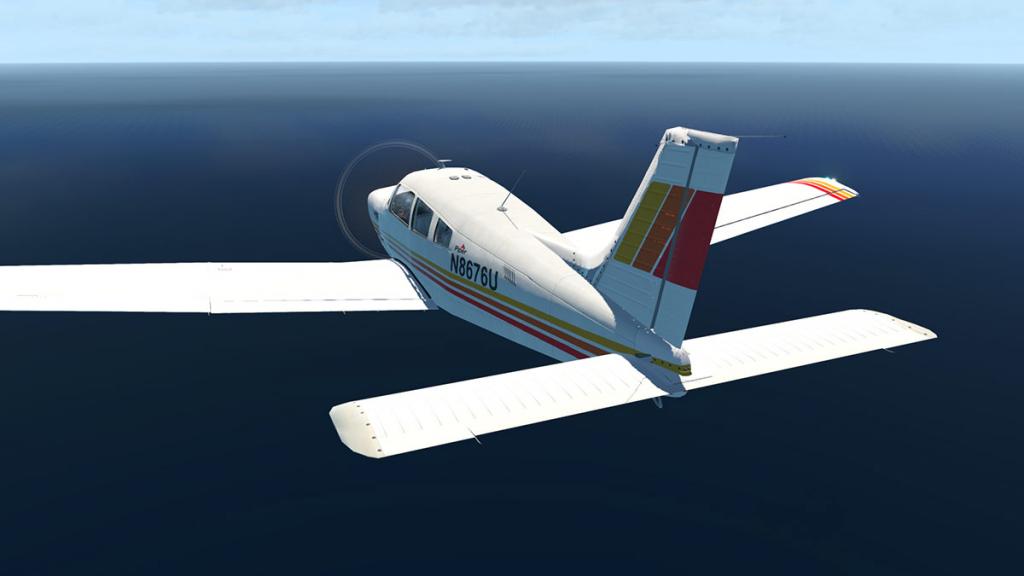
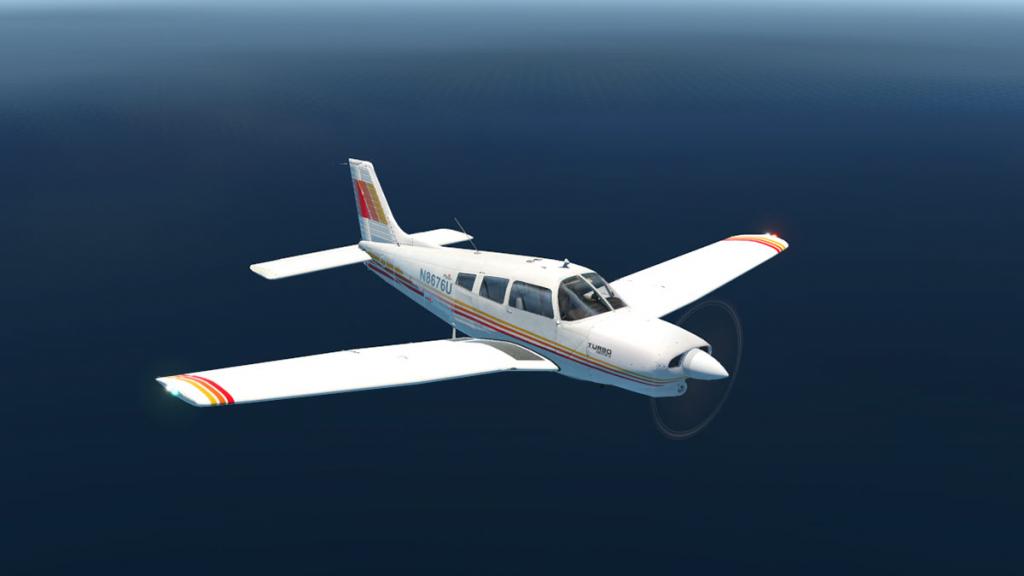

Like with the Warrior II then AeroSphere Simulations have come a long way very quickly in design and quality of their aircraft. They are now quite beautifully turned out aircraft, but not quite yet in the Carenado or vFlyteAir class, but still very good nevertheless. Some areas like around the door frames and window frames are a little unrefined and there is a white lower door noticeable strip on darker liveries. And both the Arrows here are both very shiny or glossy...


... Not a totally bad thing, but you do get a lot of reflective surfaces including the glass looking slightly a little too unrealistic with this over gloss feel. The spinning propeller on the Warrior was not too my taste at all with its harder white outer band being hard to see through and totally awful at night. The Arrow's propeller though is more translucent and a far better solution and would now pass the grade as being realistic. In fact the propeller looks great and it changes differently throughout the throttle speeds and that gives you a visual point to your throttle position.
Cockpit Is almost exactly the same as the Warrior, but there are a few slight differences...

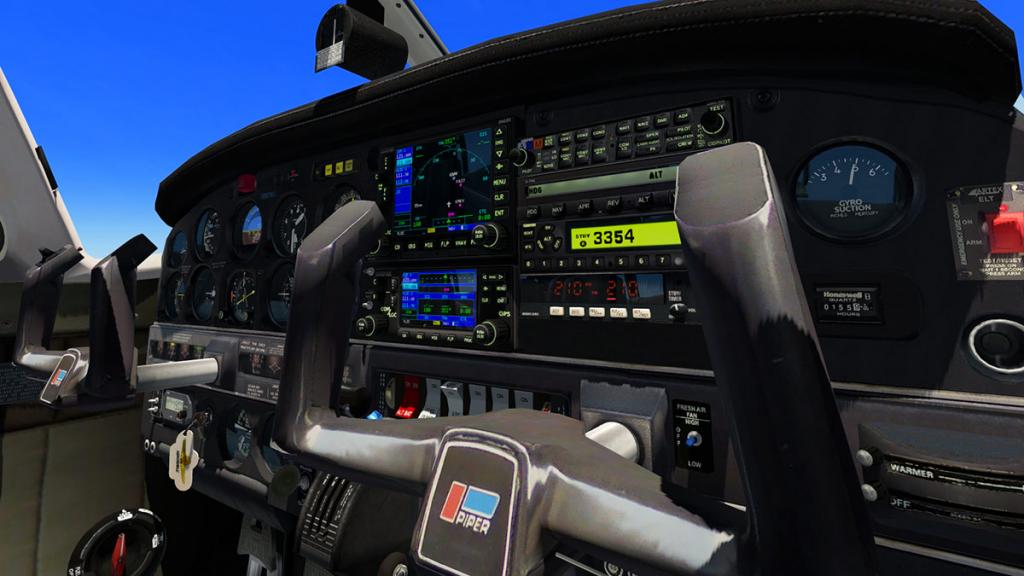
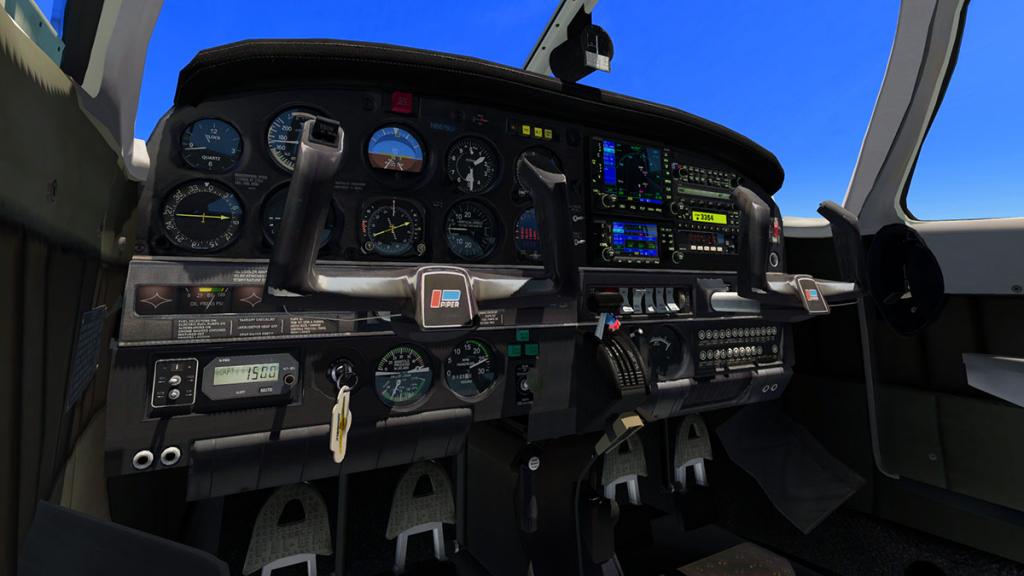
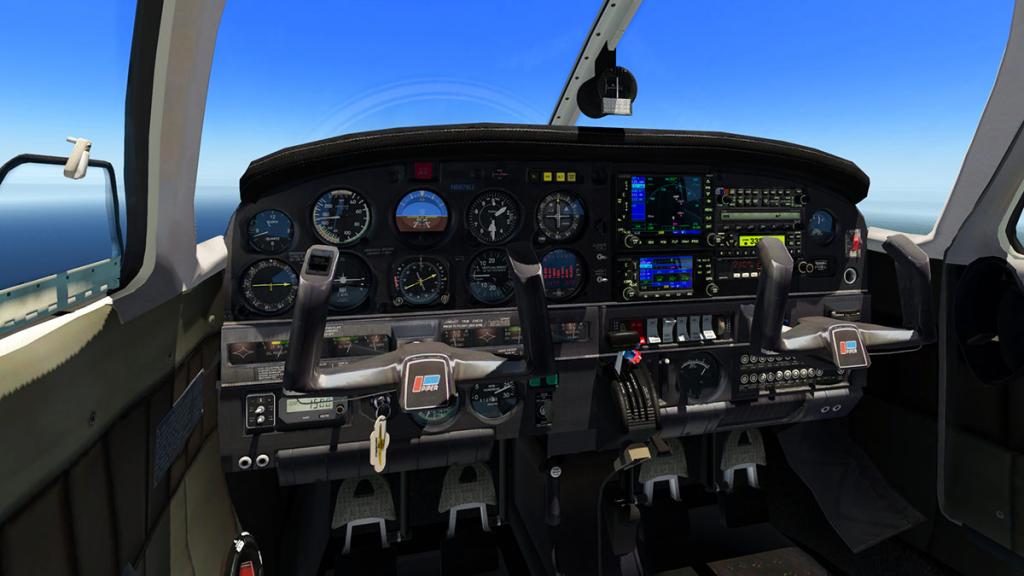
The Warrior's instrument panel is on the left (below) and the Arrow's is on the right. The ADF pointer dial has been moved far left to the blank on the Warrior, and replaced by a JDI EDM-700 avionic digital engine monitor, and very nice it is. Just watch it as the engine warms up from cold to realise how good it really is. Lower centre the plain EGT dial has been replaced with a more complex Manifold Pressure and Fuel Flow gauge. And the middle panel gauges have changed to Oil Press, Oil Temp and Alt Amp on the left side and Left Fuel tank, Cyl Head Temp and Right Fuel tank on the right.
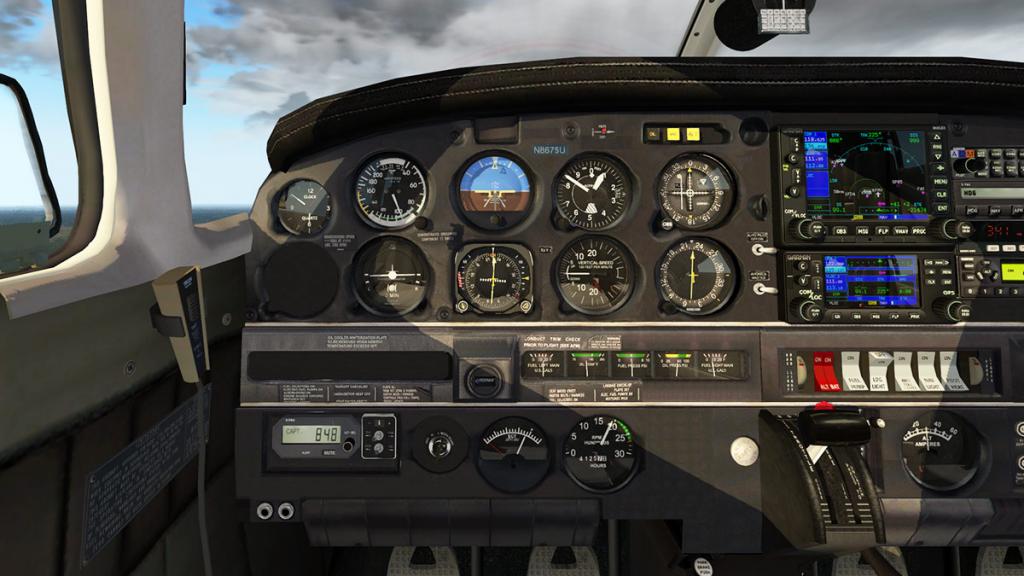

The rest of the instrument panel is the Standard Six instruments that are centred in line of sight of the flying pilot with the Airspeed Indicator, Artificial Horizon and the Attitude Indicator on the top row and the Turn Coordinator, Heading Dial and Vertical Speed Indicators set out directly below. Left of the six pack is a clock and on the right is a Garmin OBS VOR indicator with the Bendix/King ADF indicator as noted now left below. The S-Tec altitude setting panel and engine starter switch is the same, but now with a key tab.
Right panel and avionics is the same as the Warrior but with the EGT dial now on lower right replacing the Alt Amp dial.


The avionics suite comes with both an X-Plane default Garmin GNS530 top and a GNS430 (both pop-out). Standard Garmin GMA 340 radio is right top, with an S-Tec Fifty Five X (now Genesys Aerosystems) autopilot below. Your ADF radio is the Bendix/King KR 85 and is now situated lower and under the Garmin CTX330 transponder unit and not over it but the KR 85 is not a different unit.
A Gyro Suction gauge and Honeywell hobbs (hour) meter is right. Centre panel is a set of rocker switches for (L to R) Power (two) for Alt and Bat, Fuel pump, Landing Light, Anti-Collision Lights, Navigation Lights and Pitot Heat. Either end of the switch panel are two scroll wheels for Avionic brightness and instrument brightness. Below the switch panel is a Carb Heat slider and a ALT Amp gauge. A flat fuse panel is to the right.
The centre mini-pedestal Throttle, Prop Rpm and Mixture is the same unit as the Warrior.
Cabin is the same fit-out as the Warrior, but the seating and roof lining covers are in a grey texture and not the cream colours of the older aircraft. Seatbelts don't again look very flexible and a little stiff and do not fall naturally.
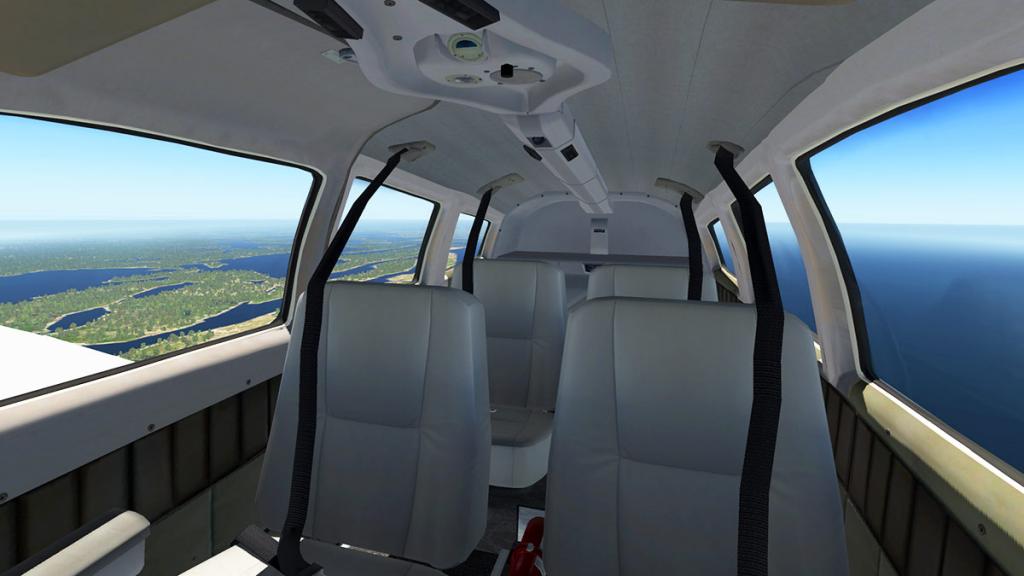

Externally the aircraft has the Tri-Cycle retractable undercarriage that locks up with a thud! that system was added to Cherokee family with the first PA-28R-180 Arrow version (Warrior has the fixed gear version).

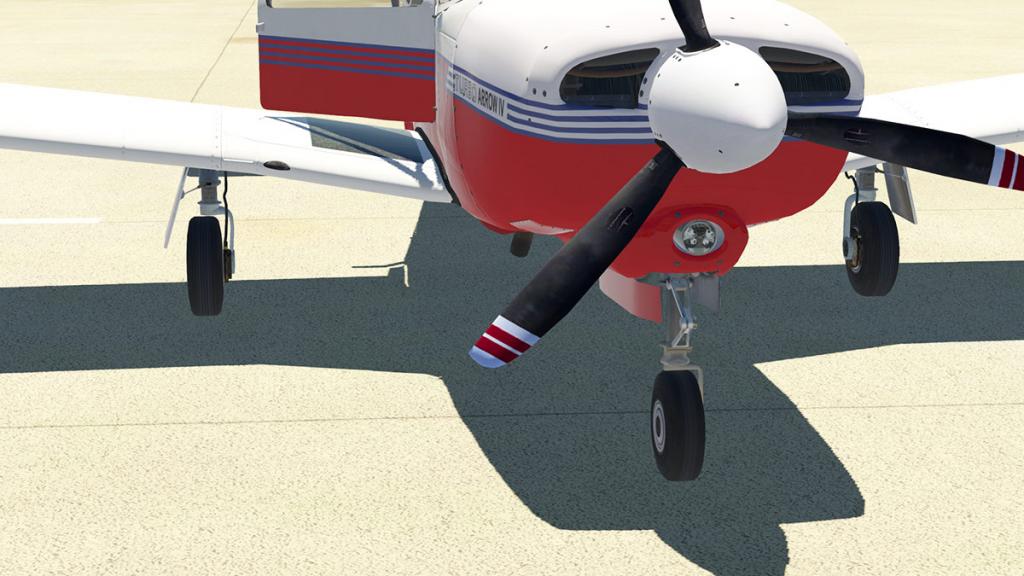
There are no menus or ground elements with Aerosphere's aircraft, but the passenger opens by the internal latch as does the side luggage door (from the inside) but the door flips open with no animation which is a bit basic.


The same spare oil bottles and a set of engine covers and tow handle is in the baggage area as on the Warrior.
The differences with the upgraded Arrow III is that it looks more conventional and to a point from some angles from the rear even like a Cessna more than a Piper.

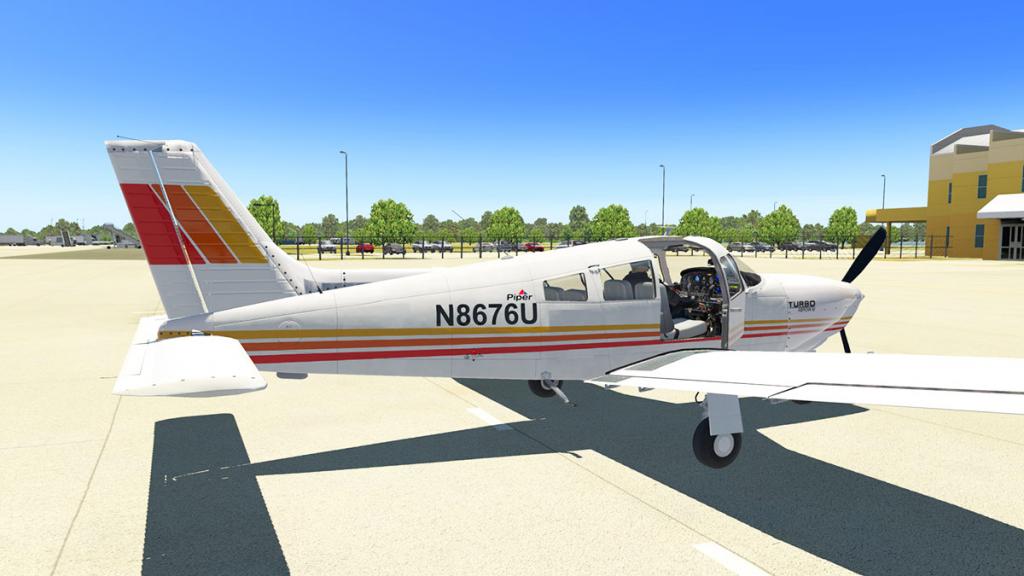


But sitting in the pilot's seat you wouldn't really know the difference.
Flying the Turbo IV Arrow
There is no doubt that a little more power does go a long way. Just 40hp difference between the ponderous Warrior to the quite sprightly (for a GA) Turbo Arrow is certainly noticeable.Taxiing is very good as you are not fighting the aircraft via the brakes, and can easily find a nice pace via the throttle to calmly ride to the runway.

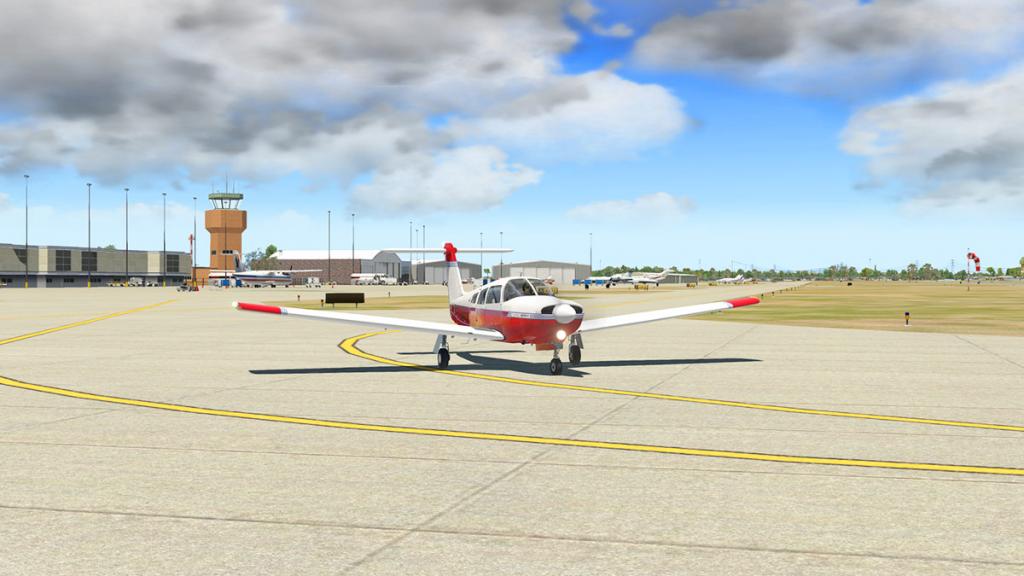
It is nice to flow down the runway as well without overly fighting the Turbo IV to keep in tight on the centre markers in light winds, rotate is around 95kts.
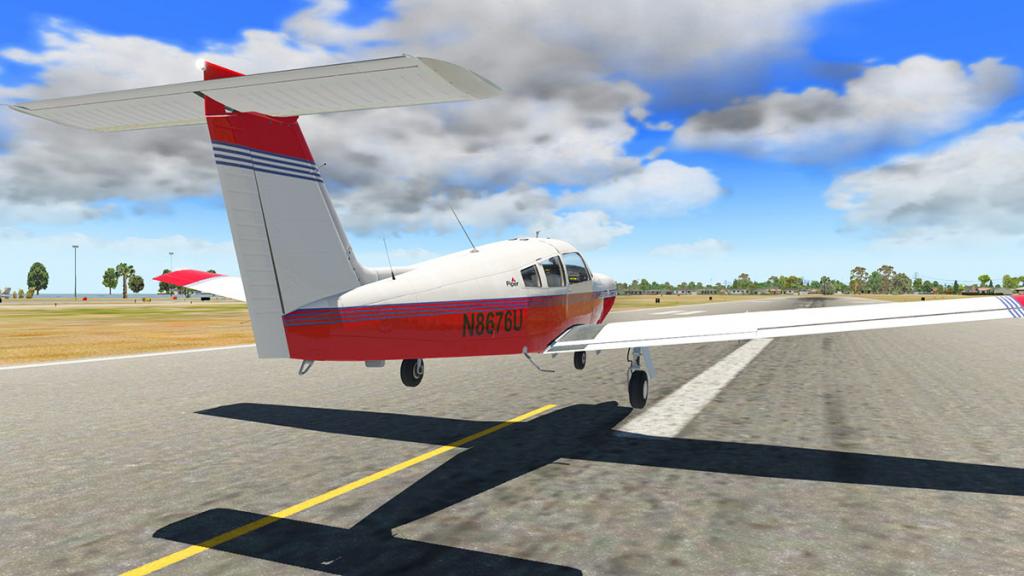
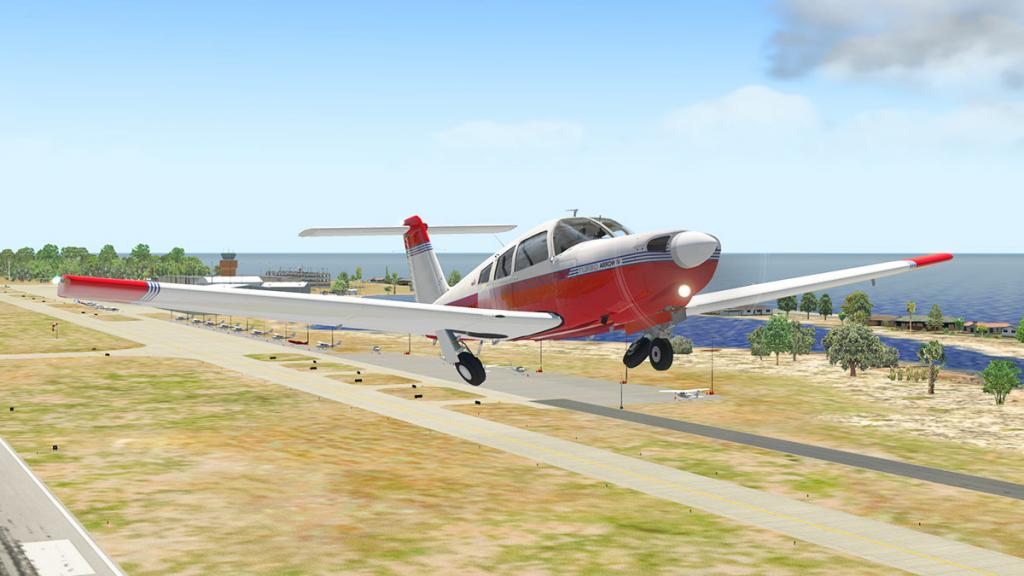
More so is the fact that that power is just more usable to fly in this aircraft, It will climb at around 850fpm easily from the 650fpm of the older aircraft and you can climb and manoeuvre better as well as the machine is more tactile in your hands. The power also allows you to climb as high as 12,000ft.
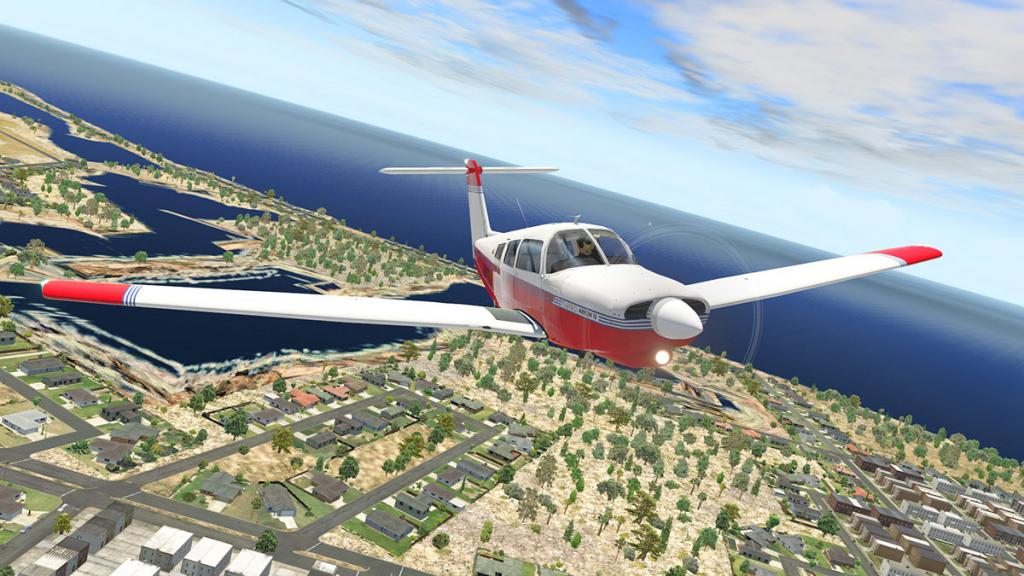

You settle down to a cruise of around 170kts -180kts and settle in for the ride. Sounds are very good, certainly on the start up and power on phases. Outside volume is far more higher than the internal, so you are adjusting the volume constantly if you move between the two positions a lot. But one thing the sounds are not are droney, they flitter and change sounds as you fly and as you adjust the power. Then going from full power to low power when starting your approach is the very realistic feedback as the engine note falls to almost bass putter idle. Certainly the sounds are not in the very top grade, but in this category they are very good.

The sounds in approach are a big advantage in gauging your power throttle position to what you hear. Is every aircraft like this? well yes, but it is far more noticeable in this Arrow IV and you get that lovely constant aural feedback in flying the aircraft. This translates well into the approach phase and the sheer control you have with the throttle input.
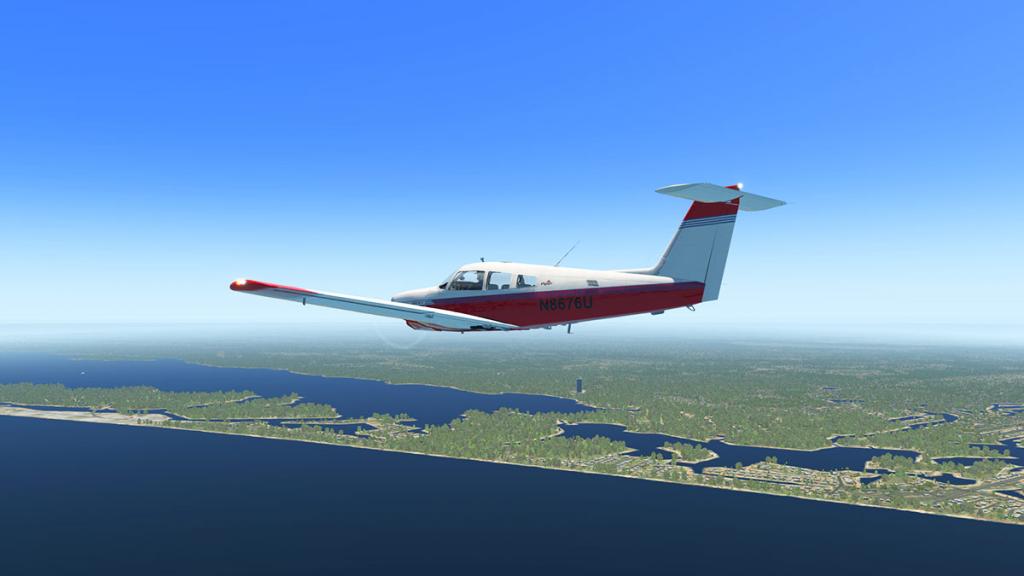
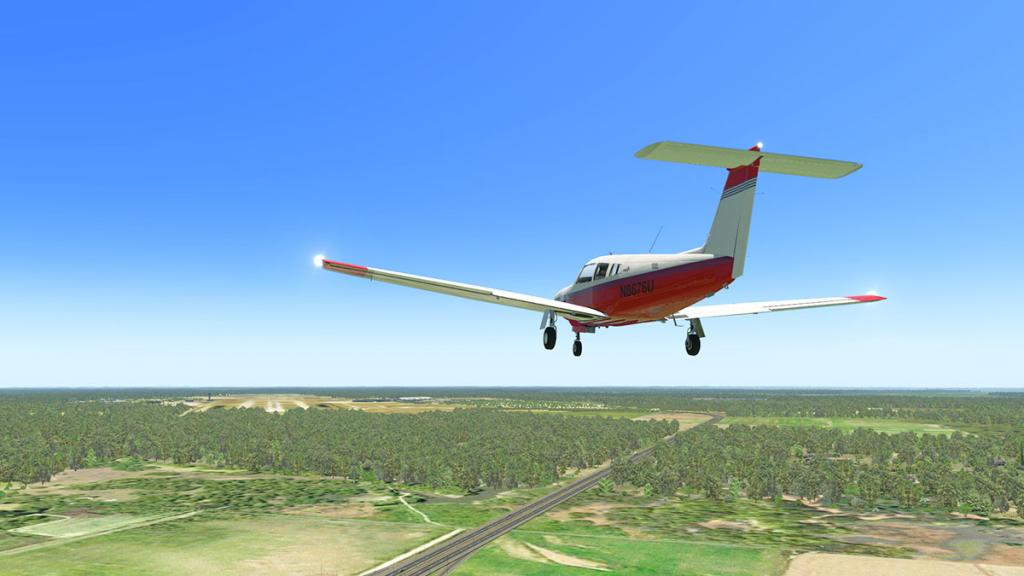
I really loved the throttle control you have with this aircraft. I found I could adjust my approach with precision via the throttle, with sometimes less power to keep the glide downwards correct and then a little more to keep the altitude up a little. It really comes into its own here on finals.
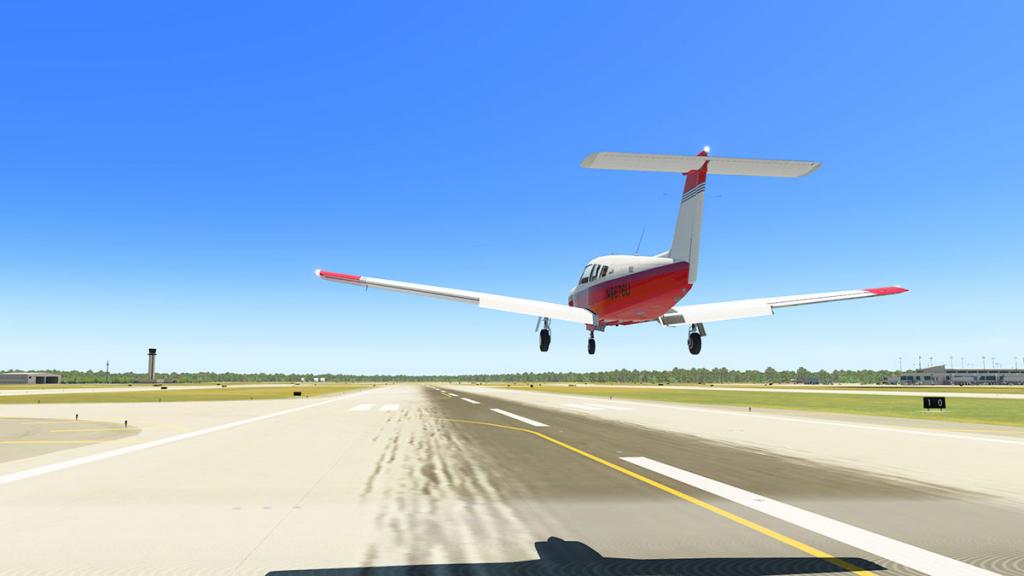
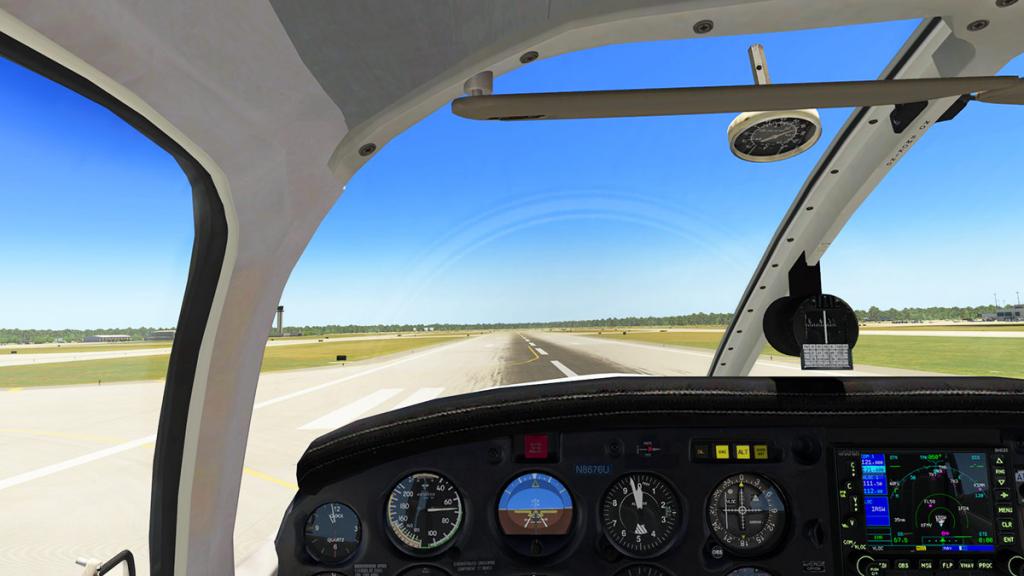
With full three phase flap you can hold the aircraft as low as 66kts (stall is only 61kts!) and still be in complete control with a slight lift or push of the throttle giving you the power to land the aircraft slowly right where you want it.
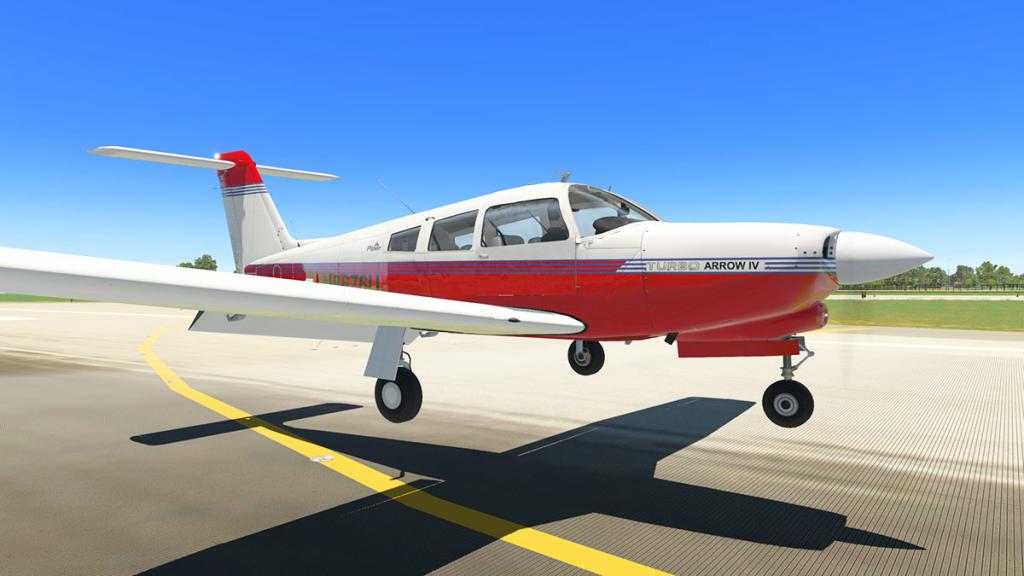
Which brings us to the point that this Turbo Arrow IV is a great aircraft for training and for novices wanting a nice controllable machine for which into practise on and learn aviation. The aircraft is very good at giving you good feedback and not only aurally but physically and visually as well. vFlyteAir's Arrow III aircraft was the same as well and so it must be a class thing, but I really enjoyed the control of the this Arrow IV and always I looked forward to having another go at having another landing in the aircraft and you just enjoy the flying in this area very much.
Liveries
There are only six liveries for both aircraft and two of those are plain white. Quality is good but overall they are not very creative or adventurous.
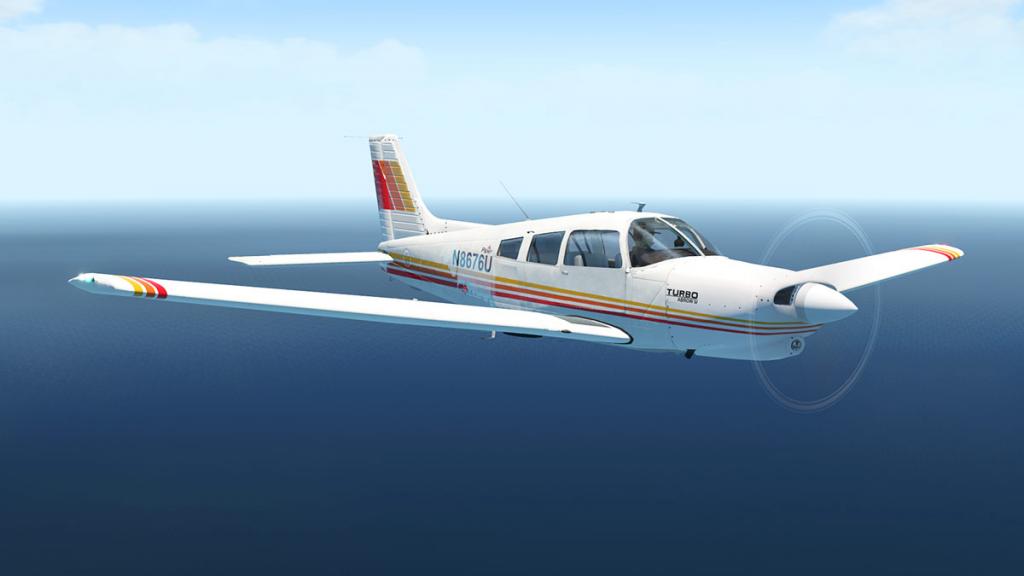

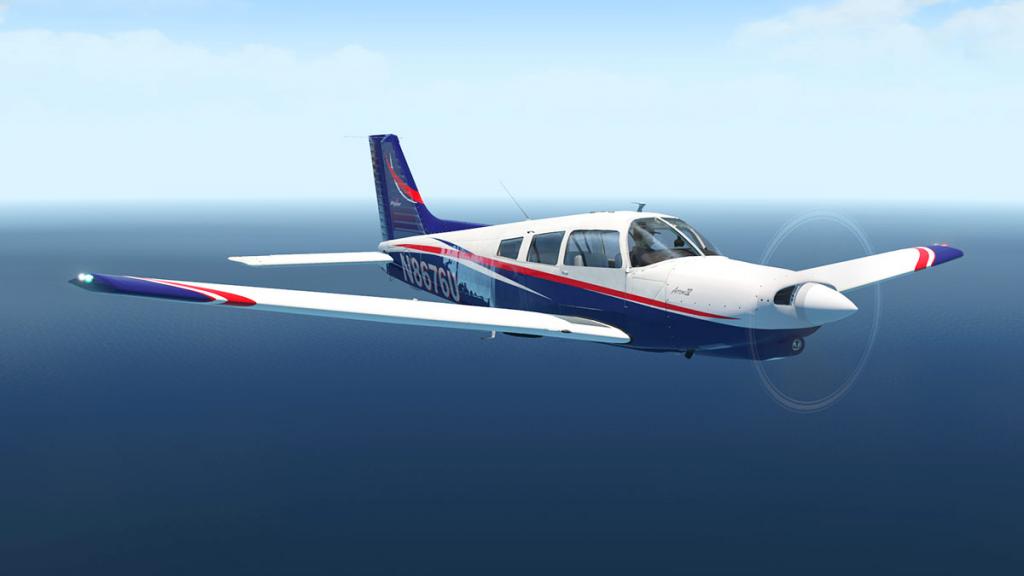
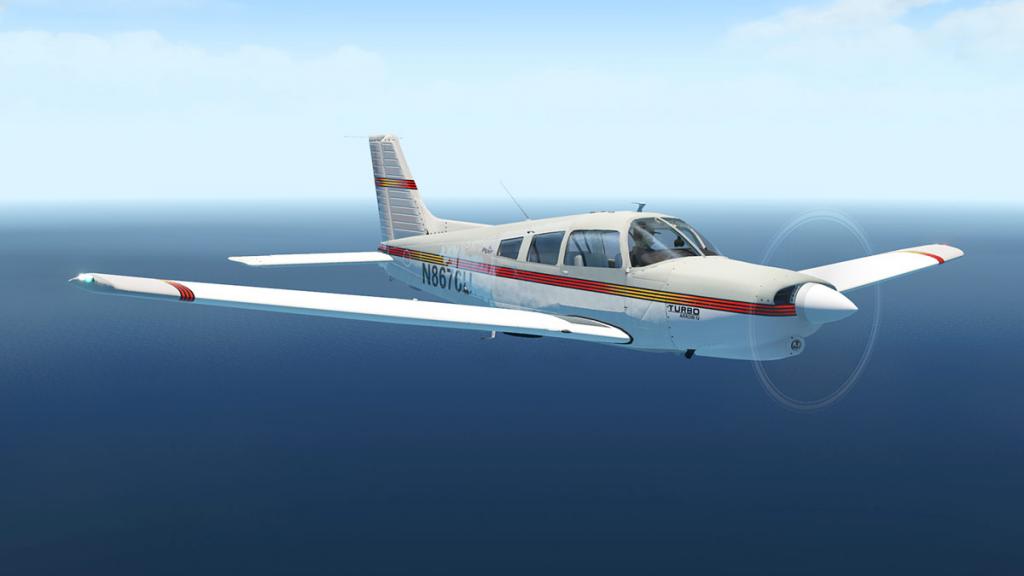
Lighting
Like the Warrior Aerosphere's lighting is average. Panel instrument lighting is fully adjustable and very good, but the overhead lighting is poor.
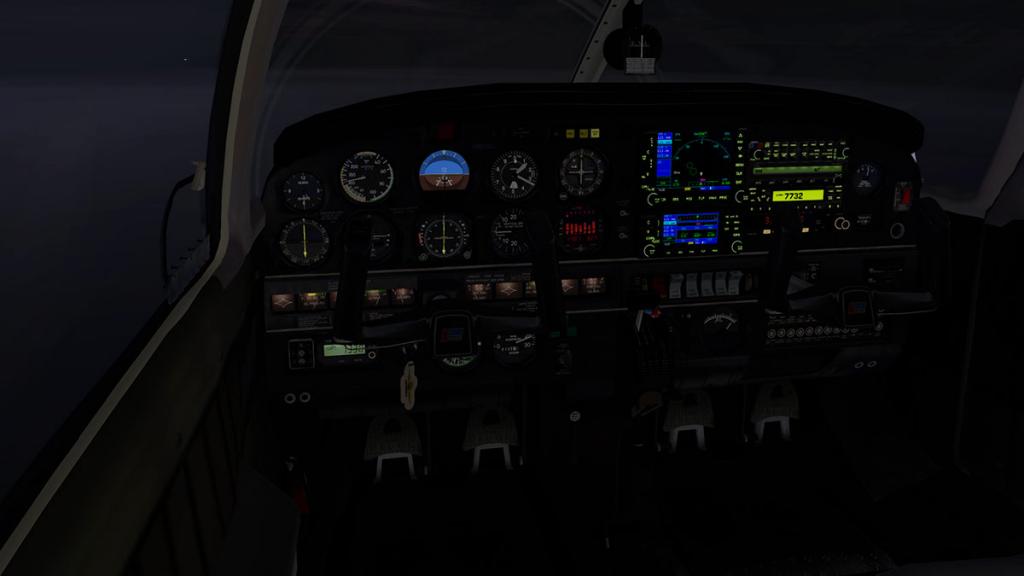

There is a single door entrance light on the roof and a blue adjustable overhead light... But it is not blue lighting but just the standard X-Plane overhead lighting?
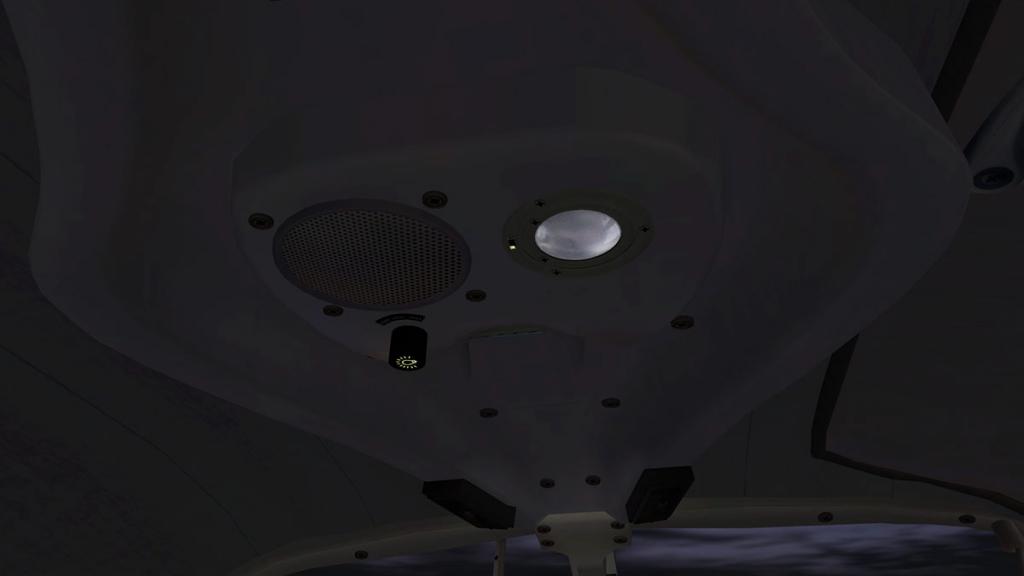
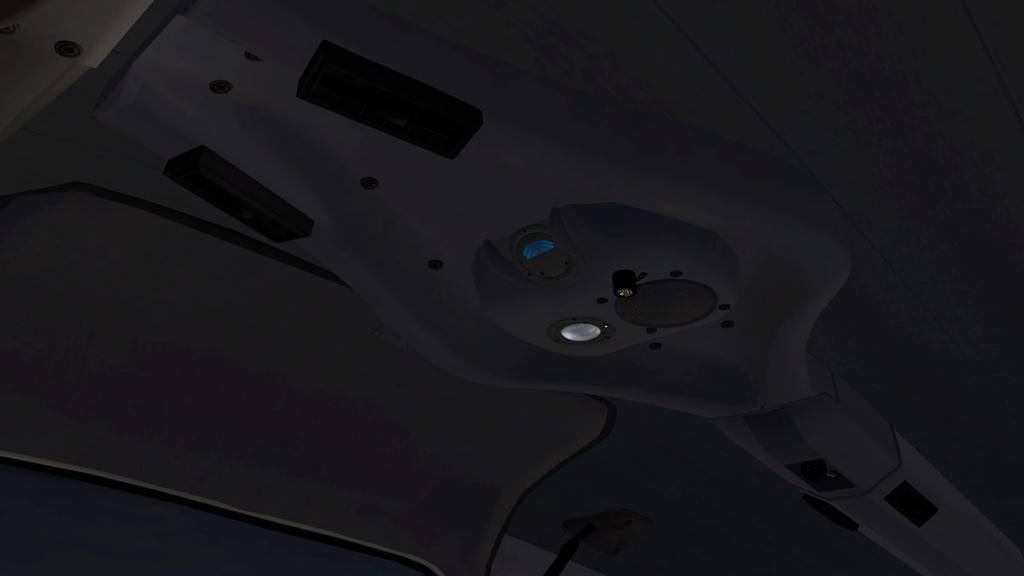
External lighting is not adjusted? and are just blobs of light more than corrected lighting... average.

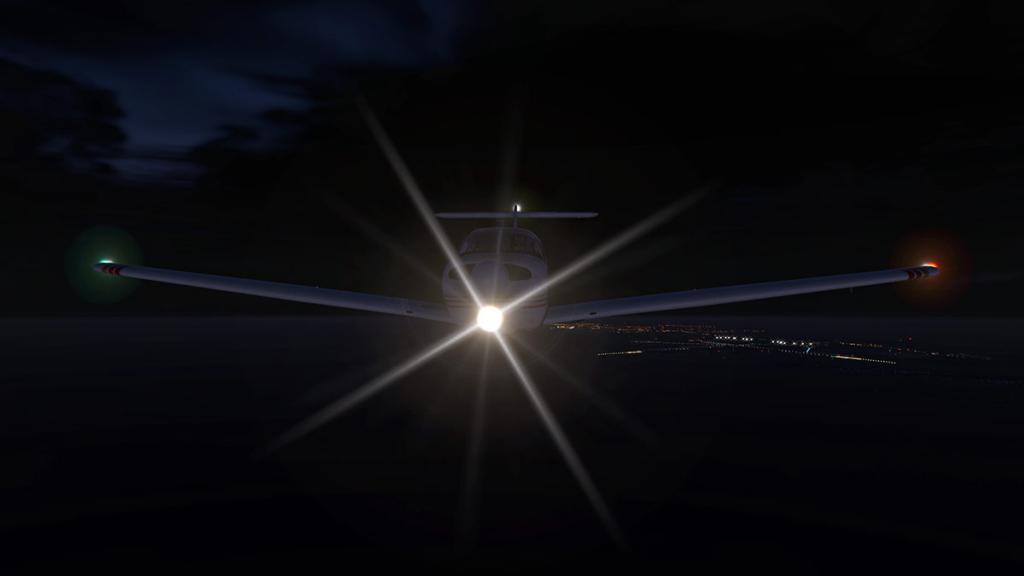
Summary
First of all you get not one version of the Piper PA-28 Turbo Arrow IV but two in the PA28R-201T for the conventional rear tailplane and the PA28RT-201T for the T-Tail version. Both are certainly nice aircraft but the T-Tail will always pull your heartstrings towards flying something different.
Both are well designed and are quality aircraft and Aerosphere are getting better and better with every release and are now certainly up there with most of the best quality developers, although they are not totally in the Carenado class yet.
Negatives, not much but lighting need more creativity. Liveries need more thought and just more liveries. You don't get any menus or many extra features but it delivers the basic design and the package is very good.
Overall this is a very tidy aircraft and extremely good to fly and the far extra power over say the Warrior makes the Arrow a much more nicer aircraft to fly, and better yet if you have an addon throttle system as the aircraft is very sensitive and I mean in a good way to throttle input. Aural feedback to those throttle adjustments is very good as well. So for any trainee or budding new pilot it is a very good aircraft to learn on, as the Arrow IV is a very nice aircraft to control and not only on the ground but also in the air, so it is highly recommended in that area.
Could you ask any more than a good solid aircraft to enjoy flying and training on. No I don't think so and in that area this Turbo Arrow IV ticks all the boxes, good design and a good avionics pack gives the aircraft a good feeling vibe. So yes a worthwhile aircraft to fly and enjoy.
_____________________________________________________________________________________ 
The Piper PA28 Turbo Piper Arrow IV by AeroSphere Simulations is NOW available! from the X-Plane.Org Store here :
Piper Arrow IV
Your Price: $24.95Features:- 4 HD (4096 x 4096) liveries with a plain white texture that can be used for custom paint schemes.
- Steam gauge trainer cockpit model to help pilots in the training environment with required instruments for IFR.
- Garmin 530 & 430
- All gauges are 3D
- Detailed flight model and interactive 3D virtual cockpit with animated knobs, buttons etc. cabin door, storm window and rear baggage compartment door.
- Toggle button to remove/display yoke
- Compatible with HDR and normal lighting effects
- Many textures taken from the actual aircraft
- Custom sounds compatible with X-Plane 11
Requirements:
X-Plane 11
Windows, Mac or Linux2Gb VRAM Minimum - 3Gb+ VRAM RecommendedInstallation and Documents:
Download for the Piper PA28 Turbo Piper Arrow IV is 297.40.mb and the two unzipped files are deposited in the "General Aviation" X-Plane folder at:
Arrow IV 200.10mb.
Arrow IV T-Tail 159.00mb
Documents: Include a basic three page "Read Me"
_____________________________________________________________________________________ Review by Stephen Dutton23rd June 2017Copyright©2017: X-PlaneReviews(Disclaimer. All images and text in this review are the work and property of X-PlaneReviews, no sharing or copy of the content is allowed without consent from the author as per copyright conditions)Review System Specifications:
Computer System: Windows - Intel Core i7 6700K CPU 4.00GHz / 64bit - 16 Gb single 1067 Mhz DDR4 2133 - GeForce GTX 980/SSE2 - Samsung Evo 512gb SSD
Software: - Windows 10 - X-Plane 11.02
Addons: Saitek x56 Rhino Pro system Joystick and Throttle : Sound - Bose Soundlink Mini
Plugins: Environment Engine by xEnviro US$69.90
Scenery or Aircraft
- KEYW - Key West International Airport V1.0 by FletcherJ (X-Plane.Org) Free
- KRSW - Southwest Florida International Airport by Aerosoft (X-Plane.OrgStore) US$24.99
-

Aircraft Extension : Quest Kodiak G1000 Expansion Pack by Thranda
The Quest Kodiak was released at the end of October 2016 by Thranda or by another name in Dan Klaue who is an old sage in X-Plane developers. On the aircraft's release you were met with a very different sort of aircraft than you usually expected. It was full of innovations, interesting details and was or is quite different to fly than most aircraft of this genre. A full X-PlaneReview is here : Aircraft Release Review : Quest kodiak by Dan Klaue
As noted in the review the Kodiak is based on the principals of the extremely successful Cessna Caravan 200B, which is a single PT6A-140 868 hp (647 kW) Turboprop short-haul regional airliner and utility aircraft with a seating arrangement for nine passengers and two crew.
The word here is "utility aircraft" and a versatile machines these C200B and Kodiaks are. The initial release version was delivered with just the 8 + 2 passenger version and an "Expansion Pack" was noted as coming... Well here it is and the expansion pack delivers not only the standard 8 + 2 seating arrangement but now an "Executive" version as well. Also in the new package is a Cargo version, Ski Version, Amphibian (Float) Version and a Tundra tired version. Which all together makes up a pretty extensive package.
Important is that you will need to first purchase the standard Kodiak version and then add on the new "Expansion Pack". Which is very similar to the Carenado Cessna Caravan arrangement, and so you can't just purchase one aircraft package of both roles.
On top of the new package availability, this release also brings the aircraft in both forms up to X-Plane11 standards as well as there is now also two versions available for both X-Plane10 and X-Plane11. Also to note that there are two separate aircraft files with one covering the Passenger, Cargo, Ski, Tundra versions and one for the Amphibian (Float) Version.
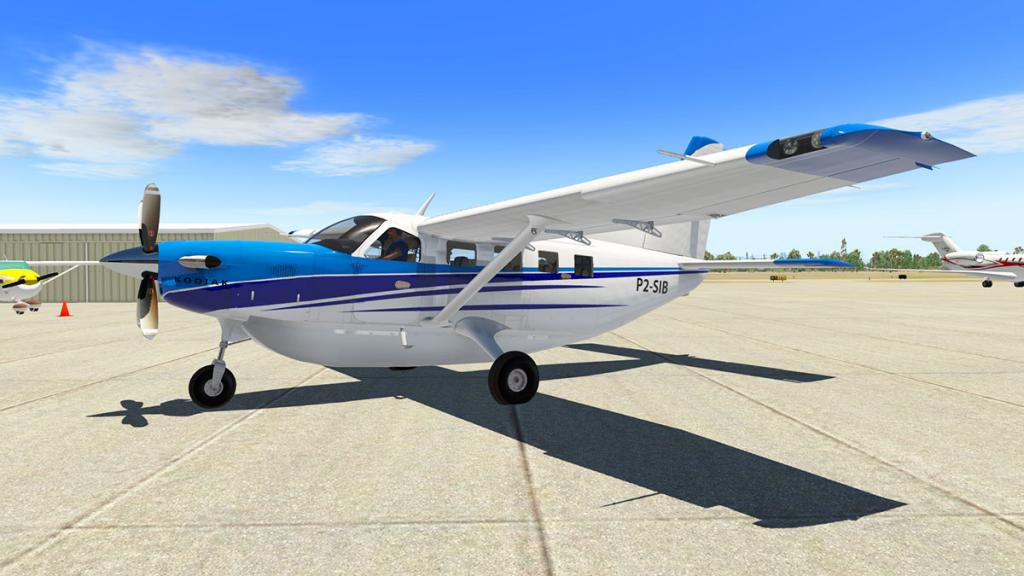
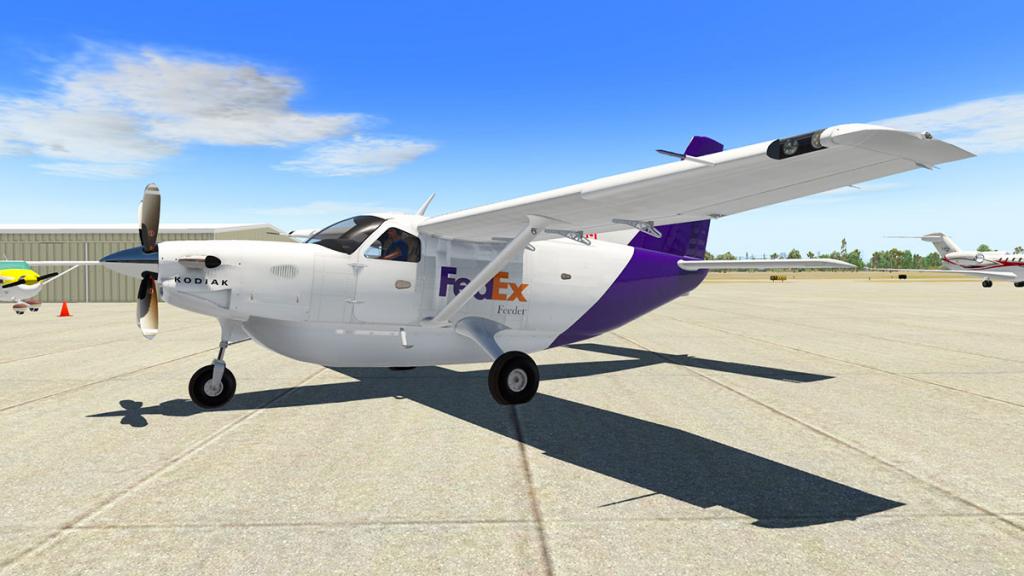

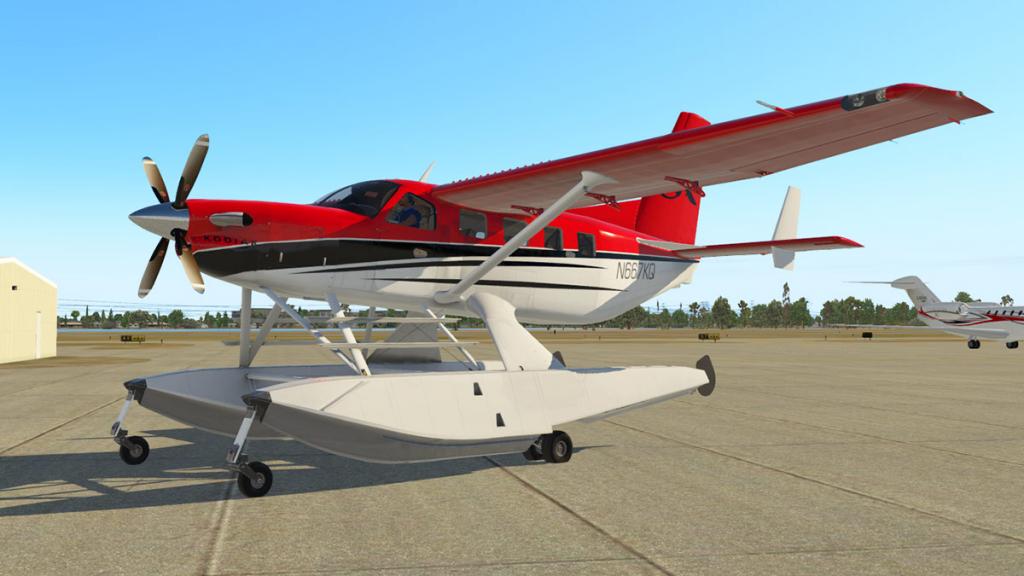
The "Passenger" version's new two seating arrangements are excellent, with first the original 8 + 2 version...
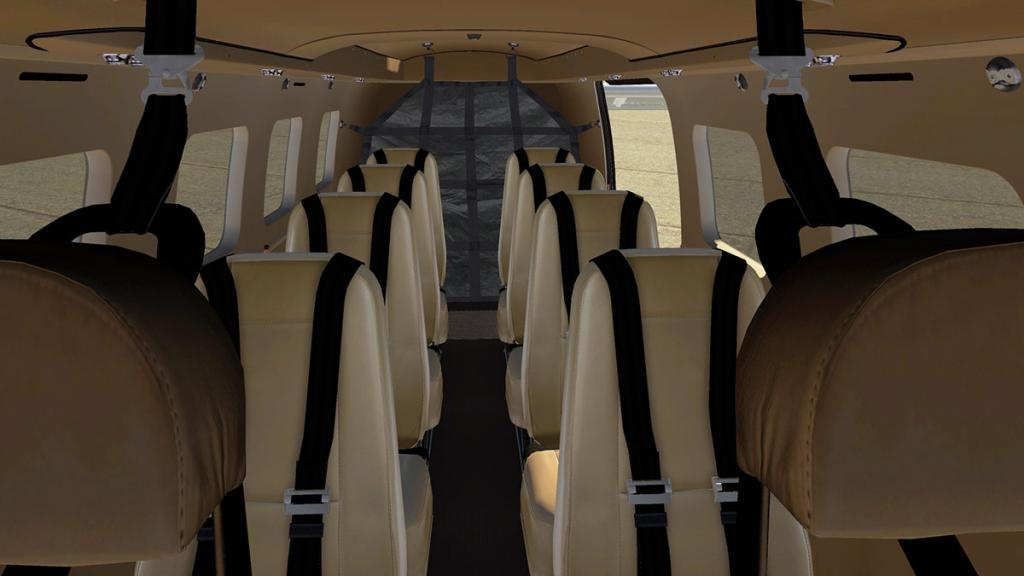
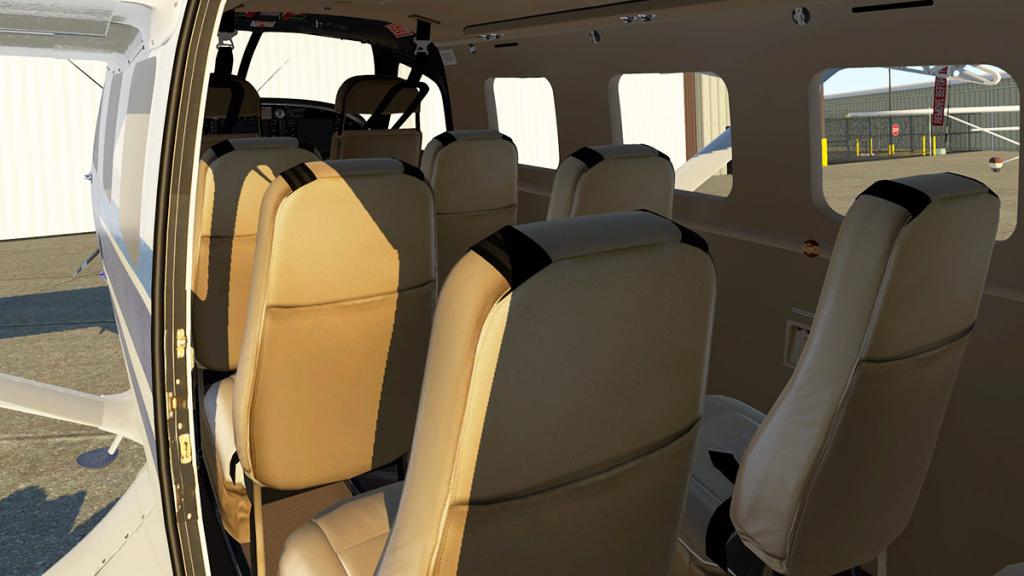
... and the new six seater "Executive" version with nice animated fold out tables.


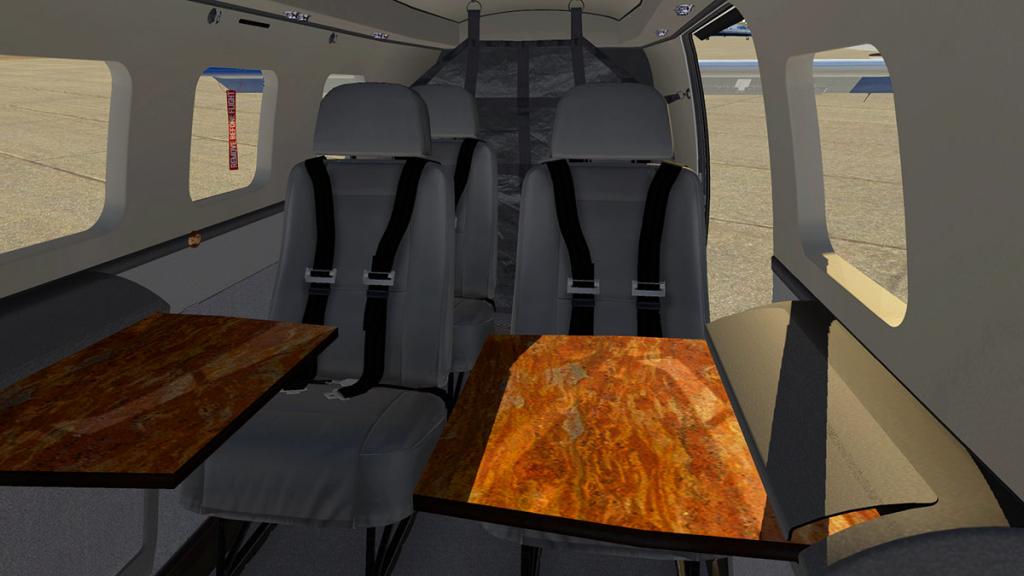
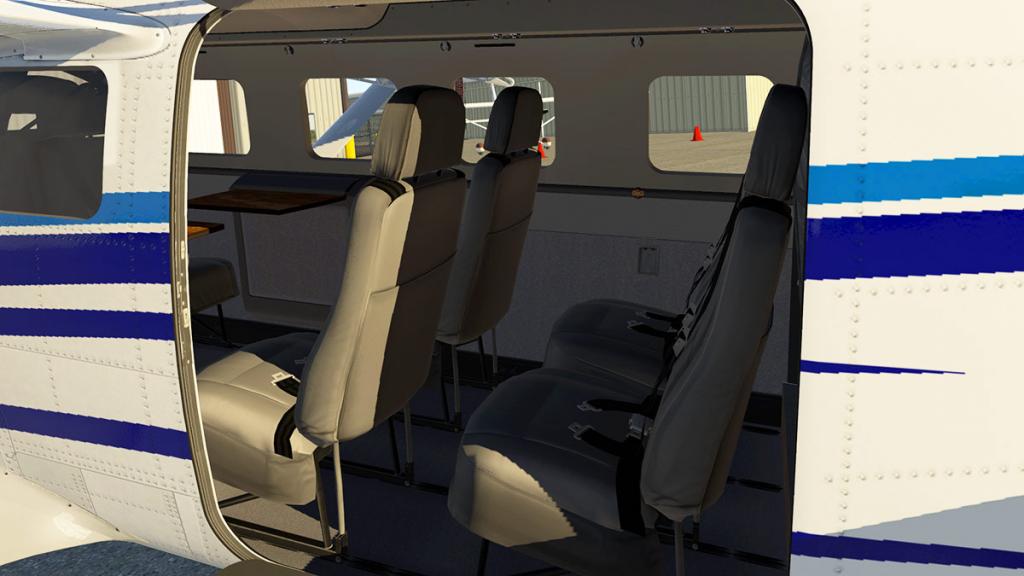
Although I will admit that last row is a bit cramped.
There was an update for the Kodiak for X-Plane11 the moment the beta version was released in late Nov 2016. But that was far too early in the new simulators beta run to be effective. This v1.4 covers the full revision of X-Plane11 features including all the main X-Plane11 areas of thrust calibration, ground handling, textures, flight dynamics, electrical systems and more improvements to the G1000 avionics suite. These in v1.4 changes now make the aircraft fully X-Plane11 compatible. Thranda also include an Auto X-Updater for the duration of X-Plane 11 to update the aircraft at any time without having to go and redownload the full package from your purchase store.
This review will focus mostly on the cargo version as I get most of my "jollies" from those aircraft in flying small loads of freight from larger airports to small regional or even very remote strips that most other aircraft could never service. For this task the C200B and the Kodiak are very well equipped and built for that certain specalised role.
Menus
But first a run through the comprehensive menu system that comes with the Kodiak to configure the aircraft to your specalised desires. Although the menu is basically the same as the original release menu, with the new "Expansion Pack" the menus are changed to add in the newer elements of the different types of versions available. I mentioned "comprehensive" before but extremely versatile also is the menu system is as well for different configurations and layouts.
The menu is accessed by the arrow tab on the left side of your screen. The colour of the menu is linked to the aircraft's primary colour and so changes if you change the livery on the aircraft. This can be from the pleasing cool light grey to some really gaudy colours that even makes the menu harder to read...
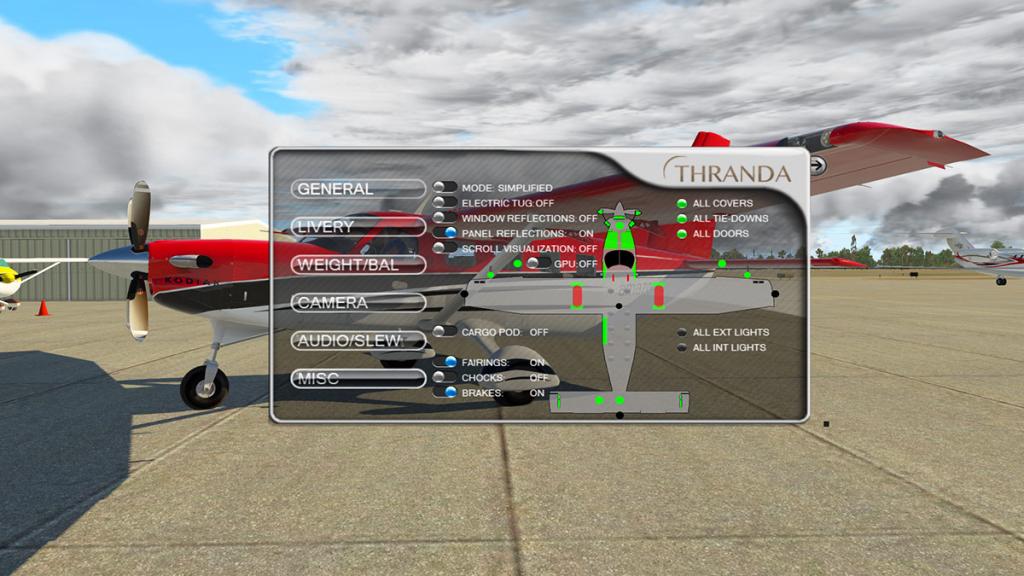
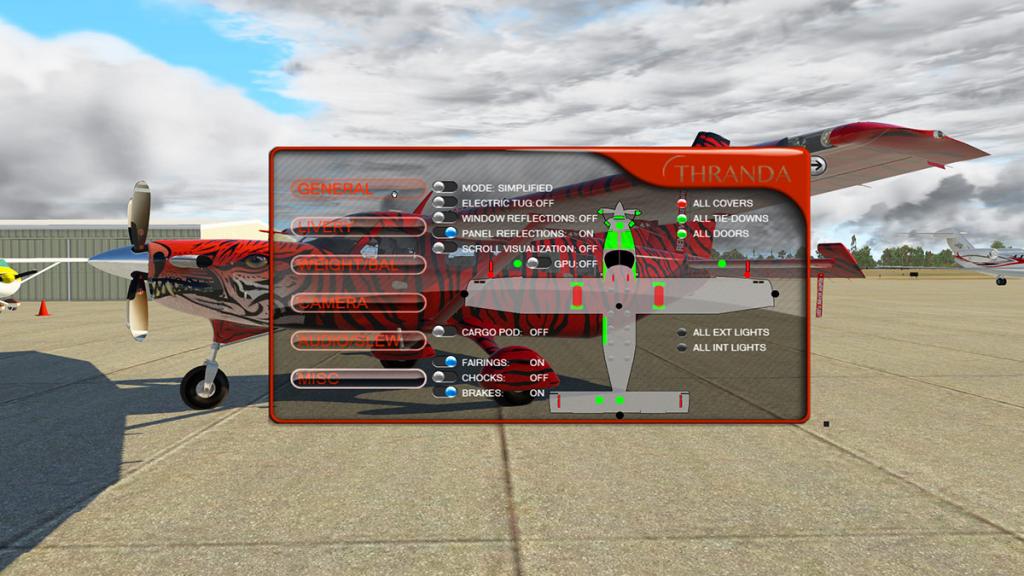
The same set of main menu options are still set out in the same five menus of : General, Livery, Weight/Bal (Balance), Camera, Flight Data and MIsc.
General: The main menu covers all the general items on the aircraft and notes: Realistic mode, Electric tug, reflections on/off and scroll (mouse) visualization on/off. Lower selections cover the Cargo pod on/off, wheel fairings on/off, chocks on/off and brakes on/off. The three "All" buttons in Covers, Tie-Downs and Doors activate all items in that segment, but you can also touch areas on the aircraft to open/close, add or take away all the different individual items featured on the menu.
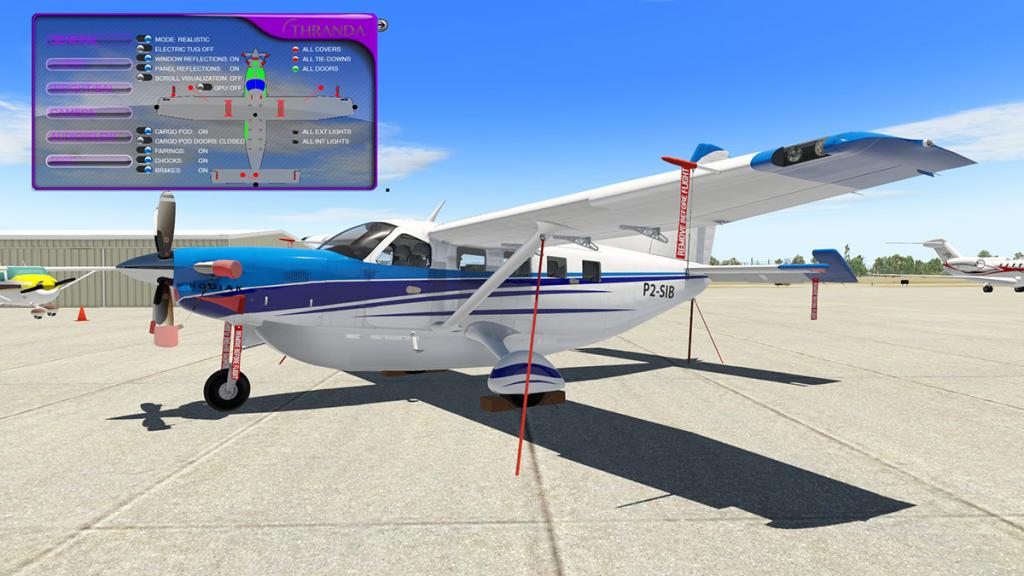
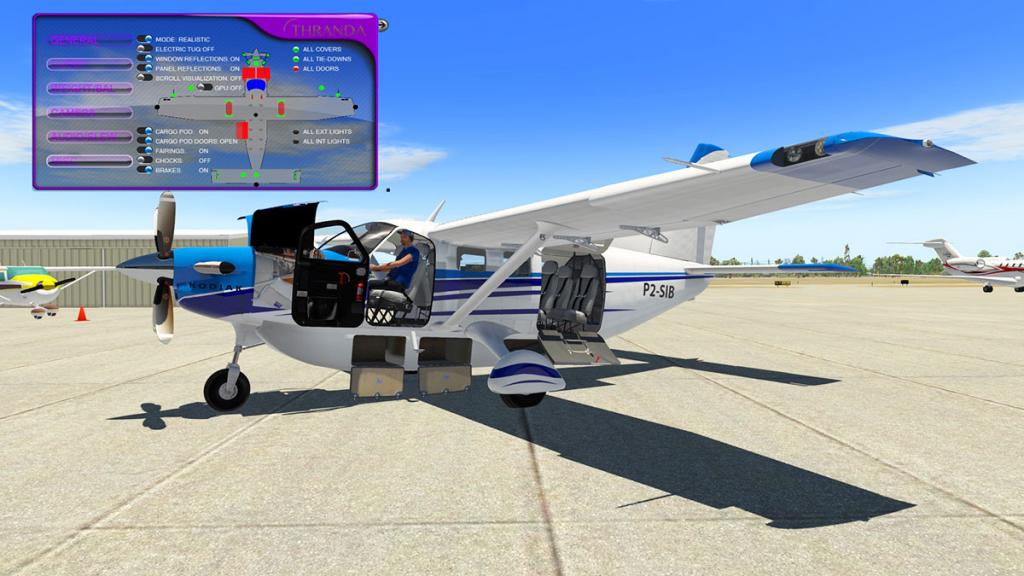
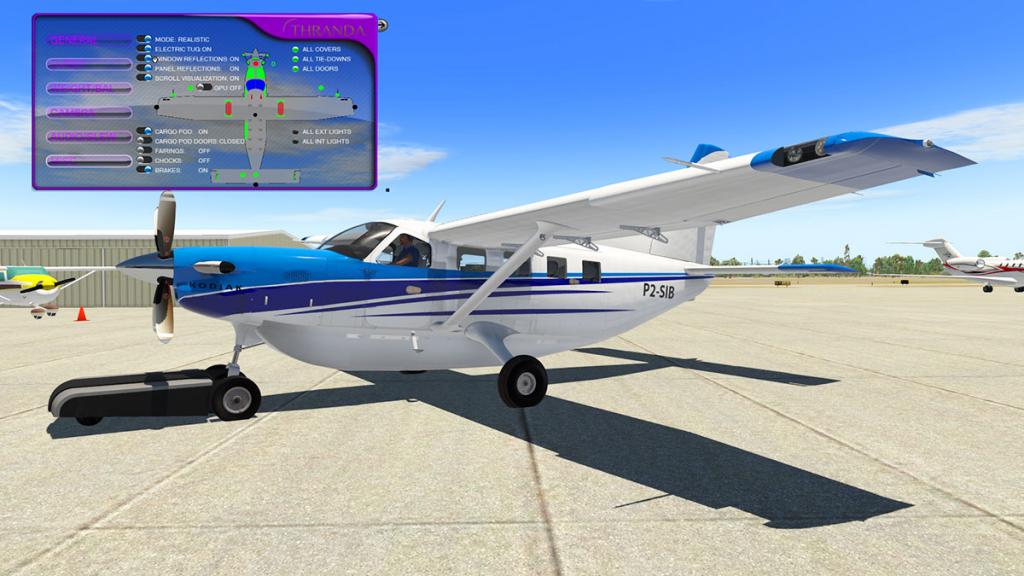
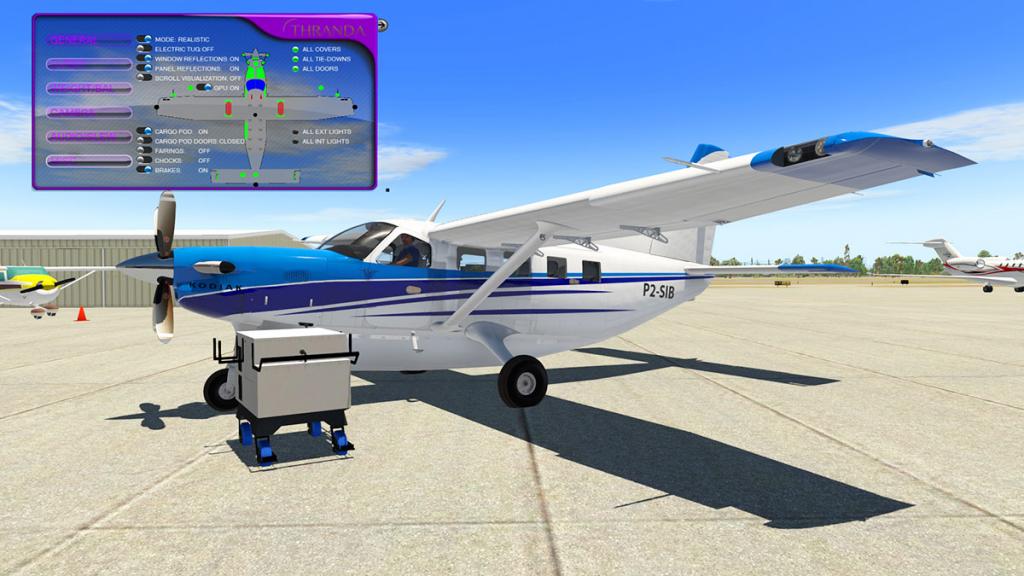
Overall this menu is the same as the original except for one new addition in an external GPU (Ground Power Unit) - (above right)
Liveries: Selecting the livery button gives you a selection with more "PAINTED" liveries for you to select from with three added cargo liveries for FedEx, DHL and JAARS.

The amazing "Dynamic" livery system is still there as well, which allows you build you own colour livery in the style you like and save it. I found it a little more efficient than on the original release were it would be slow sometimes changing colours and saving, it is far better now. I did a full description of this dynamic livery system in the original review.
Weights & Balances : "WEIGHT/BAL" tab allows you to set the aircraft weight (lbs) in fuel, passenger (weight) and cargo weight in the rear or with the cargo in the under fuselage Pod.
This menu option page is excellent for setting up the aircraft with the different weights allowed. Easy to use but a reset to default settings would be a nice touch.

But not only now can you set up your passenger weights, but load up the aircraft in the cargo configuration as well.

As the cargo hauler in you can get (a little) carried away, and you can easily overload your aircraft! My tail was almost touching the ground until I saw sense and lightened the load a little. A really great touch is that as you add in your weights then the aircraft loads up with crates and boxes. You fly full there and empty back... oh it is heaven.

Camera : The camera button covers two set of views with one the external (walkaround) views via a set of red dots, and two a set of ten default (X-Plane) views as noted via the keypad or selecting one from the list and this menu is not changed from the original.
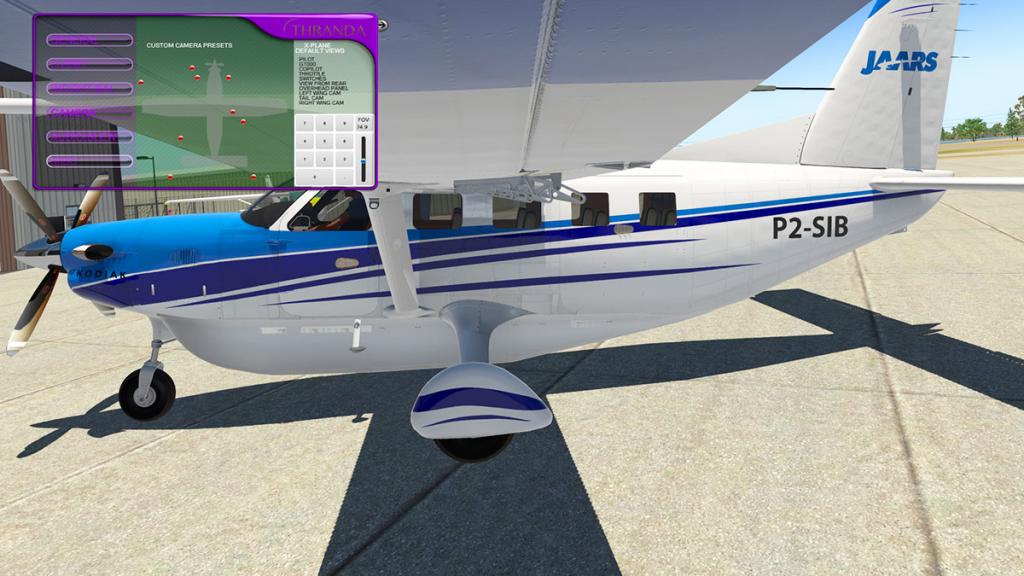

Audio/Slew
The Audio/Slew panel was quite basic on the release version with just the master volume to switch the sound on or off. The sound menu has been expanded to now include: Engine Volume, Prop Volume, Ground Volume, Electrical Volume, Warning Volume, Button Volume and Aerodynamic Volume (wind).
The unfinished "slew" feature was also slightly problematic and that has also been refined but still not perfected. The idea is to allow you to place the aircraft at an new altitude or turn it around to a new heading very quickly and without going to the X-Plane local map to do the same thing but without that nasty bump as X-Plane kicks back in.
MISC : Although the MISC menu option in the original release was listed it didn't work. Now it does. The menu covers four squares that represent Skis, Tires, Cargo and Interior.
Skis : Skis allows you to add skis to all the wheels. All skis are really well modeled with even detailed cables holding them in place.
Tires : Tires allows you to select the regular tire size or the balloon style "Tundra" tires for wetland use.

Cargo or Interior : You can only use the cargo option or the Interior option with these selections.
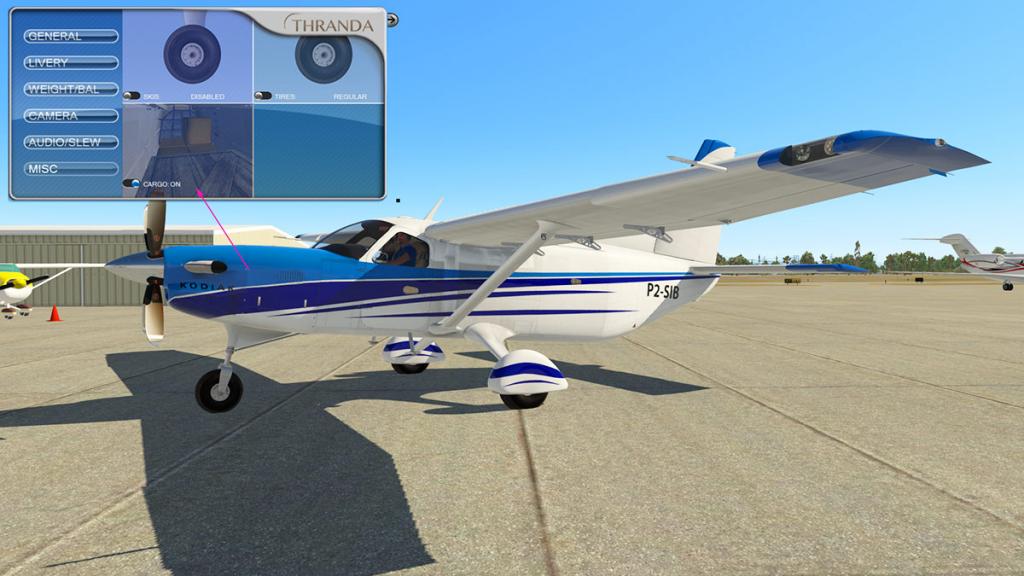

The Cargo version takes away the windows and fits the internal floor ready for hauling freight. In the Interior version you have the 8 + 2 seating arrangement or the "Executive" version as noted above.
As a note the liveries work with both versions in that you can have a FedEx livery on the passenger version which gives a whole new meaning to "Hauling cattle class".
Amphibian (Float) Version
The addition of floats to the Kodiak makes the aircraft feel huge! The fuselage is way up there and the aircraft stands well above the ground with these huge pontoons attached below.
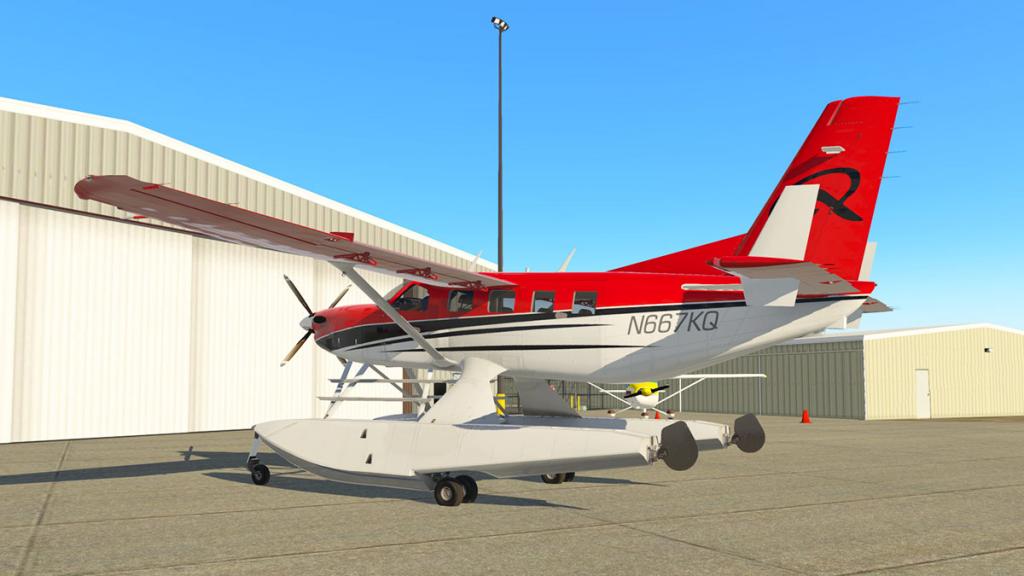
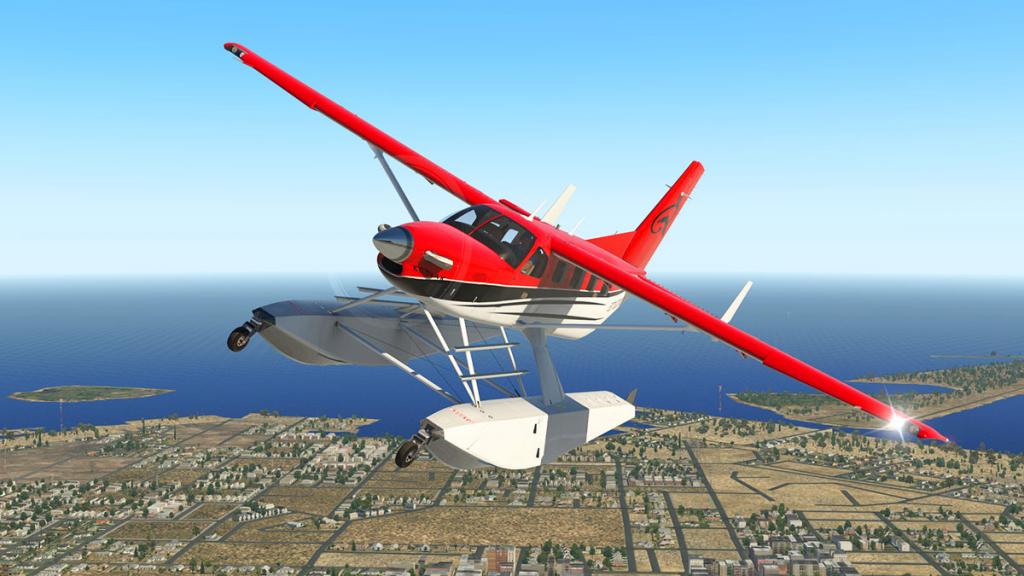

The pontoon detailing is excellent, the best in X-Plane by a mile.
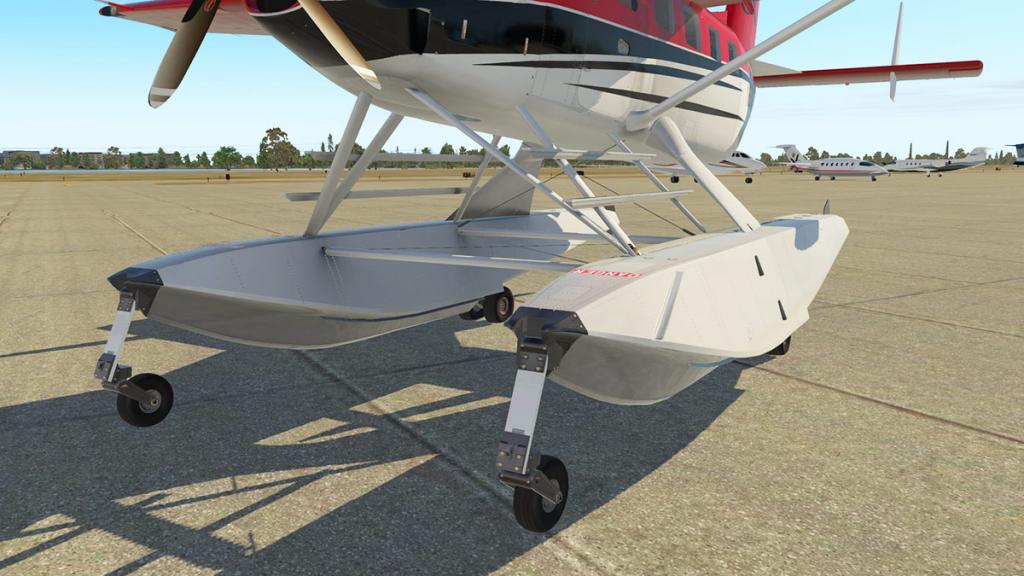
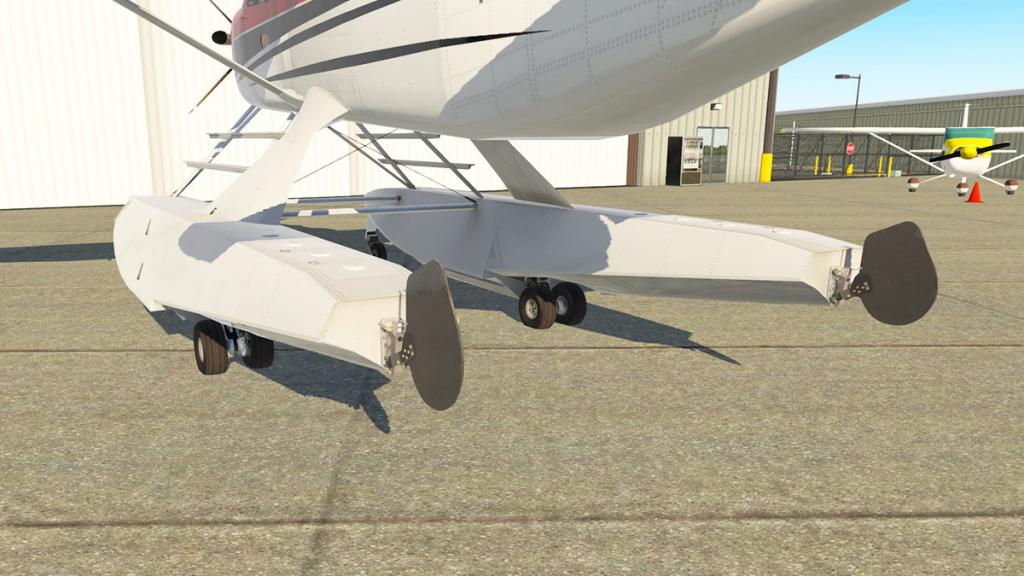
Detail is outstanding with every rivet and screw shown. Pylons are aerodynamic and beautifully joined to the fuselage. The pontoons are well shaped and the bottom curves and shapes will be better seen in flight are excellent. The rear twin rudders can be raised or lowered by a lever in the cockpit between the front seats...

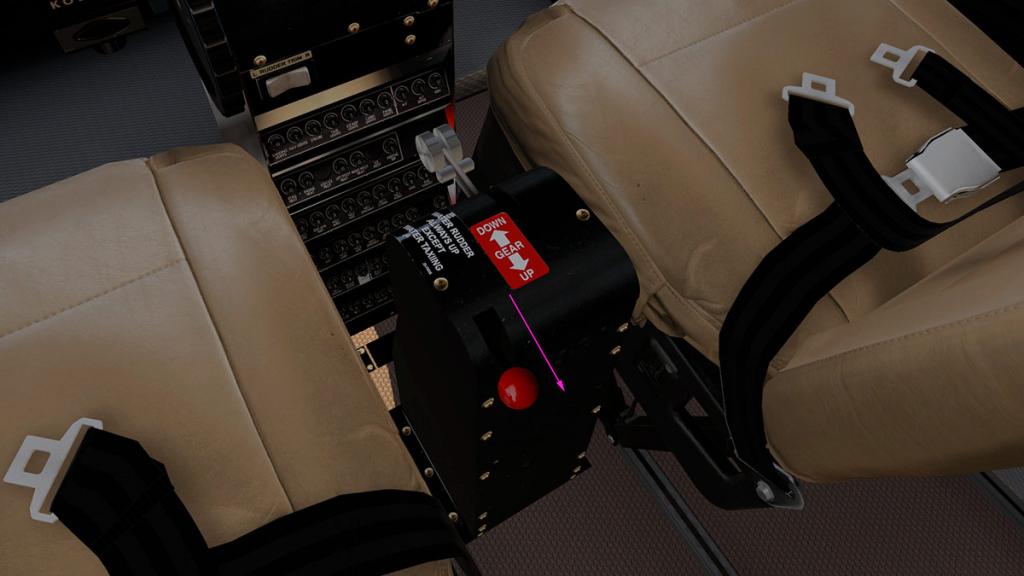
... the bigger front lever is for the undercarriage and not to used on land as it is a noisy and damaging experience. Animation (in flight) of the gear is excellent.
You do feel the realistic weight of the extra external appendages. Speed is slower and the centre of gravity is in a different place, but still the Kodiak is nice too fly. Note the extra fins on the rear tailplane for extra stability.

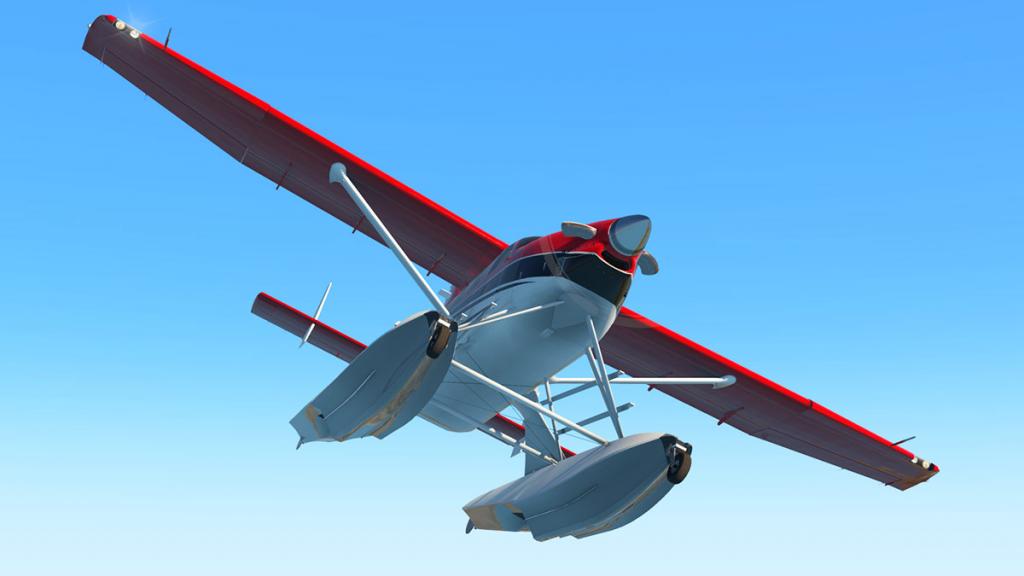
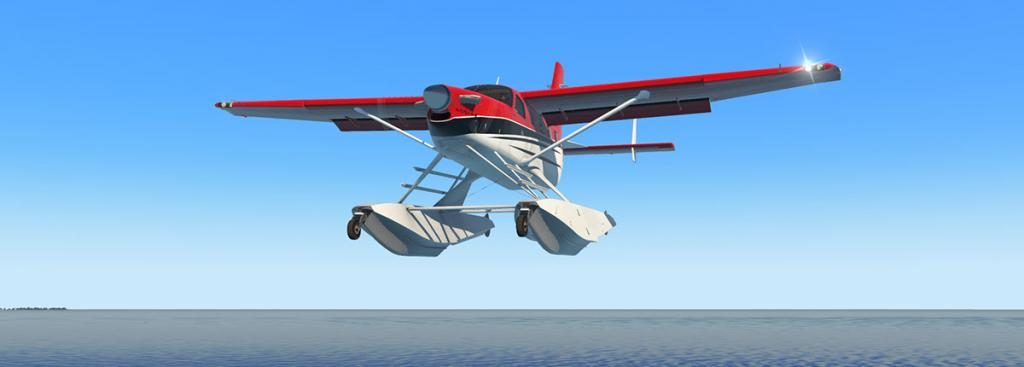
Movement and handing on the water is also very good, but the aircraft does sit quite low on the pontoons.
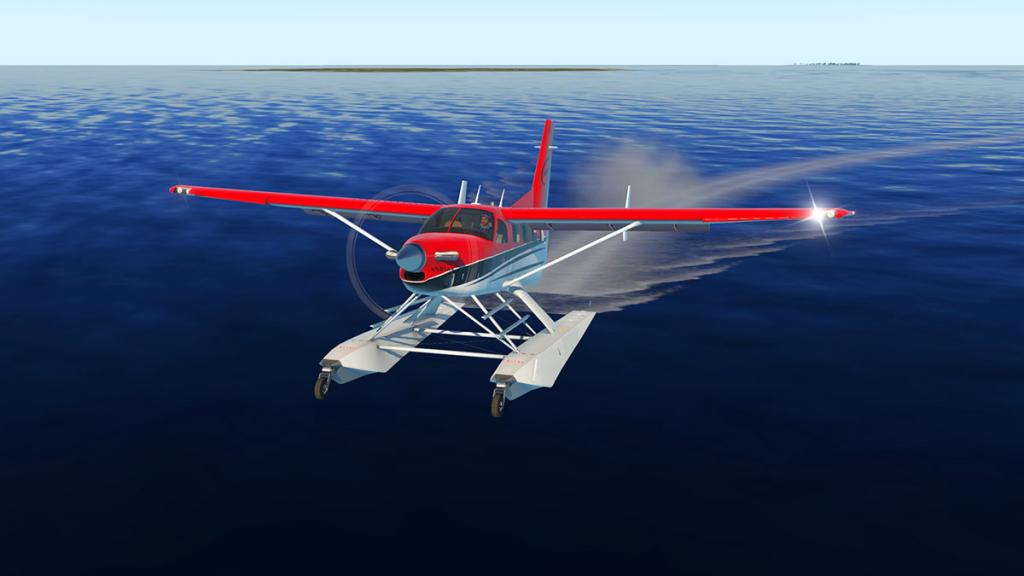
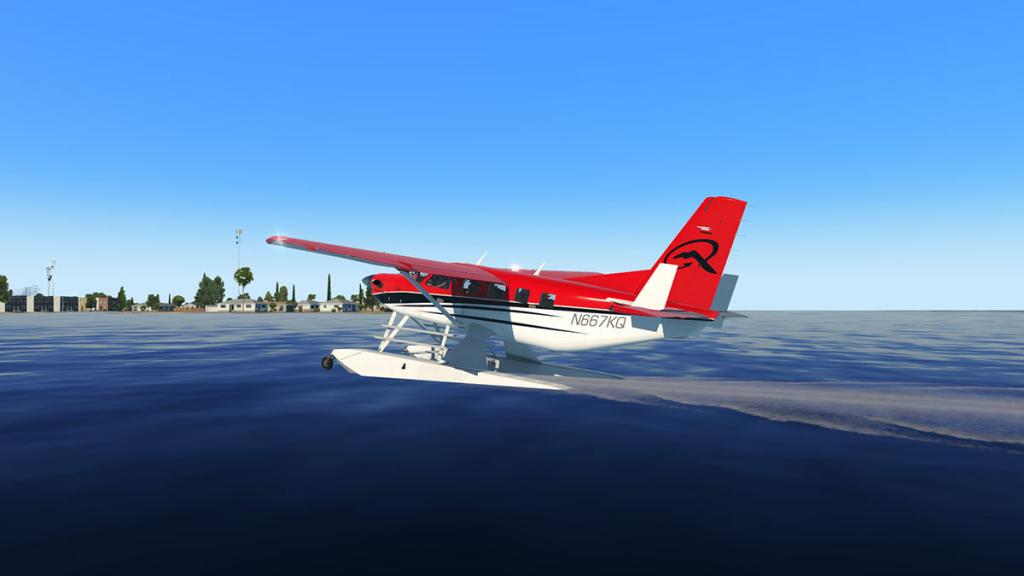
If you have already flown the Kodiak then you will know it is a bit like a frolicking horse. This speed can be a bit strong to reign in and on the water with no brakes to slow you down it can be a bit disconcerting...

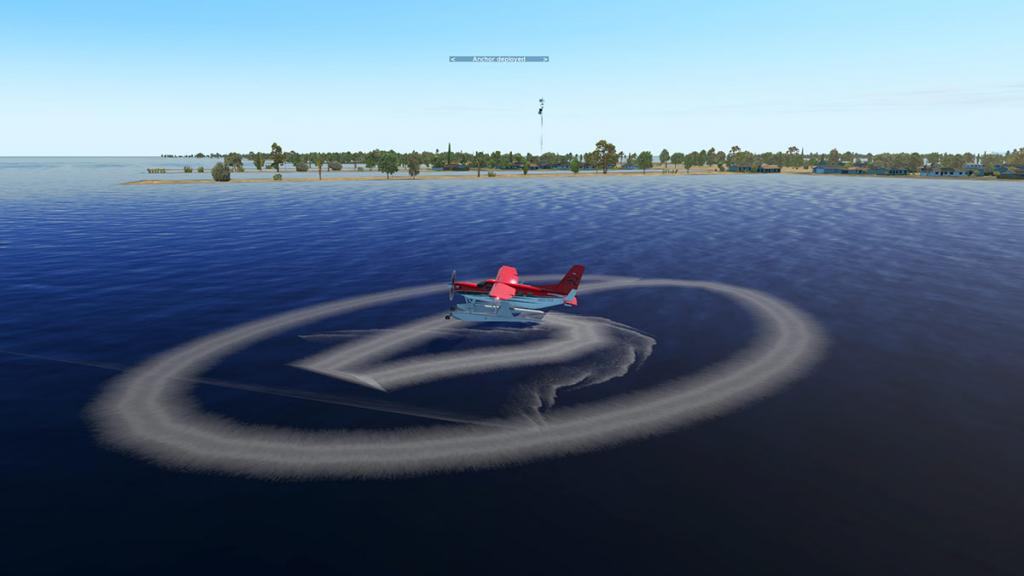
... as even in the low idle position and if throw out the anchor you will just circle around it like on a circus ride? Only a full propeller pitch change will make the Kodiak finally calm down.
But overall this Kodiak is a very nice aircraft in it's amphibian role and can be used in both the passenger and cargo versions.


Flying the Quest Kodiak Cargo version
I love regional cargo flying. Distributing small freight to remote strips or just from regional airports to hubs. Of course the Carenado Caravan was a master of these routes, but the newer Kodiak can now give the old timer a better run for its money.
This route is a favorite, it is from KEYW (Key West) to KRSW (South West Florida) and small hop but a vital link in the chain of delivering freight to the end of the keys. The route out was lightly loaded, but coming back I filled the Kodiak to the line of what is allowable in weight to get off the ground. As much fun in simulation is found not only in the actual flying but in the ground work before the actual airborne work.

The Kodiak is really one of the best in this case in not only selecting the way I want to fly the aircraft (Wheel Fairings on) but in the way that I load the aircraft. Both pilot and cargo weight distribution is excellent and with a great scale to show the centre of gravity and load balance. This weight balance is very important in the Kodiak as it does affect the way the aircraft flies as it should in the real world.
This was noted in the original review in that the Kodiak is not a simple aircraft to fly easily. You can't just slip into the pilot's seat and fly off into the sunset. It does require a bit of time and feel to get under this aircraft's skin and the way the aircraft handles. Certainly different load factors affect the handling, but it is very tricky on takeoff and landing and requires a very firm feel and cool head to get it right.
So it will take a few flights before you will feel comfortable with your place at the helm, a bit of practise helps as well. As I found heading out of KEYW to KRSW and all of a sudden the earlier flying reminders came flooding back and I had to adjust accordingly. But like most aircraft in this manner you do adjust but it won't be without a little time in getting back into the groove again. My advice is that to spend time in the Kodiak to get the very best out of the aircraft. The more mileage you do the easier the aircraft becomes, it certainly is not a hop in and out of again machine because you certainly won't get the best out of it in that way of flying.
First issue is power or idle thrust. I rarely moved the "Condition" lever out of low idle except for takeoff or climbing, as on the ground at high idle you just head off directly into the scenery once the brakes are released, never land even if the manual says not to in high idle, you won't stop or even get any sort of taxi speed that is controllable. And put in also a soft bouncy undercarriage and the Kodiak can test your nerves on the ground.
In the air the aircraft is far more stable but challenging. But that is in the fun flying and control sort of way than in a challenging painful way.
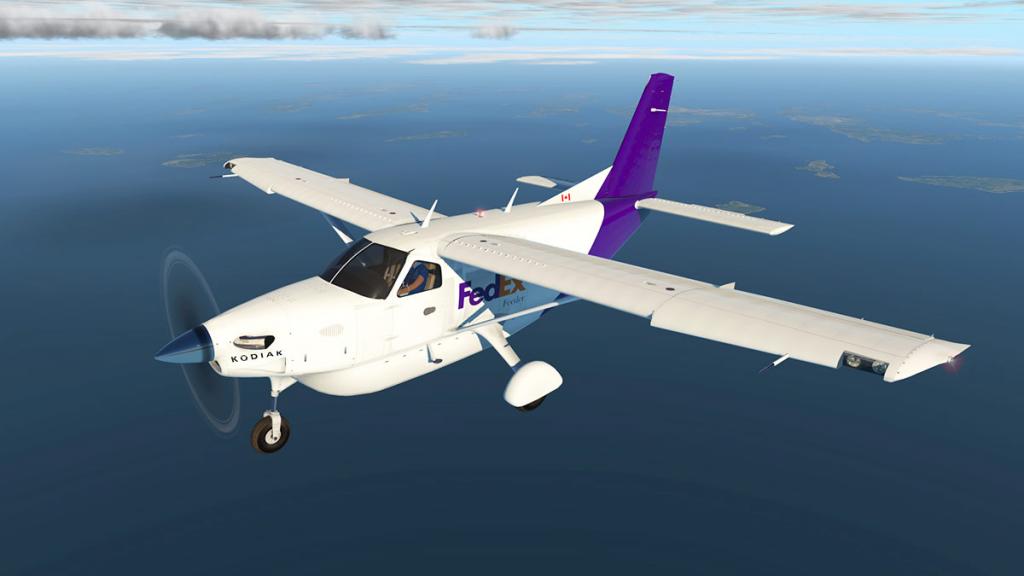


There is a lot of feedback and you need to use that active yoke trim tool to balance the aircraft correctly if you are going to fly any distance and even before you use the S-Tec Fifty Five X Autopilot, and to note the manual trim down by the seats is impossible to use anyway while holding the yoke steady and your eyes on the floor using it. Thank god for the yoke positioned switch.
The look of the Kodiak in the air in X-Plane11 is different from the look in X-Plane10. The ultra shinyness is gone to be replaced by the more natural PBR look in X-Plane11 and that is not a bad thing as the aircraft does look sensational in X-Plane11. The ultra shiny look was artificially created anyway. In that vein the Kodiak looks excellent in the air in X-Plane11, far better than I remembered like it was in X-Plane10. Detailing is superb and I really love this bulky looking cargo version going about its work.
Cockpit and instrument panel is still overwhelmingly dark. You don't really get used to the blackness but it is faithful to the real aircraft.
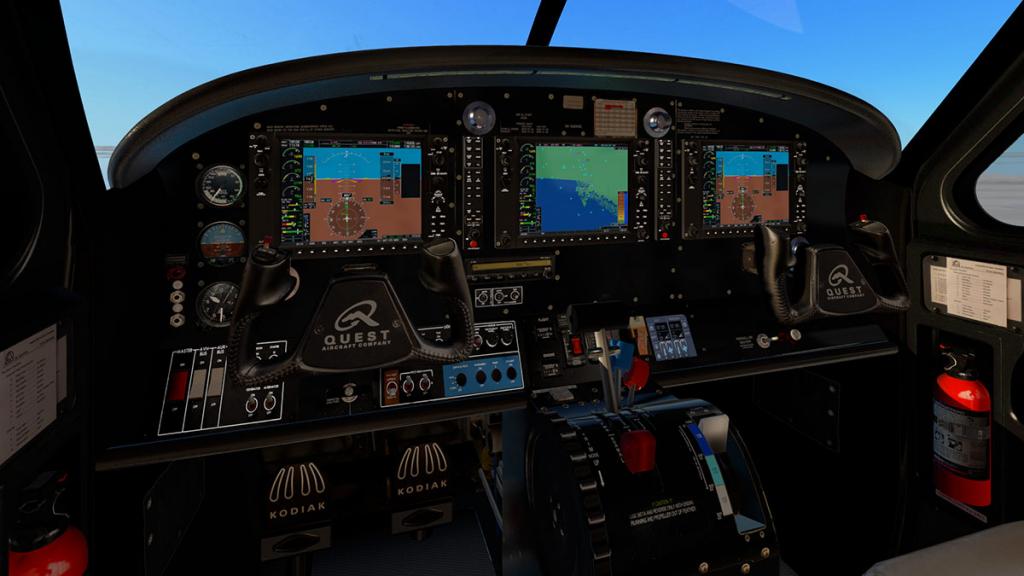

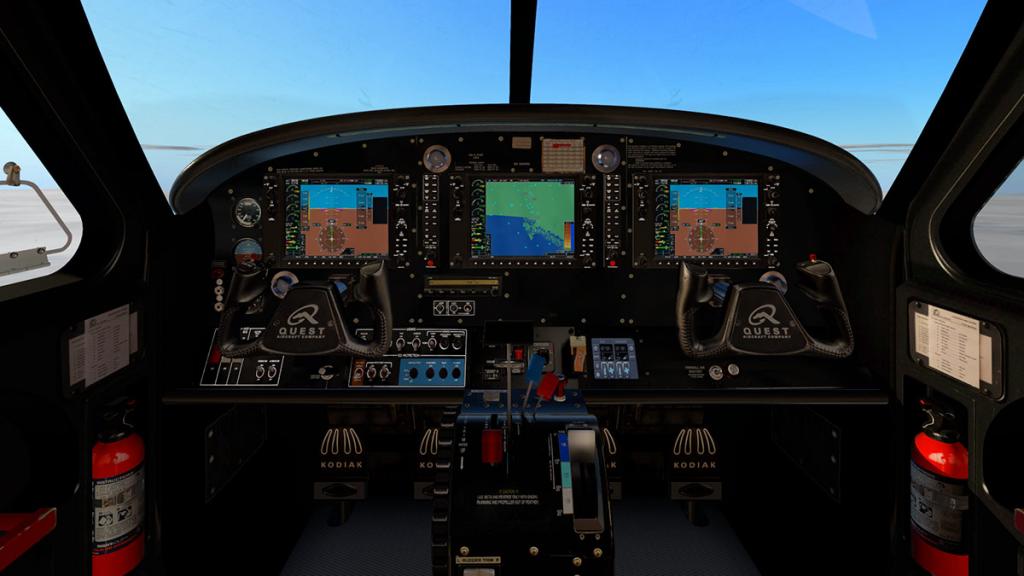
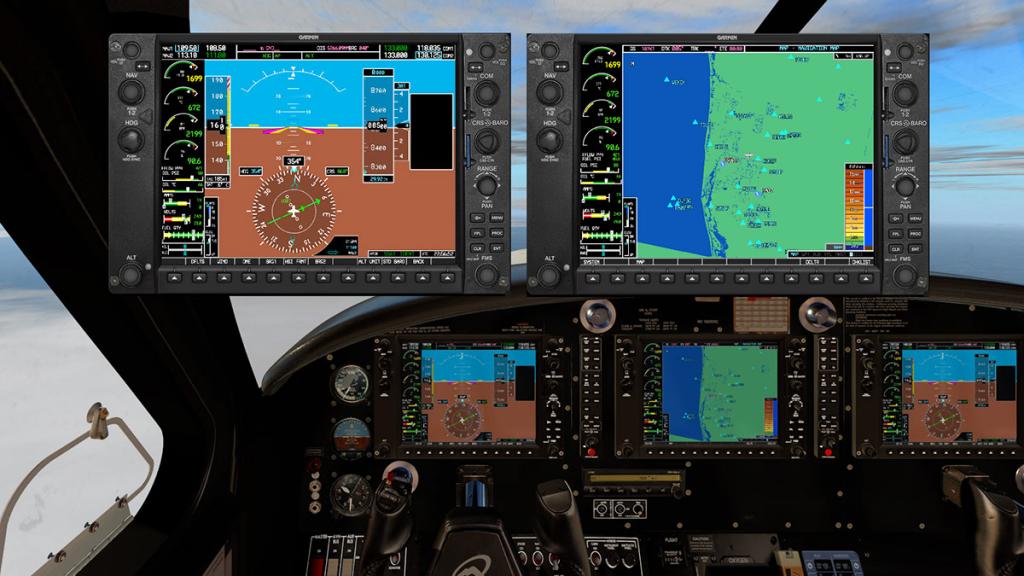
Those clever air vents that can be not only a adjusted for position but also the inner flap for the right airflow to your face (small fan facing face is highly recommended for authenticity) but they are also now in a perfect chrome look courtesy of X-Plane11's metalness feature, internal lighting fittings also have the same metallic feel as do small metal items on the aircraft.
G1000 avionics feature is very good now with updates since the original Kodiak release. Only the map is still a little laggy in turning and loading and the weight of the system although now refined does still require a bit of PC power behind it.
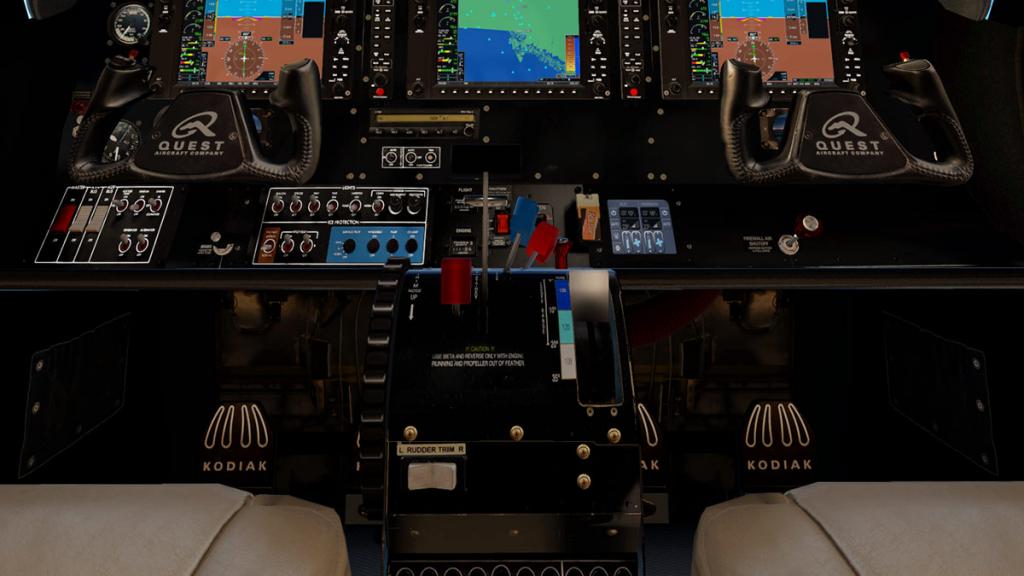
But the cockpit detailing is excellent, so much detail and every switch and lever works as it should. X-Plane11 refinements mean you get more flying feedback and good sounds to create that big experience. Nice PBR shadows help and with the aircraft fully loaded with cargo you feel like you are flying a huge full backback strapped on behind you, but you wouldn't want it any other way.
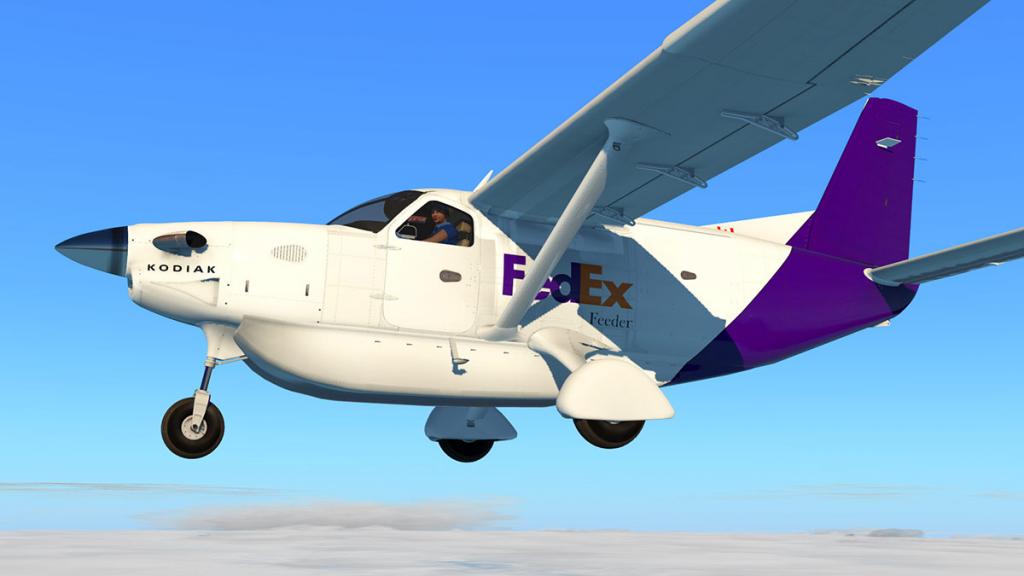
Hauling in the best sense. The route is only an hour's flying time, but up here at 8500ft you are enjoying the view.
On the ground at KRSW and a quick turnaround with even a larger and heavier load back to KEYW. You notice the difference of the weight, but more so in that with all that extra load it does make the aircraft a little less squirmy on takeoff and landing, not by much but it does help in keeping the aircraft more straight.
In the air the extra weight also means a far slower climb back up to 8500ft, almost twice as long as the first flight.
Key West is straight ahead over the water, and the need to adjust the rev's to the best speed setting vs not over running the engine is paramount.
So there no doubt in that the new expansion pack adds in a huge difference in the way you can now use the Kodiak. Cargo running is my game, but you can also find your fun in either the Float version, Skis up in the mountains or just the usual passenger island hopping to your heart's content, this Kodiak will do all and do them all now very, very well.
Liveries
The original set of liveries are in the original review, so here they are what they look like on the passenger version of the amphibian version, just note again they will work on every version of either the passenger, cargo and ski aircraft.
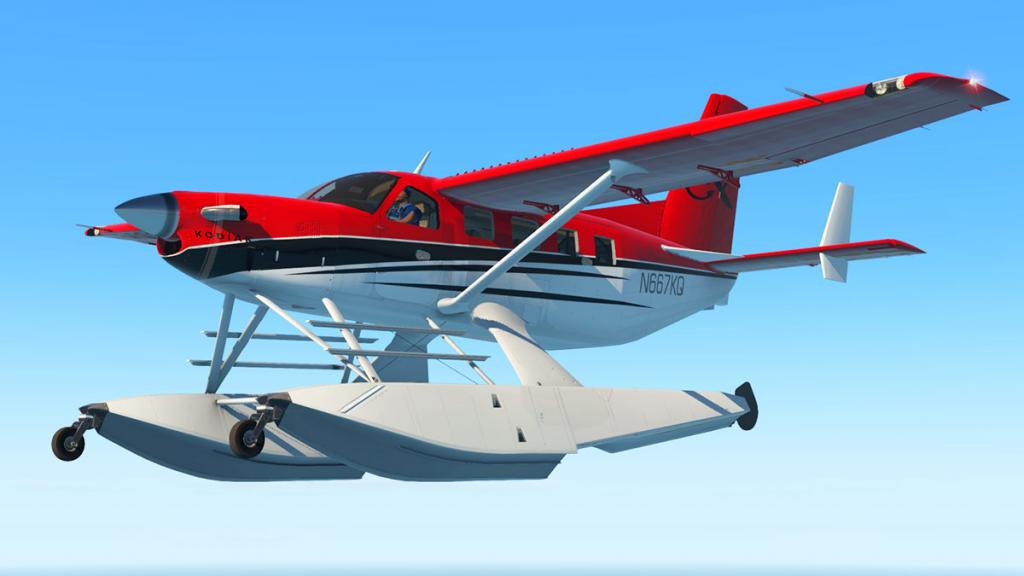
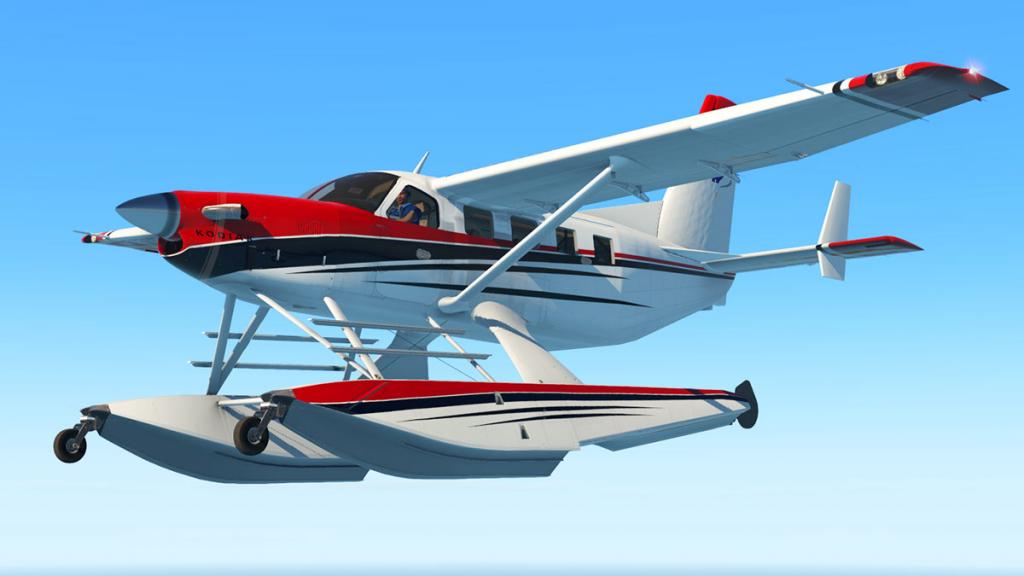

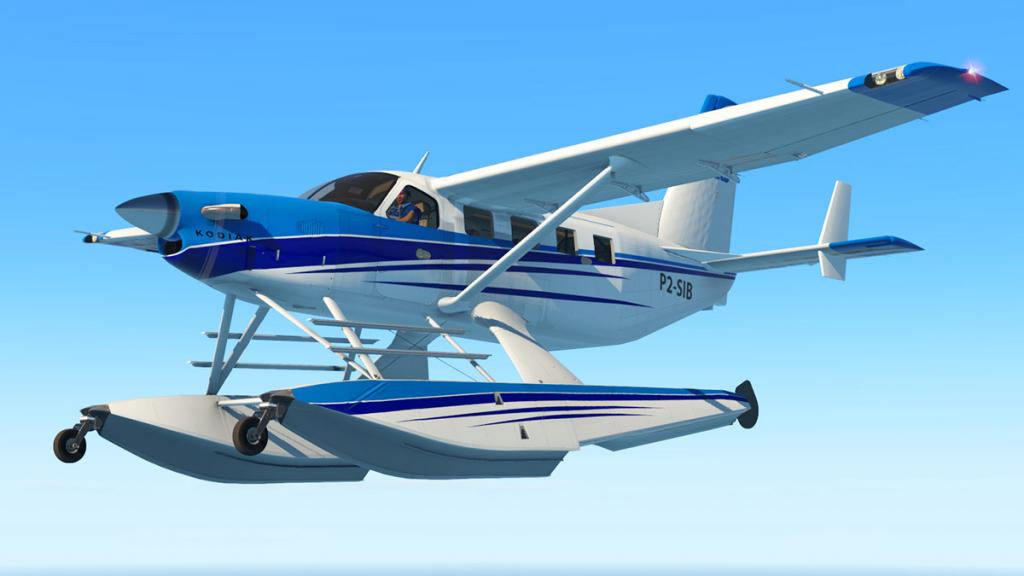


Note the excellent extra water detail on the "Tiger" float version (above right)
Summary
It is important to first note that you will need to purchase the base or passenger version of the Thranda Kodiak and then add in the extra cargo, Ski and amphibian elements of the "Expansion Pack" into the folders of the main package (details below).
This is also a double package in not only with the new expansion pack, but also the compatibility to X-Plane11 for the Kodiak. Both are certainly worth the effort and purchase.
Do I recommend the Quest Kodiak to only experienced fliers? It is a tricky bird to fly to full capacity. If you are very familiar with Carenado aircraft then you should easily convert to the Kodiak as their traits are very similar as long as you are aware of the extra area of weights and the centre of gravity settings. Otherwise don't expect to jump in an just fly it like a pro when you are not. It will take awhile to get the feel and control of the machine but once you get it, then it all falls into place and the aircraft will then reward you hugely in return. Most if not all purchasers simply love it because of these traits and they will also certainly love this updated aircraft.
On its release last late October 2016 the Thranda Kodiak was certainly a very ambitious project, with a lot, no a huge amount of features and creative ideas featured throughout the package. It was all very good, but with such an ambitious aim there was always going to be a few things not ready and also it being released on the edge of X-Plane11's release as well. An early update (to X-Plane11 beta) covered most areas, but it is really in this release that the full X-Plane11 package and details can now be seen . It is good, very good, if not the best all round quality package for an aircraft of this type of aircraft and at a very value packed price. So the best point to make is that this update and "Expansion Pack" does make the Quest Kodiak from Thranda a complete all round and up to date package, it comes from one of the very best developers in X-plane and you can't simply get better than that.
______________________________________________________________________

Yes! the Quest Kodiak by Thranda (Dan Klaue) is NOW available from the X-Plane.Org Store here :
Price is US$33.95
If you already own the original Quest Kodiak then this update is free, just go to your X-Plane.OrgStore account and upgrade to v1.4
Price is US$19.95 (currently) with US$5 off!
Features Include (v1.4 expansion Pack):
- AMPHIBIAN VERSION (Floats with Retractable Landing Gear)
- SKI VERSION (with animated skis that adapt to ground angle and bumpiness)
- EXECUTIVE INTERIOR (with seats facing each other, and animated slide-out tables). Weight and balance manager graphics adapt to seating configuration.
- CARGO VERSION (featuring covered windows, flat loading area, and cargo visualization that adapts to the weight set in the weight and balance manager)
- TUNDRA VERSION (featuring larger balloon tires to tackle any rough terrain. Affects flight dynamics and ground handling)
- Amphibian version includes control for retractable water rudder, extra aerodynamic surfaces on the tail of the plane, retractable gear, and dynamic paint scheme adapted textures.
- Several menus in the slide-out window adapt dynamically to the configuration selected by the user. (E.g. cargo pod is not available for float version)
______________________________________________________________________
Requirements :
X-Plane 11 or X-Plane 10.50+Windows, Mac or Linux running in 64bit mode16Gb RAM - 2Gb VRAM Minimum. 3Gb+ VRAM RecommendedCurrent version 1.4 (last updated June 15th 2017)The plane comes with an auto-updater. Free auto updates for the life-cycle of X-Plane 11Windows users: Please ensure that you have all the Microsoft Visual C++ Redistributables downloaded and installed.Carenado navigation database installed______________________________________________________________________
Installation : Base Kodiak Download is 300.70 mb which is unzipped to your X-Plane Fighter folder at 623.80mb (both packages). Key authorisation is required.
Expansion Pack Download is 151.85mb and is installed as noted below...
Expansion pack comes with three folders: Into_Liveries, Into_Objects and Into_Quest
Installation is quite easy in that you just deposit the correct contents in to the same folders (Liveries, Objects and main aircraft root folder) in the basic Kodiak aircraft folder and replacing or adding the same in those folders.
When running X-Plane there are two Kodiak aircraft files (.acf) to choose from, with one version for the Passenger, cargo and ski choices and another aircraft (.acf) for the amphibian version.
Only the X-Plane11 version has the X-Plane11 features noted in this review.
You must have the Carenado navigation database installed (840mb) in your main X-Plane root folder, download from the link.
Documentation : includes
______________________________________________________________________
Review by Stephen Dutton
21st June 2017
Copyright©2017: X-Plane Reviews
(Disclaimer. All images and text in this review are the work and property of X-PlaneReviews, no sharing or copy of the content is allowed without consent from the author as per copyright conditions)Review System Specifications:
Computer System: Windows - Intel Core i7 6700K CPU 4.00GHz / 64bit - 16 Gb single 1067 Mhz DDR4 2133 - GeForce GTX 980/SSE2 - Samsung Evo 512gb SSD
Software: - Windows 10 - X-Plane 11.02
Addons: Saitek x56 Pro system Joystick and Throttle
Plugins: Environment Engine by xEnviro US$69.90
Scenery:
- KEYW - Key West International Airport V1.0 by FletcherJ (X-Plane.Org) Free
- KRSW - Southwest Florida International Airport by Aerosoft (X-Plane.OrgStore) US$24.99

-
News! - Aircraft Upgraded to XP11 : PA-34 Seneca V HD Series by Carenado
Earlier this year Carenado released their excellent PA-34 Seneca V HD Series aircraft. They did note at the time that as soon as X-Plane11 was in a final release they would then update the aircraft to X-Plane11 specifications. This has now been done with the v1.2 release and now available for download from the X-Plane.OrgStore or Carenado. As this aircraft was released under the six month purchase point then this upgrade is free to all current owners of the aircraft.

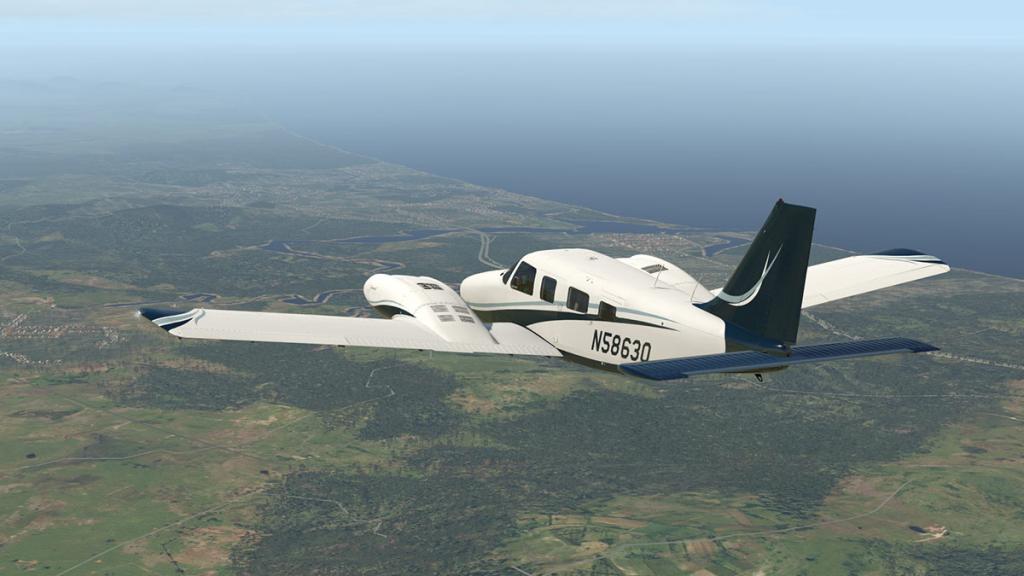

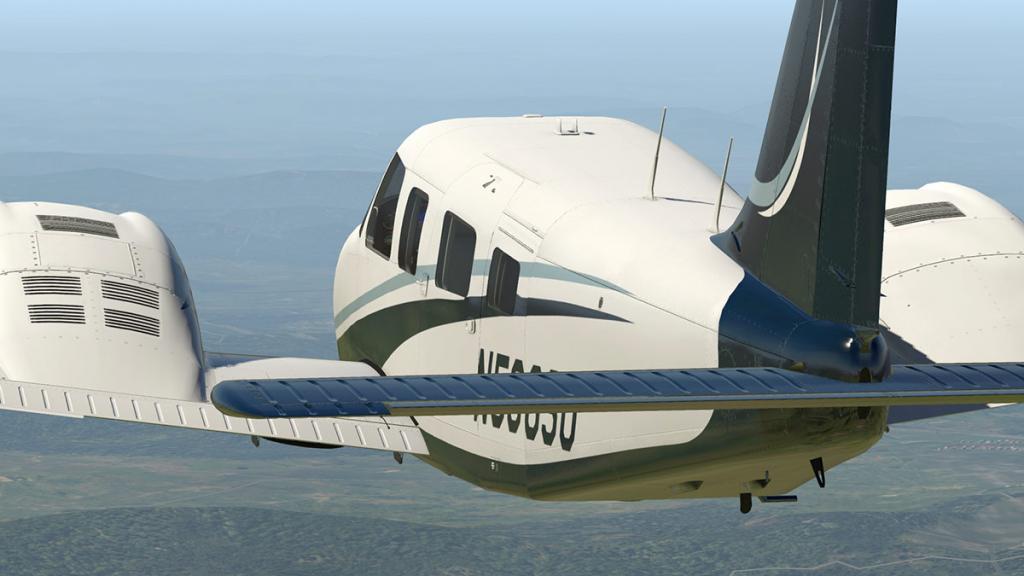
I am a big fan of this aircraft, lovely to fly and it has great avionics in the Garmin G500 navigation system.
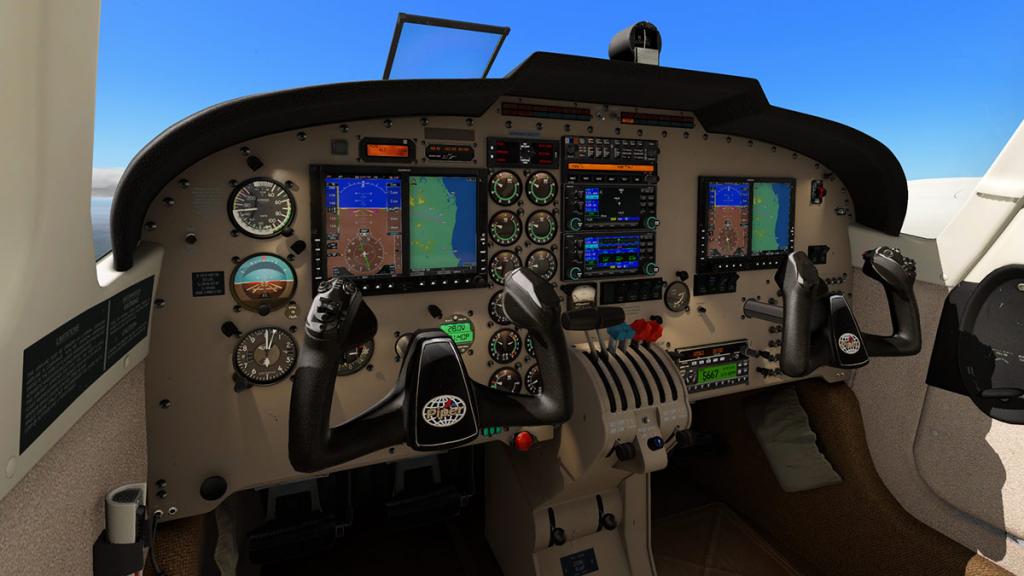
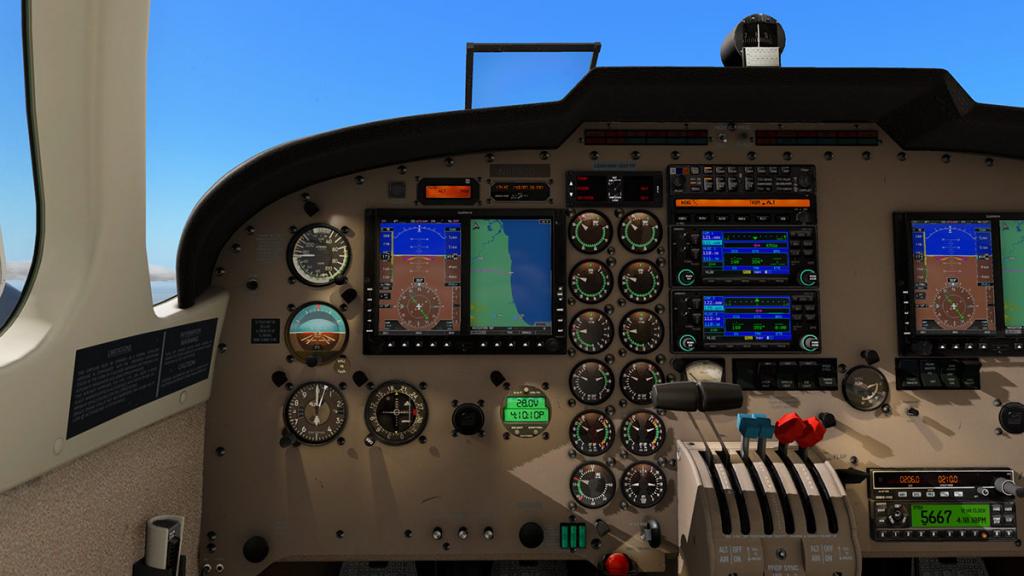
The v1.2 upgrade includes:
The package includes two aircraft files: one updated file for X-Plane 10.5x, and one completely re-authored file for X-plane 11, which is calibrated to X-plane 11’s new flight dynamics engine, PBR materials, and other XP11-native features.
- -Added full support for X-Plane11 (new .acf file for XP11)
- -Implemented PBR (Physically based rendering), both interior and exterior
- -Replaced “SuperManipulator” (proprietary scroll wheel) with X-plane -native scroll wheel control.
- -Re-did entire flight dynamics for XP 11 version of the aircraft
- -Calibrated fuel consumption
- -Calibrated ground handling
- -Calibrated interior HDR lights.
- -Tweaked flaps and elevators
- -Nav To/From indicator fixed
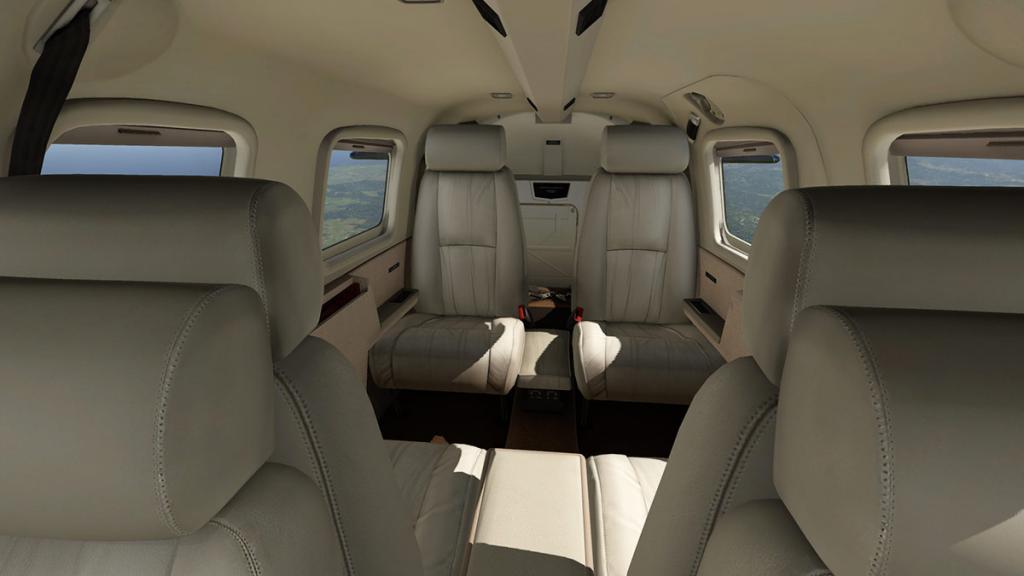
A full X-PlaneReviews review of the release version of the PA-34 Seneca V is available here : Aircraft Review : PA-34 Seneca V HD Series by Carenado
______________________________________________________________________

Yes! the PA-34 Seneca V HD Series by Carenado is NOW available from the X-Plane.Org Store here :
Price is US$32.95
Update notes are courtesy of Carenado©
Developer site : Carenado.com
Requirements :
Windows 7+ (64 bit) or MAC OS 10.8 (or higher) or Linux - 64bit Operating SystemX-Plane 10 fully updated (any edition) - 64bit mode3 GHz processor - 8GB RAM - 1Gb+ VRAM - 2Gb VRAM RecommendedWindows users: Please ensure that you have all the Microsoft Visual C++ Redistributables downloaded and installed.CARENADO G1000 database must be installed______________________________________________________________________
Stephen Dutton
17th June 2017
Copyright©X-Plane Reviews: X-PlaneReviews

-
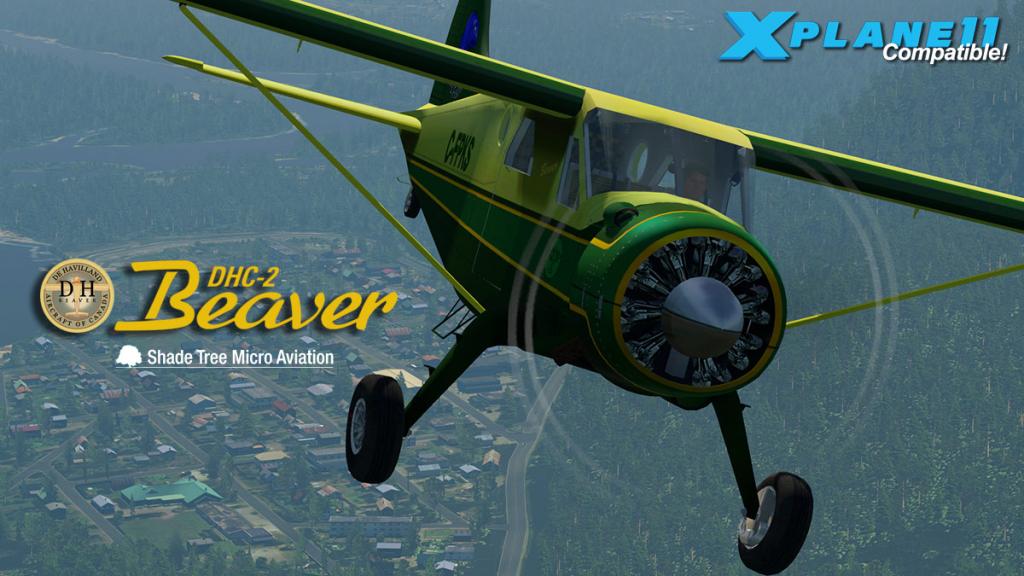
Aircraft Upgraded to X-PLane11 : DHC-2 Beaver by STMA
Shade Tree Micro Aviation (STMA) have upgraded their (de Havilland Canada) DHC-2 Beaver collection to X-Plane11. The DHC-2 Beaver is one of STMA's most successful aircraft, consistently updated and great to fly.
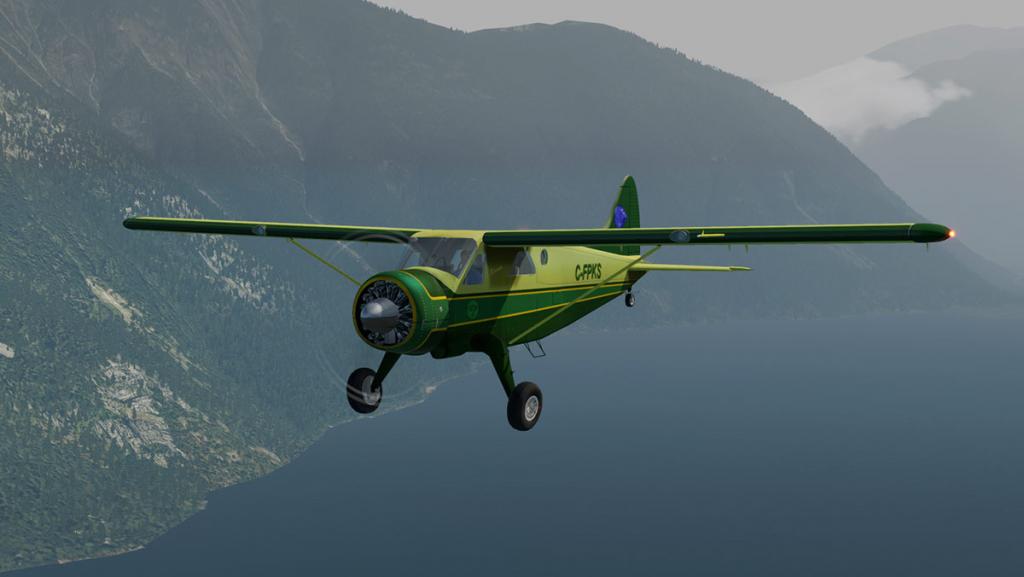
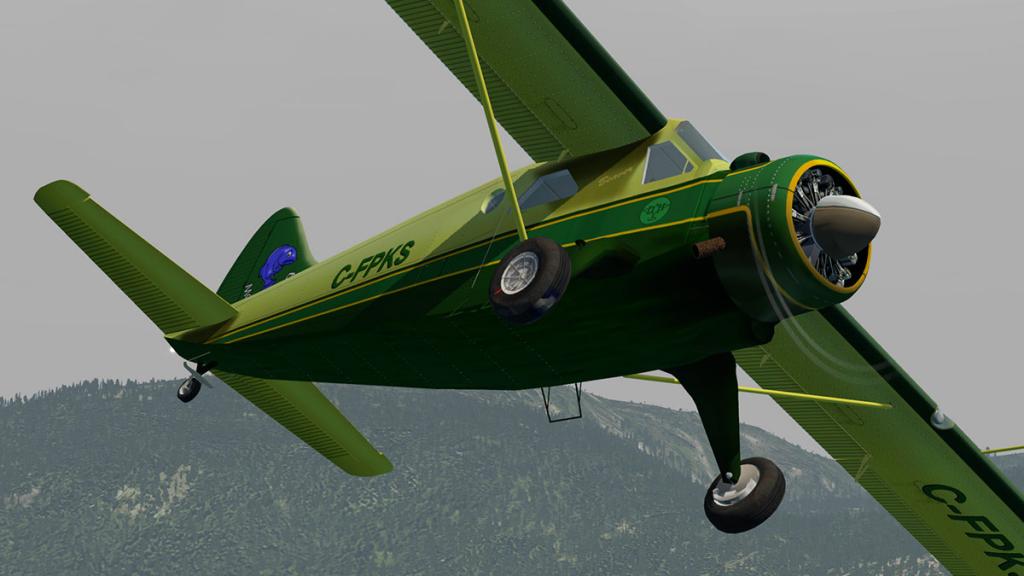

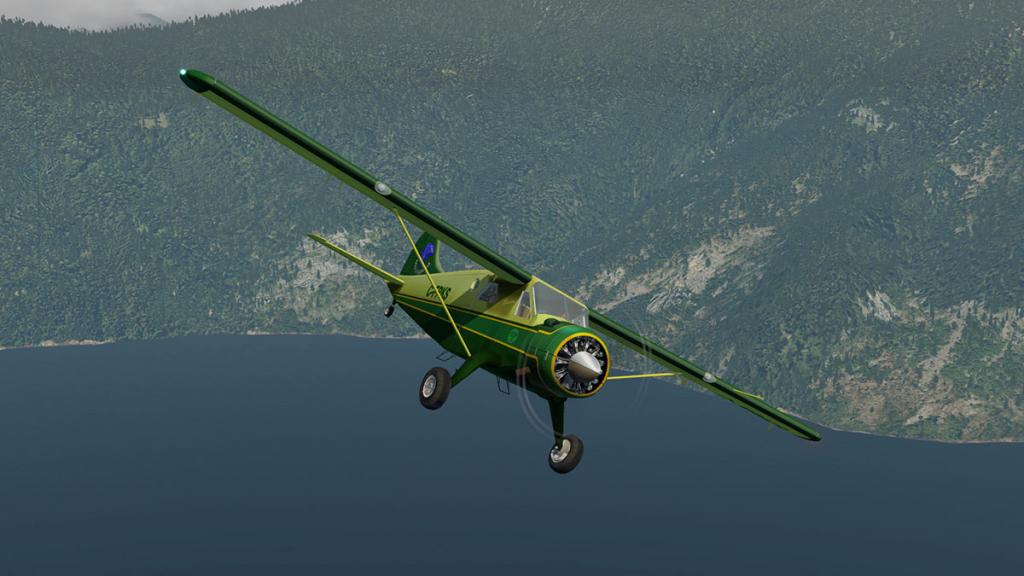
This upgrade also allows STMA to bring to the aircraft some of their newer features found on other aircraft in their range. These tools including the AutoUpdater (below left) and STMA Dock with the PreFlight Group with aircraft towing tug also now added to the aircraft.

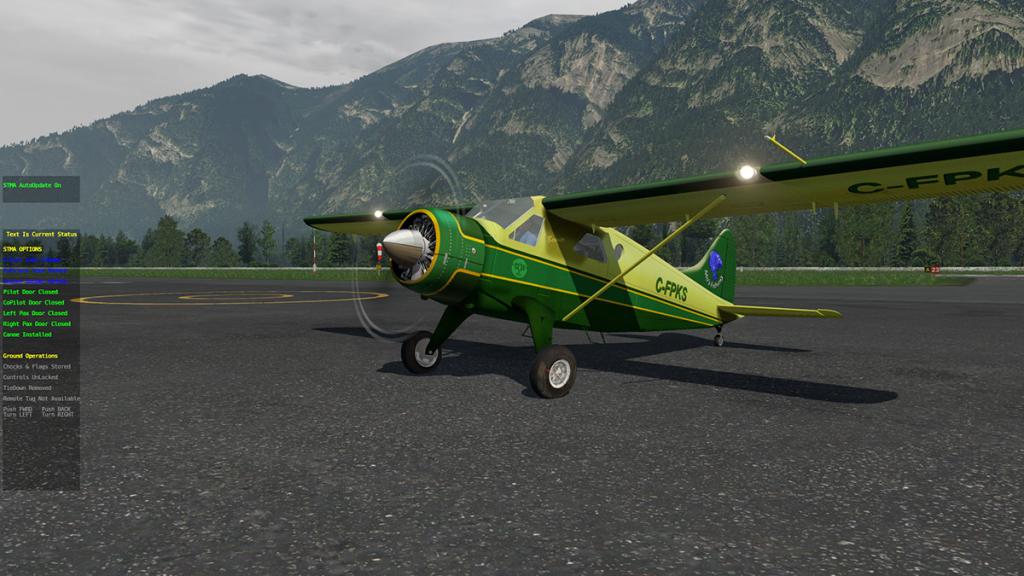
New Additions include an update to the latest default GNS 430 GPS and the complementing modern Autopilot. A canoe is also now fitted to the floats.

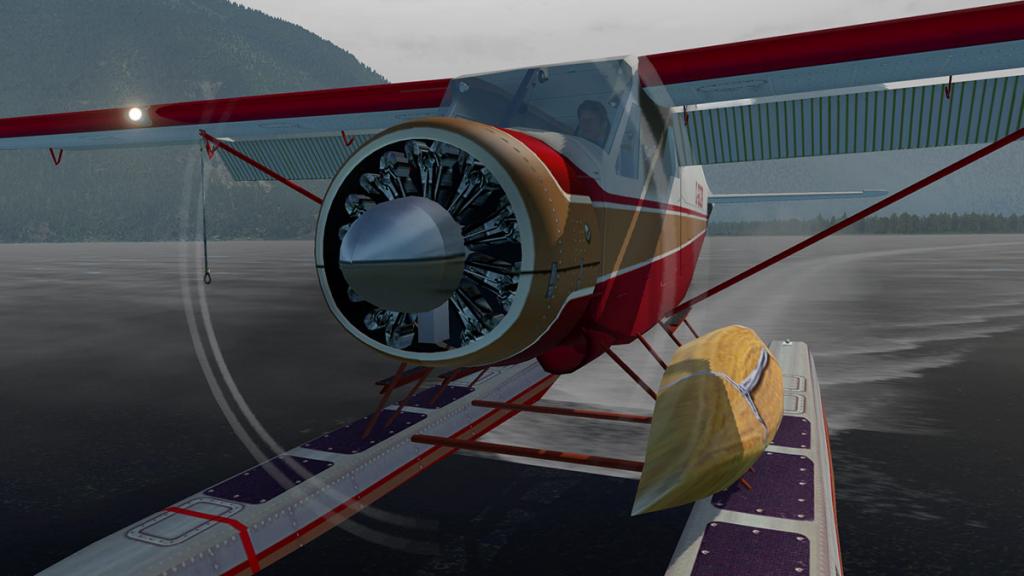
As with any aircraft that is upgraded to X-Plane11, the flight model and engine thrust parameters have now been updated to work correctly in the different X-Plane11 environment. The Beaver flies very nicely in its new environment, but is still quite tricky on takeoff and landing.
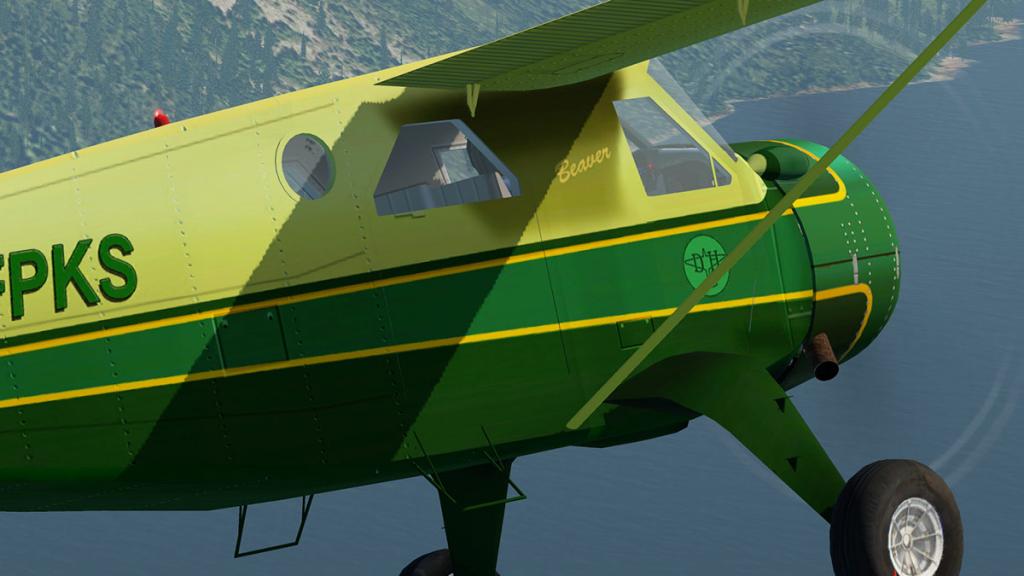
Ground details
There is a nice selection of ground details with all the doors opening, chocks and tags, tiedowns, yoke/rudder pedal lock and menu controllable pushback truck.
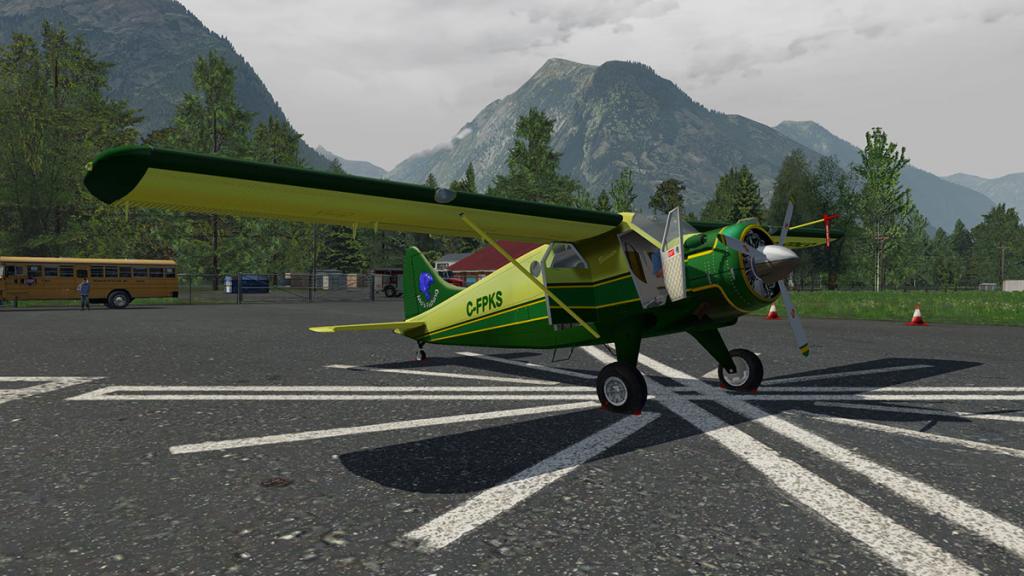
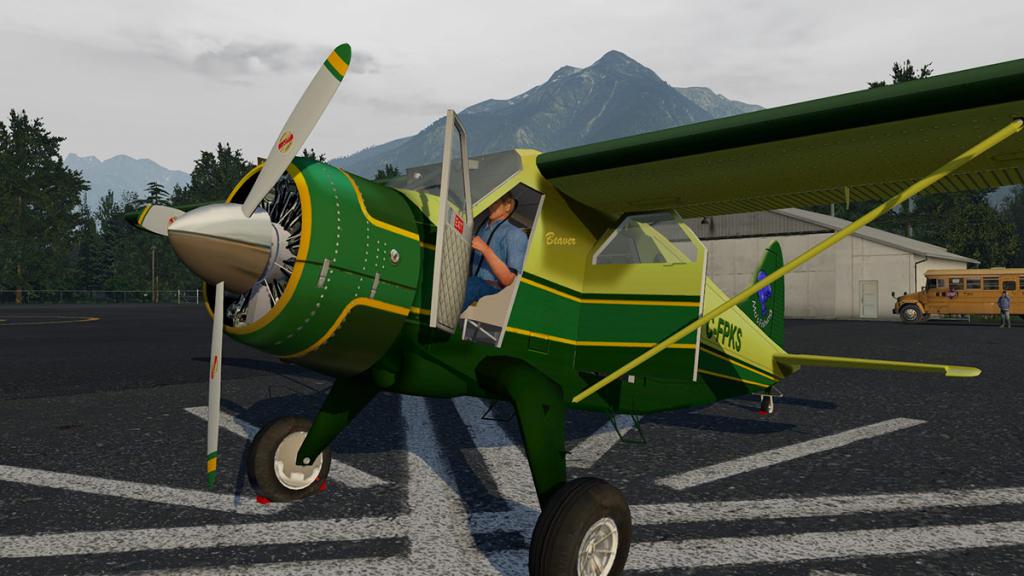
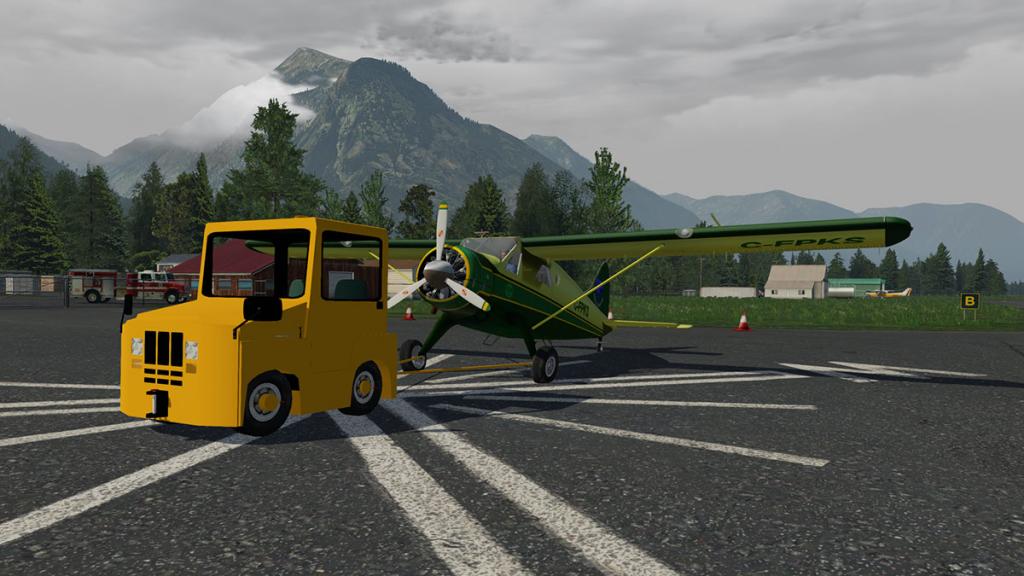

Three types of Beaver are included with the Wheels, Ski and Float versions that all makes for a very versatile aircraft.
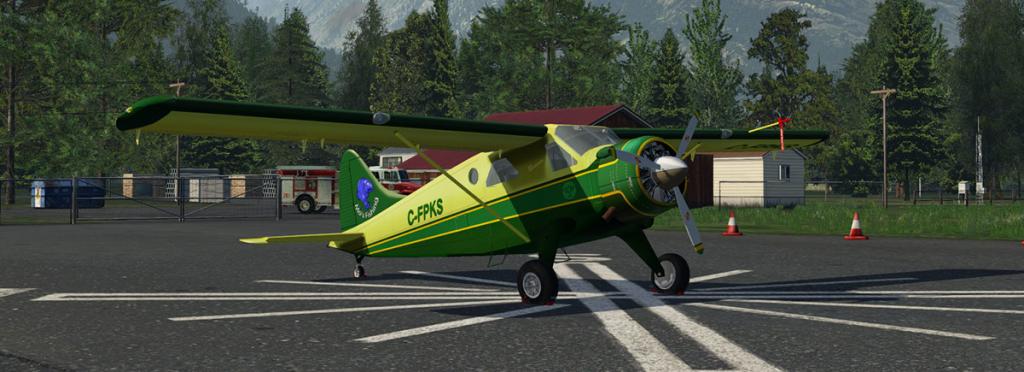
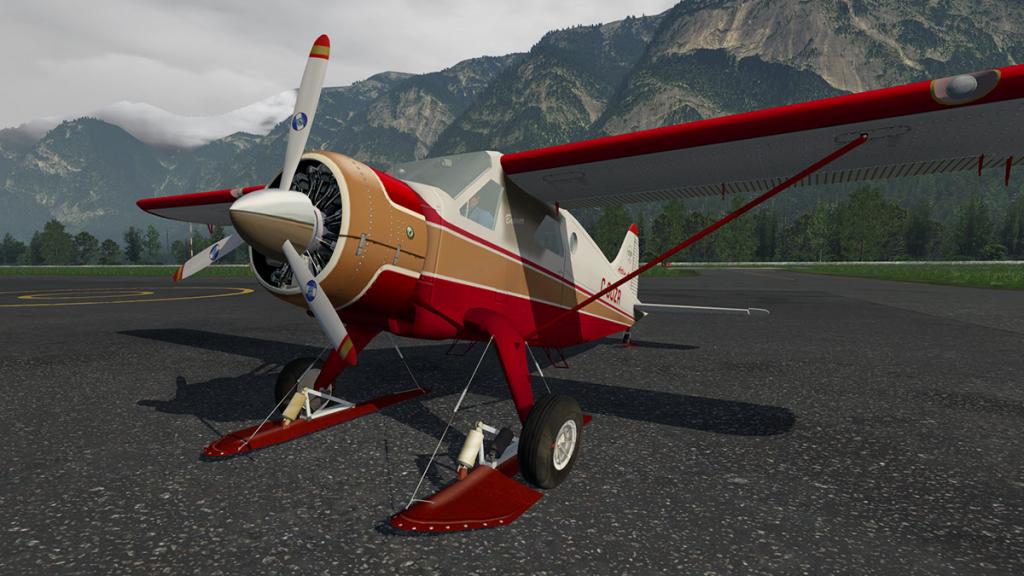
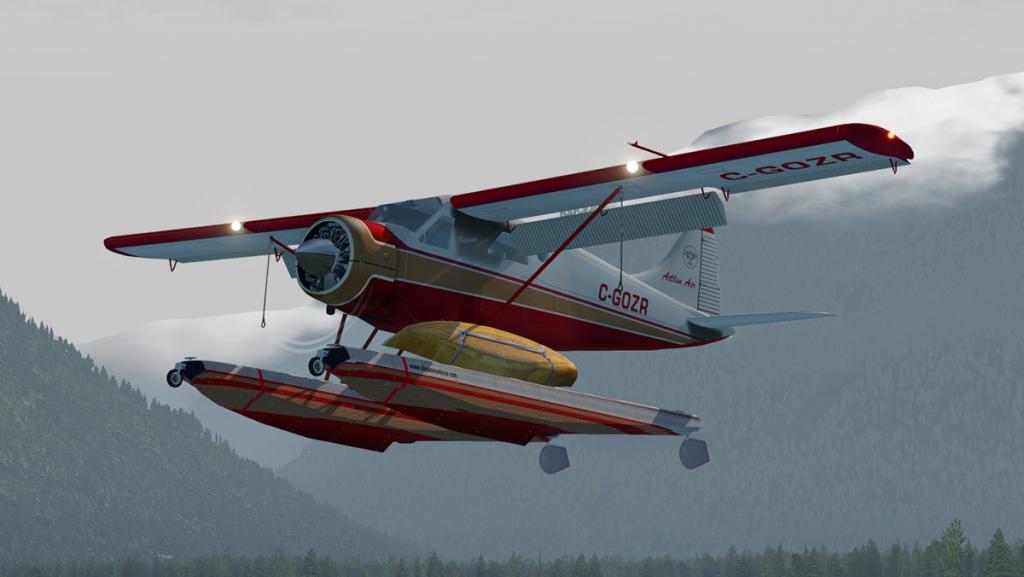
The "Float" version includes the float retractable undercarriage and the new canoe. The aircraft is easily manoeuvrable on the water as well.
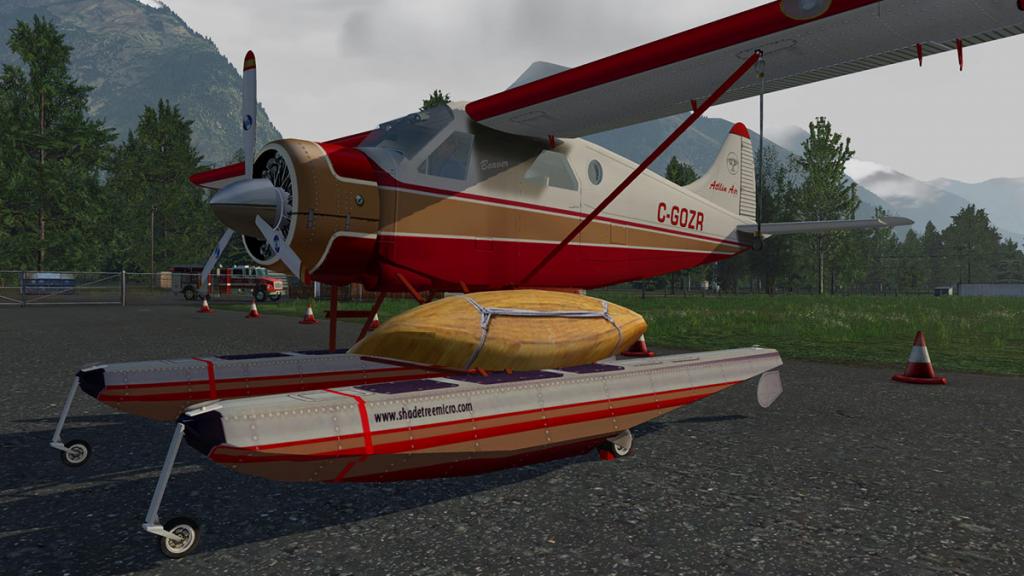

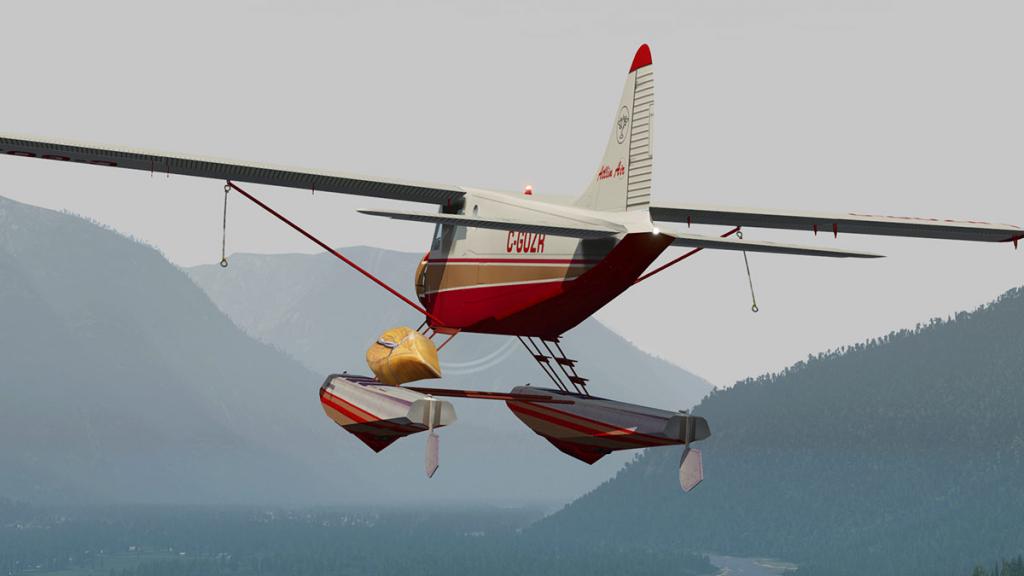

Instrument panel is quite cluttered for a Beaver. The pilot gets all the flying instruments in the six standard flight instruments in the Artificial Horizon, Heading Indicator and the Airspeed, Altitude, Vertical Speed. Above the three levers on the DHC-2 iconic designed upper central panel are the Throttle, Propeller and Mixture and higher is a DME/ADF finder. Lower centre panel are two engine dials for Manifold Pressure and Prop RPM (in a pop up window as well) and with a mid- screen mounted compass. Mid-Panel are two gauges that cover engine Temperature Indicator, Oil Pressure Indicator and Fuel Pressure Indicator, lower panel is the three fuel gauges. Both yokes can be hidden or seen separately.
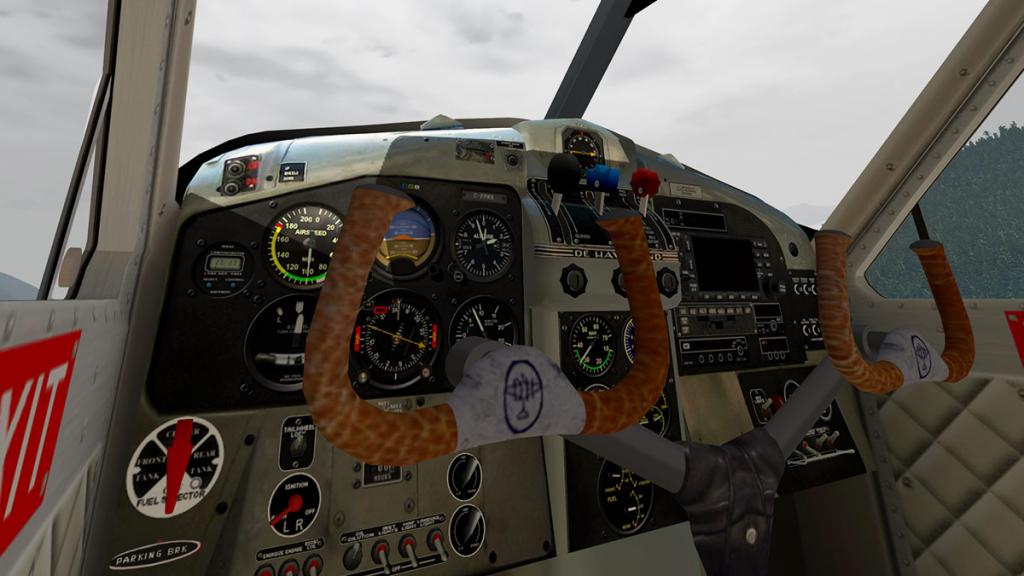
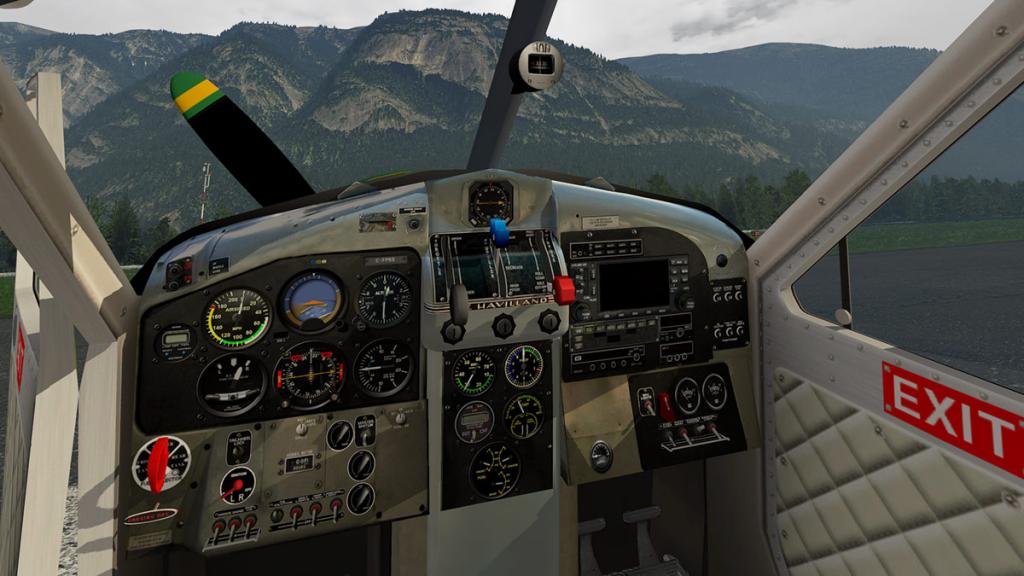
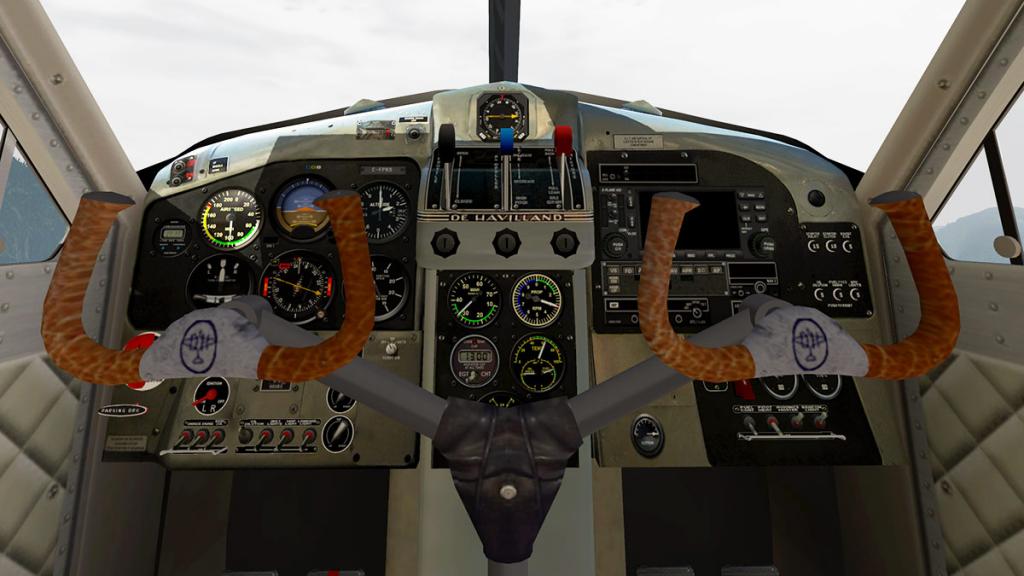
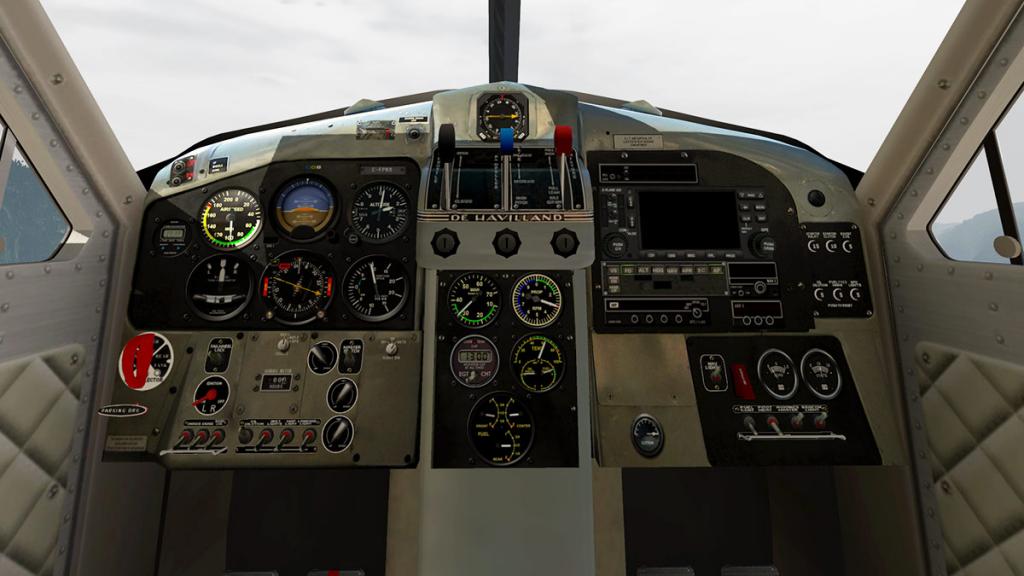
Avionics are basic but very usable on a bush aircraft. Small Comm panel is top, then below the new default GNS430 (pop-out). Autopilot panel is basic, lower Bendix/King transponder and two radios for NAV2/VOR2 and ADF.
Cabin is basic and very small.

Nice selection of ten liveries are all Alaskan or Canadian designs


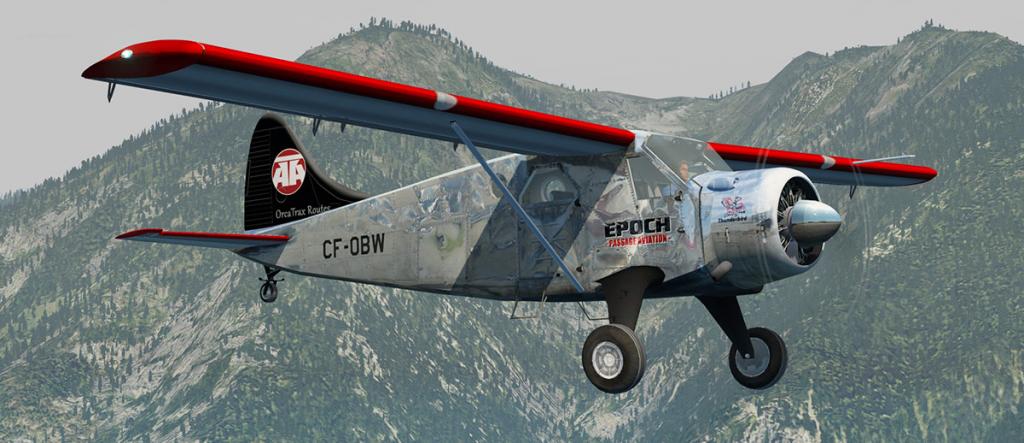

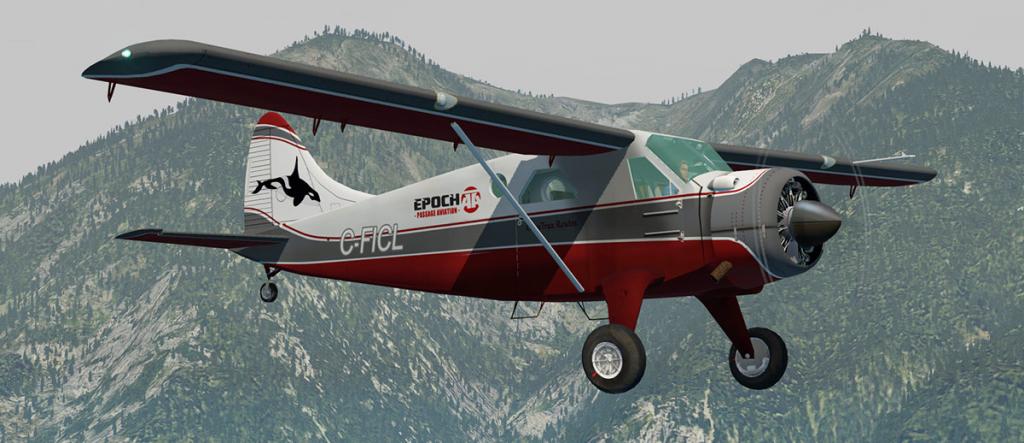


Summary
Shade Tree Micro Aviation (STMA) have been around X-Plane for eons, and have a huge following in users that understand and love their certain style of aircraft. The de Havilland Canada DHC-2 Beaver is one of the most iconic and versatile aircraft ever built and put together you have a great selection of aircraft to explore the Alaskan or Canadian back countries.
The upgrade to X-Plane11 is good with a few new features, but textures have not been upgraded or the PBR effects have not been tuned either and the panel resolution even set on high is not very good in this day and age and there is even some of the main instruments that are quite blurry? The lovely polished metal upper panel could have looked simply gorgeous, but that is again slightly blurry so the effect is lost.
No doubt that STMA is the best for flight modelling and most users purchase their aircraft for the flying and not really to look at the aircraft, and this DHC-2 Beaver is very good in that department.
Like most upgrades to X-Plane11 there is an upgrade cost for owners of the previous DHC-2 to this X-Plane11 version of $12.50. Look at your original invoice for the coupon code or send an email to [email protected] to qualify for the discount on the X-Plane.OrgStore.
So this is a nice from STMA upgrade for an old favorite and there is a lot if old style avionics to use, and the usual users will love the aircraft even more to fly it now in X-Plane11.
__________________________________________________________________

The DHC-2 Beaver by Shade Tree Micro Aviation is available from the X-Plane.Org Store here :
DHC-2 Beaver XP11 Package by Shade Tree Micro Aviation
And is priced at only US$26.95
Owners of the previous DHC-2 by STMA can buy this new XP11 model for only $12.50. Look at your original invoice for coupon code or send an email to [email protected]
_____________________________________________________________________________________
Features:
-
New X-Plane 11 Model
- Flight Model optimized for X-Plane 11
- STMA Dock
- AutoUpdater
- Preflight group with tug
- Optional canoe for float model
- New panel mount GNS430
- New modern autopilot
Incredible Virtual cockpit- Fully 3D animated. Animated pilot, controls, surfaces. Use of manipulators
Accurate flight model
- Data used from the type Certificate Data Sheet (TCDS) and from the pilot operating handbook (POH)
- Based on real pilot's experience
3 models in one easy package
- Animated retractable skis, Animated amphibious floats (Includes a detachable canoe), and a "wheels" Beaver
- Atlin Air, Army SAR, Moe's Fishing., Alaska Air Taxi, and LoneWolf.
Main Features:
- Flight model optimized and tested by Alaska bush pilots.
- Goodway and FSE compatible
-
A totally redesigned and updated 3D cockpit & cabin with animated:
- flight controls, trim wheels, cockpit and cabin doors.
- engine primer, wobble pump, emergency fuel shutoff and more
- Dynamic rheostat-controlled cockpit and instrument lighting
- Checklister checklist
Requirements
X-Plane 11+
Windows , Mac or Linux
2Gb+ VRAM Video Card. 3Gb+ VRAM RecommendedDeveloper Support Site : DHC-2 Beaver
_____________________________________________________________________________________
Upgrade Review by Stephen Dutton16th June 2017Copyright©2017: X-PlaneReviews(Disclaimer. All images and text in this review are the work and property of X-PlaneReviews, no sharing or copy of the content is allowed without consent from the author as per copyright conditions)Review System Specifications:
Computer System: Windows - Intel Core i7 6700K CPU 4.00GHz / 64bit - 16 Gb single 1067 Mhz DDR4 2133 - GeForce GTX 980/SSE2 - Samsung Evo 512gb SSD
Software: - Windows 10 - X-Plane 11.02
Addons: Saitek x56 Pro system Joystick and Throttle
Plugins: Environment Engine by xEnviro US$69.90
Scenery or Aircraft
- CYBD - Bella Coola by beti-x (X-Plane.OrgStore) US$24.00

-
New X-Plane 11 Model
-

Laminar Research : FlightSimCon 2017 Details
It was at the FlightSimCon 2016 that we got our first glimpses of X-Plane11 and the future of our simulator in it's bold new fashion. And so here we are a full twelve months on and all those new features and systems are all now part of our flying universe and in general use.
So how do you follow a big event like that. In reality you can't but the X-Plane11 rollout still does continue, and to a point Laminar Research is not letting it's foot off the accelerator pedal either as we will see in a minute. Laminar Research to a point could have just come to FlightSimCon 2017 with the current up to date 11.02 (or even the 11.05 next version) and bathed in the limelight of a job well done but the general feeling was overall "Still a lot more than where that came from".
Certainly if you follow X-Plane's developers blog a lot of the forward development is already noted there, but to note openly the ongoing forward features that are actually active and not just "In development" is still going to make the crowd go "wow". And so it was.
After the first announcements of new product developers then Laminar Research (LR) held the first of the big seminar blocks as well between 10.30 to 11.30 on the Friday morning. The more upmarket venue of the Sheraton Hotel also shows that Flight Simulation is still a long way from losing its appeal and is still far from a failing subcategory of the general games business as some people constantly whine about, it was also a nice step up from the usual crowded old small conference rooms of the past.
But down to business...
The seminar started with a review of their default aircraft was in reality a bit of a backward step. We all know that the current crop of default aircraft are below par, a few in the C172 and B738 are not too bad, but most feel like test beds for LR in testing out new ideas than quality flying aircraft, I still don't know if the default B744 can even still fly in a straight line? Most and even low level payware aircraft are currently better.
A small promo on X-Planes new X-Plane11 interface followed. To a point LR deserve a lot of credit here as the new interface is simply brilliant, fast and very intuitive, go back to X-Plane10's interface and you will certainly notice the difference, it is slow and simply awful, I am a big fan of the new changes. Another promo then covered the Global Airport feature, which again has grown from a few to over 4300 airports is now covering a lot of X-Plane's empty airport deficit, but it is still a long way off Flight Simulators count, but with now officially 4300+ lego (global) airports it is starting to have an impact on all that X-Plane empty space you always had.
Physics and Systems
If you thought that Austin Meyer was finished adding in new physics, systems and changing the values of X-Plane's core foundations you are wrong to the groans of developers that have just sorted out his last set of changes with the introduction of X-Plane11, no folks Mr Meyer is on a charge now and a lot more is still coming. I will admit though after years of stagnation then Austin's new rules of flight do have an impact, aircraft do feel more realistic and systems are far more deeper in X-Plane11 than before, certainly in the throttle feel and ground dynamics (although I still hate that grab the aircraft to landing feel you get only when feet above the runway).
Austin is using accumulated aircraft data and even using his own Cirrus SR22 as a testing rig to create even more realistic physics and engine parameters to get more closer to the real feedback that you are looking for in simulation. Here at SimCon 2017 the focus was on supersonic flight and how that the physics change from engine power and output to more of controlling the airflow to the engines to go faster. Helicopter blade physics was also covered also. Vector based dynamics was another area covered that included tailwind and aerobatic aircraft (tail first) fall that still created backward airflow over the the aerodynamic surfaces even when trying to hover still in a helicopter. Lastly was better electrical systems in fluctuations and power provided by the engine outputs or ground supply.
Scenery and Autogen
Next subject covered airports or new scenery items for scenery developers. Laminar Research are creating still a lot of new scenery items to place in sceneries, before it was the larger items, but now it is all the smaller fill items that are all the rage. Caravans, forklift trucks, glider trailers, grain silos, new hangars and a lot of signage in parking, road and barriers.
I was very impressed with the European style autogen in X-Plane11, and to a point it is far better than the older American style work. More is to be added in new mid-sized towers and apartments, factories, houses with even more detailing. The absent of churches is still a head scratching moment as churches dominate European and to a point American scenery. But overall I would rather have more regional detailing at this point as X-Plane is still either very US or European centric. English, Middle eastern and Asian housing no matter how basic would open up the world a lot more so to speak.
A new set of autogen coming though from LR is "Landmarks". These are iconic objects that turn flat cities into what we know as London, Paris, New York, Las Vegas, Sydney and so on, but although this would be a big step forward for X-Plane in creating a more real autogen realism feel. I personally felt that this territory should have been left to 3rd party developers to add in these specalised packages to this area? Just a small amount of icons can not easily cover the wide selection you require to create the correct scenario and I think that Laminar Research would be best putting their limited resources into more diverse things in autogen to fill it out like the recently mentioned regional autogen. But we shall see.
Virtual Reality
Virtual Reality (VR) has been promised for years for X-Plane, and finally it is coming. You can't lay the delay on to LR because really VR like Artificial Intelligence is a futuristic idea that was promoted as a developed perception than actual reality. The hard part was interacting with the virtual environment besides of just being inside that virtual bubble and its six degrees of freedom or dimensions, and it is far harder to do than just pressing on a key on your hard element built keyboard. But lately new style VR interaction tools (Spatial 3D Interaction) have finally changed the game (so to speak).
In reality you would now only need a chair, some rudder pedals and VR headset and manipulation handsets to fly, oh and a computer worthy of running a small city to run it all in the 3d environment. But most realistically you can now finally interact within the X-Plane world in walking around the aircraft and inspecting it and actually now sitting in the cockpit (on a chair) and can actually fly it in the virtual world. Does it all work?
In the demo it was very impressive (video below), in walking around the aircraft and then flying it. But VR is an inside thing to evaluate. I have tried the headset and it was an amazing experience in a visual sense, but the missing hard surfaces tended to make you feel as you were falling through time and space. Still with the new developments you are holding controllers and not interacting in a hard sense but in then how does VR tend to add in real yokes and throttle systems to give you at least a more physical touch on the important items will yet to be seen. My personal feel is that could you also do this immersion for hours at a time like you do in front of multiple screen monitors and of that I am not sure of, but VR does have its great advantages as well as its deficiencies. At this point VR is still in development at Laminar Research and a release is noted as in the fall (October) so a more better evaluation will be better then, but the demo at SimCon 2017 was impressive and shows that progress is finally being made.
VR features noted are : Easy setup (one Click), 180/360 degree of movement, Teleport (with hotspots), Full 3d cockpit manipulation with haptic feedback and iPad companion for shortcuts, planning and logbooks.
Avionics
Philipp Münzel has totally revolutionised default X-Plane avionics. The talented German has over the last few years buried the old clunky line by line FMS and GNS GPS units with first his masterpiece the GNS 430/530 units for GA's and then with a better new FMS (Flight Management System) for the larger aircraft, although I will note the FMS is quite basic in operation but does have the far better underlying navigation data to work with. That underlying new navigation data base developed by Philipp is the most important element here in bringing X-Plane up to date in better navigation data, but more so in that it can be updated with Navigraph and Aerosoft Nav DataPro data which keeps all navigation data across the board current and up to date.
It was no secret his next project was a Garmin G1000 two screen display GPS system, and here we got our first full view of the new avionic system. As a rule G1000 displays have been notorious in X-Plane because of simply the display size. A few developers have got it to work, but overall the issues with large scale maps within the navigation screen have been very clunky and with poor graphics, and mostly in the rendering of the turning maps. Awkward flight planning is another hurdle to overcome.
This new unit is based on an actual G1000 system in a Cessna 400 and is customisable in Planemaker for different aircraft types. It can have standalone windows (all panels like all default GNS/FMS systems pop-out and can be resized) for home cockpit builders.
The important point here is that it uses vector graphics to overcome the old slow drawing map display, and that means no more dragging or slow revolving screen movements. It looks as solid as the GNS 430/530 units and that means an elegance in operation.
Features include built in are multiple failures in AHRS, fluxgate, air data computer, GIA, transponder and more. Options include WAAS and non-WAAS ( or Wide Area Augmentation System that uses GNSS augmentation for accuracy, reliability, and availability while flying). GFC Autopilot intergration (nice), KN63 DME and KR87 ADF radio integration and GDL-69 "NEXTRAD" and wind weather displays.
SID/STAR/IAP, SBAS approaches and LNAV and RNP-AR are also built in and available.
Another nice G1000 feature are chevrons to indicate an out of bounds too high or low a pitch to show you how to respond to the wrong angle of attack to the aircraft. And the new system can also be customized and configured to different aircraft in performance and specifications.
Performance
If you have used the X-Plane Simulator over the years then you will know that efficiency and performance is everything, and mostly that is limited to framerate. Get below that 18fr line and the stutters really mess up the total enjoyment of just trying to fly and makes your time seriously frustrating and makes even the most simple actions just maddening. I lived with a slow computer for years, so I have experienced the low framerate pain to the letter. A very powerful custom built computer certainly fixes most of the problems, but you are still watching the numbers when you are piling in all the effects and features you would like. The biggest worry is that even with a powerful machine is then how long will that framerate buffer keep me up in the usable zone and not put me back down again in the restricted painful zones of limited framerate to fly on with all the extra forward developments and the sheer processing power required to cover all that autogen, plugins, textures and complex scenery and aircraft as the constant demand never ends.
Ben Supnic at the SimCon 2017 has noted future performance goals in trying to keep at least the tide at bay. New coding tools also do now help in the cause. For everything the X-Plane simulator is still quite inefficient although the move to 64bit by LR four years ago was a very good decision. But overall the central processing power is still limited because only a few and and not all the cores are working to their maximum efficiency and mostly because we are still having to use old OpenGL code for graphic processing. So the trick is to open the gates and use two new API's (Application Programming Interface) that are sets of subroutine definitions, protocols, and tools for building application software as it is now more available.
These are Vulcan for Windows/Android and Metal for Macs/IOS and Linux. If you watched the Apple Developers conference stream last week in the way that Apple showed off the capabilities of its Metal tool, then you will know how impressive and efficient the API really is. That same capability will soon be coming to X-Plane as well which includes low CPU use, Multi-core friendly and no stutters within the driver.
There is some good and bad news in here and the full changes will take about a year or so to crossover to the new API drivers. First all current OpenGL drivers have to be rewritten, and that means like with the change to 64bit your aircraft and plugins are going to have to be translated to the new Vulcan and Metal API form. The good news is that LR are going to still run the old OpenGL drivers for at least the run of X-Plane11 and so unlike the messy 64bit changeover your aircraft and plugin has still a bit of time to get converted. But I do think that most developers won't wait around long to get the performance boost with the new format for that long.
So what works and what doesn't. Mostly a lot of scenery, models and aircraft will work fine with the new API's and a great many addons, plugins and panels already work with Vulcan/Metal. However addons that draw in 3d will need modification for use with the newer APIs and new technology will help developers with the transfer to the newer drivers.
New X-Plane related tools are already flowing out from Laminar Research which include the newly released WED 1.6 which includes a more finalised ground traffic operations flow. FMOD sound is now also available as are the manuals. Blender 3.4 and exporter are also in the final stages of testing and should be available soon. A brand new Plugin API has also been developed in a revised form to cover X-Plane11 features, Pop-Out windows, Custom Maps, 3d drawing for Vulcan/Metal and that API is coming about mid-summer.
Laminar Research's goal with all this change is however very ambitious. They want a 60fr goal for desktops, a 45fr goal for VR and believe it or not no stutters either! That is one very high set line, and personally I don't think that is totally possible (a sort of in my dreams) but I never ever discount Ben Supnic either in his abilities and it also doesn't mean that you can still hang on to that 10 year computer and upgrade straight from X-Plane9 to X-Plane11 either as you will still need as many cores and the power as much as you ever did in the past.
A sum up of delivery of features was listed as:
- X-Plane11.02 (current)
- X-Plane 11.05 is coming really soon - Airports (Global Airports)
- X-Plane11.10 - New lego bricks and Landmarks, G1000 system, New Systems and physics and more speed.
- VR in The fall (October)
- And Vulcan/Metal changes in the future
Summary
You have to impressed overall at the amount of features and future predictions coming out of FlightSimCon 2017 by Laminar Research. They could have used the rest of the year in just tiding up the X-Plane11 release and had a few holidays and sat by the hotel pool. But the above announcements showed that there are a lot of nice new and exciting additions still to come and many soon.
Laminar Research has been very active at SimCon's over the last few years. This major American SimCon is always an interesting one as it is at the start of the American summer period. And the full larger room shows that many users are interested in the future of X-Plane development as in the past X-Plane was always pushed into small timeslots or even smaller rooms.
The changes within Laminar Research also reflect this more professional approach to the simulation industry as well. Gone are the days of a few talented individuals to keep the simulator alive. Today Laminar Research has different full time areas developing ideas and delivering on time goals. It is still a small team compared to say Aerosoft, but there is a distinctively new and more professional feel about X-Plane11 and the way Laminar Research is going about its approach these days, for most of you that is you will say "about time", but the proof is all there on your screens.
There was no announcements of the new particle system at FlightSimCon 2017 that has already been announced. But Laminar Research have noted it is still coming and are currently working on it and maybe will be still released this Northern Summer, as surmised the feature was left out of the SimCon because of time constraints and not development.
But for long term X-Plane users there was a lot to savour here and more importantly is that the development of Vulcan/Metal APIs will bring even better performance than we actually expected. In the short term the release of X-Plane11.10 mid-summer is now even more eagerly awaited with a lot of great new features and that excellent G1000 system which also looks far better than anticipated.
So who says it is a boring time to be in X-Plane as 2017 has already been a banner year, and it looks like the ride is not over yet, you are even beginning to wish that Laminar Research would go on a holiday and just give everyone else a chance to catch up.
There are two videos now posted with one for the actual full seminar and another a VR demo...
____________________________________________________________________________________ Conference overview by Stephen Dutton13th June 2017Copyright©2017: X-PlaneReviews(Disclaimer. All images and text in this review are the work and property of X-PlaneReviews, no sharing or copy of the content is allowed without consent from the author as per copyright conditions)
-
News! - Aircraft Released! : PA22 Tri-Pacer By Carenado
The Tri-Pacer is a family of four-seater, strut braced, high-wing light aircraft that was built by Piper Aircraft in the post-World War II period. And the PA22 with the 125 hp (93 kW) Lycoming O-290-D engine and tri-cycle landing gear arrangement is that aircraft released here by Carenado.
In a way this Tri-Pacer is an odd aircraft for Carenado to release? These niche types of aircraft are usually released under the Alabeo brand and not under the house Carenado name, but it would denote a slightly higher feature set and better quality HD textures (The differences lately between Carenado and Alabeo have also been closing release by release, so it is not as big as a quality difference as say even a few years ago), however the aircraft is noted as licensed by Alabeo.
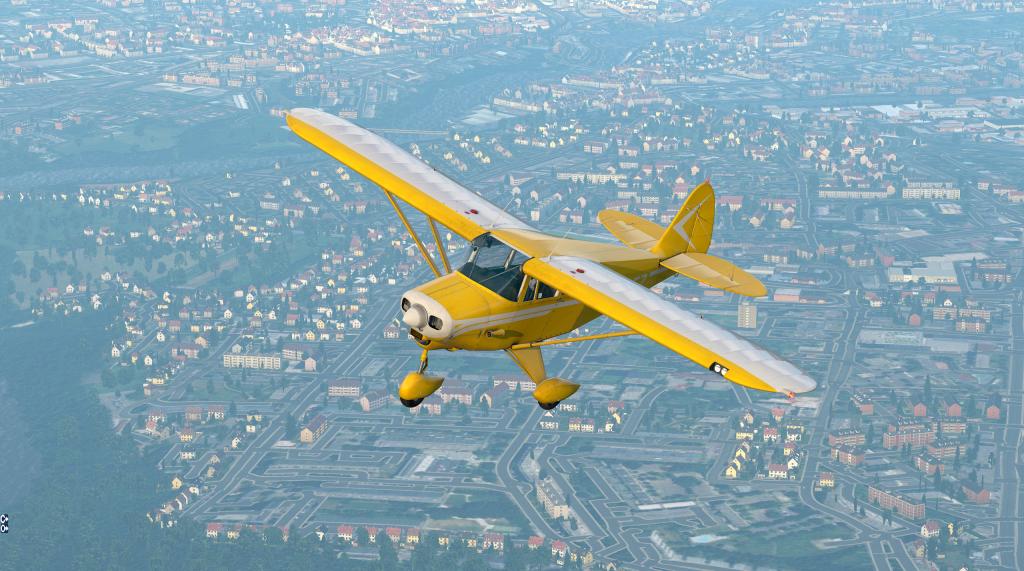
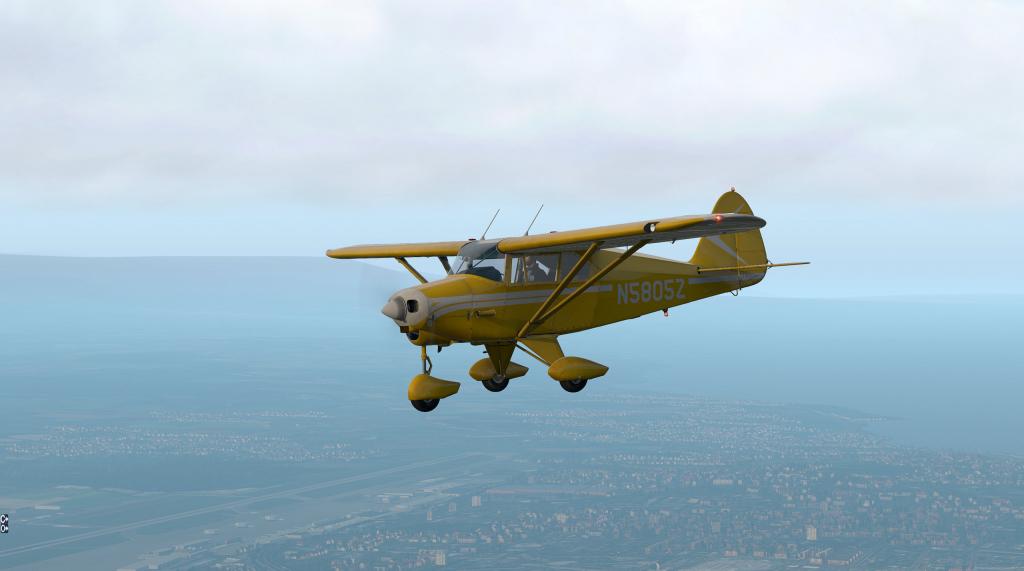

The Pacer features a steel tube fuselage and an aluminum frame wing, covered with fabric, and much designed like Piper's most famous aircraft, the Cub and Super Cub. This is an aircraft prized for its ruggedness, spacious cabin, and, for its time, impressive speed and many Pacers still continue to fly today after the last Pacer (a colt) was completed on 26 March 1964.
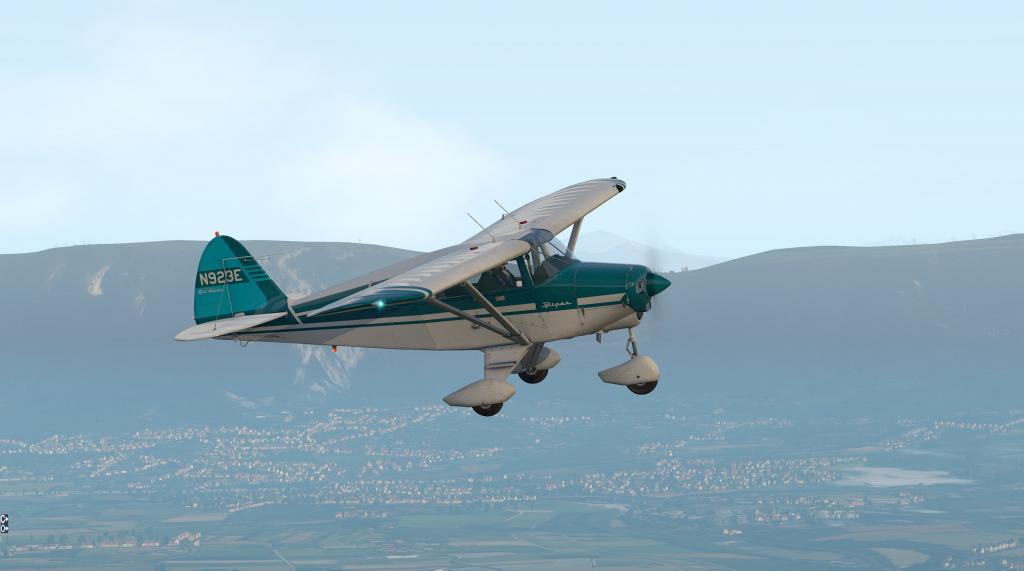
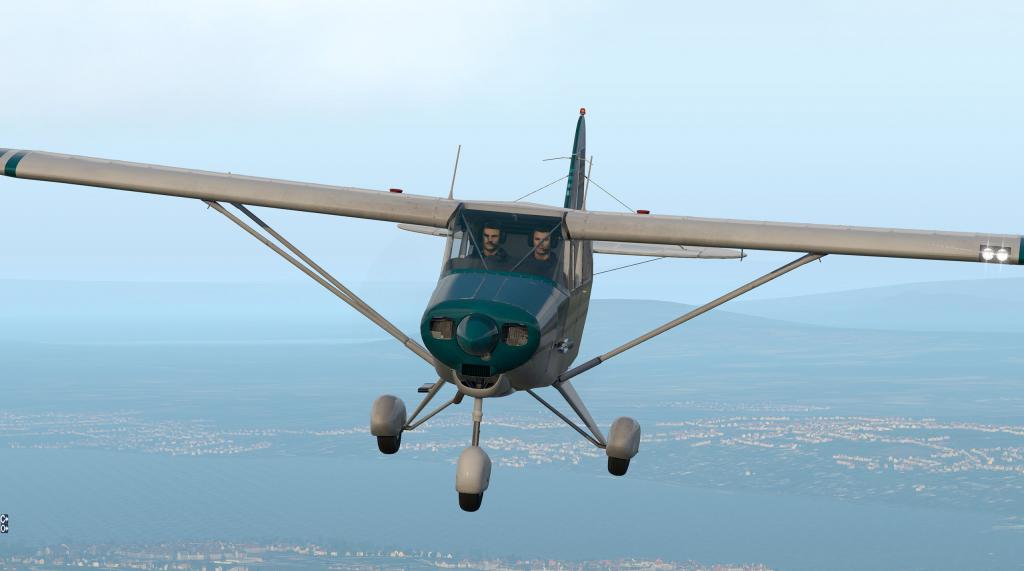
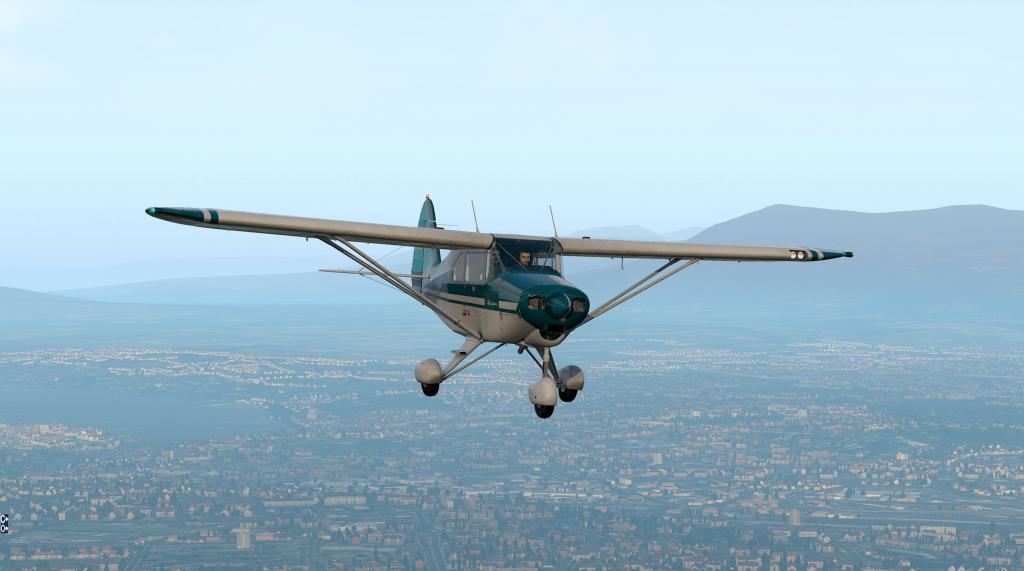
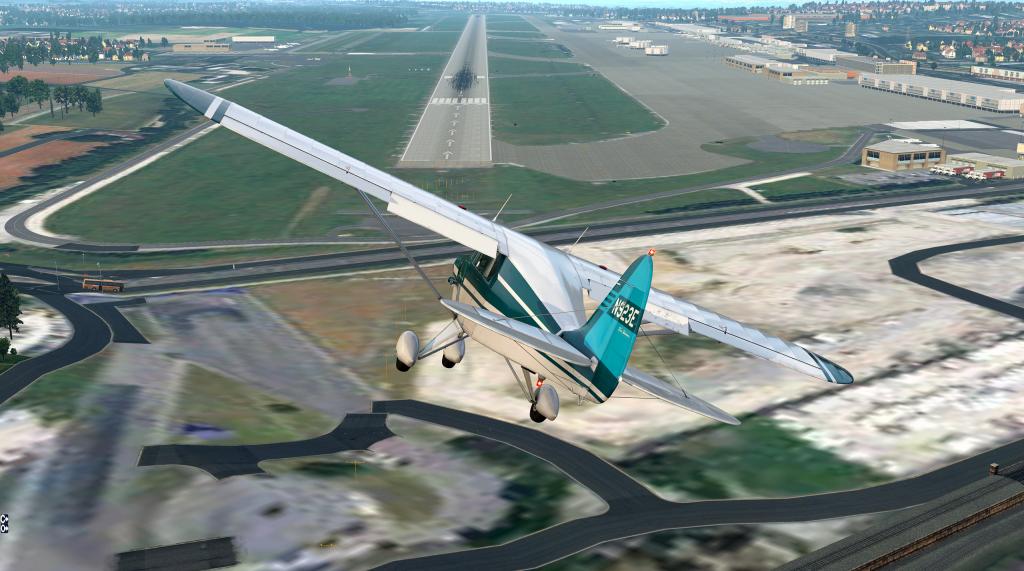
No doubt there will be the usual Carenado quality and detailing, and features include:
- Custom sounds
- Full Xplane 10.5 and X-Plane 11 compatible
- GoodWay Compatible
- Superb material shines and reflections (full PBR in XP11).
- Volumetric side view prop effect.
- High quality 3D model and textures.
- Blank texture for creating your own designs
- Accurately reproduced flight characteristics
- 64-bit
- FPS-optimized model.
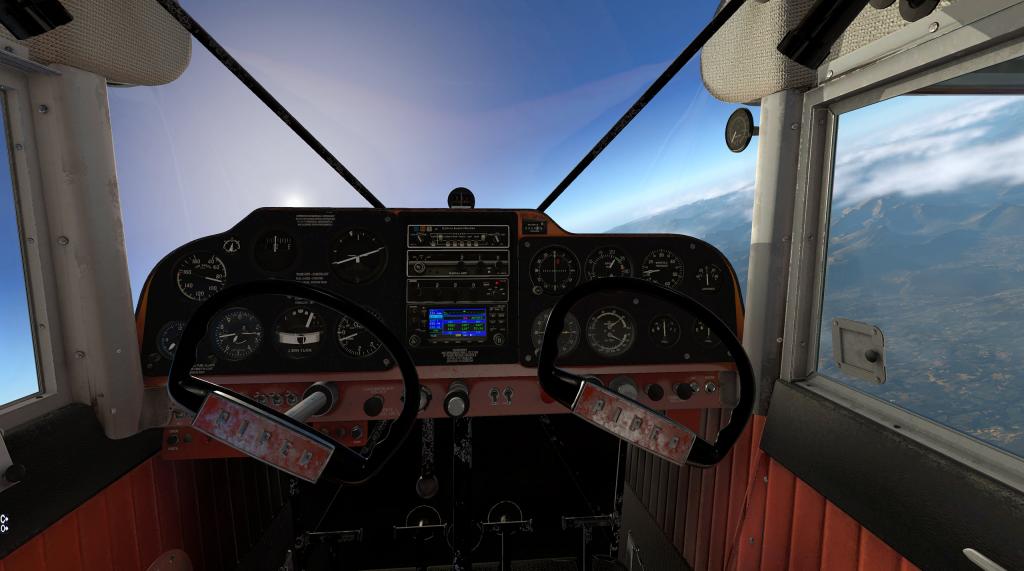
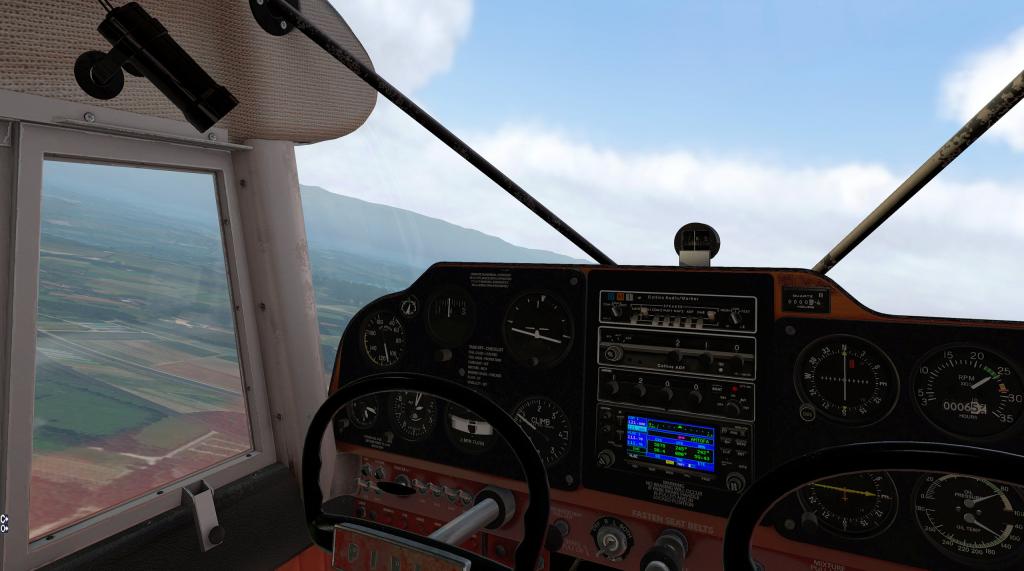
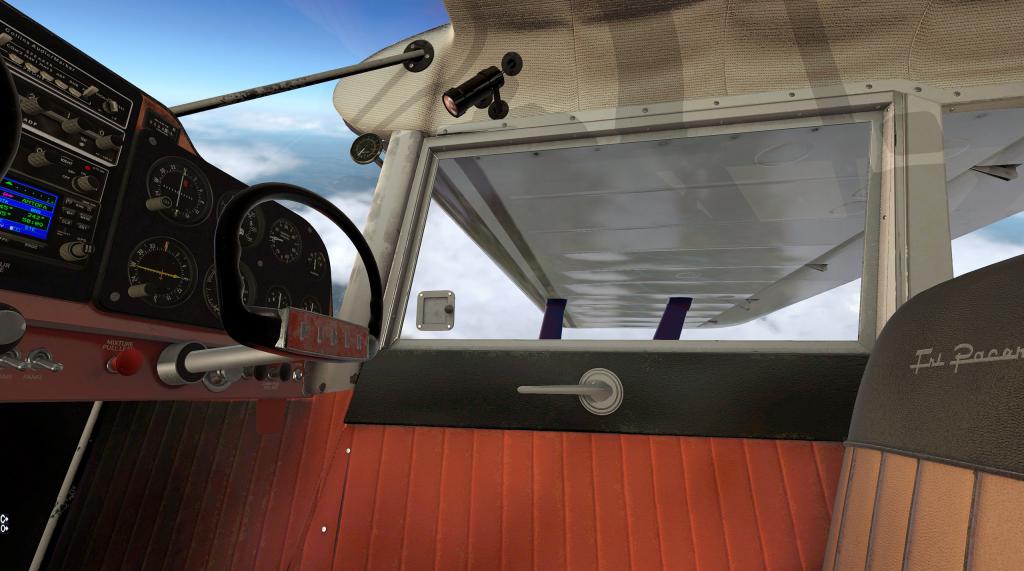
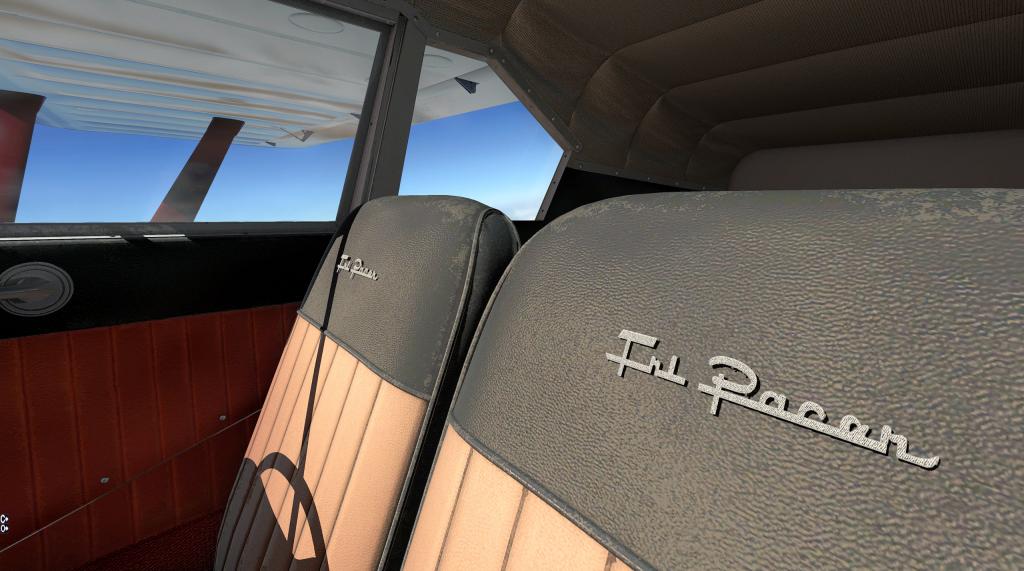
Included in the package:
- 4 hd liveries
- 1 Blank texture
- Normal Procedures PDF
- Emergency Procedures PDF
- Performance Tables PDF
- Recommended Settings PDF

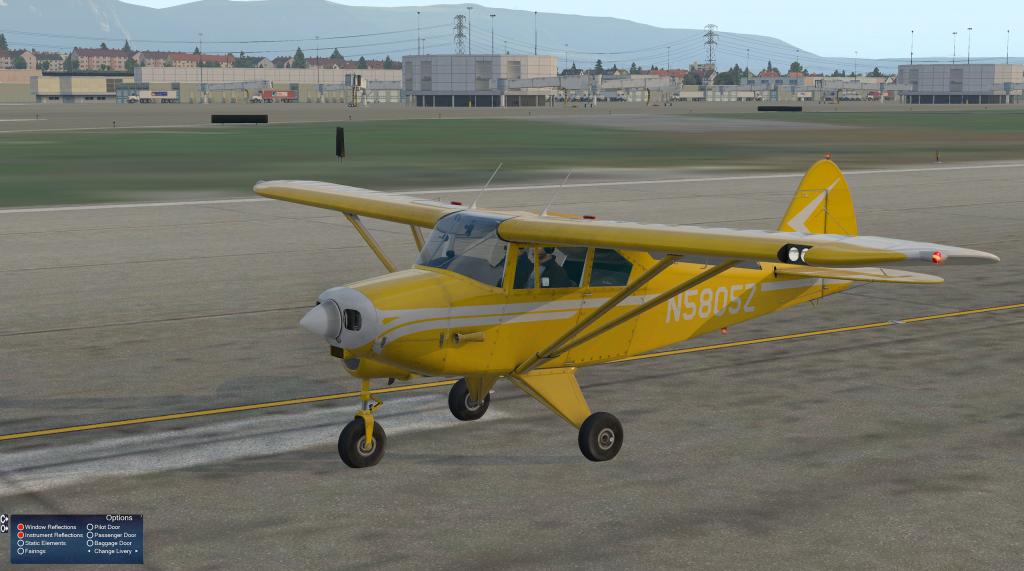
Technical Requirements
Windows XP -7-8 (or higher) or MAC OS 10.8 (or higher) or Linux
Fully XP11 Compatible or X-Plane 10.5x
i5 (or equivalent) 2.5 GHz - 8GB RAM - 2GB Video card
295MB available hard disk spaceThe PA22 Tri-Pacer HD SERIES is available right now from Carenado...

______________________________________________________________________

The PA22 Tri-Pacer By Carenado is NOW available! here :
Price is US$24.95
Notes:
For WINDOWS users: Please ensure that you have all the Microsoft Visual C++ Redistributables downloaded and installed (click here)
Images & Text are courtesy of Carenado©
Developer site : Carenado.com
______________________________________________________________________
Stephen Dutton
9th June 2017
Copyright©2017 X-Plane Reviews: X-PlaneReviews
-

Plugin Review : XPRealistic Pro by rk Apps - Realism effects
Interaction with the screen is limited by what you can adjust, switch and change in your viewing angle, but what about feel? Or more effectively feedback in movement and sound. This is called realism effects or the way that movement on the screen will be replicated like within a real aircraft.
Headshake by Simcoders was the first in a really effective effect plugin in that it gave you well "headshake" or movement in vibrations, G force, Ground Roll bumps and my favorite that was in great touchdown effects. In my plugin standards folder then Headshake has always been a regular and even a must have plugin to use. Just take Headshake away in any landing and you suddenly feel and see the difference, in reality it is boring without no thump and vibrations on landing and riding hard down the runway and that makes the plugin a must have.
But the difference between a huge Boeing and a tiddler Cessna is quite different on landing and in fact in most areas of flight when it comes to real world vibrations, by their sheer weight larger aircraft don't vibrate or move around as much as a tin can general aviation aircraft, but with Headshake the settings are global in that what you get in the Boeing is the same as what you will get in the Cessna.... and so enters rk Apps XPRealistic plugin.
This new effect plugin is to take the basic movement features and ramp them up to another level of cockpit immersion, another feature is that you can set the level and immersion factor on each individual aircraft from small GA's right up to the largest heavy aircraft in your hangar.
So first let us see how to install the plugin and set it up, then look at its features and ease of use.
Installing the XPRealistic Pro plugin
The XPRealistic zip package includes the XPRealistic main folder, a manual and the XPRealistic.lua plugin.
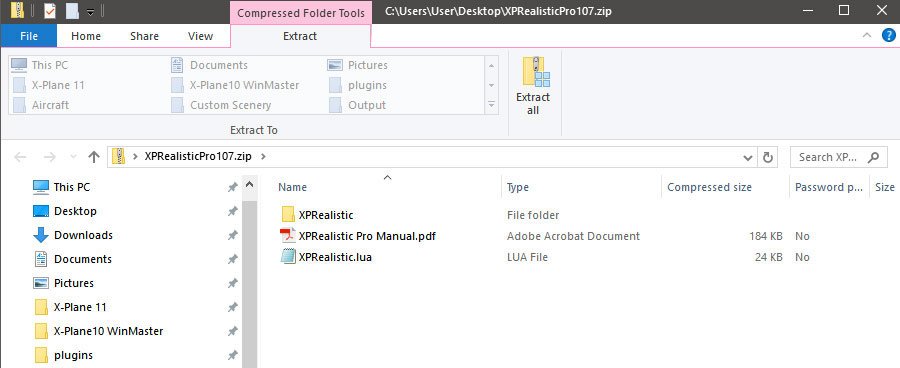
Inside the XPRealistic folder are two folders for "Profiles" and "Sounds" and a .json file.

XPRealistic Pro uses the "FlyWithLua plugin as its engine. FlyWithLua is run with C/C++ code, and makes plugins with a Lua 5.1 script engine or more like a BASIC interface on top of machine code and is compiled with LuaJIT. It is easy for developers to create clever plugins to do clever things in X-Plane or wherever you can run lua scripts. But a note is that lua can cause plugin conflicts, and many other plugins or even the main simulator can be effected by running the FlyWithlua plugin. In most cases the conflict is not an issue, but you may lose a few favorite plugins because it will clash with lua, obviously Headshake is one of them.
FlyWithLua is created by X-Friese and there are two versions in one 2.4.4b (win, lin, mac) for X-Plane9 and XP10. And now a new version only for X-Plane11 version 2.6.0 (Windows, Linux, Mac OS X) so make sure you insert the correct version.
FlyWithLua is inserted into your X-Plane/Resources/Plugins folder.
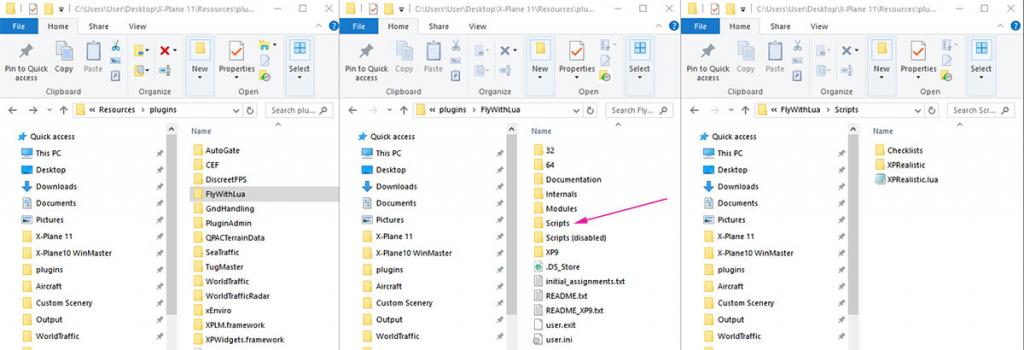
In the FlyWithLua folder there is a "Scripts" folder (arrowed) on where you install XPRealistic's main Folder and the XPRealistic.lua file (A note in that I removed all the other extra .lua scripts that were part of the FlyWithLua download package except for the Checklist tool). One particular visual script in "Please read the manual" will annoyingly come up on your screen when running X-Plane unless you remove it.
Using XPRealistic
XPRealistic Pro is accessed via the "FlyWithLua" (Macros) plugin in the X-Plane Plugins menu.


This brings up a main dialog panel with the current version noted on the header. All green and red text in the panels are clickable or can be adjusted, the rest is just text... The main menu consists of six items:
- Always Start for (aircraft)
- Are You Using TrackIR
- Are You Using X-Camera
- Freeze Toggle
- Master Volume
- Active Profile
The best feature of XPRealistic Pro is that it can be set for the current individual aircraft in use. This means when you load an aircraft you load the XPRealistic profile for it as well, and that any changes or settings are kept for that aircraft only. This background set of settings is a great way to always have your own preferences set for that active aircraft and changing to another aircraft (say a heavy) will also load in the preferences for that aircraft automatically.
These settings are stored in the "Profiles" folder in the XPRealistic main folder as .json flies.
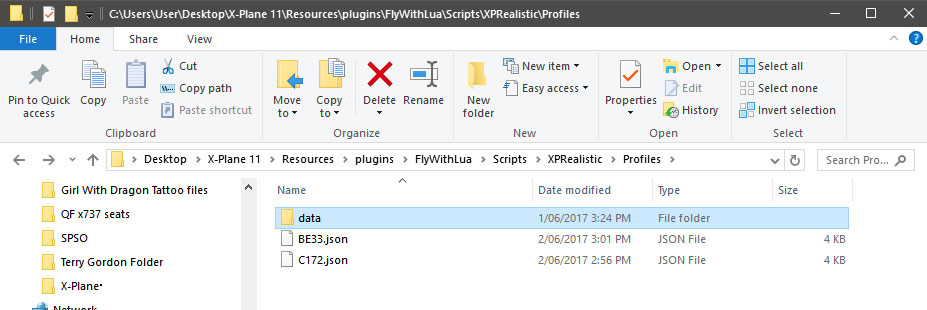
- So the first item on the menu "Always Start for (aircraft)" is the choice of if you want that aircraft active with XPRealistic when you load the aircraft (yes/no).
- You can use XPRealistic with both TrackIR and X-Camera and crossover functionality is built in, these two check boxes will allows you to activate or deactivate both these plugins if you don't use them.
- "Freeze Toggle" will allow you to stop the shaking to adjust knobs or the vibrations if they get too severe. It is used by setting a situation like when in clean smooth level flight and using a key input to activate it, you set it when it says "set now". I used the spacebar and that worked fine.
There is a similar setting for the "Head Anticipation" feature in that the below markers will show on your screen unless you set a key input.

- You can set the main volume with the "Master Volume" selection (0% to 100%)
Active Profile
The last menu item is the "Active Profile". This is the selection of a profile for the aircraft. Notice I said "a" aircraft. Even though it will note the current aircraft profile you can use another profile on that aircraft as well if you like that particular set of settings. You can't yet make a certain profile the same one as the aircraft you have chosen, or to duplicate the settings for the aircraft you are currently flying, but that feature has been noted as coming.
There are a set of default profiles to use in "GA", "Jets" and "Gliders" and more are promised. The number of profiles available will change as you add in more aircraft or if rk App's add in a new default profile.
Selecting the aircraft (arrowed) will open a dropdown profile for that aircraft.. This is where you can edit the settings for that profile.
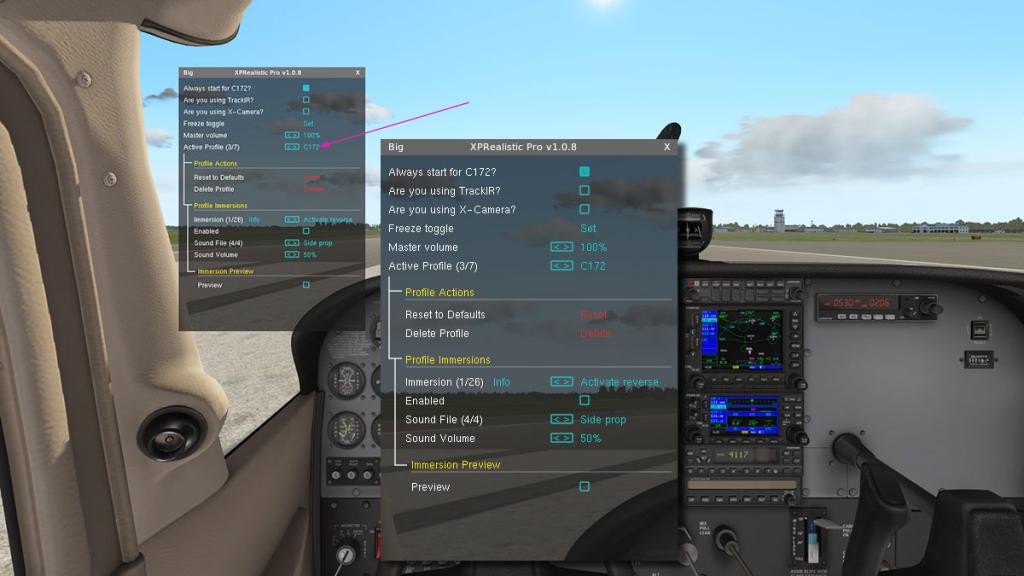
In the profile there are three levels of choices:
Profile Actions
First level of the profile gives you the "Profile Actions" or the main choices in:
Reset to Defaults - To reset all the settings in the profile
Delete Profile - To delete the current profile completely.
Profile Immersions
Second level is your main aircraft editing tools in (effect choices can change for that particular effect):
- Immersion (1/26)
- Enabled
- Sound File (4/4)
- Sound Volume
Immersion Preview
Third level will give you a preview of that set profile immersion
_____________________________________________
Editing Your Profile
Immersion
There is a choice currently of 26 immersion profiles to choose from. Selection is by pressing the actual name or the < > selection.
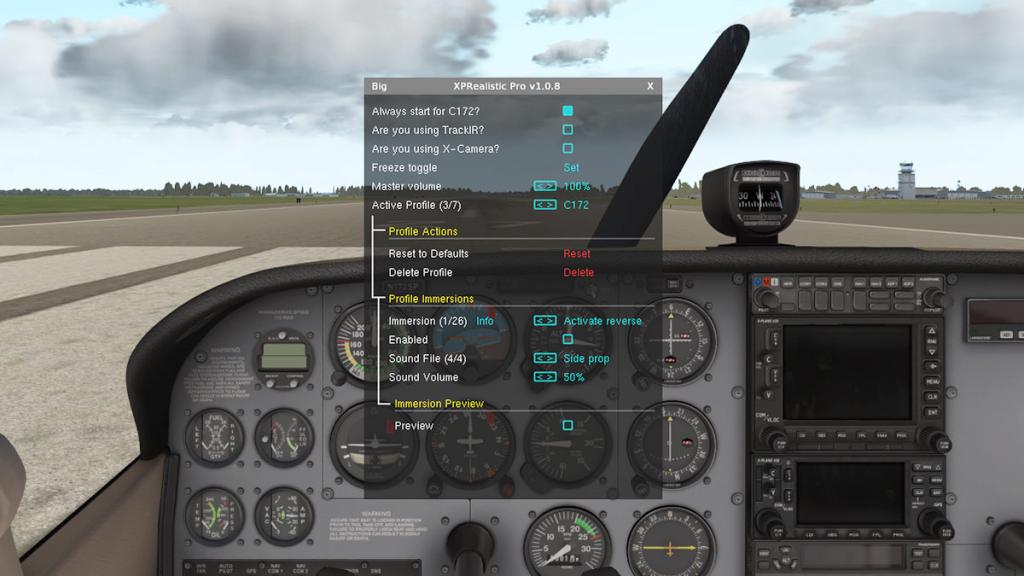
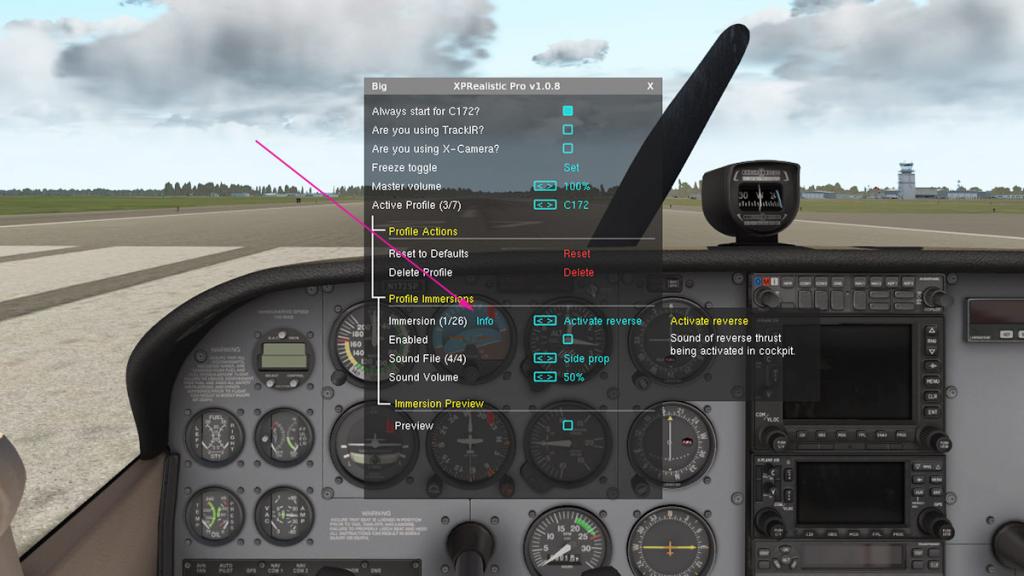
Selecting the "info" text will bring pop out a dialog panel to note the details of that profile, in this case "Activate reverse".
Immersion choices currently include:
(1) Activate reverse - (2) Airframe Wind - (3) Braking - (4) Breathing - (5)Engine start - (6) Engine Stop - (7) Flaps drag - (8) Flaps stress - (9) G-Force effects
(10) Gear drag - (11) Ground effect - (12) Ground roll fast - (13) Ground roll slow - (14) Head Anticipation - (15) Nose wheel well - (16) Rain - (17) Reverse Thrust
(18) Roll Anticipation - (19) Rudder Squeeze - (20) Side Prop - (21) Speed Brake - (22) Stall - (22) Stall extra sound - (24) Throttle - (25) Turbulence - (26) Wind
Enabled
This checkbox allows you to have that immersion effect on/off
Sound File
This effect is the choice < > of different sounds to that immersion
Sound Volume
This is the separate volume only for that immersion effect %
Shake Intensity
If the effect has shake or vibration, then you can adjust the movement percentage %
Here is a small selection of the immersions and their editing profiles :
(2) Airframe Wind - (3) Braking

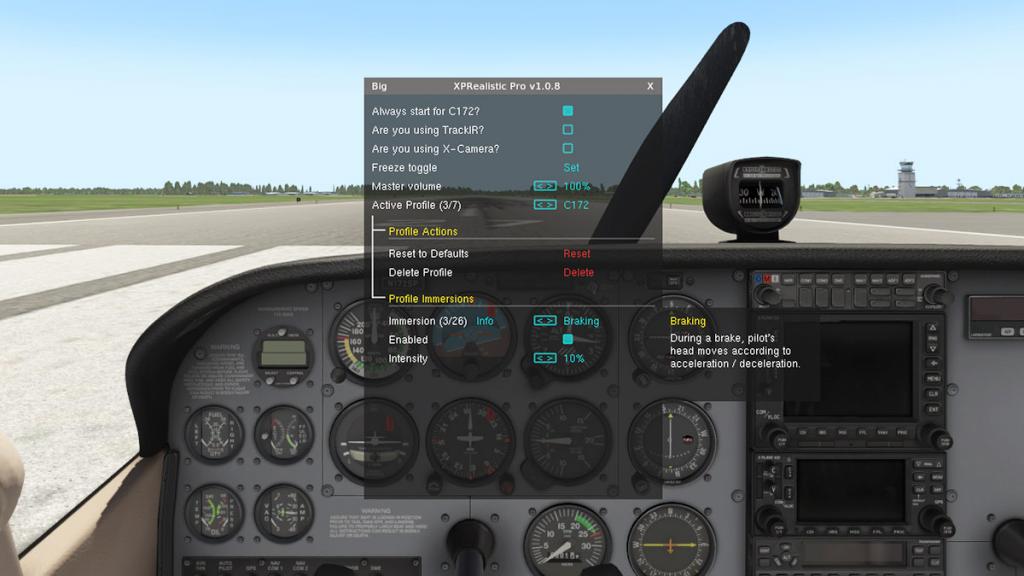
(8) Flaps stress - (12) Ground roll fast
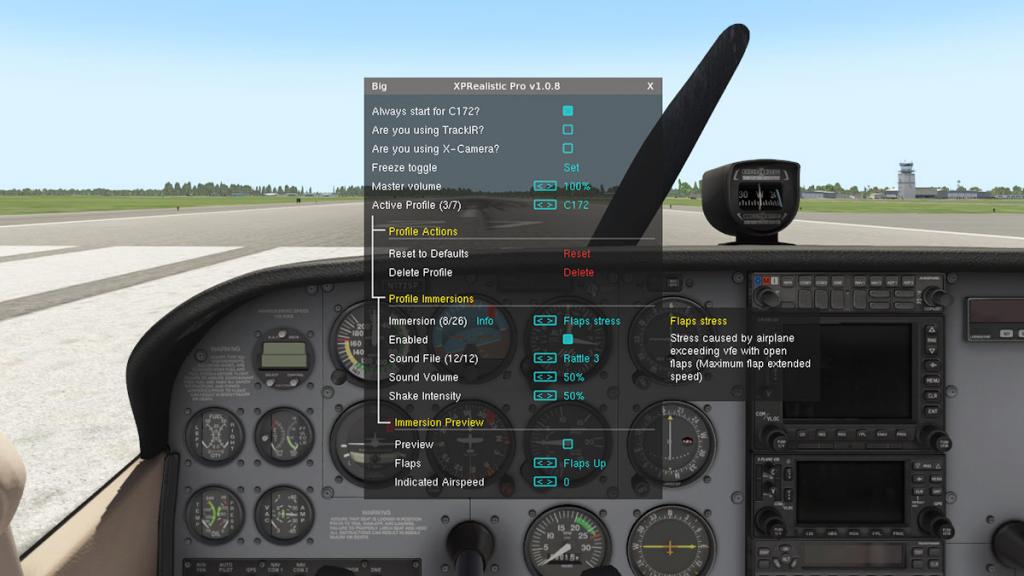

(17) Reverse Thrust - (21) Speed Brake
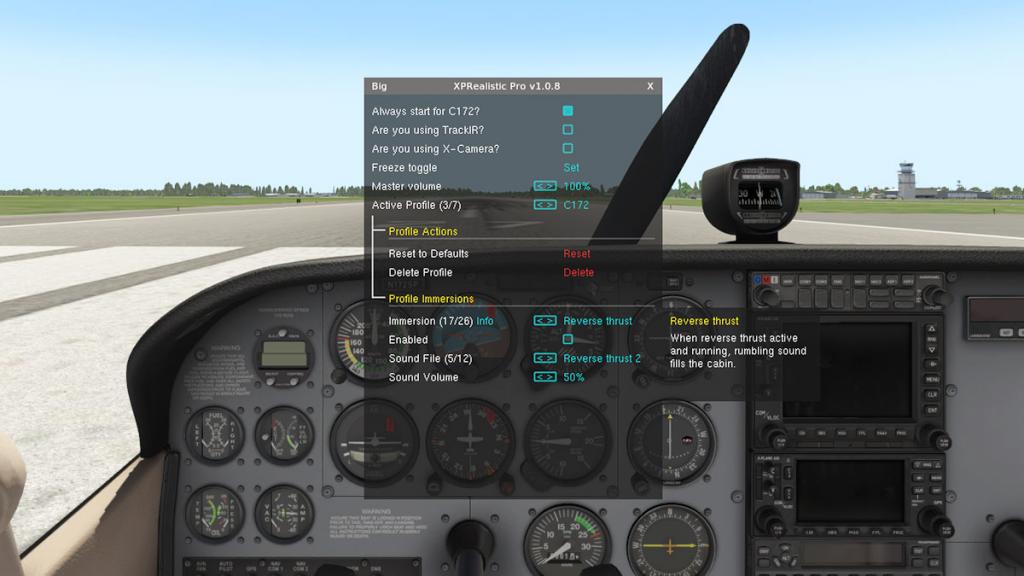

(24) Throttle - (25) Turbulence


There is a huge amount of choice in the selections, and some sound selections can be as many as twelve choices. Certainly not all the immersion effects are required on every aircraft, as for instance a GA does not have a reverse thrust effect (scary if it did!) so you have to edit to that particular genre of aircraft. Certainly selecting either the "Default GA" or "Default Jets" profile would be a good place to start with a new profile for that genre.
Immersion Preview
Here you can see or hear the changes to the selected immersion by pressing the checkbox on/off.
This is the preview of "Head Anticipation" which is an effect to guess where you are going to look next.

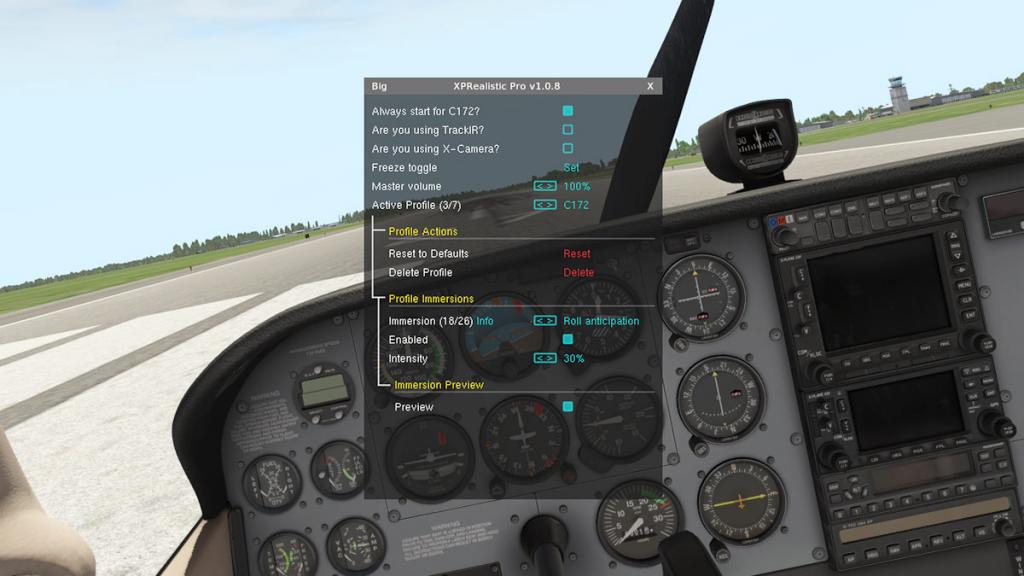
As for me a general rule with these vibration effects is the line between realism and totally annoying. In that rational I usually have most settings set low, certainly the ones like the "brake" effect that wants to put your head through the windscreen every time you simply touch the brakes.
Mostly (as in life) less is usually more with these choices. The most intrusive are the ones that are over active when you need to control the aircraft and you are trying to scroll knobs or adjust your height or speed. There is the "Freeze Toggle" to help you here, but I would still set on the side of minimum than maximum for the best effects.
But GA vibrations and sounds always would be more violent and louder than a Jet airliner, I know you would want that feeling anyway, but you can go too far in that direction of effects as well, because at the start it is all very exciting, but after an hour or so in the air in a small slow aircraft the noise and vibrations can then send you to the doctor.
So the aim is simply realistic and realism and not the point of that if you even have that huge amount of adjustments doesn't mean you have to use them all.
As there is so much choice available then to GET IT just right in a profile setting will take a little time and a little patience, fly and adjust would be my mantra. Do a flight and "oh that wind noise is too low" and adjust or "that ground roll vibration is too heavy" and then adjust that and so on, and soon you will get a perfect set of profiles for that particular aircraft.
Does XPRealistic have that "Wow" effect!
I have noted that I have used "Headshake" for a long time, so the effects of XPRealistic will have to really surpass those in a big way as this is payware as headshake is freeware.
So to test the theory out I took three flights in one a GA with the default C172 and one a Jet with SSG's E-170 and the prop regional B1900D.
Cessna C172
First to note in that on both aircraft I already lowered right down the settings for the "Breathing" (20%), "Braking" (10%) and "Head Anticipation" (40%) as they all felt too high. Breathing is slightly unnerving in a horror film hiding in the cupboard way. You find the the panel heaving up and down as if you are about to be consumed by it, so that was downgraded quickly. It is clever but unnerving. I want to be shook and not shaken if you get my drift. The braking adjustment is because I don't want to constantly smash my head forward on the windscreen over and over again.
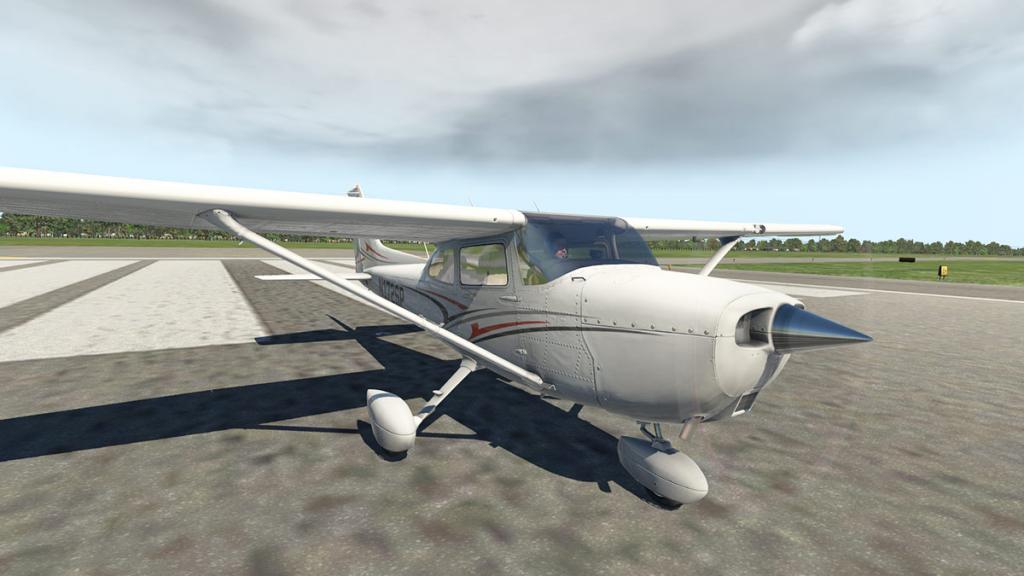

The aircraft vibrates at standstill, which is very realistic, but let the brakes off and push up the throttle and the vibrations get more vibrant and the throttle (engine) vibrates more. Look up at your door window frames and they are very nicely vibrating to the power of the aircraft, love that.
But adjust the yaw as you keep to the centre line and the "Head Anticipation" effect sorts of swimmingly moves left and right and that can either a) make you feel sick, or b ) lose focus of the centre line (the reason I adjusted the "Head Anticipation" down a lot!).
But the ground roll and noises with the vibrations are excellent, you will quickly come to love the realism of it all.
Pull back the stick and the main vibrations cease and the wind noises increase.
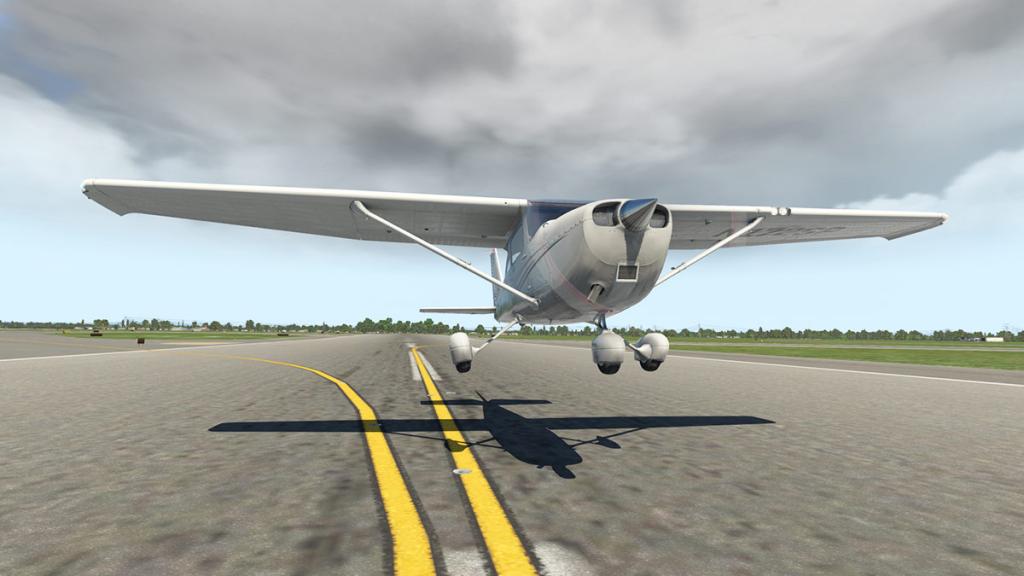
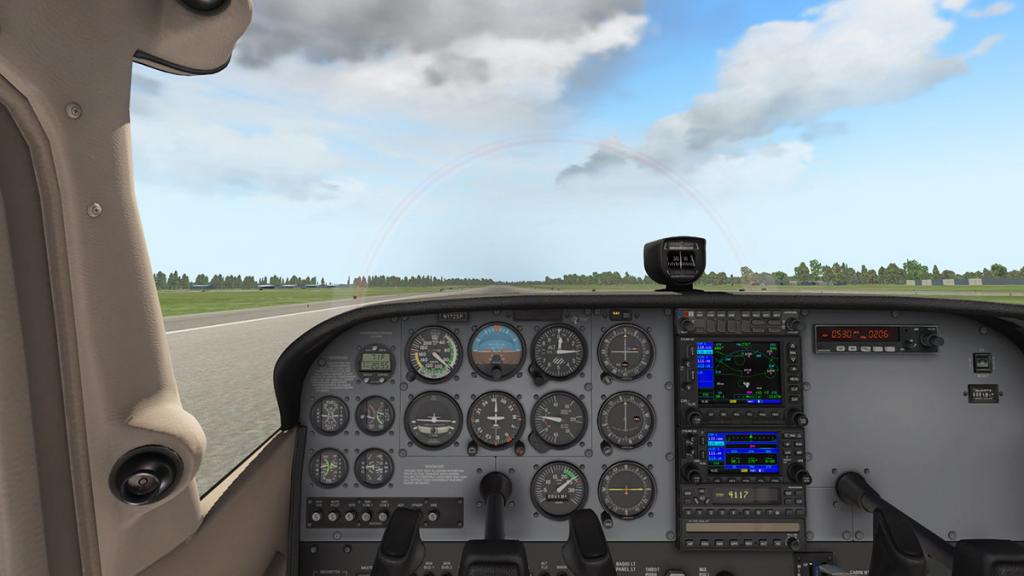
A left bank brings the "Head Anticipation" back into operation again as it anticipates where you are going to look via the turn of the yoke.
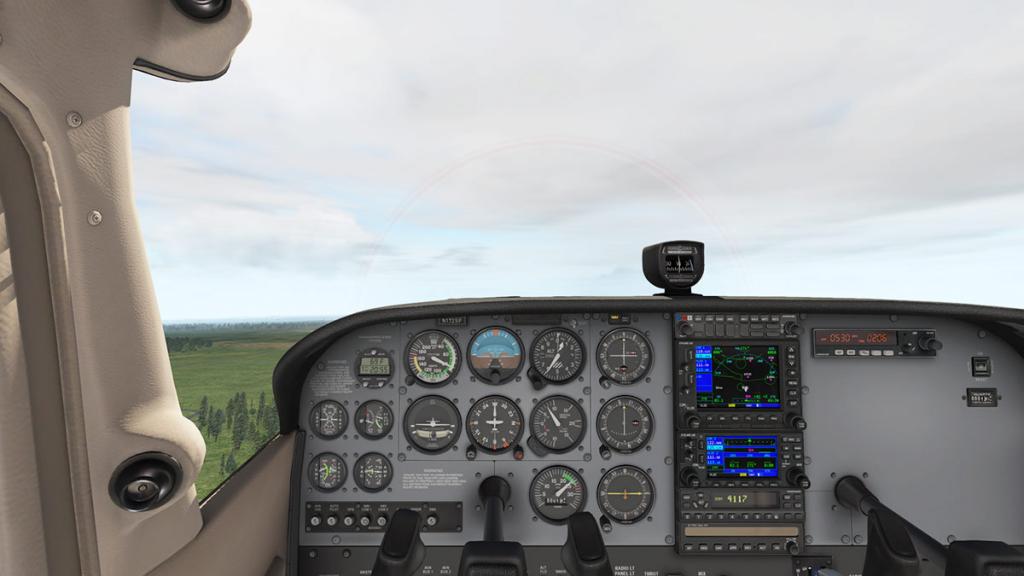

It is very good, as you always wanted to look in the direction of travel, but couldn't fly the aircraft and adjust your viewpoint at the same time, so this effect does it for you. It does feel very real, but the same point is valid in that if you have to readjust the other direction with the yoke (or turn straight) you do find yourself looking right or the other way than the direction you want to go? But you get used to it, again the point is not having the effect "Head Anticipation" adjustment too high as to not go too far each way.
Adjustments can be done on the fly, so to speak is possible...


I tried different wind settings to see what the differences were, it is very effective and you can easily find your preference with a change from one sound file to the next. One feature I would like would be a "key" input to bring up the menu, as you have to go through a lot of menu actions via the FlyWithLua plugin to get to the buried XPRealistic menu every time you want to make an adjustment.
One thing you have to be aware of is plugin crossover. I am running xEnviro and the environment plugin has a similar "turbulence" effect like XPRealistic... So you have to find a compromise between the two plugins so they don't overwhelm you with too much vibration.

It is the same with rain effects, and you will have to be aware of aircraft that have these effects already built in like with FlightFactor's Boeing 767 series.
I did a heavy climb stall to see the effect. It was very realistic, juddering airframe, yoke noises, aileron and elevator banging, so you felt that you was pushing the aircraft past its limits, very good.

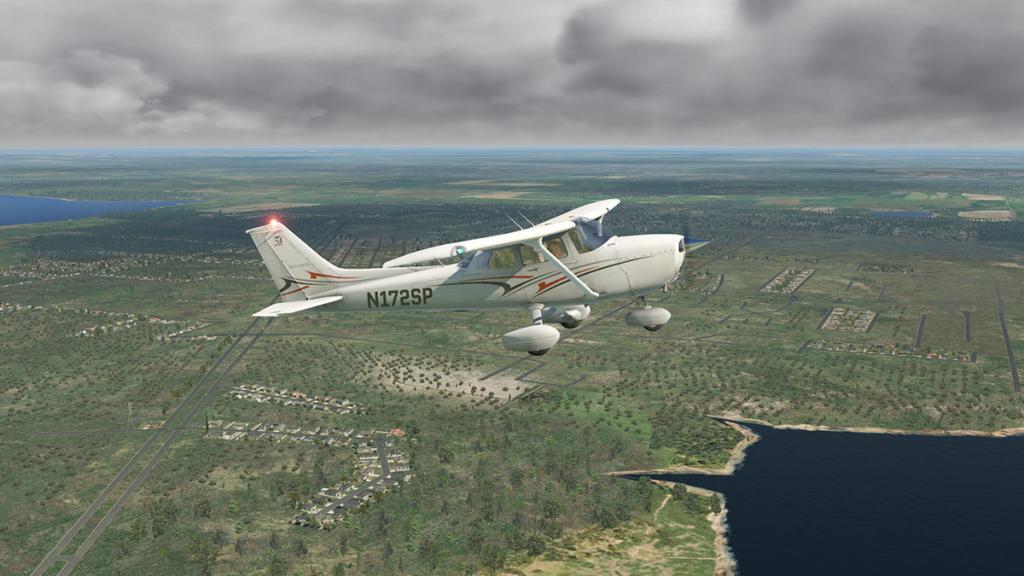
Extra wind noises when you drop the flaps, and more vibrations from the airflow... Flap stress will also create a banging in the cockpit that may scare your passengers.
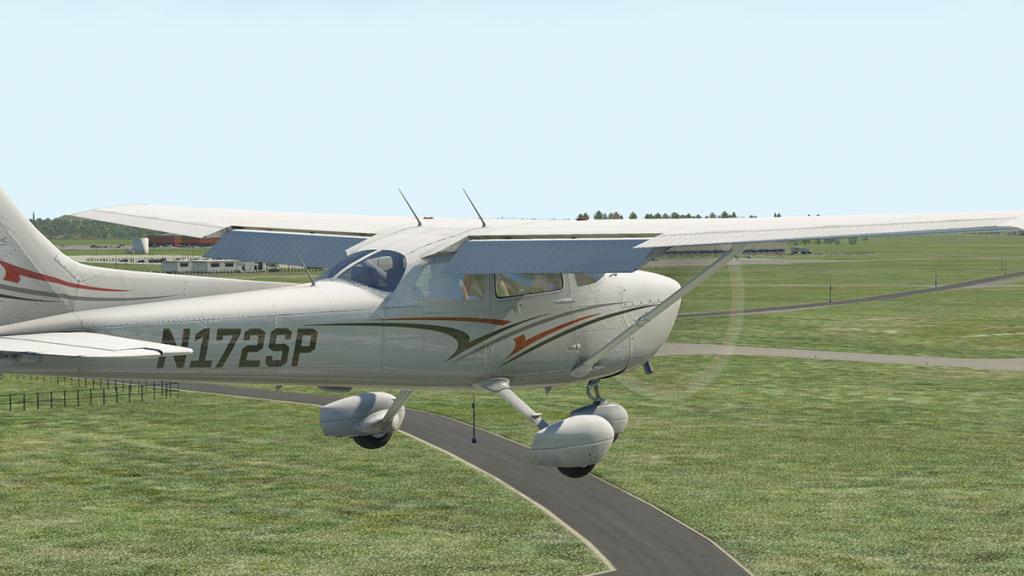
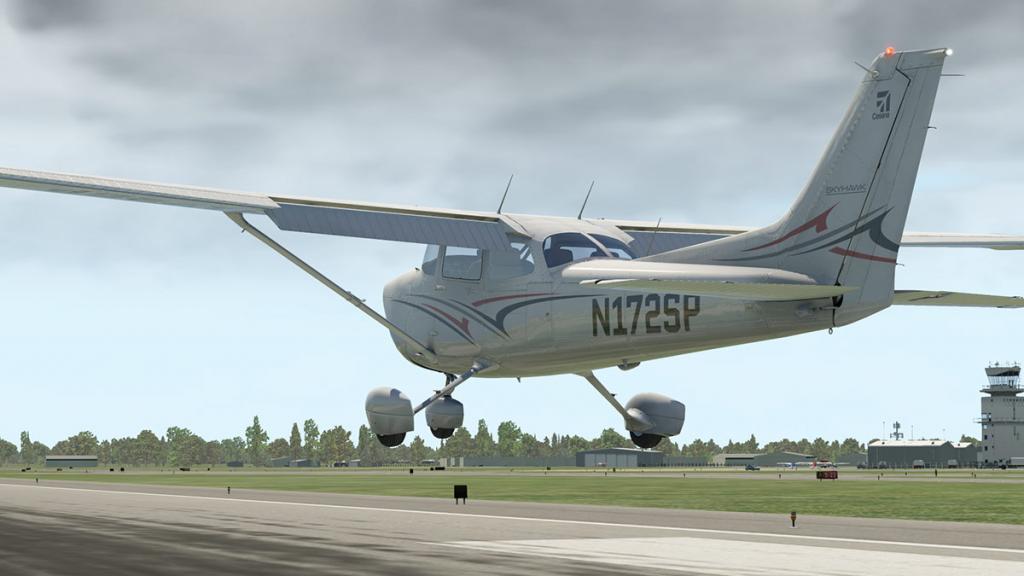
Once back on the ground you get the ground rolling and vibrations again, braking efforts are highlighted as is any reverse thrust if you change the propeller pitch, in the GA environment the package with XPRealistic active was very effective and realistic.

SSG Embraer E170
One of the great features of this effects plugin is that you can tailor the effects to different aircraft, and the differences between the GA C172 and the larger E-Jet couldn't be more noticeable and that is what makes this plugin more desirable. Certainly you would like even more subtle differences between the same GA's and the feel between small regional aircraft and the large A380 aircraft, and yes with a lot of fine tuning I think that is possible here, but a few more immersions to highlight those size differences more would be a nice addition.
If you have used the excellent BSS sound packages like with the JARDesign A320neo then you will know how much a difference that great sound can add to the simulation in feel and feedback. But what about vibration? as that is another dimension again.
This XPRealistic can give that feel on start up and shutdown of the engines, the one great thing is that the plugin represents not just one vibration but the effects of an vibration over the top of another vibration at different frequencies, in that an engine vibration is very different from a rolling aircraft taxiing vibration, the trick is to make them work together to make the whole feel realistic.

The trick again is that both the aircraft developer's designs and the XPRealistic effects don't clash, so fine tuning is required to find that balance. But together feedback realism is excellent it you get it it right, so the point of the specialised profiles for certain aircraft has to be raised to get the maximum effect of both sets of effects working together?
So engine startup and shutdown is featured and there is nothing like vibration at engine starts and running to make you feel a better experience.
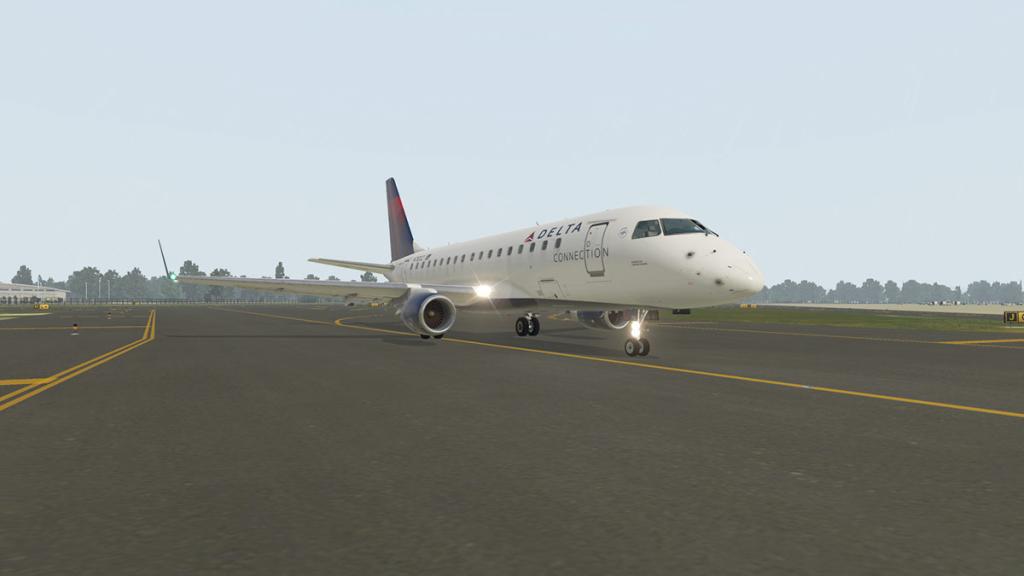
Taxiing gives you the vibration, but not as bouncy as the C172 as to be expected. A rainy day gives you the rain effects and noise which is highly realistic, the braking as noted is reduced to just a slight move forward for comfort and realism.
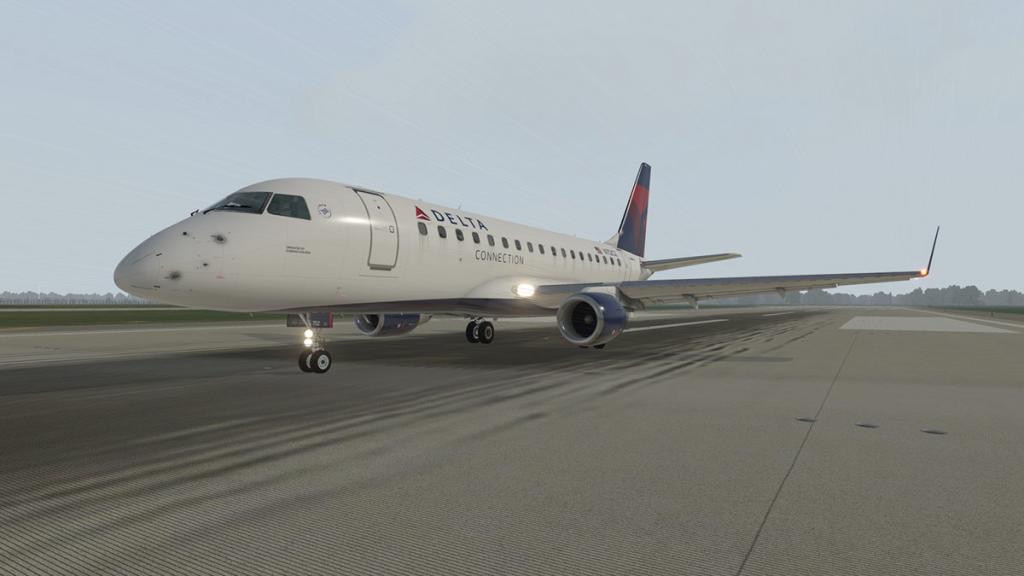
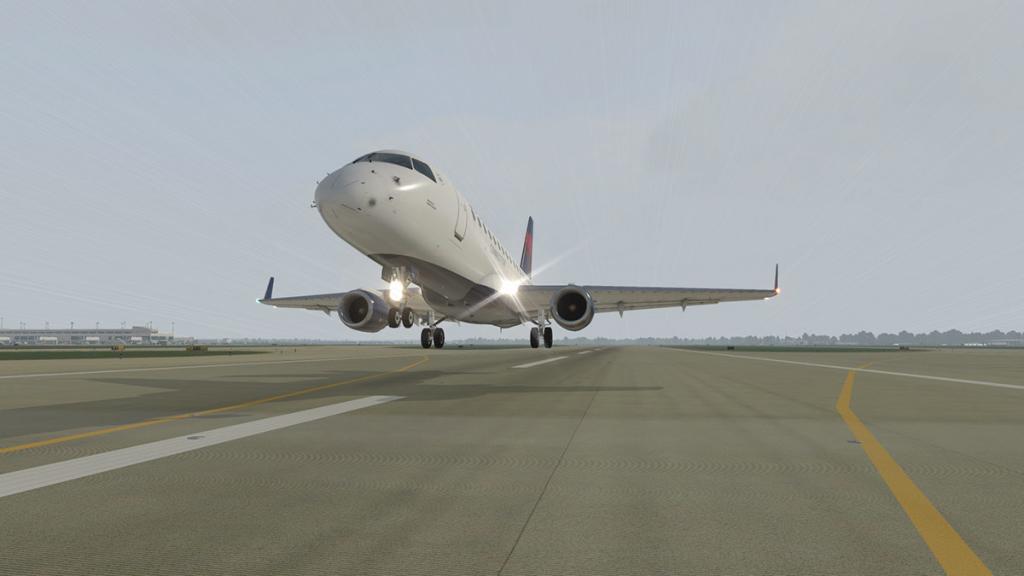
Putting the power up brings first the engine vibrations and then the secondary airframe vibrations, and finally the rolling runway vibrations and you can tell which one is which one doing a certain job... it is all very credible.
The vibrations build until the moment of flight and then like in a real aircraft it all ceases and replace with new vibrations and sounds of wind and wind drag noise from the undercarriage until it is retracted.
Don't get me wrong in that all this action is all very dramatic and noisy in that it is totally overwhelming because it is not but kept in context with the simulation and the effects are all close to real to keep it all credible.
You do get that small but significant vibration in the cockpit when out of turbulence periods to keep it realistic. But there is a tendency that when using the Head Anticipation" it will go correct to the turn heading, but then when over correcting the other way it suddenly has a tendency to suddenly snap back centre, which is not very realistic and even startling. It didn't do this on the C172, but a lot in the E170 and the snap didn't happen every time you turned but intermittently. I haven't tested the effect in another heavy yet to see if it is a particular aircraft related issue or it does that on all aircraft set up a certain way with an autopilot function.

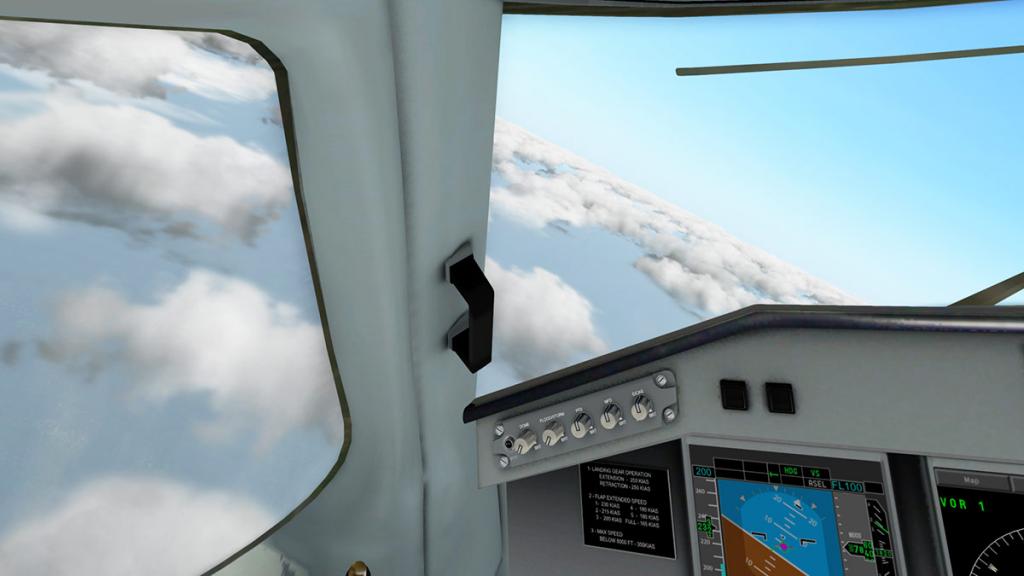
In level flight I did like the slight movement of vibration of the aircraft moving, your not going to rattle and shake along like in the C172, but vibration is a big realism factor.


The effects are of course not just limited to the cockpit. If you like the window view (mostly for me in replay) in that the effects are highlighted here as well in the back. Again I will note BSS's sound packages in the JARDesign A320neo and A330 and if you use them you will understand (or hear) the significant differences of the varying sounds in the cabin is so very different from the cockpit sounds and how much those effects enhances the overall simulation.
It is the same here and to a point it does bring the same sort of effects that you get with BSS sounds to any aircraft, but of course not to the extreme of BSS sounds. But it does bring vibration, and flap, airbrake noise and undercarriage drag noise to virtually any aircraft in your collection and with that it makes XPRealistic a very handy tool to have.
The "Head Anticipation" feature works back here as well as in the cockpit of course, but could that actually be distracting from your viewing pleasure? But unless you turn it off you get the movement effect.
But it is a great feel when flying to get that aircraft vibration in the rear. It delivers a more of the real vibration feel of what you remember when trying to sleep at 37,000ft and moving through the air at nearly the speed of sound.
Landing is of course the most dramatic event of flying. And it is here of where any realism plugin can deliver or fail the test of giving you a realistic feedback of this event in motion.
Landing can be akin to a controlled crash, which I suppose is what it really is but with the last minute ground contact being in control. Headshake was very good in delivering that initial gear compression and violent shake as the aircraft was still partly flying and yet parts of it is now connected to Terra Firma...
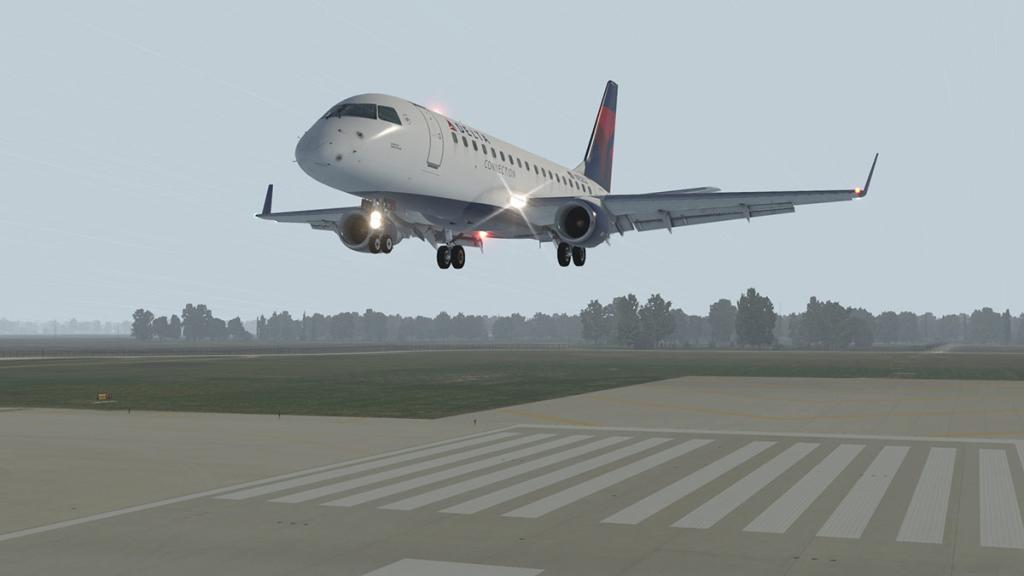
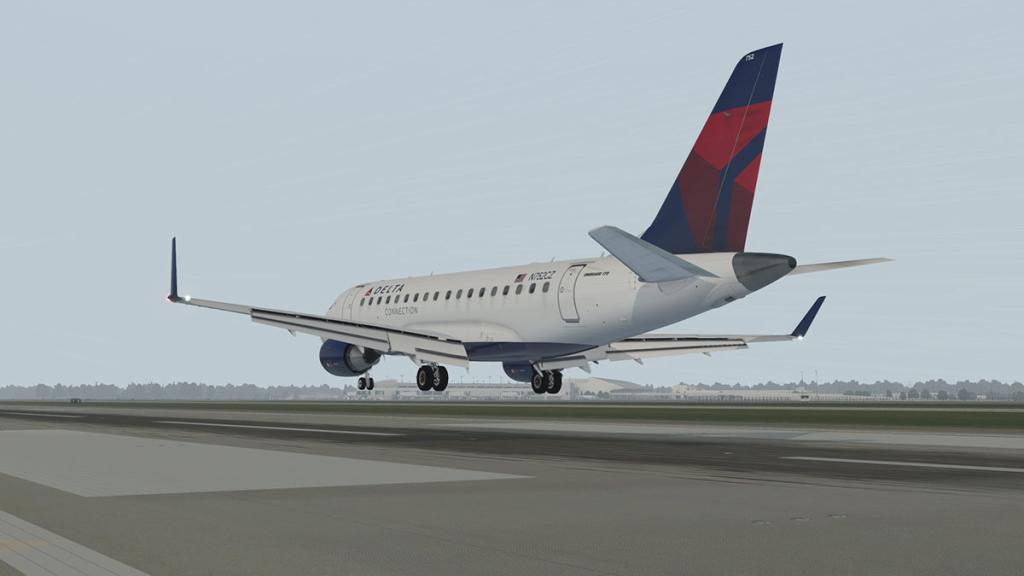
... switch Headshake off and landings became very quickly very boring. So how does XPRealistic stand up with the same strong expectation of drama and vibration.
Certainly the initial gear contact was very good, but so is the slightly blurry shake vibrations as you still barrel down the runway still at landing speeds.
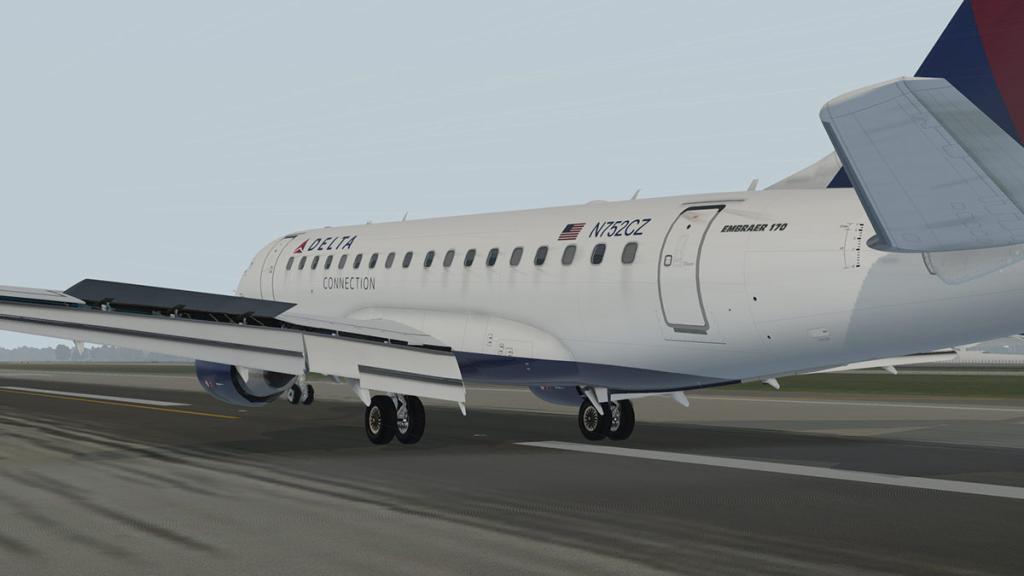

Like at takeoff the vibrations come in a different frequencies to cover the different actions like airbrakes, flap movement and mostly the overriding reverse thrust vibrations that shake the airframe to a taxiing speed as is your final braking actions and like in real life it all feels very much quieter and more serene once the aircraft has completed the event.
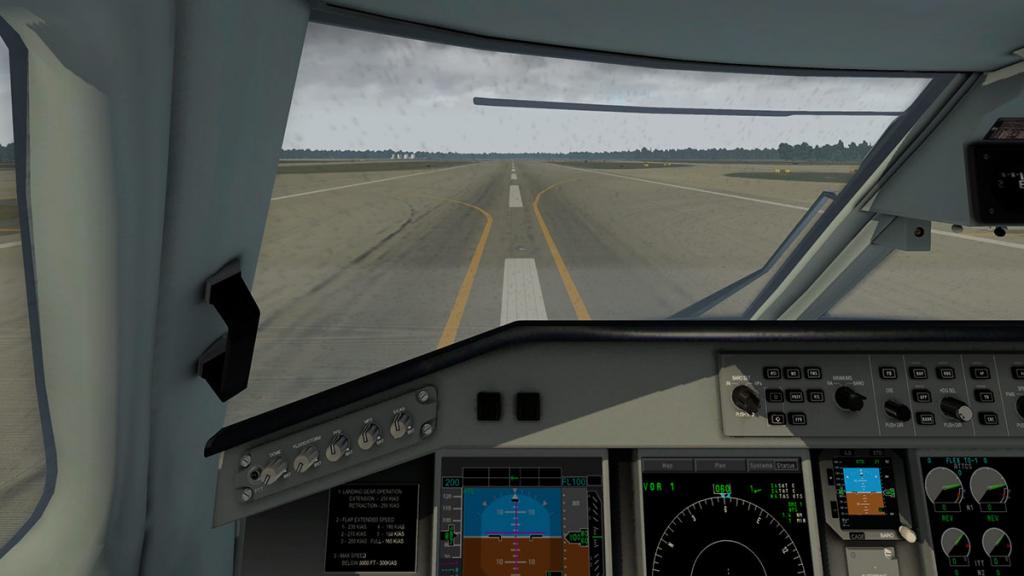
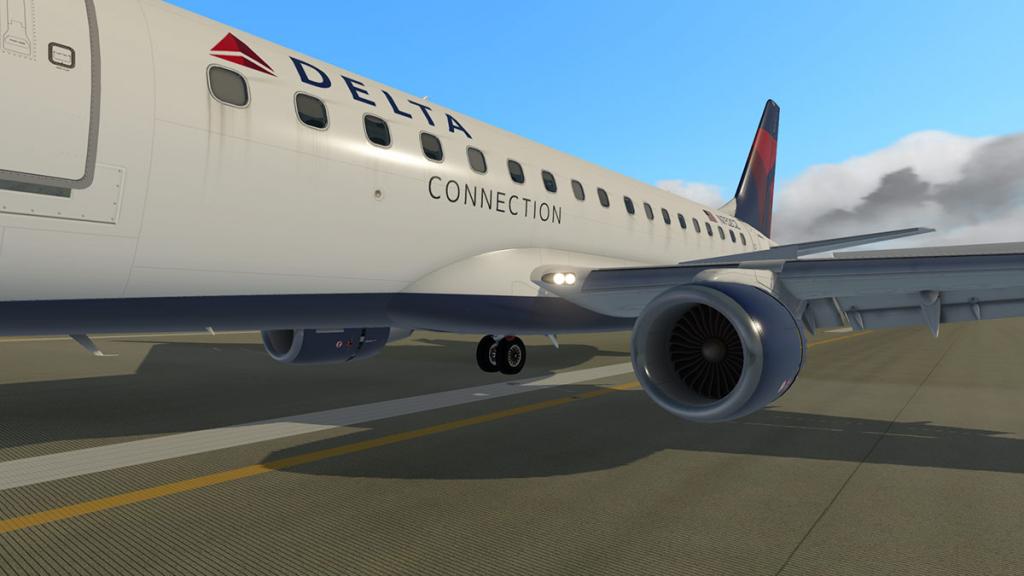
It will be very interesting to compare different aircraft in this category and use the different profiles to see what different feel you can achieve and experience. But overall the XPRealistic landing is a brilliant experience and highly real.
Like when we left KRSW the taxi vibrations are again good, as is the movement into the gate and the final engine shutdown vibrations from the engines.
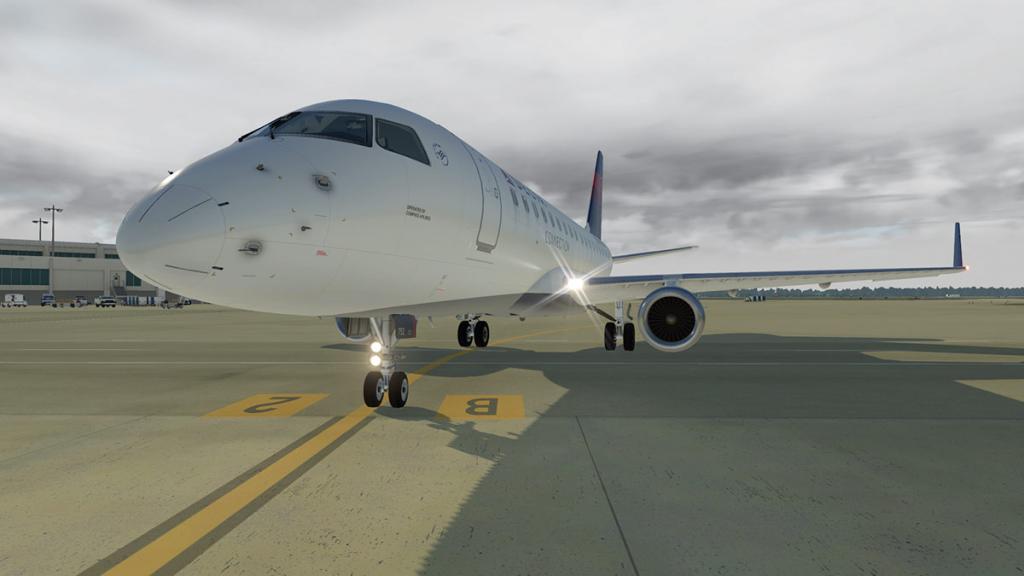
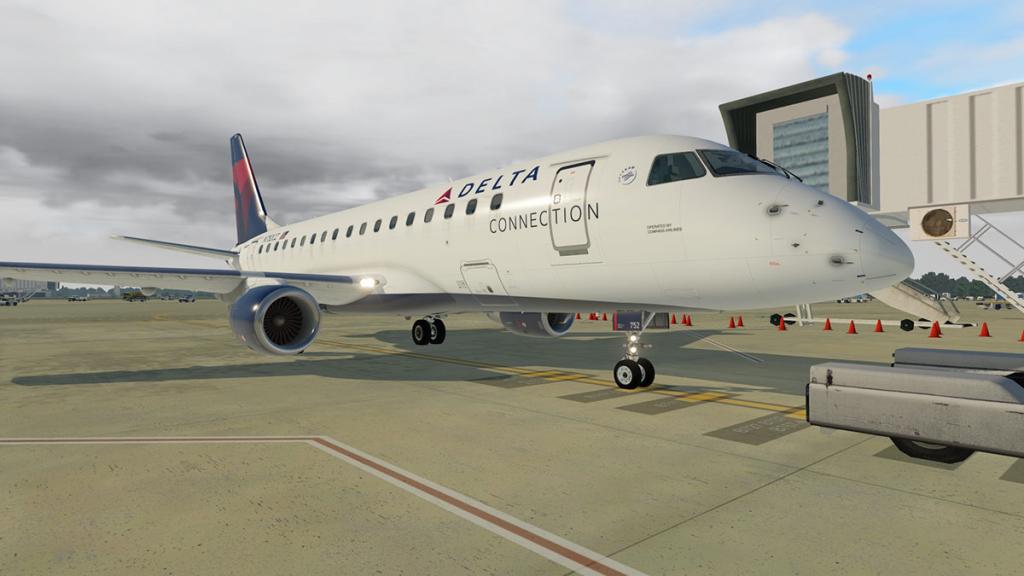
This was basically just a gate to gate circuit around KRSW, but it was a great experience of an injection of far more realism into the simulation, I can't wait to use it on one of my well known routes
Beech 1900D
I taxiing out I found "oh, that is quite different, not much happening here?" Well there wouldn't be as I had the "Always Start for B190" checkbox unchecked and then once selected it was quickly back to the vibrations and movement, so there is a lesson in there in checking first the profile is switched actually on.
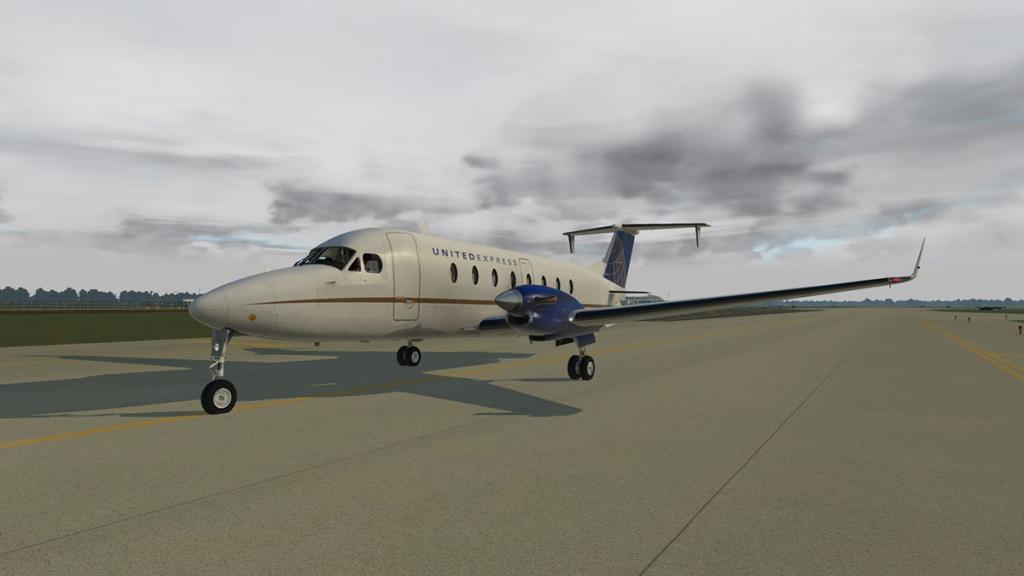
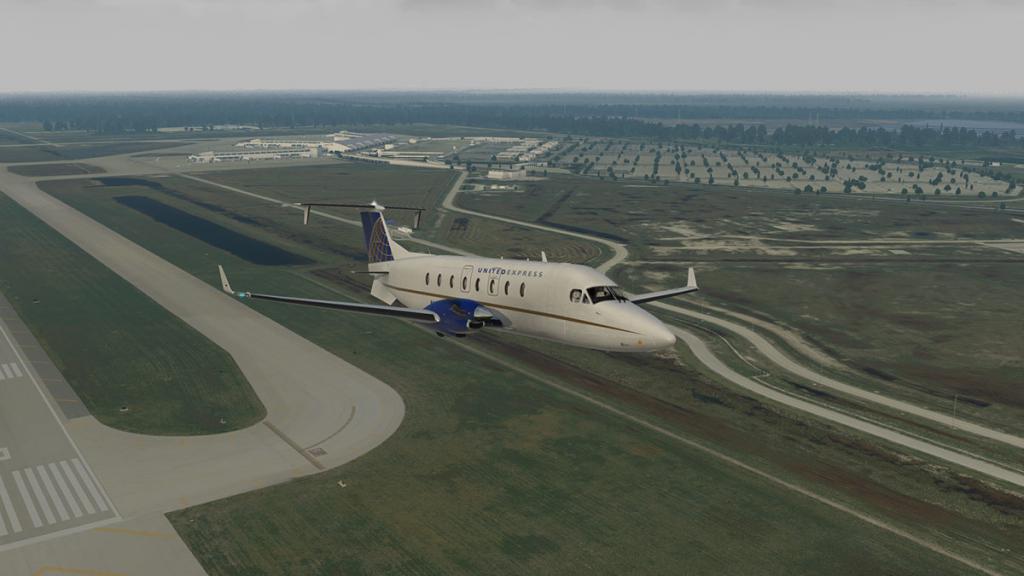
The B1900D interests me because it is a mid-way aircraft in that it has the genes of a GA but the power of a much larger aircraft, a bit more of a "Rattle and Shake" machine if you know what I mean.
The B1900D doesn't disappoint either as it rattled and totally shook it's way right down the runway to takeoff.
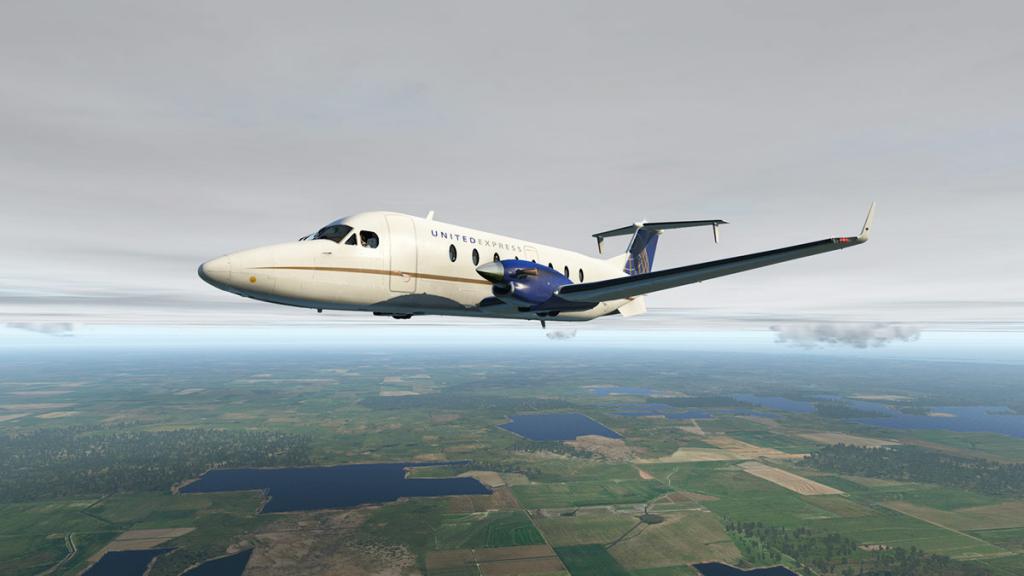
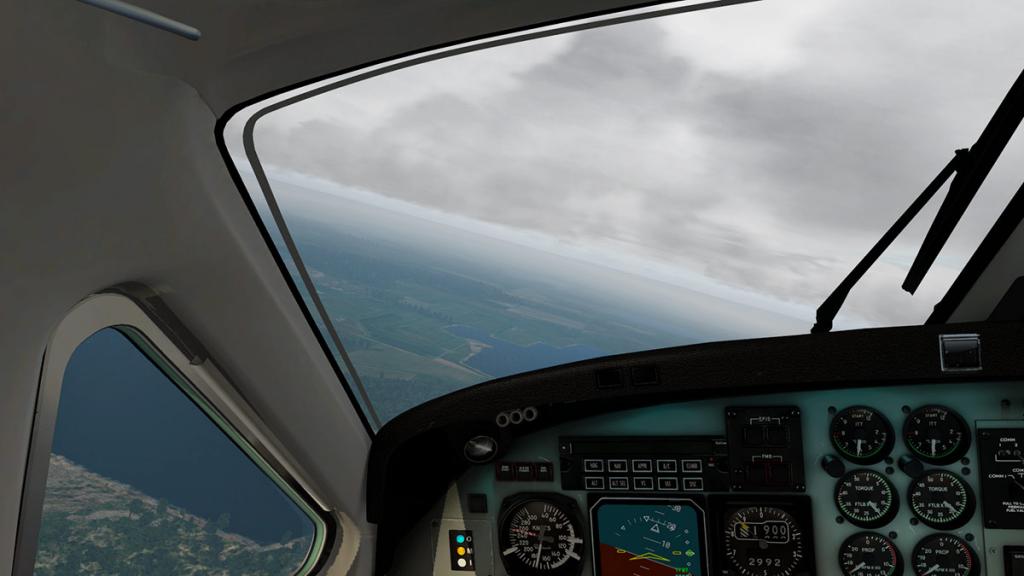
The effects work very well in here, and a bit of turbulence from some heavy low cloud added in to the experience and shook you up a little bit more. The "Head Anticipation" worked a little better in here as well, but you did get a constant motion sort of feeling if you are doing a lot of manual manoeuvres, if I did a lot of this I would probably turn the "Head Anticipation" effect right down or off, but I loved the look to turn effect of the immersion more than the negative aspects, so that will be an interesting one as the if that effect becomes more annoying over time or a more wanted feature.
The landing was excellent with great vibrations of the airframe and the hard pull back and extra vibrations of the prop reversed thrust, I actually put the brake effort up more slightly here to exaggerate that pull back effect for the different style of aircraft.
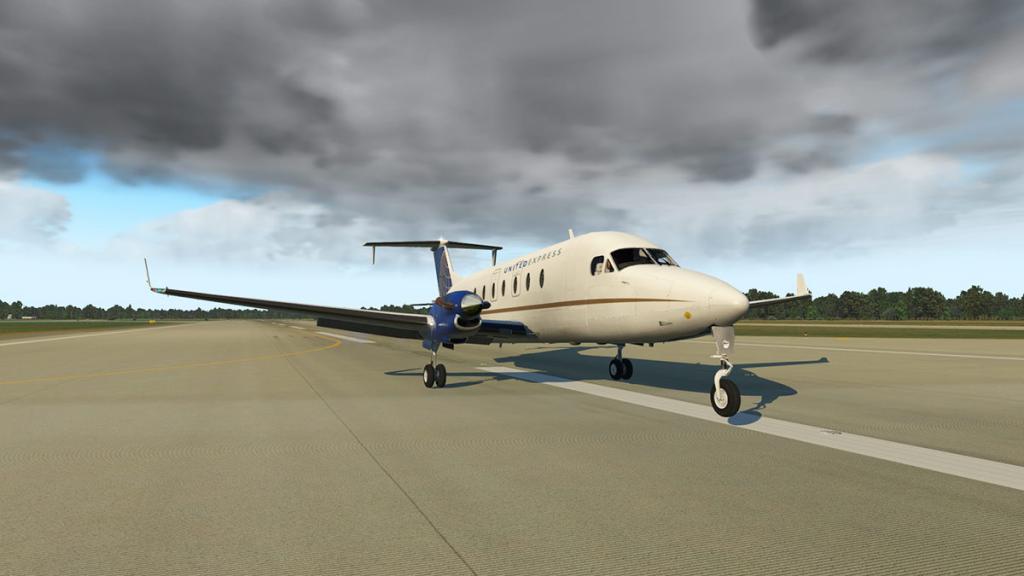

The slight vibrations at the gate and then the final out of balance vibrations as the props spun down to stop was excellent, highly realistic and you noticed the vibrations really well from the rear cabin window view as the airframe shook to the stopping engines.

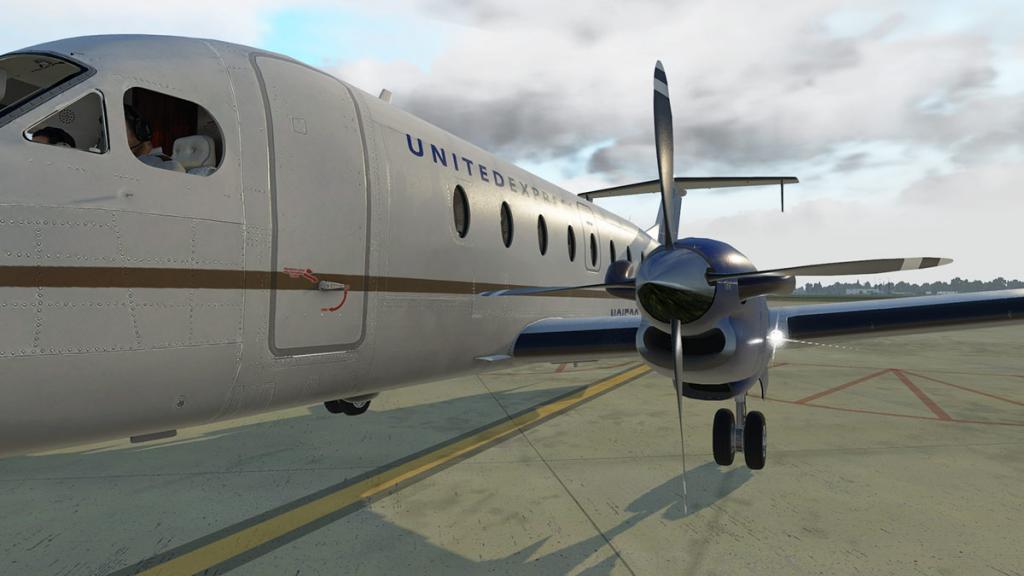
At this point there are no profiles for helicopters? In X-Plane11 helicopters do already have a very good vibration effect, and the set up for helicopters would be very different from aircraft. My main slight worry is that helicopters may over exaggerate the vibrations, so it will be interesting to see if a default profile is created and how it relates to the aircraft.
Summary
It is a very fine line with effect tools in that they can be very good or just simply annoying. Headshake had managed to enhance but also not become an in your face tool that you either switched off or threw away. In other words it worked very well in the background and was only noticeable at crucial points like taking off or landing and that was it's successful appeal.
But Headshake is global and that makes the same effects and their vibrations work in every aircraft no matter it's size and type.
XPRealistic is adaptable to every aircraft large, small, noisy or even older and newer. It works like all great plugins in the background, not seen or heard unless you want to adjust something or even switch it off. And that adaptability means you can have some aircraft active and others not, and then unlike Headshake you can adapt certain characteristics to every different aircraft as you desire, so the plugin is hugely flexible and it also supports X-Camera and TrackIR.
So what are the downsides. Well not that much directly but there are things you need to be aware of in using the plugin. One it uses FlyWithLua for its base coding, and the FlyWithLua as a plugin can conflict with other plugins. So you may lose some favorite plugins or some might not work at all and even worse also create conflicts that could cause the crash to desktop a regular occurrence. I'm glad to say it didn't conflict at all with my regular plugins, but then again my plugin folder set is quite small.
The plugin is very new as well. It worked really well for me with no crashes or conflicts, but there is still refinements and extra features to still be added in there, but the basics are solid, only the feature "Head Anticipation" is a little buggy. As noted it flickers sometimes or snaps to a new position and I still don't know if over time it will be a favorite feature or will just get annoying, thankfully you can like all the immersion choices here turn it down to minimise any negative impact on your flying.
Another point to make early is that you will need to spend time to fine tune your profiles and your desires of certain feels given to certain aircraft, the word "tweeking" come to mind, but I would like the idea that users share their favorite "tweeks" online so we can all enjoy the same settings and profiles that have been refined. But the awareness of the original aircraft's features is also required so they don't overlap or conflict with each other.
So is this plugin another staple in a "must have" standard. Personally I really think so, as its qualities are excellent but also there is the huge flexibility of the profiles for every aircraft and the return of the effects and the huge immersion factor is going to make this plugin easily an X-Plane standard. It is clever in doing just a simple thing, and because it is layered in effects and sound as well in that it also gives it the absolute wow and realism factor.
So certainly a "Must Have" plugin and you see that again X-Plane go another step forward in simulation realism... XPRealistic immersion is that good.
_____________________________________________________________________________________
The XPRealistic Pro by rk Apps is NOW available! from the X-Plane.Org Store here :
XPRealistic Pro
Your Price: US$19.99Features- Separate Aircraft Profiles
Create aircraft profiles with dedicated settings. Change sound volumes, shake intensity and much more.- 26 Immersions
Enjoy a growing list of 22 real life scenario immersions along with more than 15 different sound files to choose from.- X-Camera/TrackIR Support
X-Camera and TrackIR are supported, furthermore, we highly recommend to use X-Camera with XPRealistic Pro.- Easy to use
Enjoy a straight forward user interface which allows you to control almost every aspect of XPRealistic features.- Fast Support
We believe that fast response to any issue is the key to keep you happy, we are here if you need us.- Realism and quality
Requirements
X-Plane 11 - X-Plane 10
Windows, Mac or LinuxRequired X-Plane Plugins: FlyWithLua (free)X-Camera(optional but recommended) Current review version: 1.08 (1st June 2017)Installation and documents:
Full installation procedure is noted within the review above
FlyWithLua (free) IS required to use this plugin
Documents:
Manual (13 pages)
____________________________________________________________________________________ Plugin Review by Stephen Dutton8th June 2017Copyright©2017: X-PlaneReviews(Disclaimer. All images and text in this review are the work and property of X-PlaneReviews, no sharing or copy of the content is allowed without consent from the author as per copyright conditions)Review System Specifications:
Computer System: Windows - Intel Core i7 6700K CPU 4.00GHz / 64bit - 16 Gb single 1067 Mhz DDR4 2133 - GeForce GTX 980/SSE2 - Samsung Evo 512gb SSD
Software: - Windows 10 - X-Plane 11.02
Addons: Saitek x56 Pro system Joystick and Throttle
Plugins: Environment Engine by xEnviro US$69.90 : WorldTraffic 2.0 Plugin - US$29.95
Scenery or Aircraft
- KRSW - Southwest Florida International Airport by Aerosoft (X-Plane.OrgStore) US$24.99
- E-Jet 170 Evolution - by SSG (Supercritical Simulation Group) (X-Plane.OrgStore) US$49.95
- Beech 1900D HD - by Carenado (X-Plane.OrgStore) US$34.95- C172 - X-Plane Default aircraft (X-Plane11) Free with simulator
-

Aircraft Update : X-Crafts Embrarer E175/E195 v2.1
Late in December 2016 X-Crafts released the v2.0 of their Embraer E-175 aircraft. The move was to v2.0 which was an overhaul of the original version. This aircraft was followed by the E-195 late January 2017 which had the same upgrade to the v2.0 specifications.
The timing for a total complete version update was a little strange, because in X-Plane itself we were in the throes of a complete change over to X-Plane11. Wouldn't the changeover period have had more impact to do both at the same time? So to a point the upgrade was a little compromised. There was a few niggles as well and for me it took the gloss off and the aircraft deserved far more.
So here comes the v2.1 update and in reality the v2.0 update that should have been released when X-Plane11 went global. In this update both the E-175 and the E-195 have had the same modifications at the same time, so this is not a stuttered upgrade with one aircraft and then the other aircraft being upgraded. Also if you have purchased the (combo E175/E195) package then both aircraft included have had the updates upgraded to v2.1.
For these update notes I am focusing on the E-195.
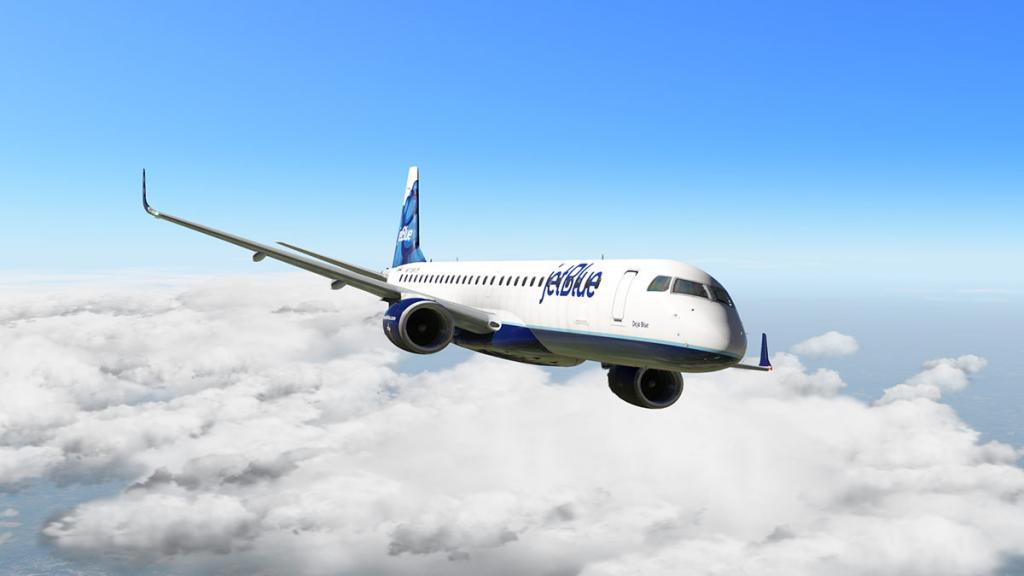


X-Plane11
Most developers put out quicky fixes for X-Plane11. But here with both X-Crafts aircraft they are now fully X-Plane11 compatible. Not only do they conform to PBR (Physically-Based Rendering) rules but the biggest difference between X-Plane10 and X-Plane11is in the throttle or thrust parameters that has also been addressed. The thrust differences are quite pronounced if they are not addressed (mostly they cause throttle hunting) but both these E-Jets here are excellent, the fuel flow and Idle ratios has also been optimised to suit the new parameters.
With PBR of course the aircraft get that shiny look, but the difference with X-Crafts aircraft is that the shine not as pronounced as with other aircraft that have been through the PBR process, mainly because the aircraft was very good and well done in this area in the first place, as it was always a very nice aircraft in the look and feel in the external view. The contrast between light and dark however is now very much more evident in X-Plane11 with the normal maps that are now more optimized for that platform. You can still have the shiny, shiny look as well in X-Plane10 via Ddenn's reflection plugin and the details on how to install those reflections are provided with the aircraft.

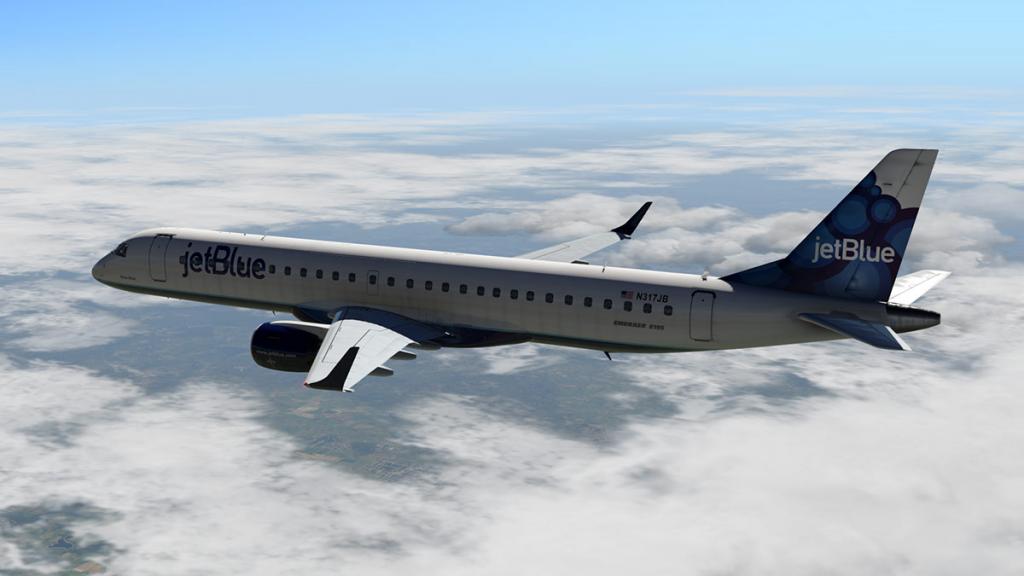
PBR does however make it feel more darker inside as well and the panel is far, far more darker than the light grey of the original versions as the below images attest. (v2.1 upper and v2.0 lower). But if you look at the light in the far right corner the light grey is still there but the shadows are far darker and far more dramatic.
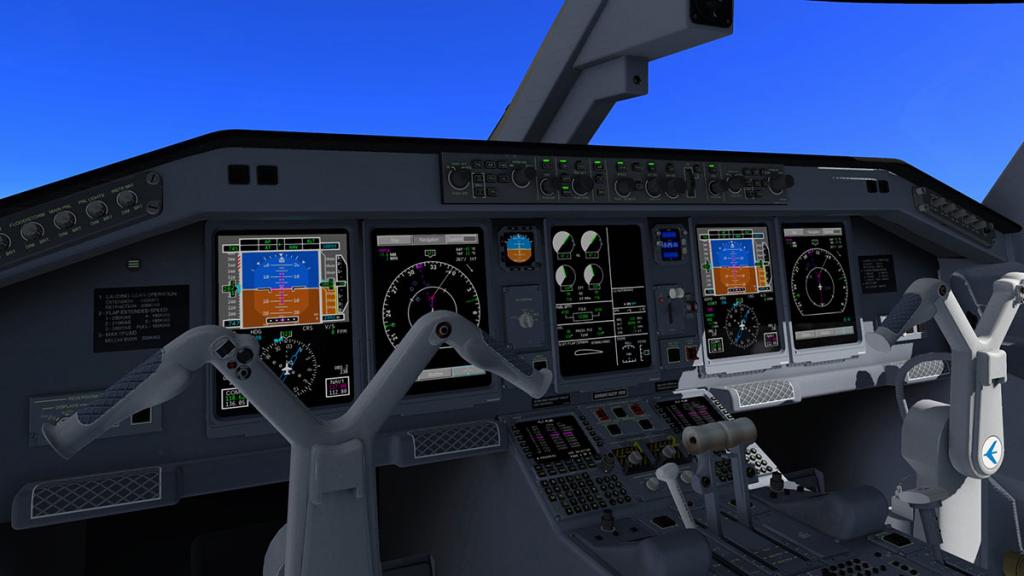

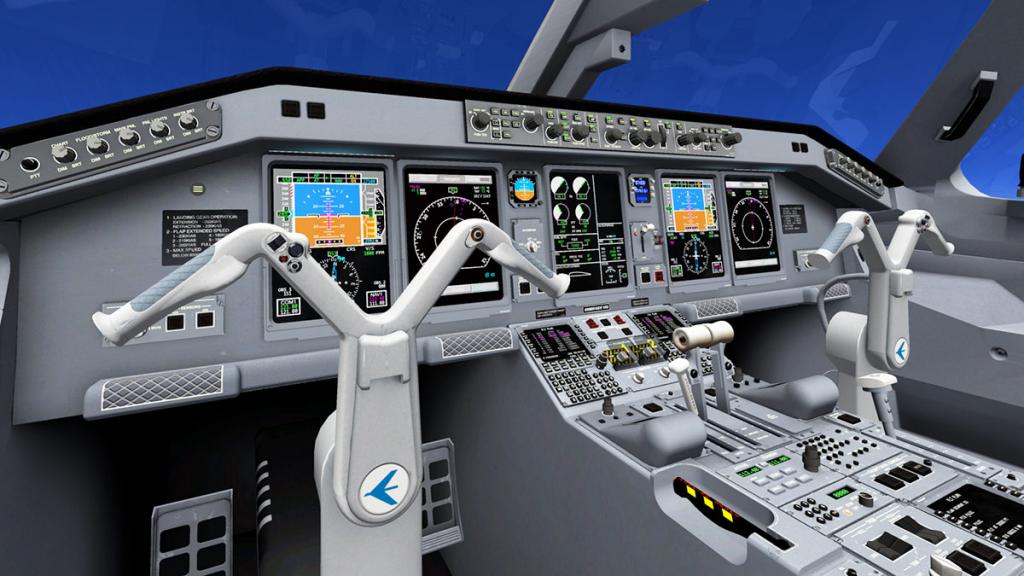
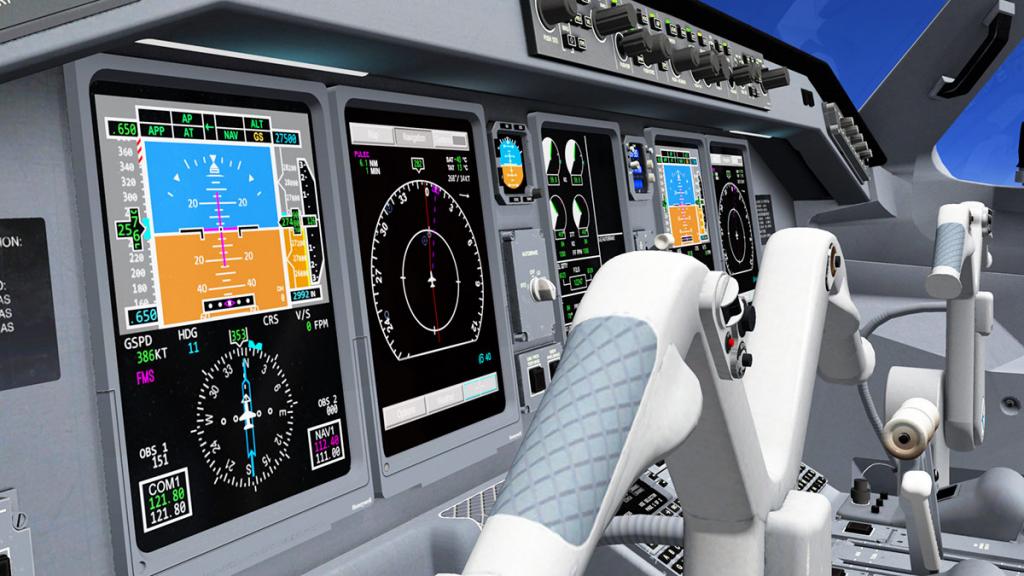
I wasn't an out, out fan of the very light grey look, but the dark cockpit also requires a bit of getting used to, however it does feel far more realistic and it does depend on your current lighting conditions.
Instruments
There has been a lot of attention given to the instrument panel. I never really took to the look of original version above, as it looked flat and bland (above lower images).
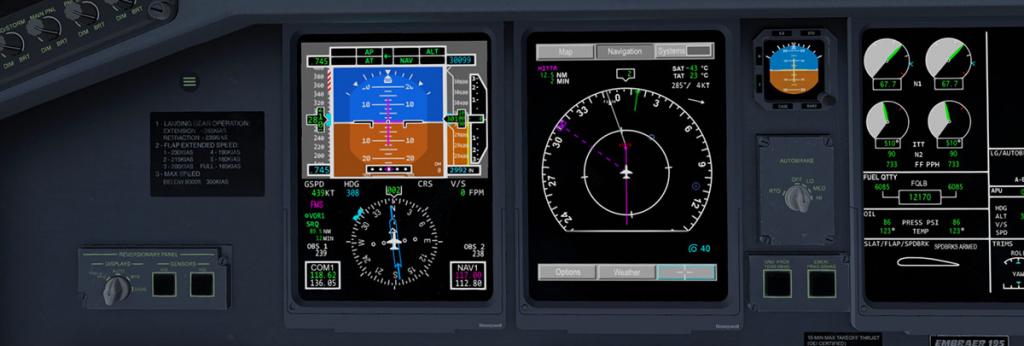
The Primary Flight Display (PFD) has had a overhaul to take away that flatness, but most of all it brings the colour into the display. It is a huge improvement over the original and the VOR needles are now in magenta as per the real display. The Navigation Display (ND) has had a change as well, but more inadvertently than by design. In v2.1 the move in X-Plane11 to GNS data (sourced from Aerosoft) from the X-Plane10 nav.data source means the dreaded red line is gone to be replaced by the GNS version of sectional route points means it is now more modern and more realistic on the eye, turn curves (adjusted to speed) are also now visible as per GNS displays.
This data change also allows for the default FMS to be also available as a pop-up option. The original Tekton FMS is also still built in with full SID/STAR capablity. But they don't cross, which means that a route activated in the default FMS does not run the Tekton and vice-versa, so if you program the default FMS then you have to use the pop-up to view your route. But one advantage the default FMS has over the Tekton is that you have the "step" command that allows you to check and then change (edit) the full route. The assembly of the SID-Route-STAR arrangement on the Tekton does not allow to do this. You can still edit all of the route in the Tekton, but if you can't see it then you don't know how you are going to pop out on the other end of the route? Certainly the Tekton is a far better FMS than the default FMS but the editing of routes is an important area and in this review flight I found myself popping up directly facing KATL (Atlanta) and not in the correct approach path via the STAR (SIMBA6) via MRCER? (one way around this is to program it correctly and check it in the default FMS and then transfer the correct waypoints to the Tekton, but this is slightly messy).

Other Tekton changes are the DIRECT is fixed when the MCDU is on FLT PLAN page, EXEC is fixed on MCDU INDEX, PROGRESS 1 and FLT PLAN pages, The active FLT PLAN waypoint editing is fixed and you can now do a STAR reload enroute.
The engine fans have had some attention for fast spinning in flight (in other words they look better). Vortex plates on the engines have been retextured and bits and bobs to clear aircraft flicker noise has been done to clear away any unwanted noise on the aircraft.
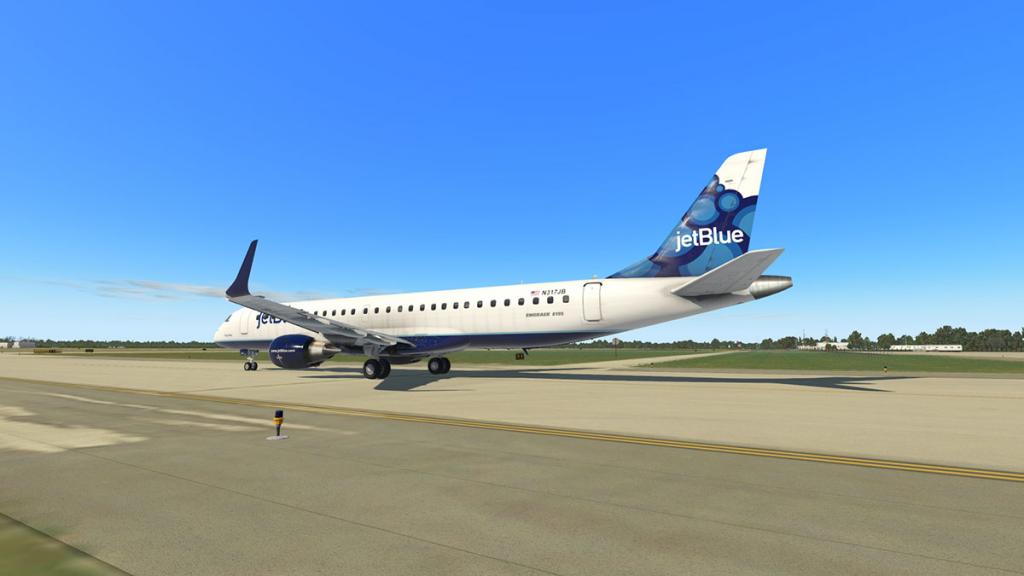

The pilot's heads now move in all directions with the movement of your joystick, but neck stretching is only advisable while stationary!
Pushback
The "Pushback" feature has had a bit of attention. Personally I am not a big fan of controlled pushback's I still do prefer joystick and throttle controlled systems. But in saying that the version here now works very well.
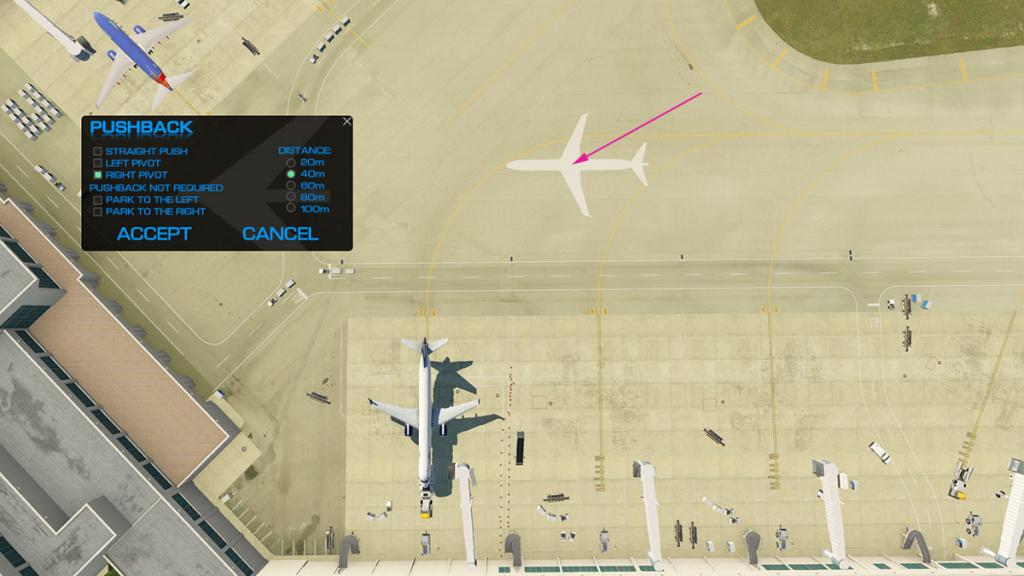

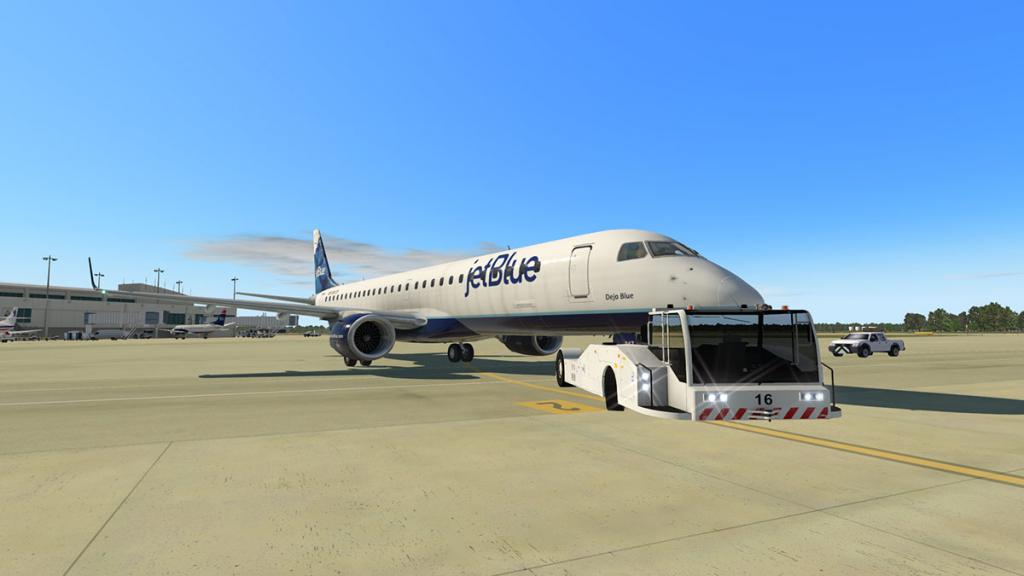

For the E195 the white finish parking graphic is correct to the aircraft, it now disappears once the settings are set (nice visually). It was a little jerky before but now it is much smoother with a more balanced speed. The tug doesn't just hard stop anymore either but slows down close to the termination point for realism. The tractor is nice and modern visually and the connect and disengage animations are now very good.
On the gate arrival all the door coordinates have been updated for "Autogate" docking to work correctly, a small thing but important now as the "autogate" plugin is now so wildly available, same for use with the Ground Services plugin.
Cabin Lighting
The nice new cabin is now well appointed with some very nice detailing, note the nice Embraer logo screens that changes to a map when flying.
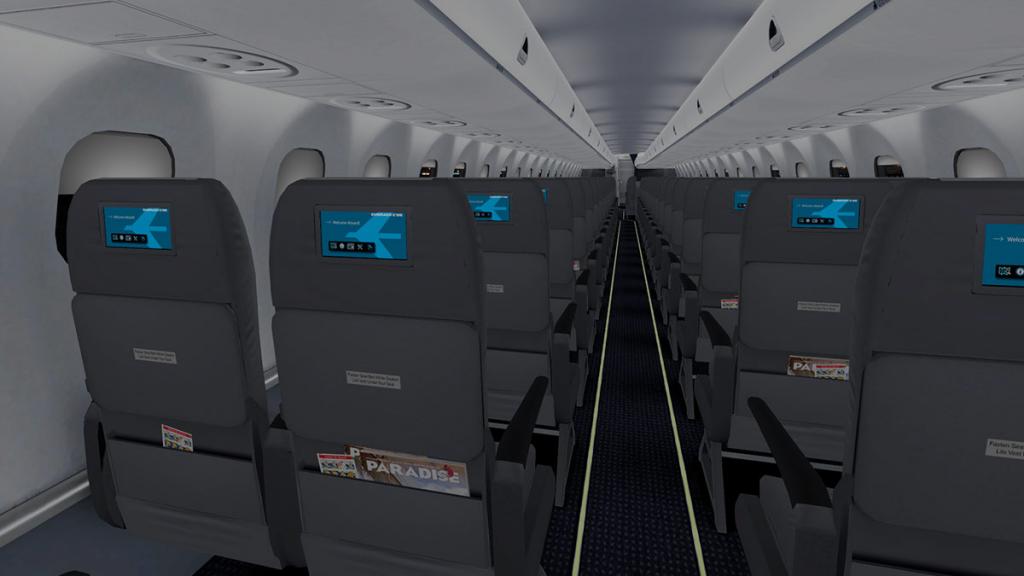
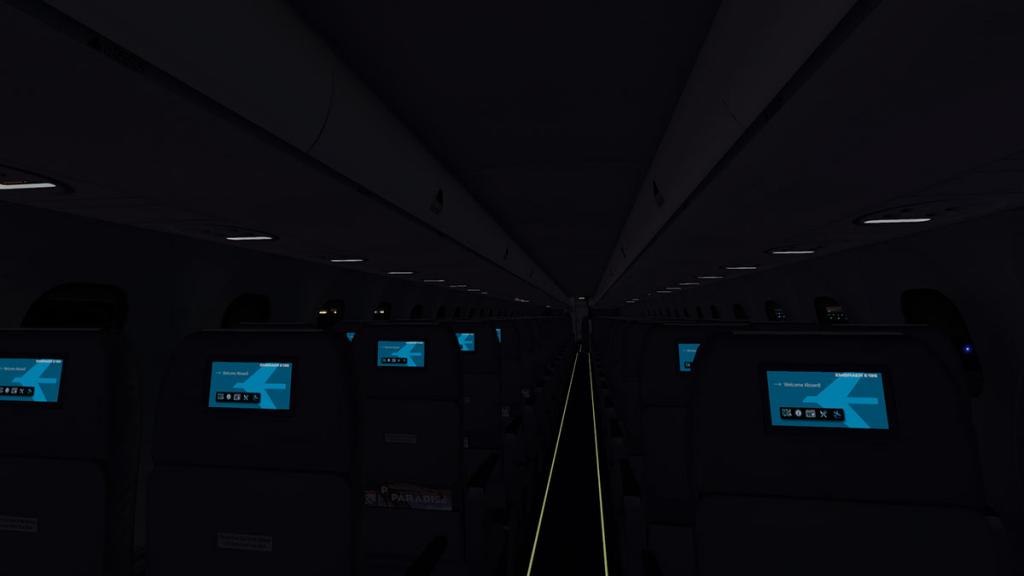
If you remember that the cabin lighting was connected to the cockpit lighting (it still is) and and it gave you either an all bright or all dark cabin with the knob adjustment.
But the lighting has been given some attention and now you can now actually find that compromise between a darkened cabin (below left) and a darkened cockpit that is now usable for landings as well (below right).
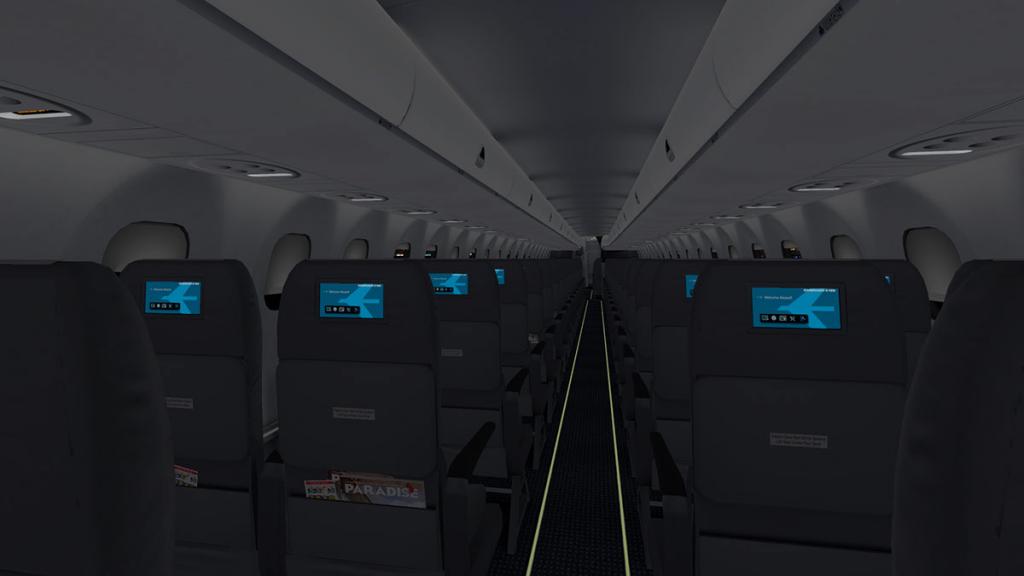
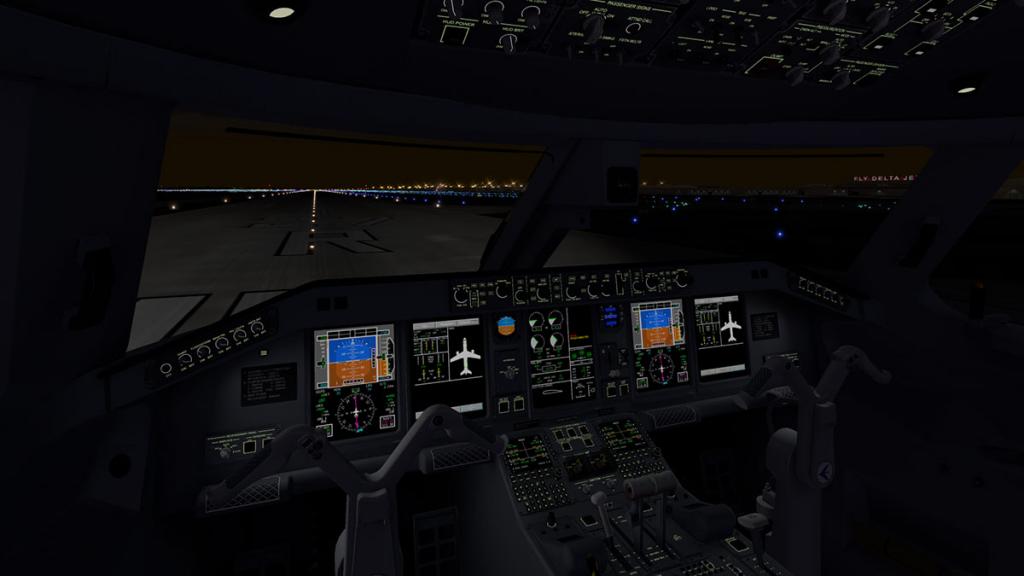
Cockpit lighting is a lot nicer now and flying at night it is a far better place to be.
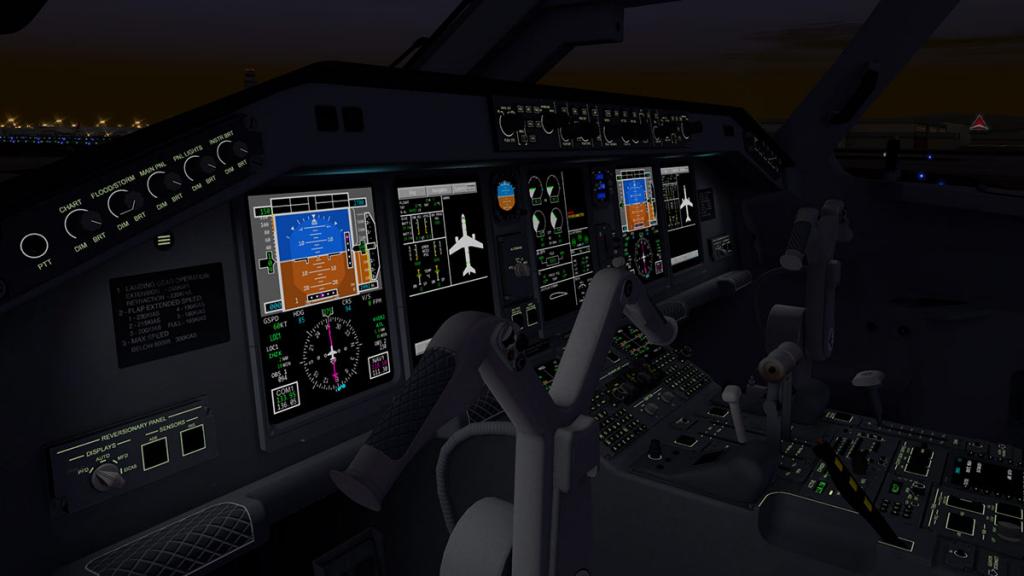
Summary
I always thought the v2 upgrade was a little to premature, a lot of changes were added to the X-Crafts aircraft but it felt slightly incomplete. So was this version the one of which that release should have been? I personally think so as a lot of the edges, smaller fine tuning and the inclusion of the X-Plane11 features changes the aircraft significantly.
This earlier v2 release was a paid update and one of the reasons I didn't totally warm to X-Crafts new version is that I felt that it was that the panel didn't feel special enough and neither did the details to warrant extra in what has always been one of my favorite aircraft. Timing as they say in comedy is everything, but even a few months or weeks can make a big difference. That is certainly the case here.
The X-Plane11 version is certainly gives the aircraft a huge lift, but it has been the fine tuning and attention to the panel to take away a lot of the flatness and give it a more 3d feel that has worked wonders here, simple things in the end, but they all have a big impact on the final aircraft. The dreaded red line is gone (in X-Plane11 only) is another good step forward, but if anything this aircraft does represent is the move to X-Plane11 as your current platform. X-Plane10 as good as it is, is now starting to recede into the distance as X-Plane9 did with X-Plane10 a few years ago.
So certainly this update for both the E175 and the bigger E195 is a more complete and genuinely really good E-Jet now. The gap is closing and the aircraft are getting better in X-Plane all the time. This is a very worthwhile update if you haven't taken the move up to V2 or require an E-Jet for your flying.
______________________________________________________________________

Yes! the Embraer E175/E195 v2.0 by X-Crafts is NOW available from the new X-Plane.Org Store here :
Price is US$39.95
Price is US$39.95
Twin Embraer E-175 and E-195 v2.1 Set is also available for US$59.95
Embraer E-175 and E-195 Package
If you have already purchased either the Embraer E-175 or E-195 from X-Craft's at the X-Plane.OrgStore then go to your account and upgrade to v2.0 for only US$5.00, Please email [email protected] to get your discount code and include your original order number.
X-Crafts E-175 v2 review is here: Aircraft Review : Embraer E-175 v2.0 by X-Crafts
The E-175 v2 review does have a comprehensive look at the TEKTON FMS© and it is not that much different to this aircraft's E-195 version.
Features of both models:
- Accurate dimensions based on drawings and documentation provided by Embraer ©
- Windows, Mac and Linux compatible
- Custom TEKTON FMS© by Steve Wilson
- Custom improved pushback plugin with animated tug. A white silhouette will show the final position after the pushback!
- On-screen checklist plugin
- Plugin menu for door control, ground objects or GPU
- Suitable for beginners - Just load and fly within seconds!
- Great for advanced users -Enjoy the complexity of the Custom FMS!
- Mouse scroll wheel support (E195)
- This add-on comes with the NavDataPro dataset by Aerosoft
CUSTOM FMS
Both the custom and stock FMS are available on the pedestal or as popup panels More details about the TEKTON FMS© below
Requirements:
X-Plane 11 or X-Plane 10.50 +
Package is X-Plane 11 onlyWindows, MAC or Linux -8Gb RAM - 2Gb VRAM Minimum. 3Gb+ VRAM RecommendedCurrent version: 2.10 (last updated June 2nd 2017)______________________________________________________________________
Change log:
Embraer E195 v2.1 CHANGELOG:
• Thrust optimized to more accurately match reality
• Vortex plates on engines retextured (you won't see any lines from the liveries on them anymore)
• Also fixed the problem where the ATHR wouldn't push the throttles far enough to maintain speed at high altitudes
• Slight changes and fixes to the cockpit model
• Pilots now have animated heads (based on yoke position)
• VOR needle color changed to magenta
• Noise above cockpit window fixed
• The artifitial horizon now looks more like the one on the real aircraft and is fixed
• The inability to disable AT after landing fixed
• Wing registration was blinking red with beacon
• NAV map only shows airports with paved runwaysX-PLANE 11 SPECIFIC CHANGES:
• Generaly the whole plane has been updated to run smoothly on XP11
• Fuel flow optimized for XP11
• Idle ratios optimized for XP11
• Added the new FMS, you can now use either the Tekton or the new FMS available in XP11
• More metadata of the plane was filled out
• Added locations for the service vehicles
• The windows get darker by day
• Some parts that had flickering noise on them in XP11 fixed
• All normal maps were optimized for the new PBR graphics engine
• Autothrottle was going nuts in v2.0 in XP11. This is now fixed
• The "Next waypoint" section added back to the MFD NAV map
• Pop-up FMS knob was missing the middle select button
• "Hide reflections" function didn't hide also the side window reflections______________________________________________________________________
Release notes by Stephen Dutton
5th June 2017
Copyright©2017: X-Plane Reviews
(Disclaimer. All images and text in this review are the work and property of X-PlaneReviews, no sharing or copy of the content is allowed without consent from the author as per copyright conditions)

-

Behind the Screen : May 2017
The constant change and the barrage of updated releases came to a shuddering halt during May. Once the Easter holiday's were over and done with then the X-Plane world went into a semi-shutdown that left you exhausted from the overwhelming changes that has been so huge since November 2016 and the release of (even in beta form) X-Plane11. For me it was more than welcome as I had for two weeks during the month a soul sapping head cold (Thank you a late Northern Winter), and the strange head feeling and hacking cough didn't help my mood, but thankfully X-Plane wasn't for once to blame.
Certainly with such major changes and the sheer thrill of the ride of the X-Plane11 release with the huge amount of updates that was required to switch a lot of the earlier versions to be able to operate in their new surroundings was simply overwhelming, I loved it don't get me wrong, but it was very draining as well. That is not to say that the ride is completely over yet either, there is certainly more updates and releases to come but not in the context of the changeover period.
We all want and relish these periods, but sometimes a bit of a slower more sedate period is good as well. The problem with this huge constant change is just that in it does create a certain style of instability and even in areas of chaos in that in one period that nothing was interacting well will another piece of the system to give you a clean running simulator. That is part of the deal of course but at a point where you were running a beta, with a beta and a beta aircraft then your computer is going to throw the wobblies and you are going to get enough CTDs (Crash To Desktops) to make you want to throw the towel in and just go to a nice quiet place to jabba to yourself in a monastery high in Nepal somewhere. Let me put it this way I cursed a lot.
So the May slow down was a sheer relief, but more than that as it gave you time for consolidation. The biggest mistake people make in life is that they just want more, and then even more or if you are onto a great thing then stick to it. The problem in life is that you can't just keep having more and more as something somewhere has to give (mostly the money first) but your health can't take it either. In others words "having everything all the time is bad for you" I mean even The Beatles and One Direction had to give it away eventually and poor Elvis fell off his toilet.
So the word "consolidation" is an important one. I do X-Plane computer housekeeping about twice a month, but the biggest problem with X-Plane now is just its sheer size. Many Flight Simulator users will of course fall off their chairs laughing at that X-Planers are complaining that their simulator is overloaded, but it can get now seriously very unwieldy very quickly. X-Plane itself has doubled in size in just a few years from around 36.000 items to around the current 82,500 items and that is in less than just TWO YEARS. In reality X-Plane11 has doubled in the size of the simulator.
Add in the size of the HD Global scenery, then the monster of your "Custom Scenery" folder and the sheer amount of aircraft now available for the X-Plane platform. There is a lot of choice now, a huge amount of great aircraft and if you have a period of huge simulator version changes like lately then you will have to cull some of them and even lose some real old favorites in the march of forward progress.
So just updating and realigning aircraft and scenery can be and is a huge task, it can take days and lately even weeks and you hope your download bandwidth can handle it all. But the final result is hopefully a better more leaner running simulator than the gargantuan monster you had been wrestling with for years. With the X-Plane11 release these tasks are multiplied with some aircraft developers releasing updates almost fortnightly.
If one thing I have learned with X-Plane11 is that to have a better simulator is to keep lean and mean, less is more and that statement is important as it is very easy to fall back into nasty old habits and start overloading the simulator with things you will never use or actually need.
Seriously will you ever land at CYUB - Tuktoyaktuk if you are not either flying a Canadian wilderness adventure or are a local bush flyer, certainly no, but every time you start up X-Plane or fly over the northern pole then X-Plane will load that scenery for your convenience. Then multiply that by the size of your custom scenery folder and you can see the size of the problem. Most certainly if you love bush flying then collect all the great remote Alaskan strips and have your fun, but if your main routes are mostly A320/B737 services around Europe or North America then it is a bit of a waste of a resource.
My main aim with X-Plane11 is to produce a pattern of the best of the great scenery that I will use constantly and consistently to get the best return from the simulator, then everything else is just waste. Don't get me wrong in that nobody more than me loves to visit an old friend of a scenery or explore a new one. But it is highly important to keep your networks clean and free of the dreaded pop-up dialog box that notes that "error loading the scenery package" pain that you can't leave your computer screen even for a minute or two without it popping up. Europe seems the worst of this for some reason.
Then we get to "plugins". If any area of X-Plane that can give you the most pain it is an overflowing plugin folder. I have always been vigilant with my plugins from the start, but will usually try something new now and again to see if it add another dimension to the simulation experience. Personally I have kept away from lua scripts although I don't doubt their great ideas and features they can bring you. Ditto is scenery enhancement packages as with anything that adjusts or changes the basic internal root X-Plane based items. My reasons are purely that I can't stray too far from the basic X-Plane package so the reviews are realistic and the feedback correct on the what the simulator is reacting to that particular aircraft or scenery. It also became too hard to keep on replacing the internal changed items every time there was an X-Plane version update that replaces these internal items automatically. But overall I found that they didn't really make that much of a difference as Laminar's original concepts were usually right or better in the first place.
But some "Plugins" I will defend and have become standard installs. Simcoder's Headshake is great at giving the simulator some movement at crucial times you require it, like takeoff or landing. DiscreteFPS is a gem in showing you your current framerate in the top left of your screen. Marginal's Autogate is of course a basic requirement as is his Sea Traffic. JARDesign's exceptional Ground Handling Deluxe and Tug Master Deluxe are great for giving you a lot of action around the gate, although I will admit that Tug Master is in badly need of an update, it has become very slow and doesn't turn very tight.
The two big plugin concepts that I love are WorldTraffic and xEnviro. It is a personal choice on if to use the much upgraded built in X-Plane A.I. system of providing airport traffic and I know that many users love X-Life. But both are very reliant on the X-Plane A.I. system that gives both restrictions in that only twenty aircraft can be assigned (with the corresponding framerate hit) to X-Plane. Many users will note that lite aircraft are available for A.I. in usually 1.5mb sizes so this is not an issue, but you are still restricted.
WorldTraffic doesn't have these restrictions, but it also very complex and extremely complicated to set up, but when it works it is sensational. I can get around WorldTraffic's current restrictions because my main airport network is not too large and I can refine each port correctly to work with WT, so in this scenario it works very well, a new totally updated WorldTraffic3 is currently in the works but Greg Hofer's computer has done a meltdown (or cratered) and hence a delay. But early testing rumors note WT3 is sensational and it will be a free update to current users.
xEnviro is another huge step forward for X-Plane. Sadly Mac or Linux users still can't currently get access to xEnviro, and I feel your pain, but will note the wait will be worth it. The funny thing for me is that as noted above I don't use plugins like this with X-Plane because I need the sim to be a basic layout for reviews, hence the far few plugins I do use, also as noted I don't like to change the basic rules of X-Plane either, but with xEnviro I break both of my own laws in one go.
I won't bother to bore you again in another month with another "wow" or "amazing" but even six months after its release it still totally blows me away with what it creates visually and it totally changes the feel and in the way you use the X-Plane simulator. If I have to turn xEnviro off for some reason I think life is totally boring until I can switch it right back on again (okay I know I am boring you again) but it should be stock standard tool for X-Plane by every user.
In saying that the developers haven't exactly redeemed themselves to their customers. There has been no updates since late December 2016 and plugins like this should put current performance before new features. A single performance update and a plugin for the Mac (I don't know if Linux will be able to run xEnviro) and that should have been top of the work list more than any nice new 3d clouds or Rayleigh scattering, but I will note that the long X-Plane11 beta run and Xenviro's own local disconnected internet connection caused a few issues, but this plugin is an important release for both X-Plane and the developers in question, if the plugin wasn't so good or really buggy then that approach could have had bigger ramifications. But to date we are still waiting.
Which brings us to to that X-Plane11beta run. Yes X-Plane11 has gone global, and yes we are still getting betas as well. "Enough you may cry", but the end of the road is finally in sight (oh thank god for all that). Laminar is finally doing Performance Optimizations for X-Plane11 and the results are in. X-Plane's 11.02 release is sensational, and so now is X-Plane11. Finally the "light at the end of the dark tunnel". All the pain of the above last few months is finally clearing to what we really have now in the X-Plane simulator in X-Plane11 form.
So the results of months of beta pain are in and the point of this article. Running X-Plane11.02 with the updated JARDesign 3.1r2 (with the new excellent BSS v4 soundpack) and Xenviro v1.06 and with WorldTraffic 2.1.3. it was time to see something for all the changes.
Flight was from MAN (Manchester) to OSL (Oslo) and it was a wonder to behold. no crashes (CTD) framerate touching even 100fr over the North Sea, beautiful fluffy clouds and great scenery at both ends. To top out the feel the flying was perfect, pure routine, hit every number in speed and altitude perfectly, could simulation get any better? For the moment no, but X-Plane will still move forward. So was all the pain worth it, yes definitely, and to top it all off I just reloaded the aircraft with more fuel and passengers and went straight back to Manchester... bliss.
A few notes in that in May helicopters came to X-Plane11 with both the Bell 407 from Dreamfoil and the S-92 from DMO and it was great to fly both again in the new simulator version. Sceneries have also been highlighted this year as X-Plane now feels it is starting to fill in. Oslo by Aerosoft I really liked as with JustSim's ELLX - Luxembourg that I covered in April.
Another note is that the FlightSimCon is coming around again soon on June 10-11 at the Sheraton Hotel at Bradley Airport, Windsor Locks, CT, USA. Last year X-Plane's Laminar Research released the details for X-Plane11, so this year they will be going back with the fully tested and refined version. I think personally there will be a few surprises for the users that have ignored X-Plane in the past and a few developers will note that they maybe also wondering if they are also missing out on the future and where the real money is going to be made in what they once they sniggered as a so called "hobbyist sim". I hope Laminar run a lot of large screens showing off their latest baby, and usually they always pull something new out of the magicians hat for us... it will be an interesting few days.
So till next month... Sayonara
Stephen Dutton
1st June 2017
Copyright©2017: X-Plane Reviews
-
Your totally right, a tough choice! It will probably depend on the destination and the range. The DC11 F has only a 3,950 nmi (7,320 km) range which is a lot lower than the passenger version, the B777 F however has a 4,970 nmi / 9,200 km range so the Asia legs would still need the B777.
")
-
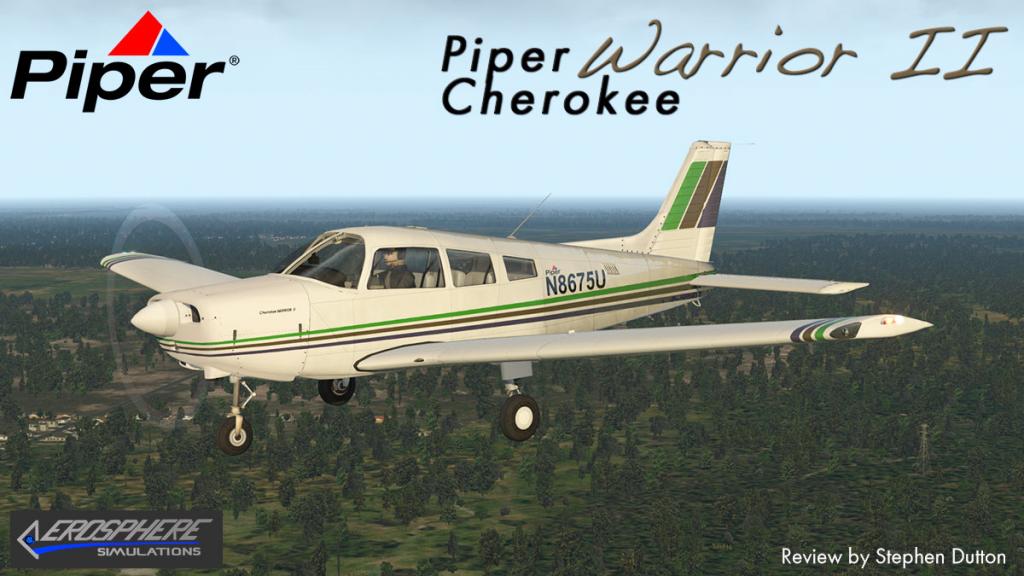
Aircraft Review - Piper PA28-161 Warrior II by AeroSphere Simulations
The Piper Cherokee family is a large one with variants including the Archer, Arrow, Dakota and Pathfinder. The first variant however next in line after the initial Cherokee release in 1973 was the PA-28-151 Warrior. The difference between the original Cherokee and the Warrior is small, in just a new tapered wing and the stretched Archer fuselage, and the Warrior II that came along three years later had then only a uprated Lycoming O-320-D3G or O-320-D2A engine of 160 hp (119 kW) from the earlier 150 hp (112 kW) but the overall gross weight stayed the same at 2,325 lb (1,055 kg).
It is this Warrior II variant that is the focus of AeroSphere Simulation's new aircraft for release in the X-Plane11 simulator.
Make no mistake, these early Cherokee family aircraft were very basic machines, they seated four passengers and are quite slow with only a top Speed of 126 kts, and a Cruise Speed of 118 kts with a Range of 525nm. But they are neat solid and reliable aircraft.
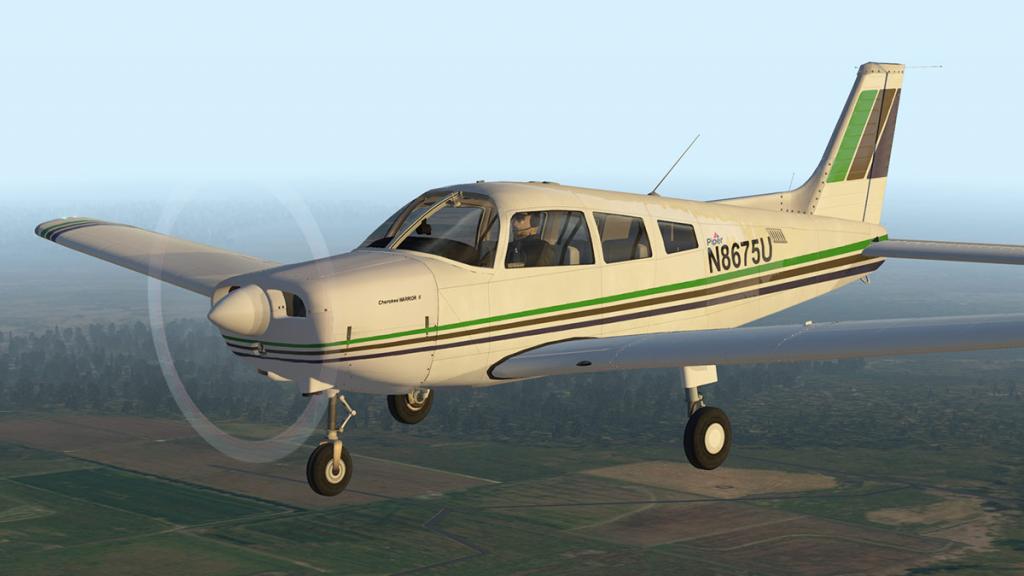
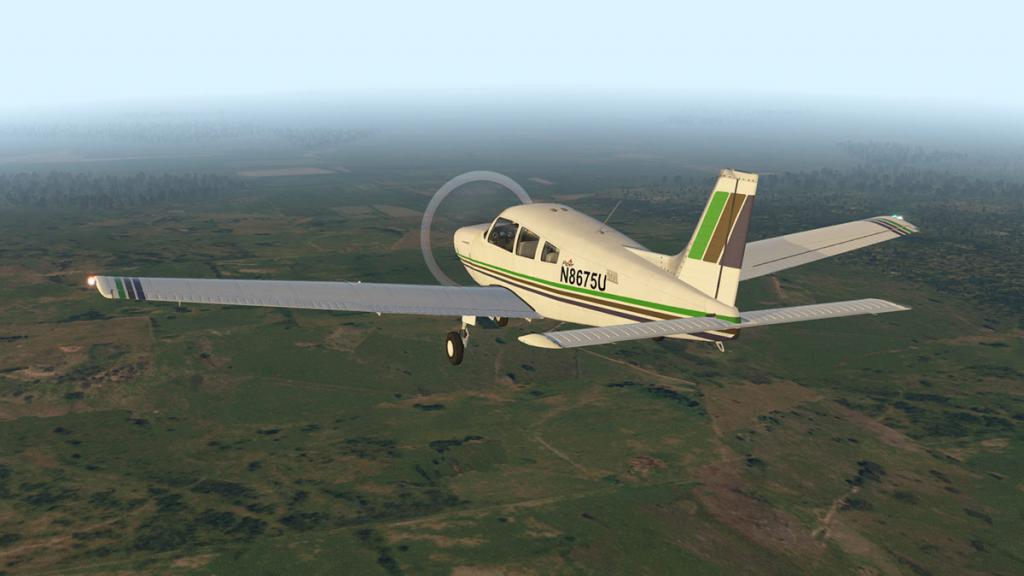
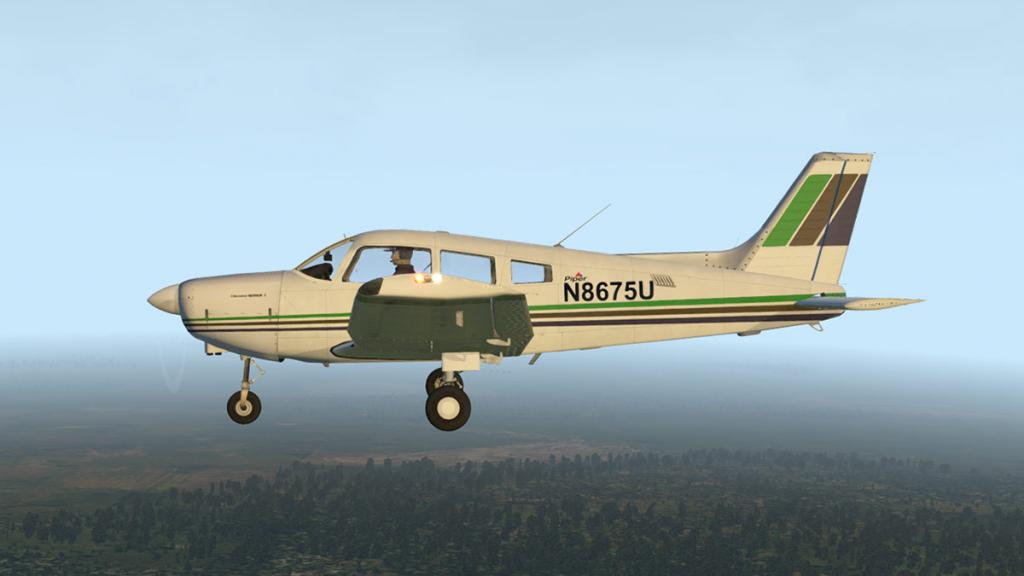
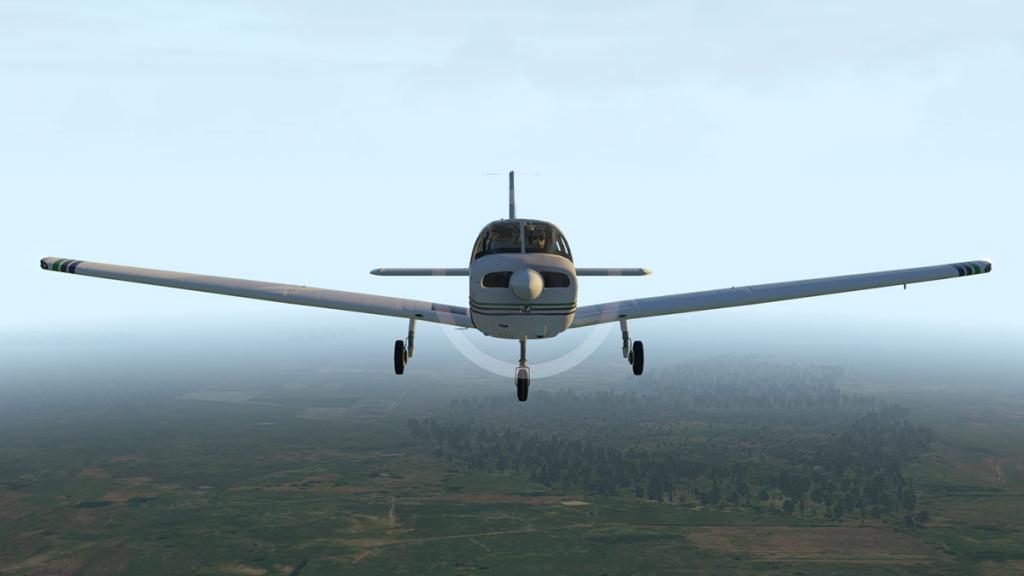
In the General Aviation segment in X-Plane you are up against some really tough competition. First off there is the Carenado/Alabeo combo, then vFlyteAir, AirfoilLabs and some Aerobask aircraft. The quality and feature count is high, but let us not forget the main reason most X-Planers purchase these sort of aircraft. These machines are usually for first time learners or for training on a particular type of aircraft and that is why there is a wide variety of small light aircraft to fill out the large wide range of scale with the many GA aircraft in service.
So in reality the aircraft have to yes be nice to look at and have a certain quality, but overall a big feature list and a lot of "nice to haves" is not as important as the basic handling and feel of that GA aircraft to replicate the machine for its intended audience.
It is in this context you have to assess the latest aircraft from AeroSphere who are capturing a market for small but reliable no frills General Aviation aircraft. Their latest release is the Piper Warrior II, which is a mainstay aircraft of training clubs and a great introduction aircraft for learners to understand the basics of general flight.


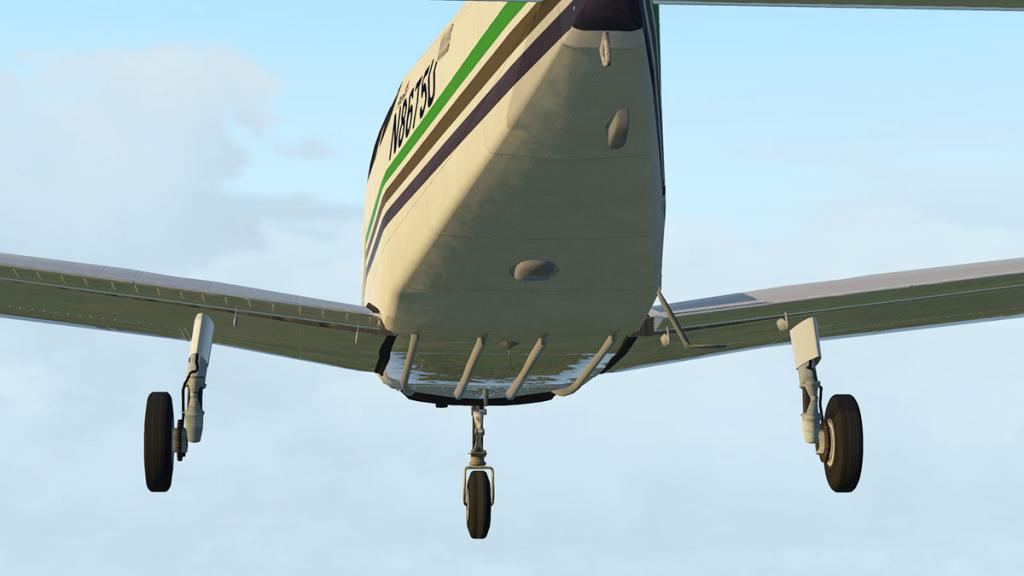
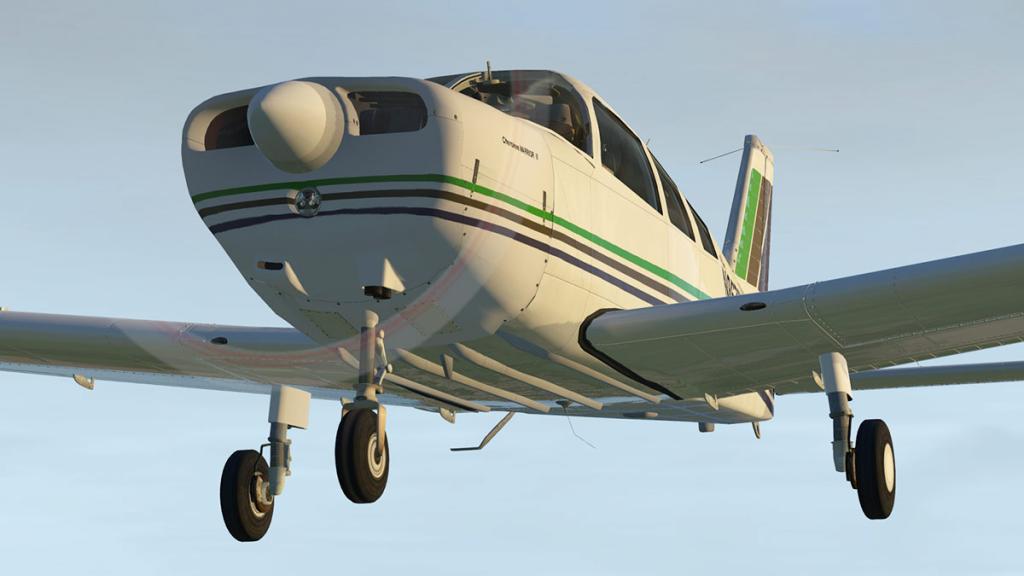
The Warrior II build quality is very good, certainly not in the high class of minute design, but it does capture the skin and detailing of the aircraft very well. The wings are highly detailed and have a lovely glossy painted glow in X-Plane11 which adds to the realism and the glass has the same realistic effect. The fixed Tri-gear is also well done as are the good animation movements when in ground use. As the aircraft is basic, it doesn't have a lot of aerials (two actually in one above and one below) or many external fittings, but what is required is well recreated like the static wicks (but not animated) and the flap guides.
Let us get to my main beef. There a lot of good work on this fine little aircraft but the propeller in flight however is not one of them. In flight it looks like a throwback to the X-Plane6 prop flat card design, and you have to fly the aircraft through the hole in the darker centre area, it is distracting and looks horrible on the external (and internal) view, the point is also the painted prop area is only on the front of the propeller and not on the rear? but you still have a ring of colour in every point of view, an all black prop would take away the poor look it gives this otherwise nice aircraft... in other words it dates the aircraft to an earlier design in X-Plane, it is worse at night.
Internal
The aircraft is nicely designed inside, not gritty or worn out though... just fitted out to specification.
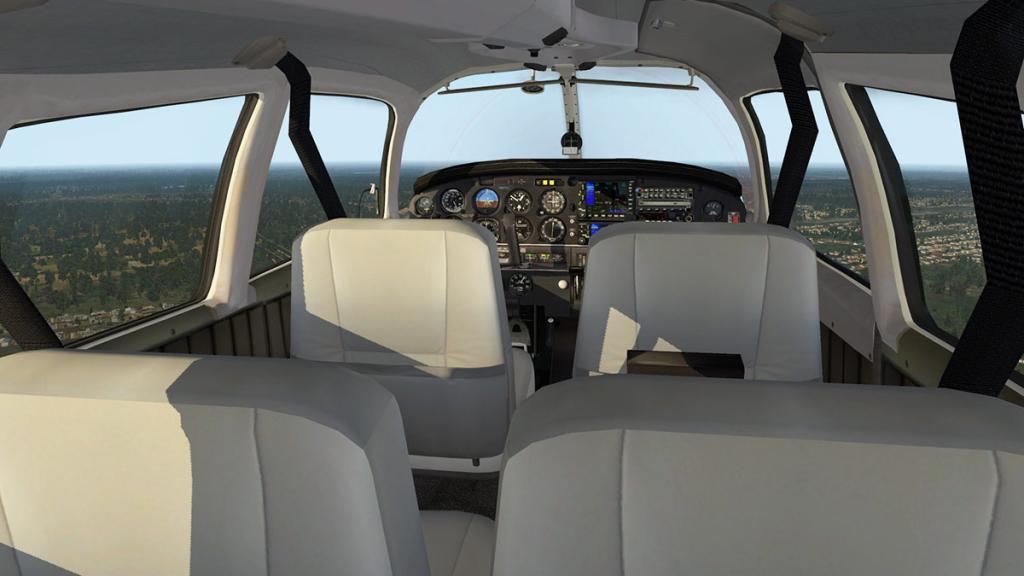
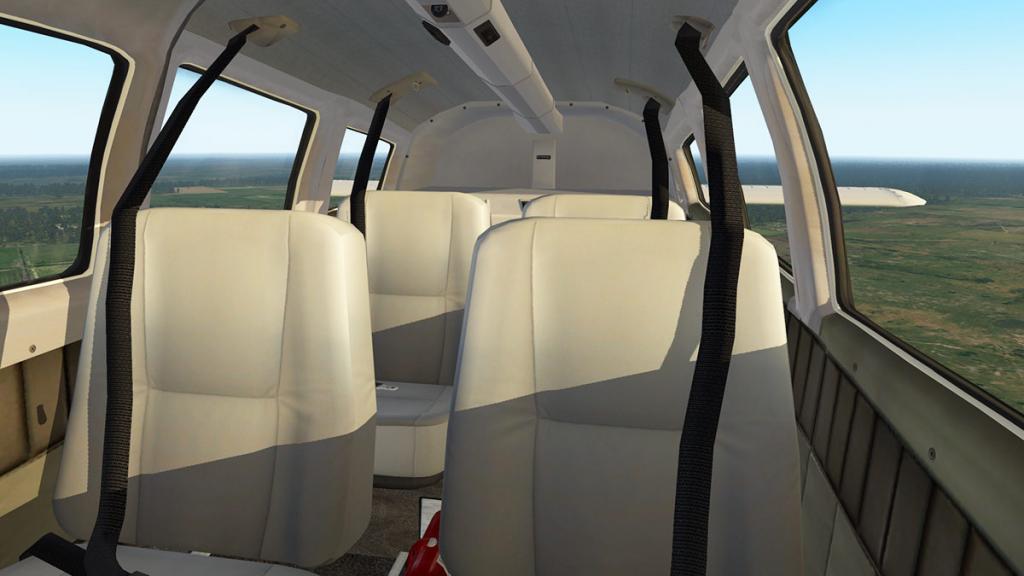
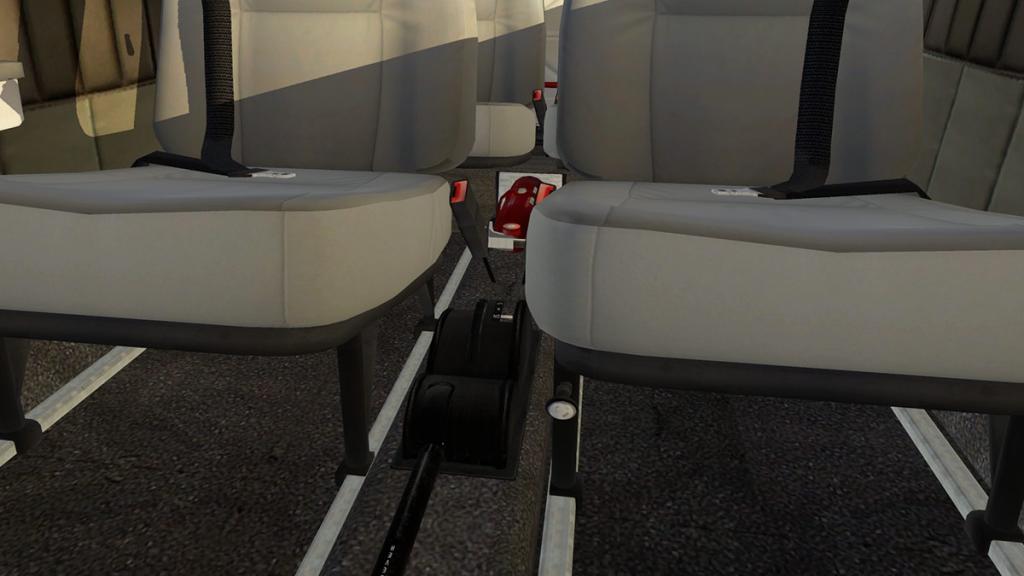
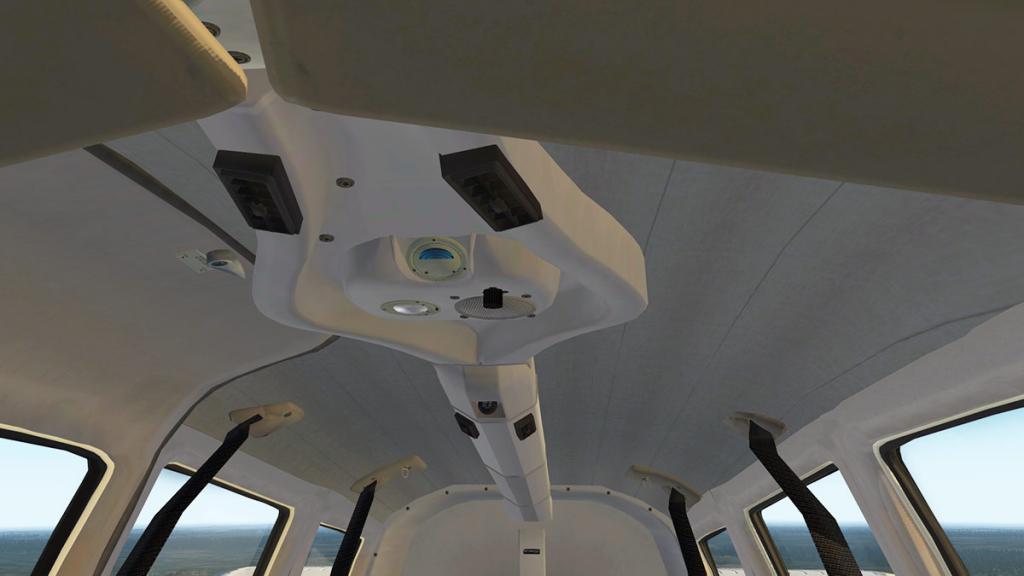
Minor detail is good, with the flap lever and fire extinguisher between the seats and the complex roof mounted air-vent system well done above your head. The built in blue and overhead light is however weak in the daytime. The seatbelts also look a little stiff and do not fall naturally, and yes X-Plane now lives in the world of extreme real world design and detail, that seemless look and feel is the high quality of the game now.
Instrument panel
The business end in the instrument panel is excellent and of high quality. You can almost feel the mid-70's molding beneath you fingertips and it looks excellent in X-Plane11's lovely light.
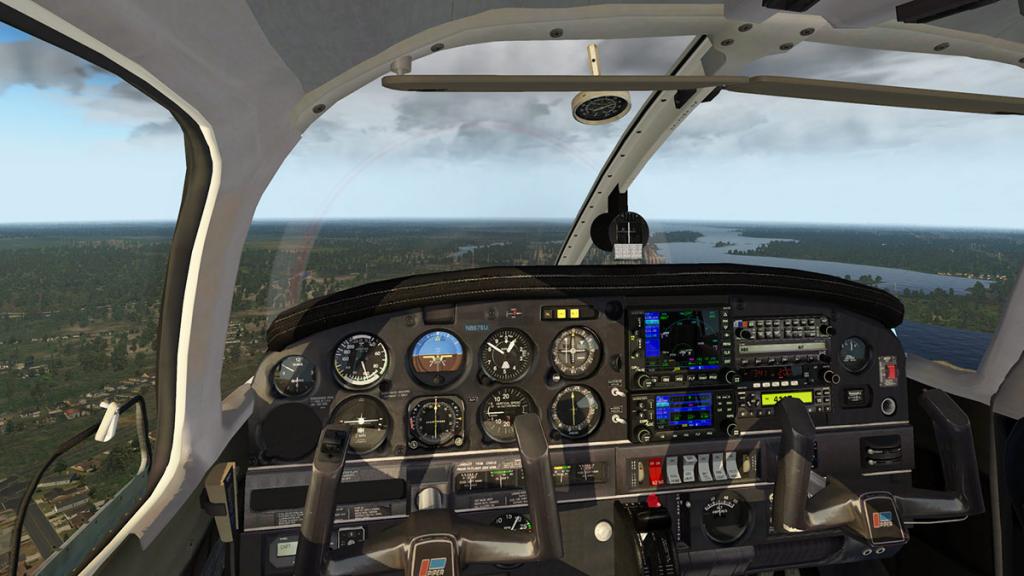
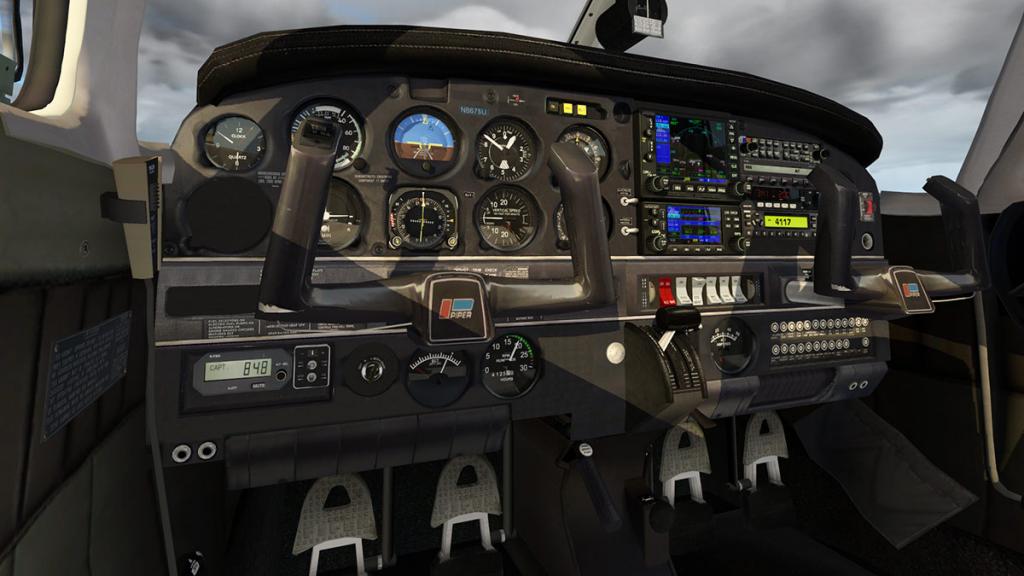
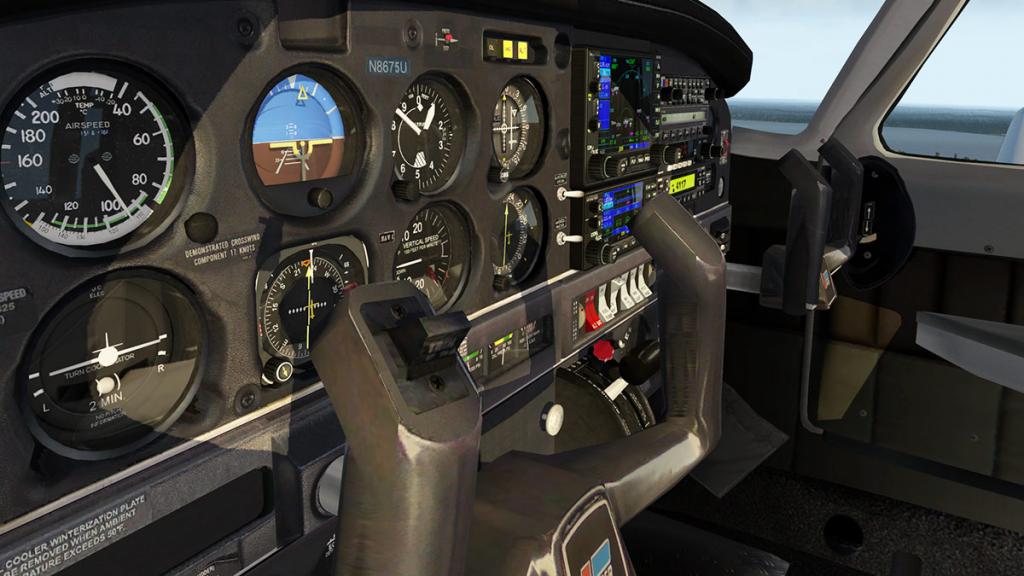
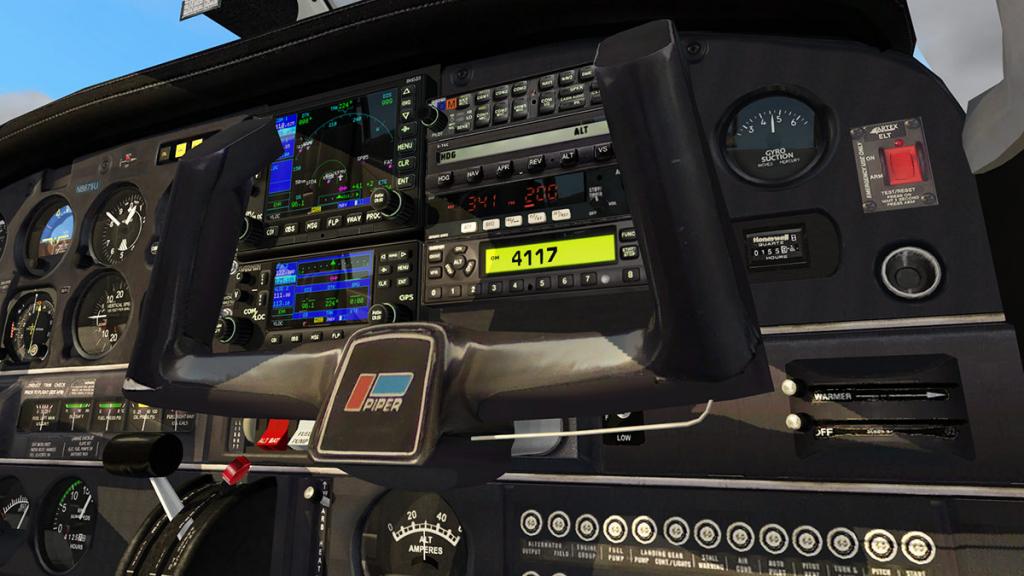

Instruments and avionics provided are very good for an aircraft of this size, the Warrior here is not a basic, basic style of trainer design.
All the instruments are focused on the left flying pilot's side with the avionics on the right.
Standard Six instruments are centred in line of sight of the flying pilot with the Airspeed Indicator, Artificial Horizon and the Attitude Indicator on the top row and the Turn Coordinator, Heading Dial and Vertical Speed Indicators set out directly below. Left of the six pack is a clock and on the right is a Garmin OBS VOR indicator with a Bendix/King ADF indicator is set out below.
The very nice yokes can be hidden to reveal behind four gauges that cover (L to R) Fuel tank Left, Oil Temp, Fuel Pressure psi, Oil Pressure psi and Fuel Tank Right. Kneeboard has two dials for EGT and RPM (100's) with aircraft hour rate. Far left is the S-Tec altitude setting panel and engine starter switch.

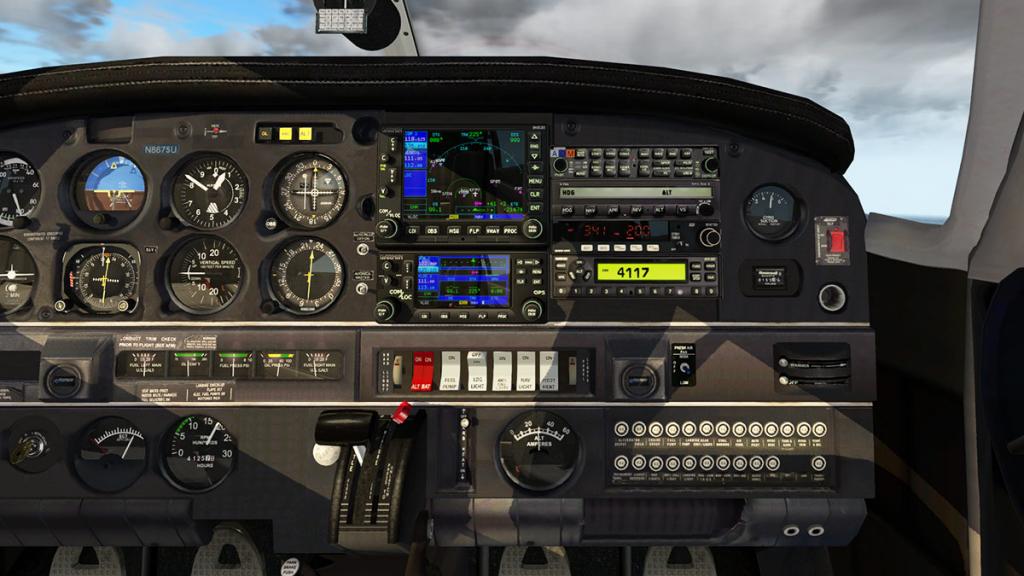
Instrument Panel side right has the avionics with both an X-Plane default Garmin GNS530 top and a GNS430 (both pop-out) below. Standard Garmin GMA 340 radio is right top, with an S-Tec Fifty Five X (now Genesys Aerosystems) autopilot below. Your ADF radio is a Bendix/King KR 85 but the panel is a little poor resolution wise? A Garmin CTX330 is the transponder unit.
A Gyro Suction gauge and Honeywell hobbs (hour) meter is right. Centre panel is a set of rocker switches for (L to R) Power (two) for Alt and Bat, Fuel pump, Landing Light, Anti-Collision Lights, Navigation Lights and Pitot Heat. Either end of the switch panel are two scroll wheels for Avionic brightness and instrument brightness. Below the switch panel is a Carb Heat slider and a ALT Amp gauge. A flat fuse panel is to the right.
Tiny centre panel set of throttle and mixture levers is cute, but the mixture lever is tricky to use from some angles...
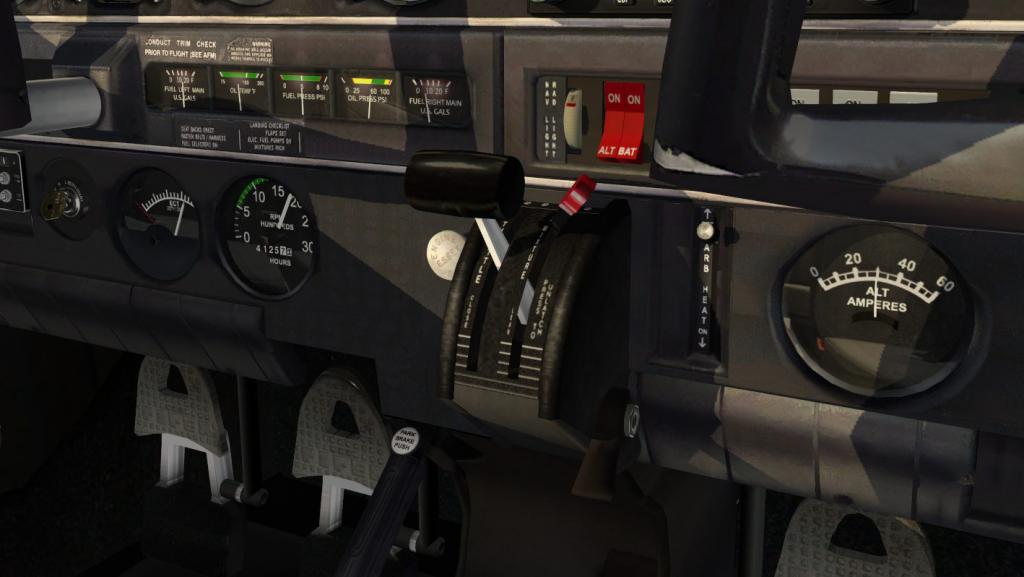
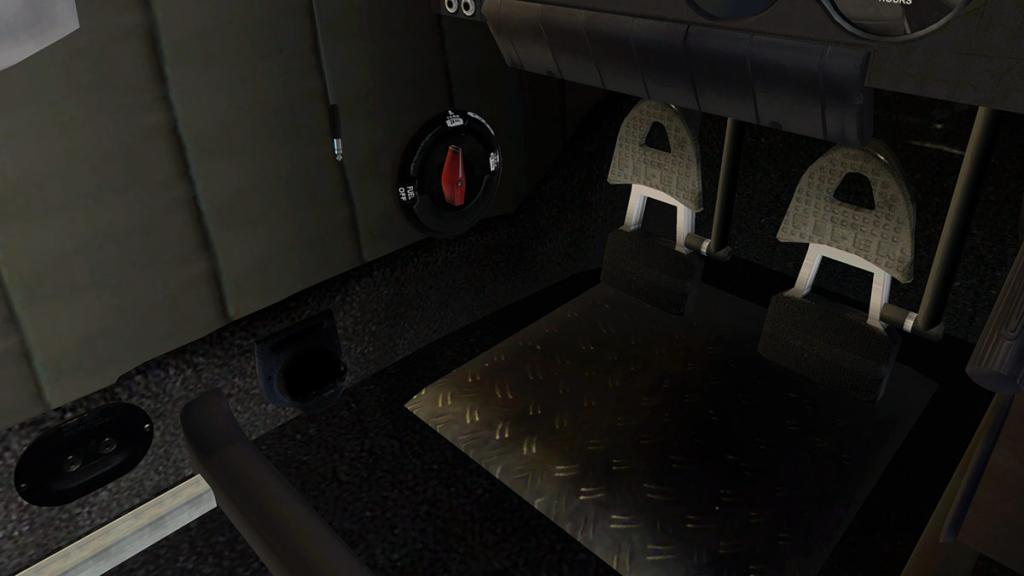
... fuel tank selector switch is buried in the left footwell and quite hard to reach if flying manually, note the nice steel heal plate.
Flying the Warrior II

If you going for a flight in a Warrior then pack a suitcase. Even a short flight is going to take you some time to get there and you might want to stay overnight before coming back the next day. 120knts is well slow... a good car is faster from point A to point B.
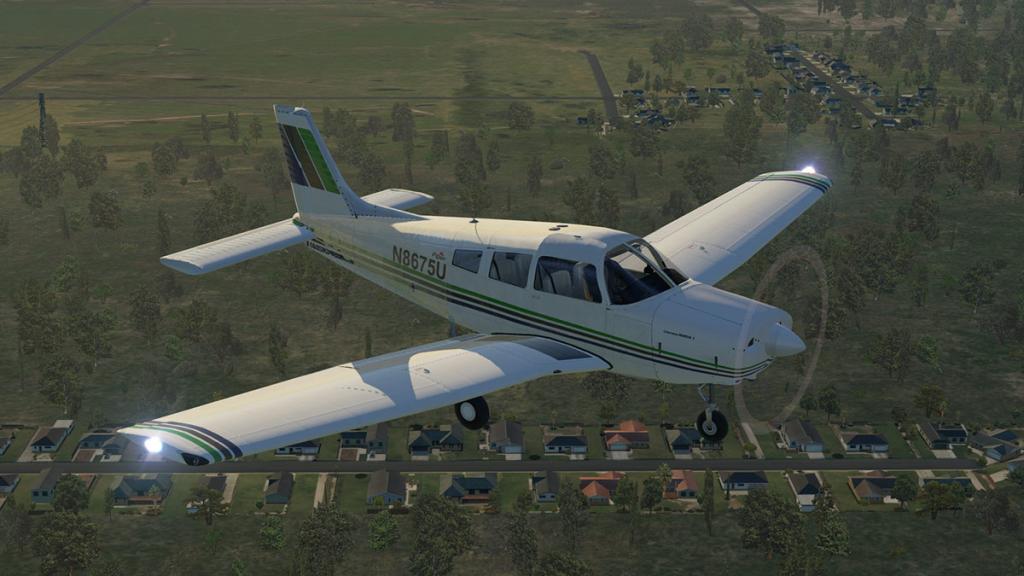

In training and learning modes then the Warrior is fine for local flying. Sounds are quite good with a nice startup and deep bass thrum on takeoff, but it does become a little droney as you hit the higher revolutions of power and it sounds as if you have someone in the rear hitting a big base drum softly to the beat.
Taking off needs a little skill in using the throttle slowly to build the speed up. If not you will get the wobbles and the aircraft can start to wander off the centre line. If you are used to the same with Carenado takeoffs then the same skills are required to be transferred to the Warrior.
You can be airborne around 70kts-80kts and the little plane will easily climb at around 400fpm without trading your speed. It handles nicely, but is quite fine on stick adjustments so you need just limited adjustments to move around or you will find direction changes are a little brisk, so smooth movements are a way to go. With a nervous trainee pupil behind the controls they will have to learn to not over react to fly the aircraft smoothly in turns or direction changes. But you do find your rhythm in here at the controls very quickly and settle into the aircraft.
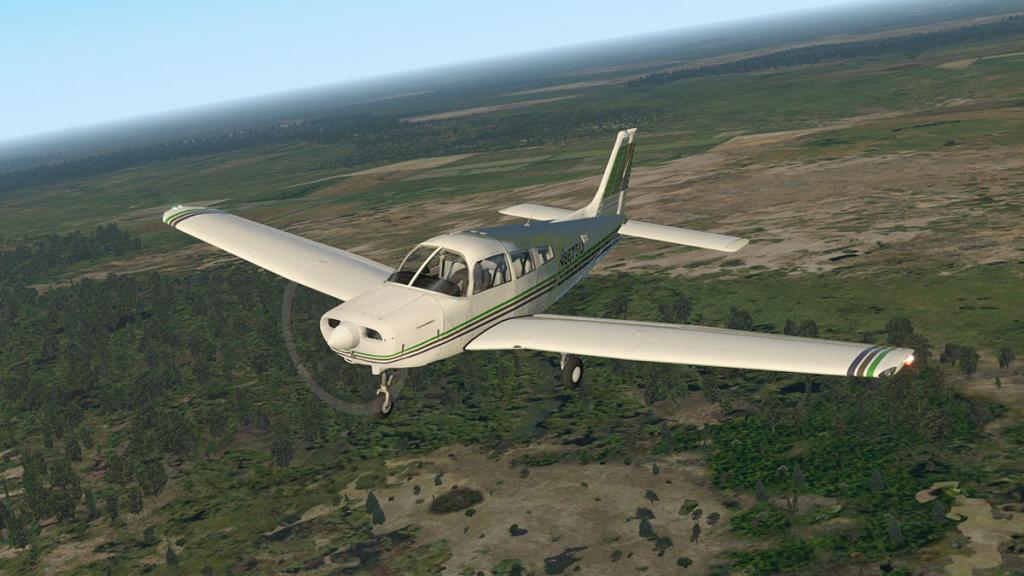

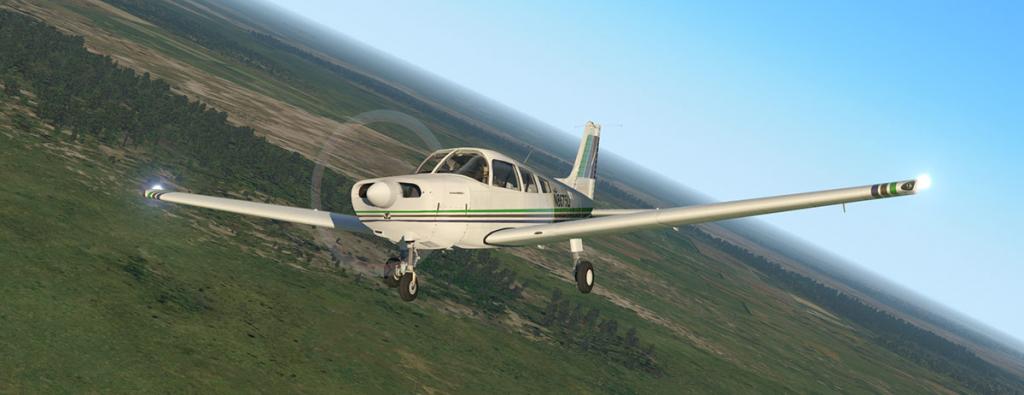
The S-Tec Fifty Five X autopilot is basic but good. You switch it on via the switch centre panel (arrow left image) and just select your required axis in heading, altitude or vertical speed, which can be a little notchy to use as trying to adjust the far away vertical speed knob can also activate the altitude hold constantly at the same time. Sadly the S-Tec panel does not pop-out which would have helped the case instead of it being on the far side of the instrument panel. In fact no instrument panels pop-out except the default Garmin GNS530/430 units.
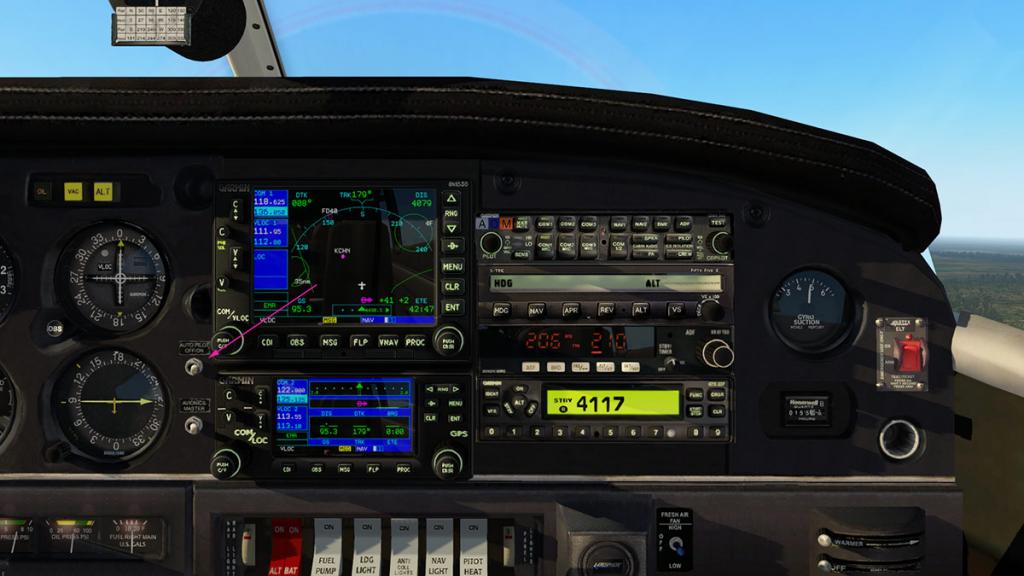
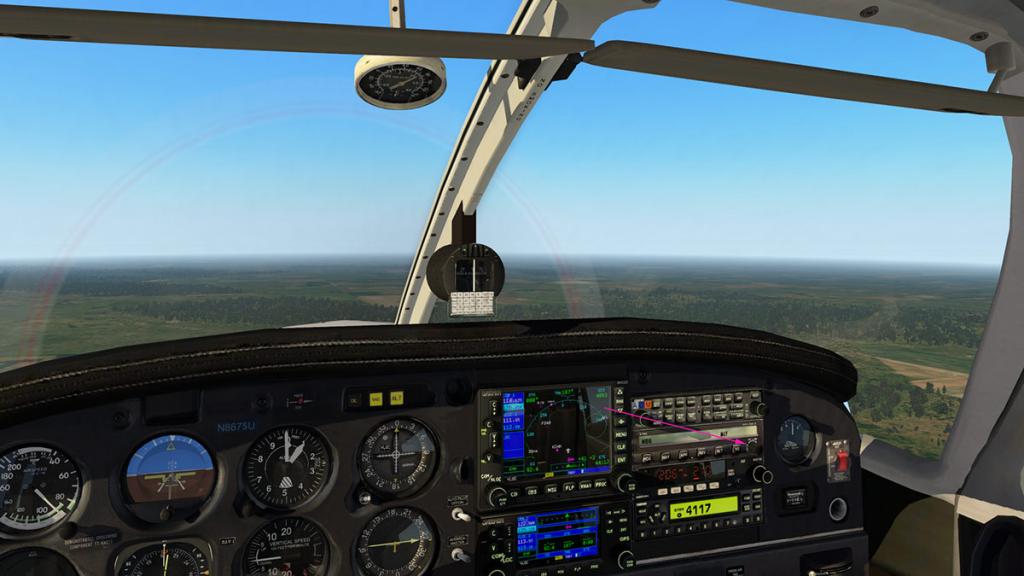
Landing speed is slow at around 50kts and so you will you need to get the speed down to almost that to drop the flaps without the barn door effect of a slam of speed and a lift of the aircraft. Once set you can then almost hover as you approach over the runway.

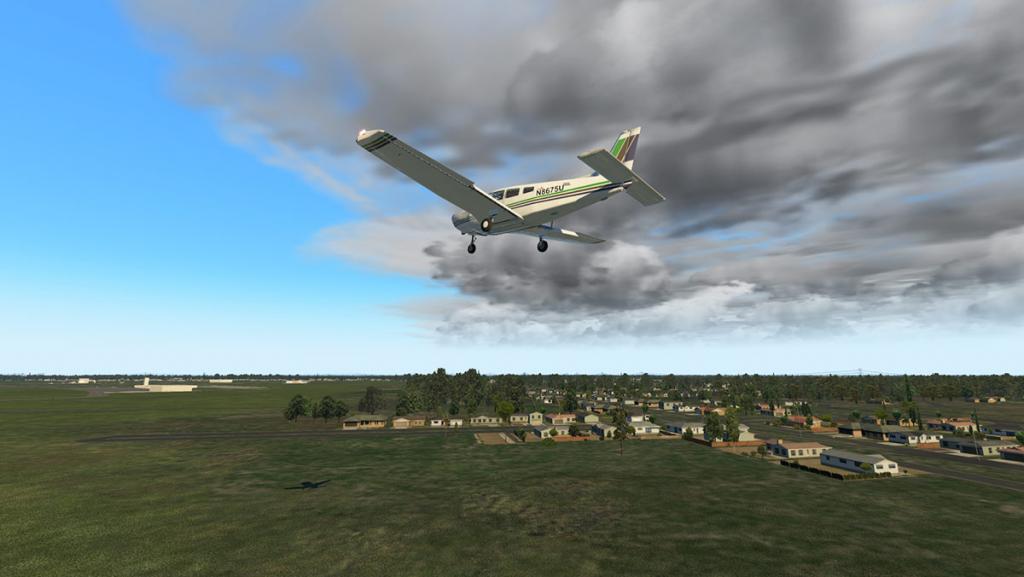
The Warrior is a little jiggly under the stick at this speed zone of between 50kt to 60kts, so smooth inputs are a must, even slight crosswind will test your nerves, stall is around 40kts and so you can only go so slow.
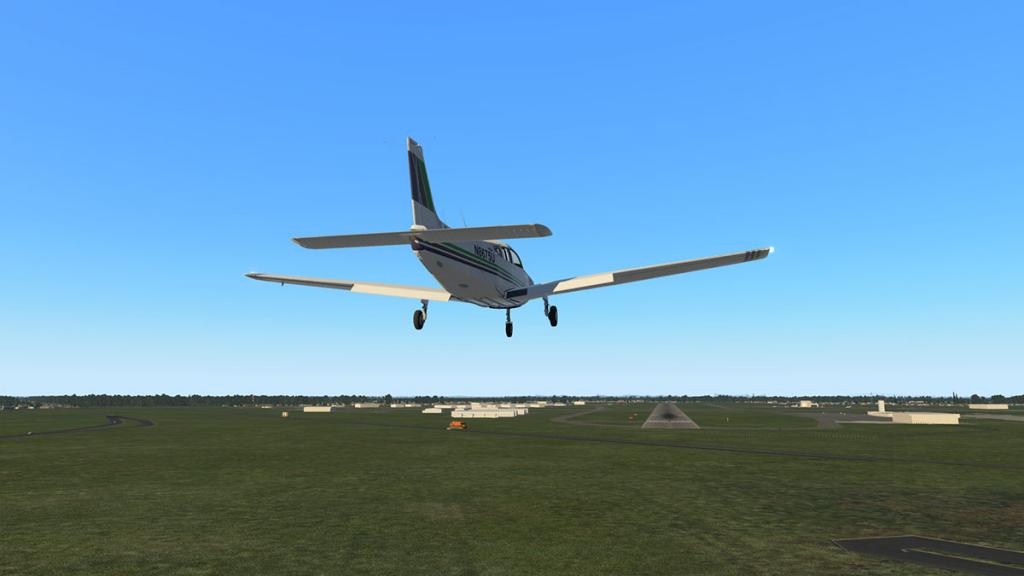
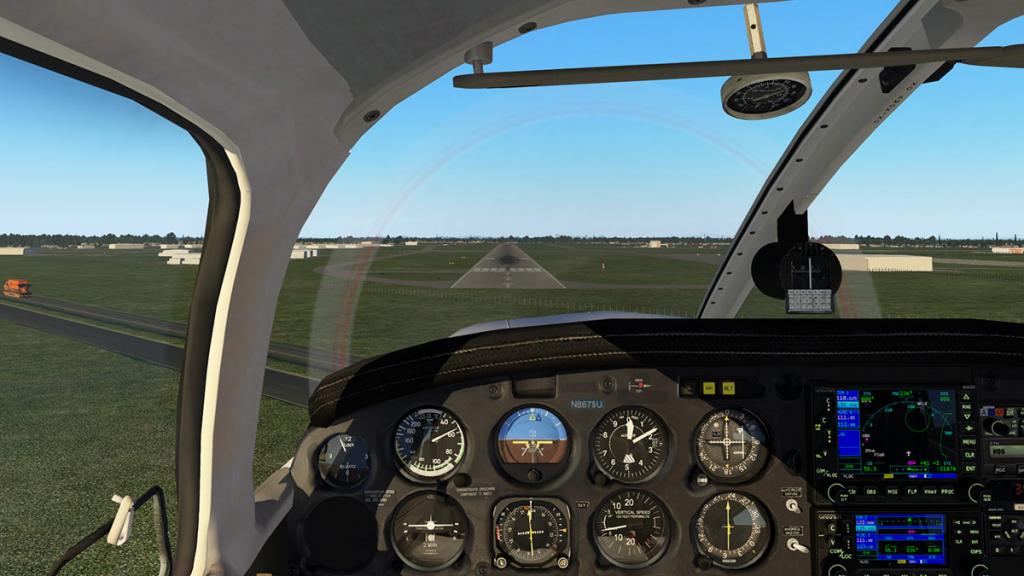
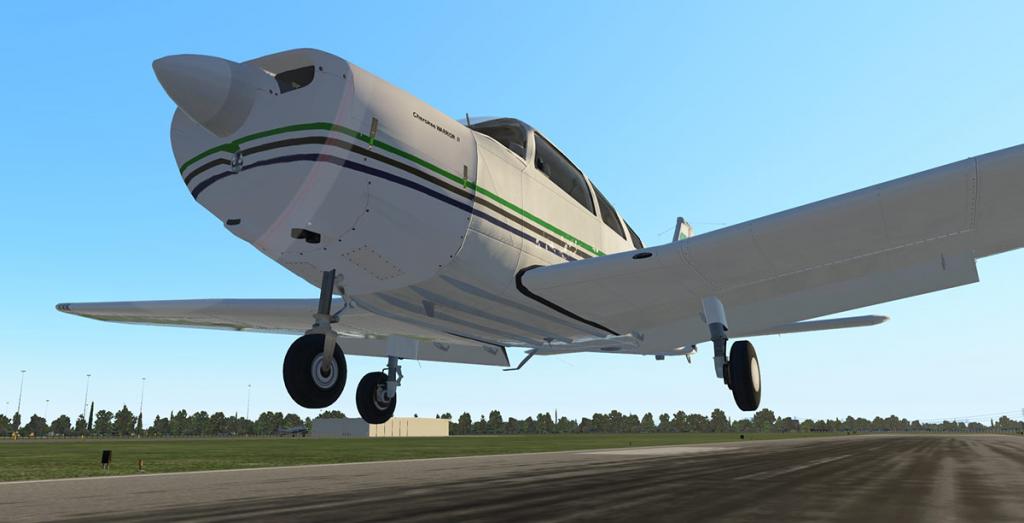
Once you touch down the Warrior will squirm under you, so you need a firm but light hand to keep it totally straight and on the centre line while rubbing off the speed, in most cases you should be used to these movements if you do a lot of light aircraft flying, but the Warrior is more of squirmer than most that I can remember.
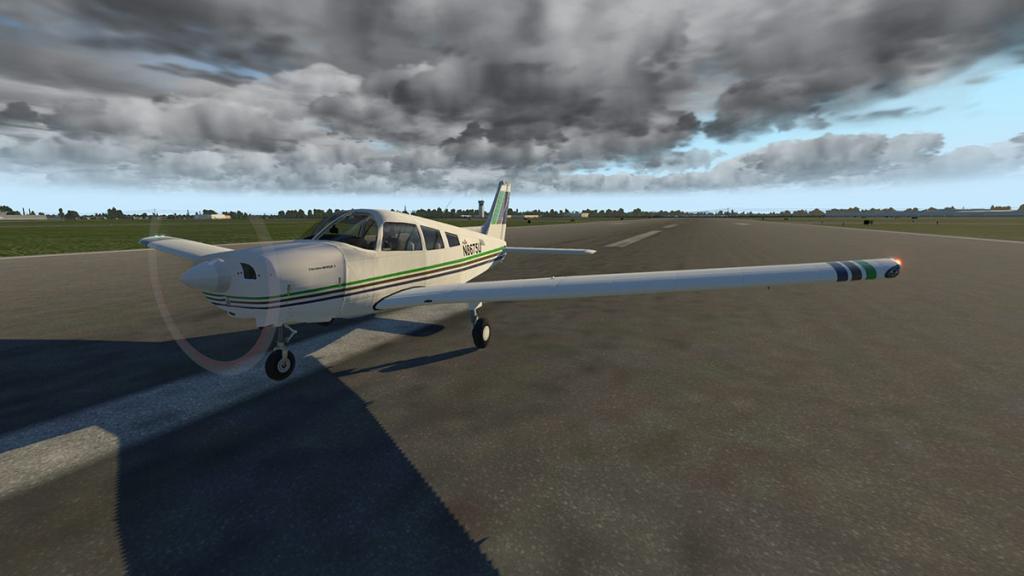
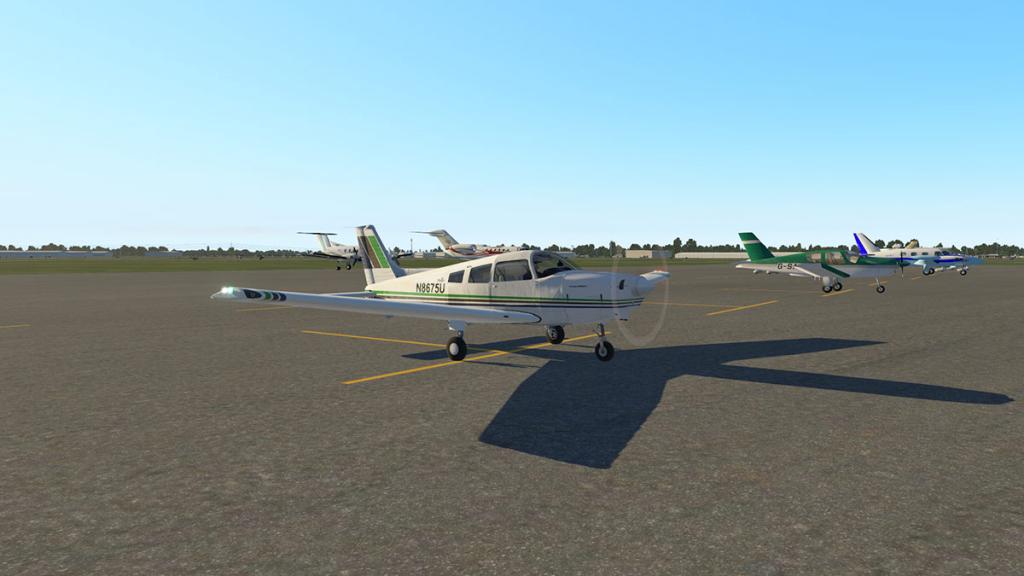
There are no menus or external features with the aircraft...
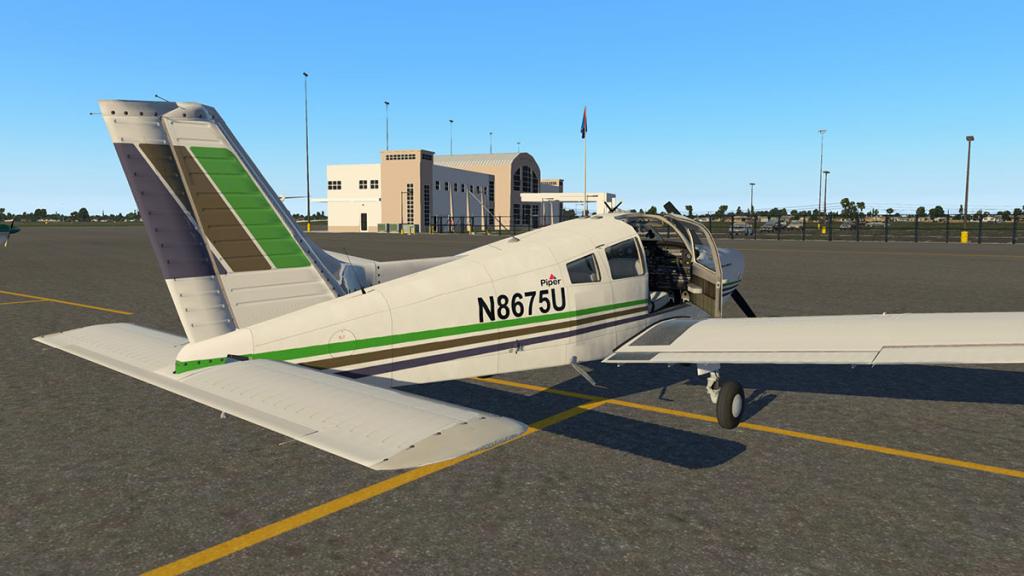
... the passenger door opens, but not the baggage door. But behind the rear seats is some oil if you need it and a set of engine covers and tow handle.
Lighting
All the lighting is mostly standard, the usual strobe, navigation and anti-collision lights on the outside.
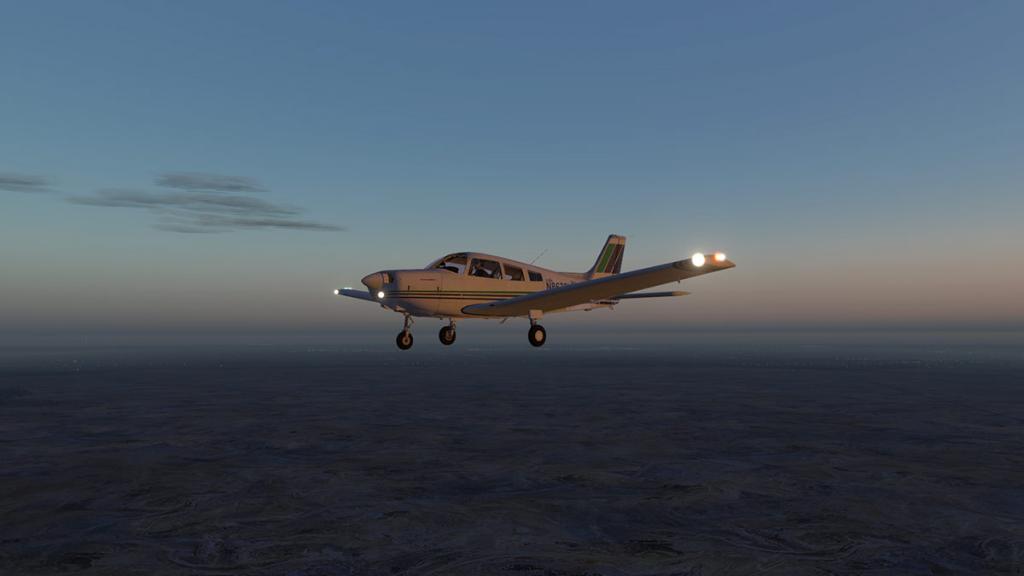
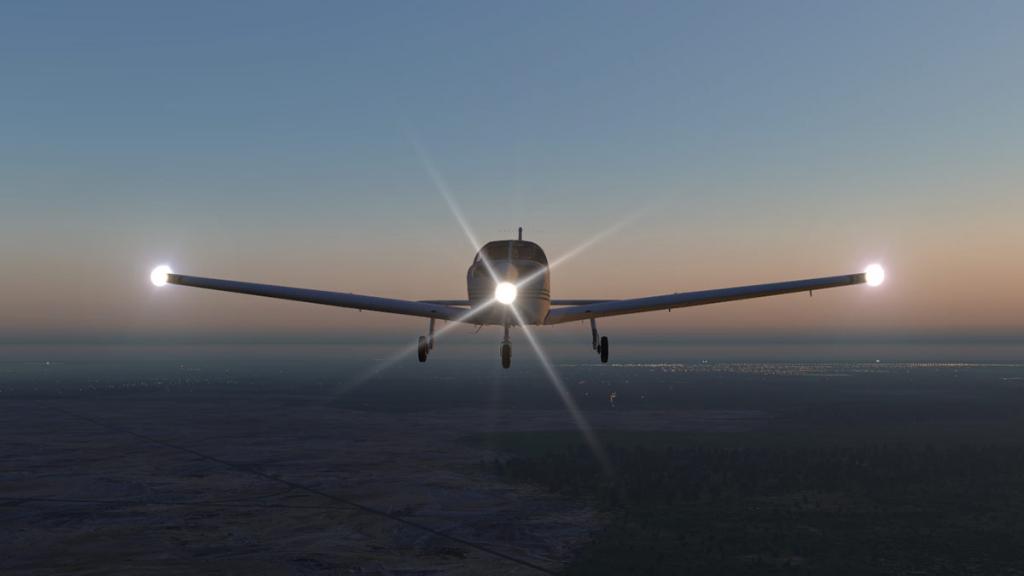
But the lighting has not been adjusted here and so the taxi and landing lights are quite large for the aircraft. Internally...
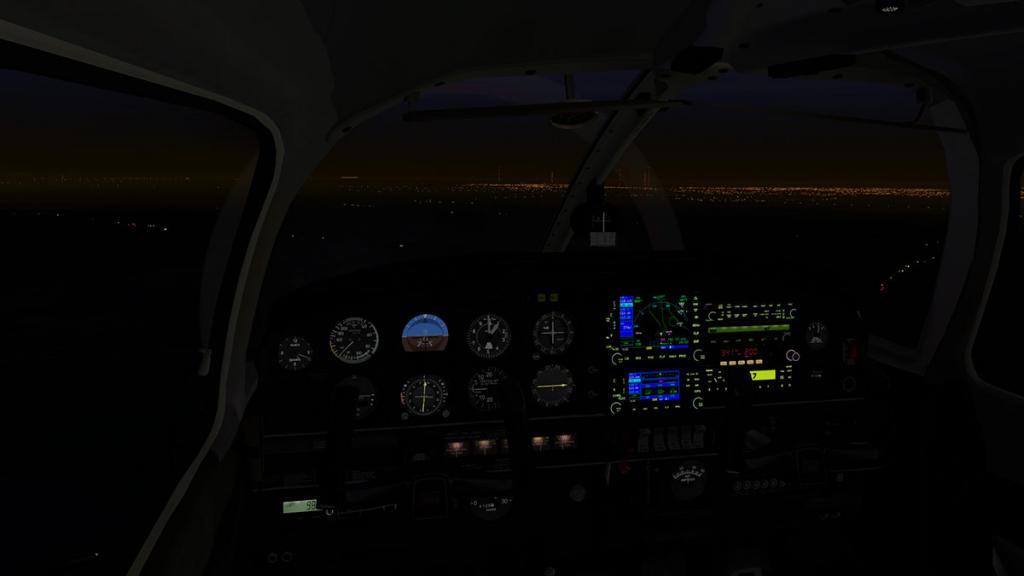

The front facing roof mounted blue light does all the work in creating overhead lighting over the instrument panel and can be adjusted (but awkwardly) to give a dark or lit panel, it looks good but it is not in blue? in which the light colour is? If the right colour had been used then the panel would have had a more realistic tone, so a missed opportunity. Instrument lighting is not bright, but fine.
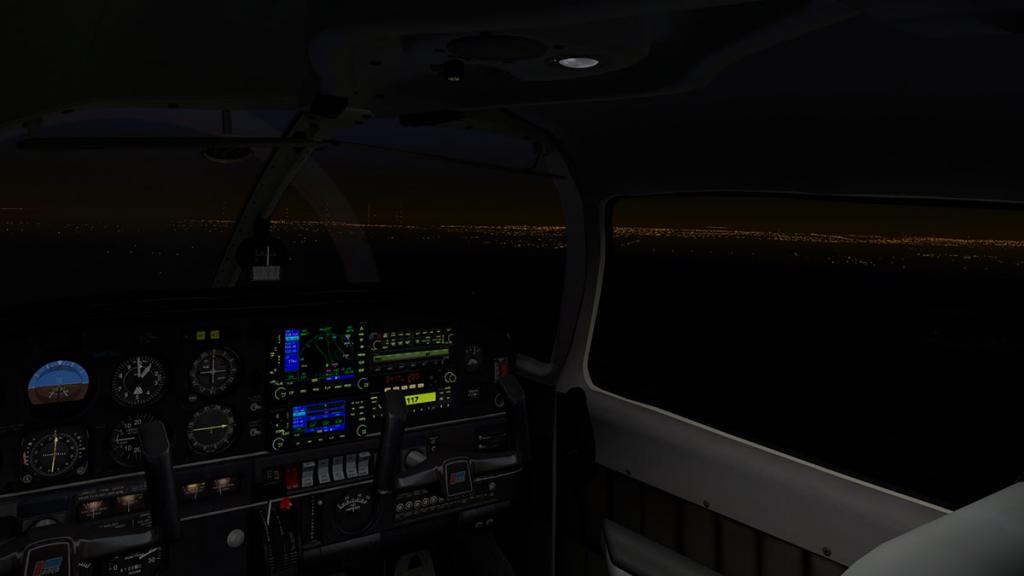

There is a switchable light over the door for entry and exit and with door light and the Blue (sic) overhead light the cabin can be quite bright.
Liveries
There are two blank liveries with one with a registration number (all aircraft have the same N8675U rego?). There are four coloured liveries but none are really outstanding except the Green/Brown stripe version used in the review.
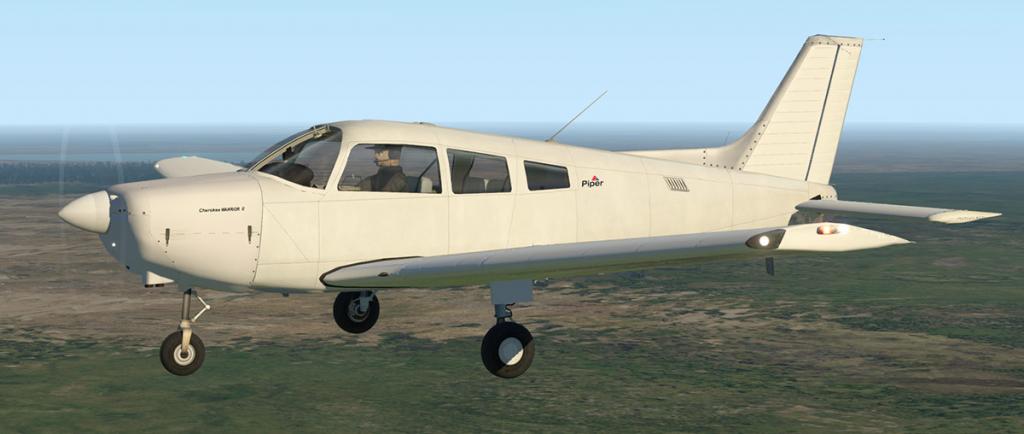


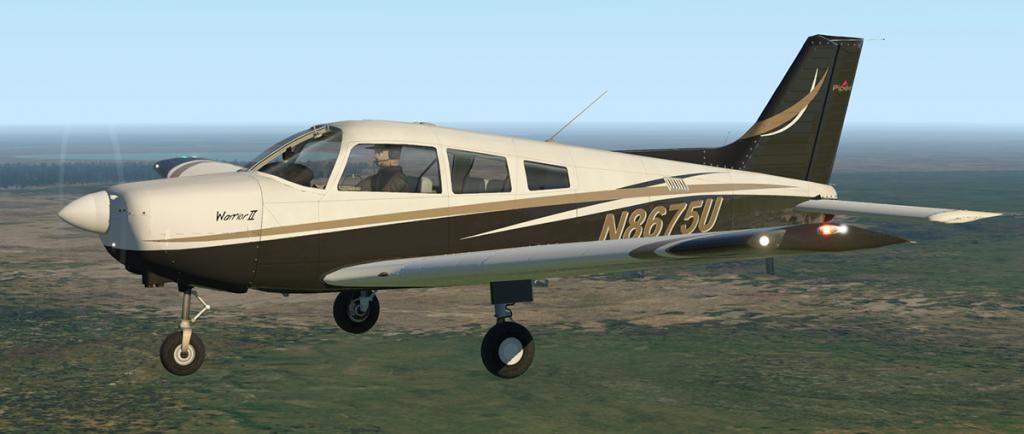
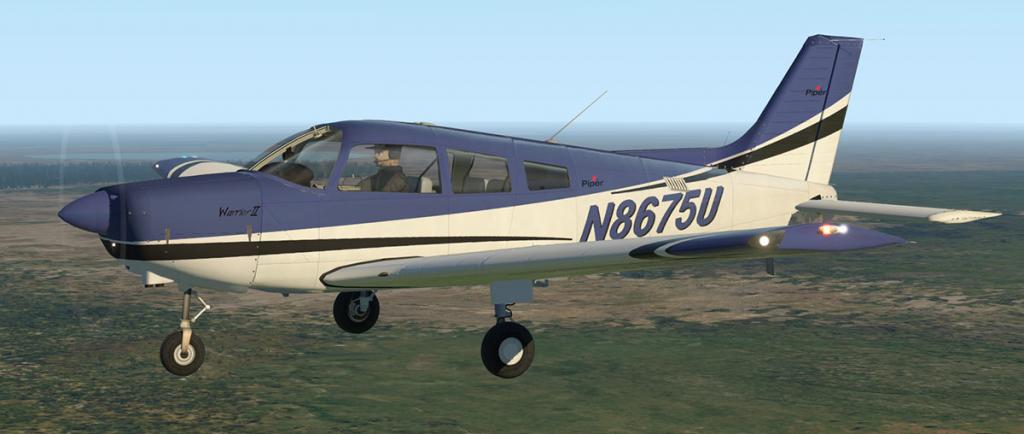

Summary
Overall the Piper Warrior II from AeroSphere is what it is in a basic trainer and a learn to fly in aircraft. But it does have a nice fit-out in avionics if you want to take a few trips away. As noted it may take you actually a far while to get there, but then that is all part of the fun.
For a trainee aircraft though it does need a little skill and a light but firm hand at the controls. Takeoffs and landings can be a bit squirmy if you don't hold it solid, but overall it is a good training aircraft with its low landing speeds.
Build quality overall is very good, not perfect or in the Carenado zone of quality, but then nothing else is either, but it is well done with a very nice instrument panel to look at.
In the area of looking at things then the propeller in flight is not too my taste, in fact I didn't like it at all, and it is ten times worse in the dark as it blocks your view... a quick fix is required here because it is a distraction on this an otherwise well turned out aircraft. The none blue, blue light is a missed chance but then again none of the lighting has been adjusted to the aircraft.
It should be noted that this Warrior is released only for X-Plane11, which is good as it looks really good in the X-Plane11 feature lighting
The Warrior II is a basic aircraft in design, features and usability, but it is a very good one in the face of such big General Aviation competition. This is worthwhile GA that can get under your skin and is an interesting machine to fly and use, certainly very good and the best in X-Plane if you are requiring a Warrior for a reason like you own one or are wanting to train on the aircraft, so overall a nice tight little aircraft.
_____________________________________________________________________________________ Positives: Overall good design and nice quality look and feel, tricky but rewarding to fly. Nice avionics for the type of basic trainer aircraft.
Negatives: That propeller, its worse at night. Internal blue lighting that is not blue, external lighting not adjusted or needs more. Not many external features, pop-up panels or menus.
_____________________________________________________________________________________
The Piper Warrior II by AeroSphere Simulations is NOW available! from the X-Plane.Org Store here :
Your Price: $24.95Features:- 4 HD (4096 x 4096) liveries with a plain white texture that can be used for custom paint schemes.
- Steam gauge trainer cockpit model to help pilots in the training environment with required instruments for IFR.
- Garmin 530 & 430
- All gauges are 3D
- Detailed flight model and interactive 3D virtual cockpit with animated knobs, buttons etc. cabin door, storm window and rear baggage compartment door.
- Toggle button to remove/display yoke
- Compatible with HDR and normal lighting effects
- Many textures taken from the actual aircraft
Requirements
X-Plane 11+
Window, Mac or Linux - 64bit Operating Systems2Gb VRAM MinimumCurrent Version: 1.0 (May 11th 2017)Installation and documents:
Download for the Piper Warrior II is 141.40.mb and the unzipped file is deposited in the "General Aviation" X-Plane folder at 155.70mb.
Documents: Include a basic three page "Read Me"
_____________________________________________________________________________________ Review by Stephen Dutton29th May 2017Copyright©2017: X-PlaneReviewsReview System Specifications:
Computer System: Windows - Intel Core i7 6700K CPU 4.00GHz / 64bit - 16 Gb single 1067 Mhz DDR4 2133 - GeForce GTX 980/SSE2 - Samsung Evo 512gb SSD
Software: - Windows 10 - X-Plane 11.02
Addons: Saitek x56 Rhino Pro system Joystick and Throttle : Sound - Bose Soundlink Mini
Plugins: Environment Engine by xEnviro US$69.90
Scenery or Aircraft
- KFMY - Page Field, Fort Myers, Florida 1.0 by timbenedict3 (X-Plane.Org) - Free
-
News! - Aircraft Announcement : McDonnell Douglas MD-11 Coming from Rotate
Everybody loves some good news, but great news is even better. Rotate the developer house that created the McDonnell Douglas MD88 has announced their next project is the Tri-Jet McDonnell Douglas MD-11. Now that is totally brilliant news.
These middle-tier Tri-Jets are certainly in need of a though deep design attention in X-Plane and the coming of a MD-11 in the sort of quality that we have with the excellent MD88 is going to be a much anticipated release... when, no idea, but I hope before Christmas 2017 would be nice.
Only one image has been released and it is the nose of the freighter version, which is good news as well as the freighter is the version I much want more than anything else...

If any thing new pops out I'll let you know...
______________________________________________________________________
Stephen Dutton
27th May 2017
Copyright©X-Plane Reviews: X-PlaneReviews
-
Scenery Review : ENGM - Oslo Gardermoen by Aerosoft
Some sceneries makes a big splash on release, they are all bangs and whistles in that they take a lot of the air out of anything else around them. This is certainly the case with many scenery releases, but you will need to always check out that one scenery that just slips silently on to the lists as you maybe missing something special.
It has happened twice now, in first that excellent JustSim scenery for ELLX - Luxembourg Findel Airport last month and now again here with Aerosoft's Oslo airport at Gardermoen.
Gardermoen is a new airport by most standards and opened on the 8 October 1998. Like all Norwegian airports it was a military base and in fact the area was an army camp as far back as 1740. Mostly Gardermoen played second to Oslo's main gateway at Fornebu, but fog restrictions required a more permanent facility. The airport is modeled partially on Hartsfield–Jackson Atlanta International Airport, with with two parallel runways and a single terminal with two piers on a single line but with a Norwegian flavour, and is located 19 nautical miles (35 km; 22 mi) north-northeast of Oslo city center.
Although SAS (Scandinavian Airlines, often shortened to SAS (was previously Scandinavian Airlines System) is a Swedish based airline and it has major facilities including a SAS Museum at Gardermoen, there is a also a SAS built complex with 55,000 square metres (590,000 sq ft), including a technical base, cabin storage, garages and cargo terminals that was built the same time as the airport was under construction.
ENGM Airport layout
Oslo Lufthavn Gardermoen
IATA: OSL ICAO: ENGM
01L/19R - 3,600m (11,811ft) Asphalt/concrete
01R/19L - 2,950m (9,678ft) Asphalt/concreteElevation AMSL 681 ft / 208 m
First impressions will always last in the memory. On first viewing ENGM Gardermoen my first thoughts were "wow", that is good. Surprised, yes I was as it is good scenery. The main point is of course does it fit in with the surrounding (X-Plane) landscape, that is always my starting point in good scenery and Aerosoft's ENGM is very good, it looks highly realistic and fits in naturally.
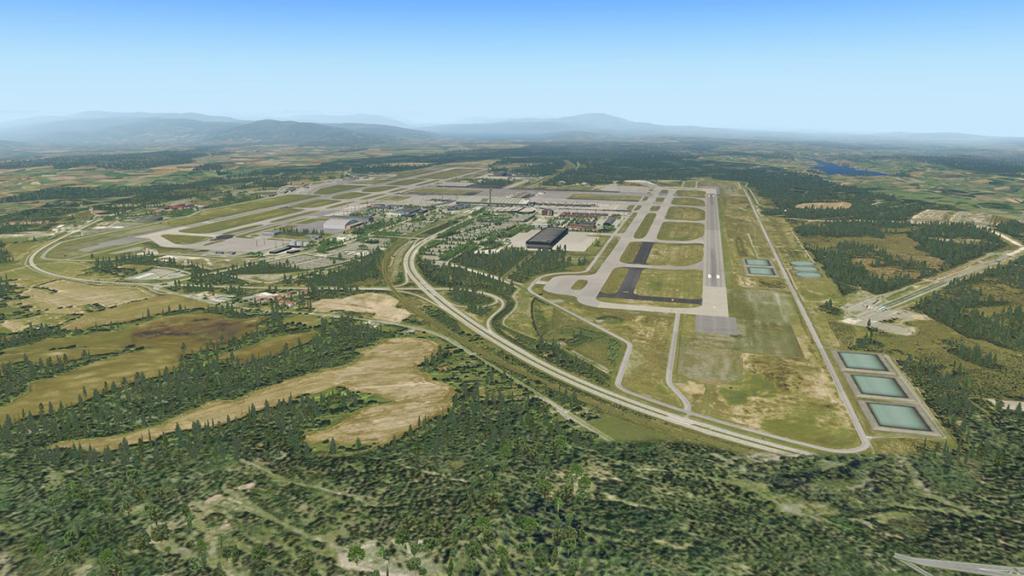
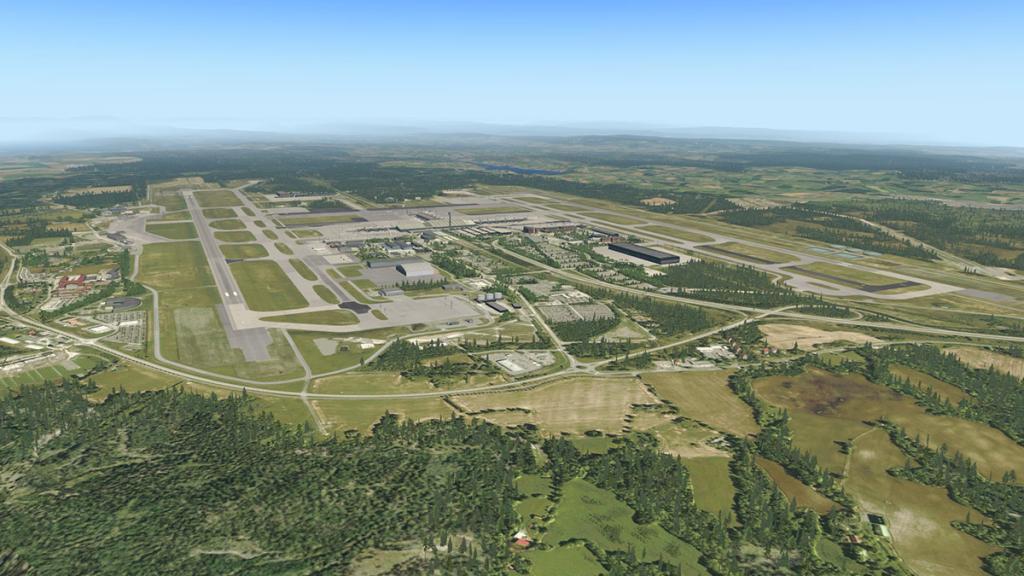

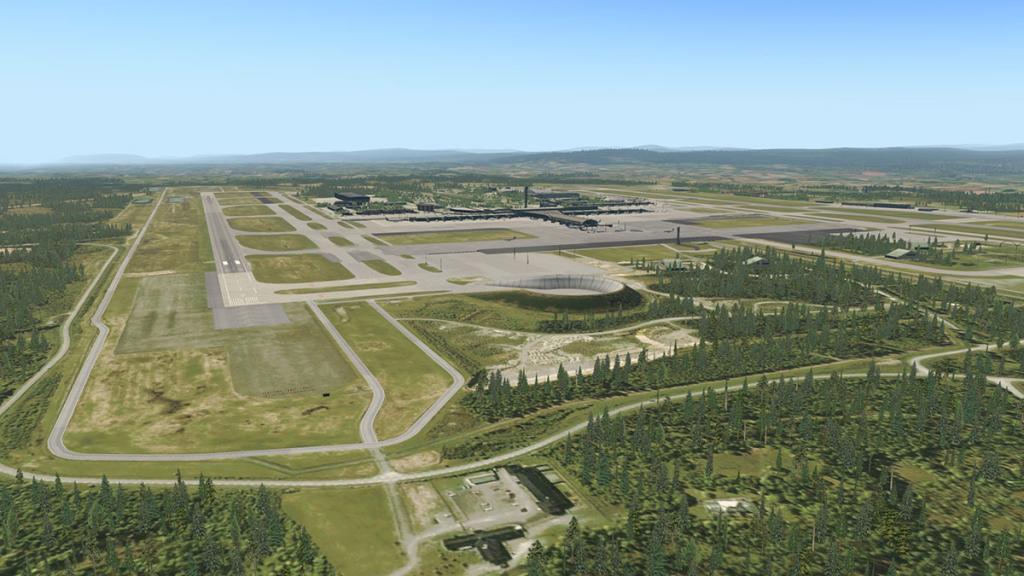
Central terminal area is a simple T, but looks really good from the air, with the modern wooden roof of the newly constructed Terminal 2 is an excellent standout.
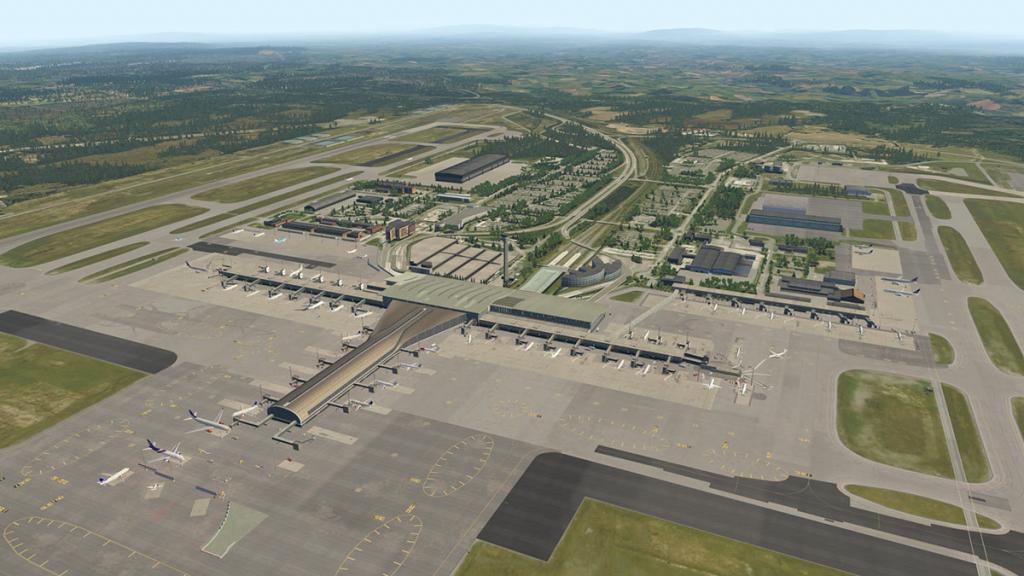
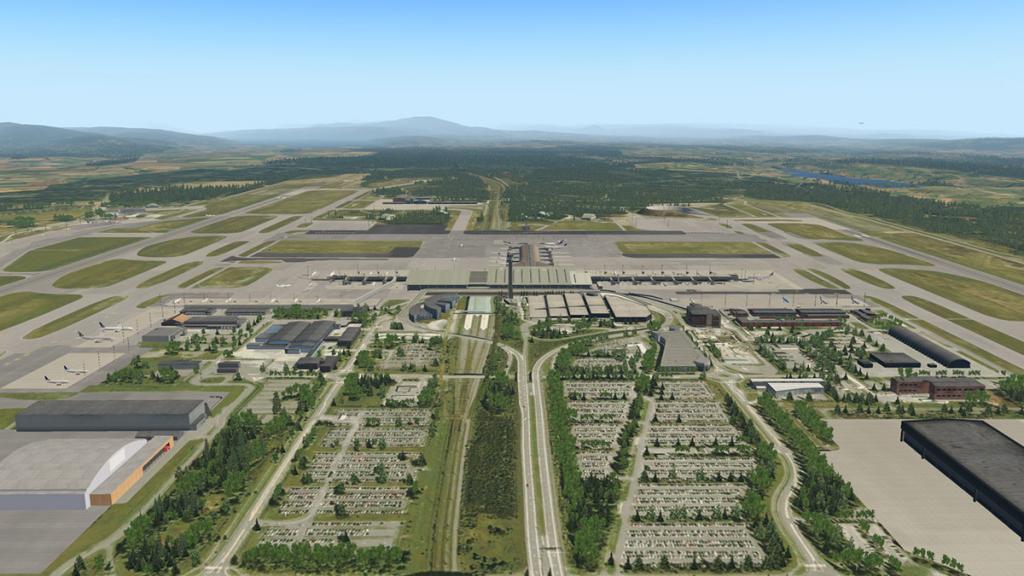
Terminal
Main terminal construction is excellent, the original 1998 Terminal one has two wings on either side of the central main terminal building.

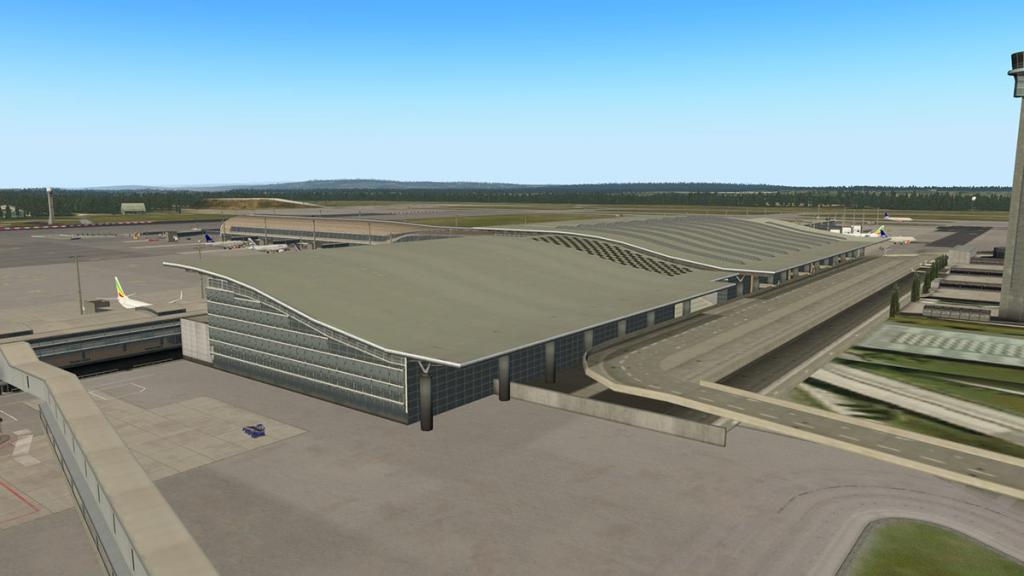
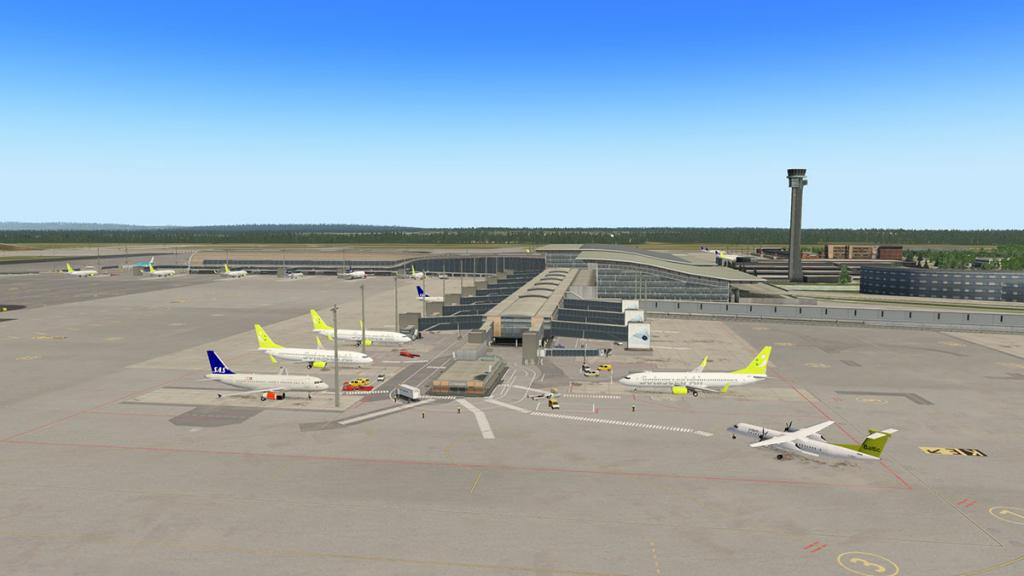
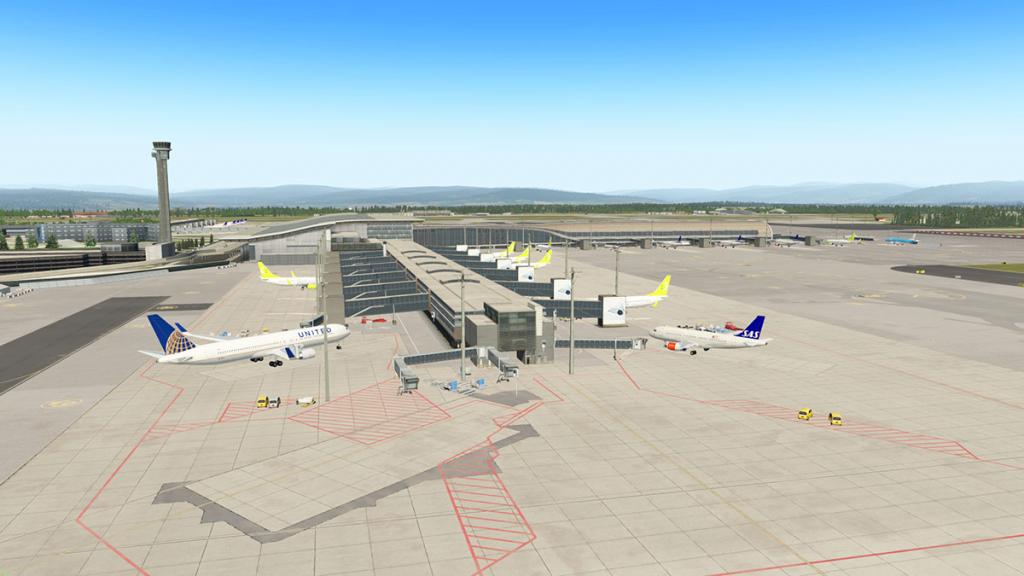
The newer just added beautiful wooden roofed Terminal 2 is another fine construction, it has great detailing and nice reflective glass work...
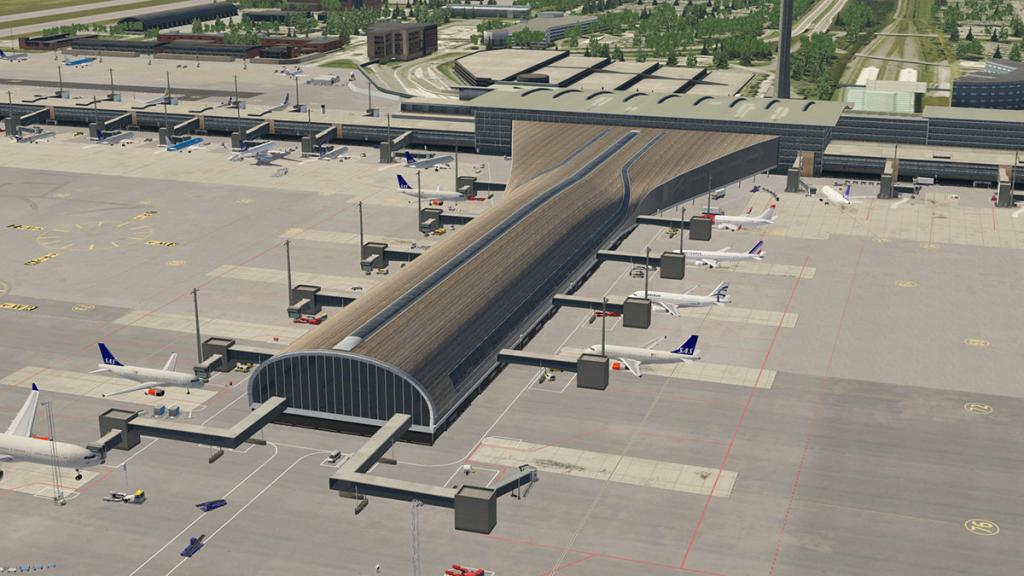

Internally T2 is catered for as well, and the roof is just as a great piece of work from the inside as much as the outside, the passing view inside out on to the taxiways is excellent.


Both wings and gate areas are exceptional, with really great textures, signage and lots of detail. (you will need your "Texture Quality slider right up though") and the ground objects are very good as well, but you have too pick your gate though as most have a lot of objects, but a few don't have many or none at all.
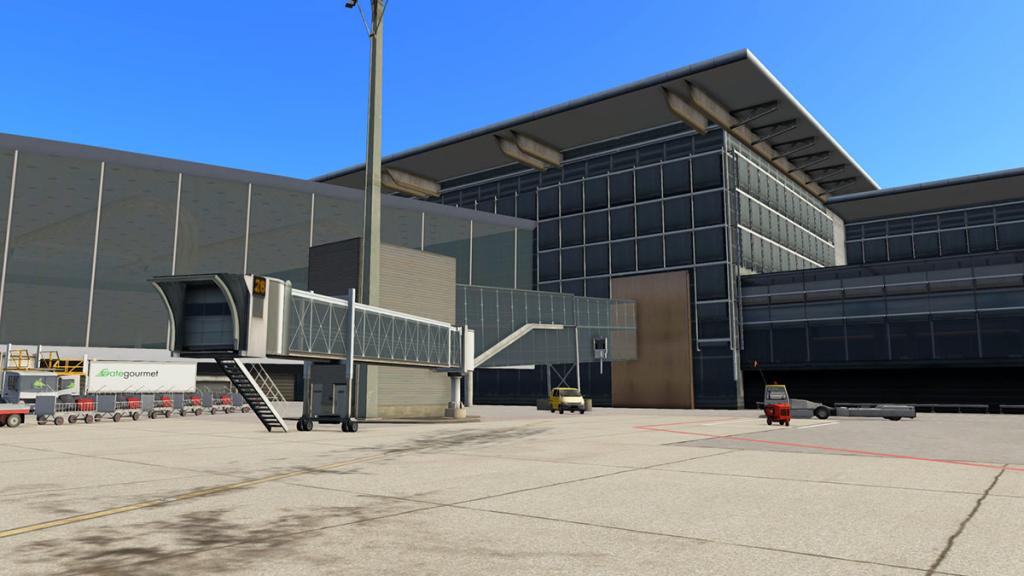
Full guidance and autogate docking is available (Marginal's plugin required) and the system has been adjusted to fit the local airbridges, which work very well and the aircraft looks great when docked. If there is no airbridge then you get a animated guiding marshall.
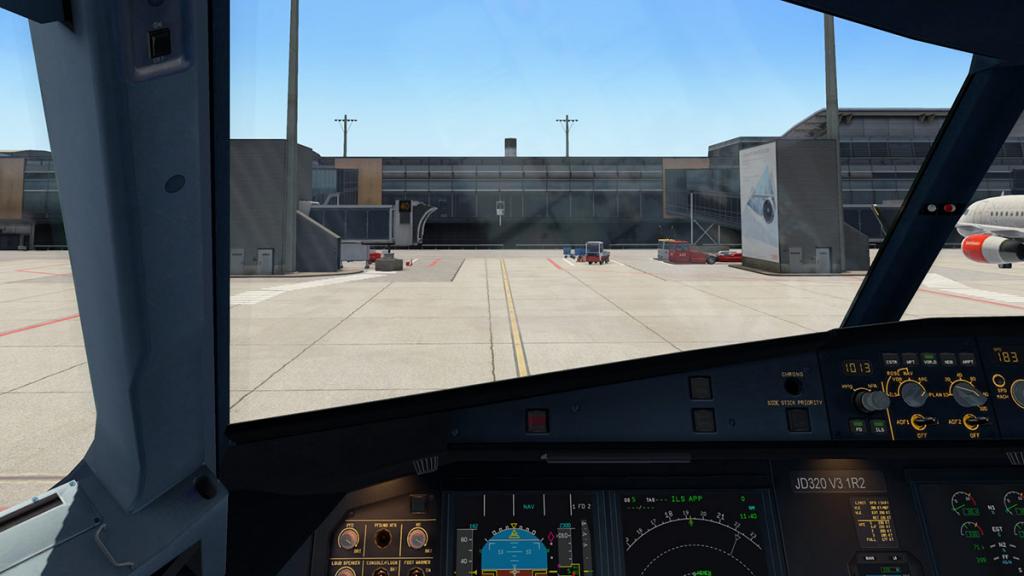

Like T2 the wing areas are completed internally as well, but you can't see the aircraft through the windows?
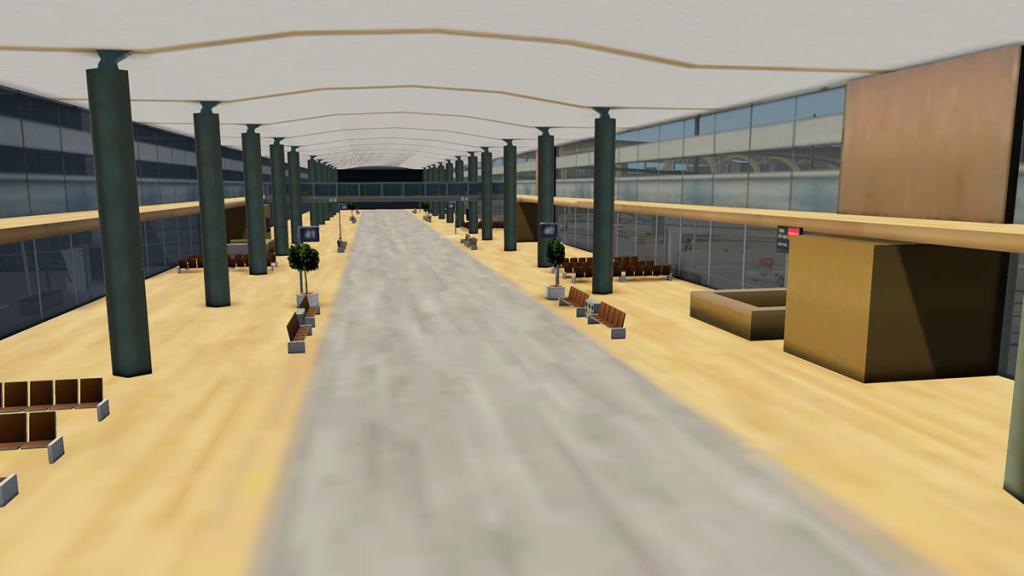

There are a lot of great remote parking areas and a Low Cost Terminal on the western side of the main terminal. Cargo terminal is however small.

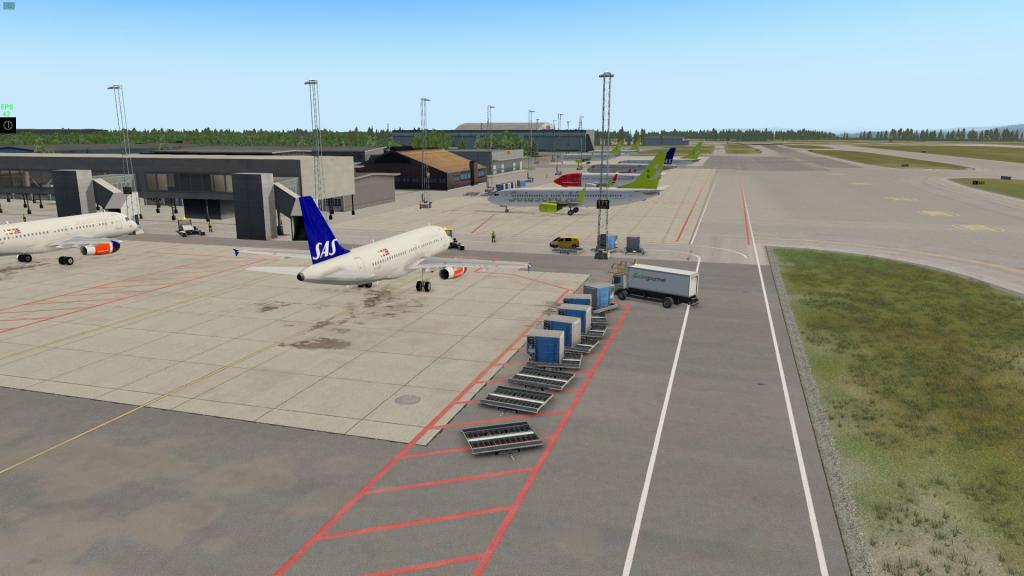
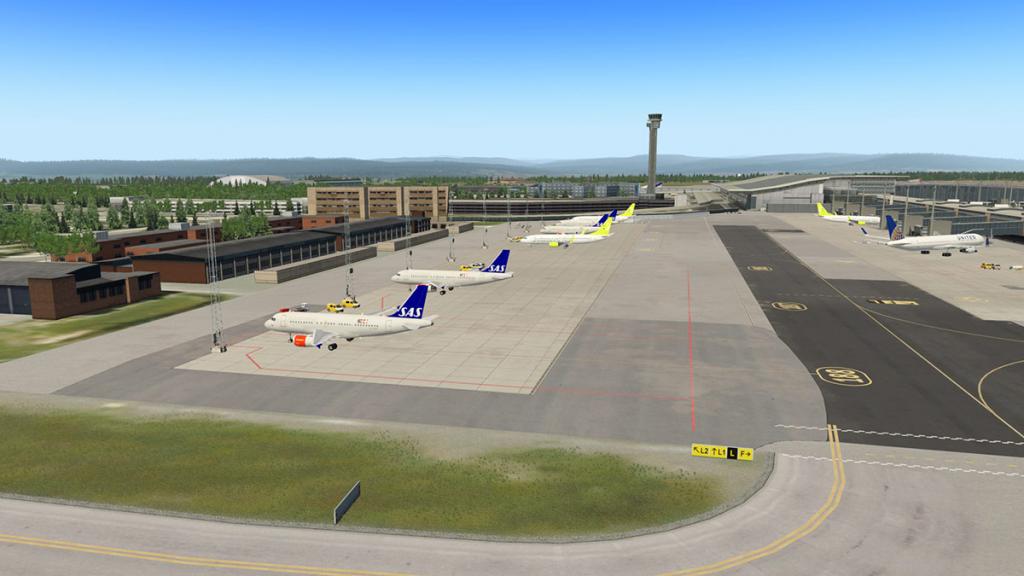
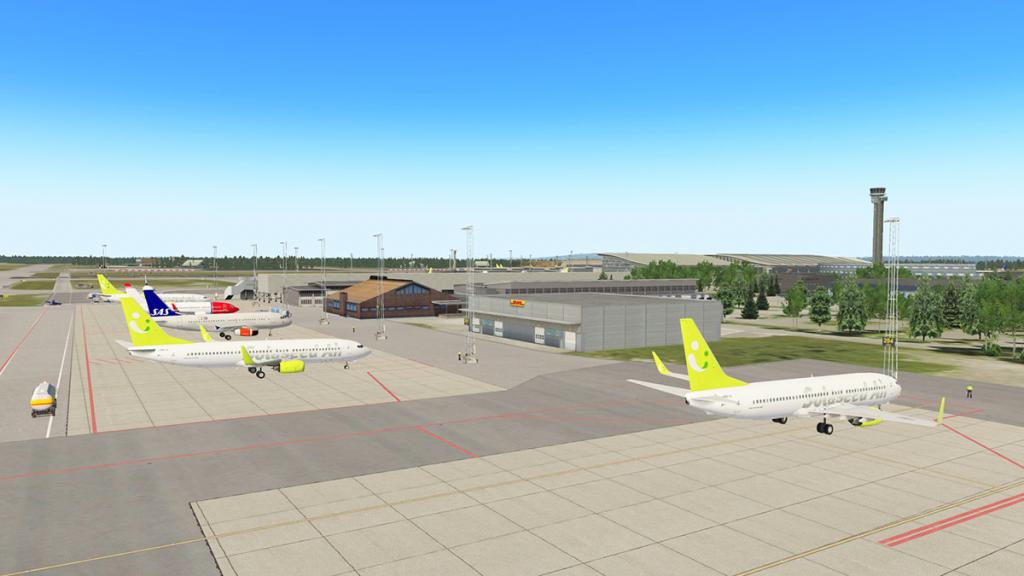
Lots of great animated vehicles constantly roam the airport's pathways and roads. The vehicles in X-Plane11 (version) are custom models made for Oslo airport and they are nice quality vehicles as well in that they fit in perfectly with the Scandi surroundings.

Control Tower sits airside behind the main terminal is workable, but it is no piece of art and the textures are basic, "Tower View" is not set either, so you only see a ground view of a western ramp area, which not good enough for any pay scenery...
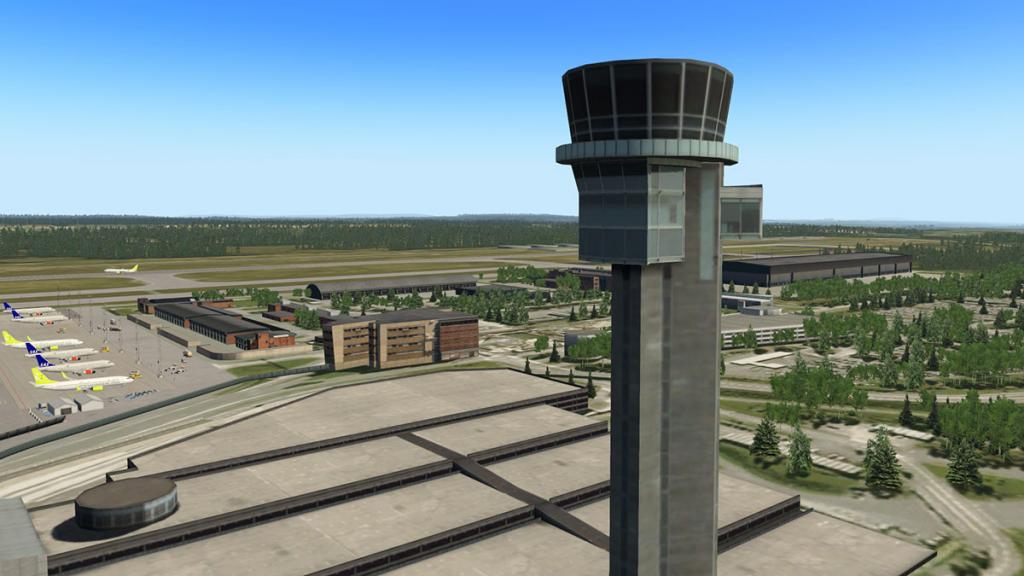
The airside areas are empty of vehicles, so that area looks a little blank, if fact there is not much attention to the airside at all except for the required buildings and ramps. Even a few vehicle objects would have filled out anything over here and which would have been than nothing?


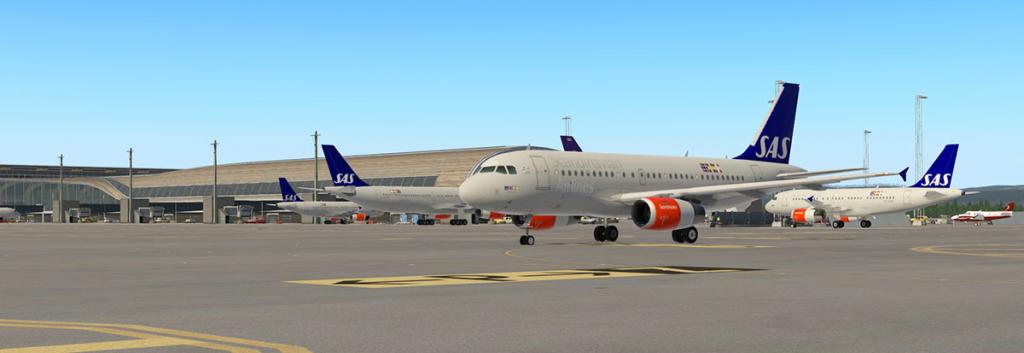
Airfield Features
Aerosoft has always been been known on how to create great grass effects and here at Gardermoen it is no different.
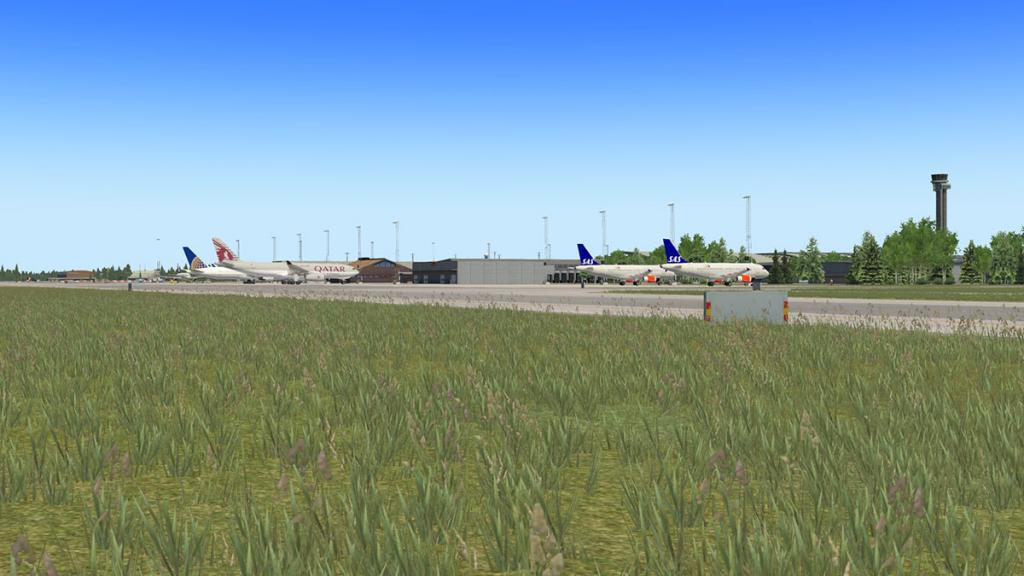

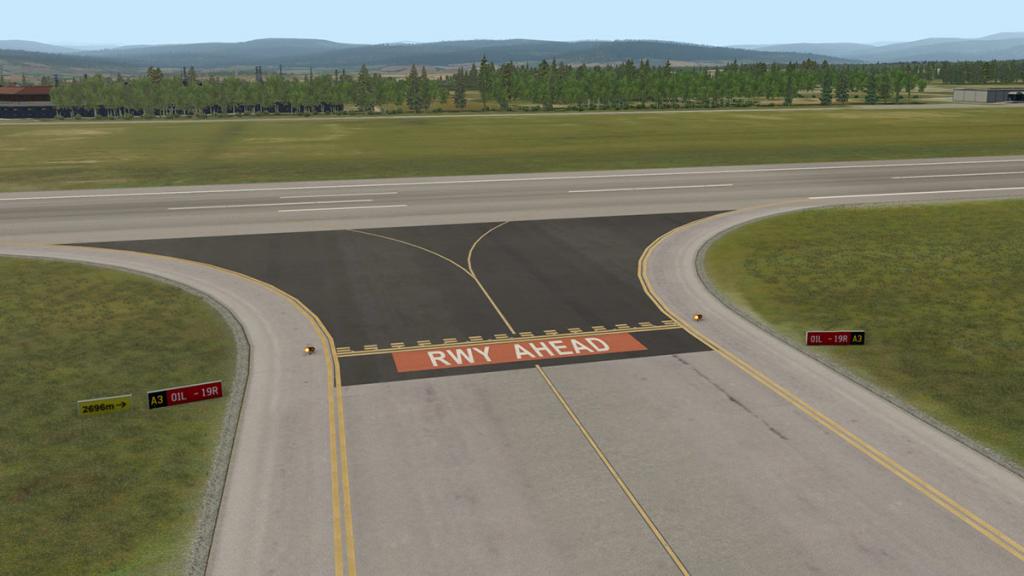

Runway signage, lighting and linework is all very good as well as are the different ground textures.
SAS Technical facility is well done but totally boring. A few static aircraft or ground objects are really needed to fill out the empty space. So you will need to hit the Overview Editor to help lift it a little with this area.

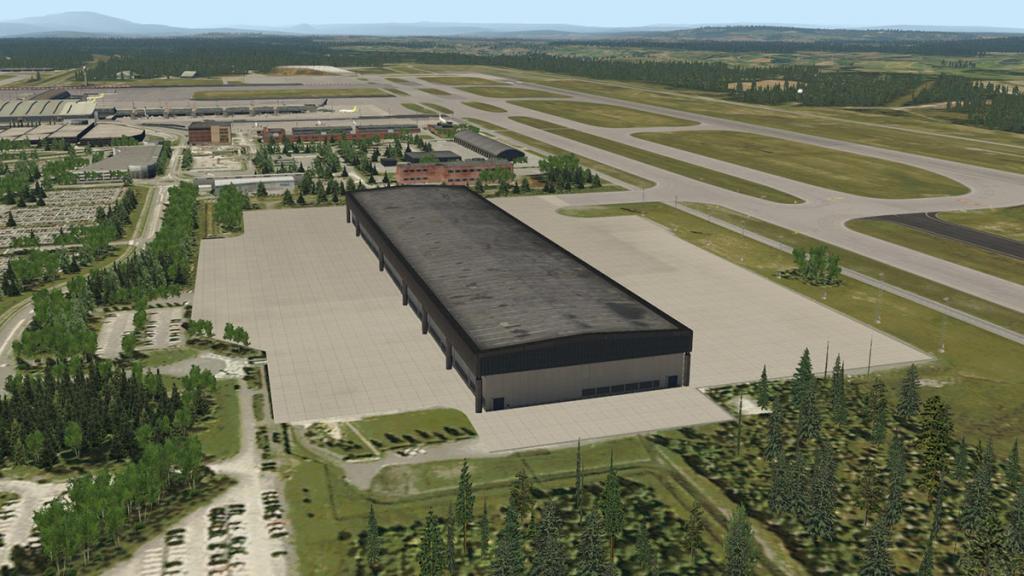
General Aviation and Fire Station
On the western boundary by runway 01L/19R is the General Aviation and Fire Station area.
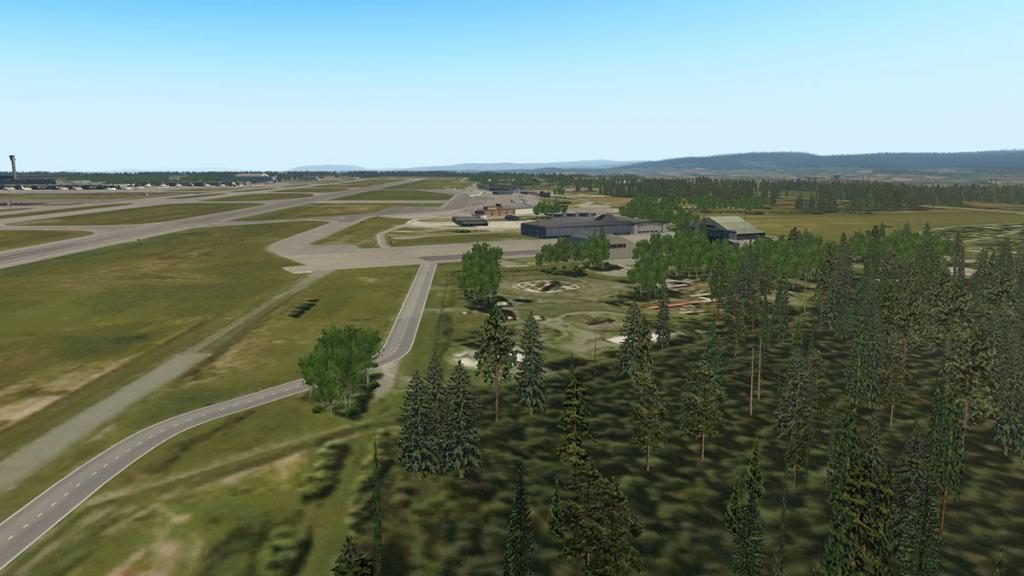
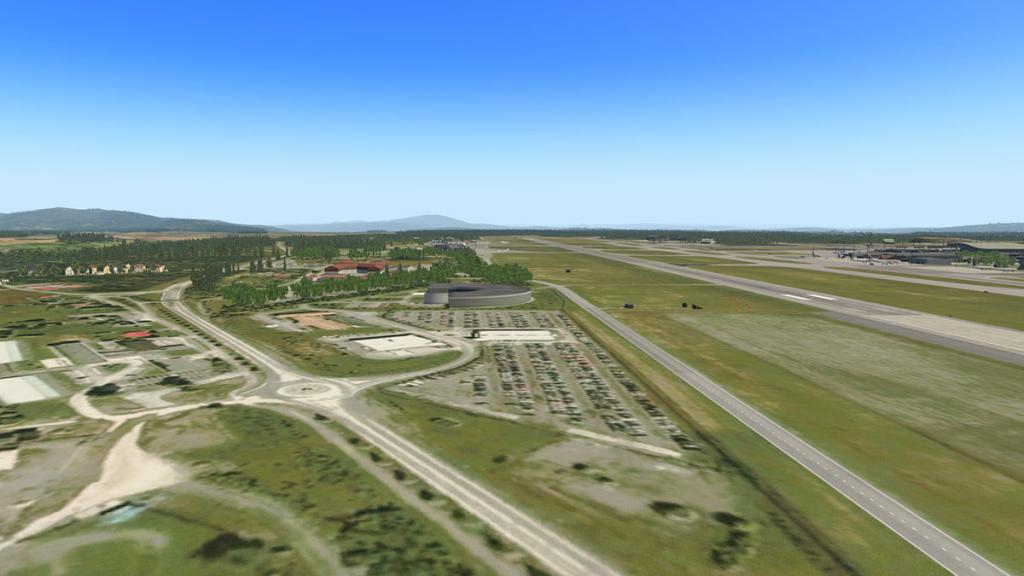
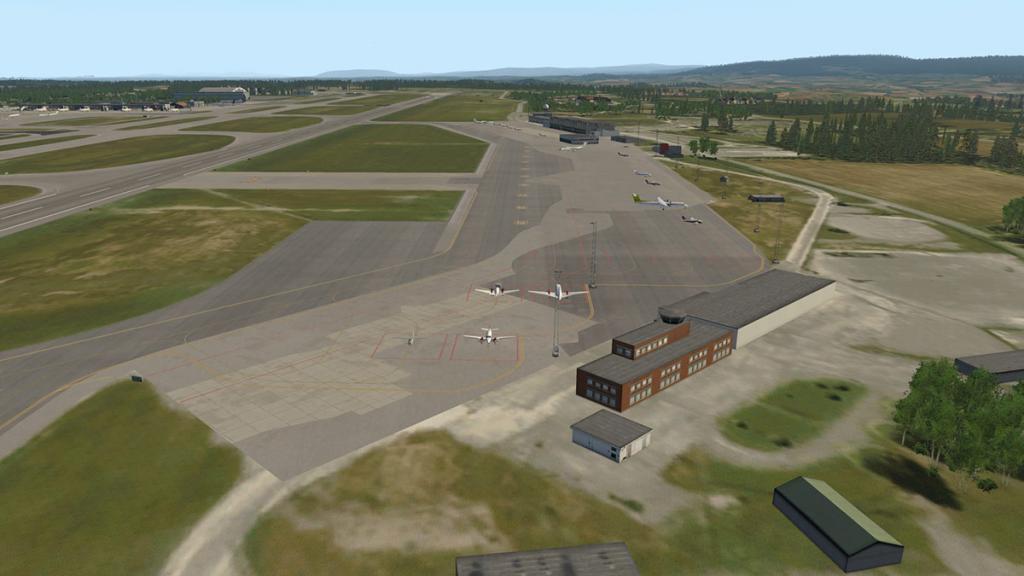

Certainly this area is part of the original Gardermoen airport as it looks and feels far older.
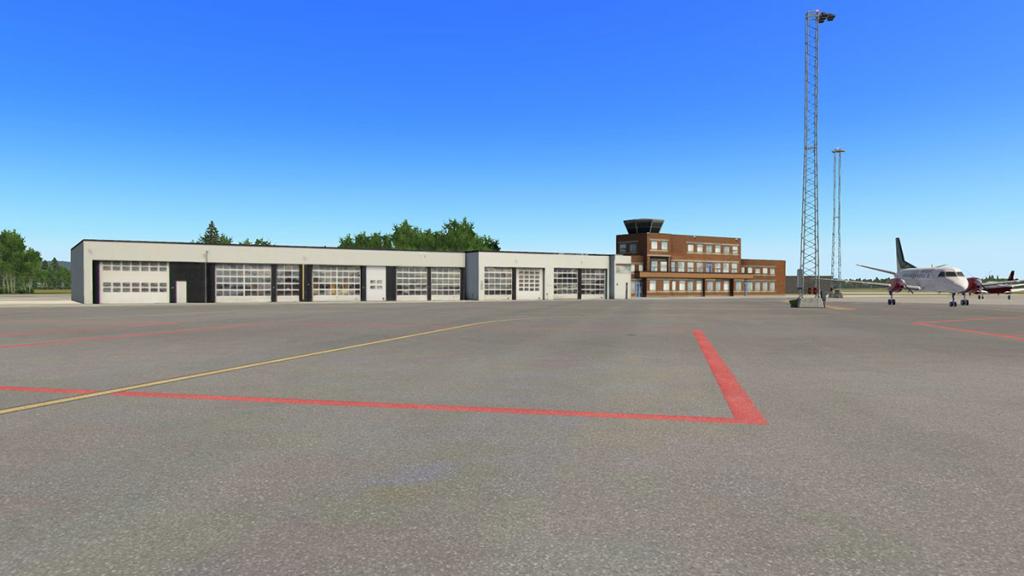
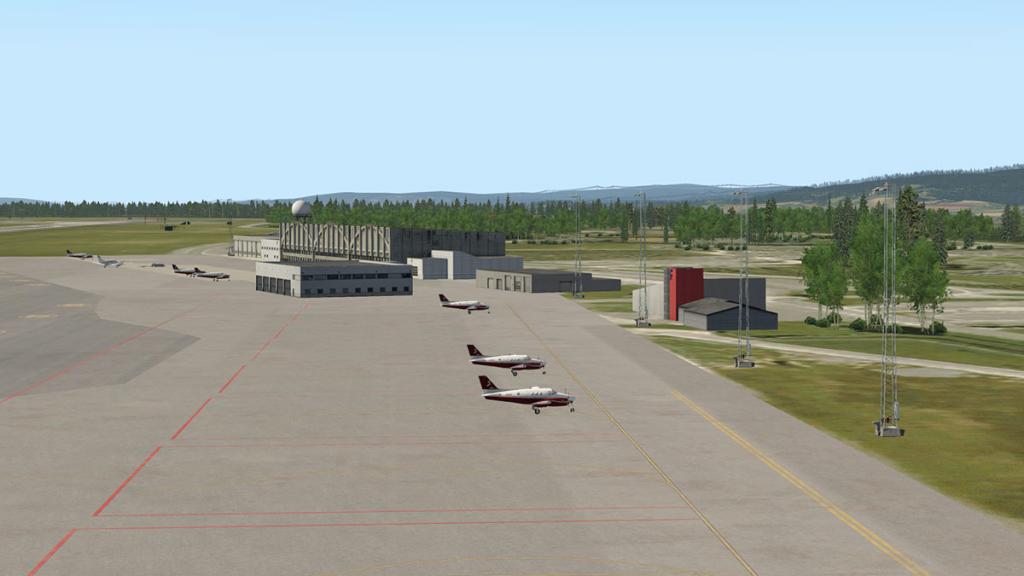
The GA ramp with the Fire Station is mostly just the objects placed on the base, there is no fill in equipment or static aircraft (aircraft shown is WorldTraffic), so it is all a little bland out there, a few vehicles would have made it more realistic.
Military Area
The Military area is to the north of the main terminal complex. It is very much the same as the GA area with just basic fill of buildings and not much else.
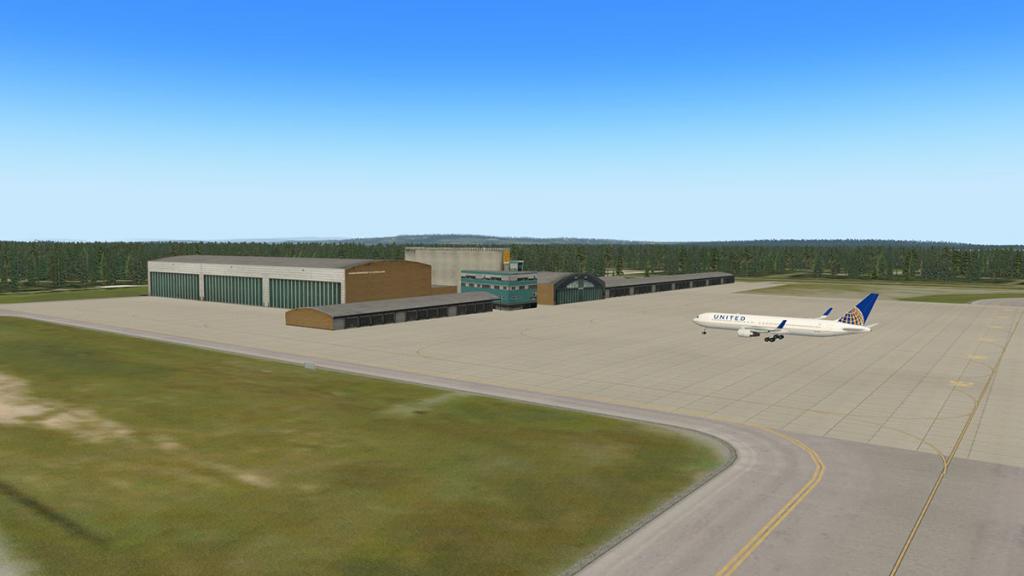
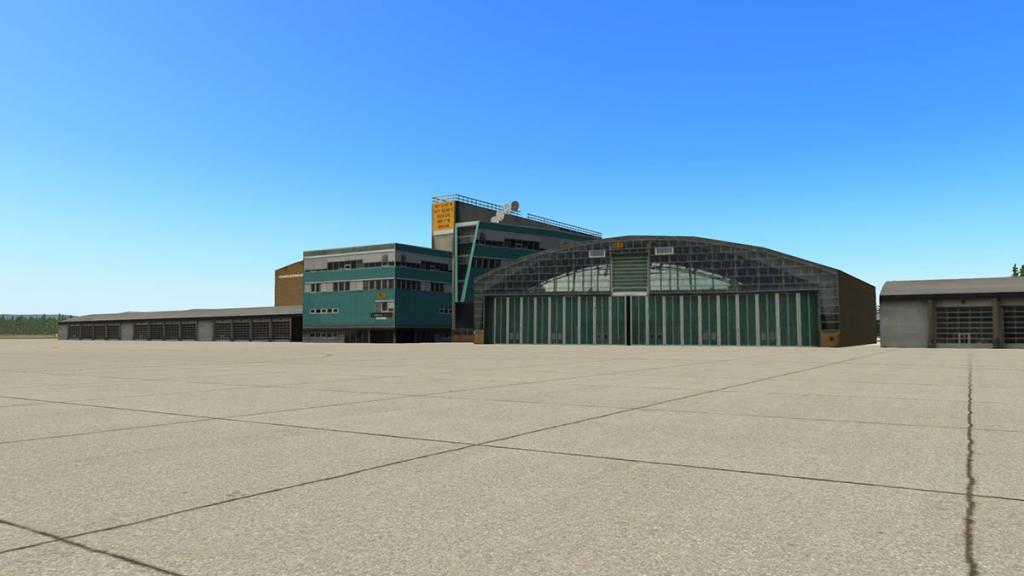
Gardermoen flystasjon is the location for the 135th Airwing and the 335 Squadron of the Royal Norwegian Air Force, which currently operates four of the originally five (see: 2012 Norwegian C-130 crash) recently procured C-130J-30 Super Hercules transport aircraft.
So the point of just adding in a few C-130's as static aircraft would have been nice... a wasted opportunity
Otherwise there are a lot of nice old fashion hangars hidden in the trees with a very visual tall radar tower that is the centrepoint of the airfield. To round off there is an engine test bay that is noticeable when landing or taking off from 01R/19L and taxiways S and H.
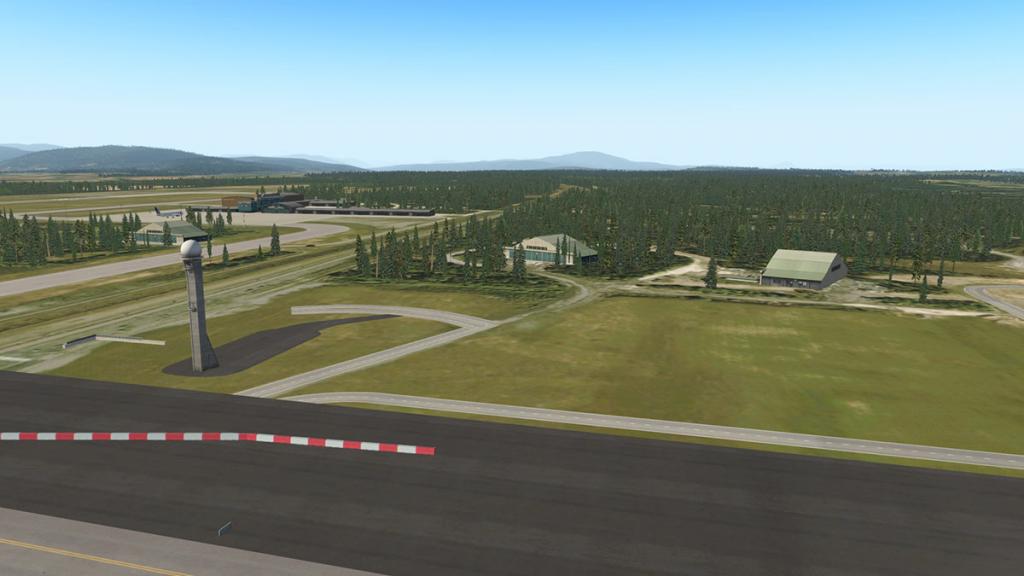
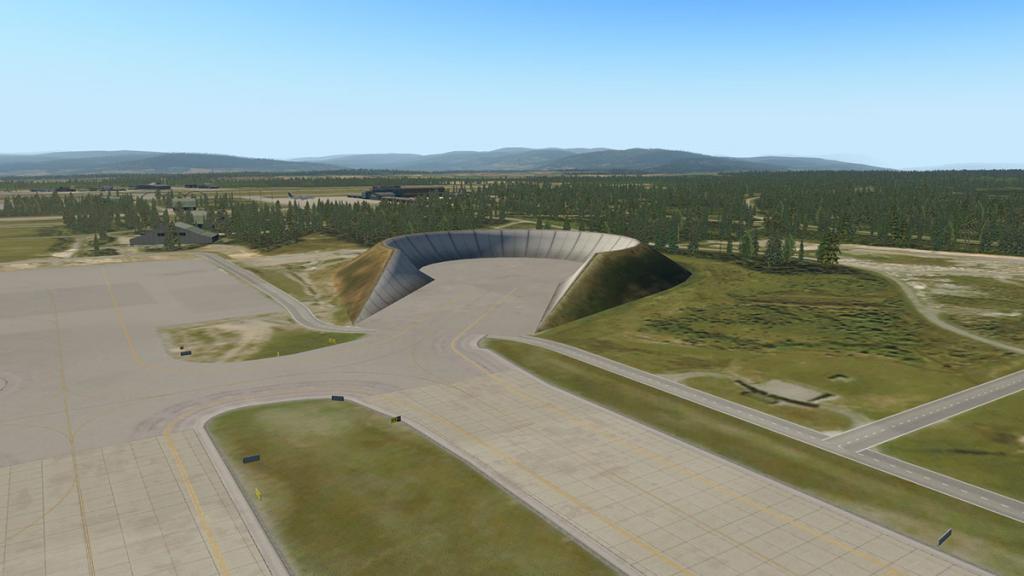
Lighting
Generally the lighting is very good, In the areas you need good lighting it works well and gives you great coverage.
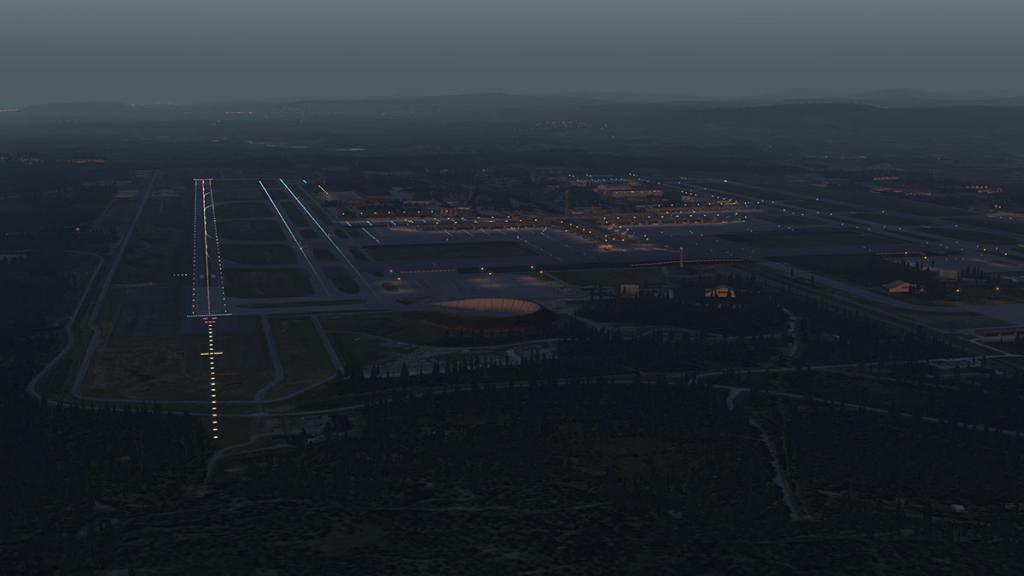
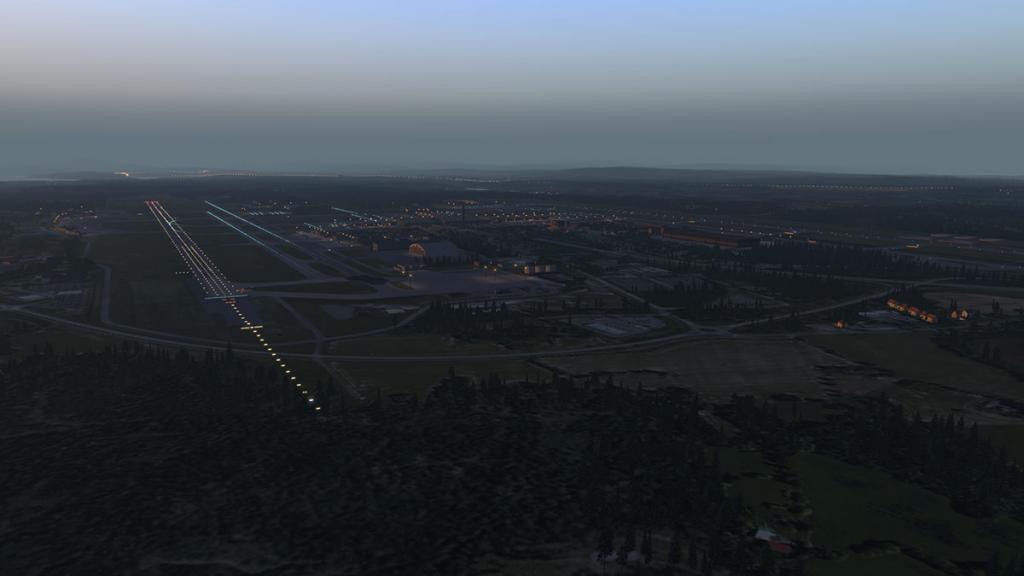
Runway, taxiway lighting and night signage is excellent with a very realistic approach at night. Focus is of the lighting is on the main terminal and ramp areas.
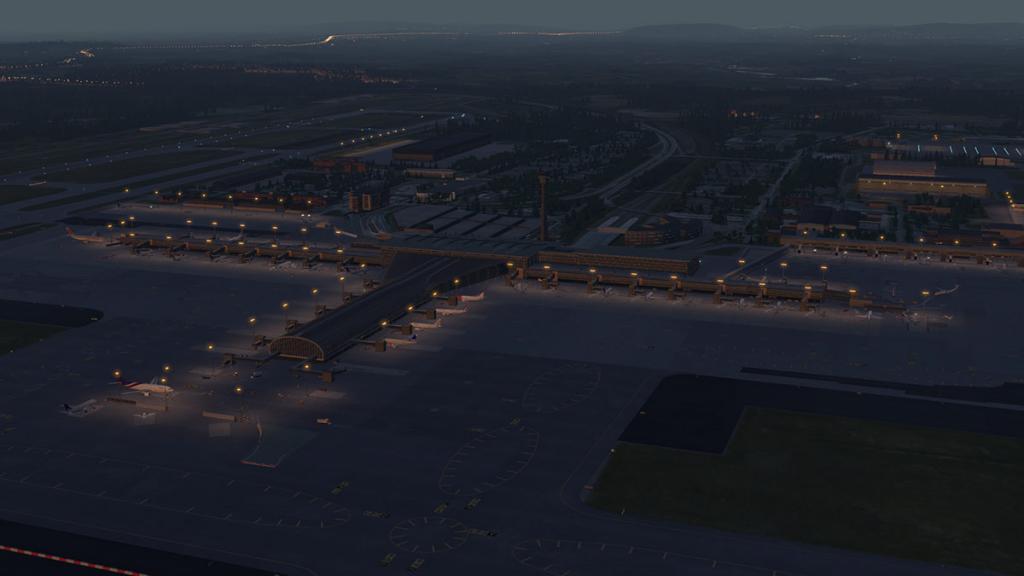
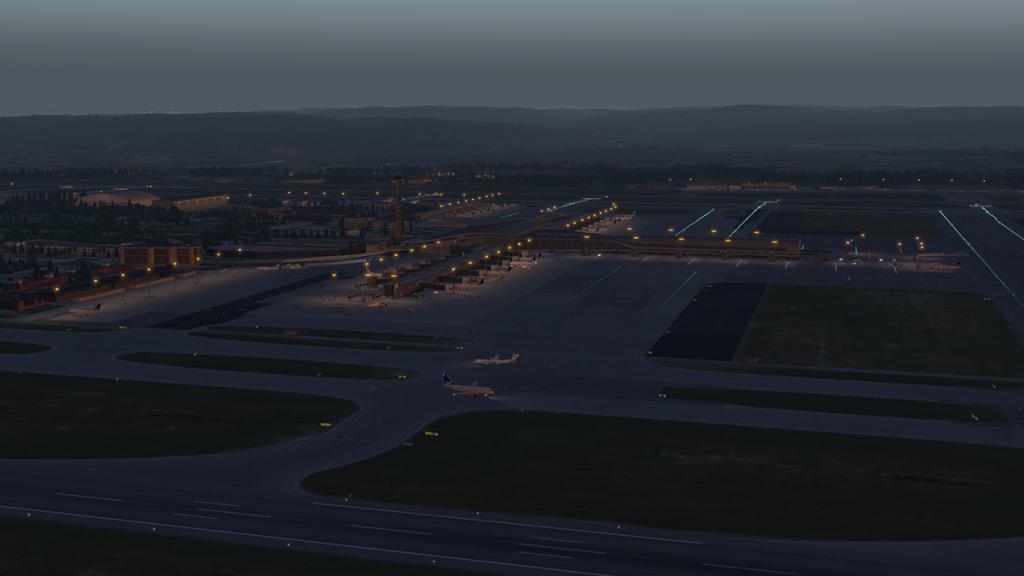
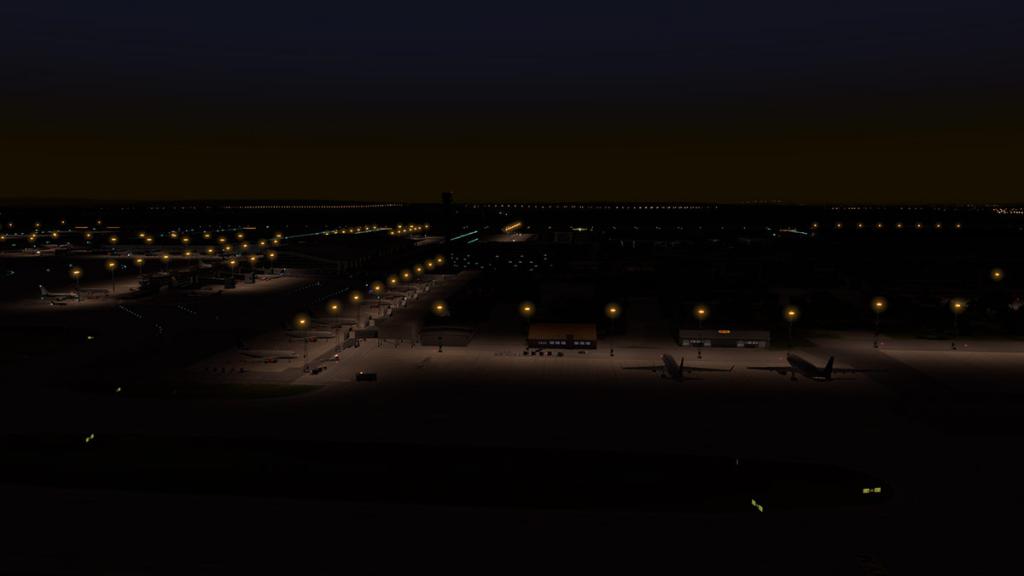
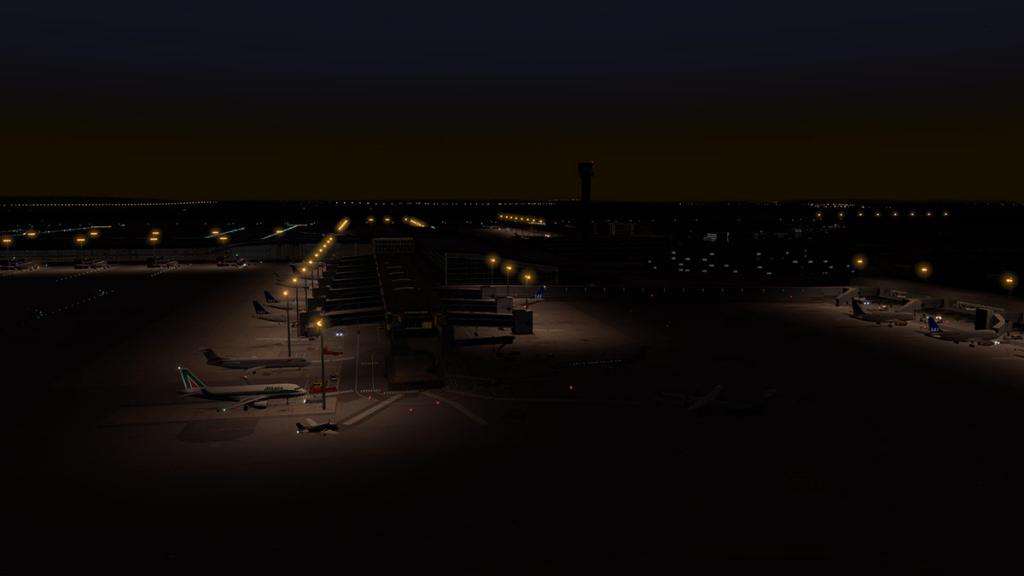
There is not much variation in the lighting colours, but the actual lighting towers are really well done and look great in the daytime as well as working lit at night.

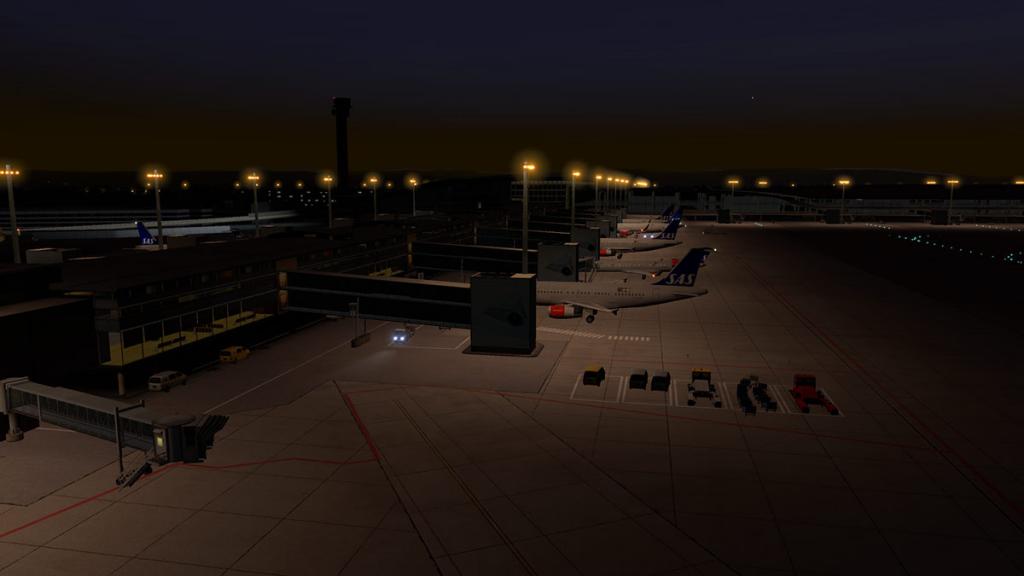
All ramp areas are great to work in at night, you get nice coverage and it feels great for any departure or arrival once the sun goes down.
Terminal lighting is basically dark (grey) at night, so the buildings don't quite light up, so they loom around you a little dark. Off terminal areas are well lit like the de-iceing areas (There are four in Alpha South, Alpha North on RWY's 01L and 19R and Bravo North 19L).
Services
SAS and Norwegian Air Shuttle dominate ENGM Gardermoen as it a hub for SAS, while it is the main hub for Norwegian. Most main European carriers including British Airways, Lufthansa, Austrian Airlines, Air France (HOP!), Aeroflot, KLM, Swiss, TAP and more but a lot of charter airlines like Thomas Cook, Thomson, TUi also fly seasonal. Widerøe is the big local regional airline to be based here.
International is covered by Emirates, PIA, Qatar Airlines, Turkish and Thai Airlines.
Summary
The core of Aerosoft's ENGM - Oslo Gardermoen is excellent, this is certainly a great destination and you get a great feel and a lot of use out of the airport when you use it. The main terminals and associated buildings and ramp areas are also very good, beautifully constructed and very realistic of the real modern Gardermoen with fully animated vehicles and full docking features on every stand and gate.
The airports layout is excellent as well with great intergration into the X-Plane landscape, nice ground textures and lots of great grass to take away the flat photgraphic feel of the ground plates. Full ground routes are implemented (although I might note the front in parking is maybe a turn around parking setting).
Negatives are in reality small, but still highly noticeable. No "Tower View" is really a no, no for payware developers... Outside of the central terminal areas there is very little vehicle or static aircraft placement and it is very visible in creating empty spaces where there should be none, diitto with just the basic building objects and textures to fill out an area, and a bit more building creativity and fill could have been used.
But totally overall ENGM is excellent scenery to get a lot of use out of if you need a very good northern Scandinavian port then you can't go past this scenery as to be part of your collection. I already love flying in and out of this Aerosoft scenery and is certain to make a use of it in the future, so for me it is a certain addition to the network, you just have to add in only a few vehicles and static aircraft to make it a total 100% perfect scenery.
ENGM could have easily been an airport to very easily slip under your network radar, but Aerosoft's ENGM - Oslo Gardermoen shouldn't be... as it is good to great scenery that will be good scenery for great long future use in the simulator.
____________________________________________________________________________________

Yes! ENGM - Oslo Gardermoen by Aerosoft is NOW available from the X-Plane.Org Store here :
Price is US$24.95
Features:Features:
- Realistic recreation of Oslo airport Gardermoen
- Highly detailed Terminal models and photo real textures
- High resolution runway and taxiway textures
- Highly realistic night time effects
- Interior models included for Terminal buildings
- Supports X-Planes „runways follow terrain“ features
- Custom Jetway animations (Autogate plug-in required)
- Custom Aircraft marshaller (Autogate plug-in required)
- Visual Guidance Docking Systems (Autogate plug-in required)
- Replaces X-Plane 11 ground equipment models with custom local models (X-Plane 11 only)
- Highly detailed clutter objects
- Custom Wig Wag models
- Custom animated windsock model
- Seasonal Textures included (seasons plug-in required)
Requirements:
XPlane 11 or X-Plane 10.50
Windows XP / Vista / 7 / 8 / 10 or Linux or Mac
2GB+ VRAM Video Card
Download-Size: 320 MBInstallation and documents: Download is 344.80meg and the scenery is deposited in the "Custom Scenery" X-Plane folder in this order...
Aerosoft - ENGM Gardermoen (958.60mb)
Aerosoft - ENGM Gardermoen - Roads (9kb)
zzz_Aerosoft - ENGM Gardermoen - Mesh (12.50mb)
Note the zzz_ mesh must be positioned below the other folders, use the "scenery_packs.ini" (text) to adjust the order.
Marginal's jetway and docking guidance system plugin is required for the animated marshall and jetways : AutoGate plugin 1.72
Full manual is provided (24 pages) in German and English.
Full set of charts are also provided (49 pages)
____________________________________________________________________________________Review by Stephen Dutton24th May 2017Copyright©2016: X-PlaneReviews(Disclaimer. All images and text in this review are the work and property of X-PlaneReviews, no sharing or copy of the content is allowed without consent from the author as per copyright conditions)Review System Specifications:
Computer System: Windows - Intel Core i7 6700K CPU 4.00GHz / 64bit - 16 Gb single 1067 Mhz DDR4 2133 - GeForce GTX 980/SSE2 - Samsung Evo 512gb SSD
Software: - Windows 10 - X-Plane 11 and also used in X-Plane v10.52
Addons: Saitek x56 Pro system Joystick and Throttle : Sound - Bose Soundlink Mini
Plugins: Environment Engine by xEnviro US$69.90 : JARDesign Ground Handling Deluxe plugin - US$14.95 : WorldTraffic 2.0 Plugin - US$29.95

-

Sound Update : BSS v4 for JARDesign A320NEO
Blue Sky Star Simulations have updated their excellent JARDesign A320NEO sound package to v4. More refinement and more sounds are now part of this sound experience, there is over 400mb of sound files in here now to create the most complete aircraft sound package in X-Plane.
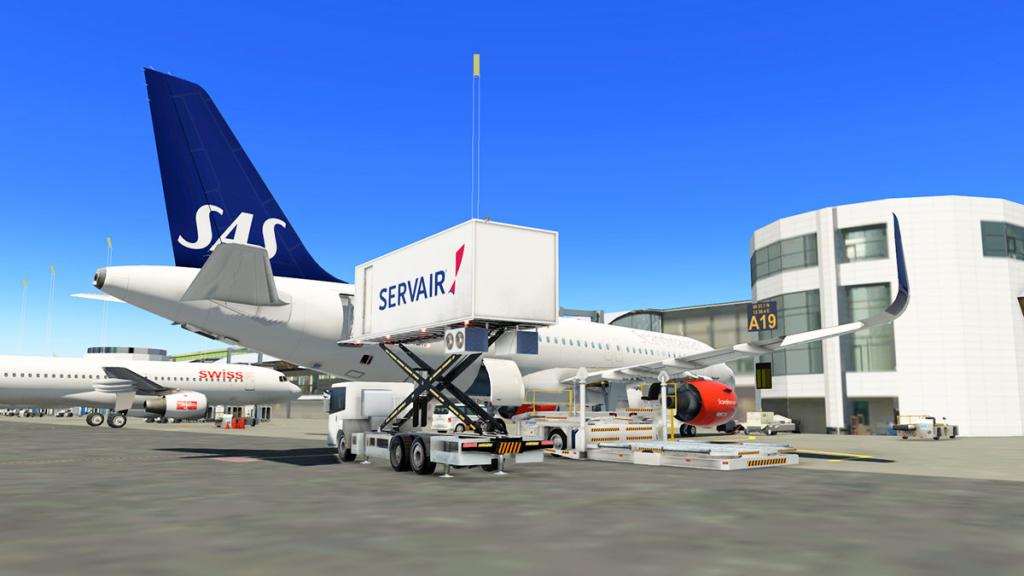
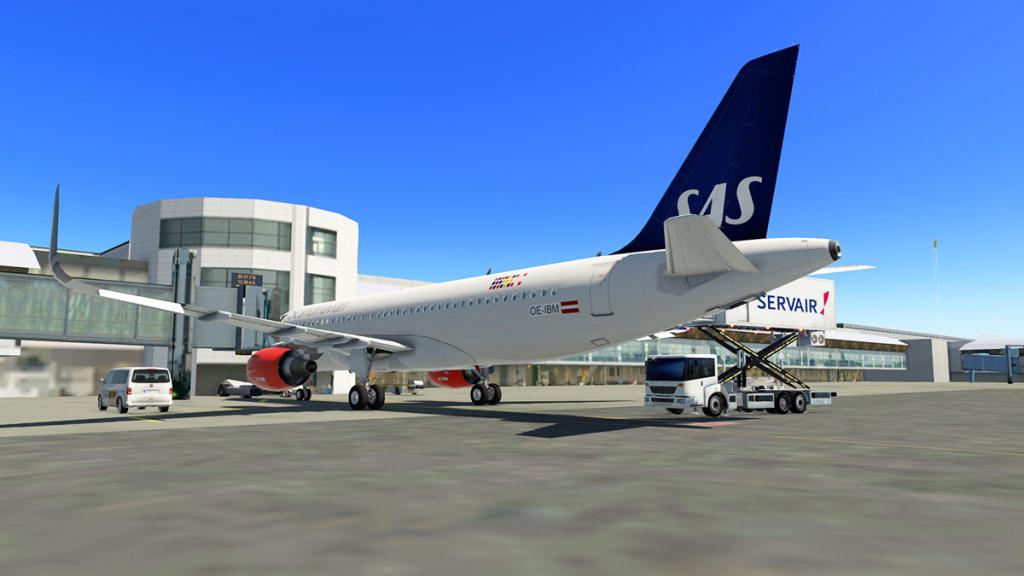
There are simply just too many sounds to cover here and both the CFM56-5B and IAE V2500 Engines are updated to the new v4 specification (note the CFM Installation sound pack is required for the IAE sounds).
From start up to shut down every switch and every noise you can make on a real A320 aircraft is brilliantly replicated here.
New in the v4 update is first the cockpit and system sounds:
-Avionics fan and sounds
-Bat relay
-Blower
-Extractor
-Numerous switching/selectors/buttons/rotary/levers
-Cockpit door, lock
-PAX chatter
-Hydraulics
-Packs
-Packs smooth and correct timing
-Packs air will depend on engine thrust
-PTU
-Relays
-Tray table
-Outside blower/extractor
-Outside packs
-Open door logic sound smoother
Aircraft movement has been enhanced with :
-Centerline thumps, depending if nose wheel actually riding on centerlights
-Roll sounds
-Ldg gear turbulence
-Touchdown
-Panel shake
-Brake fans
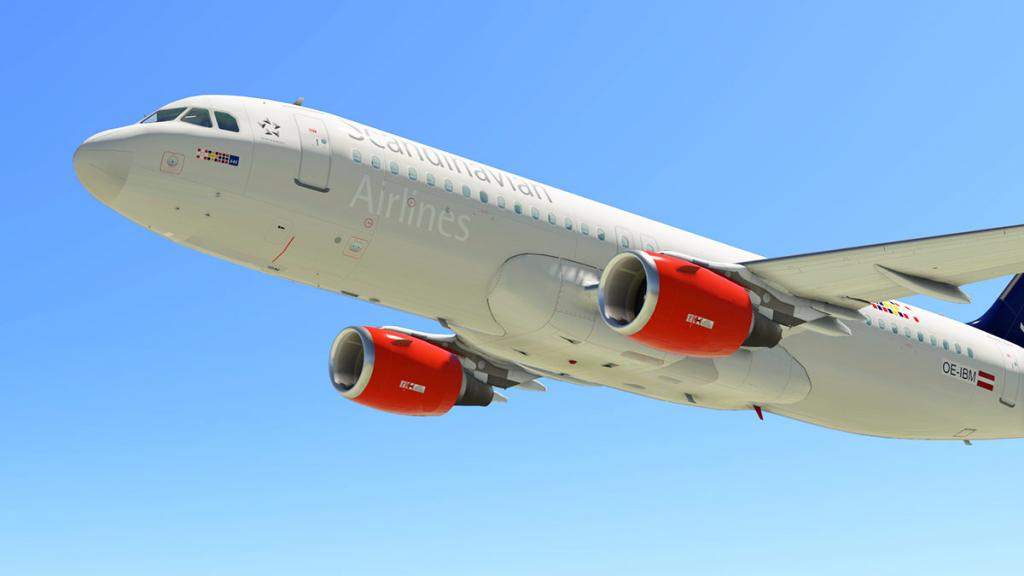
And with new surface sounds:
-Turbulence depending on flap position
-Smart wind sound
-Engine cowling wind sound
-Spoilers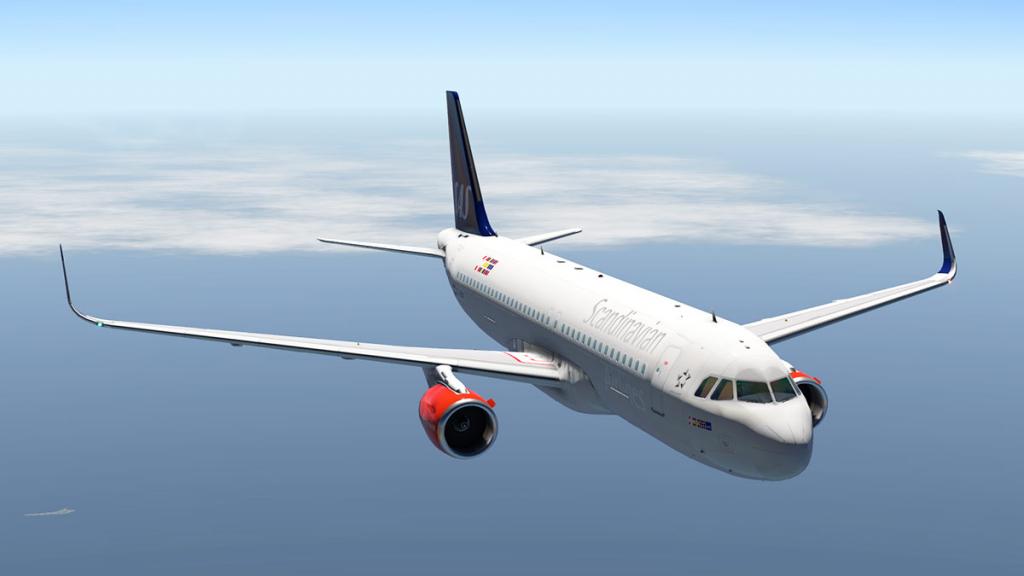

New engine sounds include both Engines CFM/IAE:
-Sound volumes have been reworked to be the most realistic sounds you can get for an A320 aircraft, and all sounds are measured by prof. hardware in real the A320 aircraft.
-Cold section air bite at low thrust
-Bleed air rush
-More clean sounds
-Compressor/Fan sounds depend on how much air passes through them.
I will note a couple of things. In the change from the earlier multiple sound packs to just one to insert into your JARDesign A320 plugin folder I found I lost a lot of the cabin sounds? In this v4 version they have been restored and the cabin now sounds correct (again).
Second is that I can't seem to adjust the external sounds very well? They are just as loud no matter were you put the "External" sound slider in the FMS and with the X-Plane default sounds off? They sound great of course, but are quite loud if you switch often between the internal or external views.
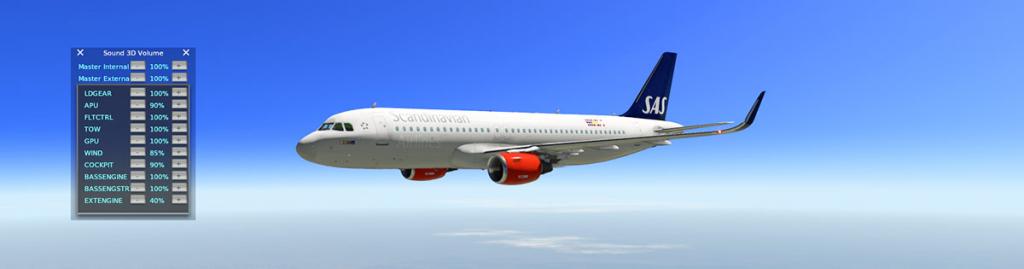
There is there some help in "Sound3d (Custom)" menu available from the "plugins" menu were you can adjust the sounds, but the external goes almost to the 10% before it drops in volume, but at least you can cut a little of the overbearing noise here.
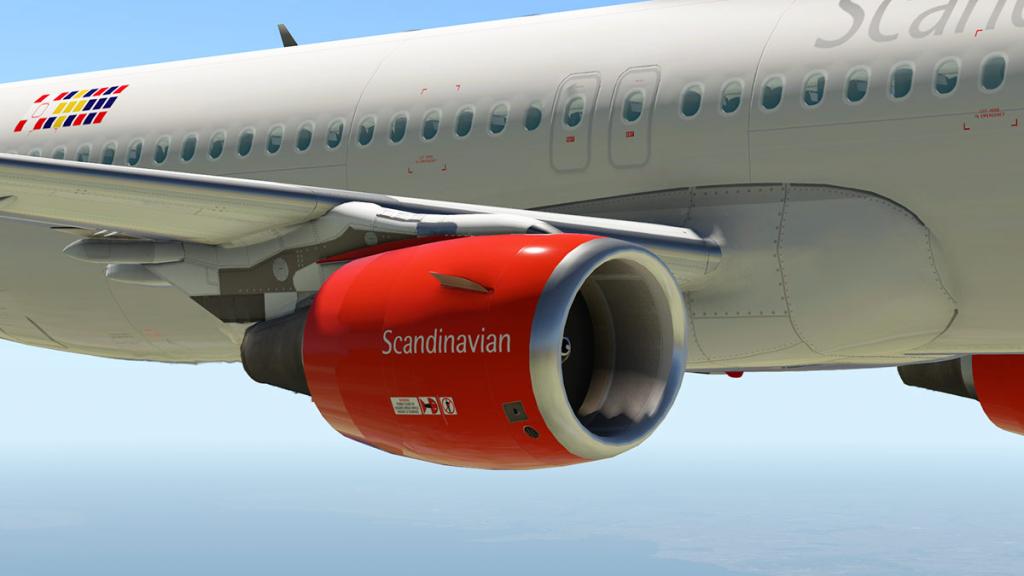
There is also the option of adding in "Optional FA announcements" that are added into the "Custom Avionics folder.
Another option is to assign certain key commands to certain sounds...
ADF 1 flip standby – ATC chatter
ADF 2 flip standby – Passengers (the sounds will be playing corresponding to a status of cabin door)
Lavatory flush – white flashlight button (have to assign)
However I don't know why they couldn't have assigned these sounds from the keyboard plugin assignments?


Like engine startup, then shut down is a feast for the ears, and engine thrust changes are now more noticeable with the better gear wind noise also adds to aural feel, and altogether it is simply sensational on landing.

Always a big fan of excellent sound which I feel was very much neglected in X-Plane and so then if you want the best aircraft sound to date then this is it. Blue Sky Star Simulations are the best in the business and it shows here. If you have already purchased the BSS sound pack for the JARDesign A320neo, then go to your X-PlaneStore account and upgrade to v4 for free, If you want the BSS sound package then go to the X-PlaneStore below, but you have to have already the ARDesign A320neo to fit the package.
______________________________________________________________________

Yes! the Blue Sky Star Simulation Sound Packages by Real Pilots is available from the new X-Plane.Org Store here :
Airbus A320neo
 JARDesign A320 CFM Main Sound Expansion Pack
Price is US$19.99 (JARDesign Airbus A320neo US$59.95 is Required to use this sound pack)
 JARDesign A320 IAE Sound Expansion Pack
Price is US$7.99 (JARDesign Airbus A320neo and CFM main Sound Expansion Pack is Required to use this sound pack)
______________________________________________________________________
Blue Sky Star Developer Site : Blue Sky Star Company______________________________________________________________________Review by Stephen Dutton
22nd May 2017
Copyright©2017: X-Plane Reviews
(Disclaimer. All images and text in this review are the work and property of X-PlaneReviews, no sharing or copy of the content is allowed without consent from the author as per copyright conditions)

-
Aircraft X-Plane11 Update : AeroCommander Shrike 500s by Carenado
It was not hard to fall in love with Carenado's AeroCommander Shrike 500s. It was from the start one of the more of the recent times simply one of the easiest aircraft to slip into, lovely layout and had a great feel behind the controls. So it was an instant favorite.
Here is the X-Plane11 upgrade noted as v1.2, and it is free as the aircraft was released under the six month line banner between update and upgrade.
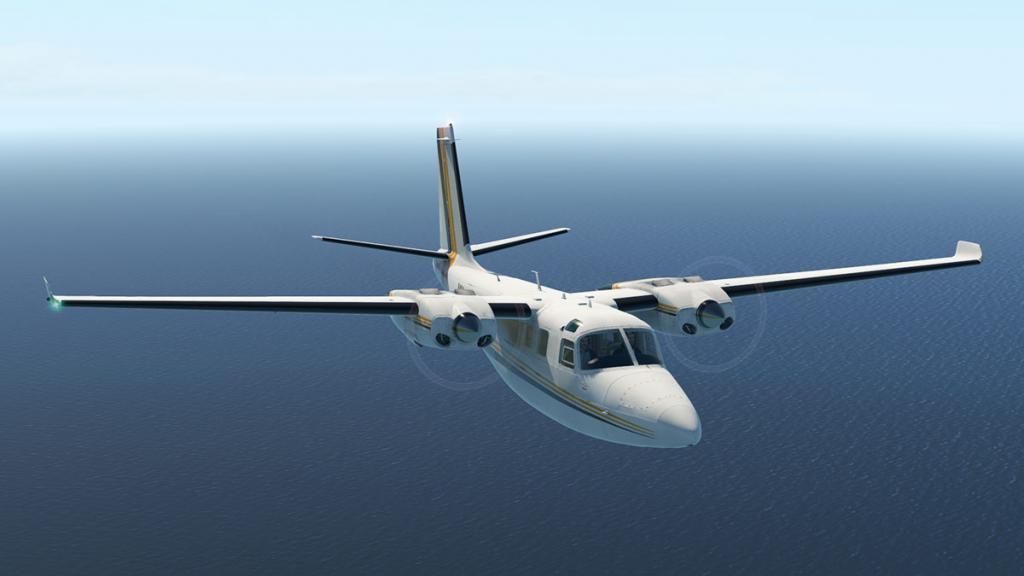

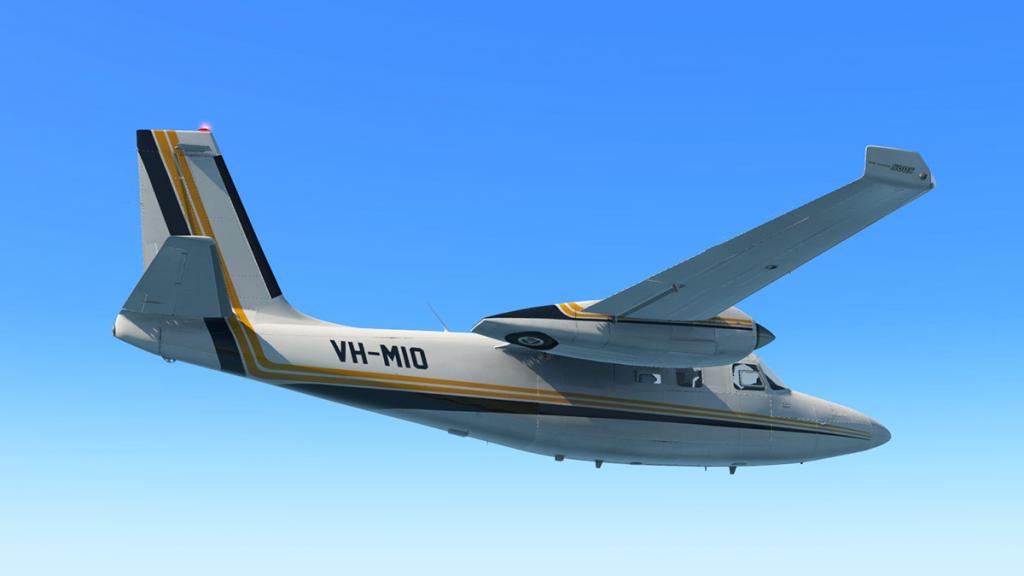

As the aircraft was only released late into 2016 there is not a lot of changes, mostly contained to re-calibration of gauges including the OAT gauge, fuel consumption (to match XP11), ground handling. I would note that the new XP11 engine thrust modelling has had a few adjustments as it feels spot on, but the adjustments are not noted in the upgrade notes.
Of course any new aircraft needs changes in X-Plane11 for the PBR (Physically based rendering) feature and that has been done here for the exterior and interior areas.
Your 500s now looks like you have spent a very hard afternoon with the wax polish, and the results look amazing. Shiny and it now shows off the fuselage to its best condition since the aircraft came out of the factory.
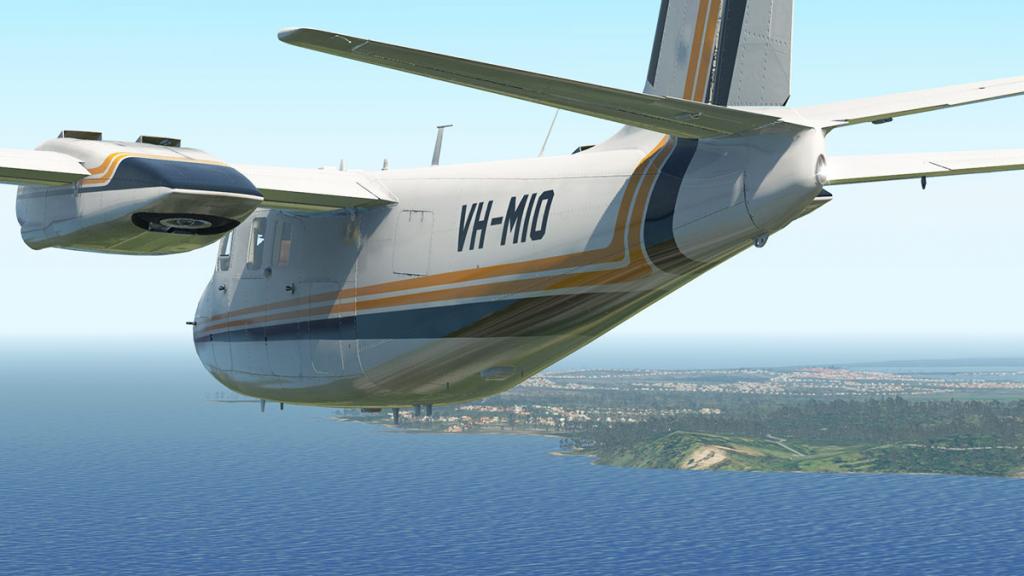
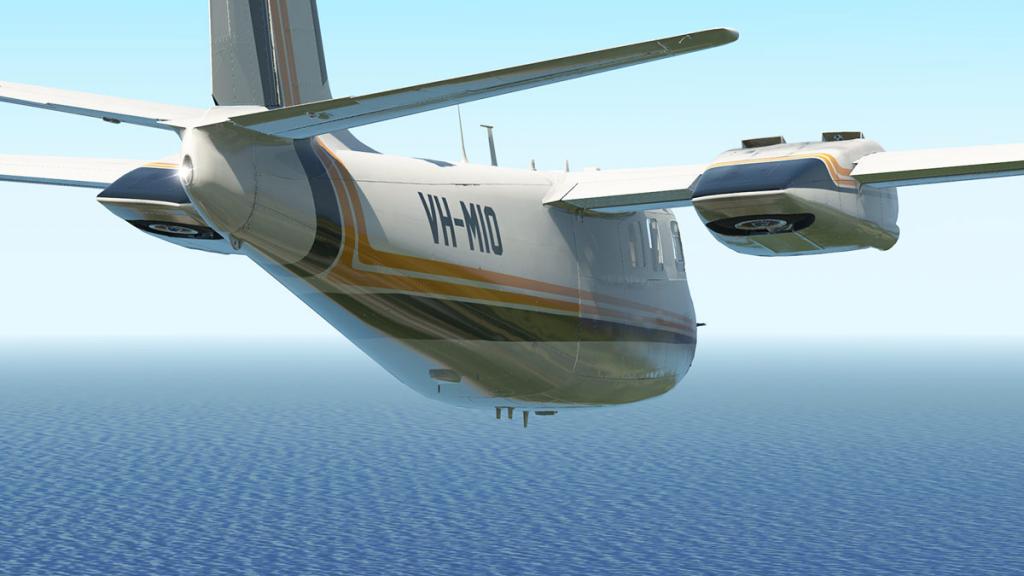

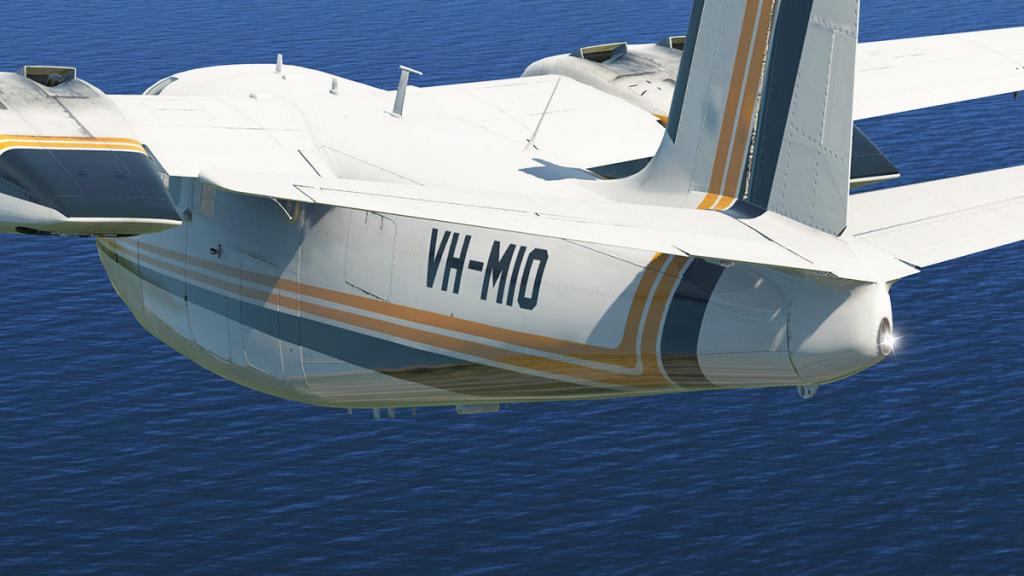
The excellent detailing looks better as well, Carenado are masters at making aircraft look realistic, and the Shrike looks every bit of the part of that.

The instrument panel was always a little flat in that grey primer feel, but PBR and new the texture work does lift it a little.

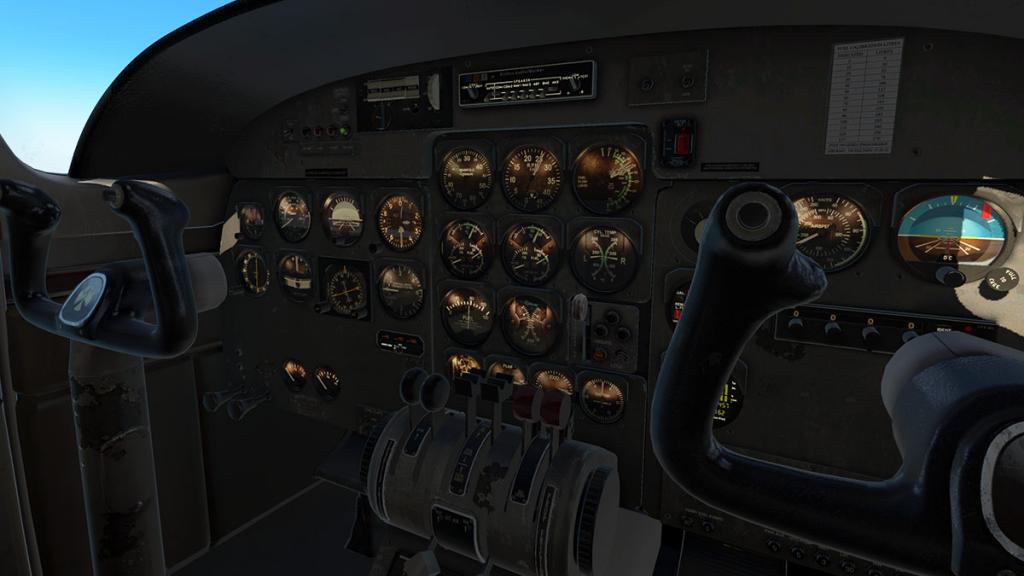
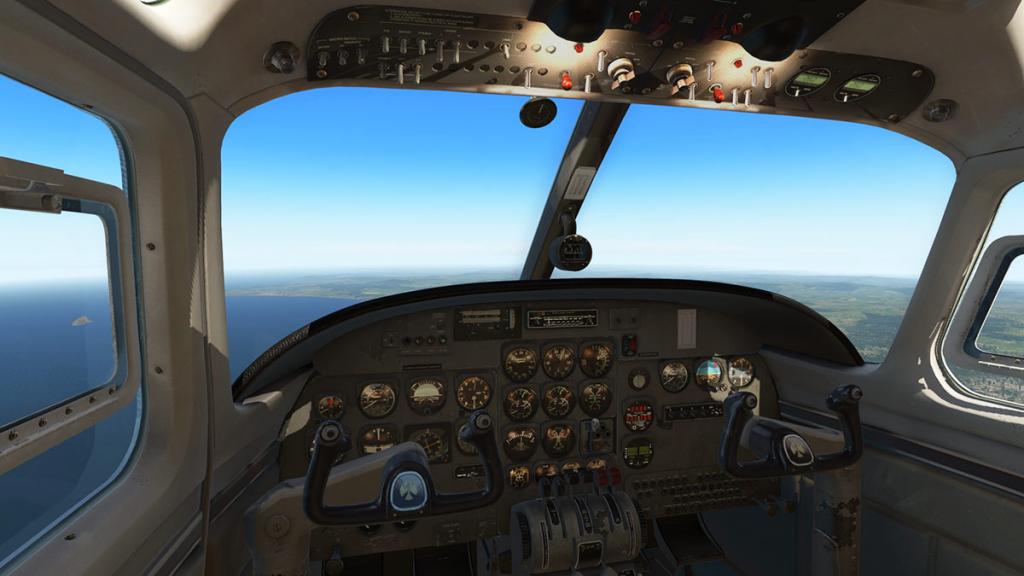

The lighting has had a few tweaks and the “SuperManipulator” (proprietary scroll wheel) has been replaced with a X-plane-native scroll wheel control. In some ways it is a lot better than the SuperManipulator, it was very good but very twiddly to use sometimes, the default scroll wheels are far easier to use.
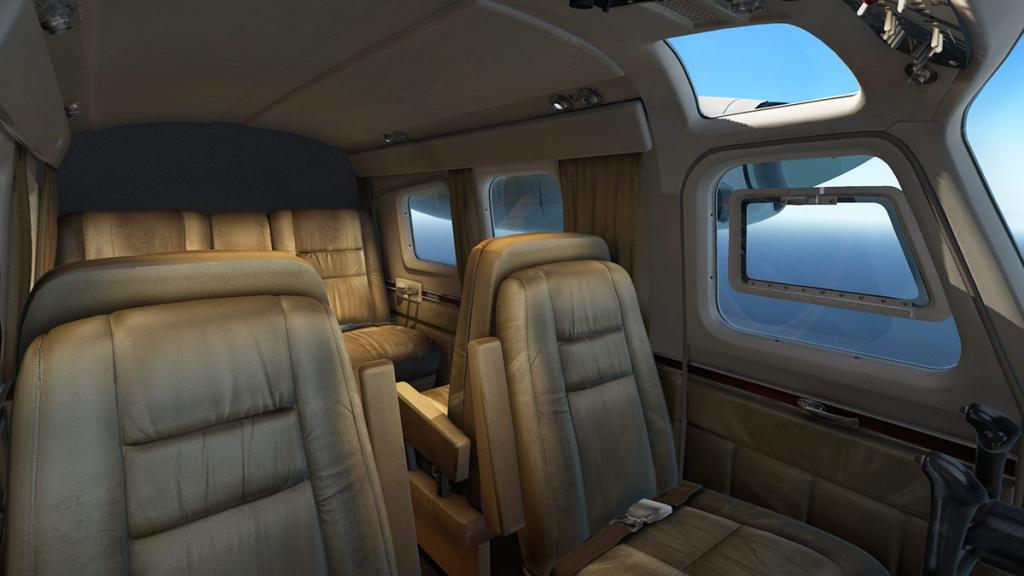

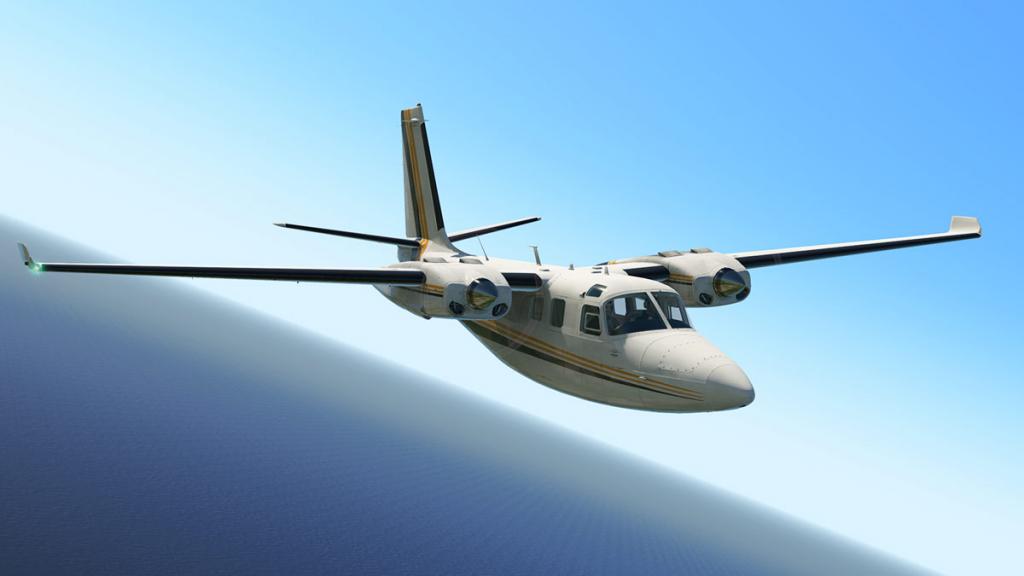


Ground objects are still a little scarce, just a few cones, engine inlet covers and tags, but all the doors work with an opening baggage compartment (no bags).


The AeroCommander Shrike 500s was pretty complete on release, but this upgrade does bring it right up to X-Plane11 compatibility. The 500s was brilliant before and it is totally brilliant now, well worth the upgrade or purchase.
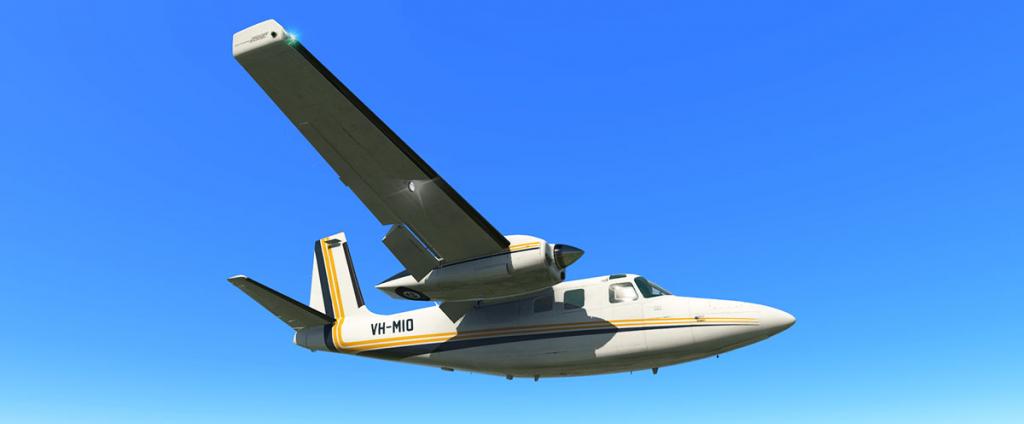
______________________________________________________________________

Yes! the AeroCommander Shrike 500s by Carenado is NOW available from the new X-Plane.Org Store here :
AeroCommander 500S SHRIKE HD SeriesPrice is US$32.95
There is now two version of this aircraft for both X-Plane10 and X-Plane11 (the review is for the X-Plane11 version)
If you have already purchased the Carenado AeroCommander 500s then go to your X-PlaneStrore account and upgrade to v1.2 (free).
More detailed X-PlaneReview of the AeroCommander Shrike 500s release can be found here:Quick Flight Review : AeroCommander Shrike 500s by Carenado
Features Include:
Part of the HD Series - High-Definition Aircraft:
Features:- Amazingly realistic interior - almost indistinguishable from photographs
- Makes full use of HDR lighting for realistic interior and exterior illumination
- Old, weathered, gritty textures that reflect the age and usage of this plane.
- Around 100 wave files for detailed and immersive 3D audio
- Cockpit switches' sounds are placed in 3D space, which affects loudness and pan.
- Outside engine sounds spill in through open doors and windows.
- Custom programmed Shadin digital fuel flow management instrument
- Custom programmed electronic CHT/EGT instrument
- Custom programmed classic Bendix/King Autopilot
- The above instruments come with 2D pop-up windows
- Custom programmed flight dynamics, to match POH values with more precision
- Immersive visual cockpit effects, such as dynamic reflections on instrument glass
- High resolution 4k textures throughout, with optimized 3D mesh and FPS-friendly logic
- Copilot figure appears/disappears, depending on set payload weight.
- Original 500S Aero Commander autopilot installed
- New and improved multi-function scroll support
- Volumetric side view prop effect.
- Default X-Plane GNS530.
- HD quality textures (4096 x 4096)
- 350 pixels / meter textures
- Custom audio plugins with extra effects for added realism
- 3D gauges
- Original HQ digital stereo sounds recorded directly from the real aircraft
- Customizable panel for controlling window transparency, instrument reflections and static elements such as wheel chocks and turbine inlet/exhaust covers.
- Realistic behavior compared to the real airplane. Realistic weight and balance. Tested by real pilots.
- Realistic 3D night lights effects on panel and cockpit.
- Individual passenger 3D reading lights and numerous HDR lighting effects.
- Dynamic loading/unloading of 3D parts and plugin logic for FPS optimization
______________________________________________________________________
Requirements :
X-Plane 11 or X-Plane 10.50+
Windows 7+ or MAC OS 10.8 (or higher) or Linux - 64bit Operating System3 GHz processor - 8GB RAM - 2Gb+ VRAMWindows users: Please ensure that you have all the Microsoft Visual C++ Redistributables downloaded and installed.Current version: 1.2 (last updated May 15th 2017)______________________________________________________________________
Installation : Download is 501.70 mb which is unzipped to your X-Plane Fighter folder at 544.00mb. Key authorisation is required.
Documentation : includes
- 500S Emergency Checklist PDF - 500S Normal Checklist PDF
- 500S Performance Tables - 500S Reference PDF
- 500S Autopilot Operation PDF - Recommended Settings PD
______________________________________________________________________
Quick Flight Review by Stephen Dutton
18th May 2017
Copyright©2017: X-Plane Reviews
(Disclaimer. All images and text in this review are the work and property of X-PlaneReviews, no sharing or copy of the content is allowed without consent from the author as per copyright conditions)
-
Helicopter Review : S-92 Sikorsky XP11 by DMO
After only a week behind Dreamfoil with their Bell 407, here comes another X-Plane11 compatible aircraft in the DMO S-92. That is great news for the lovers of helicopters and it means more diversity in your vertical flight flying.
DMO's version of the S-92 Sikorsky came out in 2014 after two years of development and was a excellent from the start (review : Sikorsky S-92 by DMO Flight Design). This is a heavy helicopter and it takes a few flights to adjust to it's particular flying dynamics. Once you feel and get the right controllability then it is a great machine to fly.
I did however approach this X-Plane11 upgrade with a little trepidation. My first forays into X-Plane11 helicopter dynamics were to say the least a little wonky... mostly on takeoff (aircraft trips badly very quickly to the right) and of course landing. But you quickly iron out your rusty feel and learn the new way of countering the forces. I think the new feel is because X-Plane11's thrust ratios are different, but more importantly is that flight model responsiveness is different as is the mass and scale. You have to of course adjust to these new parameters but the XP11 S-92 has also been adjusted to the new modelling as well. But get used to the new feel and it is more realistic. My fears in the end needed not have been so large, because the S-92 does fly and can be flown far easier, more realistic than the X-Plane10 version... in other words it is easier to fly.
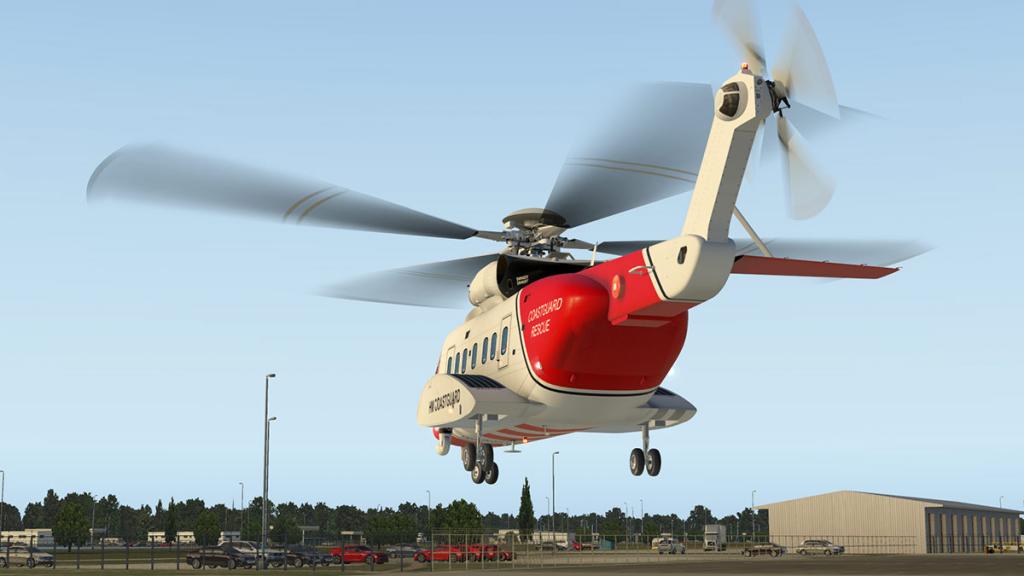
The DMO' S-92 comes with a huge amount of variants, in fact there is five in the:
S-92
S-92 SAR (Search and Rescue)
CH-148 (Cyclone)
S-92 VIP
VH-92 (Marine One)
S-92
The standard S-92 is the most popular for passenger or mainly Oil Rig transfers with15 seats.


S-92 SAR (Search and Rescue)
The SAR version has a NightVision Camera and NightSun Searchlight. The interior is medical with hoist.


CH-148 (Cyclone)
This is the Canadian multi-role shipboard helicopter CH-148. equipped with devices to search and locate submarines during ASW, and is equipped with countermeasures to protect itself against missile strikes.
This version has the SAR interior, but with a console position as well with working (moving) camera display.

S-92 VIP
The VIP is the executive version of the fleet. Club chairs and lots of nice wood dominate.
VH-92 (Marine One)
This is Trump's coming new toy. The POTUS is upgrading from the current SH-3 Sea King's to the new VH-92. The interior is very Presidential.
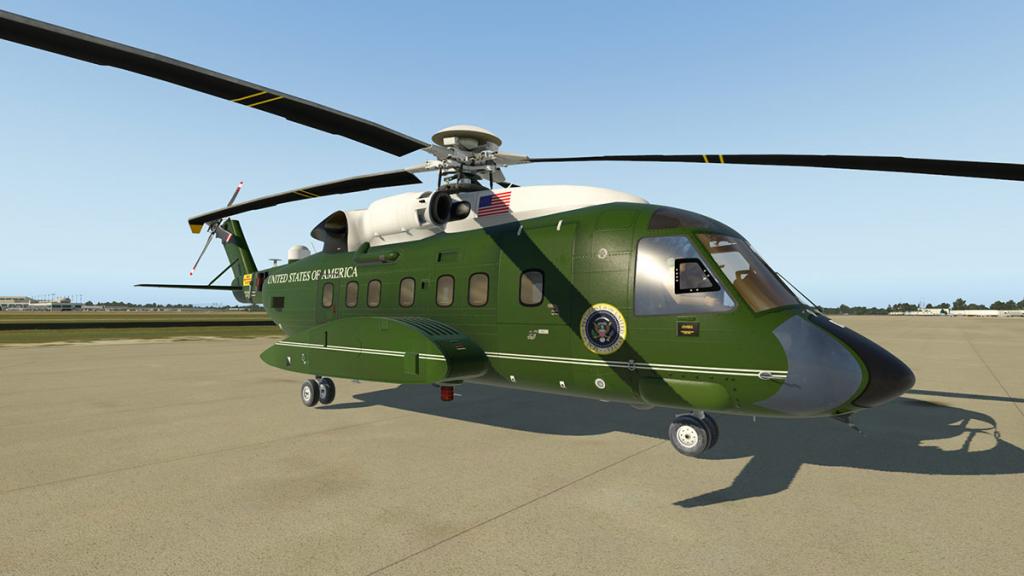

X-Plane11 Version
The S-92 looks far better in X-Plane11. The textures and maps have been redone to bring the best out of the aircraft. It does look sensational, but the cockpit is still a little dark.
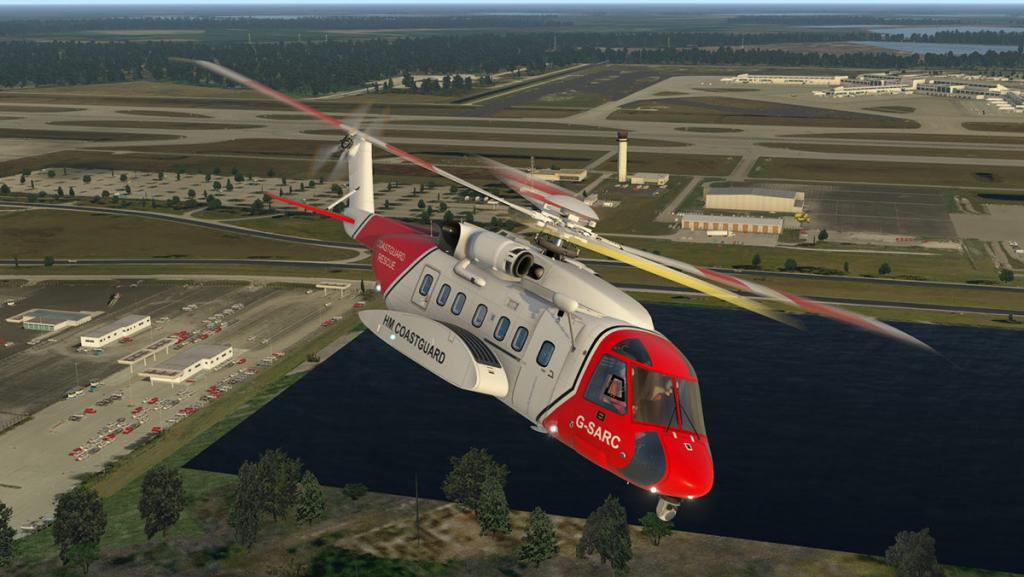
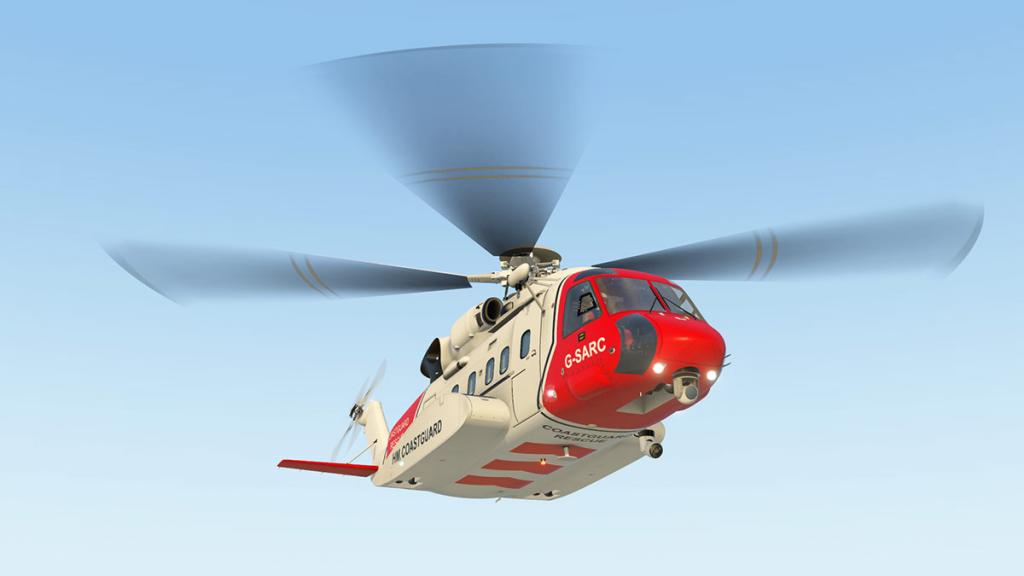

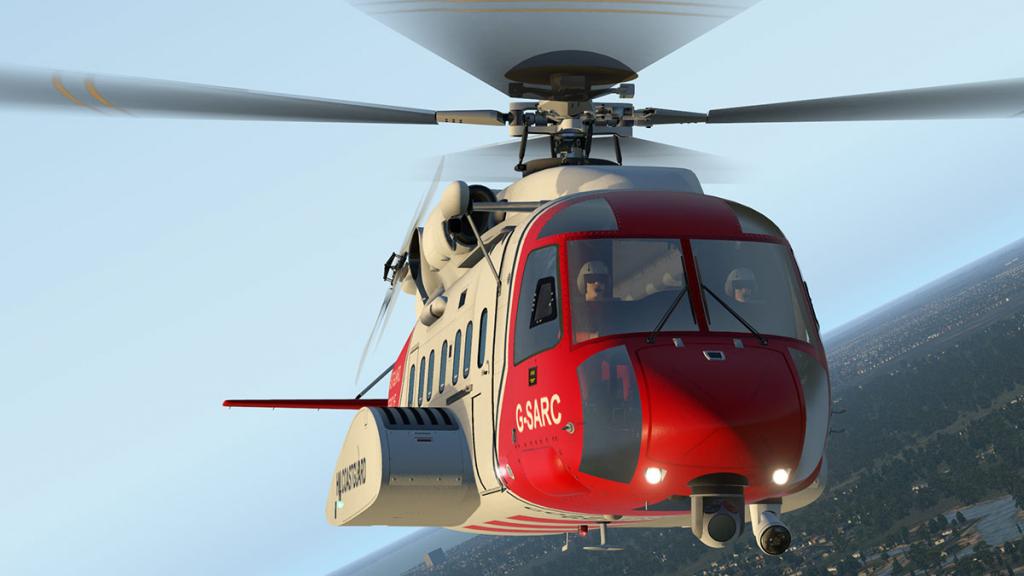
Rotor blur has been improved and is more realistic and on rotor slowdown it has been improved with a new plugin function. As noted in the notes...
"A new plugin increases the effective strength of the rotor brake, allowing the brake to “stop” the rotors from spinning while the main engines are at idle. Props seem to never quite stop completely in the sim, but they will now slow down to less than 2% of the designed rotor RPM with the rotor brake applied and both engines running."
Some engine parameters are now different in XP11, the flight models have been adjusted (namely the starter) to work under these new parameters. as the engine starter from version 1.3 will not successfully start the engines in XP11
Glass is excellent and more highly realistic as also are the metal parts of the aircraft (note the door slider). The APU (single) exhaust appears now on only the left side of the aircraft.


There are a new gear deployment sounds, low rotor alarm, master caution alarm if you can hear them above the rotor noise. All new sounds will move to the newer FMOD sound engine as X-Plane11 progresses to the even more better sound to come.
The old 2d panel is gone. In reality there is not much use for a 2d panel in helicopters, you need to move and see down (or up) for landings and winch work, so in a way a 2d panel is useless and in reality X-Plane has moved on from 2d panels.
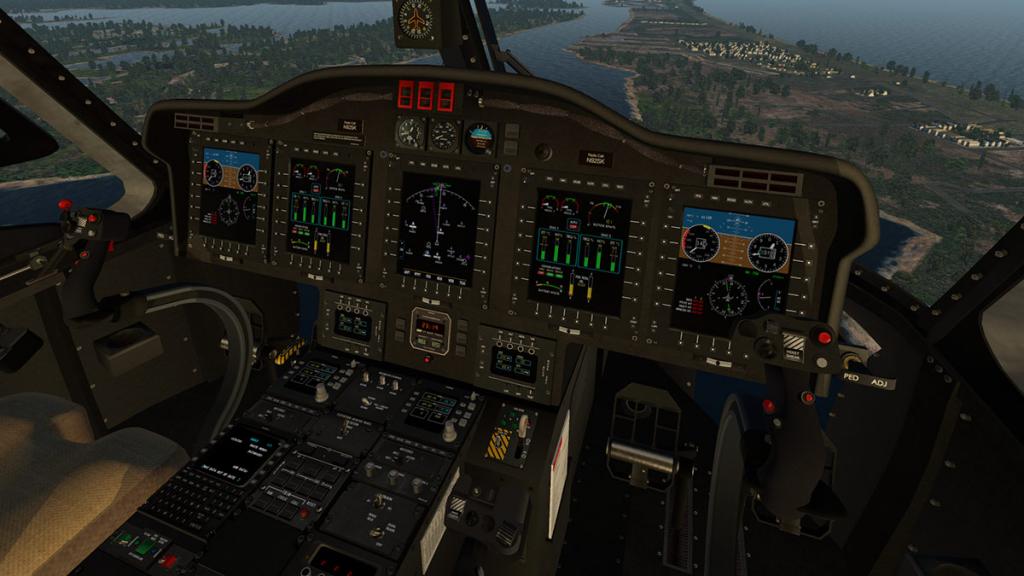
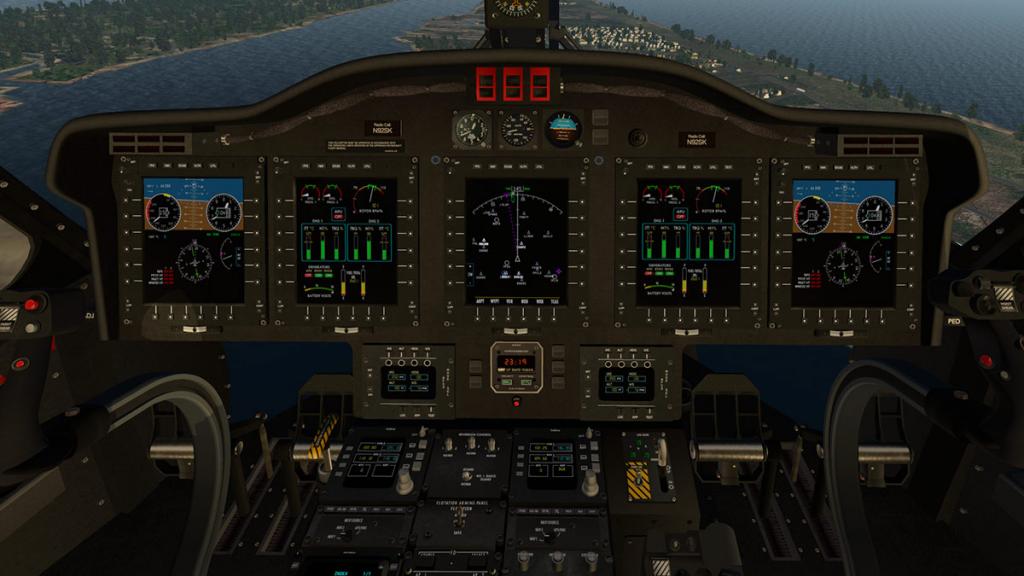

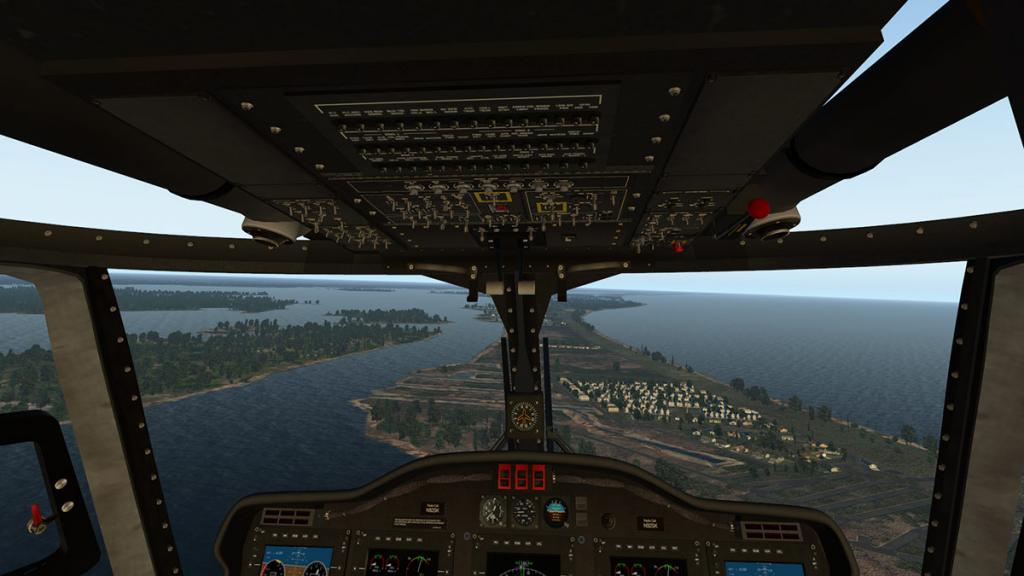
As noted it is a very dark cockpit in the S-92, but XP11 features do bring in a little life in here. note the lovely metal switchgear but you do miss the shiny display panel and glass reflections that is on most aircraft now.
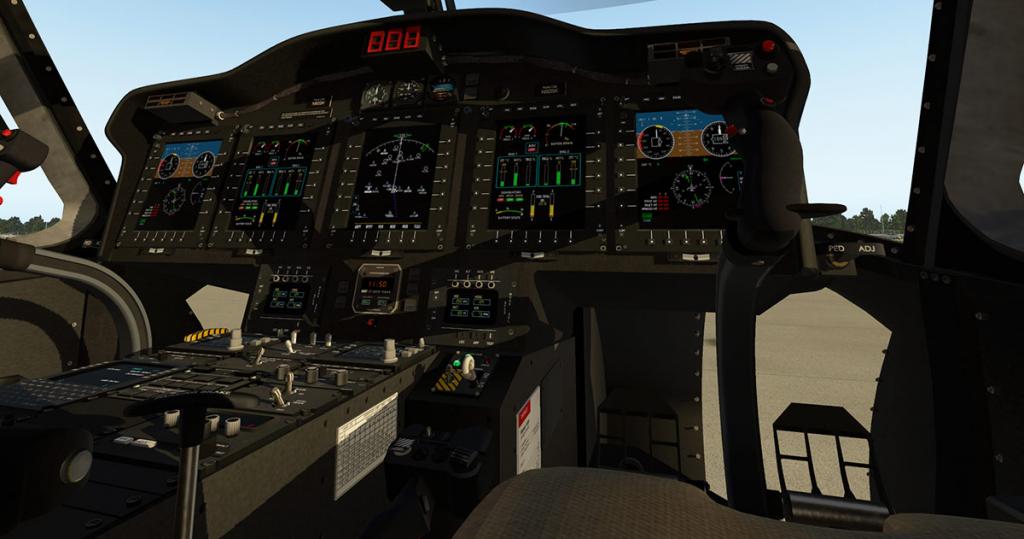
New XP11 FMS (below) has been installed and the panel pops out...
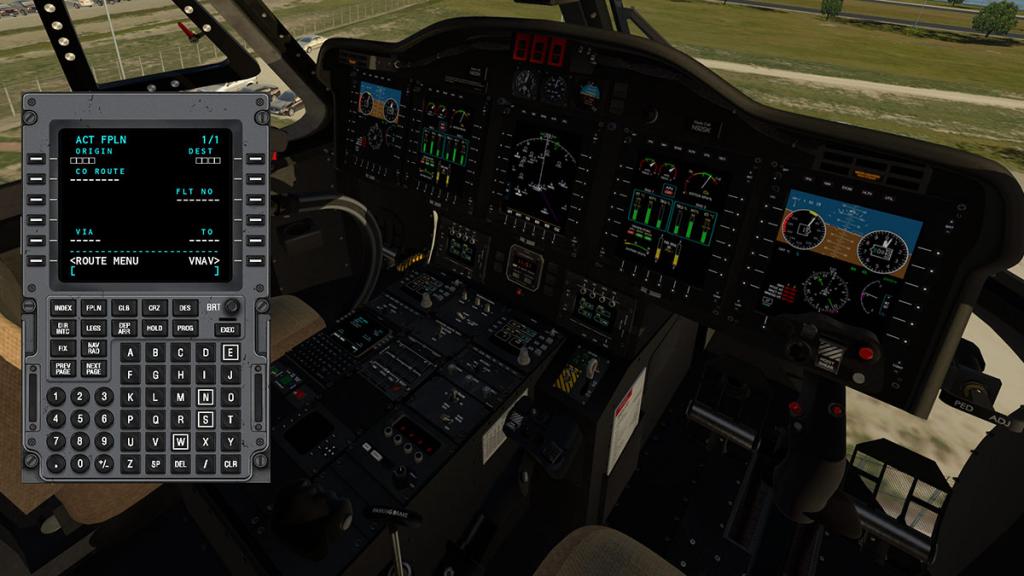

Automatic Flight Control System (AFCS) coupled with the Flight Director (FD) is very good (above right), if a little difficult to slip into and then switch out back to manual flight. But you learn and easily master it, it does however save a lot of wrist RSI.
The upgraded S-92 also takes in the new XP11 "destruction on crash" feature...


“Buying the farm” is now more dramatic than ever... when you go down now, you really go down... if you know what I mean.
These big machines are always very dramatic and there is with this version a nice if more complete wholeness feel about the helicopter.
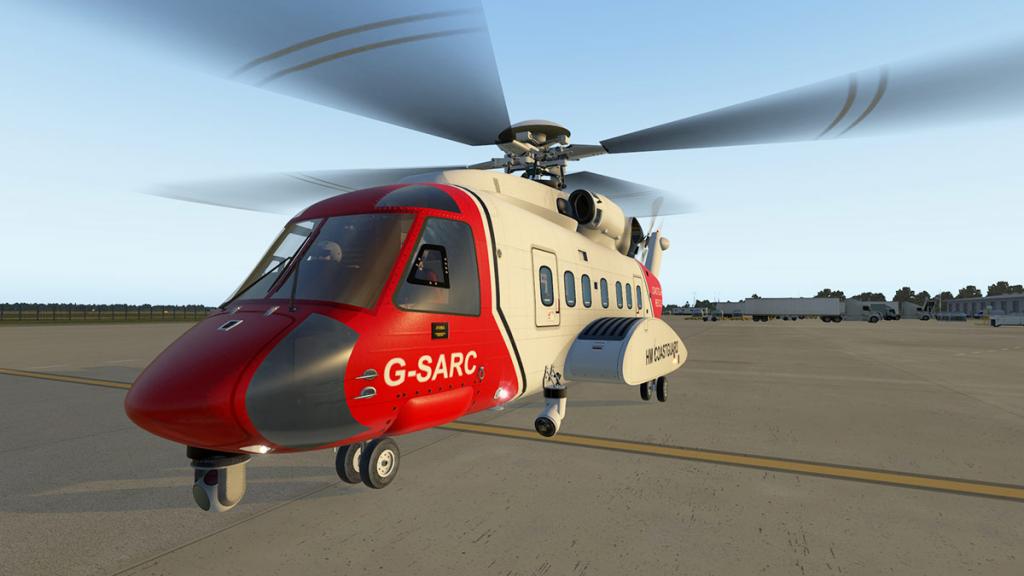

Side and rear ramp doors open, but no GPU, which would be nice.


Summary
In most areas this is a cosmetic overhaul to meet the new X-Plane11 features, as basically the main aircraft, systems and features stay the same.
But in noting that the S-92 does feel a lot more fresher, more complete and flies far better as well. X-Plane11 is good to the aircraft and that is not a bad thing at all and that alone should attract more users to fly the machine and undoubtedly enjoy it. I certainly felt more involved with this S-92 far more than I remember with the original.
There are a lots (loads) of different variants and liveries (no new liveries in this upgrade), but also no menus or pop outs we use as normal, if you want a certain function you change the aircraft and don't go to a menu... it is that sort of deal. But a menu would be nice as would reflections on the instrument panel displays as both are part of the norm today.
Like most new upgrades to X-Plane11 there is an upgrade price if you already own the older versions. In this case the upgrade to X-Plane11 is US$15 and if you look at your original S-92 invoice at the store there is a coupon code to get the upgrade deal.
Is it worth the upgrade cost. Well certainly it is as it is a great machine to fly in X-Plane11, to me personally it does feel better in the new X-Plane environment than it did before, so not only is it better in XP11 but I feel you will get more flying use out of the aircraft as well... so that has to be an all round good deal.
______________________________________________________________________

Yes! the S-92 Sikorsky XP11 by DMO is now available from the new X-Plane.Org Store here :
Price is US$24.95
Previous X-Plane10 owners can upgrade to this new XP11 version for only $15. The coupon code for the discount can be found in the original DMO S-92 invoice on your account at the X-Plane.Orgstore.
More detailed S-92 details can be found on the original 2014 X-PlaneReview Release Review here: Sikorsky S-92 by DMO Flight Design
Features
New X-Plane 11 Model
- Optimized for XP11
- Incorporation of the new XP11 FMS
- New object shading and normal maps, utilizing the new PBR capabilities of X-Plane 11
- Added functionality of the searchlight/camera operator's station (in SAR model and CH-148), including an animated camera gimbal and video display in the cabin
- New and improved alert/warning sounds and landing gear cycle sounds
- Wreckage objects and crash capability; crashing will now result in flaming wreckage
- Small 3D object improvements and more efficient texture map references to help maintain fps
5 Variants of the S-92/H-92 Airframe- Offshore/Air Taxi, Search and Rescue, VIP/Corporate, CH-148 Cyclone, VH-92 US Presidential Helicopter
- Custom Sounds, Featuring Real Interior and Exterior recordings of S-92 Engines, Rotors and APU.
- Many Liveries: See Pictures Album
- Animated Flight Controls, Rotor Hubs and Control Surfaces
- 3 Variations of Animated Pilots
- Emergency Floats
- Detailed 3D Cockpit and Cabin with Animated Switches, Knobs and Levers
- Interactive Light Controls for the Cockpit and Cabin
- Animated Landing Gear Retraction and Strut Compression
- Custom Airfoils Based on Sikorsky Blade Design
- Realistic Flight Characteristics
- Anti-Ice Systems and Ice Build-up on Windows in 3D cockpit
- Animated Cargo Ramp
- Custom Instrument Panels
- FMS/GPS - Autopilot
Requirements:
X-Plane 11 (this model is not compatible with XP10)Windows, MAC or Linux
Current version: XP11 v1.4 (last updated May 12, 2017)Installation : Download file size is 221.30mb to your X-Plane - Helicopter Folder. Installed file size is 782.20mb.
______________________________________________________________________
Review by Stephen Dutton17th May 2017Copyright©2017: X-PlaneReviews(Disclaimer. All images and text in this review are the work and property of X-PlaneReviews, no sharing or copy of the content is allowed without consent from the author as per copyright conditions)Review System Specifications:
Computer System: Windows - Intel Core i7 6700K CPU 4.00GHz / 64bit - 16 Gb single 1067 Mhz DDR4 2133 - GeForce GTX 980/SSE2 - Samsung Evo 512gb SSD
Software: - Windows 10 - X-Plane 11.01
Addons: Saitek x56 Rhino Pro system Joystick and Throttle : Sound - Bose Soundlink Mini
Plugins: None
Scenery or Aircraft
- KRSW - Southwest Florida International by Aerosoft (X-PlaneStore) - US$24.95

-
2 hours ago, fjperreault said:
Stephen, I've been talking with the folks at Laminar Research and the gates should be connected to taxiways. This is a "recommended" practice but not required. While it was acknowledged that the AI planes may not work correctly without the gate to taxiway connection, I guess they just didn't want to make it requirement. (though in my opinion they should) In any case, Laminar's KSEA scenery doesn't have the connections but it "should".
Justin will be adding the connections to the KSLC scenery when he does a v1.1 update. I am currently working with his scenery to put together a file for X-Life which will have all 160+ gates work correctly with that plugin.
Frank
Thanks Frank. It does make you wonder with Laminar's KSEA as their demo airport does not work as it should do... that is a bit of an oversight if you ask me. If you could let me know when Justin puts out the update to v1.1 that would be great... again thanks. Stephen
-
Scenery Review : KDFW Dallas Fort Worth by Aerosoft
One scenery I use a lot in reviews here at X-PlaneReviews is KRSW - Southwest Florida International Airport by Aerosoft. As it was not only a really high quality scenery, full of great features and was functional as well. The scenery was the first project by Omar Masroor under the Aerosoft banner and it set out from the beginning to be a high standard of quality scenery... so now for Masroor's follow up and the scenery is DFW.
As scale goes you couldn't pick a larger airport to cover except for KATL - Atlanta, as DFW is a major international incoming hub to the United States. DFW is the third largest airport in size in the United States and the tenth in passenger movements in 2015. This is Texas after all.
I will admit to being a little bemused by the choice of DFW, because it was covered by Tom Curtis's "American Country" scenery only this time last year and of course comparisons are going to be made between the two projects, it is fine if you are going to deliver a much more higher quality scenery, but if you don't you are wasting your efforts when they could be put to better use on scenery that is required in X-Plane and not just duplicating what is already available.
First Impressions

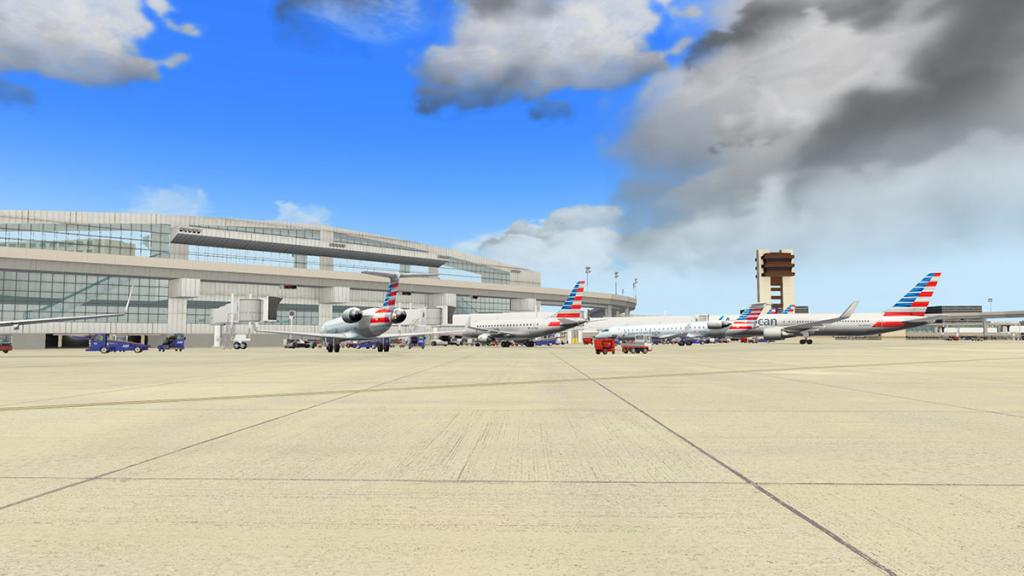
First impressions are entirely favorable. The building construction is very good , even impressive in detail, remember our old adage in that the larger the scenery then the less we must expect in raw detail, but the DFW buildings here are very well defined.
Approaching DFW from a distance it doesn't completely meld into the surrounding scenery, the boundary is distinguishable from the default textures by a lot of surrounding green space and the photo textures are slightly lighter inside the boundary, not that bad in reality but it is slightly noticeable. But look at a google map (below) and DFW is hemmed in by its surrounding suburbs, here the scenery feels slightly disconnected with all the bits of green space surrounding the airport. As a note that American airport developers seem to struggle more with intergrating their photo-textures into the default scenery textures, witness the same with Mister_x6's Salt Lake City Airport.
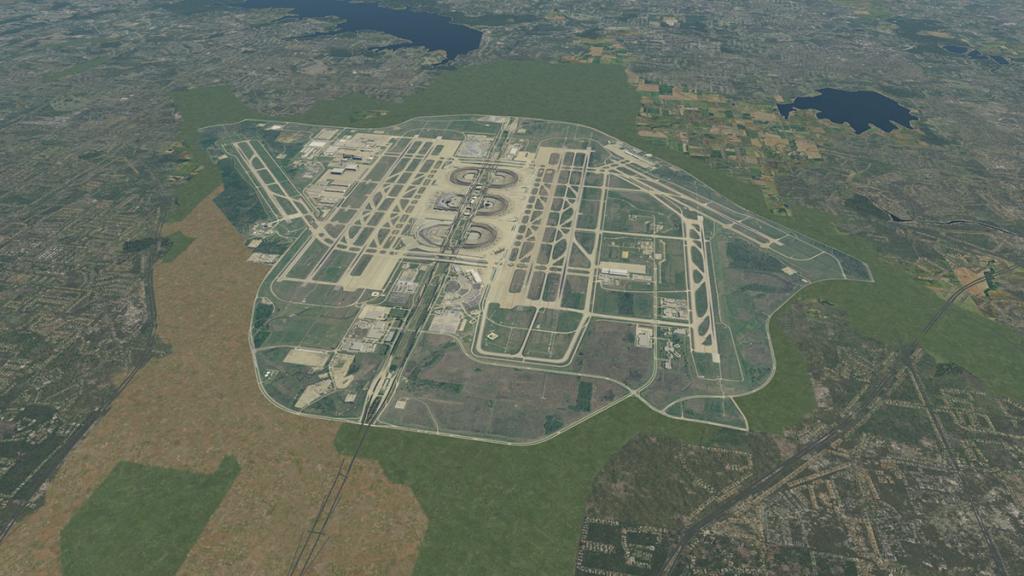

Google Maps
KDFW - Dallas Fort-Worth layout
KDFW - Dallas Fort-Worth International
IATA: DFW – ICAO: KDFW – FAA LID: DFW

13L/31R 9,0002ft, (743m) Concrete
13R/31L 9,3012ft ,(834m) Concrete
17C/35C 13,4014ft ,(085m) Concrete
17L/35R 8,500ft, (2,590m) Concrete
17R/35L 13,4014ft, (085m) Concrete
18L/36R 13,4004ft, (085m) Concrete
18R/36L13,4004ft, (085m) Concrete
H1 158ft (48m) Concrete
Elevation AMSL 607 ft / 185 m

Runway layouts are excellent and you have a lot of if not a huge choice at DFW, only 31L does not have an ILS and it is a shame as it is the best approach to the airport.
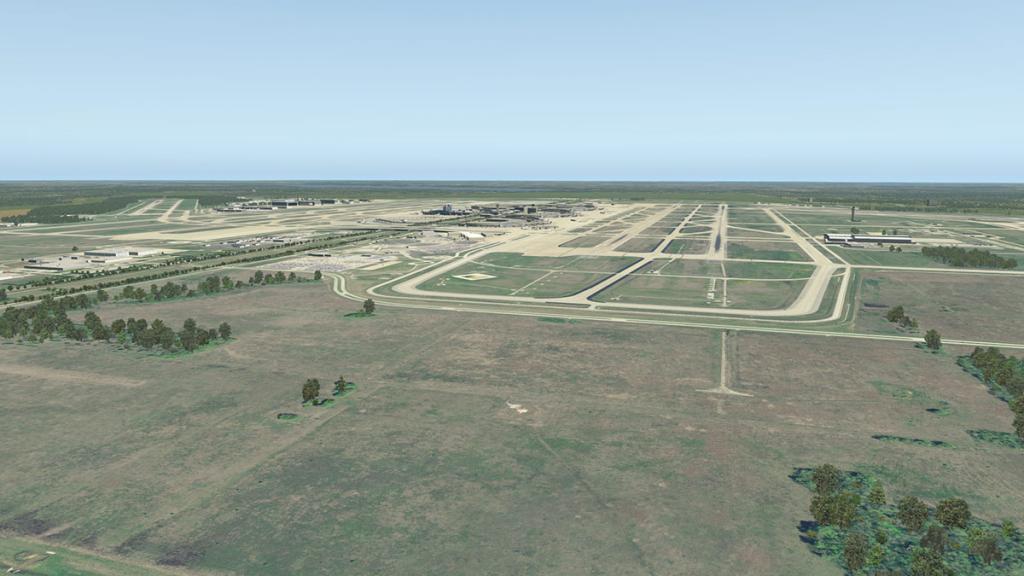
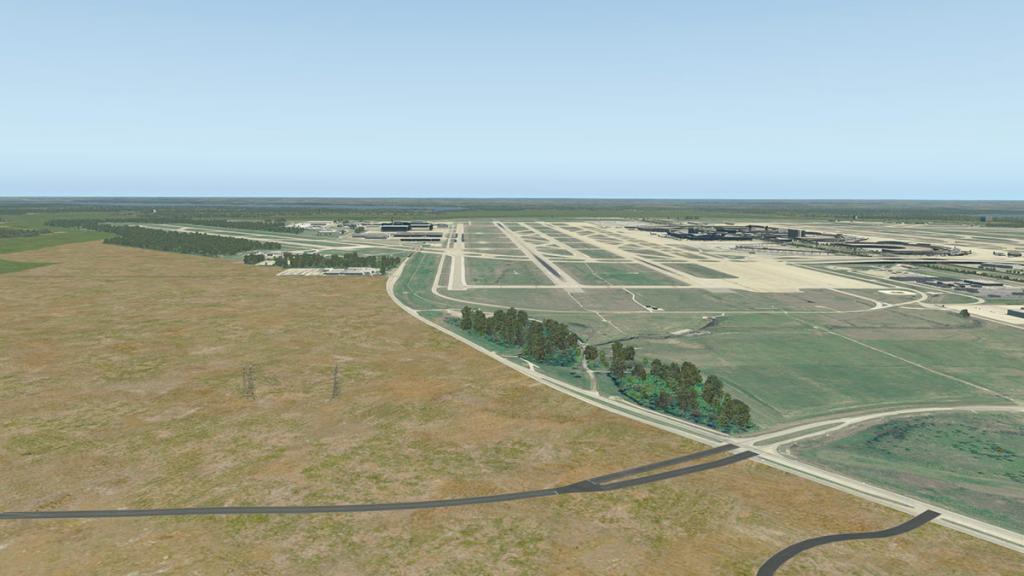
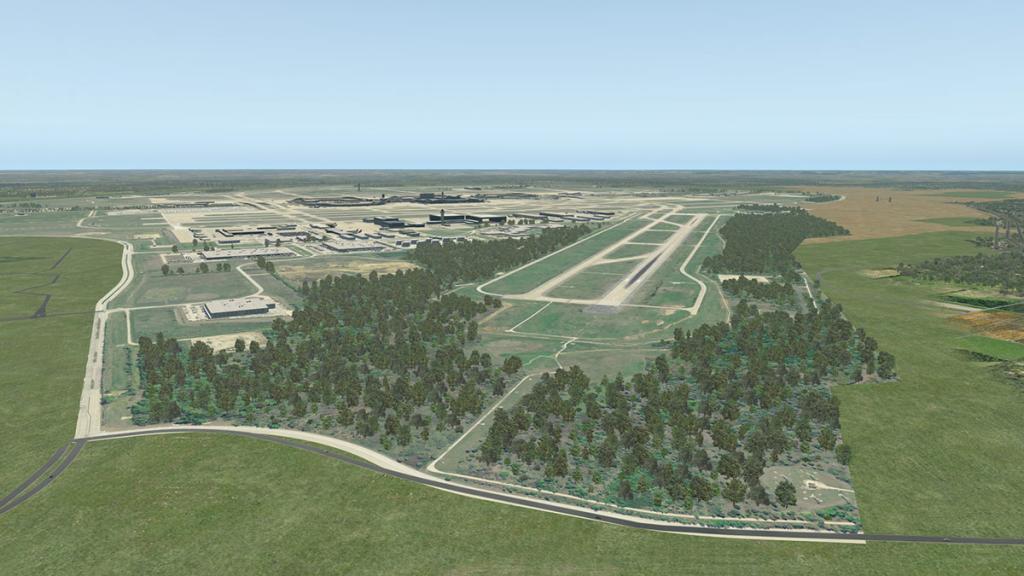
Runway and taxiway lineage is good, as is all the correct taxiways direction signs.
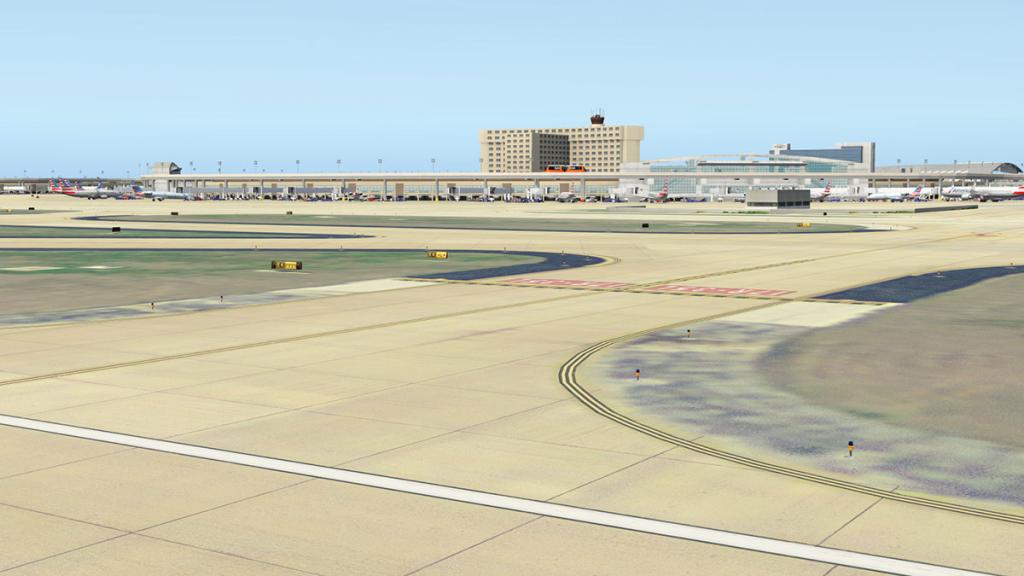
The black side tarmac looks good, but overall the infield grass feels quite bland with not a lot of saturation (colour) and the difference is not only noticeable, but also creates an overall bland feel to the scenery... or could it just be that hot Texan sun?

Dallas Fort Worth Airport is so large you really have to break it down into bit sized chucks to digest it.
Central Terminal Area
Central Terminal area has Five Terminals in north A - C - E and south B - D and Express South (carpark) which will be Terminal F

Terminal A
Terminal A has 30 gates: A8–A25, A28–A29, A33–A39. with Gates A34–A39 closed for renovations, as of March 2016. An American Airlines Admirals Club is located at Gate A24. The A terminal is a wholly an American Airlines terminal and is semi-circular in design.
A major feature of DFW is the SkyLink terminal people-mover that commenced operations in April 2005 in replacing the notoriously slow original Airtrans APM (17mph). The large corner iconic terminal buildings are not actually part of the terminal, but are the Skylink stations that are sited around the extensive terminal loop that makes up the full transport system. In this scenery the Skylink is excellently reproduced with constant movement rail-cars moving (quite fast) right around the system in opposite directions, the track breaks now and again but overall the system here is excellent and a really great visual feature with the latest orange updated cars are animated in moving in and and out of your line of view.
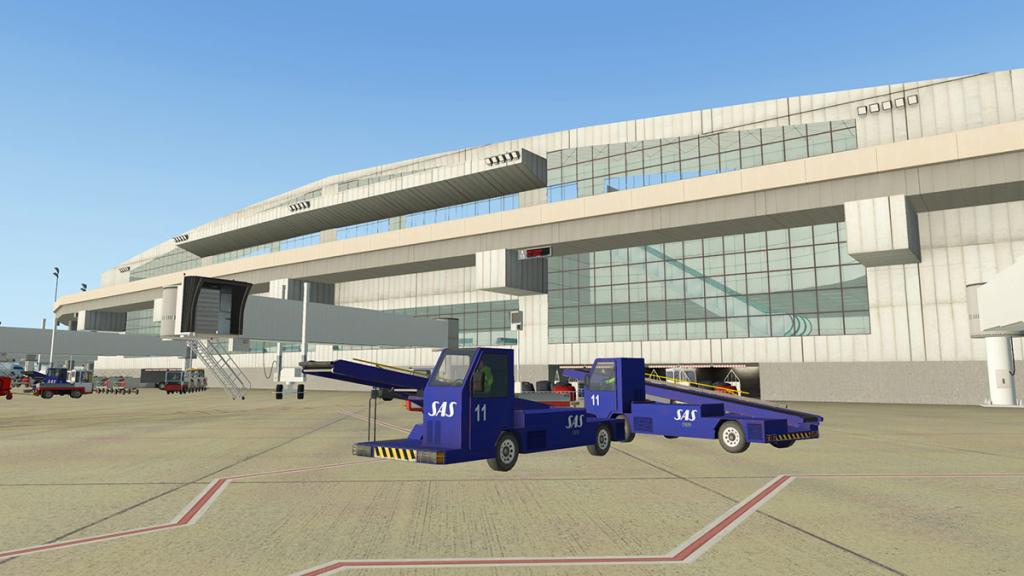
Lots of great animated traffic running round the ramps as well and giving you that busy feeling, but there is this strange anomaly that most of the vehicles are SAS (Scandinavian Airlines) vehicles... in Texas? The ramps are crowded as well with a large selection of vehicles, but with a bit too many.
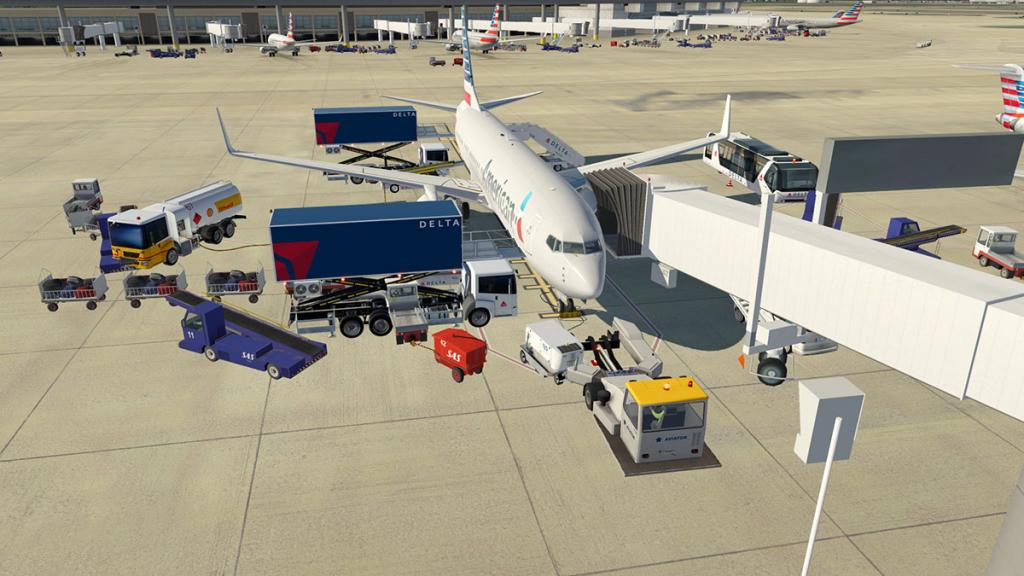
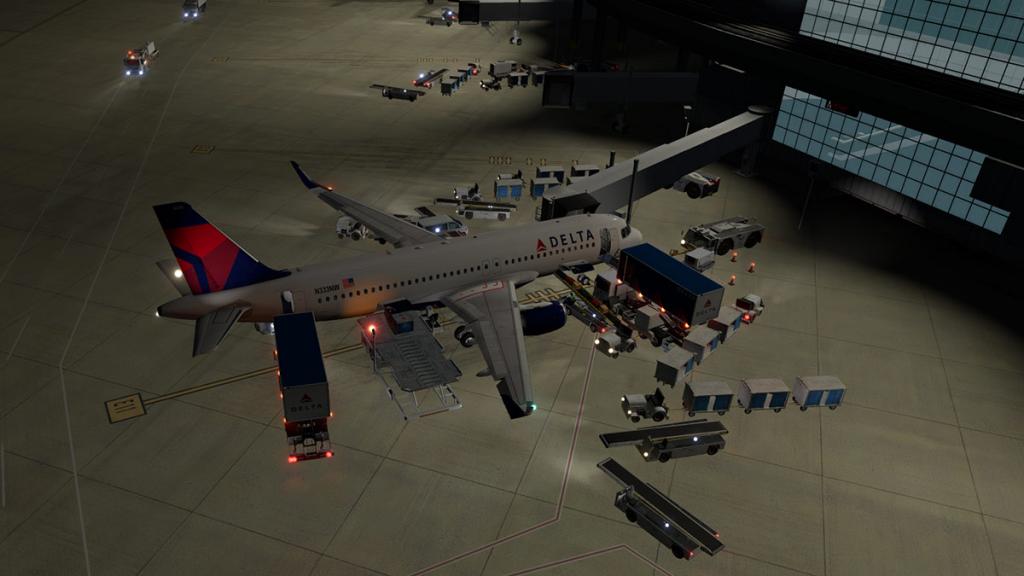
If you use JARDesign's excellent "Ground Handling Deluxe" which I do a lot, then it becomes horribly confusing? I never had this problem with Omar's KRSW, in fact it was the best in the right factor of amount of ramp vehicles and space usability, but here they all clash in together.
The see through glass feature is to be noted as it looks really good, and it is usable inside as well to see out.
Terminal B
Terminal B is opposite Terminal A and has 49 gates: B2–B3 (FIS optional) and there is an American Airlines Admirals Club located at Gate B3, B4–B29, B30–B39 (North Stinger), B40–B49. and Gates B18–B23 are closed for renovations, as of March 2016. North Stinger is a walk-on satellite terminal. Terminal B was originally the main Braniff Airlines complex, but it is now completely American Eagle territory as they now run all the gates.
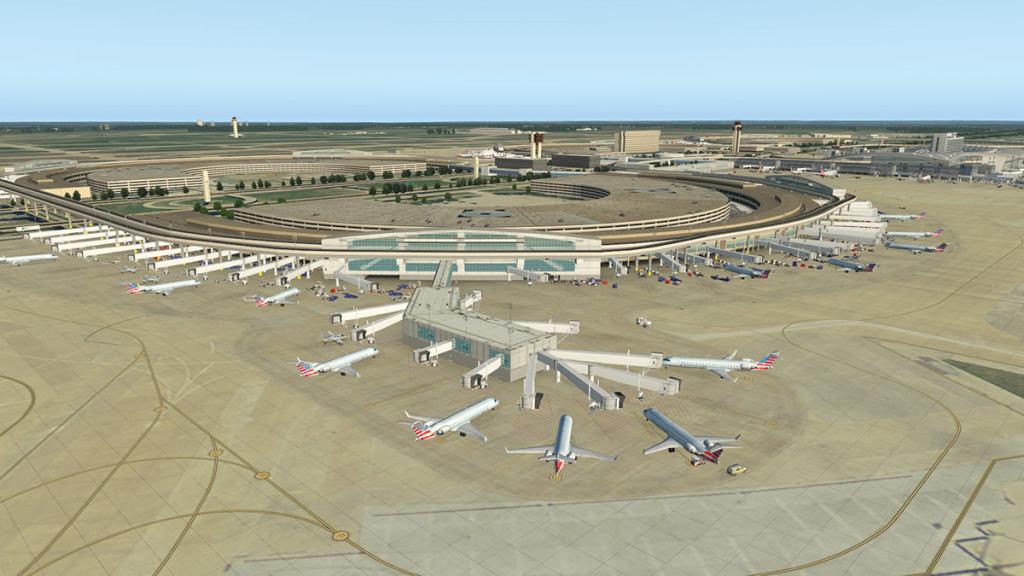
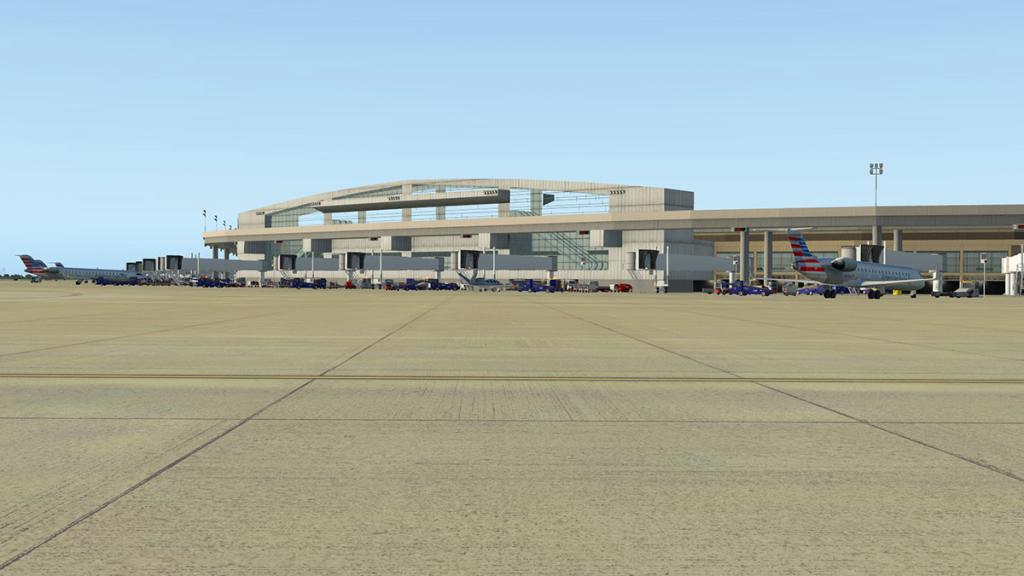


Note the traffic highway (bottom right) that runs through the centre of DFW, cars and trucks run in and out of the airport very nicely to give you a movement feel.
Terminal C
Terminal C has 31 gates: C2–C4, C6–C8, C10–C12, C14–C17, C19–C22, C24–C33, C35–C37 and C39. And the The Hyatt Regency DFW hotel is part of this terminal complex (not to be confused with the south terminal D Grand Hyatt). Originally Terminal 3E is is another wholly American Airlines terminal with an American Airlines Admirals Club located at Gate C20. This terminal is domestic. The ramp tower situated between Terminal A and Terminal C and is also highly visible on departure or arrival from A or C terminals.
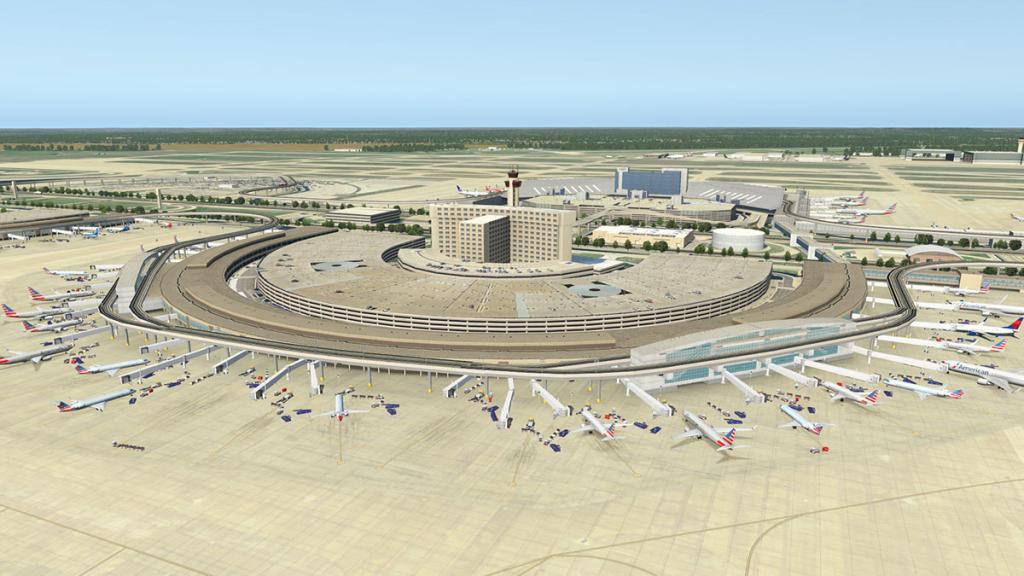
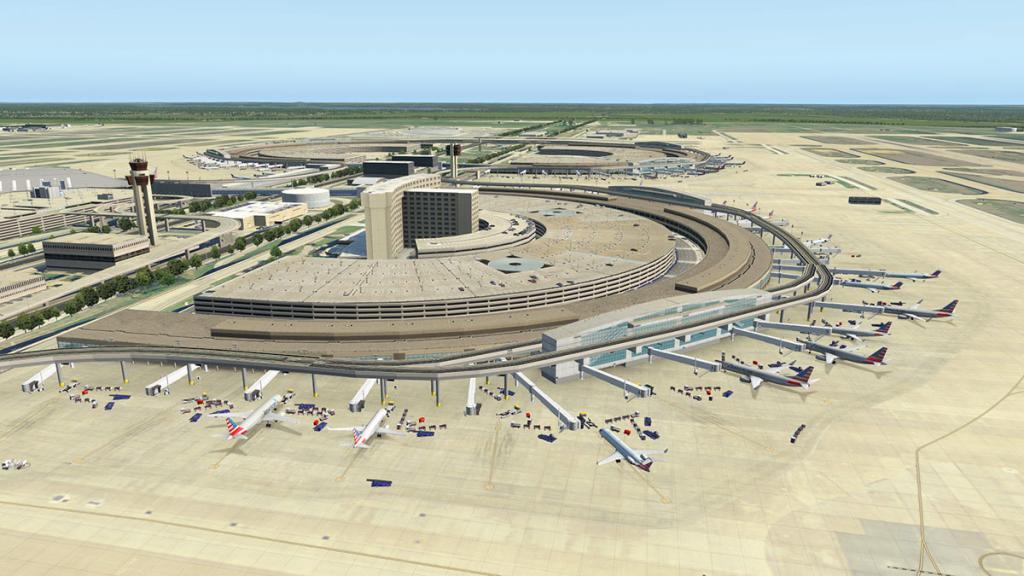
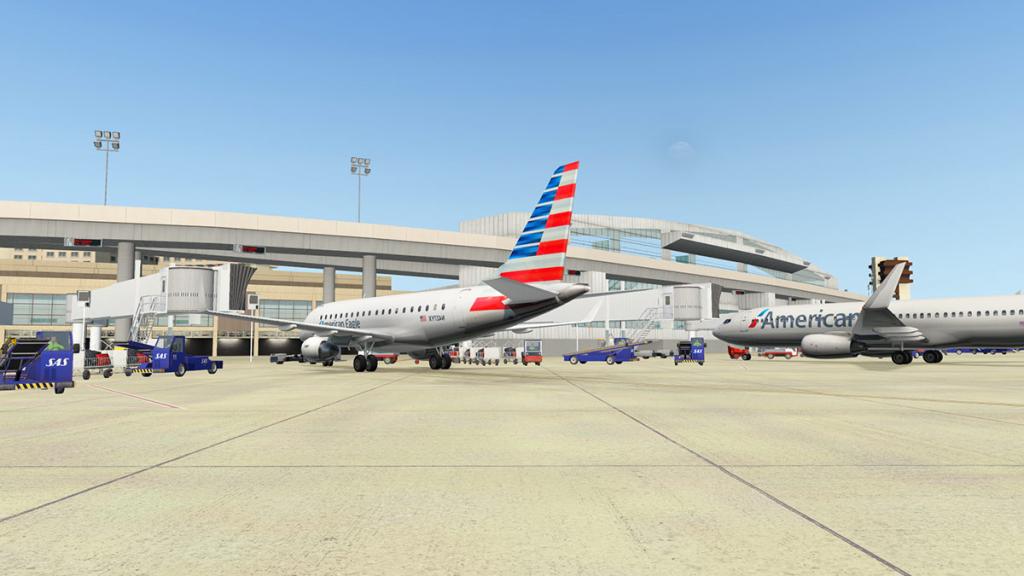
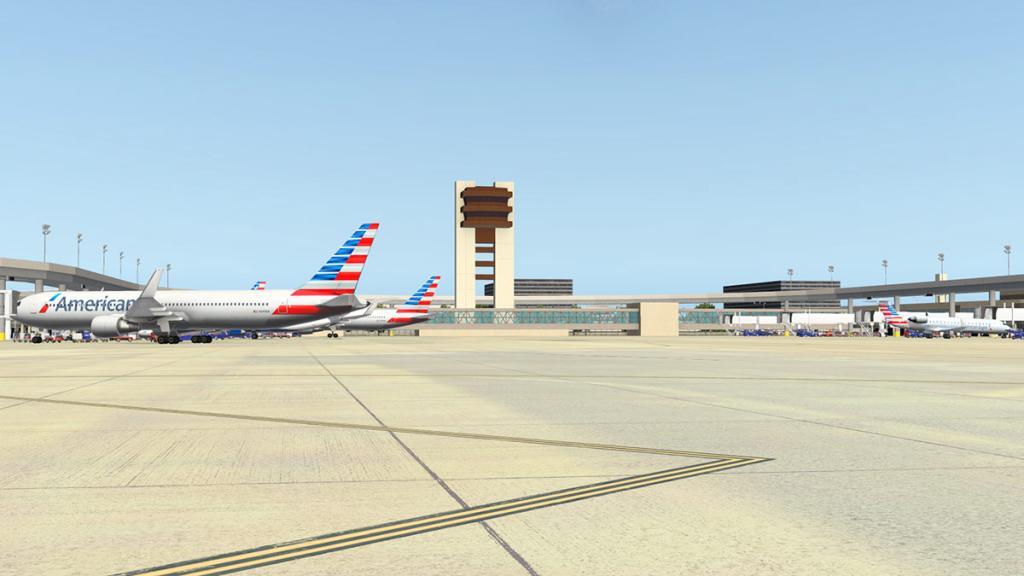
Terminal D (International)
Terminal D is the International terminal for DFW and it is a 2,000,000 sq ft (186,000 m2) facility capable of handling 32,000 passengers daily or 11.7 million passengers annually. The 298-room Grand Hyatt DFW Hotel is directly connected to the terminal.
Terminal D has 30 gates: D6–D8, D10–D12, D14, D15–D16–D16X (A380 gate with three loading bridges), D17–D18, D20–D25, D27–D31, D33–D34, D36–D40. There is an American Airlines Admirals Club located at D24. A British Airways Lounge, a Korean Air Lounge, a Lufthansa Lounge and a QANTAS Business Lounge is located at D21. Both Emirates and Qantas use the A380 at this terminal.
The highlight of the scenery is Terminal D. Noticeable is the extra attention the terminal has been given as it is more highly detailed and has a more complex construction.


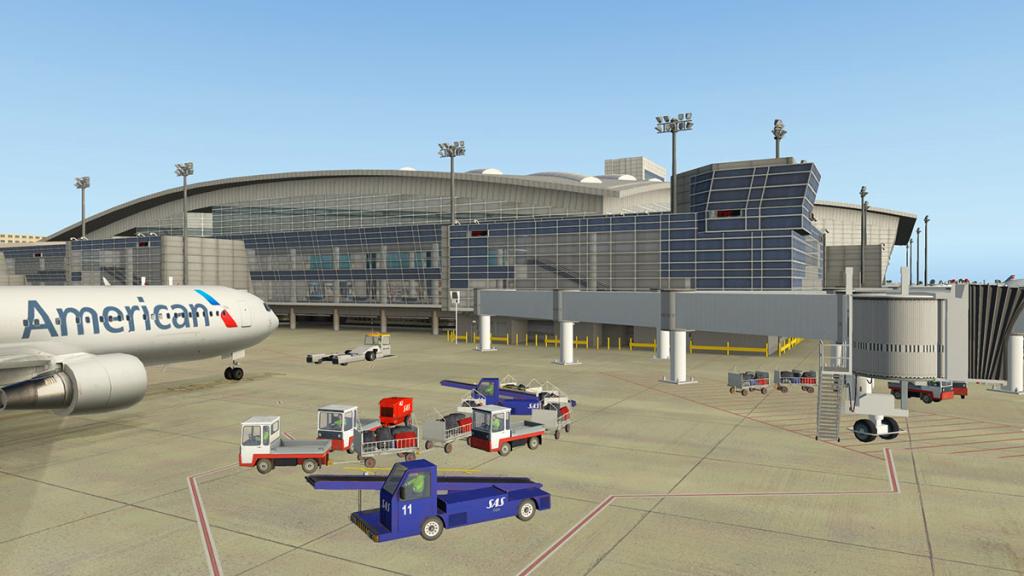
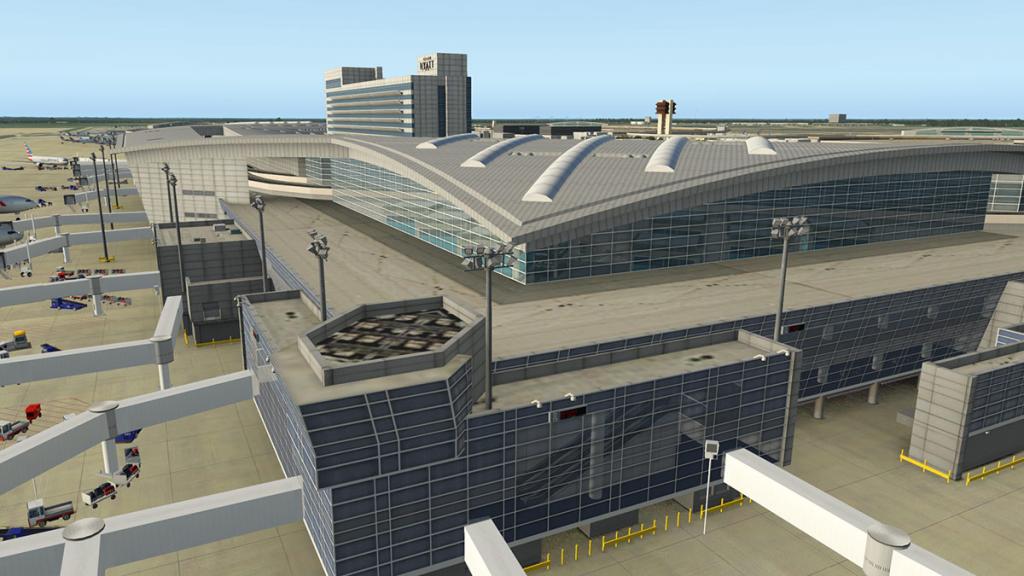
The terminal has lovely lines and shape, detail includes electrical work boxes and cabling. The scenery has full built in "autogates" and guidance by Marginal and the red digital "Welcome to DFW" signage is very welcome.

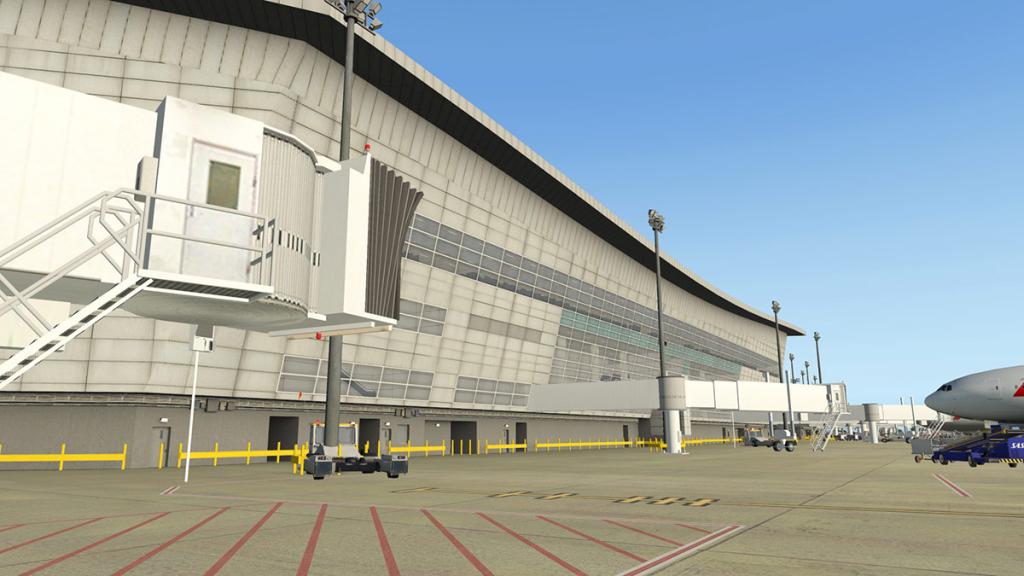
Terminal D is also more detailed inside as well with shopping areas and the usual brands in situ.

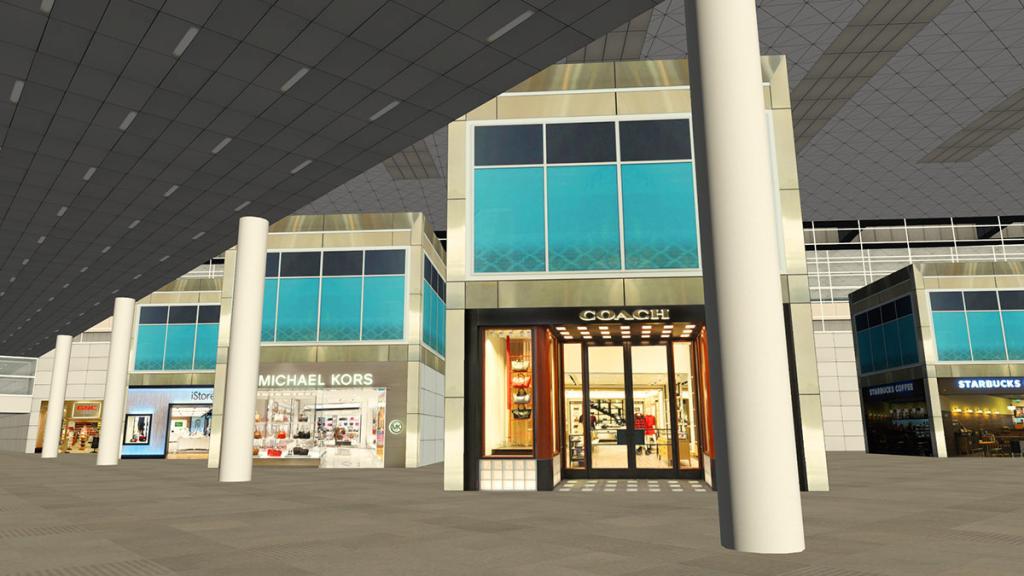
Terminal E
Terminal E, was originally occupied primarily by Delta Air Lines until Delta closed its hub here at DFW in 2005 (still Delta does 50 flights a day from here). Now it serves U.S.- based carriers at the airport other than American Airlines/American Eagle and Sun Country, as well as Air Canada Express and WestJet USCBP that are precleared flights from Canada.
Terminal E has 35 gates: E2, E4–E18, E20–E21, E22–E30 (Satellite Terminal), E31–E38. Delta and Alaska Airlines are the current occupants of the E satellite terminal, following the renovation project of gates E31–E38.
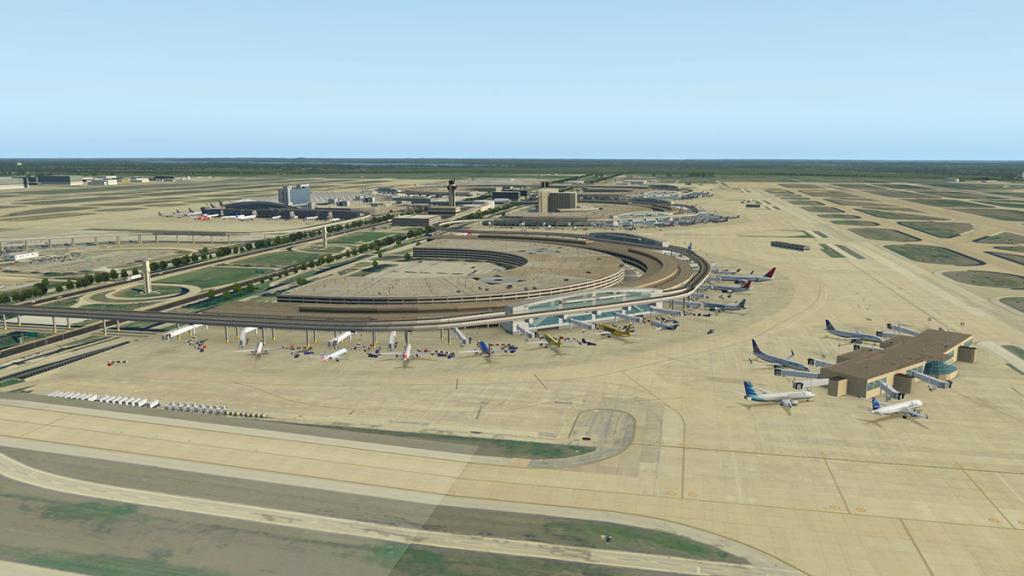

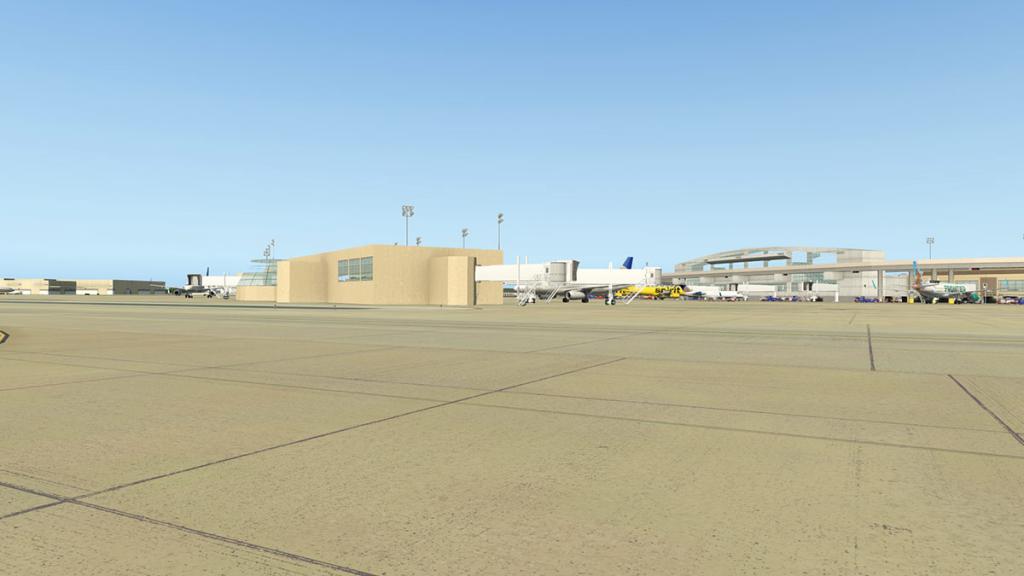
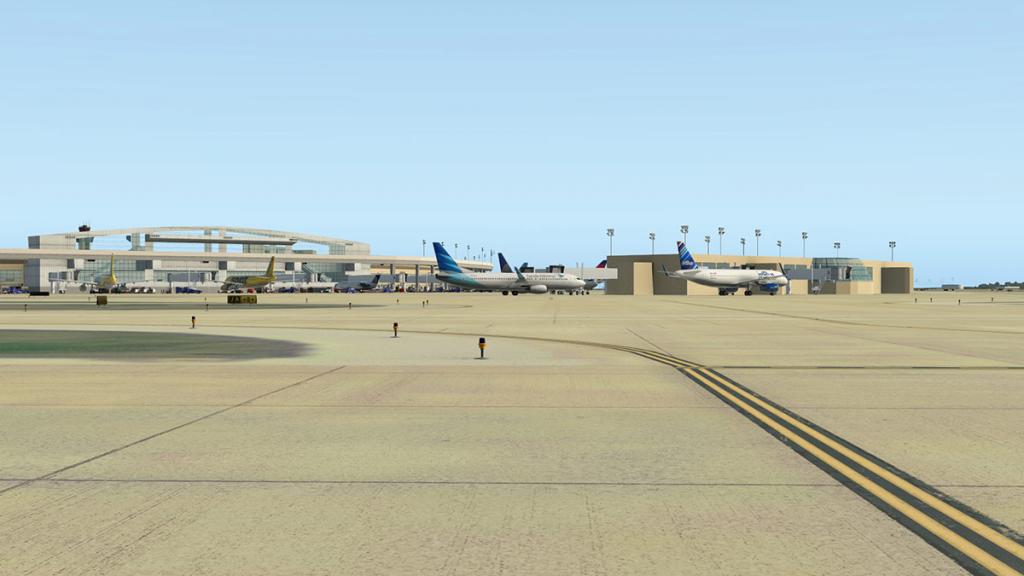
The scenery can use three options for static aircraft. 1 ) is the inbuilt X-Plane11 static aircraft (shown here) and can be regulated by your graphic settings slider. 2 ) X-Life is also available with notes on how to use and install in the manual and 3 ) is World Traffic WT. All the correct inlaid ATC and taxiway traffic flows are built in and ready for use.
Express South
Express South is a huge carpark opposite Terminal E. It is the site for any terminal expansion and is noted as Terminal F and planning is due soon. The Skylink is already in place and well represented here as the orange rail-cars move right around the the carpark boundary.
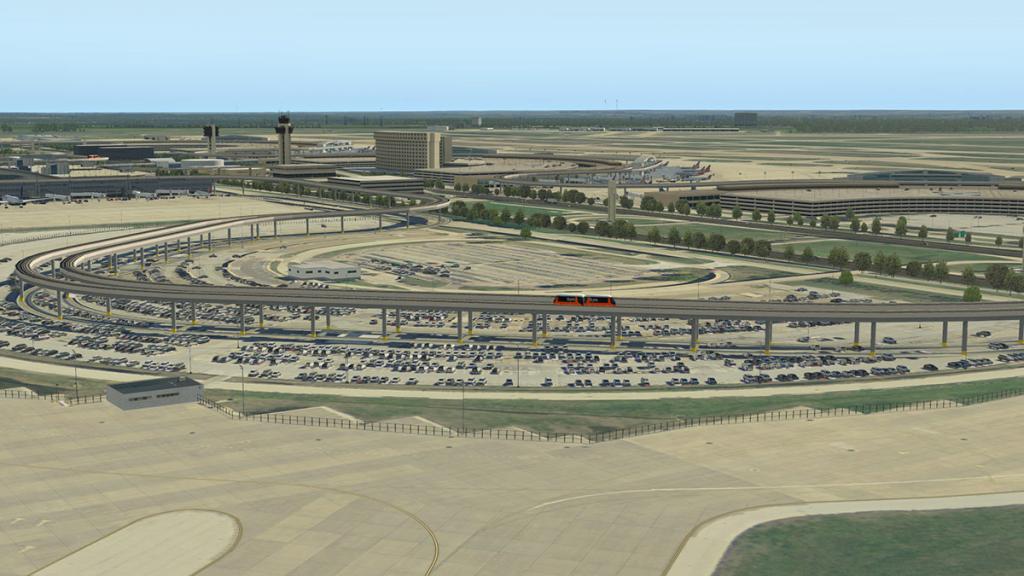

Taxiway A/B - X/Y Jet Bridge
Who doesn't love a taxiway Jet Bridge over a highway! I love them... At DFW taxiways A and B east and X and Y west pass over the Route 97 International Parkway.
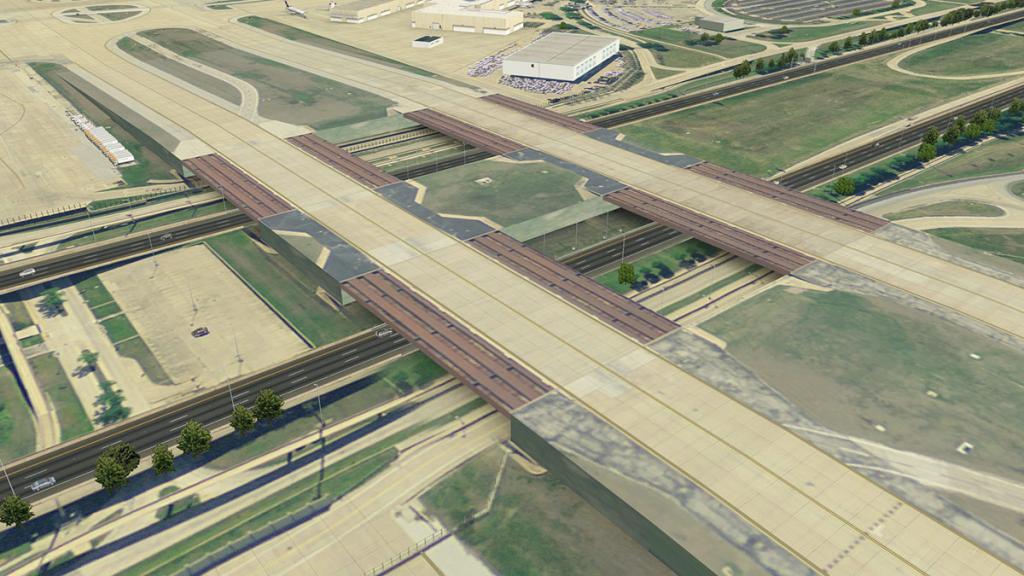
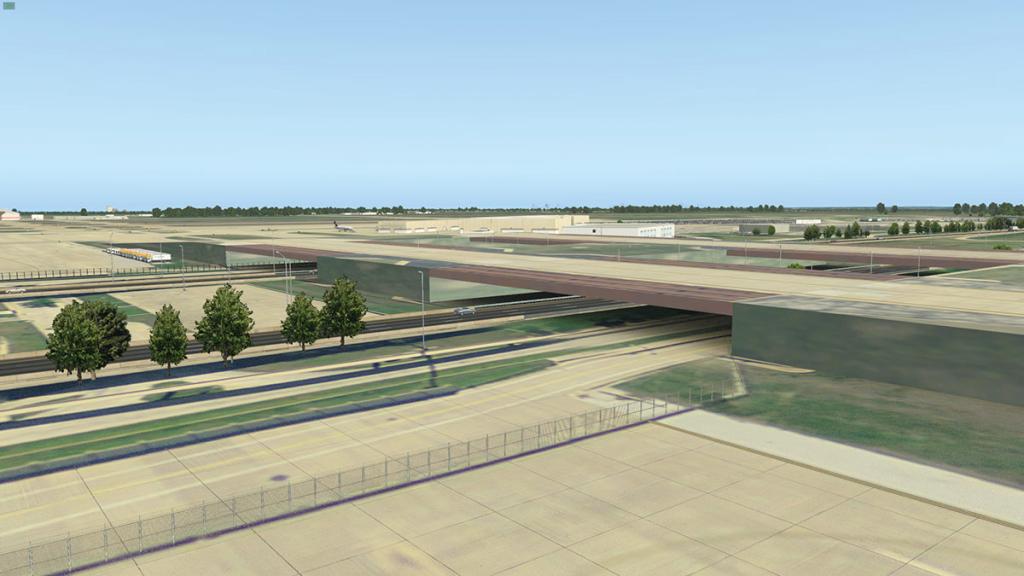

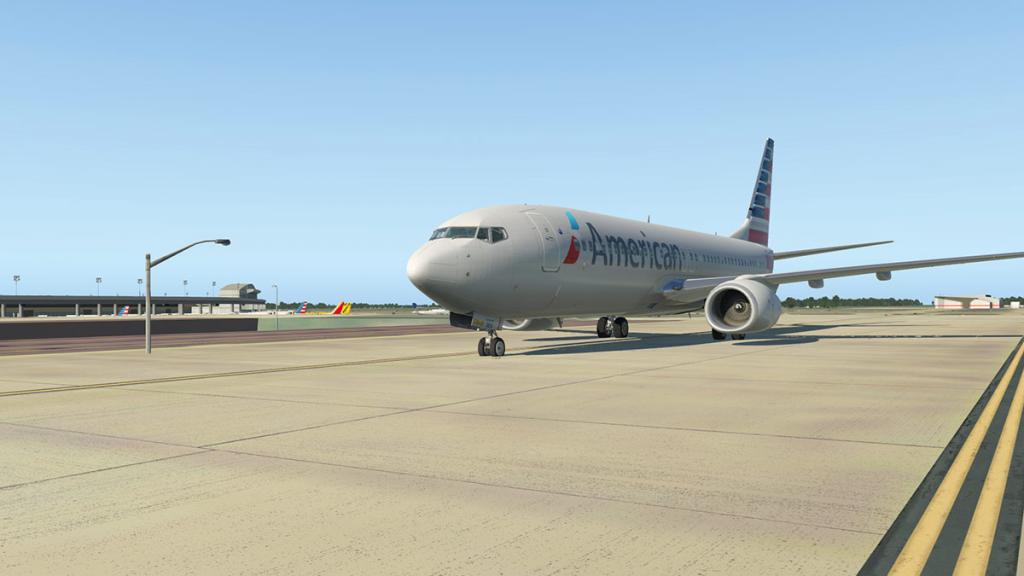
In the Aerosoft DFW scenery it is really well done as you cross over the moving traffic, only note is that the street lighting pops up through the taxiway? A slight distraction in the day, but odd at night with the glowing street lamps in your path?
Central core
Both approaches from the west and east to DFW is well done, but the moving traffic adds a lot of functionality to the scene.
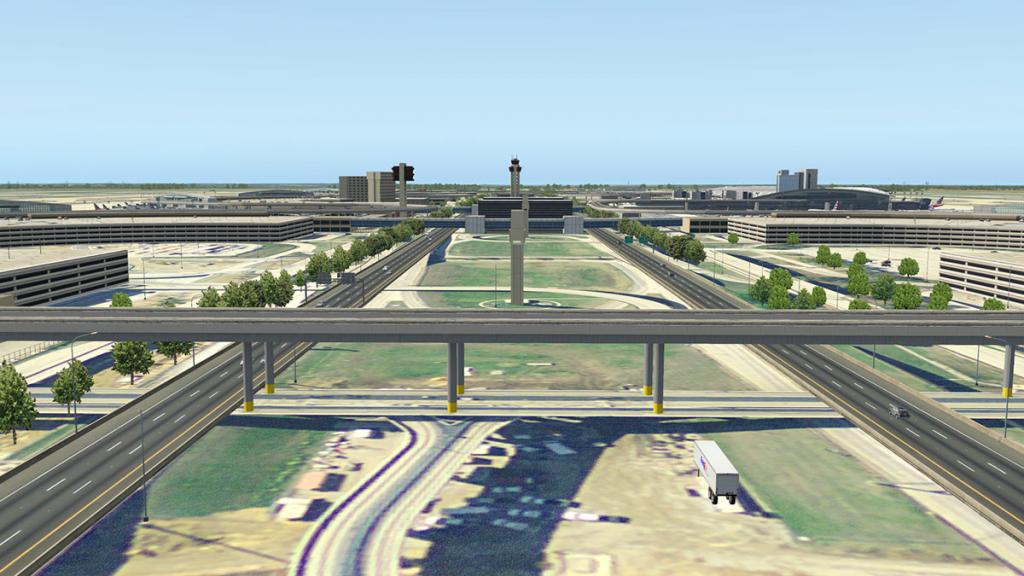

The main 232ft central control tower (there are three field towers in South, Central and North) is the only main building on the strip.
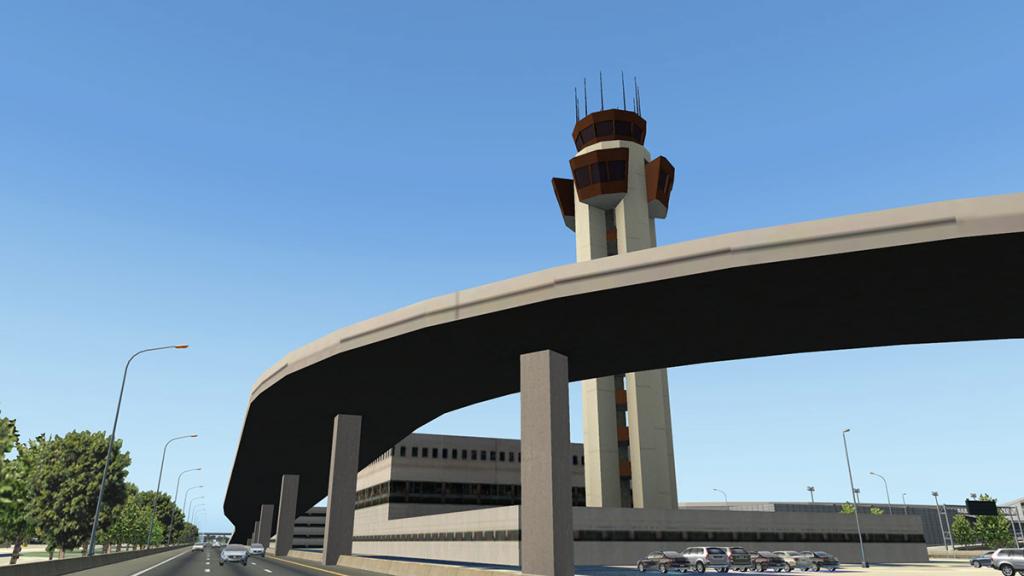
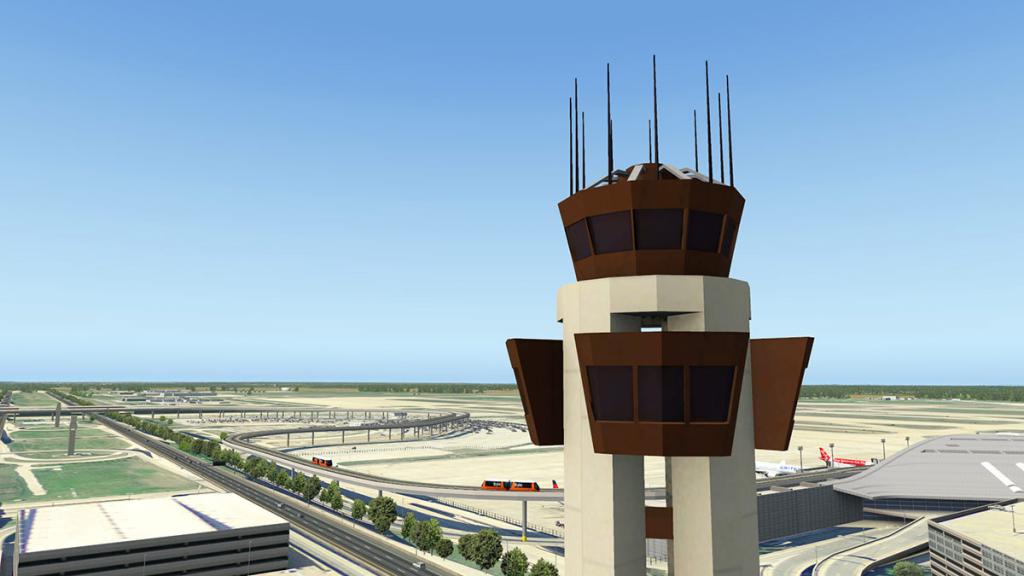
It is not an over detailed tower but I would note it as functional.
The Tower view over the main central runways 18R/36L 18L/36R and 17R/35L 17C/35C thankfully is excellent with no obstructions and you can see the full four corners of the field.
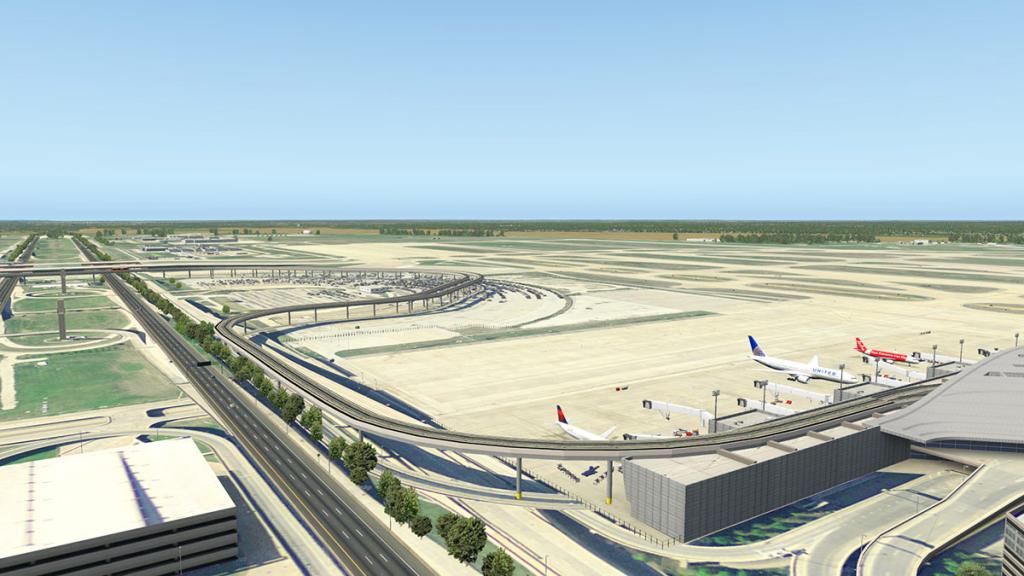
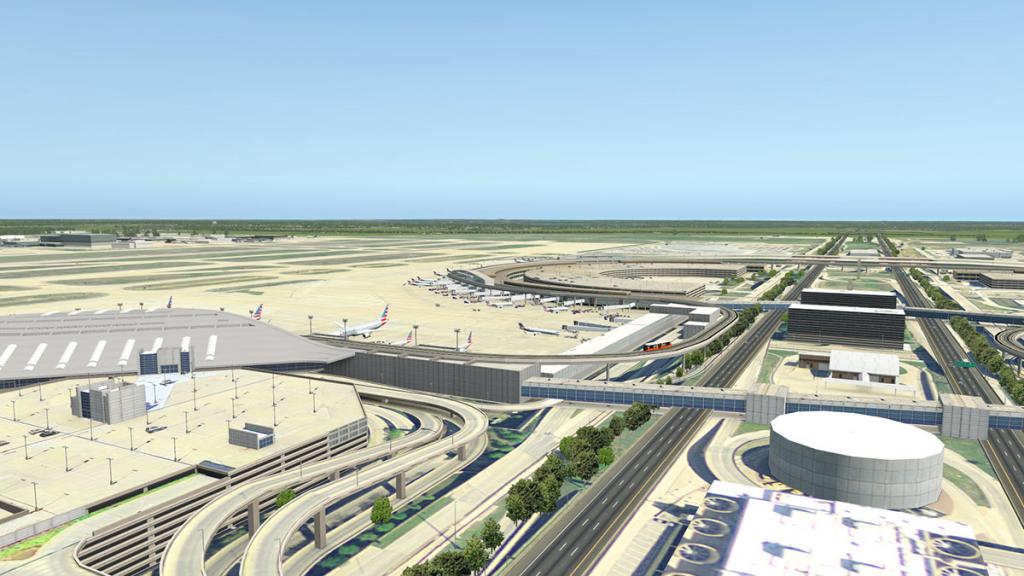
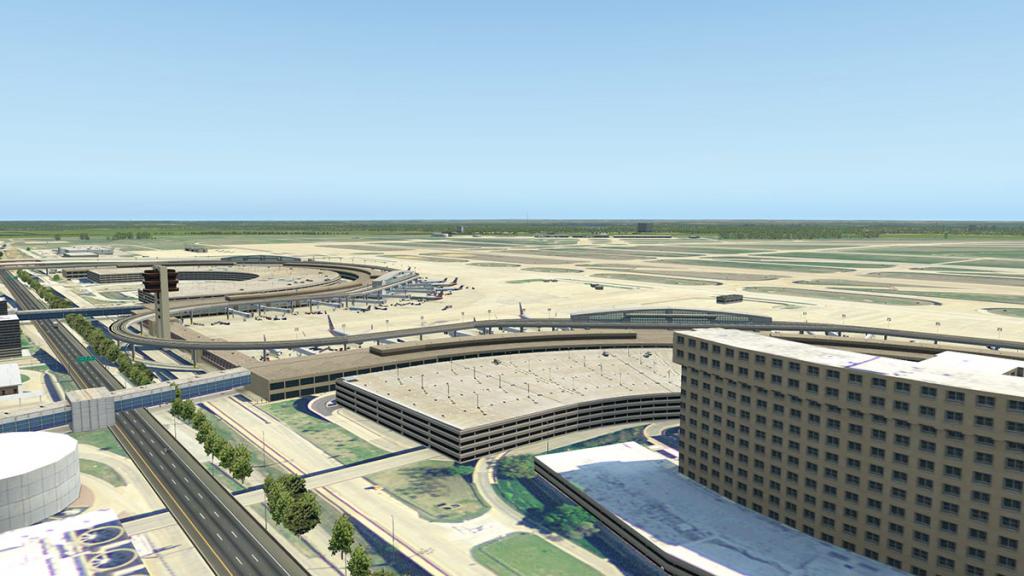
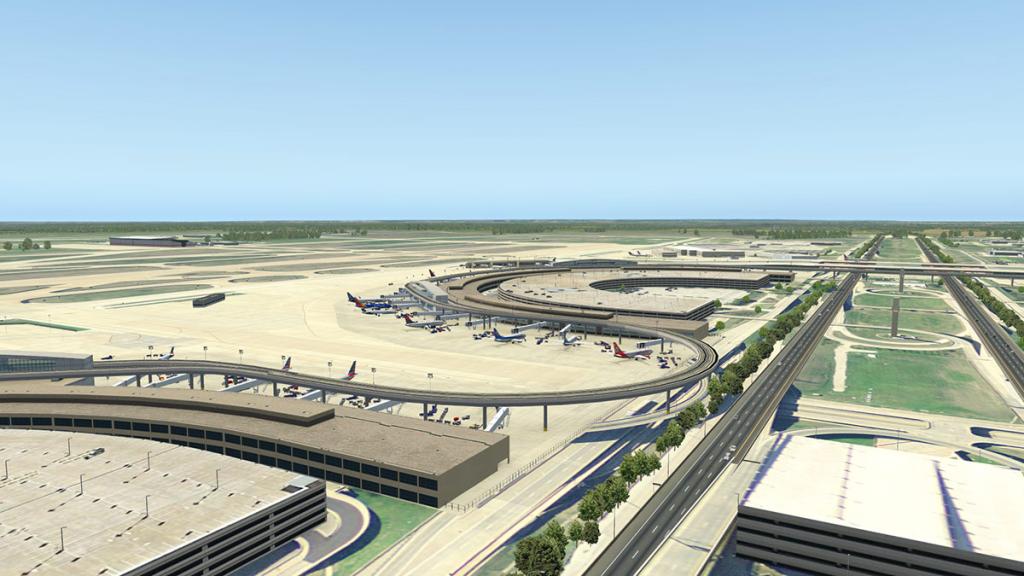
On the southern-east section of taxiway A and B is the "SouthEast" Cargo area (below right) which is a multi-user facility for quick transit parcel movement. With another long-term and car rental carpark areas set more to the south.

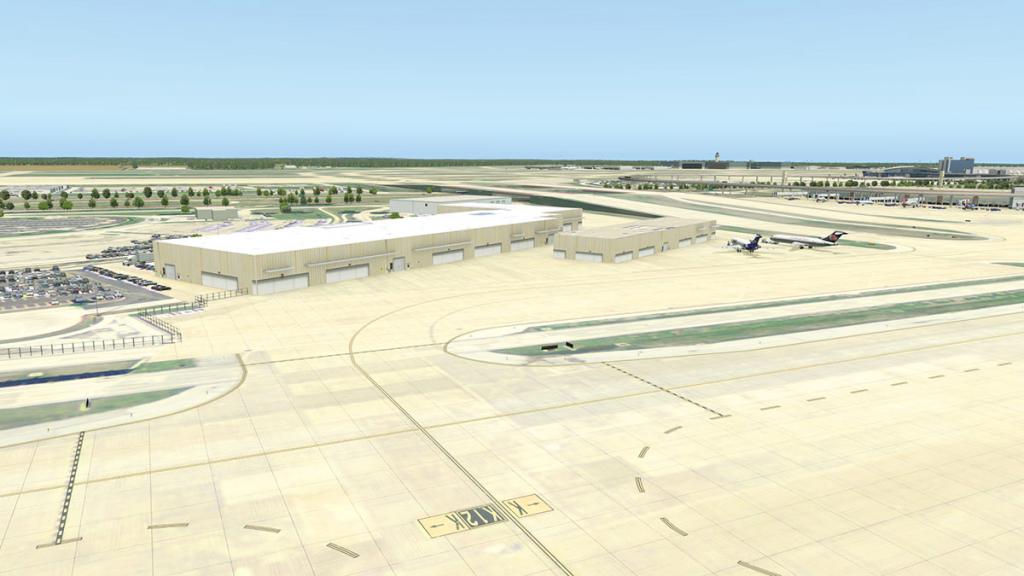
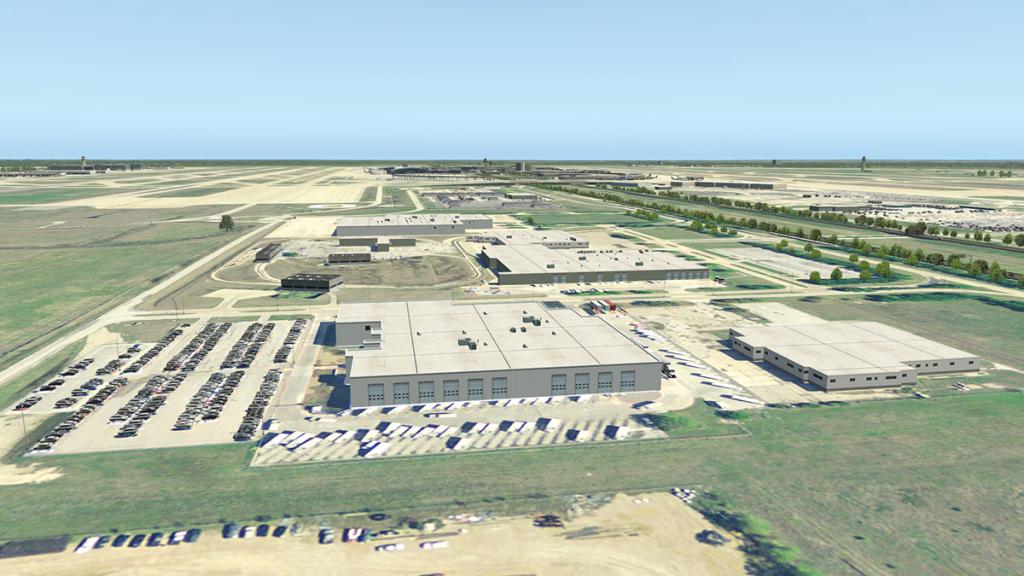

On the south-west side of the southern approach to DFW are mostly the catering facilities (above left). A small fuel depot is well done with a large mobile-office (demountable) administration area set out behind.
On the northern approach to DFW there is a large long term carpark to the west, The car-cover screens are not in 3d like Tom Curtis's version, but only flat in the ground images? On the west side along taxiway K is a corporate aviation ramp (Apron 1E) and reception terminal. With airport support warehouses next to the Parkway.

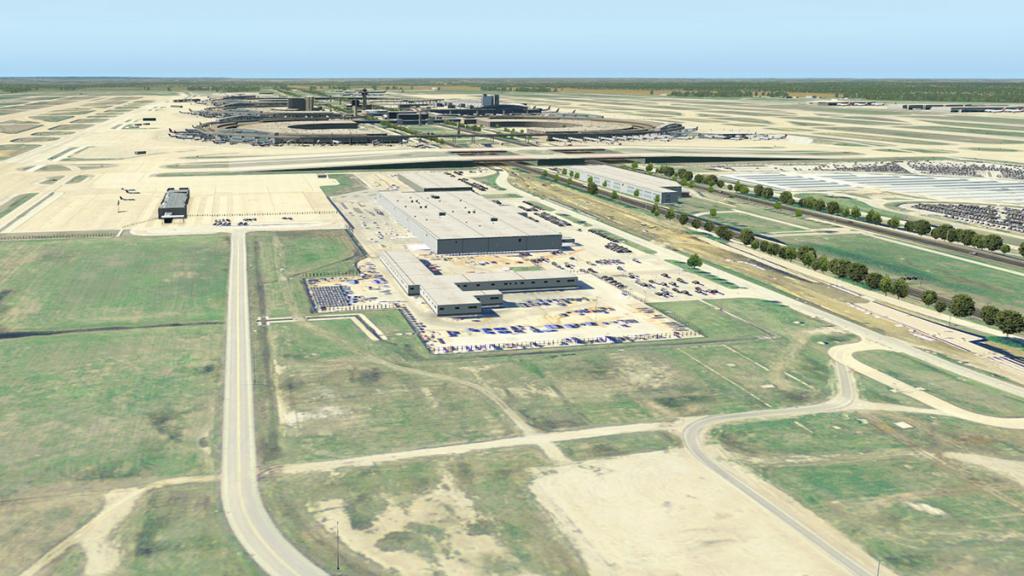
DFW West
The western boundary is defined by 13R/31L to the west and 18R/36L to the east and the Cargo and Maintenance (American Airlines) infrastructure placed between them.
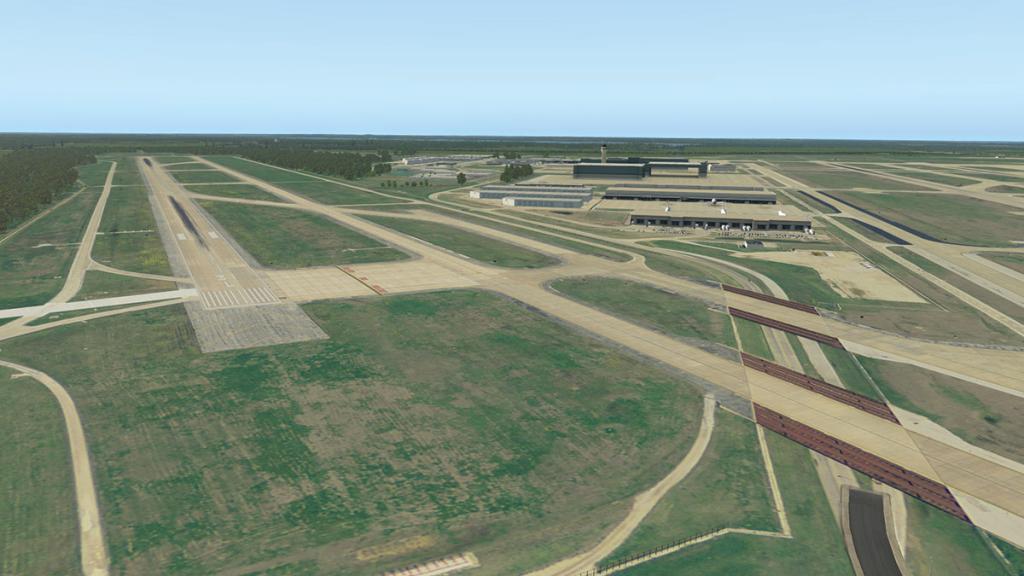
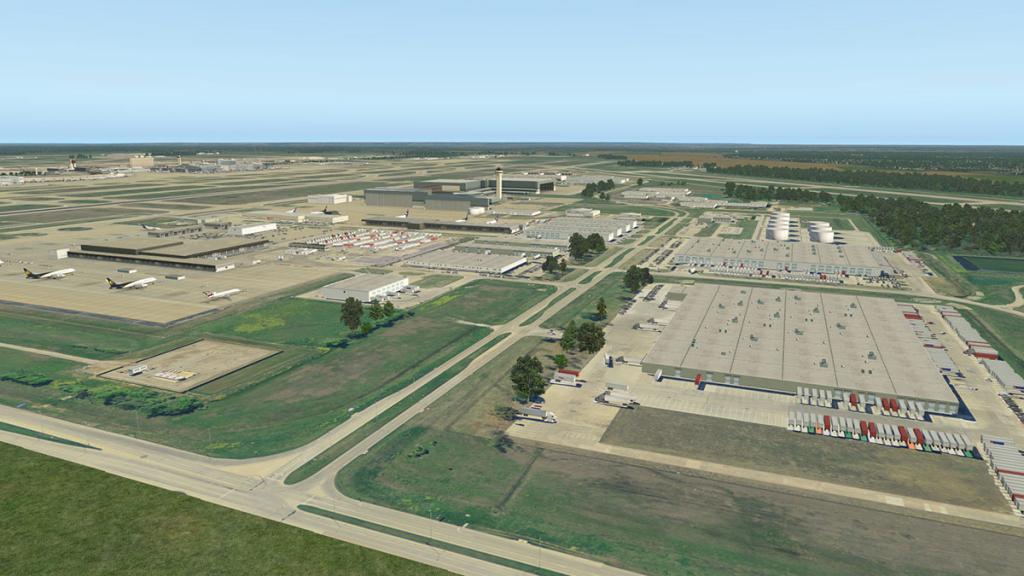
South-west in this area is "West Cargo" but noted as the DHL cargo aprons. American Airlines have maintenance complex here with two hangars covering the site. The "West (control) Tower" is positioned behind the AA maintenance hangars.
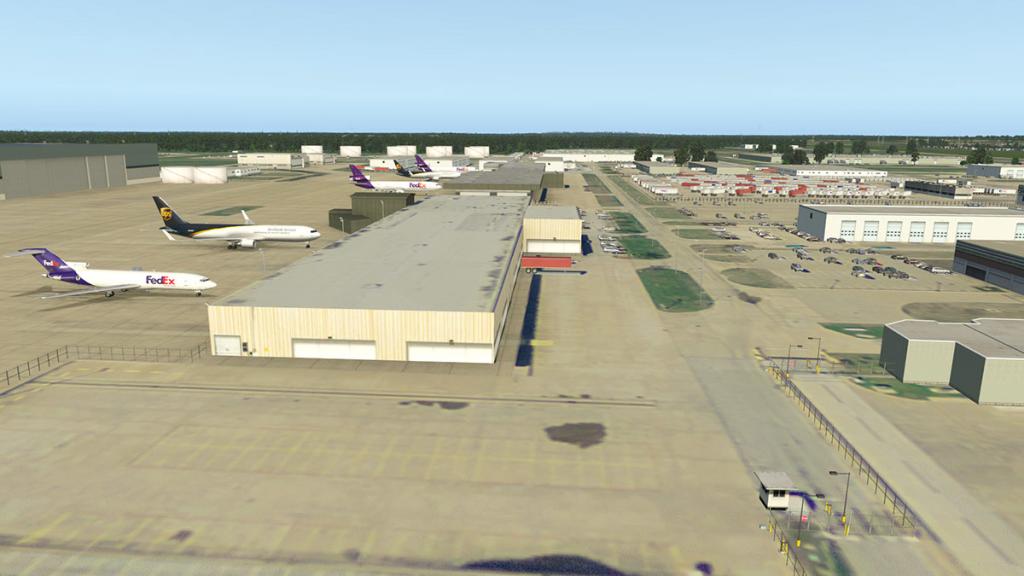

American Eagle has its offices and maintenance hangars central west with another cargo apron along side known as "West Air Freight". Still another cargo complex area is north-west and this time it is for UPS (United Parcel Service). Also set out west - west by RWY 13R/31L is the airport's comprehensive fuel depot and fuel tanks. All items are covered but the area is not over detailed.


DFW East
On the Northeastern boundary FedEx has a big cargo complex aligned with RWY 13L/31R known as "East Cargo". In reality this area and runway is an airport on its own just for FedEx cargo operations, There is an adjoining Fire Station (no.3) complex as well.
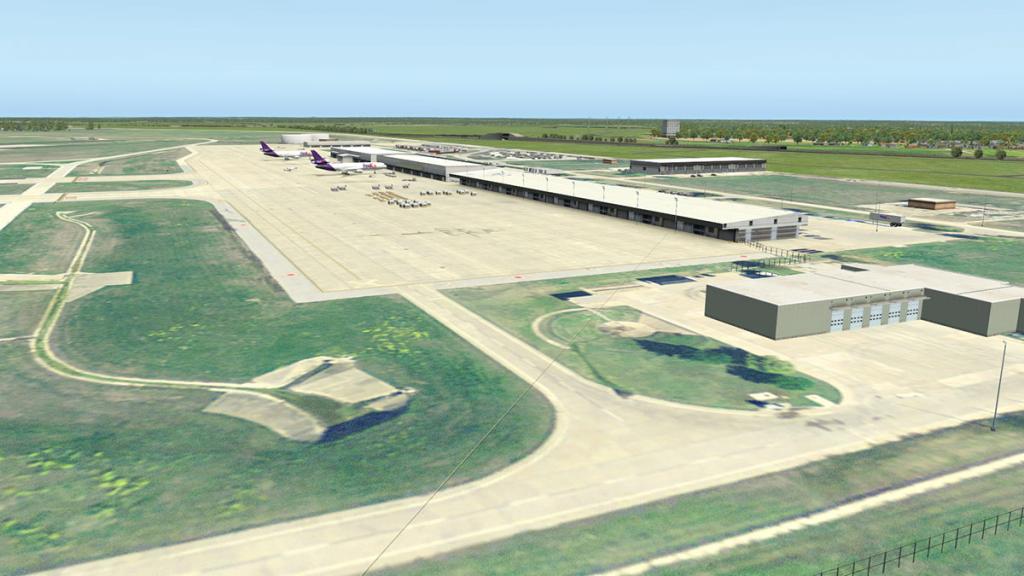
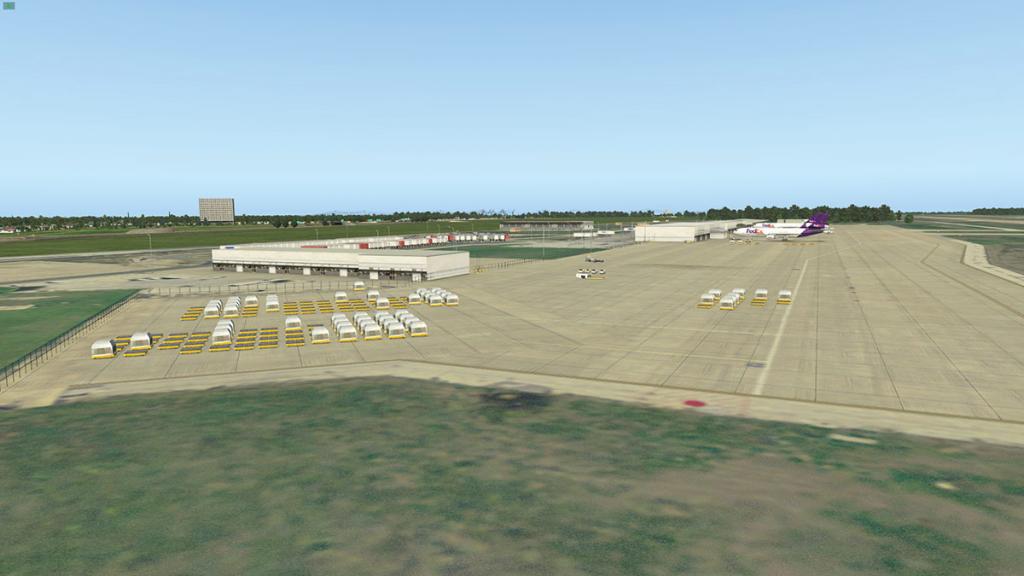
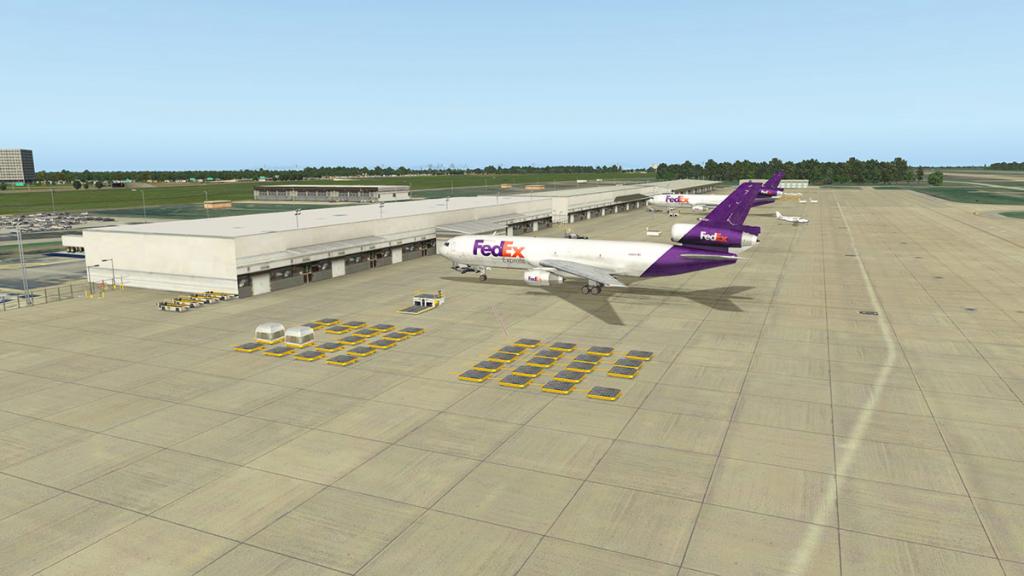

Mid-field east ibetween runways 17C/35C and 17L/35R there is the "East (control) Tower" and a big American Airline maintenance hangar (Hangar 5) and support aprons with the adjoining main central Fire Station (no.1).
The American Airline office complex and operations centre and the DFW (airport) Human Resources building are covered as is the large "Flight Safety International" training facility. But they are facade style buildings and not 3d objects that are placed more for filling in than replication of existing buildings. The east runway radar tower is notably absent.
Lighting
Approaching DFW is always an event, and the scenery looks very good at night.
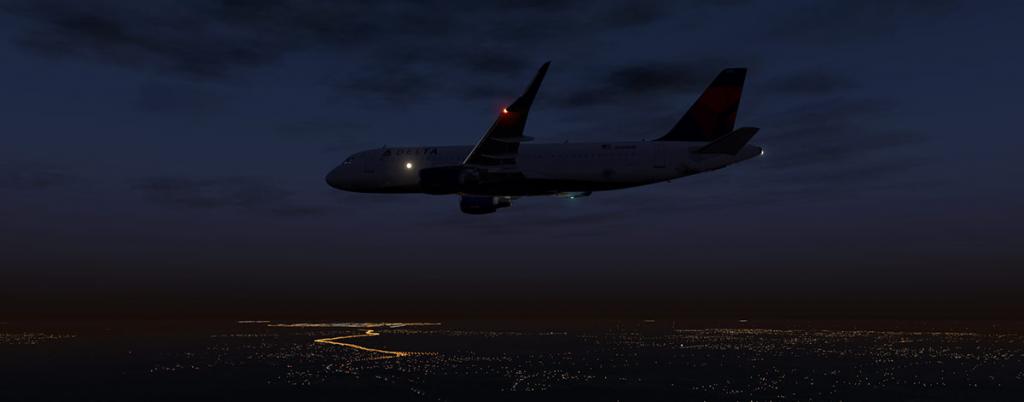
All runway and taxiway lighting is first rate, there is nothing better than taxiing round (and believe me you taxi a lot and a long way at DFW) and here it is a very good view.
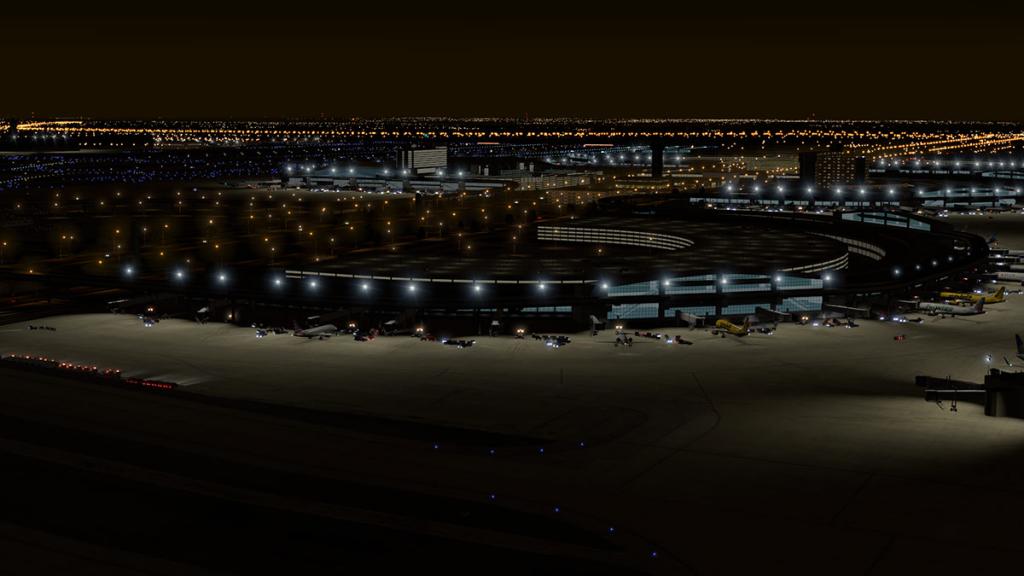
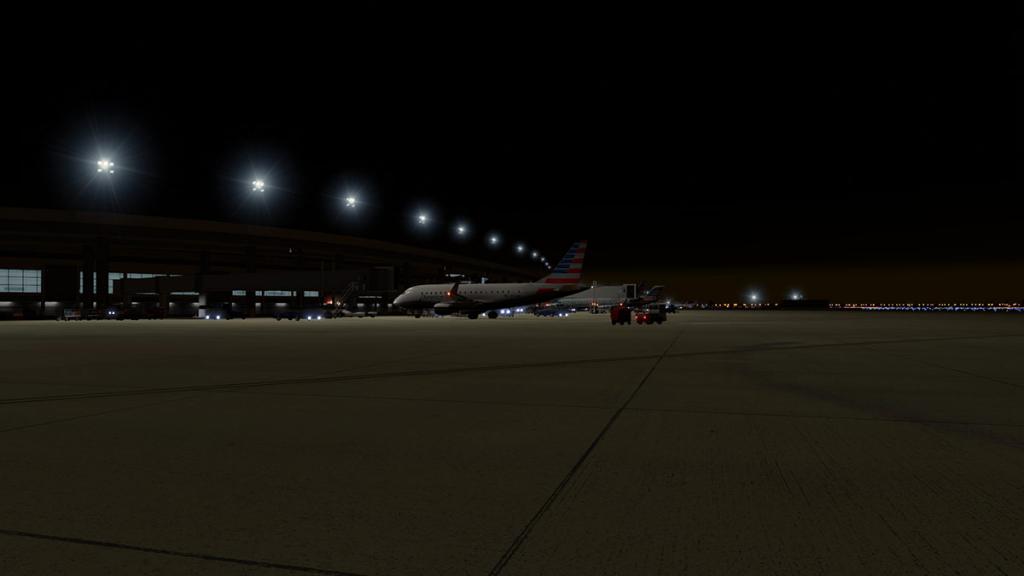
Ramp lighting is excellent with those huge towers of directional lights hanging over you...

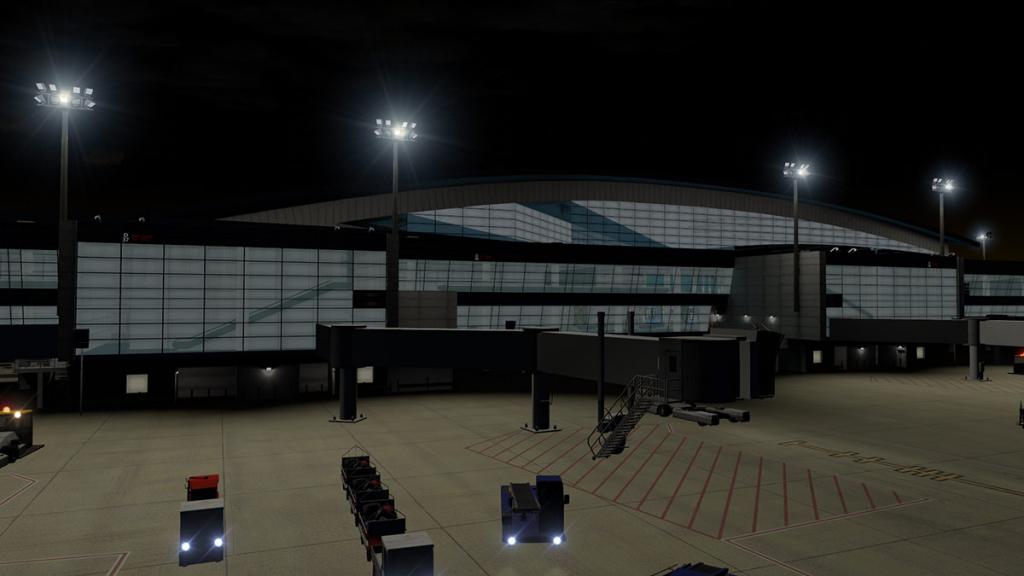
And here is a little bit of a incertitude in that those lovely daytime glass effects that don't translate to night time look. It is all of course a personal difference on the effect. It helps in that you can see the buildings internal areas, but overall it feels grey and flat.
The cause is not helped by the average night textures on the carparks and hotels. The Grand Hyatt is devoid of any life whatsoever (HYATT sign is the only highlight) and very different as the building looks great in the daylight, the building should be a visual highlight on departure or arrival. The Hyatt Regency is a better, but still uniform in its lighting patterns. But overall this throwback lighting is boring.
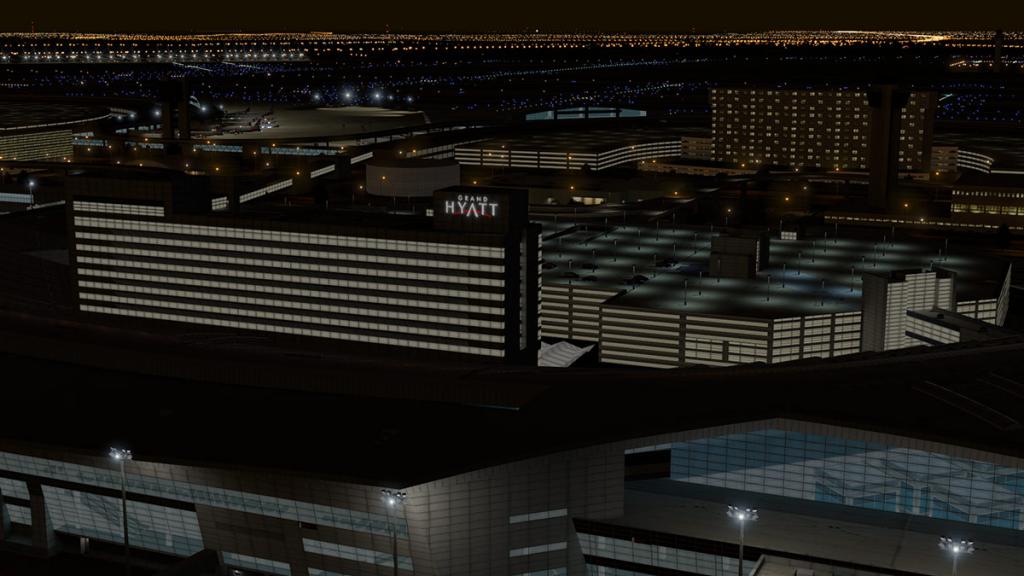

If these lighting carpark/hotel effects had been more effective then they would have taken away some of the flatness of the terminal glass, but together they make the building lighting and the central/terminal area average and even bland. Night textures are very hard to get right. But if you do then it can lift a scenery into a great destination for a night arrival.
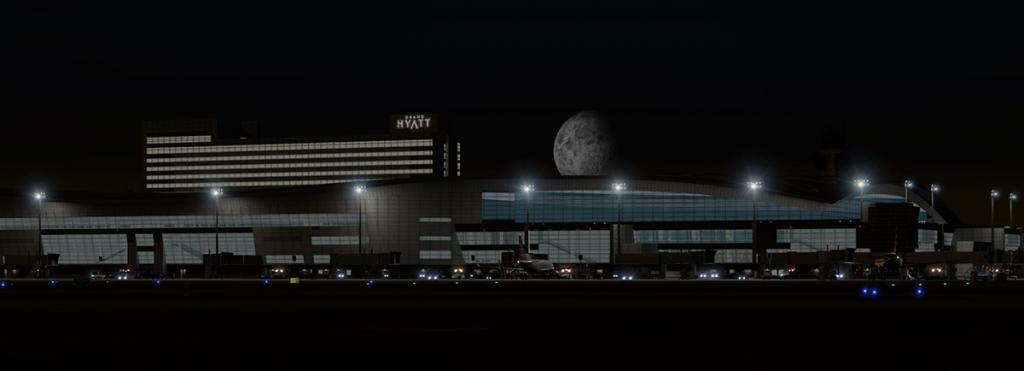
Services
You can connect pretty much everywhere from DFW certainly on any American Airlines/U.S Airways routes. So your choice is huge... top ten domestic routes are interesting with LaGuardia routes notably more used than JFK and no major Washington D.C. routes noted.
Domestic
- 1. Los Angeles, California -1,199,000 - American, Delta, Spirit, United
- 2. Chicago–O'Hare, Illinois - 1,060,000 - American, Spirit, United
- 3. Atlanta, Georgia - 977,000 - American, Delta, Spirit
- 4. Denver, Colorado - 858,000 - American, Frontier, Spirit, United
- 5. New York–LaGuardia, New York - 787,000 - American, Delta, Spirit
- 6. Phoenix, Arizona - 693,000 - American/US Airways, Spirit
- 7. Las Vegas, Nevada - 672,000 - American, Spirit
- 8. San Francisco, California - 660,000 - American, United
- 9. Miami, Florida - 628,000 - American
- 10. Charlotte, North Carolina - 613,000 - American/US Airways
International
International routes are very interesting. You expect Mexico and Canada to be popular, but the British seem to really like Texas as well. Notable routes to the Far East (Toyko/Seoul) are surprising. Also surprising is the absence of the middle-east carriers, but with Emirates upping the Dubai - Dallas route EK221/EK222 to A380 services and other new connections then that absence won't be for too much longer.
- 1. Cancún, Mexico - 682,977 - Aeromexico, American, Spirit, Sun Country
- 2. London (Heathrow), England - 636,251 - American, British Airways
- 3. Mexico City, Mexico - 476,167 - Aeromexico, American
- 4. Tokyo (Narita), Japan - 305,321 - American
- 5. Frankfurt, Germany - 269,442 - American, Lufthansa
- 6. Monterrey, Mexico - 246,804 - American
- 7. Seoul (Incheon), South Korea - 245,514 - American, Korean Air
- 8. San José del Cabo, Mexico - 240,412 - American, Spirit
- 9. Toronto (Pearson), Canada - 221,385 - Air Canada, American
- 10. Vancouver, Canada - 200,460 - American
Qantas currently operates the world's longest nonstop service route from DFW to Sydney. In August 2015, Emirates announced plans for a nonstop flight from Dubai to Panama City which will take the title of the world's longest scheduled nonstop passenger flight starting on February 1, 2016.
Cargo
With 22 cargo operators and with 578,906 tons of cargo handled annually, DFW is the world's 29th busiest cargo airport. If you have followed all the cargo areas in this review you would understand how big a cargo hub DFW is. So with plenty of choice in operators and destinations will keep any cargo hauler easily grinning from ear to ear.
Summary
Obviously the comparison with Tom Curtis's "American Country" scenery is always going to be a hard choice. In perspective they are very different sceneries and both have great features and ideas. In more modern effects and features certainly then Aerosoft's version has a lot more the Tom Curtis's but they are very different views of the same airport.
In the negative I think Aerosoft's version is slightly blander because of the very light saturation of the photo textures. I had to work hard to get any colour into the images here because there isn't much colour to be had to do so. In fact the google image shows that within the airport grounds it is far more darker than the surround areas, and here it is the opposite way around. Building and texture night lighting is a bit more of the same, a bit grey and flat, but then KRSW's night glasswork was a little grey as well.
Highlight is certainly the terminal modeling as it is very good, with Terminal D being the standout. And the Jet Bridges over the highways and great moving traffic flows fill out a great visual aspect while taxiing in and out of the airport. There are lots of features including the step approach of installing sections of the airport that if you wish to leave out can help with your framerate and not affect the visual aspect of the scenery.
DFW is a far bigger scale up from KRSW - Southwest Florida International Airport and all the great things that made that scenery good is in this DFW, but the larger scale does mean something can be more highlighted than they were on a smaller airport. Overall this KDFW - Dallas/Fort Worth scenery is very good with a lot of great aspects and features, but a more attention to the ground textures and night building lighting should have made it really great.
____________________________________________________________________________________
Yes! KDFW - Dallas Fort-Worth by Aerosoft is NOW available from the X-Plane.Org Store here :
Price is US$23.99
Features:- 30 cm/pixel orthoimagery and 1 cm/pixel custom ground detail/markings
- Airport lighting and pavement markings closely follow FAA/ACI standards
- Terminals with interiors modelled using actual architectural drawings
- Modelled aircraft overpasses crossing International Parkway
- Ray-traced ambient occlusion, local illumination and specular mapping
- Uses advanced X-Plane features such as decal shading and 3D spill lights
- Animated passenger boarding bridges and Safedock® A-VDGS at all gates (using the freely available AutoGate plugin by Jonathan Harris)*
- Animated road traffic and Skylink APM
- Complete taxiway network for use by ATC and AI aircraft
- Fully compatible with the X-Life plugin by JARDesign
- Makes full use of the new ground service vehicles introduced in X-Plane 11
- Thousands of hand-placed objects such as parked cars and streetlights
- Parked cars, streetlights and terminal interiors can be individually turned on/off to optimize performance
- Uses 4K textures to maximize performance by minimizing draw calls
Requirements:
X-Plane 11 or X-Plane 10Windows, Mac and Linux2Gb+ VRAM Video CardInstallation and documents: Download is 307.90meg and the scenery is deposited in the "Custom Scenery" X-Plane folder in this order...
Aerosoft_KDFW_1_Parked_Cars (106kb)*
Aerosoft_KDFW_2_Street_Lights (12.7kb)*
Aerosoft_KDFW_3_Terminal_Interiors (58.30kb)*
Aerosoft_KDFW_4_Roads (10kb)
Aerosoft_KDFW_5_Scenery (678.90mb)
* selections can be removed to save framerate.
Marginal's jetway and docking guidance system plugin is required for the animated jetways : AutoGate plugin 1.72
Full manual is provided. No charts but available here : faa.gov
____________________________________________________________________________________Review by Stephen Dutton16th May 2017Copyright©2016: X-PlaneReviews(Disclaimer. All images and text in this review are the work and property of X-PlaneReviews, no sharing or copy of the content is allowed without consent from the author as per copyright conditions)Review System Specifications:
Computer System: Windows - Intel Core i7 6700K CPU 4.00GHz / 64bit - 16 Gb single 1067 Mhz DDR4 2133 - GeForce GTX 980/SSE2 - Samsung Evo 512gb SSD
Software: - Windows 10 - X-Plane 11 and also used in X-Plane v10.52
Addons: Saitek x56 Pro system Joystick and Throttle : Sound - Bose Soundlink Mini
Plugins: Environment Engine by xEnviro US$69.90 : JARDesign Ground Handling Deluxe plugin - US$14.95
Scenery or Aircraft
- Airbus A320neo by JARDesign (X-Plane.OrgStore) - US$59.95
- Boeing 737-800 X-Plane default
-
Thanks for the info... I have been down with a head cold for a week, so you miss things SD
-
News! - Aircraft Announcement : Ultimate A320 from FlightFactor
FlightFactor has announced the coming of a Ultimate Airbus A320 of a real world training compatible aircraft for X-Plane. If you go right back a few years this was part of the original QPAC (QualityPark Group) initiative to bring a fully working A320 simulation to X-Plane.
It was a bold experiment and the outcome was mostly all the current X-Plane A320/A380 aircraft (except JARDesign) use the flight control systems created from that original initiative to cover flight areas of Fly-by-wire, Alpha Floor, Flight Control Laws to give simulation a realist feel when flying Airbus aircraft and that initial investment has gone a long way over the years in the X-Plane simulator.
This A320 aircraft from FlightFactor is the realisation of that original concept although I don't think QPAC is involved any more, but it is also a very different concept in the fact it does not use the X-Plane code or flight basics for the flying of the aircraft in the X-Plane Simulator.
This means the aircraft is totally plugin active and in reality is not connected at all to the laws and rules that is the basis of Laminar Research's X-Plane Simulator, so even a simple point of noting that if the aircraft is in the air or on the ground is not feasible and neither is any other connection to the aspects of simulator.
This provides both points of interest, in one the developers can do almost anything to replicate the A320 aircraft and it's systems, that is in the positive. But also is the fact the developers can also not use the set laws and ease of use of the built in X-Plane system that is provided (inbuilt) either. So even any provided simple area has to replicated and you don't have the X-Plane famous "Blade-element theory" to use either and in that is seeing the size and complexity of the project.
In reality the A320 is then disconnected from its X-Plane base, and the project may be a future way of adding in more features or in either finding its limitations or the sheer complexity in trying to fly on your screen alone.
FlightFactor note these features...
· Hi quality and realistic interior and exterior visual model.
· Hi quality and realistic sound pack with hundreds of sounds from the real aircraft.
· Hi quality display graphics (4K panel).
· Unique rain effects.
· Fast access popup panel system.
· Precise aerodynamical model with unique features like transonic effects, hi speed stall etc.
· Specific engine model with realistic performance and dynamics.
· More than 10,000 simulated objects like computers, sensors, units, data buses, busbars, relays, etc. with its own logics and behavior.
· Simulation of data exchange in ARINC data protocol between aircraft computers with precision loss and delays.
· Realistic simulation of transition effects, self-tests and other real aircraft undocumented features.
· Physically based implementation of electric, hydraulic, fuel and pneumatic systems with realistic responses and state transitions.
· Precise flight management system with full profile predictions and modes of operation.
· Autopilot, indistinguishable from real aircraft, with all modes, transition effects and undocumented features.
A point made by FlightFactor is that this A320 is a heavy based systems simulation, and so it is not aimed at users that are new to simulation or don't understand complex aircraft systems and the flying aspects of these aircraft.
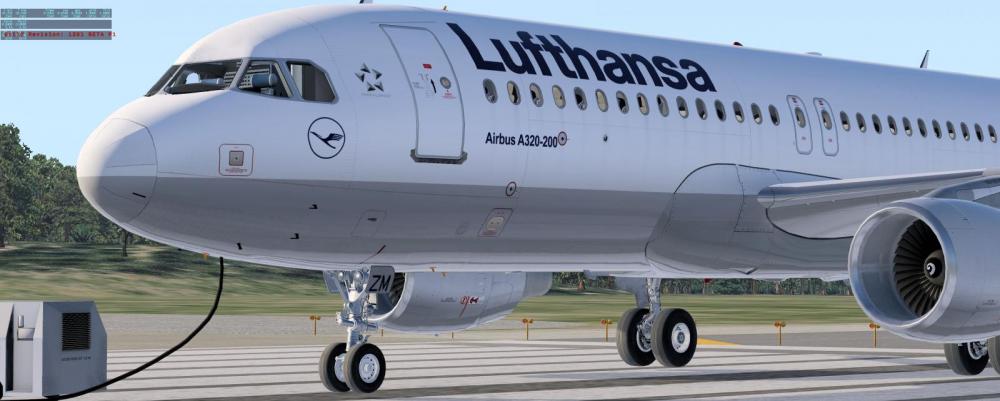
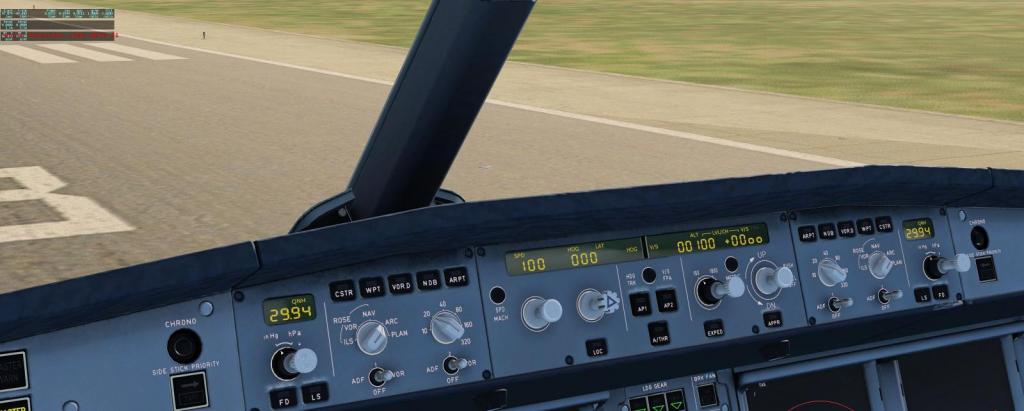
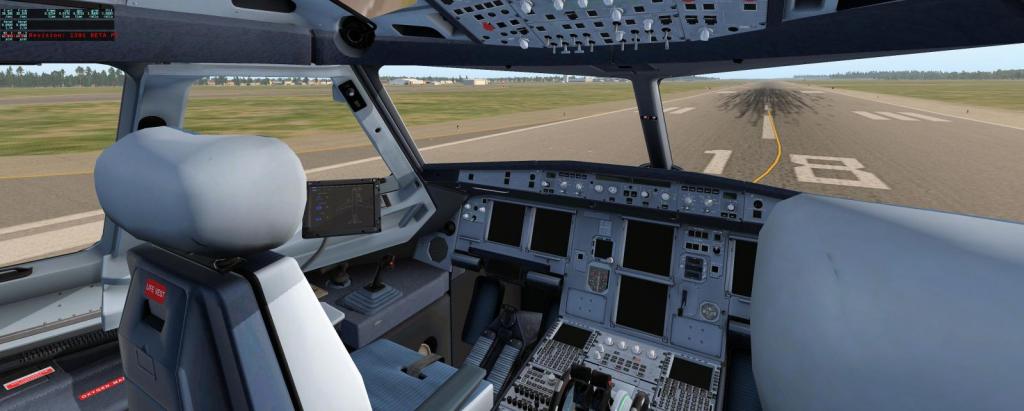
One interesting aspect from this project is that it may trickle down to FlightFactor's A350 aircraft also, as the developer has noted it will get the "Ultimate" title as well.
So this is going to be one very interesting release, and FlightFactor also notes...
"Price point: Due to the complexity and the accuracy of the systems - unheard of in x-plane - expect to pay more than with our current models.
Since we will first release it in 'beta' form, first customers will get a discount (and we expect initial customers to take this sim very seriously)."In other words it won't be cheap....
Release date is near but not yet finalised, so watch this space and I would read up on Airbus operating and system manuals in the meantime.
Images are courtesy of FlightFactor
Developer A320 Forum : A320 Ultimate
______________________________________________________________________
Stephen Dutton
13th May 2017
Copyright©X-Plane Reviews: X-PlaneReviews


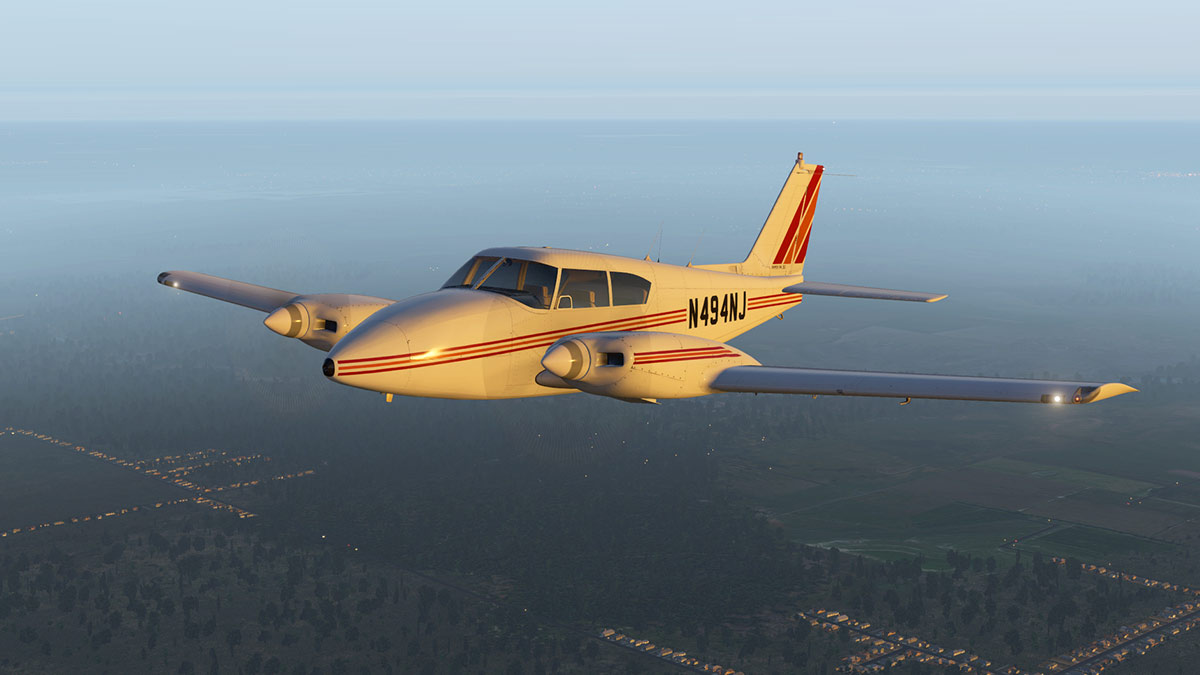
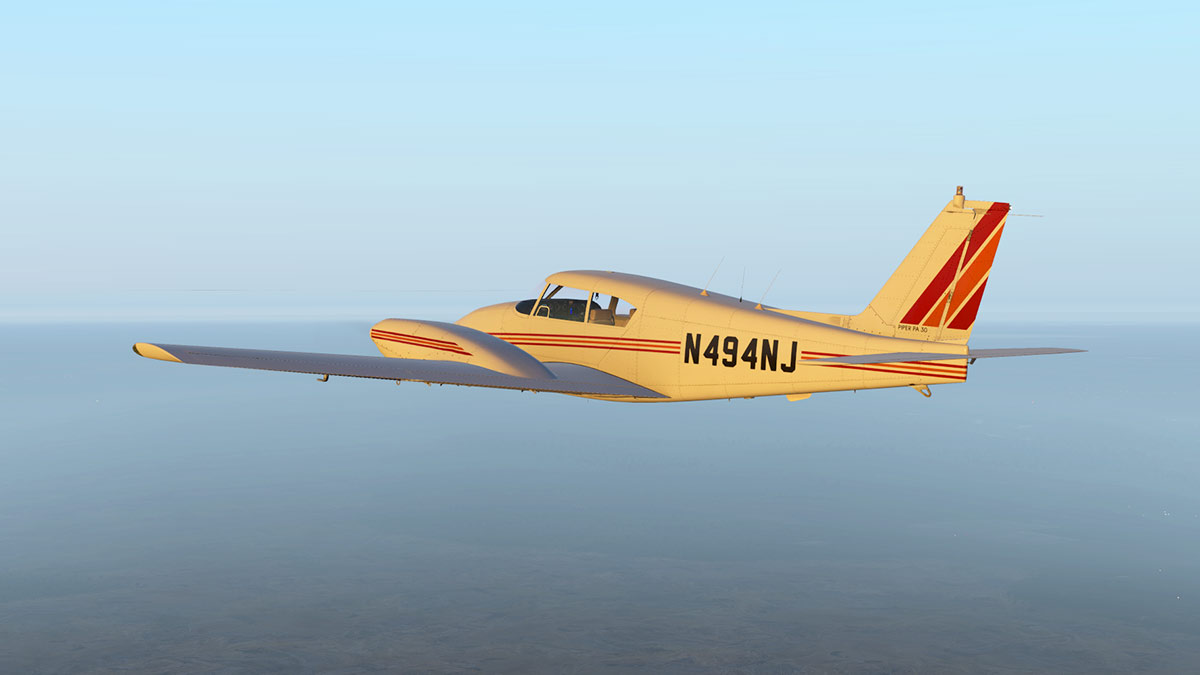


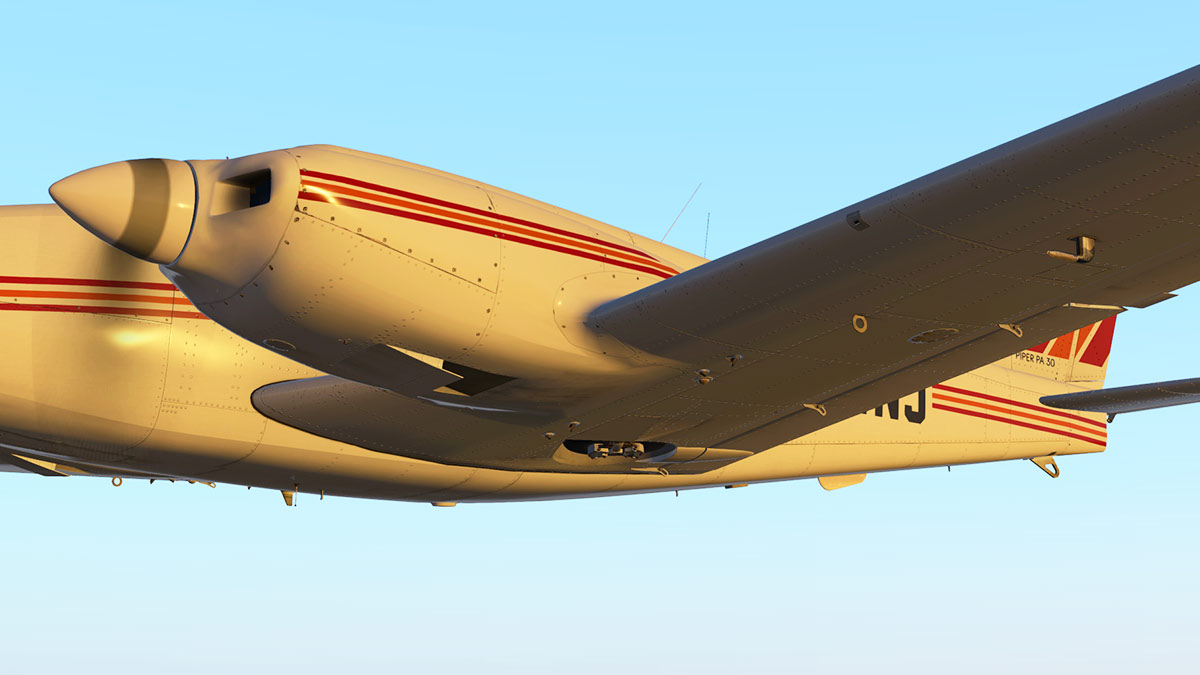
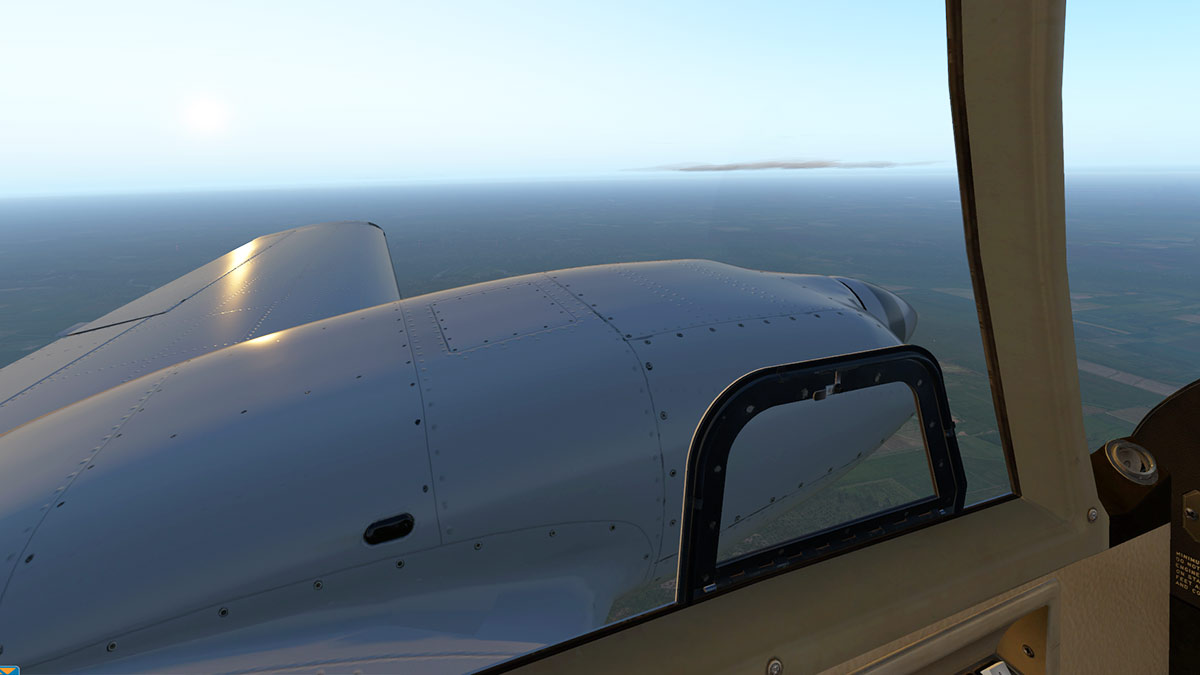
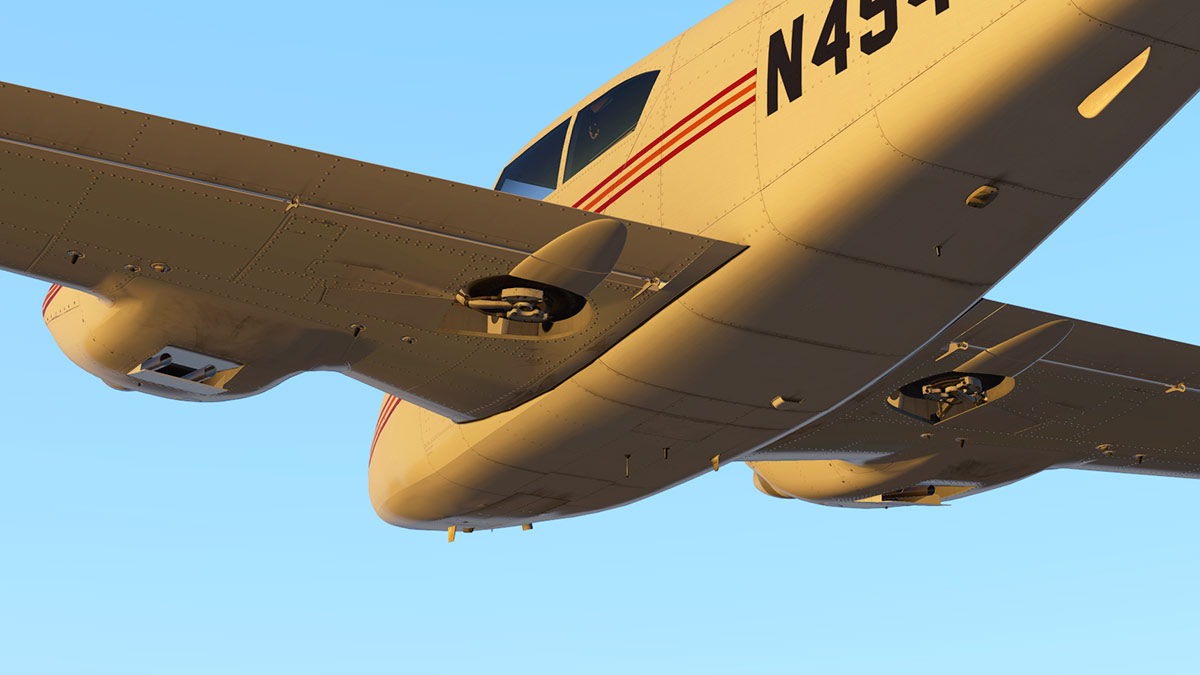

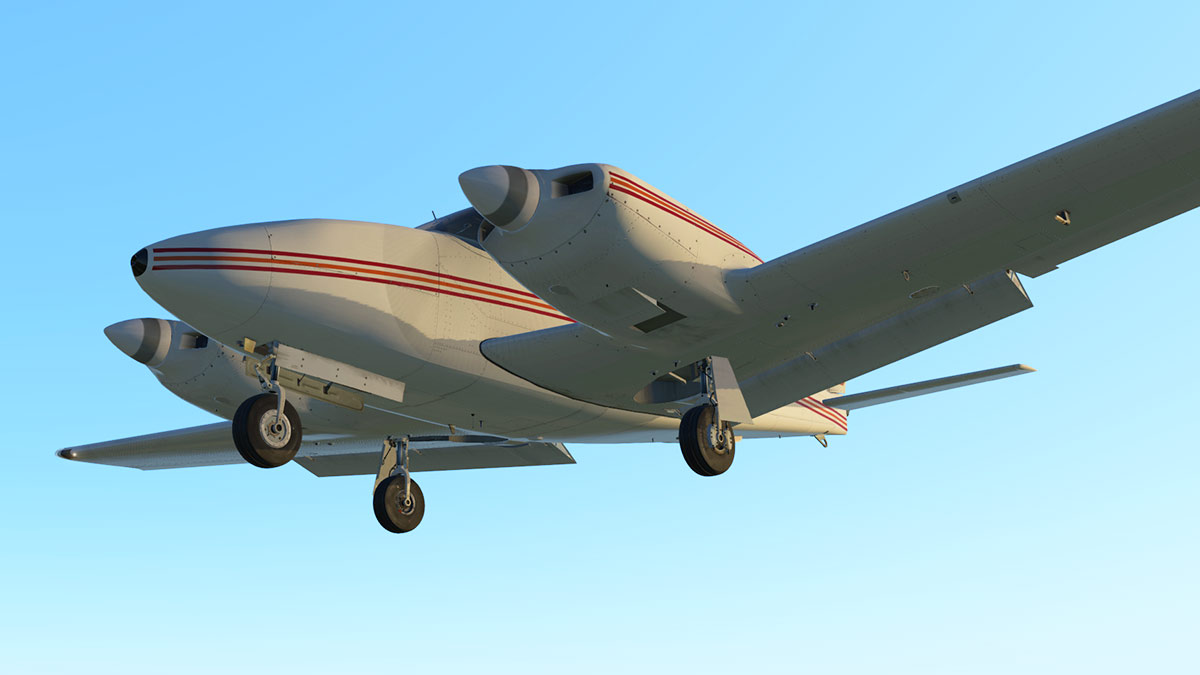

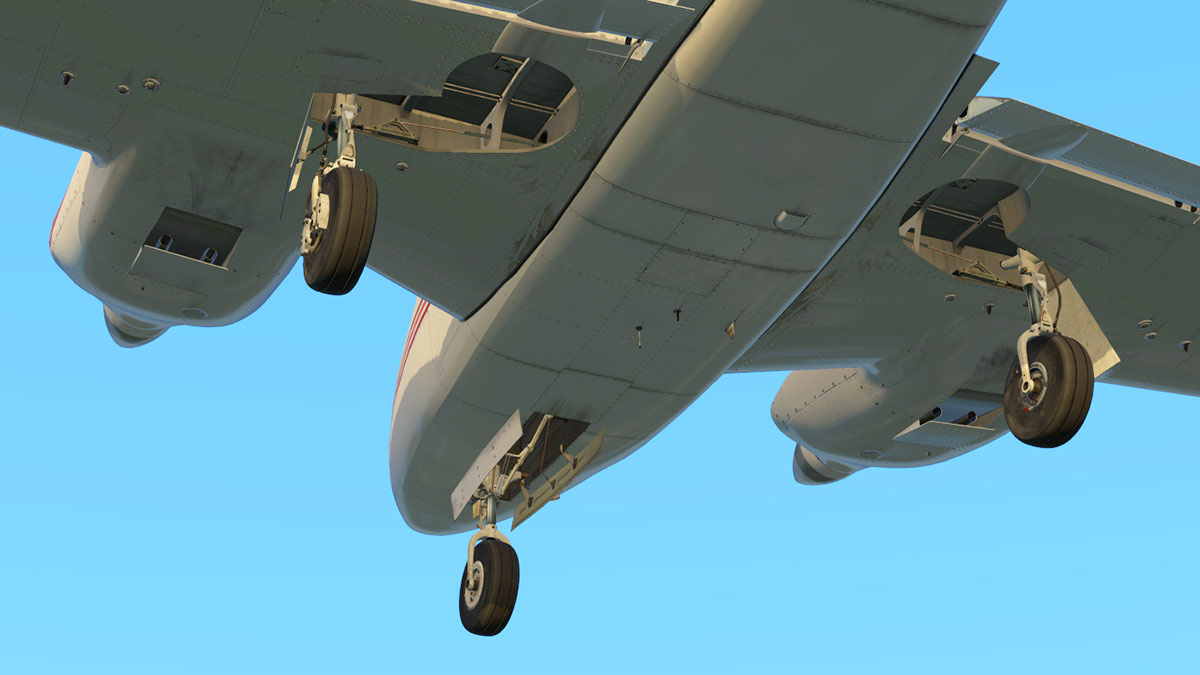

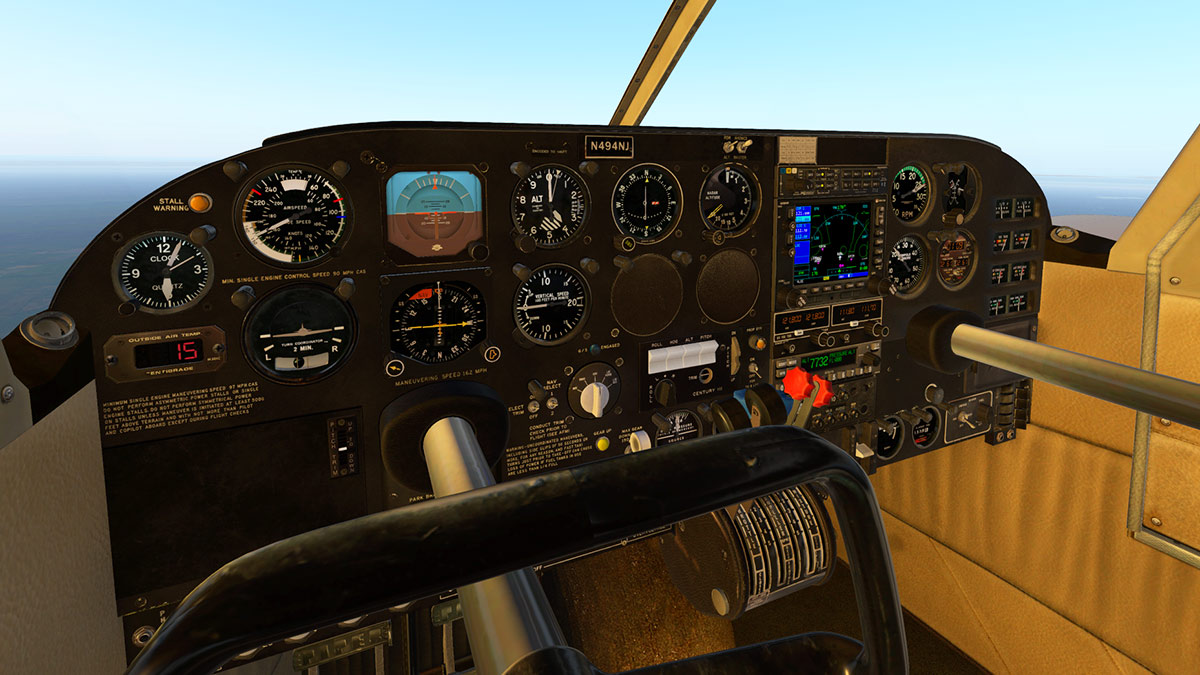
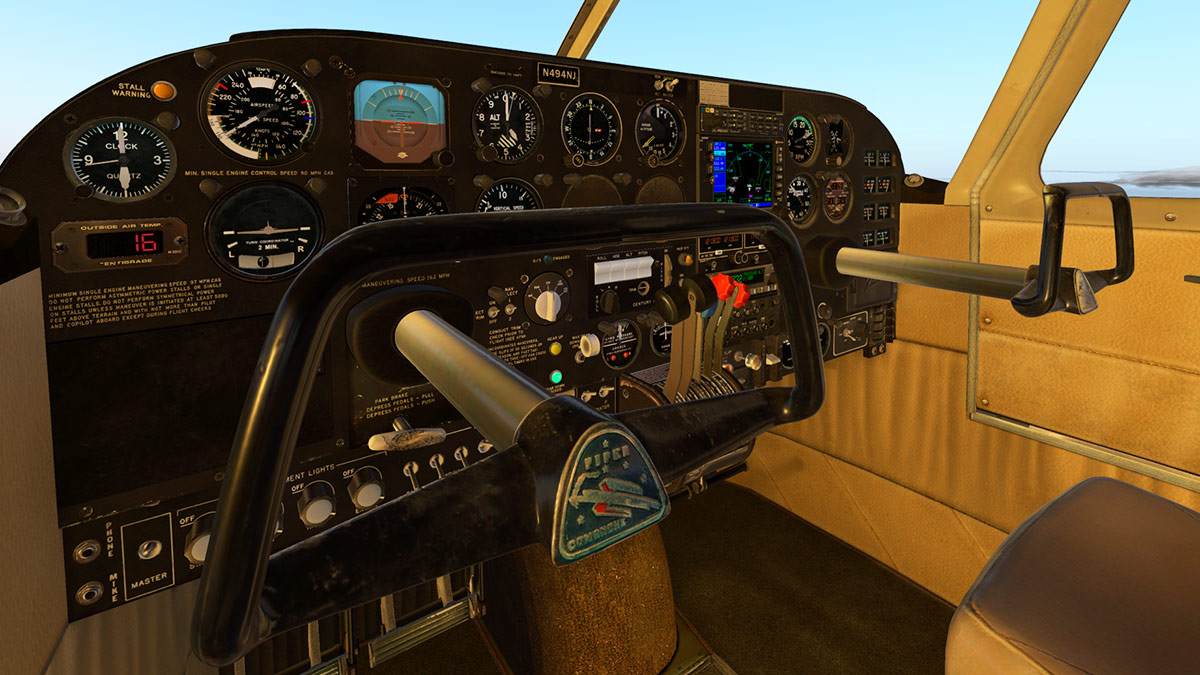
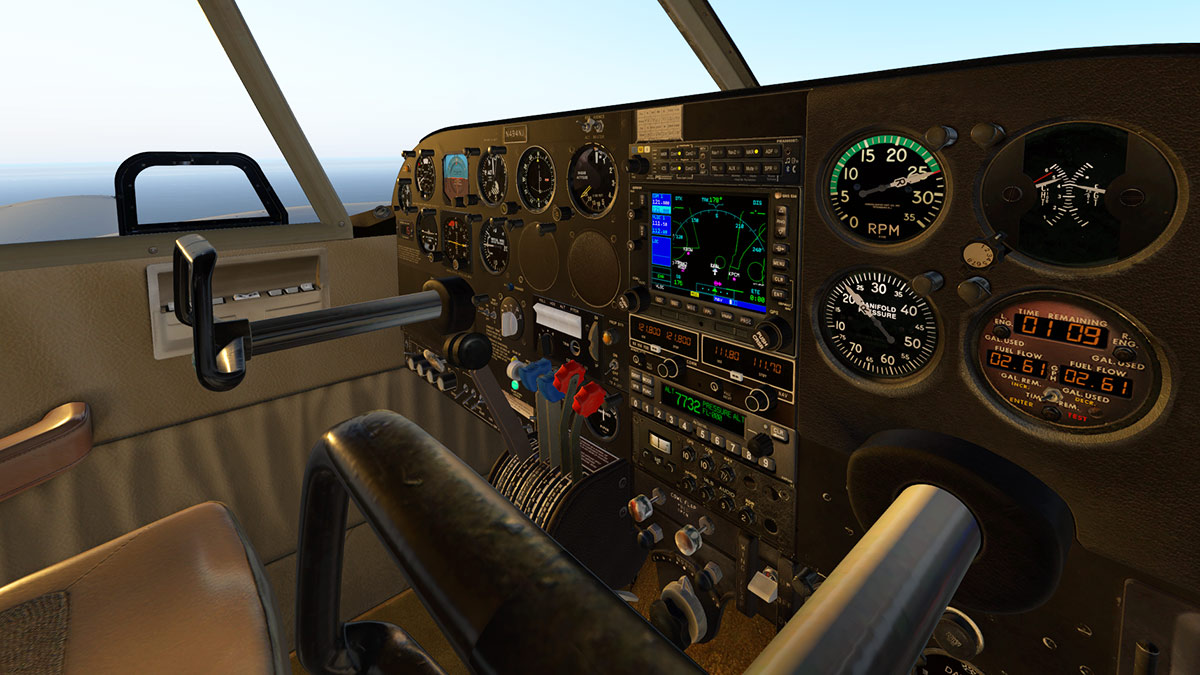


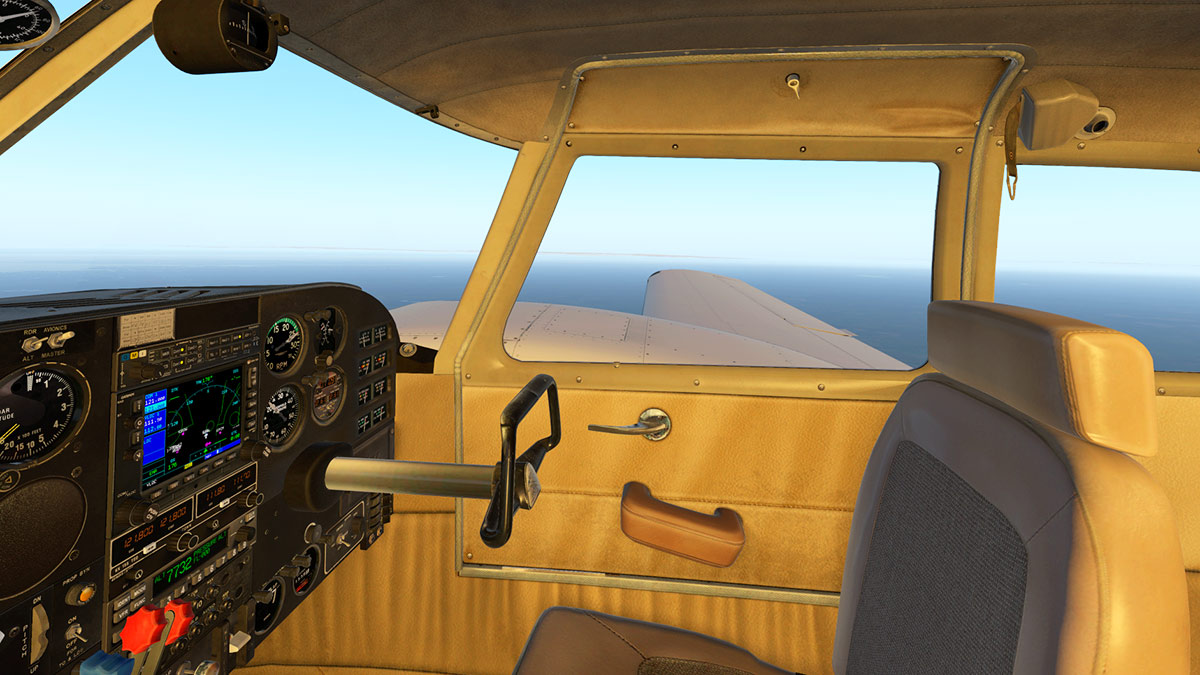
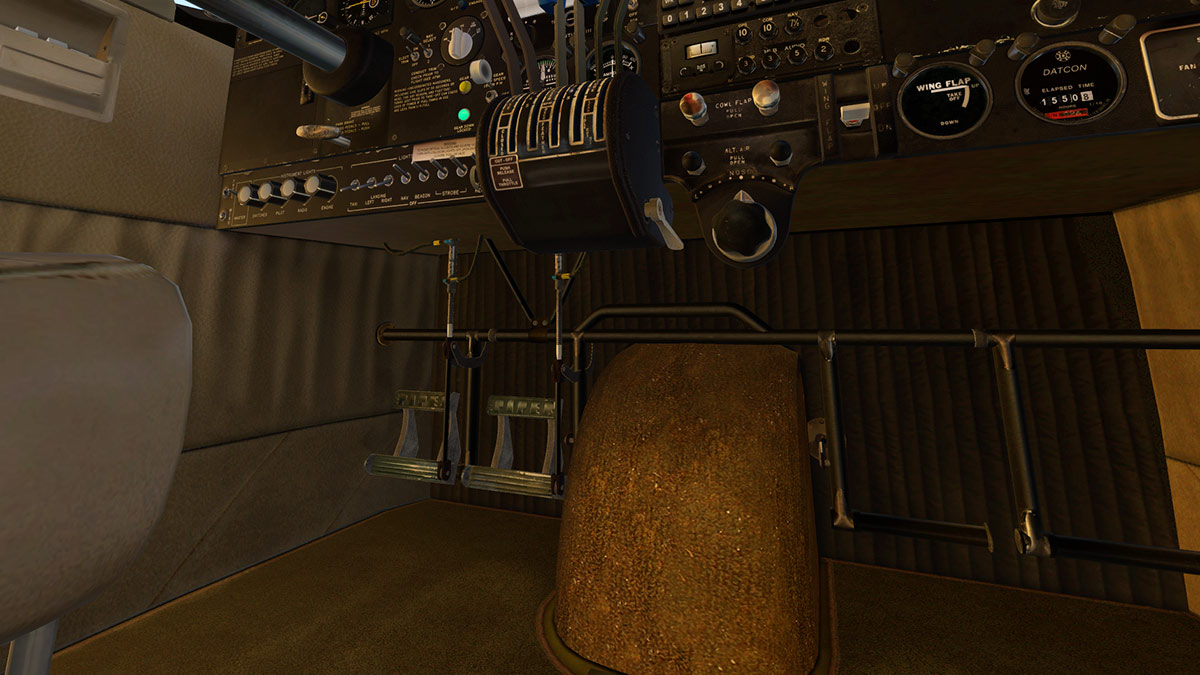
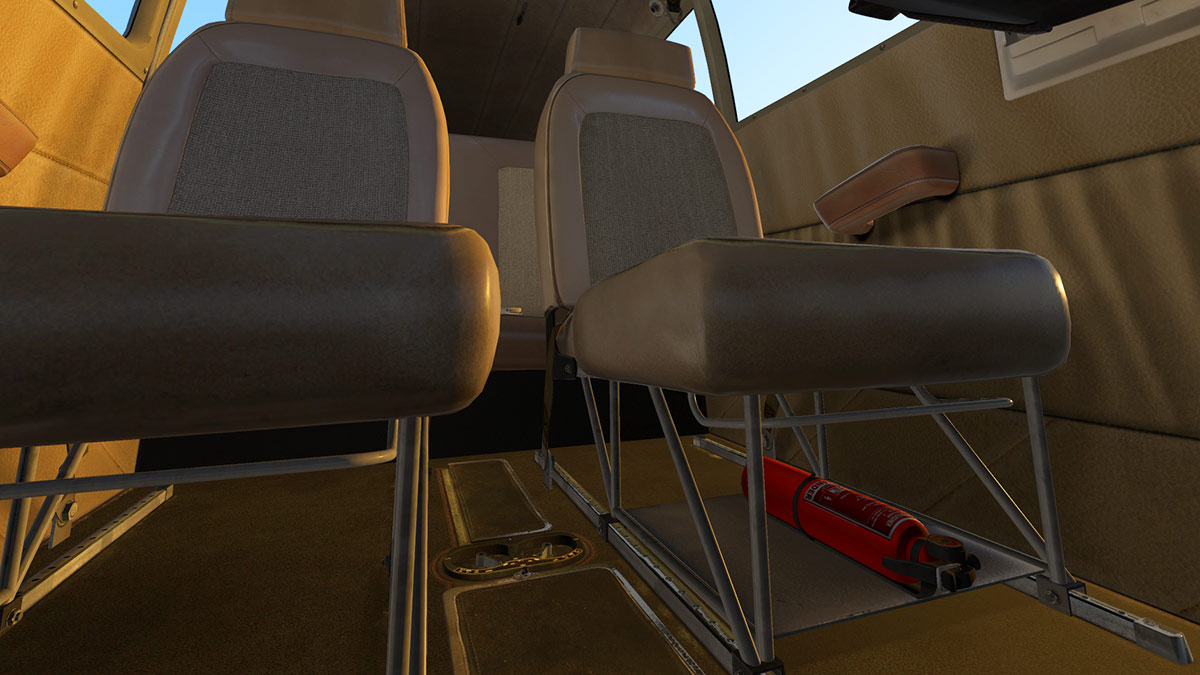
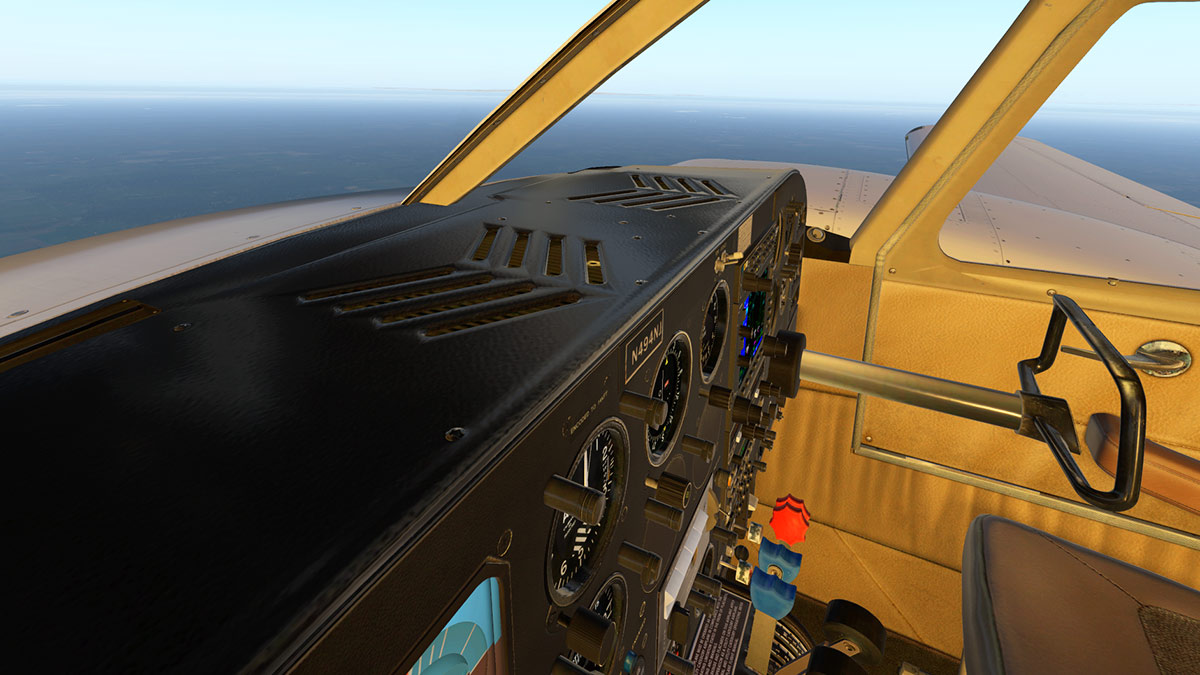

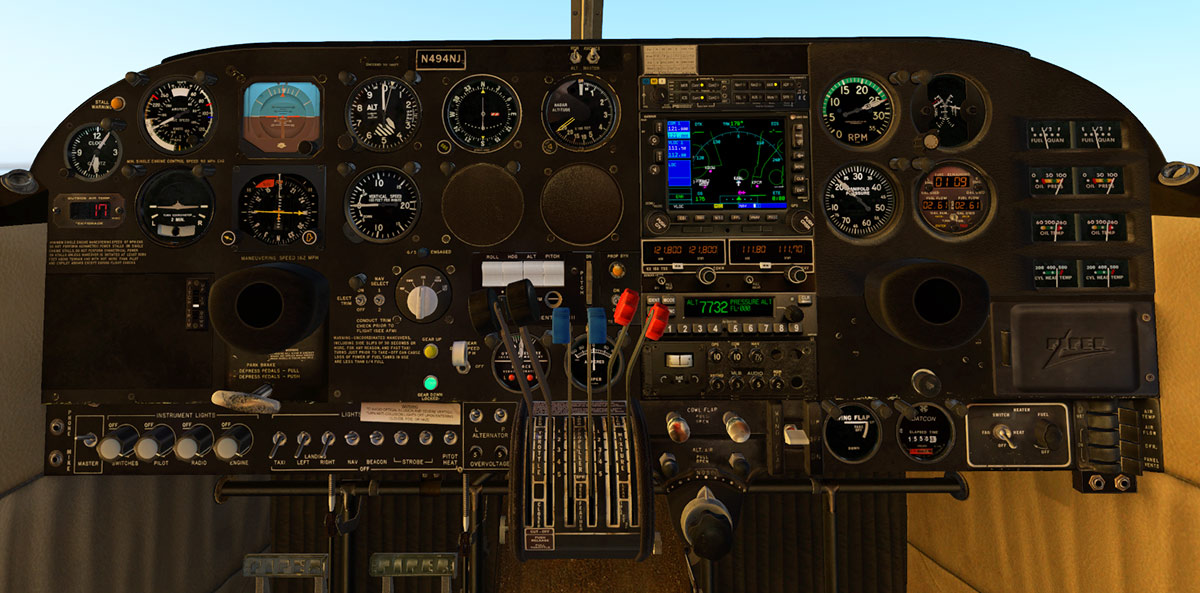
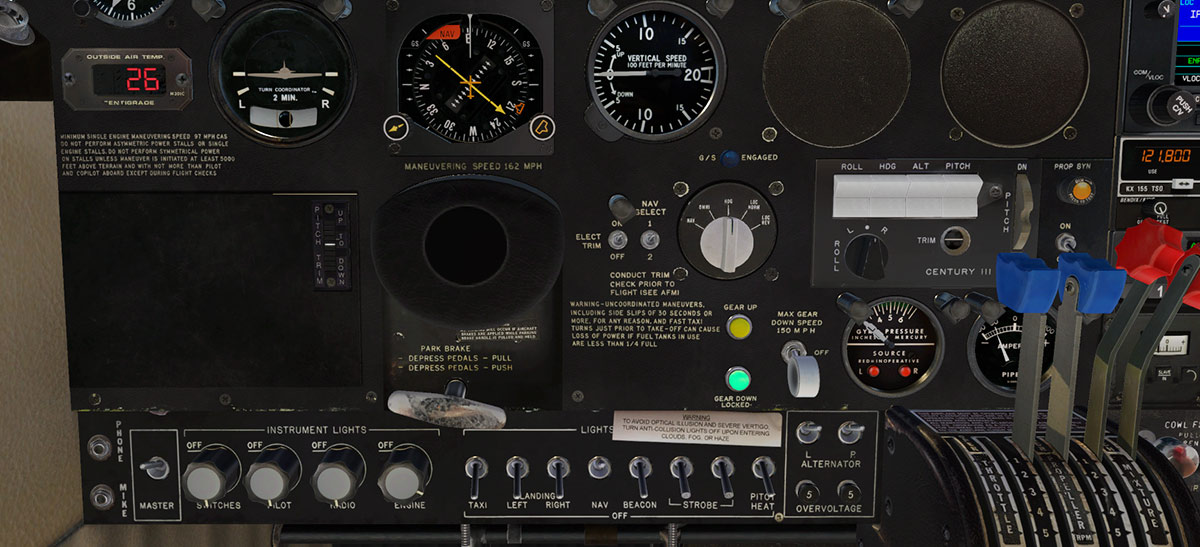
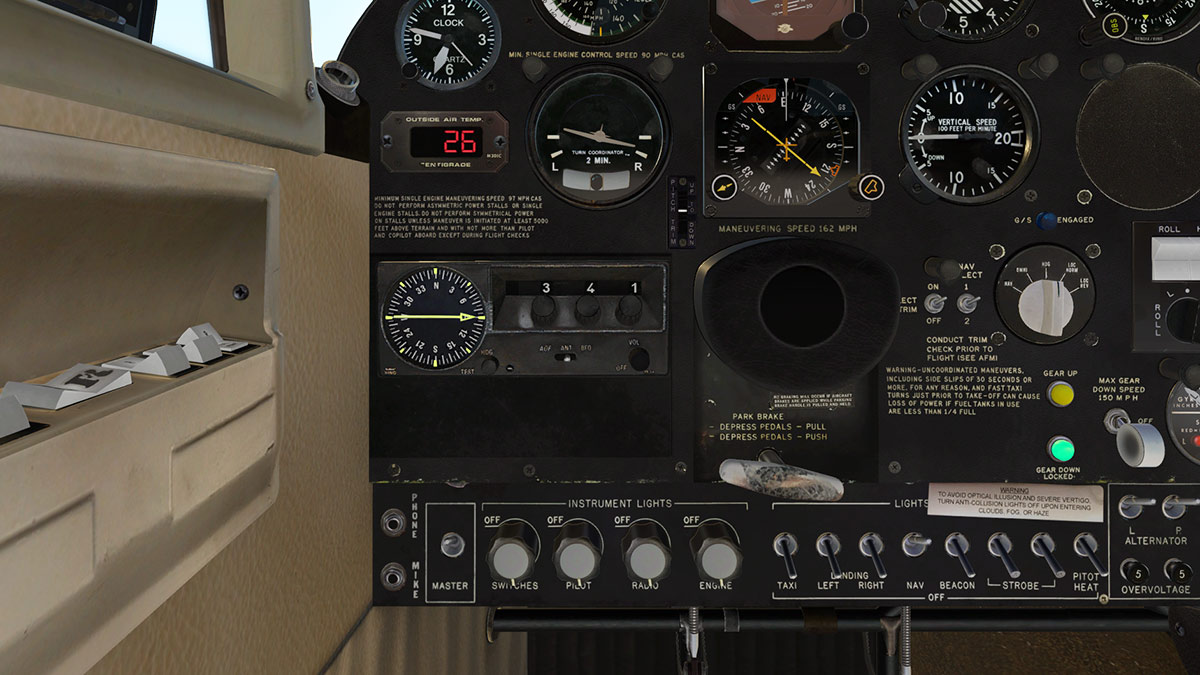


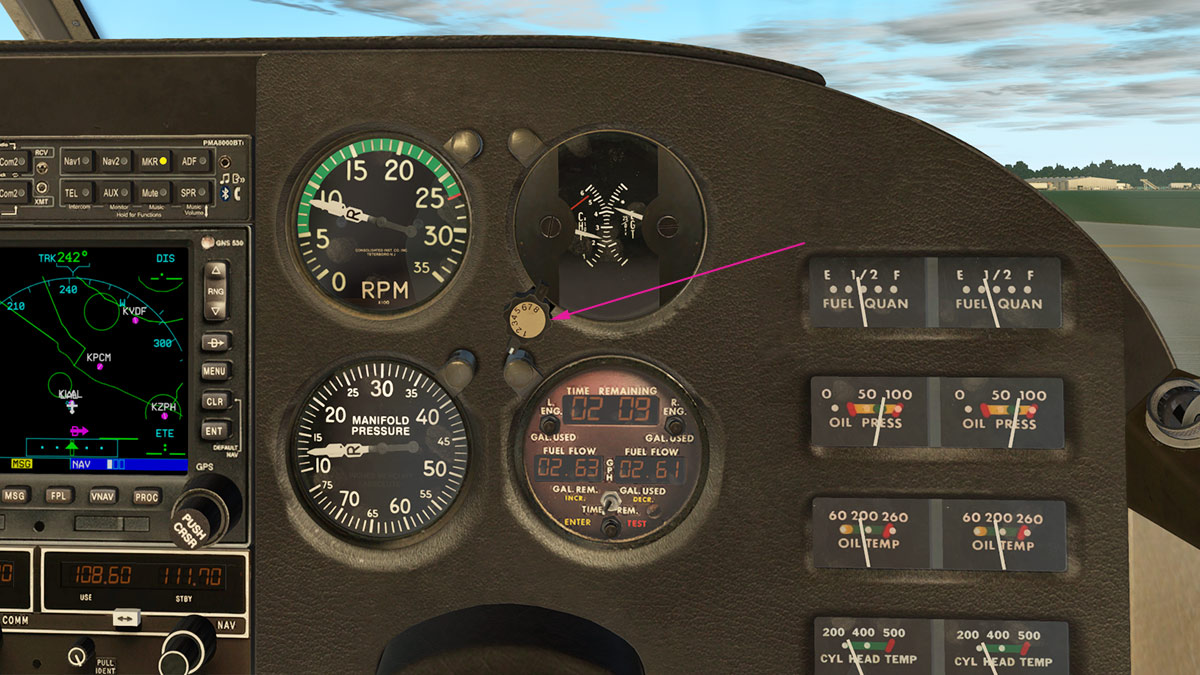

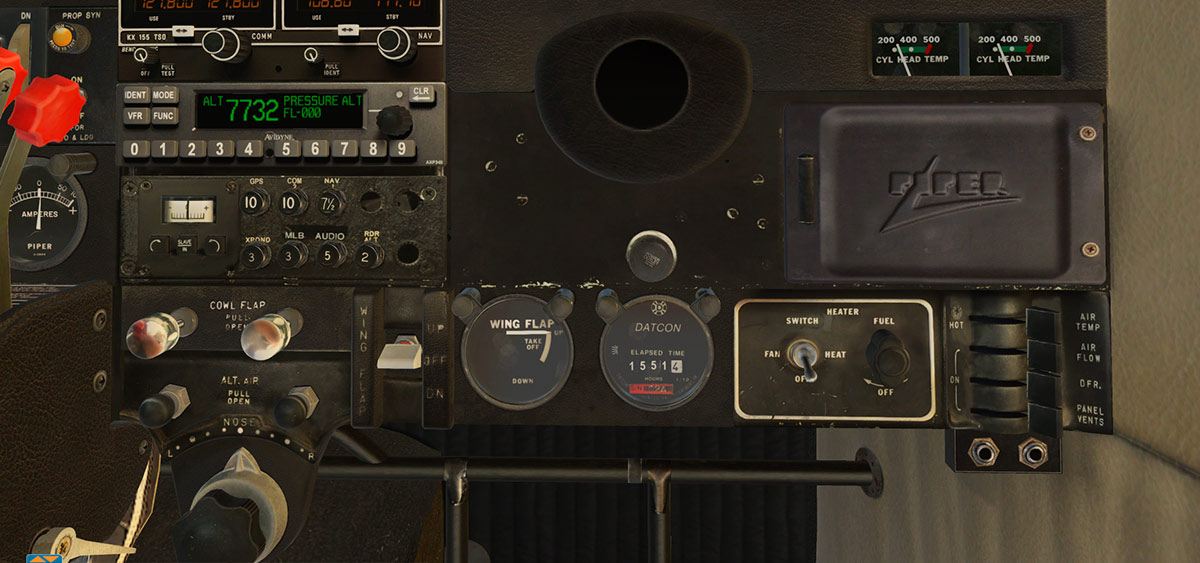


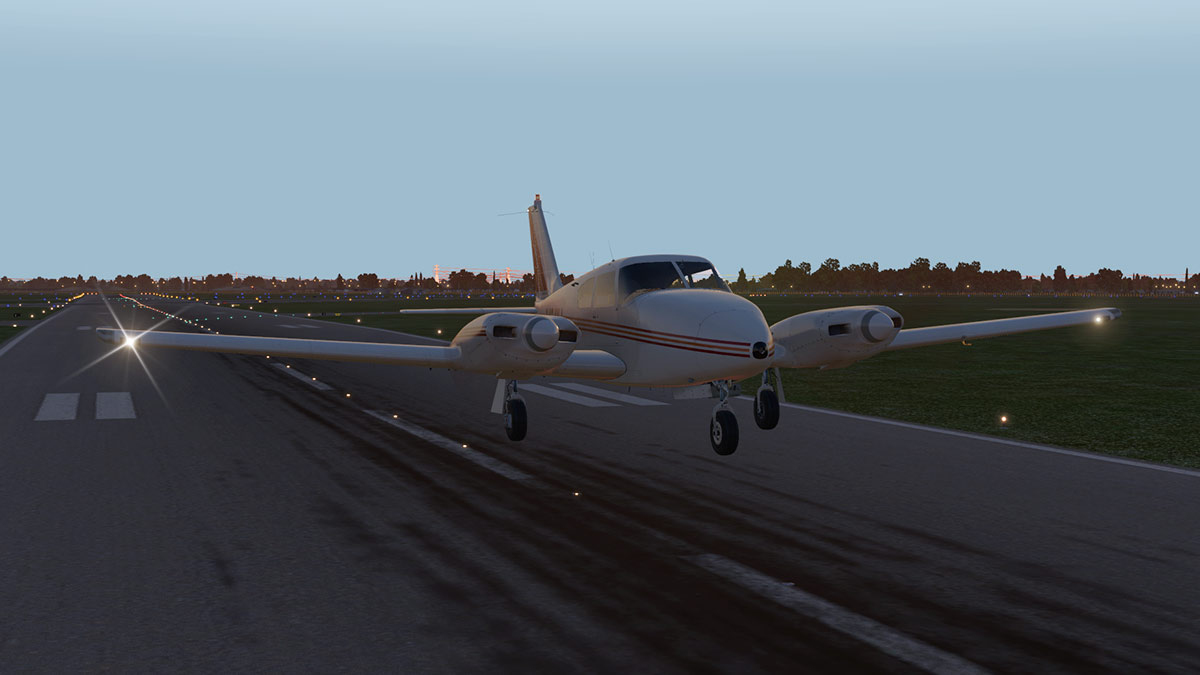

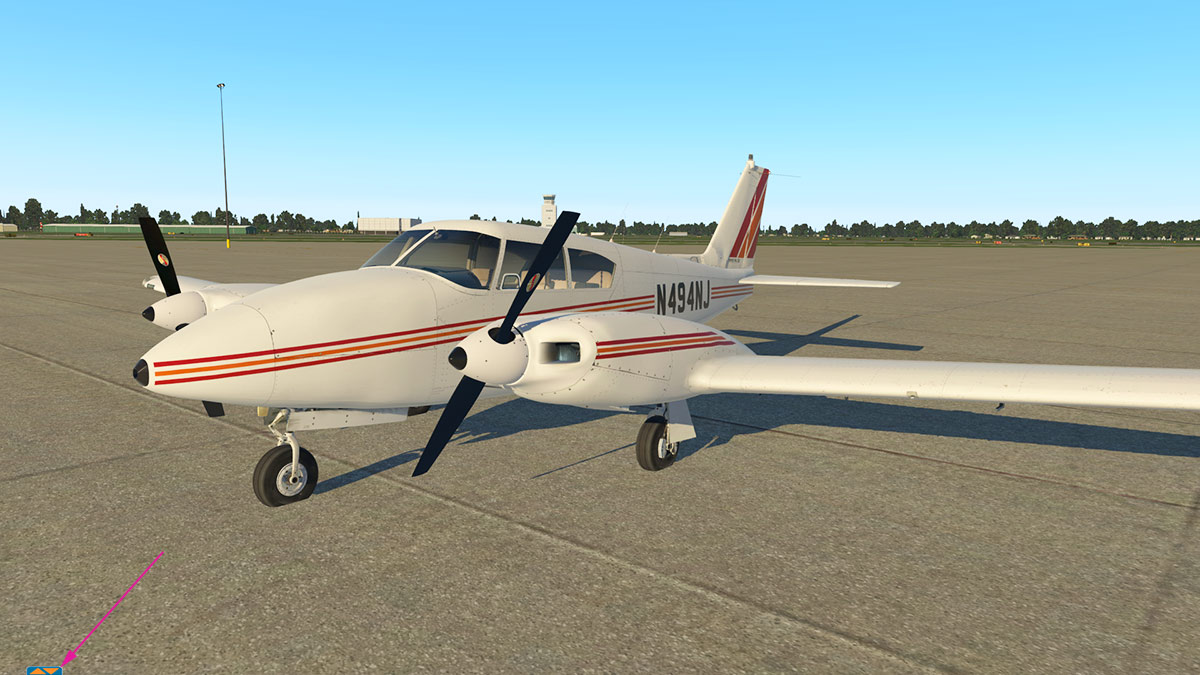
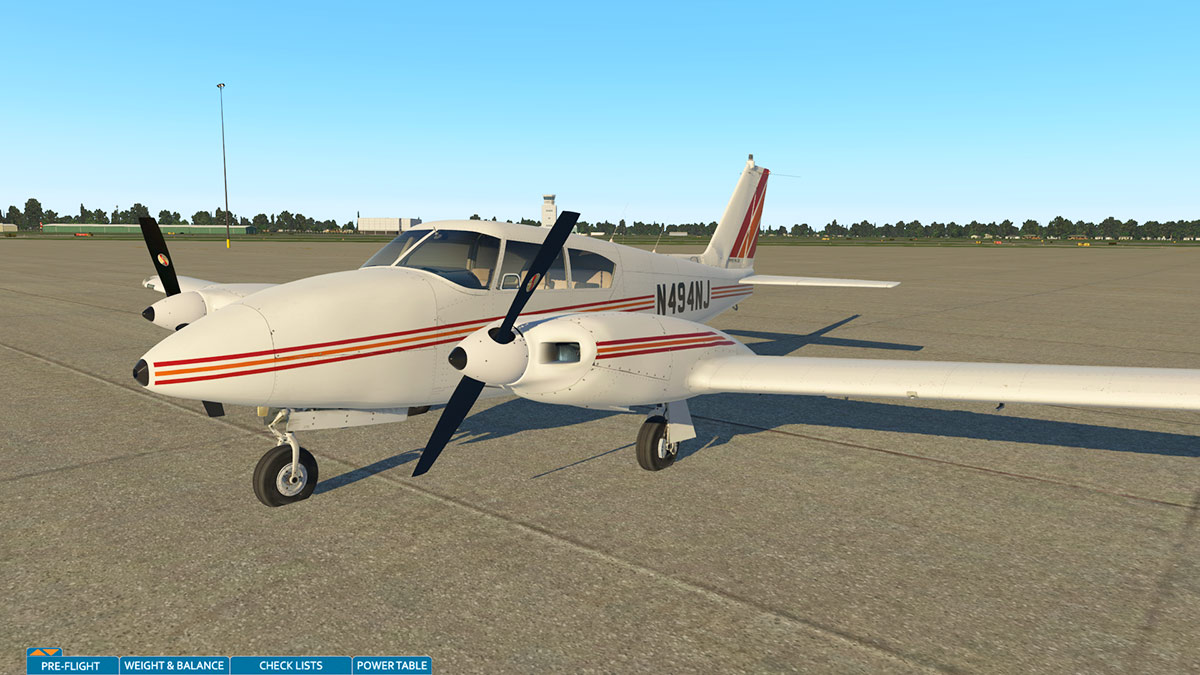

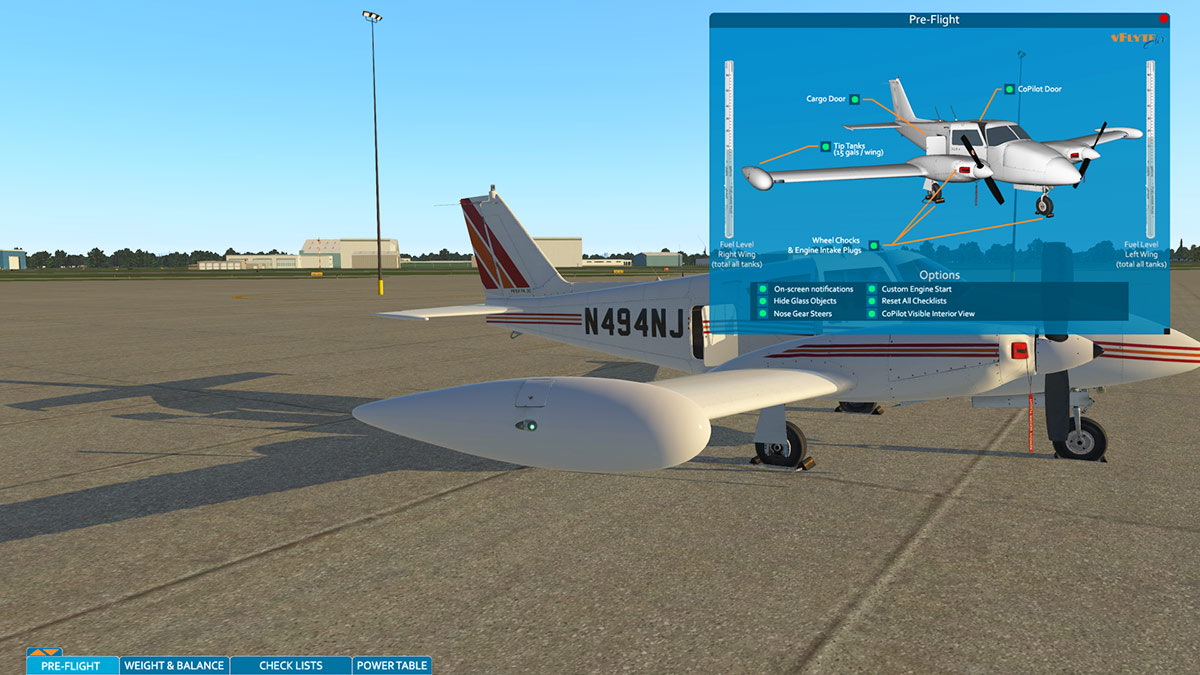
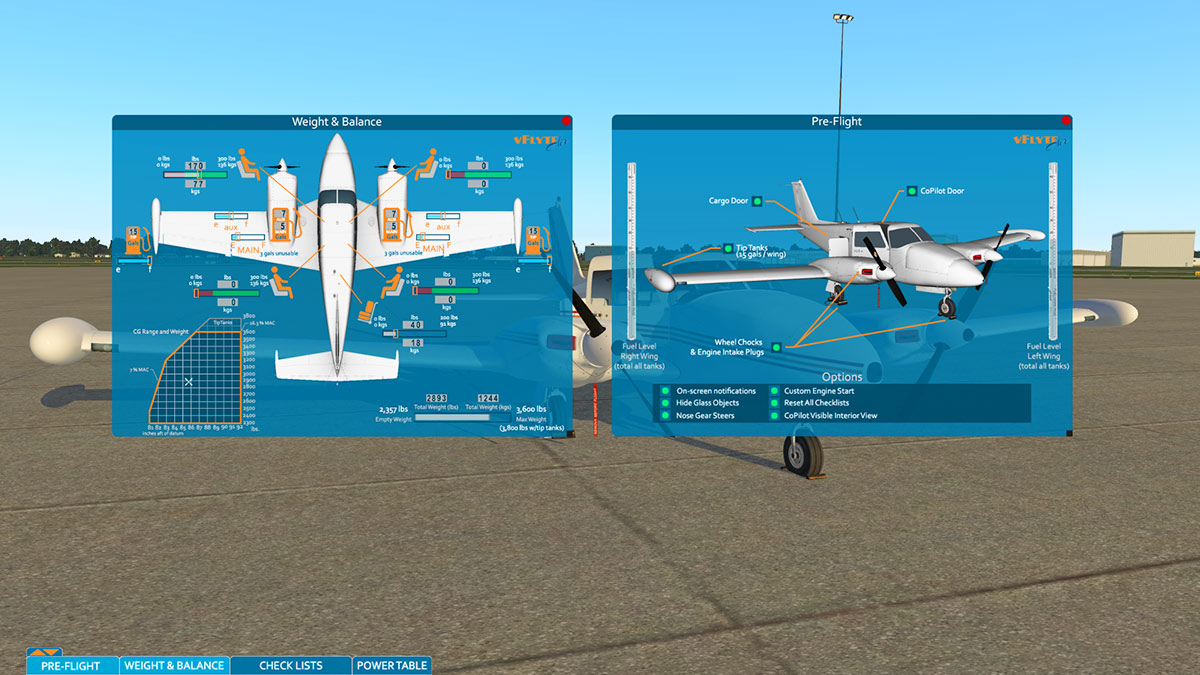
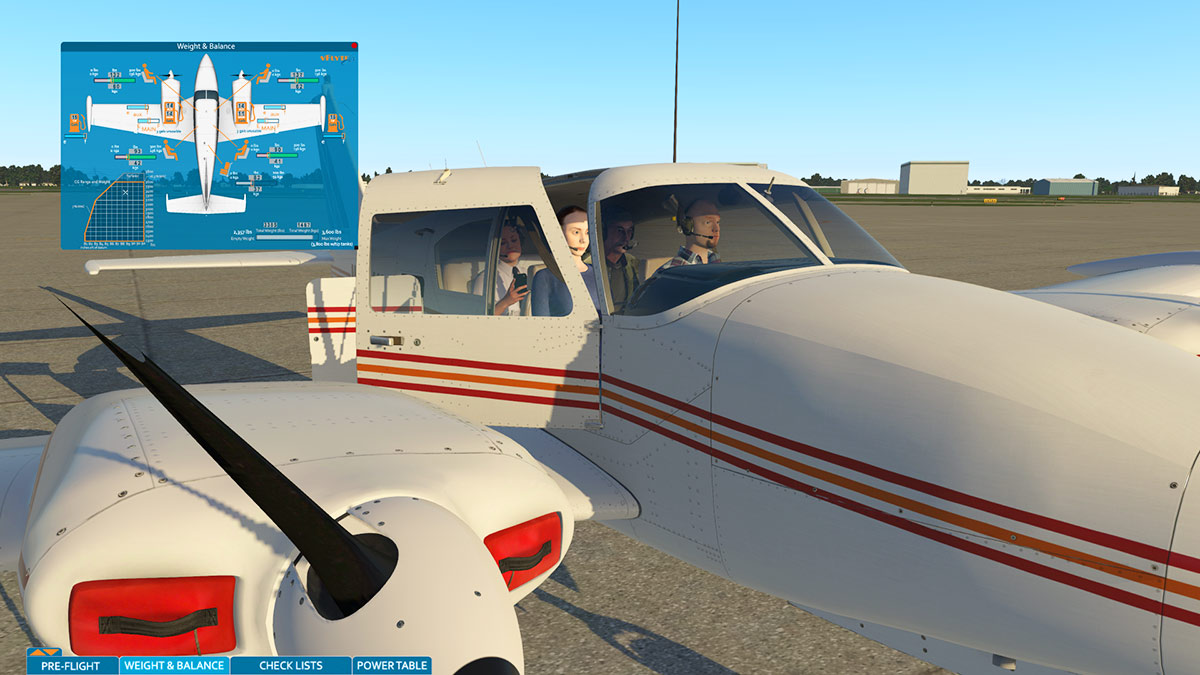

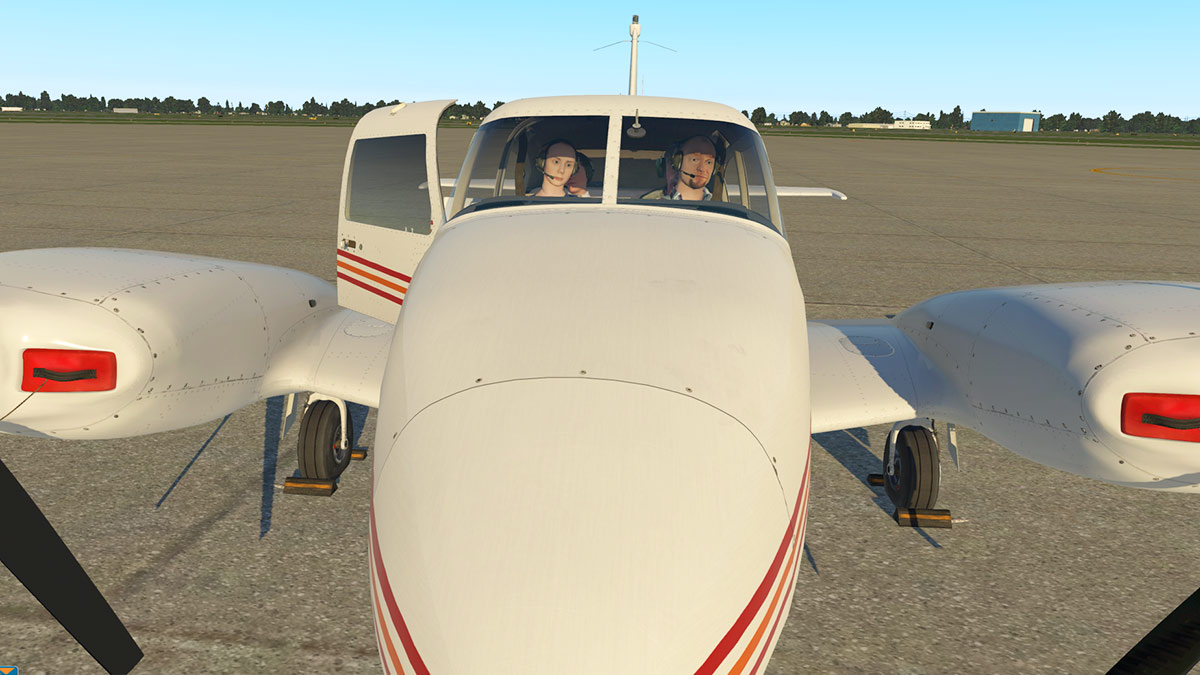


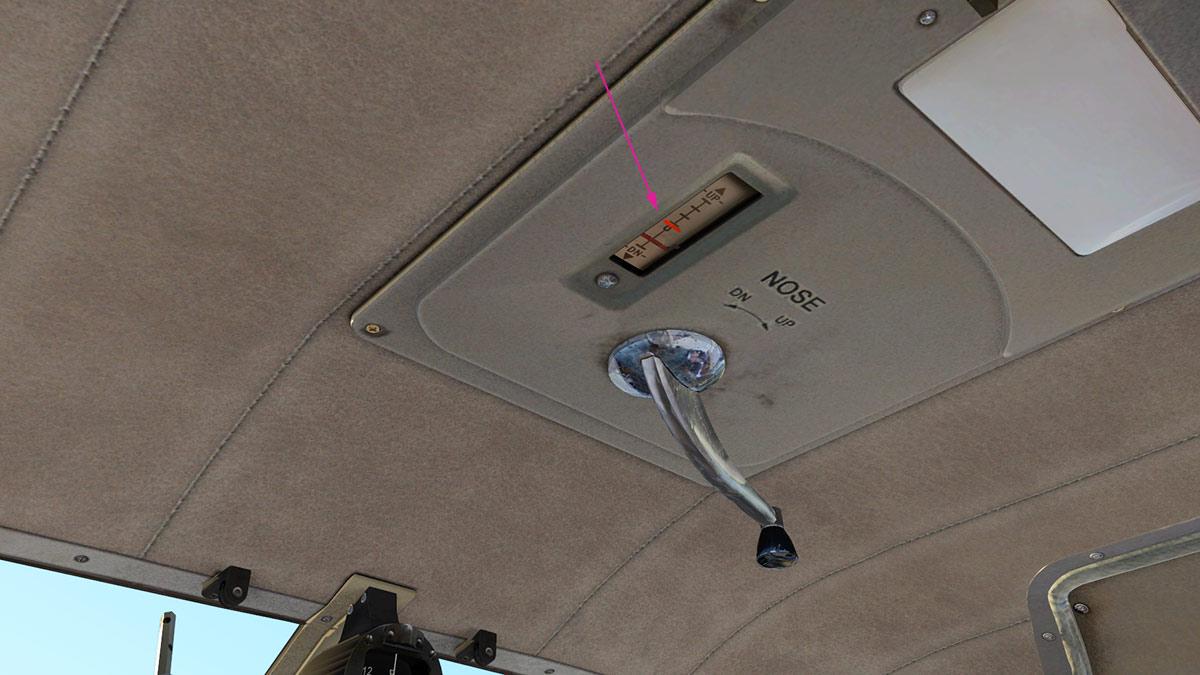
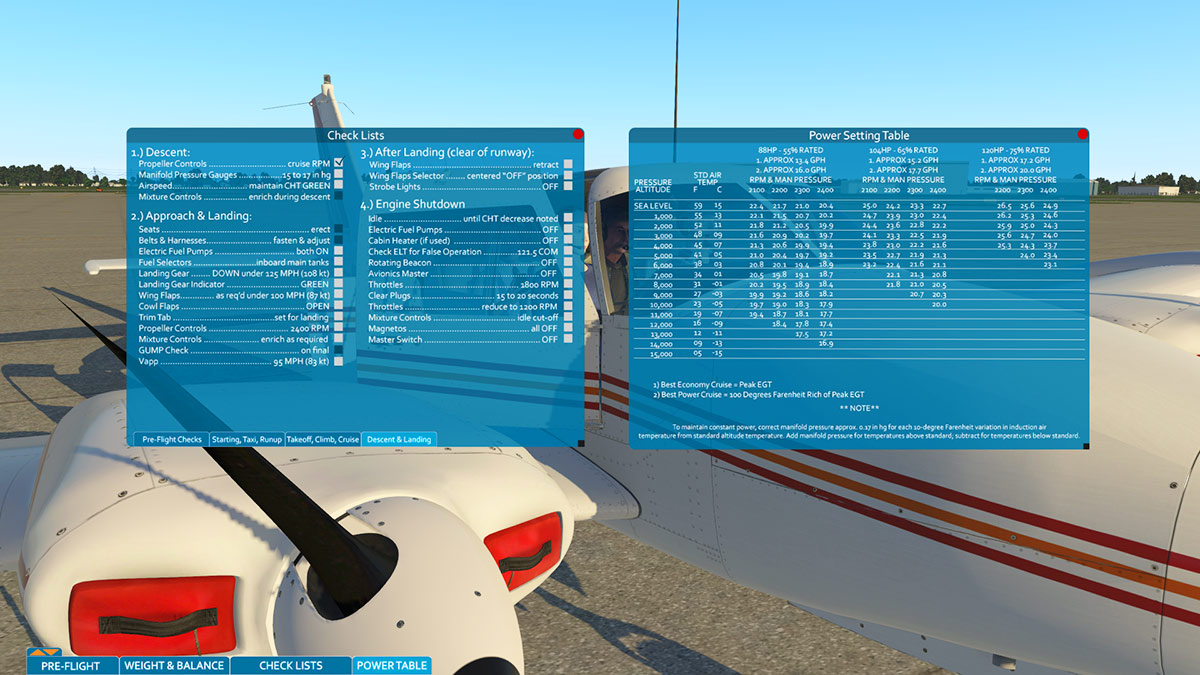

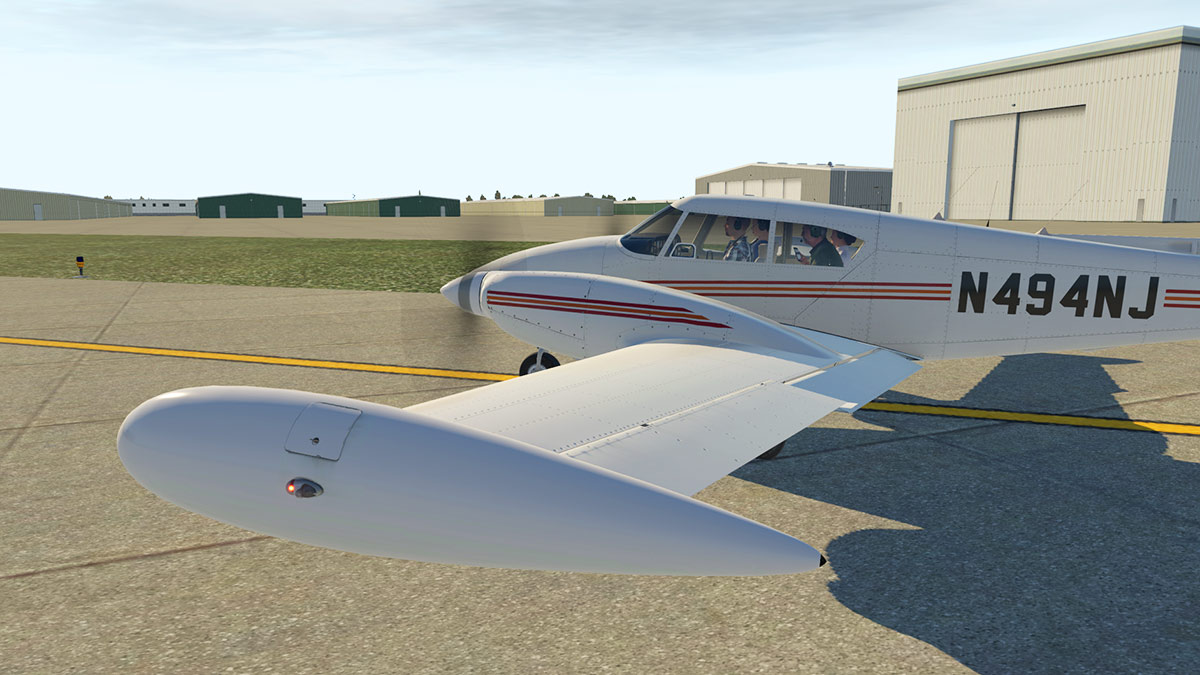
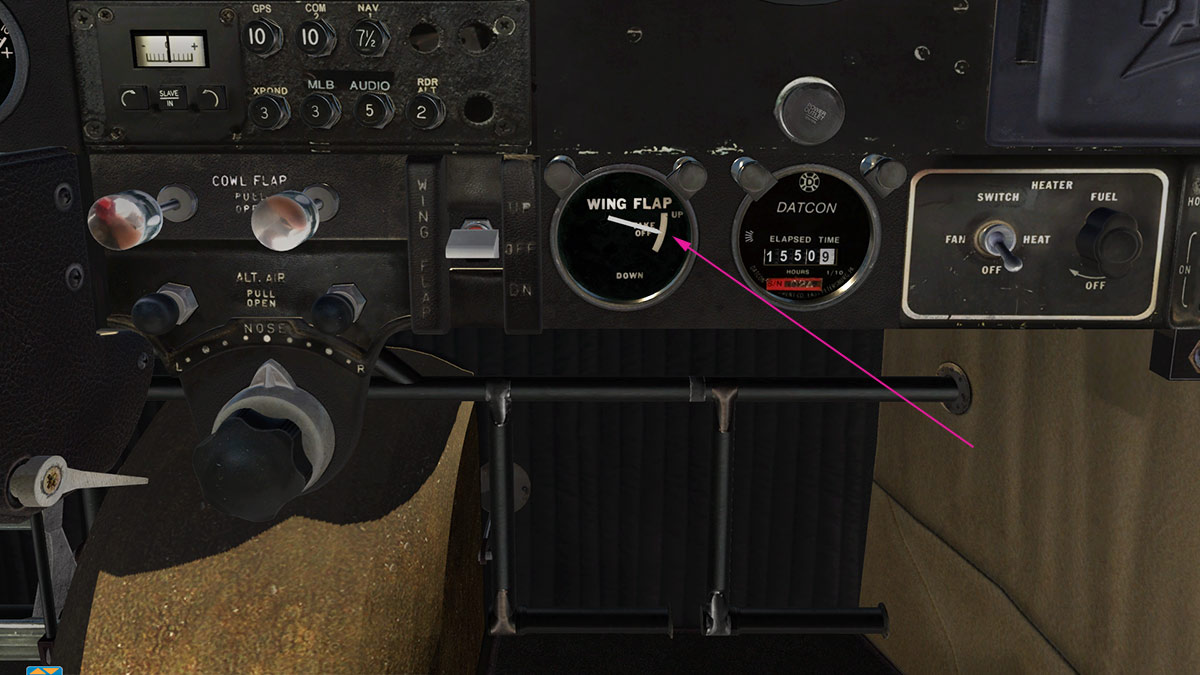
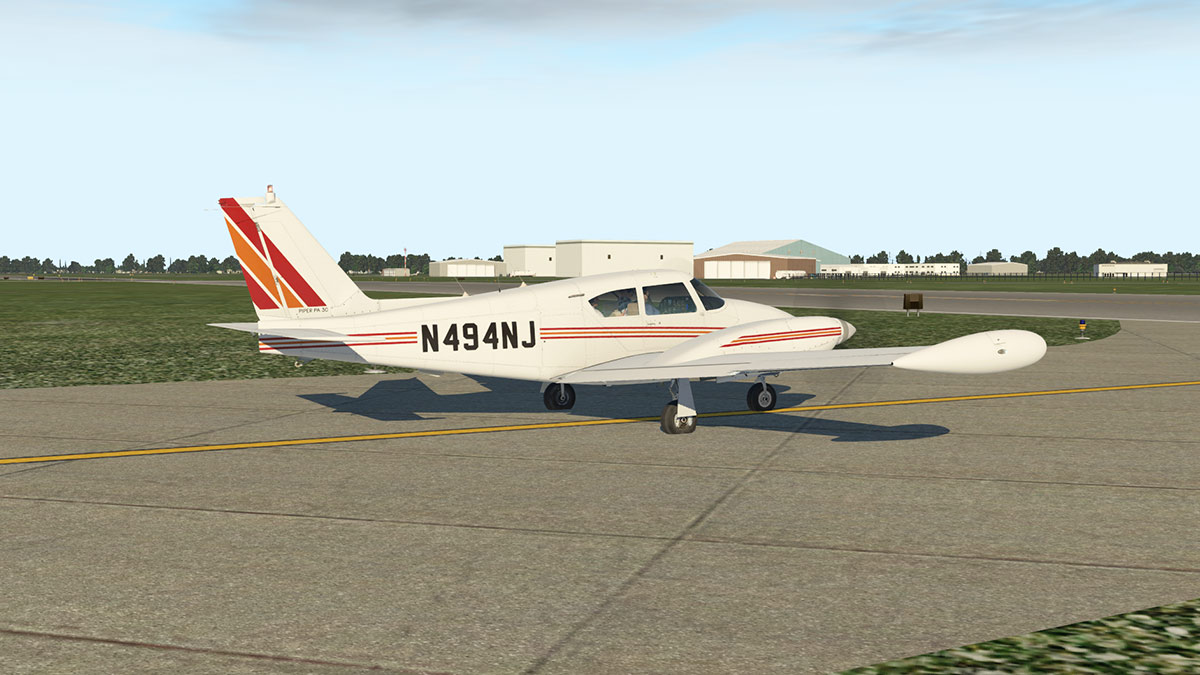


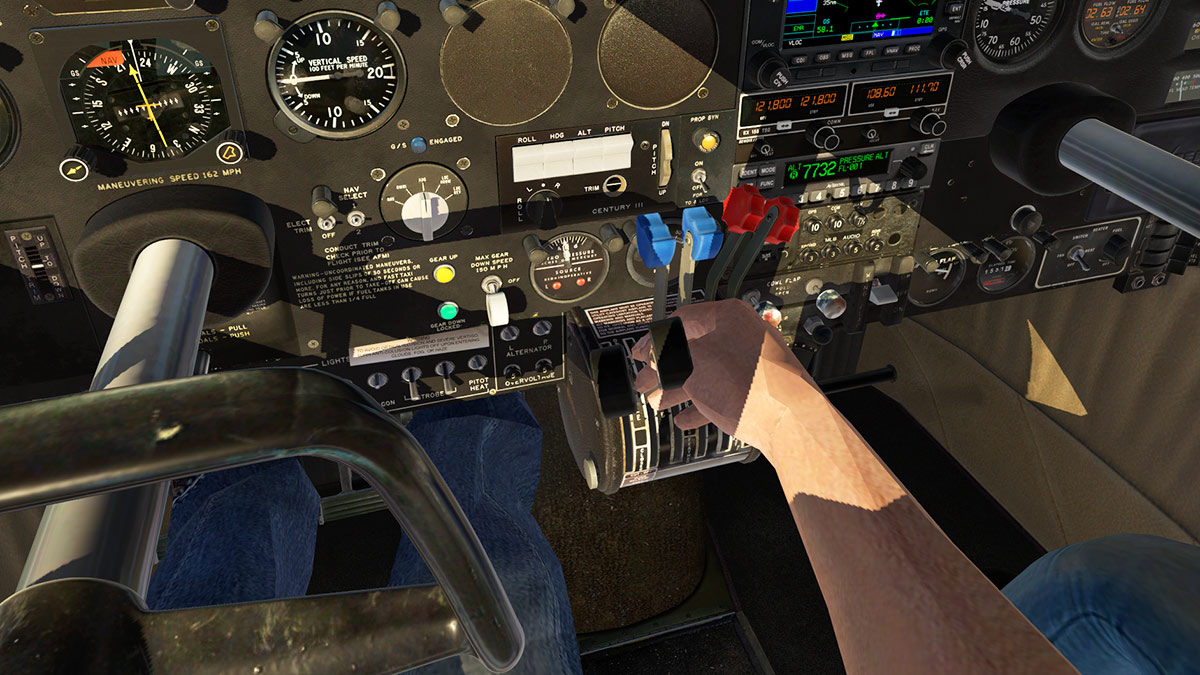

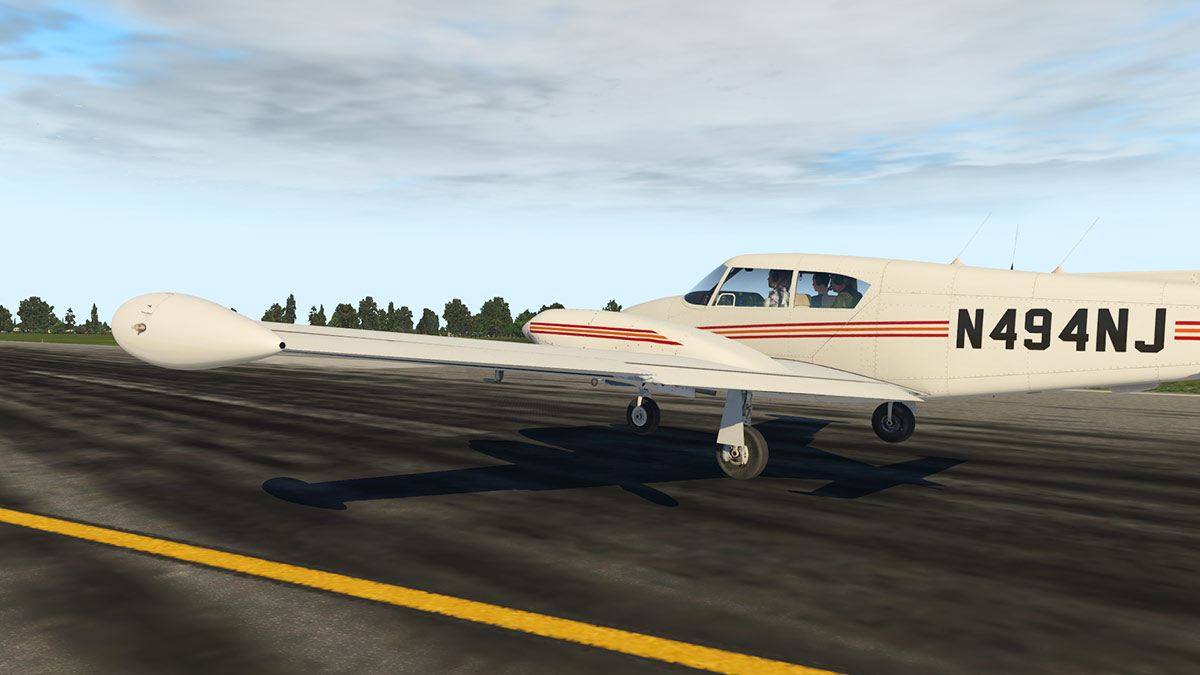
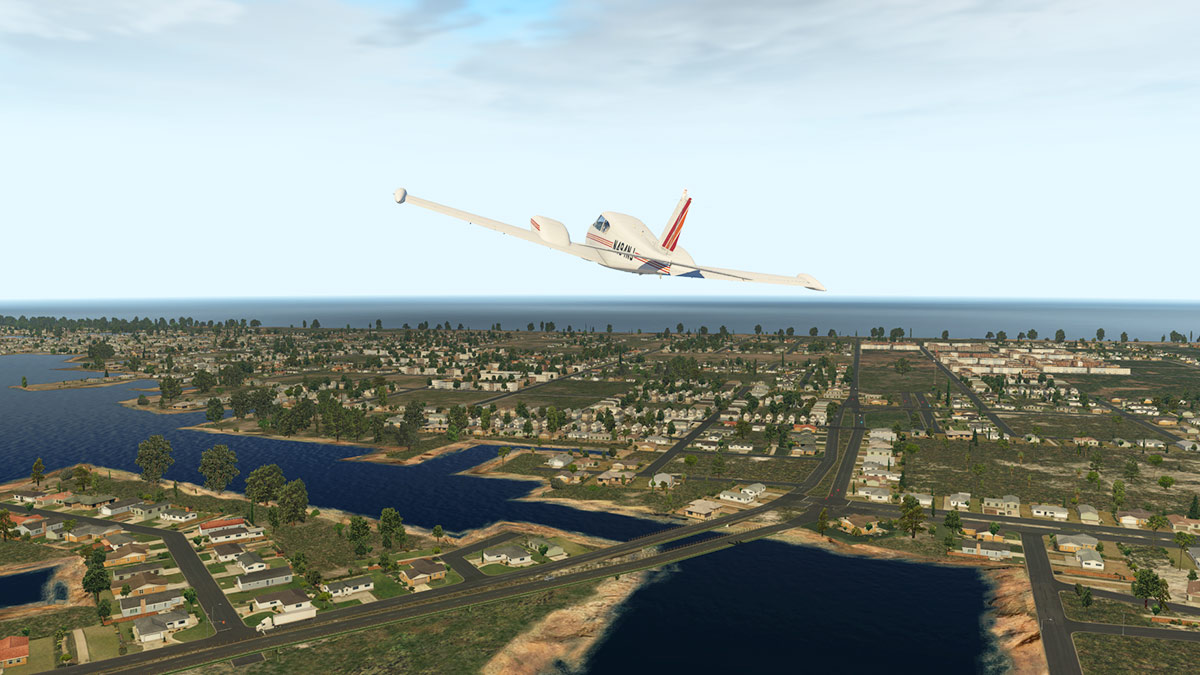
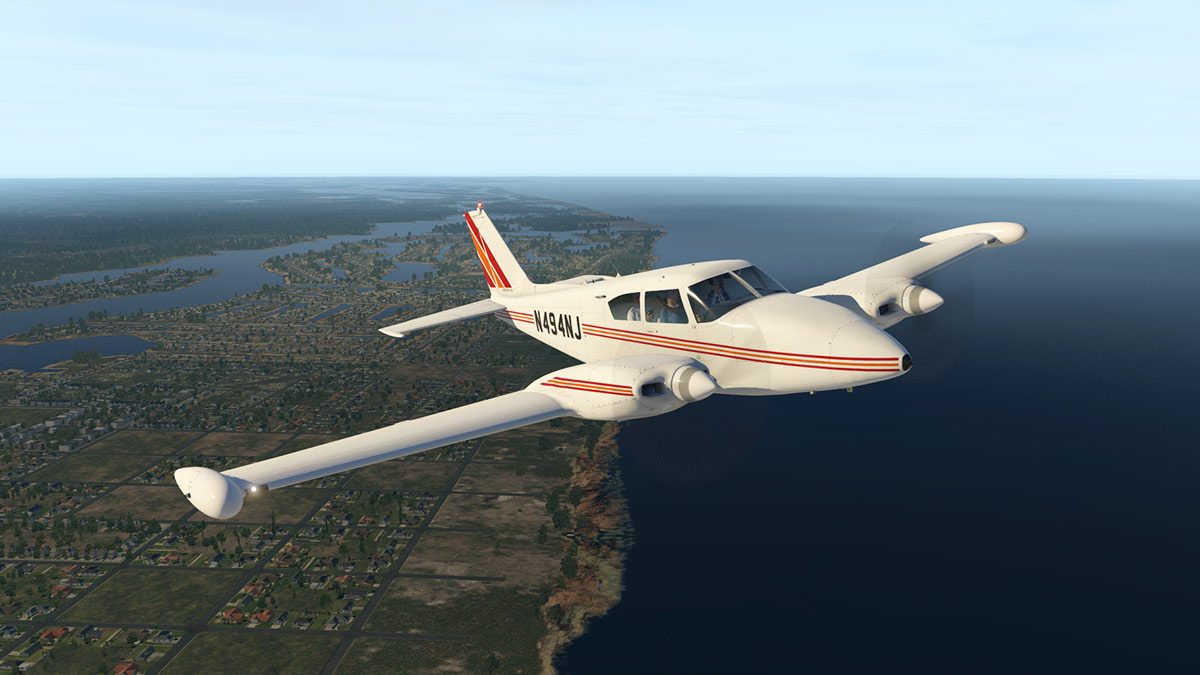

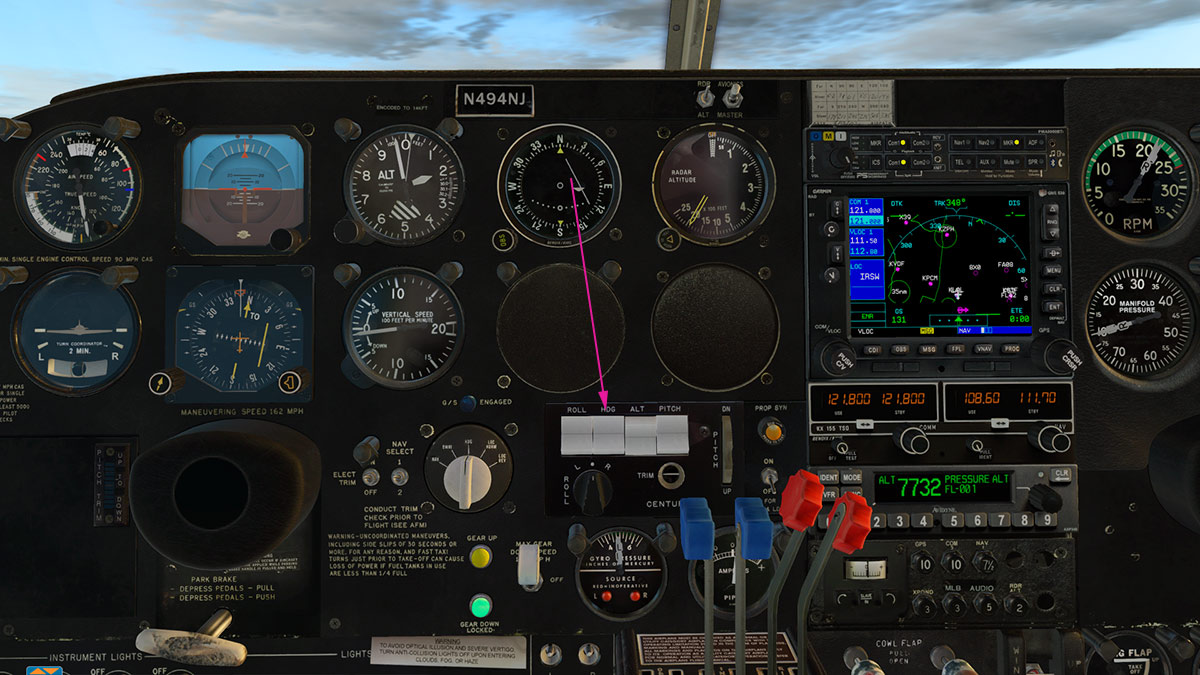
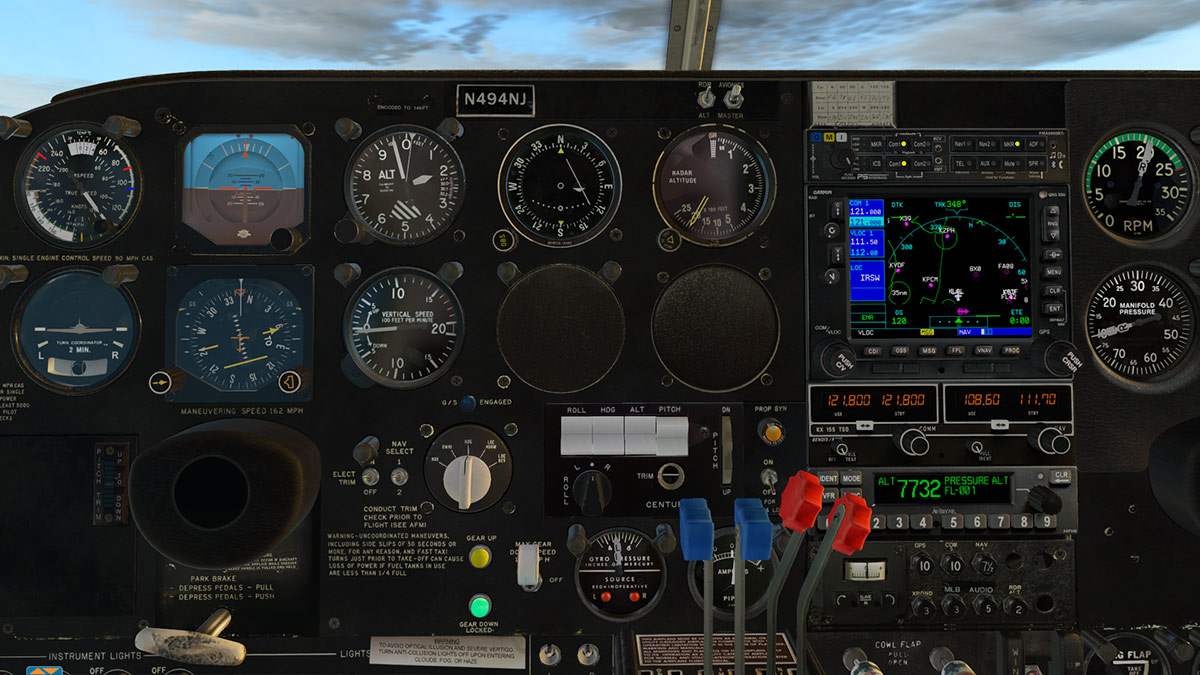


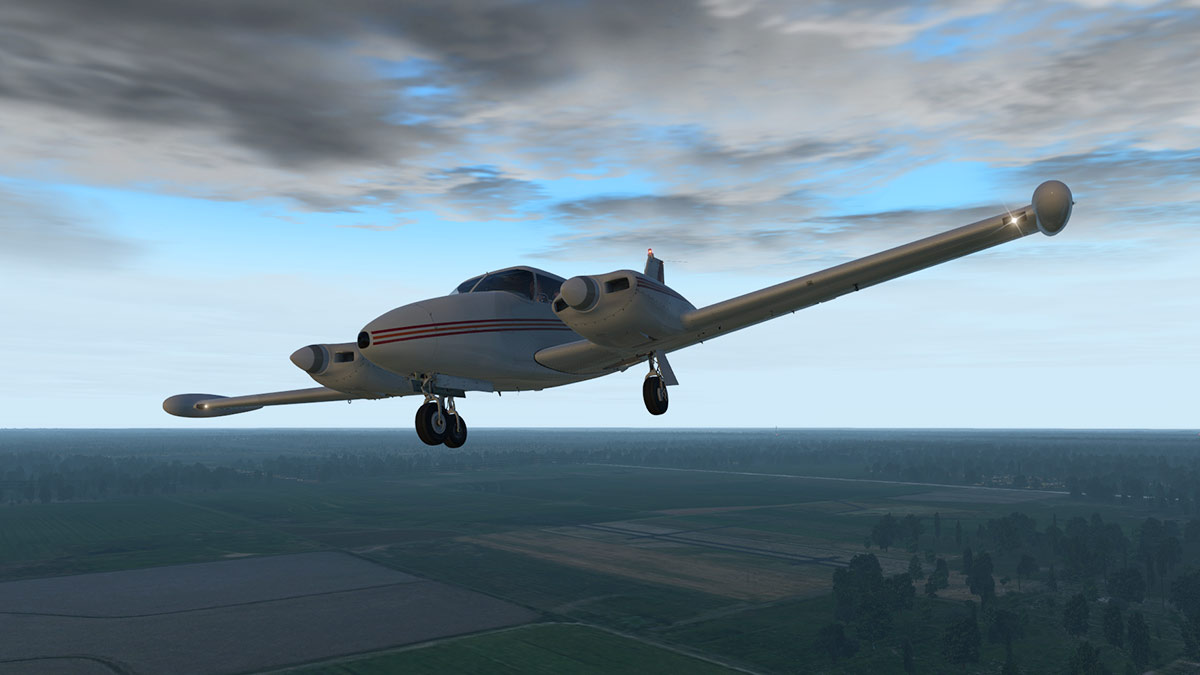
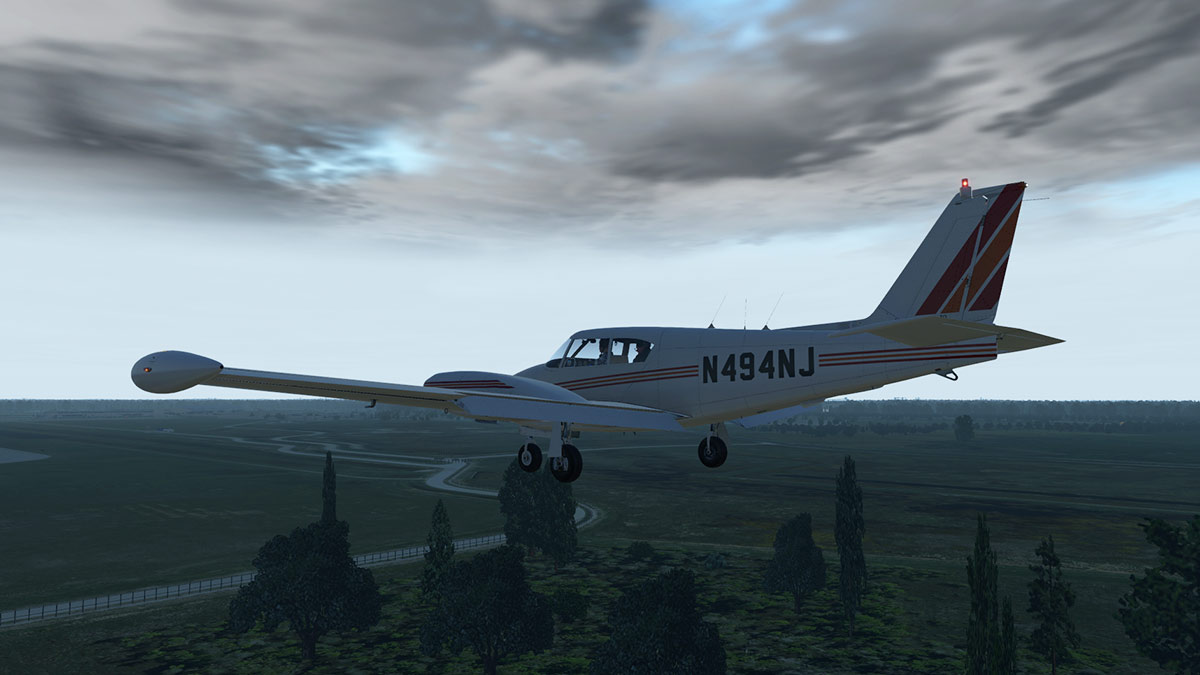


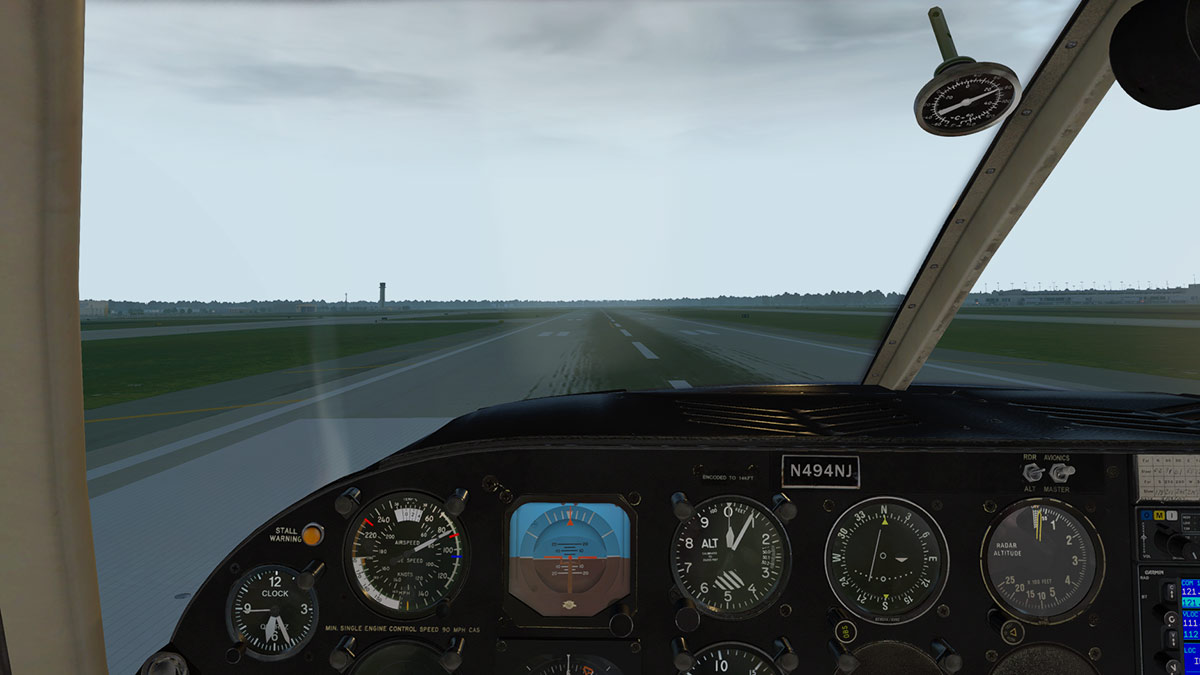

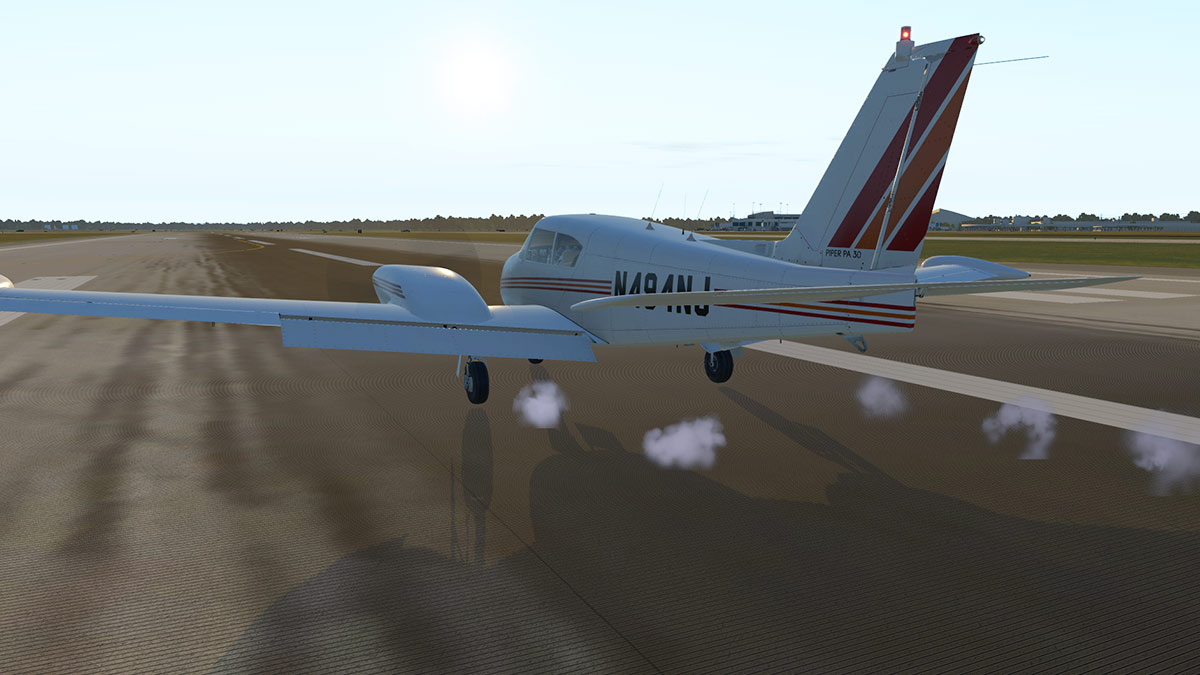


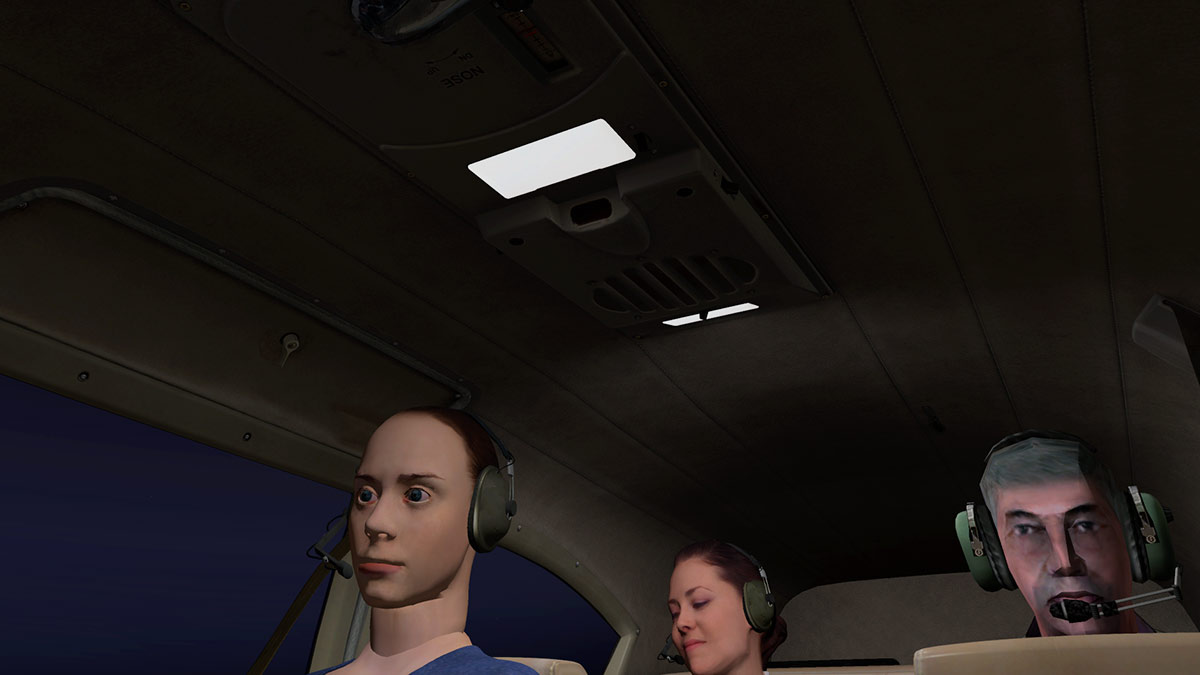
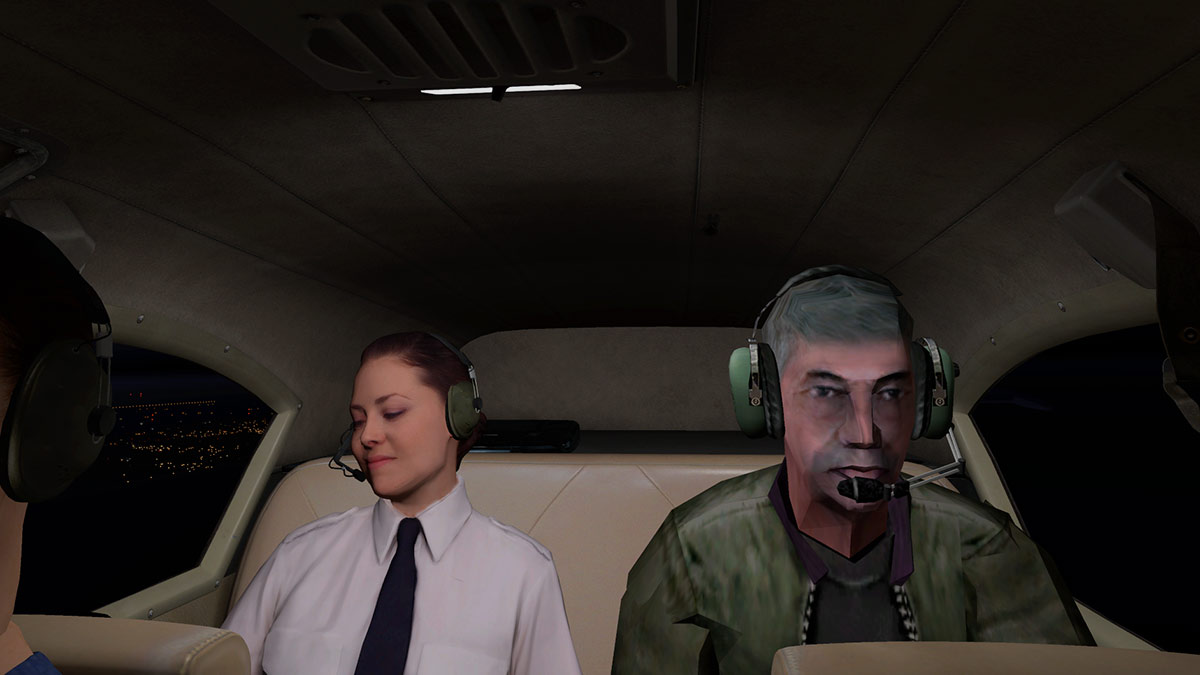


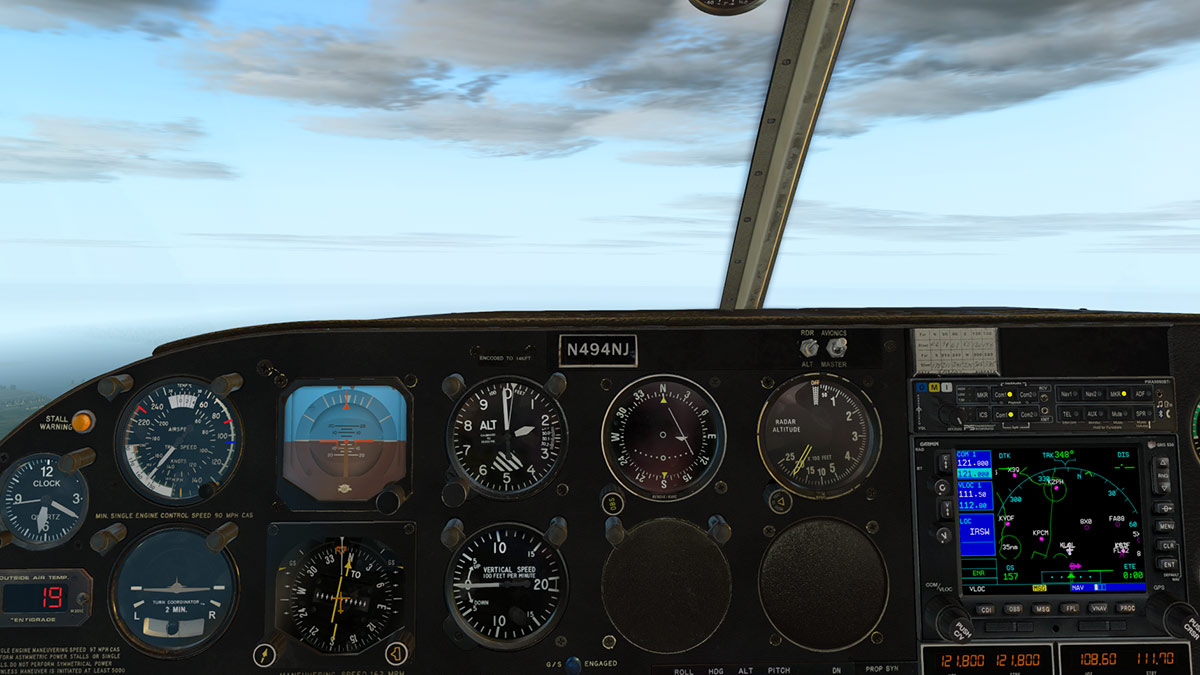
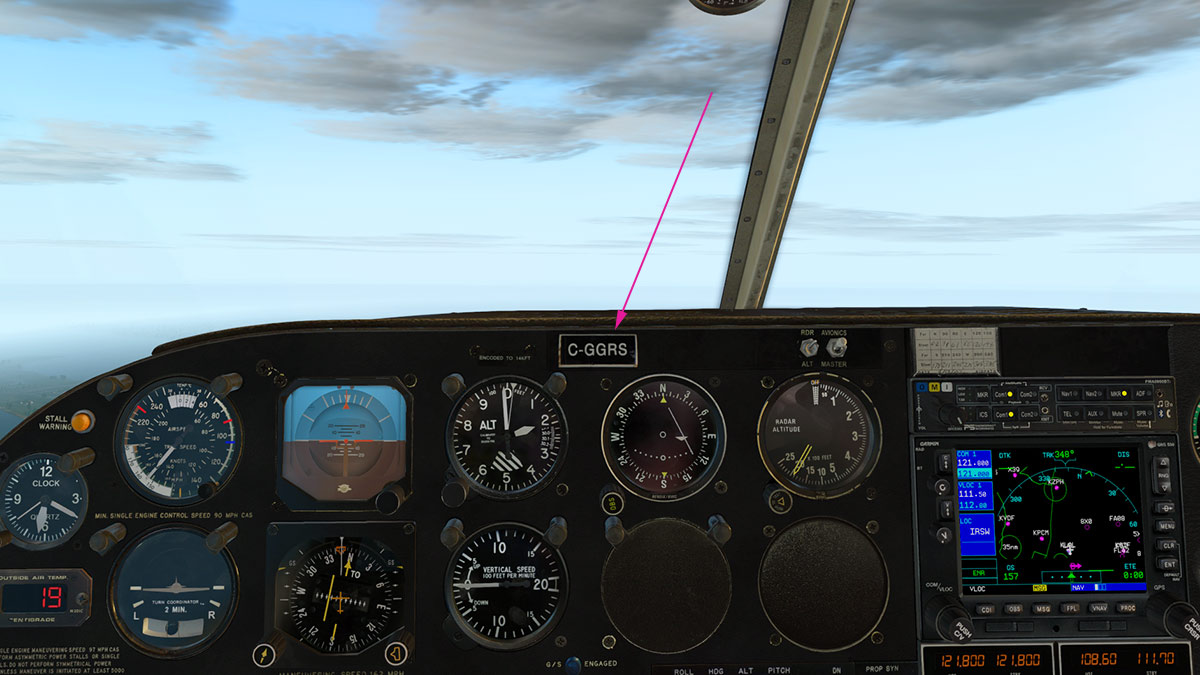


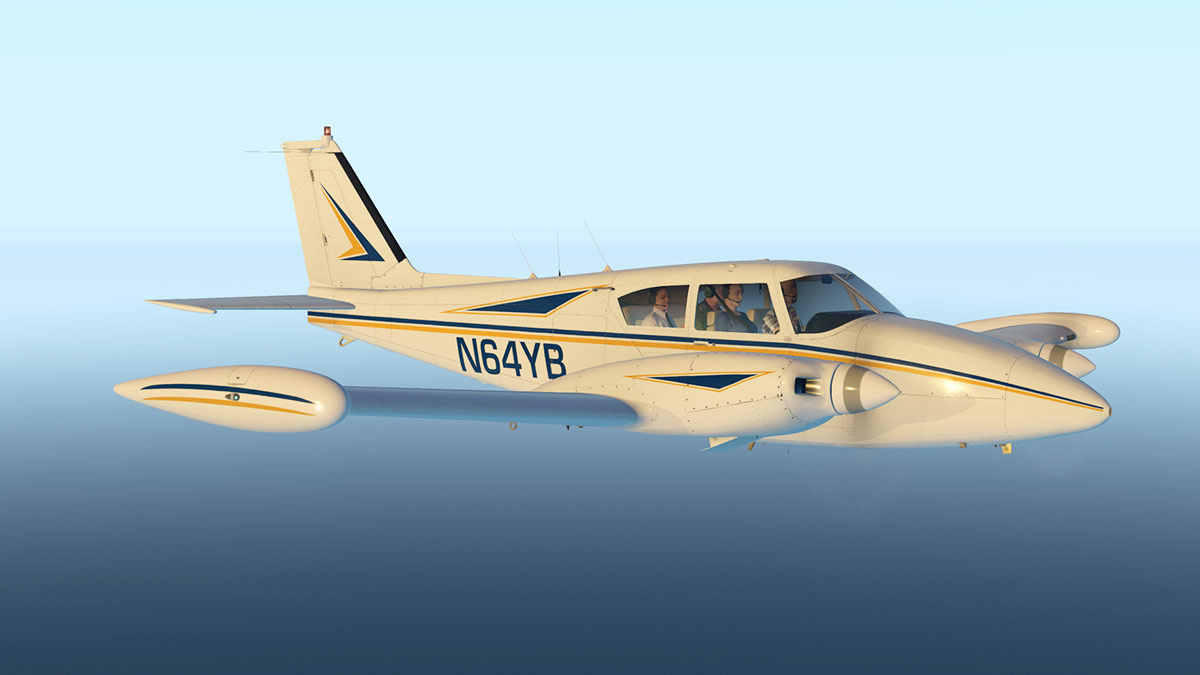
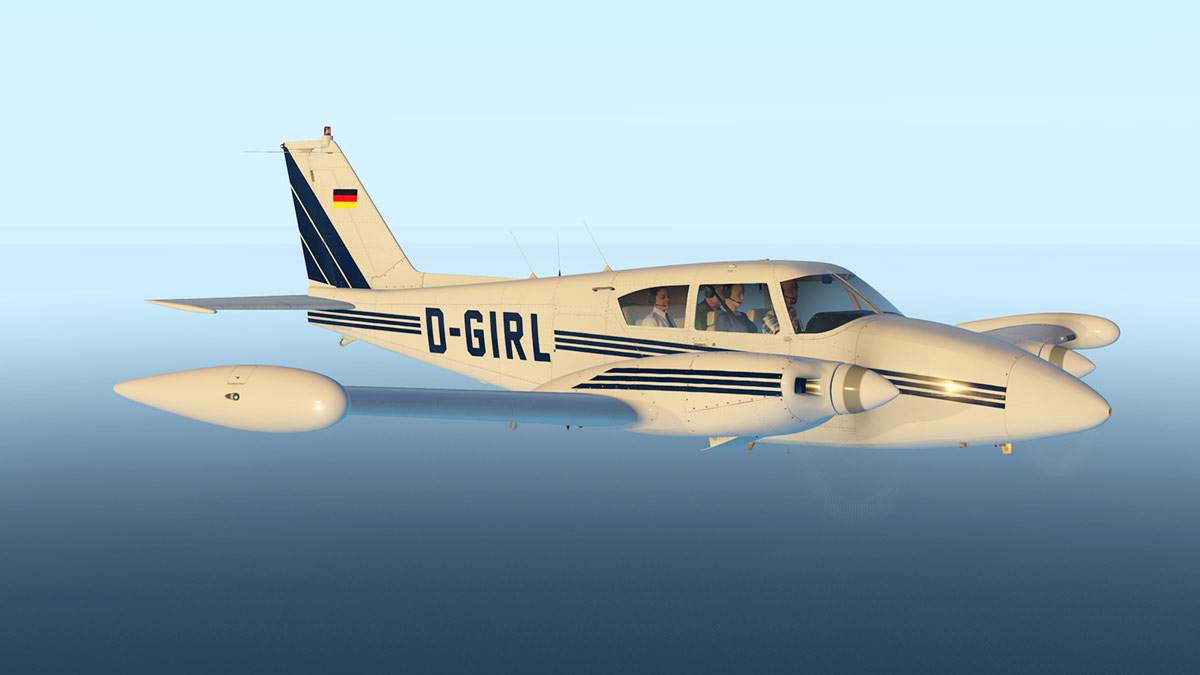


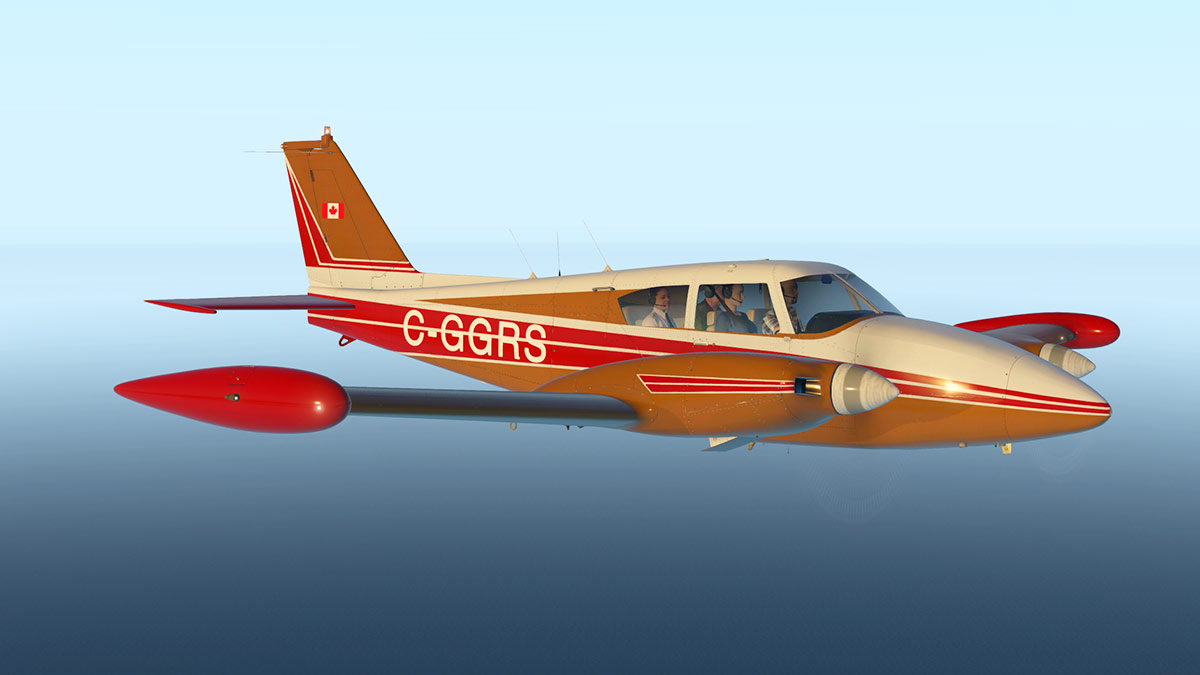
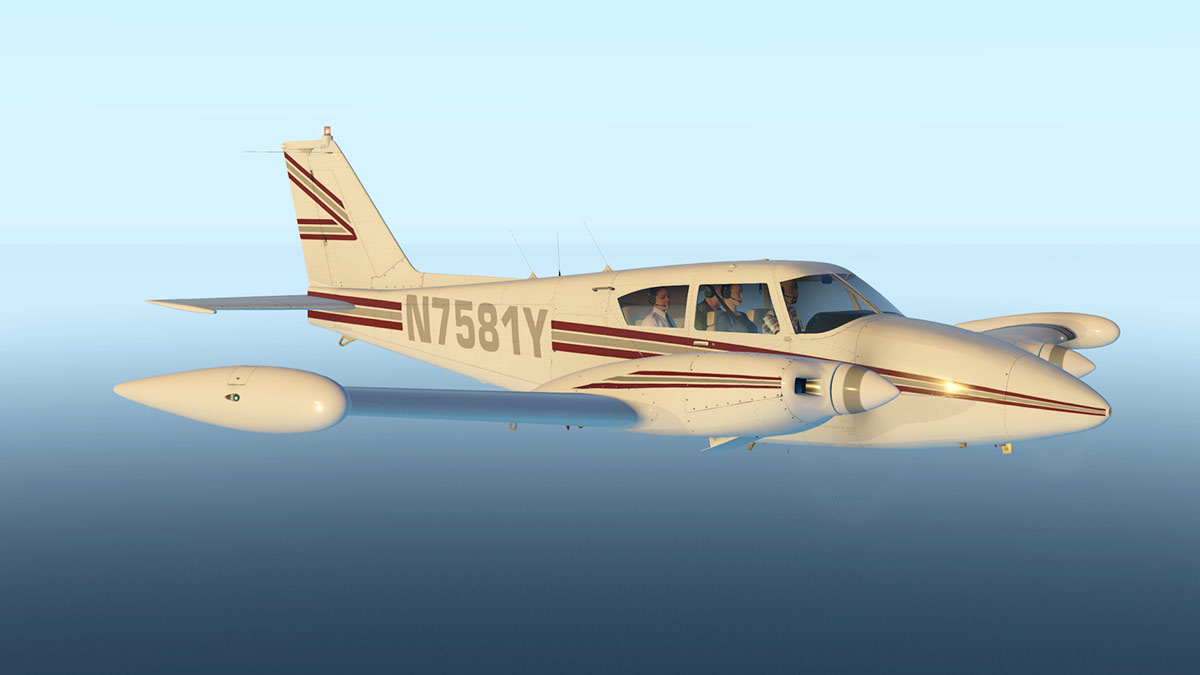
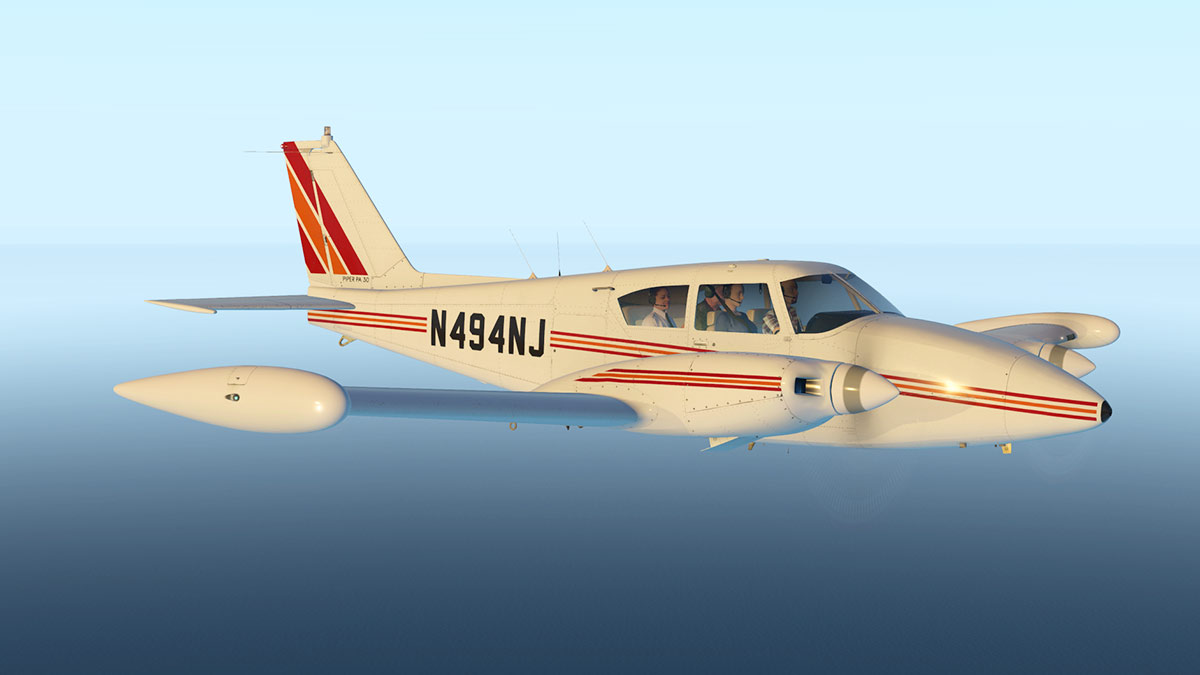


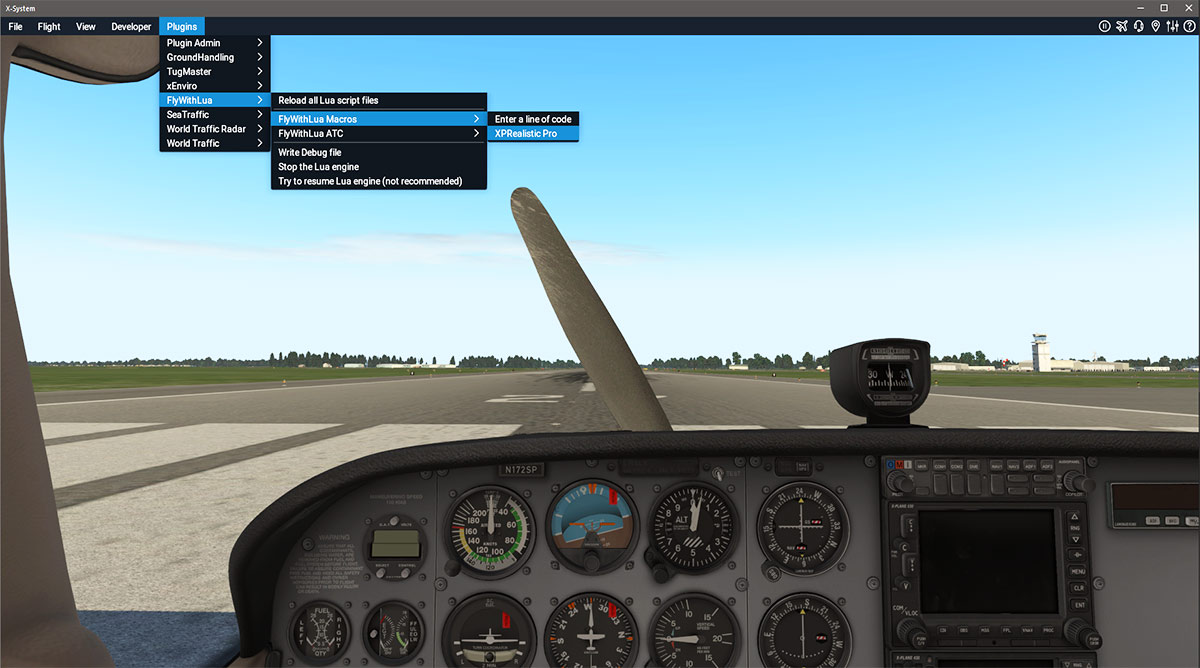


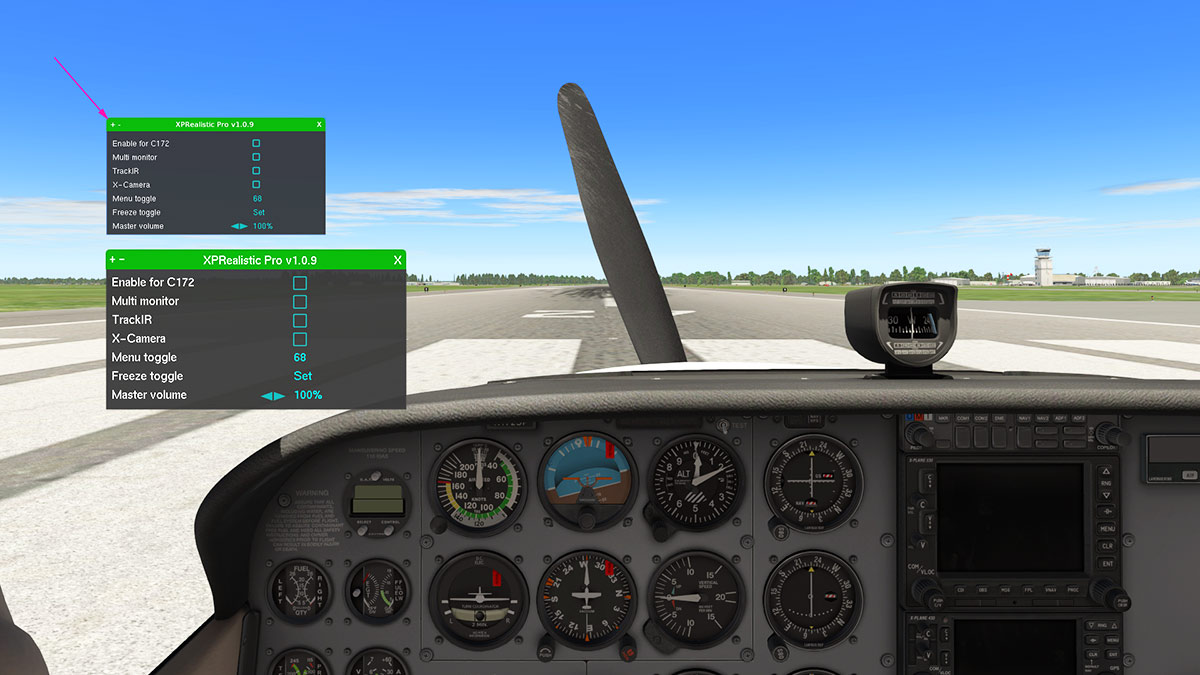
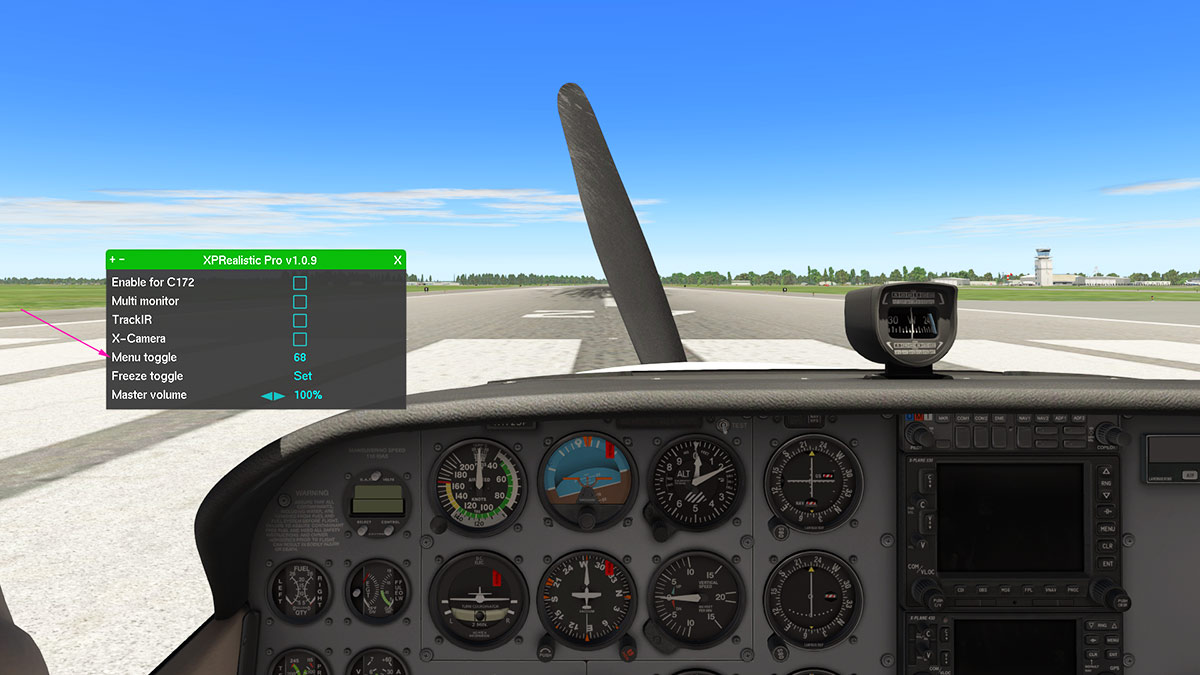


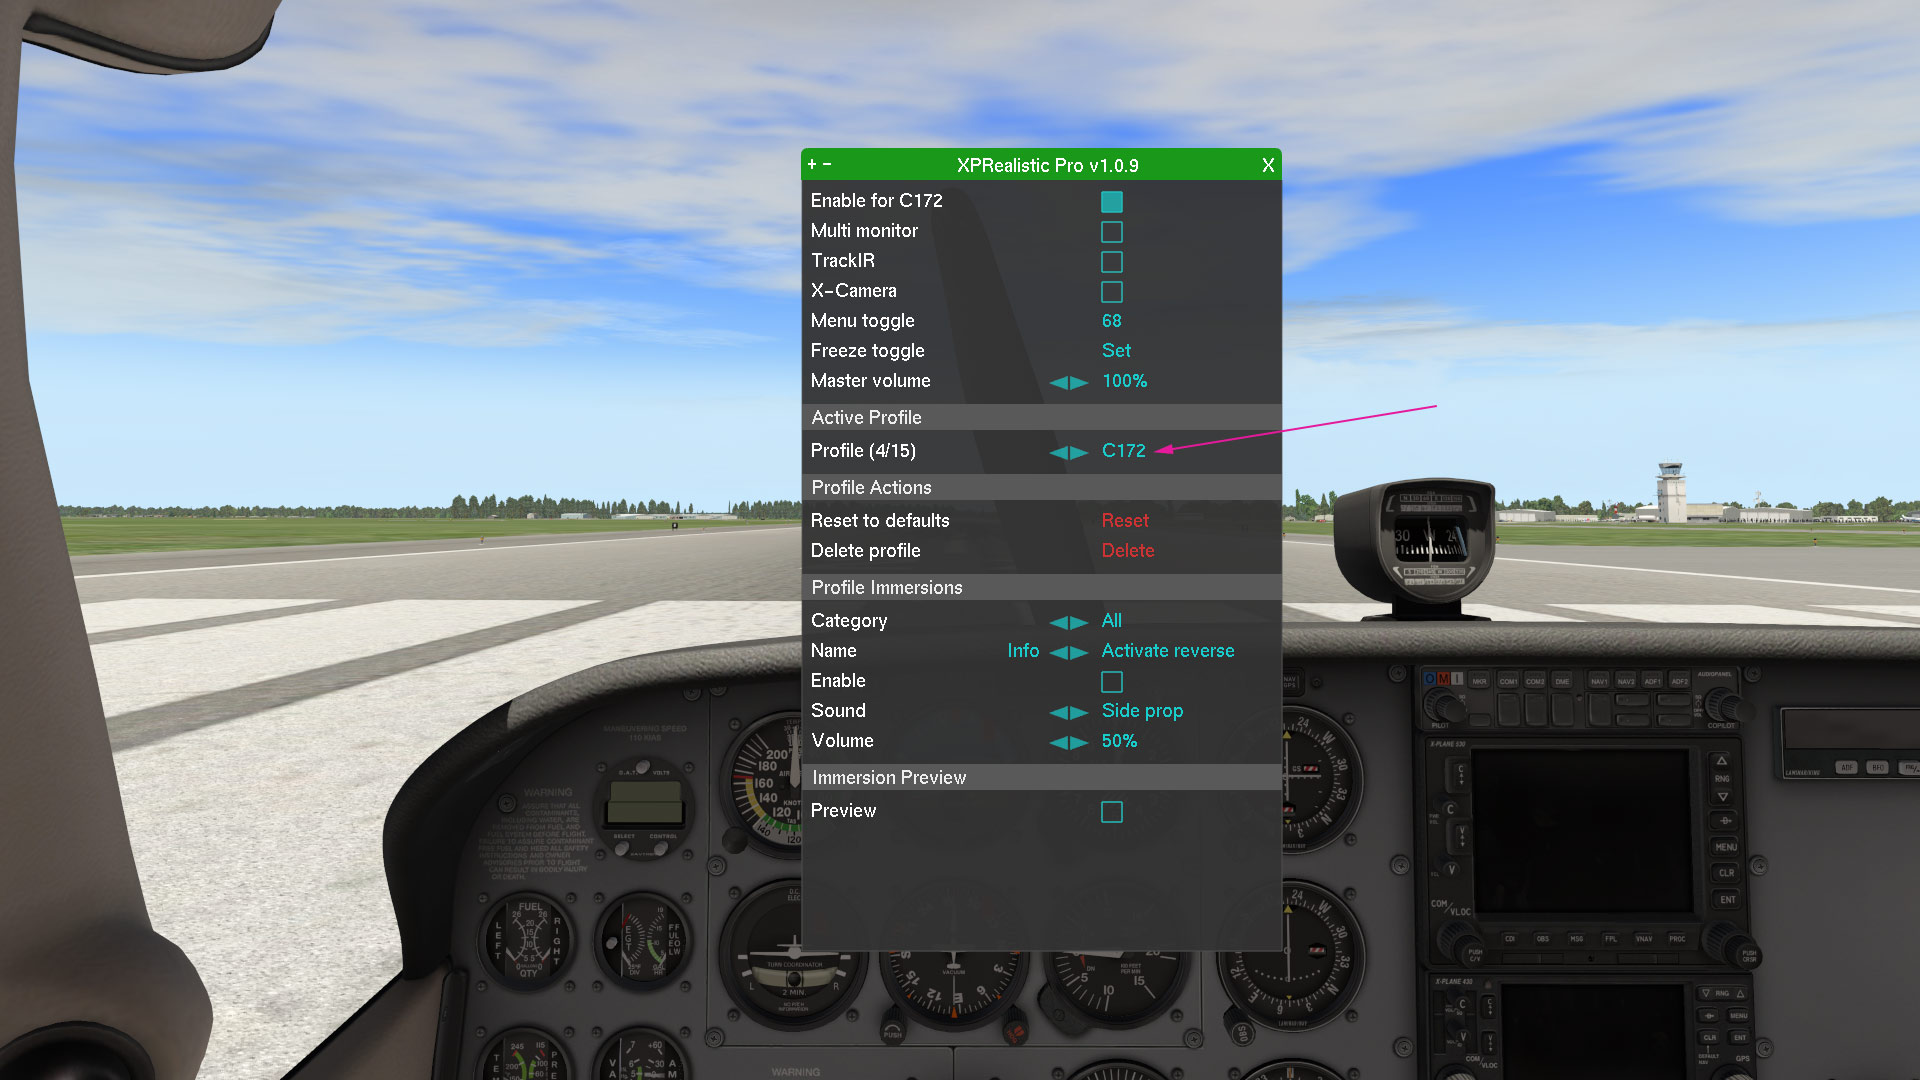


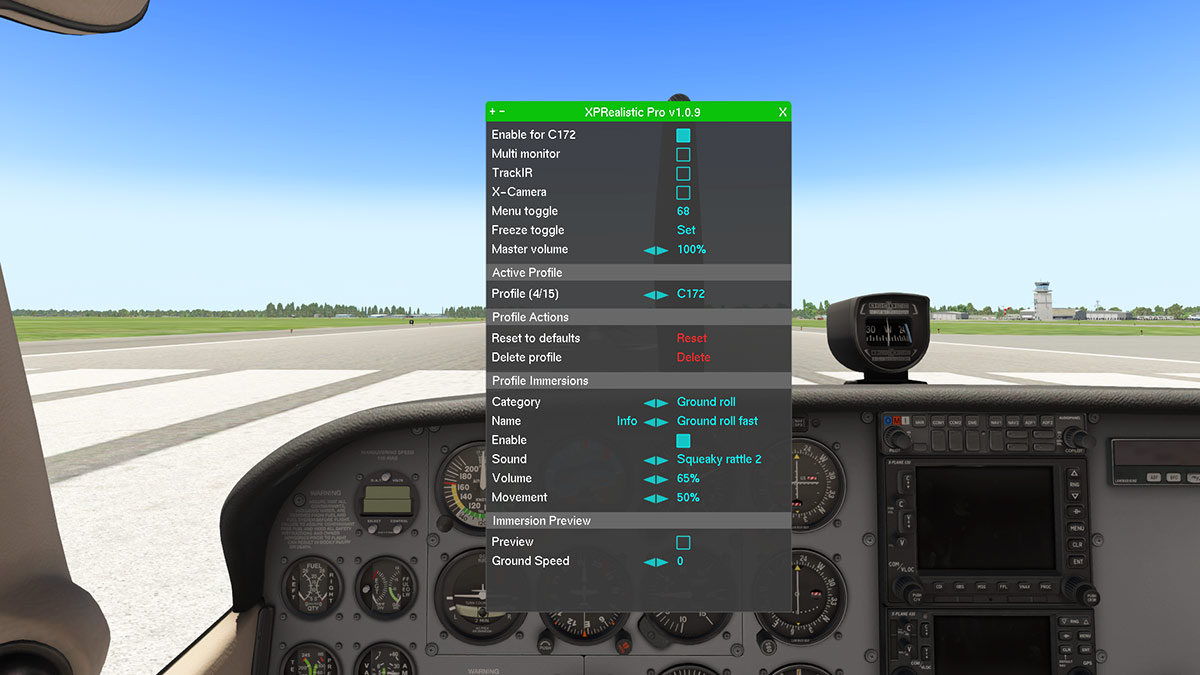


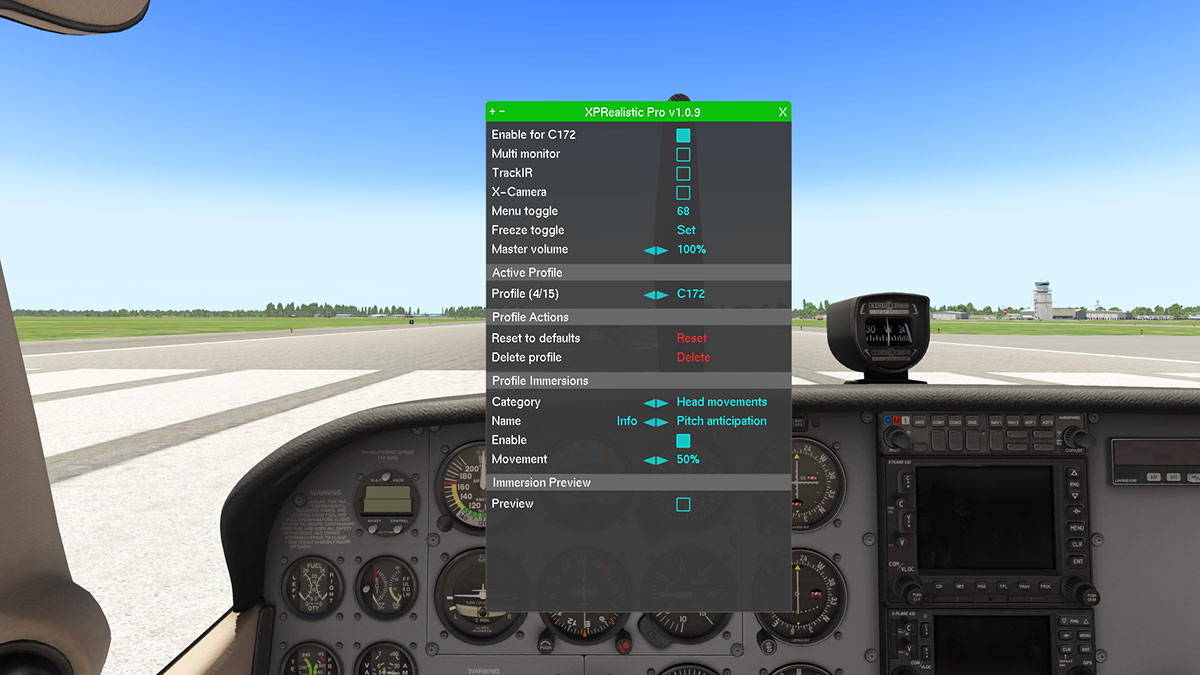
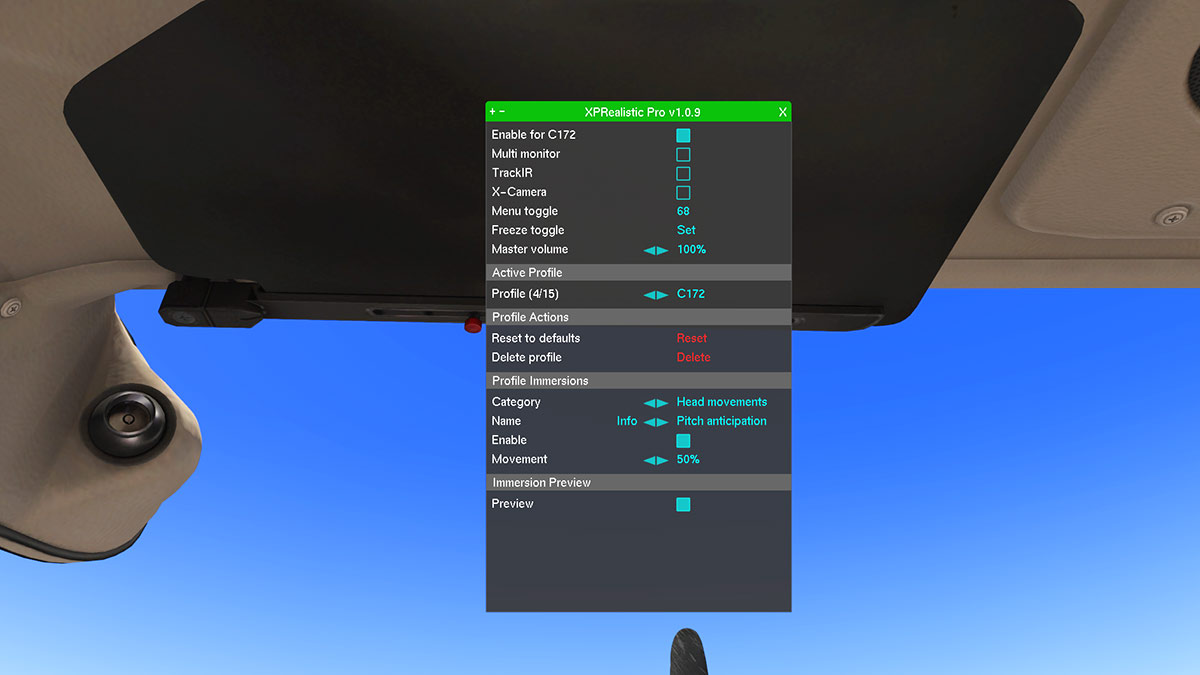
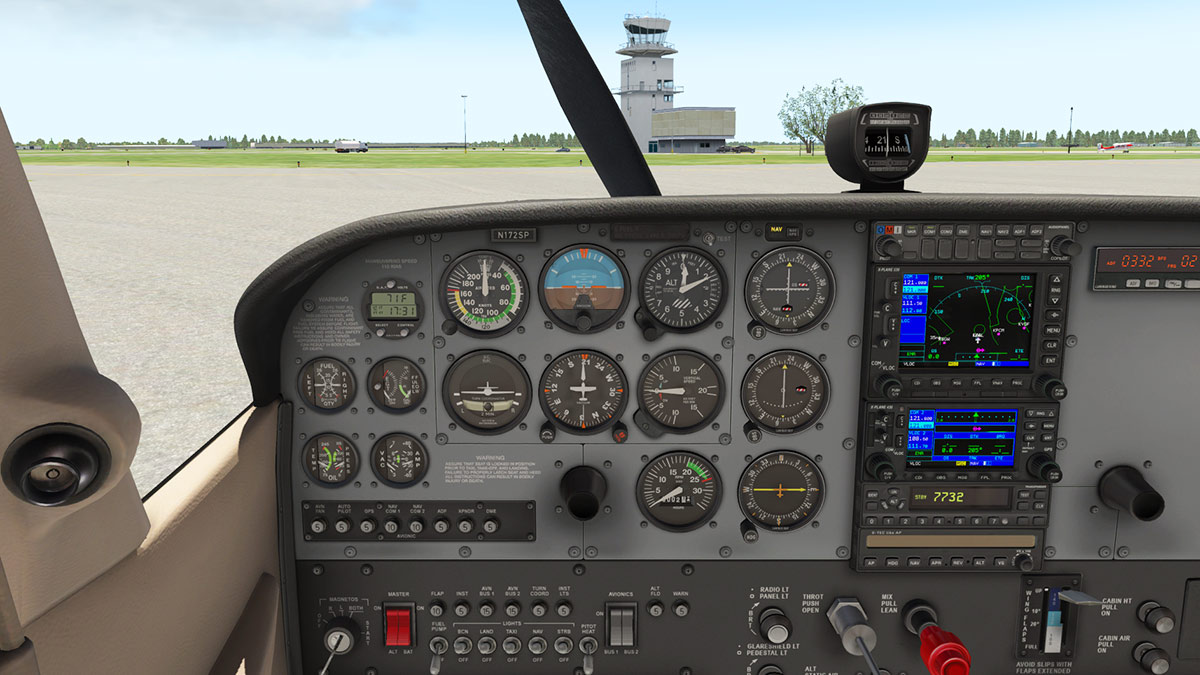
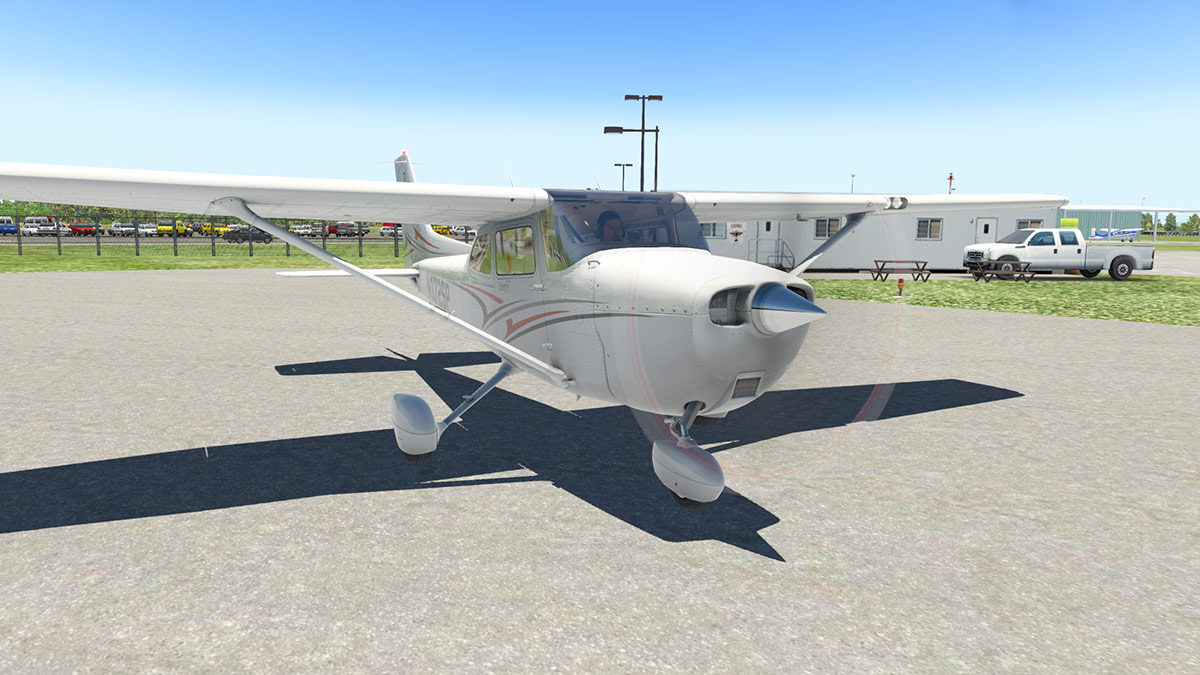

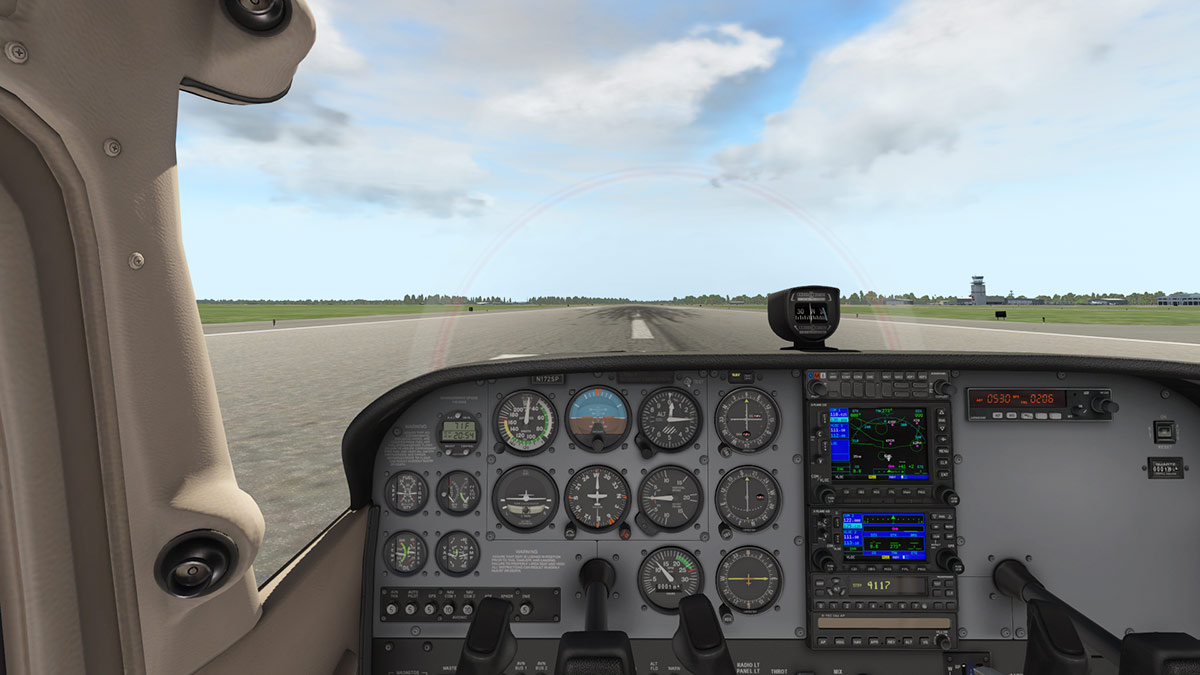

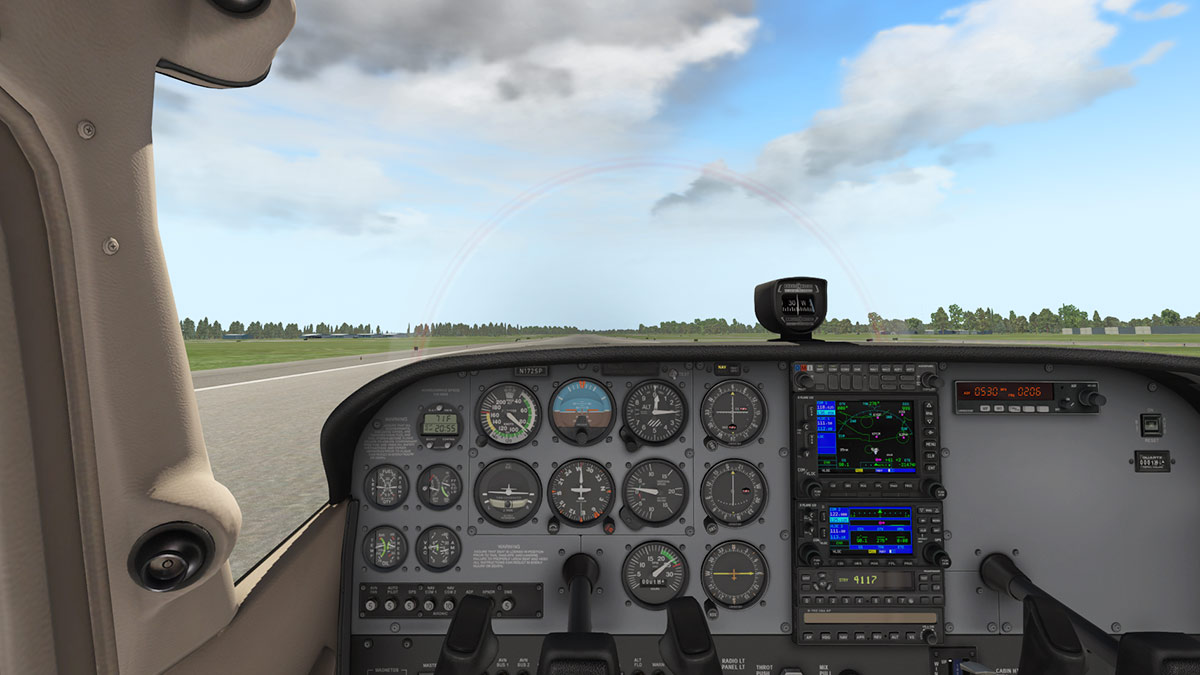

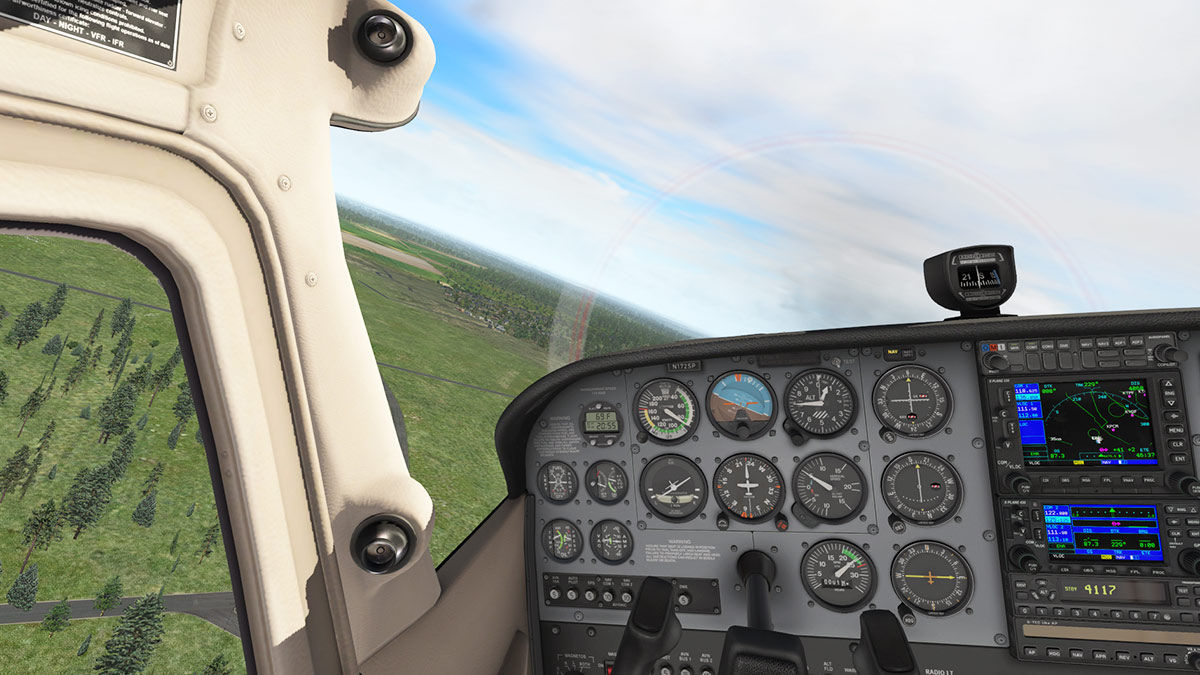
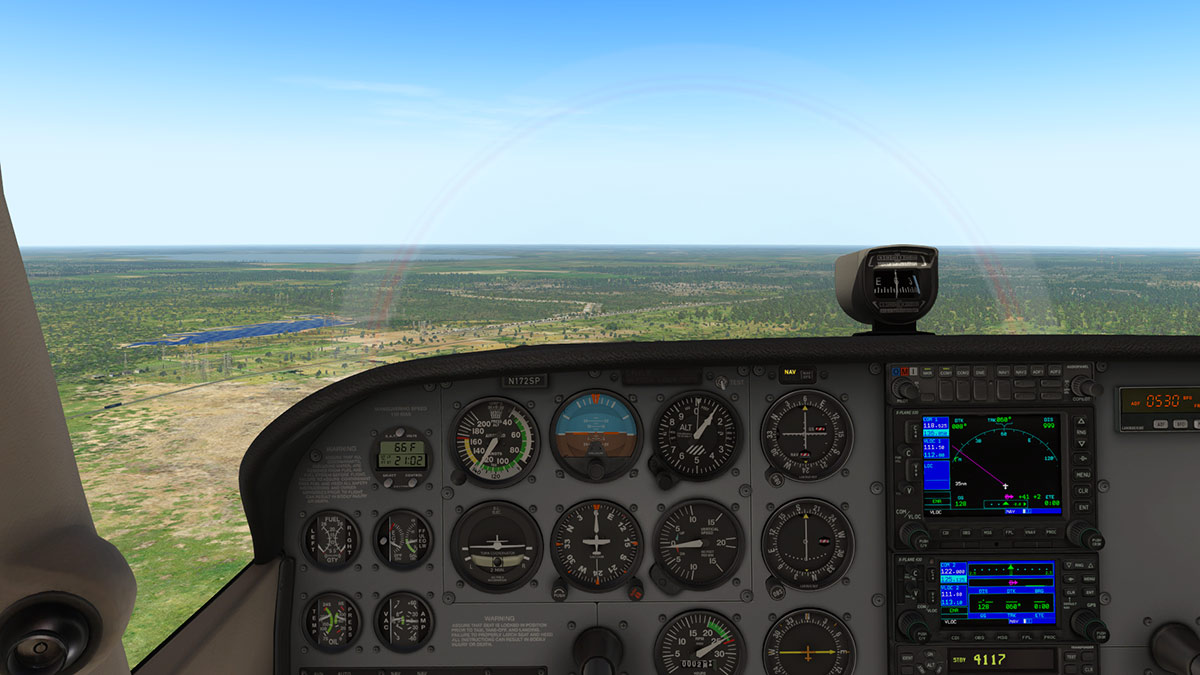

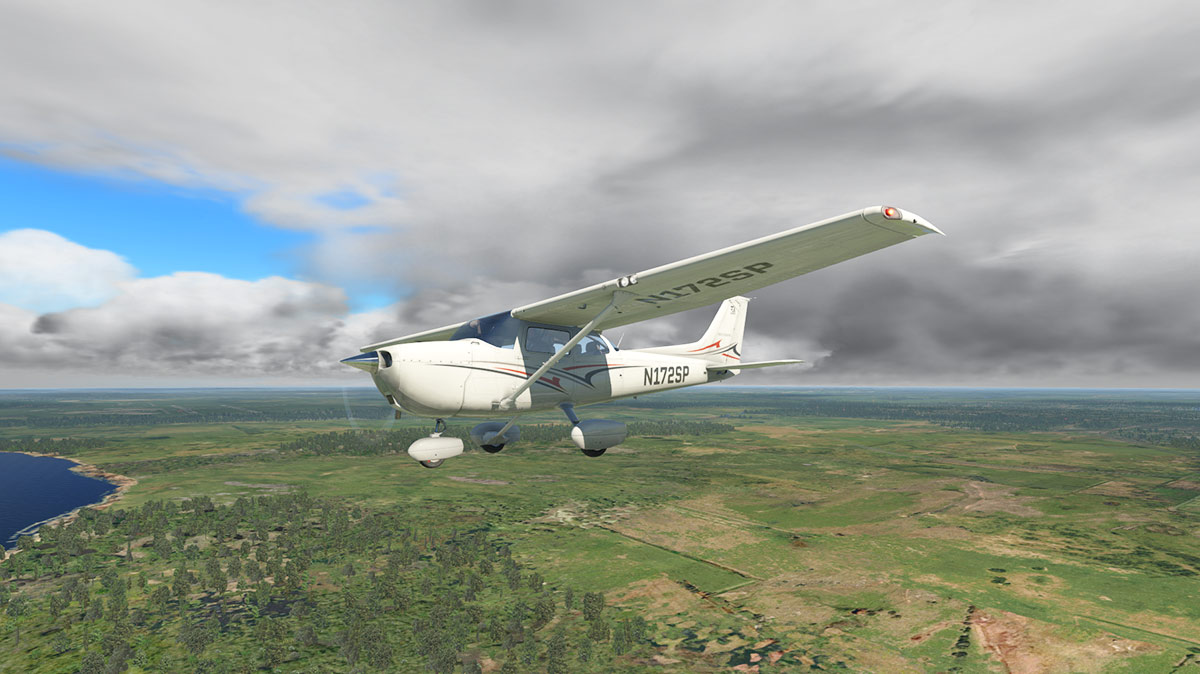
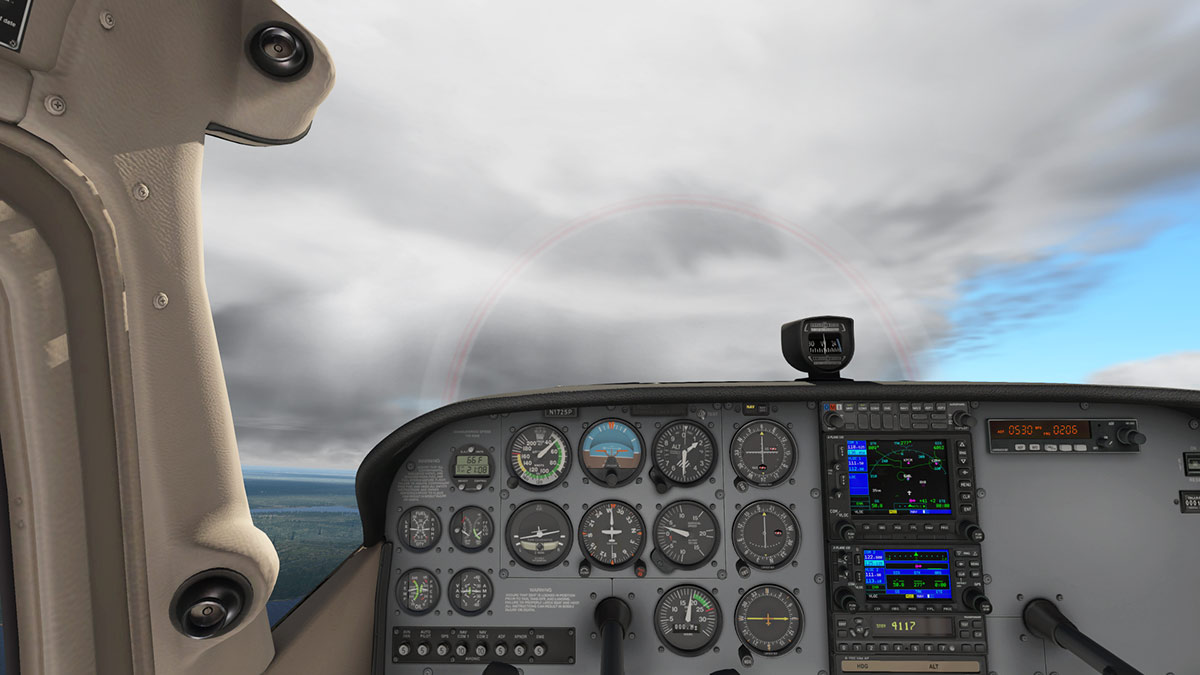


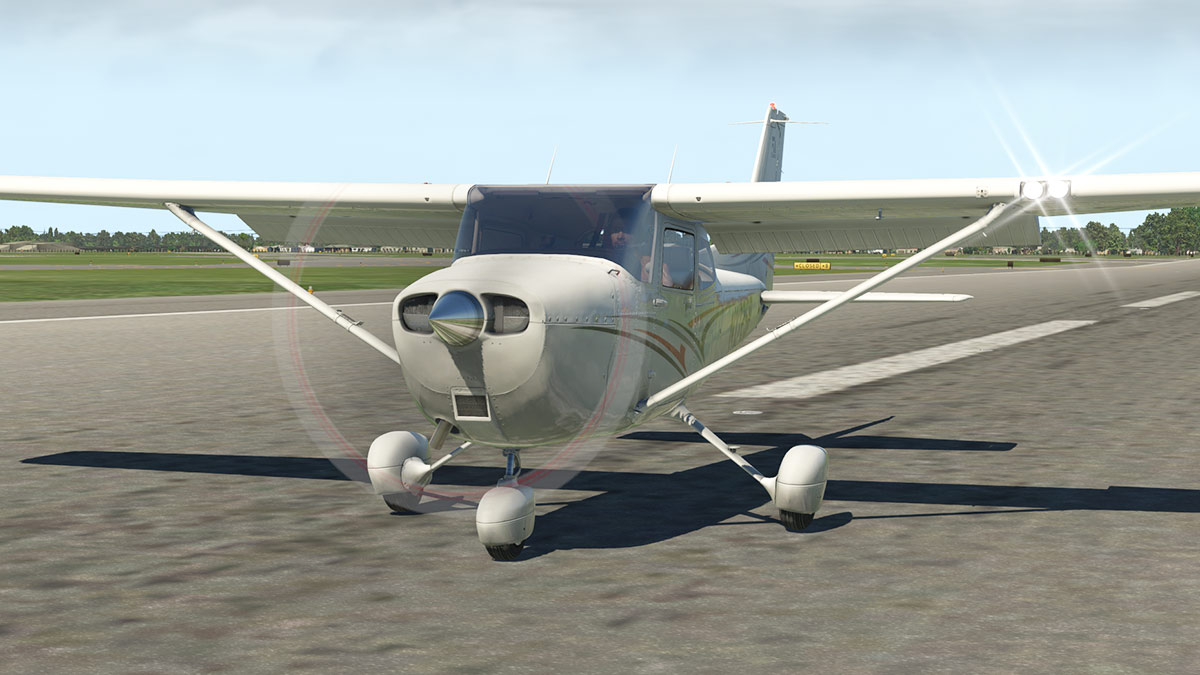

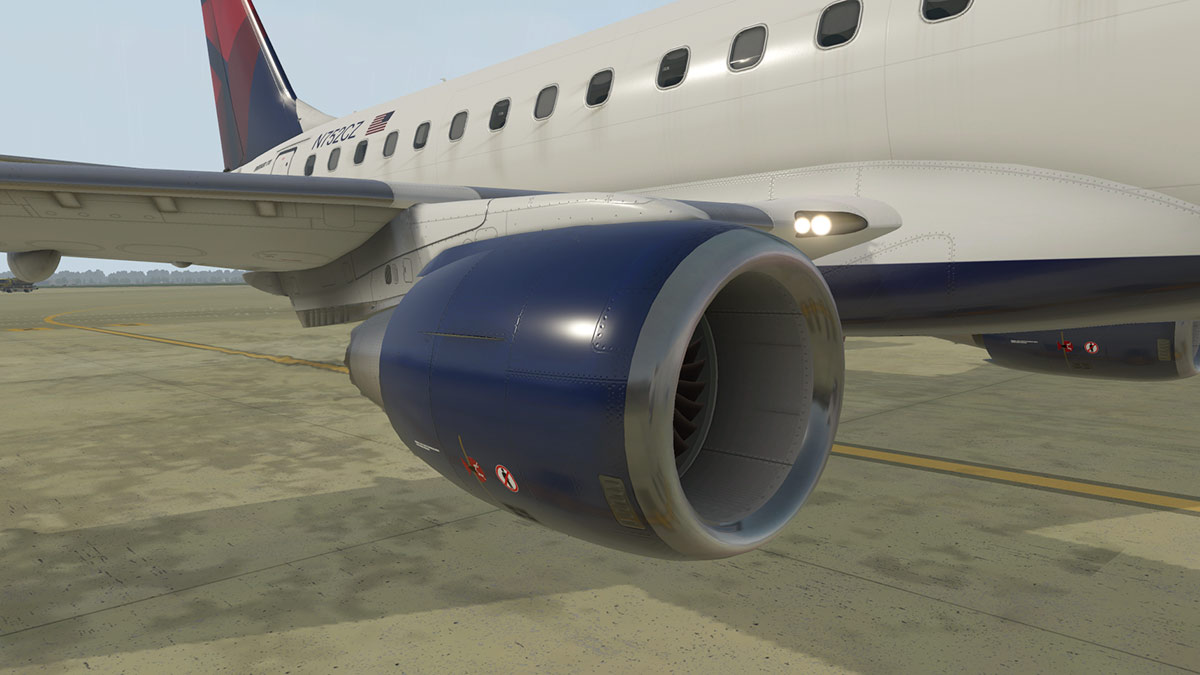


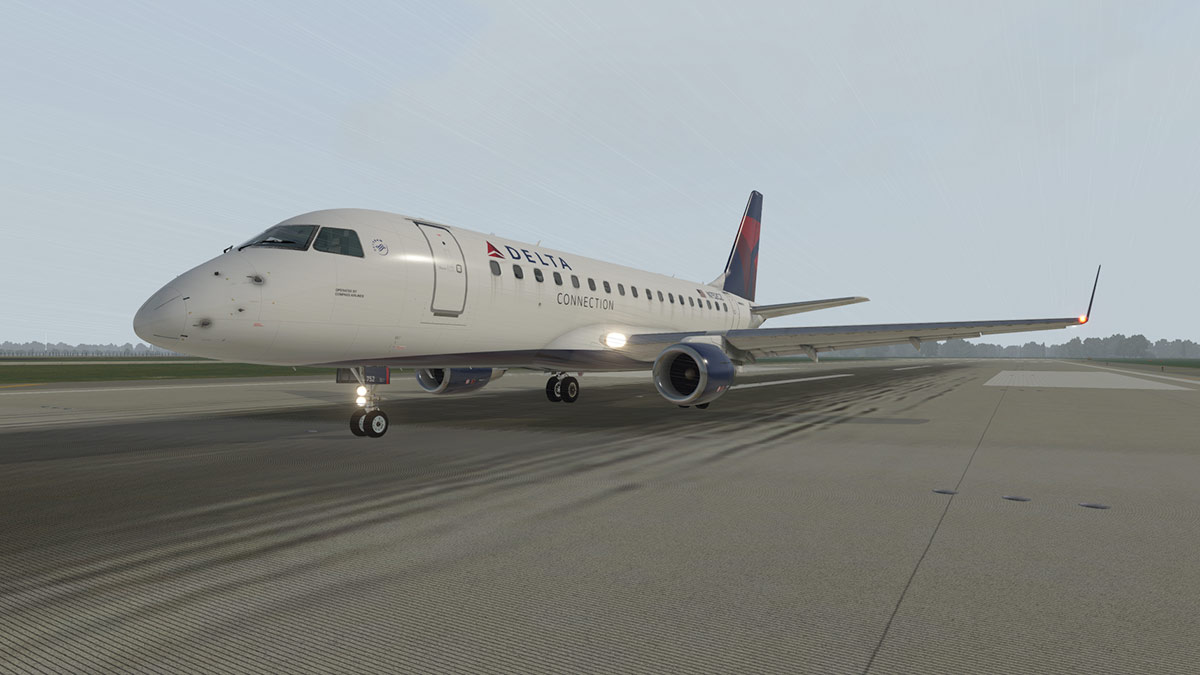
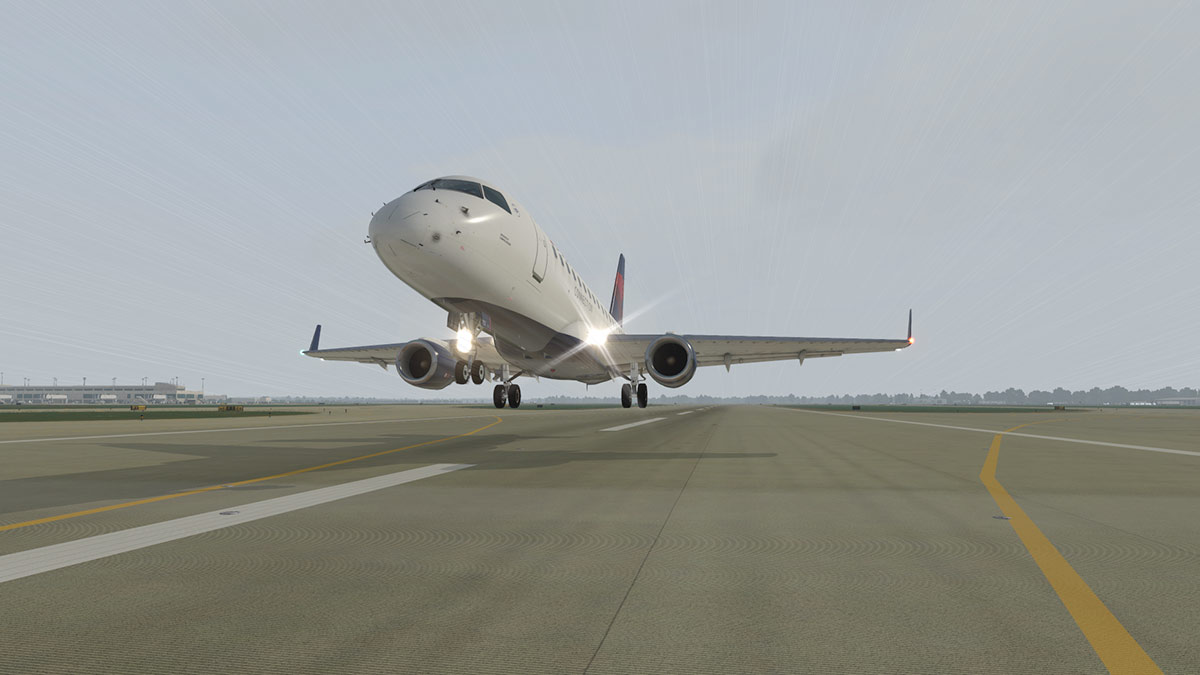

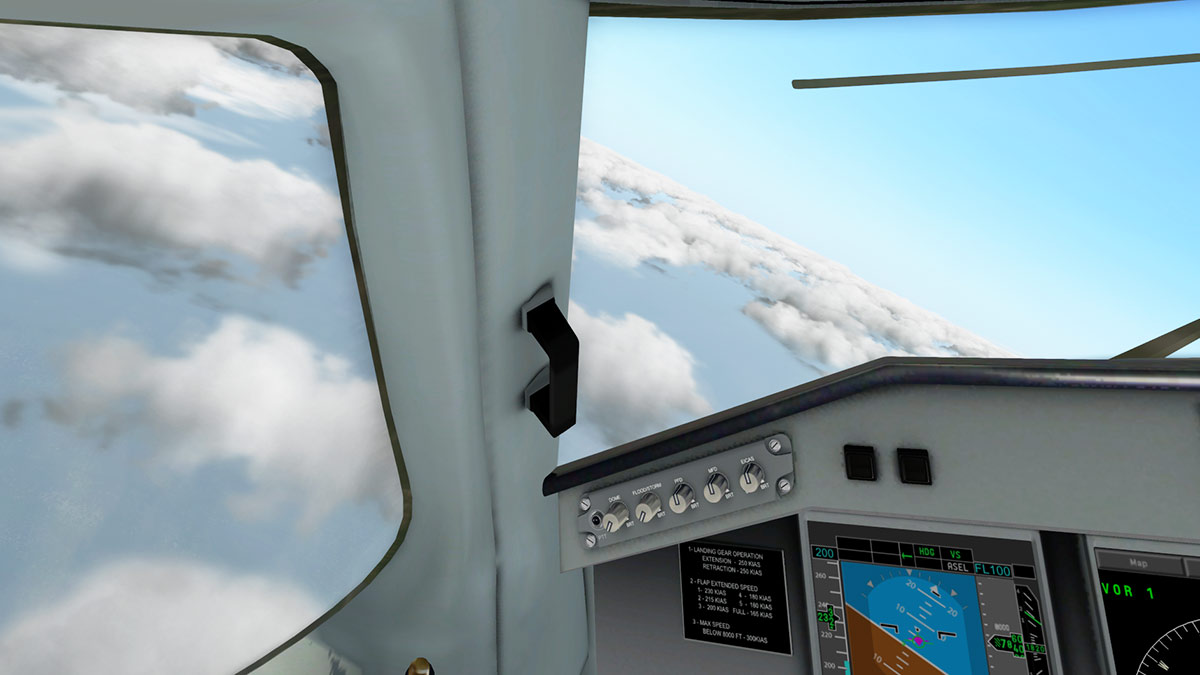
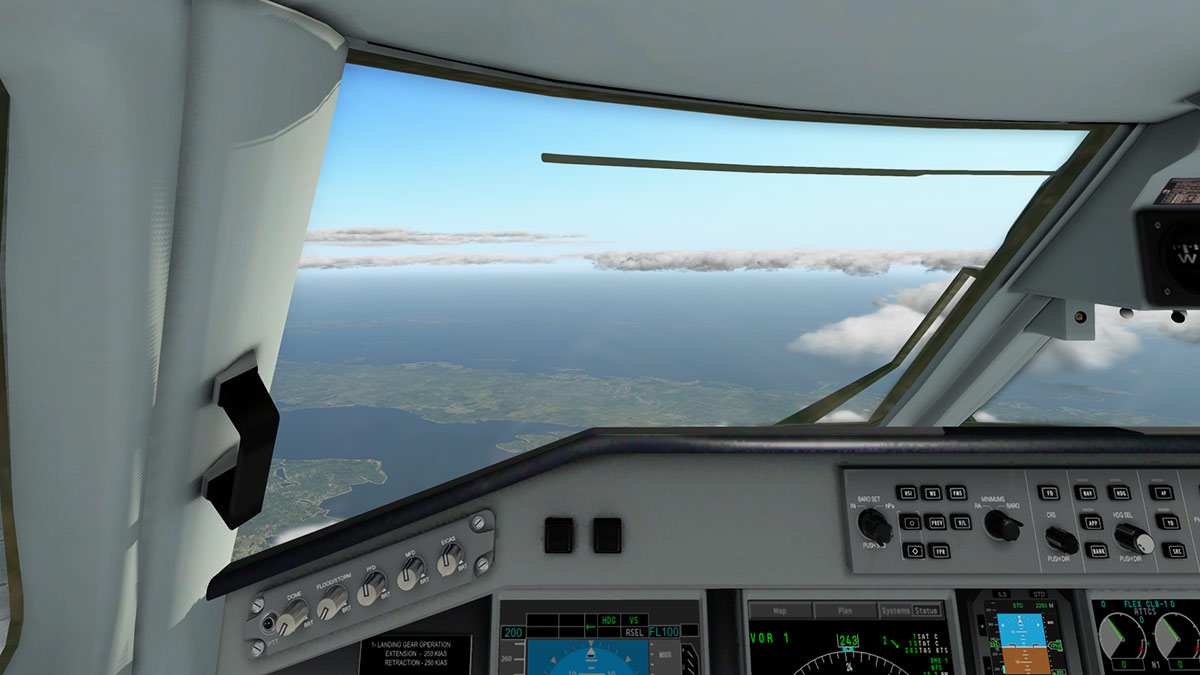


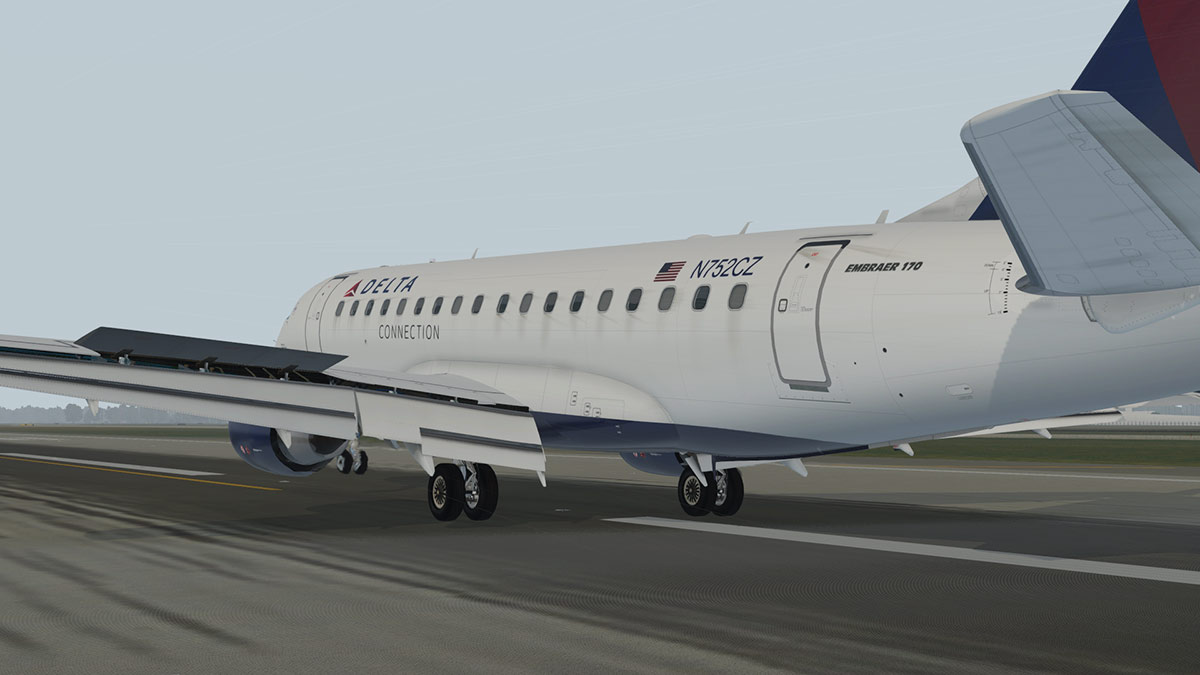
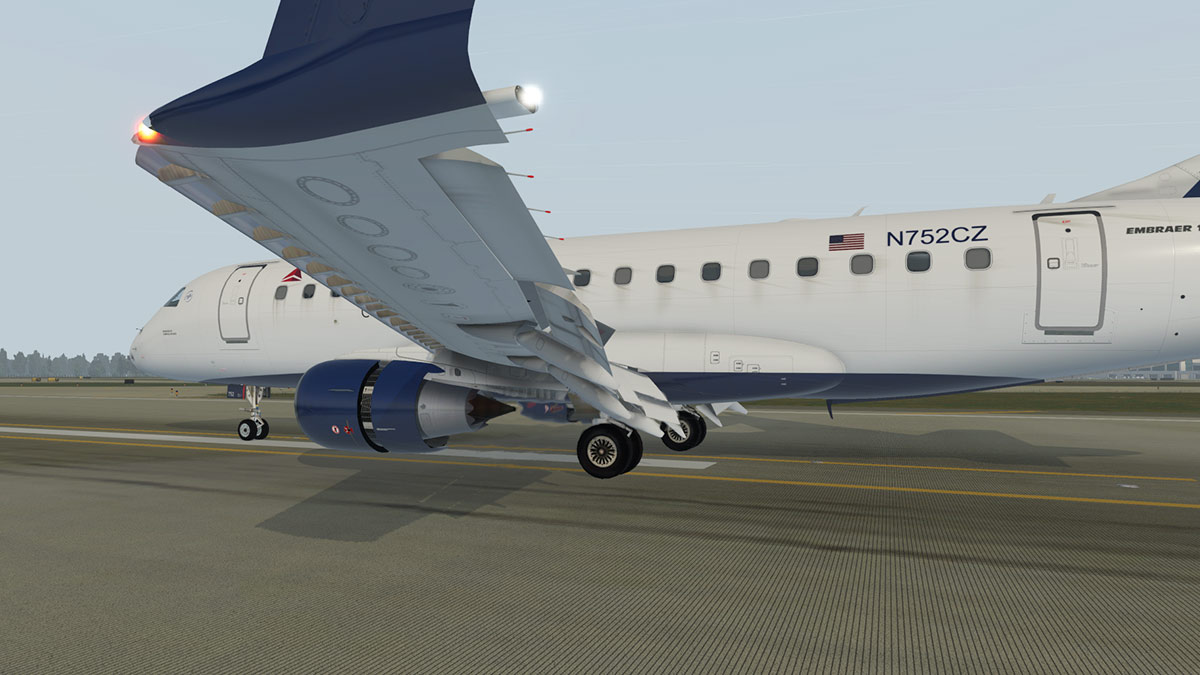


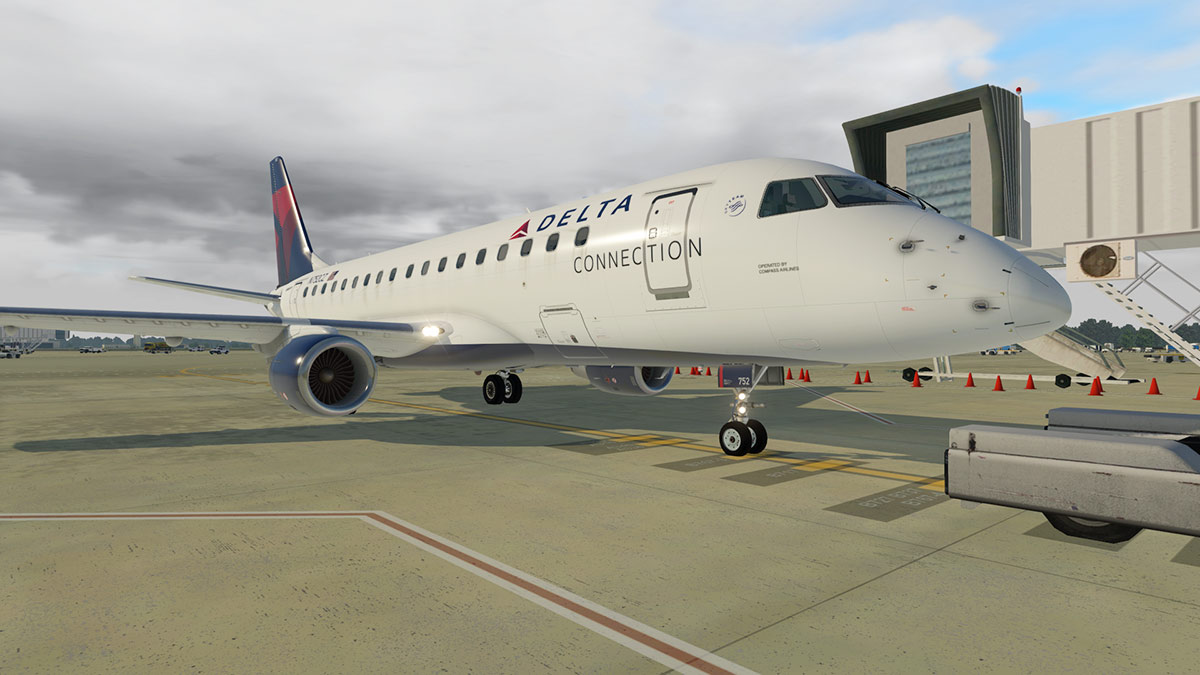


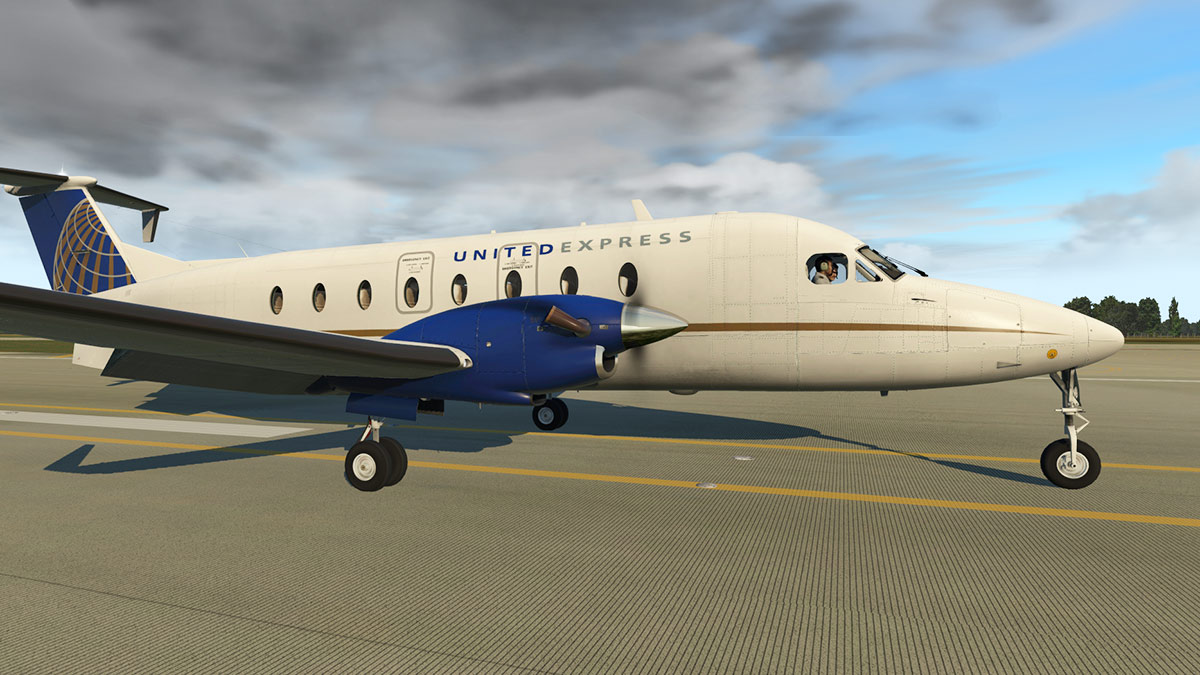
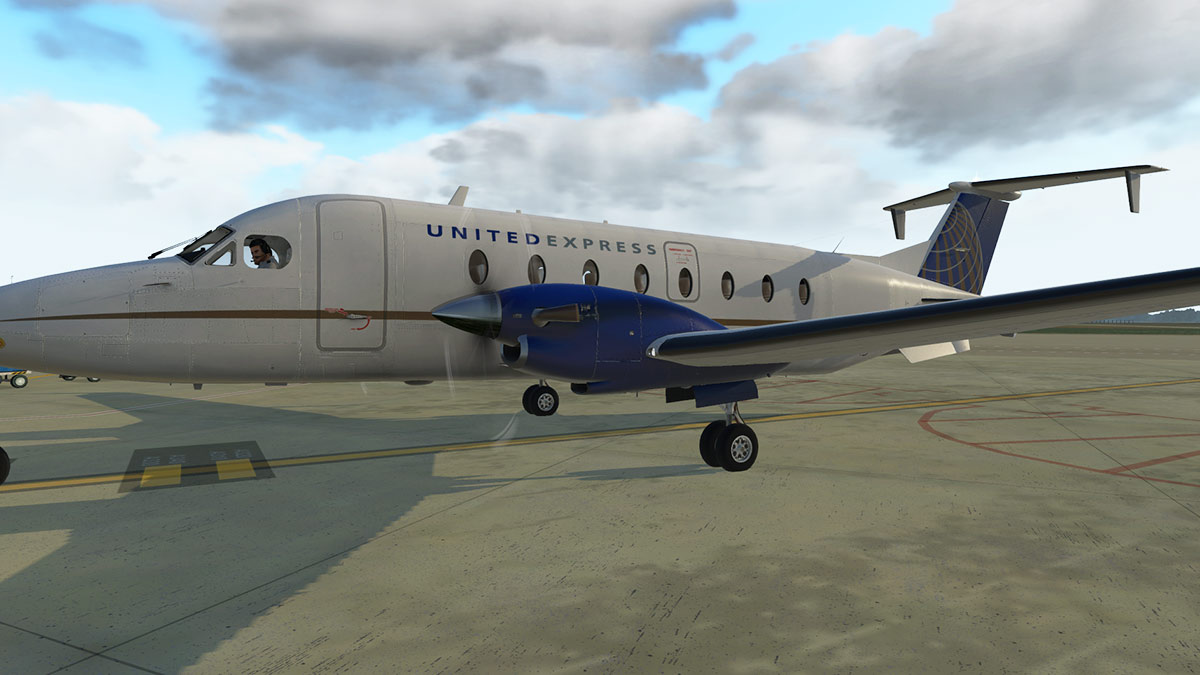


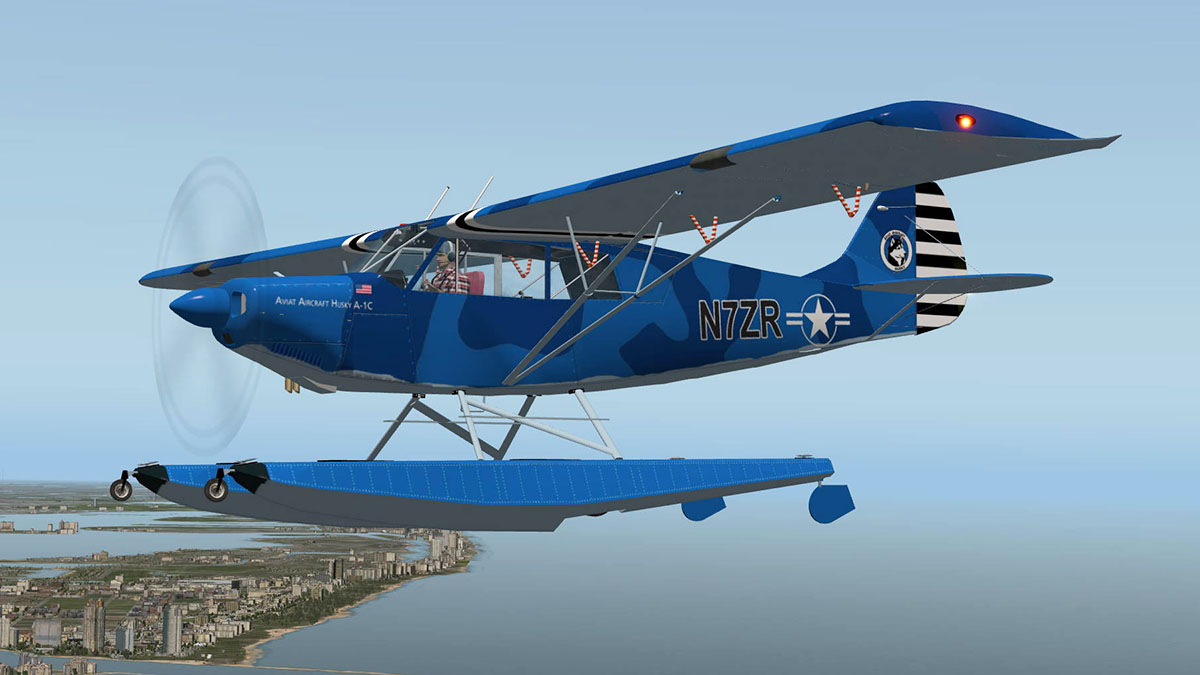


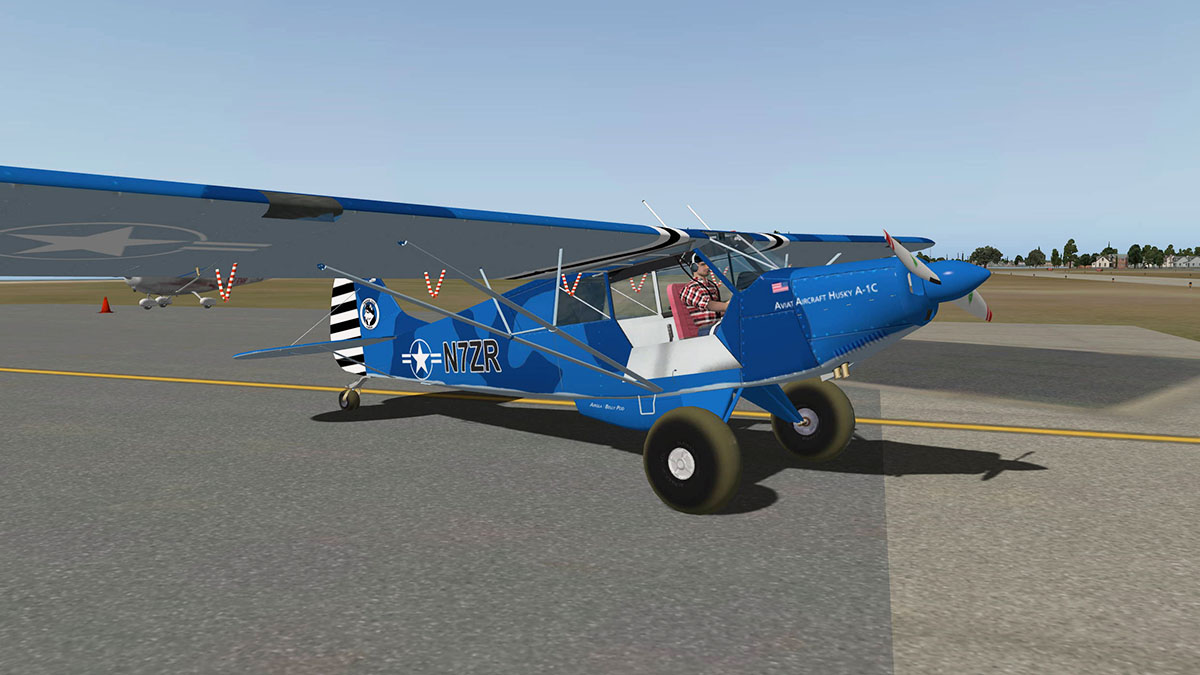
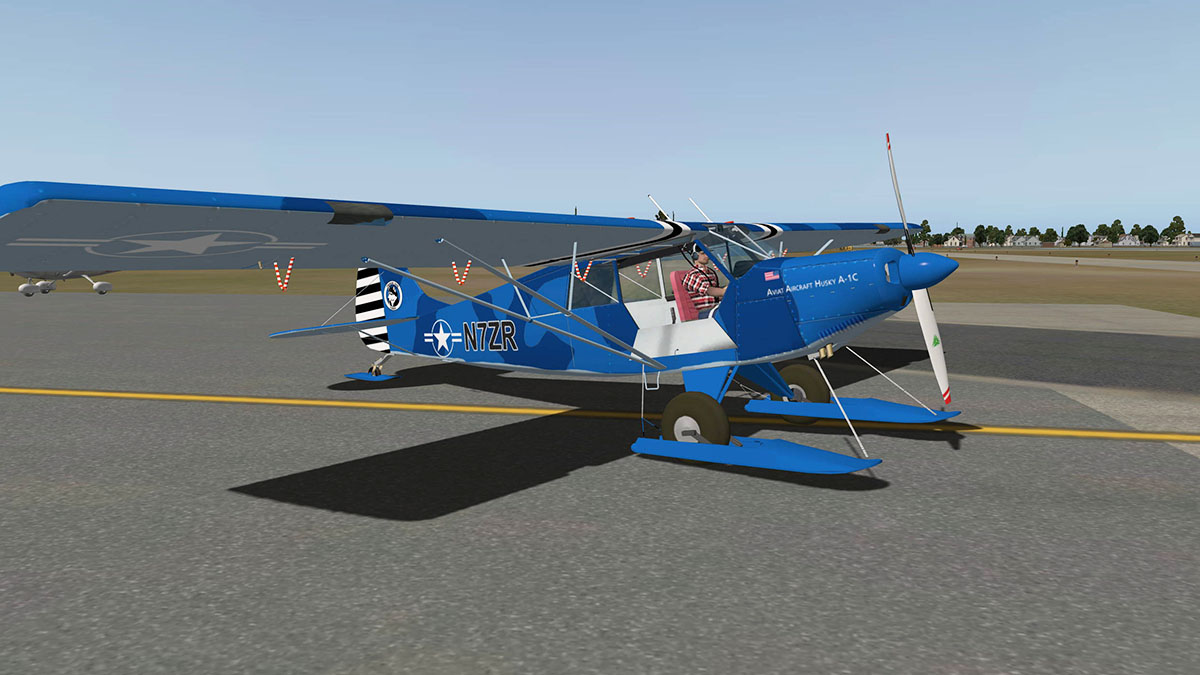


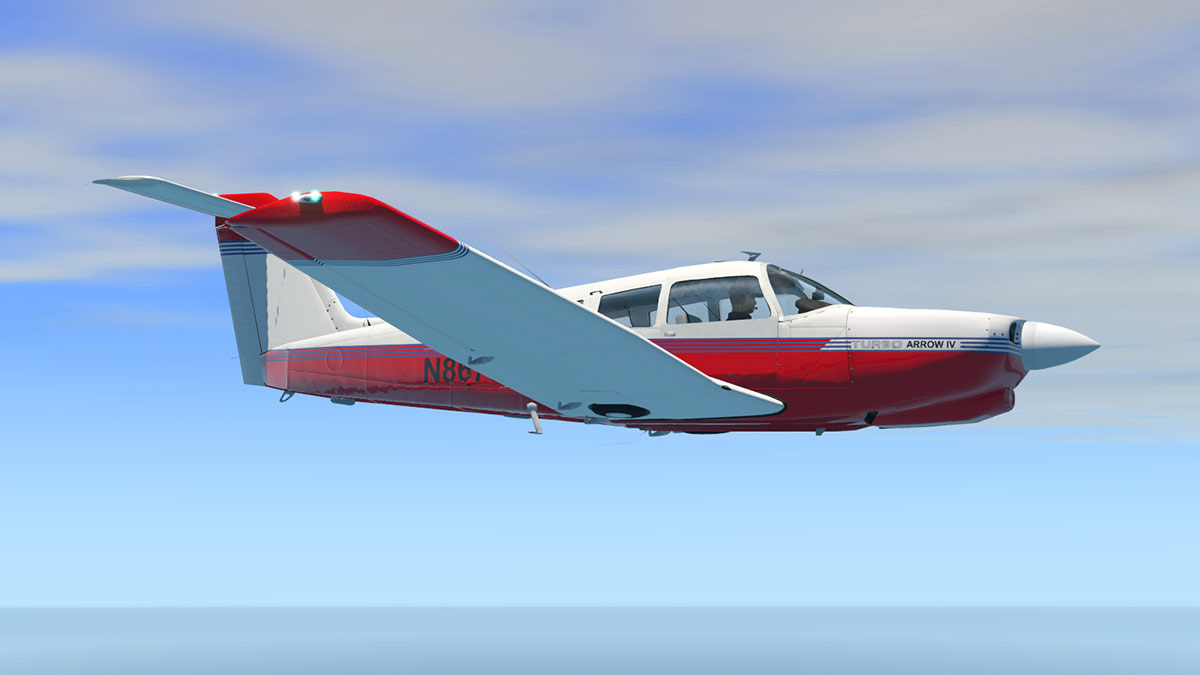

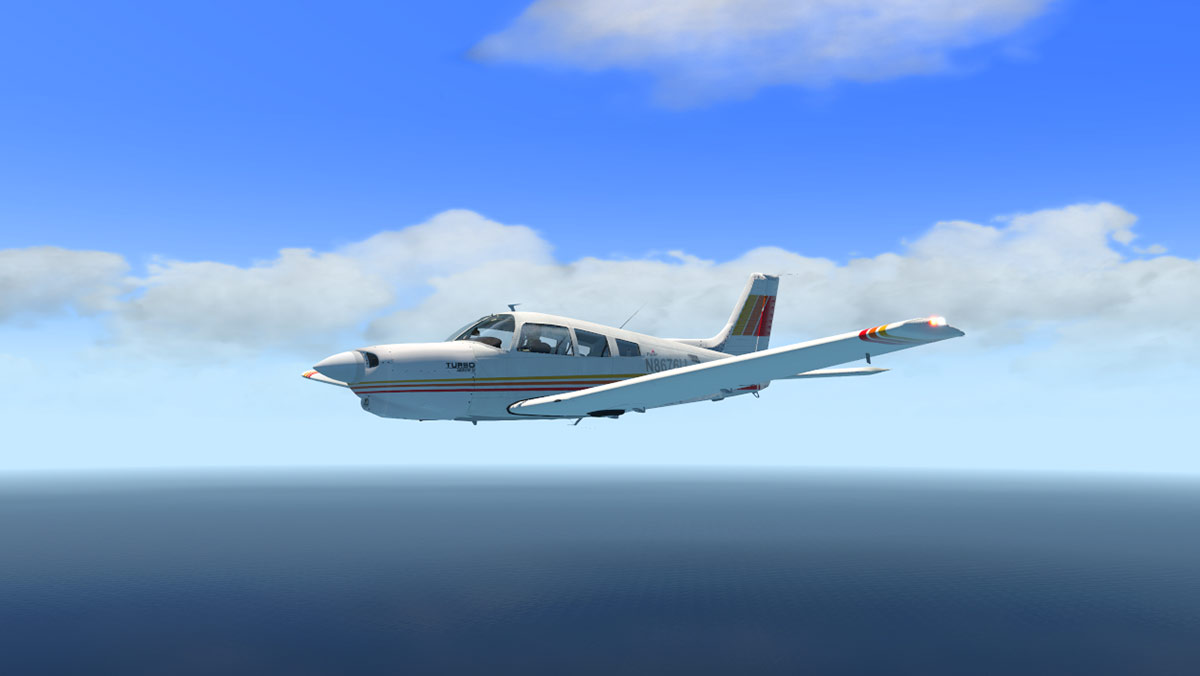
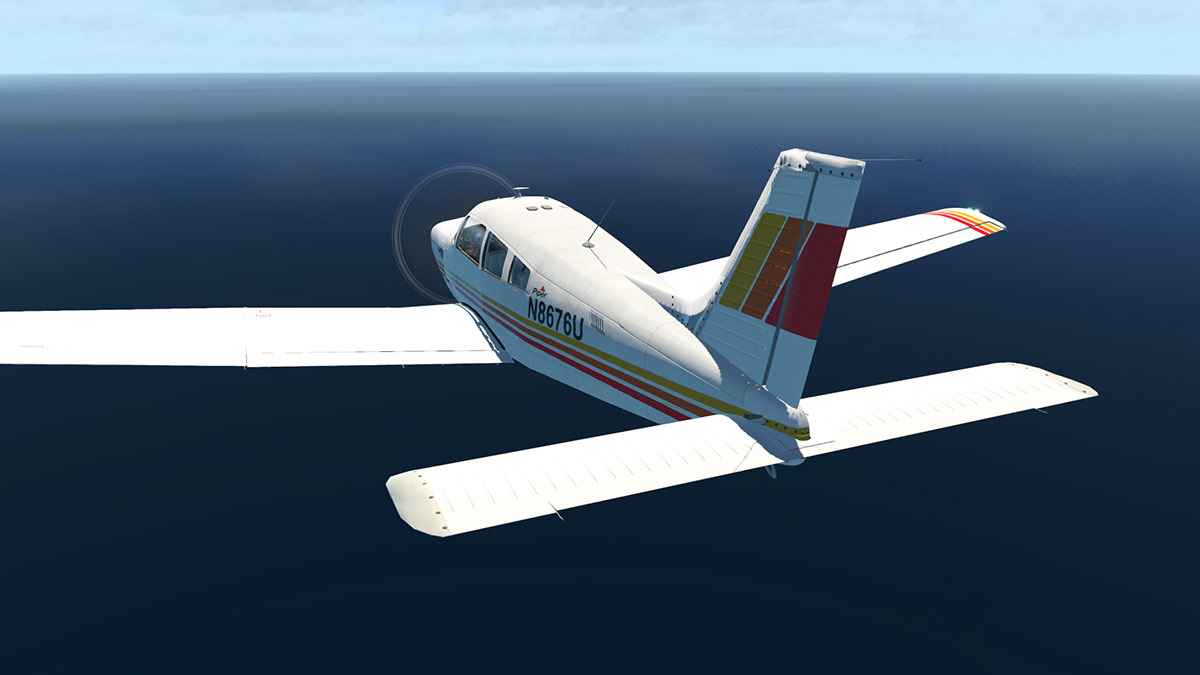
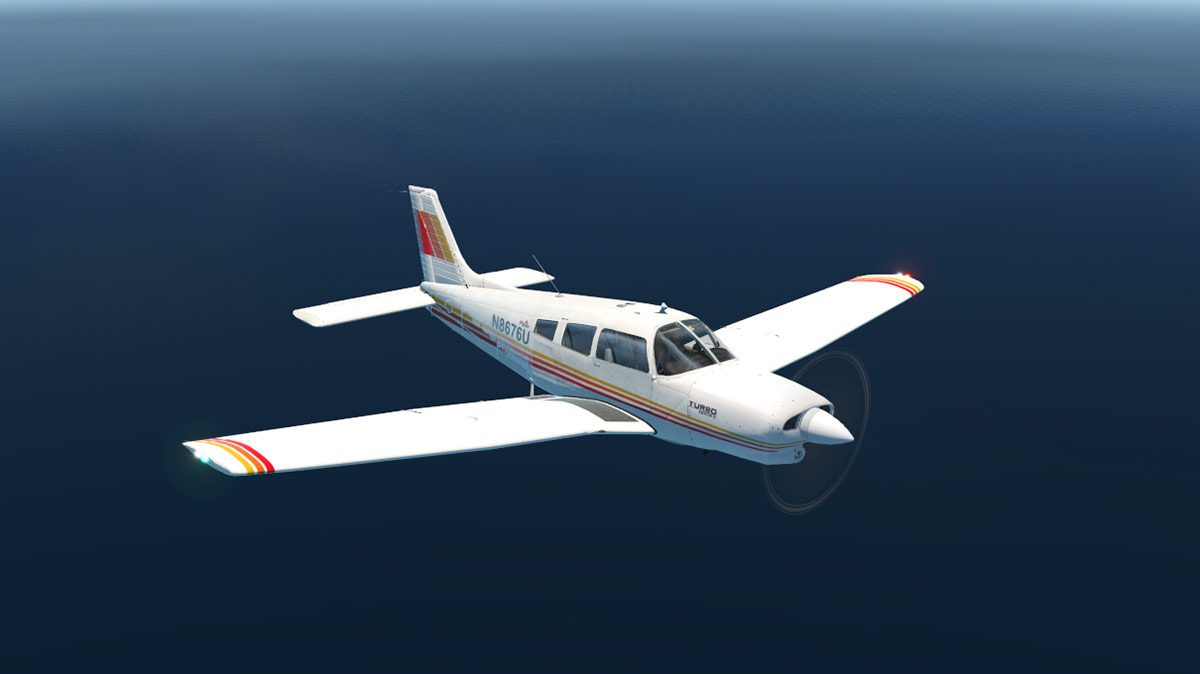
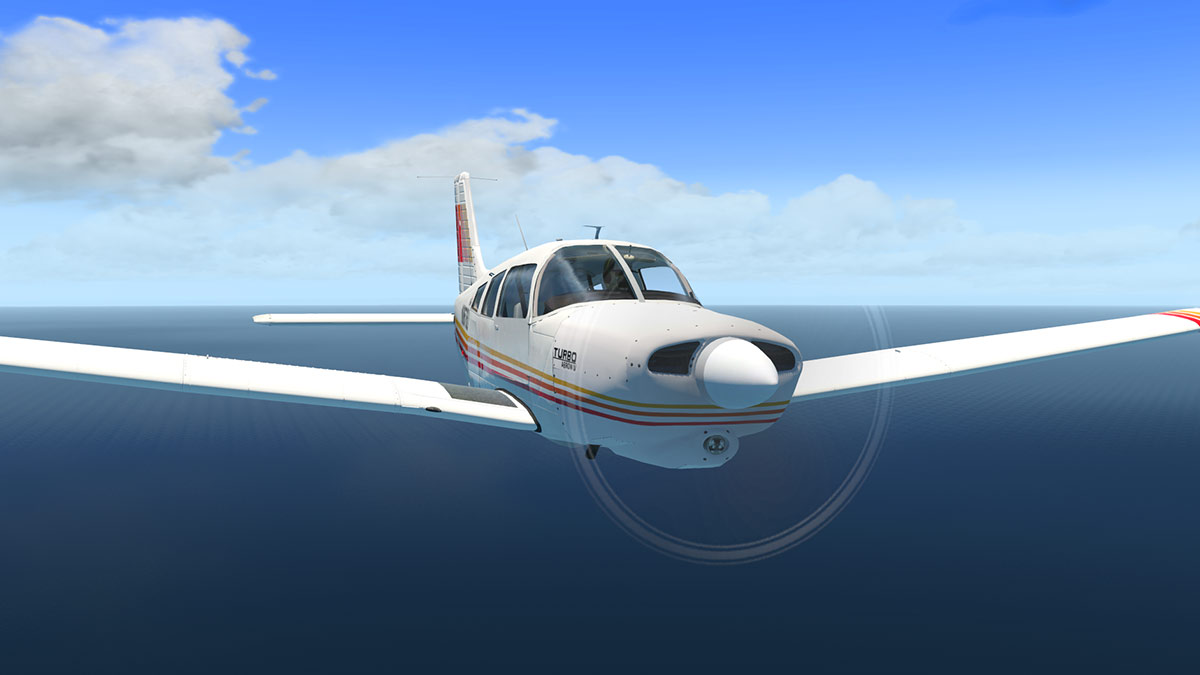
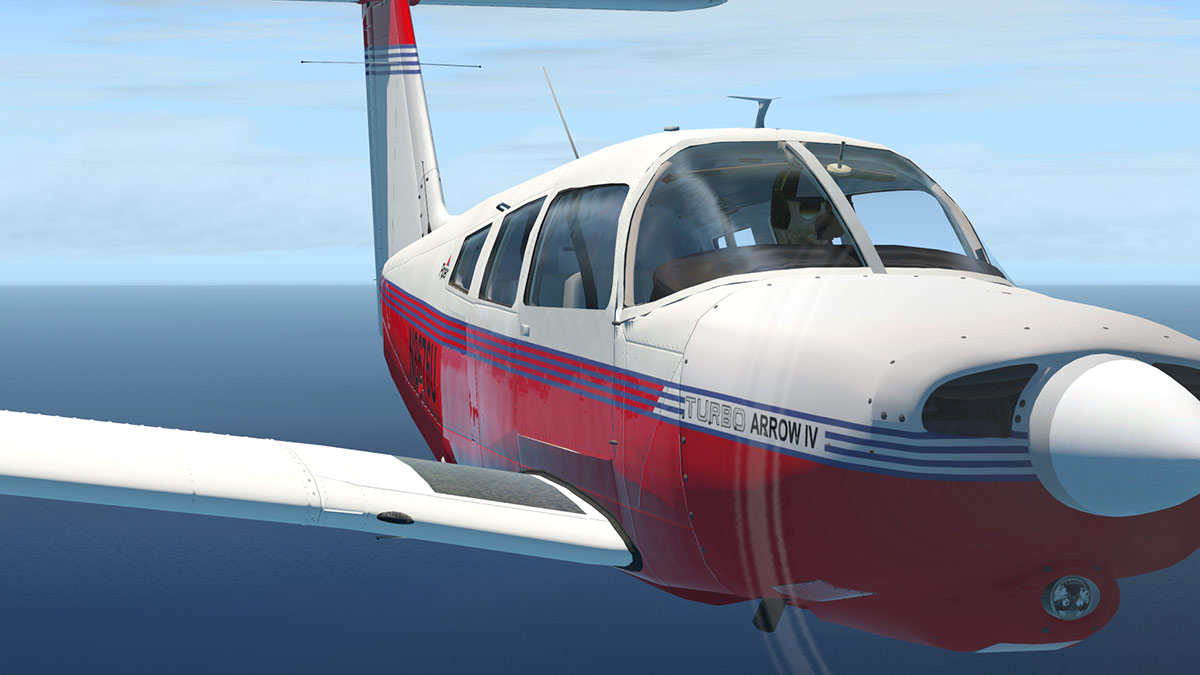
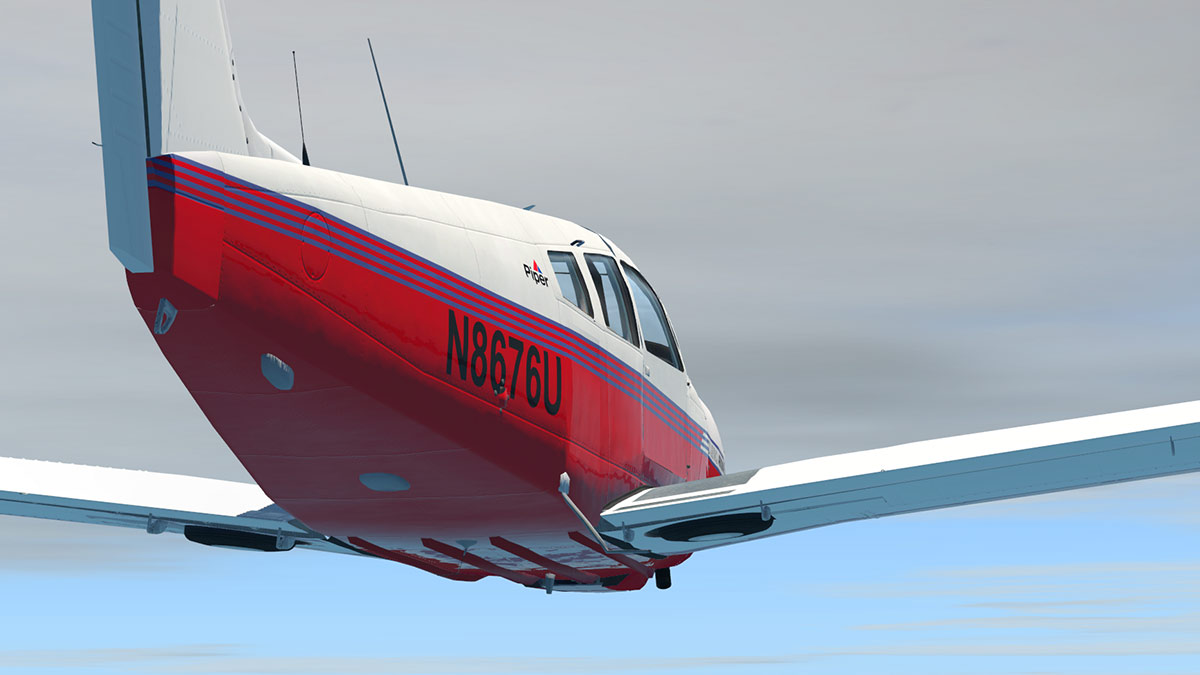


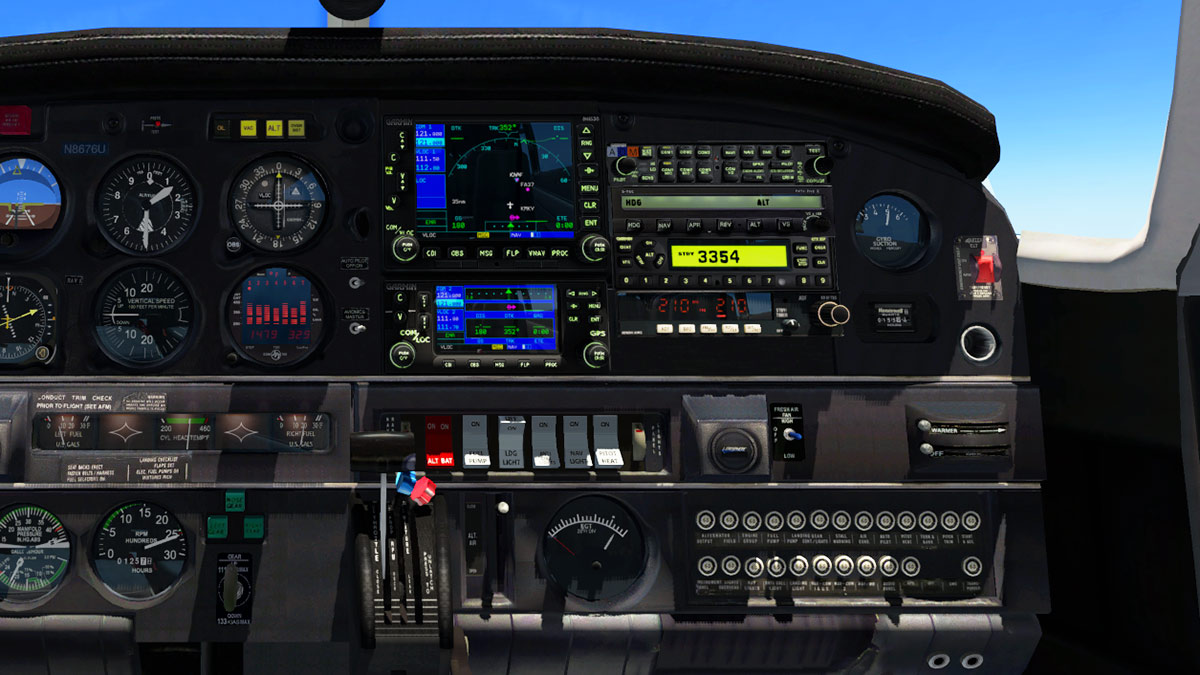
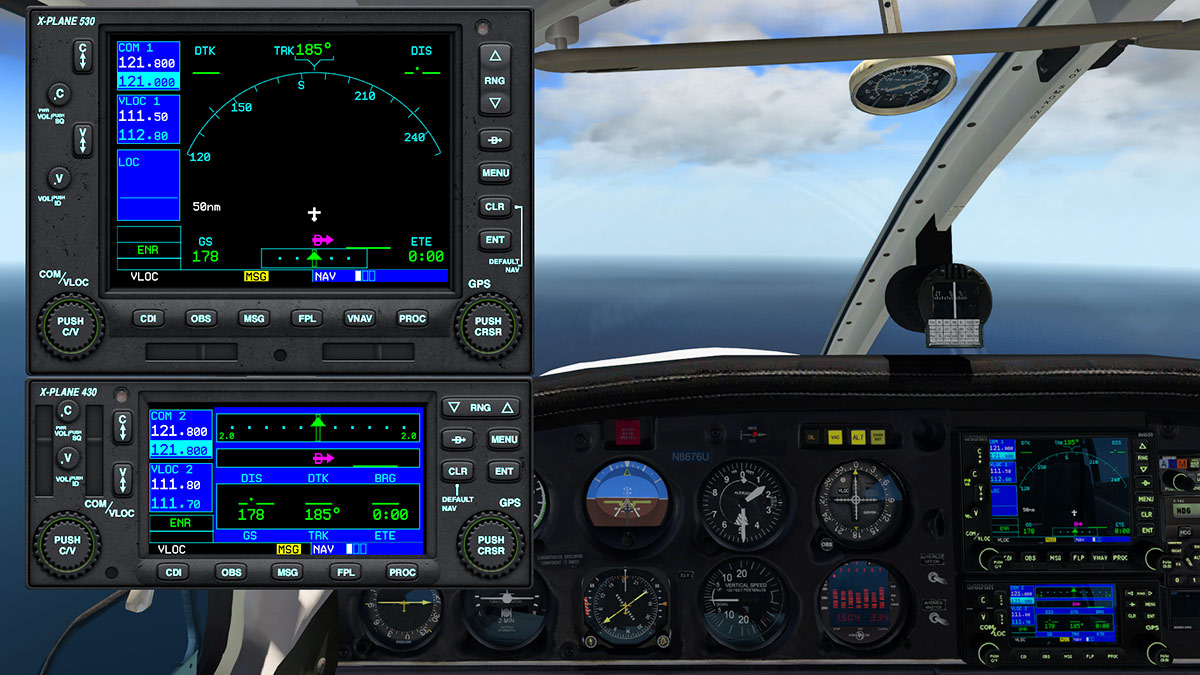

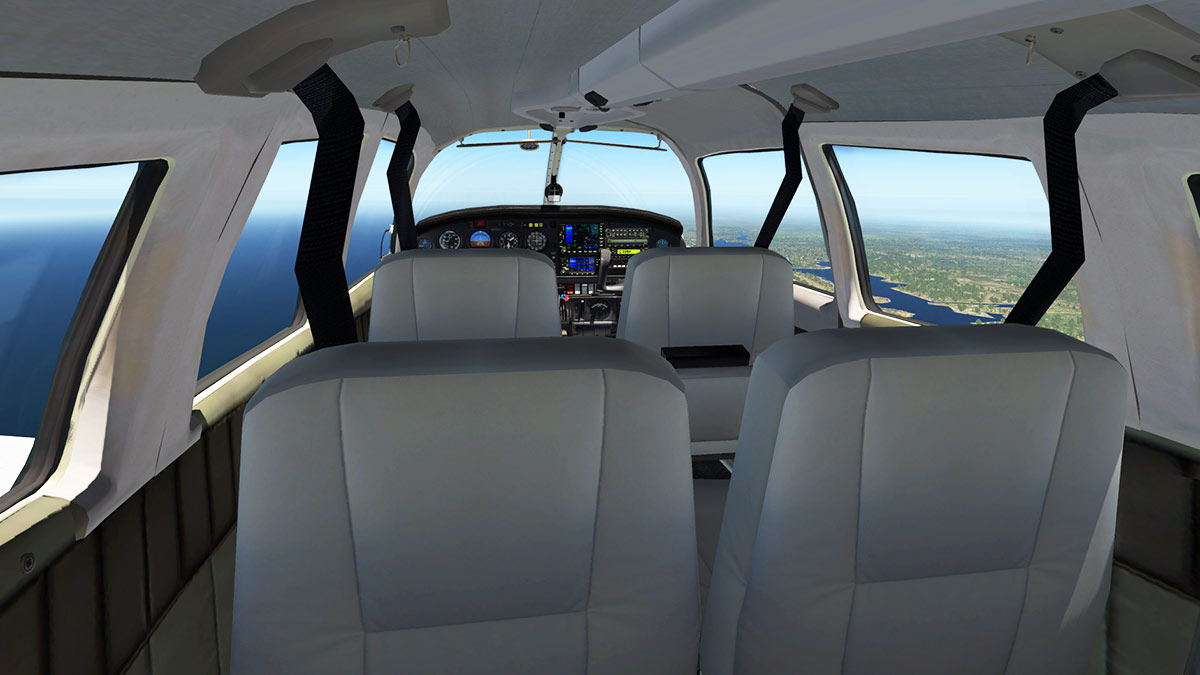
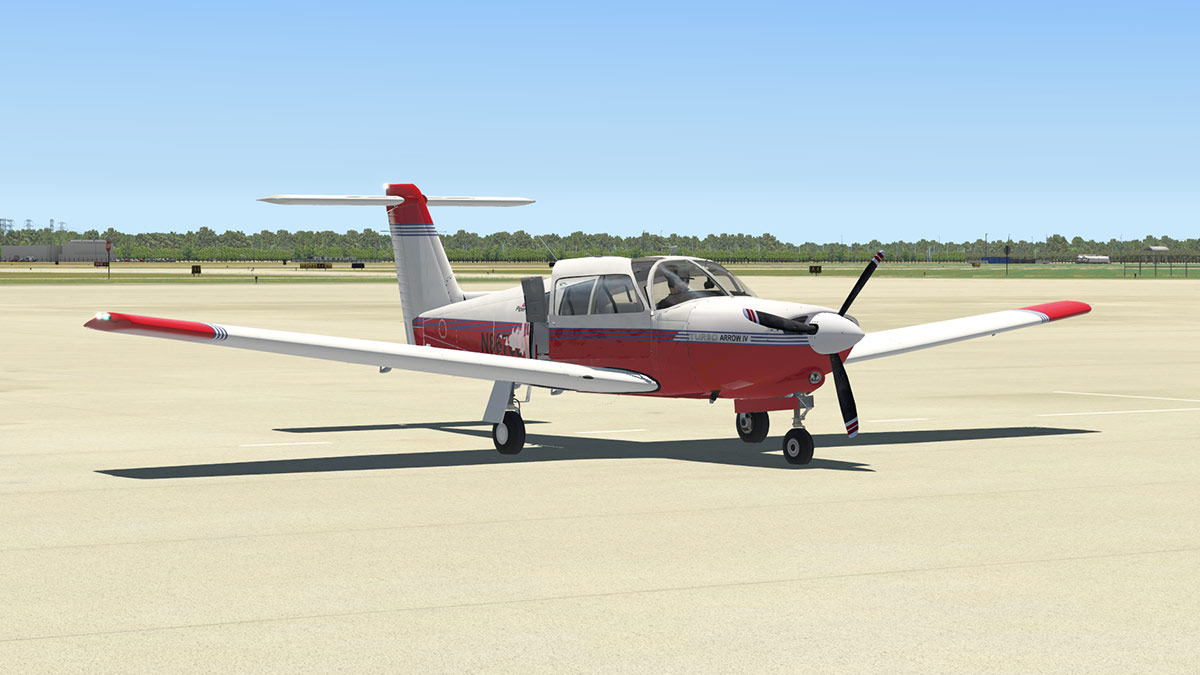

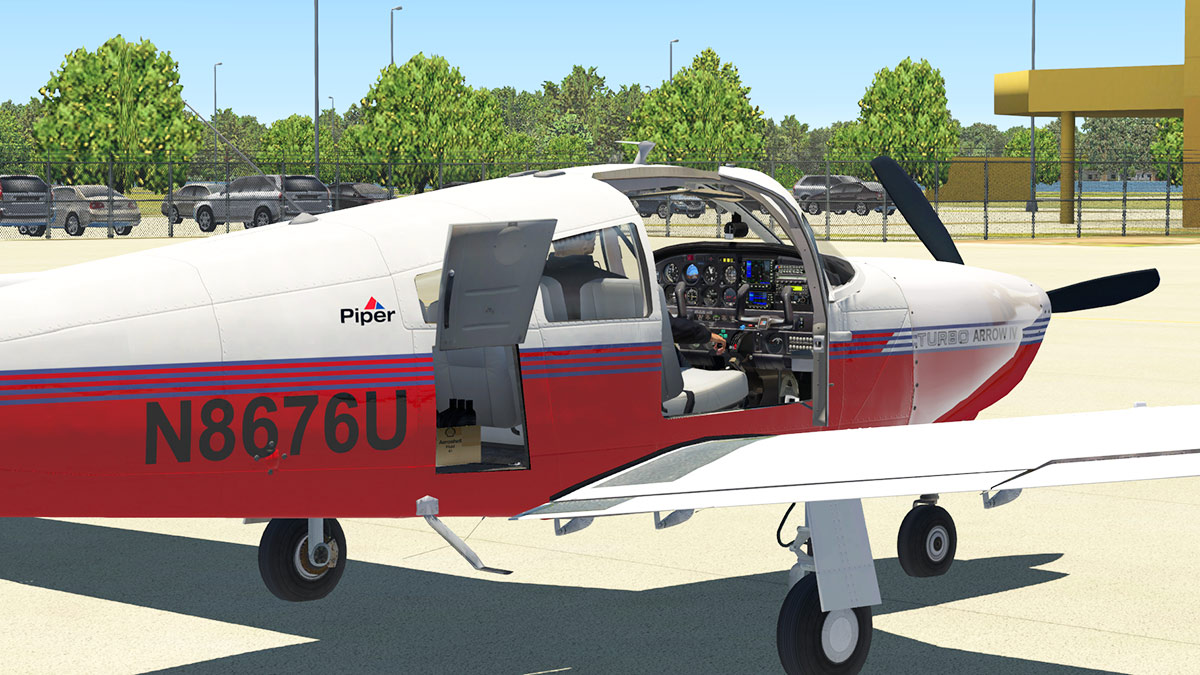
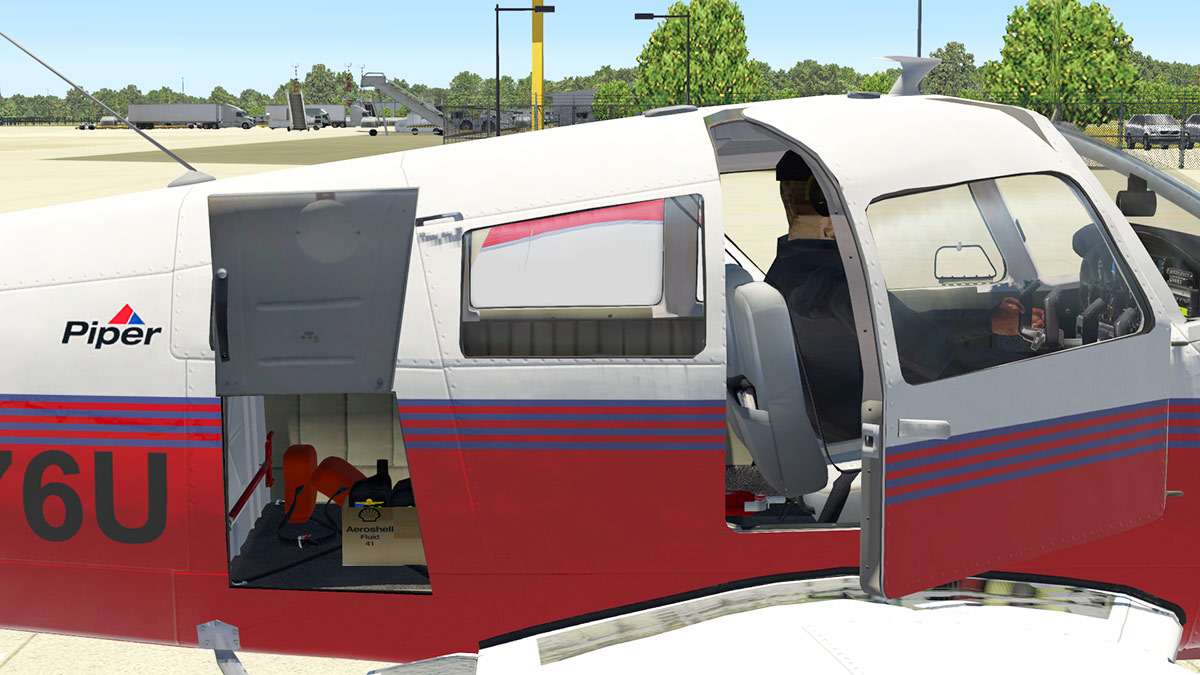


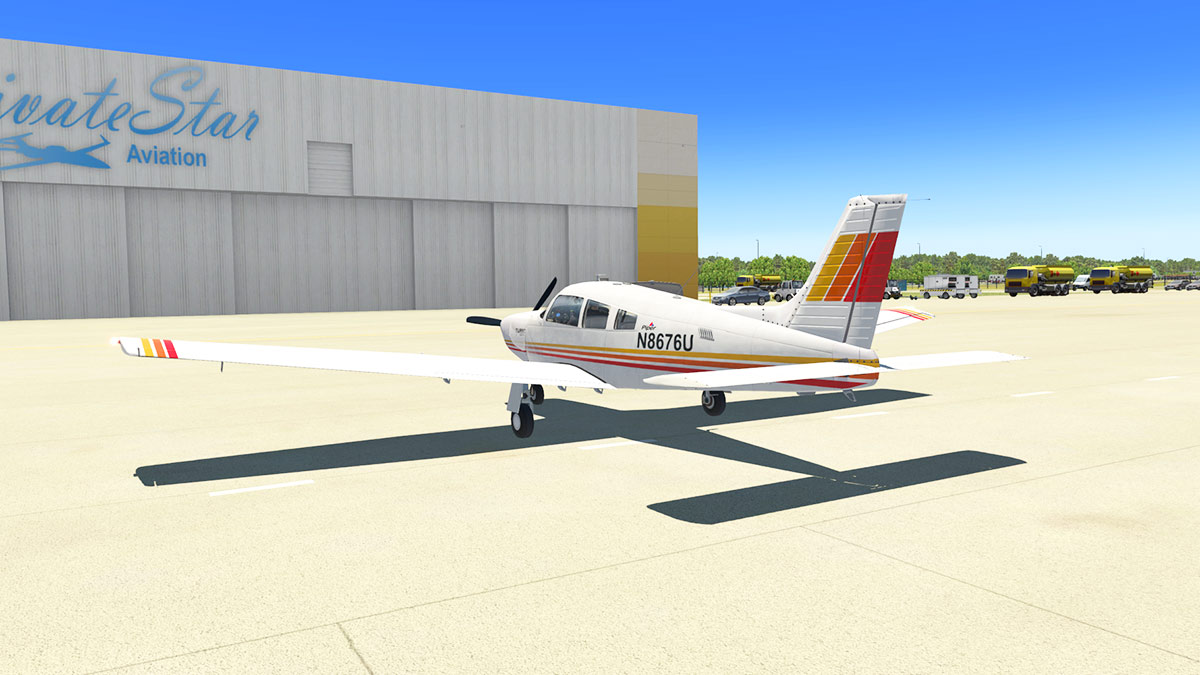
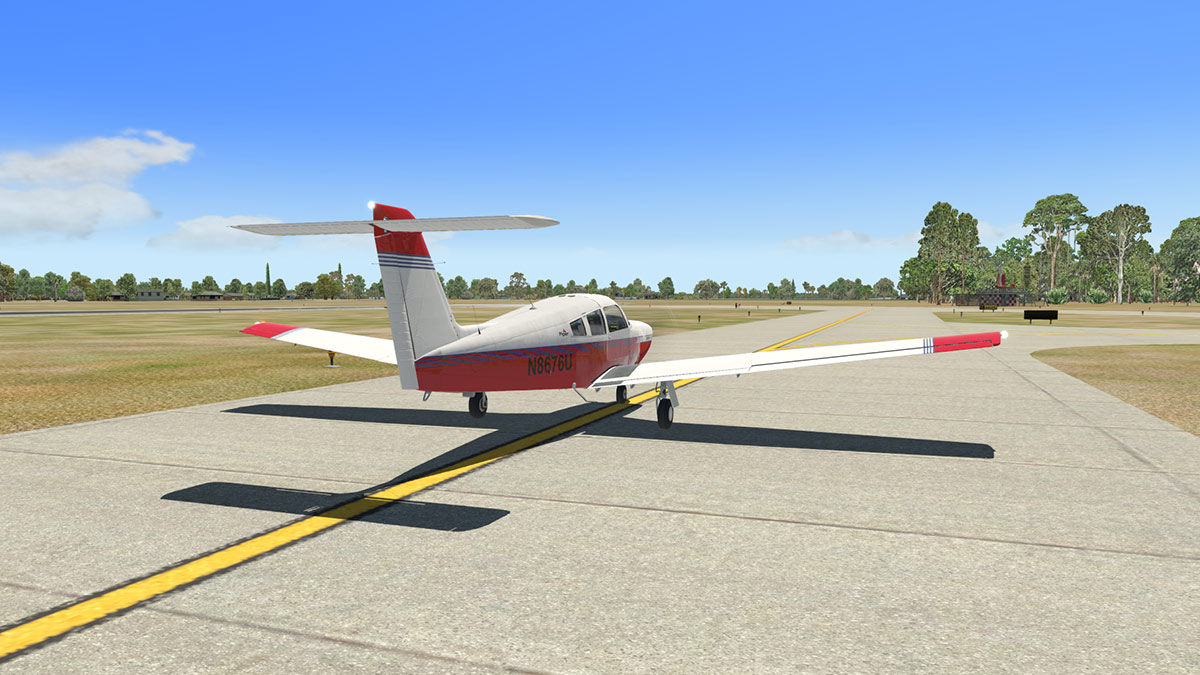


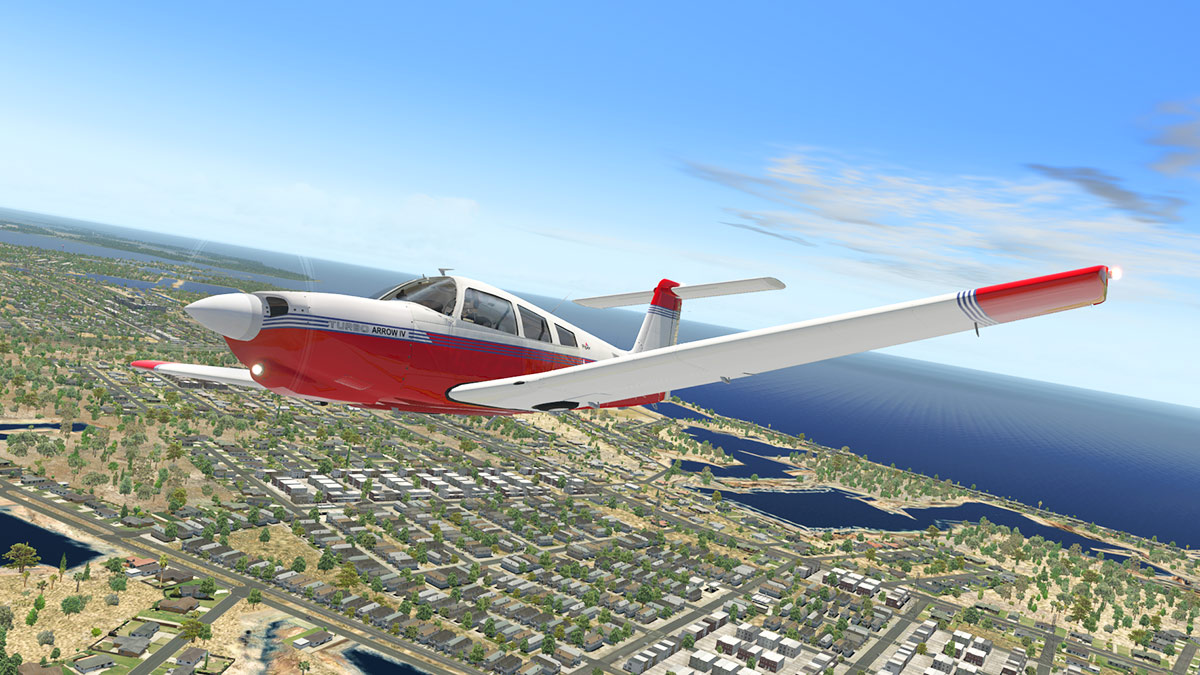
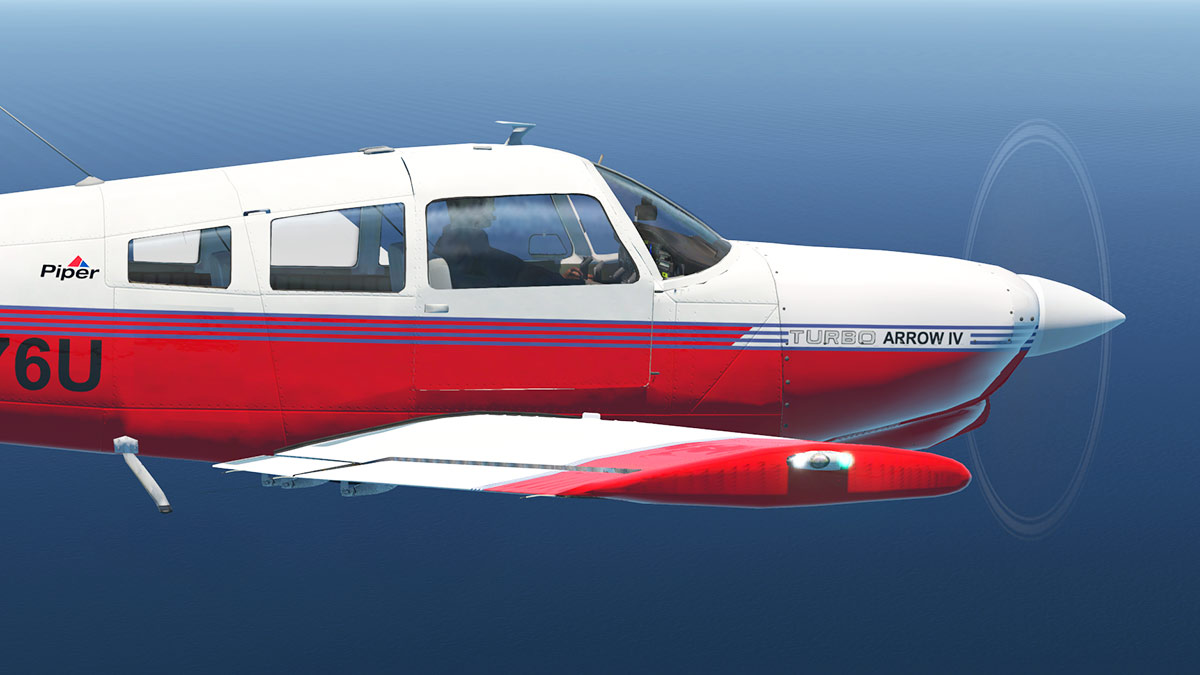


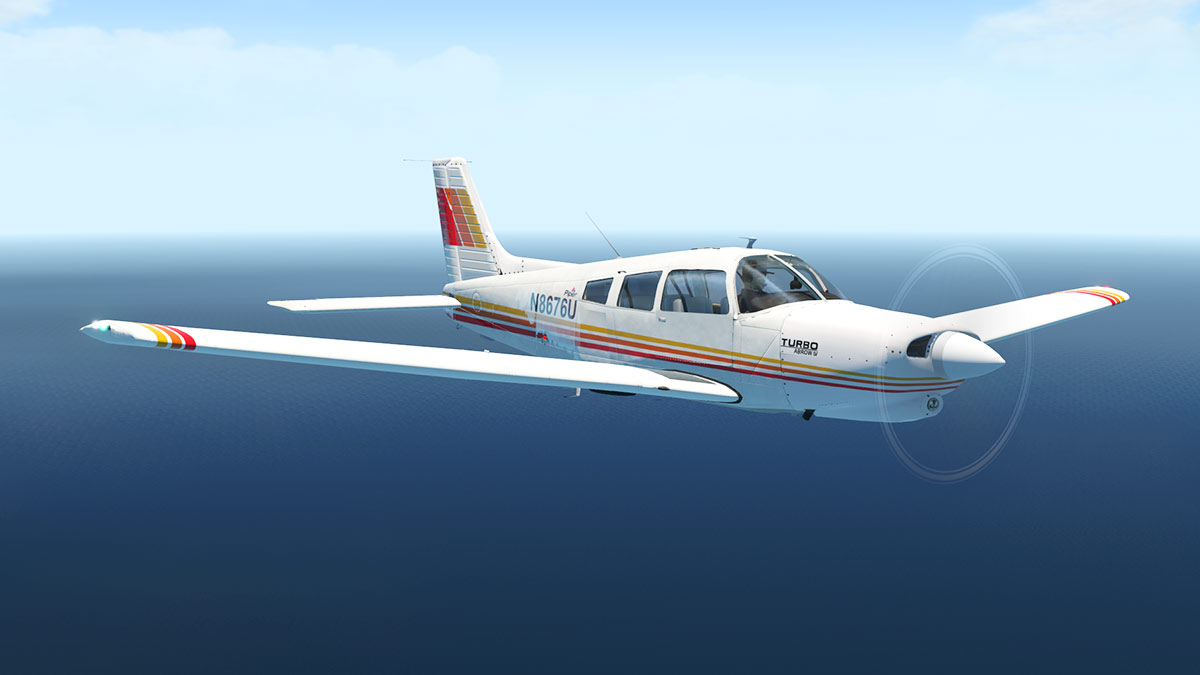
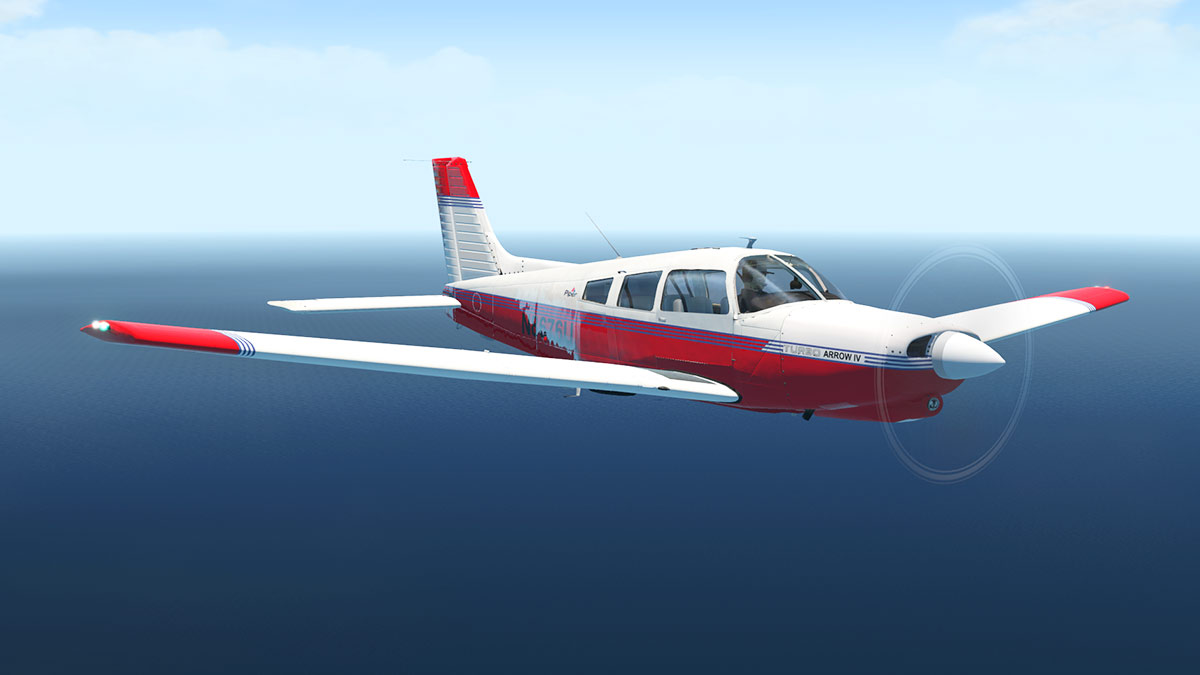


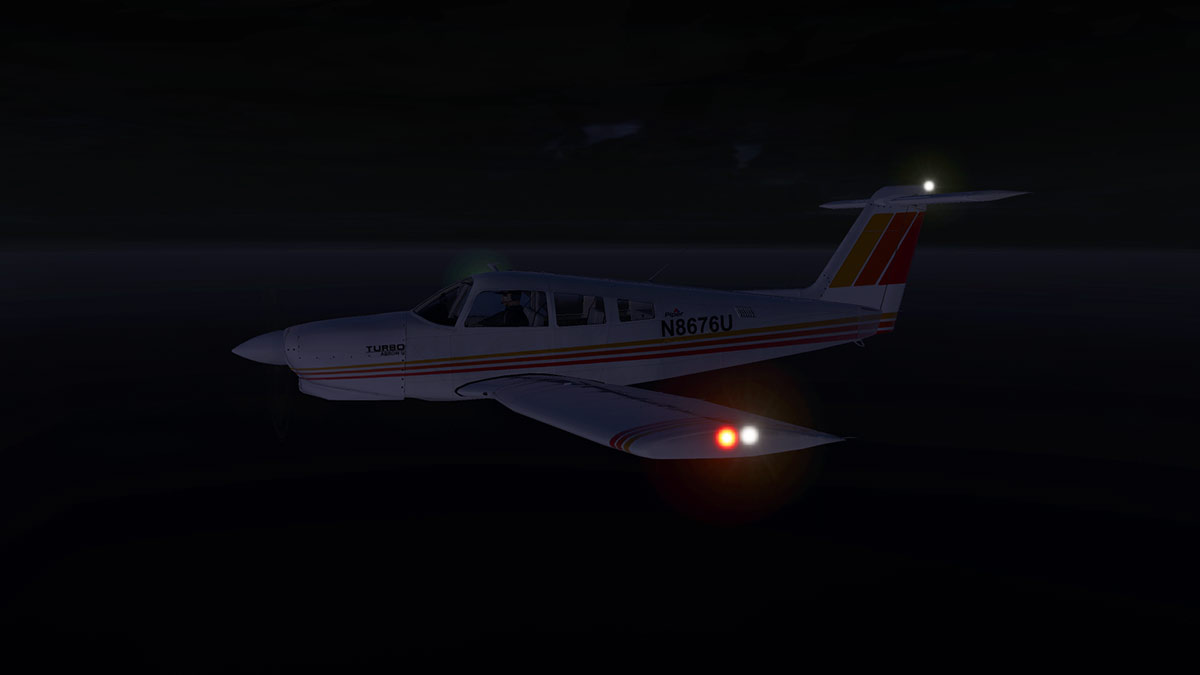
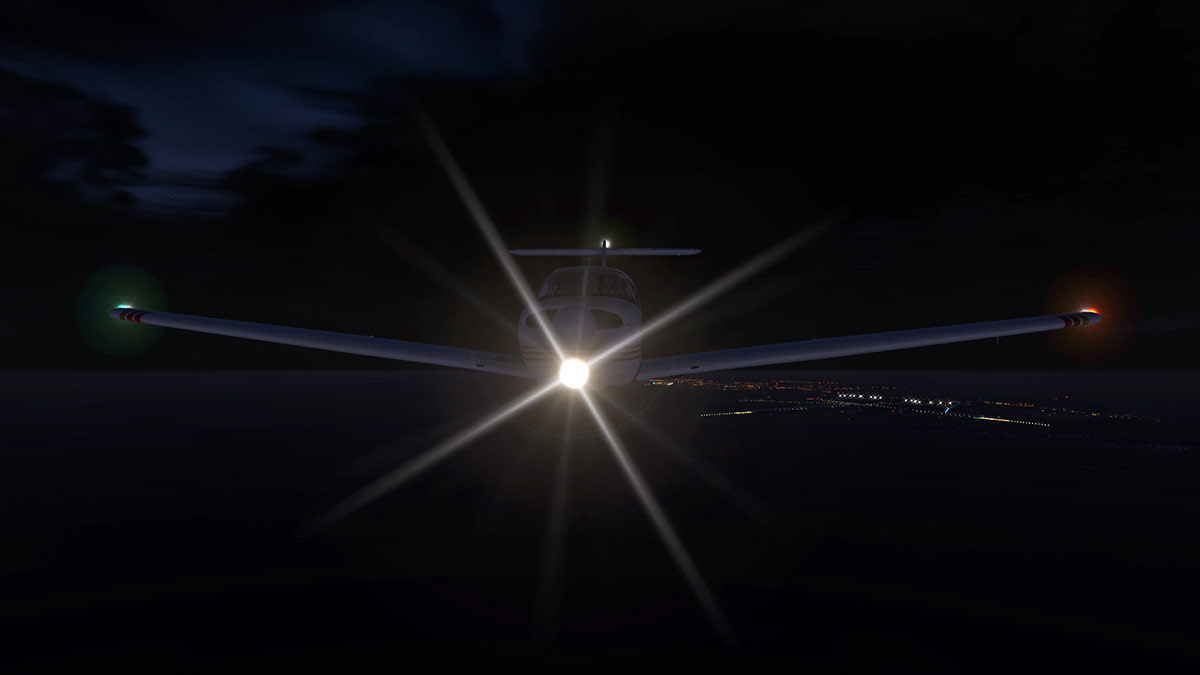


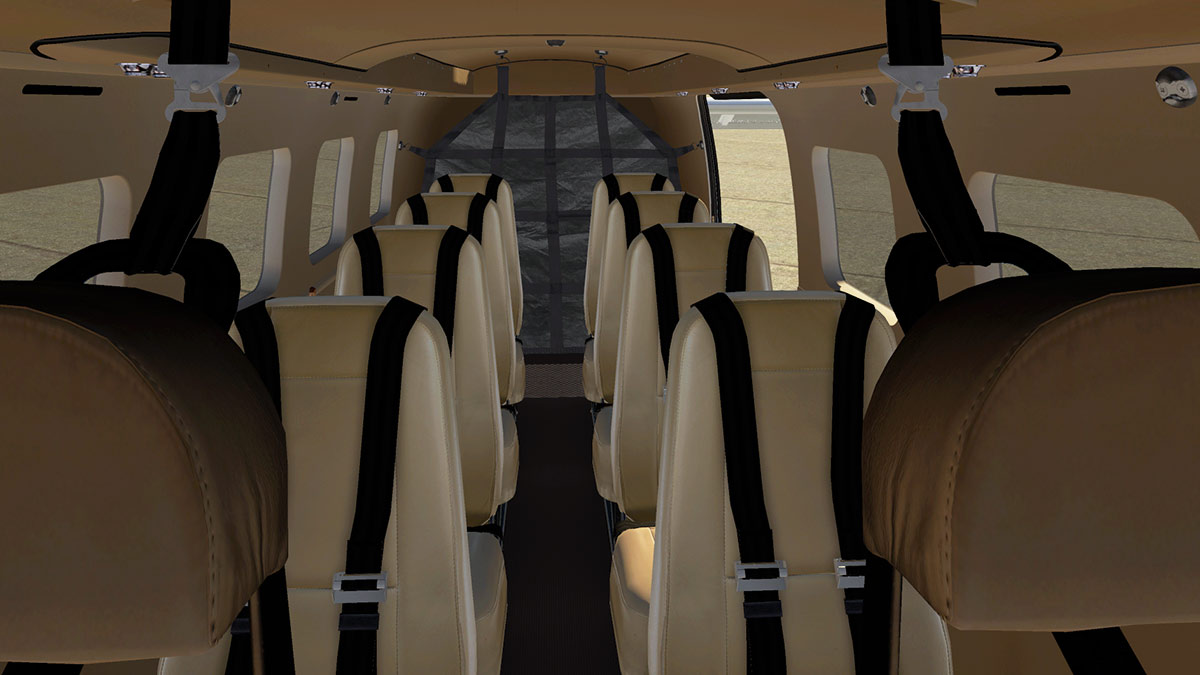

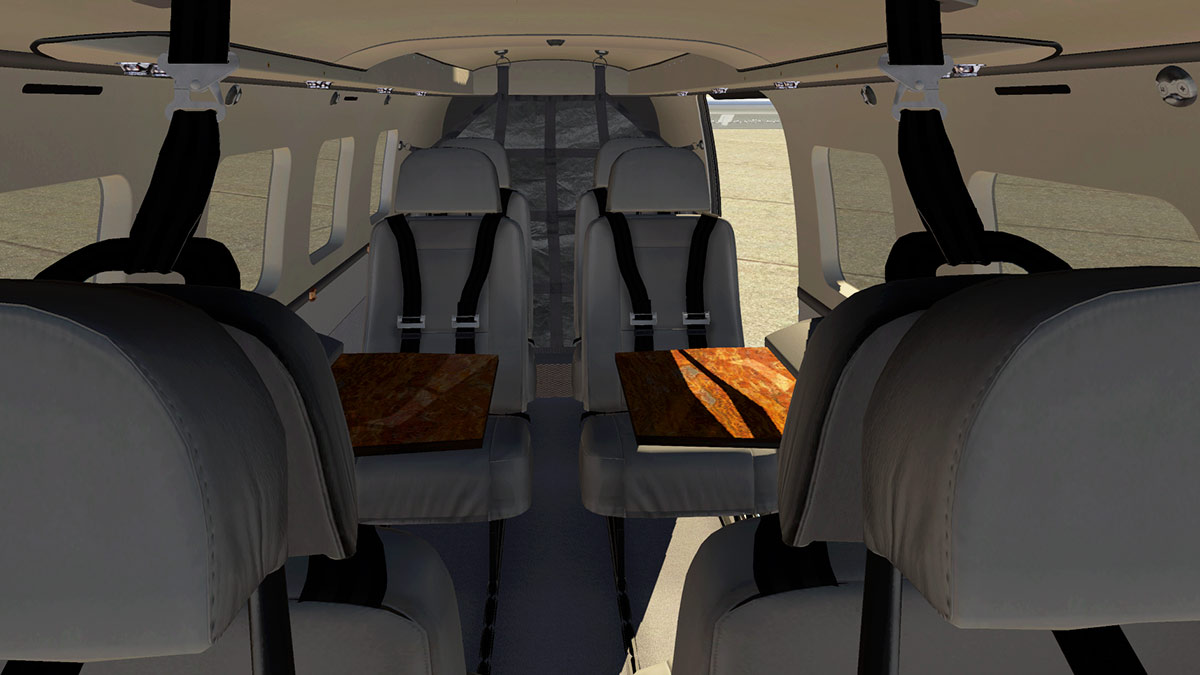
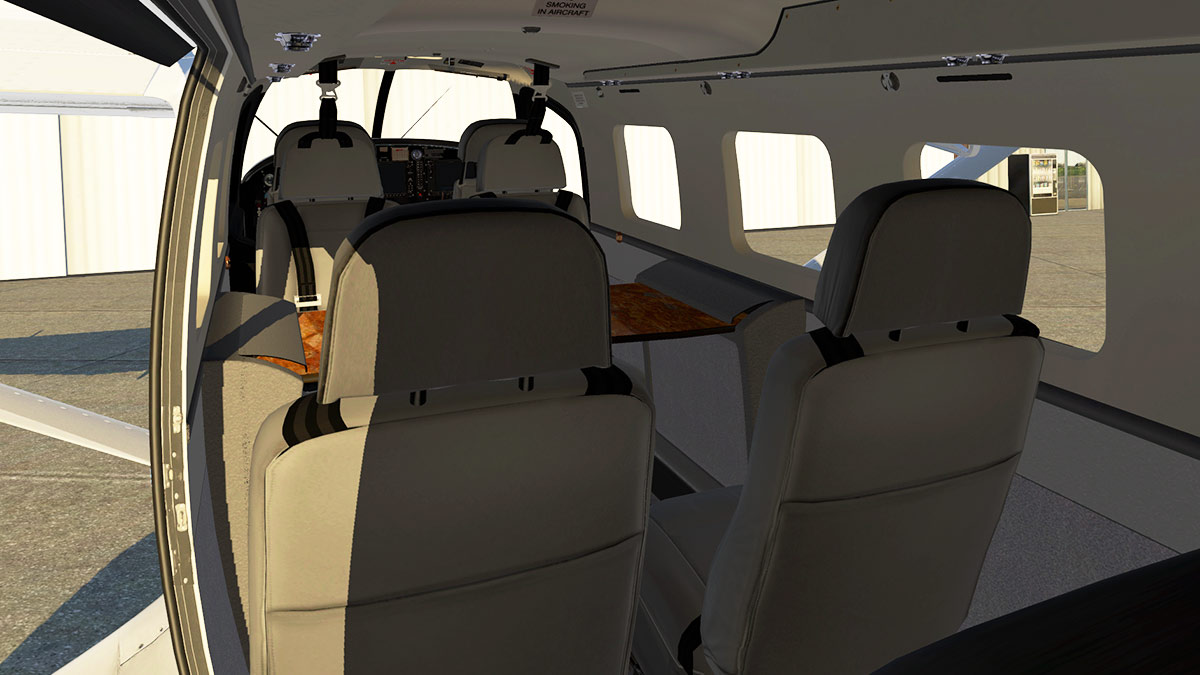

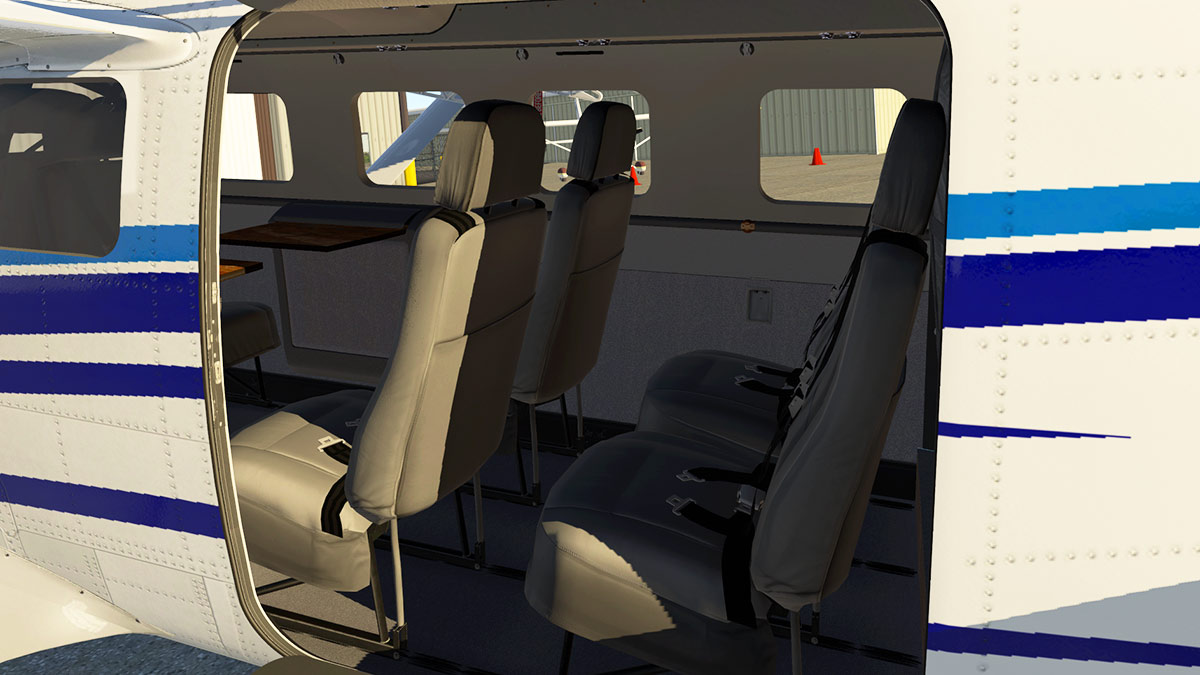


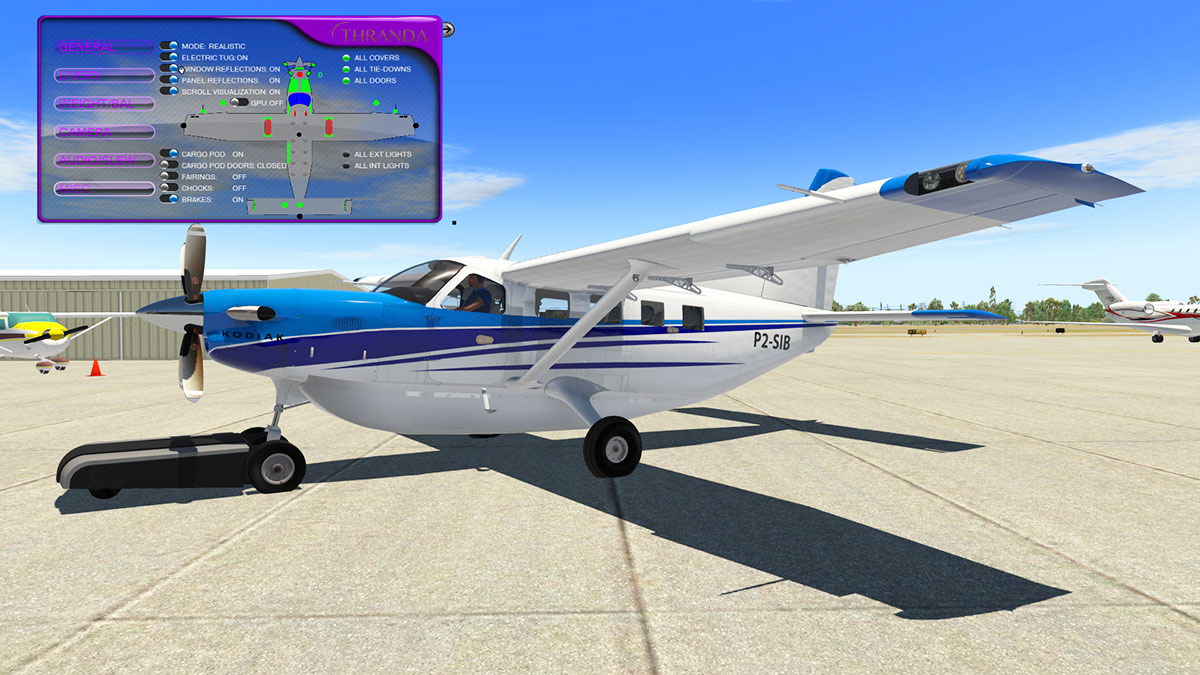
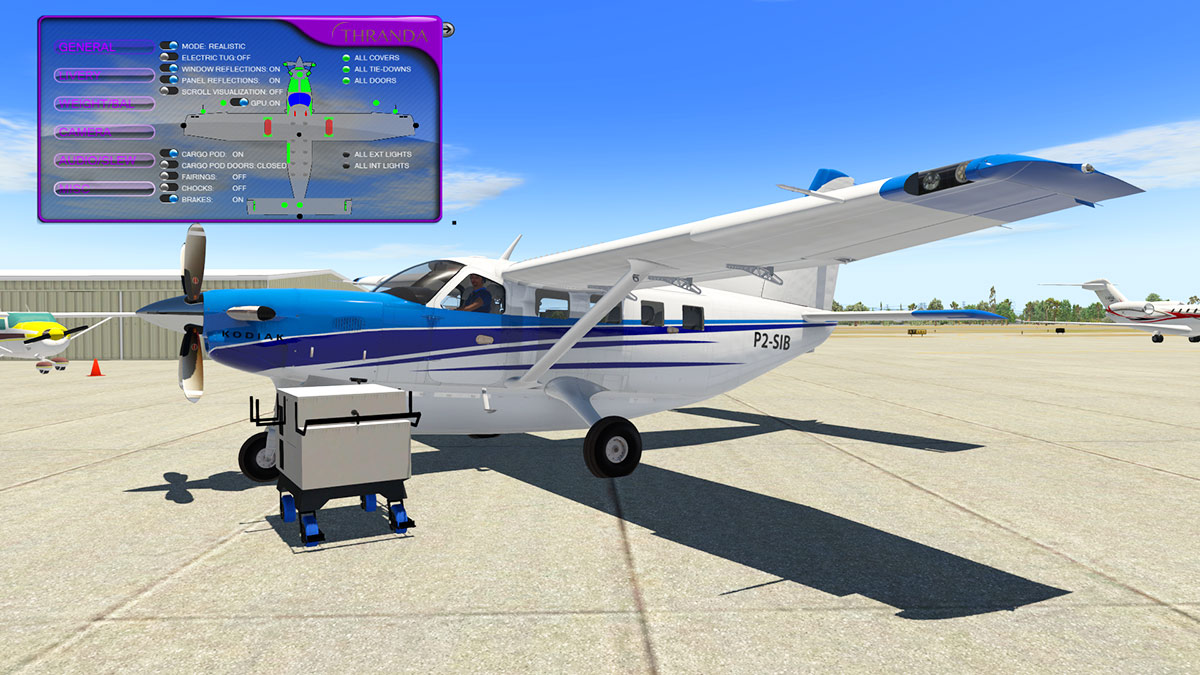
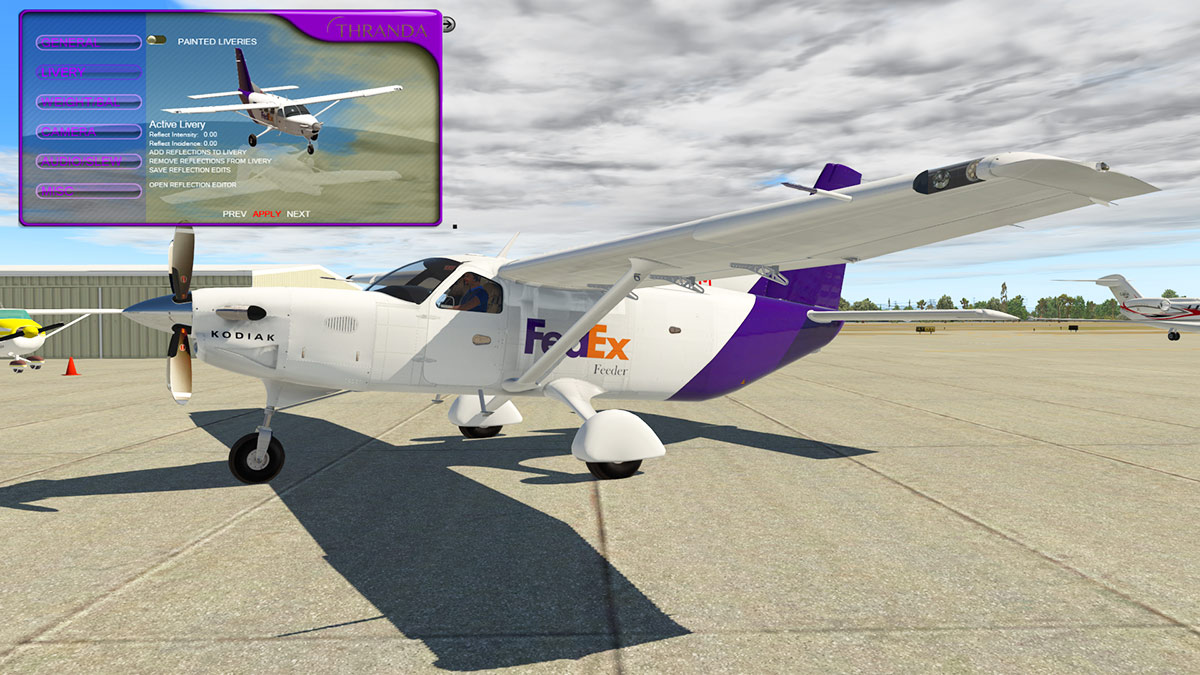
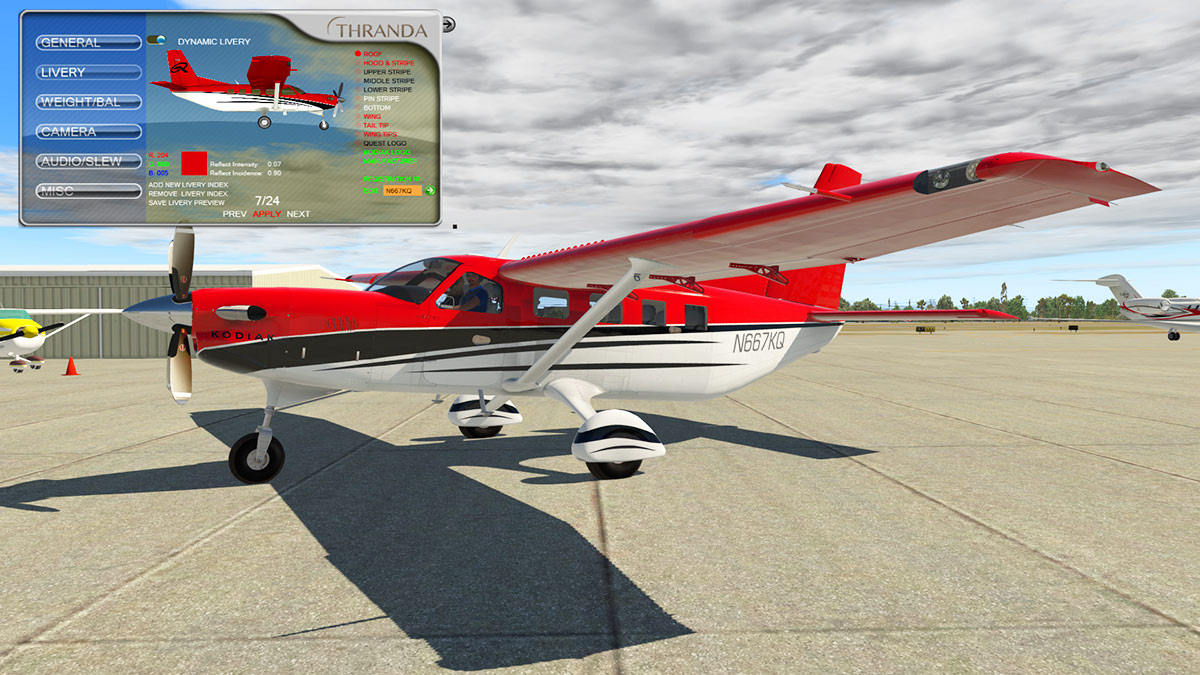


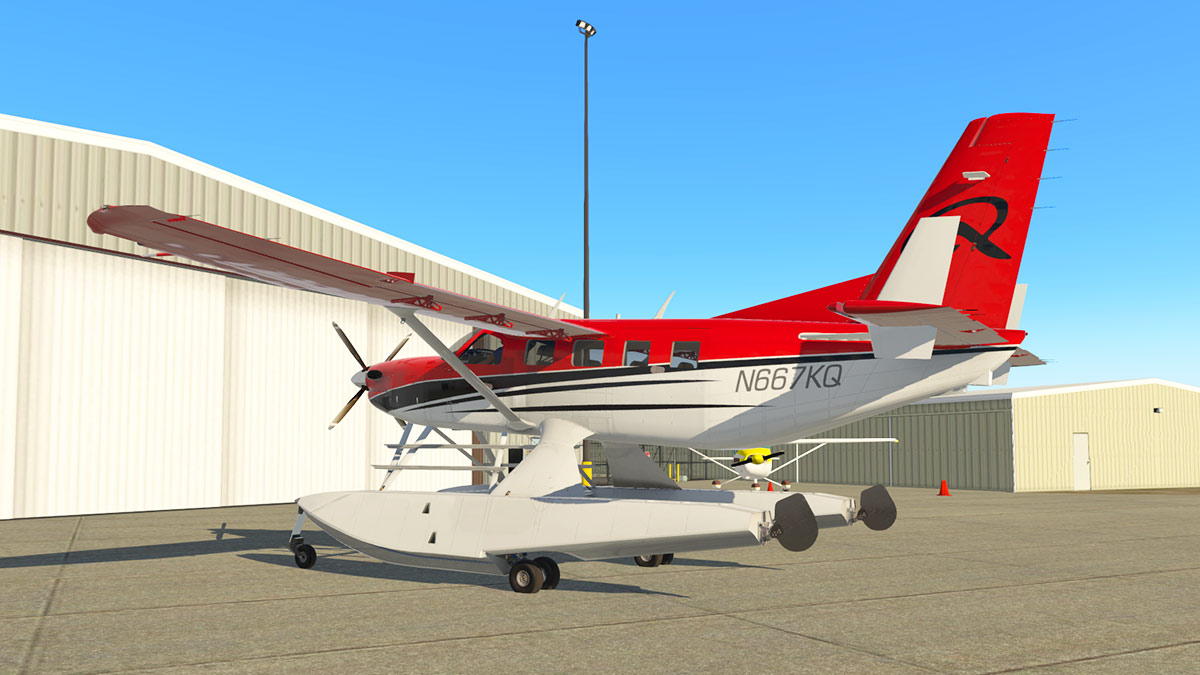

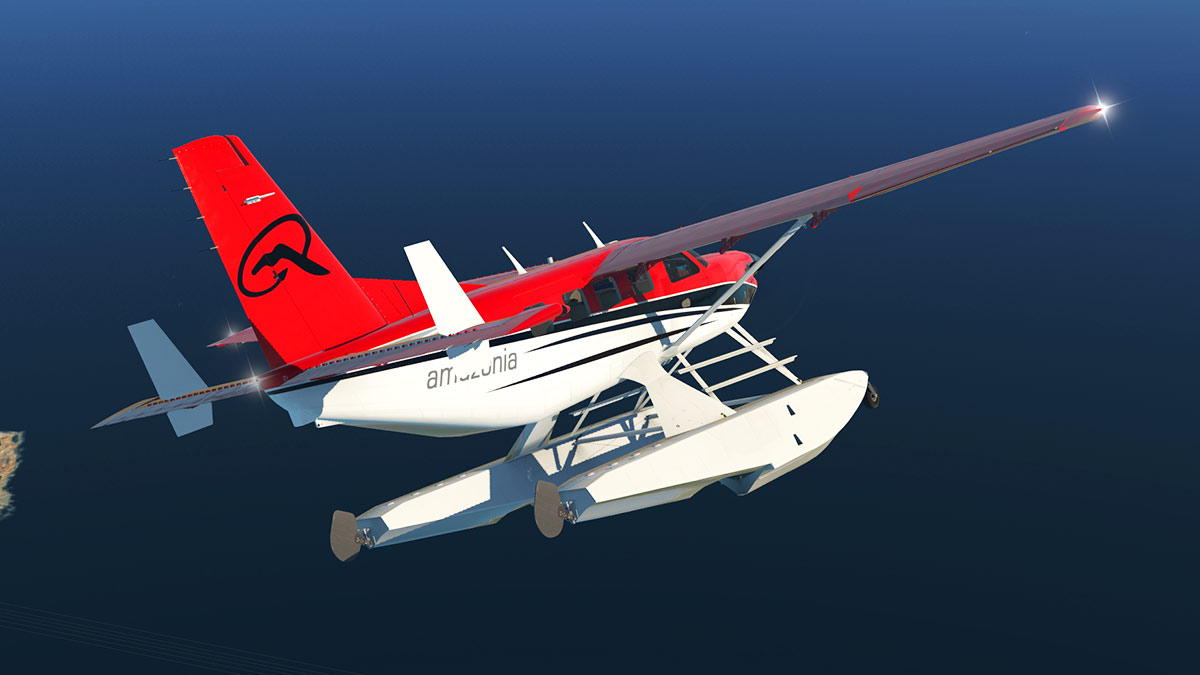


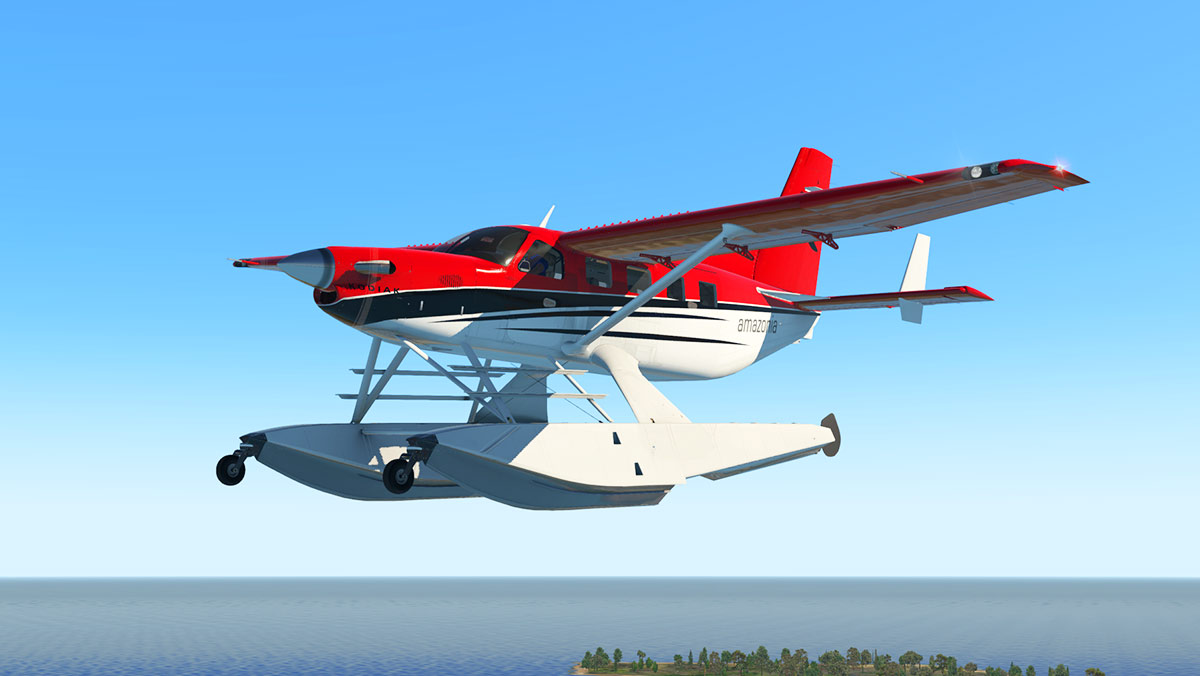


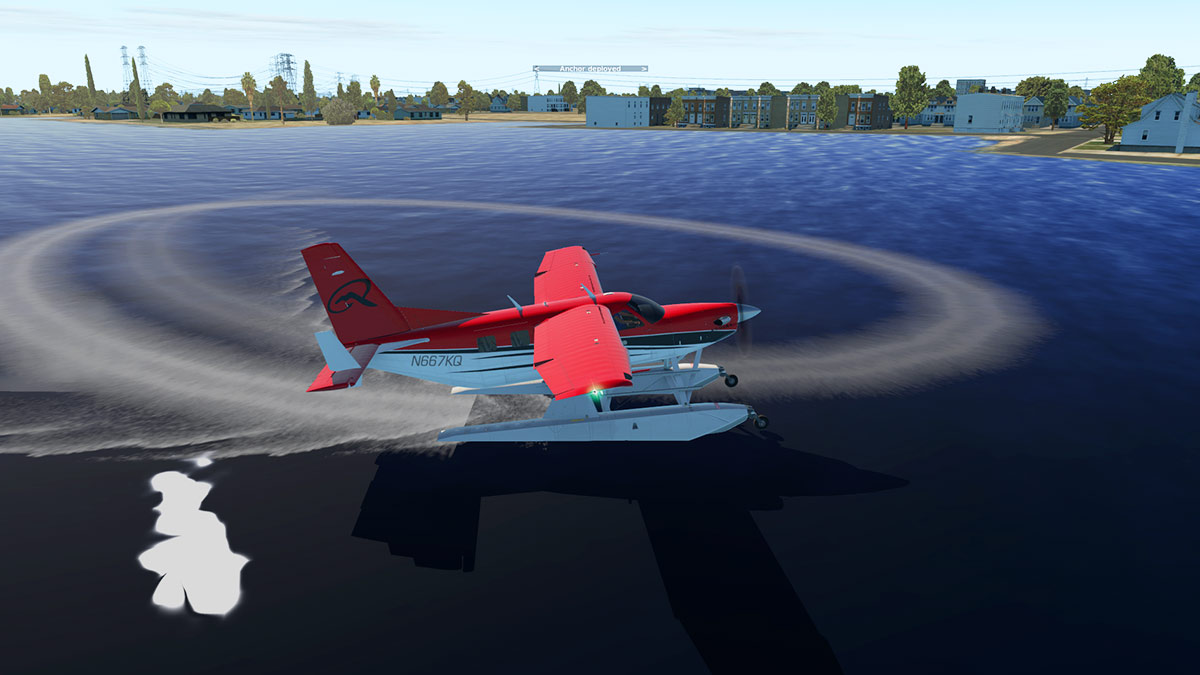
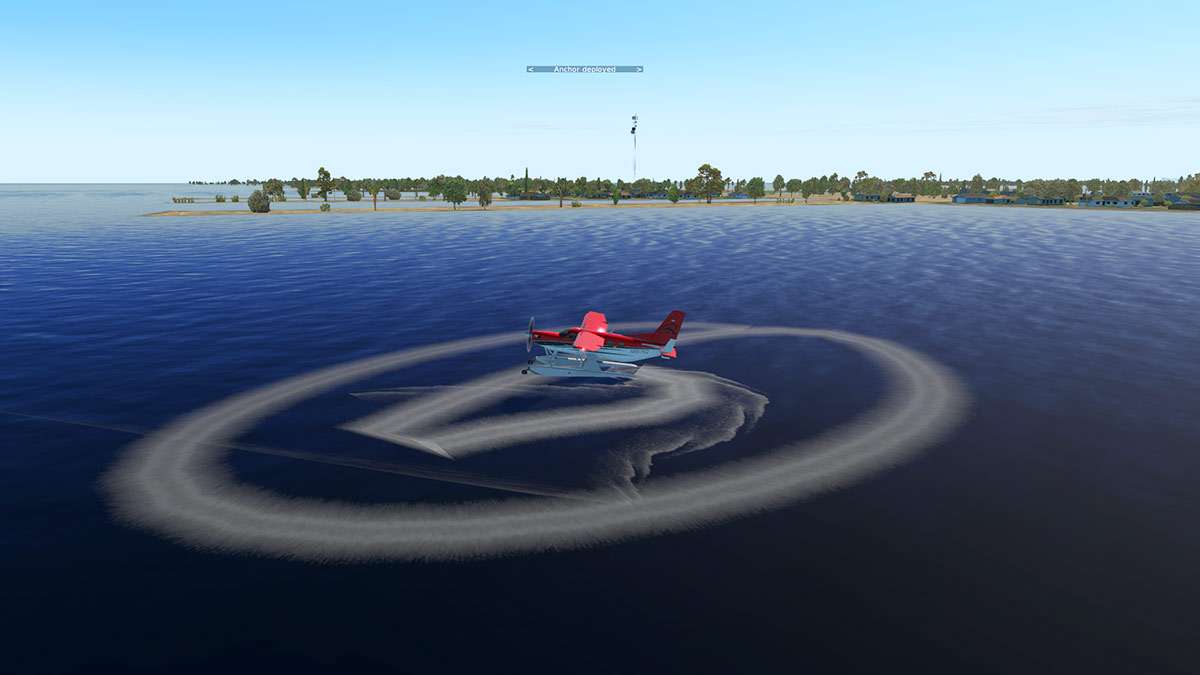
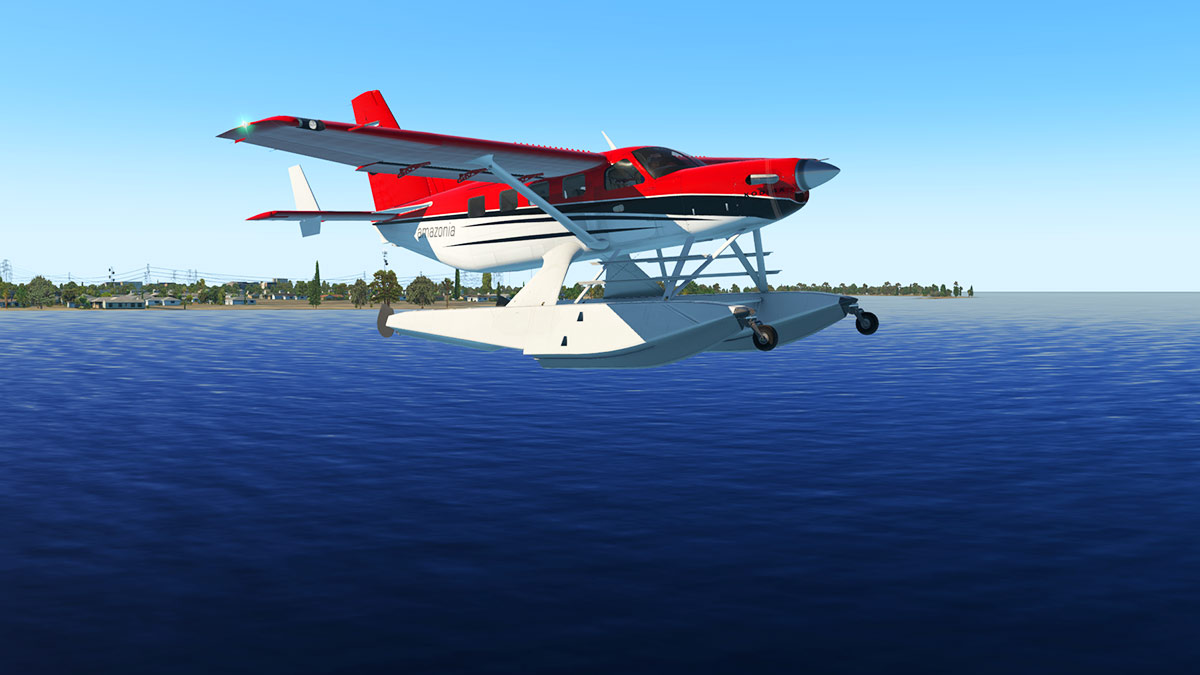
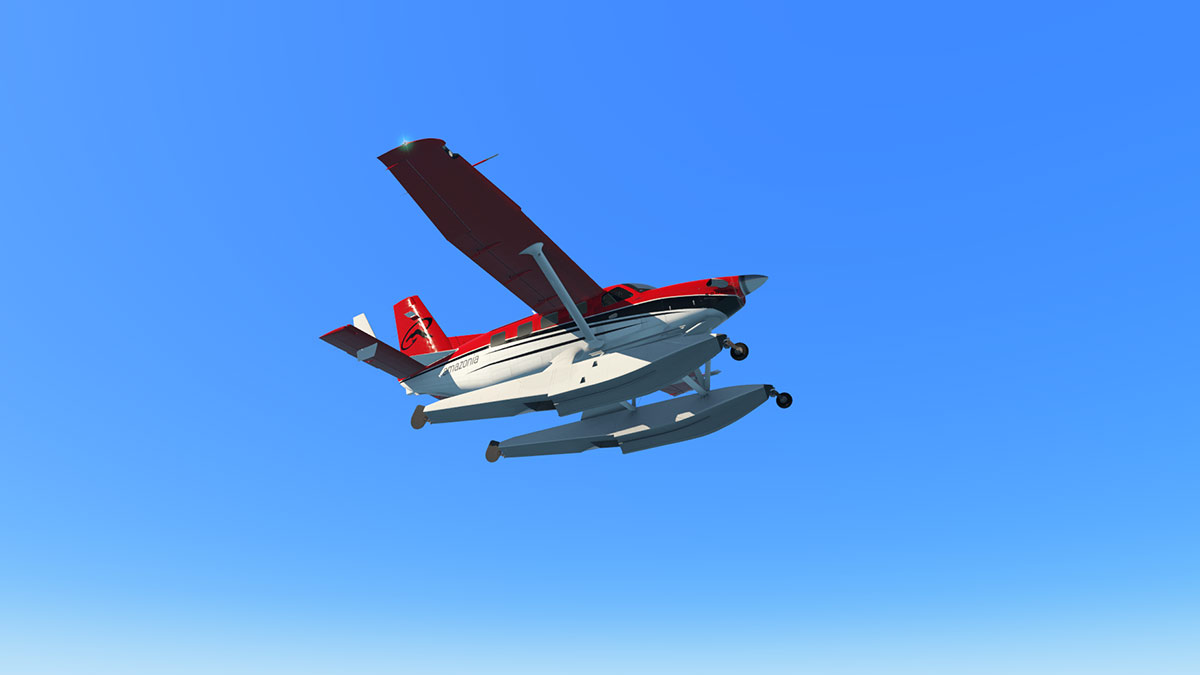


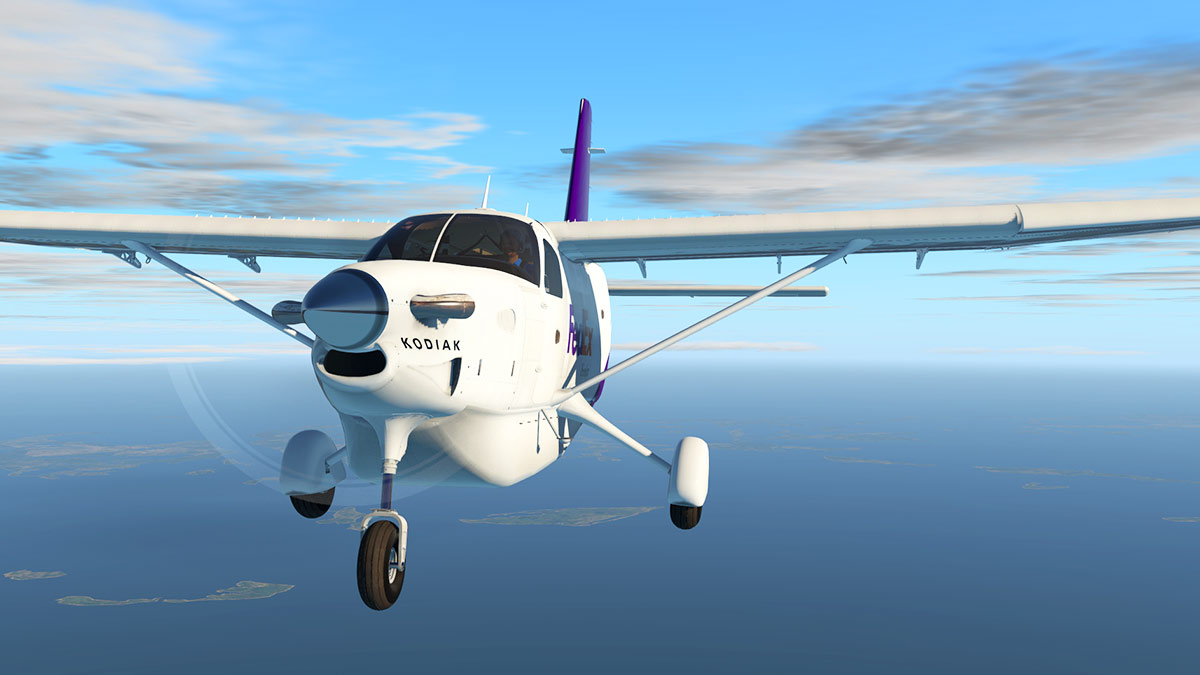
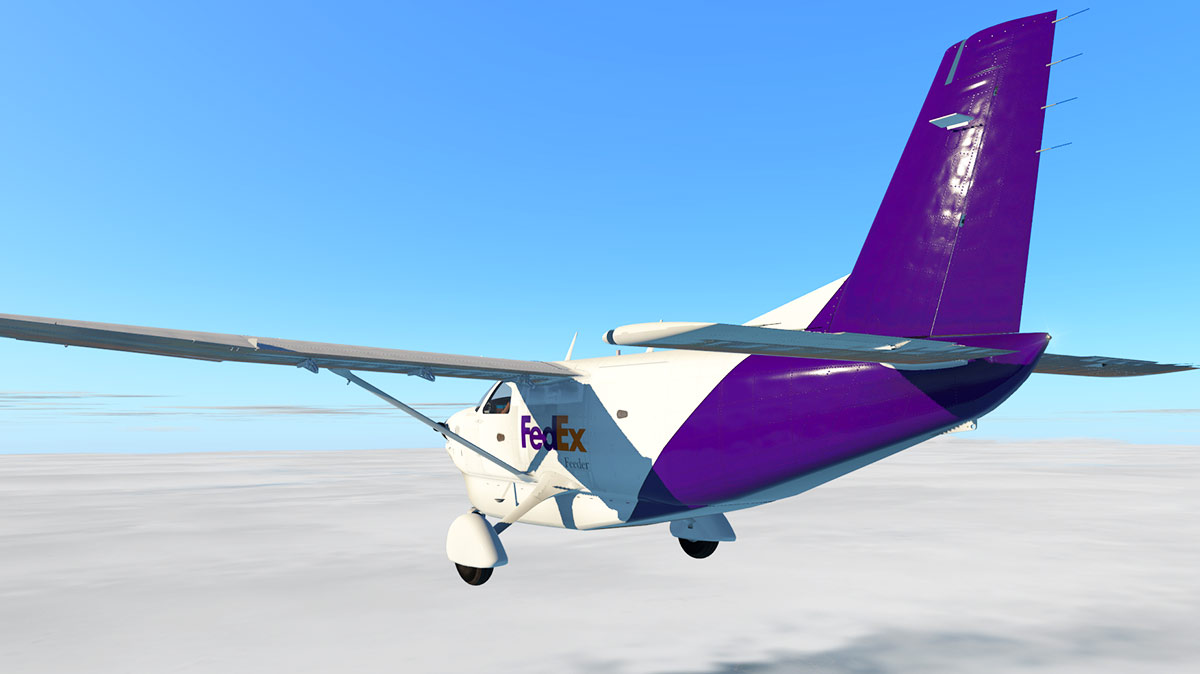
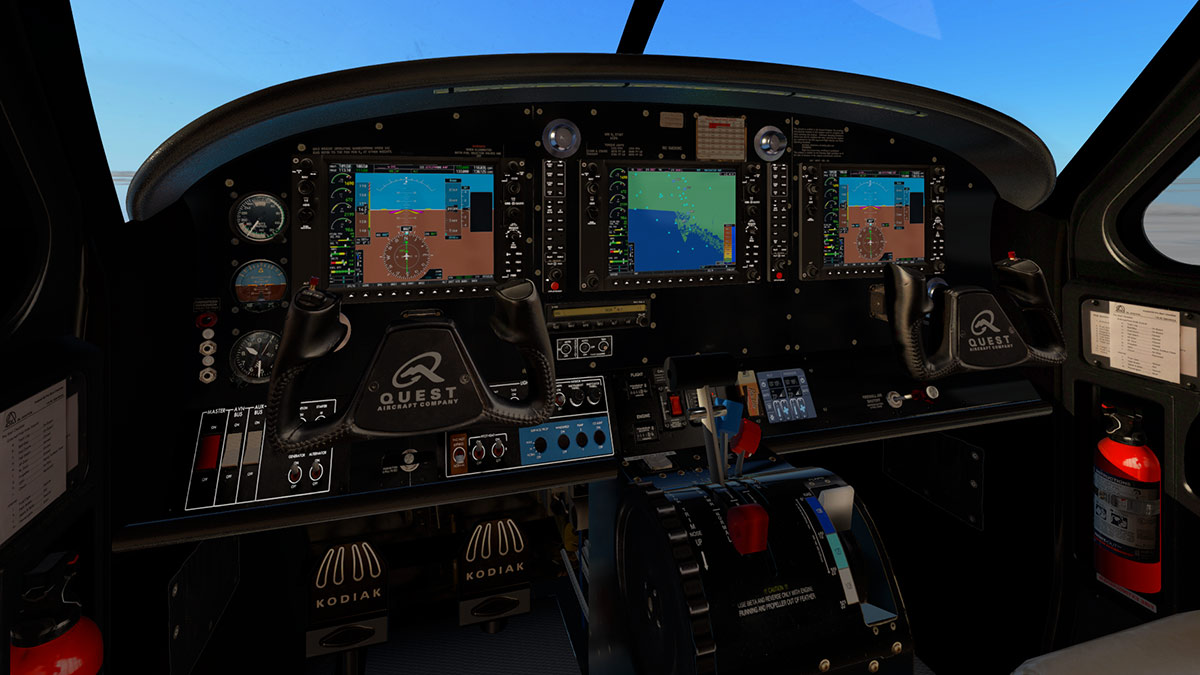


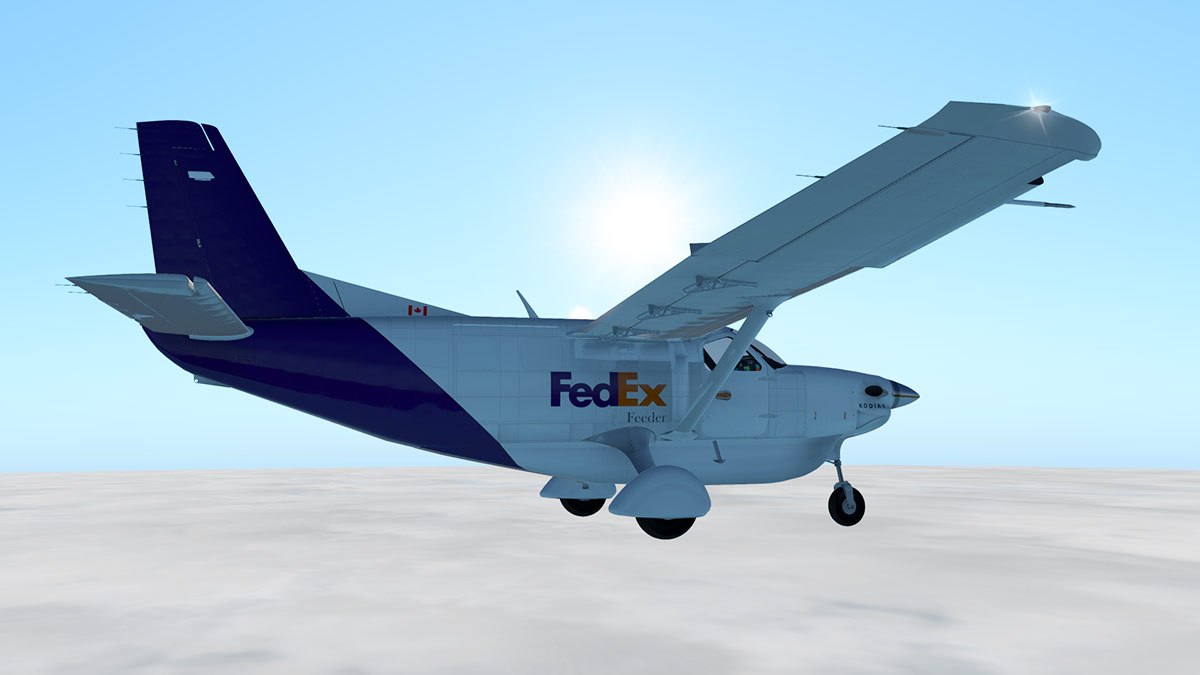


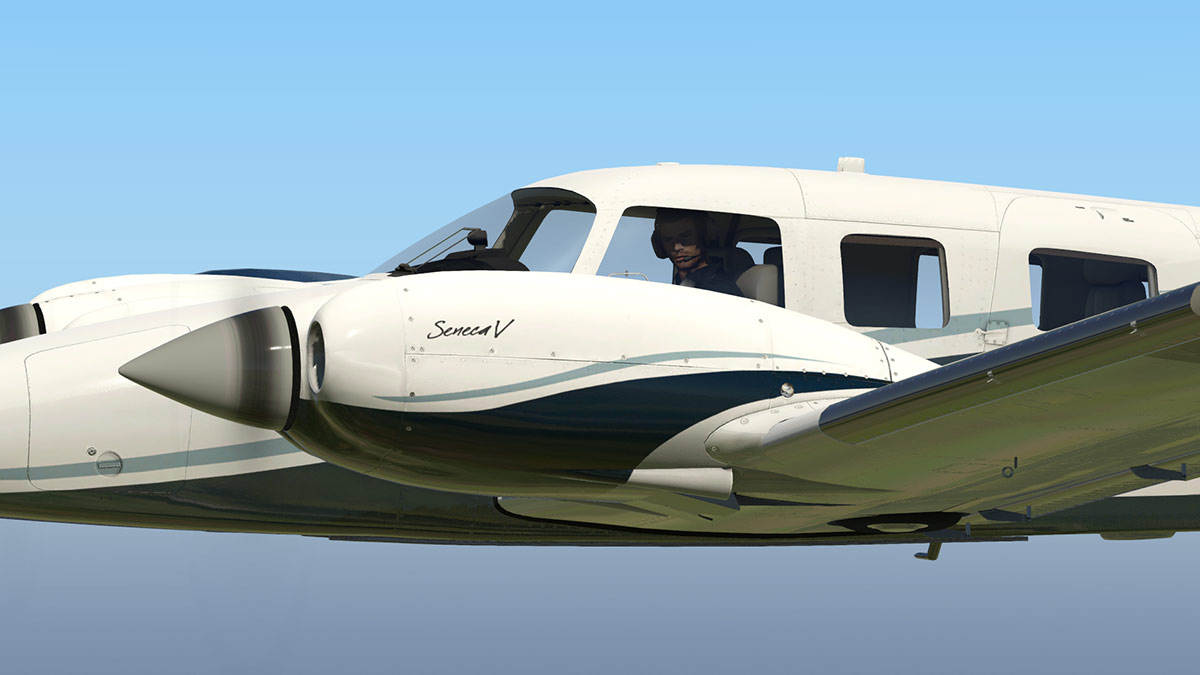


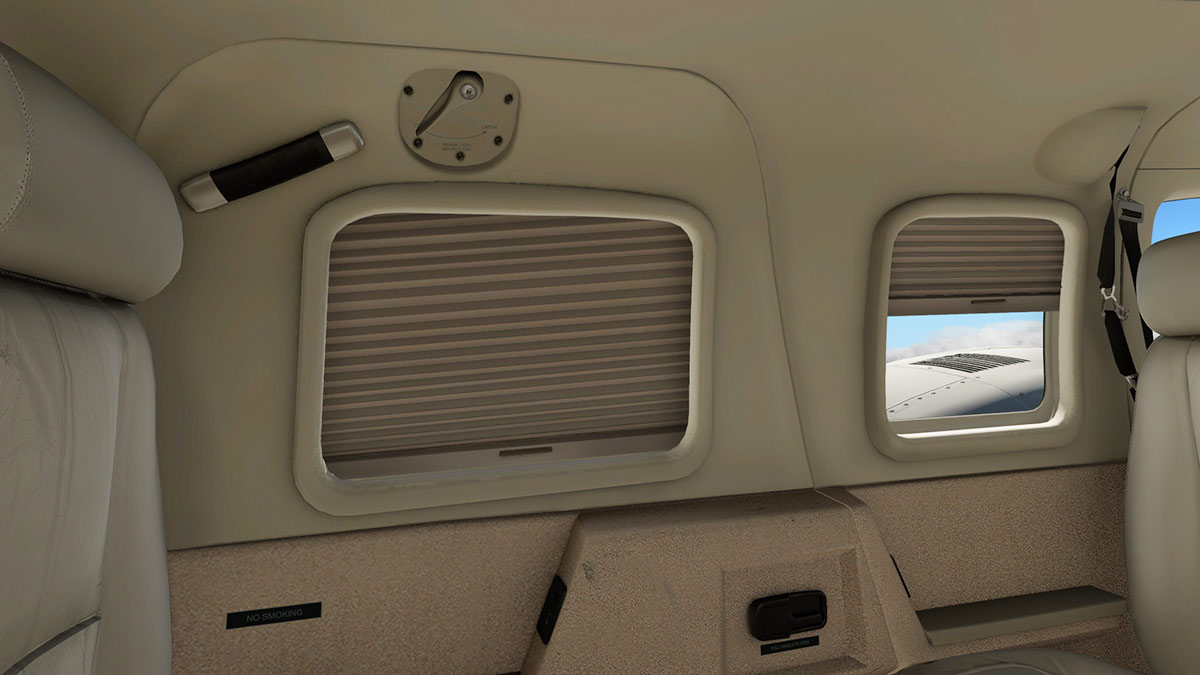


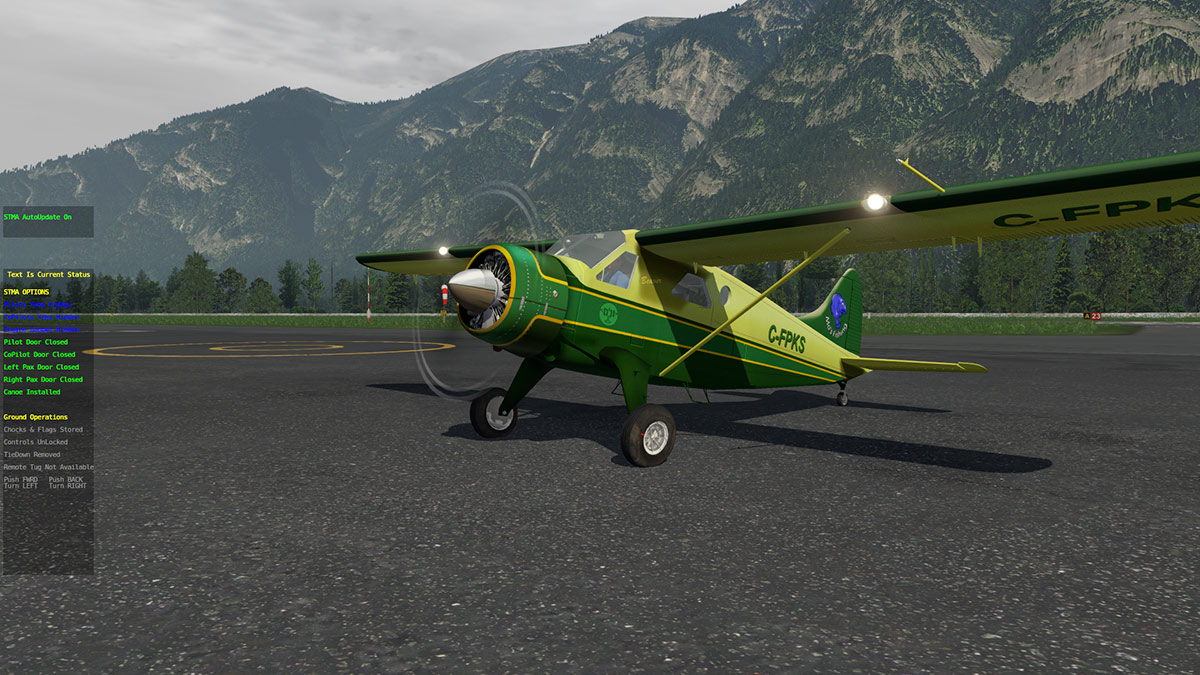
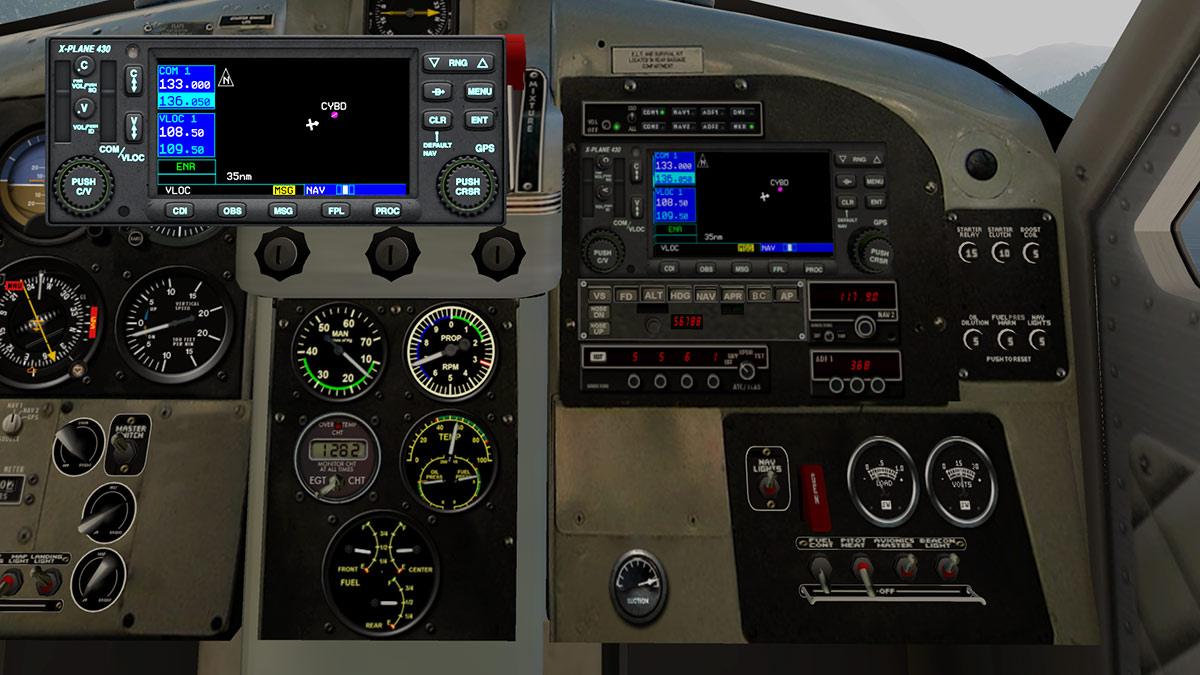


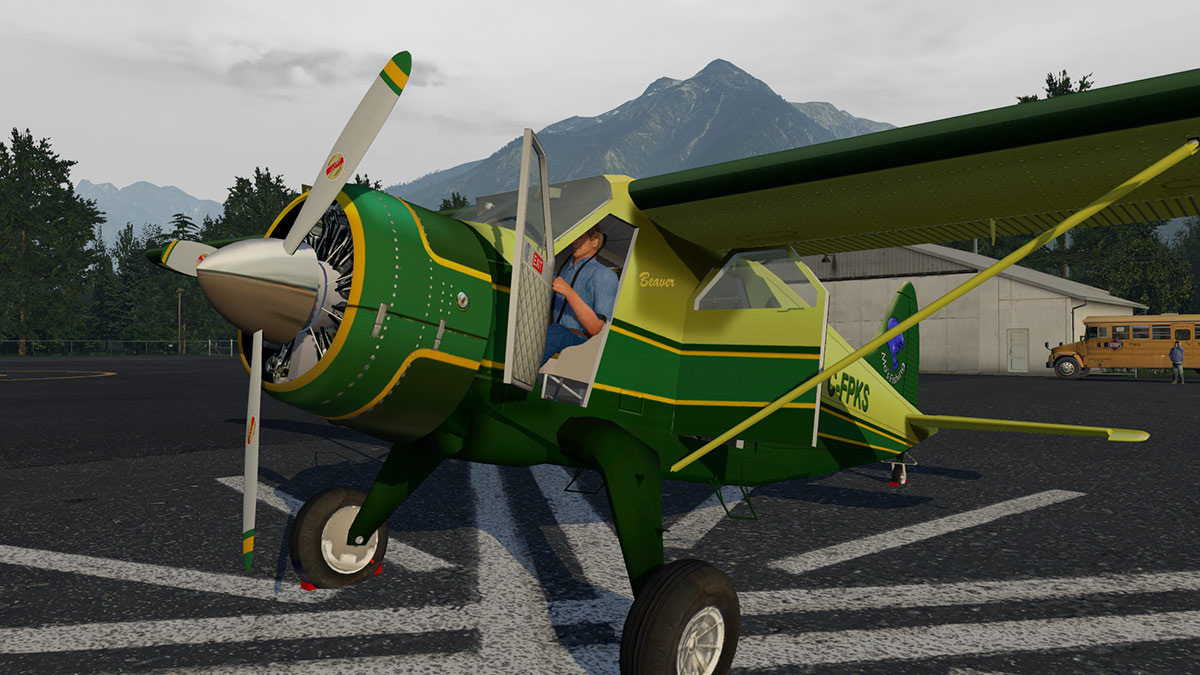
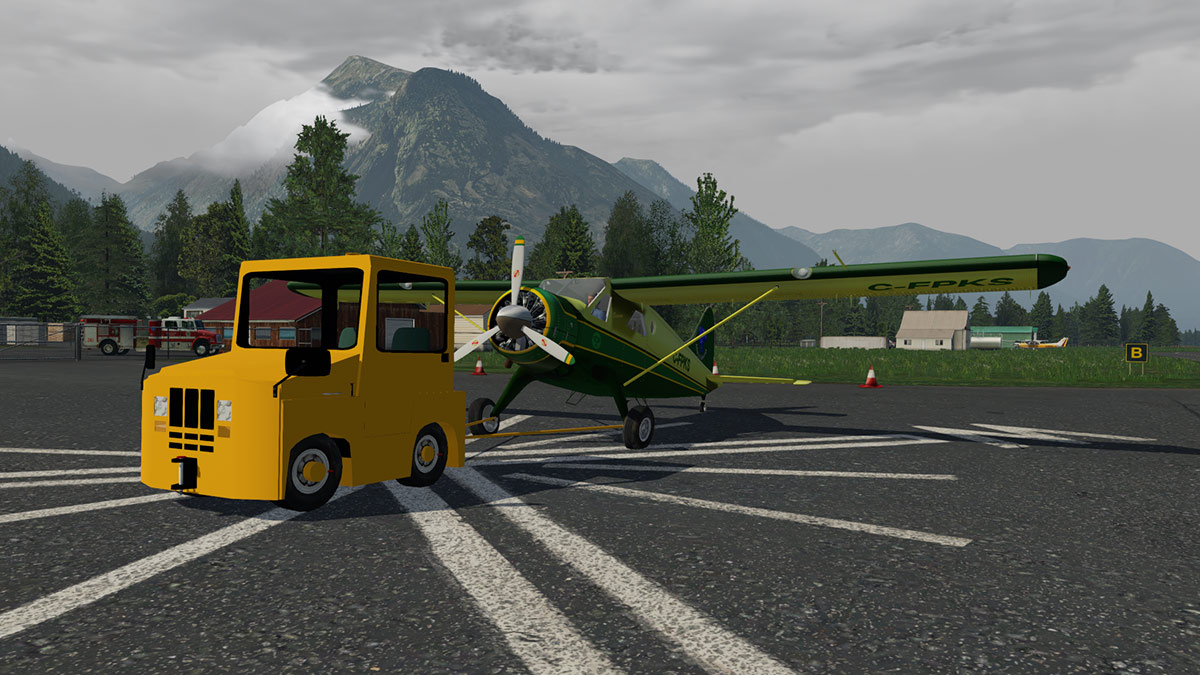
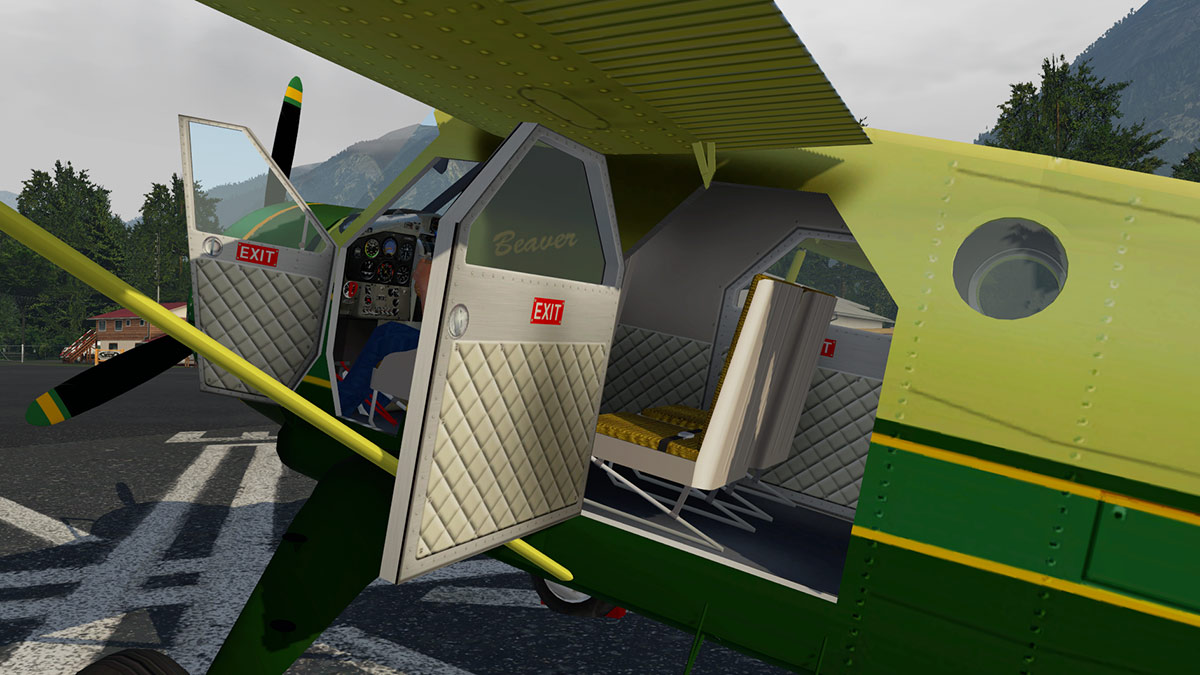
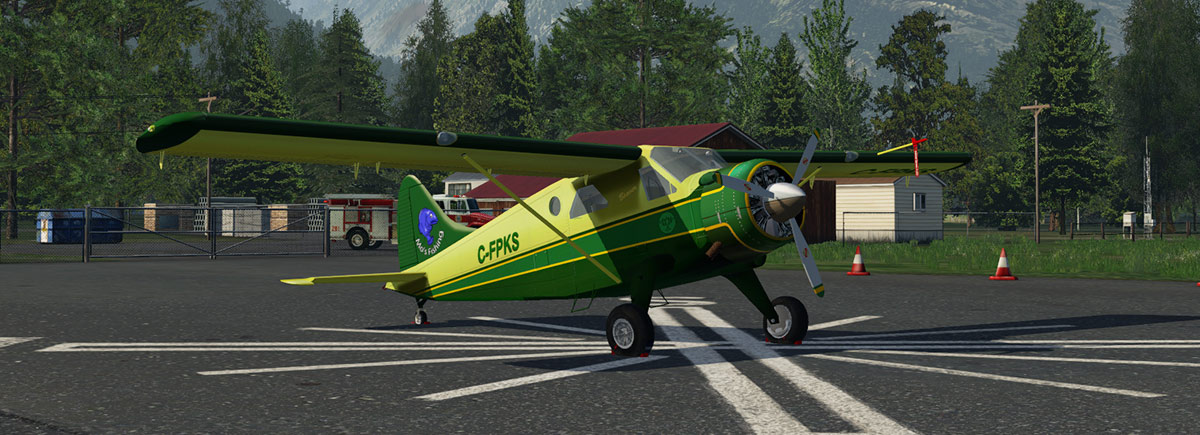
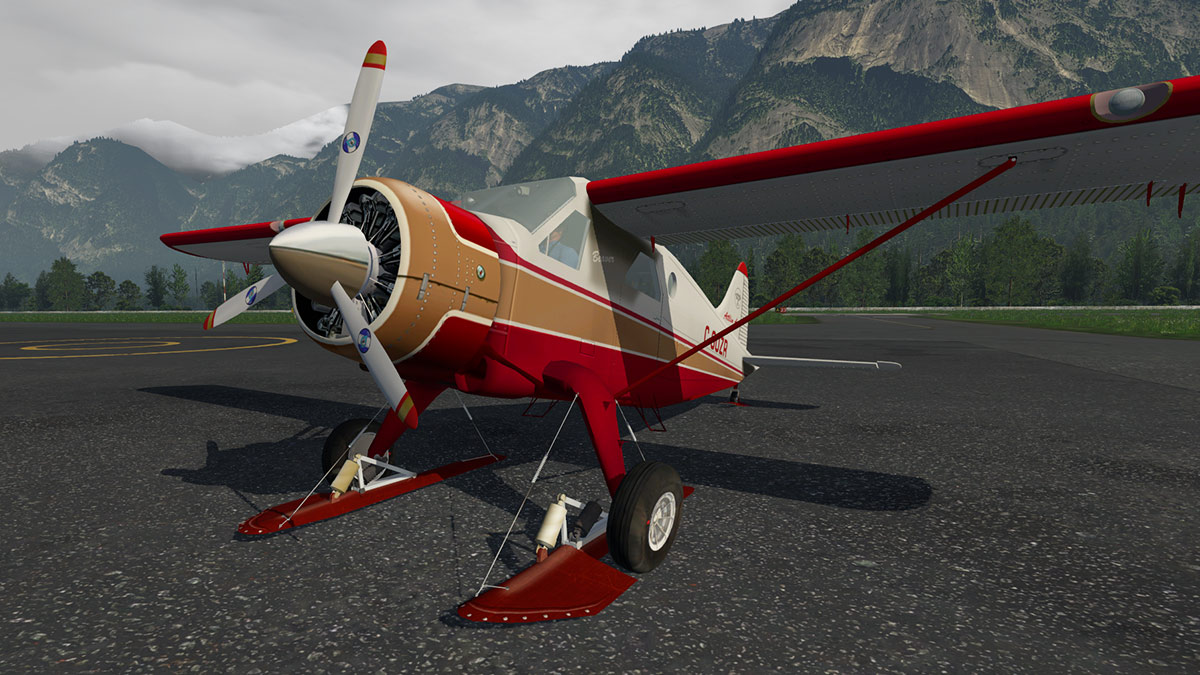


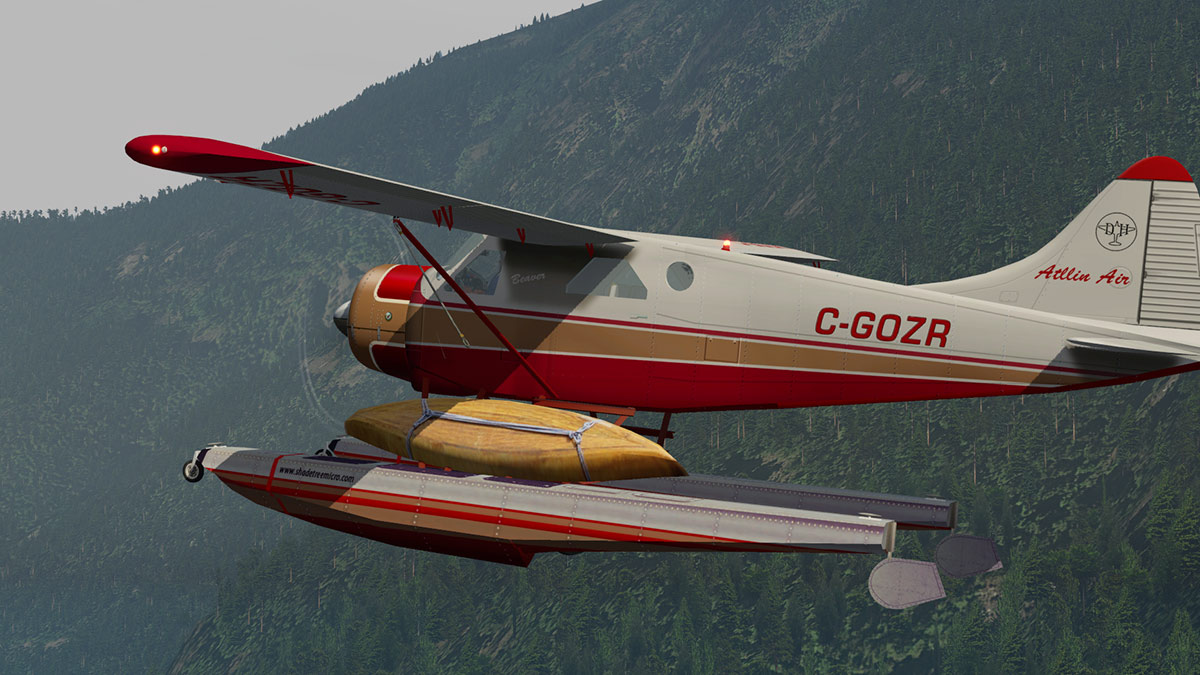

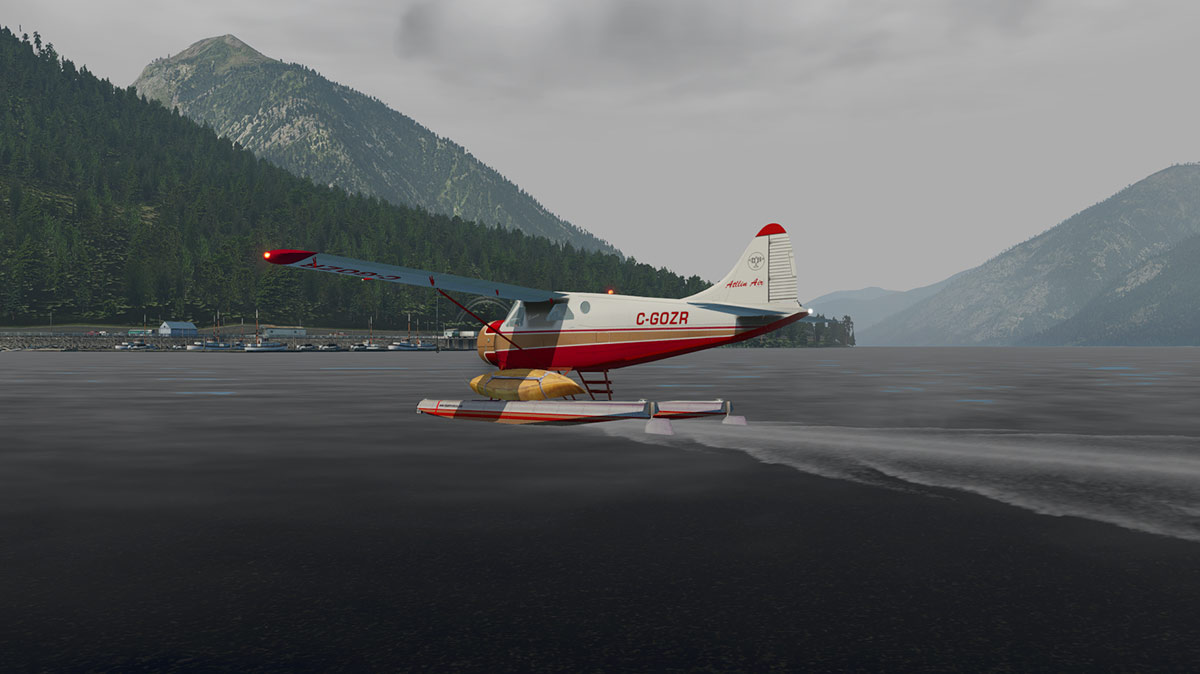

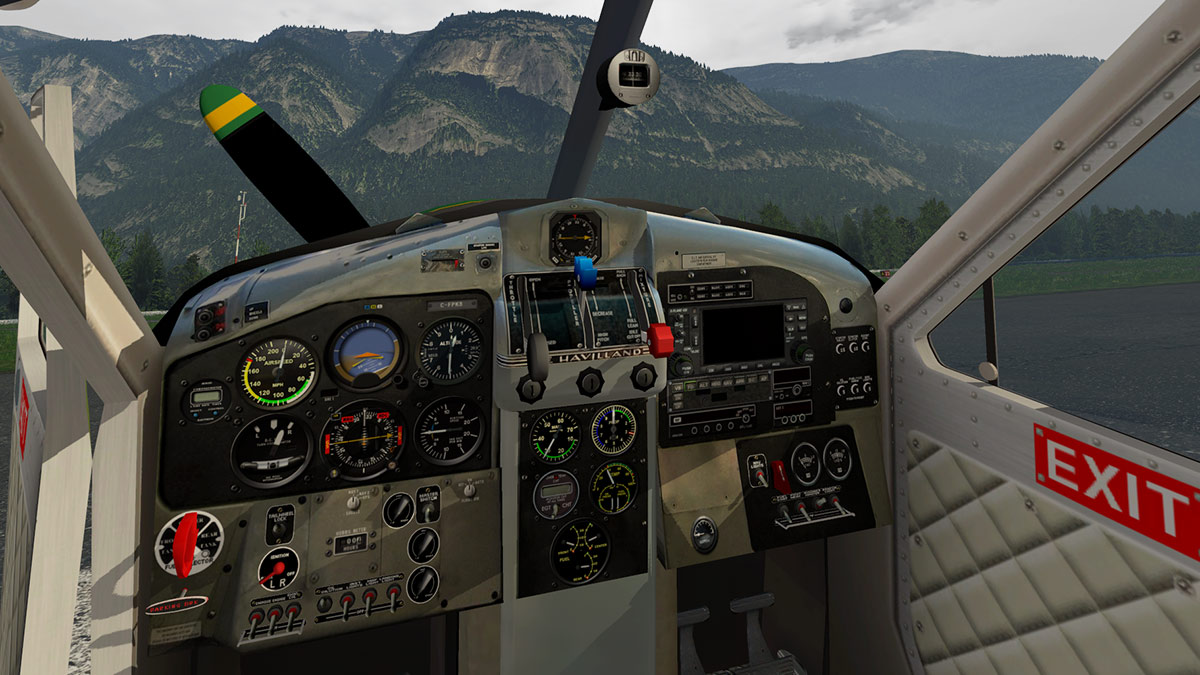


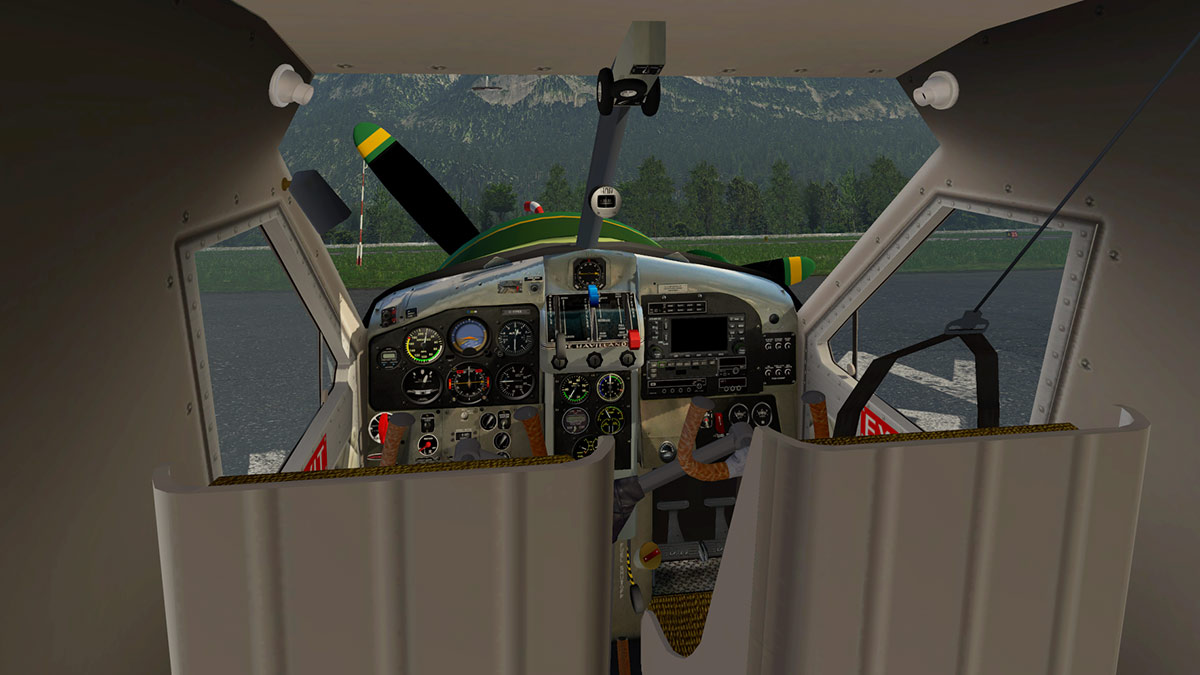

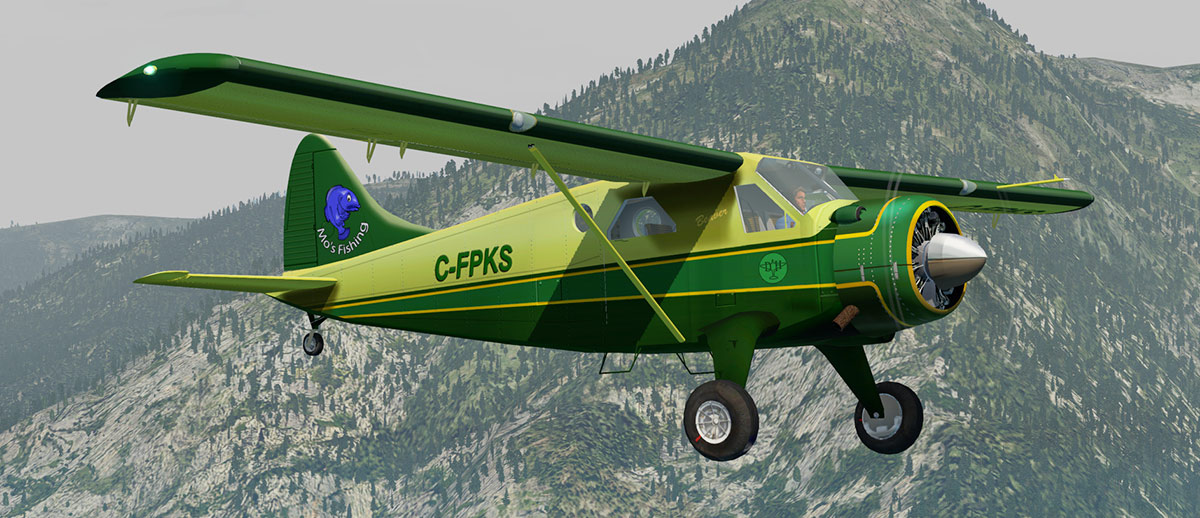
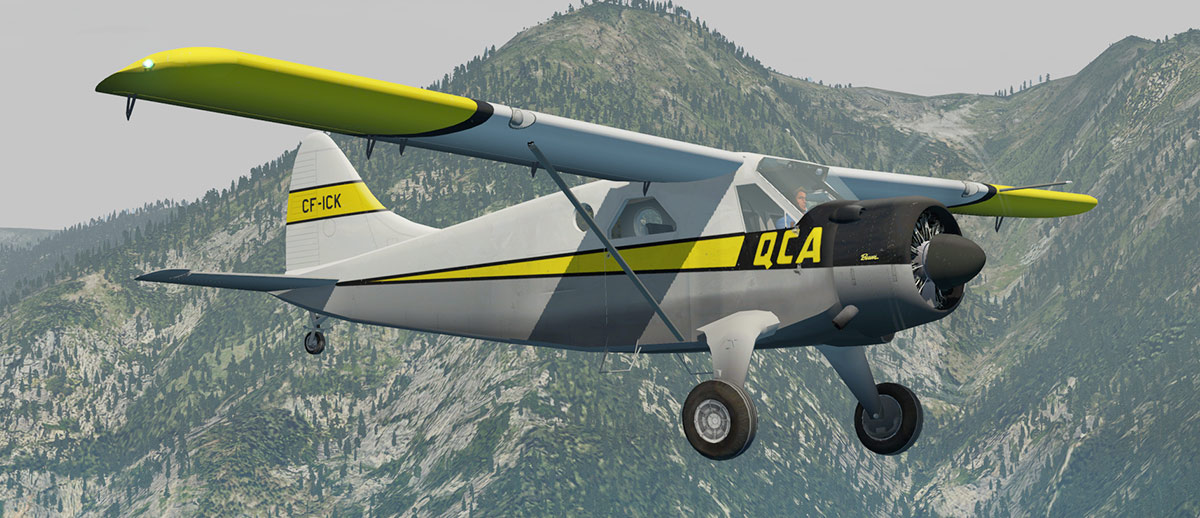


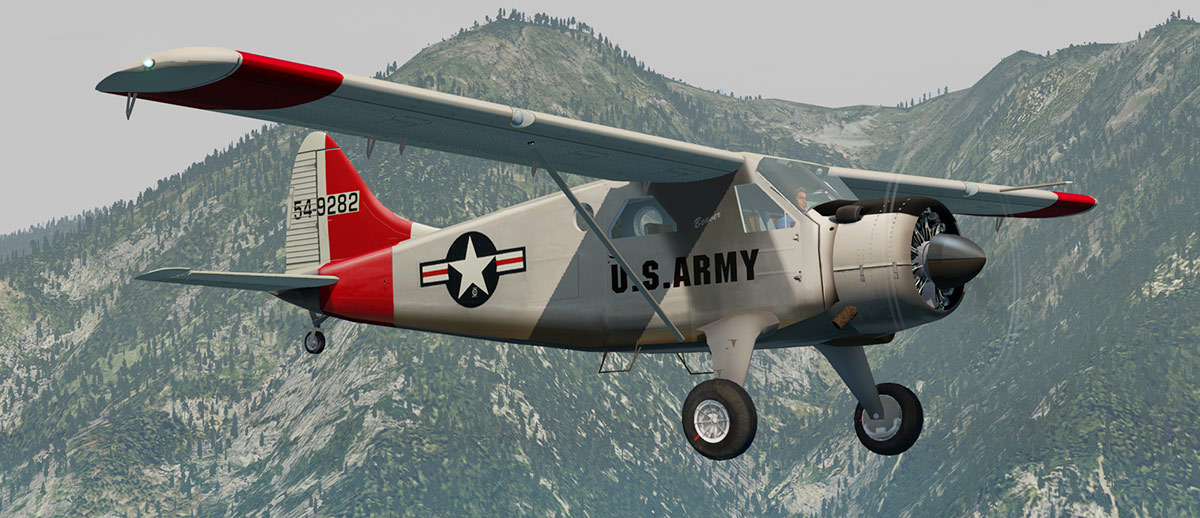


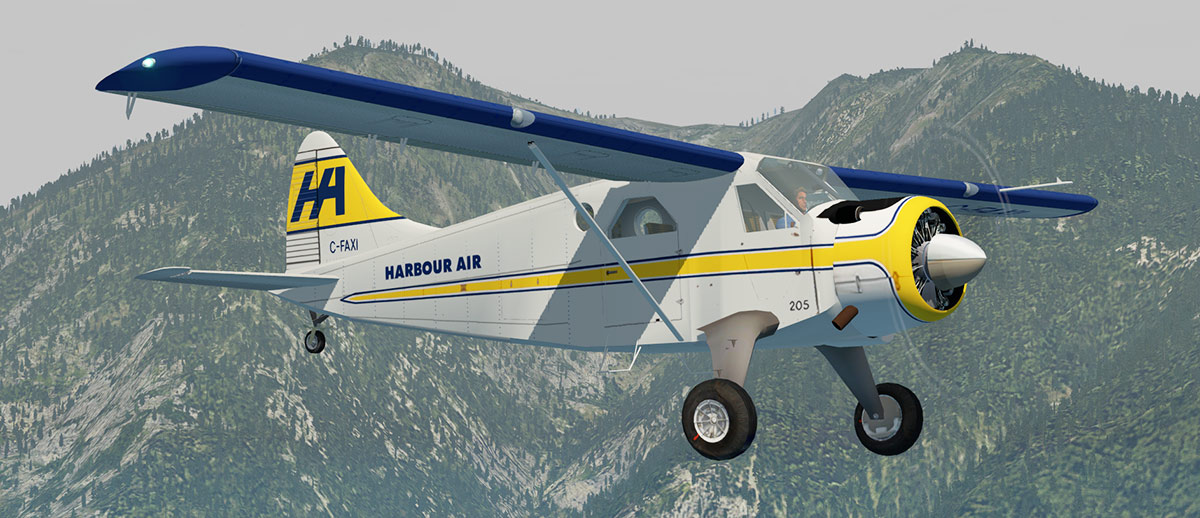
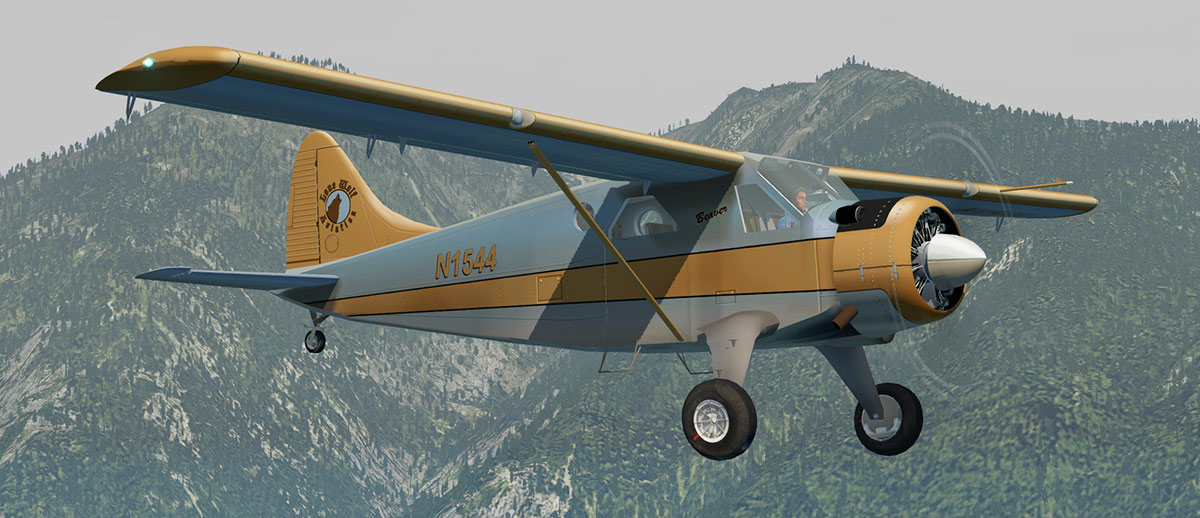


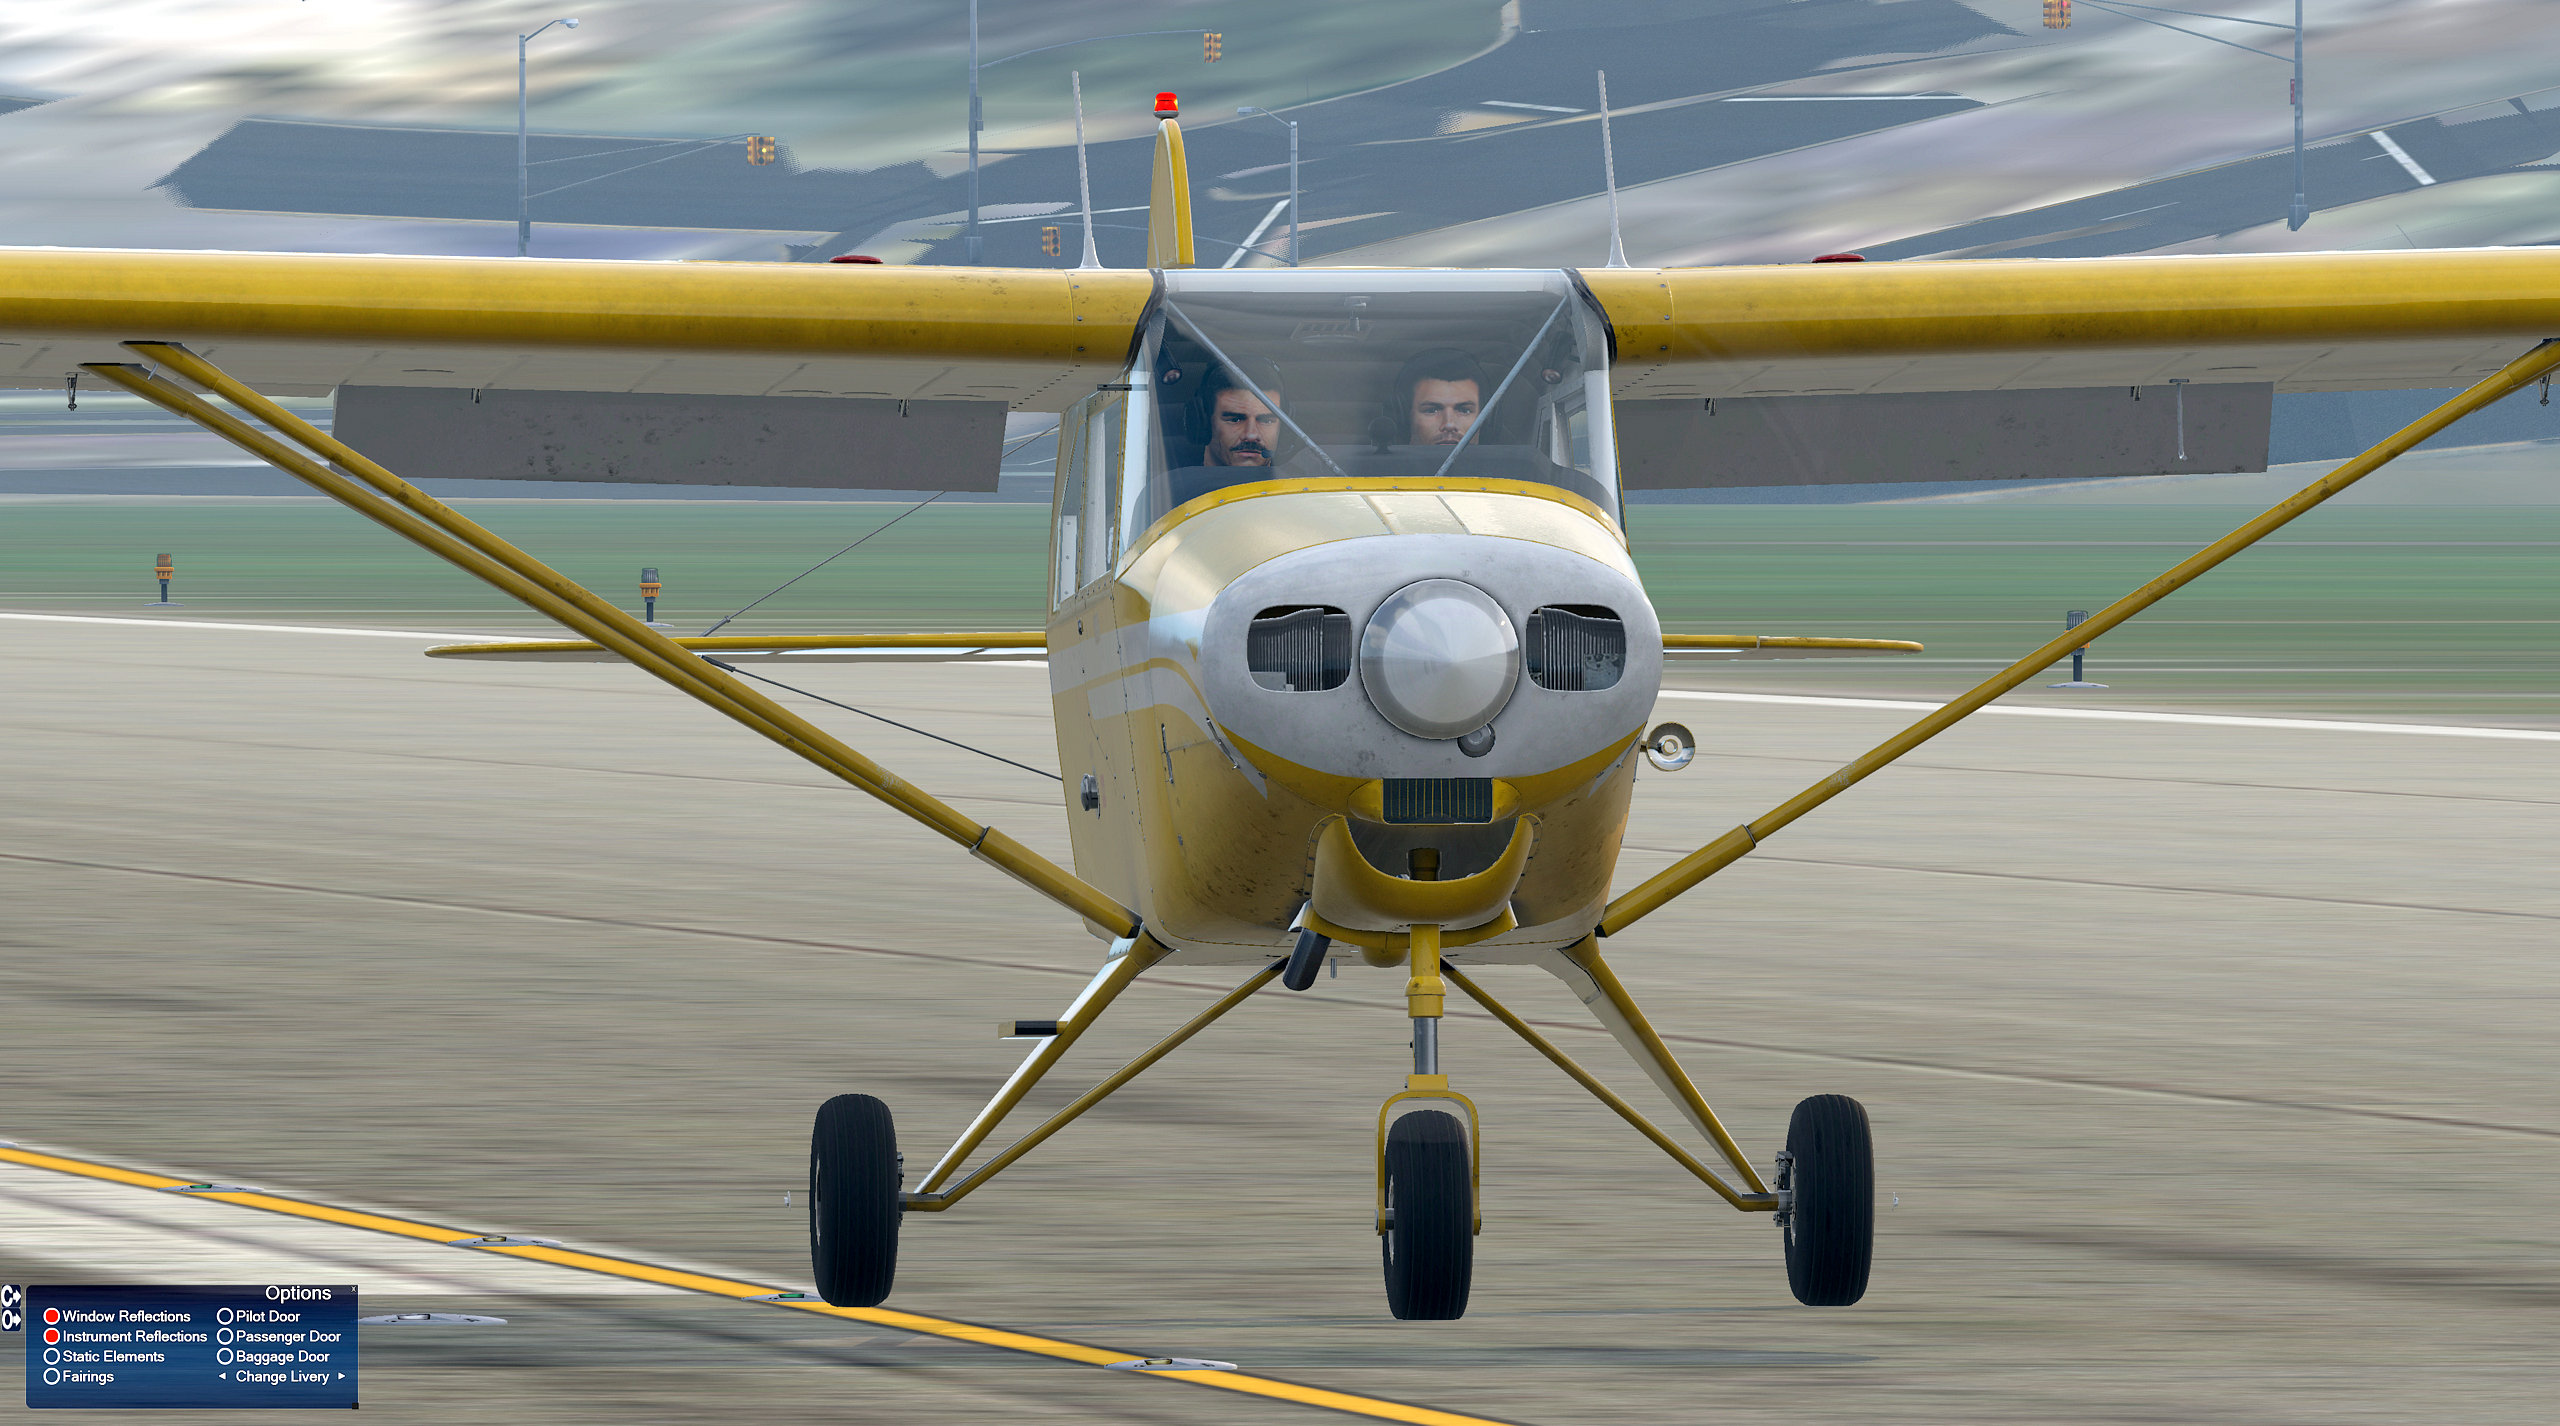

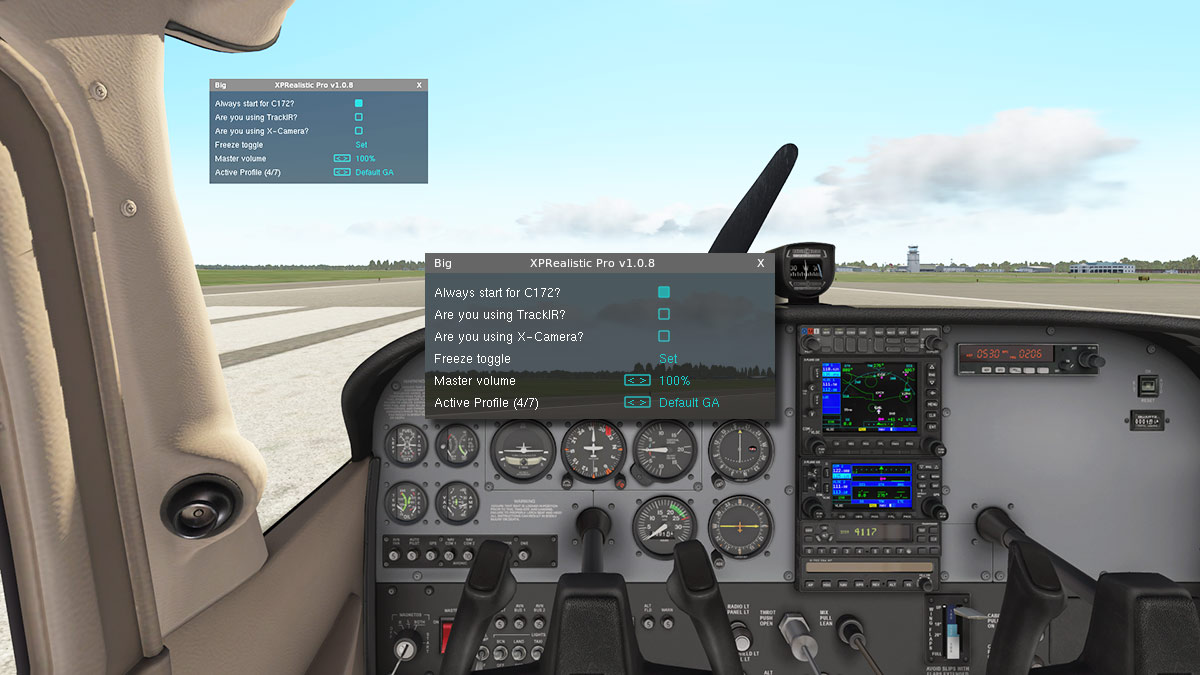
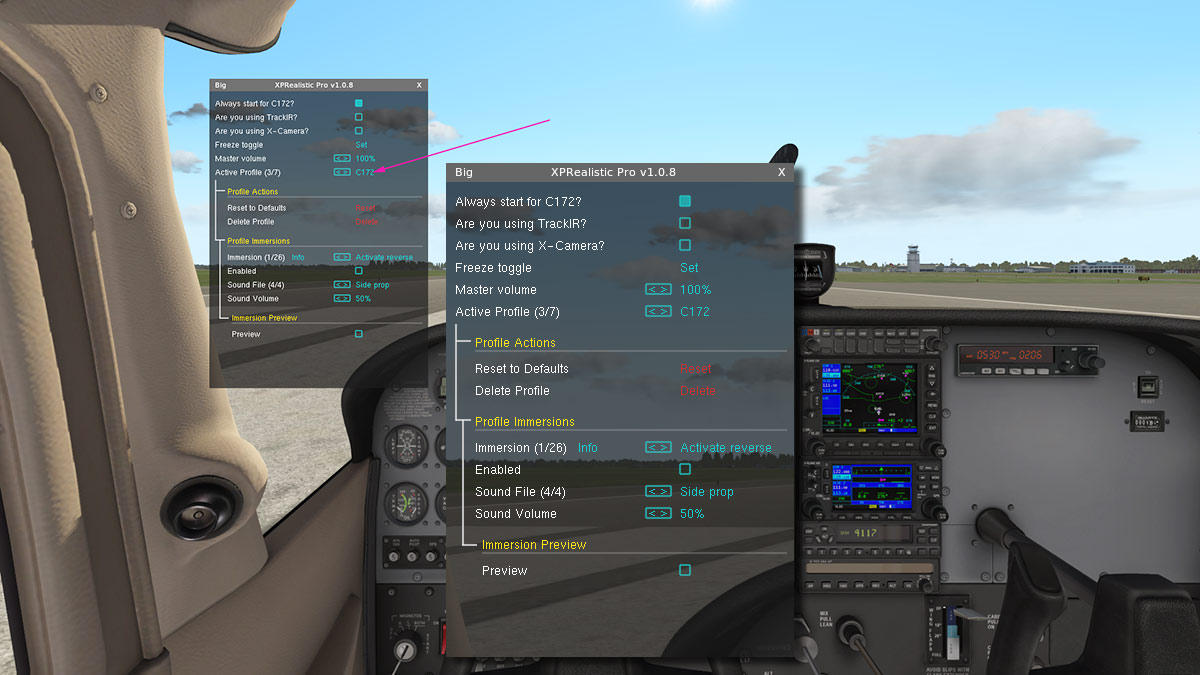
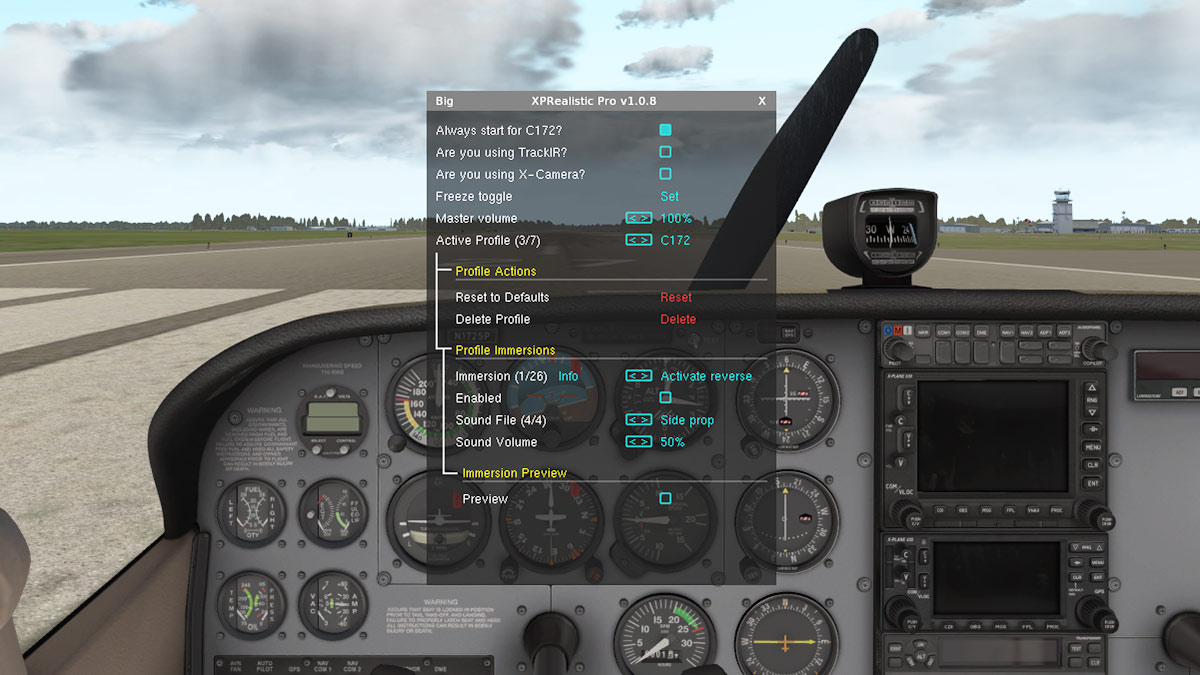
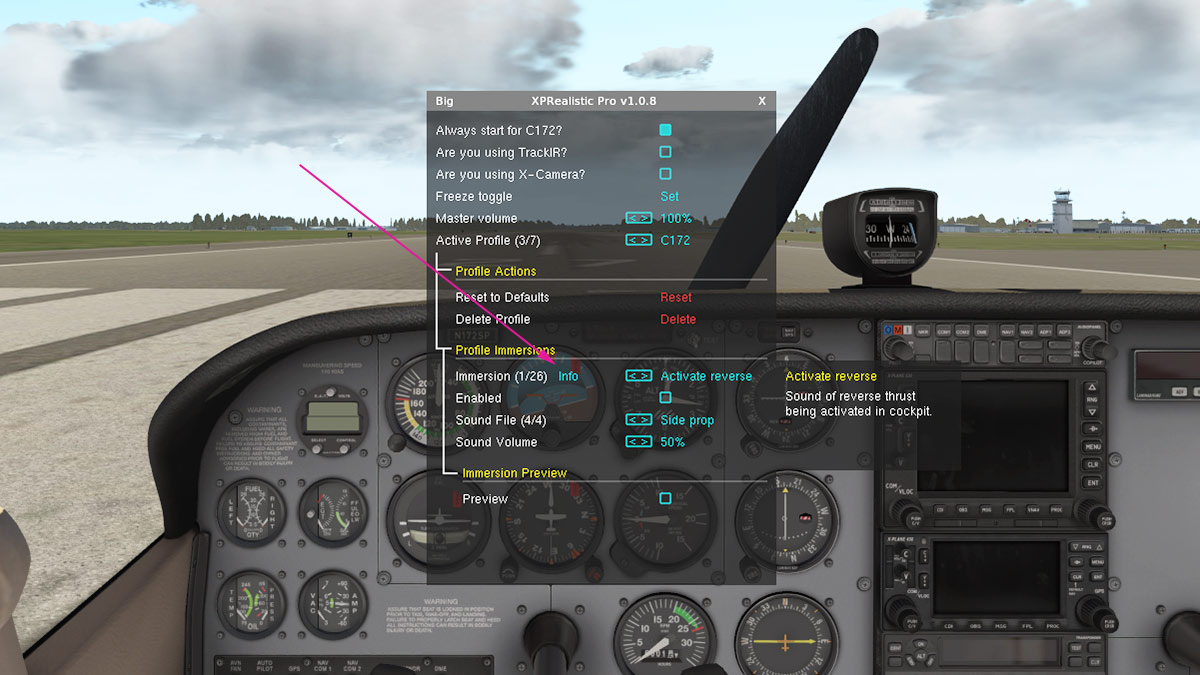
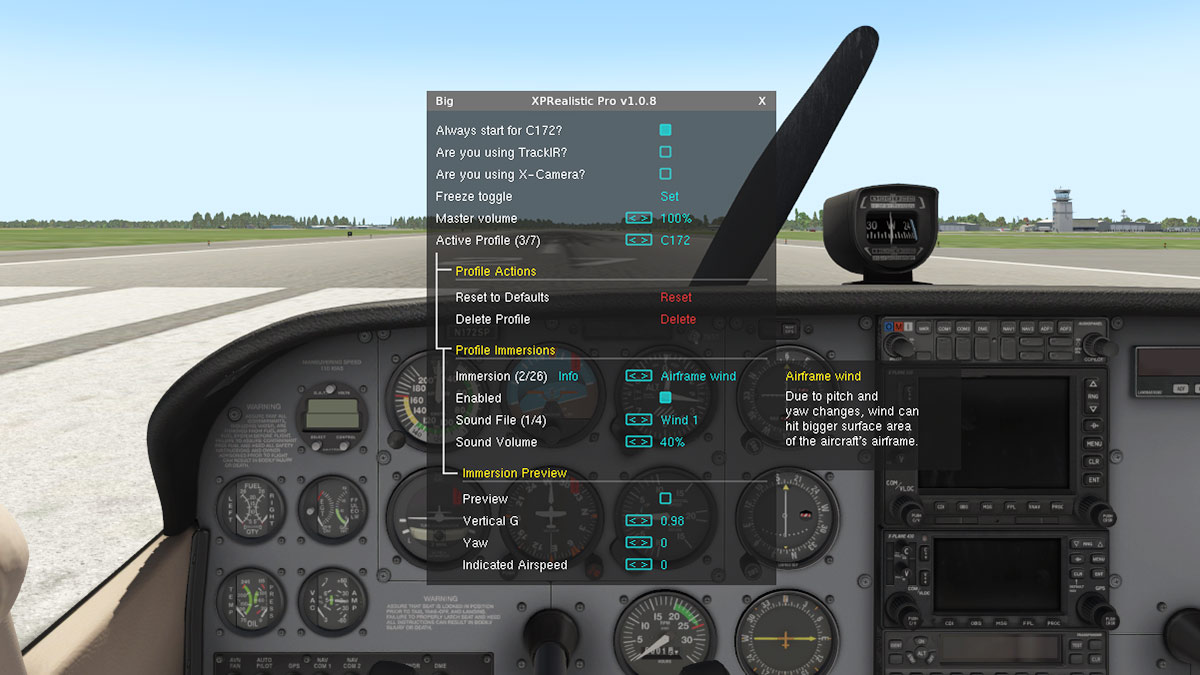
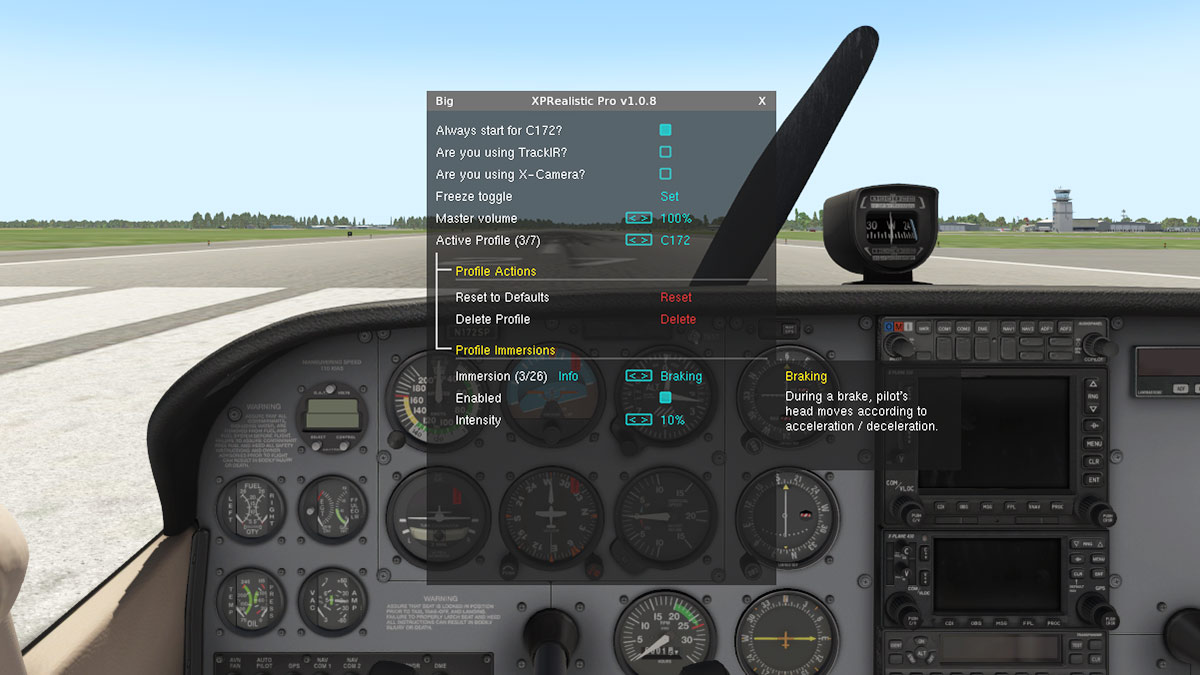
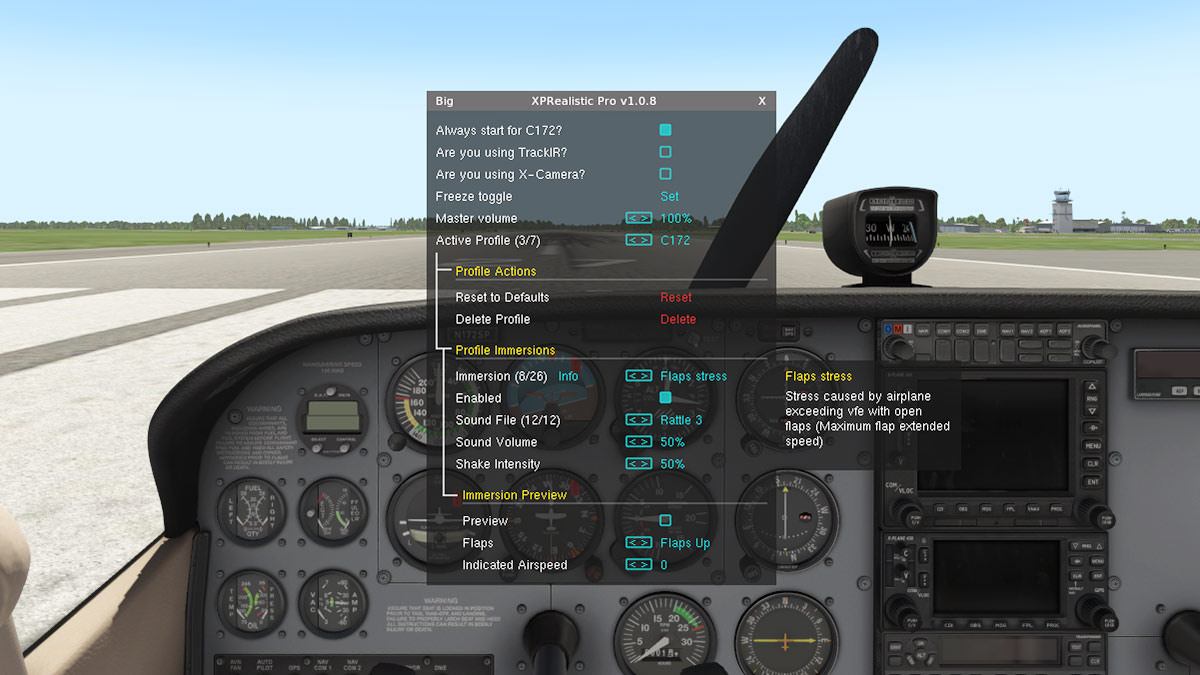
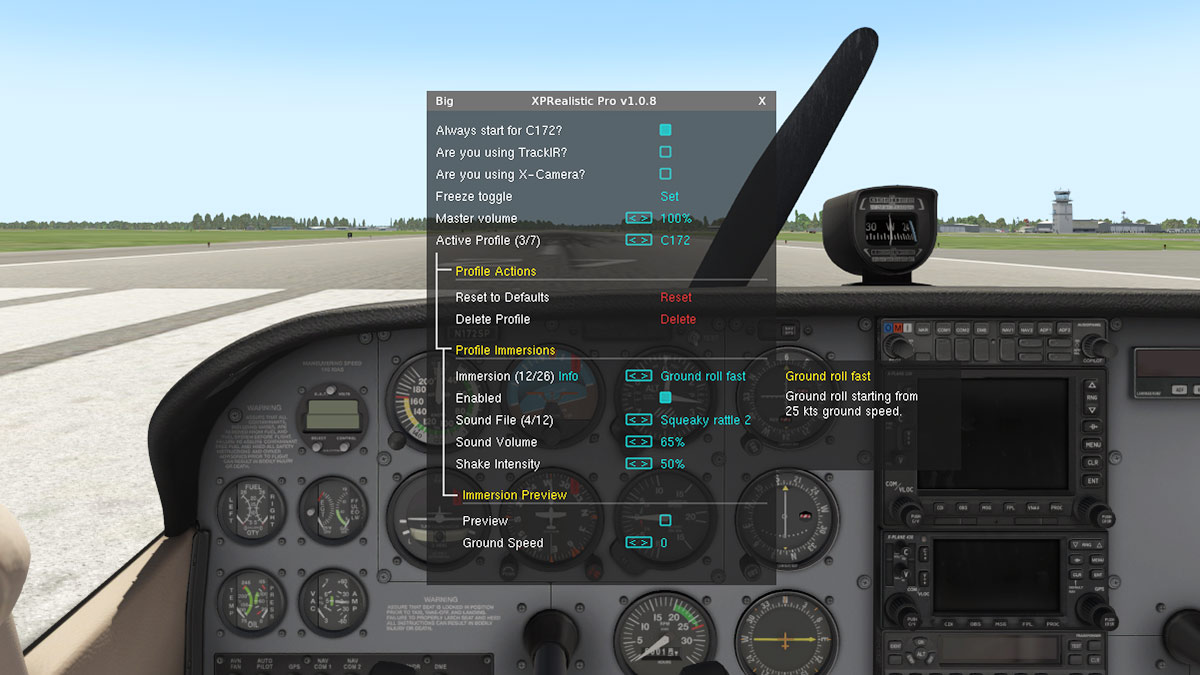
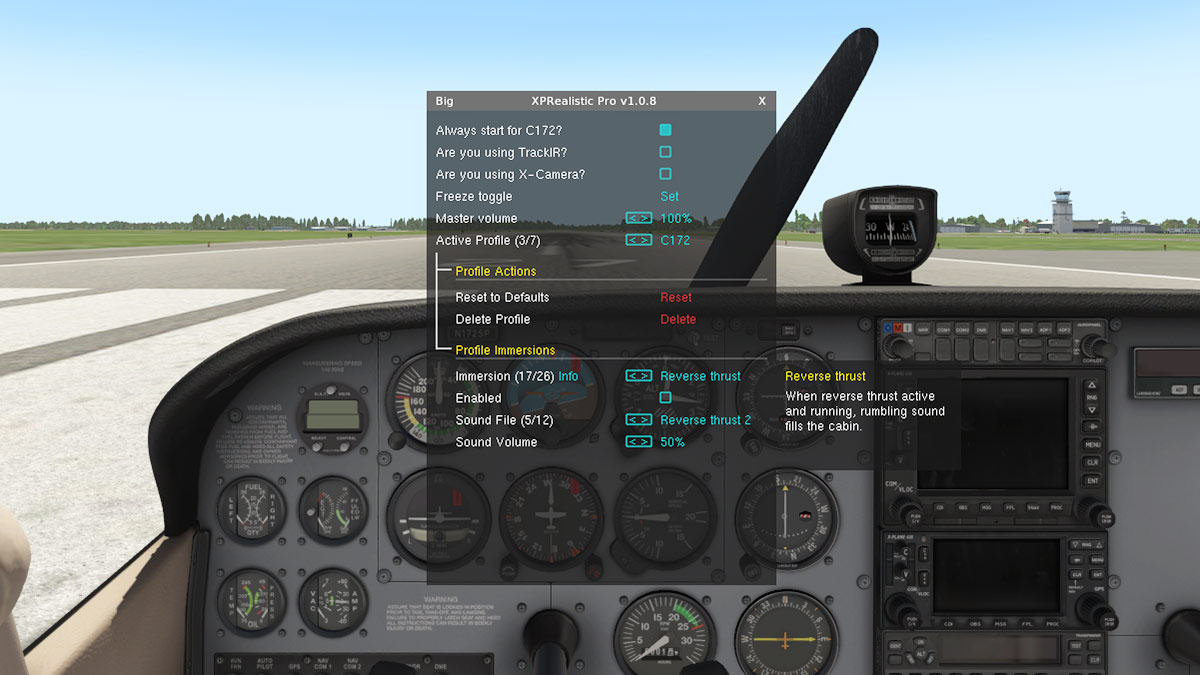

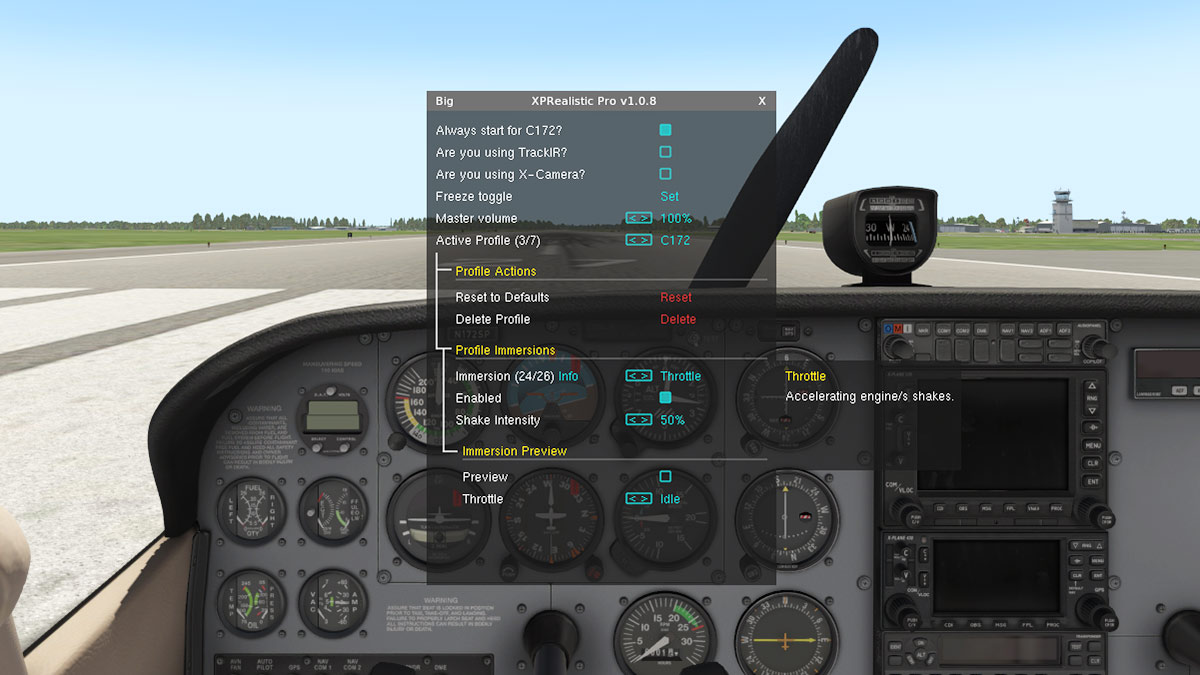
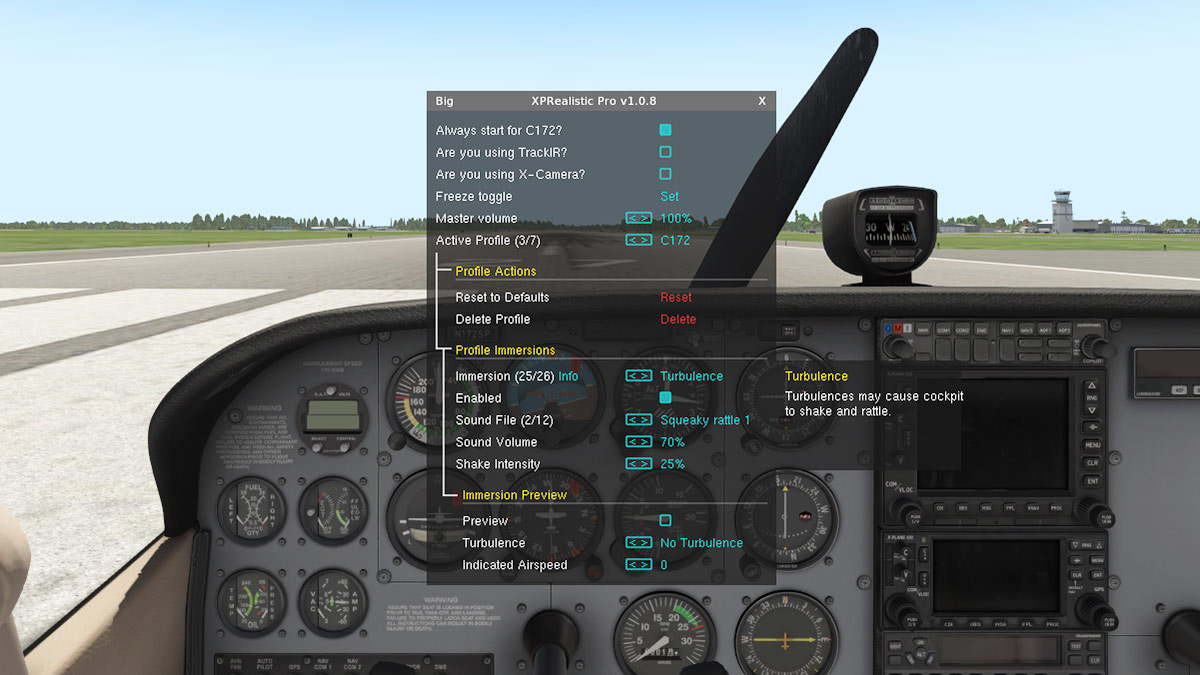


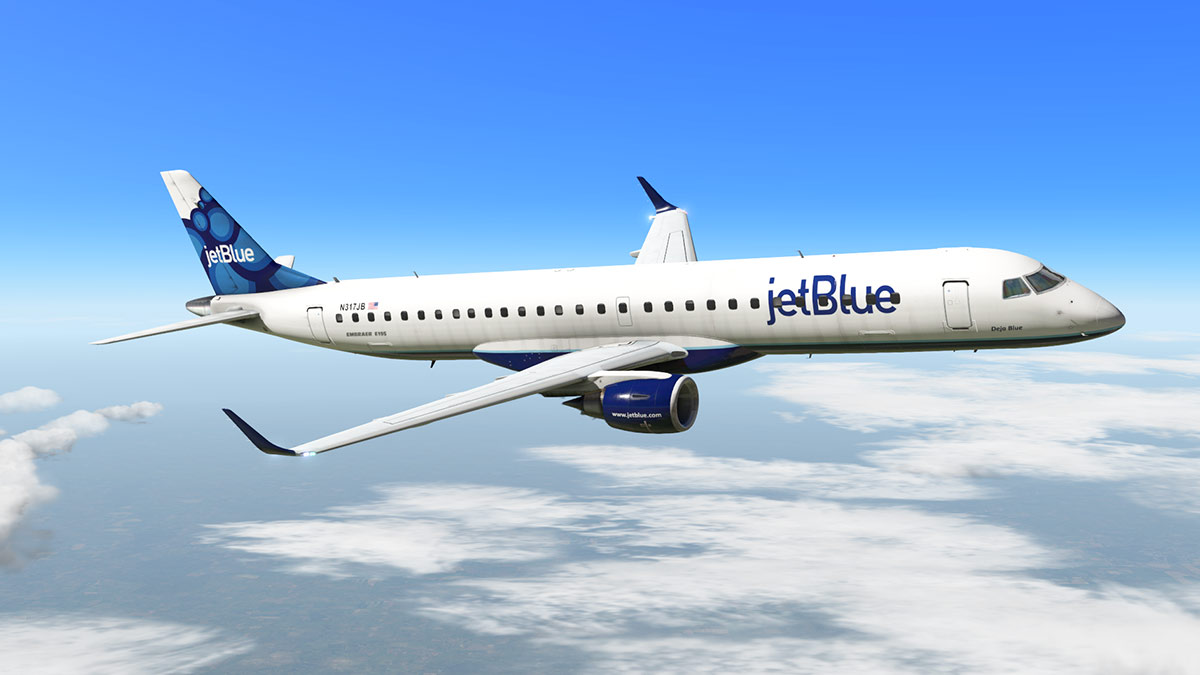

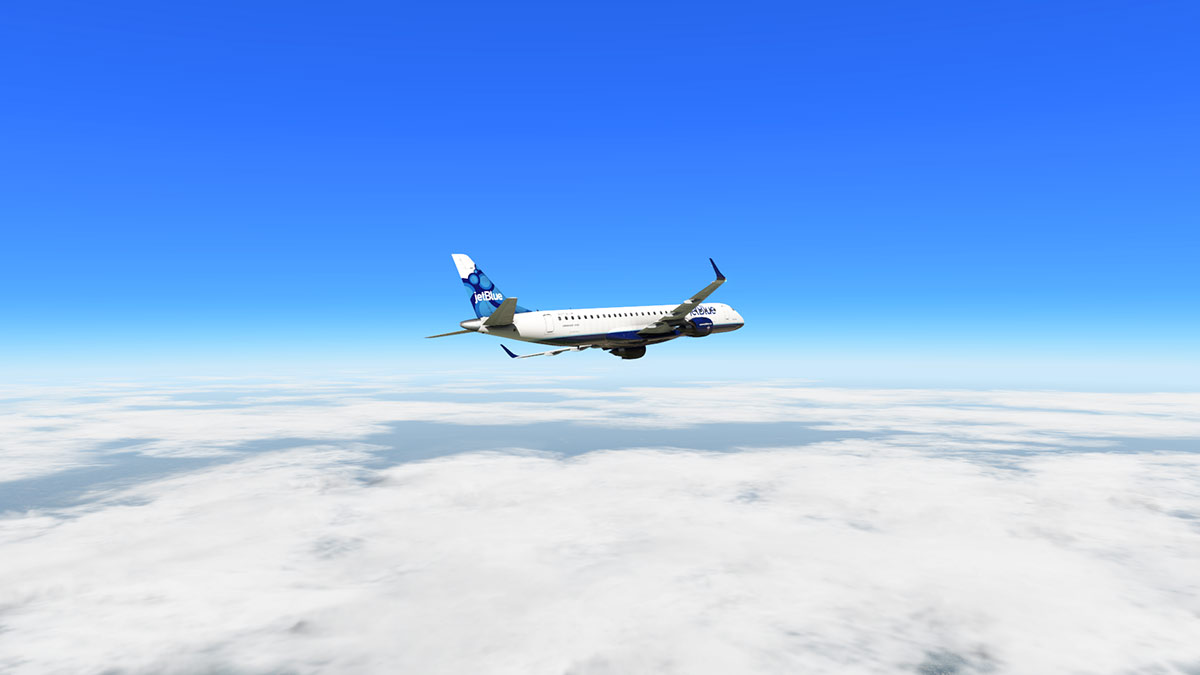

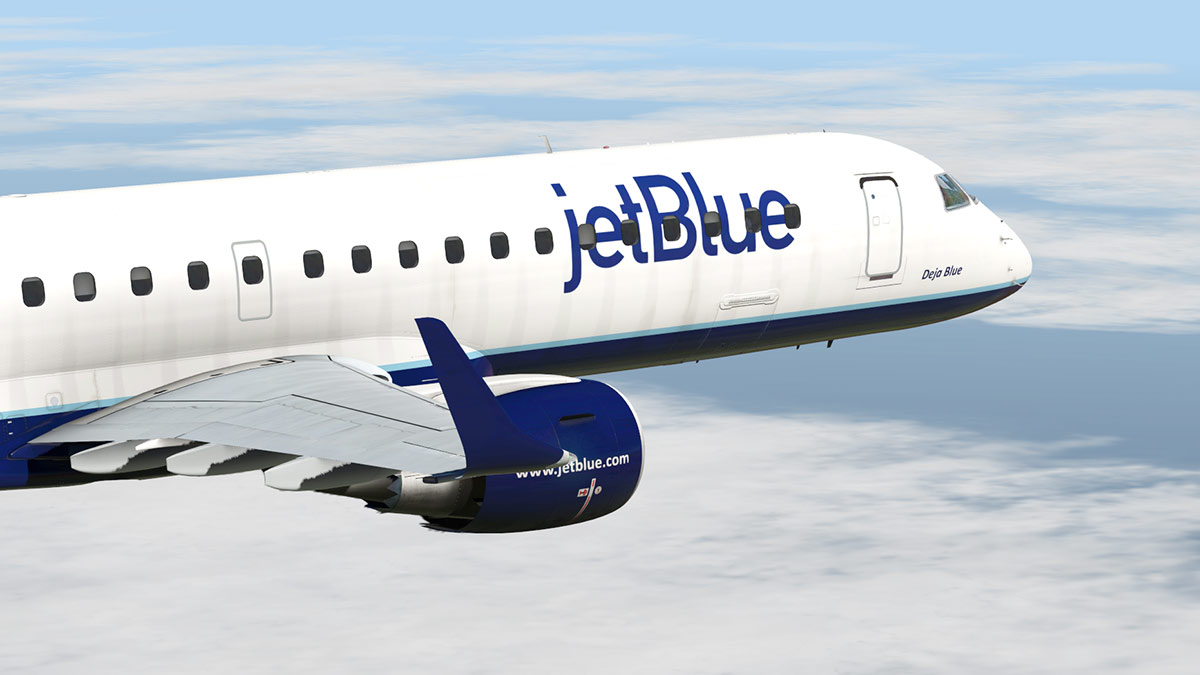
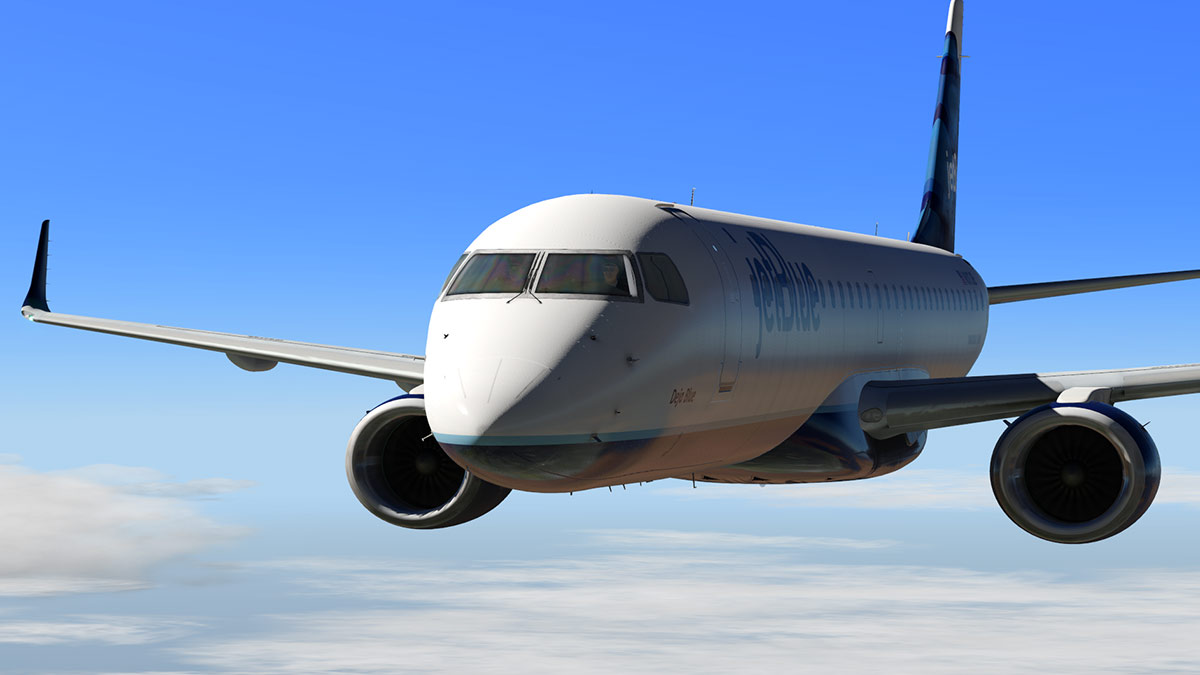


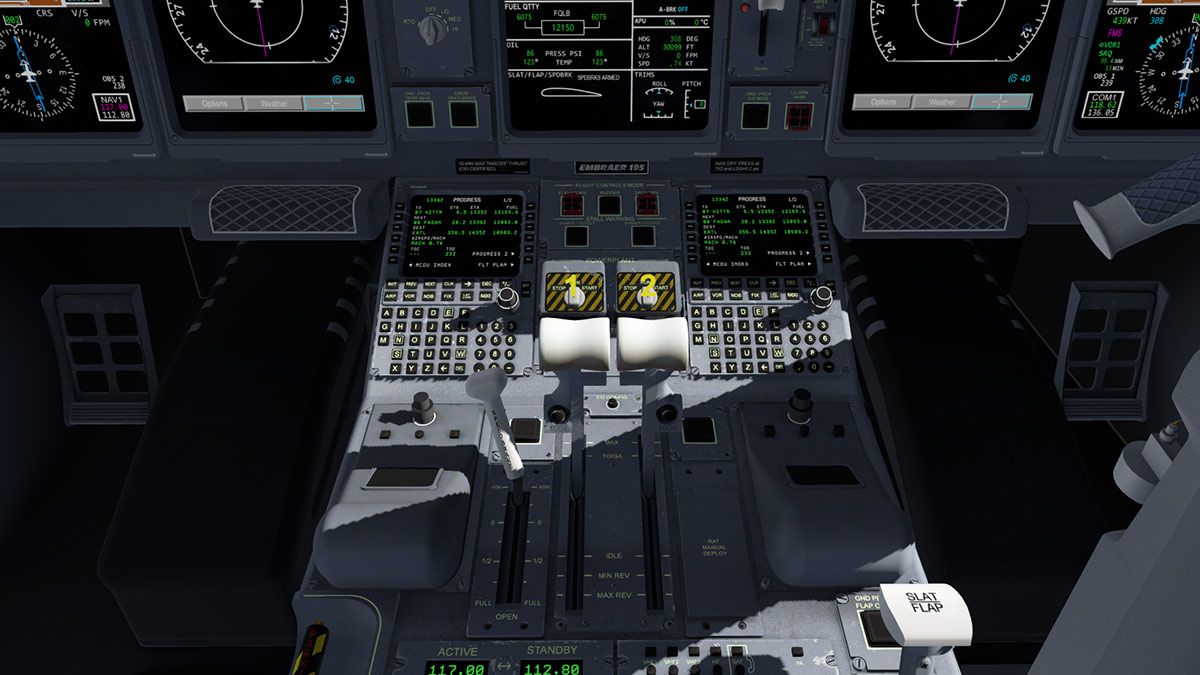


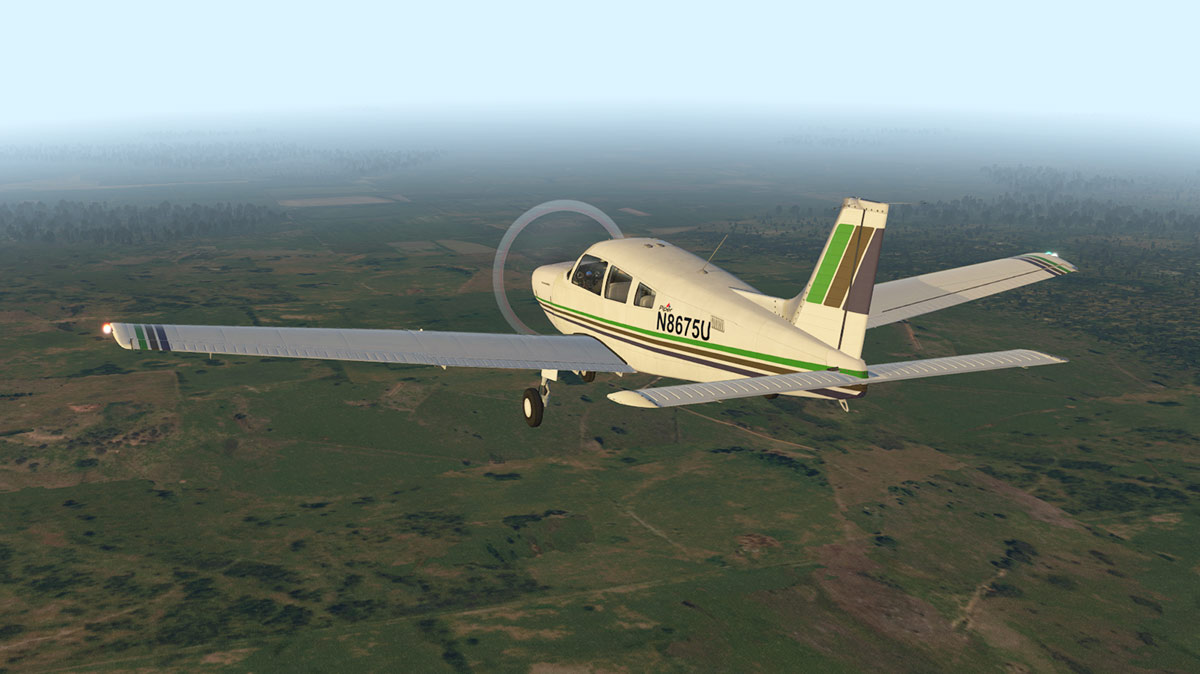

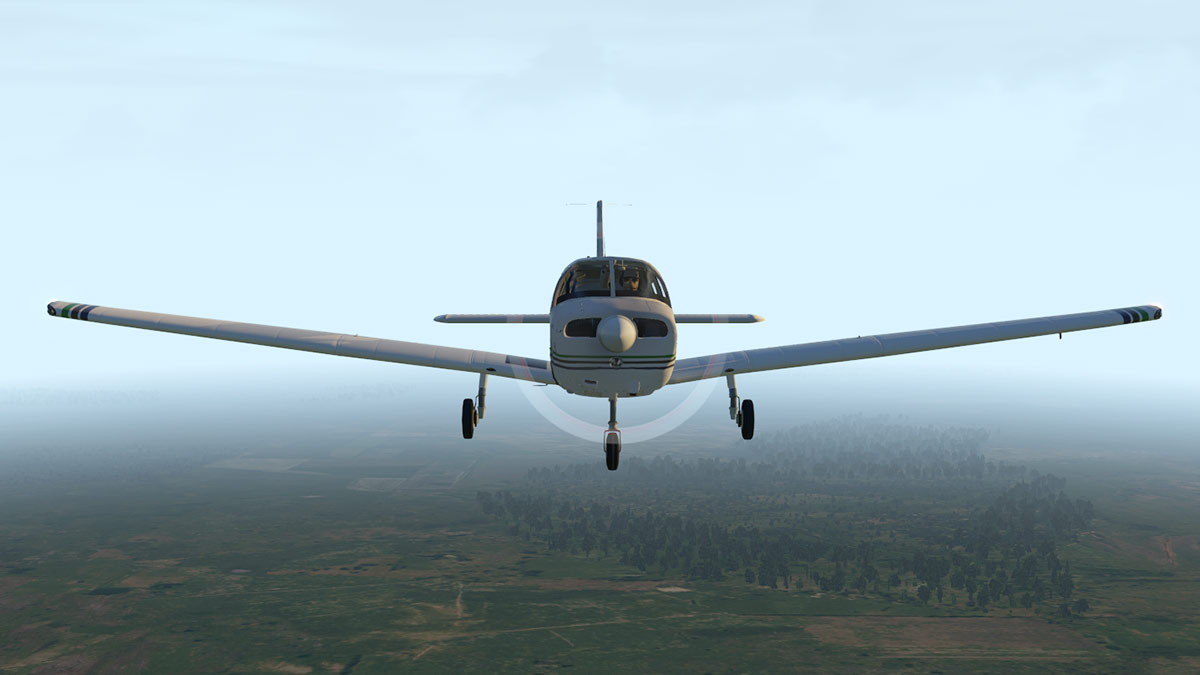

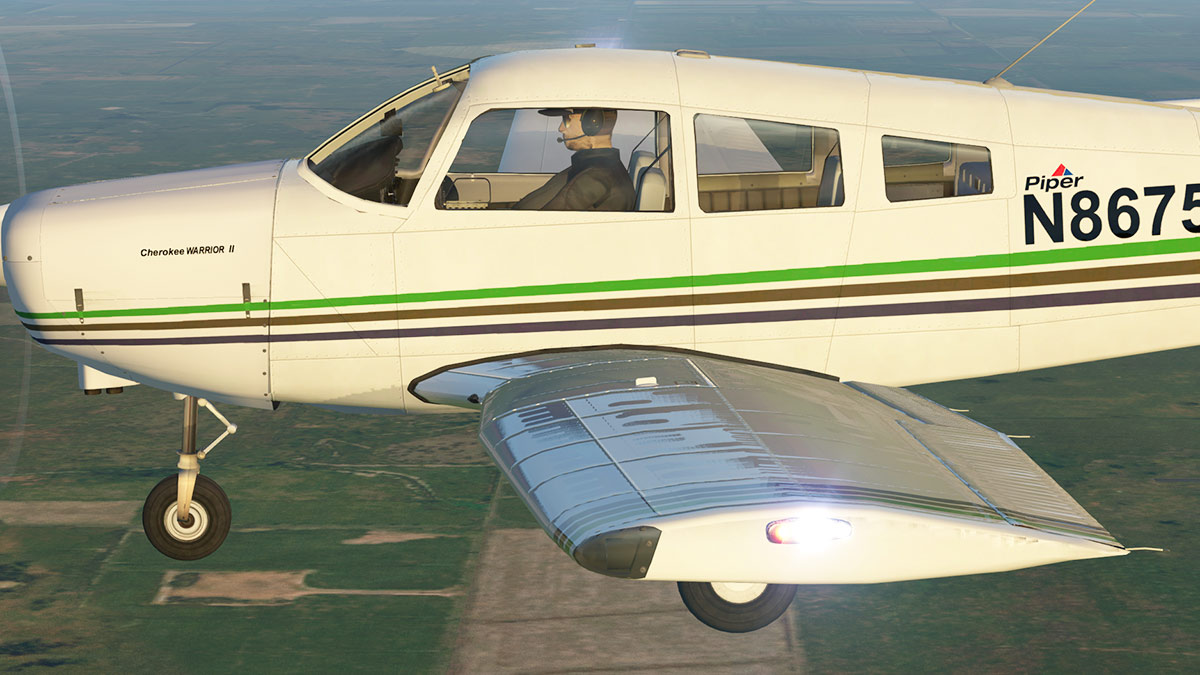


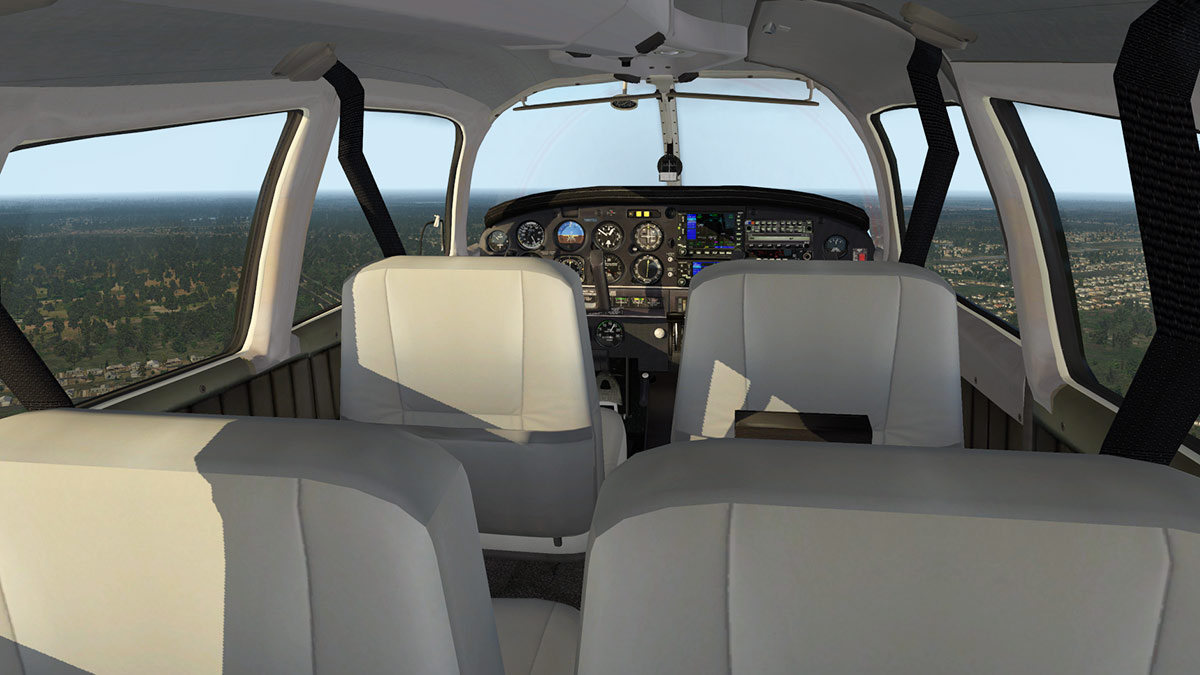


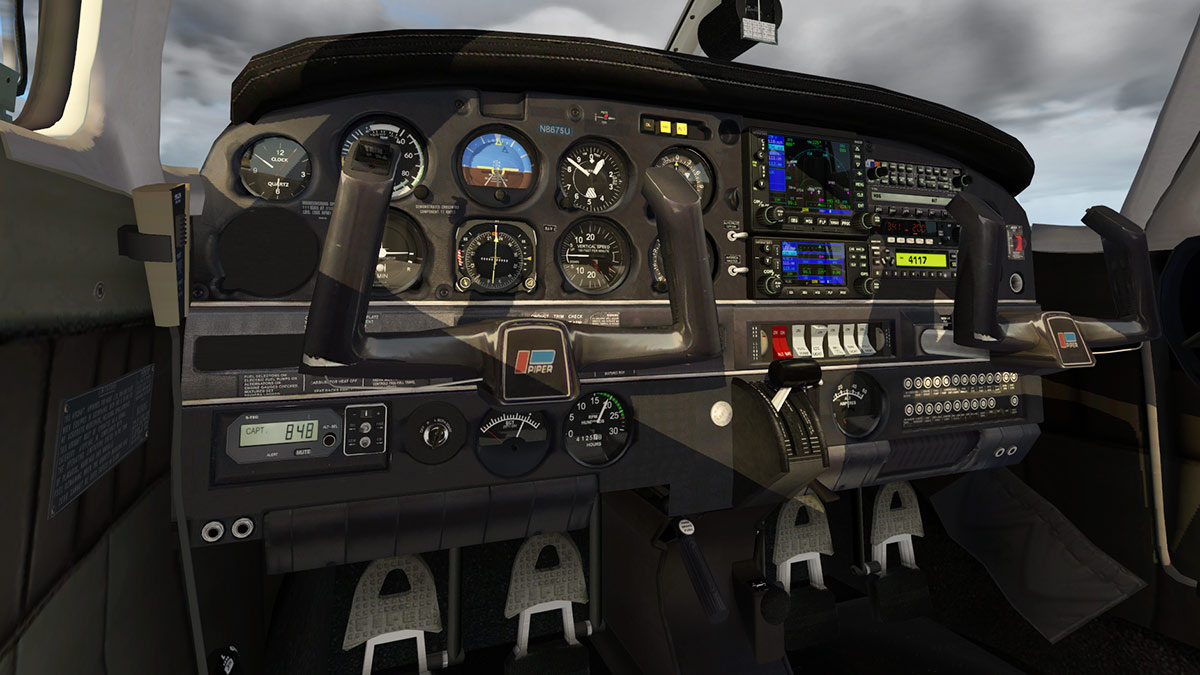
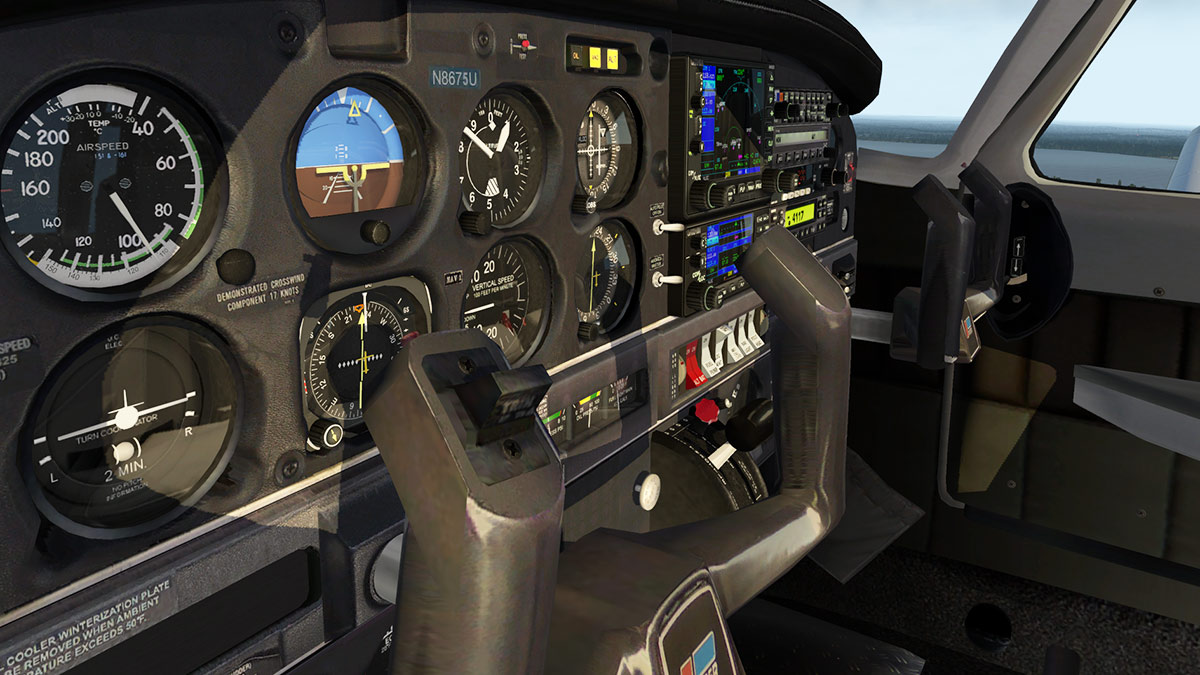
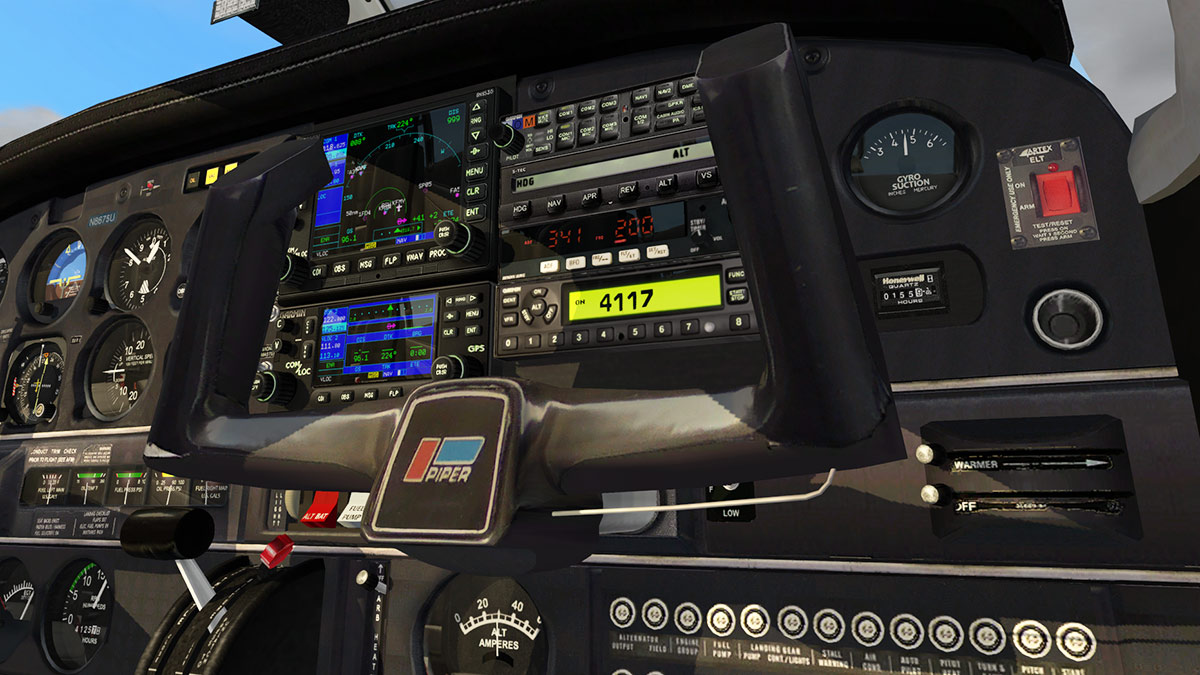

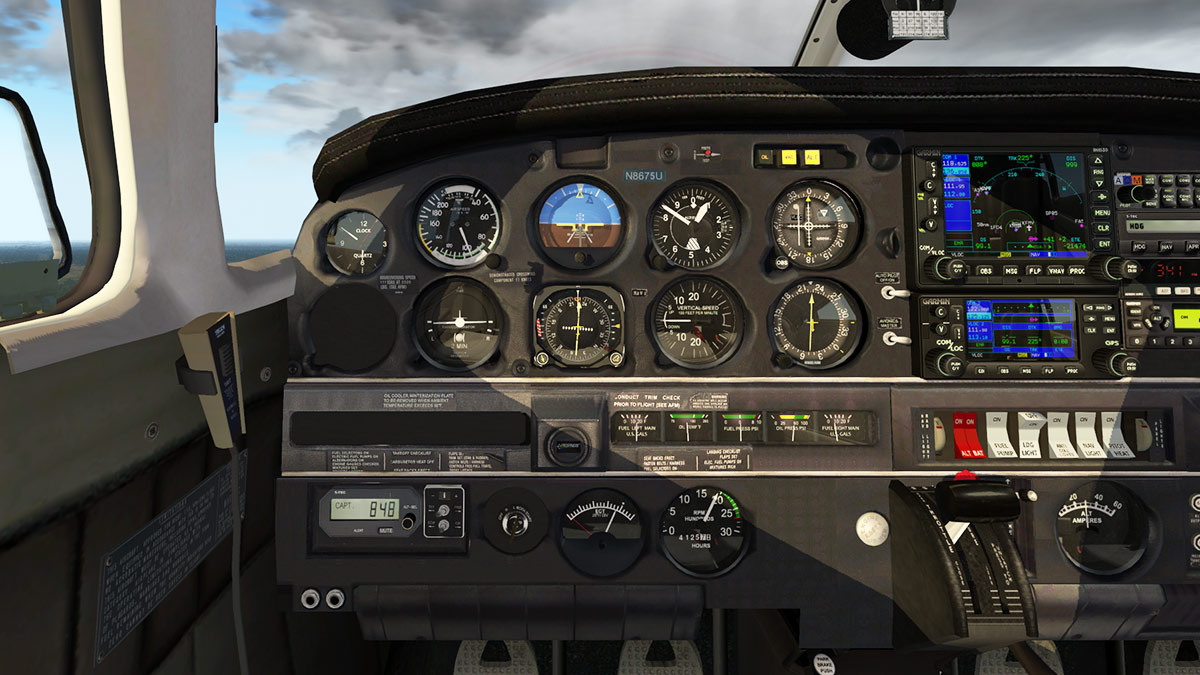


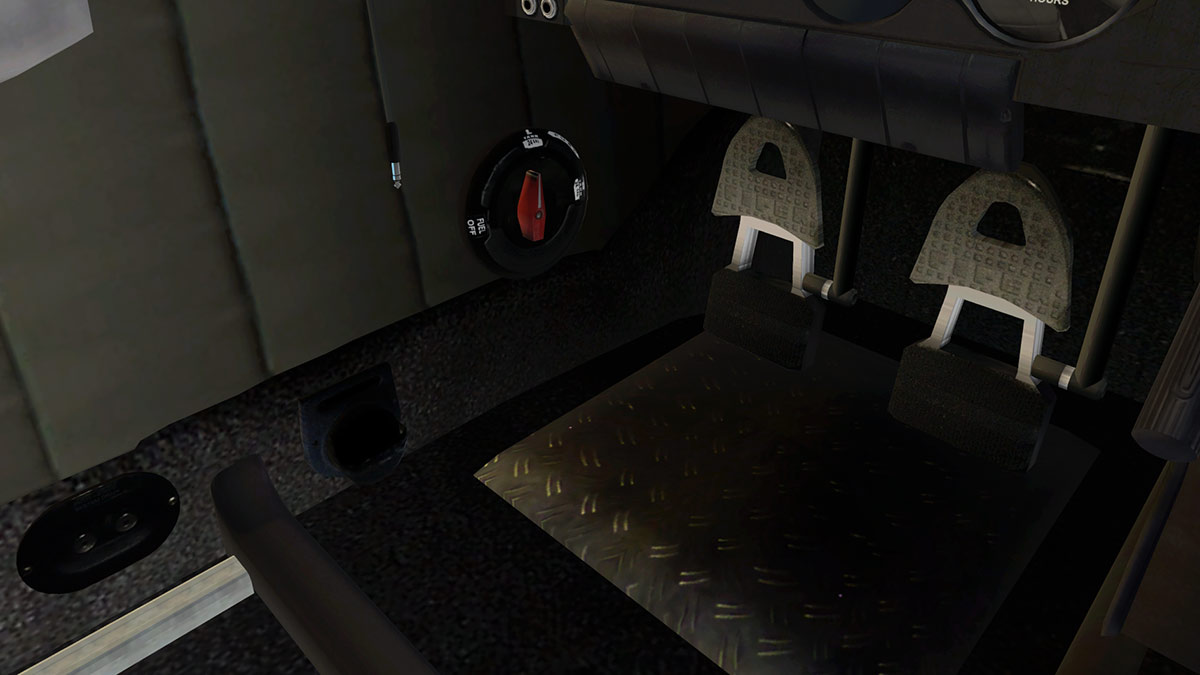


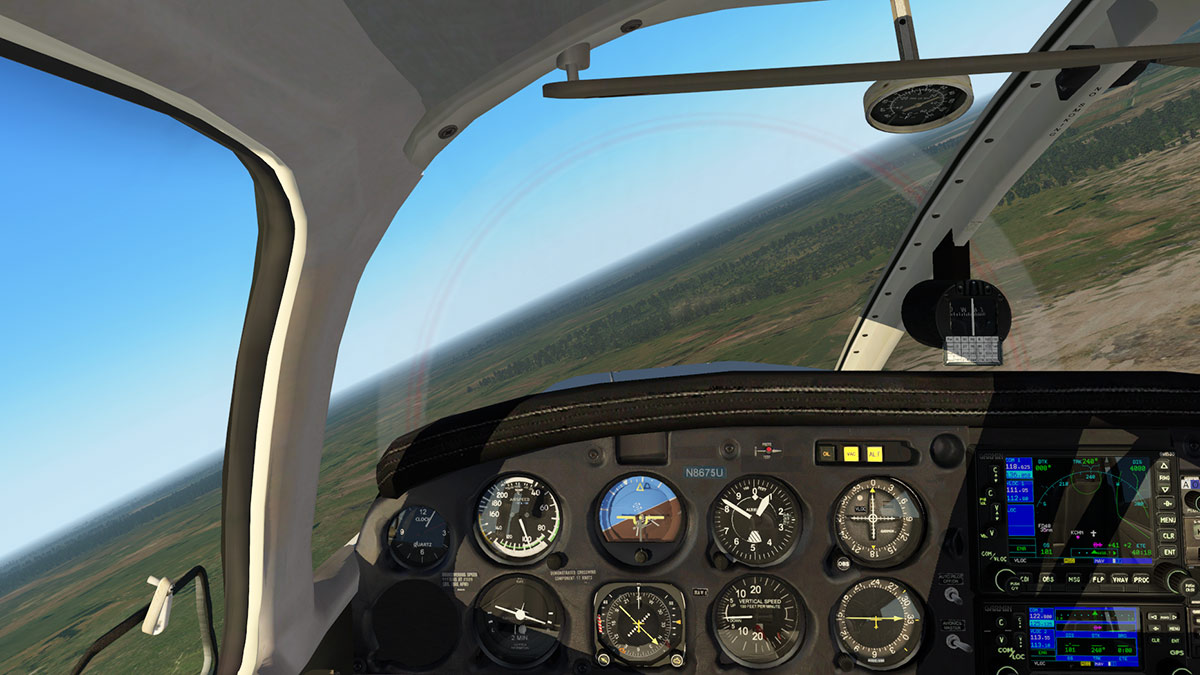


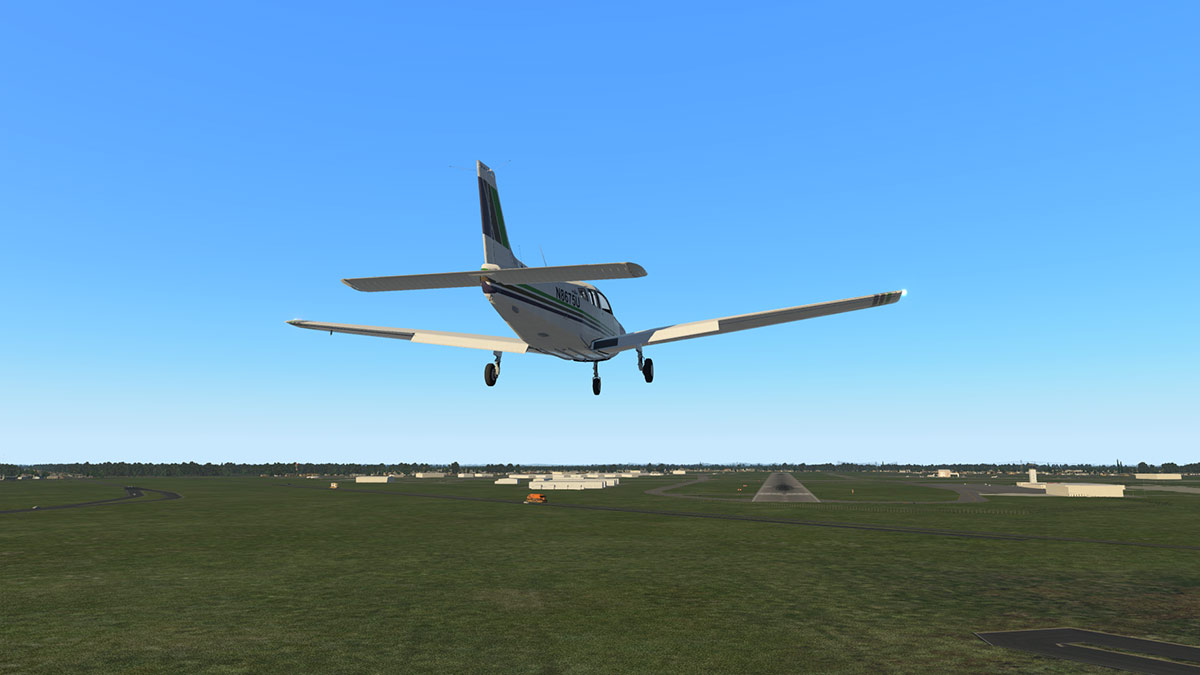


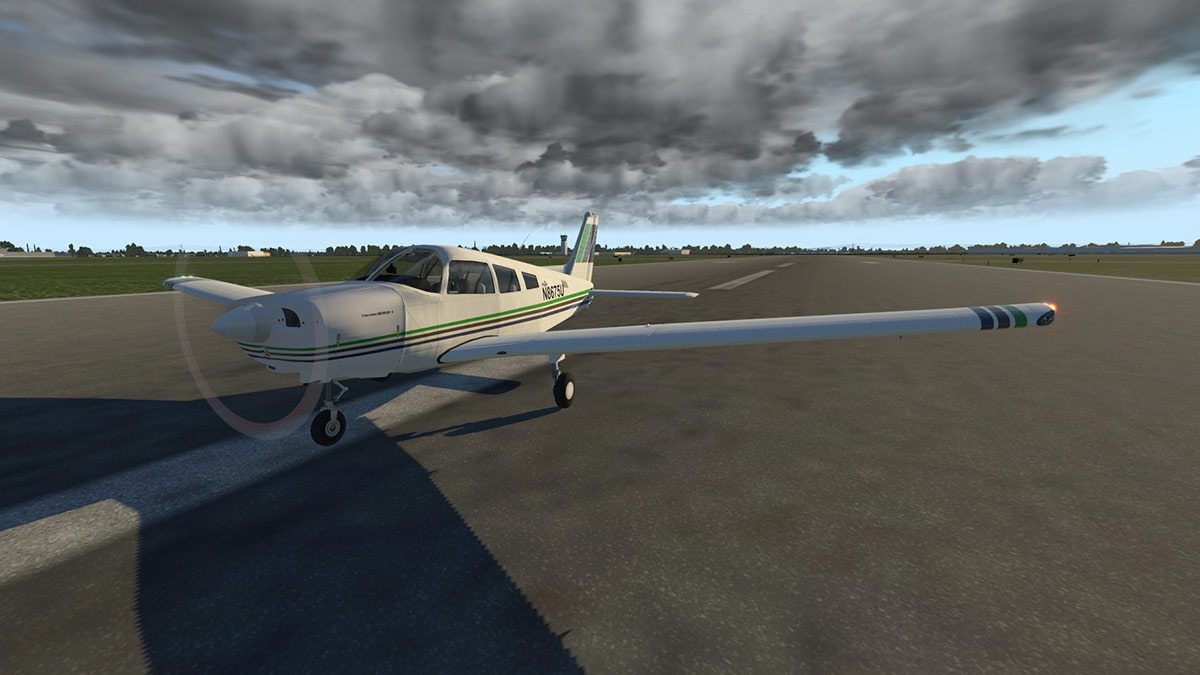


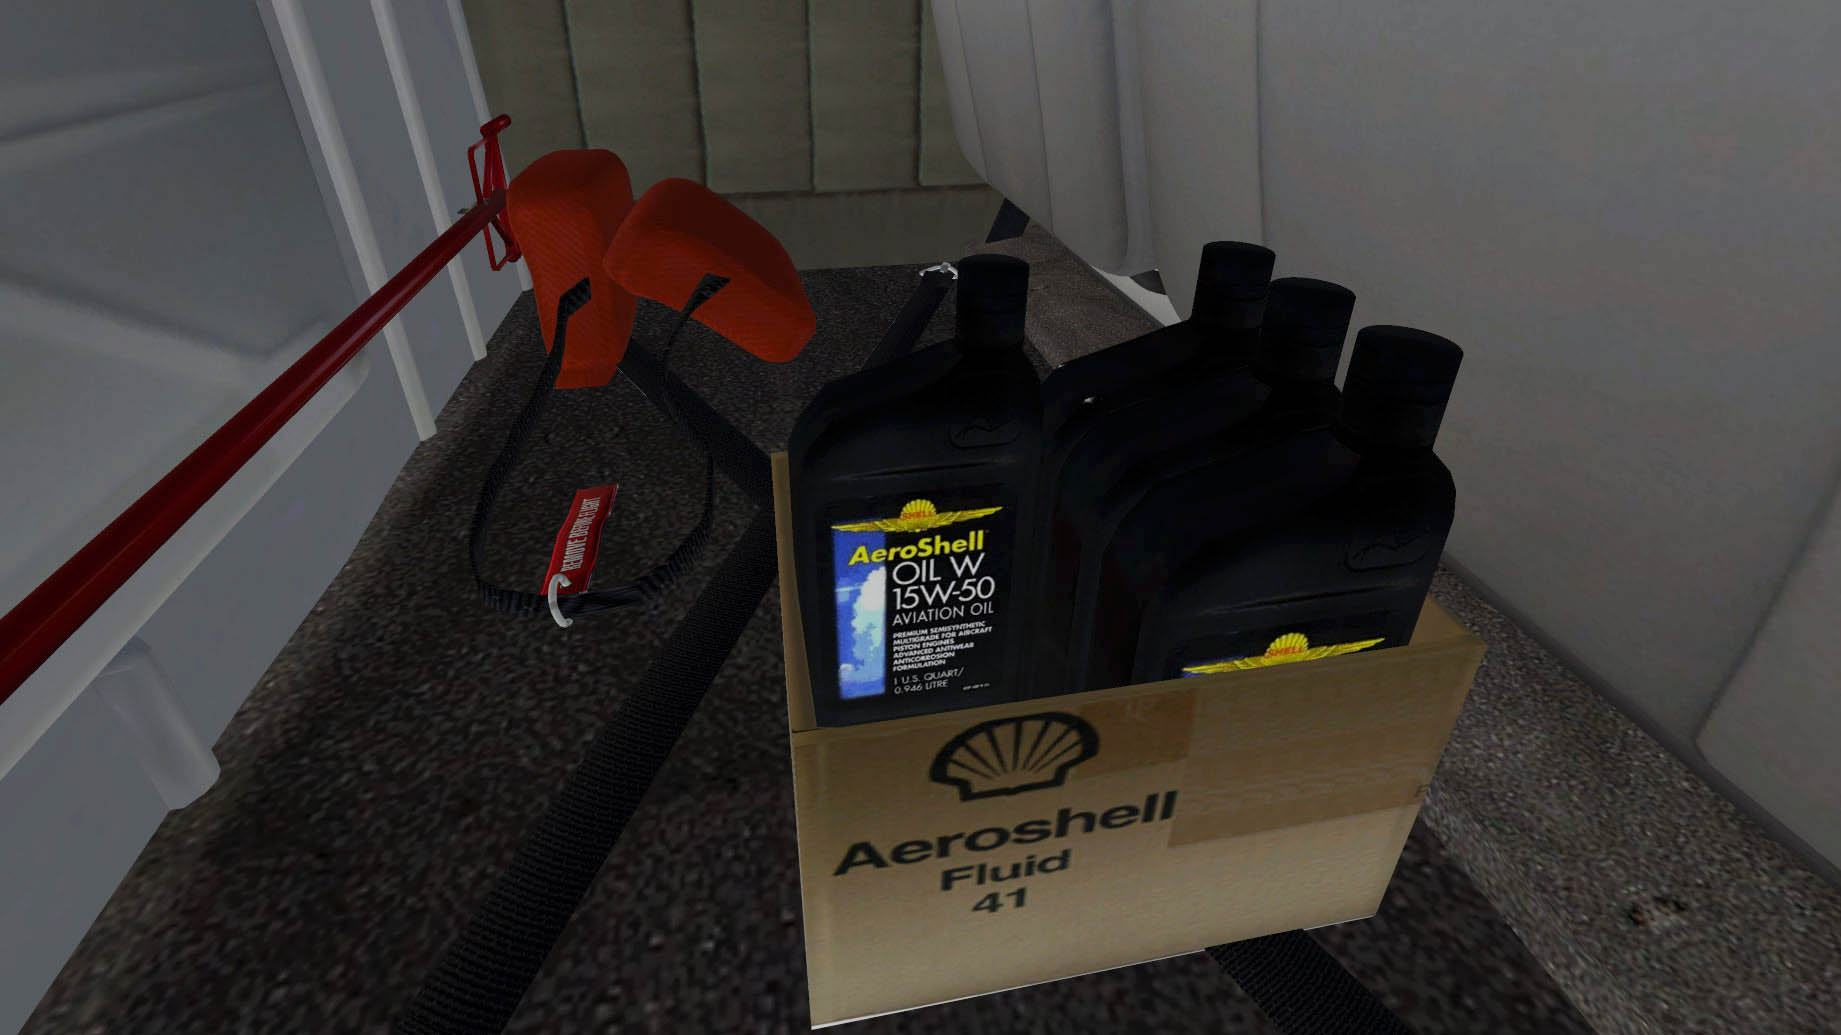
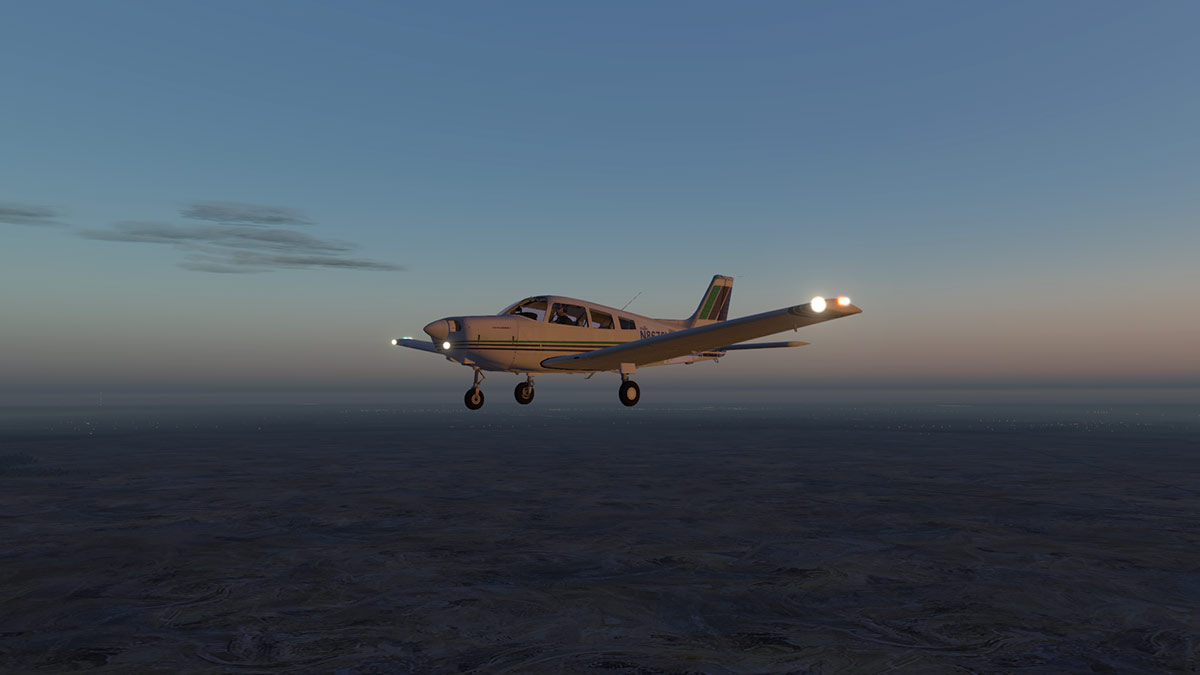


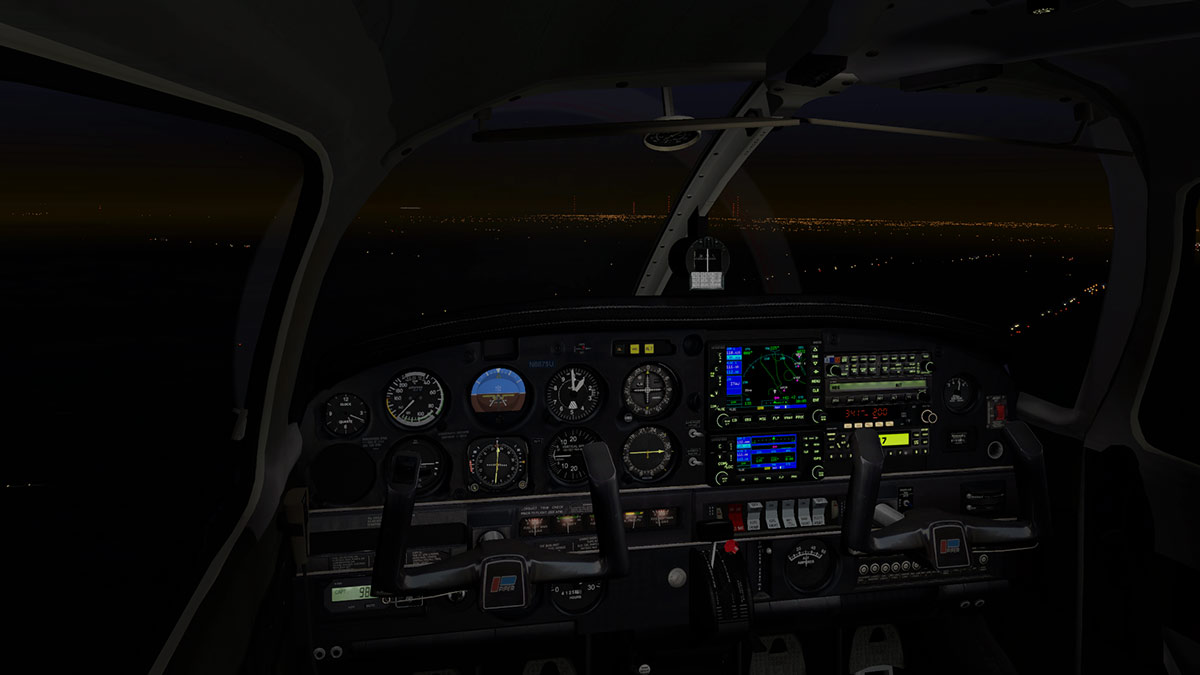
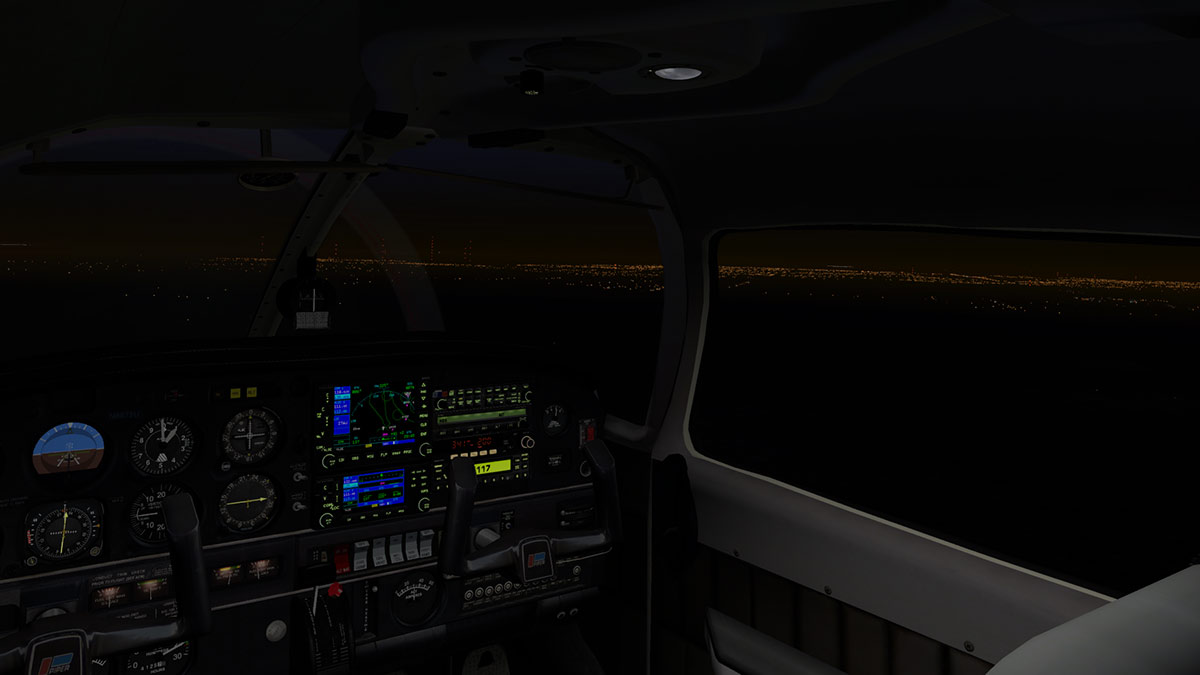


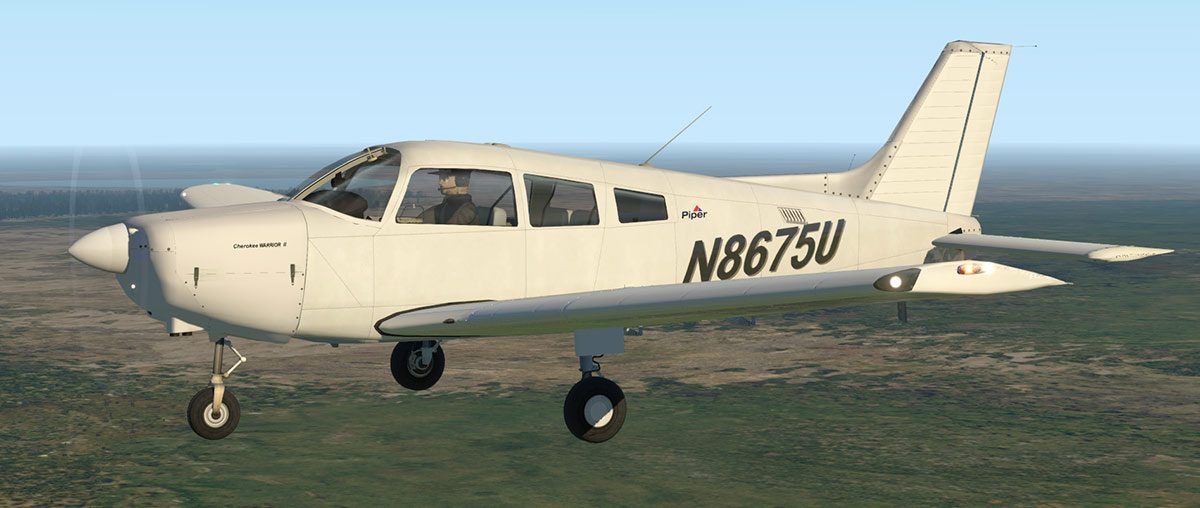
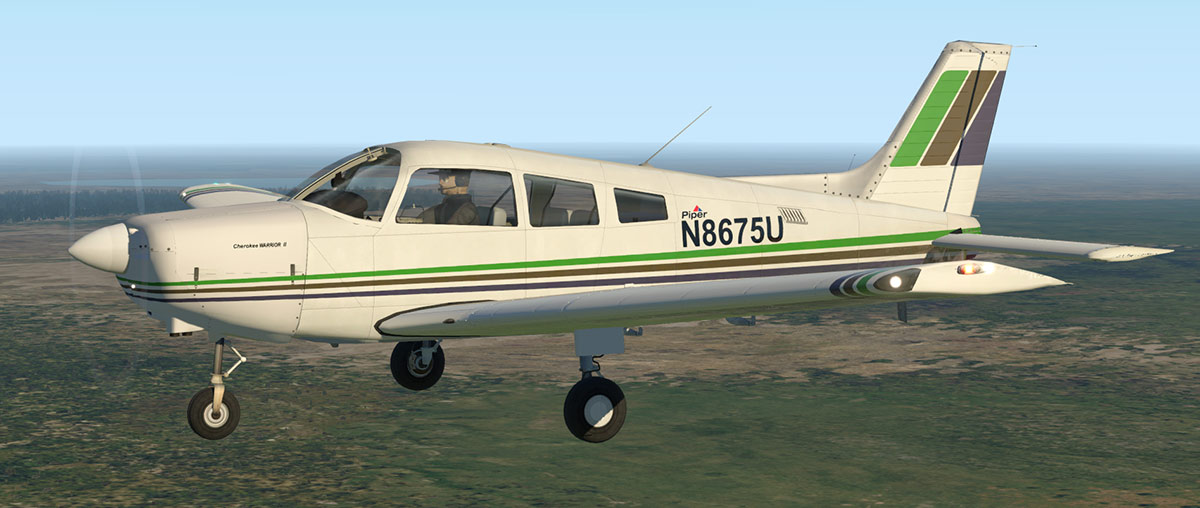

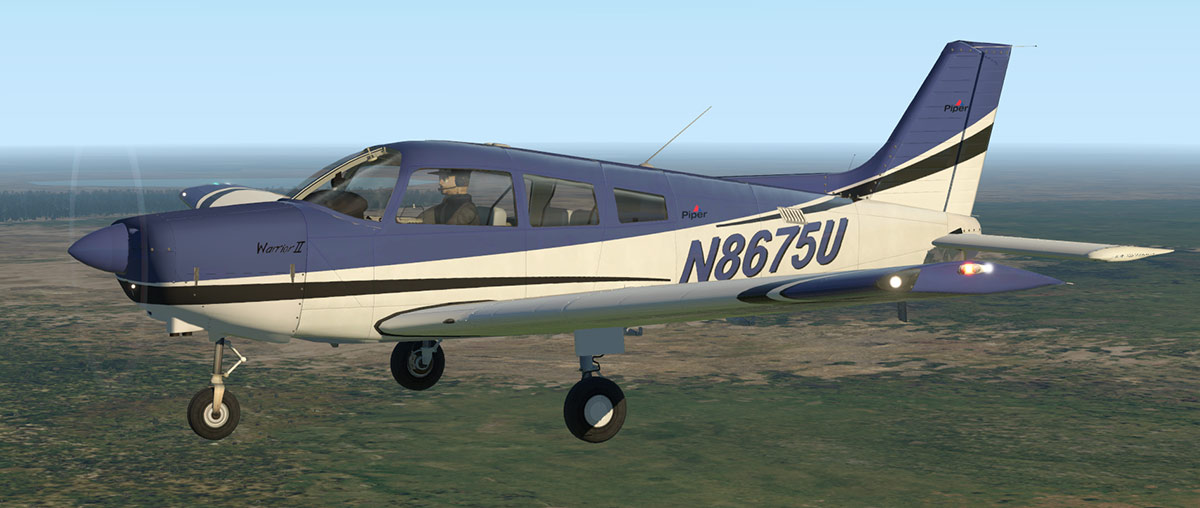
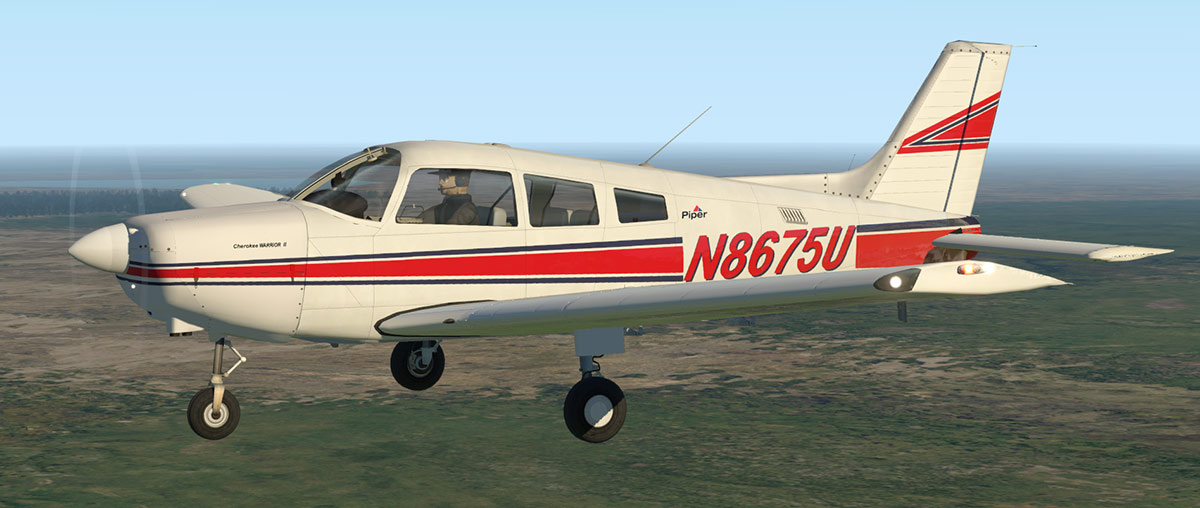

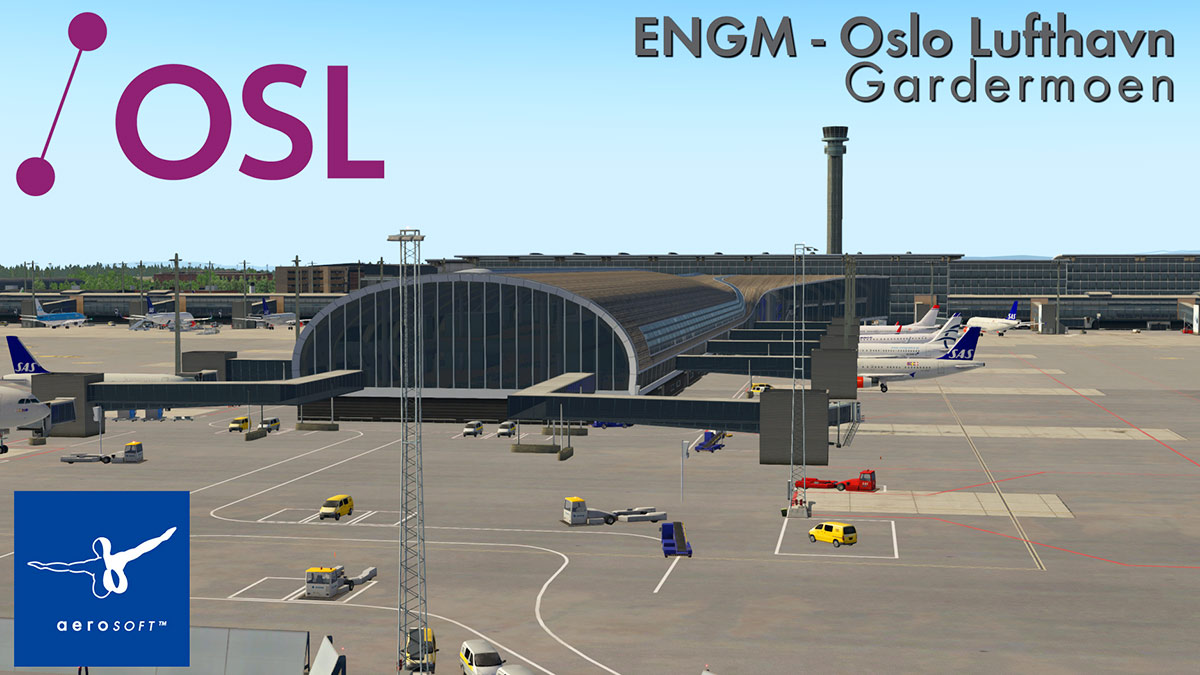


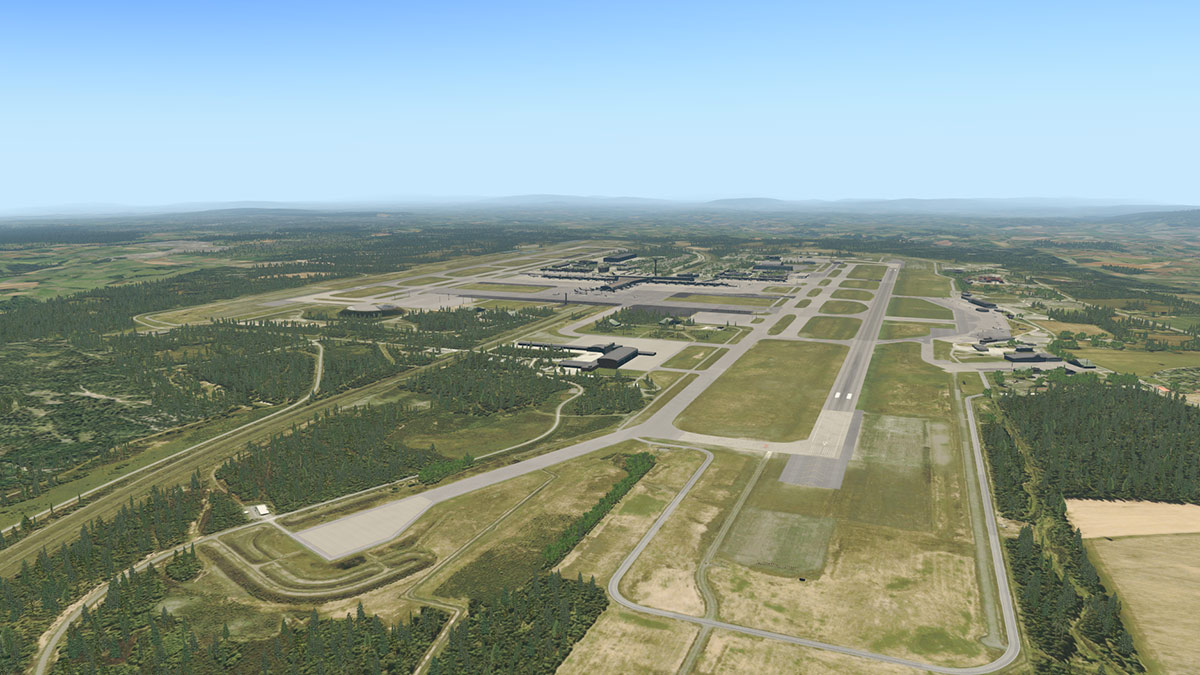


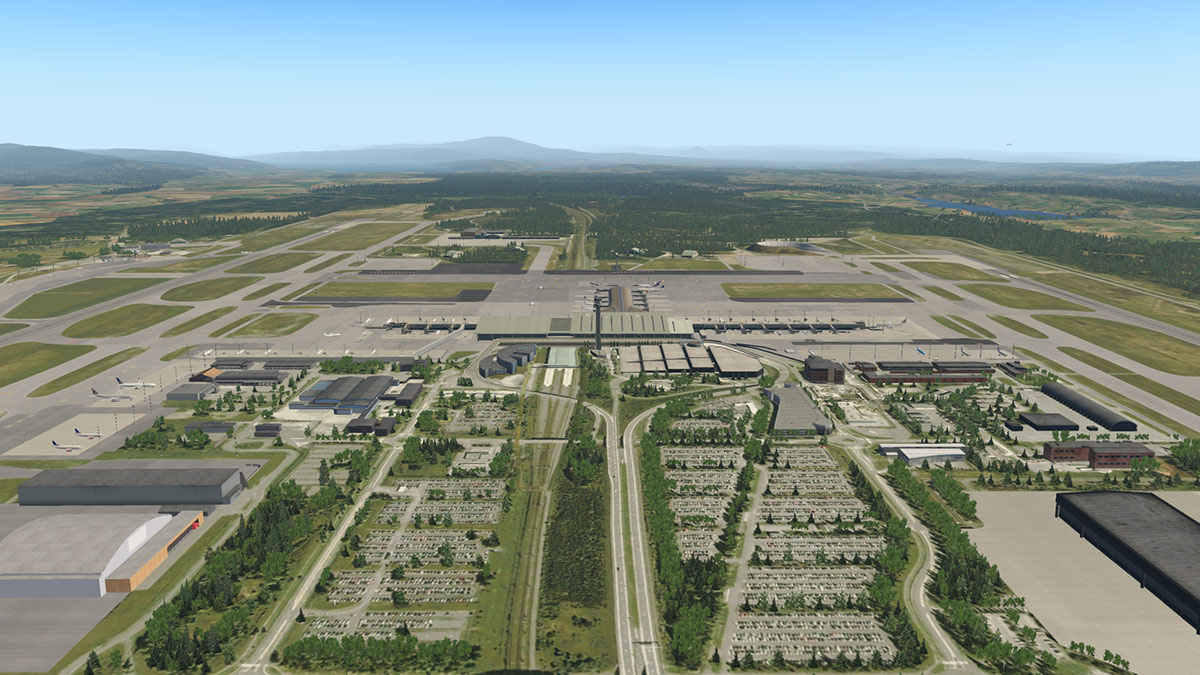
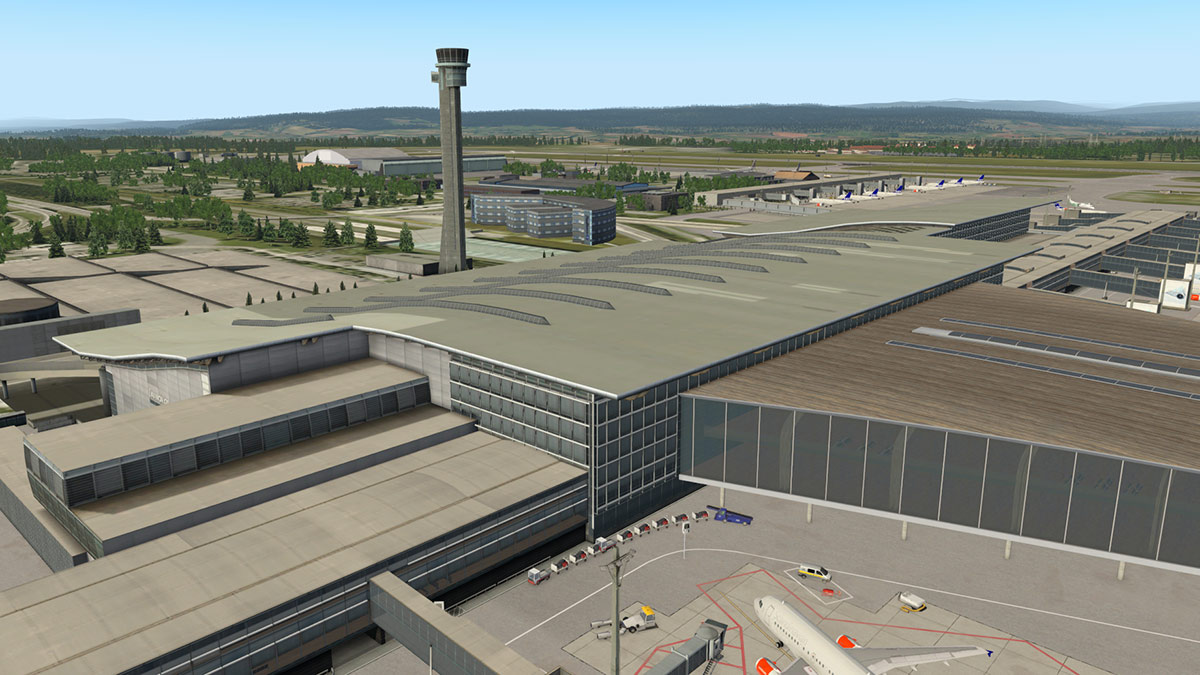
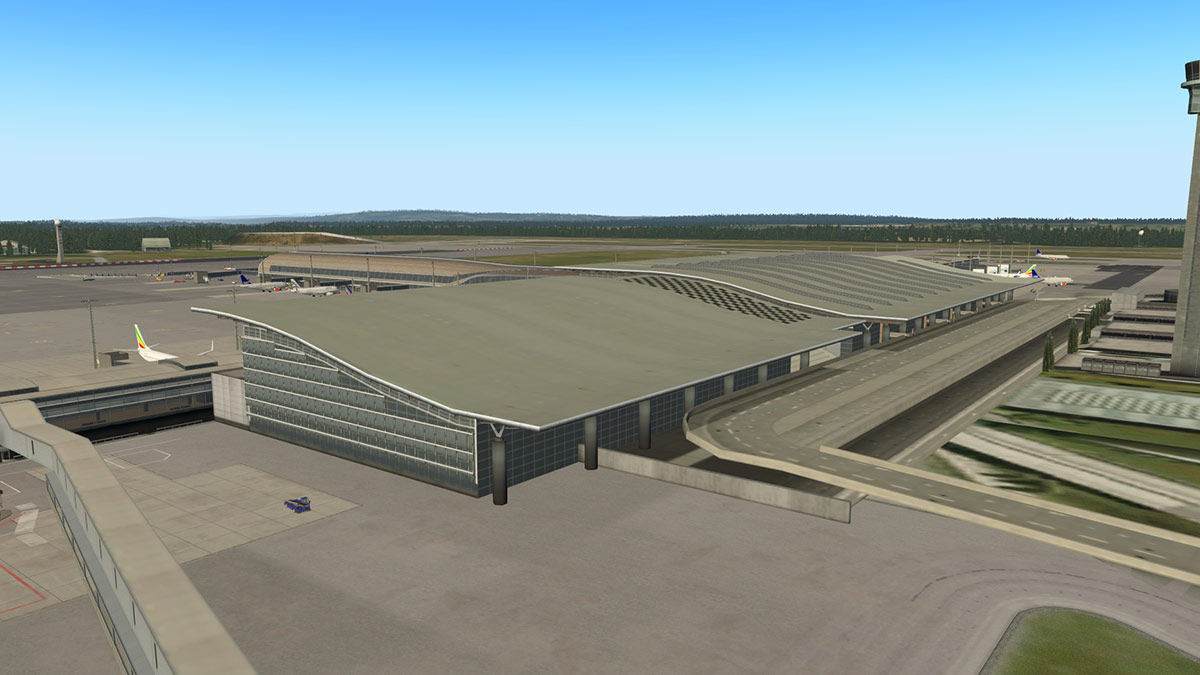


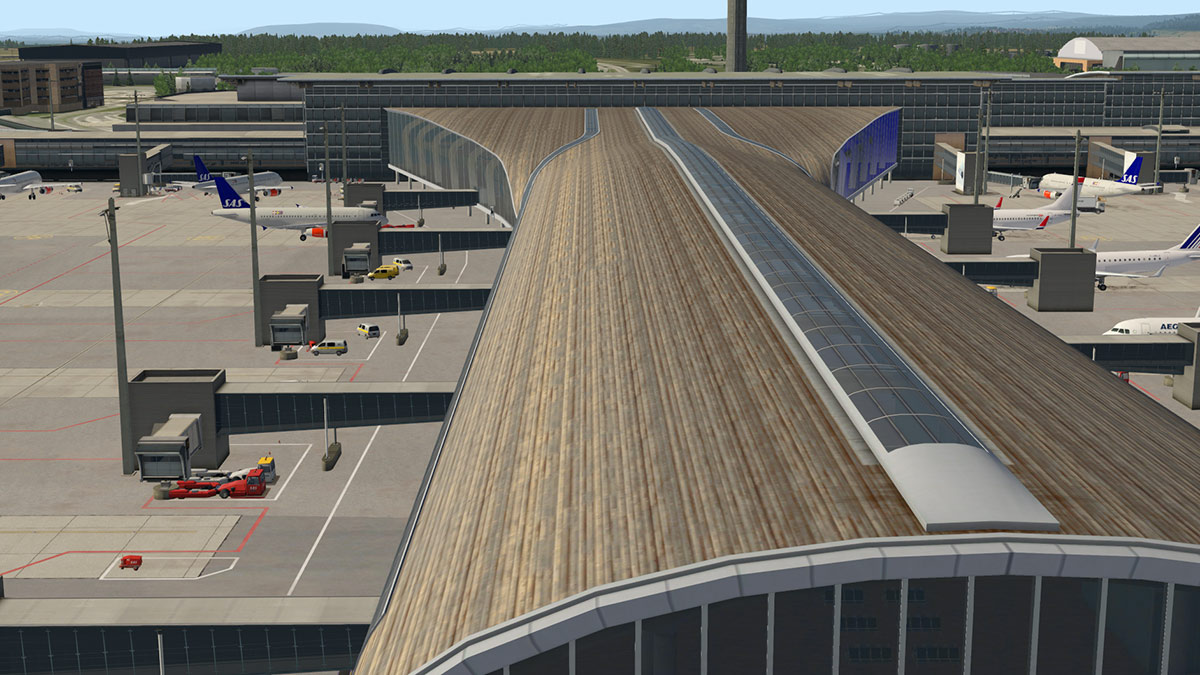


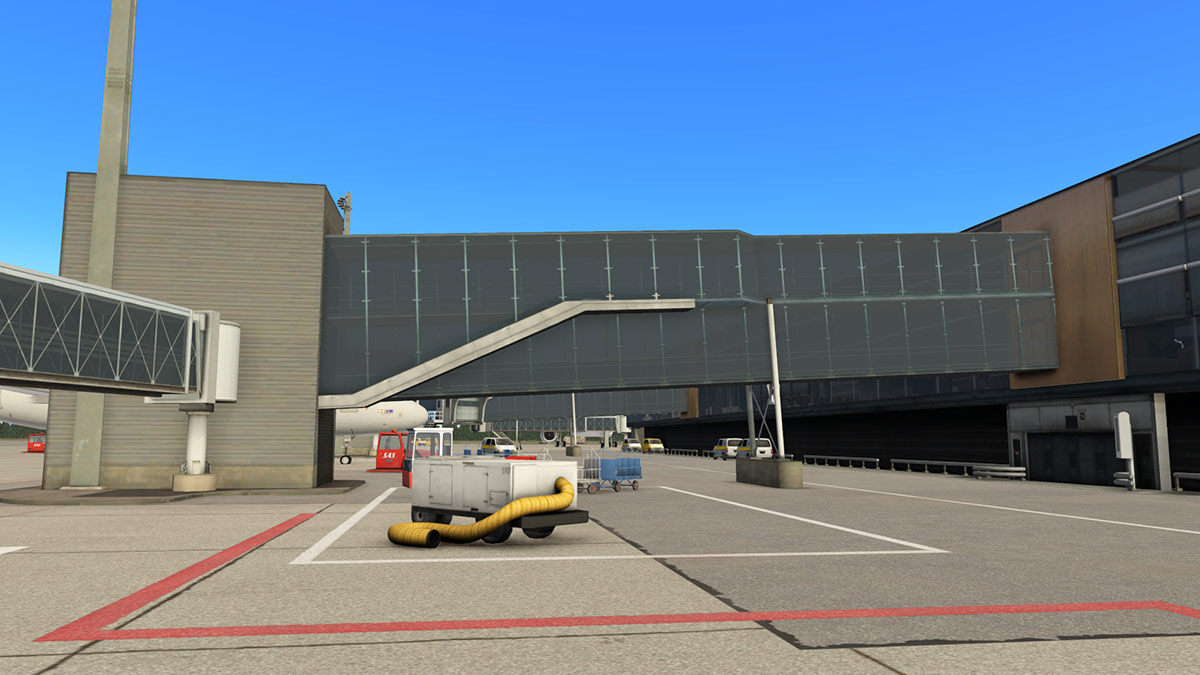
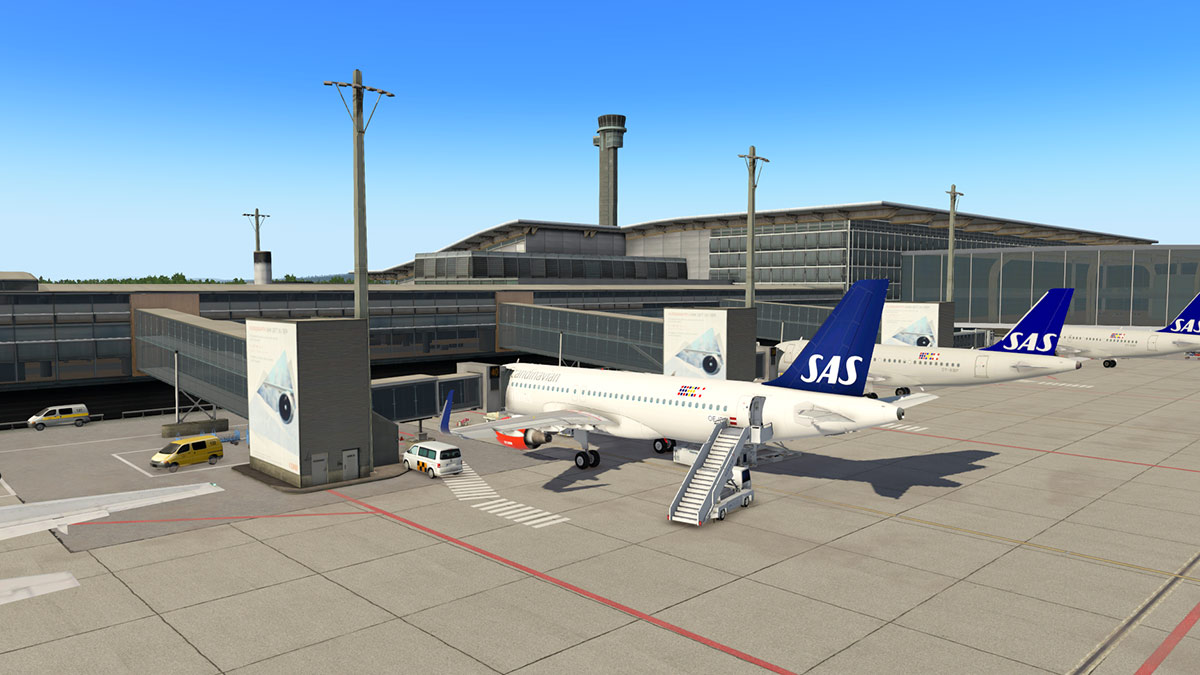


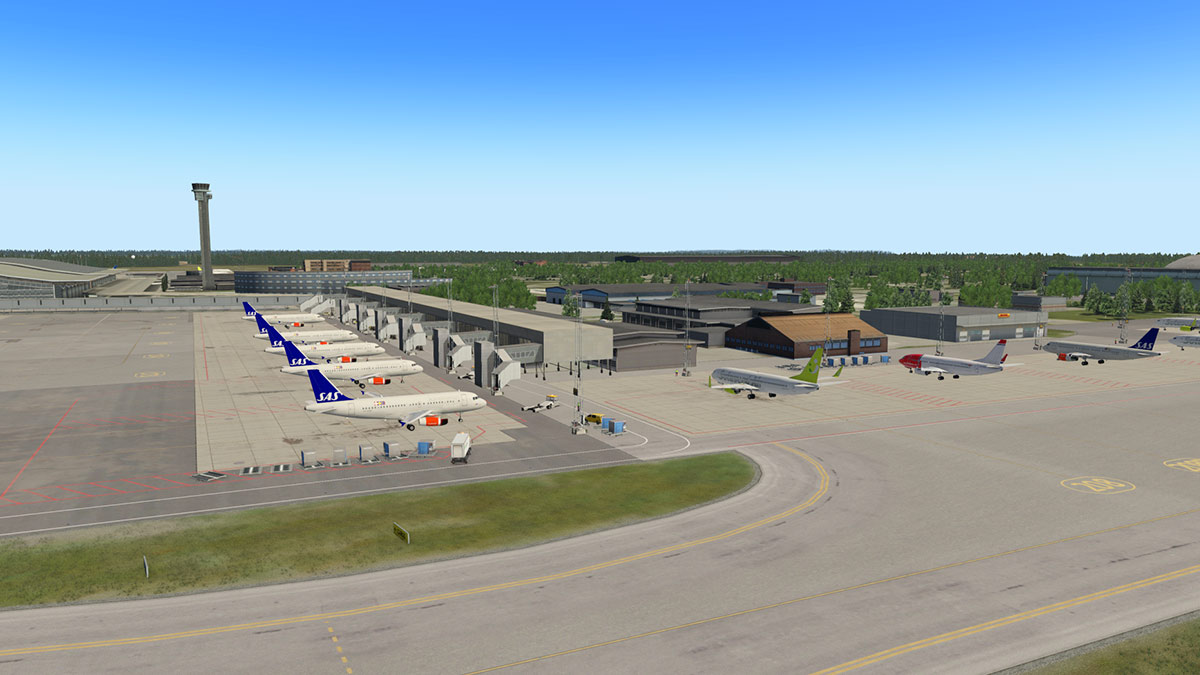
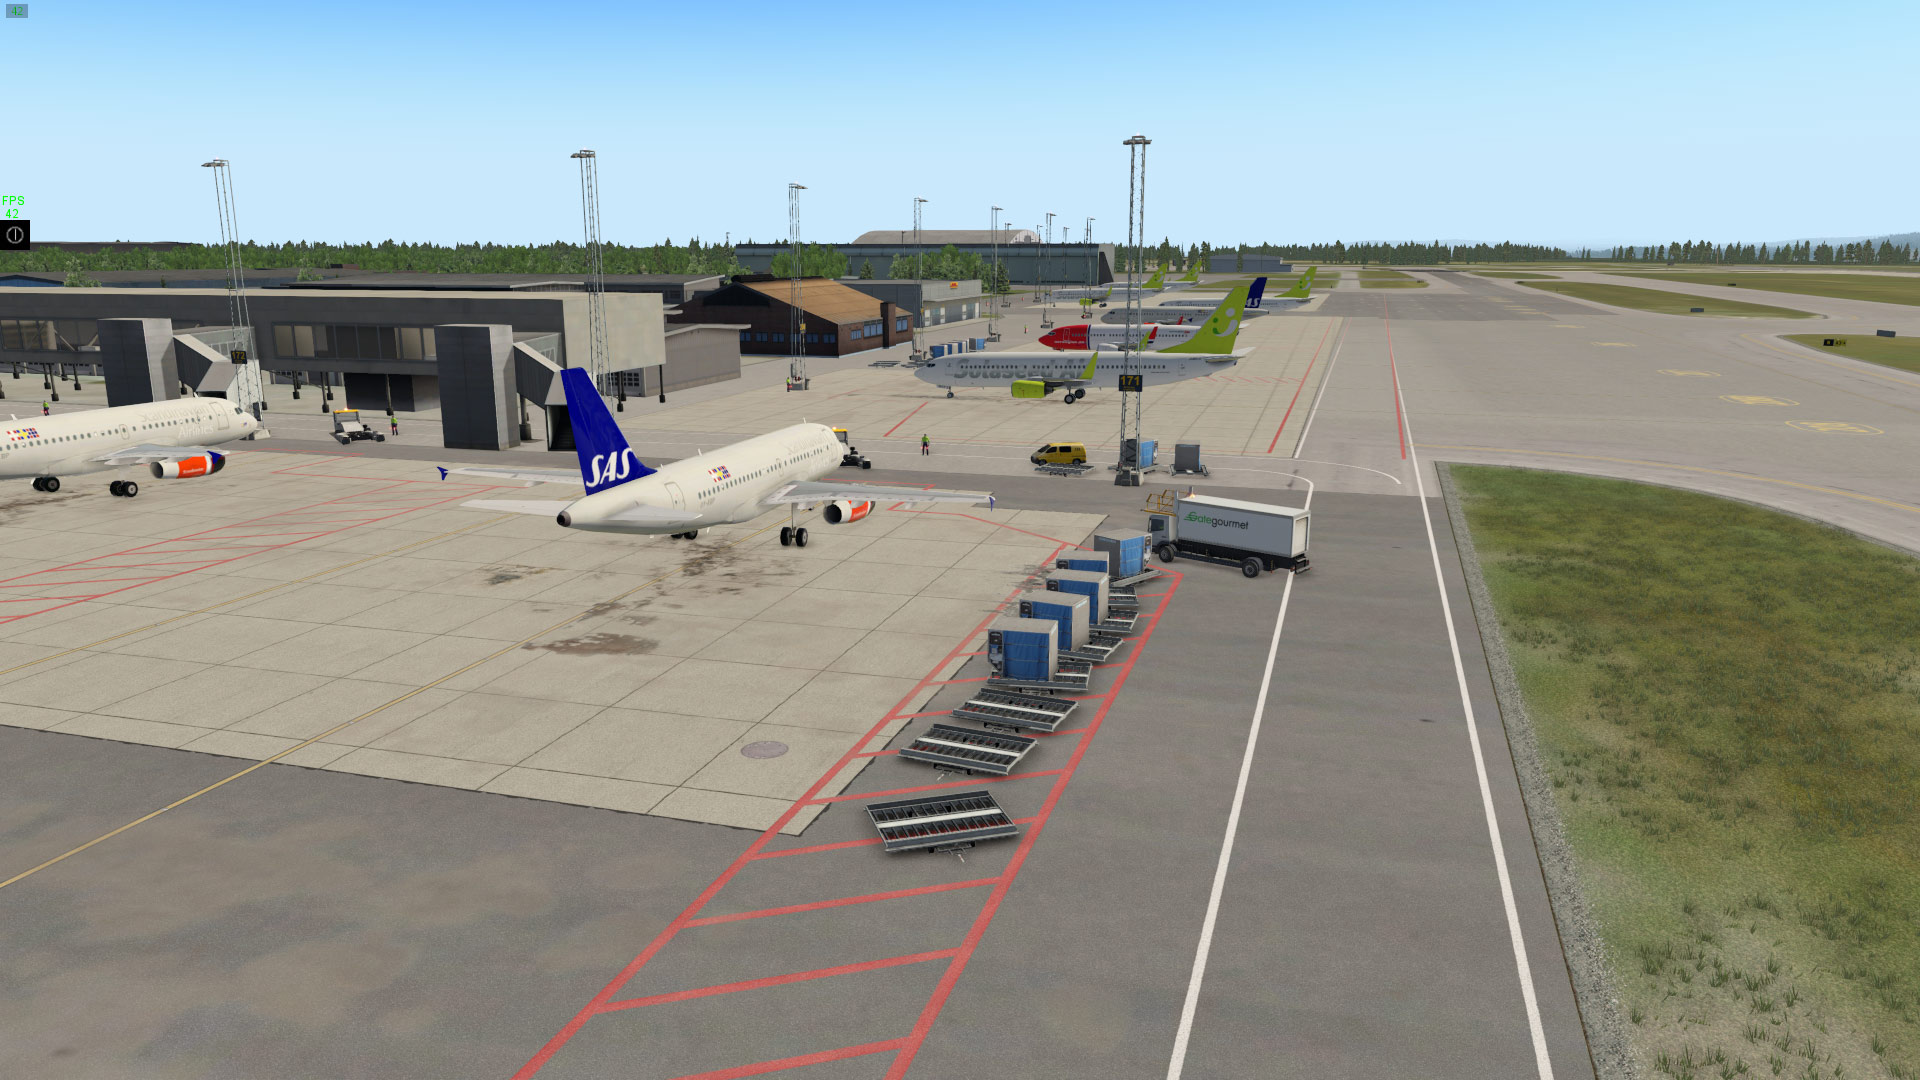


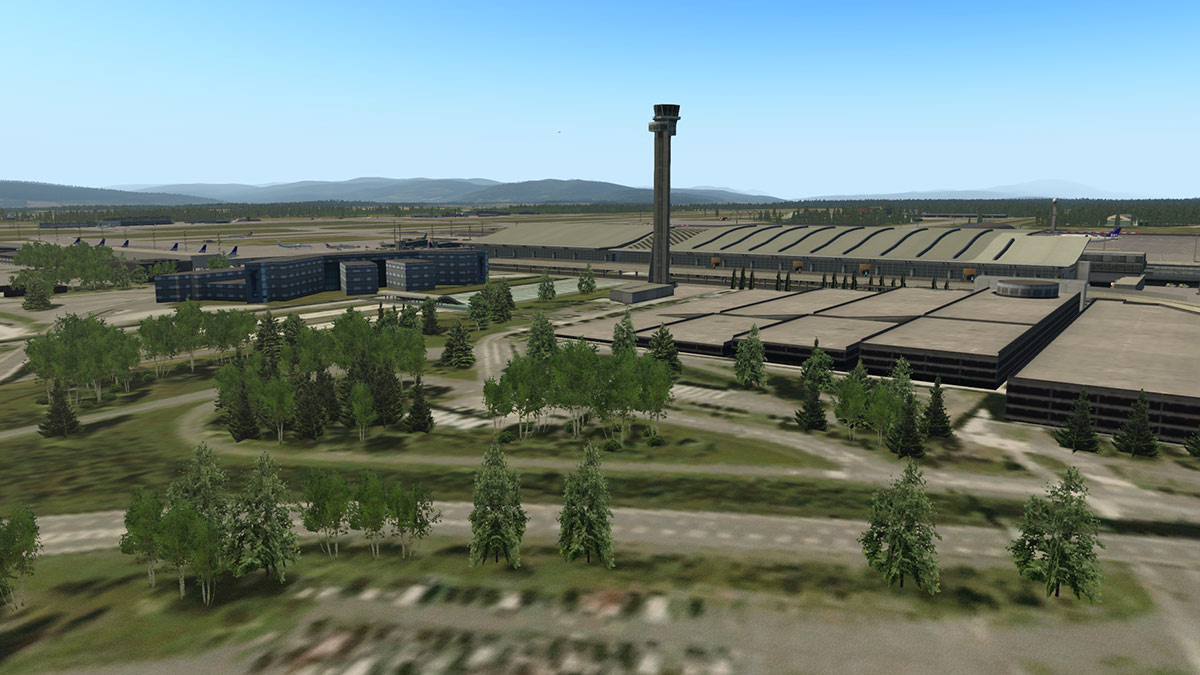
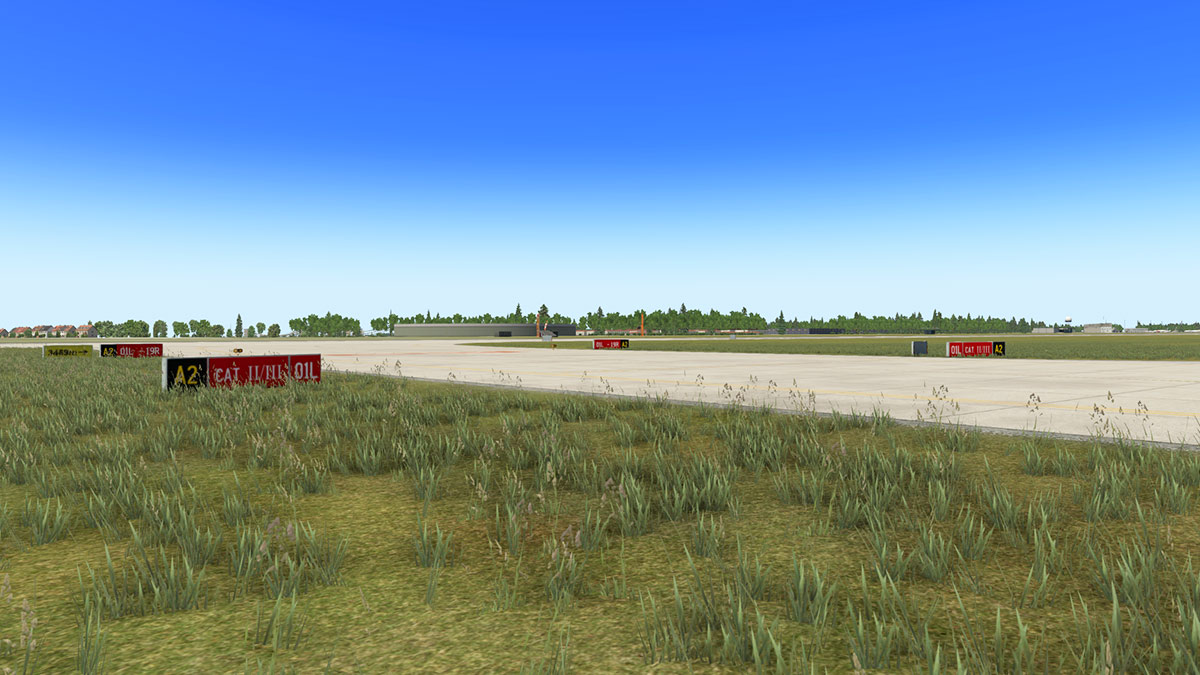

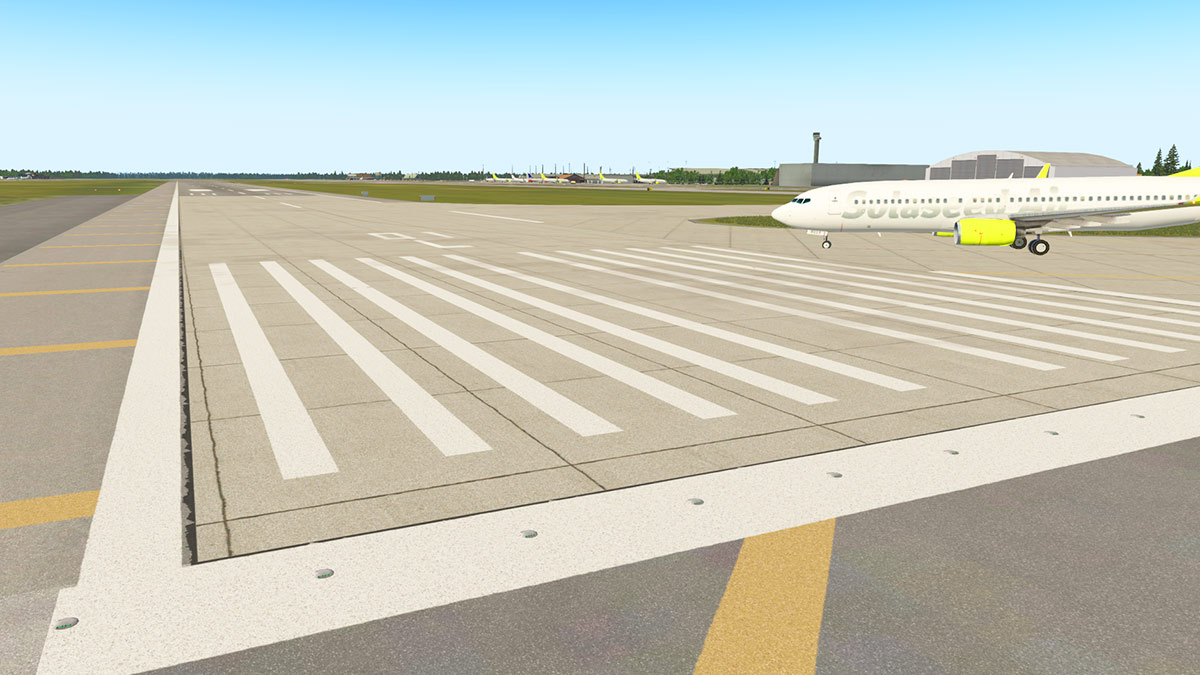

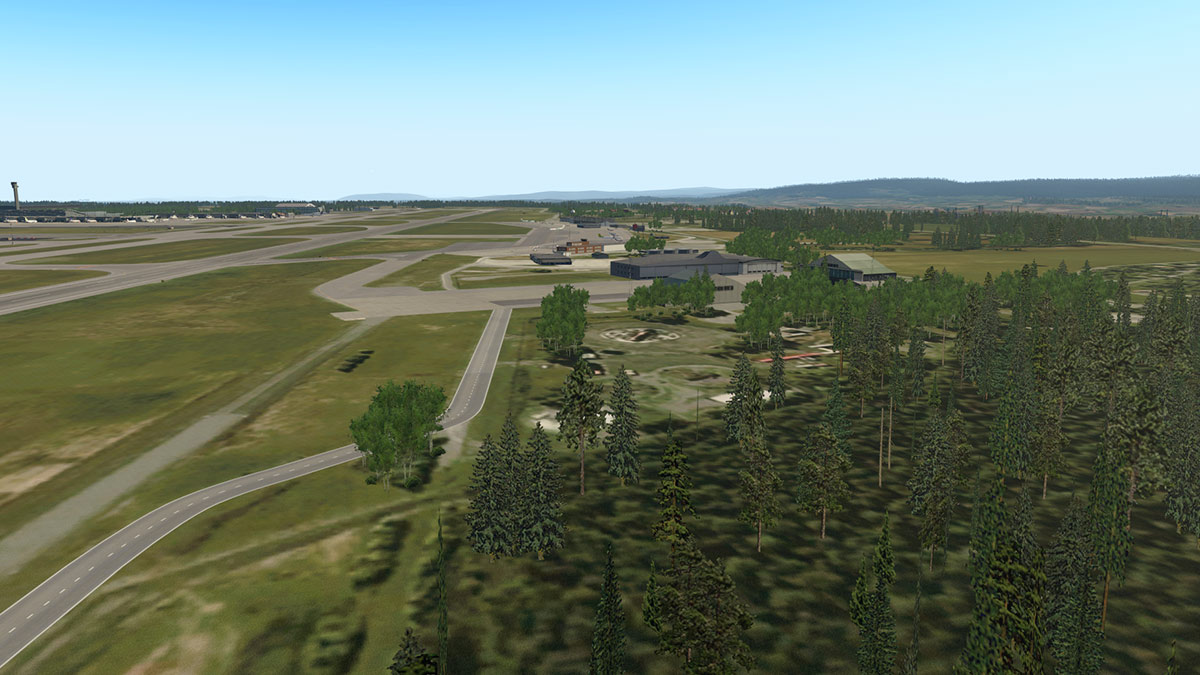


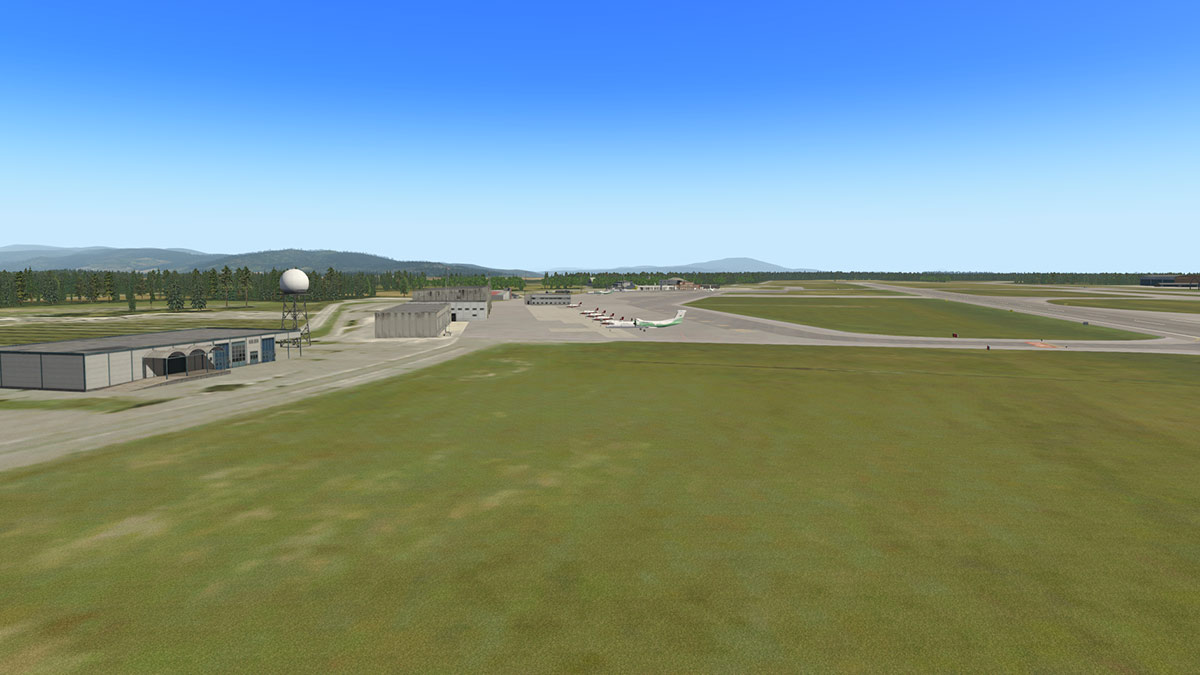
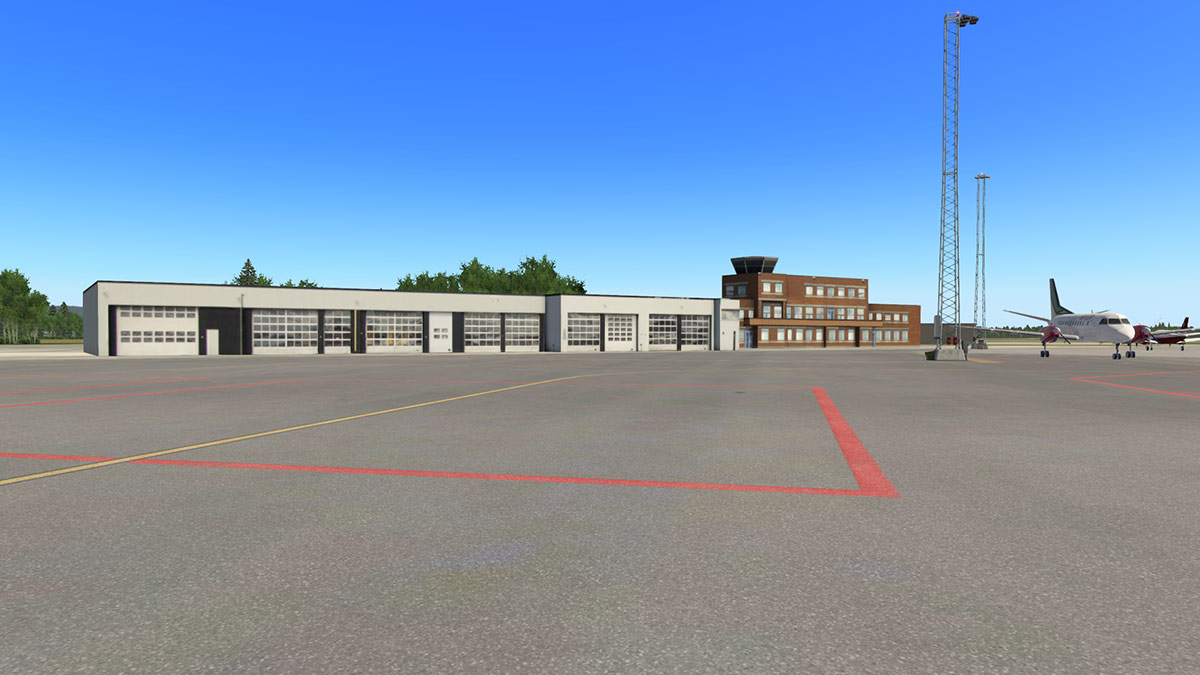
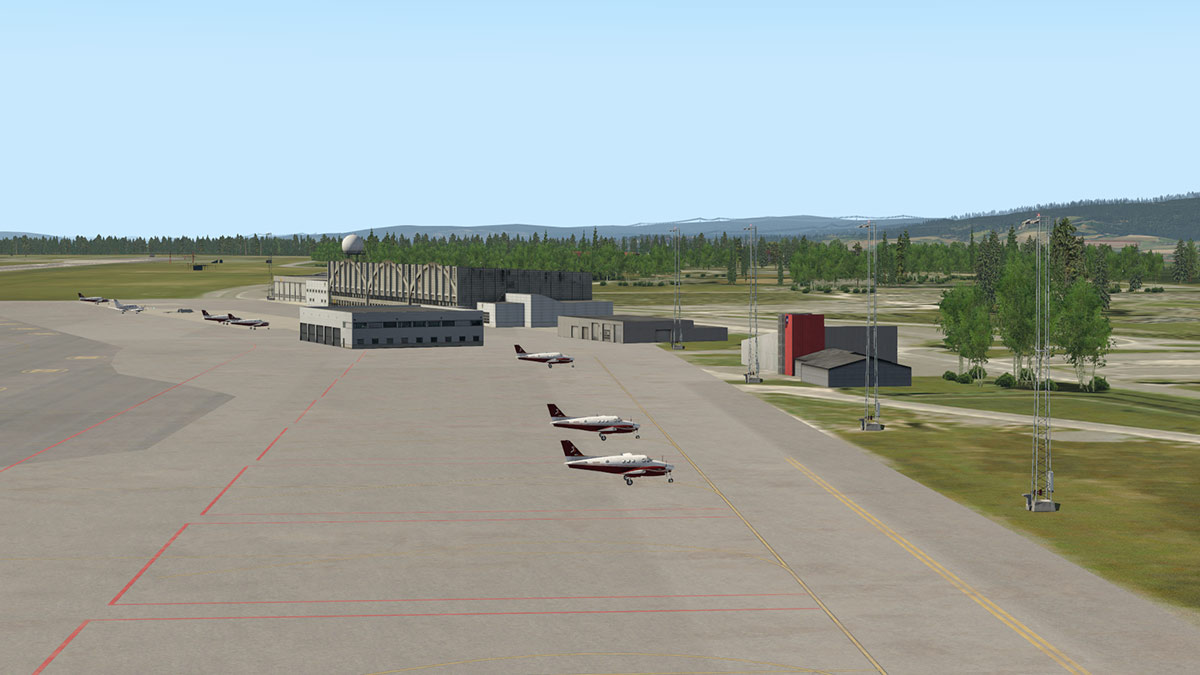
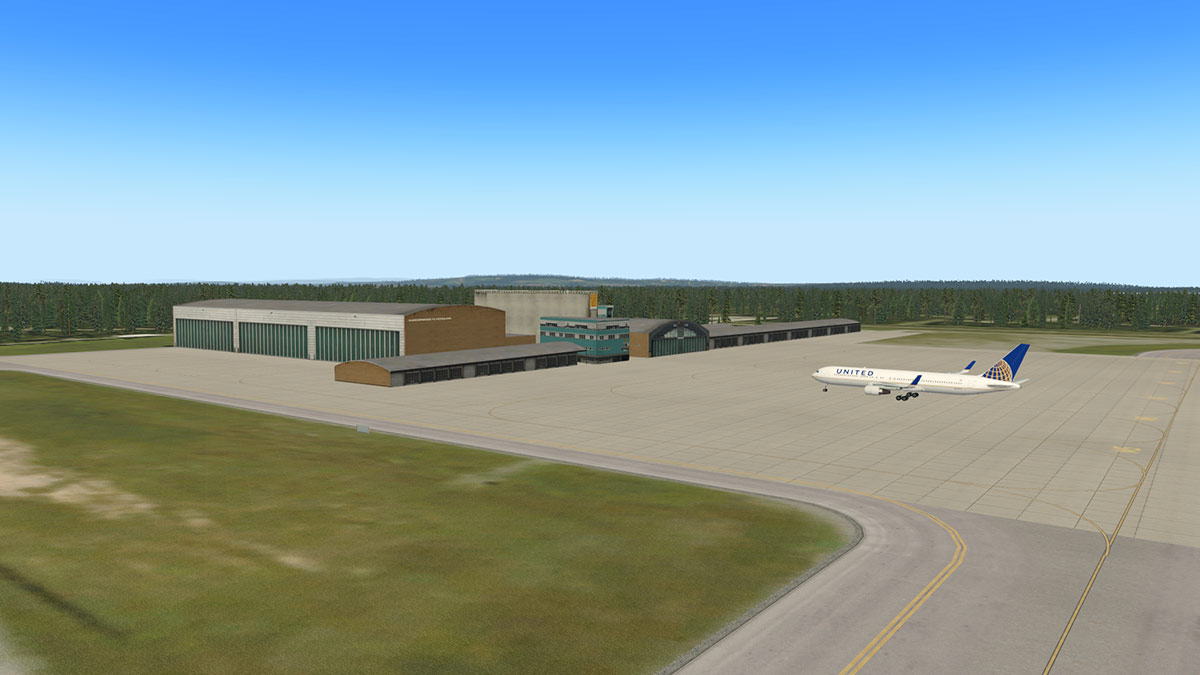


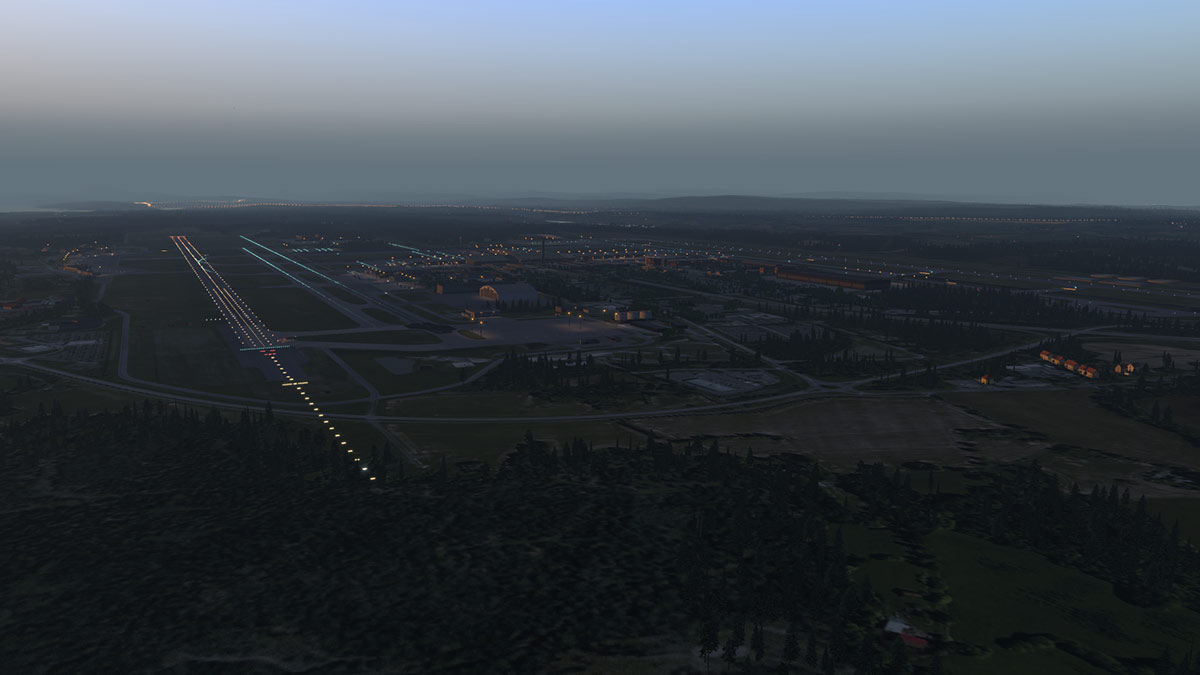
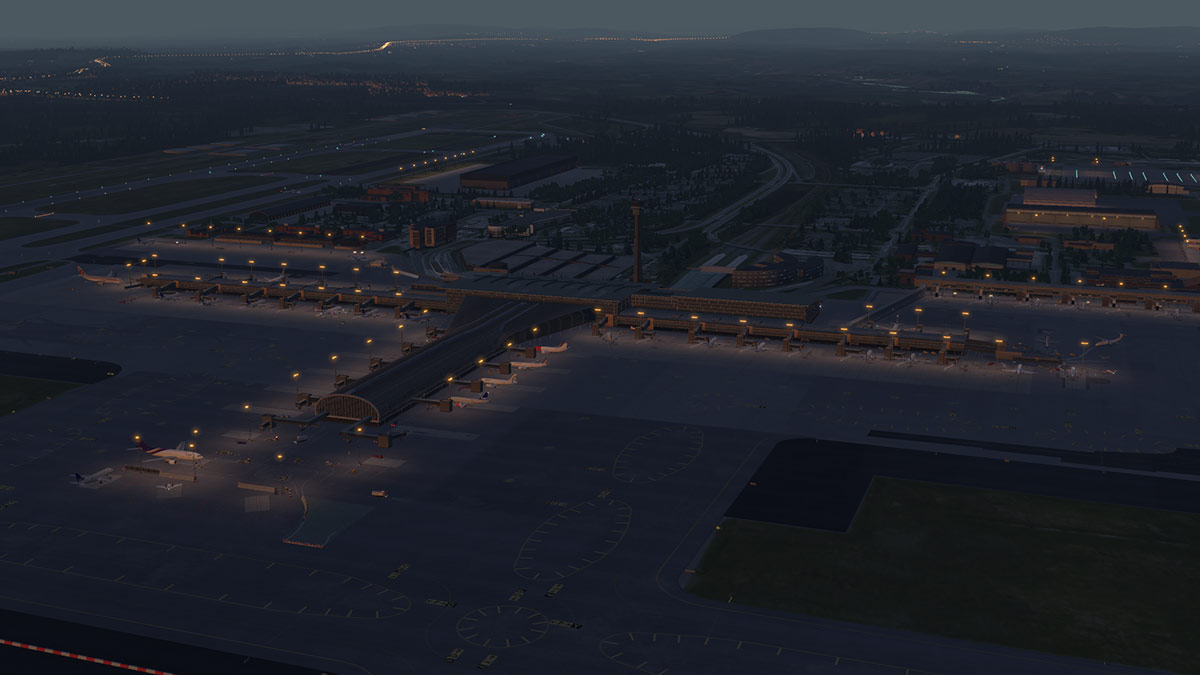
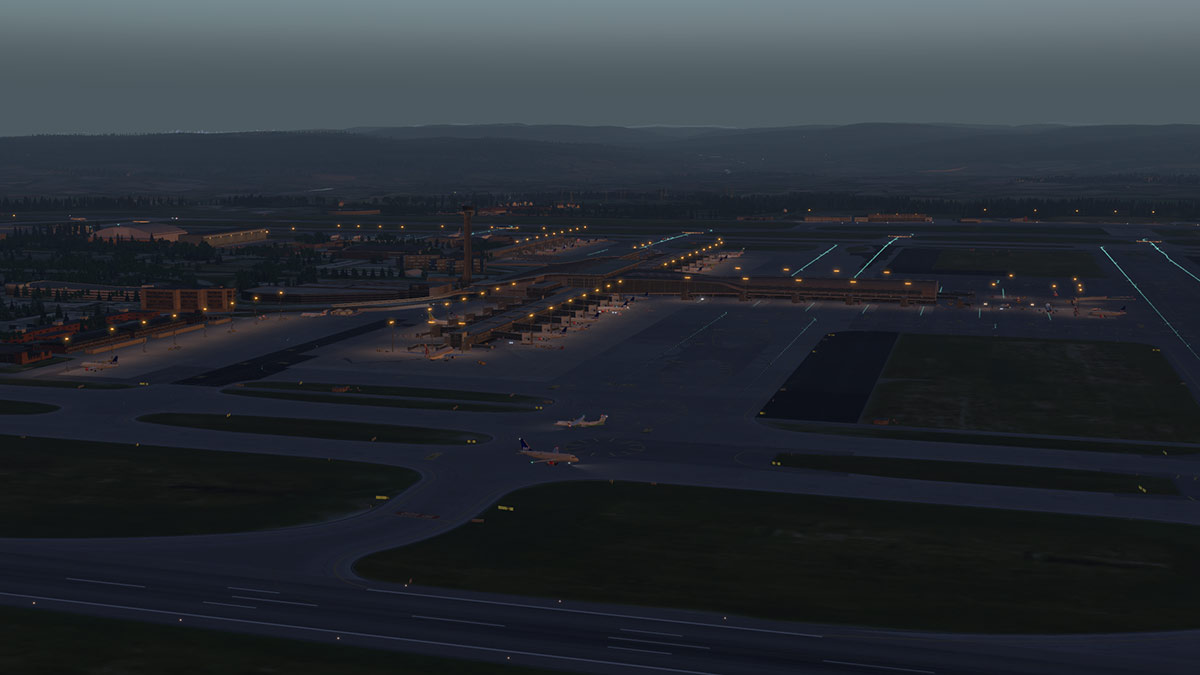
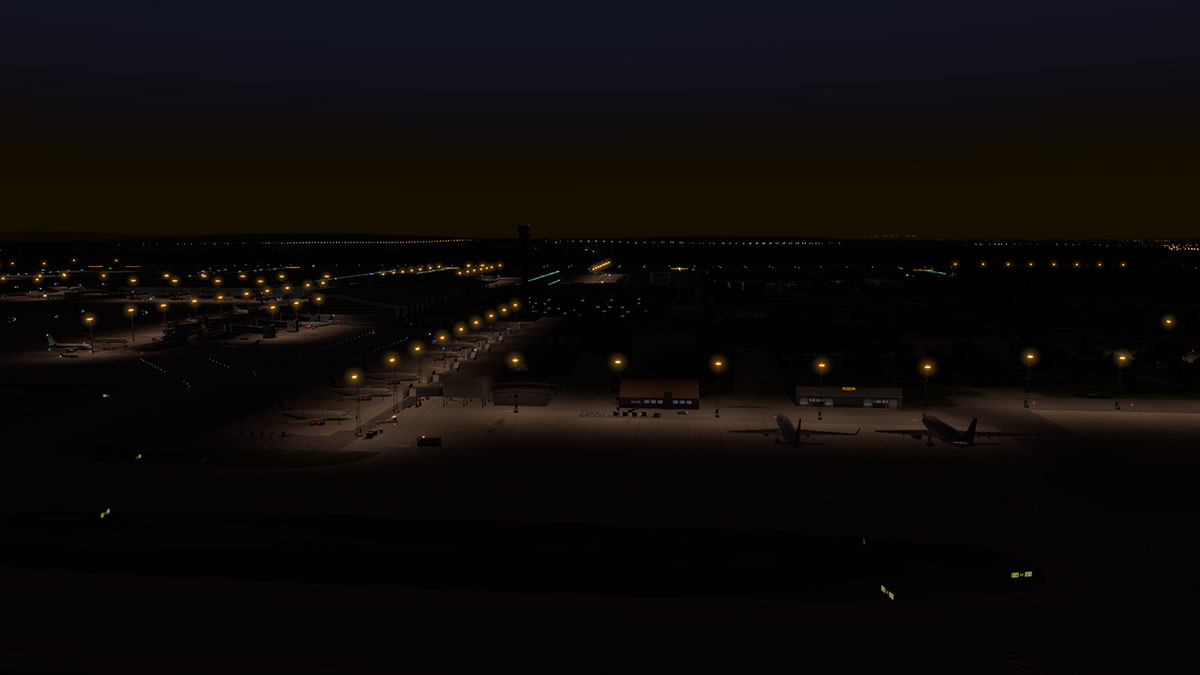
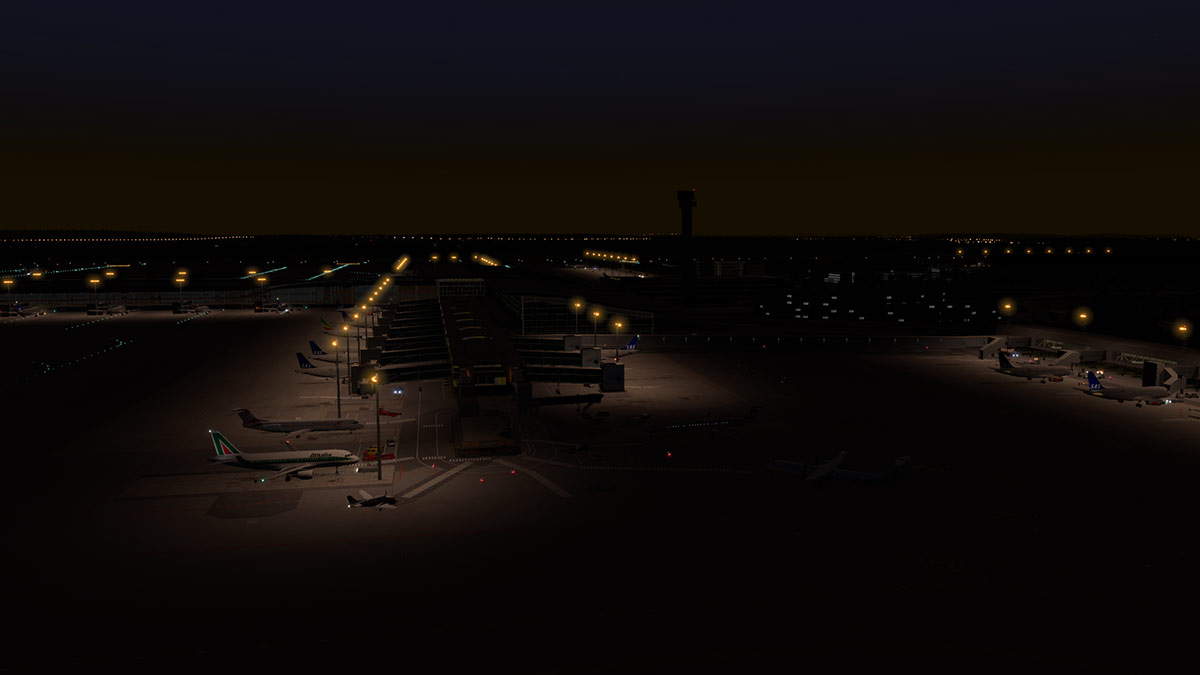


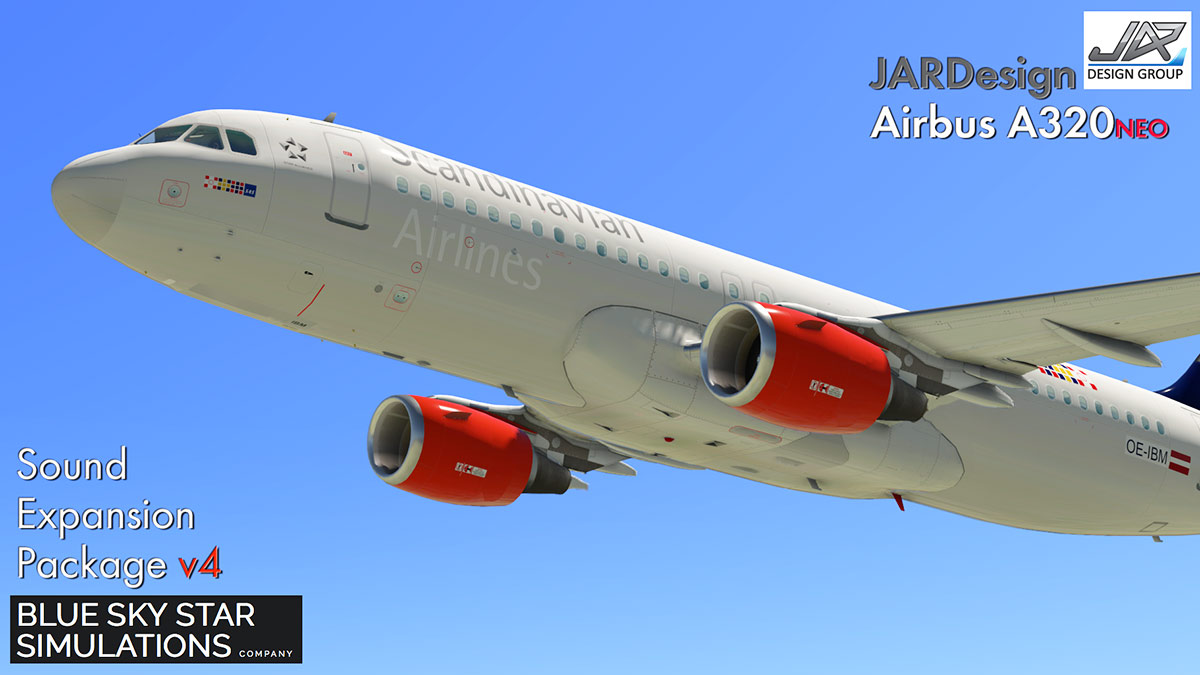

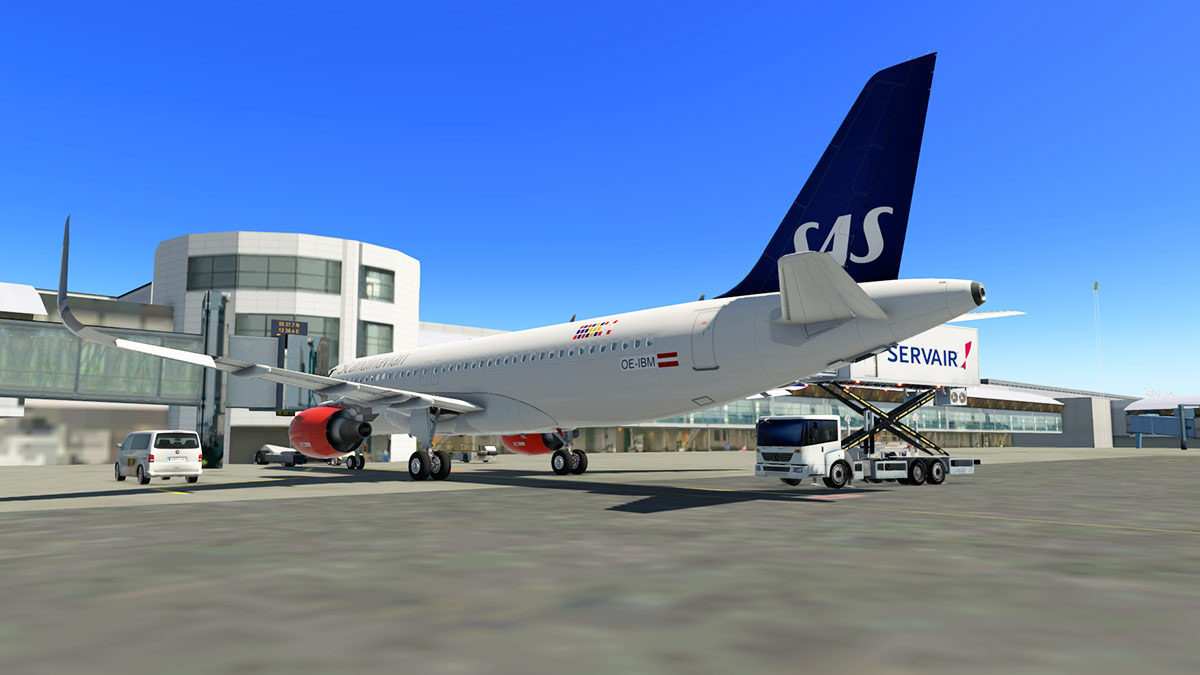


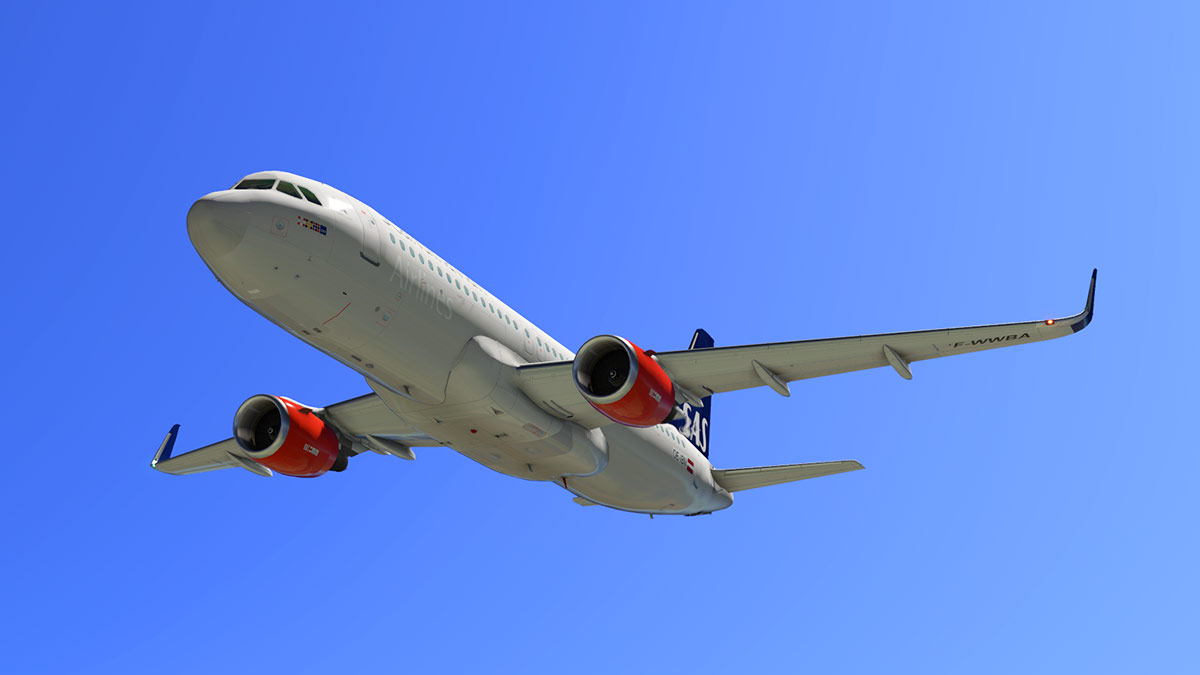

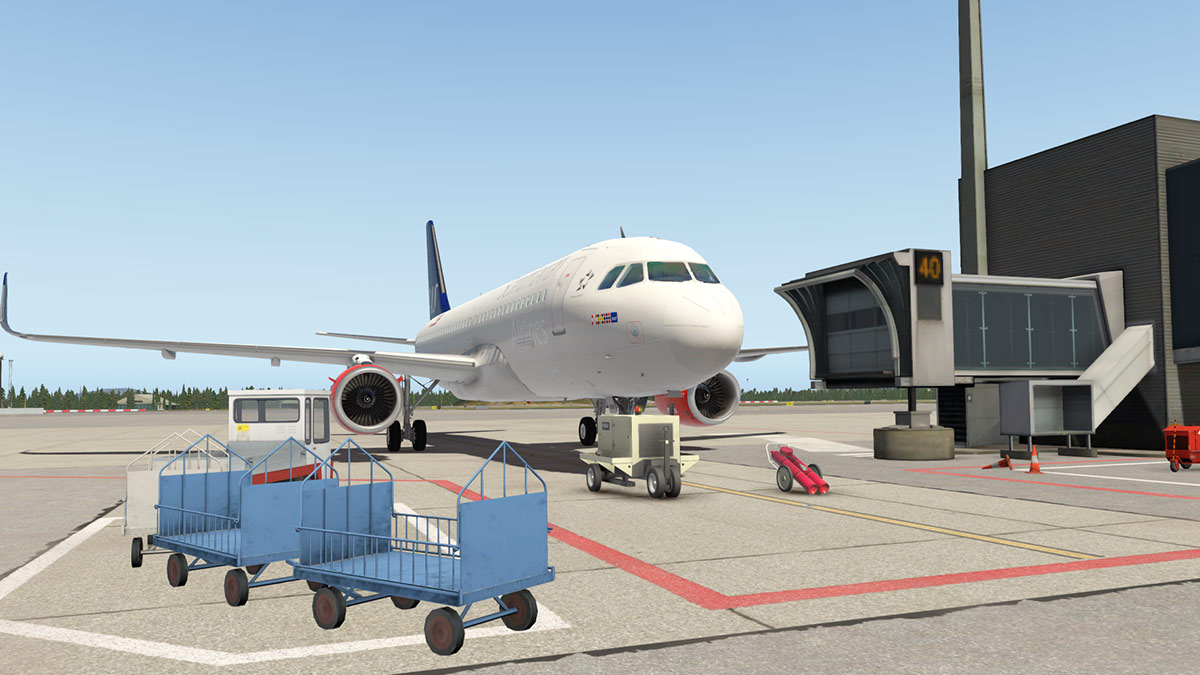
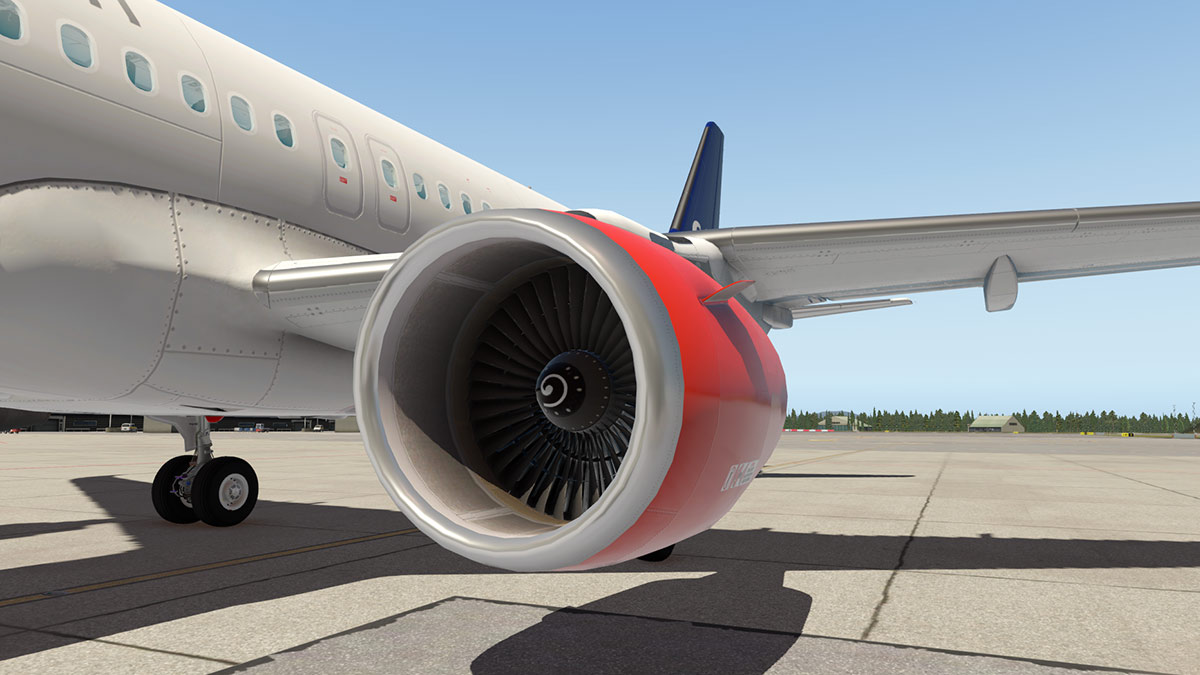


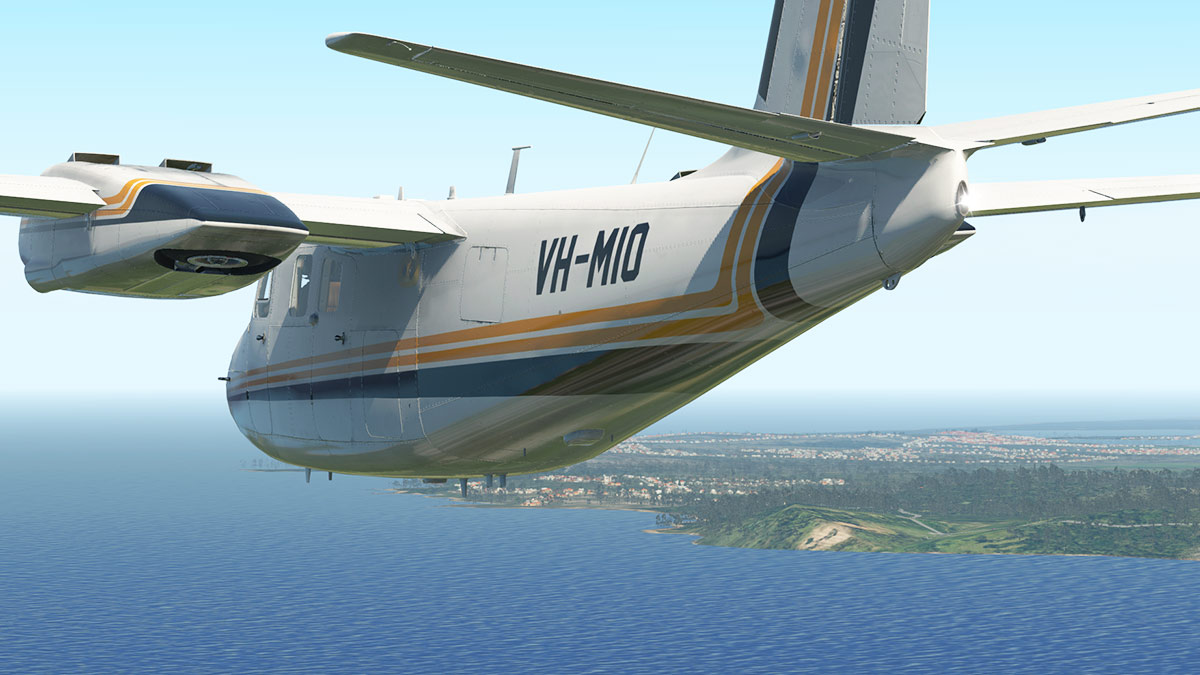

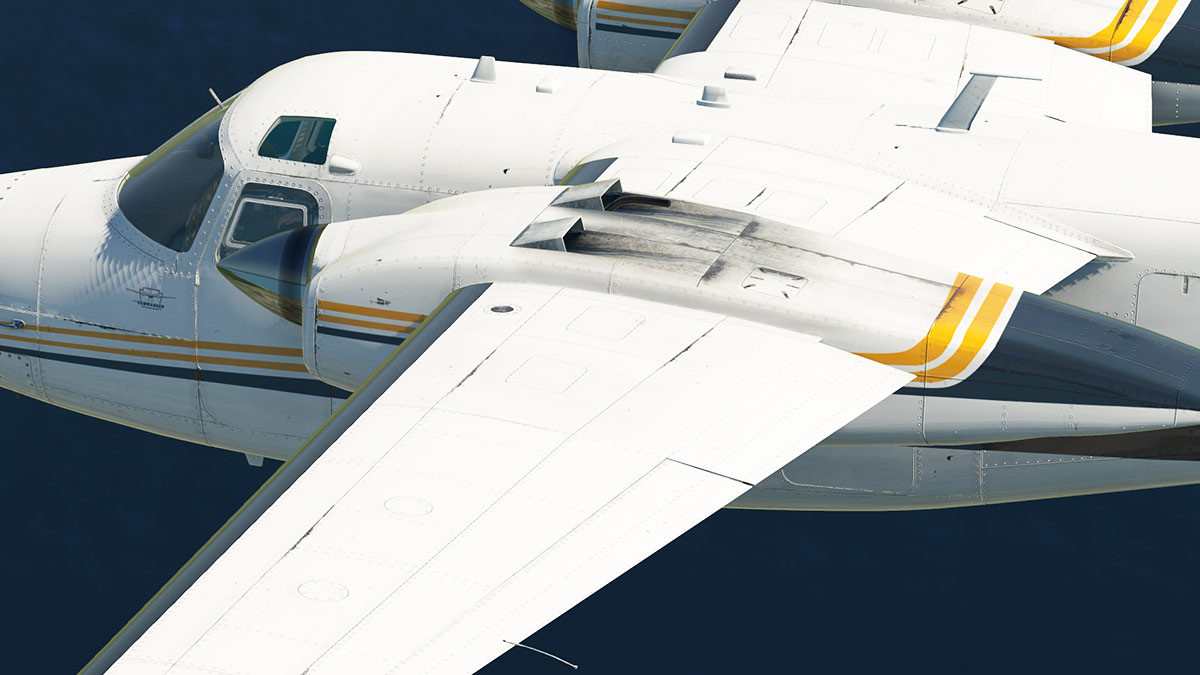

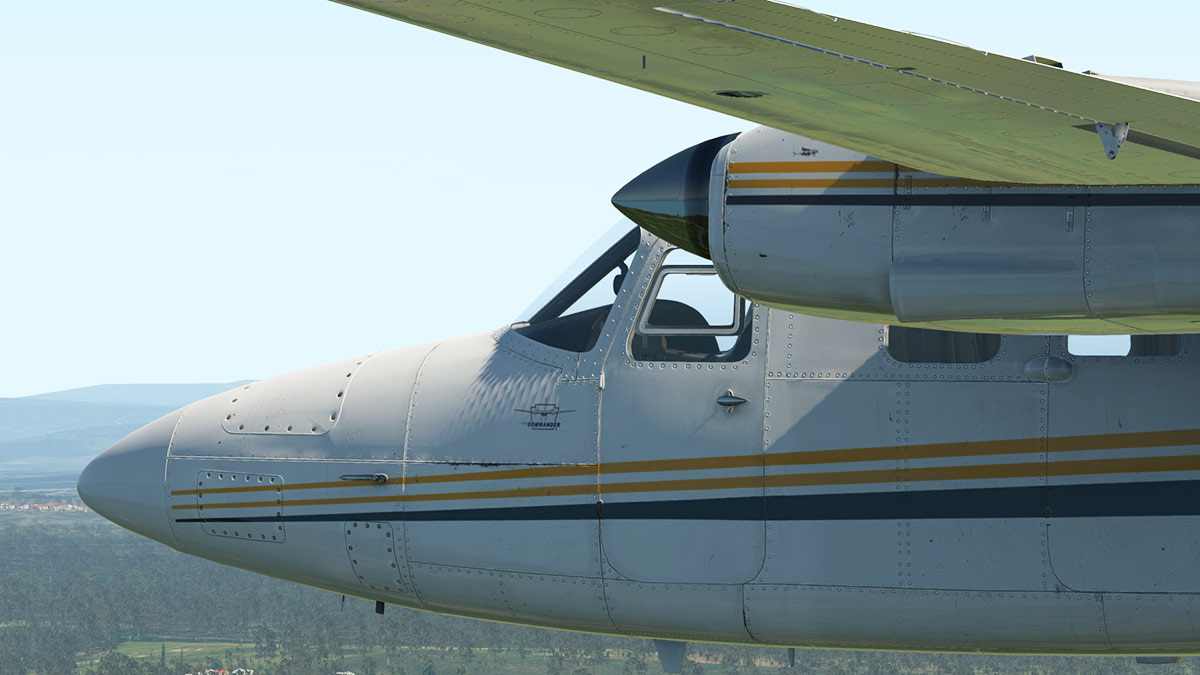
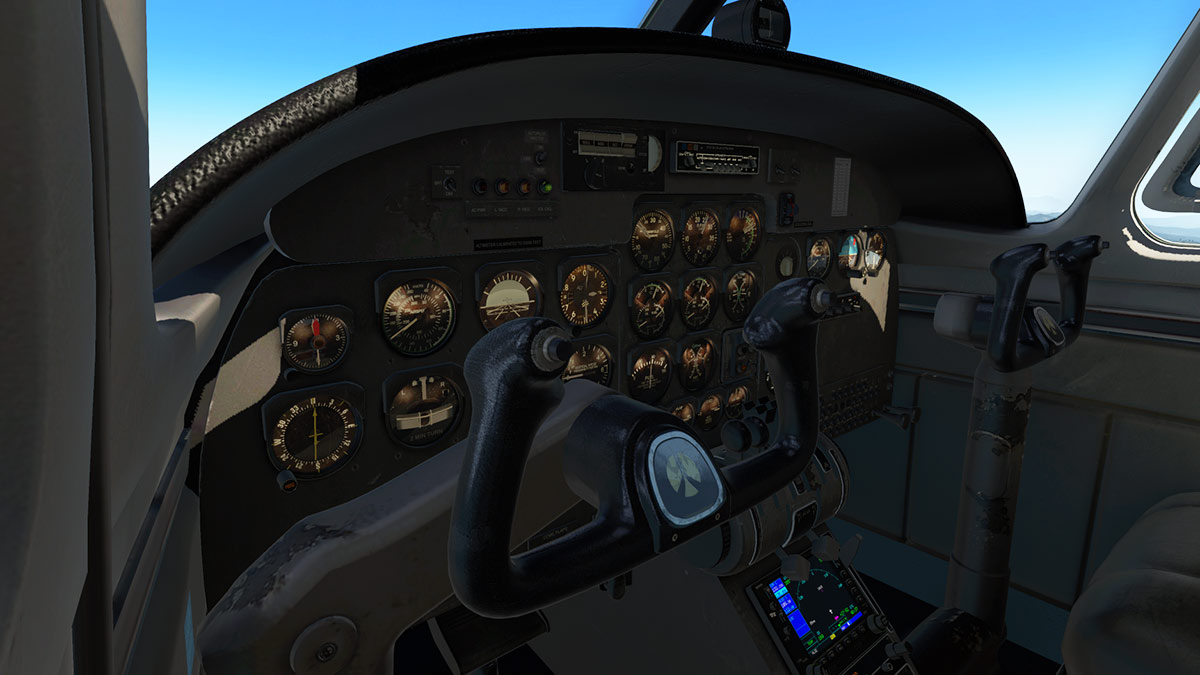


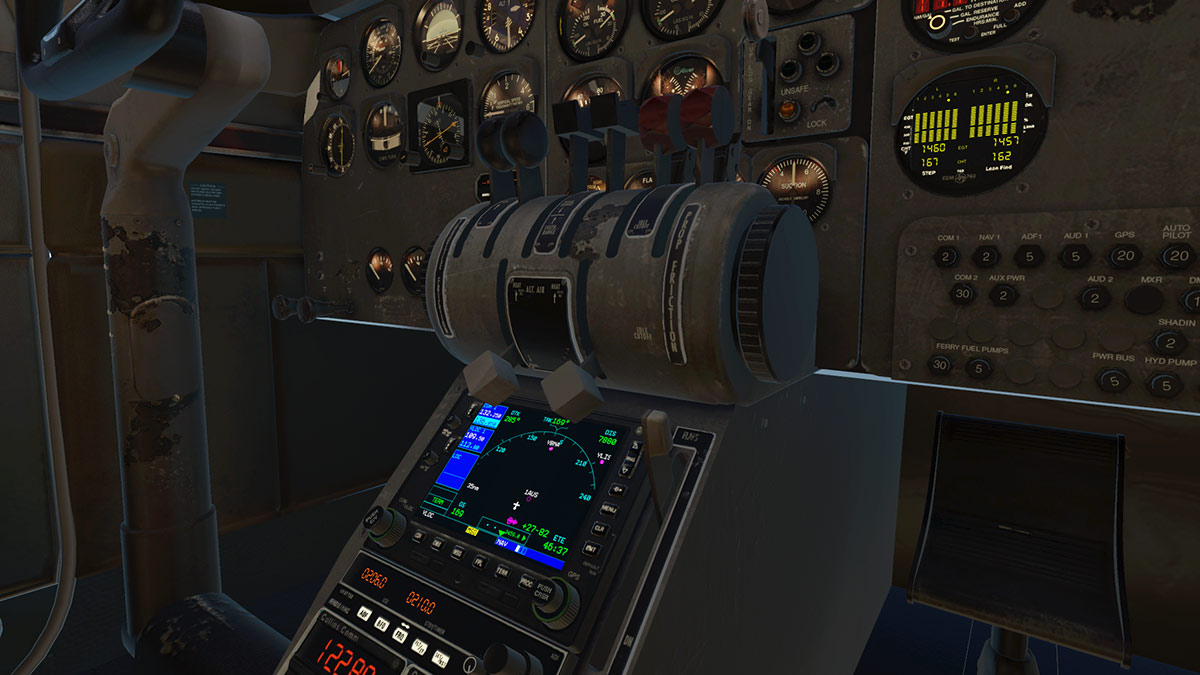

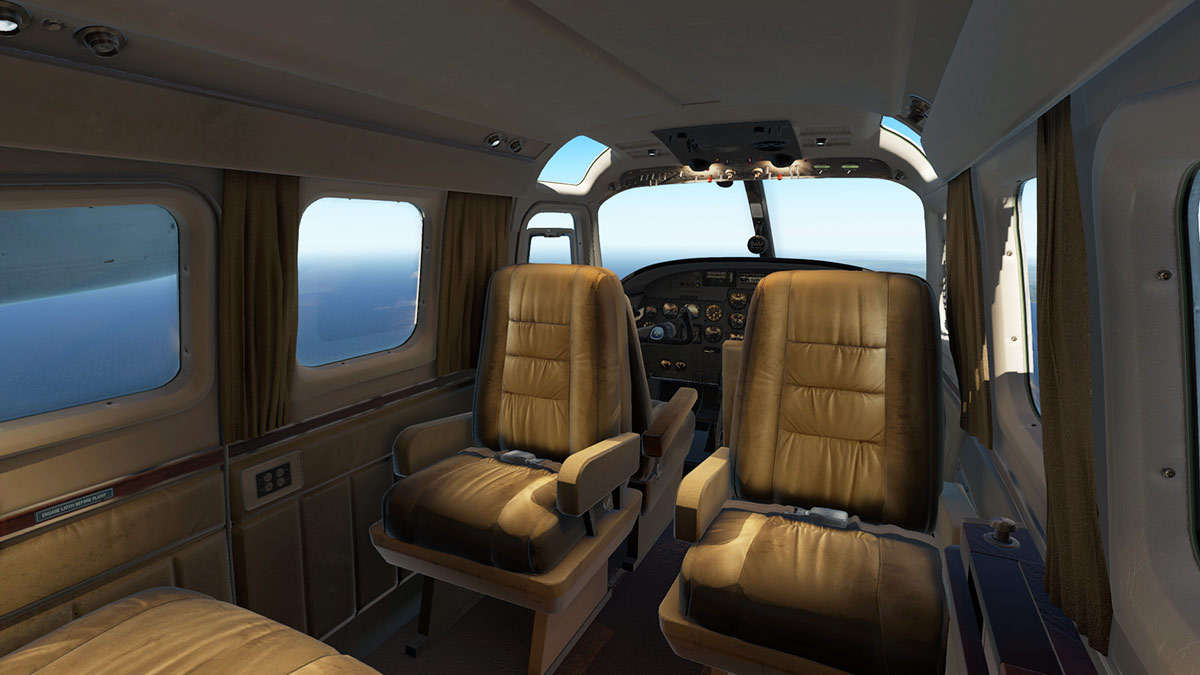

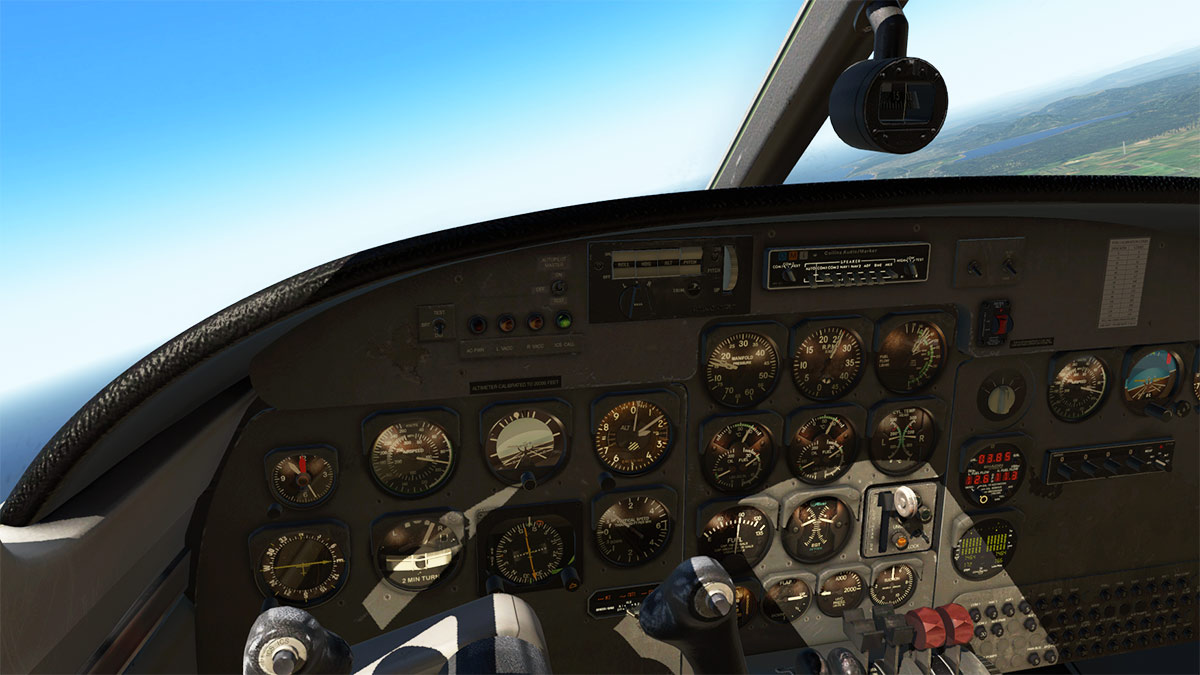
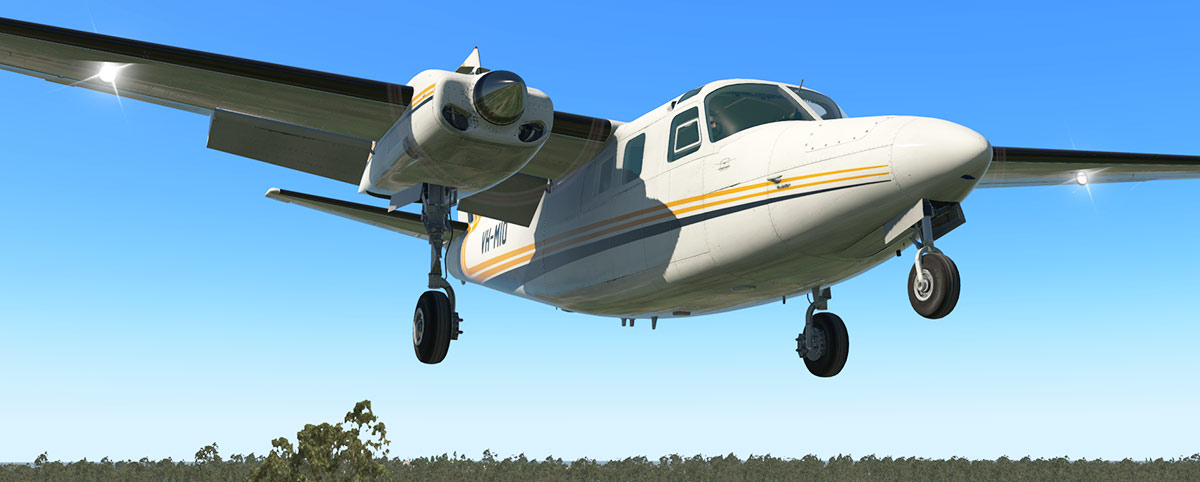
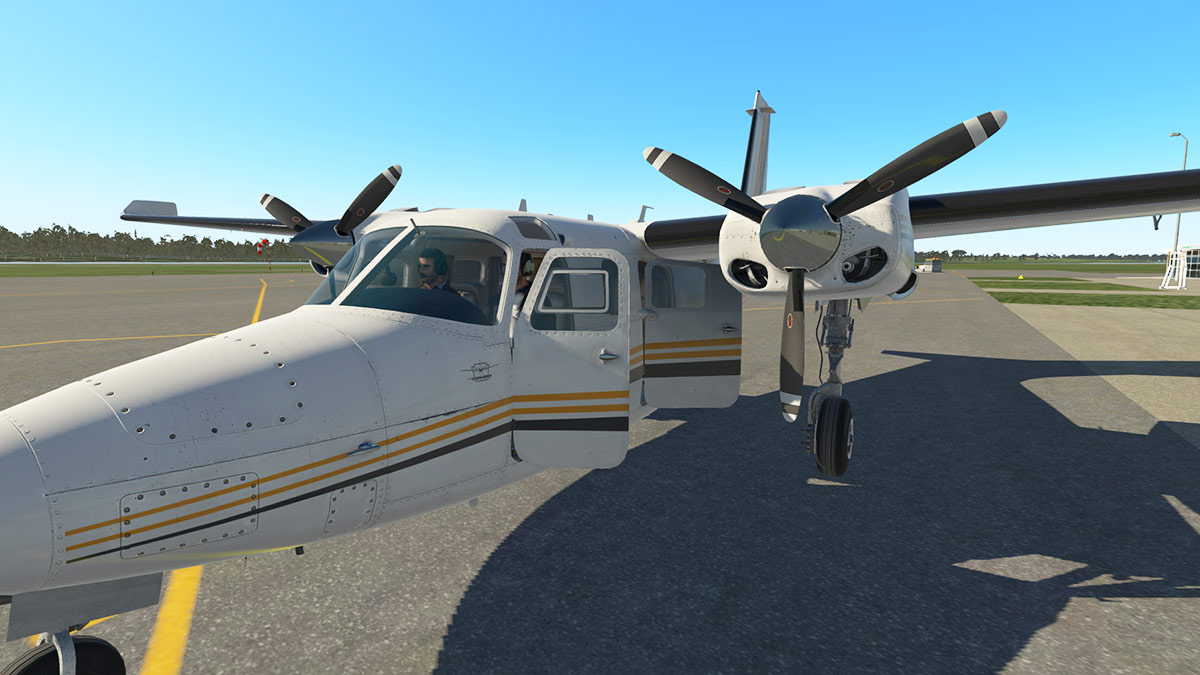


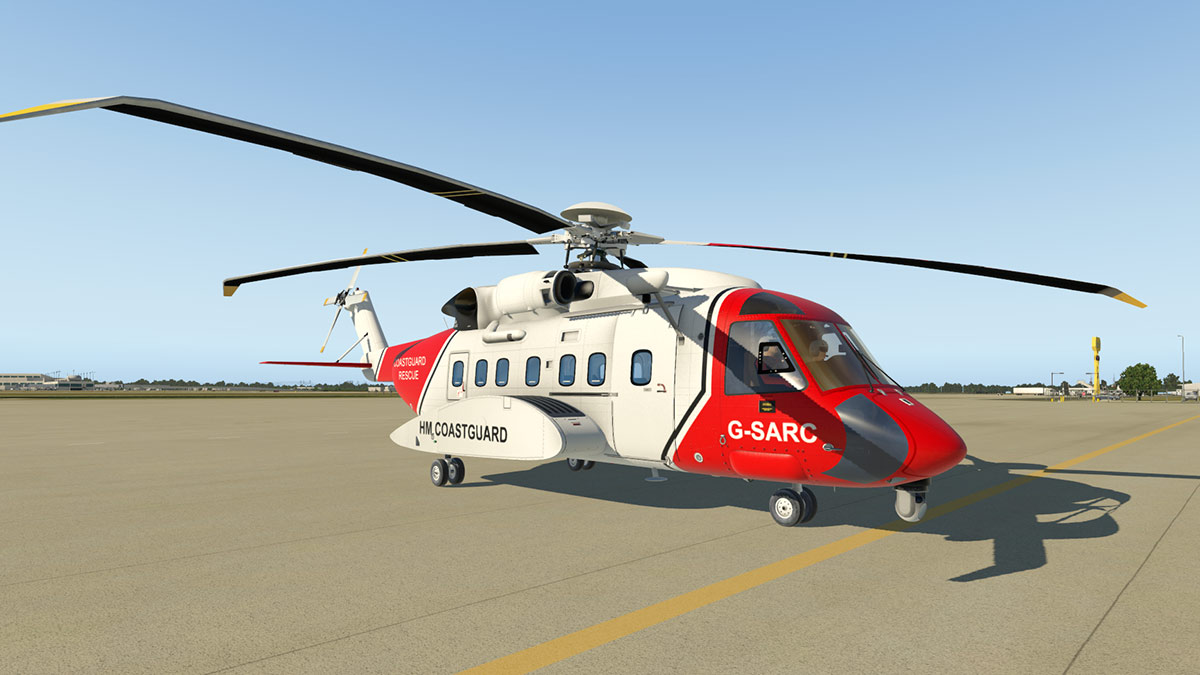


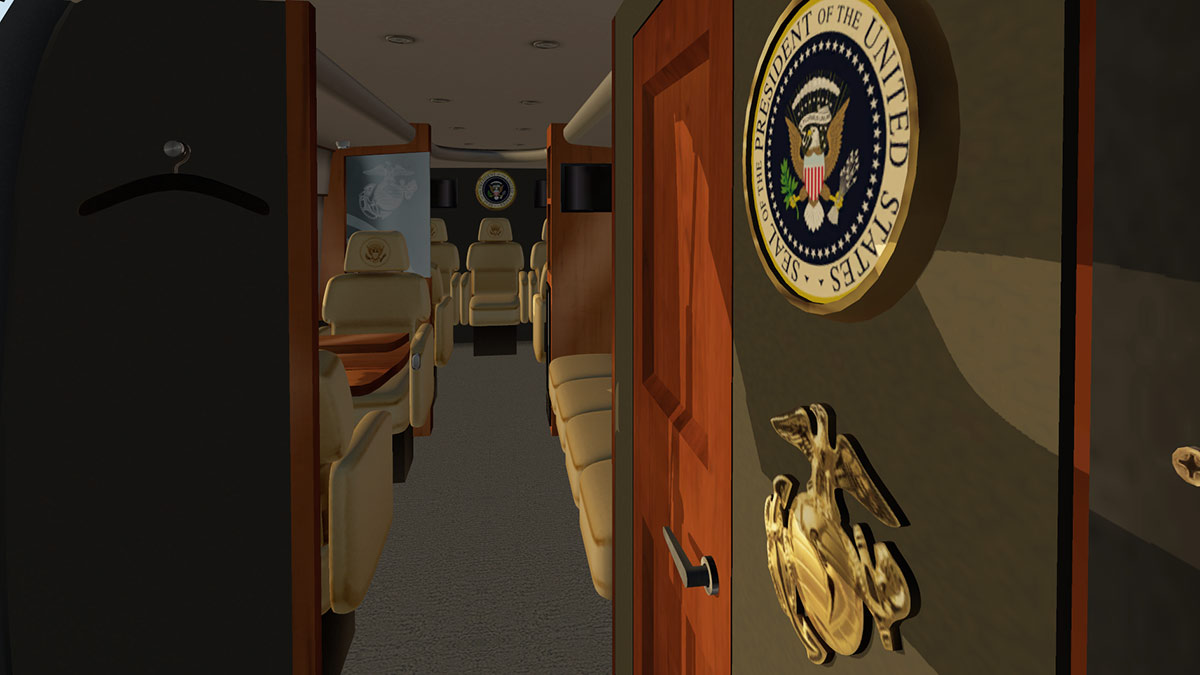


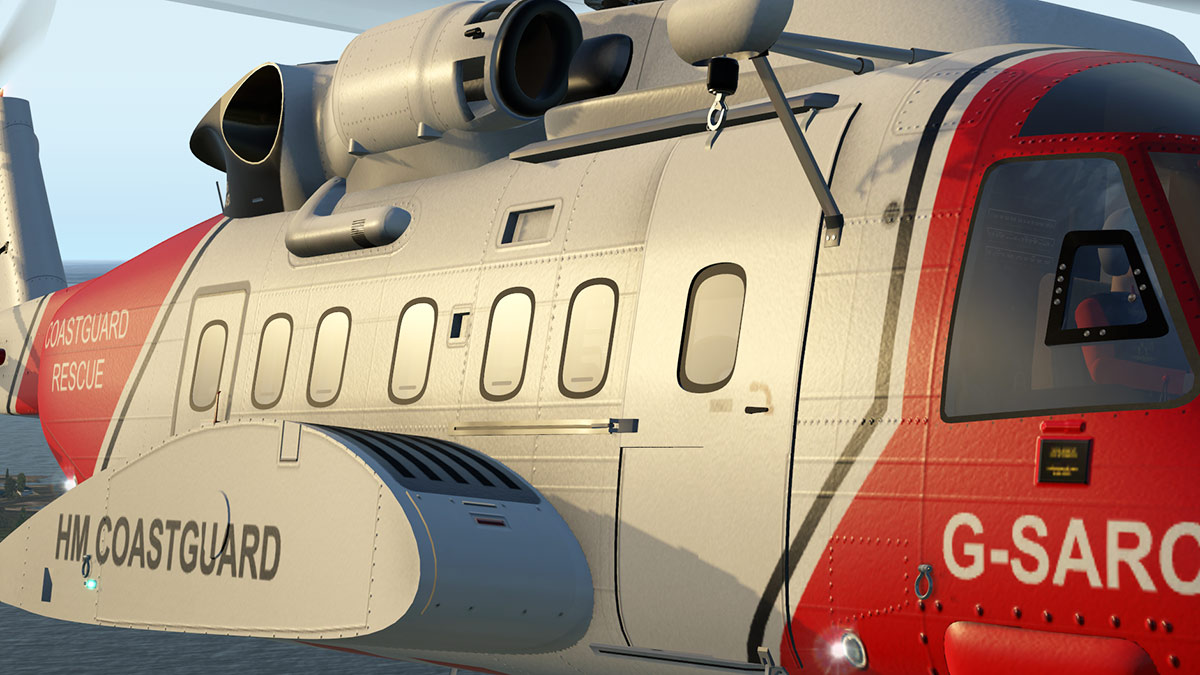


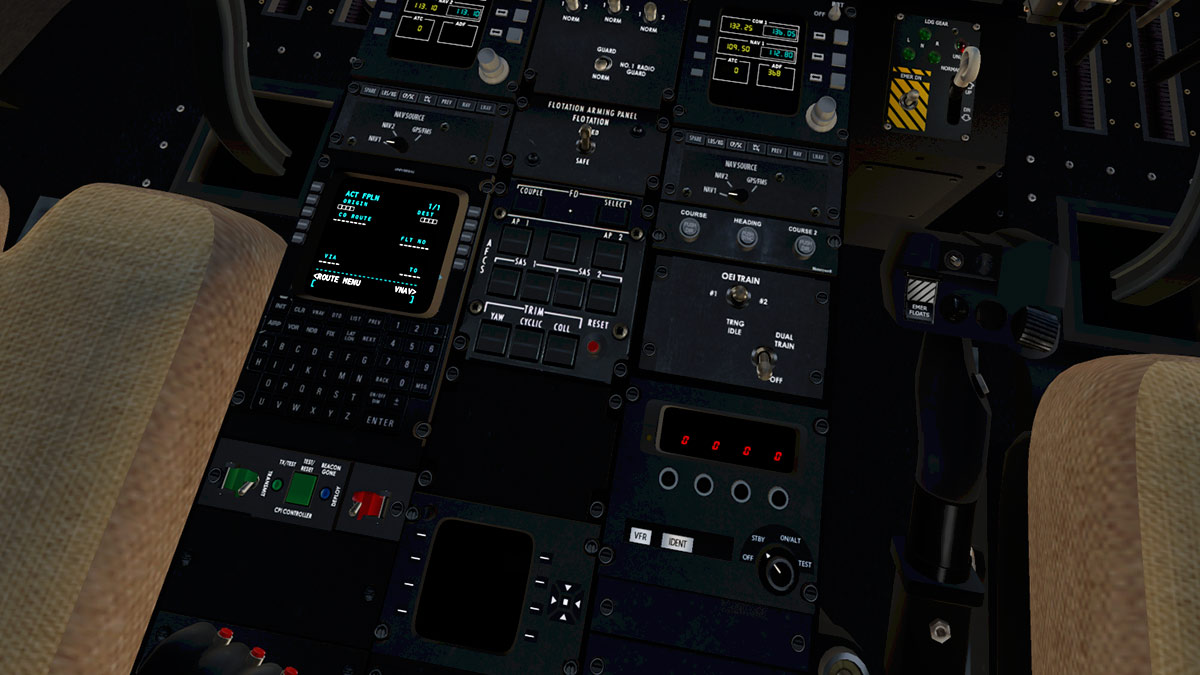
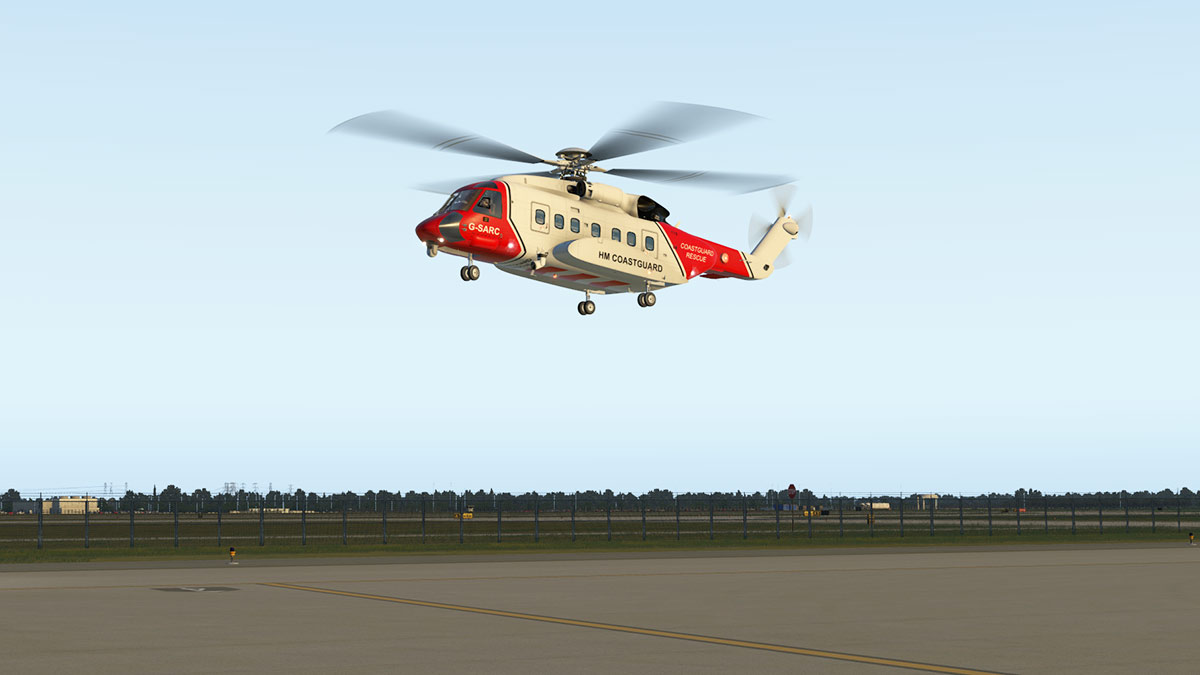


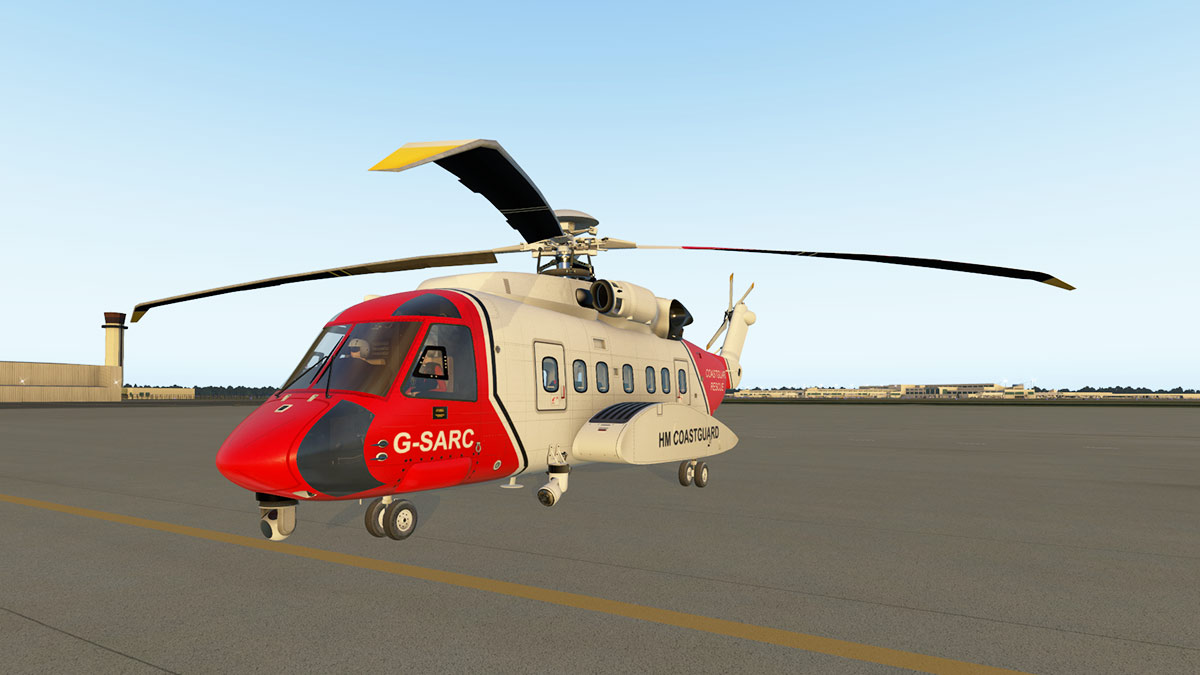

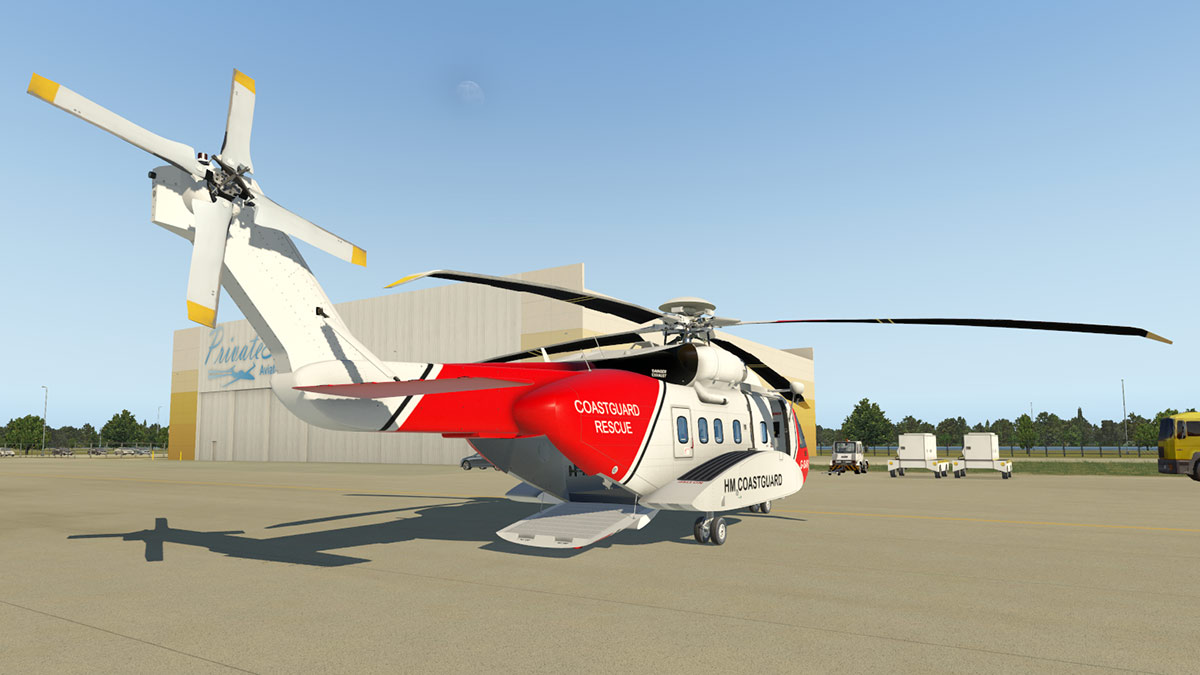

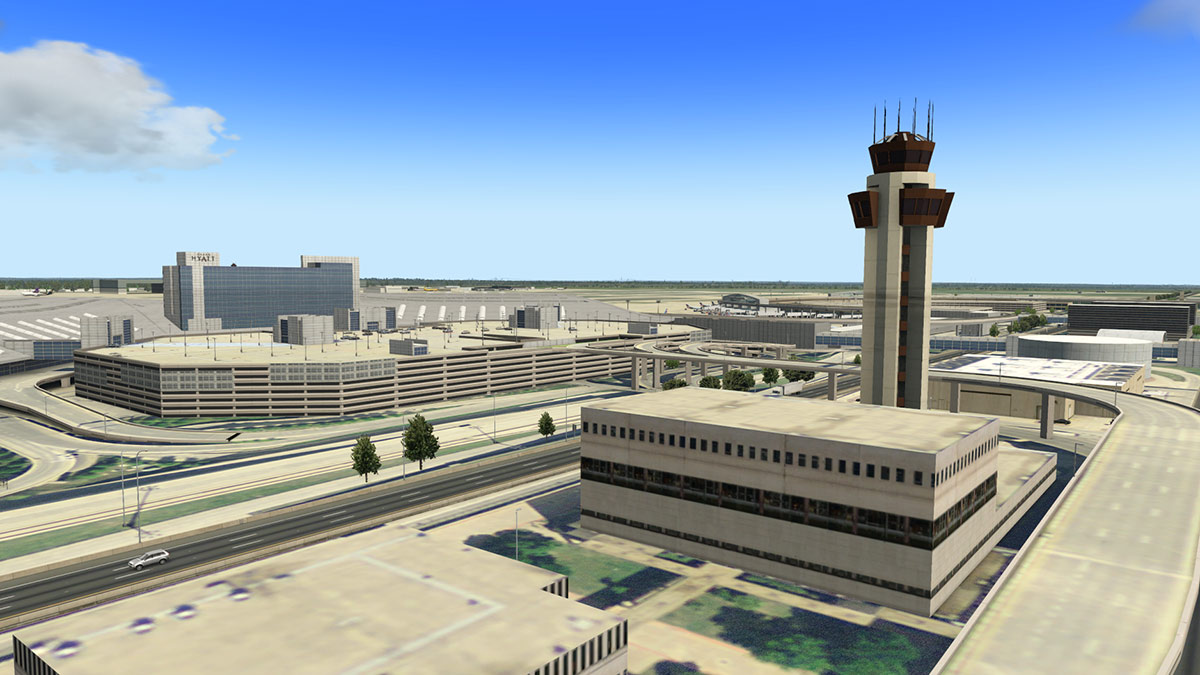
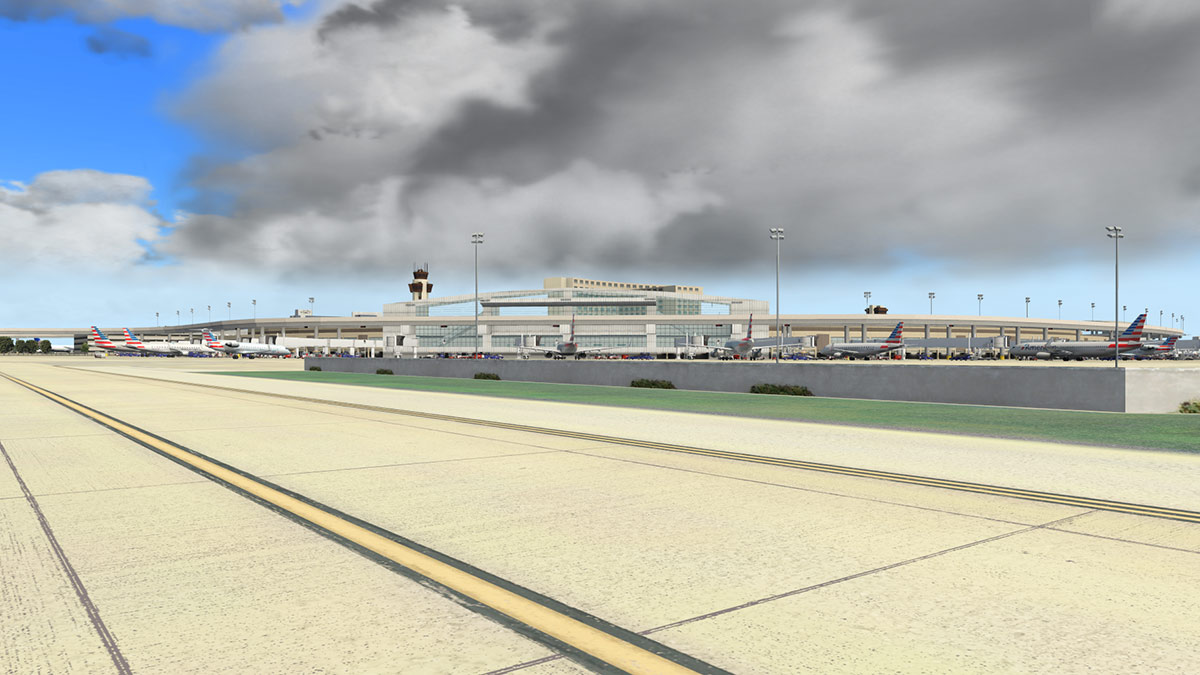

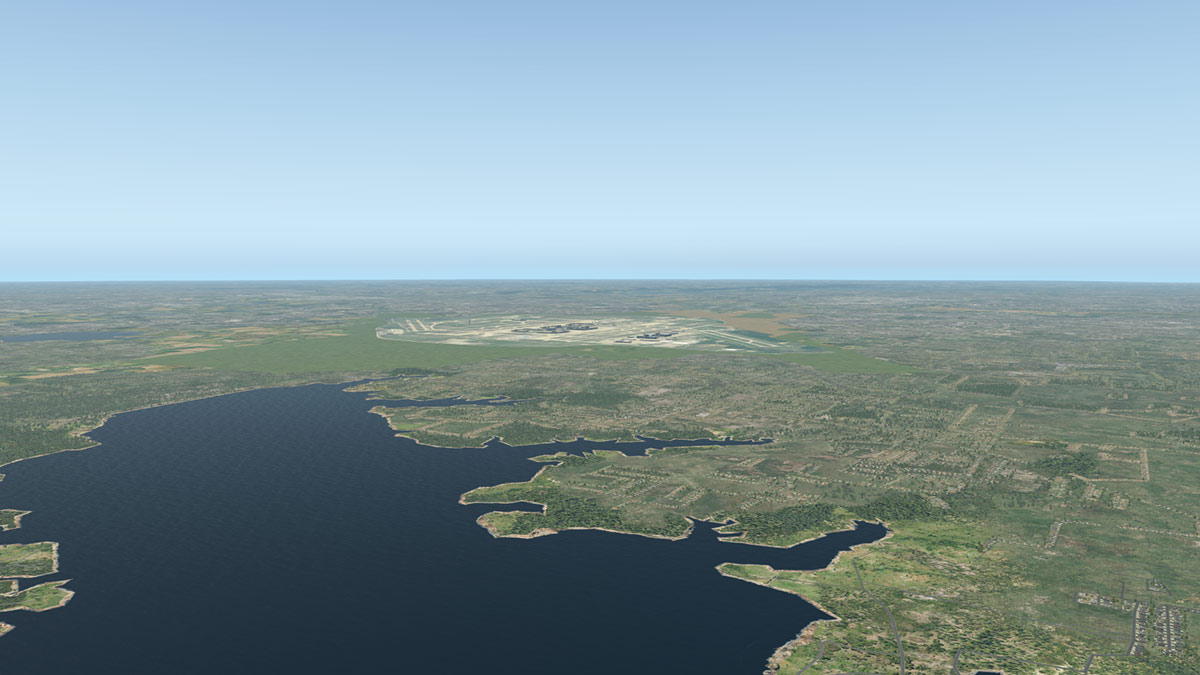


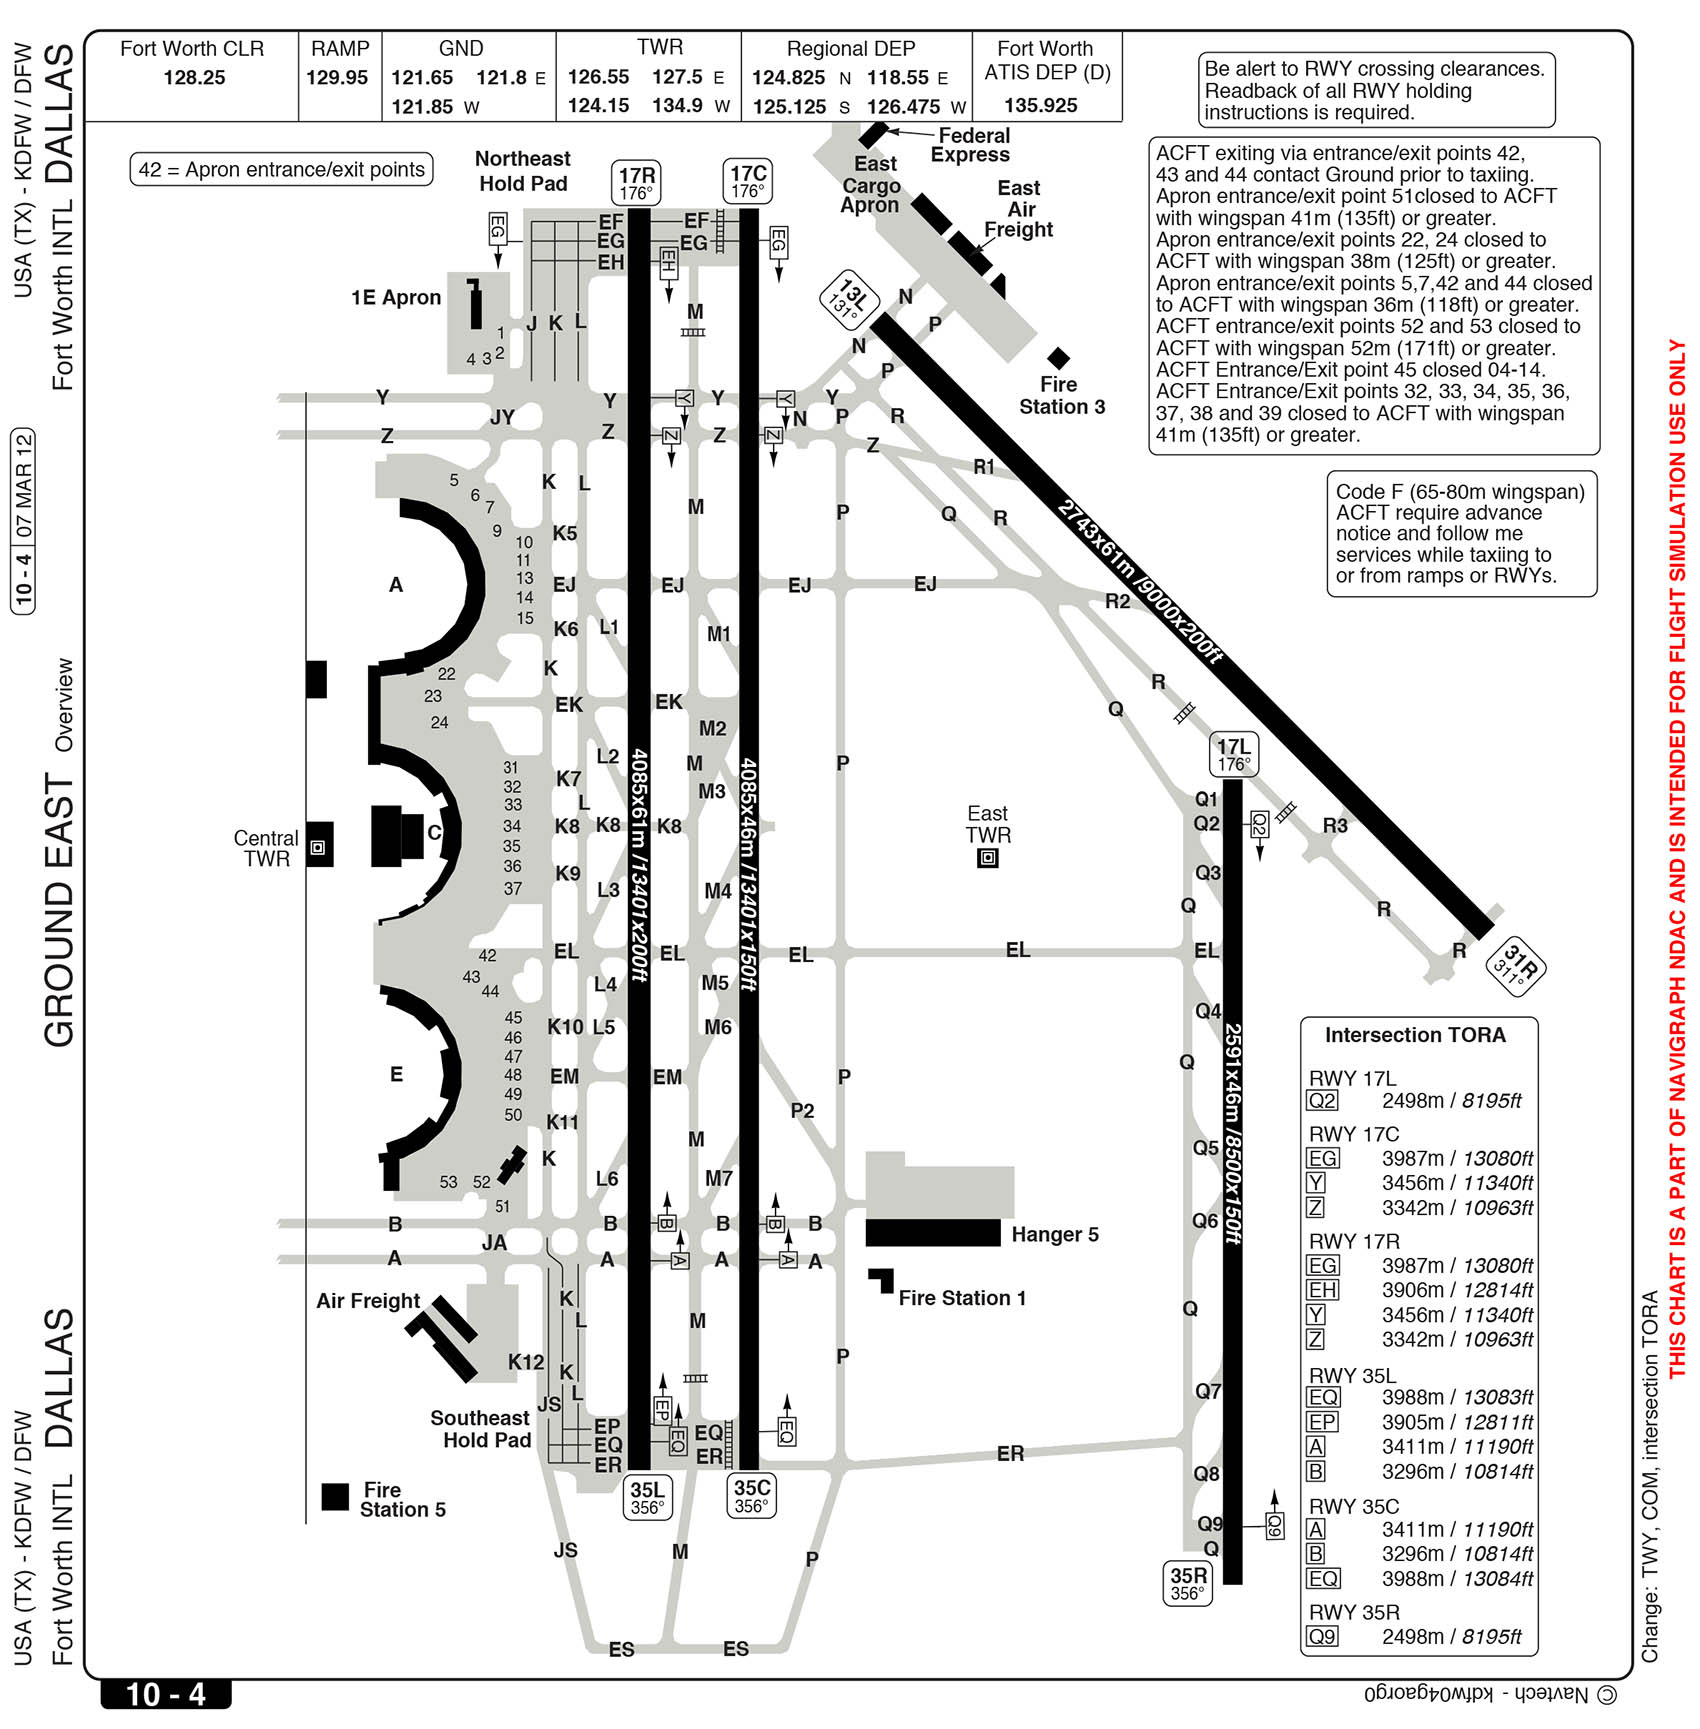

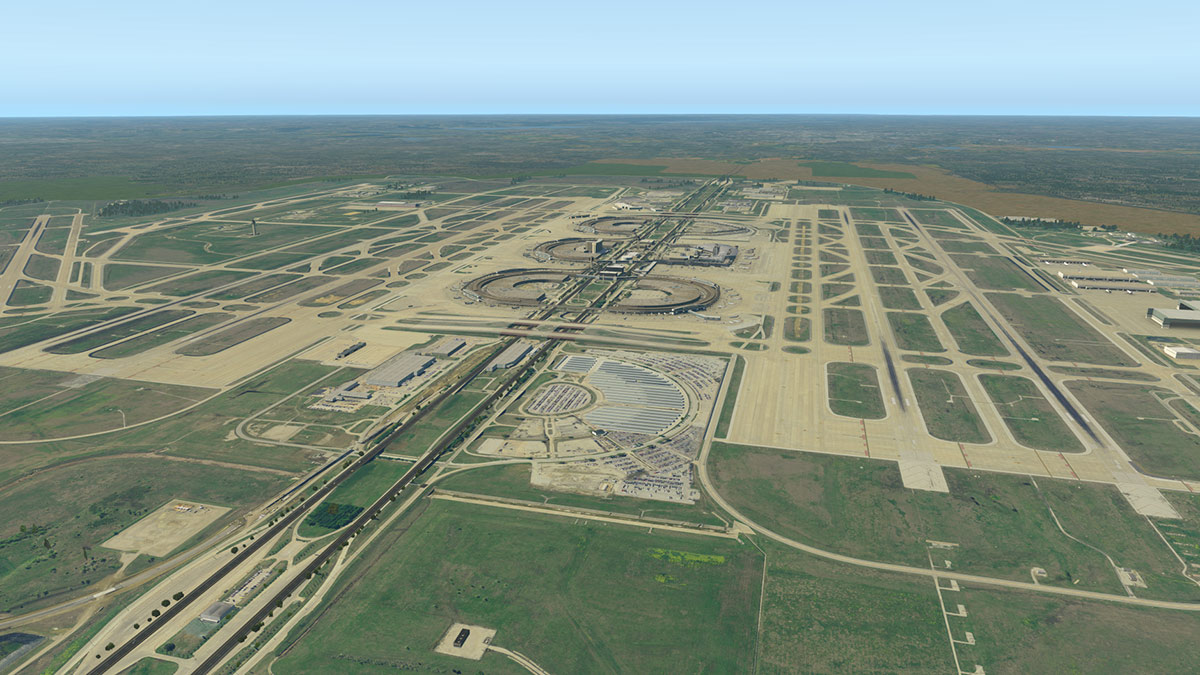


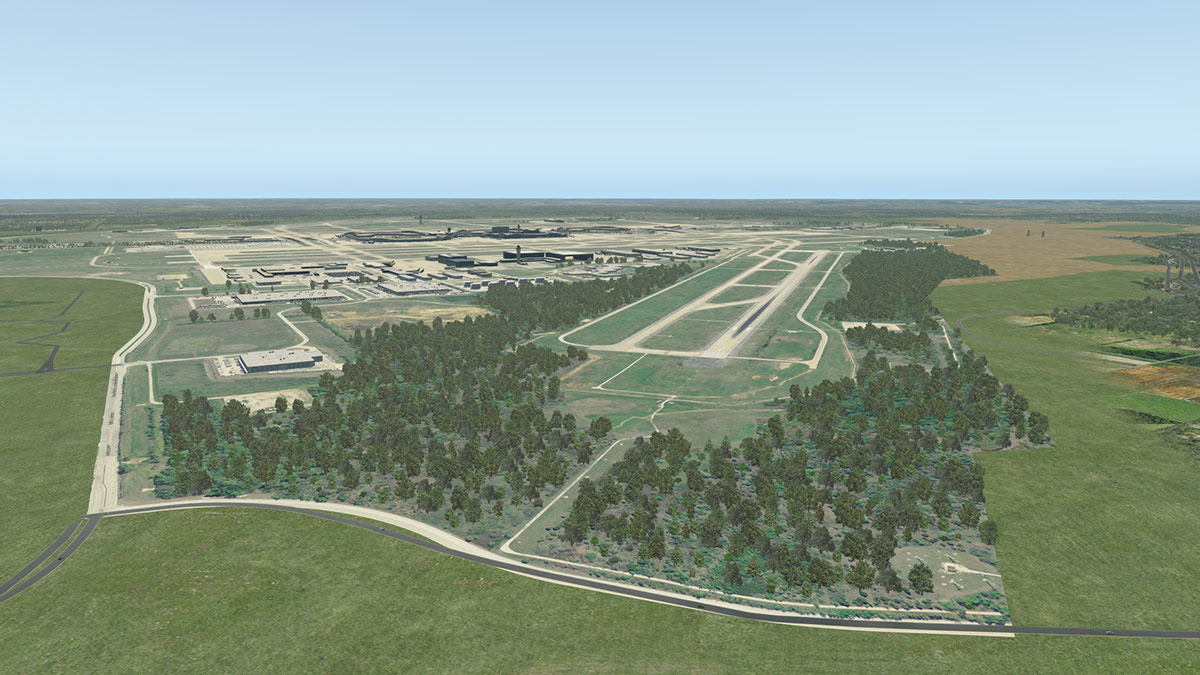
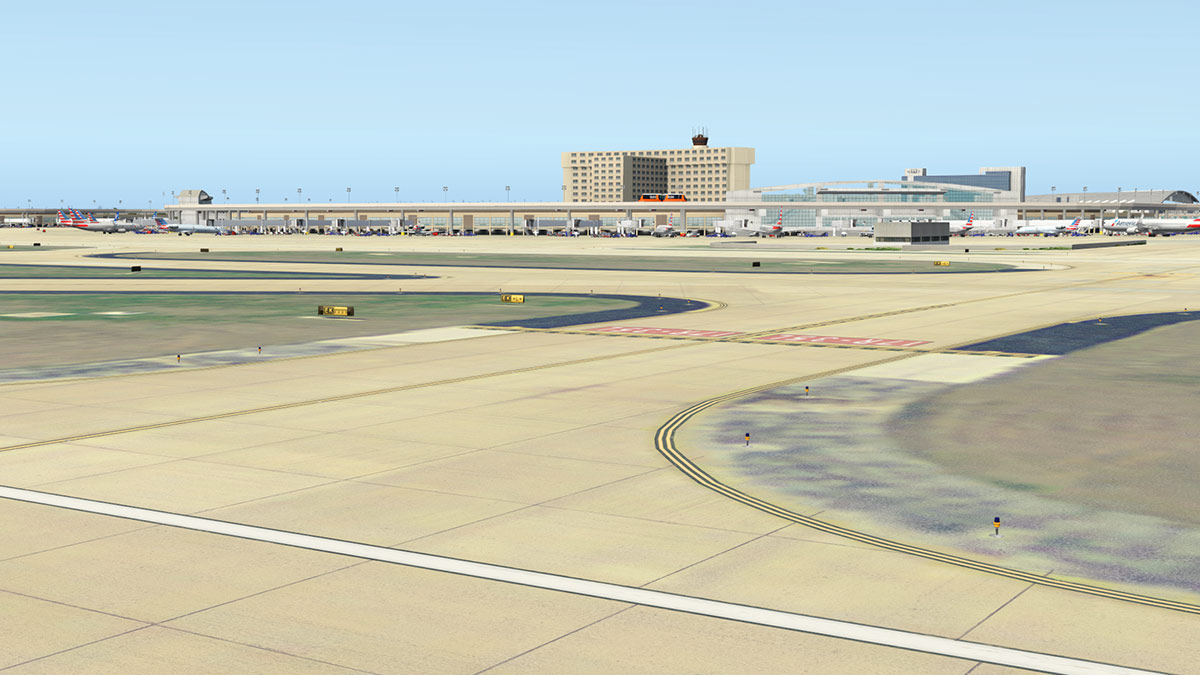

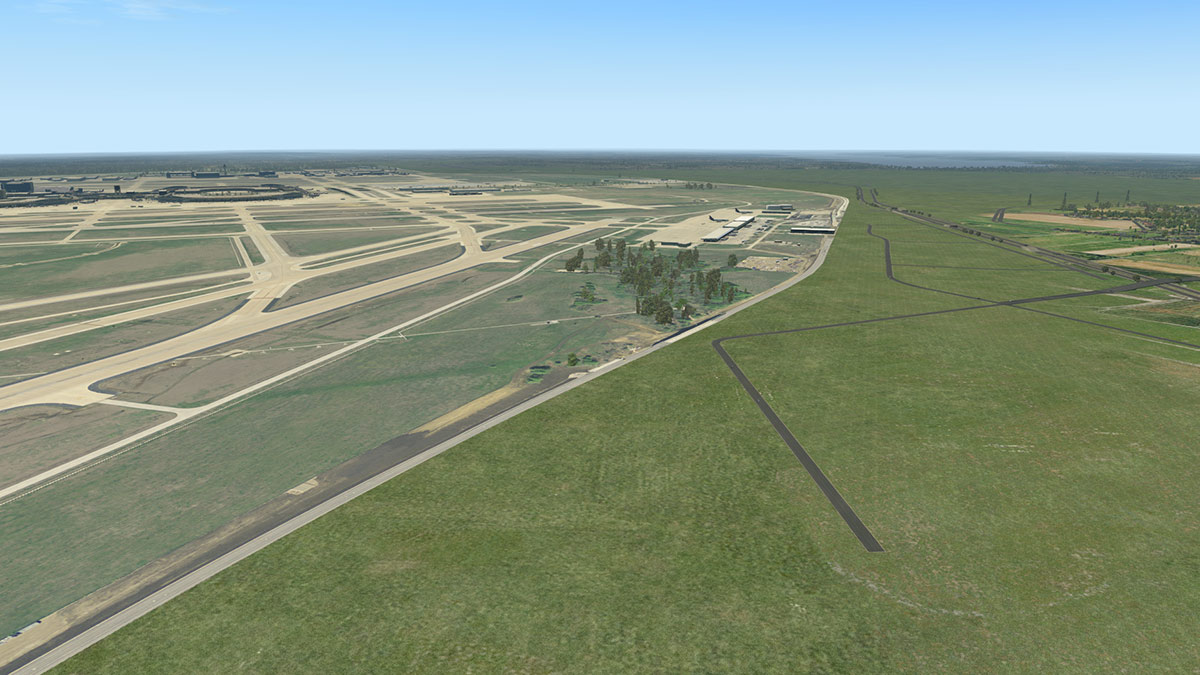
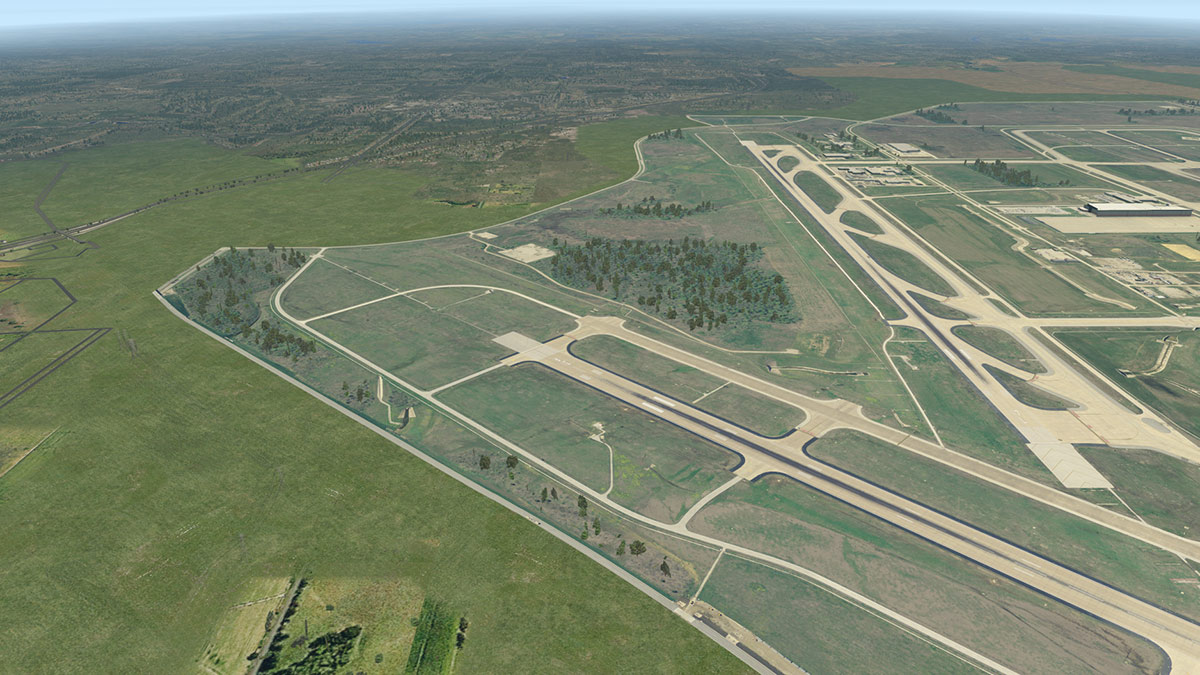


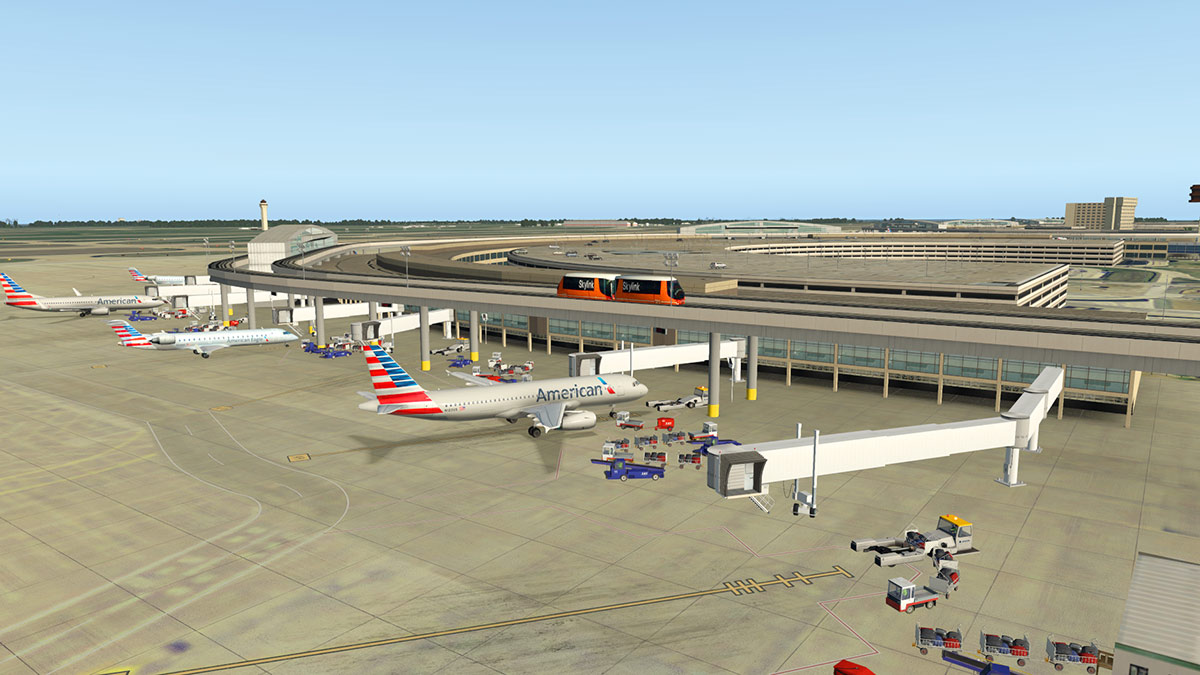


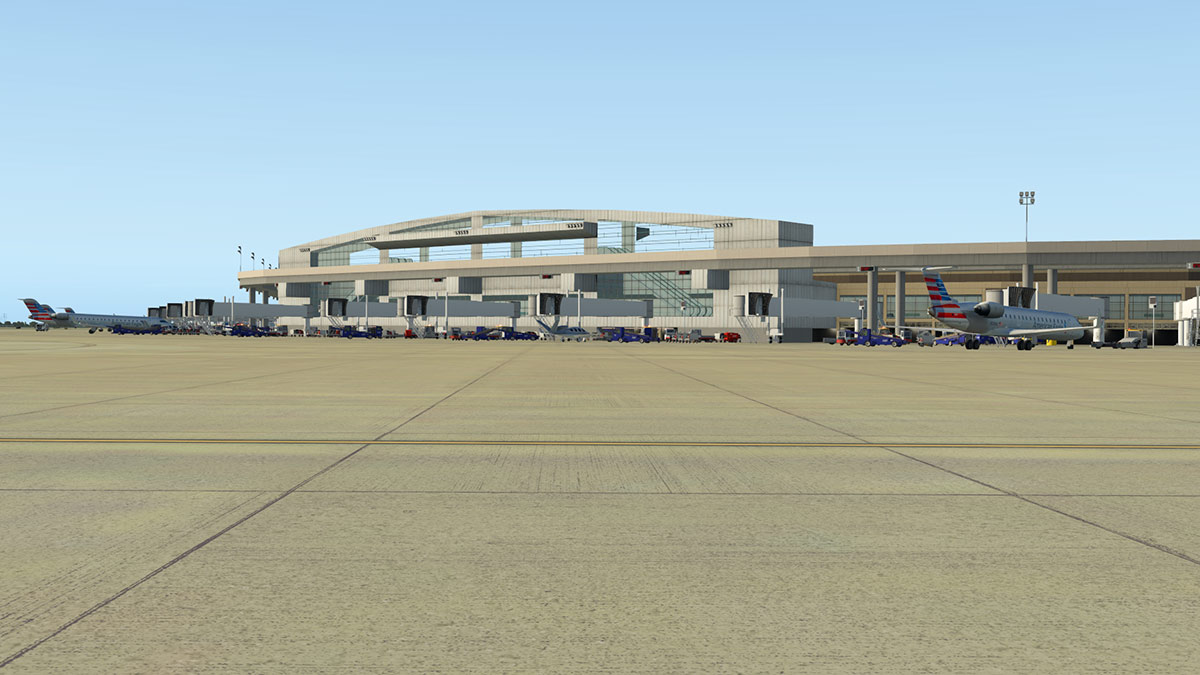
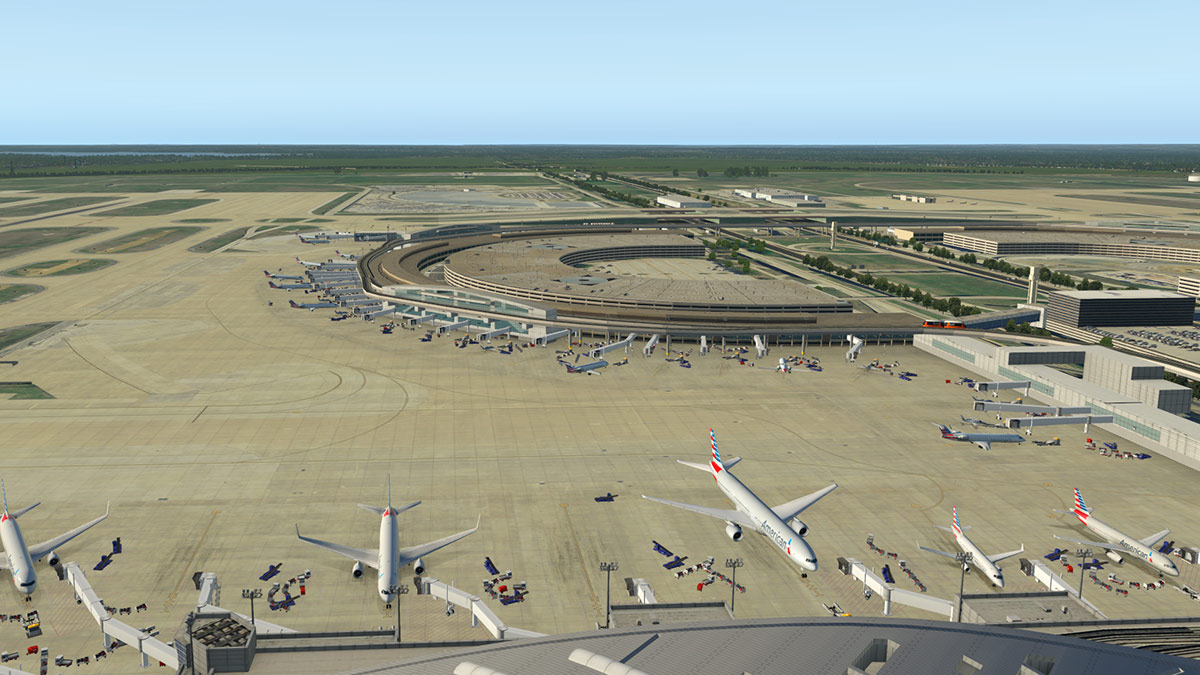
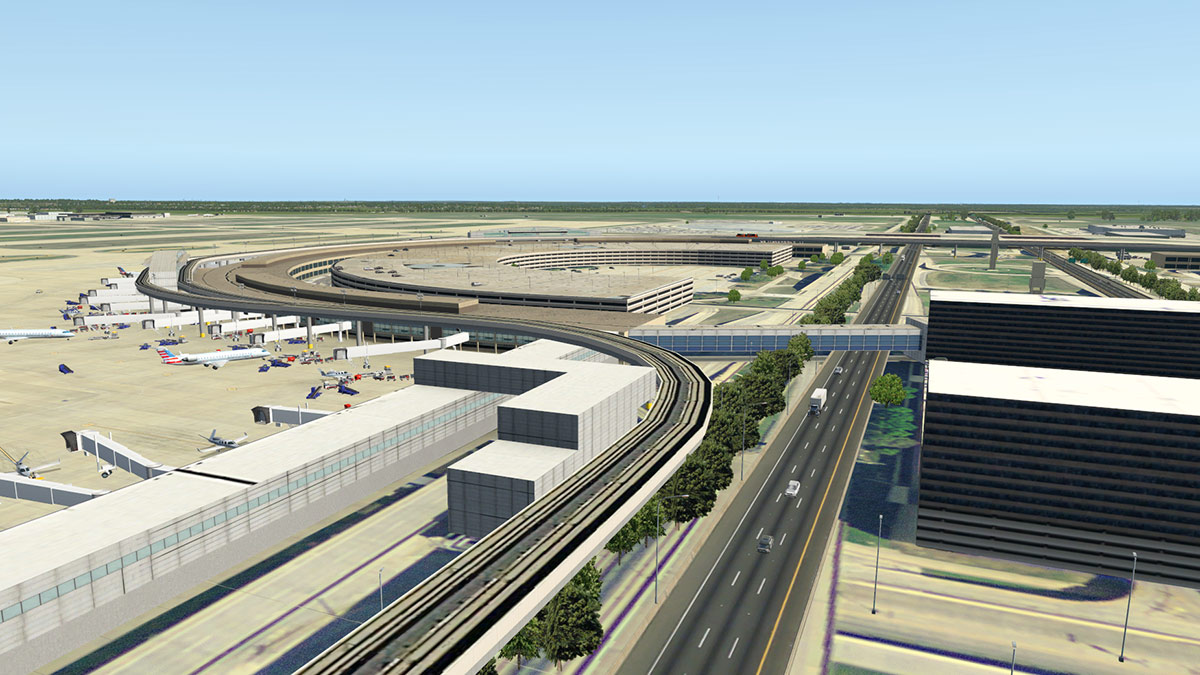
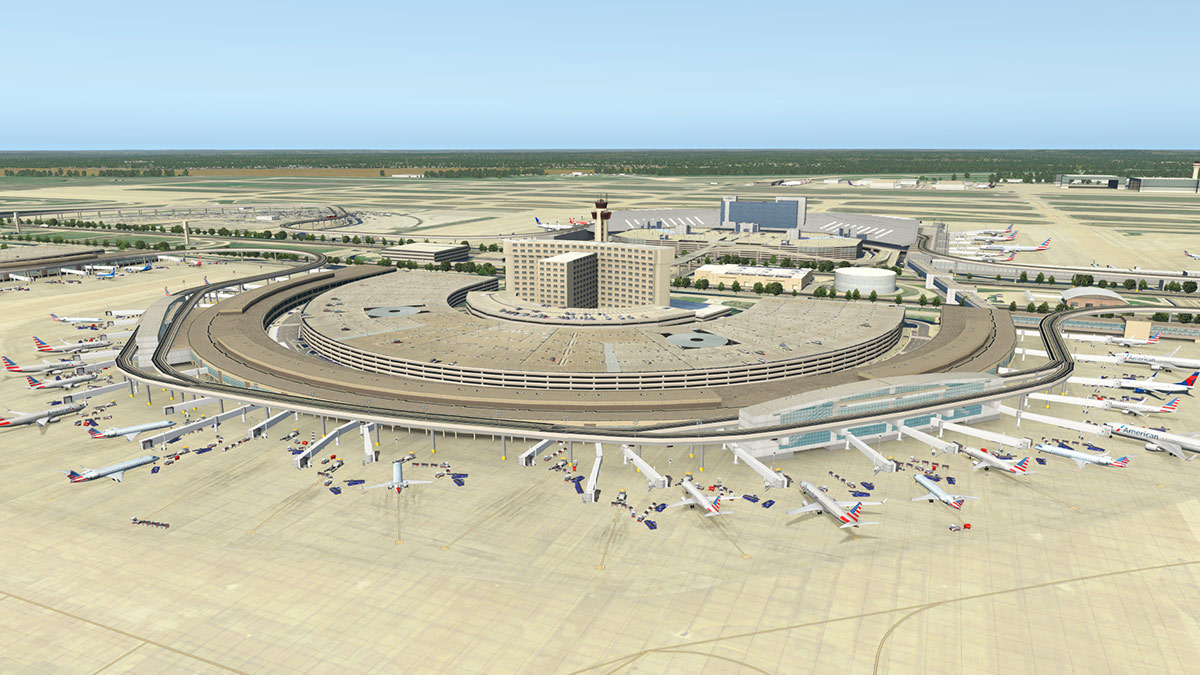


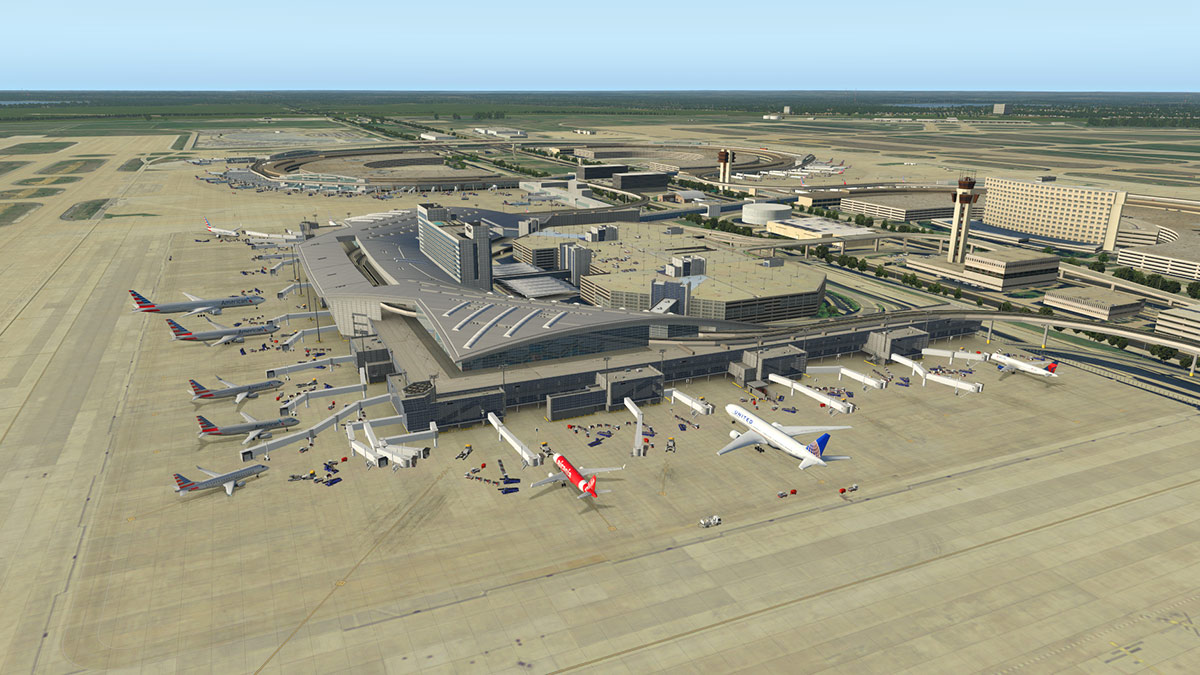
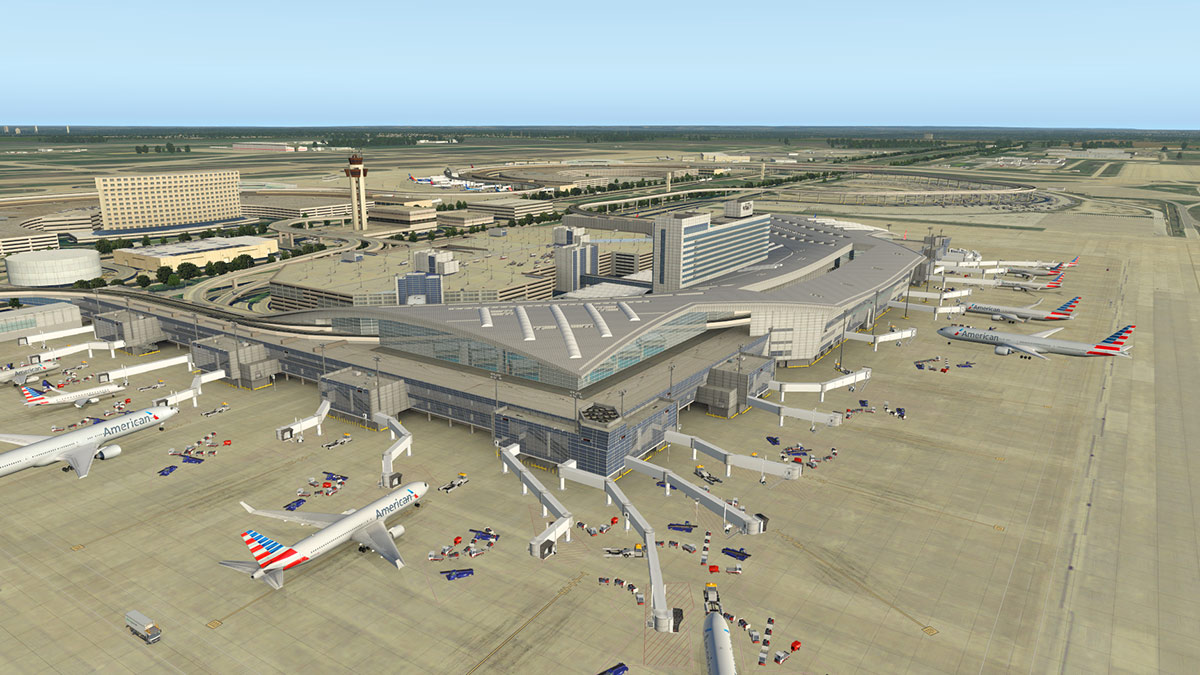
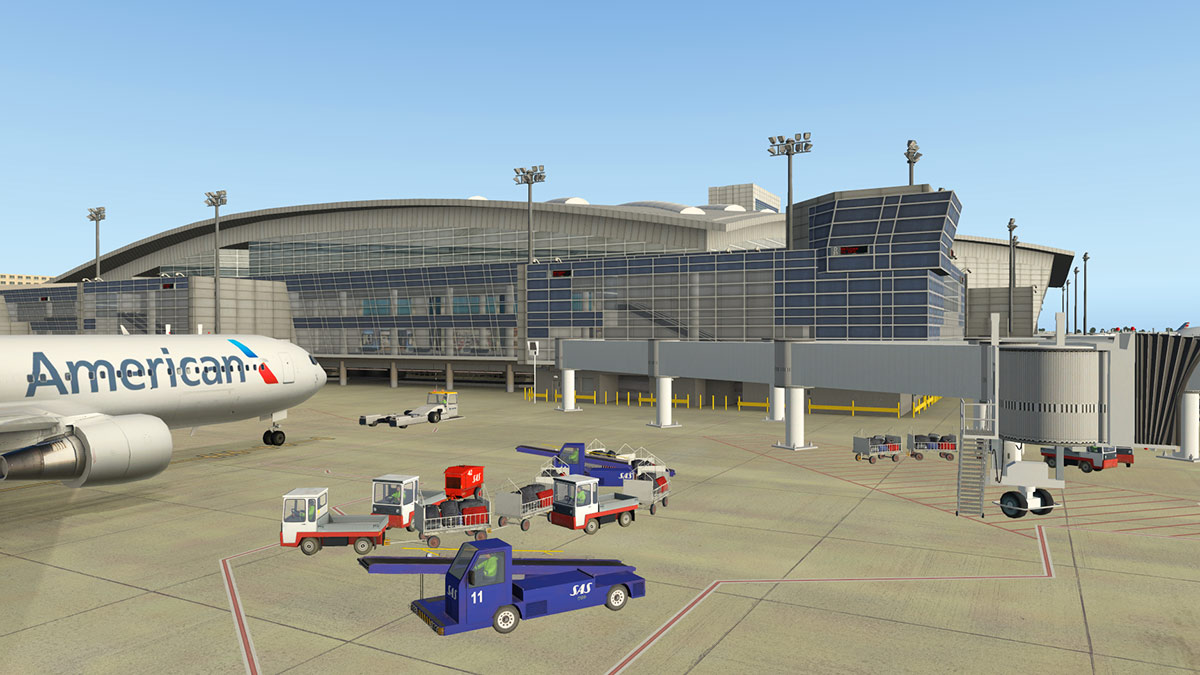
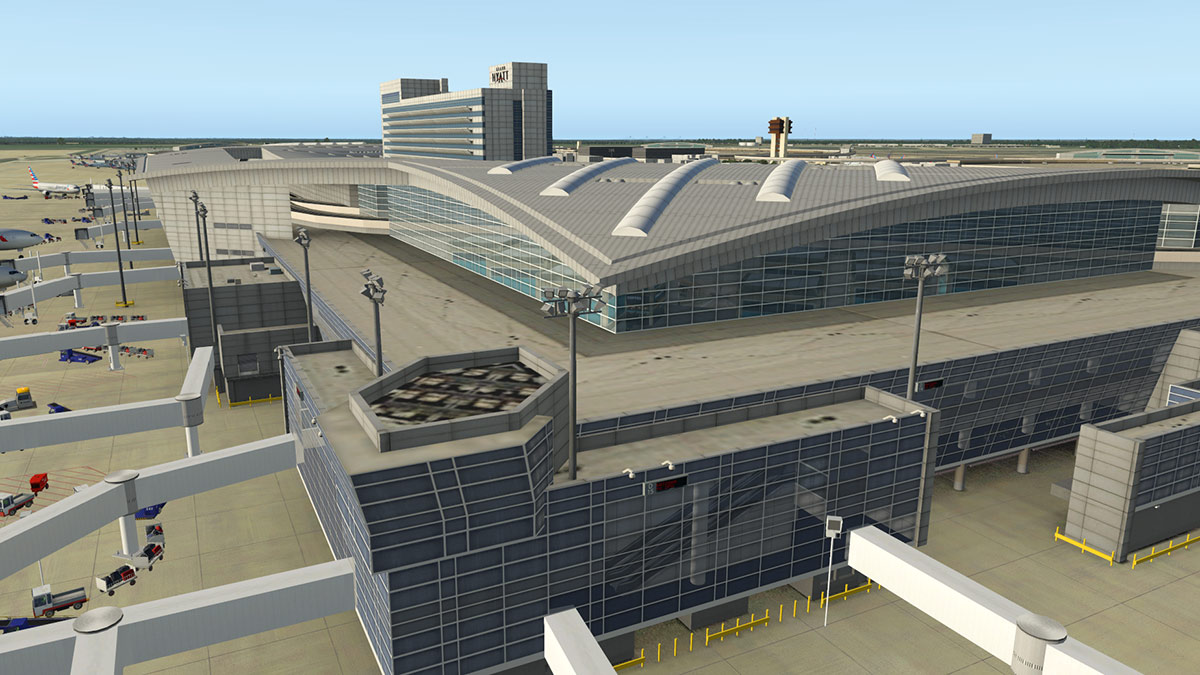
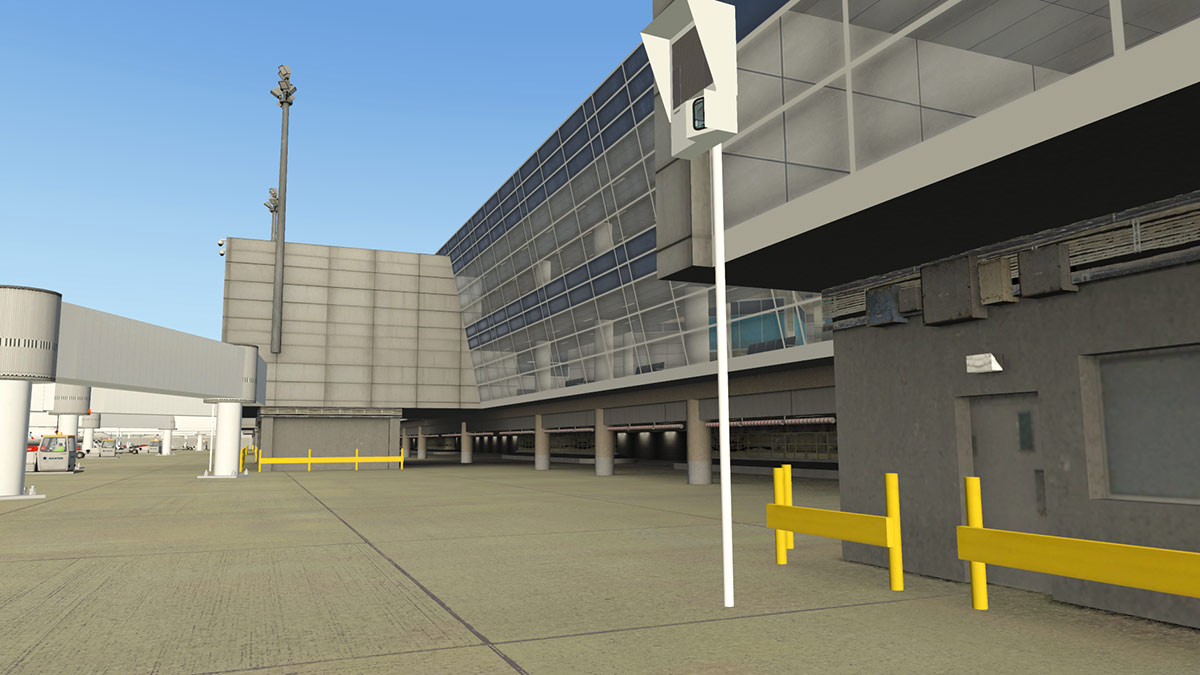

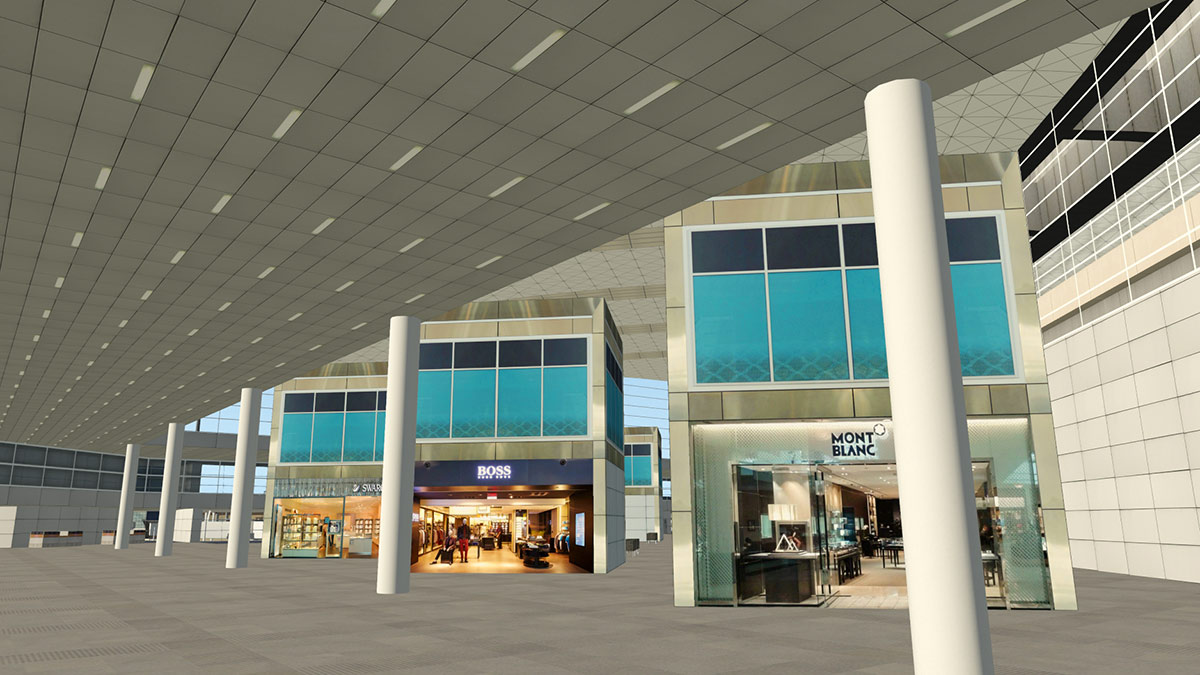

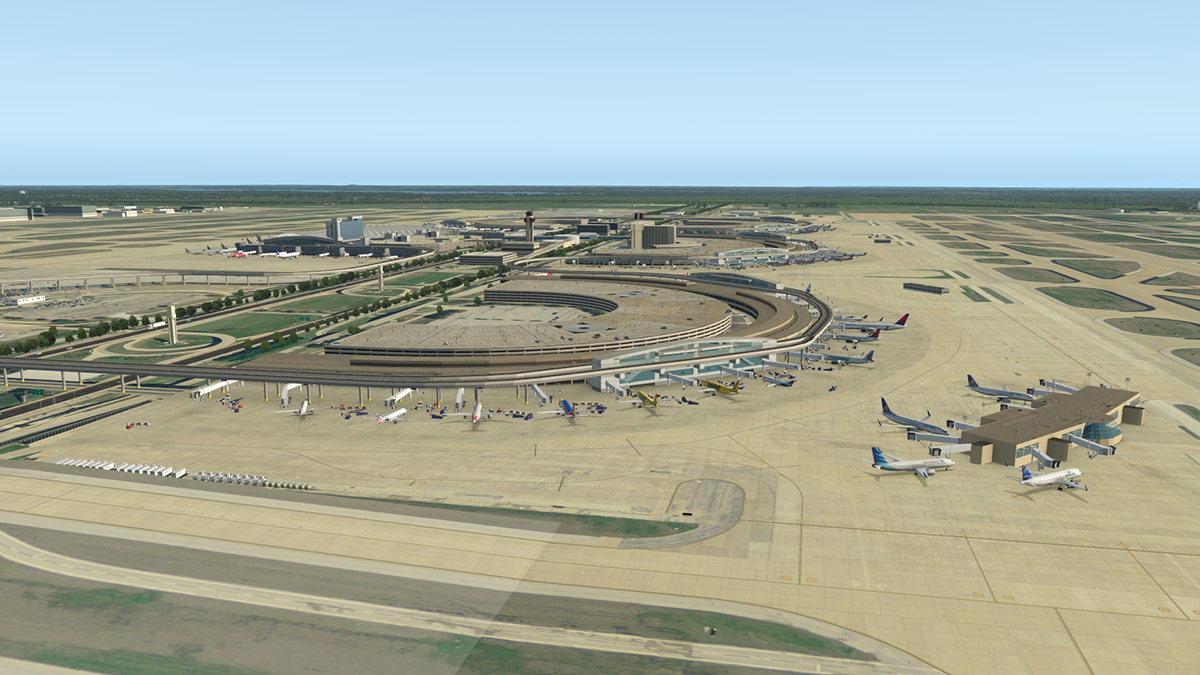
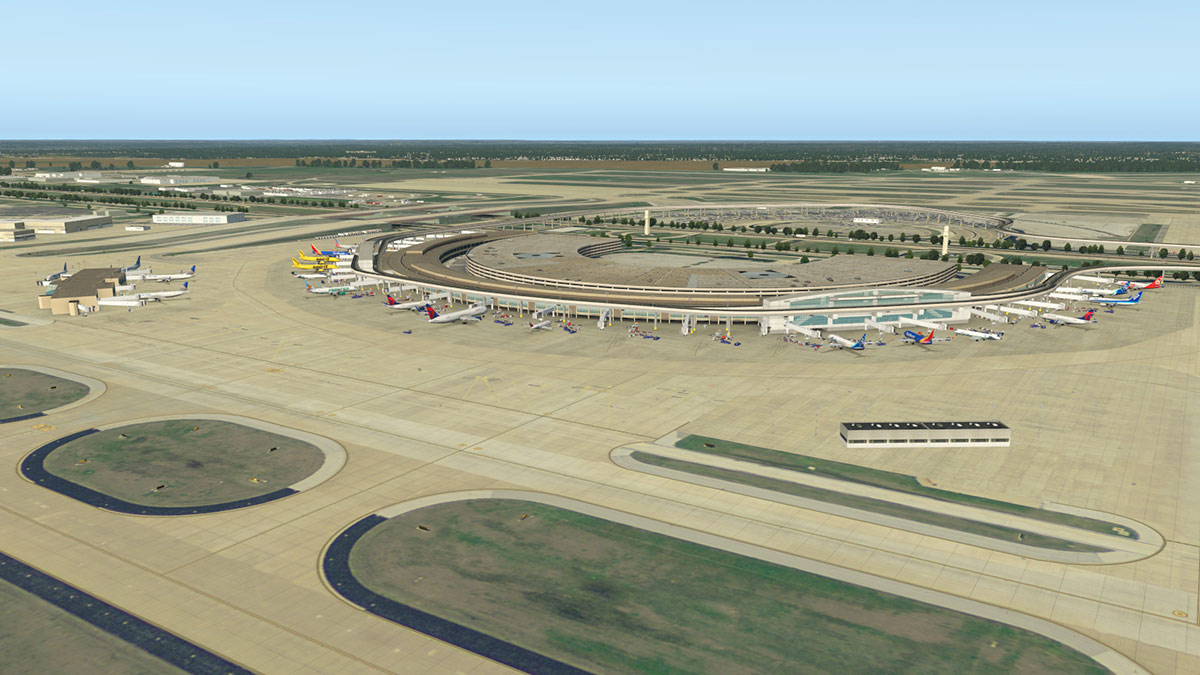
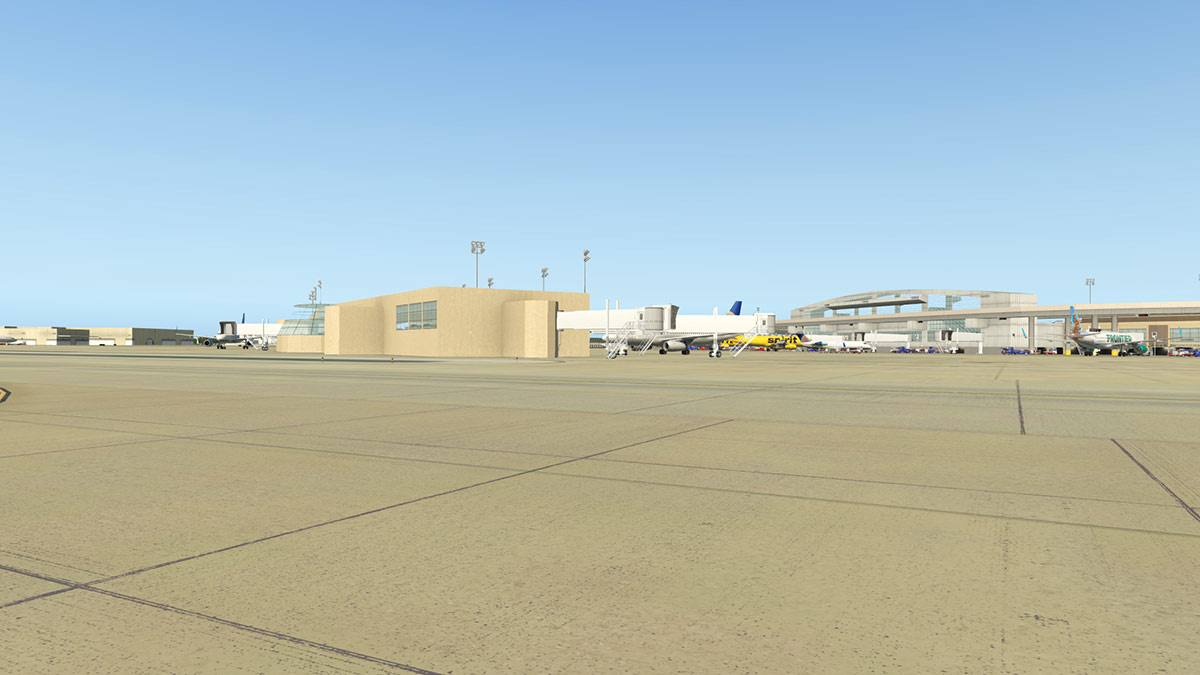

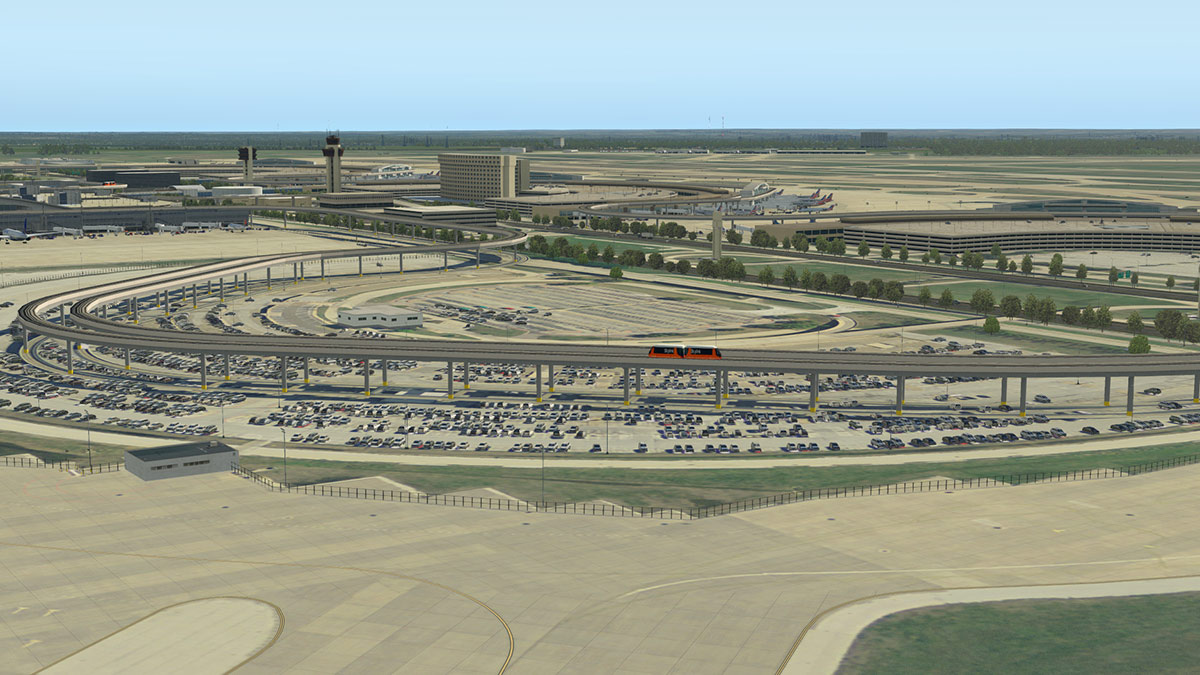


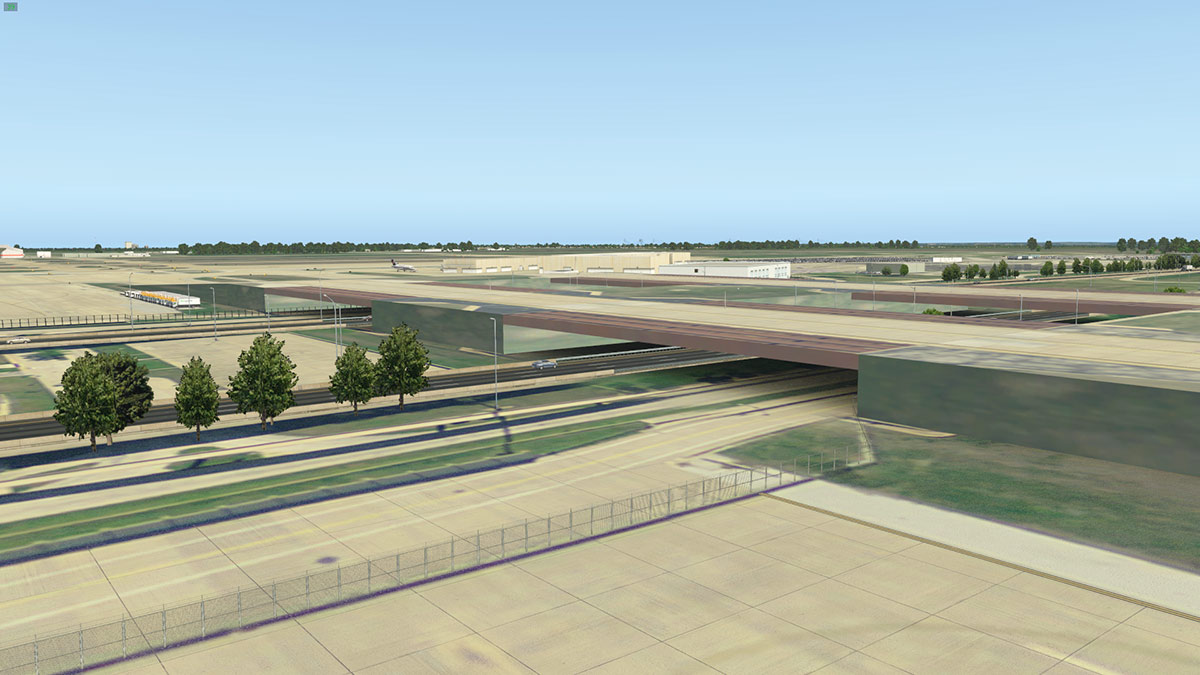
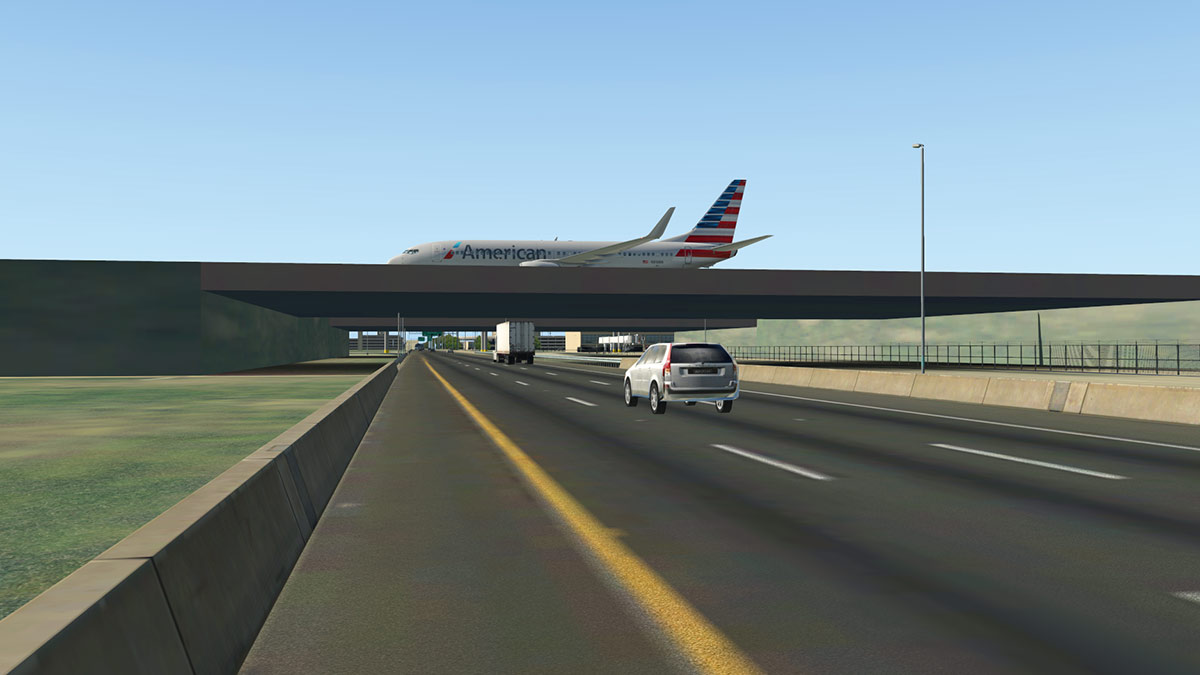

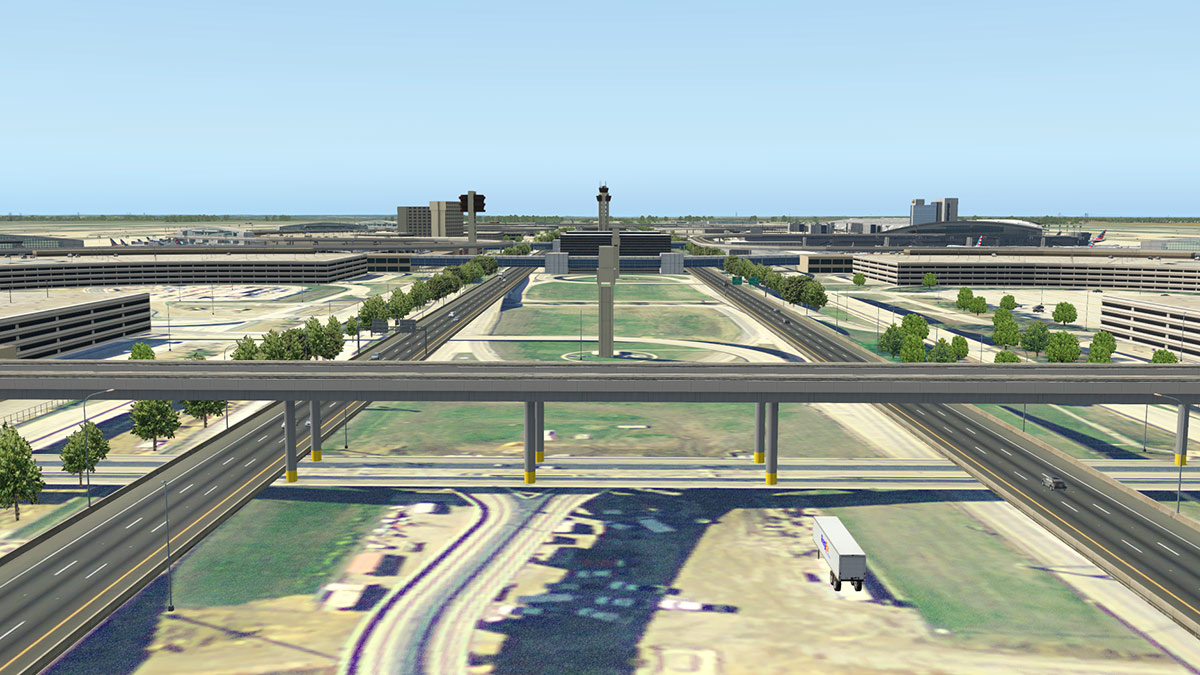
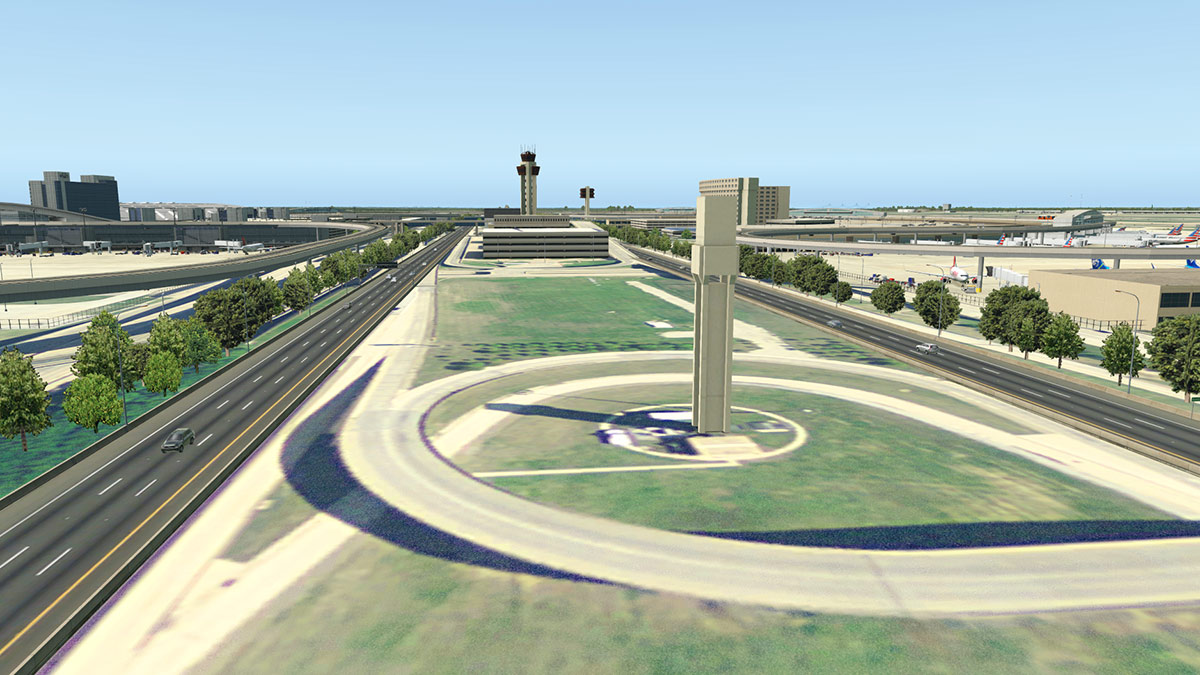


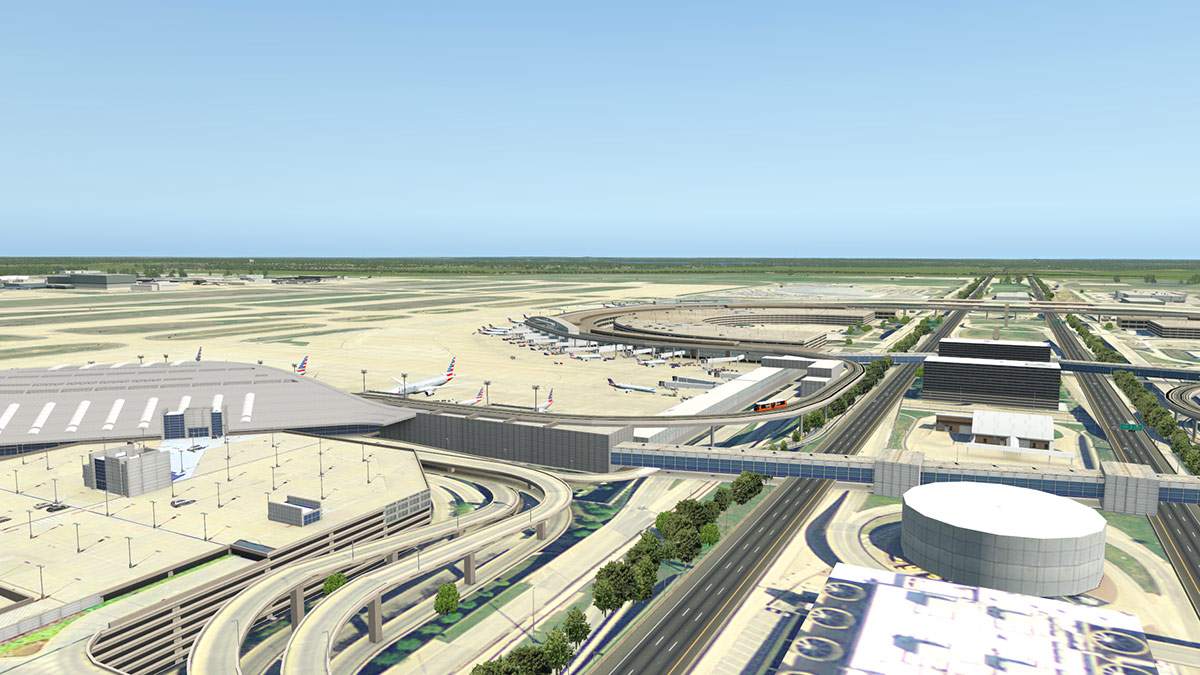


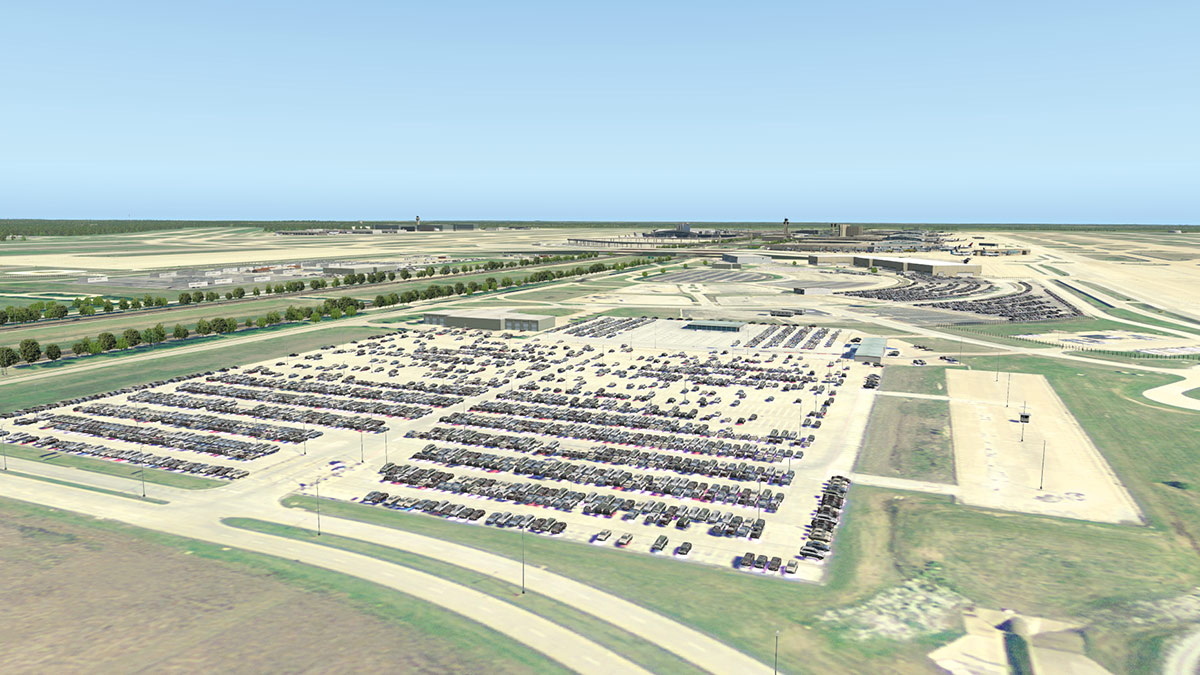


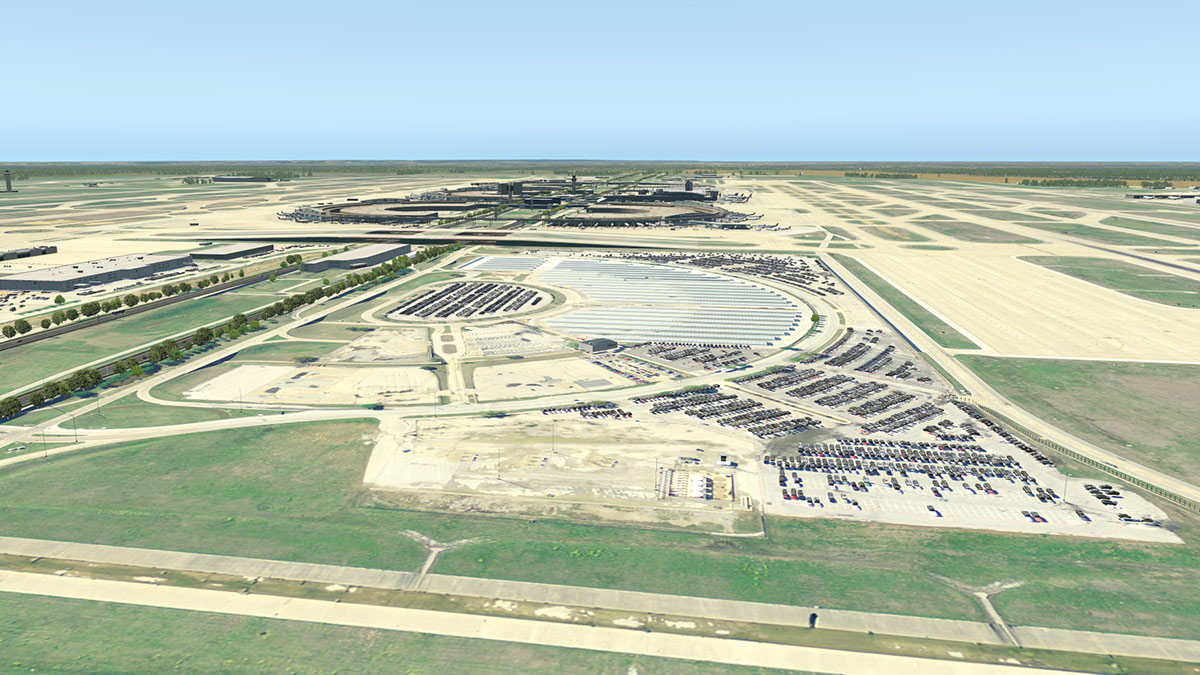


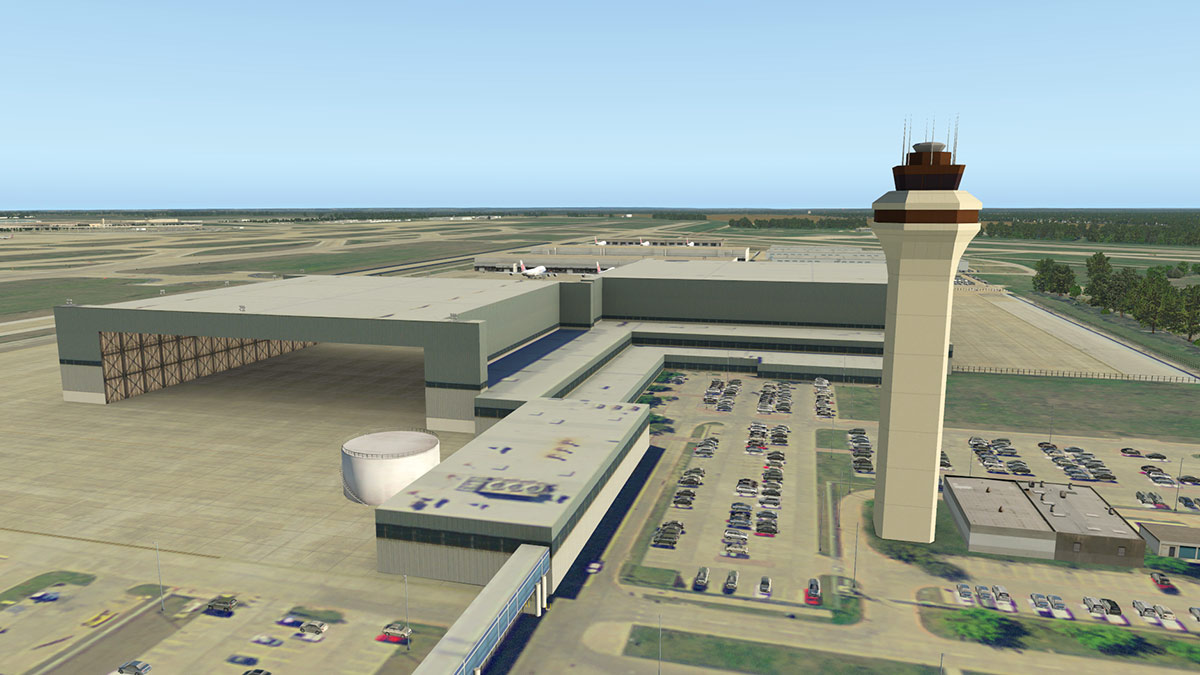
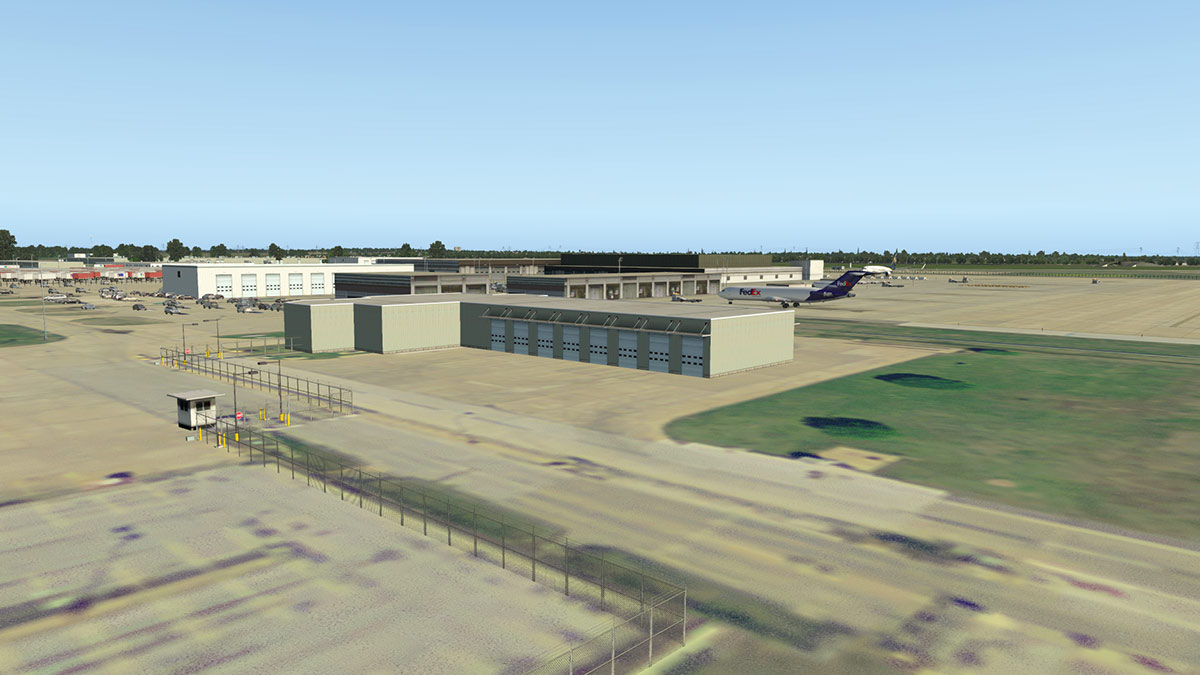
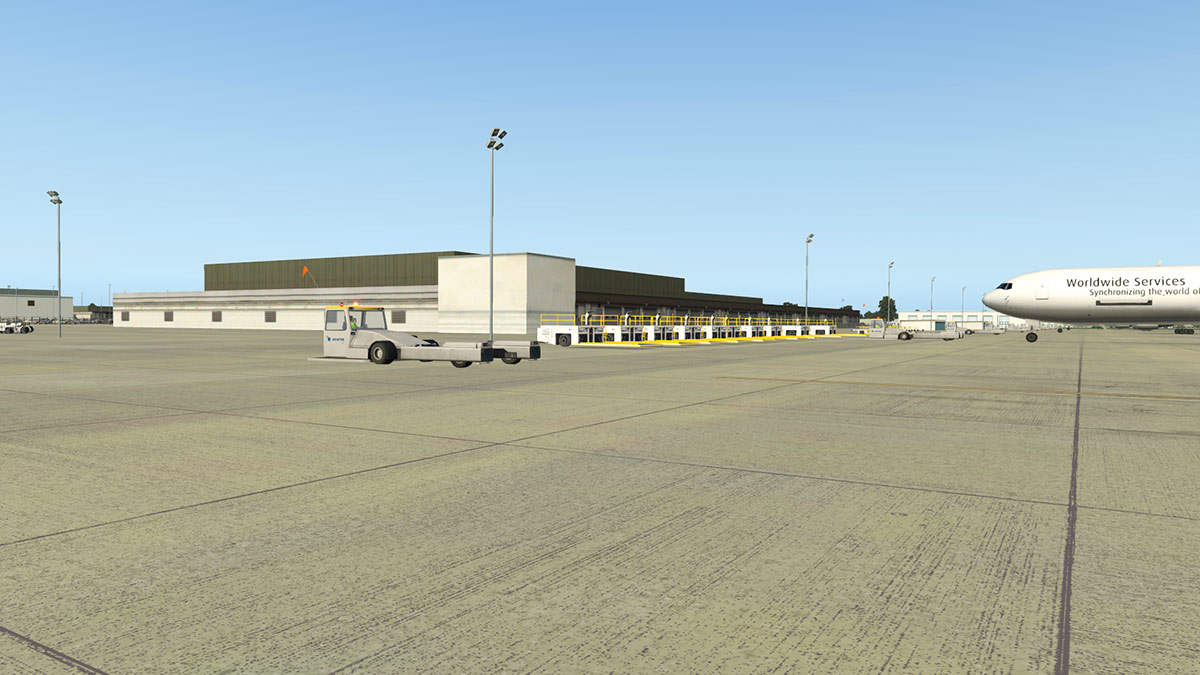

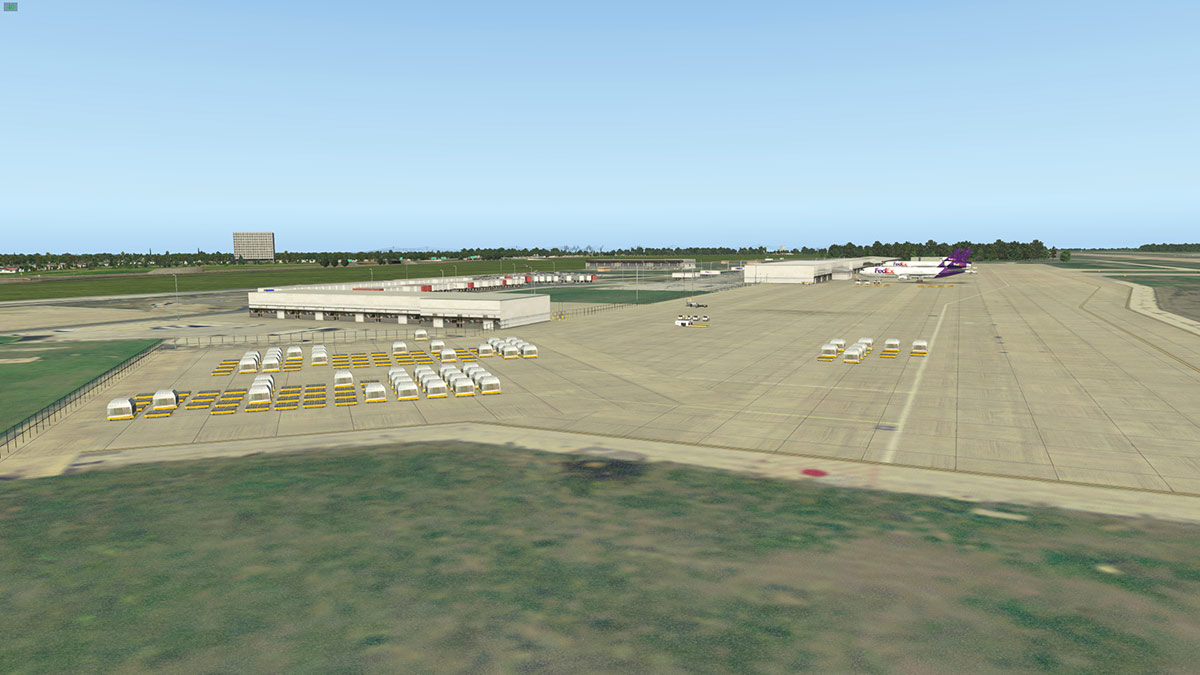

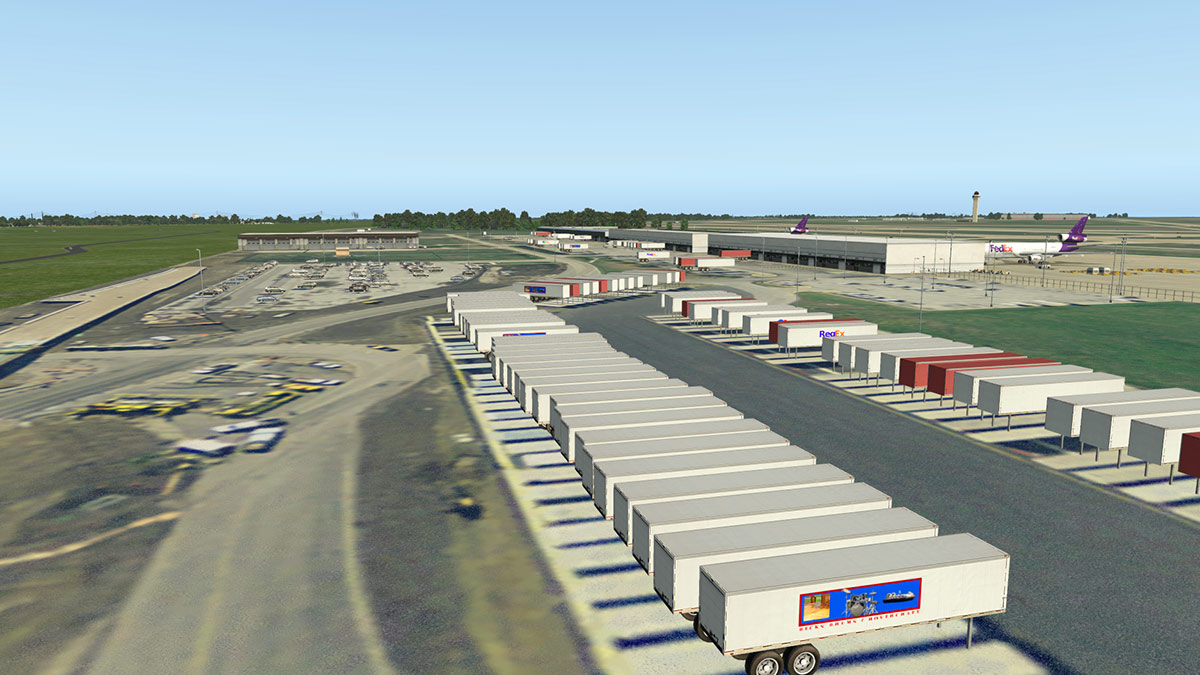
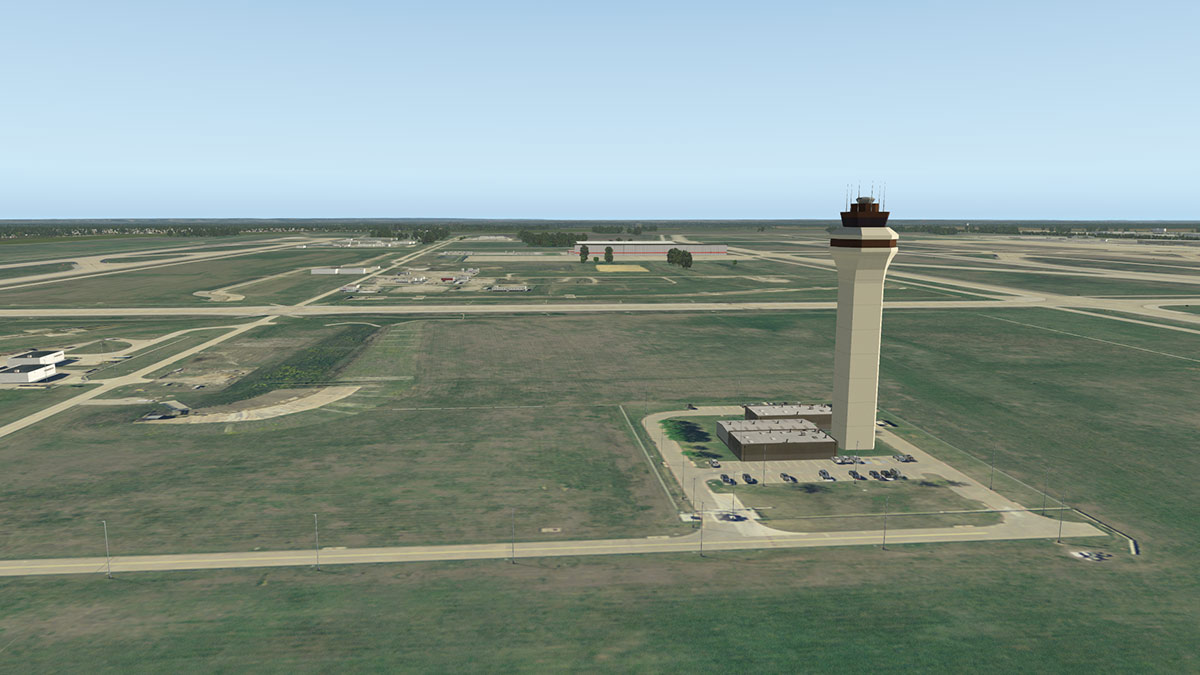


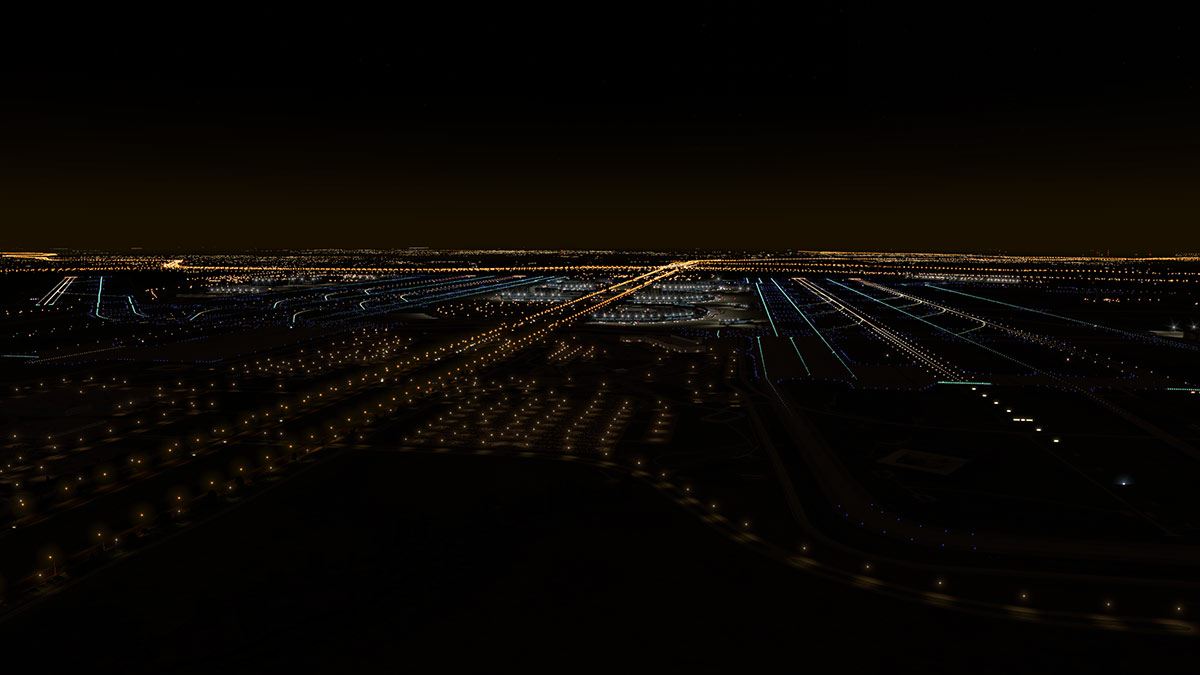


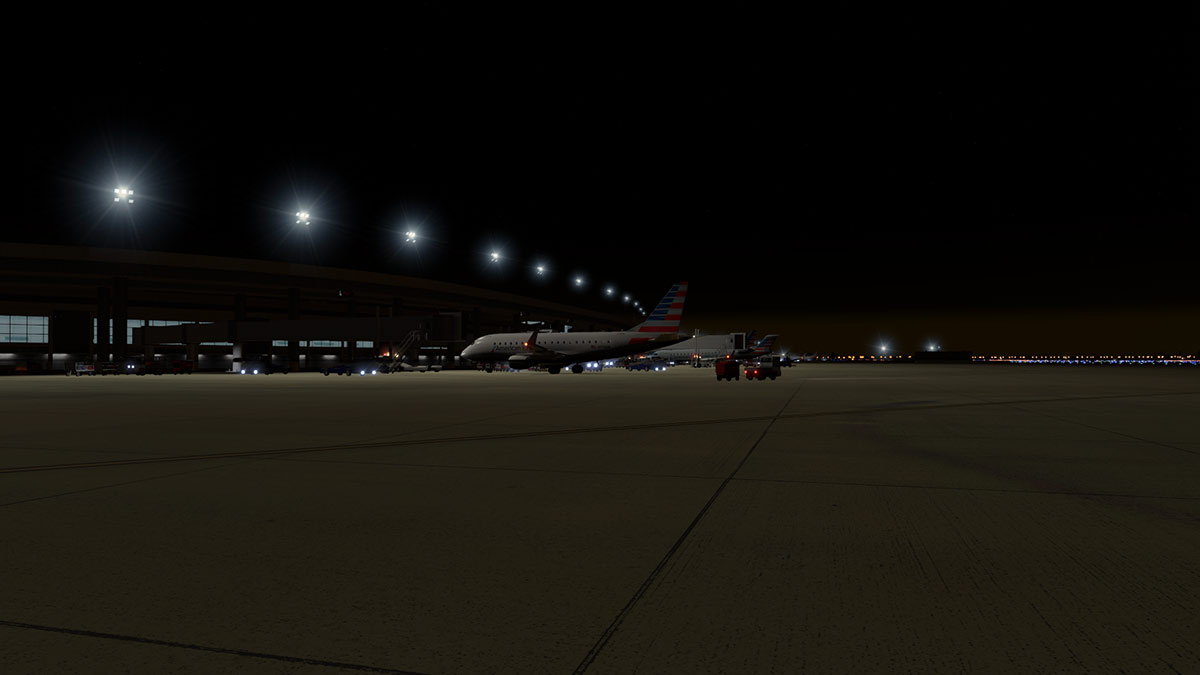

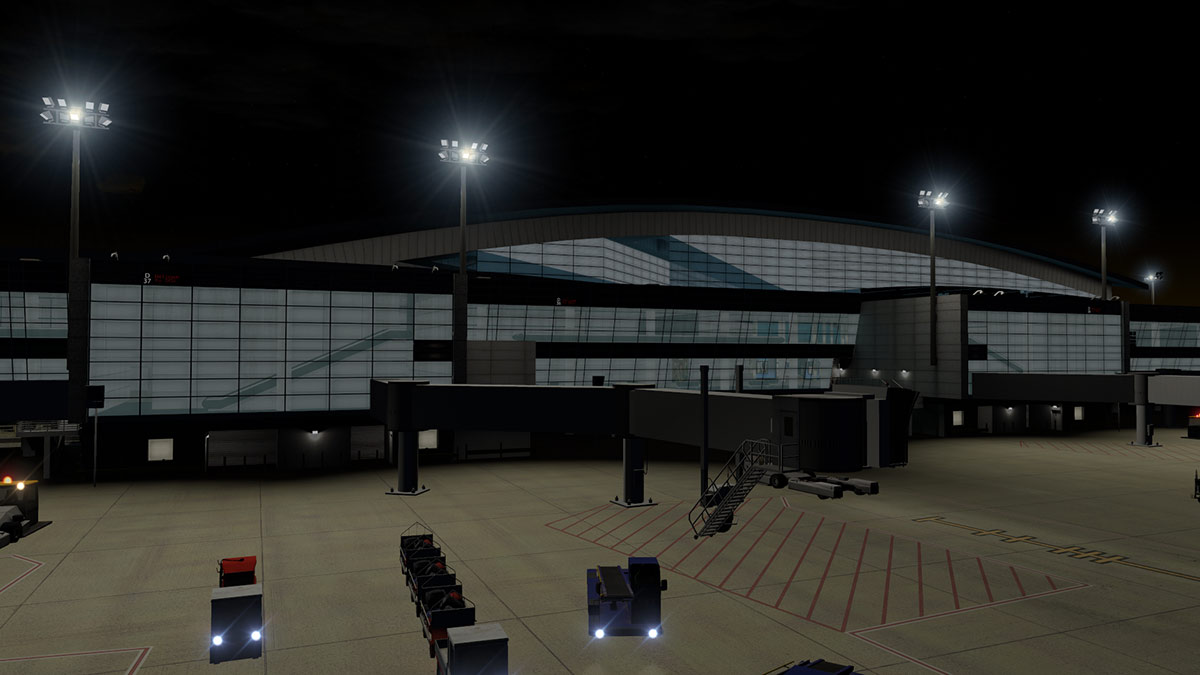

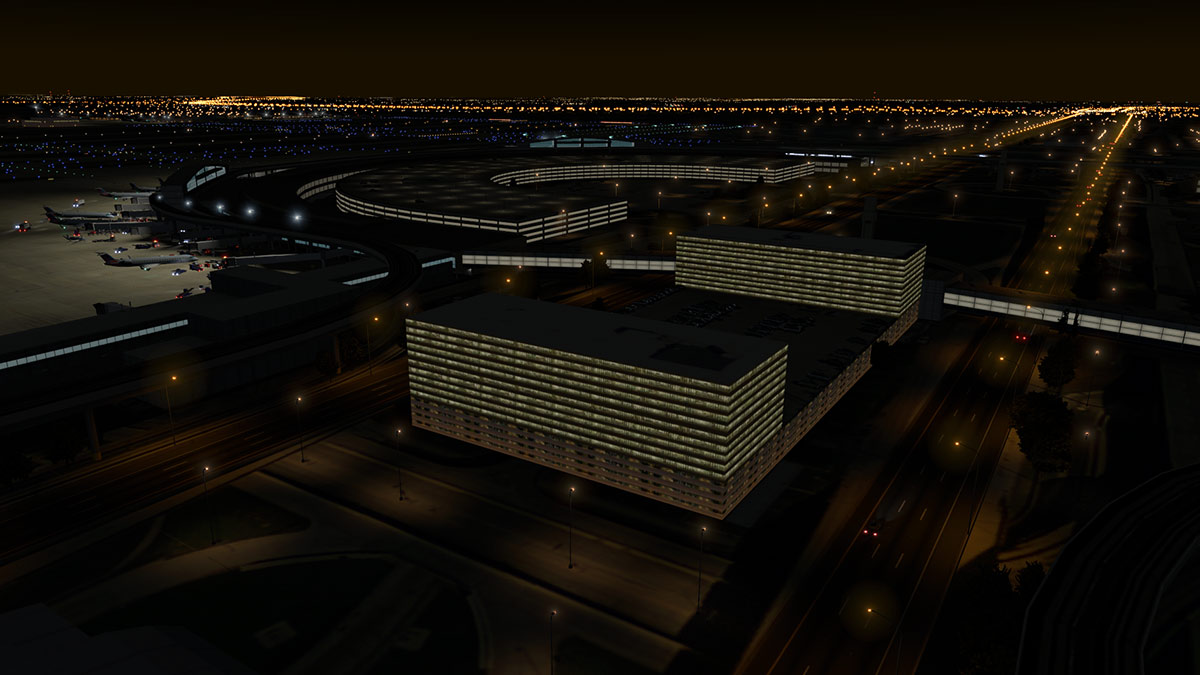
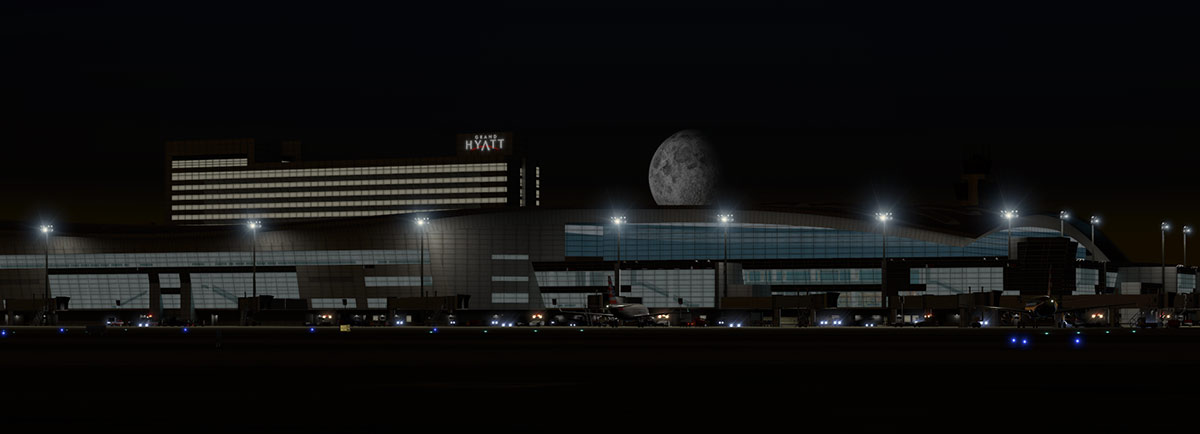


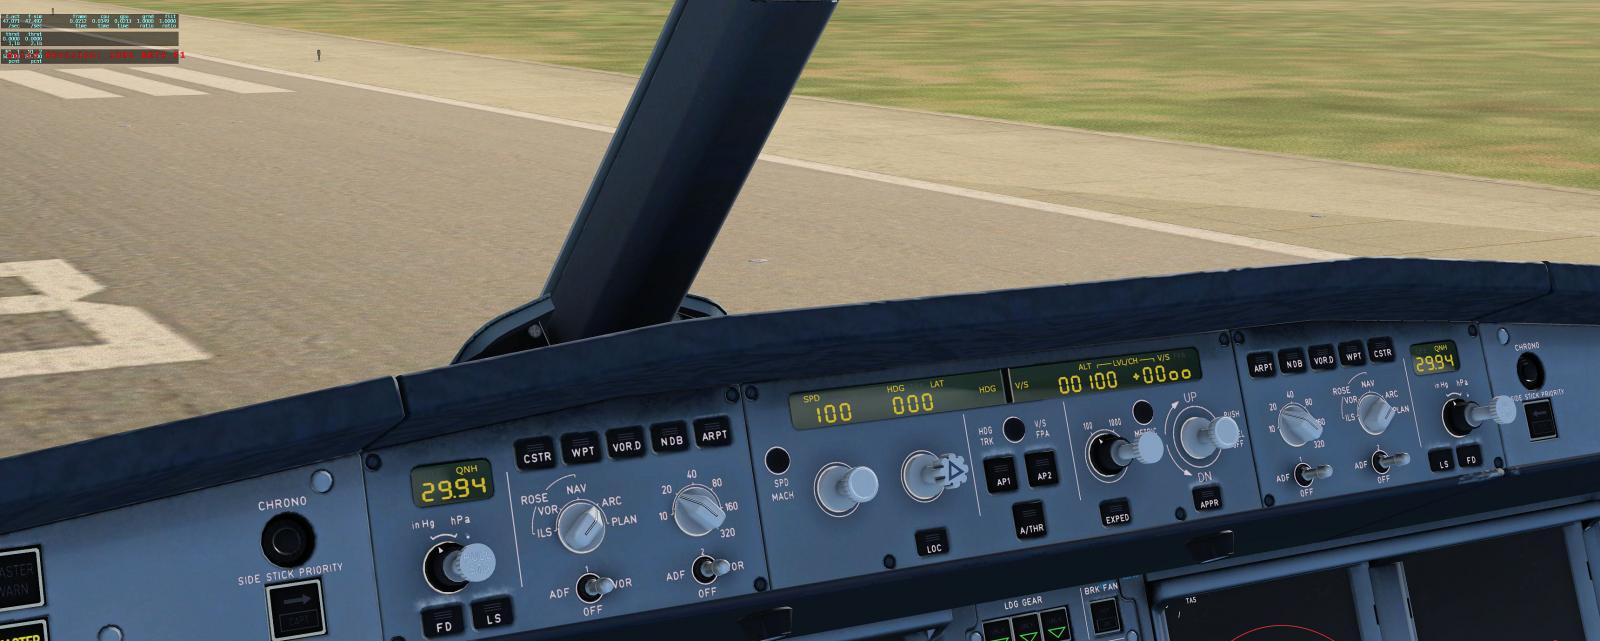

City Scenery Review : Washington XP by Drzewiecki Design
in Payware Airports and Scenery Reviews
Posted
I noted in the review? "Note... scenery must be set in that above order to work correctly"... you must have layer1 above layer2? or the ground textures will cover the objects. You need to go to your .ini in the custom scenery folder and cut and paste them into the right order... in fact most sceneries with layers require them to be in the correct order? SD