Search the Community
Showing results for tags 'dreamfoil creations'.
-
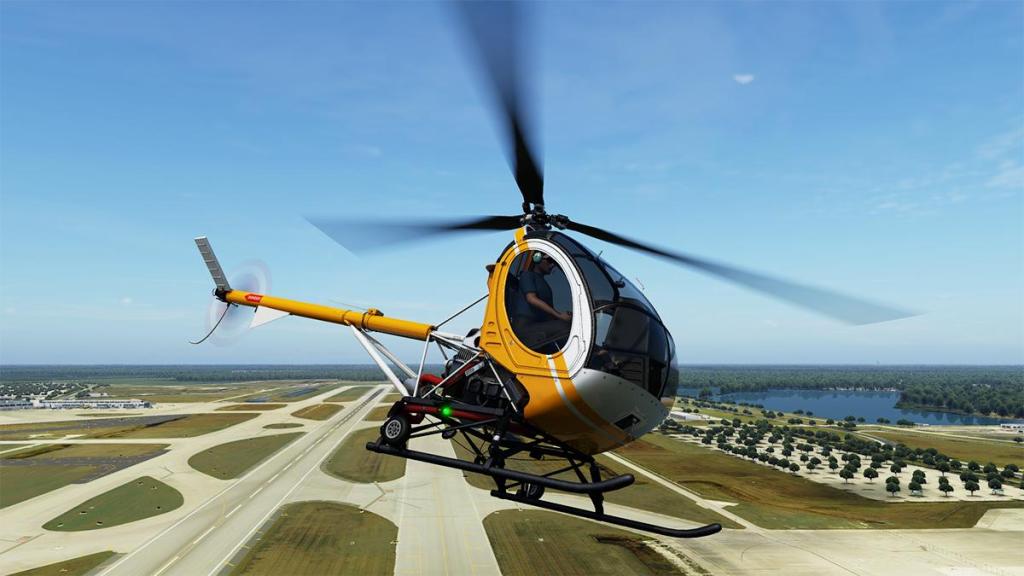
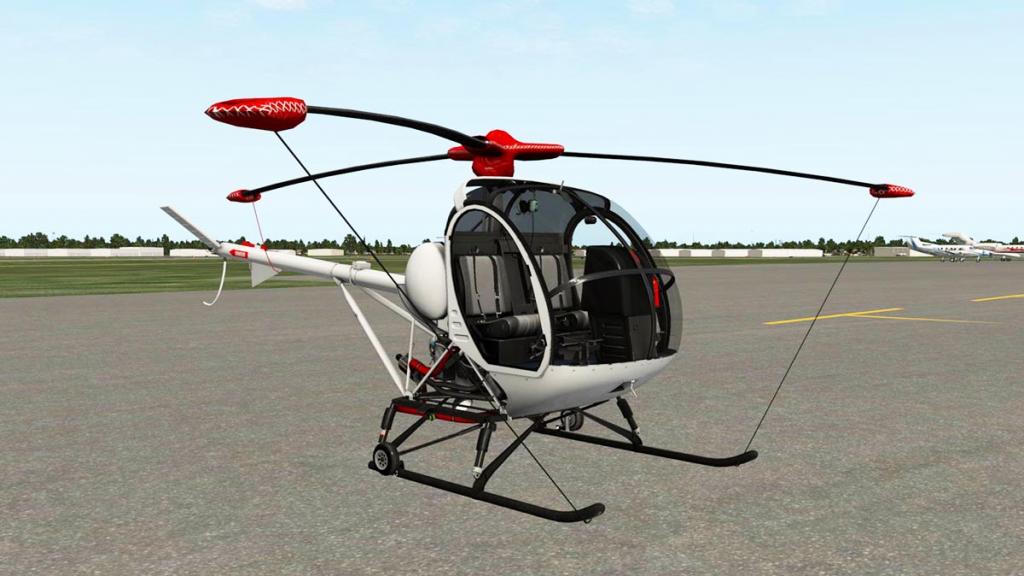
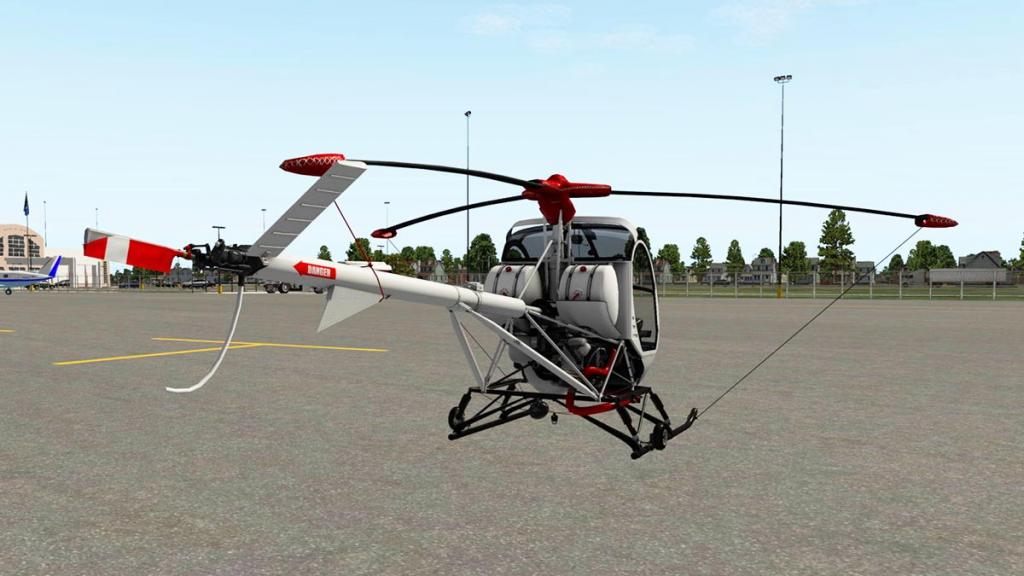
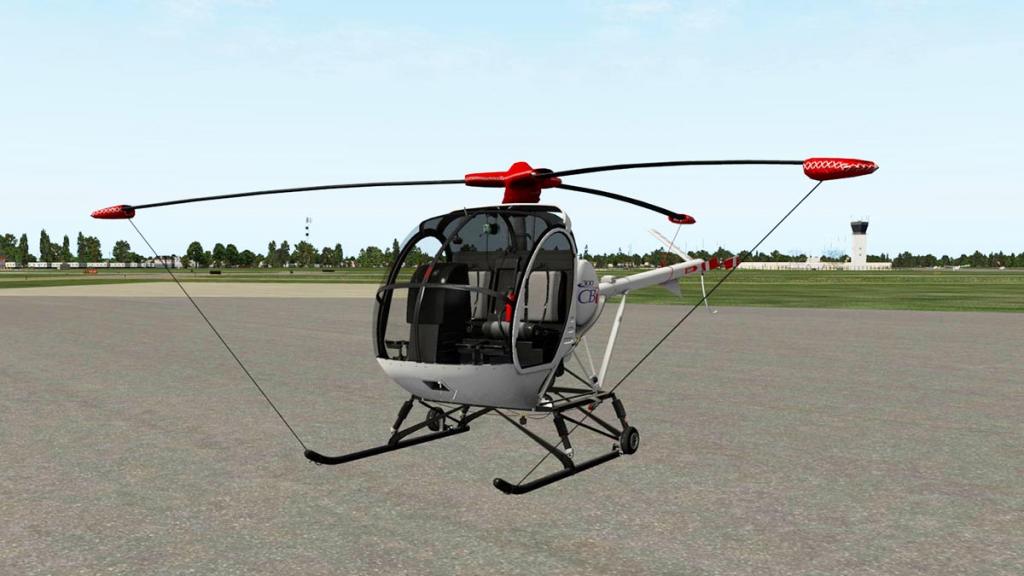
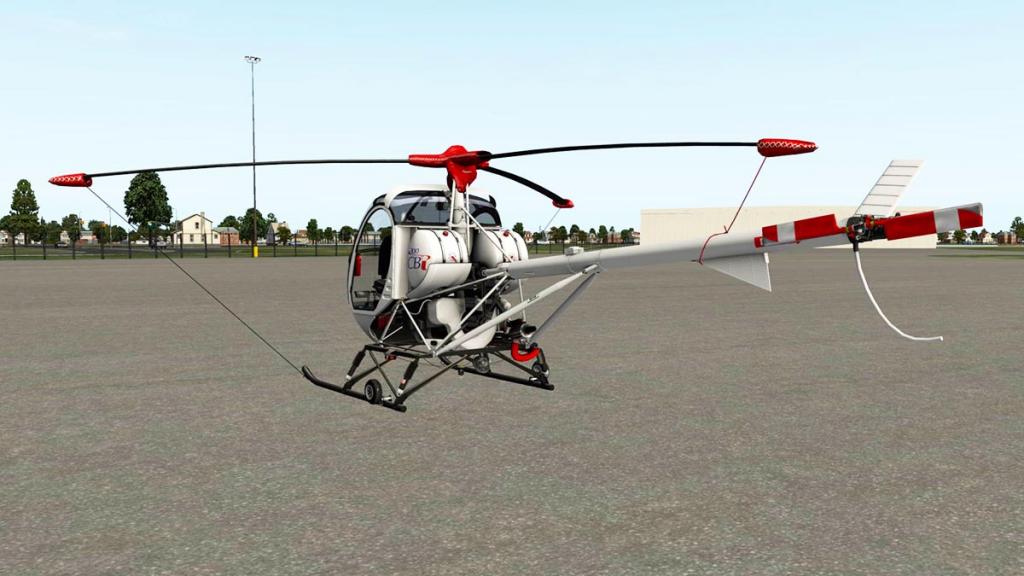
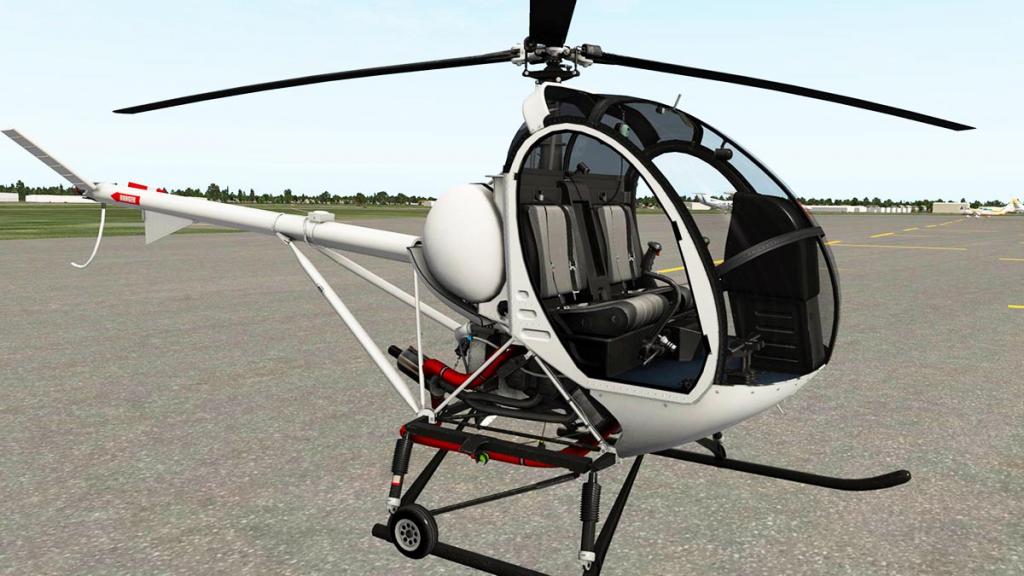
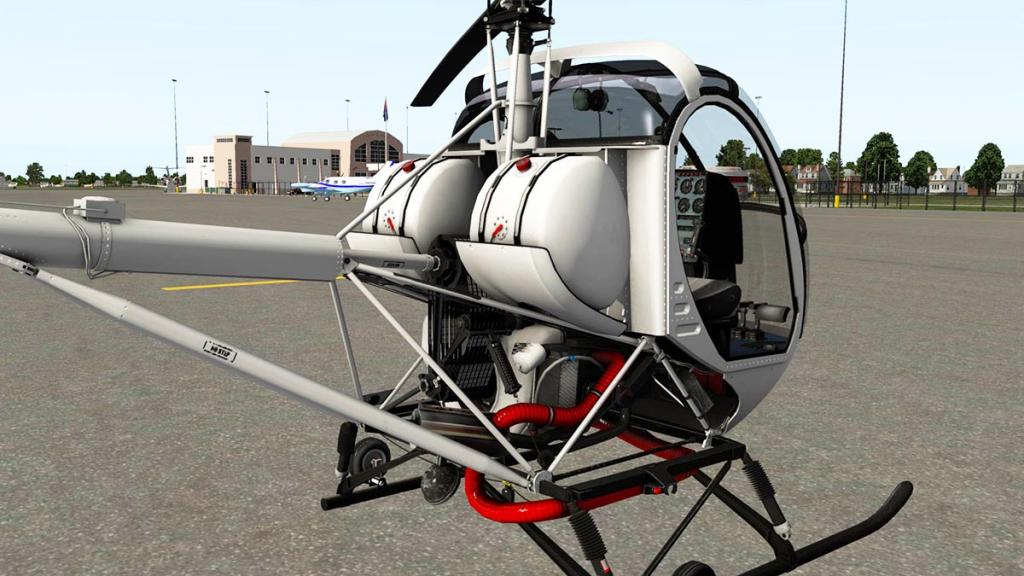
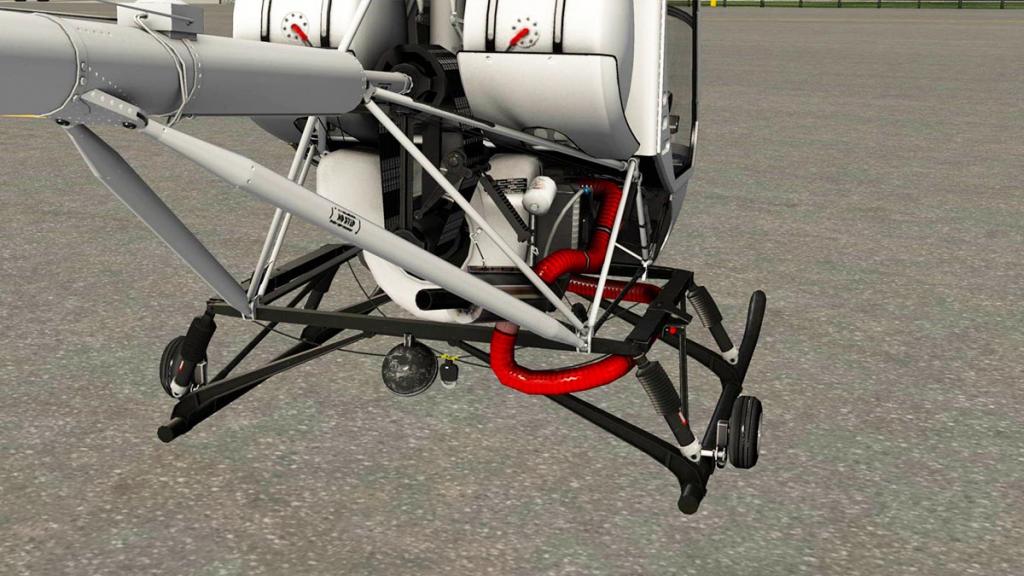
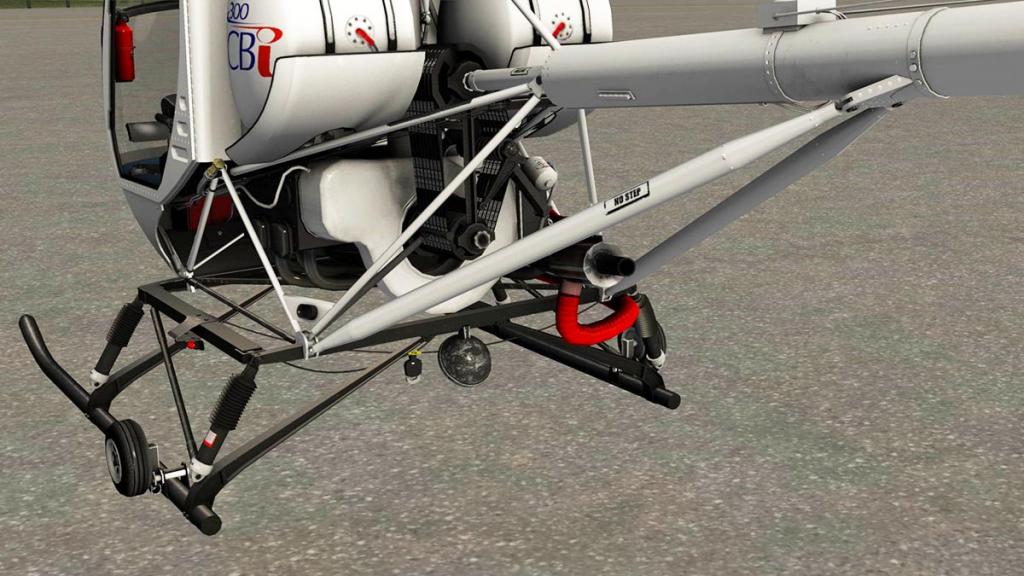
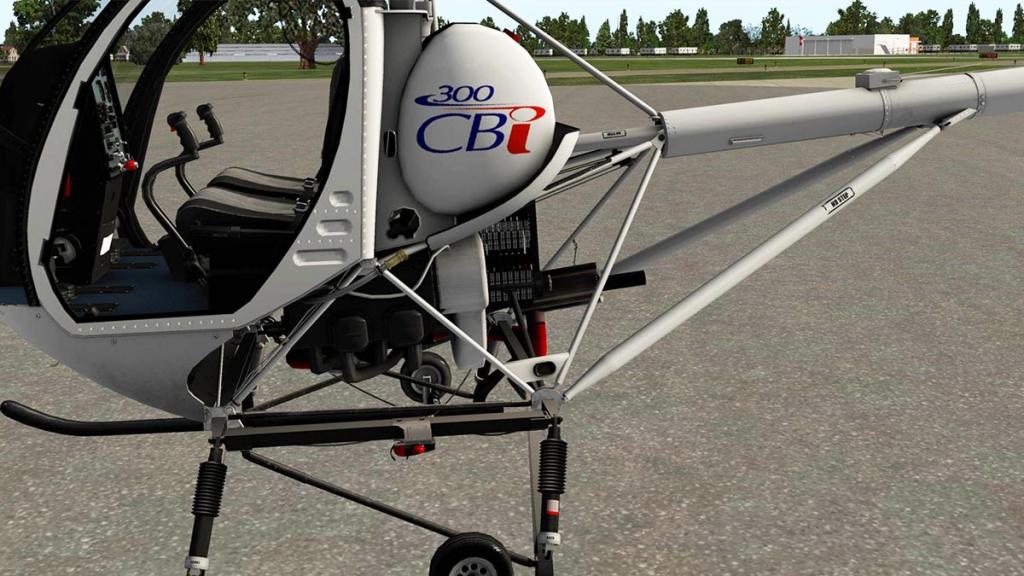
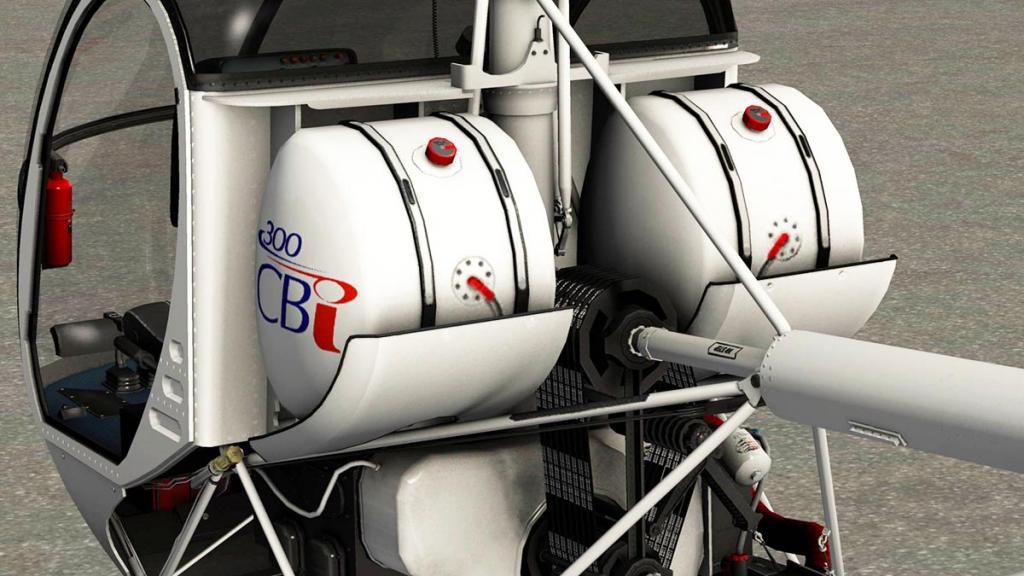
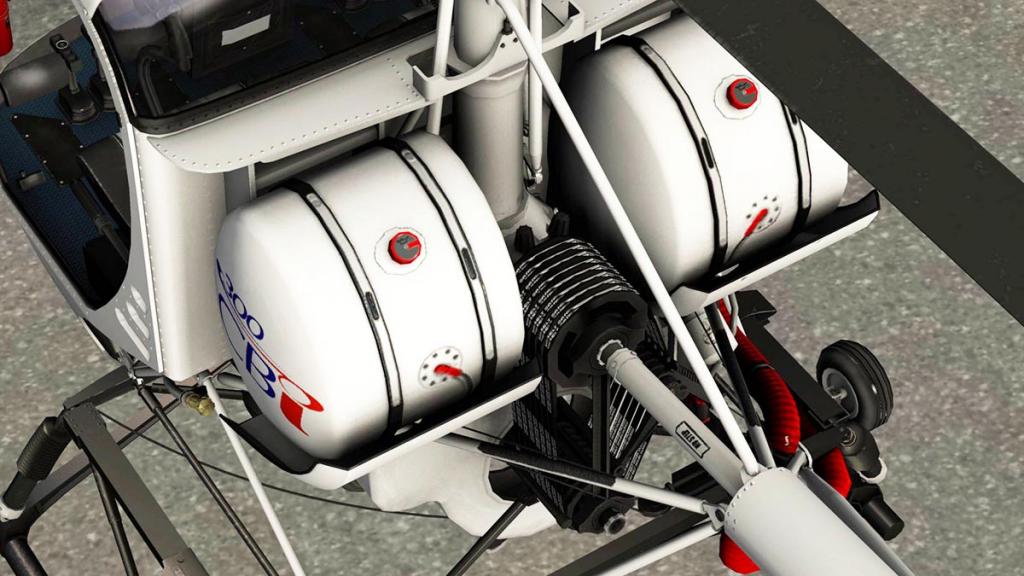
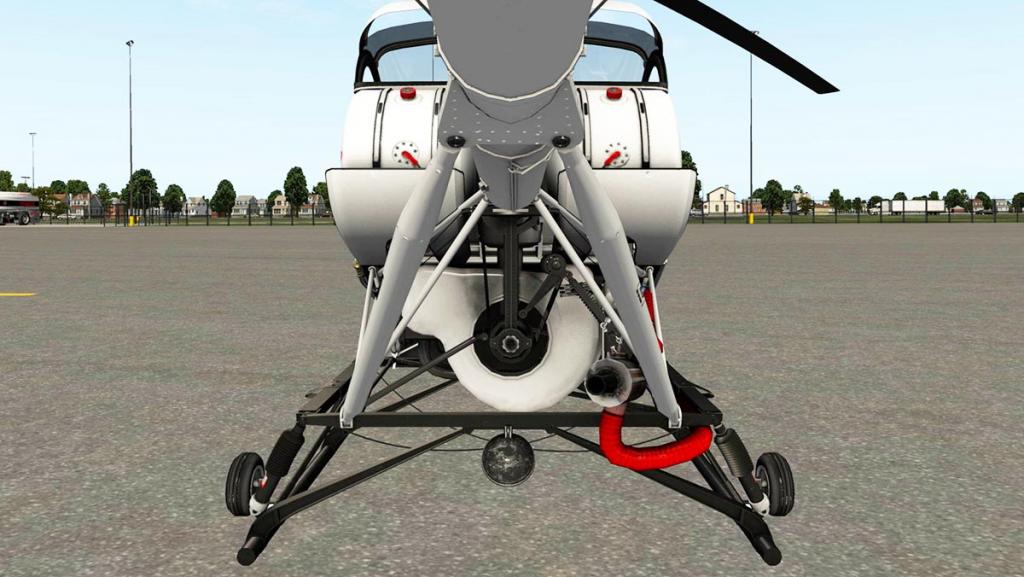
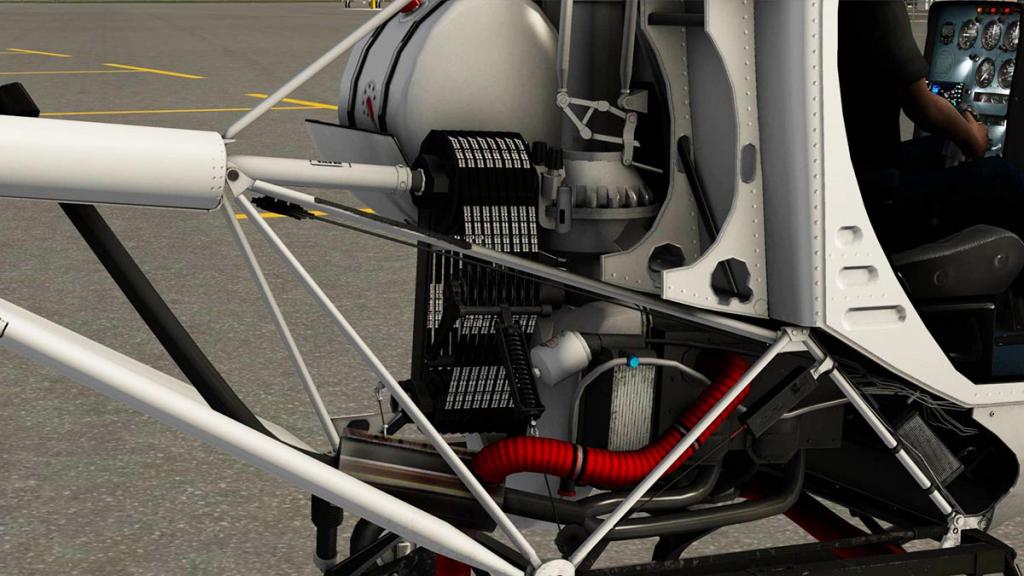
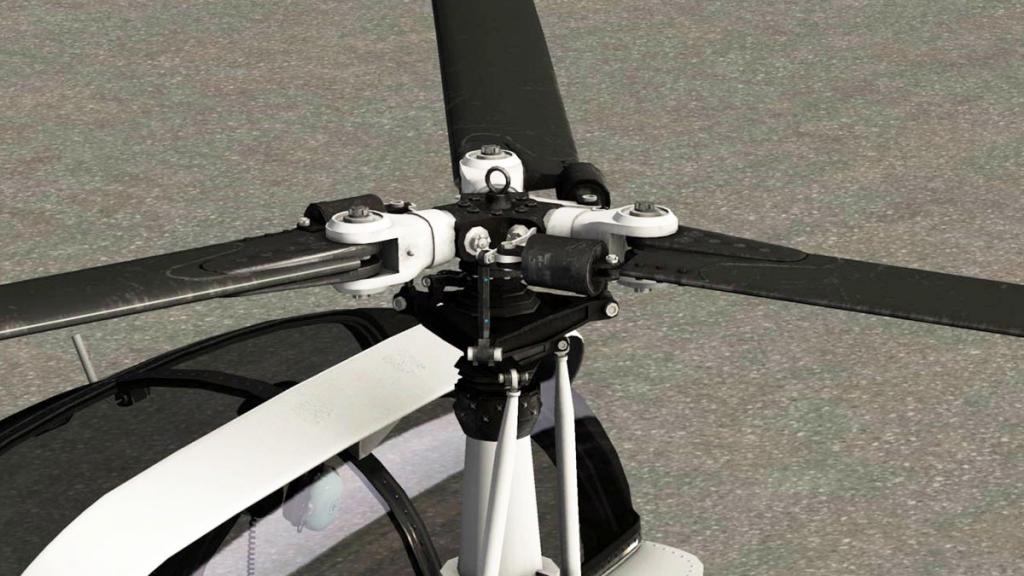
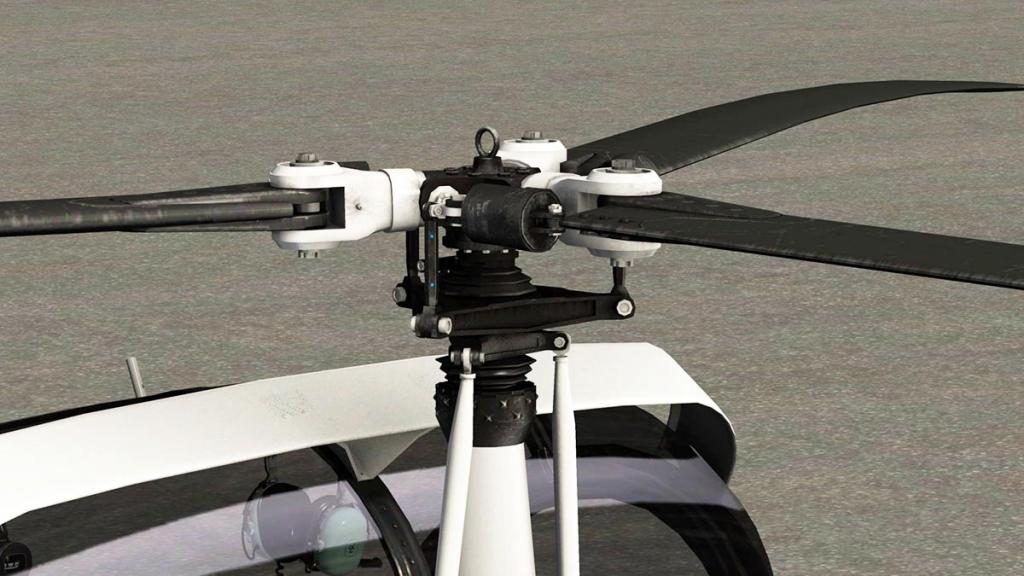
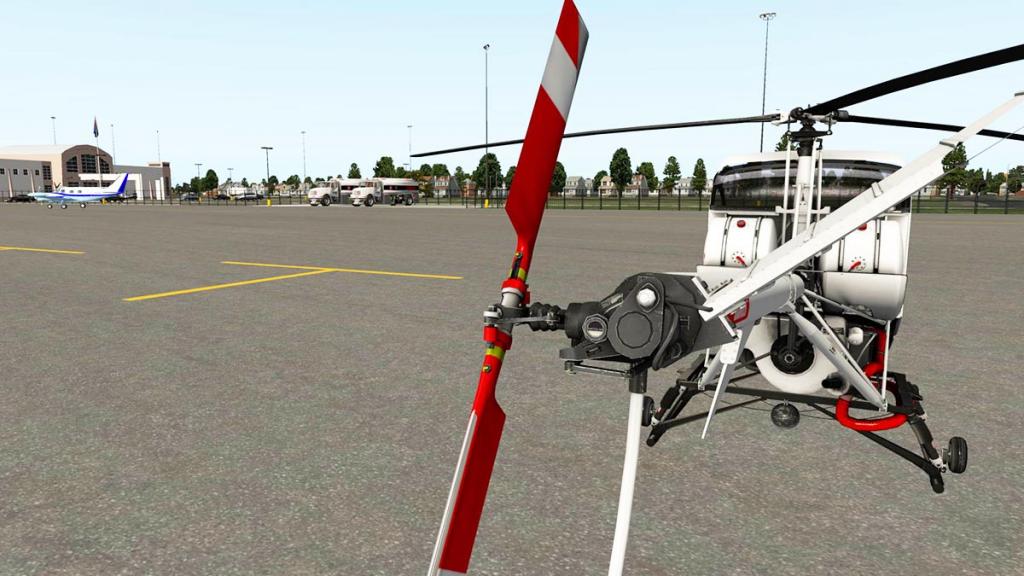
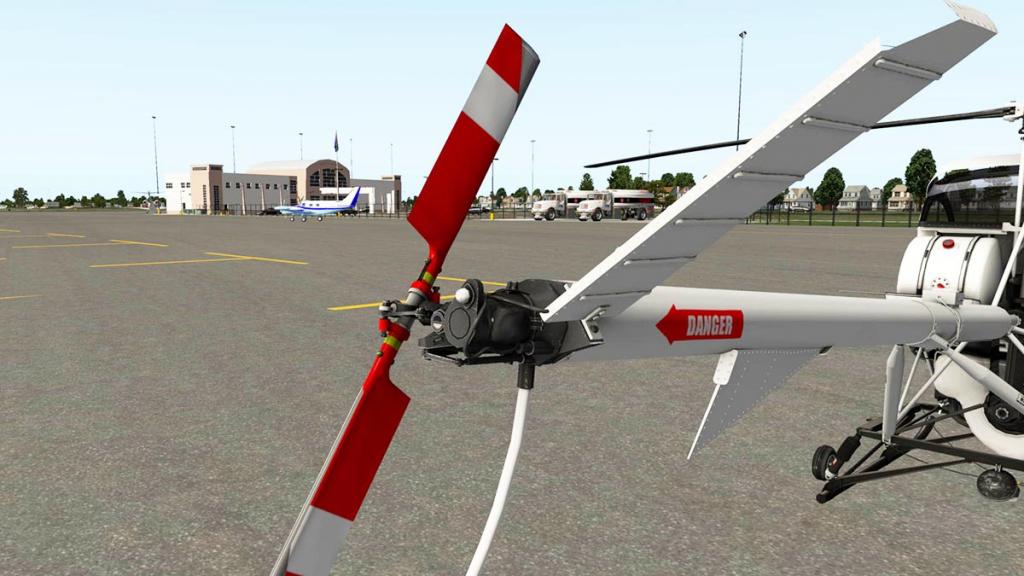
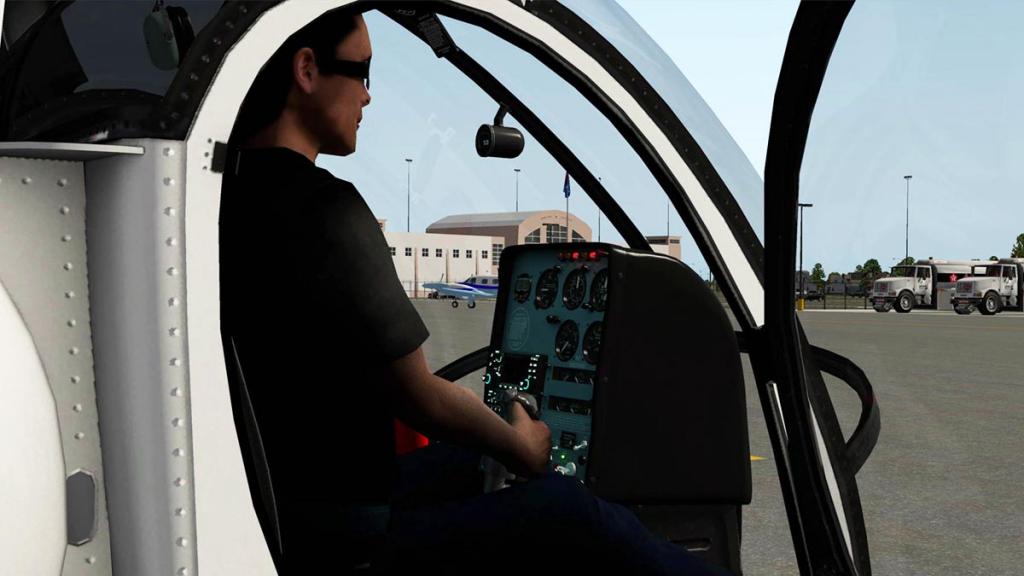
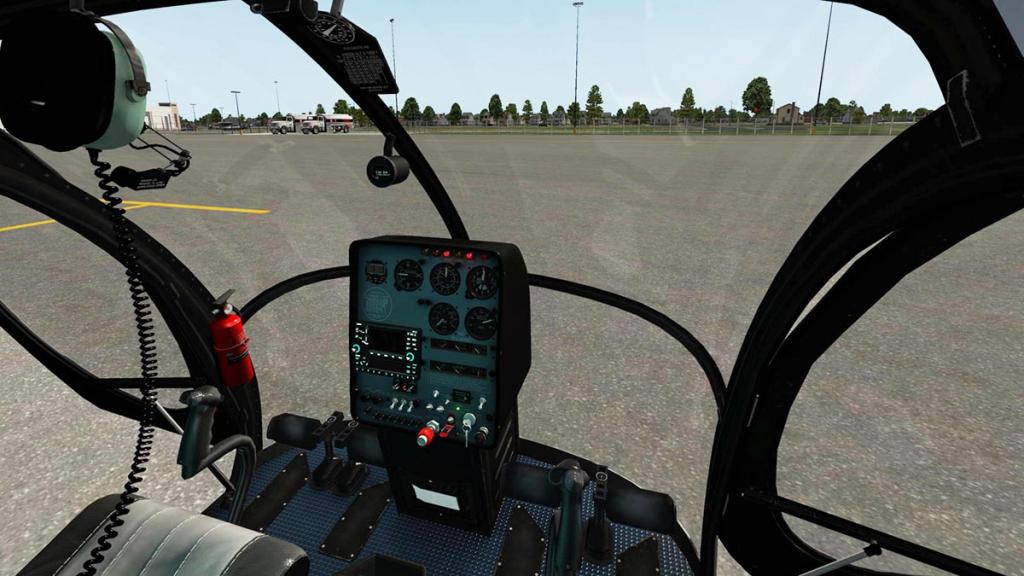
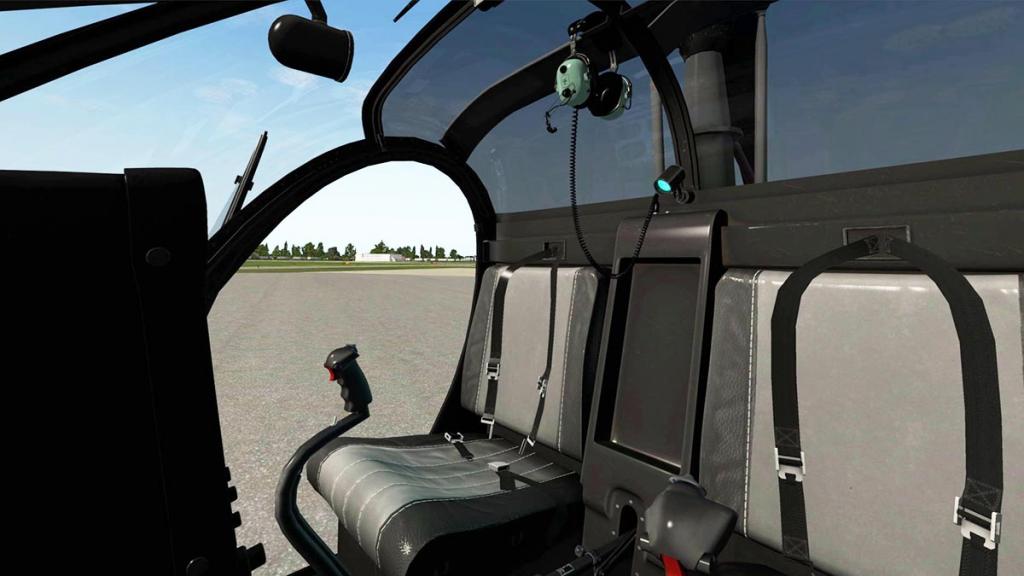
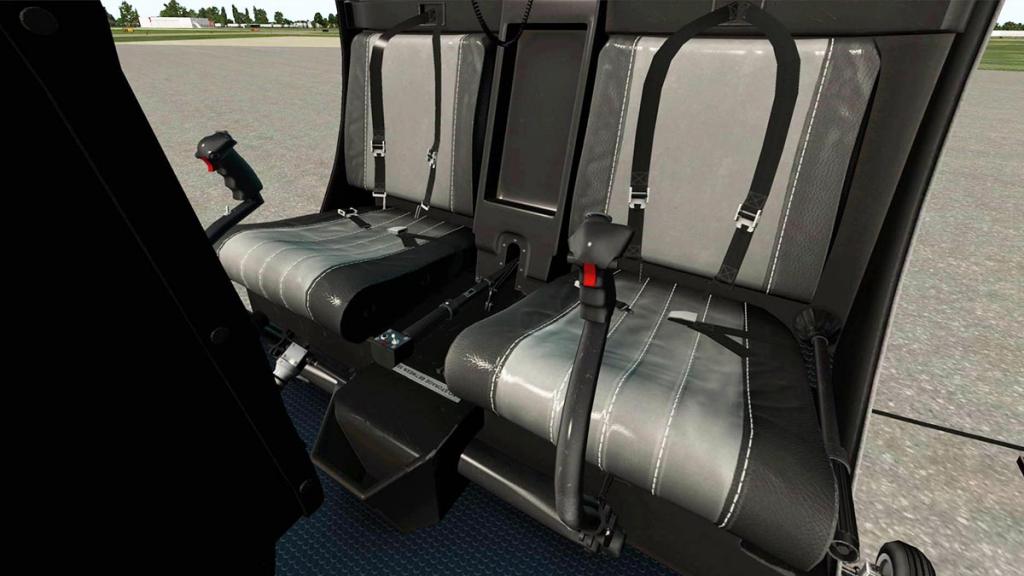
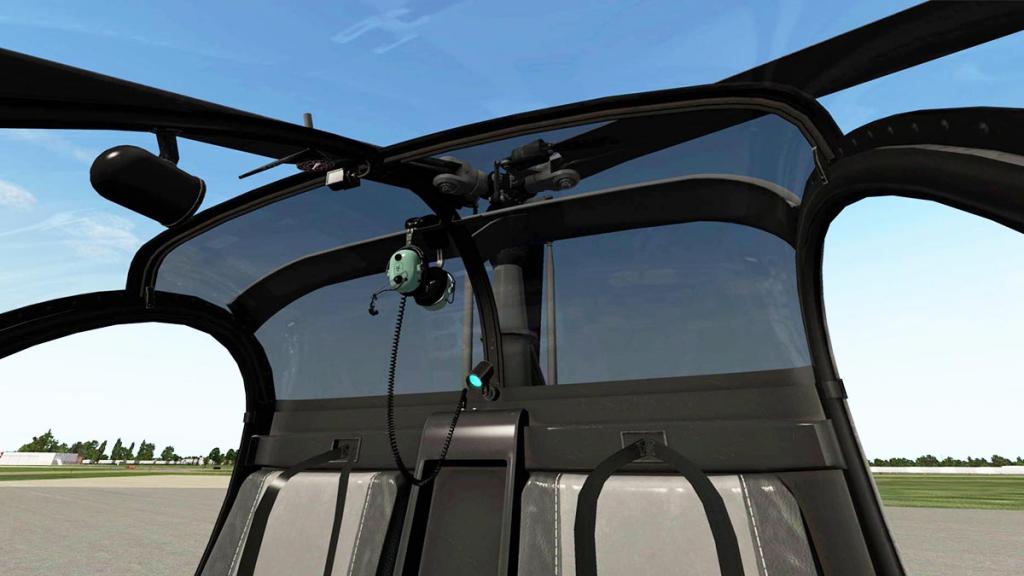
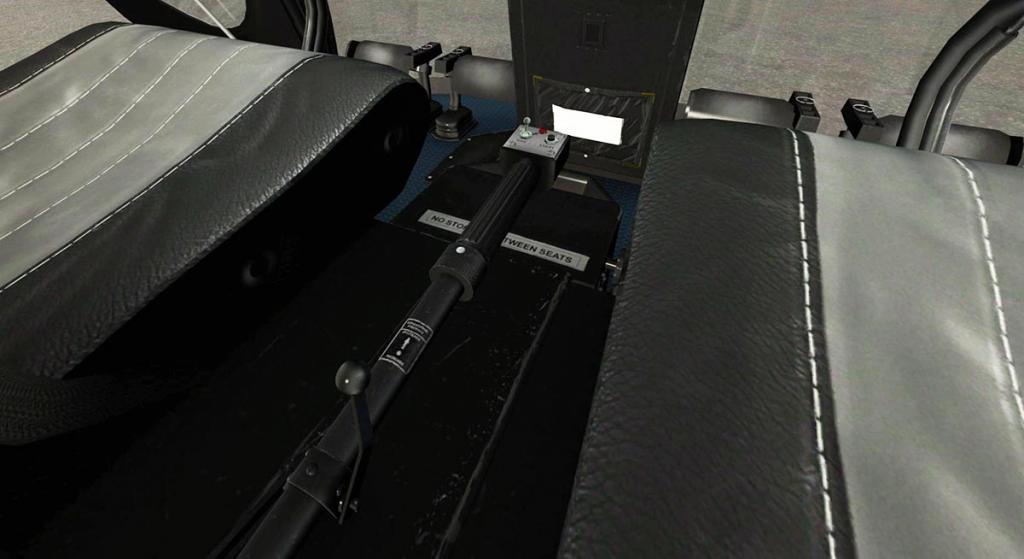
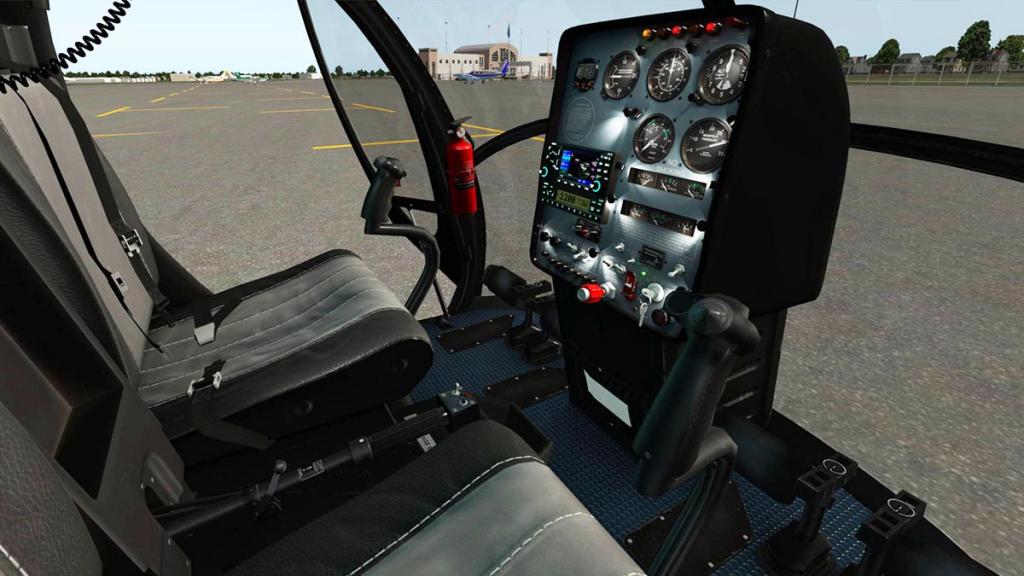
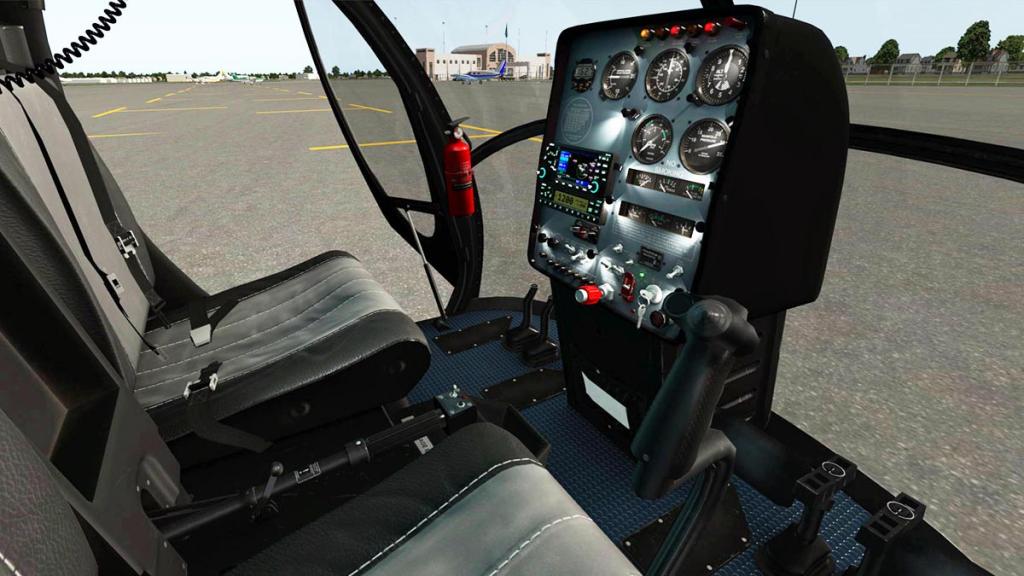
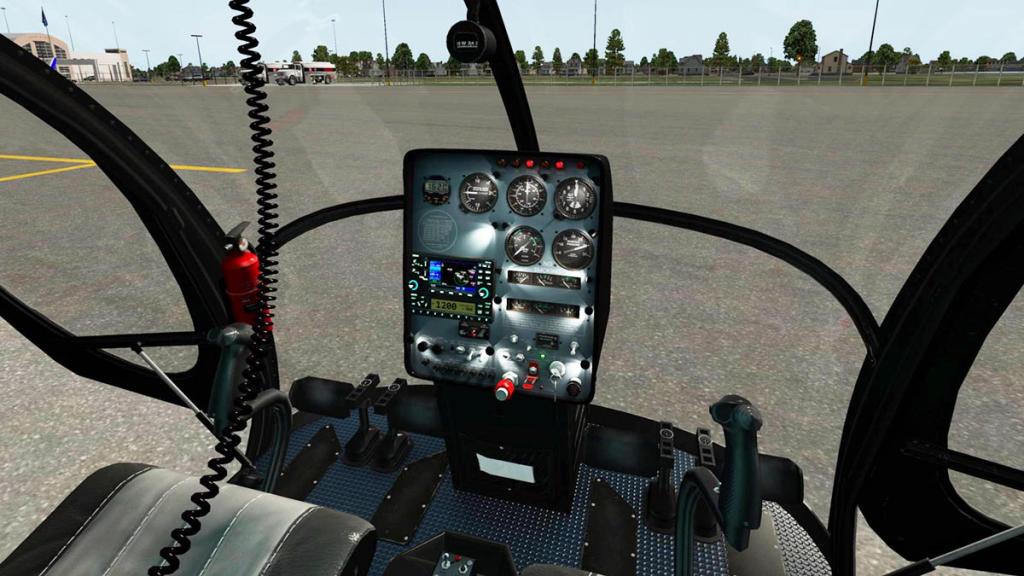
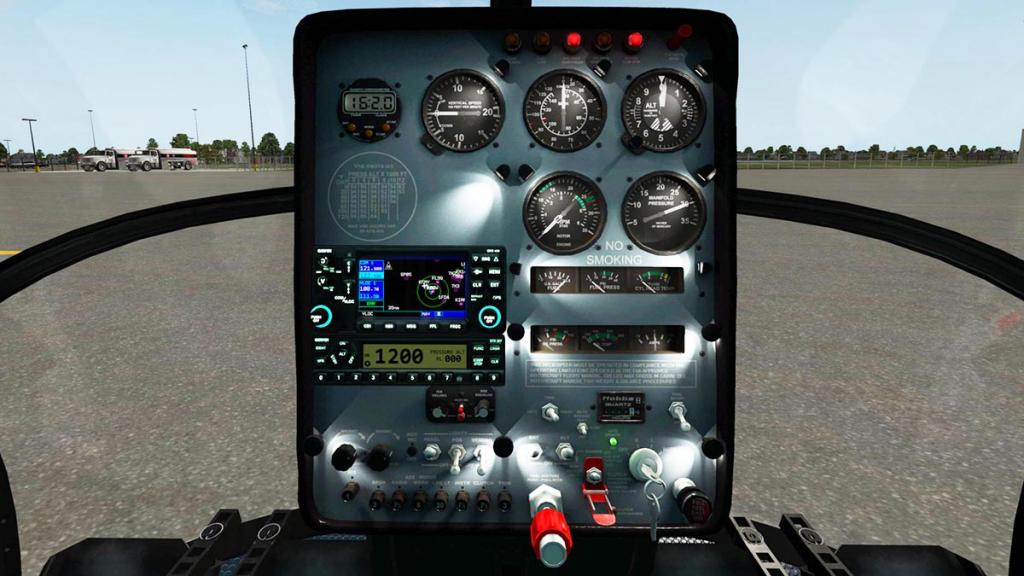
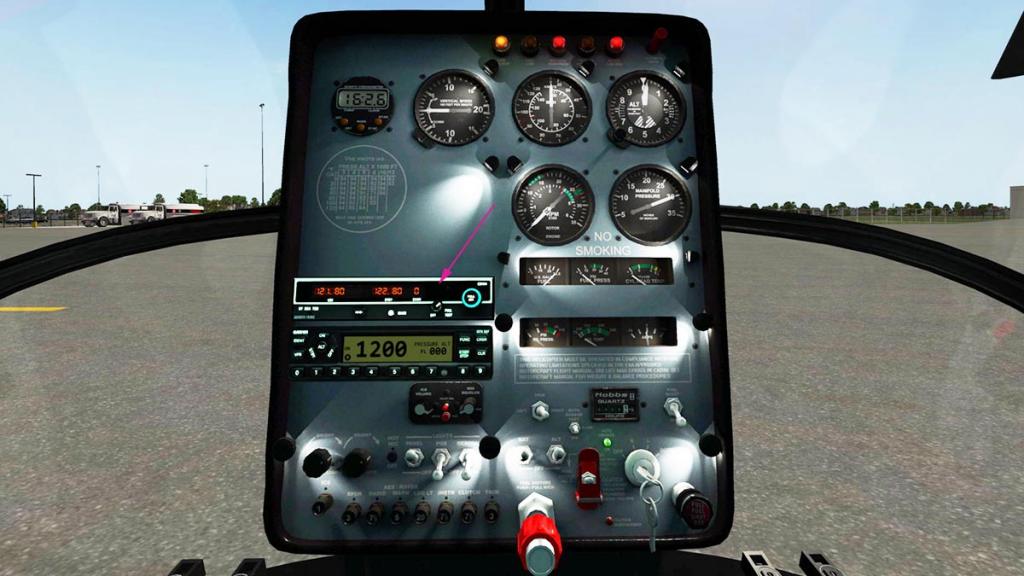
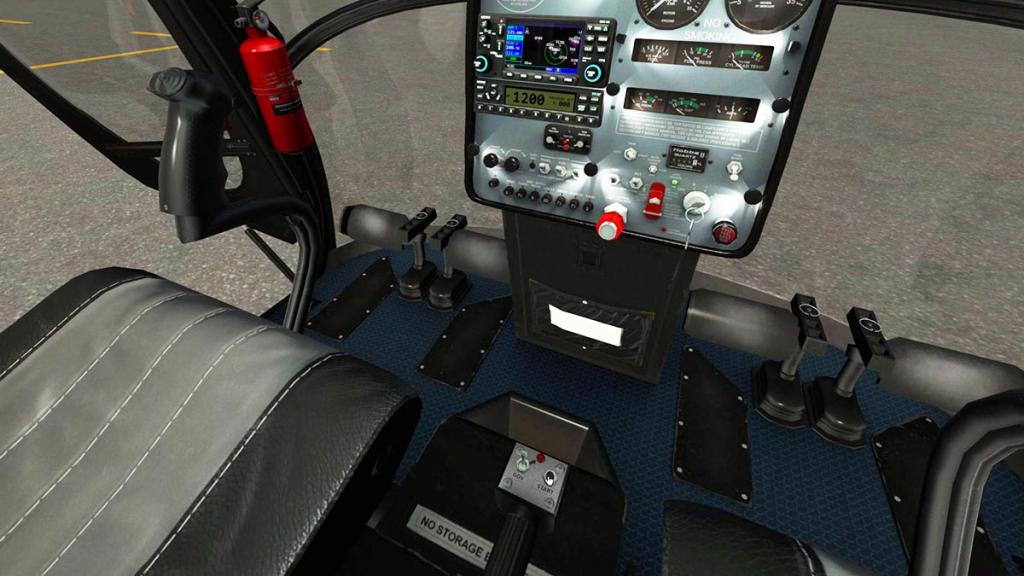
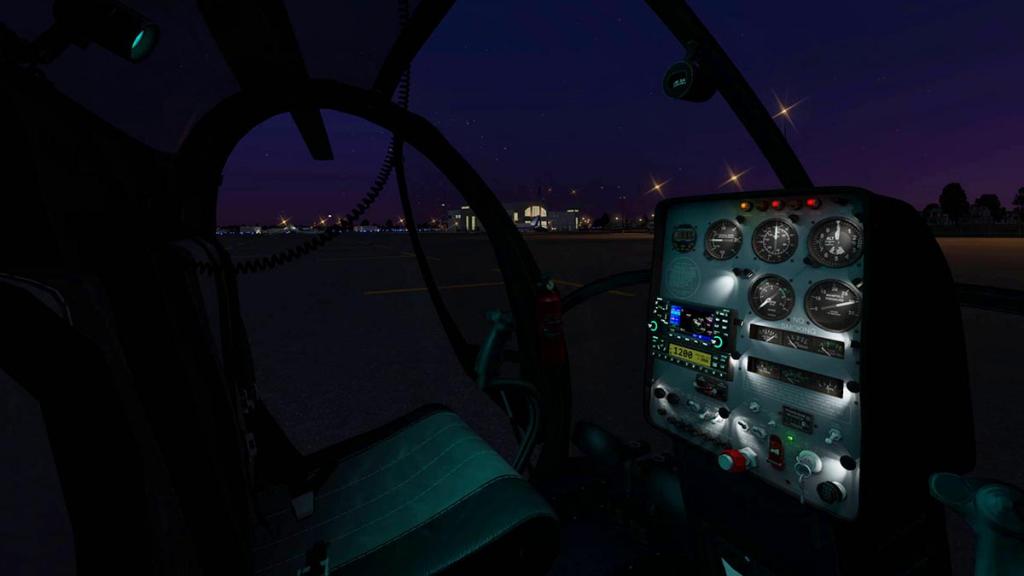
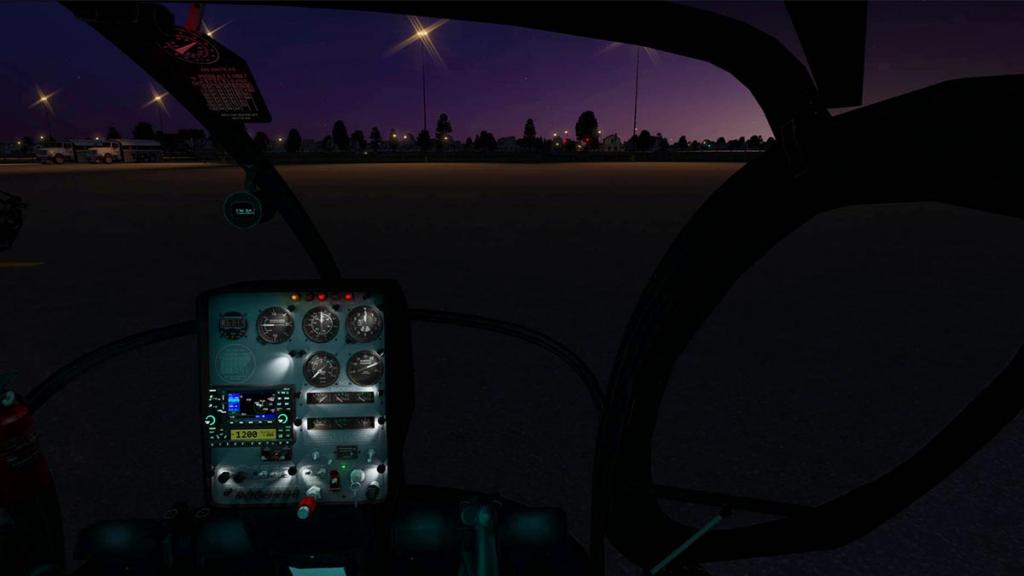
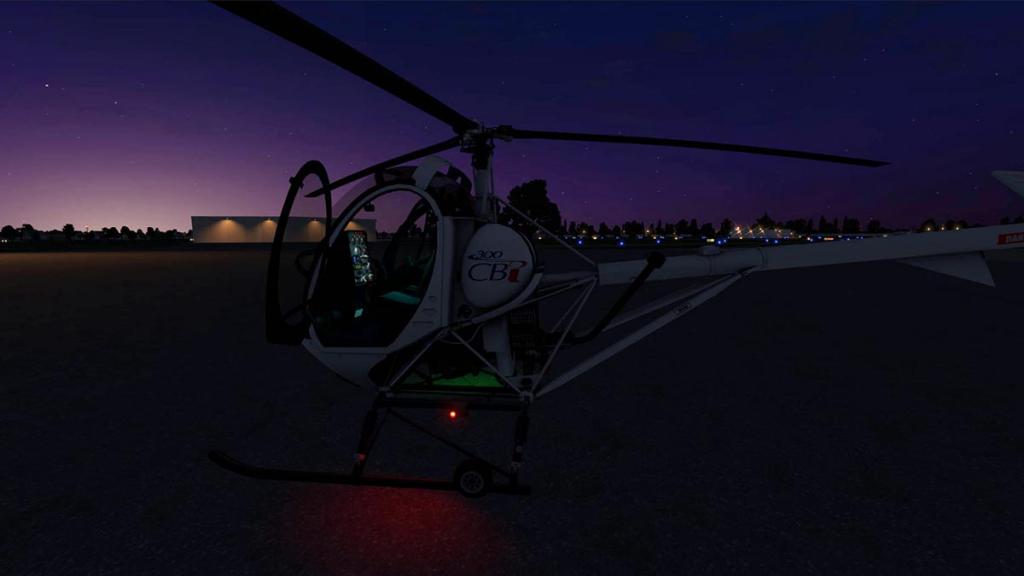
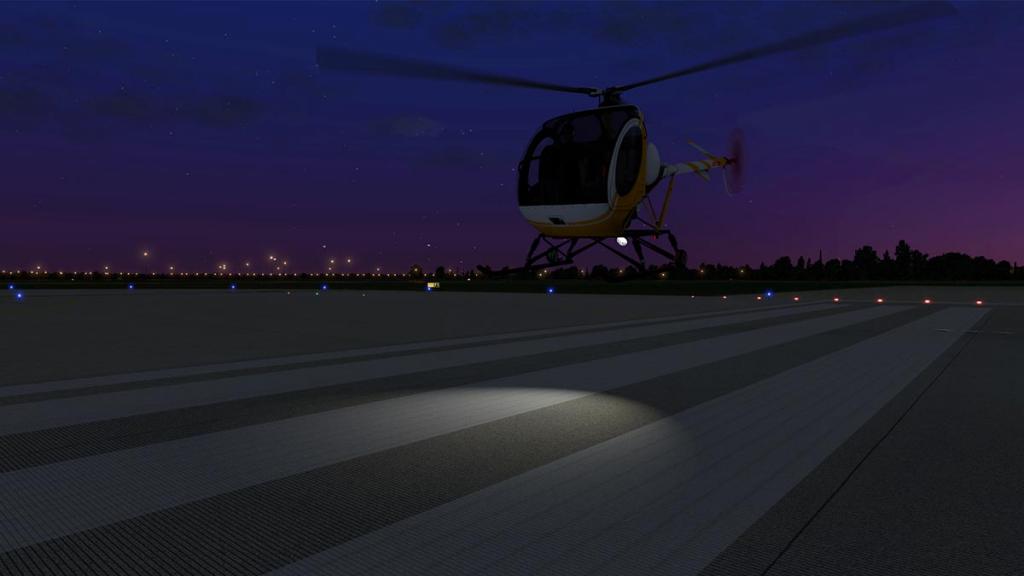
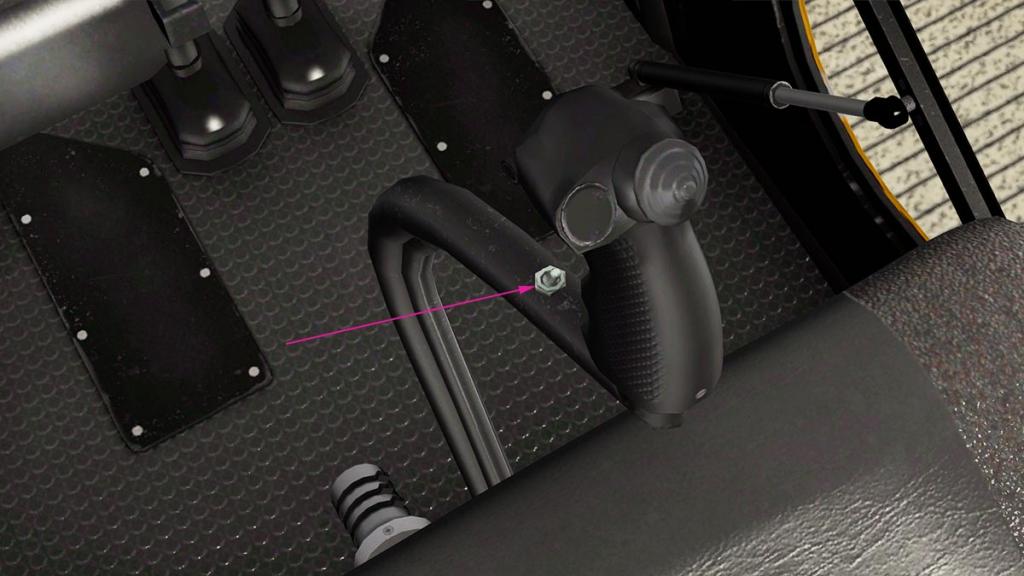
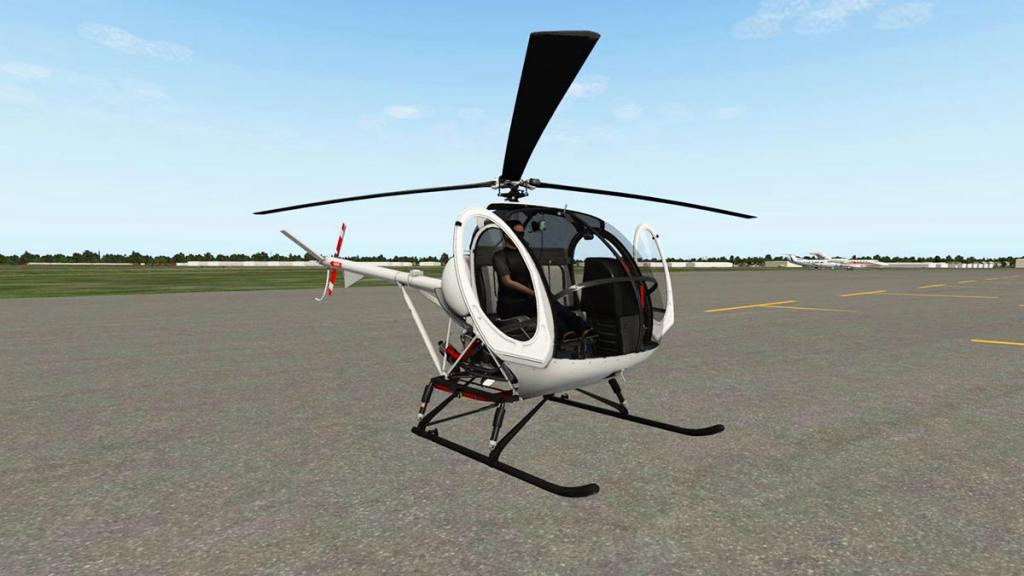
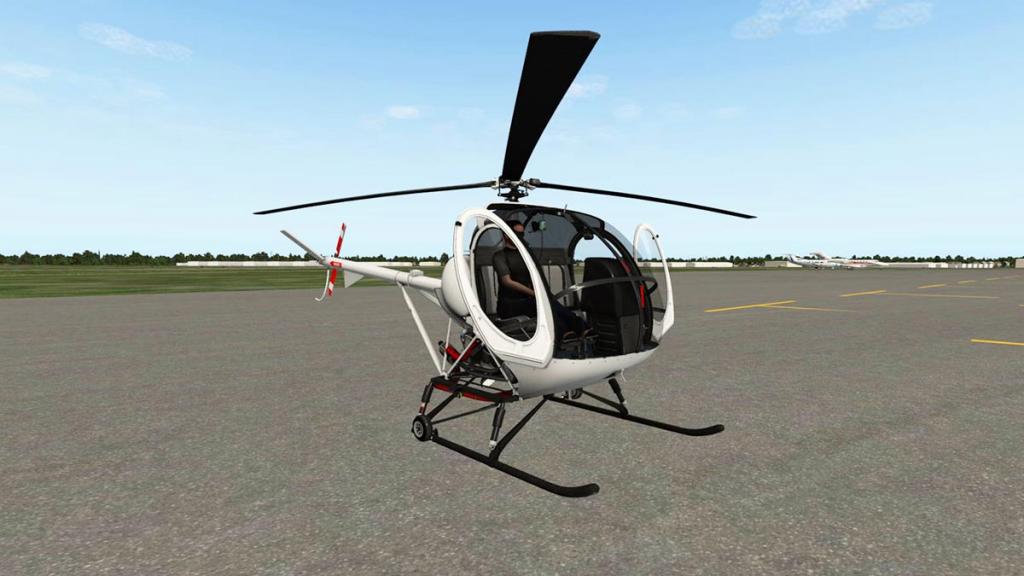
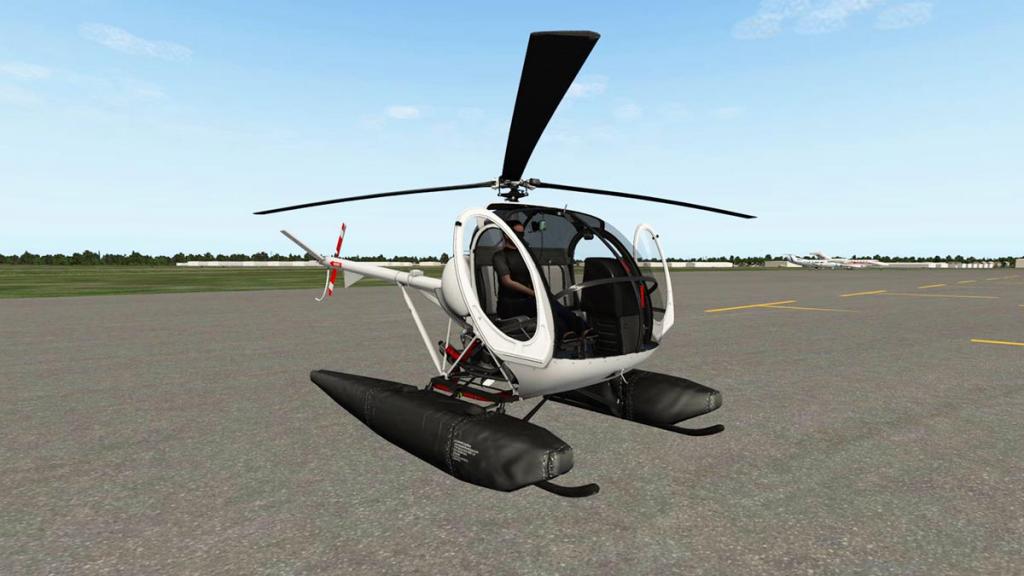
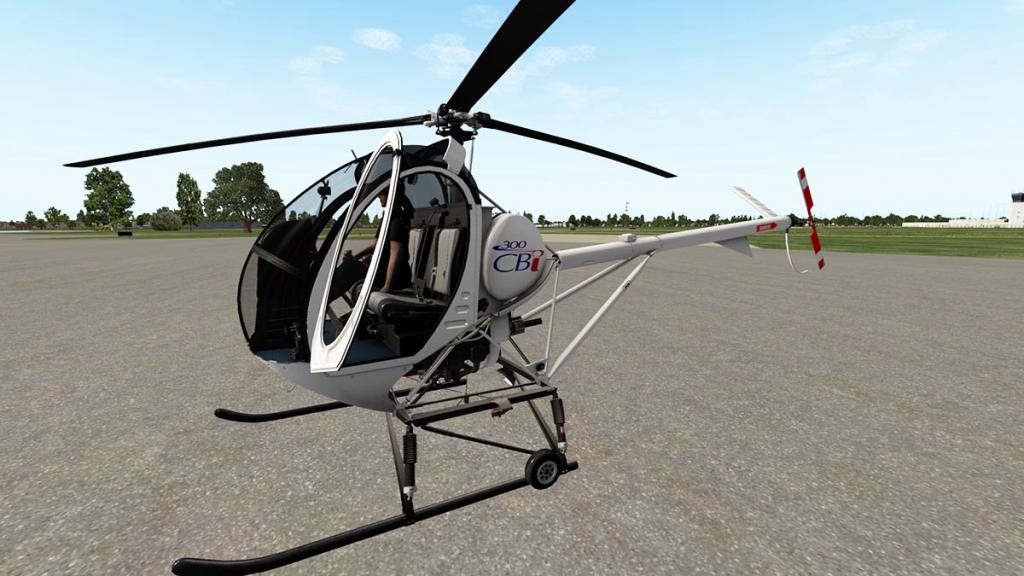
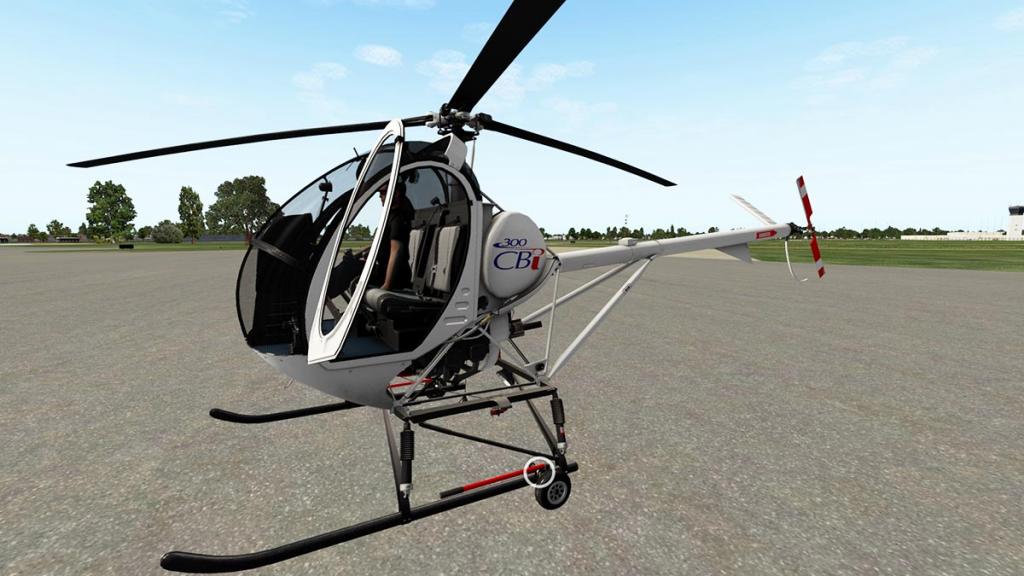
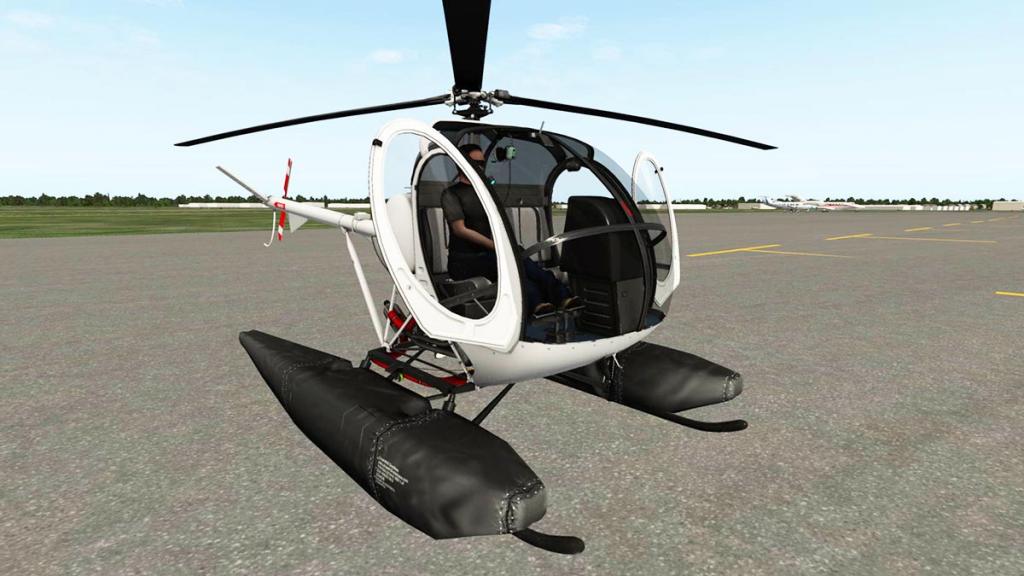
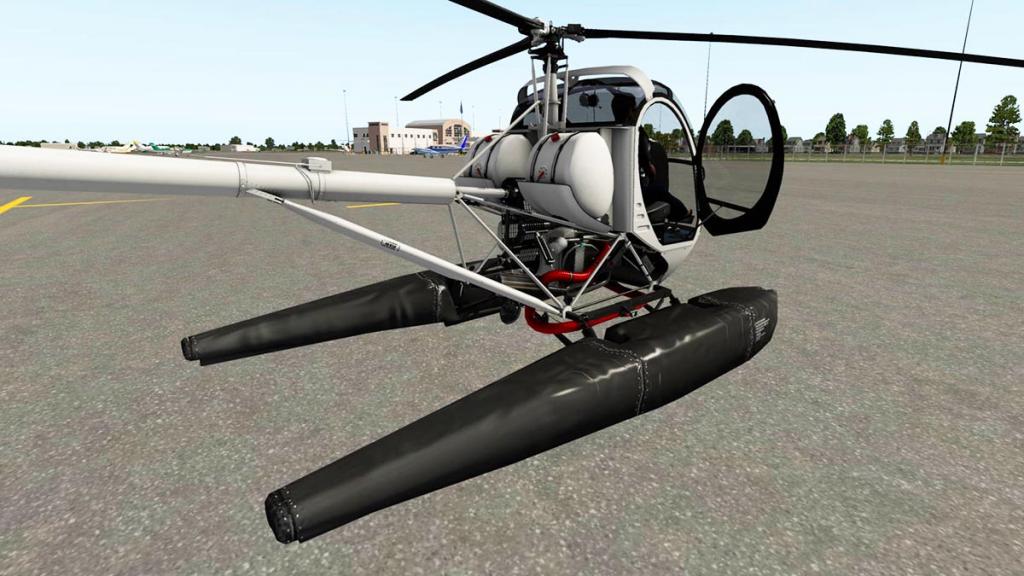
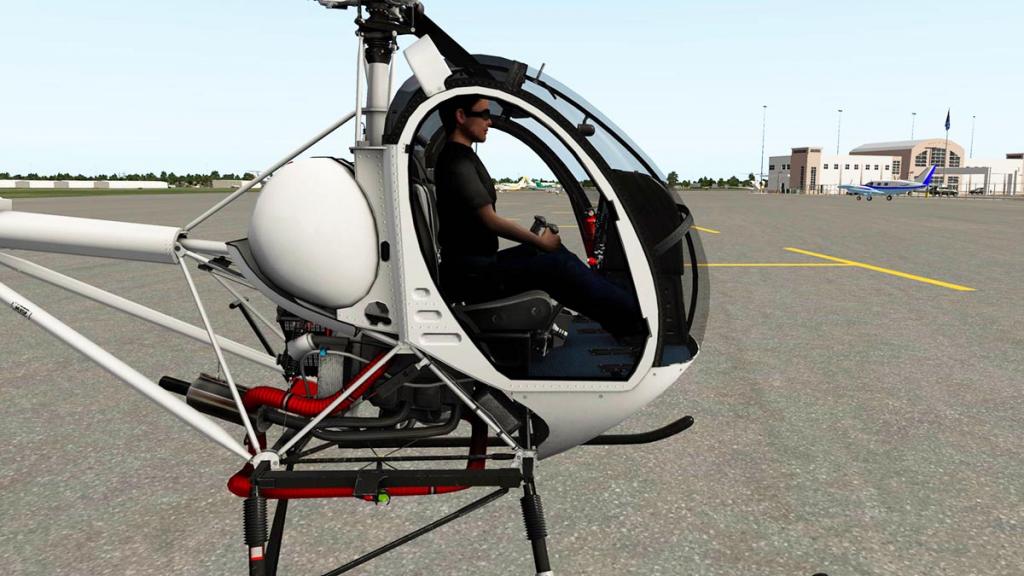
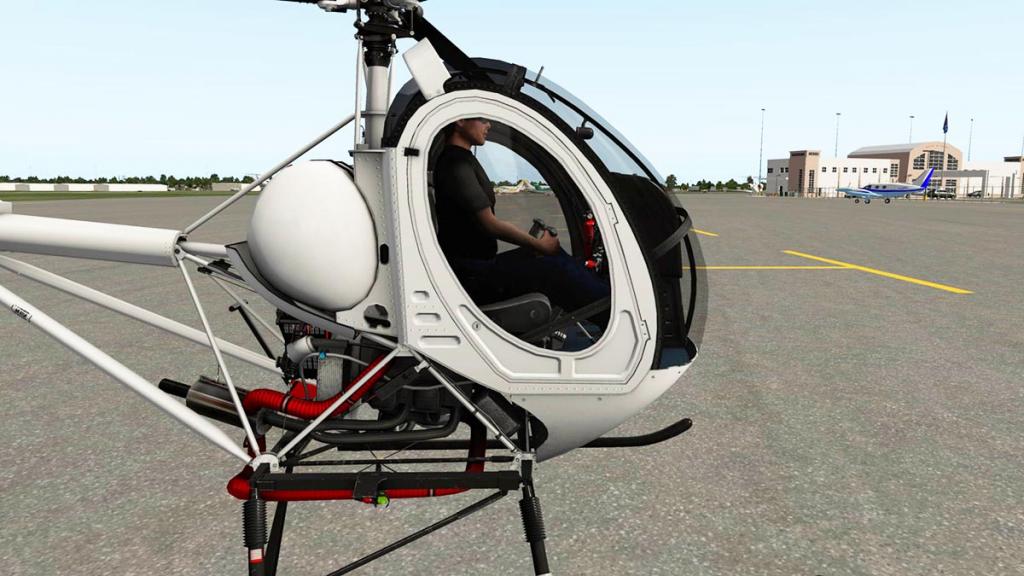
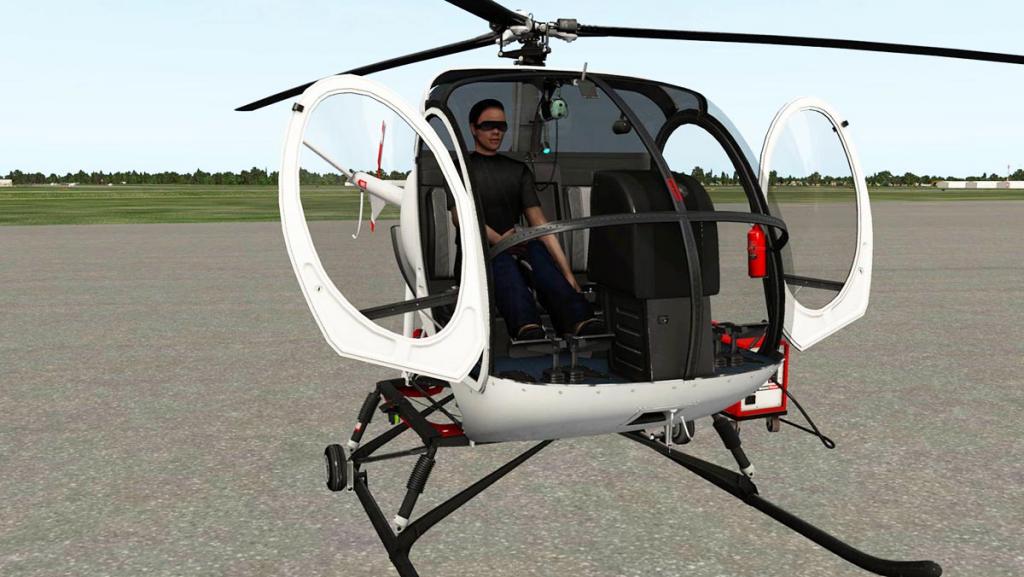
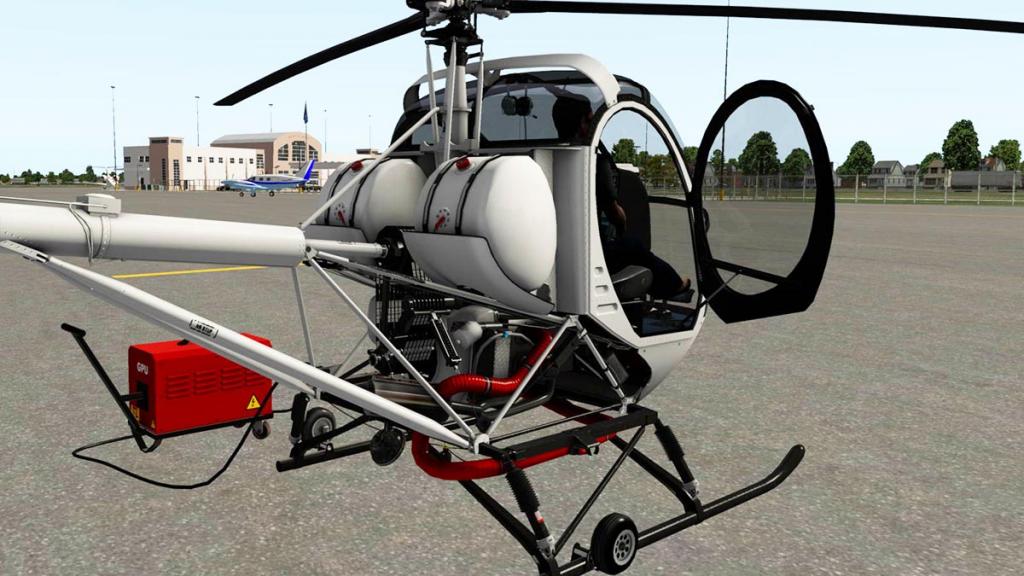
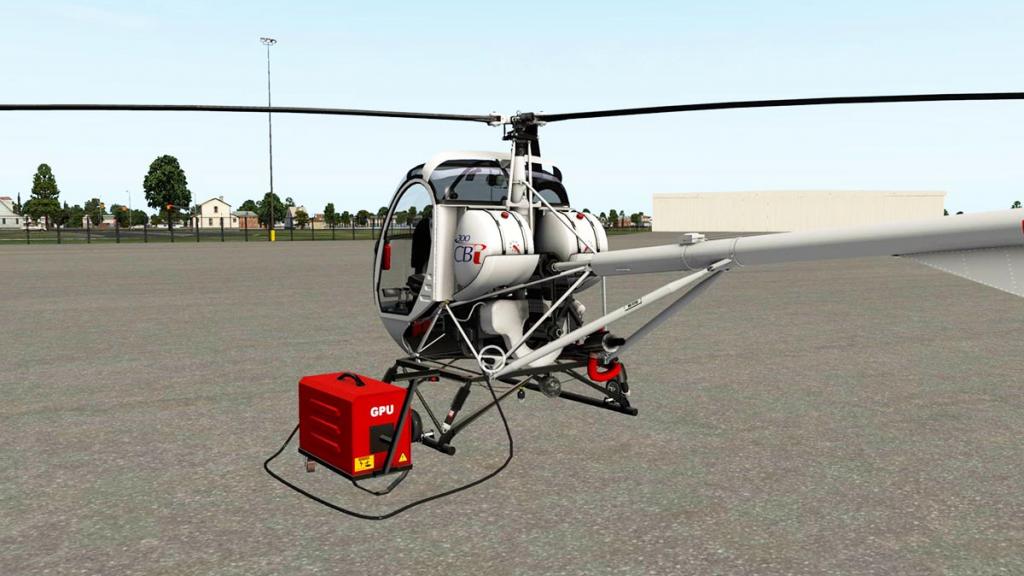
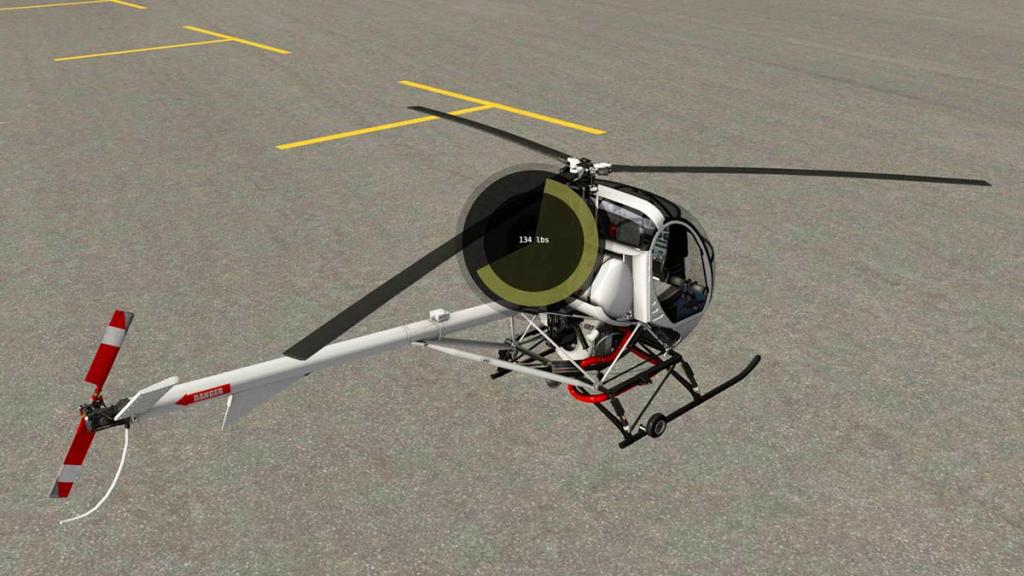
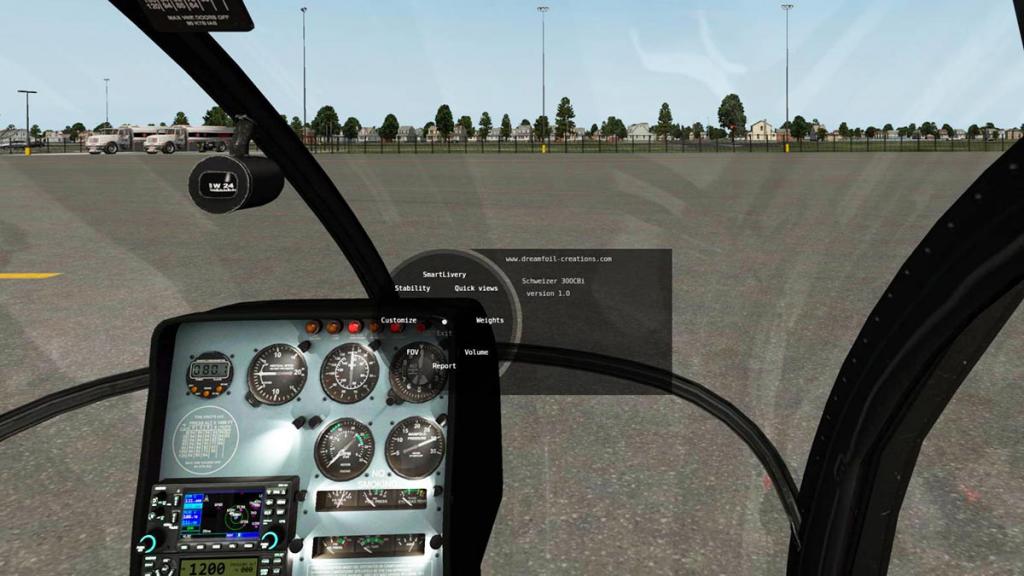
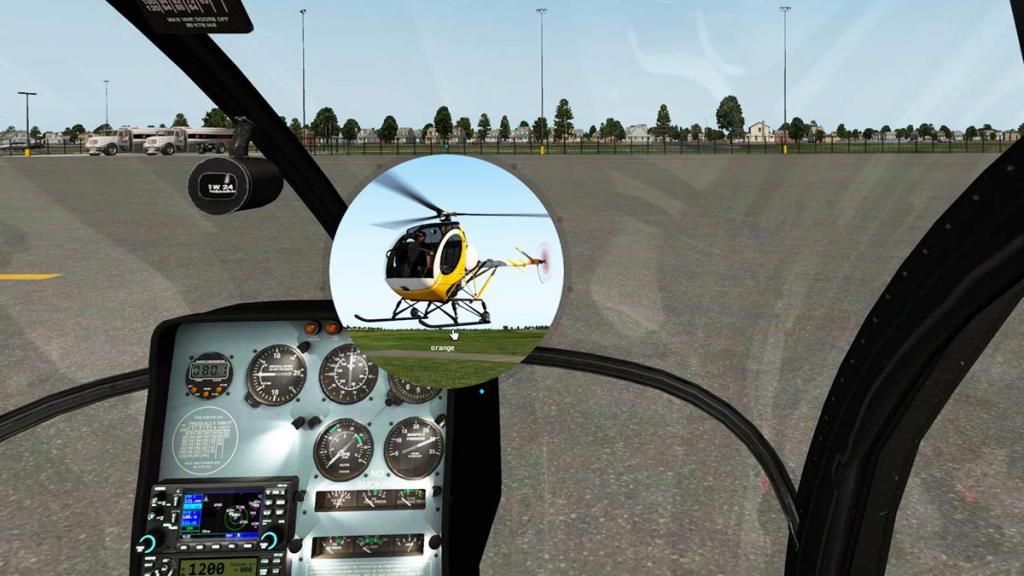
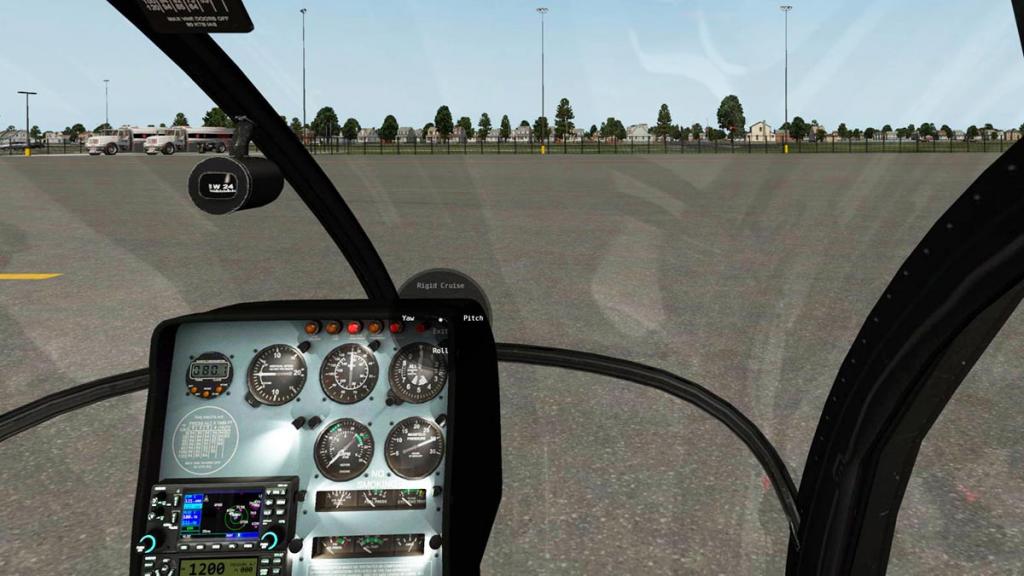
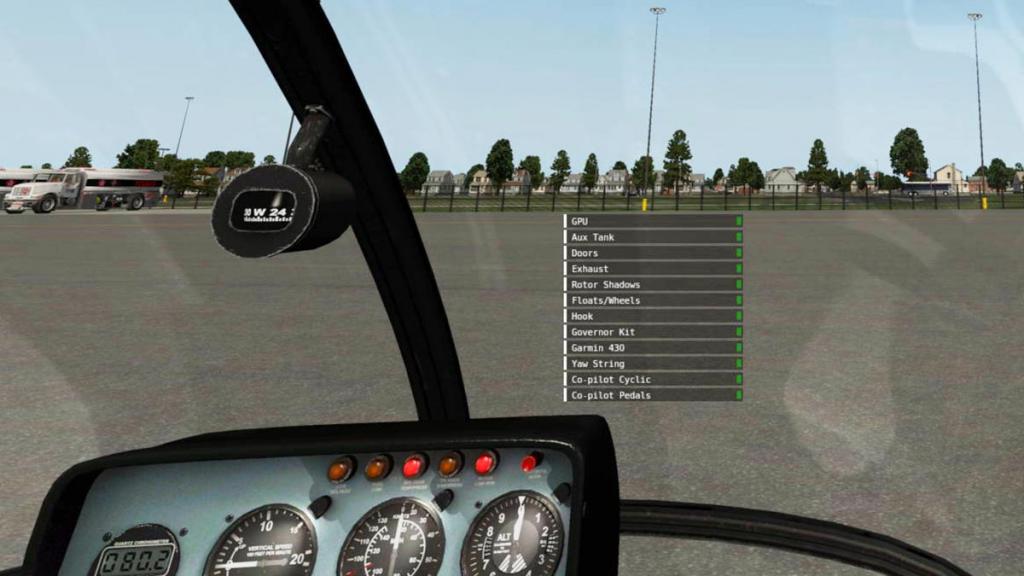
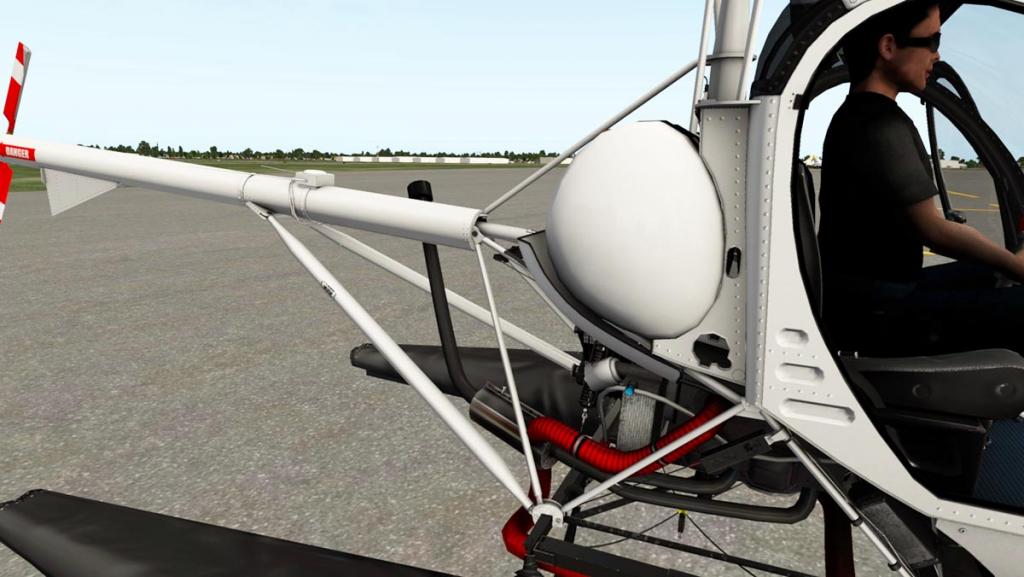
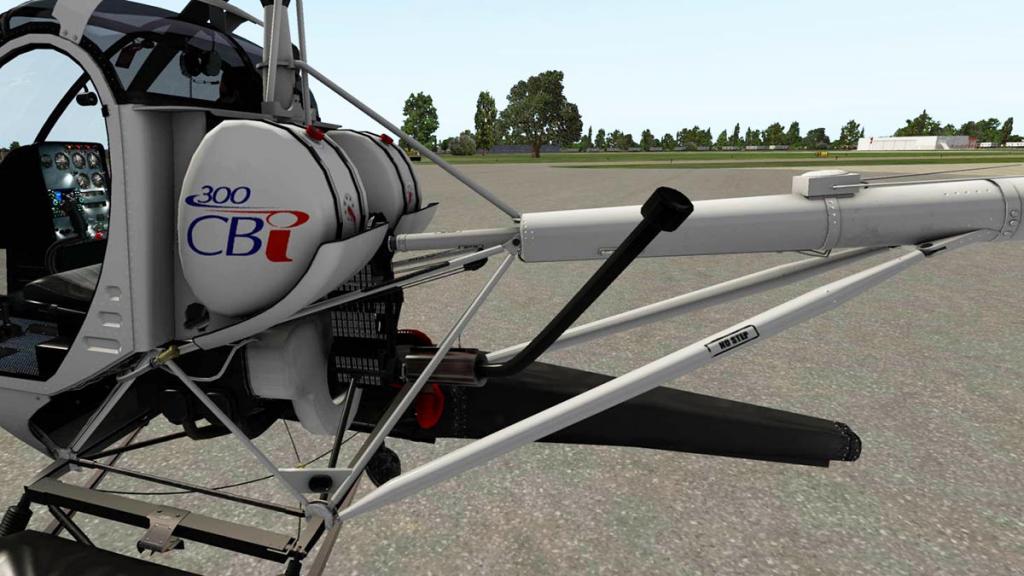
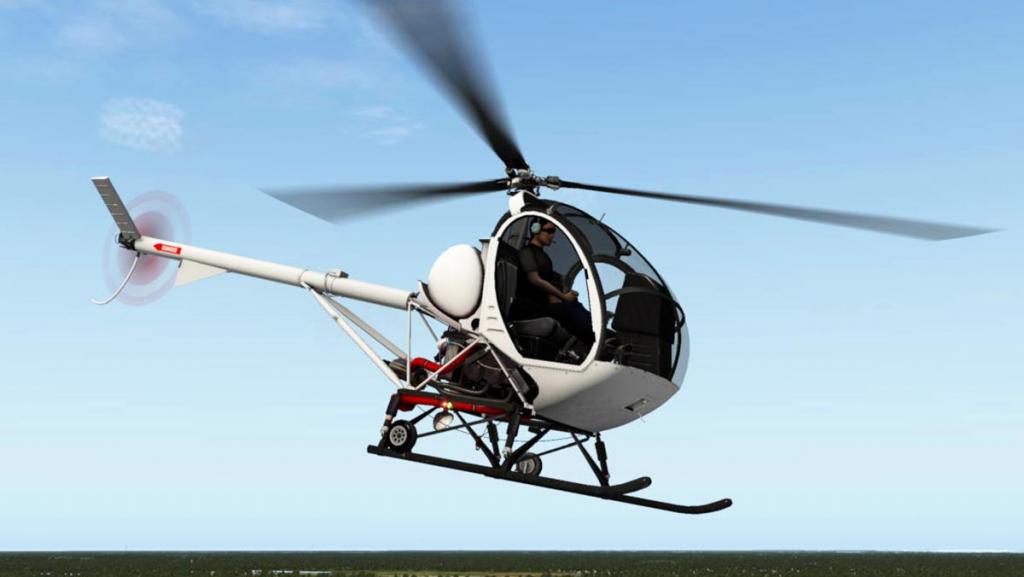
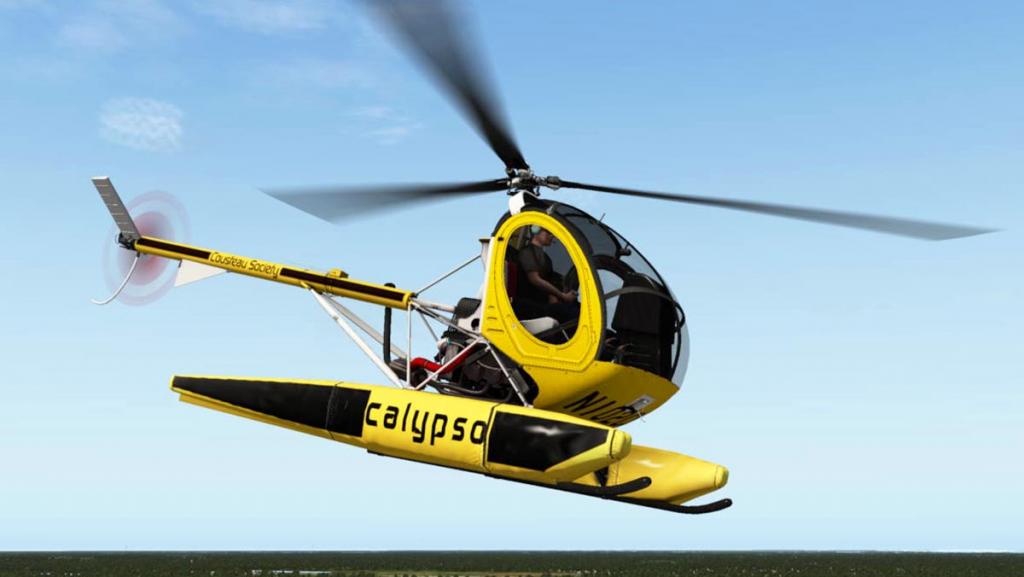
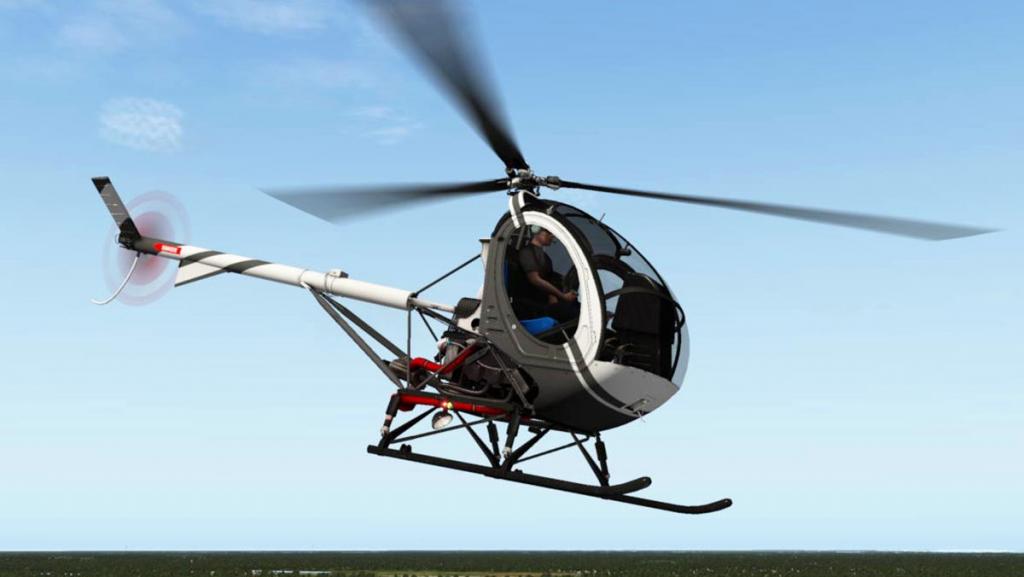
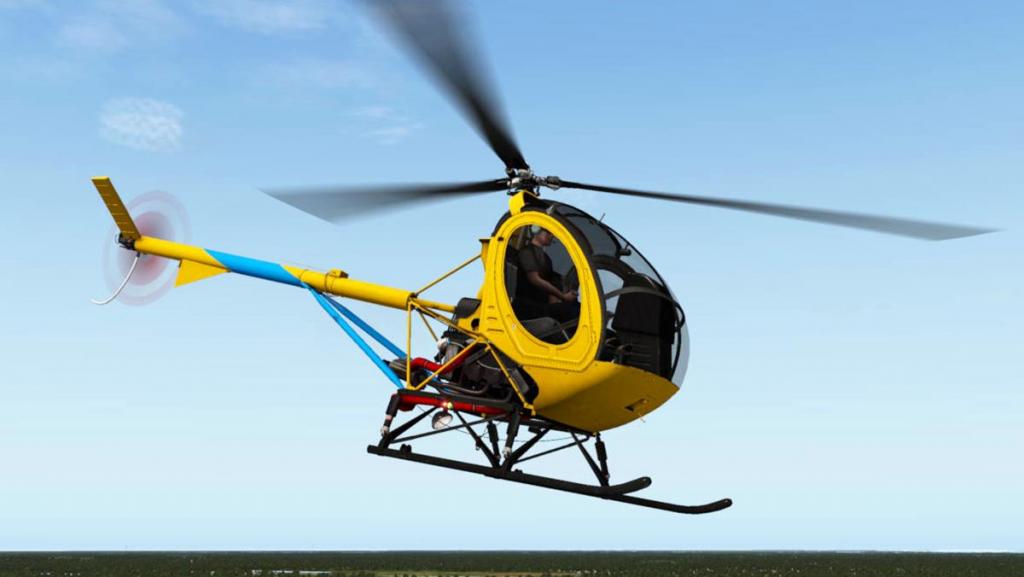
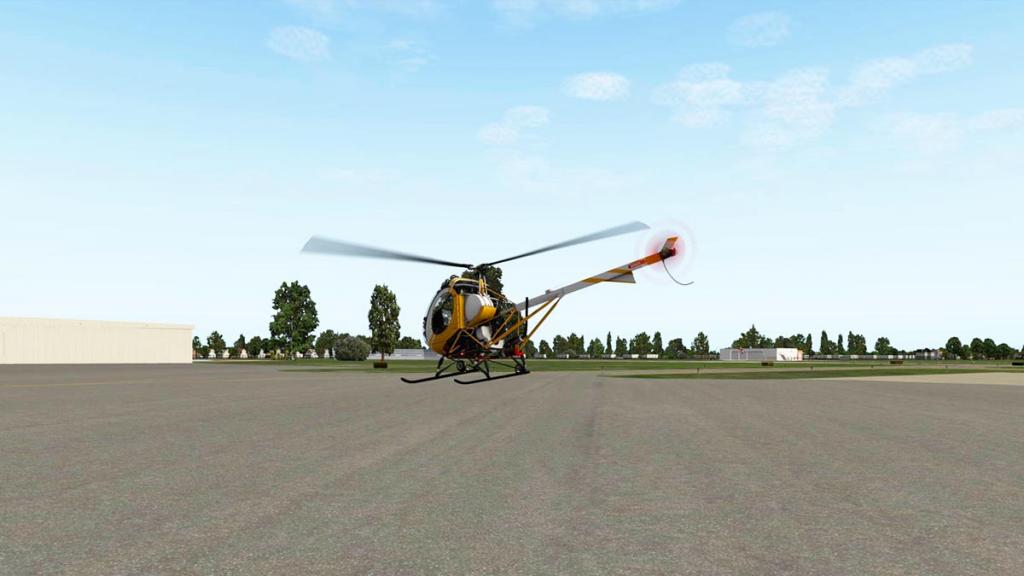
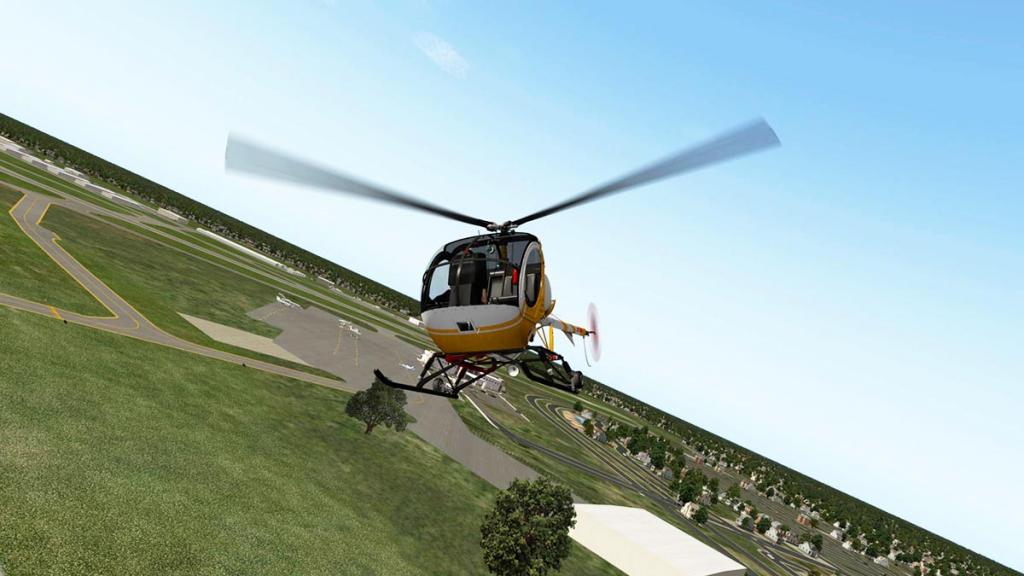
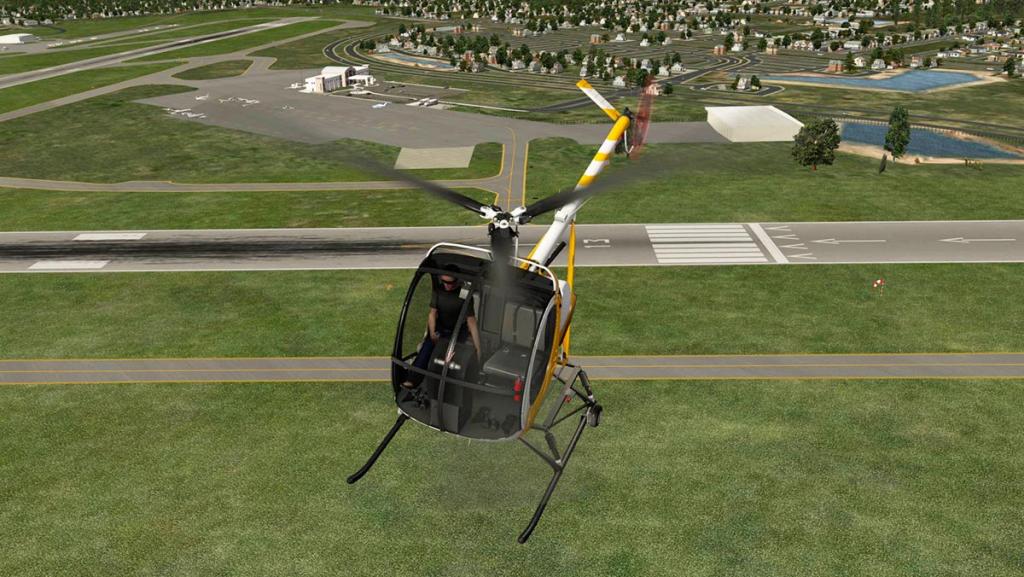
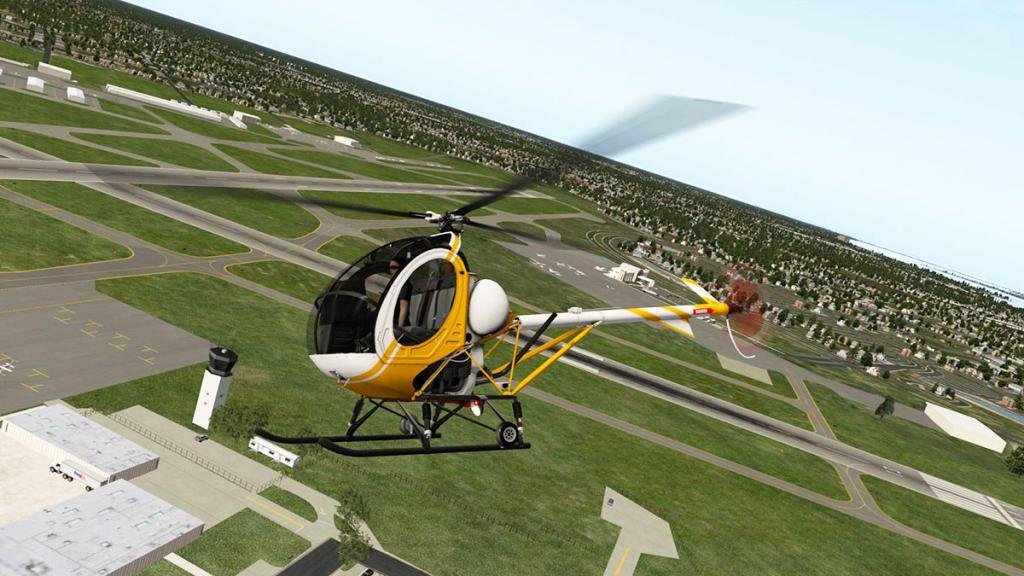
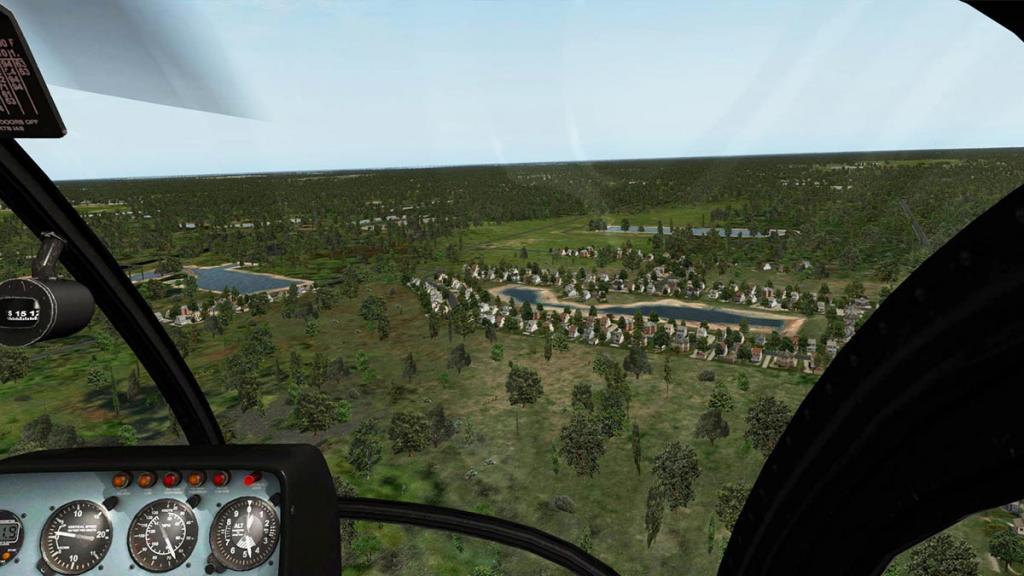
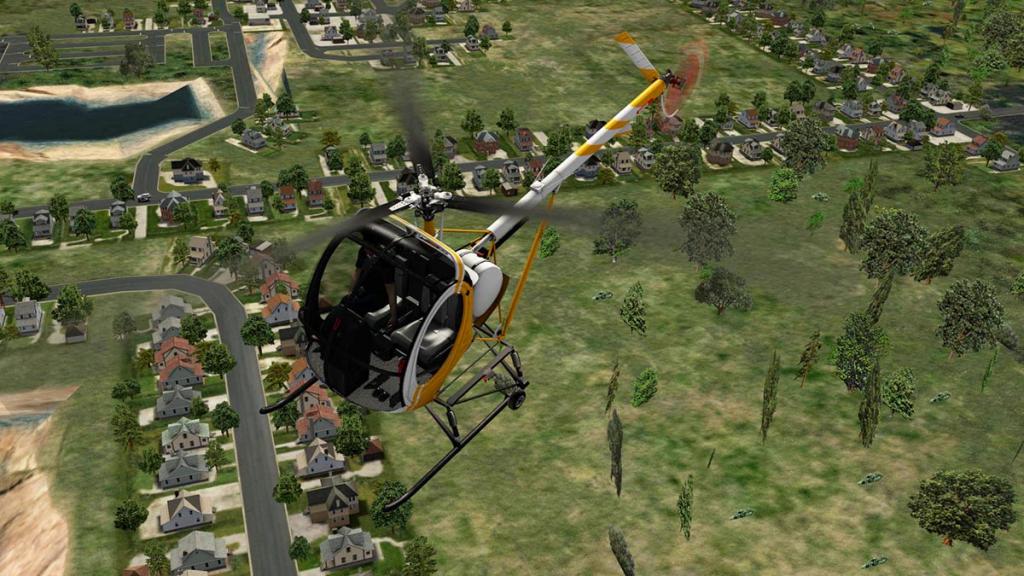
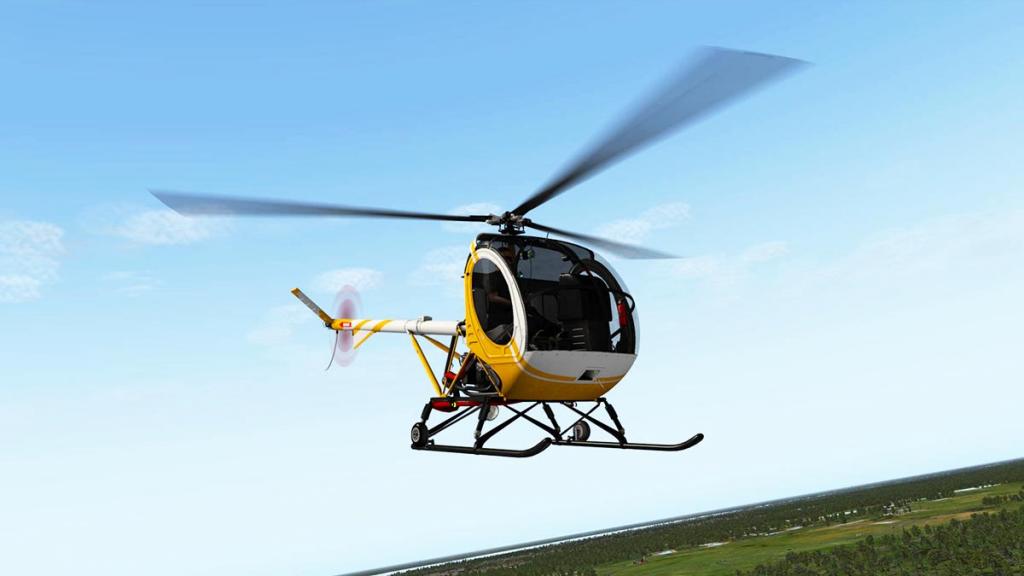
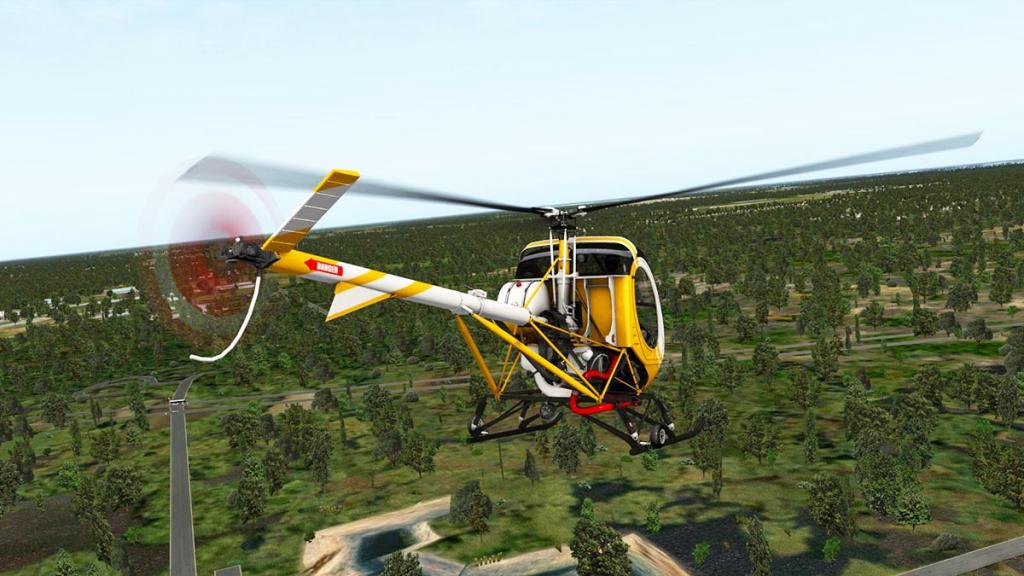
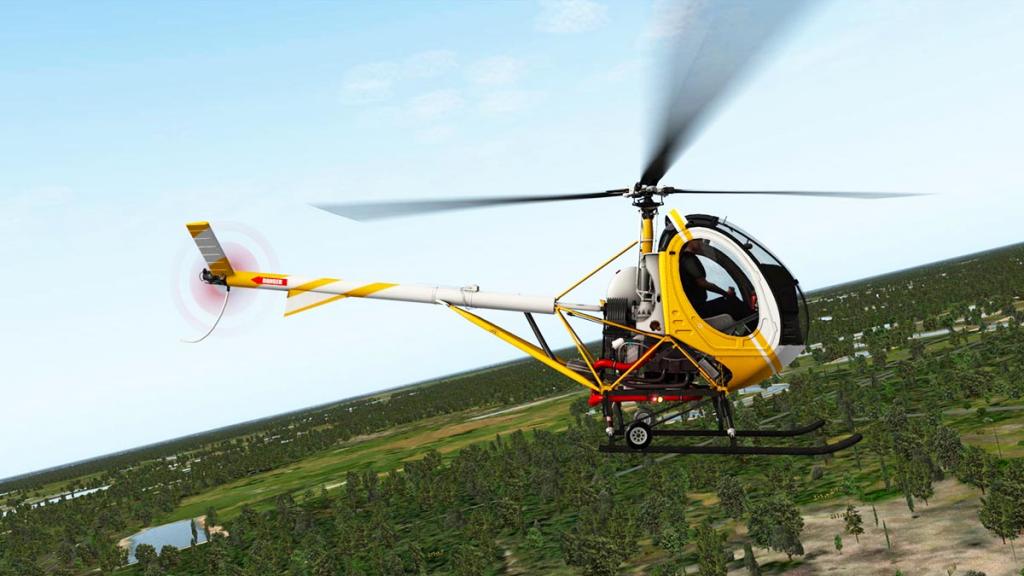
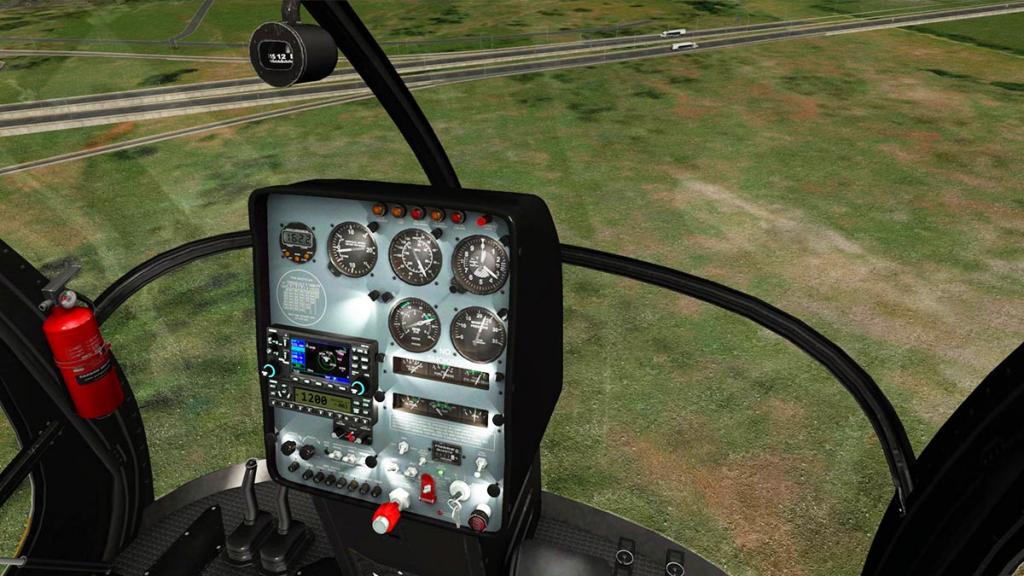
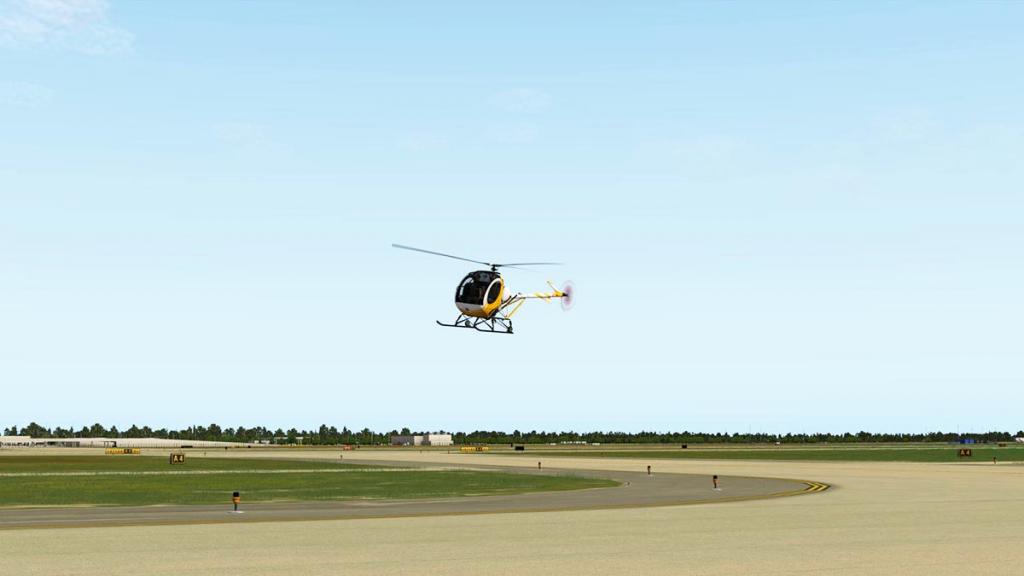
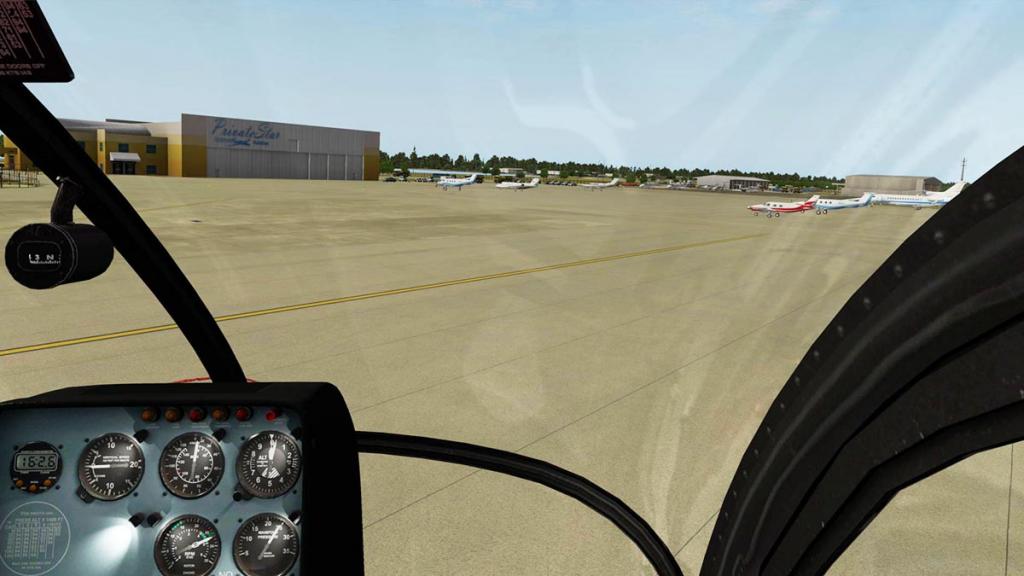
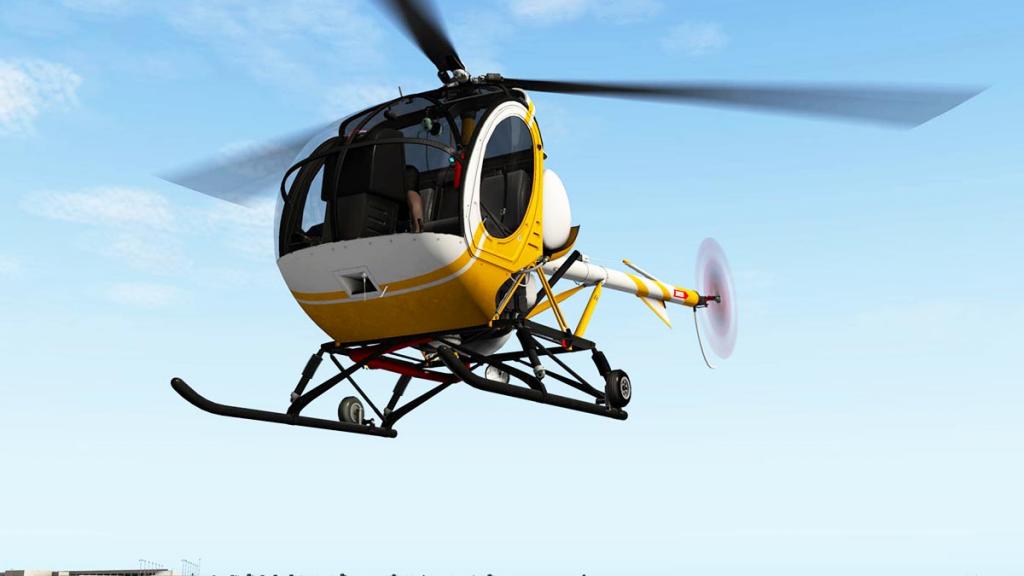
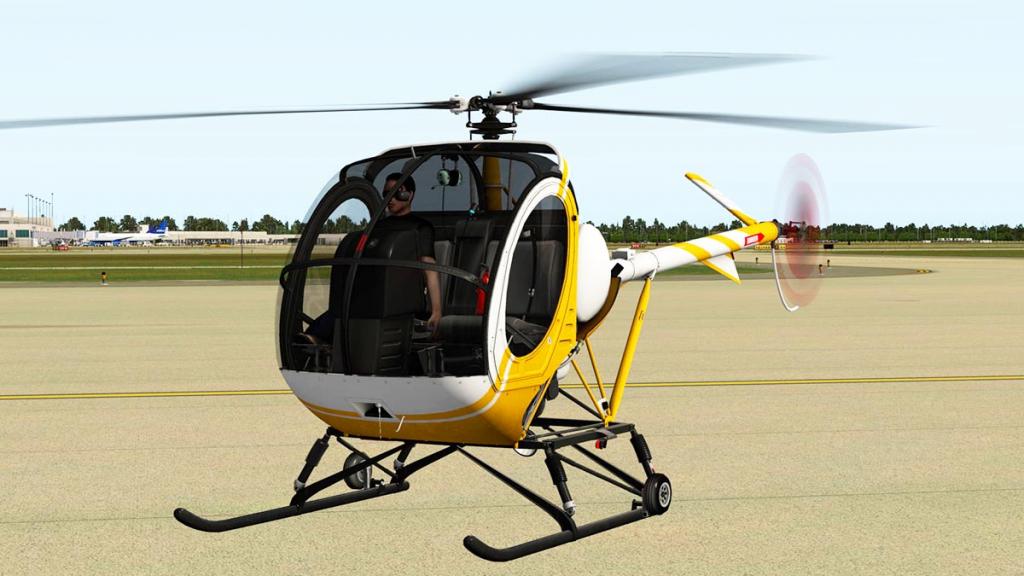
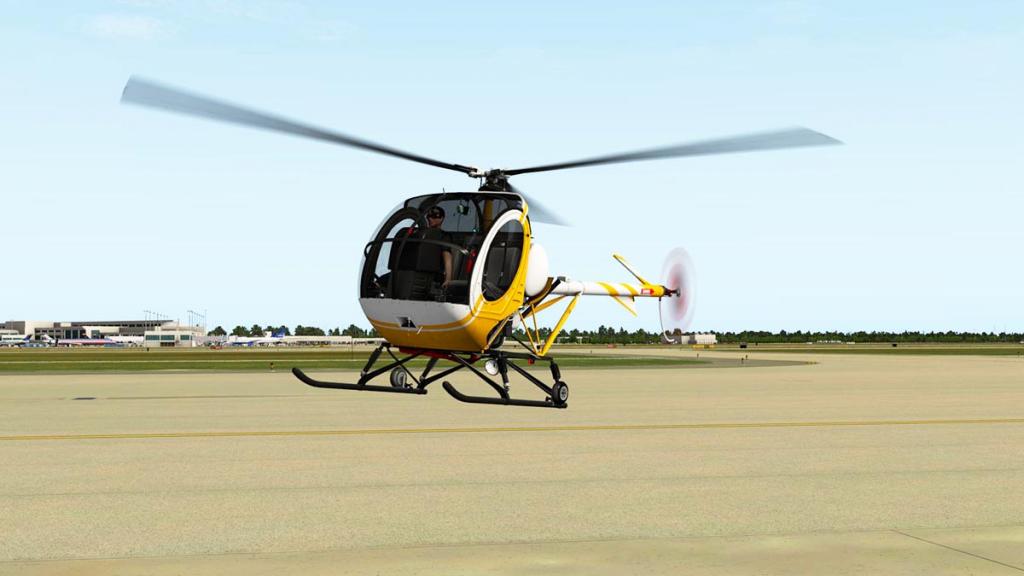
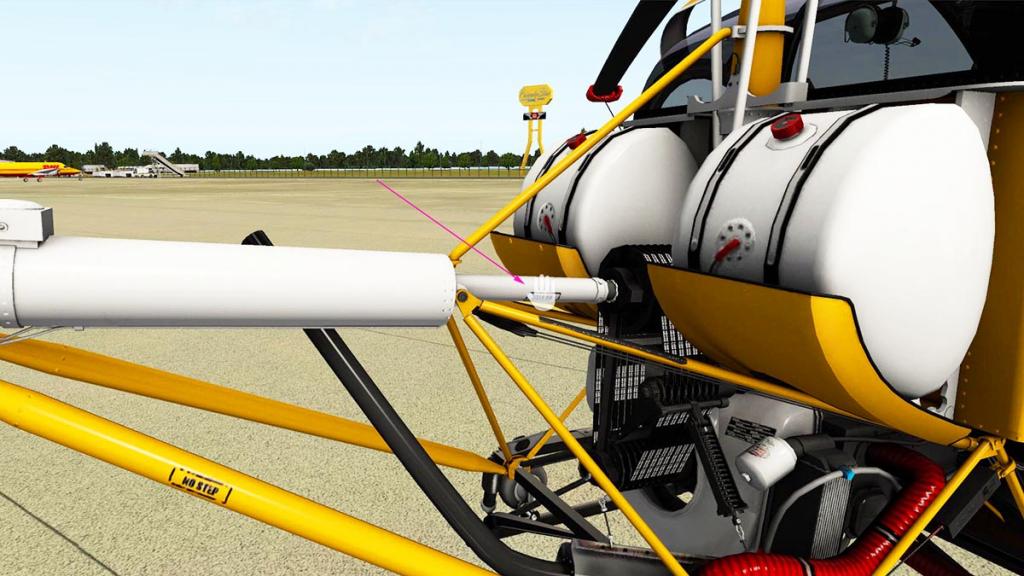
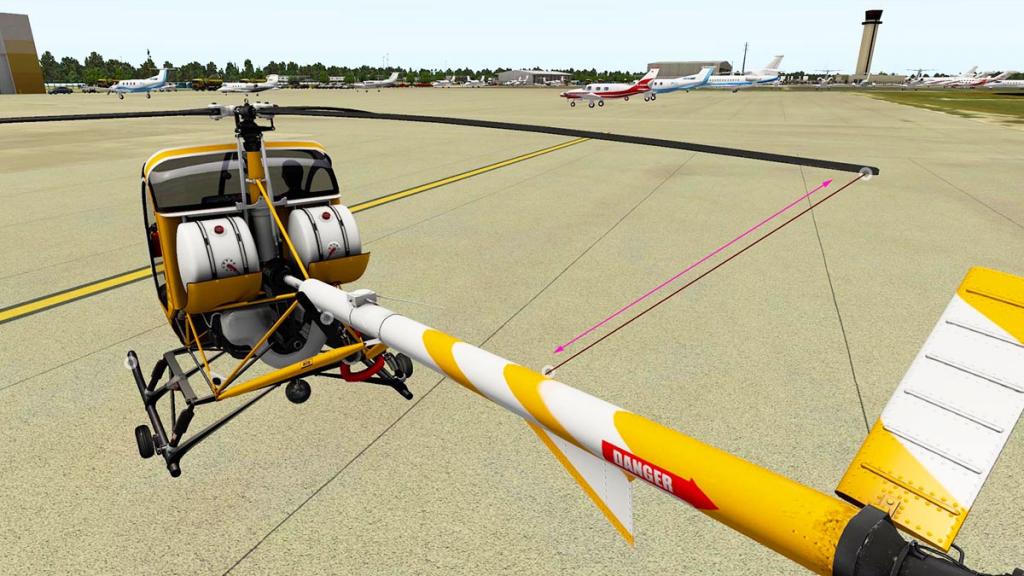
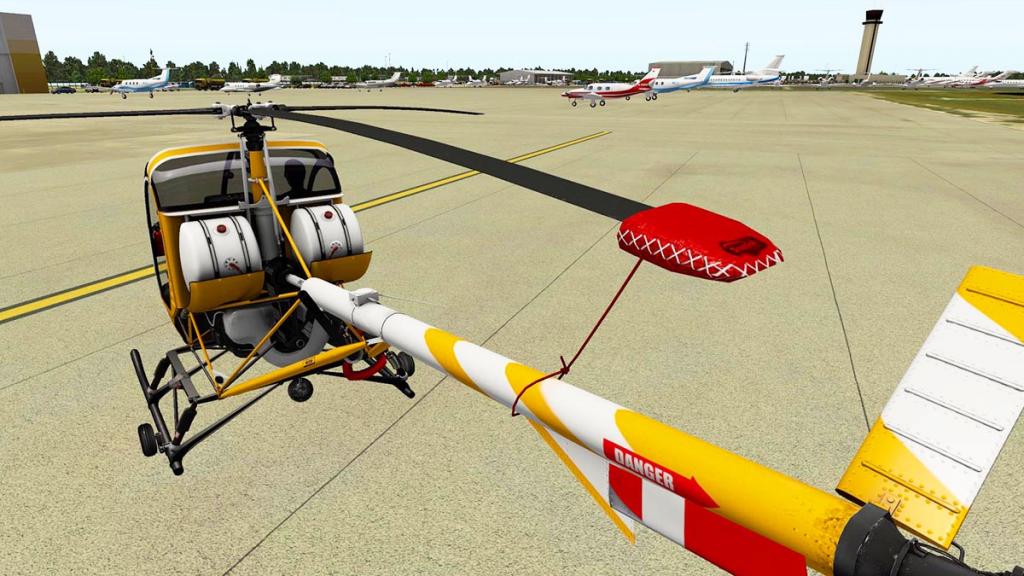
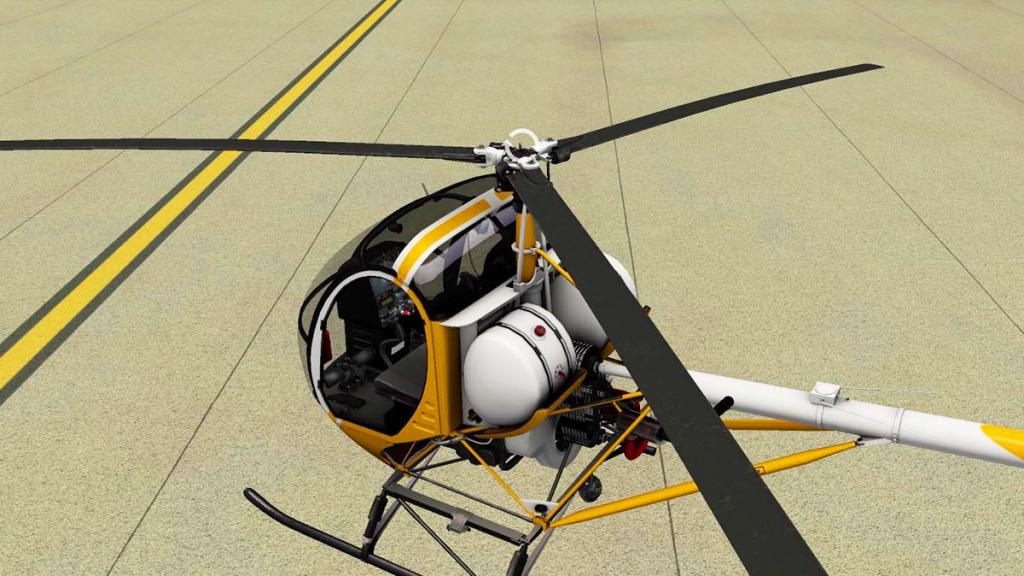
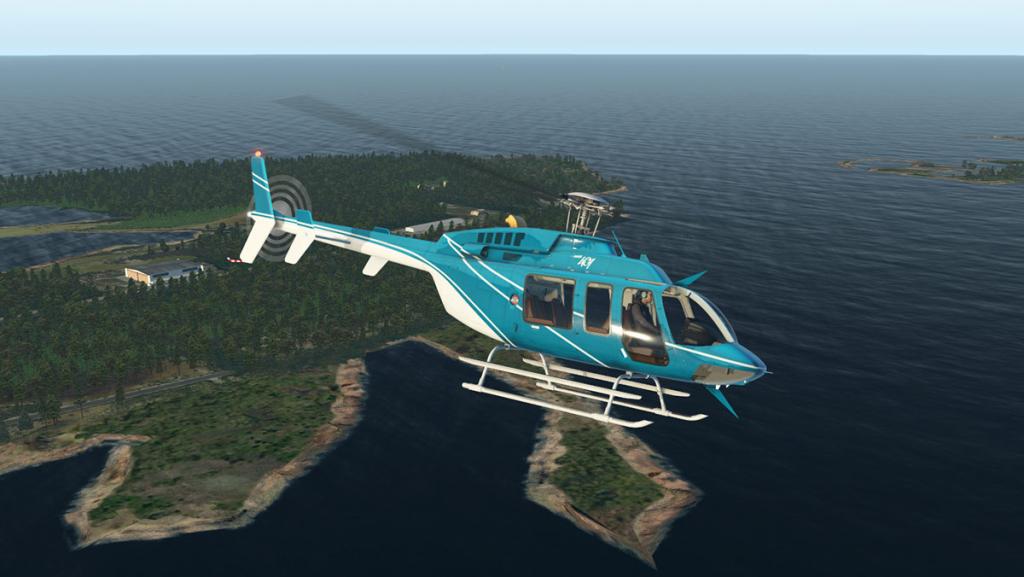
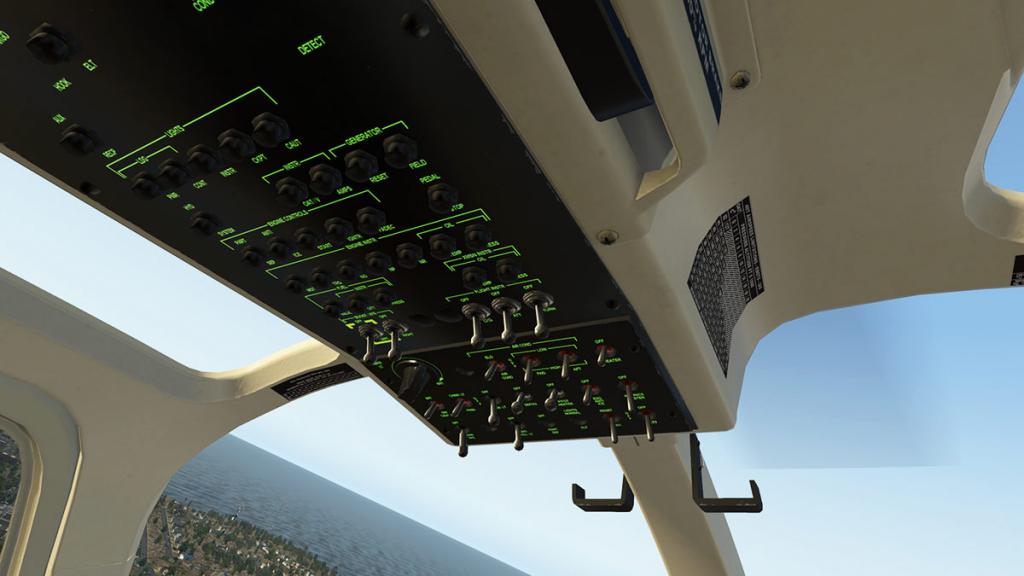
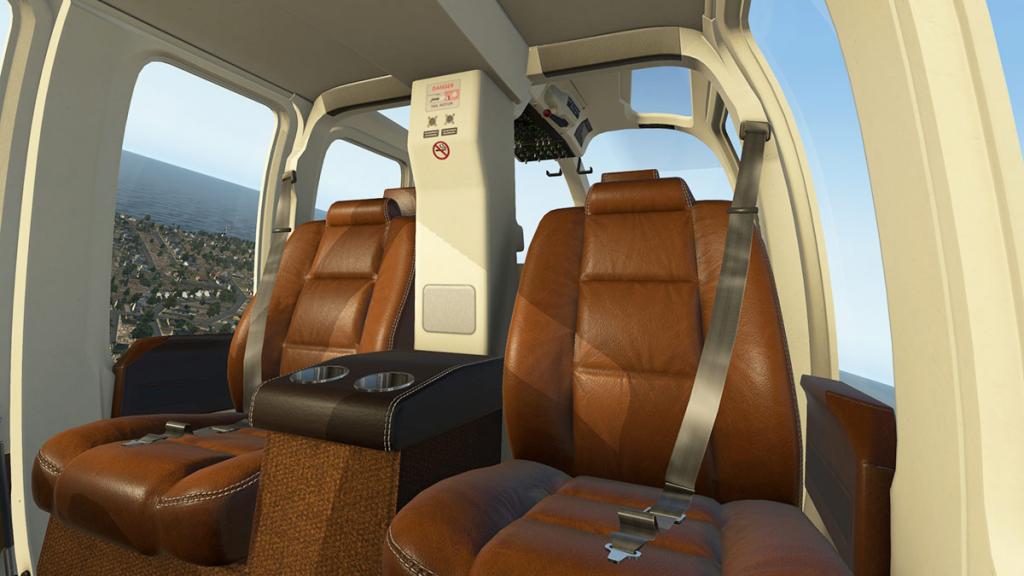
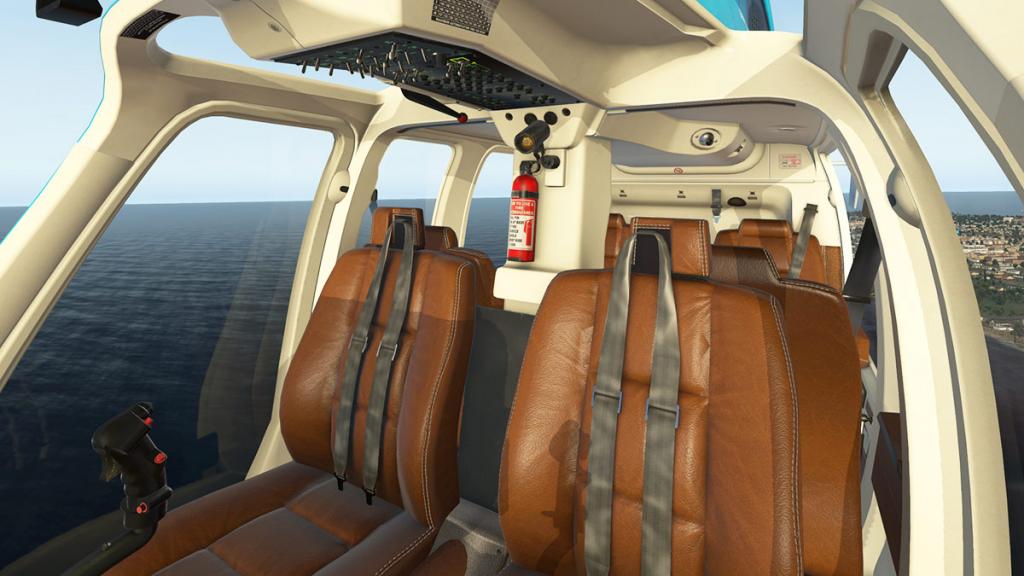
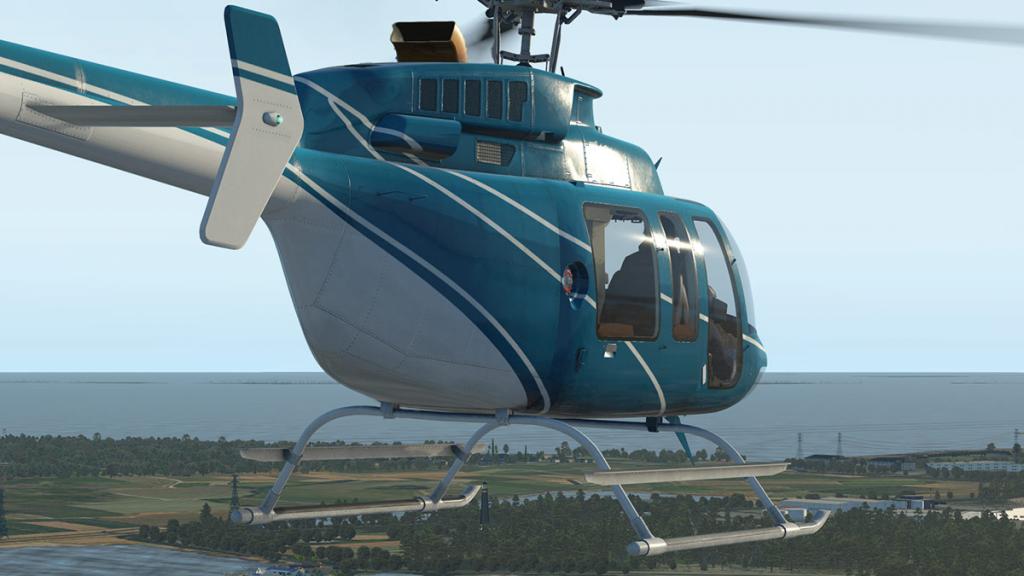
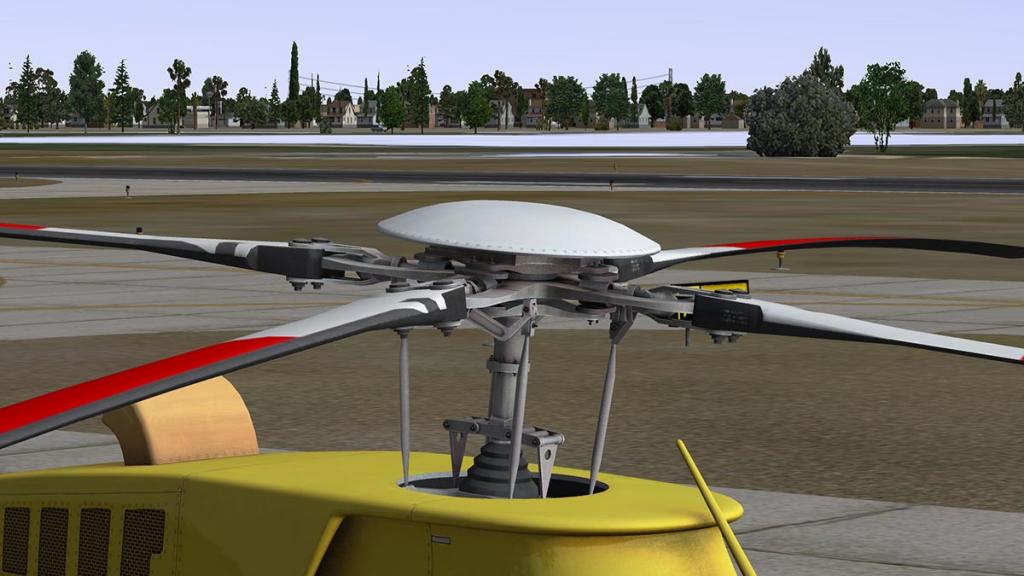
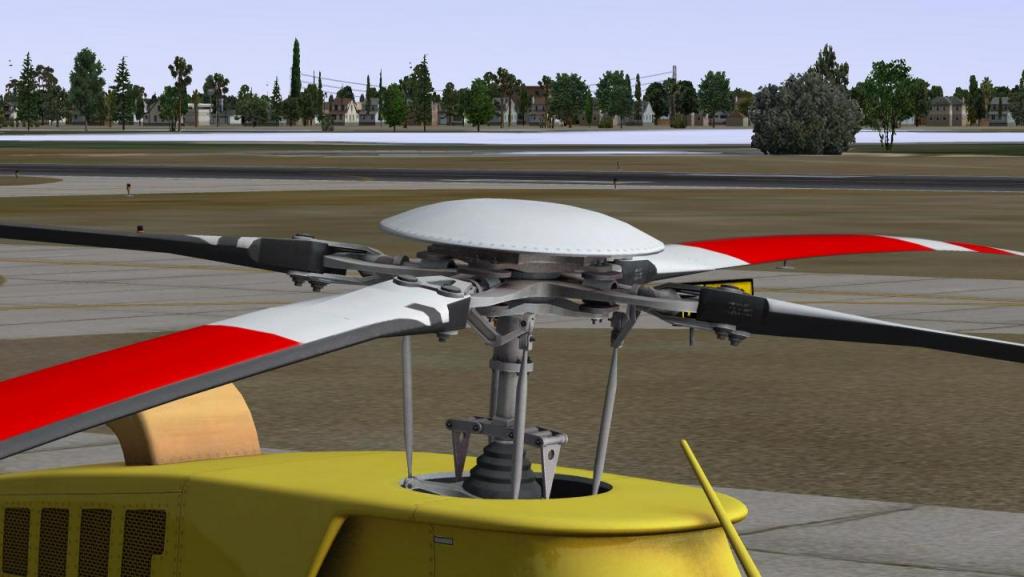
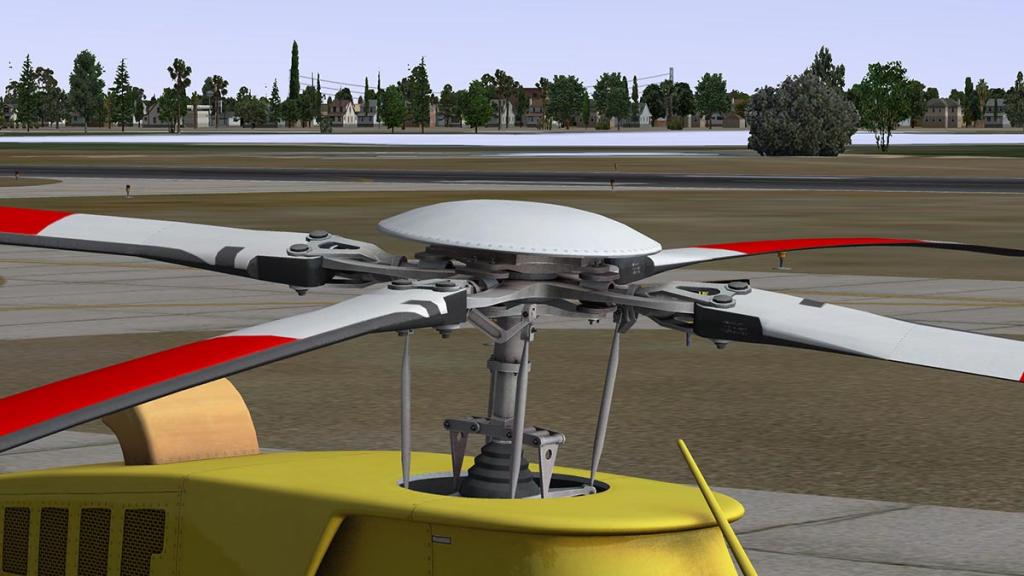
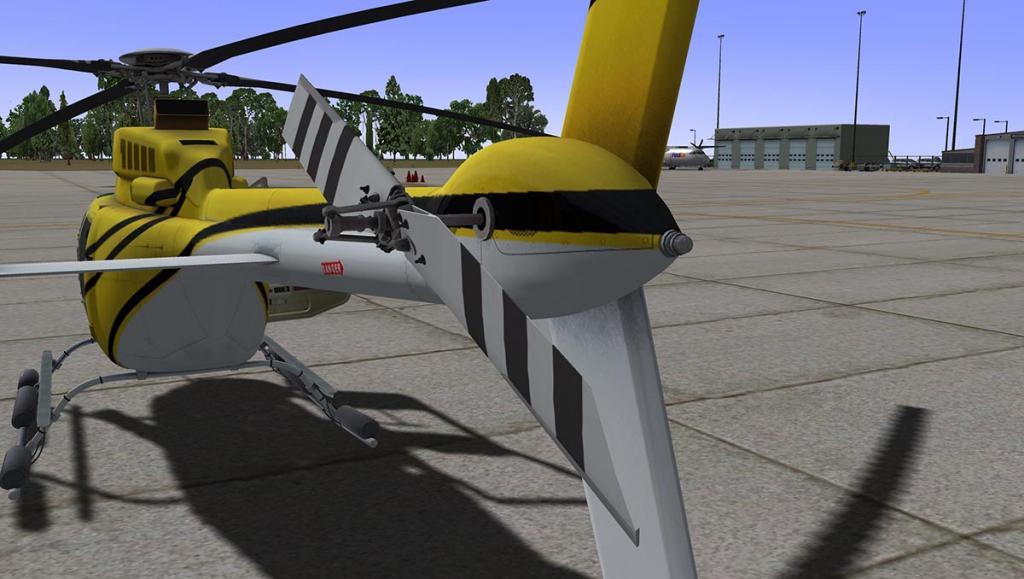
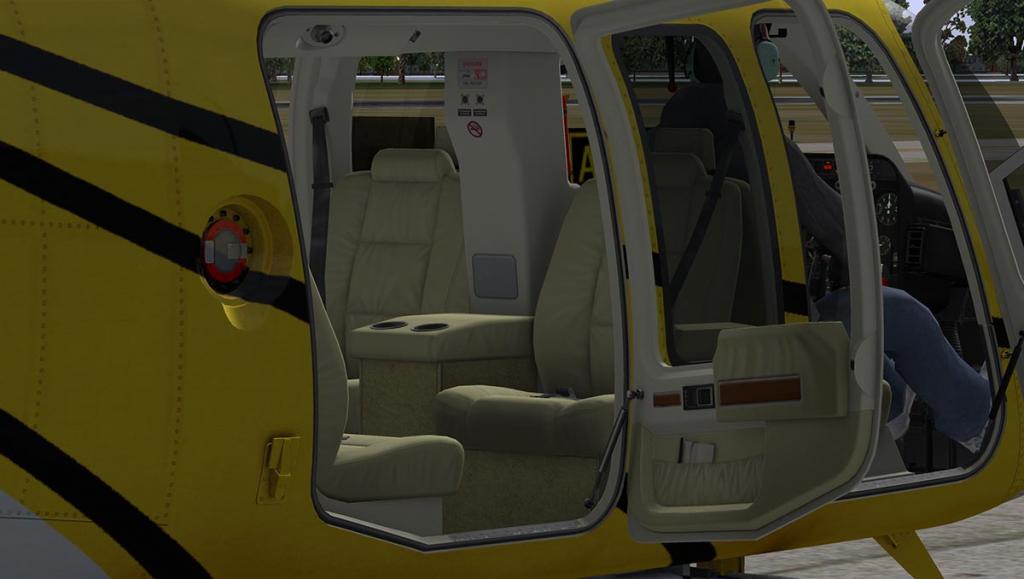
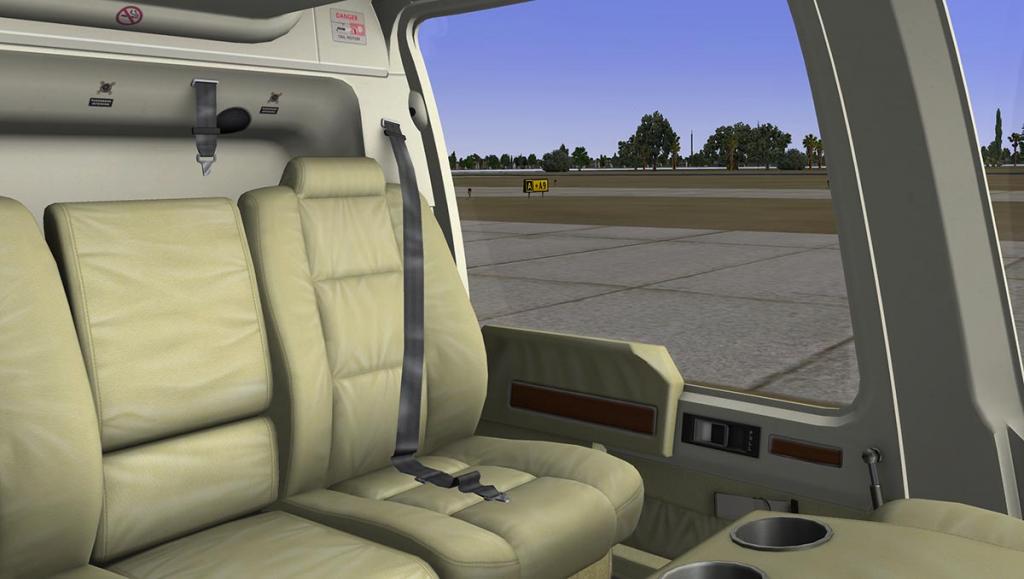
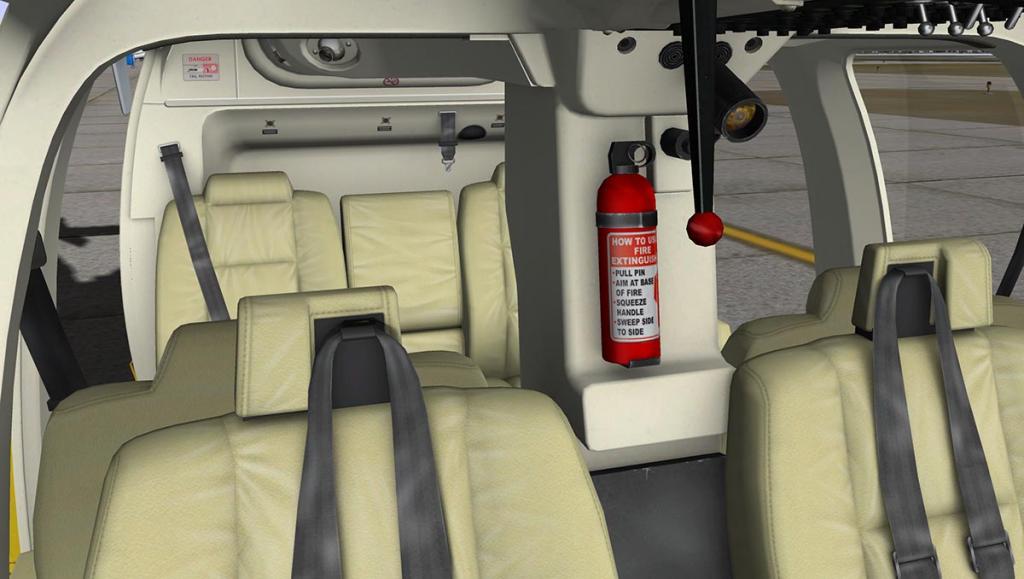
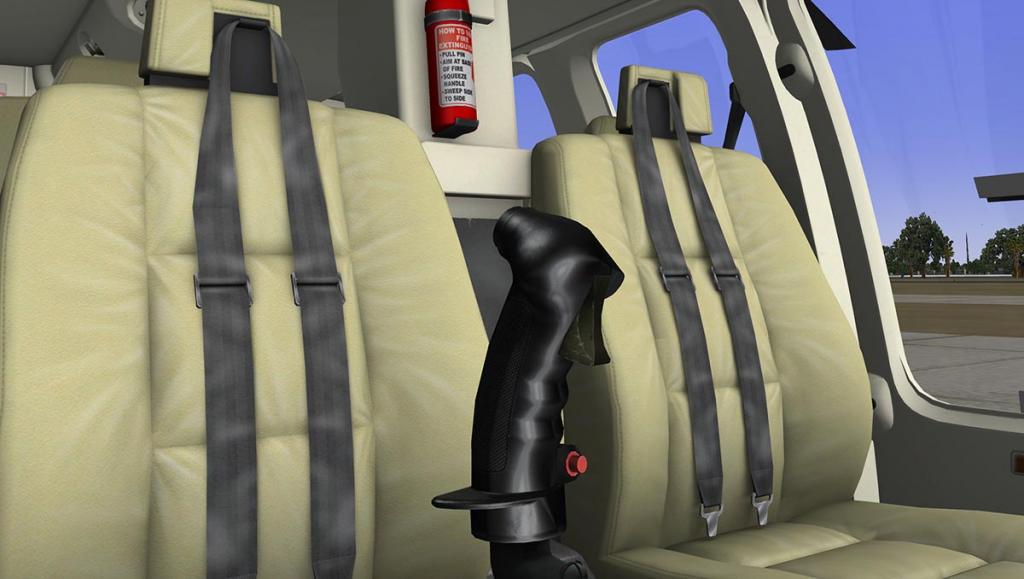
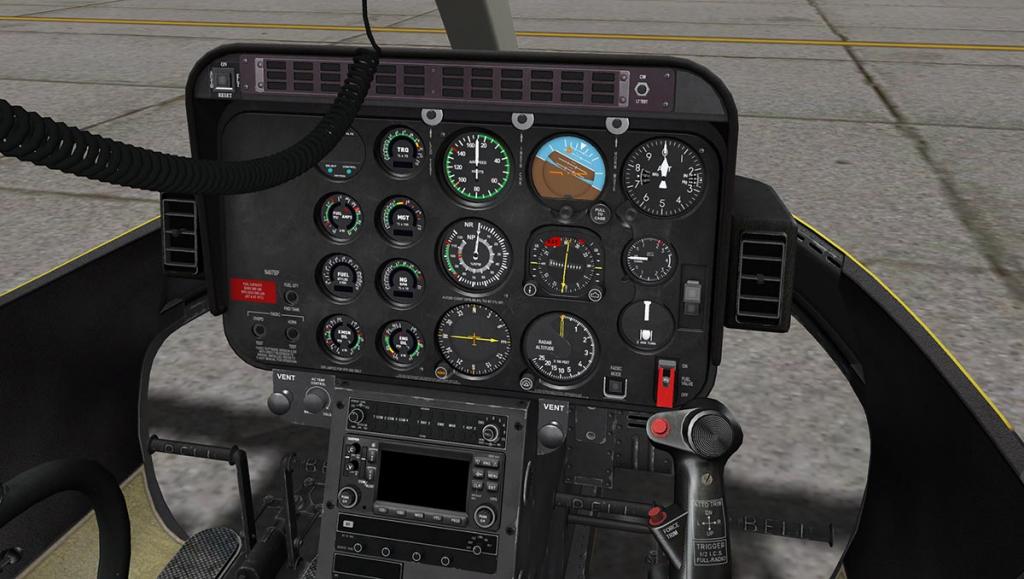
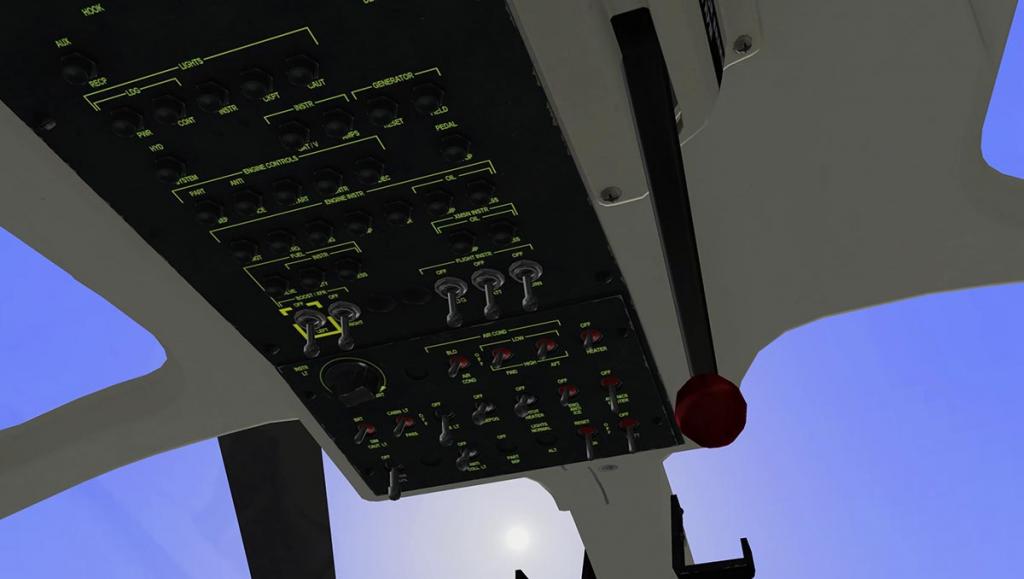
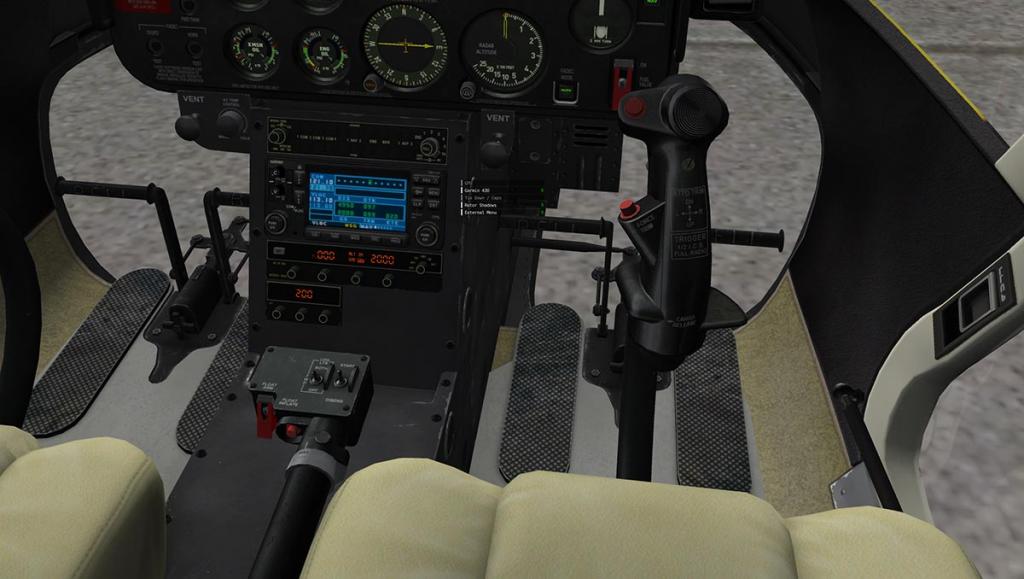
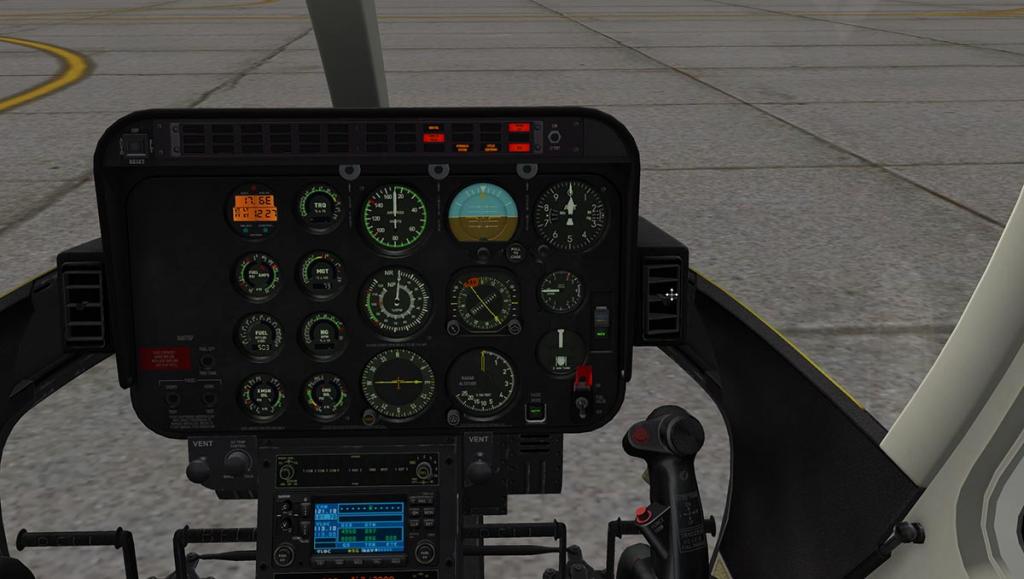
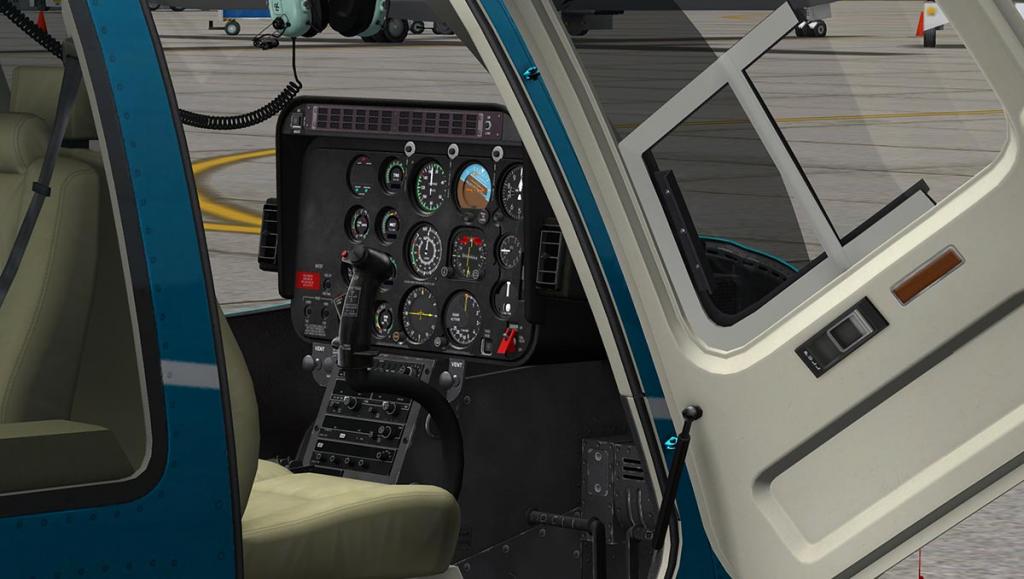
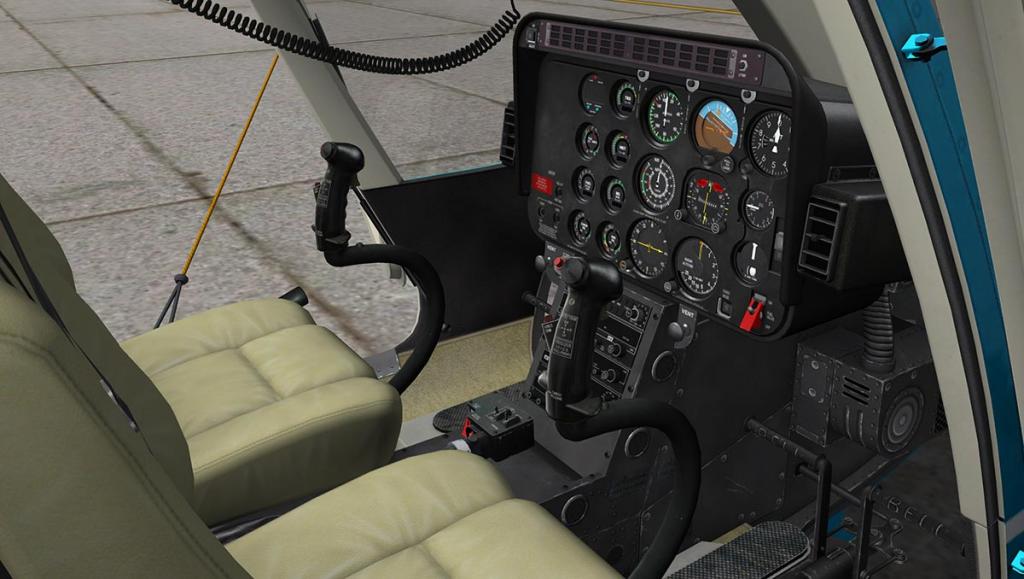
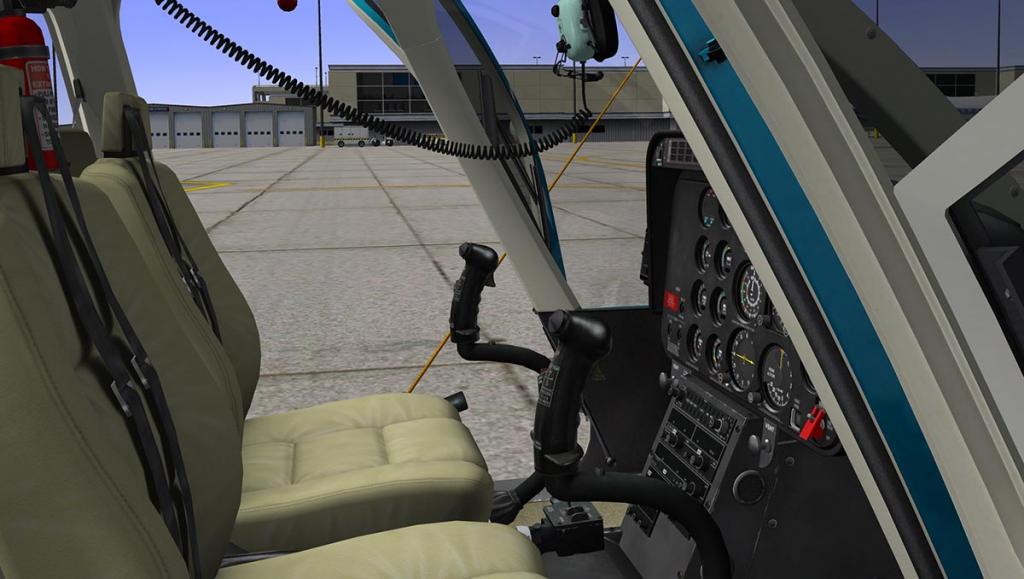
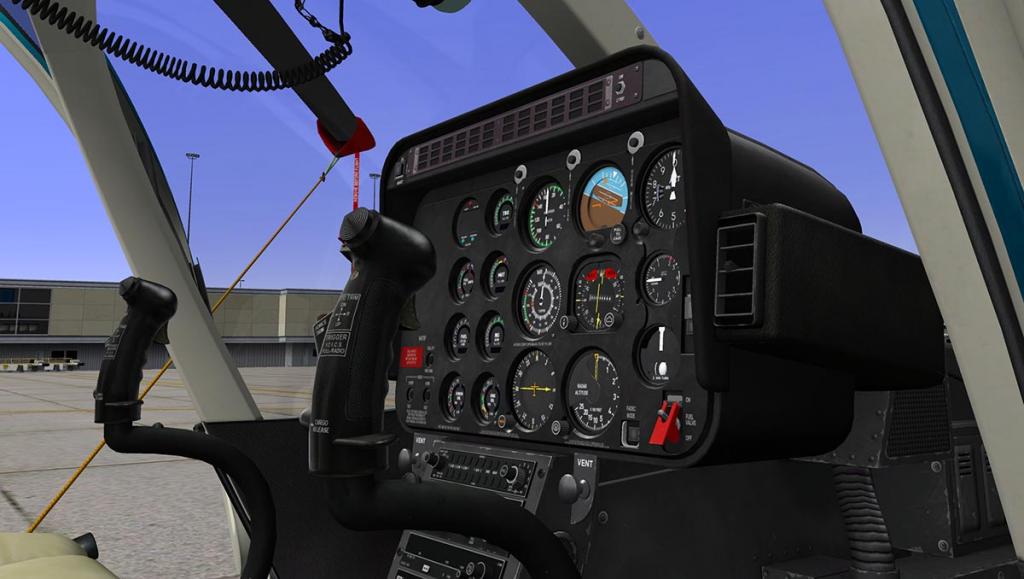
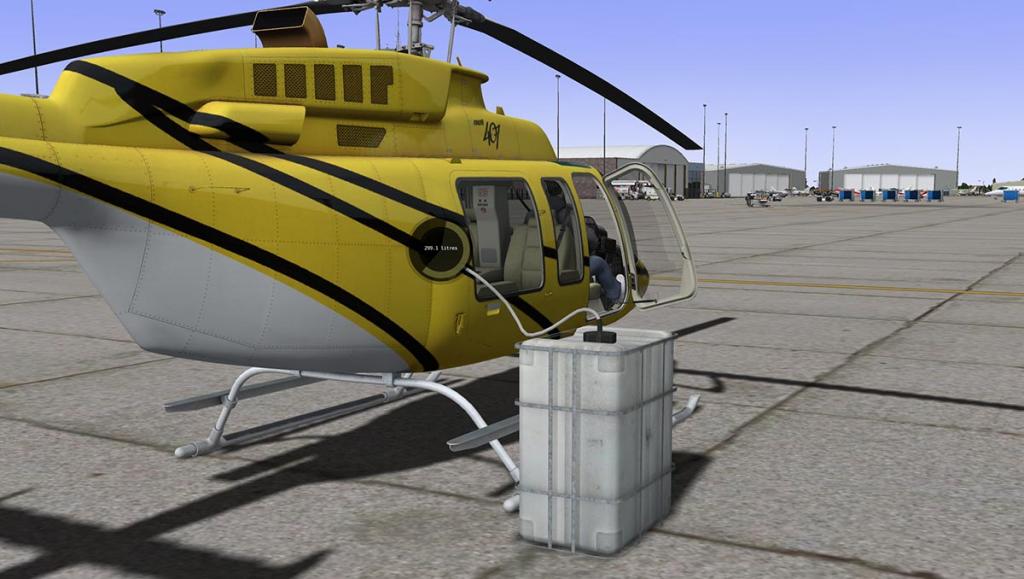
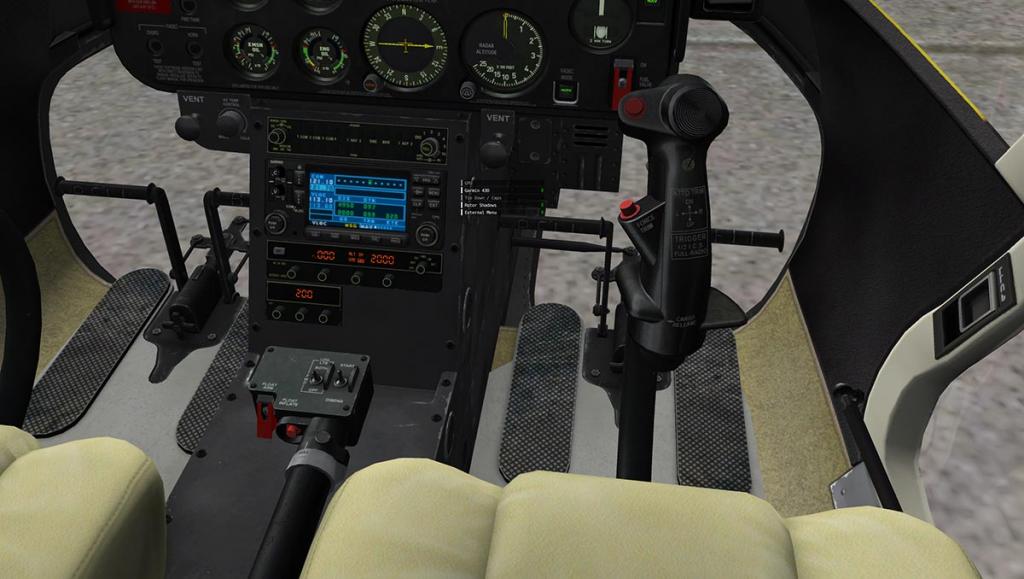
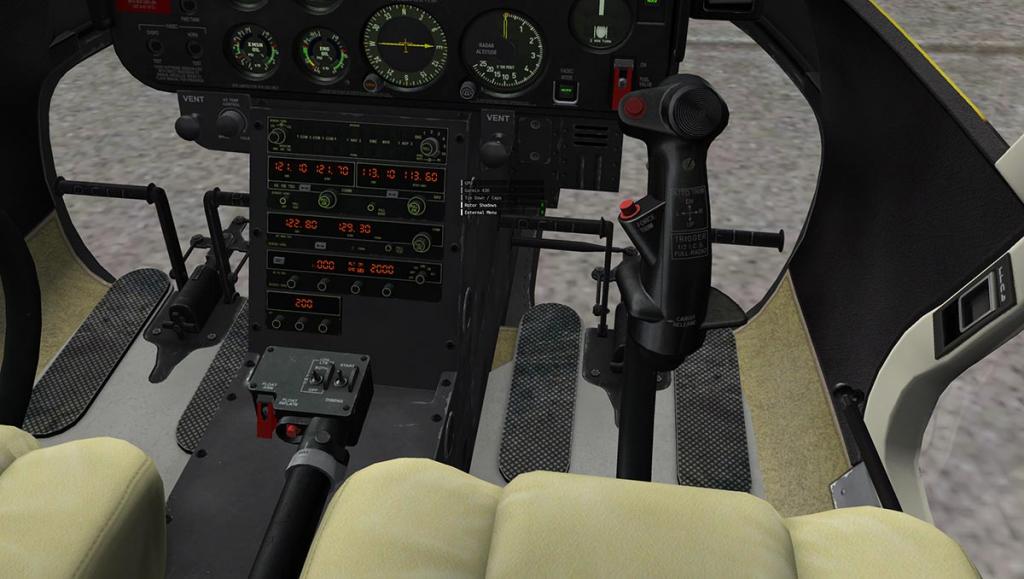
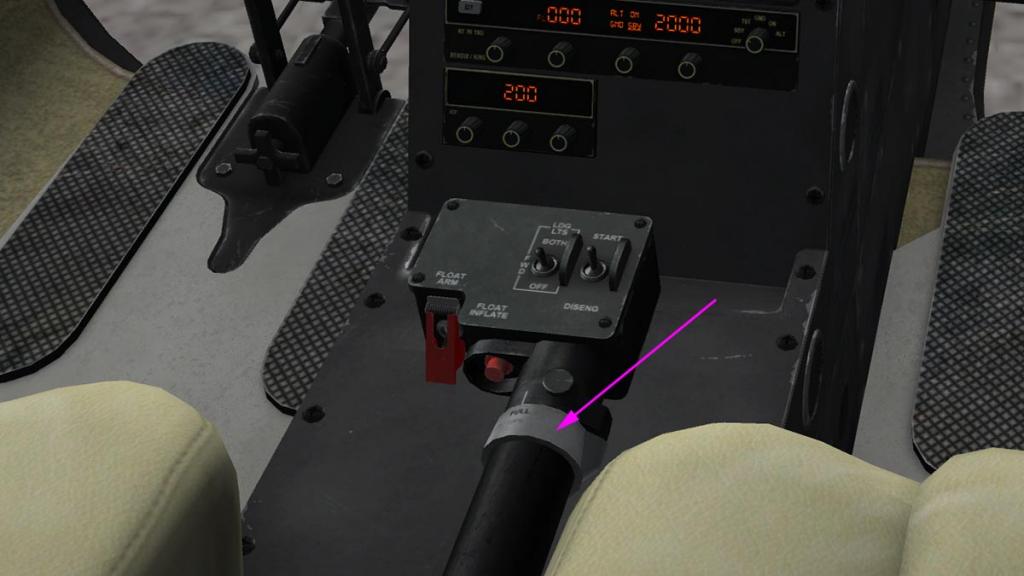
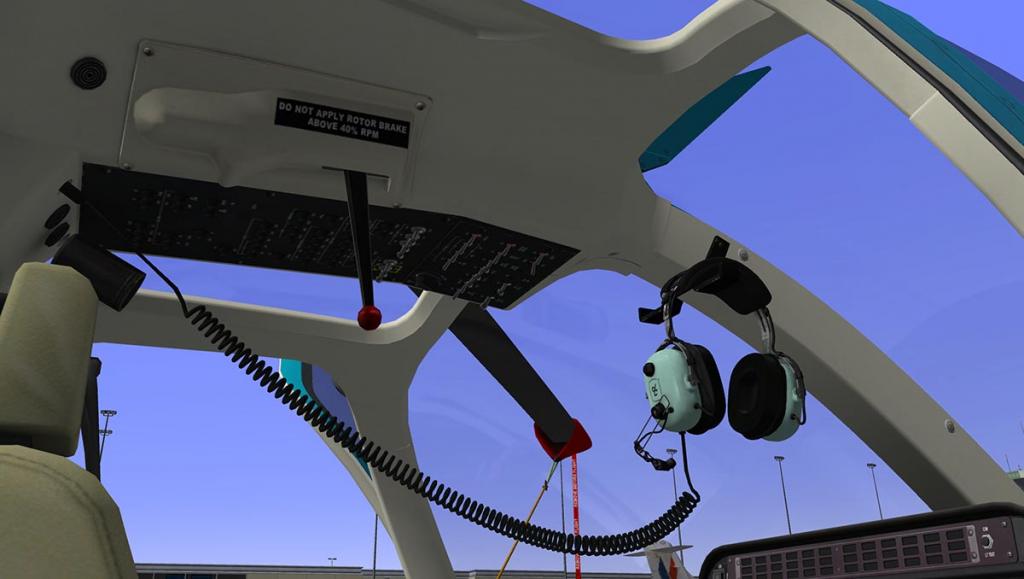
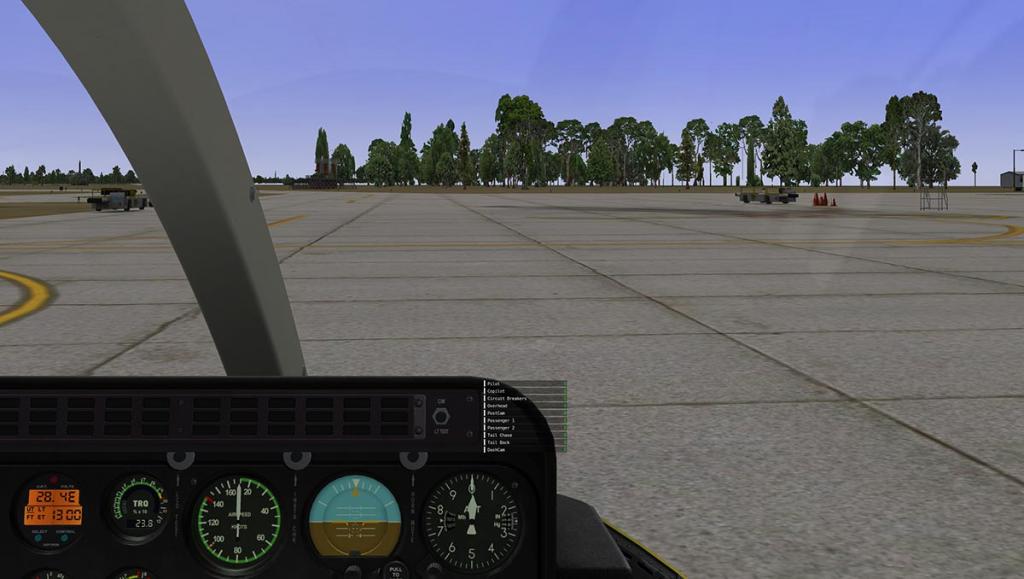
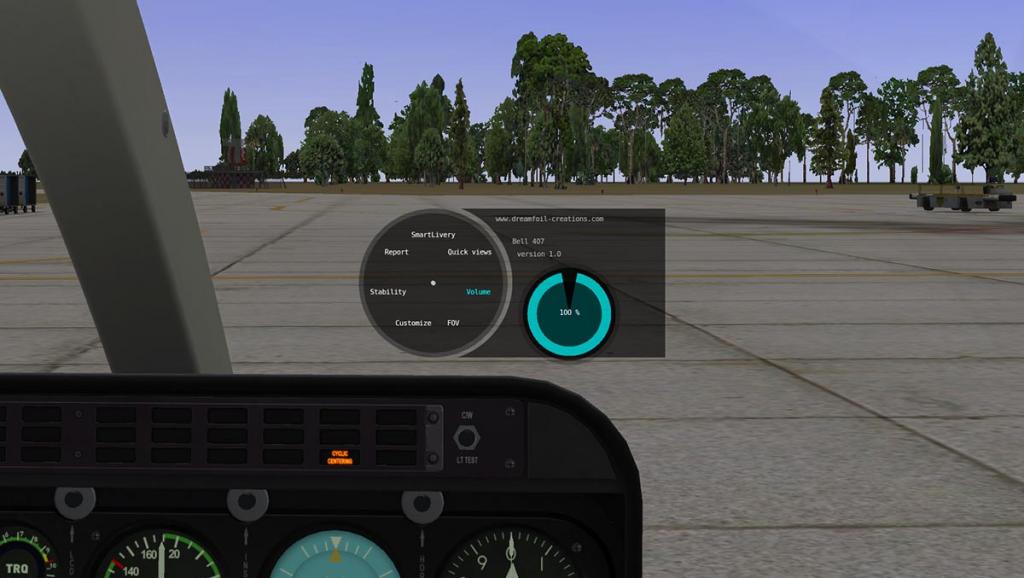
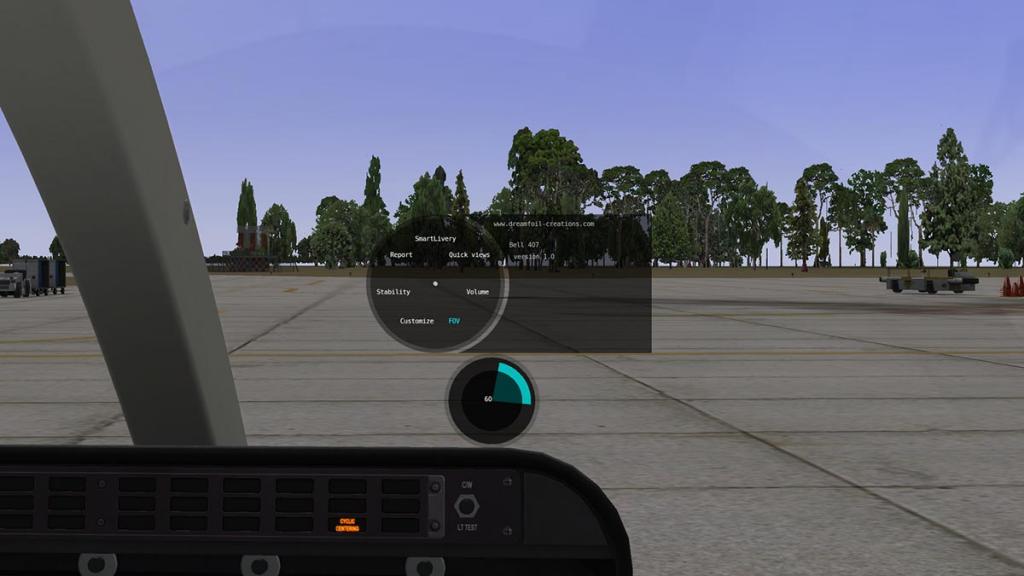
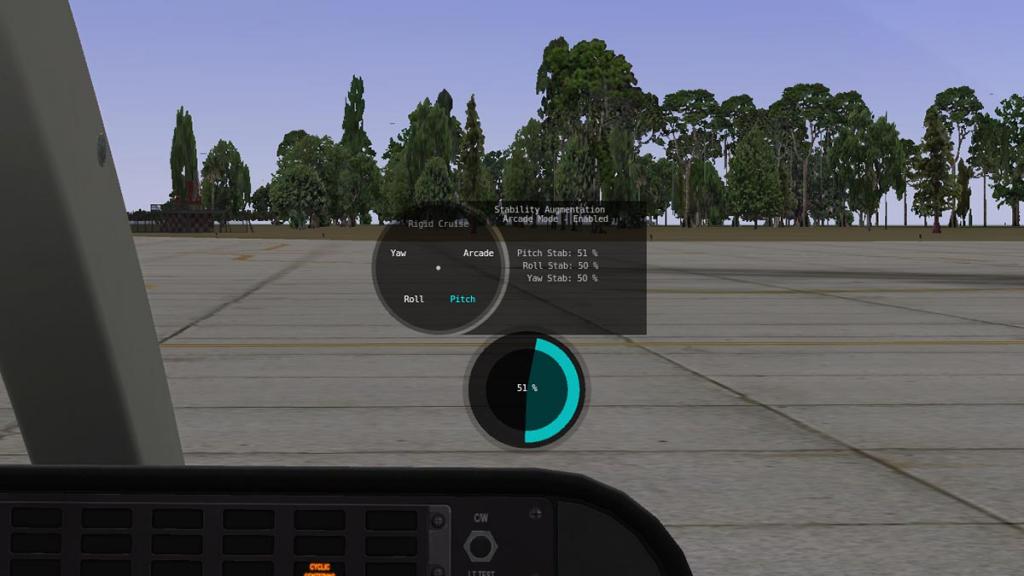
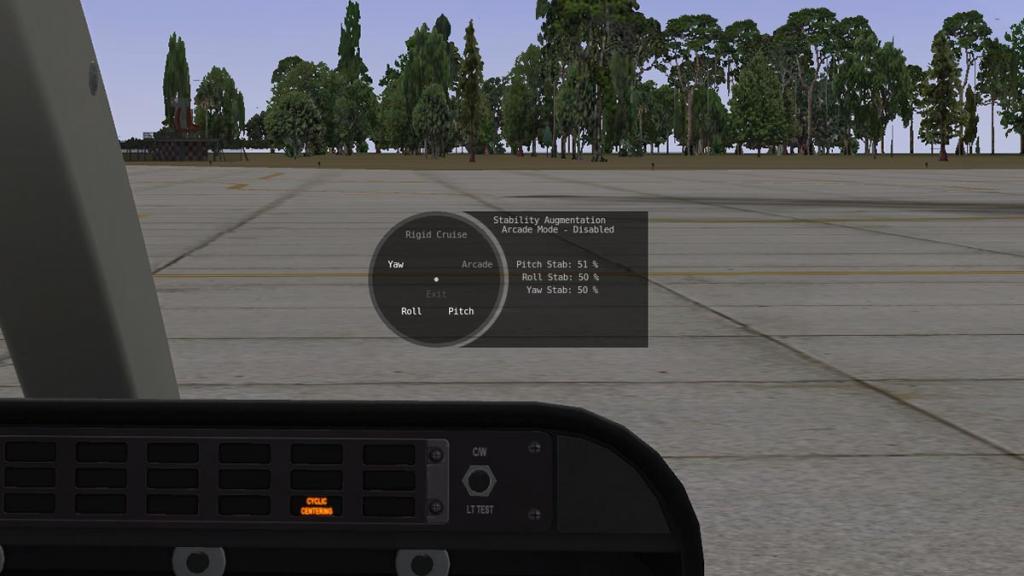
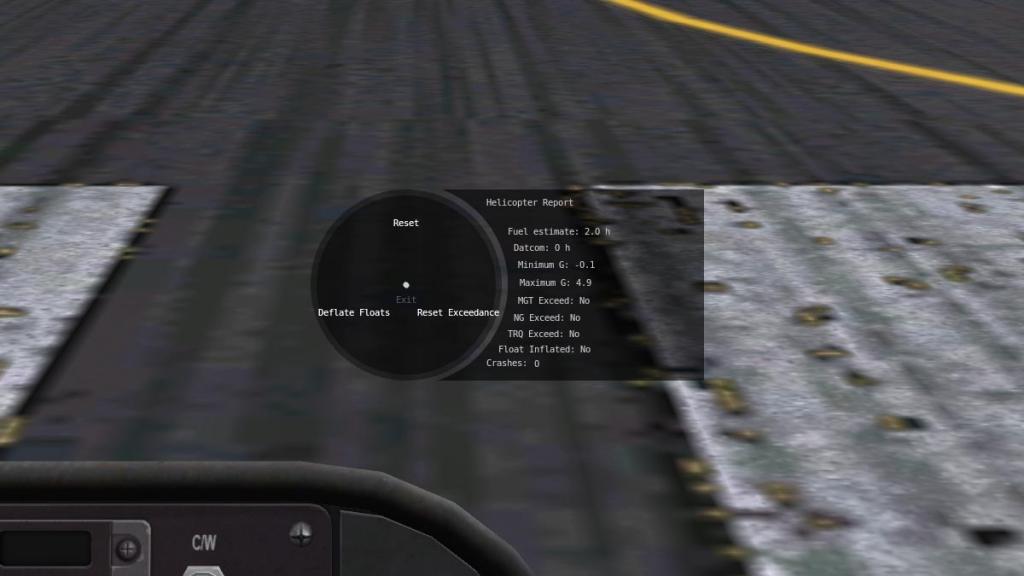
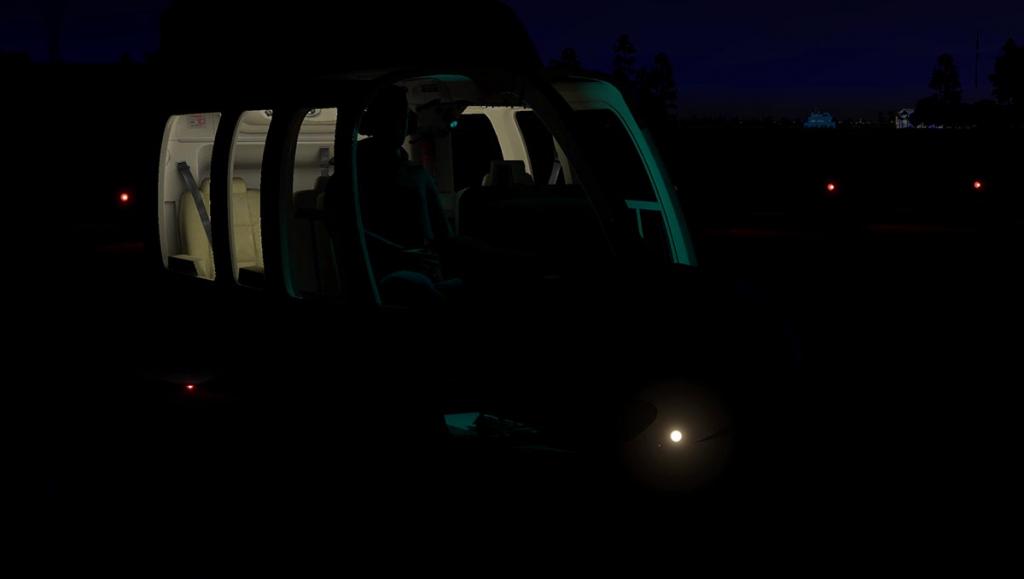
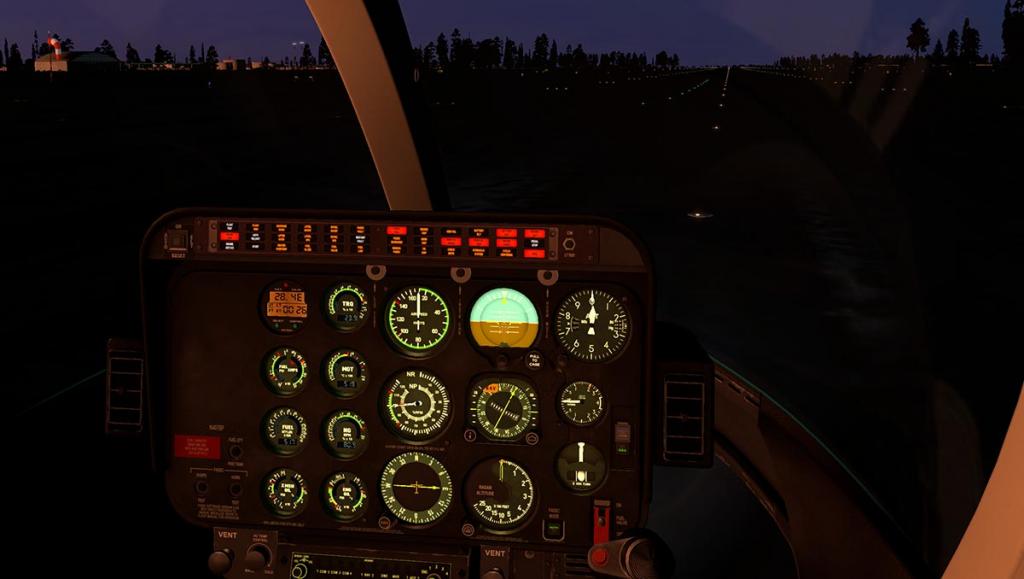
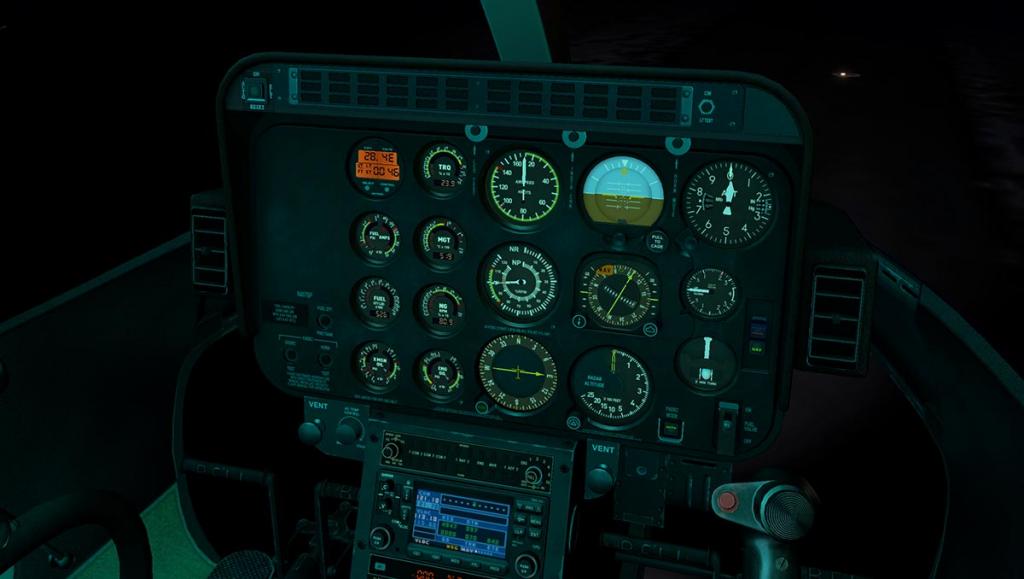
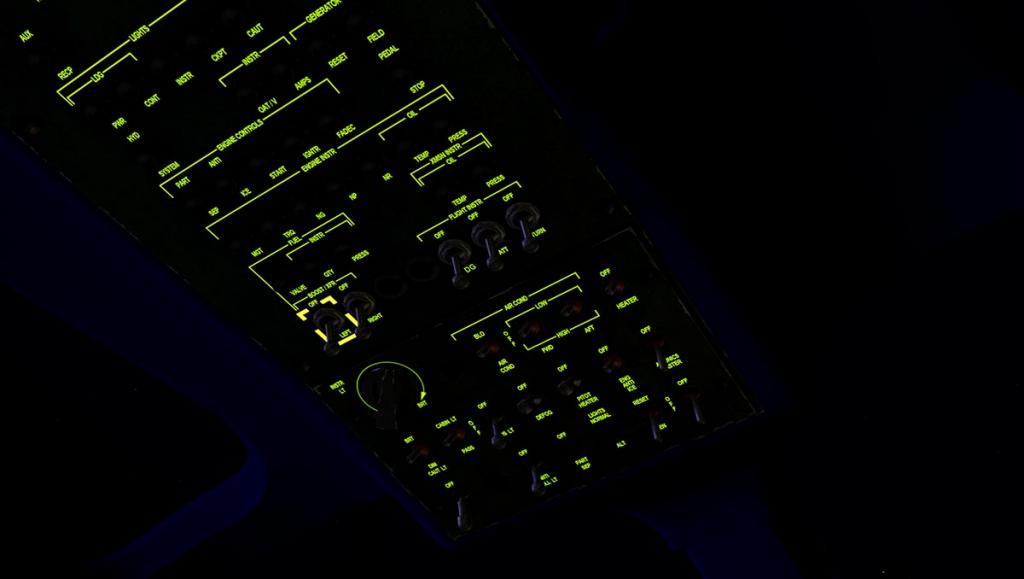
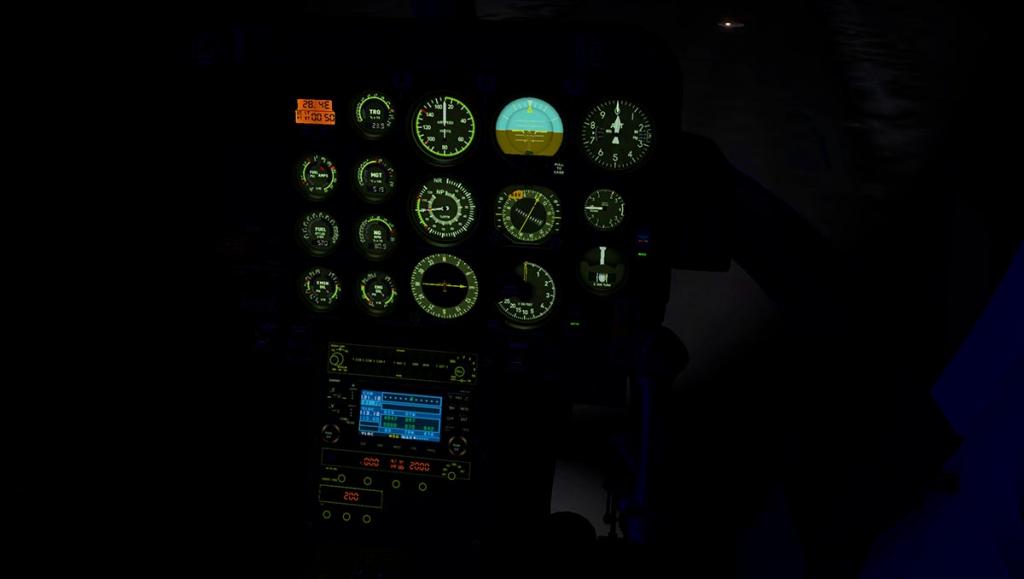
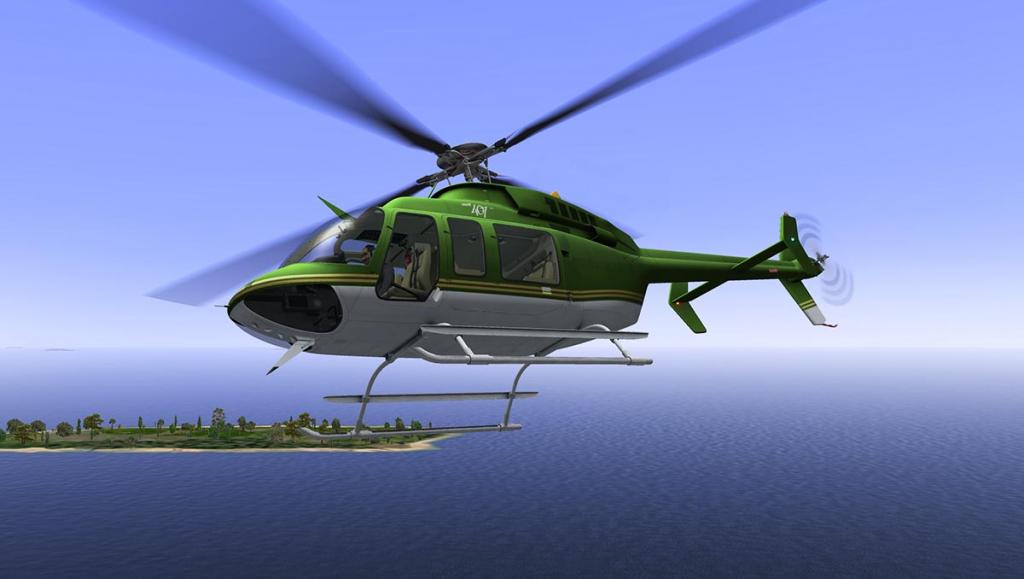
Aircraft Review : Schweizer S300CBi Helicopter X-Plane 12 by Dreamfoil Creations Without doubt the biggest pioneer in X-Plane Helicopters is Dreamfoil Creations. The list is too long to mention here of over a decade of development, but the Eurocopter AS350 B3+ and Bell 407 are brilliant examples of his work... not to mention the brilliant plugins like DreamEngine sounds. Then Dreamfoil went quiet about three years ago, disappeared off the X-Plane Simulator radar. There was another brilliant project released for X-Plane 11 by Dreamfoil Creations and that was a small gem of a ultra-light Schweizer S300CBi two-seater helicopter, now both DreamFoil and the S300CBi are back for X-Plane 12. By all accounts this the S300CBi a small machine, almost more like a large backpack of strapping on an engine and rotor blades, James Bond style, than a fully fledged flying machine. But even when considering the compact size of the aircraft, it has the capacity to be not only a good working machine, carry two people and fly a fair distance, but I doubt I would want to spend 101 hours in a hover pattern in it. The prototype of this machine first flew as far back 2nd October 1956. In other words only weeks before I was born, and that is nearly sixty seven years ago. That aircraft was the Hughes Model 269, and only by 9th April 1959 did the 269 actually receive certification. In 1964, Hughes introduced the slightly-larger three-seat Model 269B which it marketed as the Hughes 300. The Hughes 300 was followed in 1969 by the improved Hughes 300C (sometimes known as the 269C), which first flew on 6 March 1969 and received FAA certification in May 1970. This new model introduced a more powerful 190 hp (140 kW) Lycoming HIO-360-D1A engine and increased diameter rotor, giving a payload increase of 45%, plus overall performance improvements. It was this model that Schweizer began building the 300C under license from Hughes in 1983. In 1986, Schweizer acquired all rights to the helicopter from McDonnell Douglas, which had purchased Hughes Helicopters in 1984. the helicopter was known for a short time as the Schweizer-Hughes 300C and then simply, the Schweizer 300C. The basic design remained unchanged over the decades. Between both Hughes and Schweizer, and including foreign-licensed production civil and military training aircraft, nearly 3,000 units of the Model 269/300 have been built and flown over the last 50 years. The CBi version available here is the fuel injected version of the 300CB that alleviates carburetor icing concerns in colder temperatures. The 300CBi also includes overspeed protection and an automatic rotor engagement during start-up, as well as a low rotor RPM warning system. So here is the X-Plane 12 version of the S300CBi. If you had flown the original X-Plane 11 version you will find this new version very familiar. It is modeling and detail wise, but there is still a substantial twist on the basics to make the aircraft really shine in X-Plane 12. First off is that the XP12 version has the new 4k PBR textures... and "Wow" I remember the quality was good, but the striking thing here is that the X-Plane 12 detail now feels levels above again over the X-Plane 11 version, you can almost touch those molded pressed metal panels and the rivet construction. Note the absolutely perfect window frame and door panel. The 32.5 gallons (123 liters) fuel tank is perfectly designed as well, most S300's have two for a full 65 Gal capacity, the frame is there, but the tank isn't attached? but wait it is! as the extra range auxiliary tank is now set as an option. The highlight here is the amazing belt system running off the Lycoming HIO-360-D1A engine that connects to the tail rotor prop-shaft, in detail it is astounding in creation and animation, of course your life depends on any of those bands not breaking. The whole guts of the machine is on show, beautifully created, you can spend hours dissecting it all and marveling at the intricate work here, as all detail is so complete. Even small items like the engine oil and air filters, piping and exhaust systems which are all exceptionally well done. Again you feel it all looks very different from the XP11 version, as everything pops out at you and simply cries "Realism". Same options are available with the exhaust, with "Short", "Long" and "Long+Tip" versions all available. Rotor linkages and control rods are the heart of great helicopter design, and shows the skills of the developer. DreamFoil is certainly the best, and the expert work really shows here. As all the links are animated and perfectly done too, and they work (animated) from the cockpit all the way up to the rotor hub and out to the moving blades. Move the controls, Cyclic, Collective and they all work perfectly. More clever stuff is also the rubber covers will also move in shape to the linkage movement... the detail here is in the extreme with great texture work in that the assemblies are perfectly worn and highly realistic. At the end of the long boom tail, the tail rotor assembly is just as highly detailed, with again those magnificent animated boots. Yaw movement (Rudder) is again animated and perfect. Another change is that the rotor hub adjust, where you could move the rotor blades to a set position is now gone (or moved). It is replaced by a "Rotor Tie" menu, that can add on the blade, hub and windshield covers. You can also use the same point and click tool on each of the separate blades. Another point and click menu will lower or raise the wheels, note the lovely spring and cover action to the skids. Initially I found the cockpit windows too dark, almost black compared to the XP11 S300CBi? Then I found in the Menu, now there is a slider that will adjust the translucency of the windows from 0% to 100%, and I found that 50% opacity was about perfect (as before). Doors of course can be opened, or removed altogether, either by touch or via the menu. Cockpit Internally the cockpit is the same, with the same seats and materials. But again everything is highlighted more by the higher quality textures and the excellent X-Plane 12 lighting... Realism 101 Those seats are thin, but the vinyl seating covers are just so realistic in their shapes, stitching and light reflections. Quality headphones that are hanging on the center roof support can be used by clicking on them, and the external sound goes down (slightly) with their usage. Slender collectives both sit between the seats for either pilot or co-pilot use, and you can hide the control set (collective and cyclic) if you want to. Twist throttle movement is excellent. Panel instruments are quite basic which would mean VFR rules only, turn on the power and the GPS Garmin GNS 430 powers up as does the Garmin GTX 32, which is the built in transponder unit. Instruments are top row down is (left to right).... Chronometer, Vertical speed, Speed (knots/MPH), Altitude, Engine RPM, Manifold Pressure. But wait? You can now also select (or insert) an Artificial Horizon (missing before), and that makes the V/S and Altitude instruments shuffle across and down to fit. Another option is to replace the GNS 430 with a Bendix/King KY 98A that is usable for COMM 1 use. A set of six gauges cover... Fuel Gauge - Fuel Pressure Gauge - Cylinder Head Temperature, and lower, Oil Pressure Gauge (PSI) - Oil Temperature Gauge - Ammeter Gauge. Below the gauges is a hourly Hobbs Meter. Lighting switchgear includes - both adjustable avionic and panel lighting, panel main switch, position and beacon switches. Fuel mixture and fuel shutoff knobs with electrical main key switch, Battery and Alternator switches are also lower right panel. All the Circuit Breakers (fuses) are active, and each function is fully listed in the manual. To note that the Cylinder Head Temperature (CHT) here is driven by a custom algorithm which simulates more realistically the CHT behavior to give a more realistic flying experience, instead of it being just a dumb gauge. The Panel at night is very nice (so was the XP11, but a bit too bright) here it is lit perfect. Menu For X-Plane 12 the menu system has been overhauled. Gone is the spinning dial menu, mainly because it was too limited for all the options. The menu now is a bit more a standard rank and file square, but it can hold far more features and options. You access the menu via a "hotspot" top right corner of the Instrument panel... You can also access the menu externally by pressing a "hotspot" lower windshield. Originally you had eight selections, but here you have two more in ten selections... Menu items include: Smart livery - Stability - Customize - Report - Volume - Weights - Correlator - Quick Views - Extra - Settings. Missing is the POV (Point Of View) feature. Smart Livery: There was Eleven liveries with the XP11 version. Installed here are Five liveries: White (default), Calypso, Grapite, Orange, Purple and Silver Blue. But on the X-Plane.Org there are another 25 selections!, so altogether there are 36 liveries to choose from. Note the Calypso, this livery comes with floats. The new Smart Livery menu is of course different than the circular version before, in the choice, it is now on a horizontal scroll. Stability: This feature allows you to specify the percentages for (Yaw, Roll and Pitch) in stability augmentation. The "Rigid Cruise" feature shares the same principle of Stability Augmentation, but instead of keeping in a fixed value, and it will progressively increase the values from Hover to Cruise, in so making long flights an easier task for general simmers.... in other words holds the aircraft to make it easier to fly. Customize: There are a lot (loads) of options were you can customize the S300CBi... top is the "Panel" options in the shown "Alt Indicator" and "Garmin 430" (or Bendix/King KY 98A) Next are options for the "Covers & Tie(downs)", shortcuts include "All On" and "All Off", and "Doors" on/off Next is the "Exhaust" options... Short, Long and Long+Tip "Wheels/Floats/Spray kit" these options first remove the wheels on the skids, put some very nice floats on the S300CBi, and finally install a very nice "Spray Kit" with twin mounted inboard tanks. "Windshield Opacity" can be graded from 0% to 100%, note here is that the setting is not saved? so you have to adjust it at every new startup? Next three options include a "GPU" (Ground Power Unit), but it is more of a Power Stick, called a Li-Ion start stick, which is stuck into the side of the machine. The second "AUX fuel tank" option, and an external "Hook" under the S300CBi. "Governor Kit" allows you to have on the Collective a Governor, or a clean short collective. The Schweizer 300CBi is not equipped with governor from the factory, but in few cases owners do install the kit which is unofficial and may vary on functionality. Last customized options include, a Yaw String in the cockpit window, and the Co-Pilot Cyclic and Rudder Pedals on/off Report: Report gives you a status message about helicopter usage, it's useful to see if you have stressed the helicopter. Includes Fuel estimate – It's an estimate in hours of your current - Datcom Engine (engine hourmeter), Datcom Flight (flight hourmeter), Min and Max G's - This indicates the maximum and minimum values that helicopter structure has experienced, including during a crash. You can also reset "ALL" or "G". Sounds: Sadly the original "DreamEngine" plugin sounds are now long gone. Now replaced with the same sounds, but under the FMOD XP12 system. This is the menu adjustment for eight different sound parameters, the slider adjustment is used to change the percentage % Weights: The Weights menu shows you your: Pilot Weight, Pax Weight, Main Fuel Weight, Aux Fuel Weight - Fuel Estimate and Total (aircraft weight). Colelator: More a developer tool, this shows the aircraft parameters and presets, with a debug option panel lower left. Quick Views: this menu selection gives you ten pre-set views of the internal and external aspects of the S300CBi Extra: There are two "Extra" options. The first is a one page (basic) "Checklist", you scroll it up and down at your convenience. Second option is the "Slung Window" or to see the position of your hung load from the hook. Settings: There are four "Settings" available in... "Units" Metric or Imperial. "External Spots" will put "animated hotspots" on the aircraft for actions like; Rotor Brake, Adding Fuel, Moving Wheels.... One action that has been moved from the top of the main rotor to the tail rotor, is the blade centre adjust. Here now you turn the tail, which moves the main rotor blades to the centre parked position. GeForce... This option allows you to adjust the "Lateral" and "Vertical" forces against the aircraft, and a slider or keypad is used to adjust the percentage % Final "Settings" option is the "Rotor Particles" or the exhaust plume in on/off. In the external view you get a pilot, not the most detailed human, and he is non-animated as well... but he looks fine for the job in hand. __________________ Flying the Schweizer S300CBi I was expecting the Schweizer S300CBi to be very, very nervous or twitchy aircraft, as it is such a very small agile little insect of a machine. But in fact it was quite a well balanced and quite a stable aircraft to fly... the trick is to manage your X-Plane and Dreamfoil settings to get the best balance and control... playing with the yaw response curve can do wonders, also there is a "Cyclic Adjustment" below the front of the main pilot's seat, this actuator is a small electrical motor on cyclic base which can apply lateral and longitudinal forces, and you can adjust it via two rotating knobs. Startup was quite easy. Power (Bat) and Alt switches on, make sure the mixture knob is in, turn the key and hold the starter switch for a short while... (the switch changes if you use the governor, on the short stick the start button is on the front)... so starting is easy, lawnmowers are harder. The Governor will correctly simulate the correlator behavior which is a link between the collective and the throttle to reduce pilot workload, when raising the collective it will also increase throttle or vice-versa. Also notable is the clutch which has 3 modes... OFF – Manual, SLOW – Automatic engage in slow speed and FAST – An automatic engage used when belt system is already on a high temperature, like after a flight. When the temps are up to their correct temperature then you can increase the RPM via the throttle grip, the RPM settles down around 2,700 rpm The slim boom tail yaw can be twitchy at first until you feel it, then your away... slight cyclic forward (not too much!) as you gain height moves you forward, when have enough ground, you can give the cyclic more of a forward push, so you can climb and collect speed at the same time, but don't over do it... just nice and easy. Rate of climb is tops at 750 ft/min (3.82 m/s). Anyway you don't want to go too high, as skimming the trees gives you the feeling of speed, as this critter doesn't really go that fast.... Maximum speed is only 95 kn (109 mph, 176 km/h) and your cruise speed is 86 kn (99 mph, 159 km/h), you could probably run faster. Biggest advantage with the XP12 version is the addition of the Artificial Horizon... I found when I used to fly the S300CBi, it was it always flew a bit lop-sided, because it suited itself flying at this angle. Now I have a reference line to straighten the machine up correctly and it makes a huge difference in your flying... in going straight! Sounds are the same, but slightly more advanced than before in now being FMOD based, but there is still the same excellent 3D zoom with directional sound, with an authentic HO-360 engine sound in the rear, blade slap is great if you push the nose too high and volumetric cockpit sounds come with more noise if you don't wear your headset, or even louder if you open or remove the doors... As you bank or roll, there is the need to push the cyclic slightly forward to keep the altitude correct, keep it centre, and you will climb. But that sweet flying aspect is still there, small cyclic movements does all the work, as this was the biggest attraction to the S300CBi, probably even better now with the superior X-Plane 12 dynamics. Range of the S300CBI is only 195 nmi, 360 km (204 miles). Even though it is only a small container sized cabin. It is all very panoramic, as you feel open and every view is excellent, even the machinery twirling above your head is very noticeable. Certainly if you have a VR (Virtual Reality) headset, it would be levels better again. Effective translational lift (ETL) here is excellent, as you reach into the lower speed zone, around 15 knots, but restraining the speed is quite tricky in trying to slow the Schweizer down... it takes a little practise to get that aspect perfectly right, but Dreamfoil's aircraft were always based very highly on the skills, it is again here. Approaches are low and slow, then find that perfect ETL point as you go into the hover. The S300CBi is still classed as a "light utility" machine, so it is very light in the feel, but you soon switch in... get it wrong though, like I did in the last few feet and the absorbing skids will compress and soften the blow (and your ego)... another great detail from Dreamfoil. Probably need to do that one again. Lighting Cockpit and panel lighting is excellent, the panel as noted is not as bright as the XP11 version, but far better here.... both the instruments and Avionics that can be adjusted separately. External lighting is great with navigation (side rear boom) which are steady, and rear flash strobes. There is a green spot map light on the rear bulkhead that can be fully adjusted in all axis and it is also very good. Under the aircraft there is a spotlight, that is accessed by a hard to see switch on the front of the cyclic. The spotlight is also fully adjustable to get the right lighting angle via a pop-up slider. Summary One of the great X-Plane helicopter developers in Dreamfoil Creations has had a break for a few years. Now he is back with a transition aircraft to X-Plane 12 of his earlier excellent helicopters the Schweizer S300CBi, a twin-seat Ultra-Light for X-Plane 11. This machine was very popular with the punters and chopper jockeys, because of it's sweet flying capabilities, and nothing has certainly changed in that area here, if anything the dynamics are even more heightened in X-Plane 12. When one of the "Old Guard" comes up you can see and feel the difference. Certainly Dreamfoil is a mastercraftsman, but the S300CBI is even more masterful and the extreme quality shows in every part of this helicopter now available in X-Plane 12. It comes with fully functioning systems and components in the rotors and the controls are to be marveled at here, in fact everything can be admired, as the whole machine is exquisitely crafted to the highest degree and takes advantage of all the X-Plane 12 features, a bonus is this is also one of the very best sweetest machines to have and fly. VR ready as well. This is not just a straight conversion to X-Plane 12 of the S300CBi. As almost every area has had attention, notable the PBR textures to 4K, but the glass, sounds (now FMOD) and the details are all enhanced or transformed into a higher quality. The Menu is expanded as well, as long as your arm, and probably your leg as well, it is full of options and tools... including the Smart Livery system (but different here), Stability, Covers/Ties, removable Doors, Floats and an excellent Crop Spray Kit, Aux Tank, Li-Ion start stick, Hook, Govenor Kit and on it goes, and new is windshield Opacity. And all the external spots give you access to the various parts of the aircraft, and Quick Views is in there as well. Basically the "Master" is back, and again Dreamfoil delivers an exceptional Simulation machine in the Schweizer S300CBi. Fabulous investment, but skills are required to get the most out of this Ultra-Light Helicopter. Hopefully more of his Creations in the AS350 B3+ and the Bell 407 will follow the S300CBi into X-Plane 12, until then, you already have a Premier Simulation here for the X-Plane Simulator with this amazing Schweizer machine. __________________________ Yes! - the Schweizer S300CBi XP12 by Dreamfoil Creations is NOW available from the X-Plane.Org Store here : Schweizer S300CBi XP12 Price is US$39.95 : On sale: $39.95 US$34.95 You Save:$5 (13%) Requirements X-Plane 12 Windows, Mac or Linux 8 GB+ VRAM Recommended Download Size: 445 MB Current version : 1.0 (November 20th 2023) Designed by DreamFoil Creations Support forum for the S300CBi XP12 Installation Installation of Schweizer S300CBi XP12 is done via a download of 423 Mb... With a total installation size of 1.02Gb. (Excluding extra liveries) There is one basic Manual pdf (20 pages) Review System Specifications Windows - 12th Gen IS1700 Core i7 12700K 12 Core 3.60 GHz CPU - 64bit -32 Gb single 1067 Mhz DDR4 2133 - PNY GeForce RTX 3080 10GB XLR8 - Samsung 970 EVO+ 2TB SSD Software: - Windows 11 Pro - X-Plane 12.08b3 (This is a Beta review). Plugins: Traffic Global - JustFlight-Traffic (X-Plane.OrgStore) US$52.99 : Global SFD plugin US$30.00 Scenery or Aircraft - KFMY - Page Field - Fort Myers, Florida 1.0 by timbenedict3 (X-Plane.Org) - Free ___________________________ News by Stephen Dutton 25th November 2023 Copyright©2023: X-Plane Reviews (Disclaimer. All images and text in this review are the work and property of X-PlaneReviews, no sharing or copy of the content is allowed without consent from the author as per copyright conditions) All Rights Reserved
-
NEWS! - Aircraft Release : Schweizer S300Bi for X-Plane 12 by Dreamfoil Creations One of the great champions of Helicopters in the X-Plane Simulator has been "Missing in Action" over the last few years, and his absence has been seriously noticed. This is Dreamfoil Creations. But he is back with an X-Plane 12 version of the Schweizer S300Bi, was a real hoot to fly in X-Plane 11, this ultra-light barnstormer of a machine is now X-Plane 12 compatible. The S-300 is light utility helicopter originally produced by Hughes Helicopters, Later manufactured by Schweizer Aircraft an American Company, the basic design has been in production for almost 50 years. The single, three-bladed main rotor and piston-powered S-300 is mostly used as a cost-effective platform for training and agriculture. This model is a replica of the S300Cbi, a fuel injected version of the 300CB that alleviates carburetor icing concerns in colder temperatures. Features include: Detailed Model New 4k PBR textures Highly detailed interior and exterior model Custom commands for all switches GTX327 transponder simulation Artificial horizon and Garmin 430 as fittable equipment Functional custom warning lights with integrated test buttons Fully articulated 3D rotor and blade flex Blade tie system 3D propeller for tail rotor Custom animations for panel switches/keys/handles/gauges Animated transmission belt with clutch stretch system Enhanced night lighting with spill lights Custom Beacon/Strobe lights 3 Interchangeable Exhausts Removable copilot cyclic and pedals Realistic 3D Yaw string Removable Doors Main rotor covers can be activated by clicking on blade tips or hub Windshield cover Weather and dust particle effects for main rotor Realistic flight model Built around XP12 flight model with accurate and authentic flight model Accurate autorotation parameters STAR/AES system simulated Start-up overspeed limiter Automatic Rotor Engagement Low-Rotor RPM Warning Functional circuit breakers Pilot / Passenger weight affect CG Correlator simulation Governor kit available Flexible skids Rotor hold/drag allow to change rotor position with engine off Cyclic with functional lateral and longitudinal frictions Collective functional friction 2 Hobbs Meter with per livery persistent data (engine / flight) Realistic startup with custom vibrations External objects and tools Hook for sling load operations Functional floats Transport wheels, can be used with engine off to move helicopter on the ground Removable Auxiliary Tank New Li-Ion start stick GPU (Ground Power Unit) CropDuster version with customizable weight and flow rate SmartMenu New SmartLivery compatible with X-Plane default icons Improved font rendering with TTF support Stability options Windshield opacity control Customize your equipments Report (per livery) with your flight time and recorded G limits Easy access to X-Plane volume Easy access to aircraft weights Correlator with 3 different presets and customization Quick views menu other FMOD sounds Authentic HO-360 engine sound Blade slap Volumetric cockpit 3D positional sounds Headphone simulation Sound interaction with doors Enhanced cabin weather sounds VR Ready Comes with fully interactive manipulators compatible with VR SmartMenu also compatible with VR Customers who own the DreamFoil S300CBi XP11 can get this new XP12 version for $15 off. Coupon code can be found in the original S300CBi XP11 invoice at the X-Plane.OrgStore. Original S300CBi X-Plane 11 Review is here: Aircraft Release : Schweizer S300CBi Helicopter by Dreamfoil Creations Designed by DreamFoil Creations Support forum for the S300CBi XP12 Super nice to have Dreamfoil back in the air... it's going to be a great 2024 __________________________ Yes! - the Schweizer S300CBi XP12 by Dreamfoil Creations is NOW available from the X-Plane.Org Store here : Schweizer S300CBi XP12 Price is US$39.95 : On sale: $39.95 US$34.95 You Save:$5 (13%) Requirements X-Plane 12 Windows, Mac or Linux 8 GB+ VRAM Recommended Download Size: 445 MB Current version : 1.0 (November 20th 2023) ___________________________ News by Stephen Dutton 21st November 2023 Copyright©2023: X-Plane Reviews (Disclaimer. All images and text in this review are the work and property of X-PlaneReviews, no sharing or copy of the content is allowed without consent from the author as per copyright conditions) All Rights Reserved
-
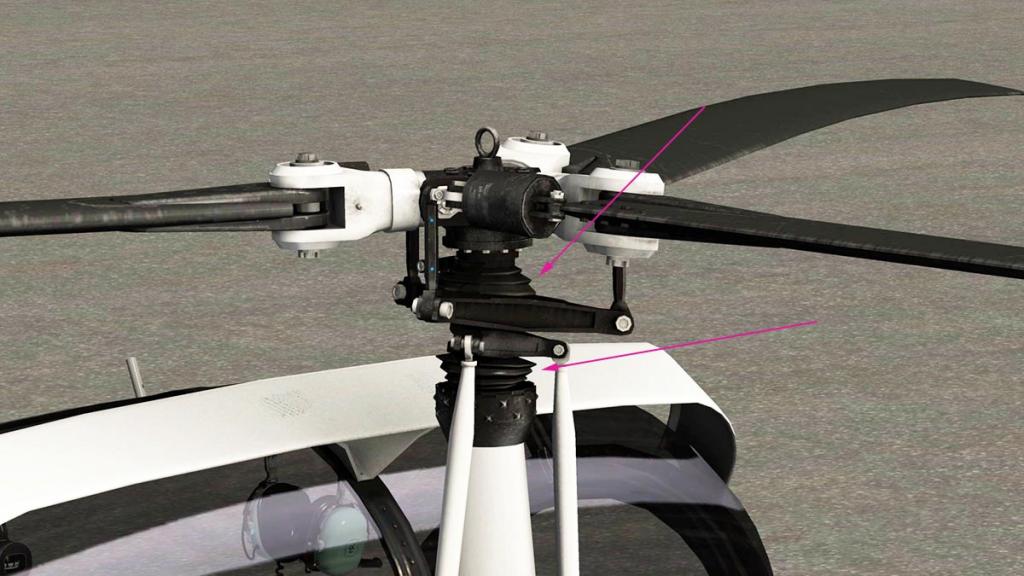
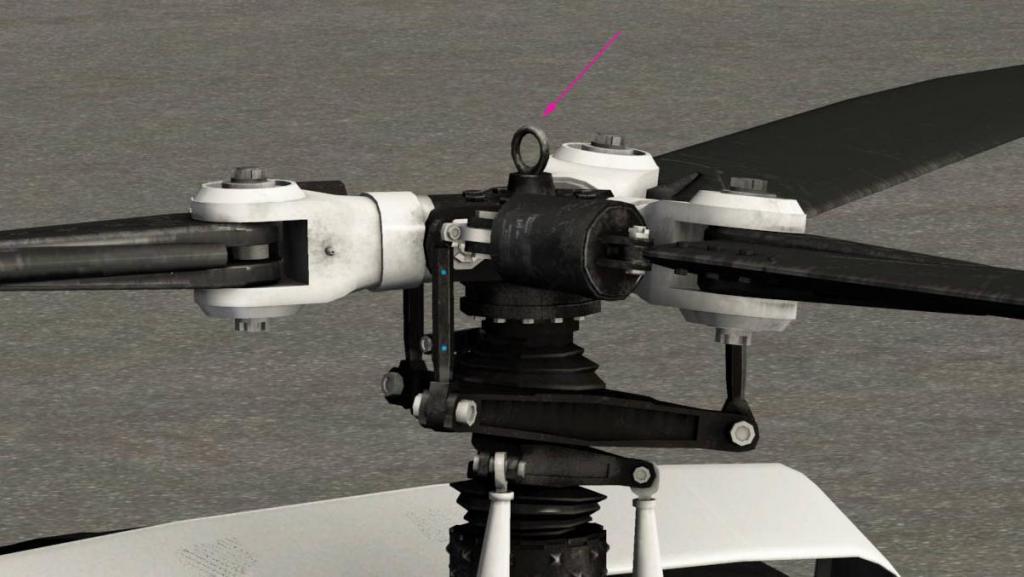
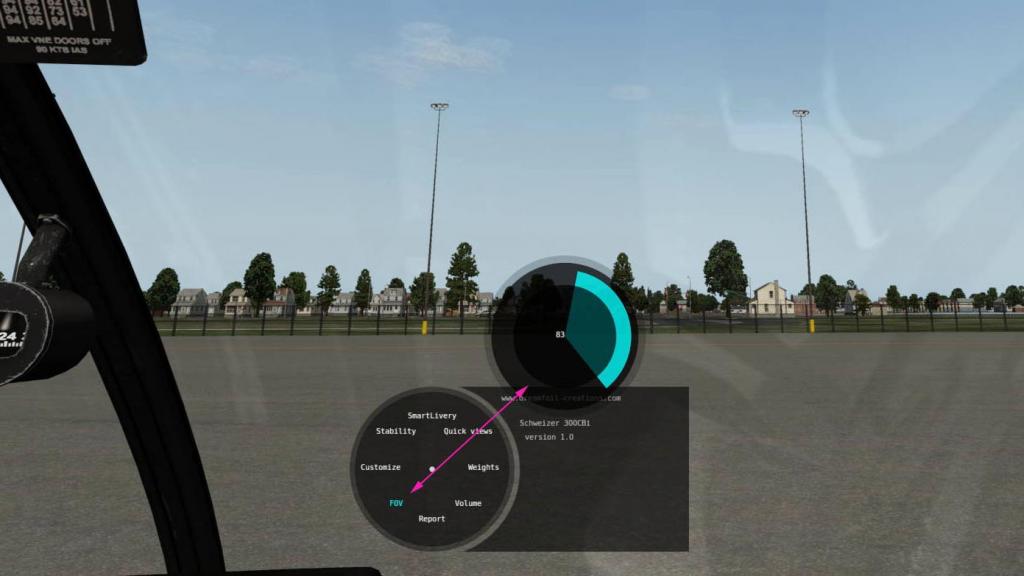
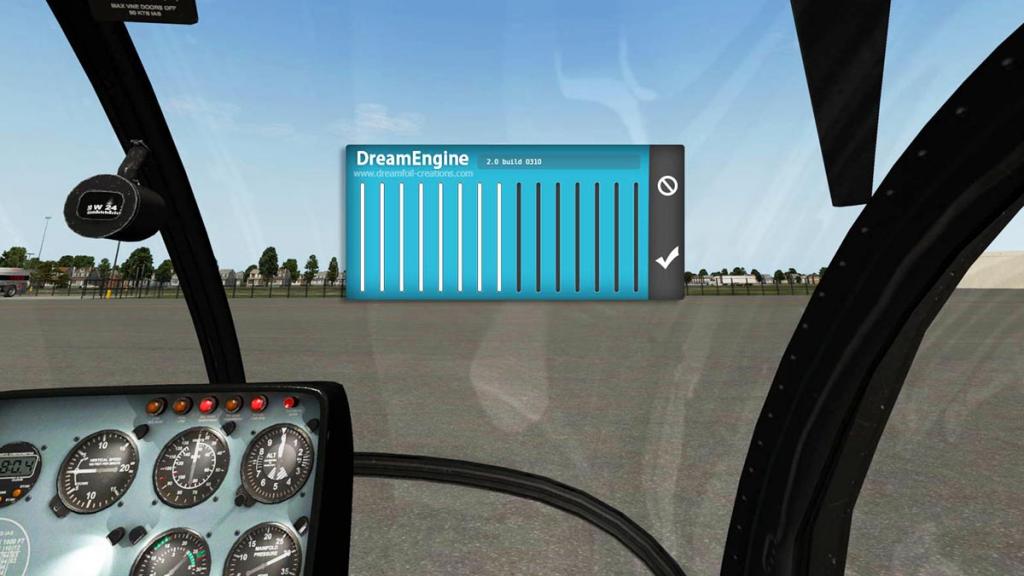
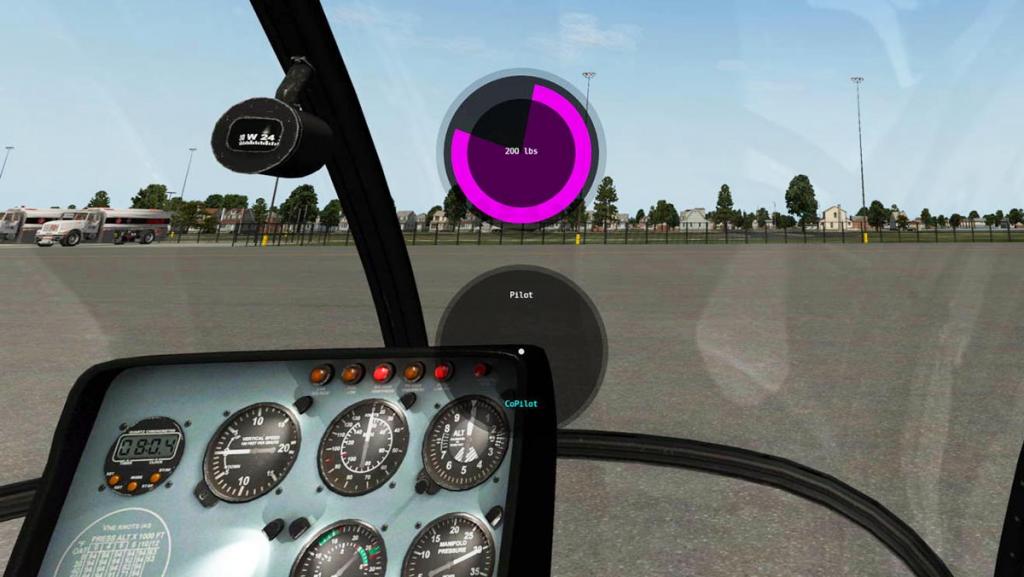
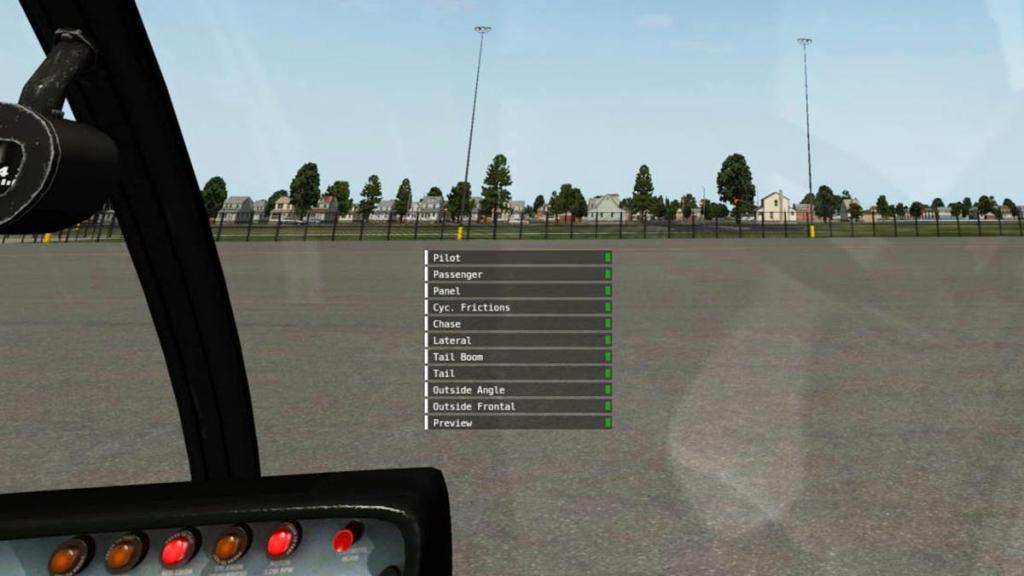
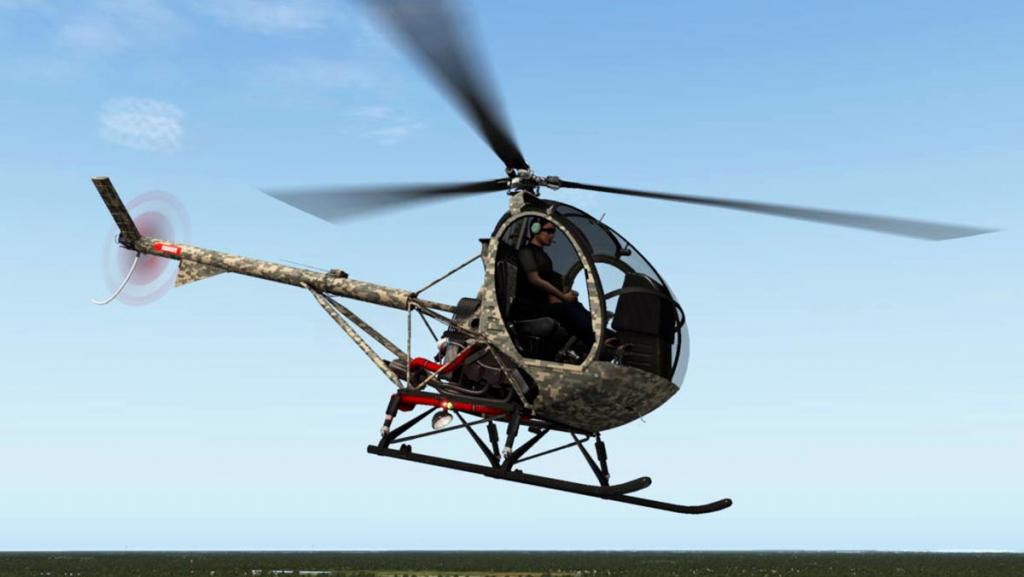
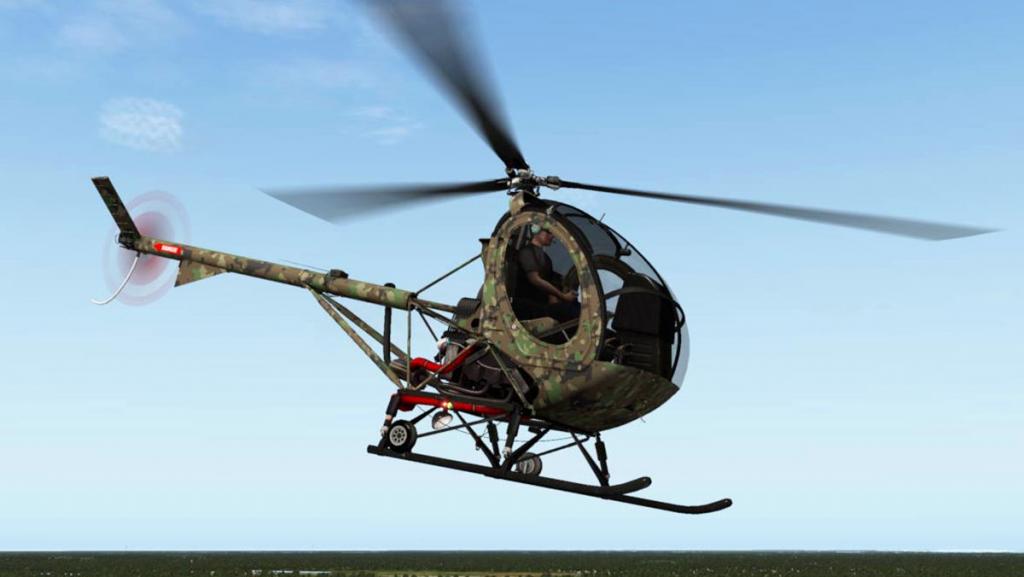
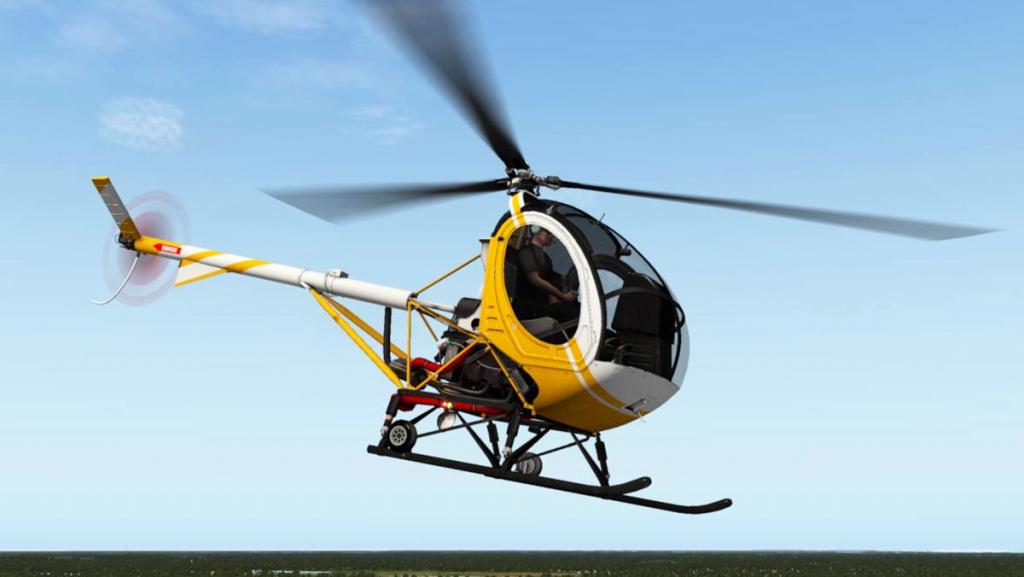
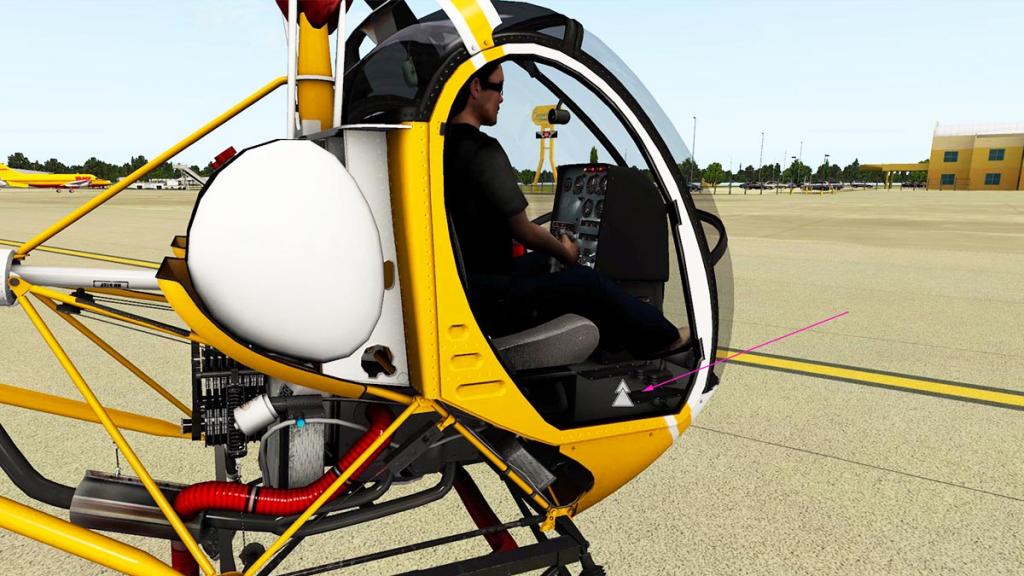
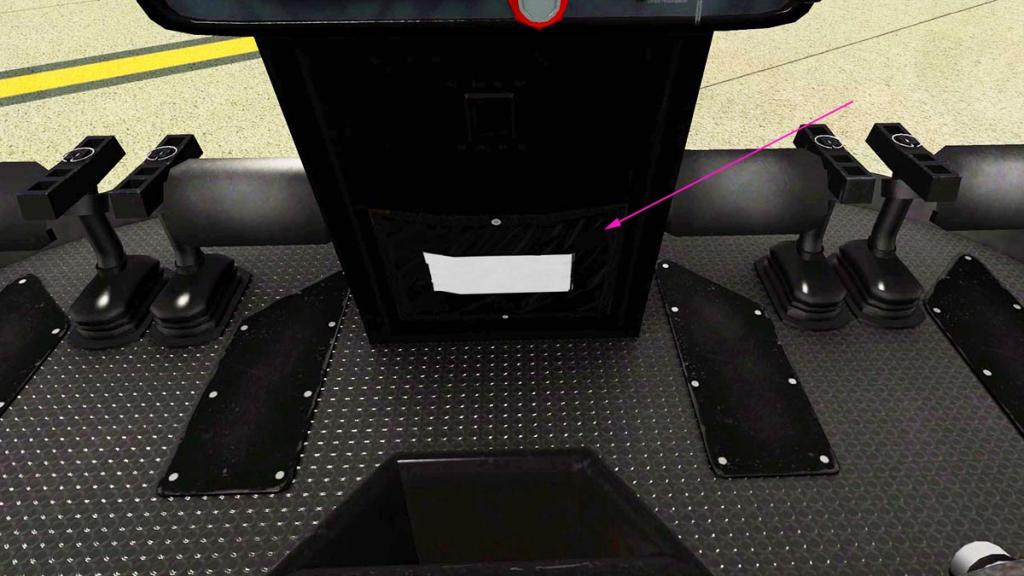
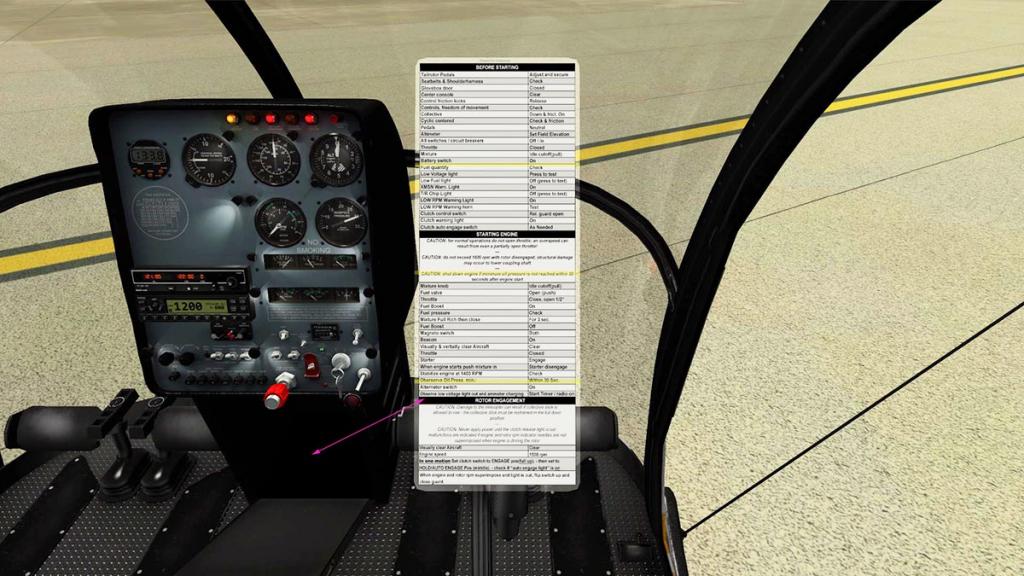
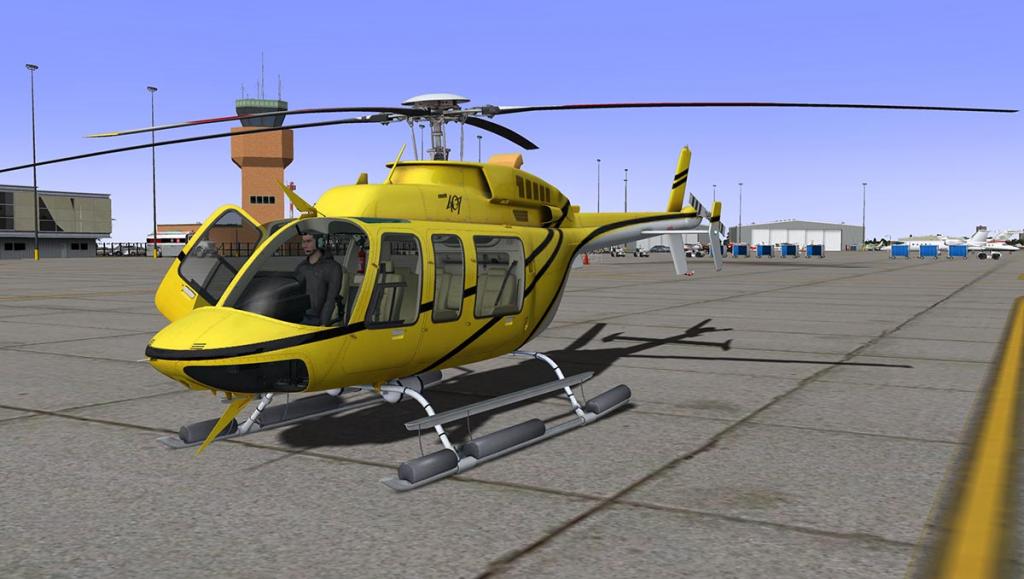
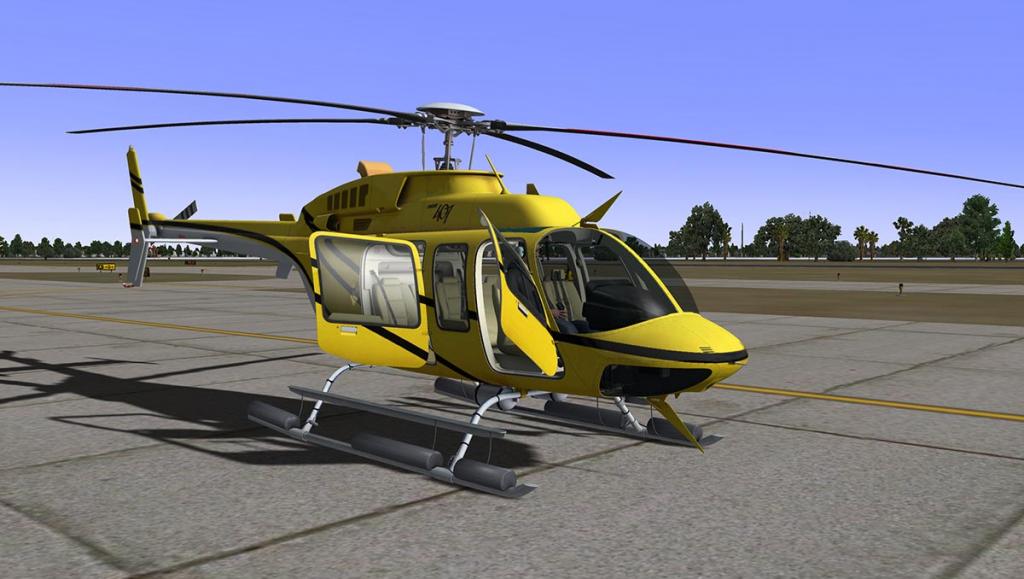
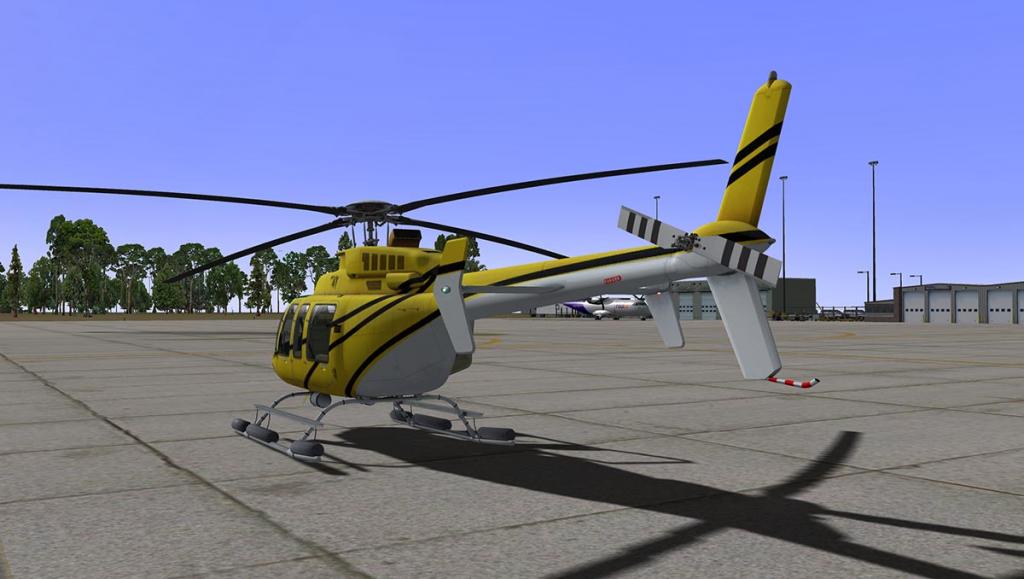
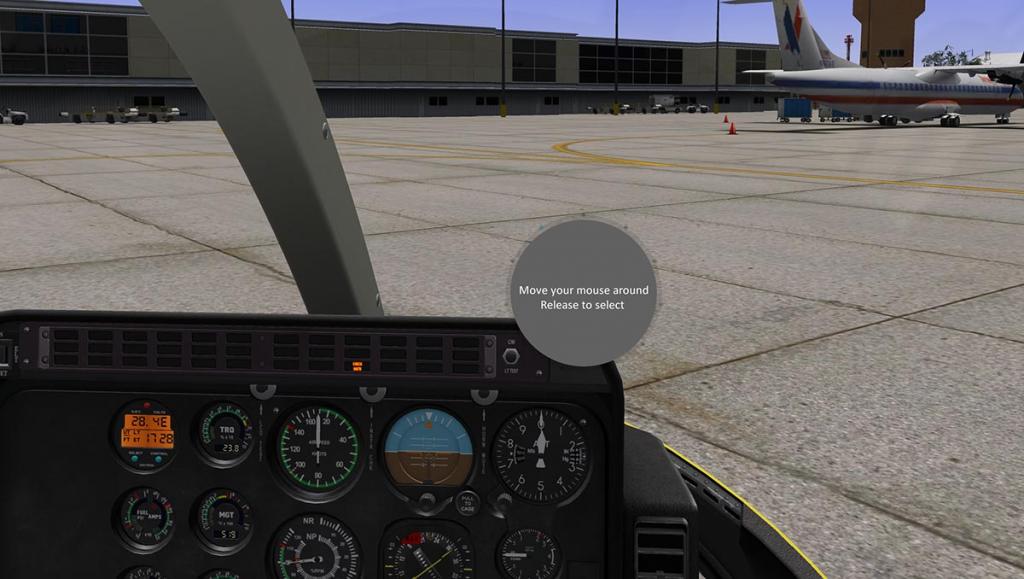
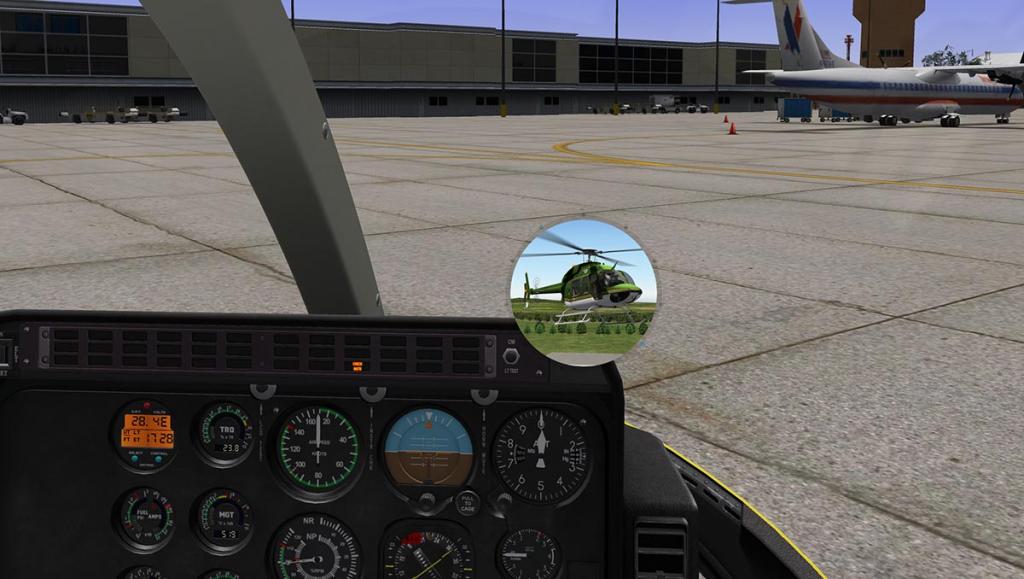
Aircraft Release : Schweizer S300CBi Helicopter by Dreamfoil Creations You would think the design of the Schweizer 300CBi two-seater helicopter is only a few decades old, but actually the design is decades old in many, many decades as the prototype of this machine first flew as far back 2nd October 1956. In other words only weeks before I was born, and that is nearly sixty years ago. That aircraft was the Hughes Model 269, and only by 9th April 1959 did the 269 actually receive certification. By mid-1963 about 20 aircraft were being by Hughes produced a month and by the spring of 1964, 314 of the 269's had been built. Hughes had very quickly successfully captured a large portion of the civilian helicopter marketwith an aircraft that would prove itself popular in agriculture, police work and light helicopter duties. In 1964, Hughes introduced the slightly-larger three-seat Model 269B which it marketed as the Hughes 300. That same year, the Hughes 269 set an endurance record of 101 hours. To set the record, two pilots took turns piloting the aircraft and hovered in ground-effect for fueling. To ensure no cheating, eggs were affixed to the bottom of the skid gear to register any record-ending landing. The Hughes 300 was followed in 1969 by the improved Hughes 300C (sometimes 269C), which first flew on 6 March 1969 and received FAA certification in May 1970. This new model introduced a more powerful 190 hp (140 kW) Lycoming HIO-360-D1A engine and increased diameter rotor, giving a payload increase of 45%, plus overall performance improvements.It was this model that Schweizer began building the 300C under license from Hughes in 1983. In 1986, Schweizer acquired all rights to the helicopter from McDonnell Douglas, which had purchased Hughes Helicopters in 1984. After Schweizer acquired the FAA Type Certificate, the helicopter was known for a short time as the Schweizer-Hughes 300C and then simply, the Schweizer 300C. The basic design remained unchanged over the years. Between both Hughes and Schweizer, and including foreign-licensed production civil and military training aircraft, nearly 3,000 units of the Model 269/300 have been built and flown over the last 50 years. Then Schweizer was also purchased on August 26, 2004 by Sikorsky Aircraft, and hence the Hughes, Schweizer and Sikorski connections to the aircraft. The CBi version available here is the fuel injected version of the 300CB that alleviates carburetor icing concerns in colder temperatures. The 300CBi also includes overspeed protection and automatic rotor engagement during start-up, as well as a low rotor RPM warning system. (wikipedia) Performance: Maximum speed: 95 kn (109 mph, 176 km/h) : Cruise speed: 86 kn (99 mph, 159 km/h) : Range: 195 nmi, 360 km (204 miles) : Rate of climb: 750 ft/min (3.82 m/s) Dreamfoil Schweizer S300CBi Dreamfoil Creations are the X-Plane helicopter masters. Every release from the Robinson R22, Bell's 206 and 407 and the brilliant AS350 have compounded the quality of their aircraft into the X-Plane simulation consciousness, so any release from these talented people is always going to want you to know that the aircraft presented is not only going to be very good, is full of clever features and will fly perfectly like the real machine. And in all counts this S300CBi does all that and more. By all accounts this the S300C a small machine, almost more like a large backpack of strapping on an engine and rotor blades James Bond style than a fully fledged flying machine, but even when considering the compact size of the aircraft, it has the capacity to be not only a good working machine, carry two people and fly a fair distance, but I doubt I would want to spend 101 hours in a hover pattern in it. By and large helicopters are far harder to develop for simulators because they are very intricate and detailed machines, like this S300C their guts hang out and the mechanisms are very complex in there are a lot of struts and moving parts to be built and animated. So this machine is certainly a small-scale helicopter in size, but huge in the scale of detailing. There is a huge amount of work in here to create the S300C, complex and highly detailed you wonder where you would start in creating it all. The highlight here is the amazing belt system running off the Lycoming HIO-360-D1A engine that connects to the tail rotor prop-shaft, in detail it is astounding in creation and animation, of course your life depends on those bands not breaking. All detail is so complete with even small items like the engine oil and air filters and the piping and exhaust systems are all exceptionally well done. Control linkages even buried down in here in the guts of the thing all work as they should. You have two fuel tanks, a main on the left (195lbs) and a deletable auxiliary tank (195lbs) on the right. Rotor assemblies Rotor linkages and control rods are the heart of great helicopter design, and this set is one of the best yet. All links are animated and perfectly too. More clever stuff is in the rubber covers that move in shape to the linkage movement... that is detail in the extreme. great texture work in that the assemblies are worn and realistic. There is a manual feature in that when the rotors are set at idle you can move them (slowly) with the mouse to get the correct tie-down of the rotor position, you do this from the top of the hub hook (arrowed) Rear rotor assembly is just as detailed and functional. all rotor movements are excellent and in reality when running you don't really see any of this stuff, but it is nice to know it is all there and working as it should do. Cockpit Quality and detailing continues in the cockpit. It is surprisingly roomy in here and the view out is exceptional. Seats are thin but the vinyl seating covers are just so realistic even in their shapes and light reflections. Headphones hanging on the center roof support can be used by clicking on them and the external sound goes down (slightly) with their usage. Slender collective sits between the seats for either pilot of co-pilot use. You can select if you want a single set of controls or two sets. Panel Panel instruments are quite basic (no artificial horizon?) which would mean VFR rules only, top row down is (left to right) Chronometer - Vertical speed - Speed (knots/MPH) Altitude Engine RPM - Manifold Pressure Fuel Gauge - Fuel Pressure Gauge - Cylinder Head Temperature Oil Pressure Gauge (PSI) - Oil Temperature Gauge - Ammeter Gauge Lower is a Hobbs Meter Lighting switchgear includes - both adjustable avionic and panel lighting, panel main switch, position and beacon switches. Fuel mixture and fuel shutoff knobs with electrical main key switch, Battery and Alternator switches There is a choice between the X-Plane default GPS Garmin GNS 430 or the Bendix/King KY 98A that is usable for COMM 1 use. The Garmin GTX 327 is the built in transponder unit. To note that the Cylinder Head Temperature (CHT) here is driven by a custom algorithm which simulates more realistically the CHT behavior to give a more realistic flying experience, instead of it being just a dumb gauge. Cockpit reflections are excellent, and with such a very large glass area it could have been quite bad, but the depth is just right for realism. You can animate the way you enter the aircraft by pressing an active arrow by the lower door. all the sounds are simulated as well and if the engine is off you will hear the pilot messing around in the machine. There is a compartment under the panel that can be opened to reveal the S300C's checklist, making it very handy for use. Lighting Cockpit and panel lighting is excellent, the panel is shown here at full brightness but it can be toned down. There is a green map light on the rear bulkhead that can be fully adjusted in all axis and is also very good. External lighting is great with navigation which are steady and flash and beacon lights. Under the aircraft there is a spotlight, with a hard to see switch on the front of the cyclic. The spotlight is also fully adjustable to get the right lighting angle you require. Features The S300B comes in three version choices... Skid, Wheels and Floats. On the wheels you can have them selected up or click on a zone to turn a handle to lower the wheels and lift the skids off the ground. Floats look very authentic and canvas like, really nice design work. Opening doors come with the advantage of having then either on or off the aircraft. GPU (Ground Power Unit) can be used either from the menu or by pressing the power outlet on the left side of the aircraft. Both fuel tanks can be filled via pressing the fuel caps and use a gauge to set the tank amount. Exhaust Options There are three exhaust options in: Short - Long (pipe) - Long and Tip. The different sizes of the exhaust options will change the sound source with: Short will point exhaust sound to back of helicopter Long will point it to left side Long + Tip is the same as long but will muffle exhaust sound Menus The S300B uses the standard circular Dreamfoil menu system which is activated by pressing on the right top hand corner of the panel. Menu items include: Smart livery - Stability - Customize - POV (Point Of View) - Report - Volume - Weights - Quick Views Smart livery allows you to select a livery by going round a dial and clicking on a version you like, easy! Stability allows you to adjust the Pitch-Roll-Yaw percentages if you require a different feel for the aircraft. The Customize menu is the main selection point to adjust or change the features on the aircraft. Menu items include: GPU, Aux Tank, Doors (on or off), Exhaust, Rotor Shadows, Skid/Wheels/Floats, Hook, Governor Kit, Garmin GNS340/Bendix/King KY 98A, Yaw String and Co-Pilot Cyclic and rudder pedals. POV (Point Of View) alows you to adjust the X-Plane point of View settings without going to the X-Plane menu. DreamEngine 3d sounds is one of the best sound systems in X-Plane and you have full control of the different sound settings through the inbuilt menu. You can adjust the weights of both the Pilot and Co-Pilot, which is interesting in the way you can set up and fly the aircraft. There is a full set of default views that is available through the menu, included views are: Pilot - Passenger (Co-Pilot) - Panel - Cyc. Frictions - Chase - Lateral - Tail Boom - Tail - Outside Angle - Outside Frontal - Preview. Liveries Eleven liveries provided are all excellent, They include (left to right) default White - Calypso (float only), Camouflage 1 and 2, (sec row) Graphite, Orange, RB Stripes, Red, (third row) TH55 (army), The Hunter! and Yellow. Flying the Schweizer S300CBi I was expecting the Schweizer S300CBi to be very, very nervous or twitchy, as it is such a very small agile little insect of a machine. But in fact it was quite a well balanced and quite stable aircraft to fly... Startup was quite easy. Power (Bat) and Alt switches on, make sure the mixture knob is in and turn the key and hold for a short while... easy, lawnmowers are harder. I am going from KFMY : Page Field to KRSW South West Florida Intl which is very short hop, across the southern western Florida landscape. Inputs are as expected with very fine movements, but control was easy and I had no issues slipping up and away from Page Field. Transition from vertical to forward movement was seemless but the aircraft is very light and you can gain height very quickly if you don't arrest it. Your speed is not going to break the sound barrier, but I found I settled quickly into a nice 70knts at around 500ft. The S300C does not come fitted with a governor, normally it's a unofficial kit that people install on the aircraft after purchase, so it is simulated here that the non-governed version when not fitted or if governor is disabled it does correctly simulate the correlator behavior which is a link between the collective and throttle to reduce pilot workload, when raising collective it will also increase throttle or vice-versa. Sounds are overall excellent, and you can't fault them. 3d zoom with directional sound with more noise if you don't wear your headset... ... the headset will also if hanging up will move around with any wind blowing, as do the keys in the ignition slot on the panel. But the wind factor is quite big on the aircraft as if you are flying with the doors off then if you stick you head out into the slipstream then the wind noise will get louder the faster you go, the wind noises are also tuned to give you the correct wind sounds that are generated by the shape of the open door and the angle of the wind. Noted as well is the factor if the doors are on or off the noise is higher or more slightly muted when closed. There is hook underside of the aircraft but I think the one missing feature are two spraying booms, as a lot of these aircraft are used for crop spraying, and that would have be a fun activity for future reference. You do feel the lightness more when auto-rotating back to the hover, and you have to be quite exact with your cyclic inputs to retard in the speed and height. The tail at these very slow or positioning speed is quite easily lost as the power is converted to the rear thrust. Nothing here you can't handle of course but a little practise is needed to get the feel right. But overall you quickly love the feel and manoeuvrability of the machine and slow long turns soon become a favorite way of just changing direction. Engine shutdown is quite quick with a pull of the fuel shut off knob, but the rotors will take ages to slow down and droop, as there is no rotor brake but pilots usually slightly grab hold the tail transmission shaft when under 100RPM rotation and this is simulated by a hand on the transmission shaft... dangerous!, yes absolutely. You can as noted earlier adjust the rotor angle (centre of the hub) to find the tie down points which are on active areas on the skids and tail boom. Overall I loved the aircraft, brilliant... Summary As light helicopters go you can't really go past the Schweizer S300CBi. There is nothing here to be negative about as everything is pretty well covered. Great to fly, handle and easy to flow, it is an easy aircraft to fly or learn if you want to transition to vertical aircraft, it is just a little twitchy in the landing and auto-rotation back to vertical flight, so you have to practise that to get it perfect. You have almost "Insanely Great" detailing and animations, loads of excellent features, excellent quality textures (4K liveries), great sounds and everything is packaged perfectly. DreamFoil Creations are at the top of the game in many areas, but their helicopters are simply outstandingly good and the Schweizer S300CBi is another of their brilliant creations. _____________________________________________________________________________________ The Schweizer S300CBi by Dreamfoil Creations is NOW available! from the X-Plane.Org Store here : Schweizer S300CBi Your Price: $32.00 Features: Detailed Model Highly detailed interior and exterior model Custom commands for all switches GTX327 transponder simulation Functional custom warning lights with integrated test buttons Fully articulated 3D rotor and blade flex Realistic blade tie system Rotor blur transparency use a new technique to display clouds correctly 3D propeller for tail rotor Custom animations for panel switches/keys/handles/gauges Animated transmission belt with clutch stretch system Enhanced night lighting with spill lights Custom Beacon/Strobe lights 3 Interchangeable Exhausts Removeable copilot cyclic and pedals Interior and Exterior with detailed normal map Switchable Garmin 430 Yaw string Removeable Doors Rotor shadows toggle Realistic flight model Accurate autorotation parameters Custom algorithm for CHT (Cylinder Head Temperature) STAR/AES system simulated Start-up overspeed limiter Automatic Rotor Engagement Low-Rotor RPM Warning Functional circuit breakers Pilot / Passenger weight affect CG Correlator simulation Governor kit available Flexible skids Rotor hold/drag allow to change rotor position with engine off Main rotor protective caps can be activated by clicking on blade tip when on correct position Cyclic with functional lateral and longitudinal frictions Collective functional friction 2 Hourmeters with per livery persistent data (engine / flight) Realistic startup with custom vibrations External objects and tools Hook for sling load operations Functional floats Transport wheels, can be used with engine off to move helicopter on the ground Removeable Auxiliary Tank GPU (Ground Power Unit) available Smart Menu SmartLivery - Dynamic Livery Menu Stability Views and weight control other DreamEngine Sound System Over 64 custom sounds New volumetric cockpit 3D positional sounds Headphone simulation Sound interaction with doors Requirements: Windows, MAC or Linux - X-Plane 10.45+ (any edition) or higher, running in 64 bit mode Joystick required 1GB VRAM Minimum. 2GB VRAM Recommended. _____________________________________________________________________________________ Installation and documents: Download for the Schweizer S300CBi is 331.70mg and the unzipped file is deposited in the "Helicopters" X-Plane folder at 364mb. _____________________________________________________________________________________ Review by Stephen Dutton 30th June 2016 Copyright©2016: X-PlaneReviews Review System Specifications: Computer System: Windows - Intel Core i7 6700K CPU 4.00GHz / 64bit - 16 Gb single 1067 Mhz DDR4 2133 - GeForce GTX 980/SSE2 - Samsung Evo 512gb SSD Software: - Windows 10 - X-Plane 10 Global ver 10.45 Addons: Saitek x52 Pro system Joystick and Throttle : Sound - Bose Soundlink Mini : JARDesign Ground Handling Deluxe plugin Scenery or Aircraft - KRSW - South West Florida Intl by Aerosoft (KRSW - SouthWest Florida Intl - X-Plane.OrgStore) - US$24.95 - KFMY - Page Field - Fort Myers, Florida 1.0 by timbenedict3 (X-Plane.Org) - Free
-
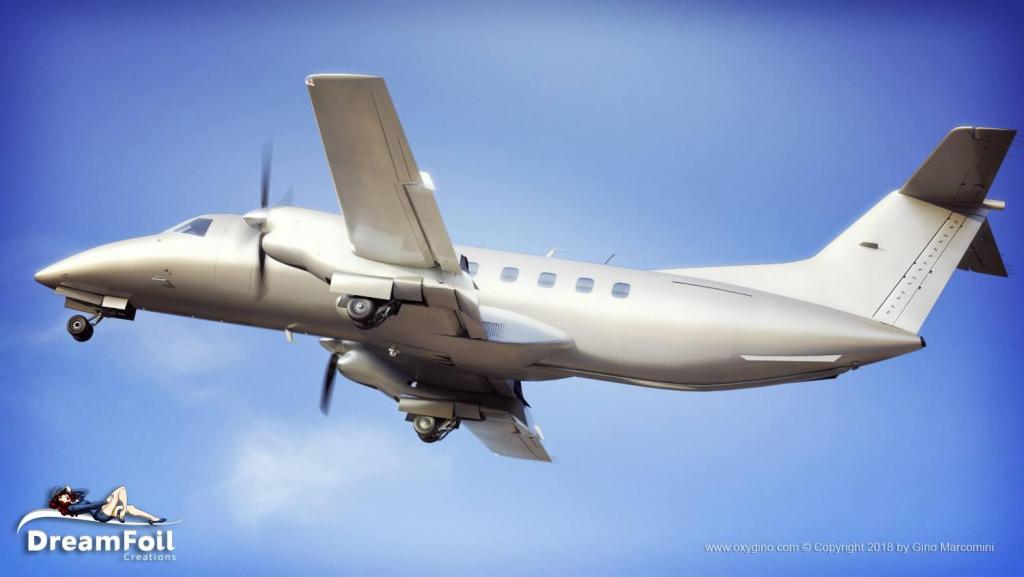
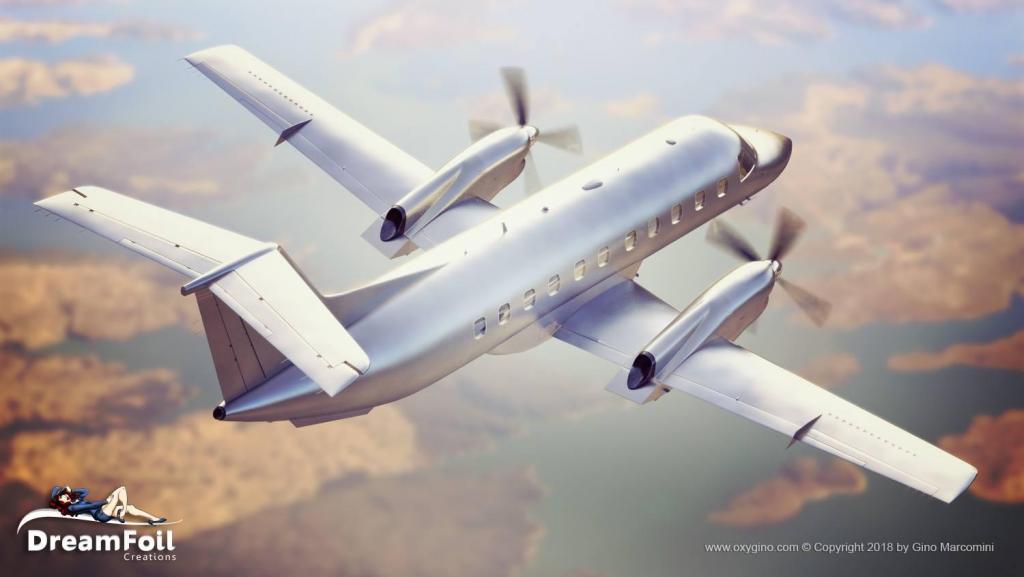
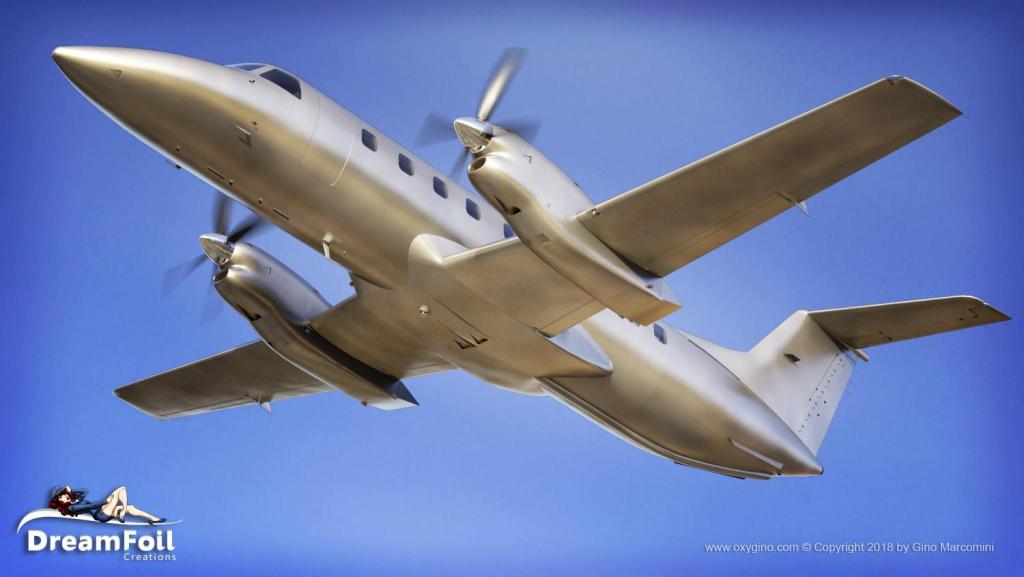
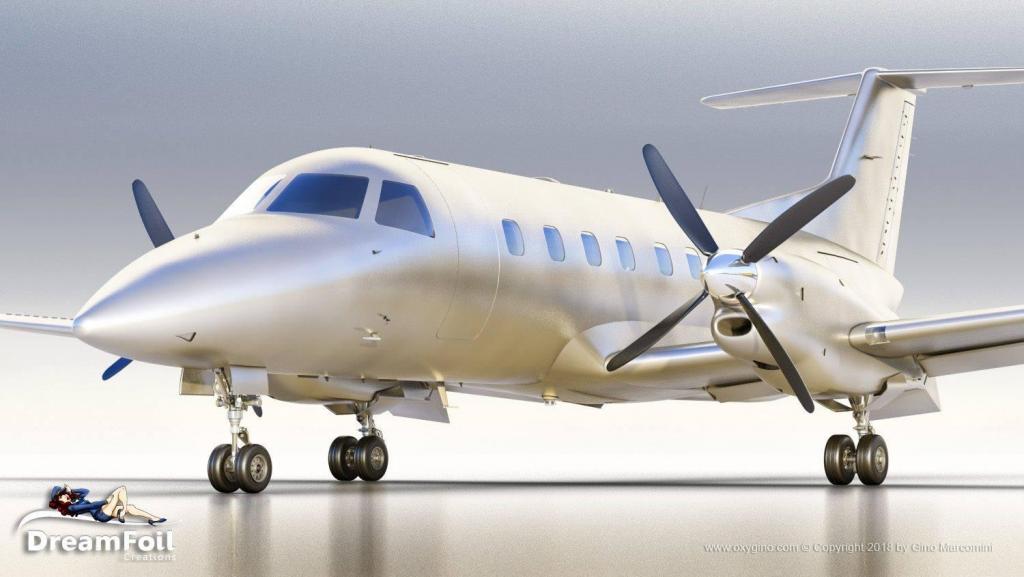
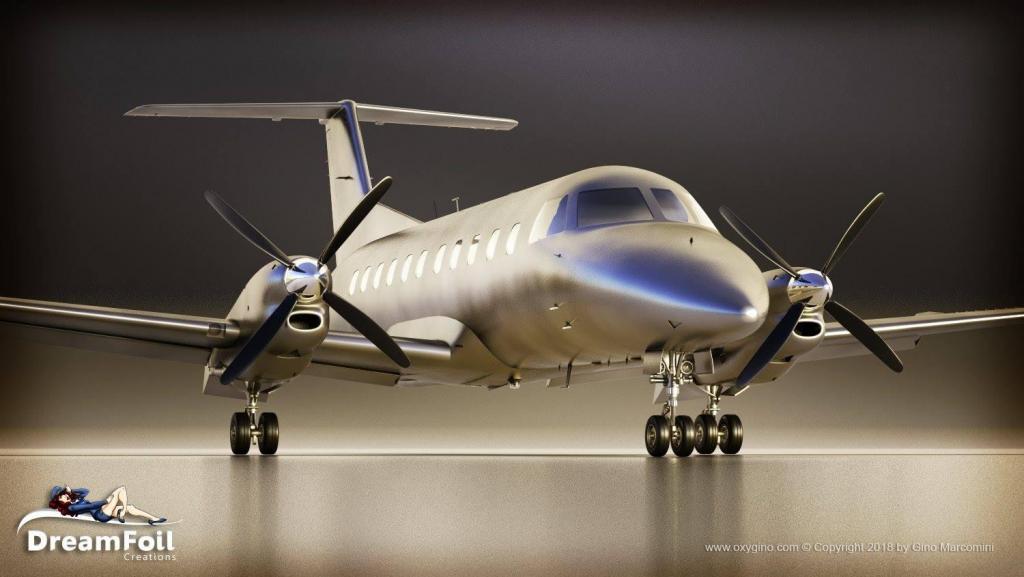
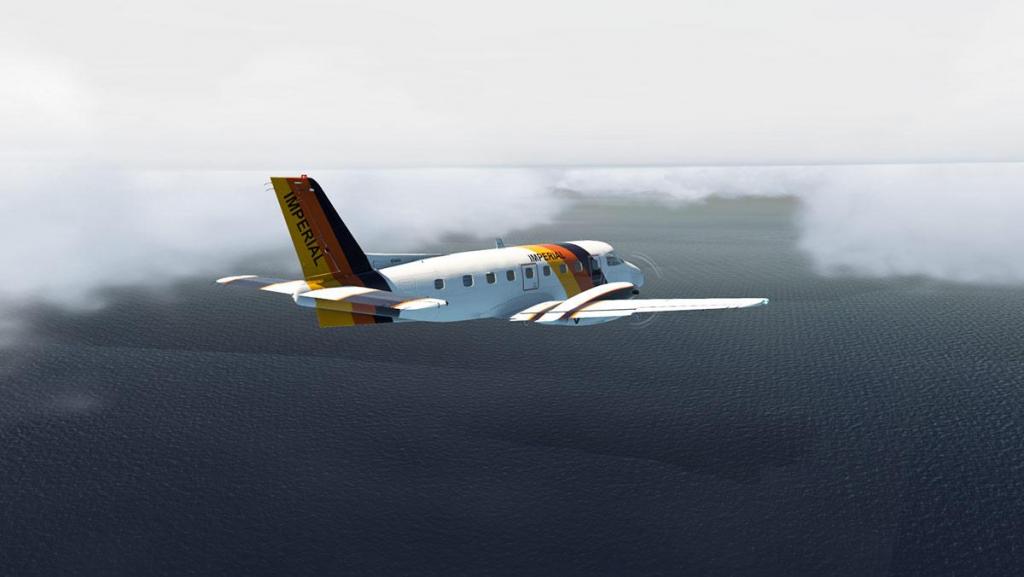
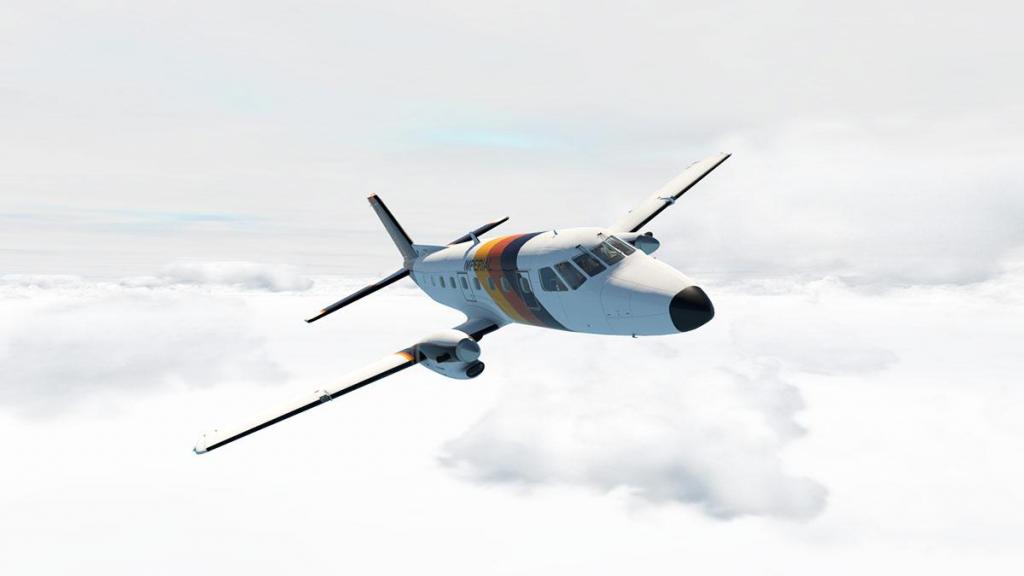
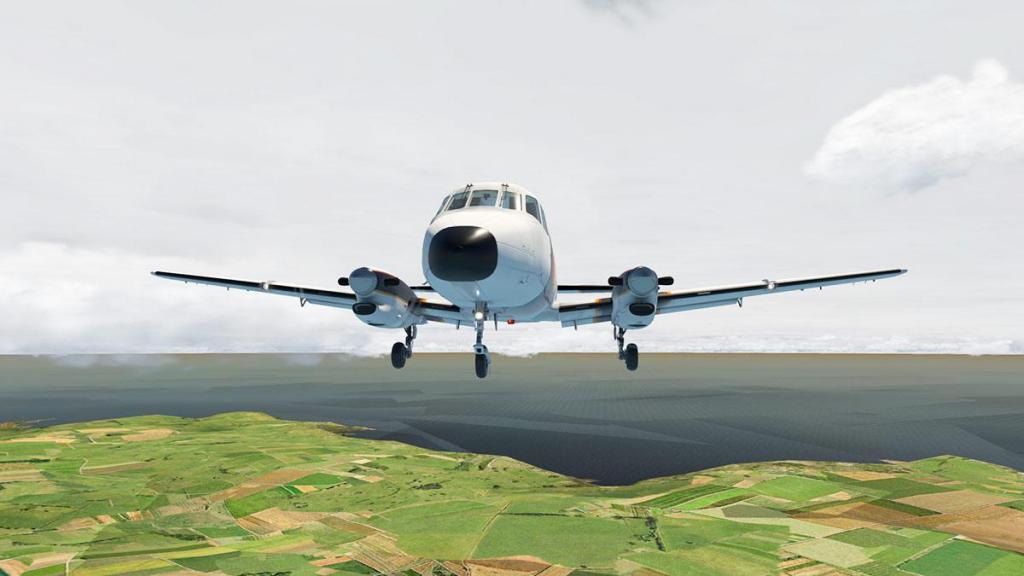
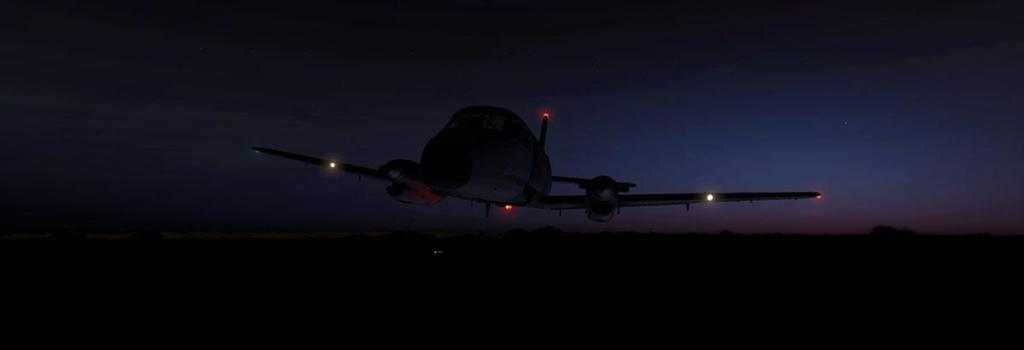
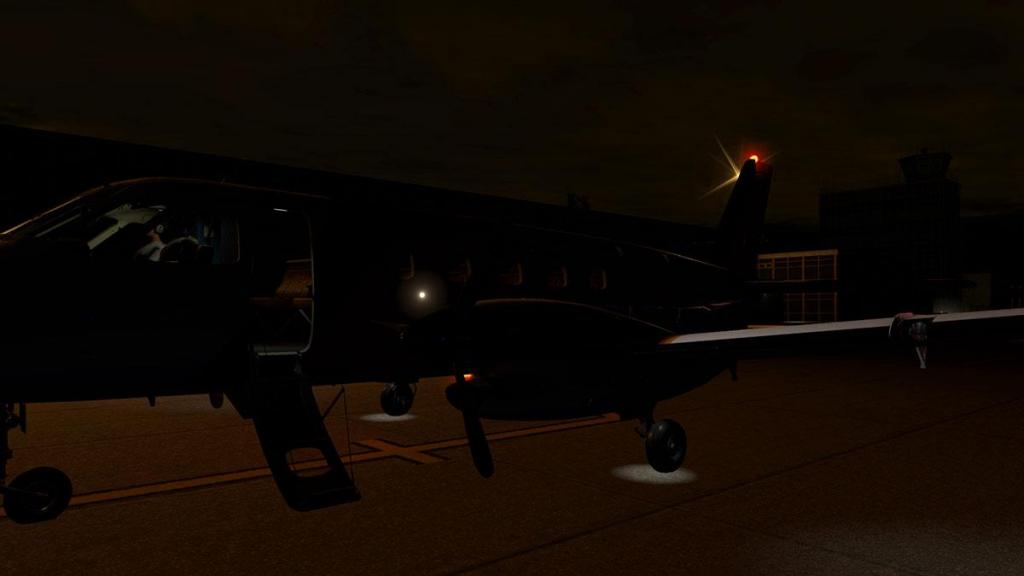
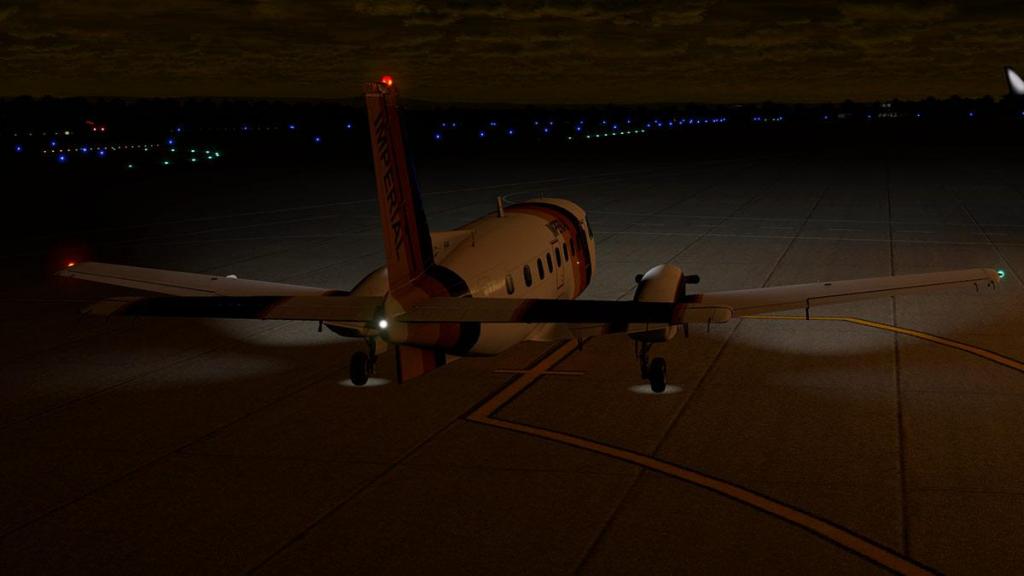
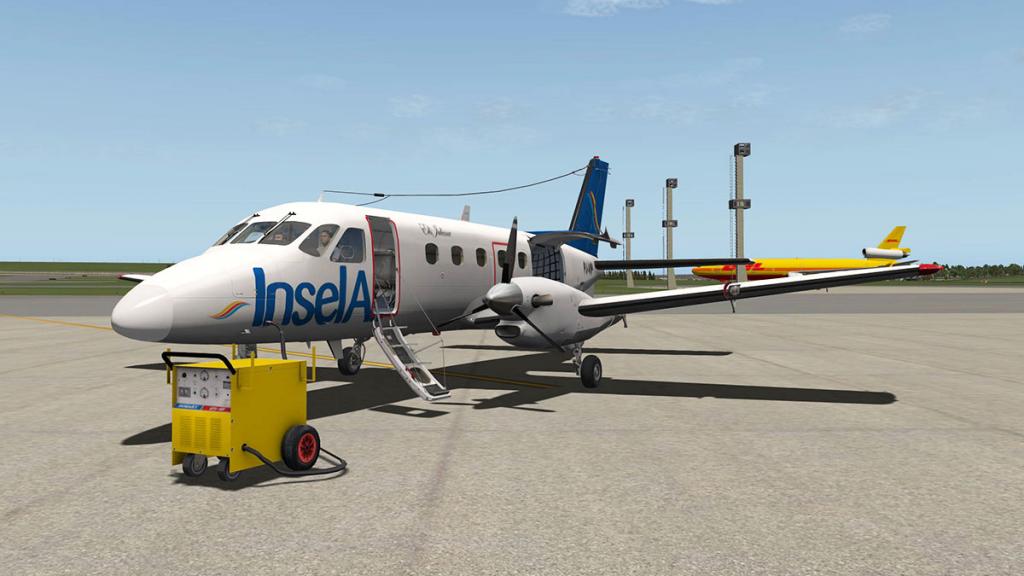
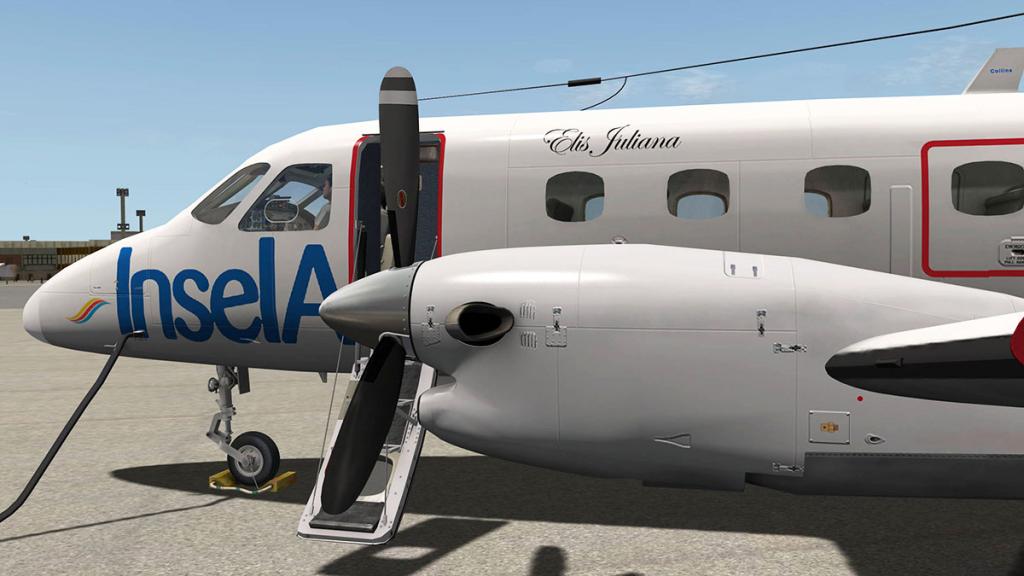
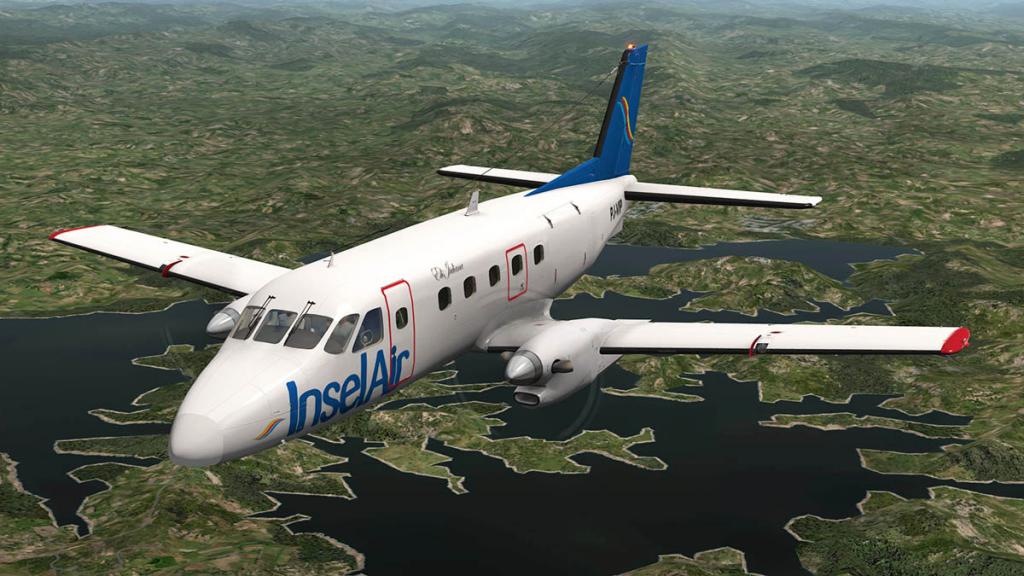
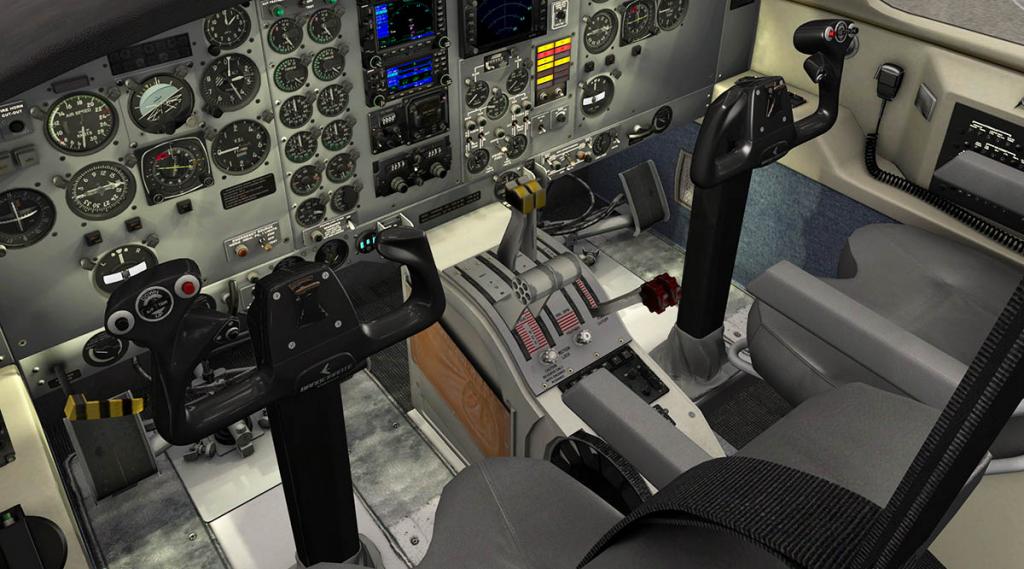
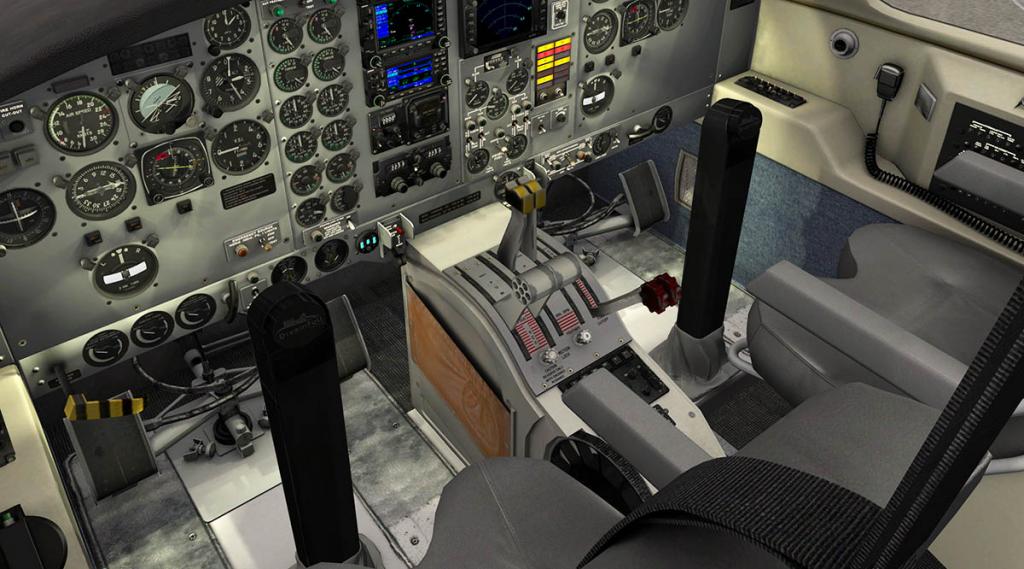
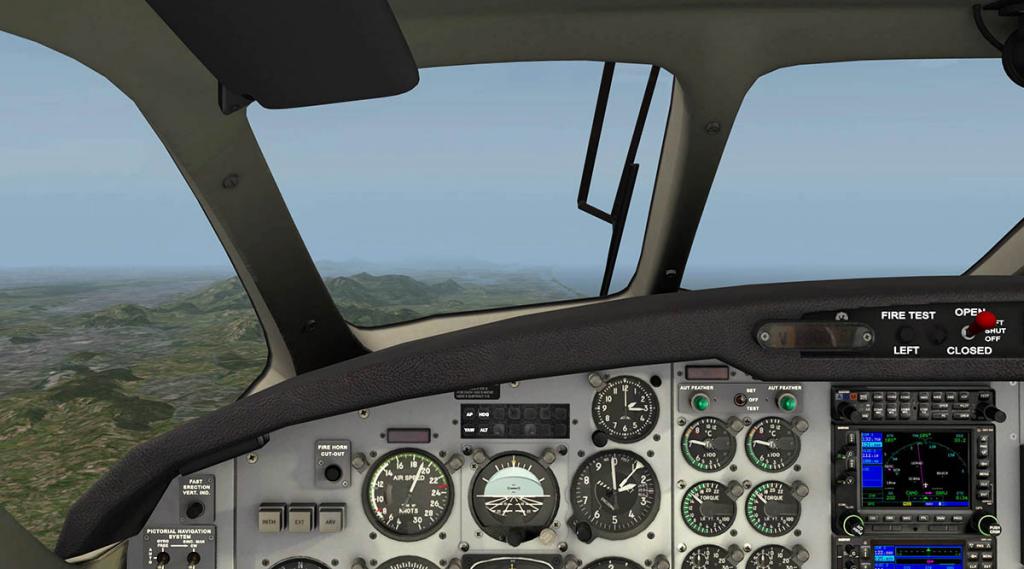
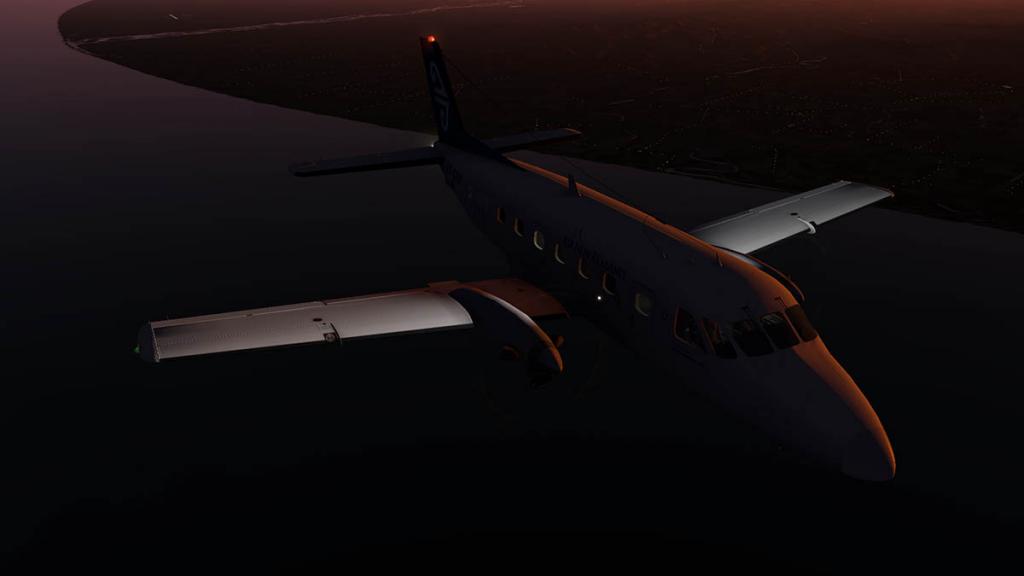
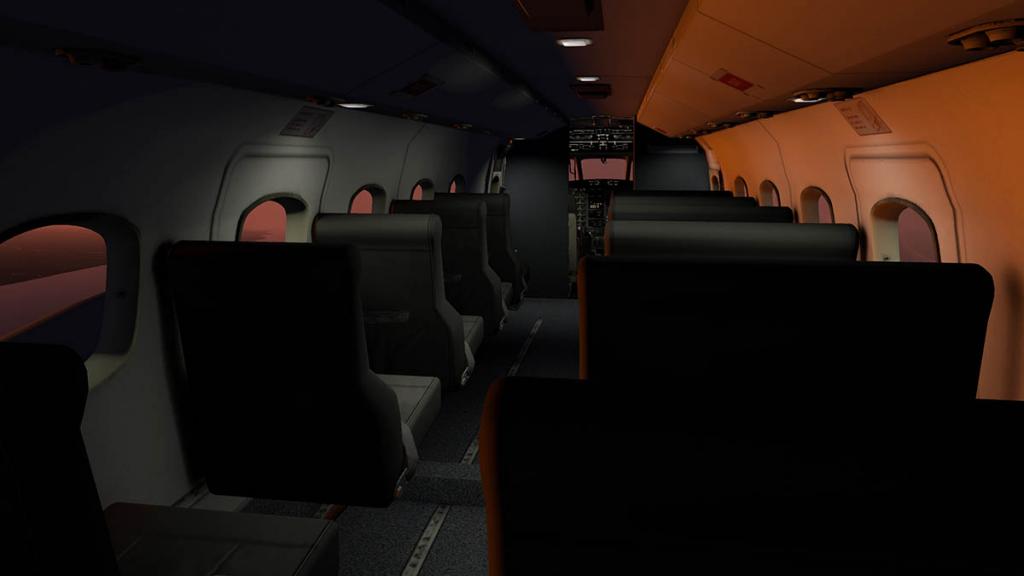
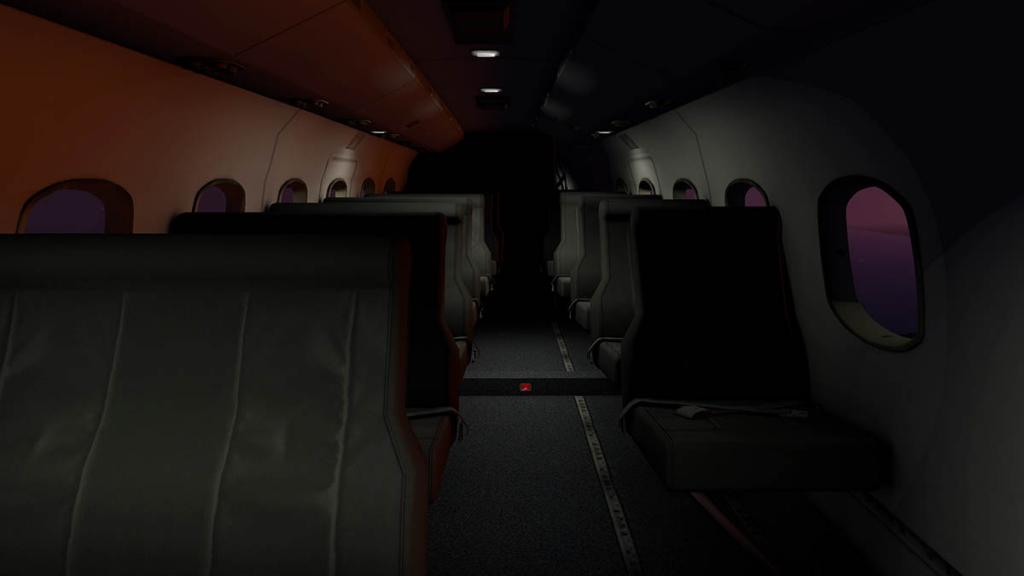
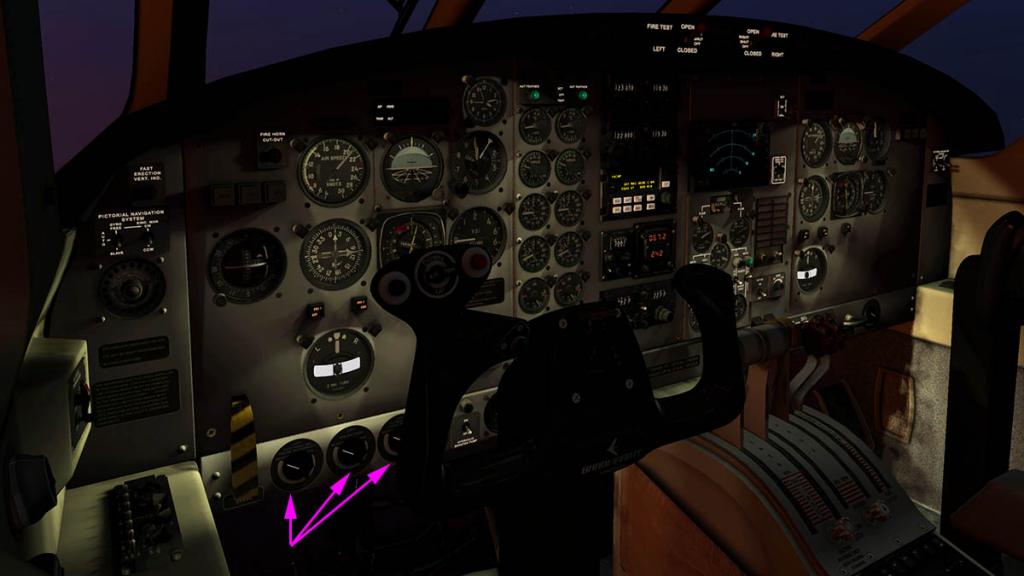
News! - Another EMB! : Embraer 120 by Dreamfoil Creations It was a shock to the system! Dreamfoil Creations did an aircraft, as the chopper maestro went all "Fixed Wing"? Once you got over that shock, then there was the secondary hit to the system in that it was brilliantly good, if quite difficult to fly. That aircraft was the Embraer 110 Bandeirante, that had an X-Plane11 update only recently back in August 2018. Yes I loved that aircraft, but now here comes the next aircraft in the Embraer linage with the Embraer 120 which is still a turboporp, but a larger if next size up in commercial aviation circles. A few images were posted on Dreamfoil's facebook page, but I would recommend NOT to go and look at the nice images, because you will want it right now! It looks like a beautiful, beautiful thing... ... look away now as you DO NOT want this aircraft! as It will eat away at your soul.... LOOK away... you don't want it. Of course you do! All images are courtesy of Dreamfoil Creations ________________________________________ News by Stephen Dutton 19th November 2018 Copyright©2018: X-Plane Reviews Disclaimer. All images and text in this review are the work and property of X-PlaneReviews, no sharing or copy of the content is allowed without consent from the author as per copyright conditions)
-
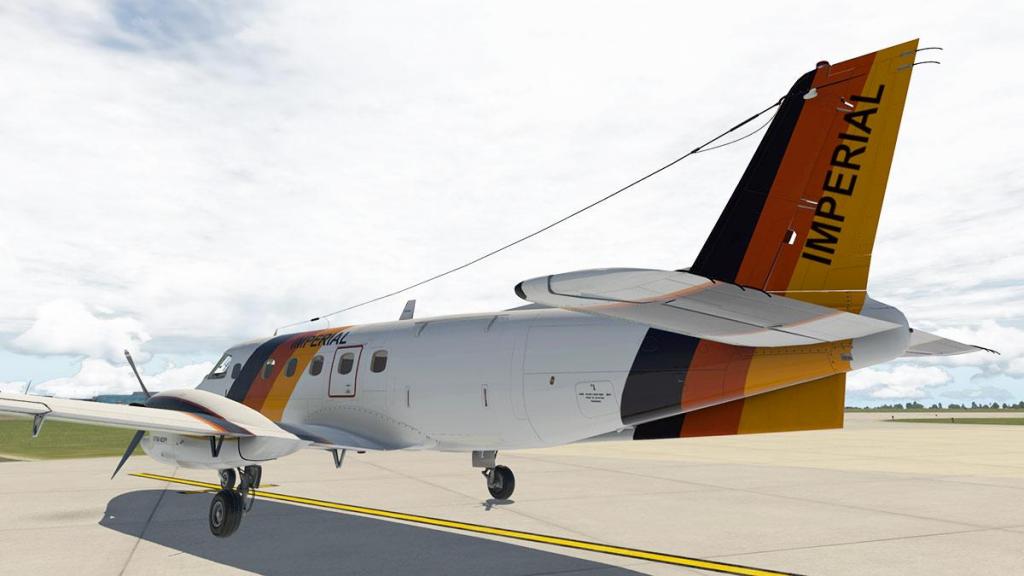
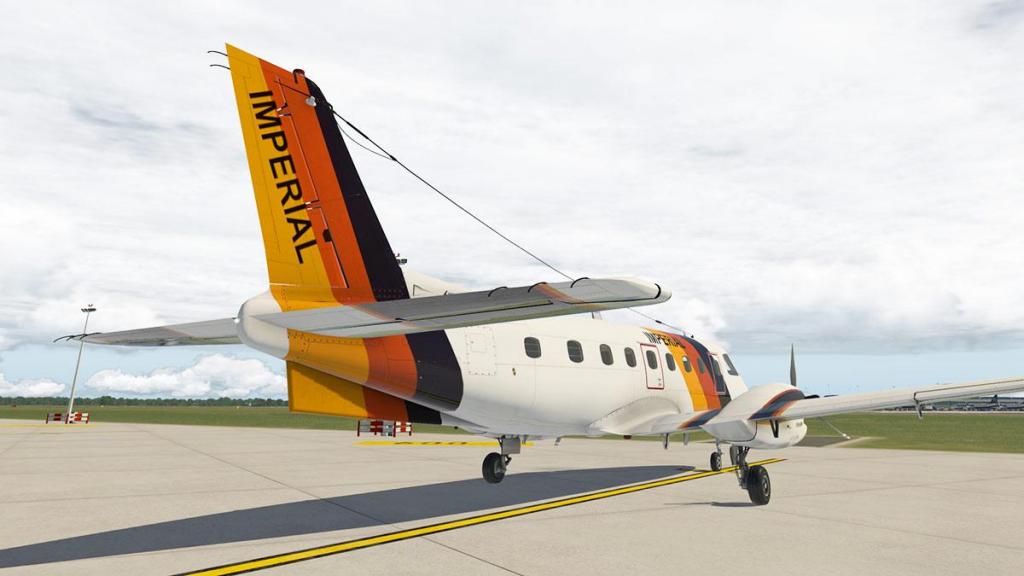
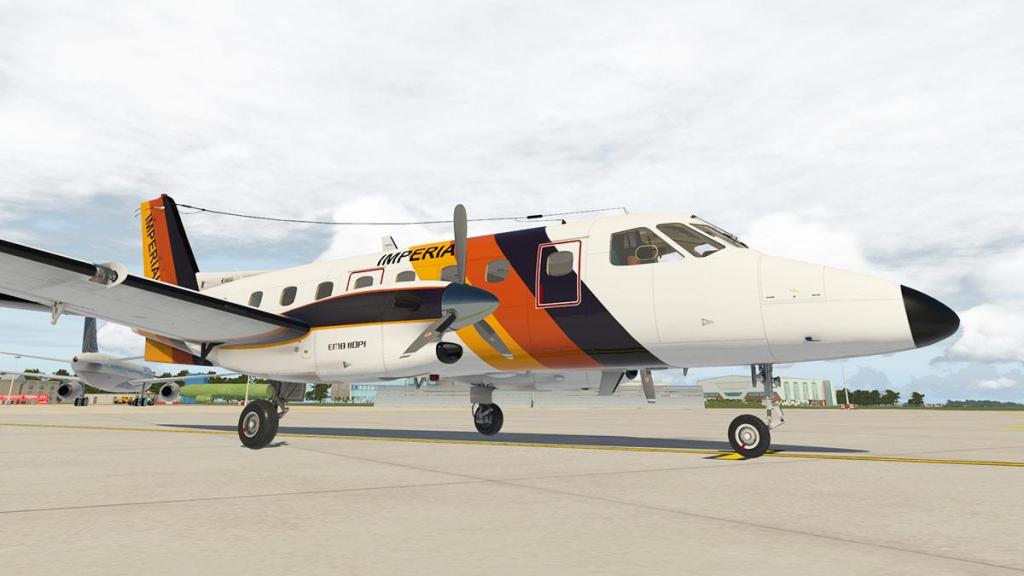
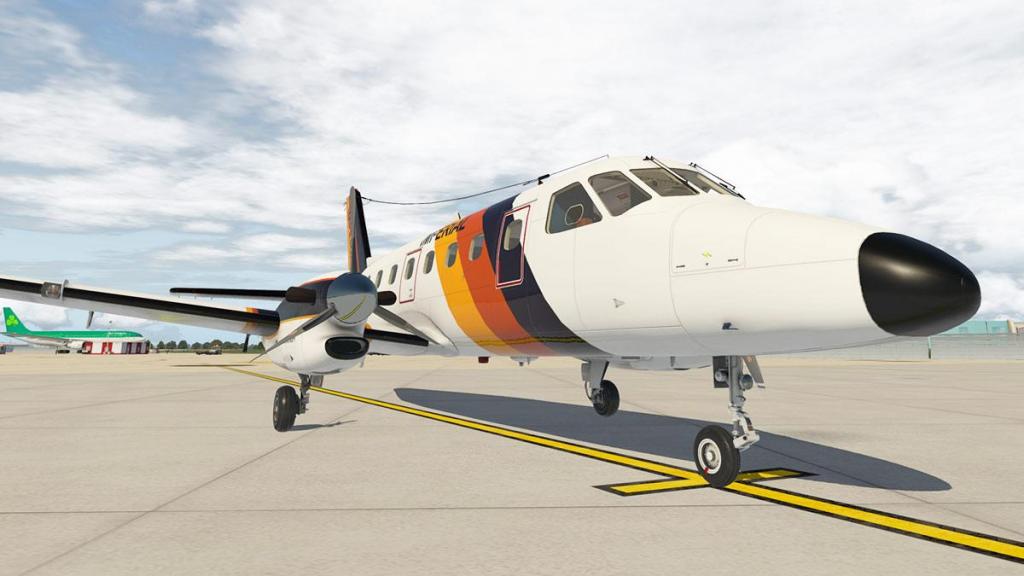
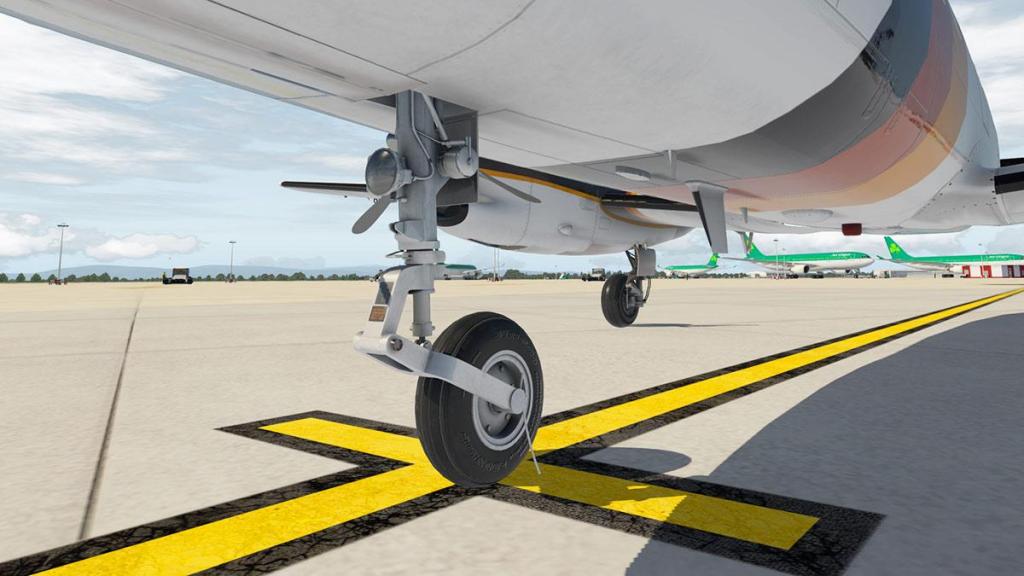
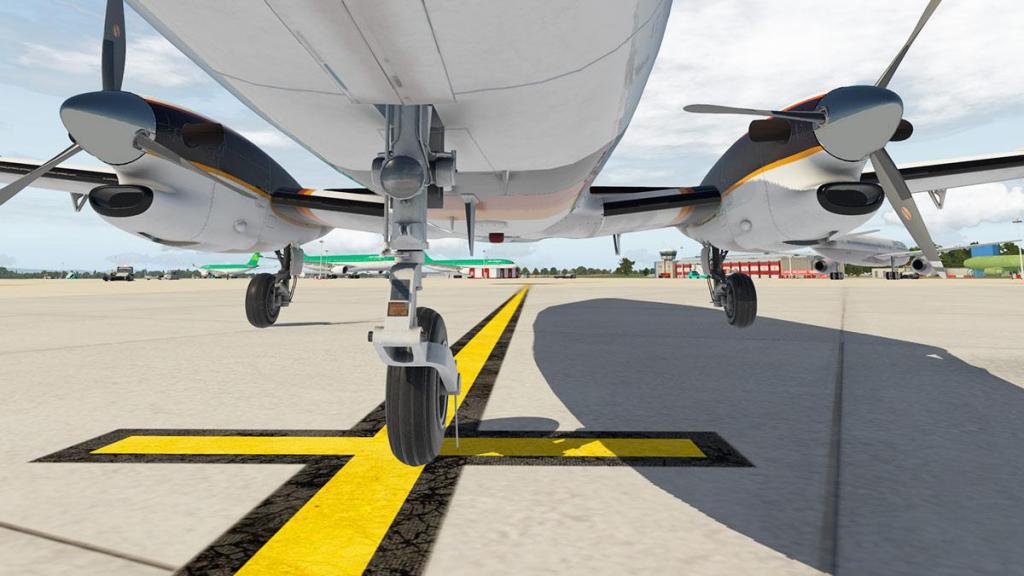
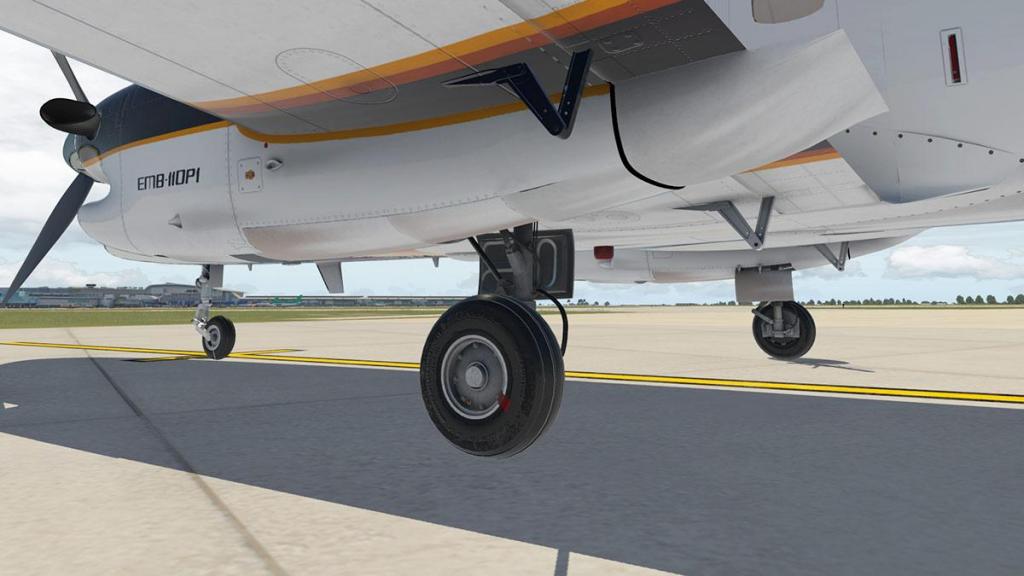
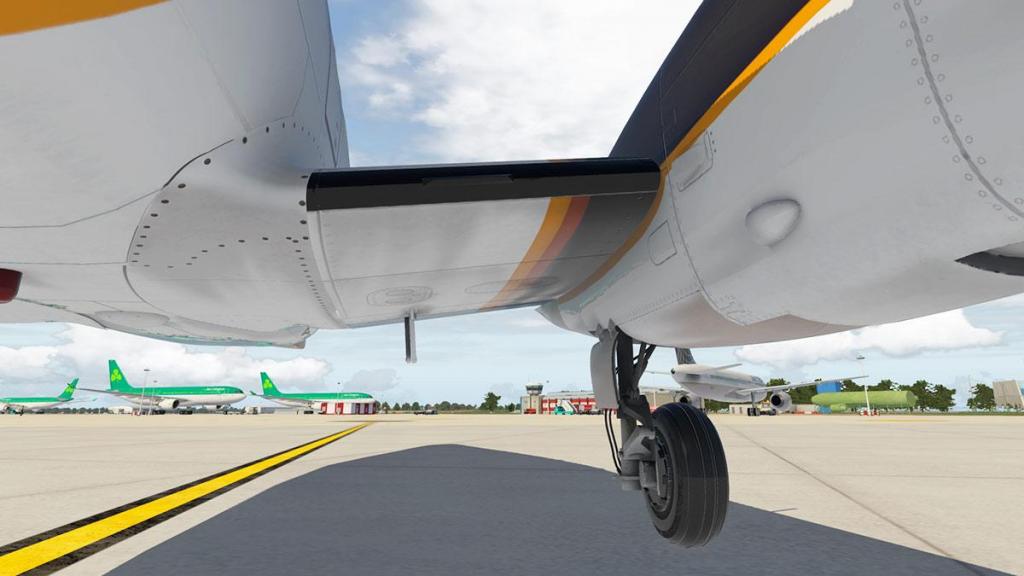
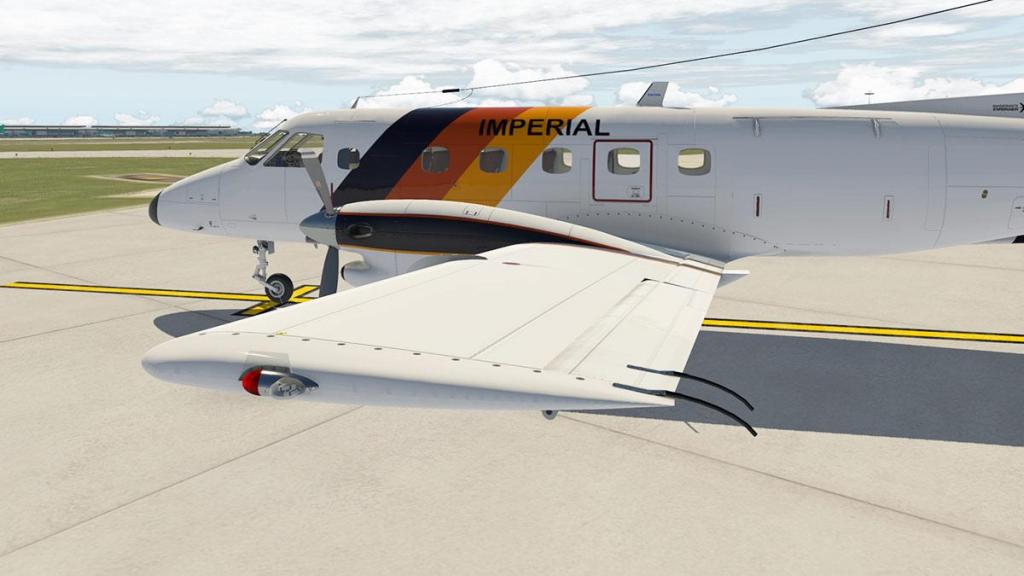
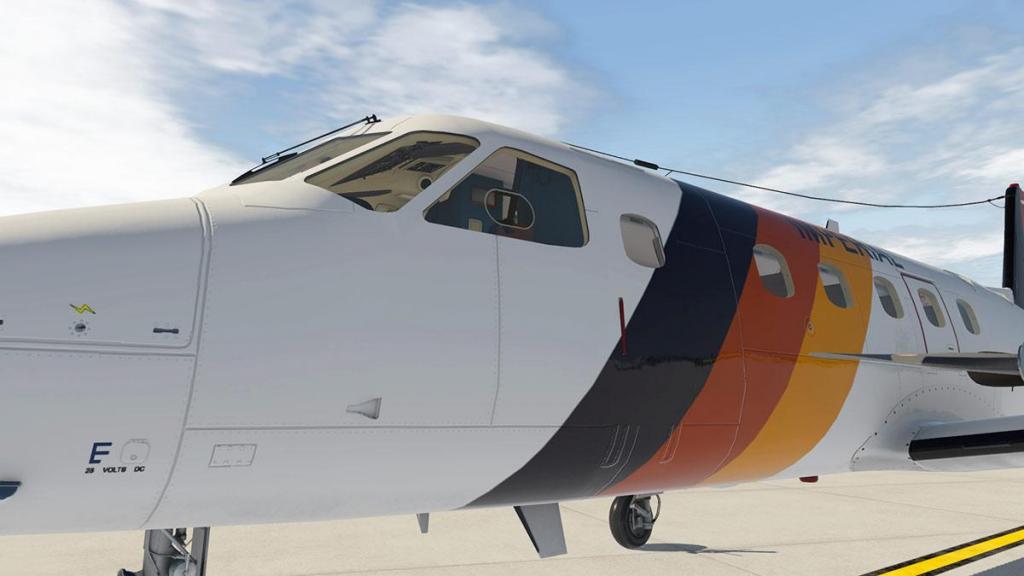
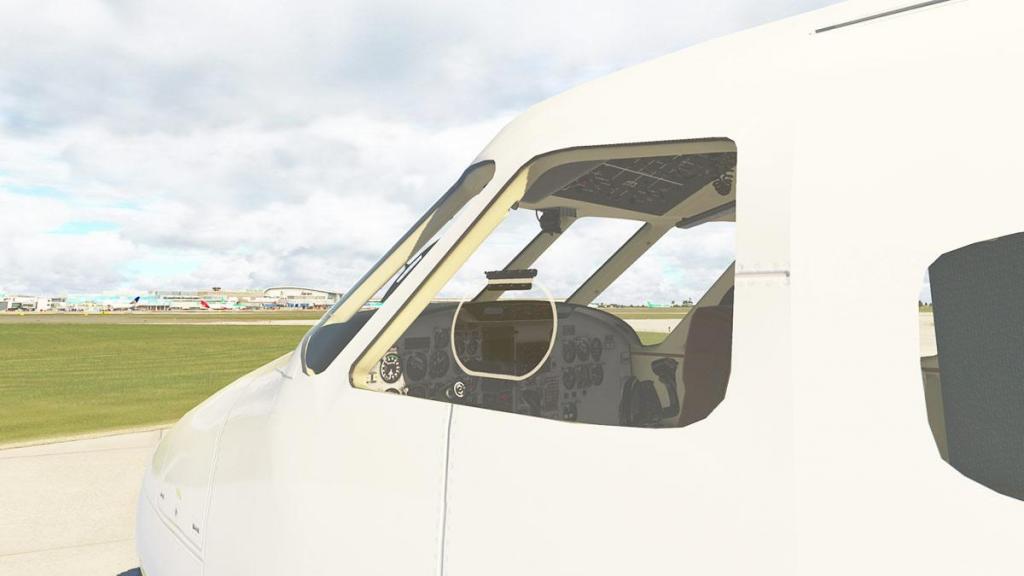
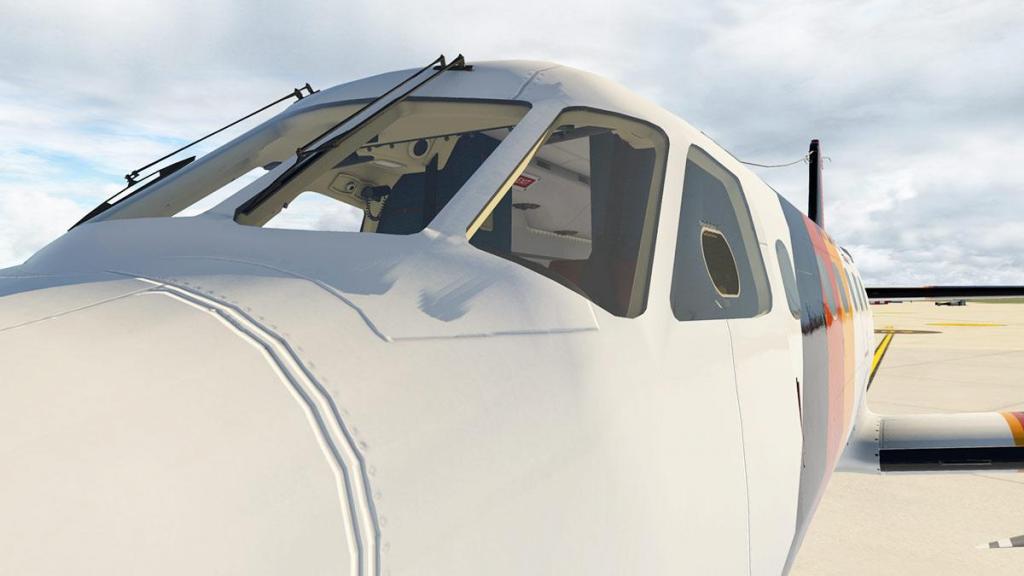
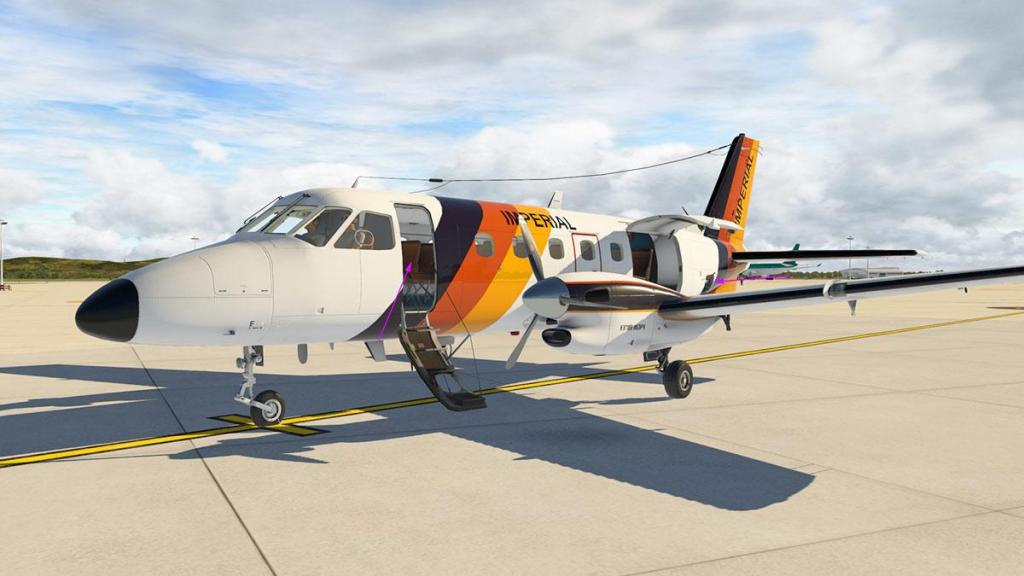
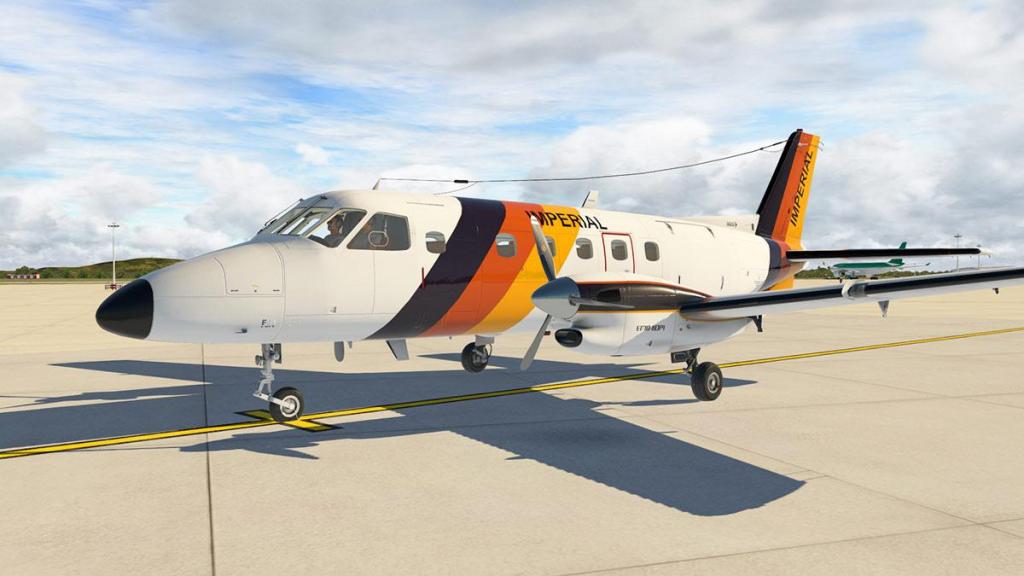
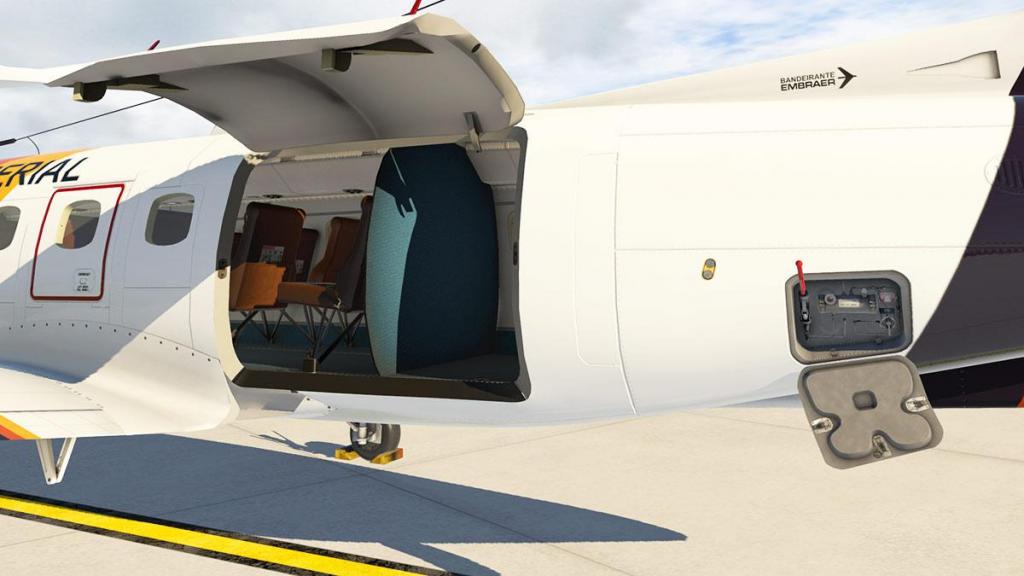
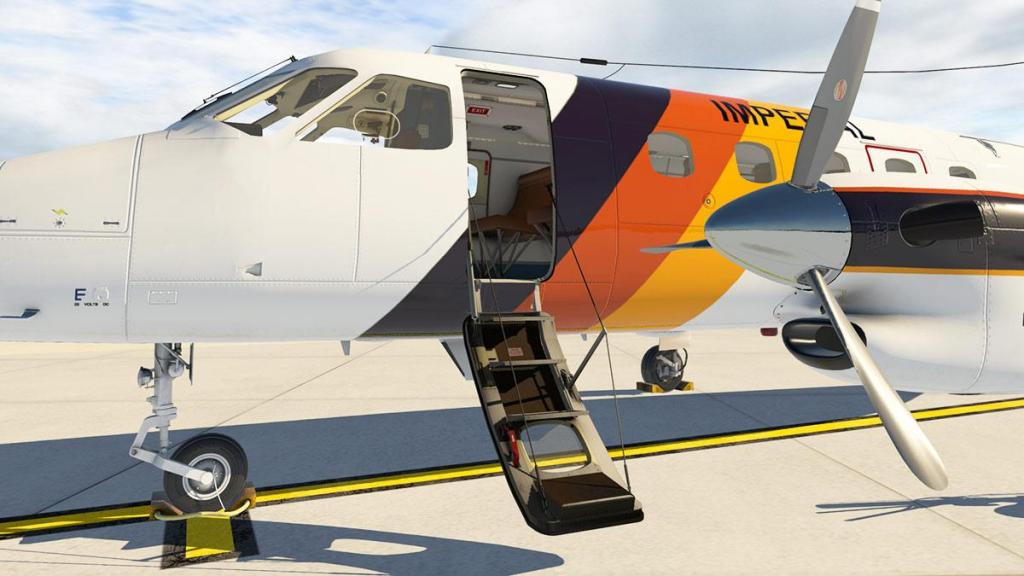
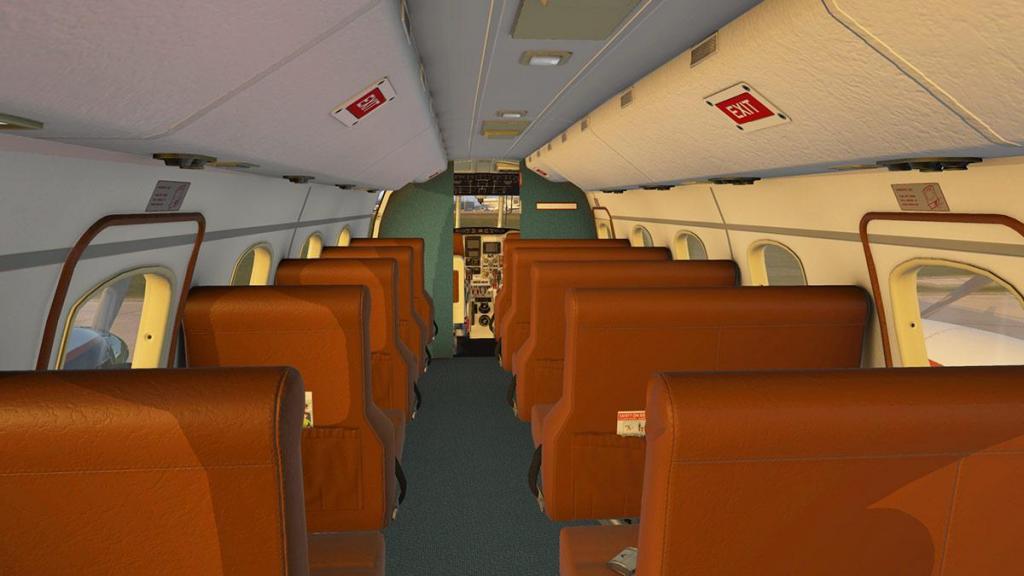
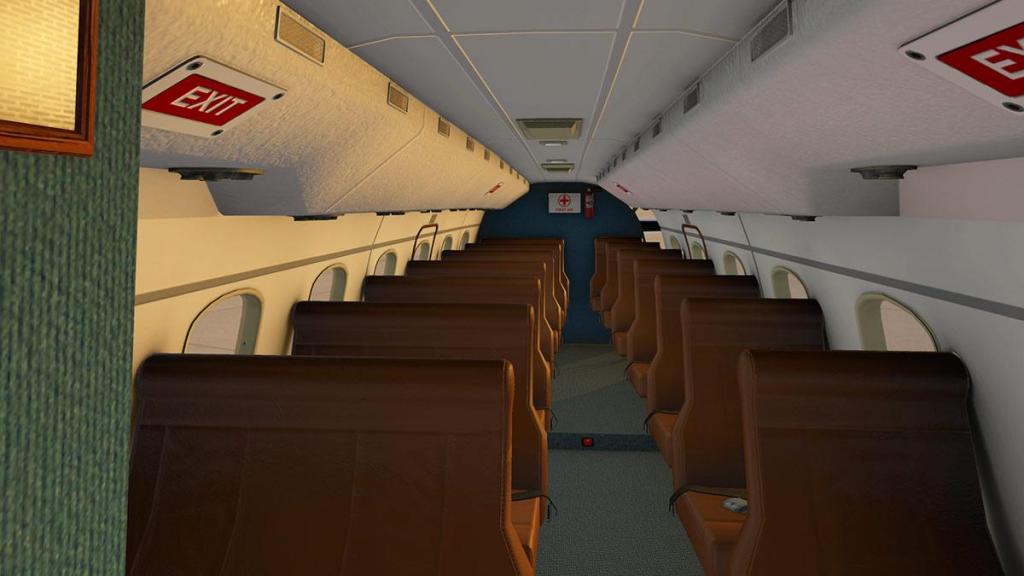
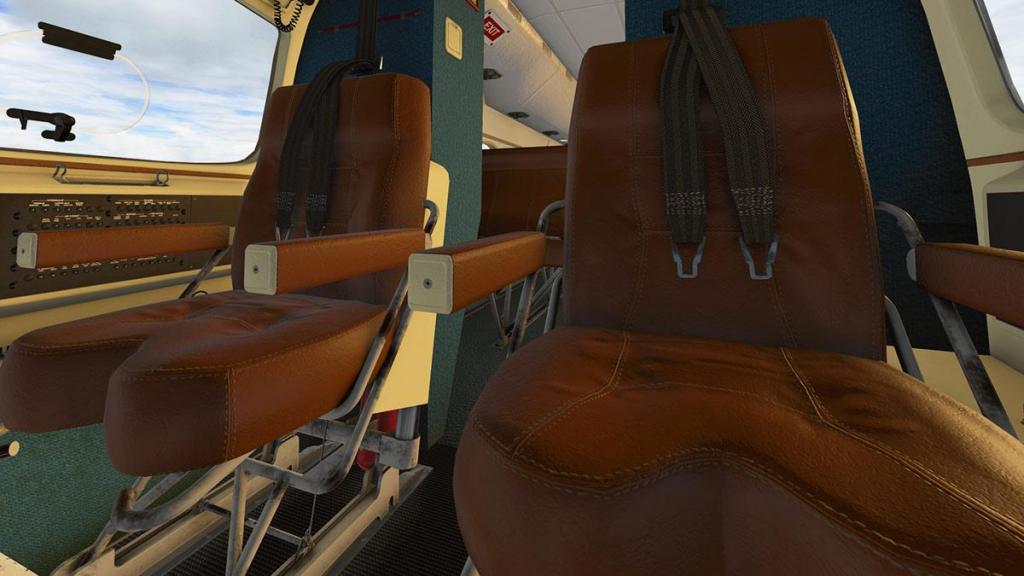
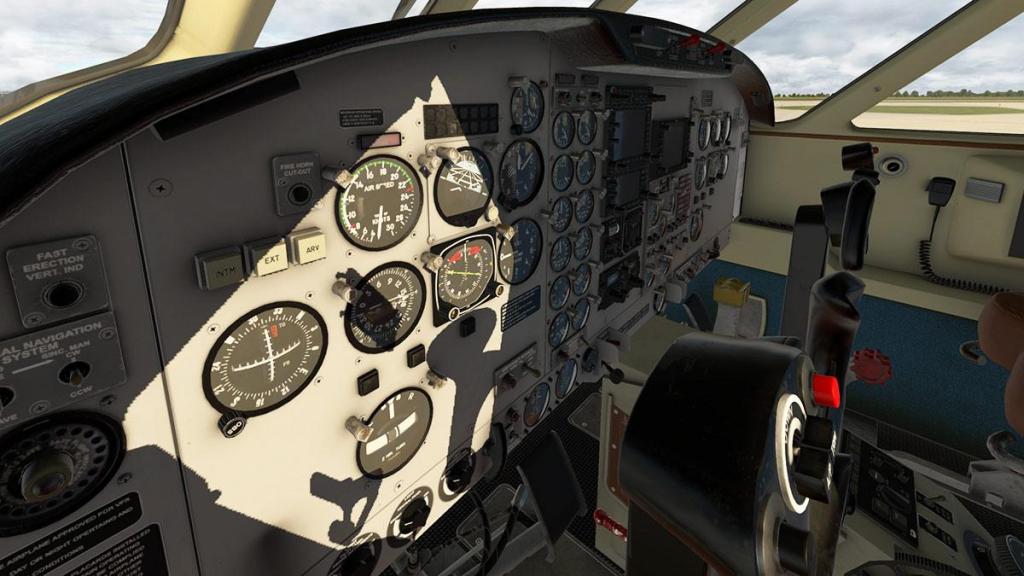
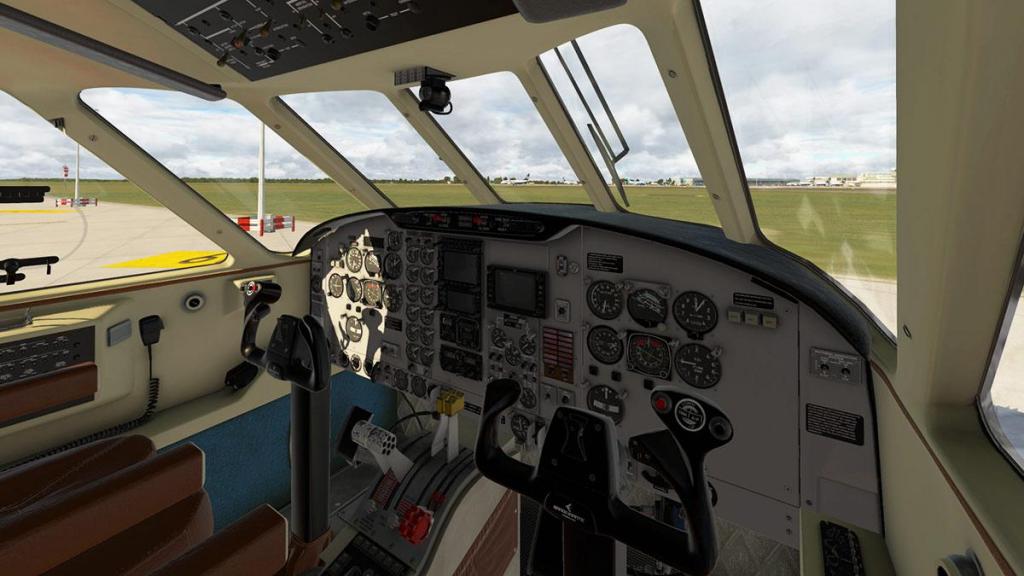
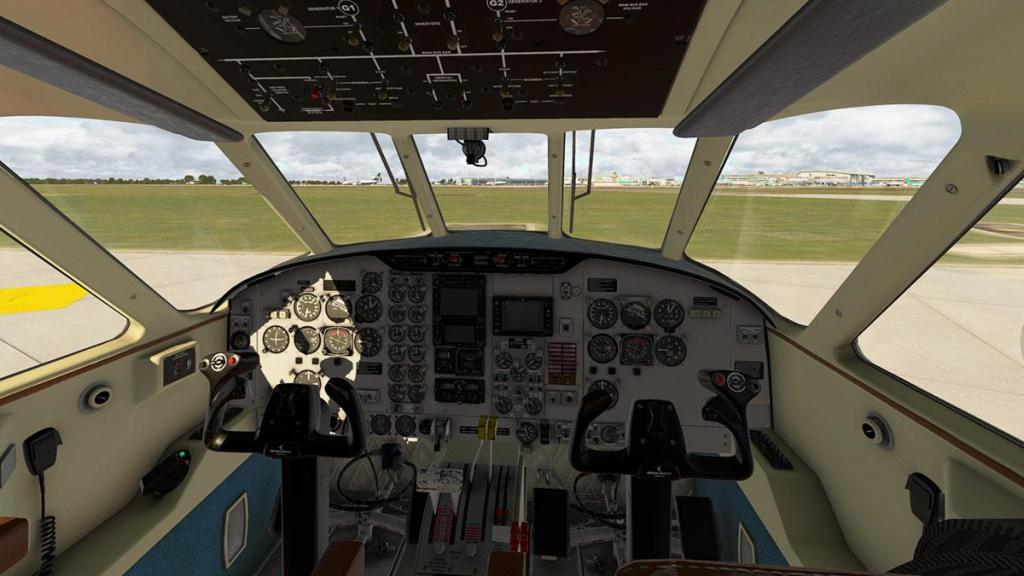
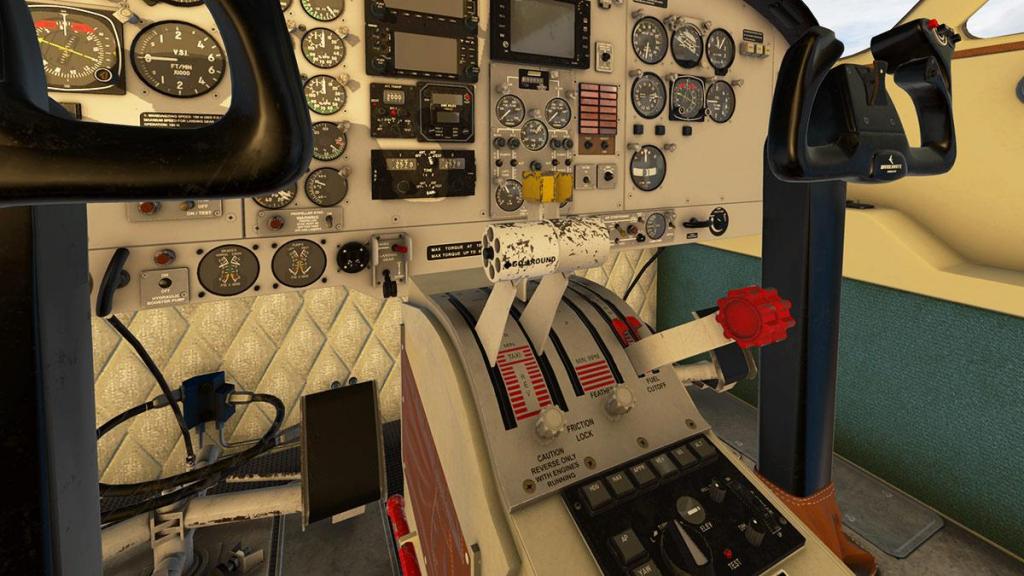
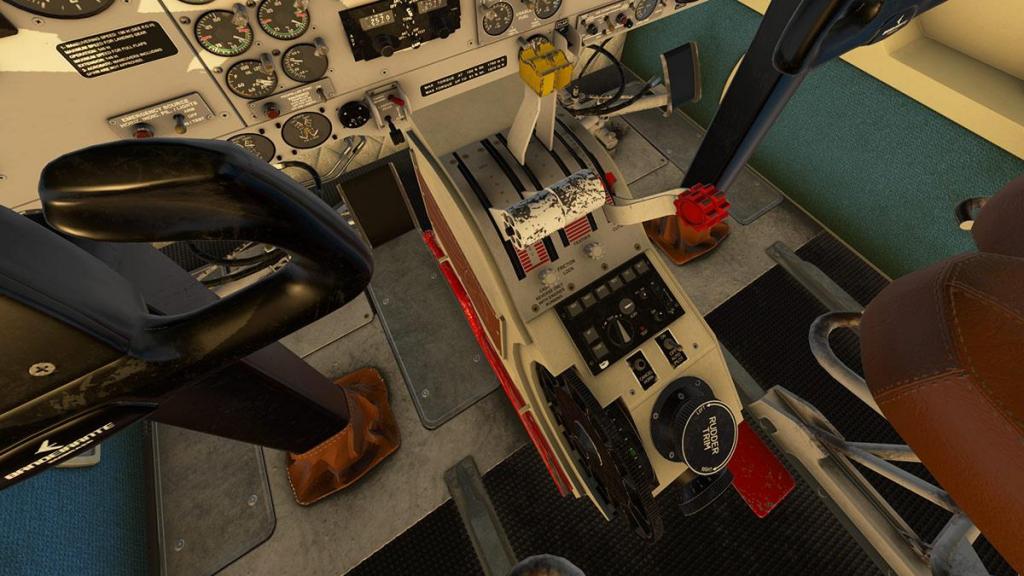
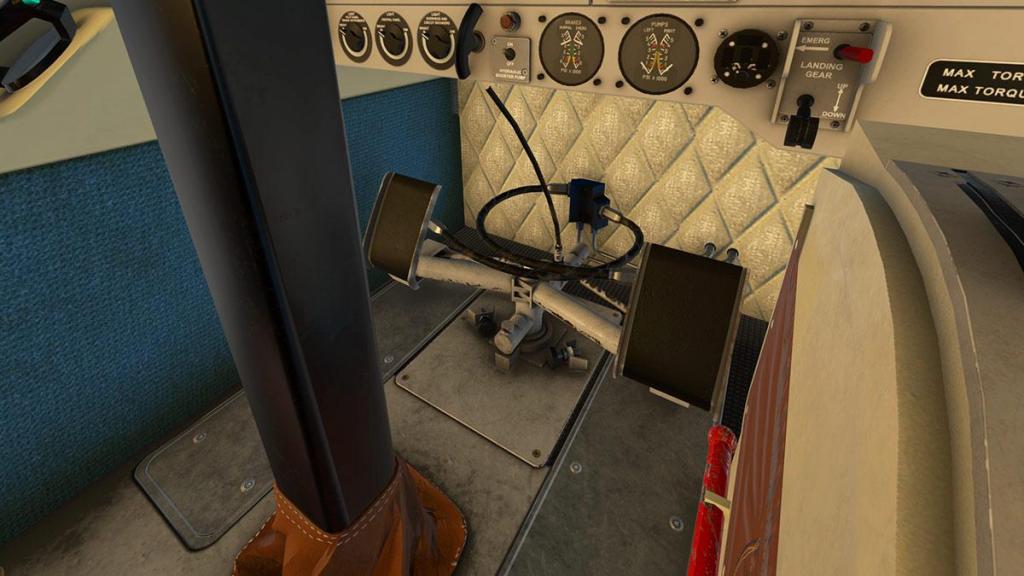
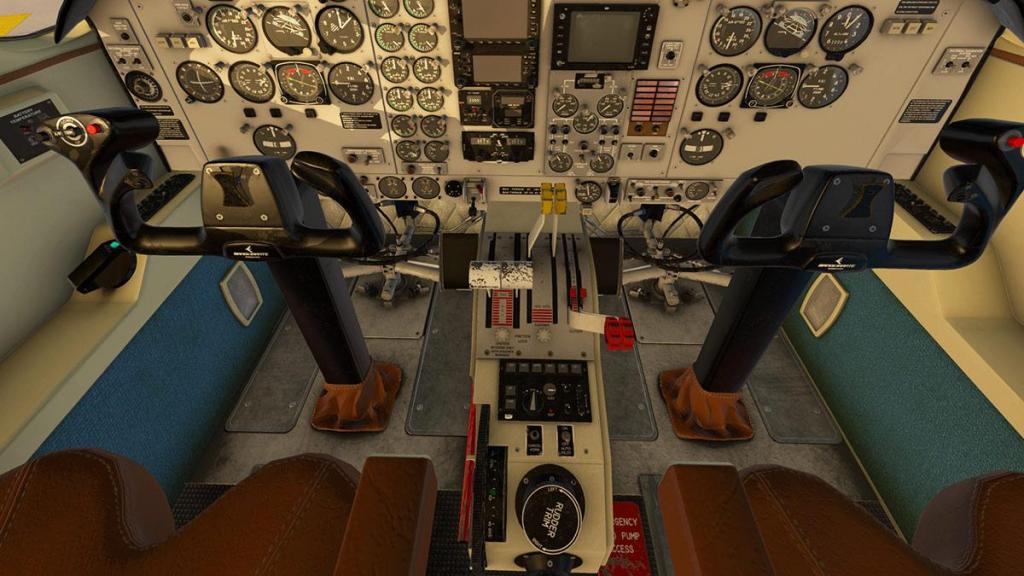
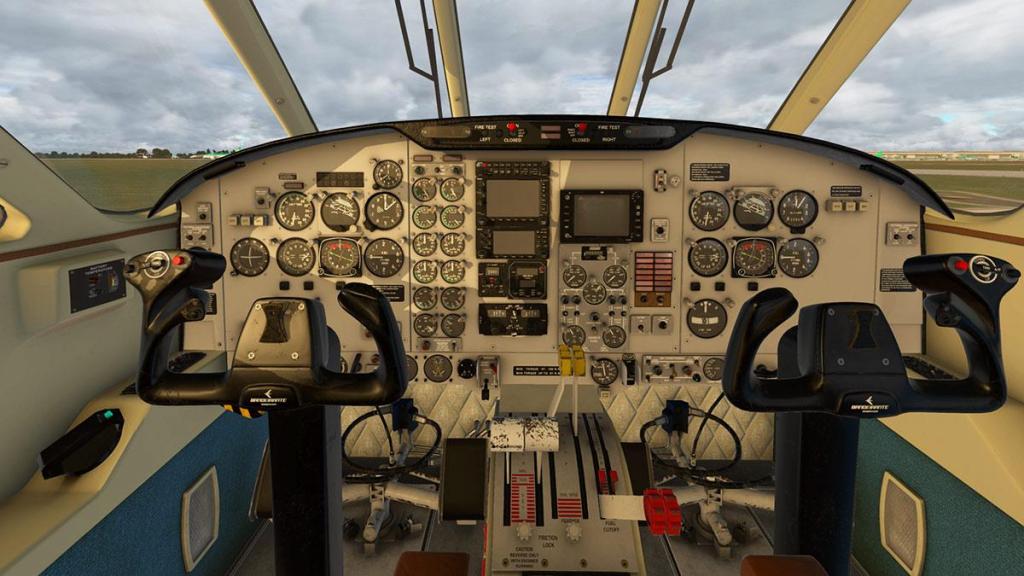
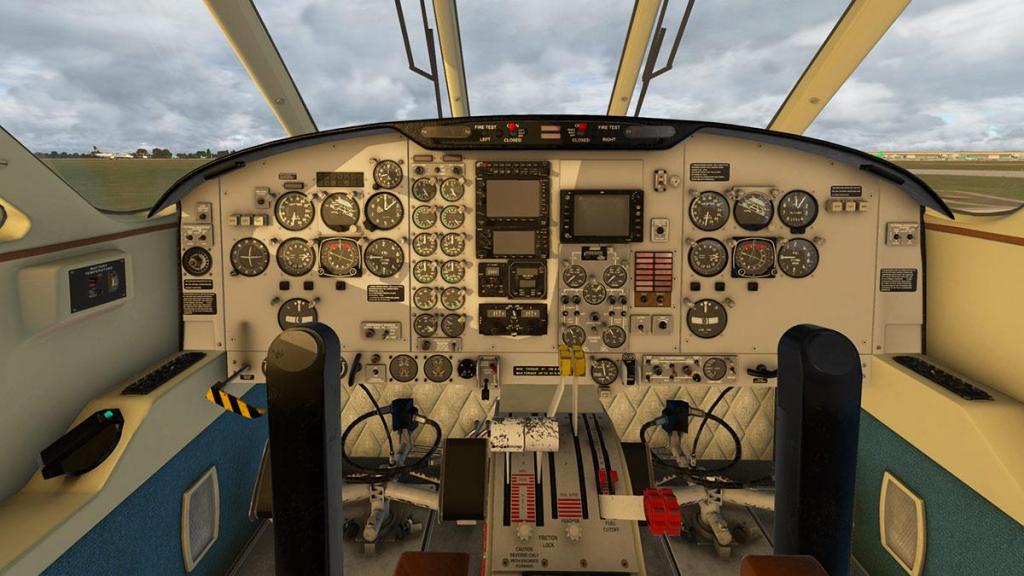
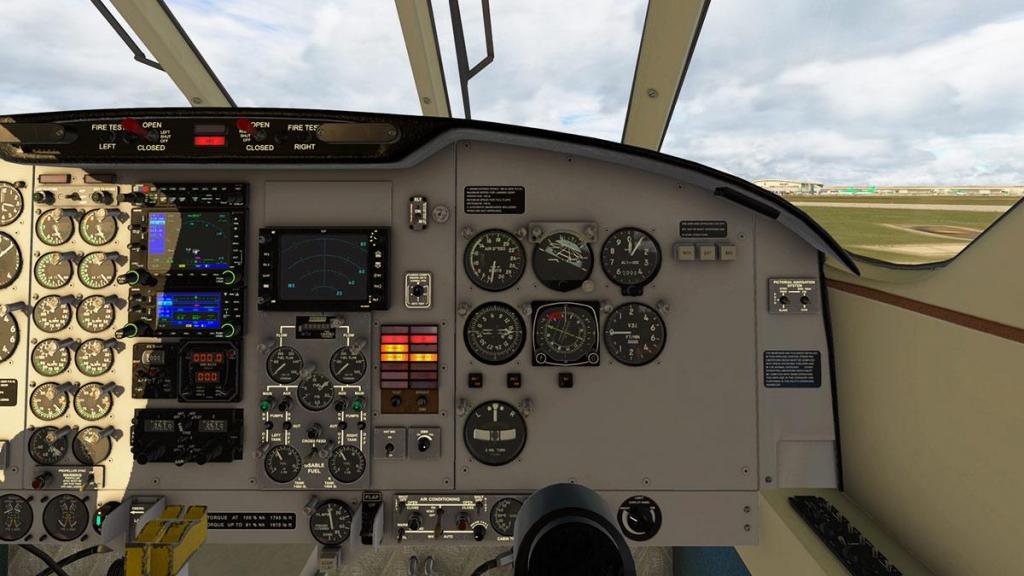
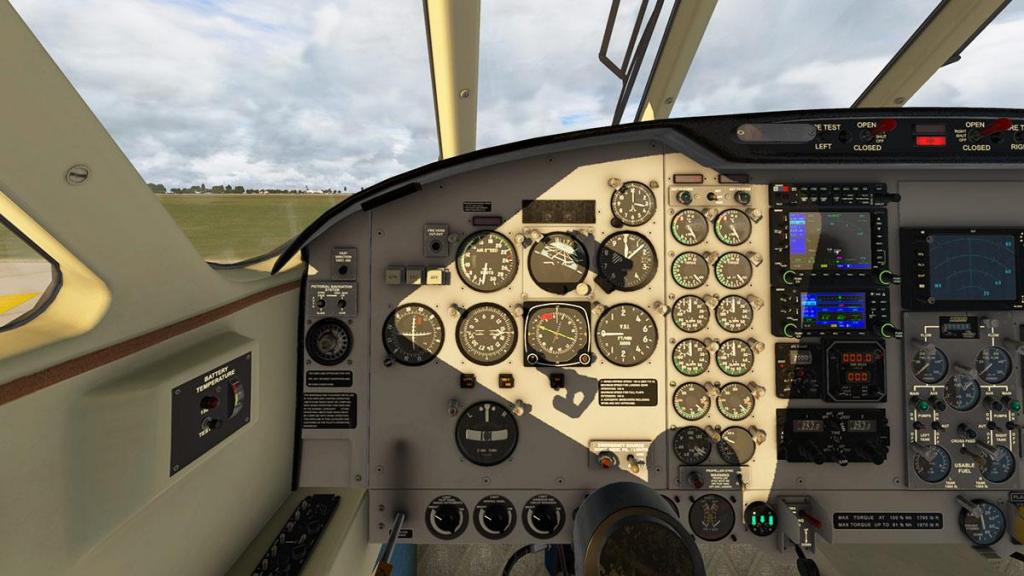
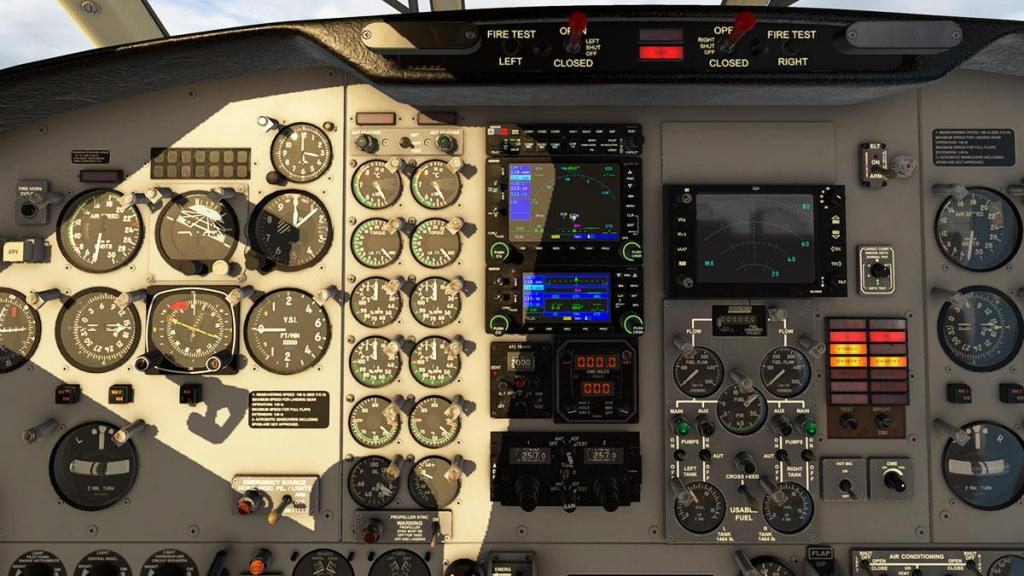
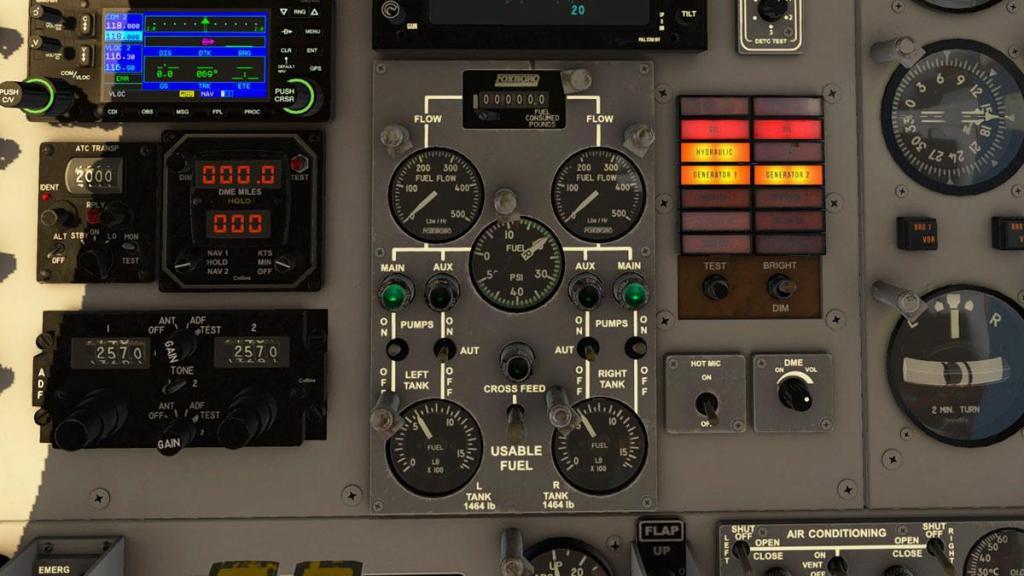
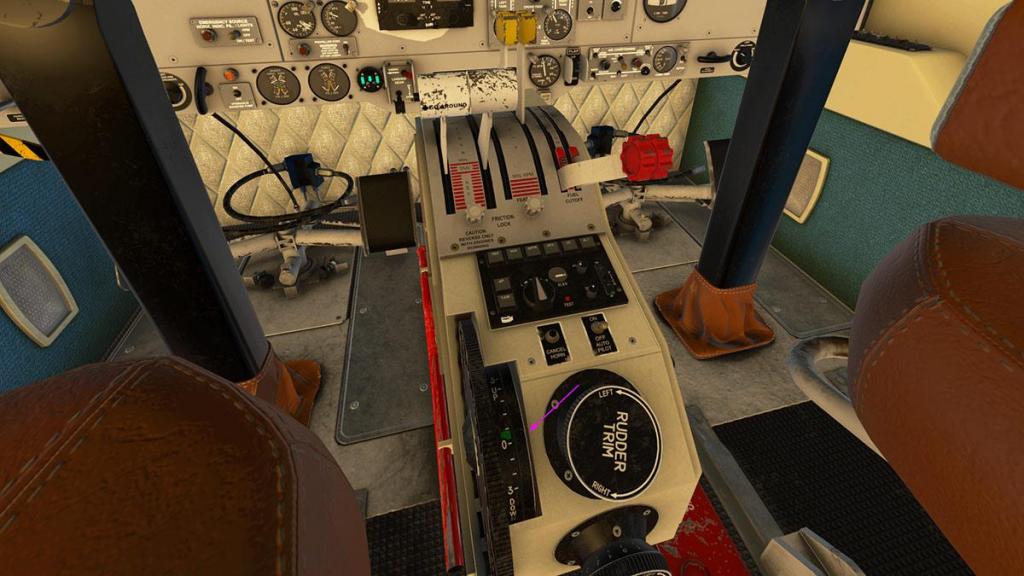
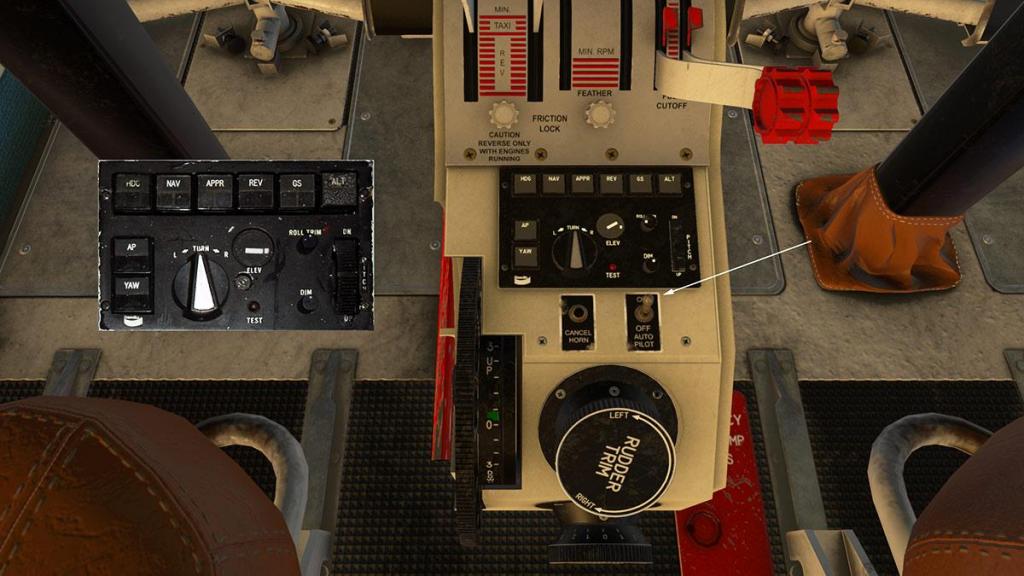
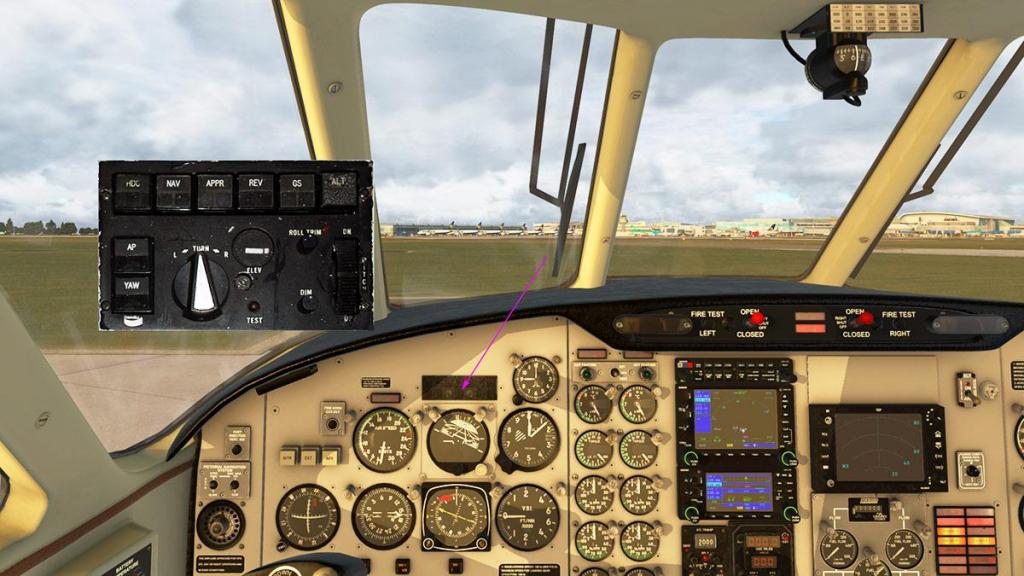
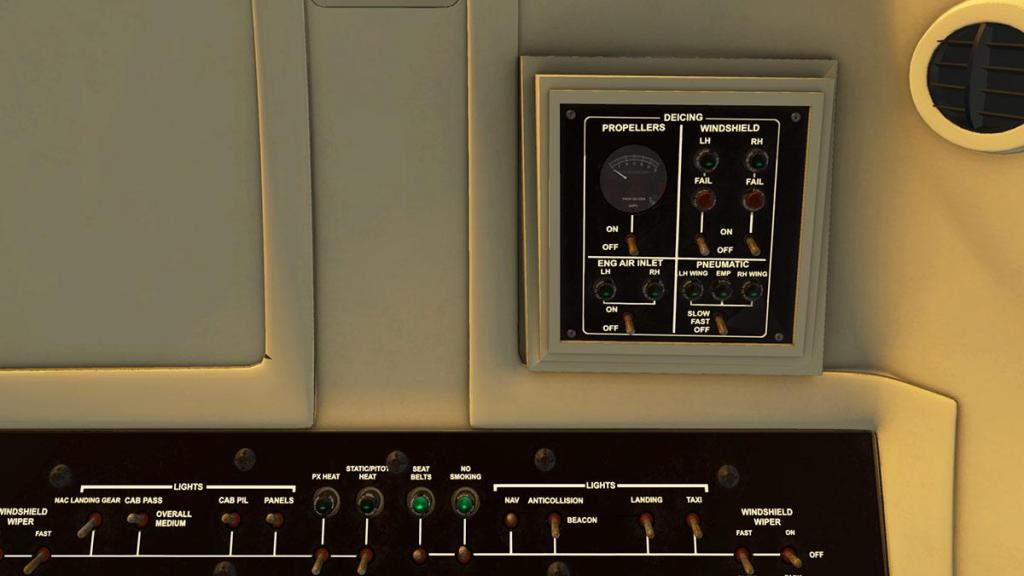
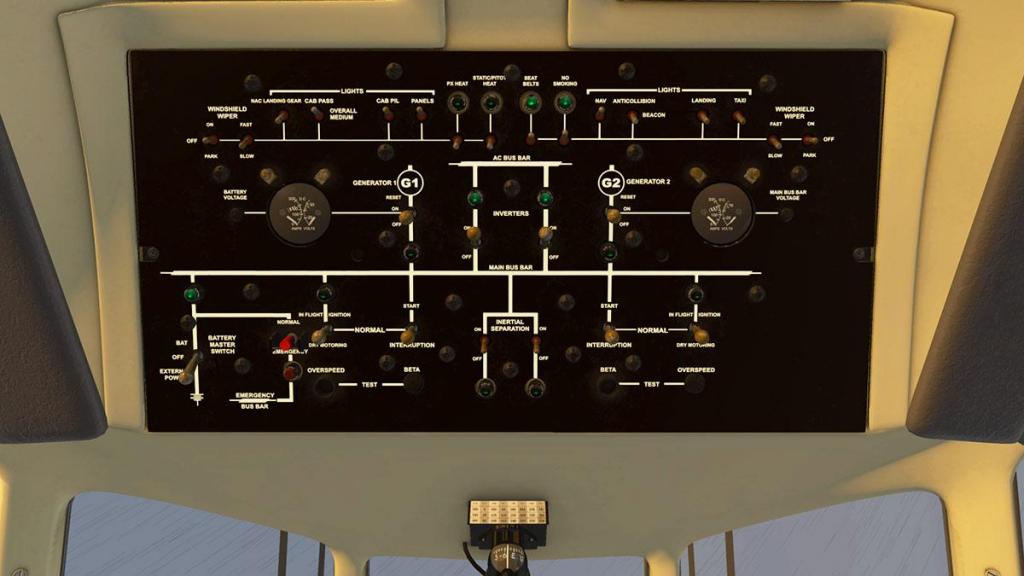
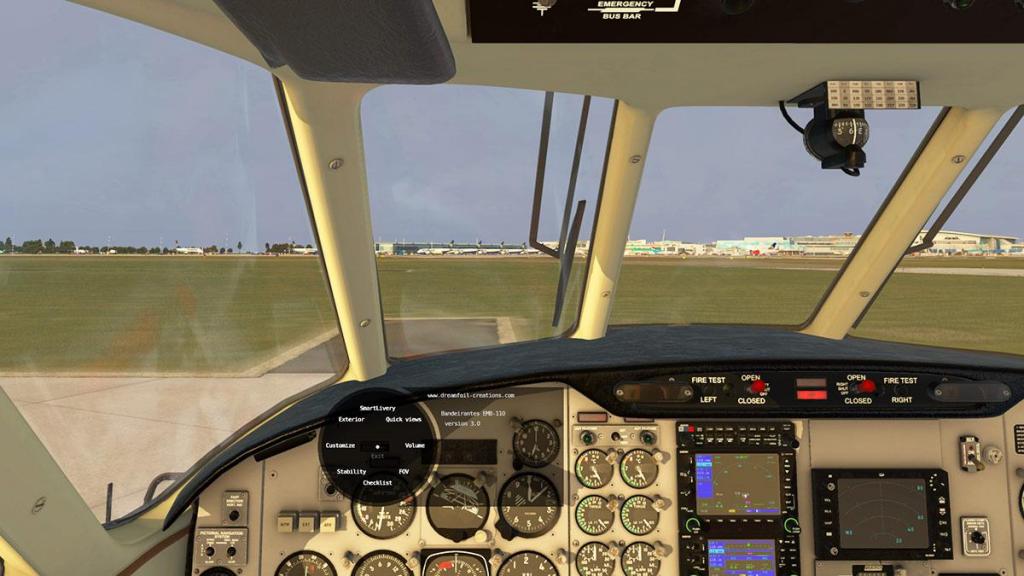
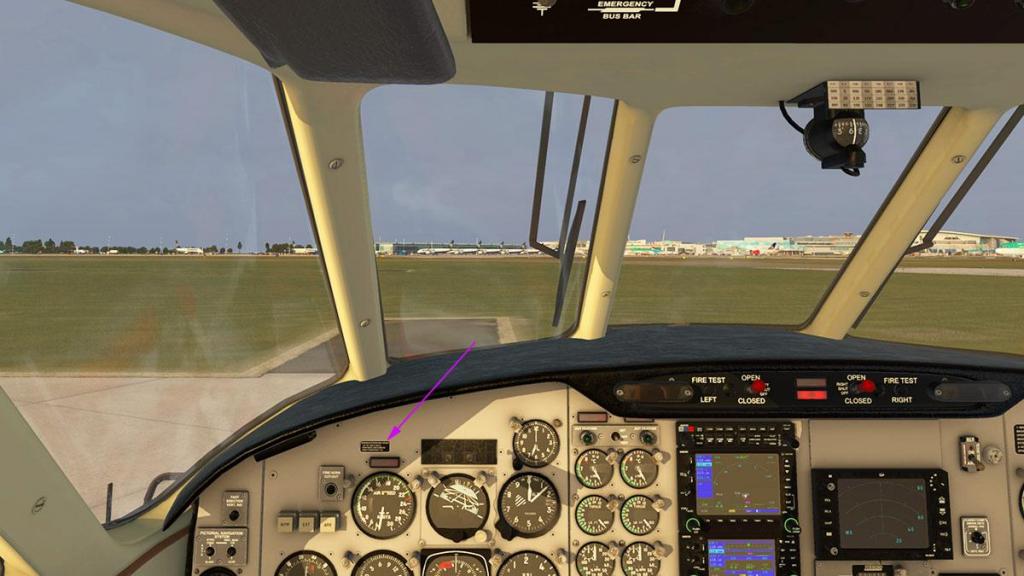
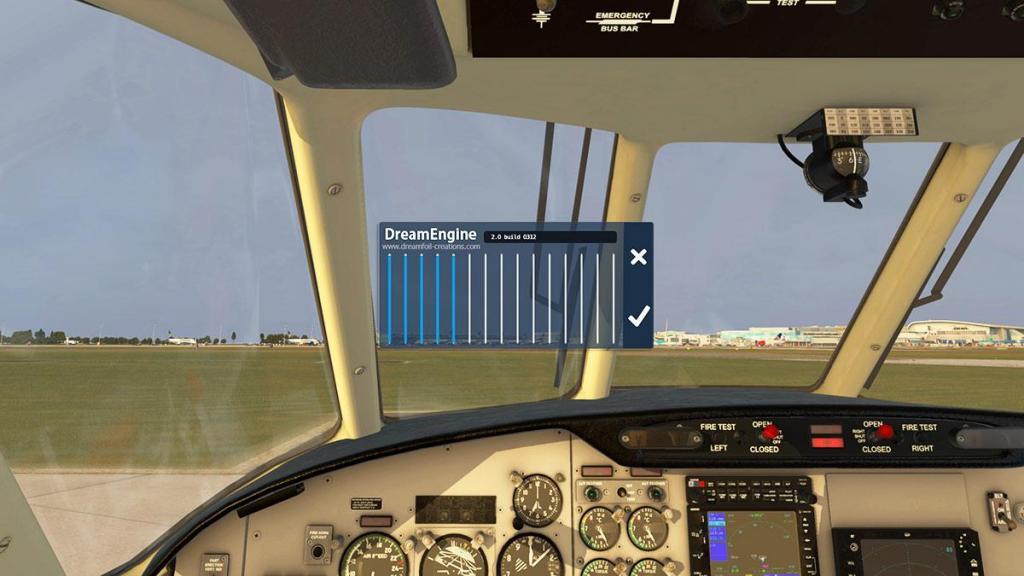
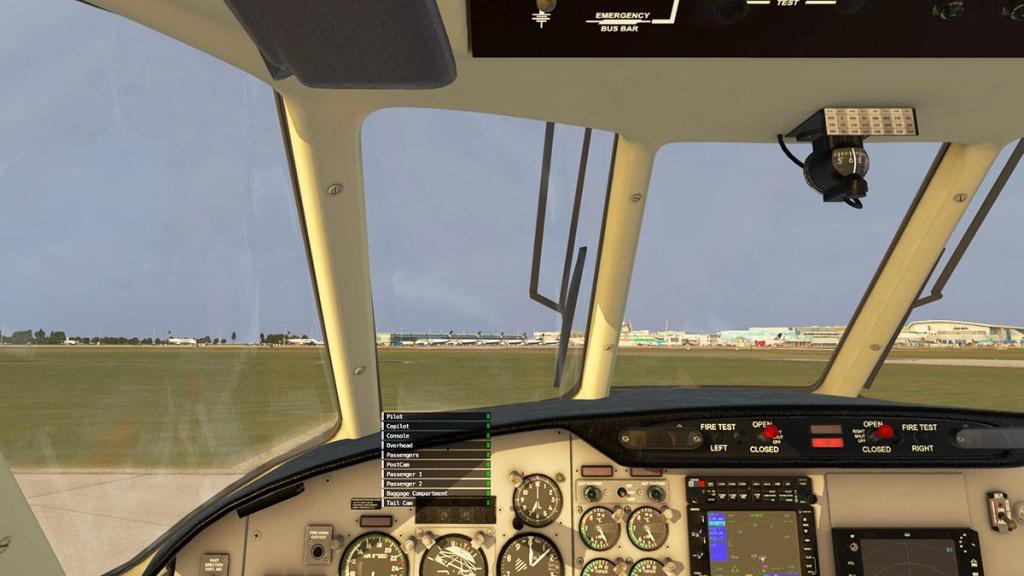
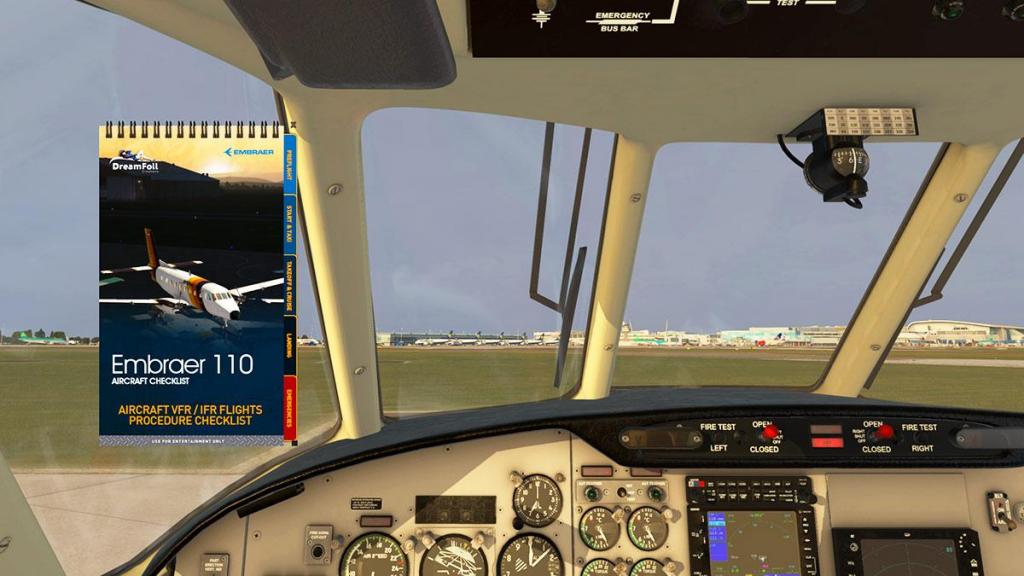
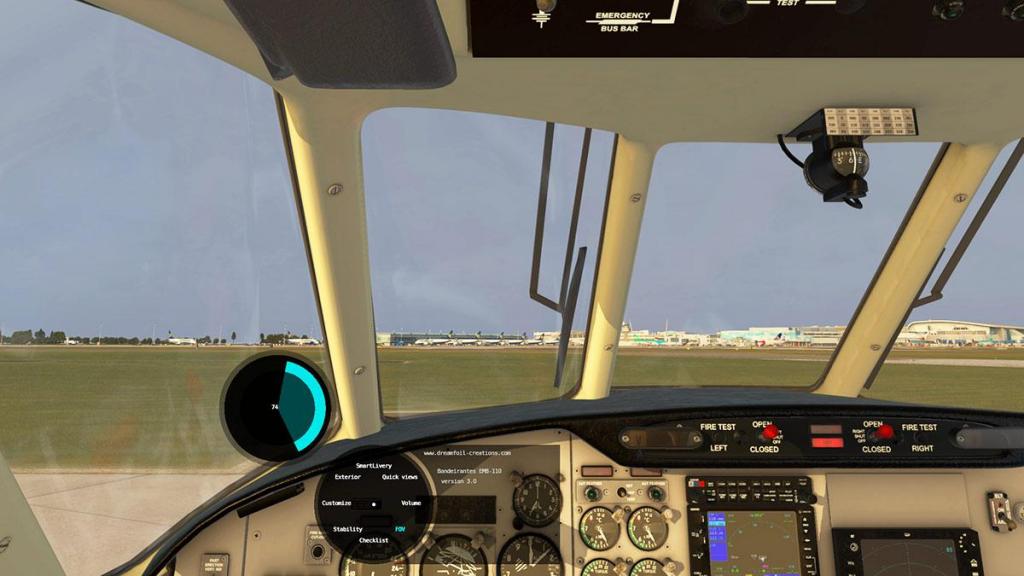
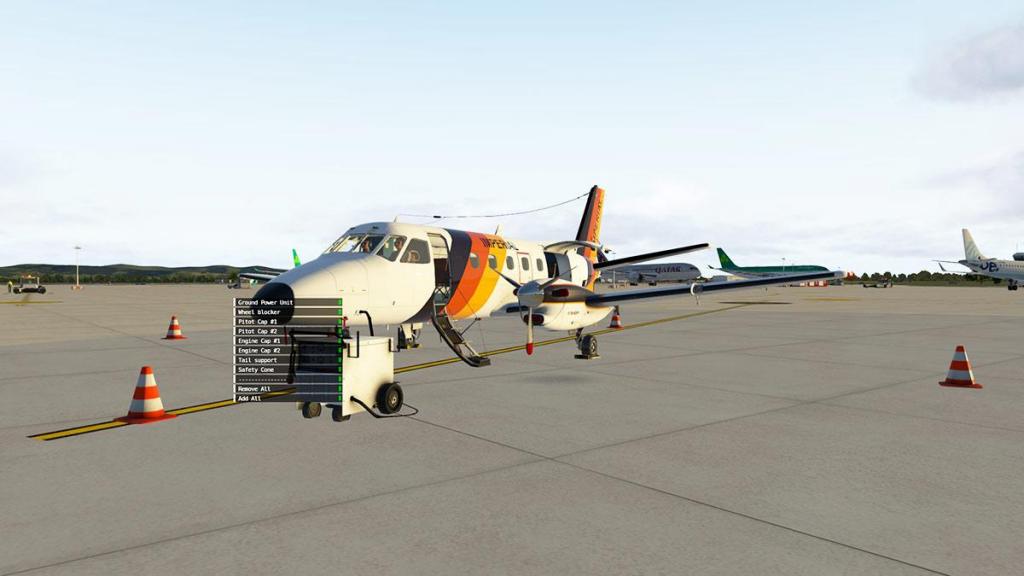
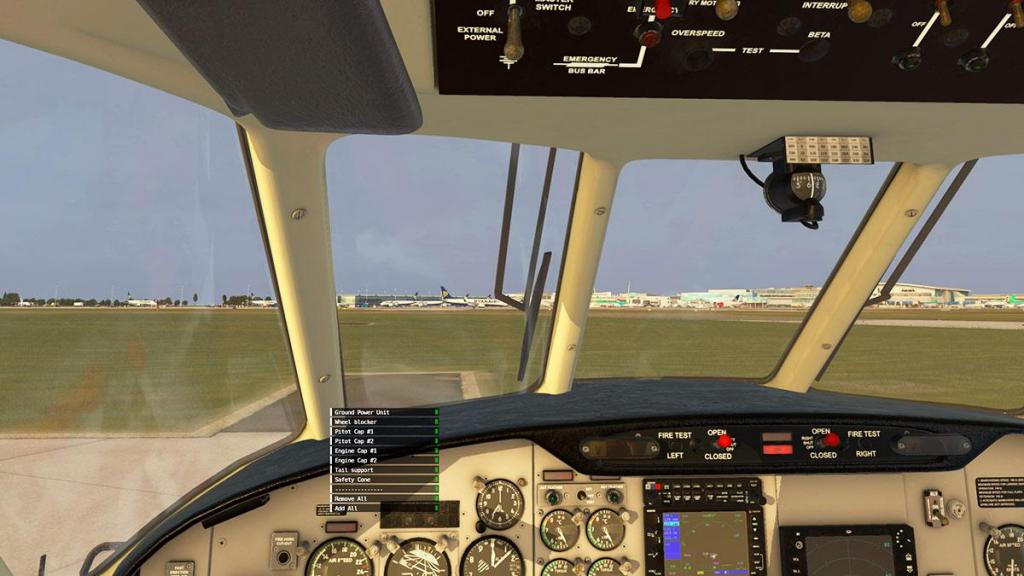
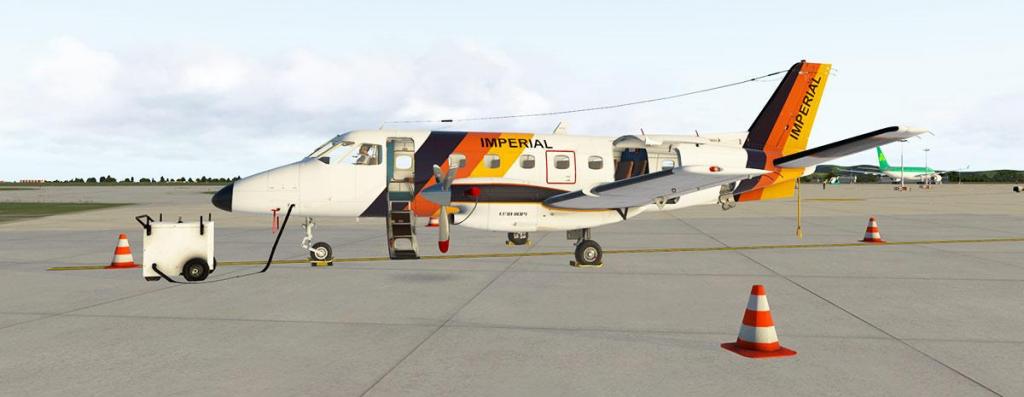
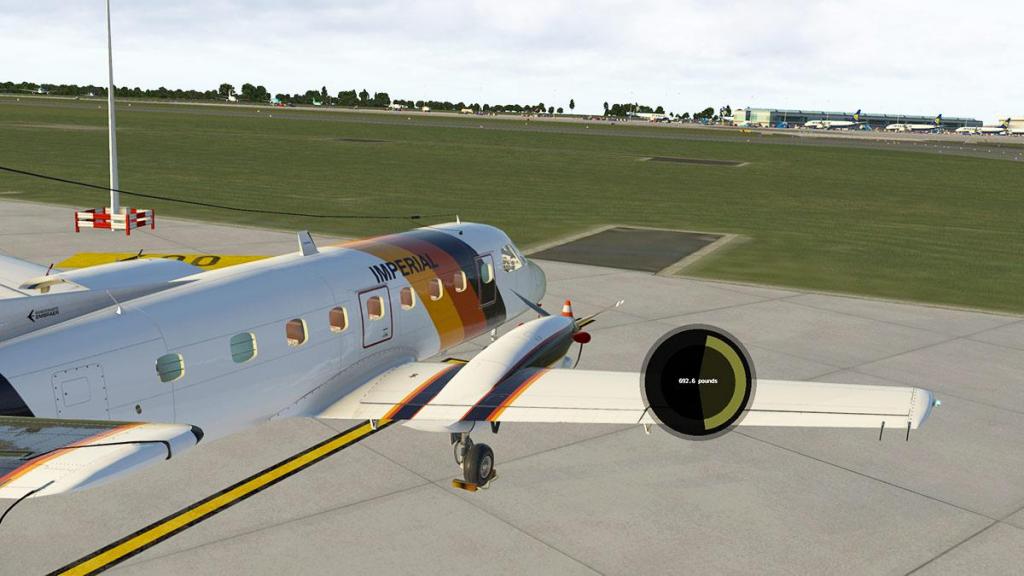
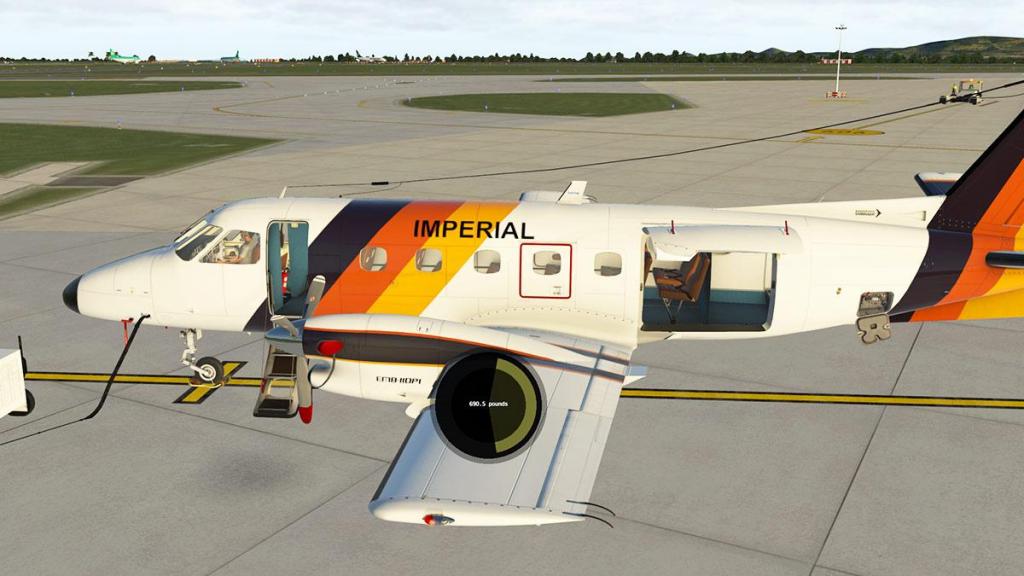
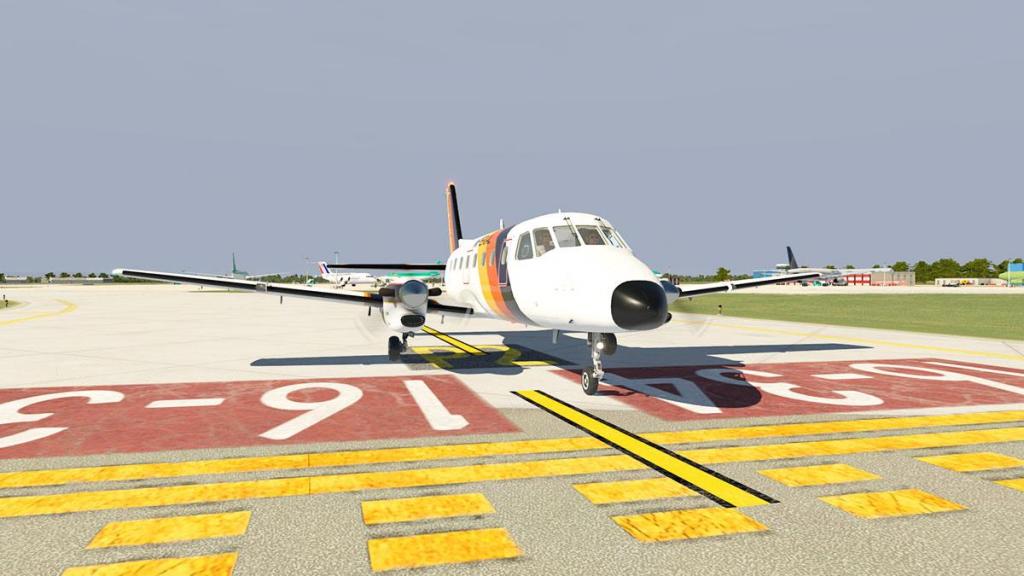
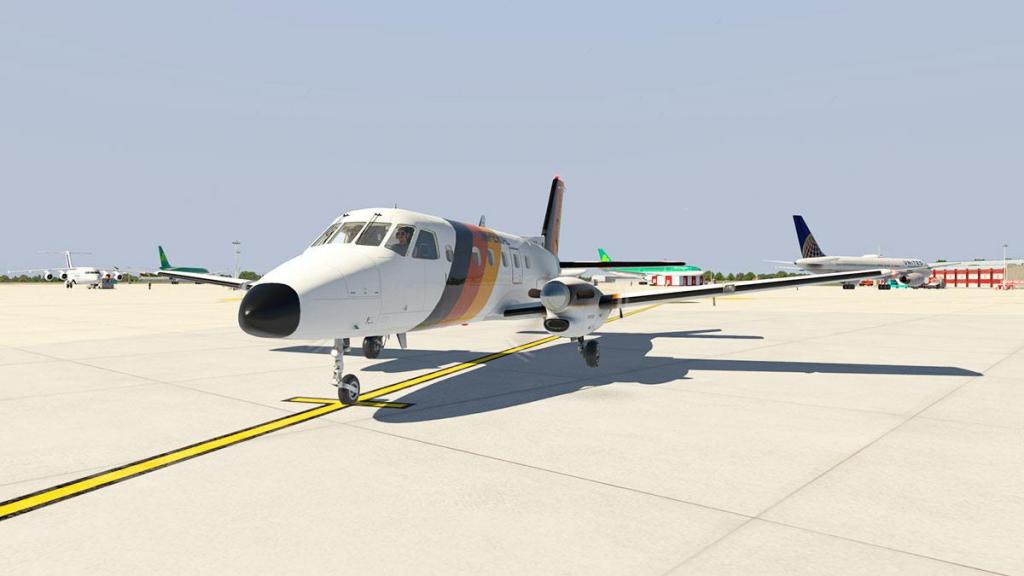
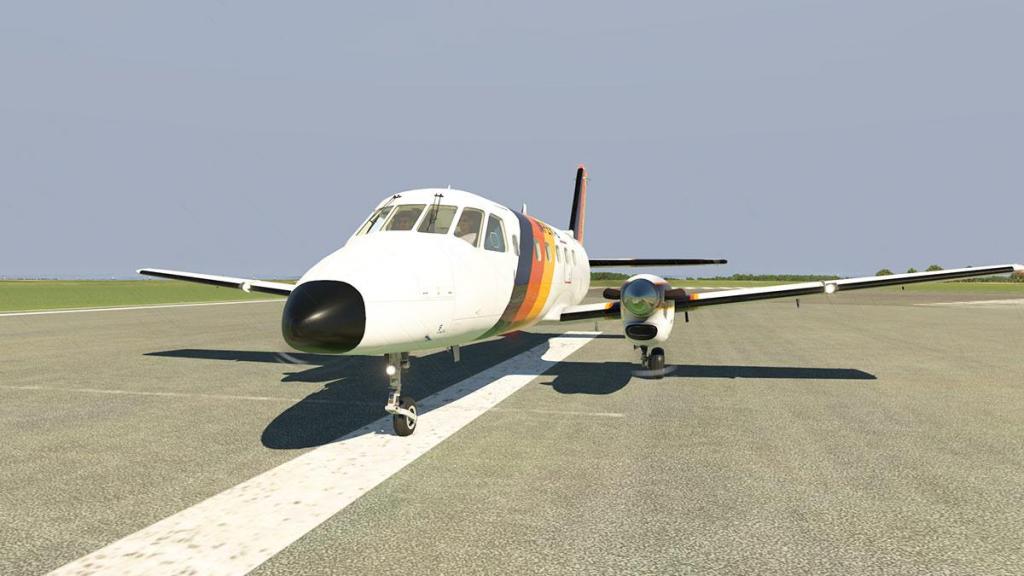
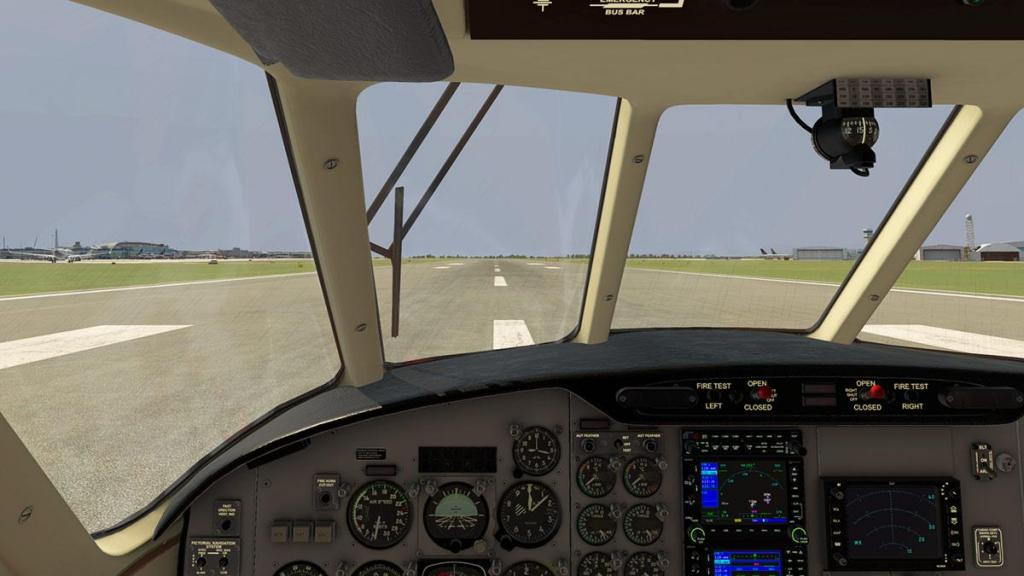
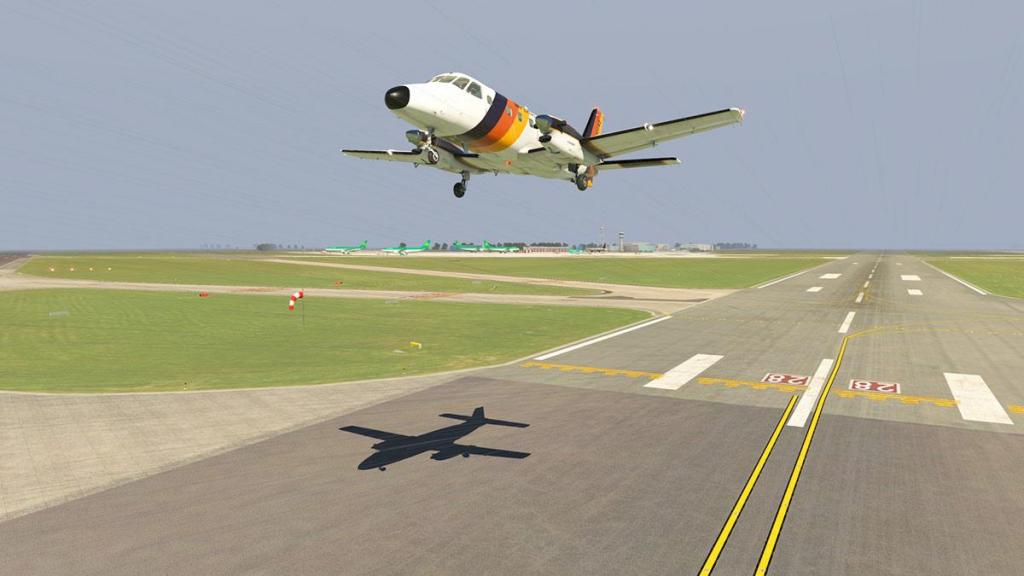
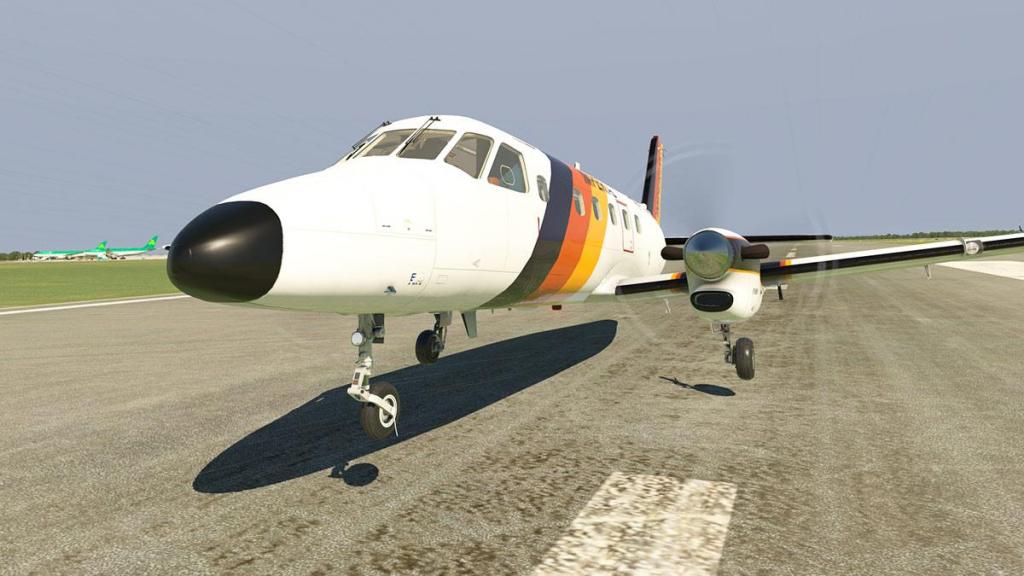
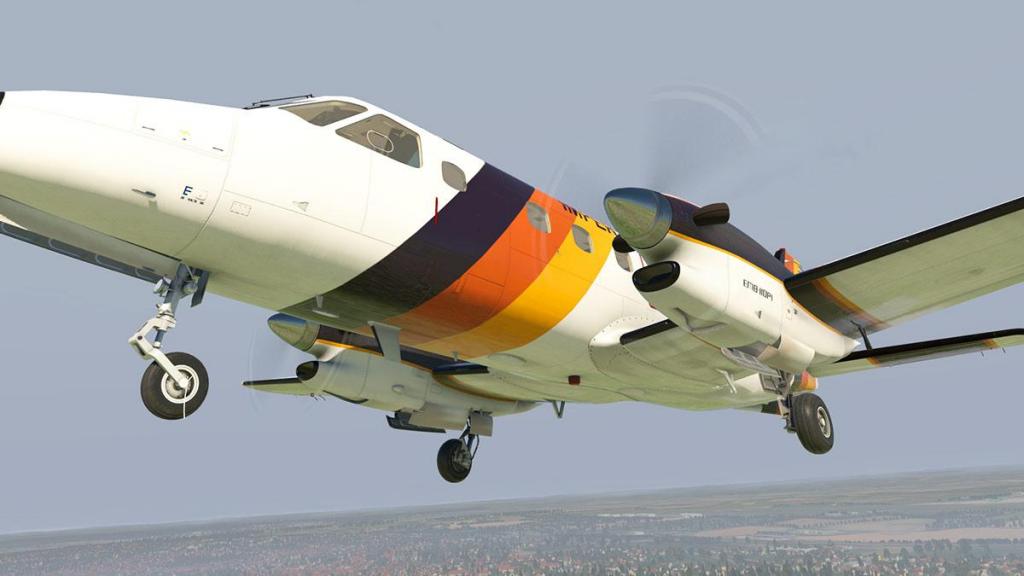
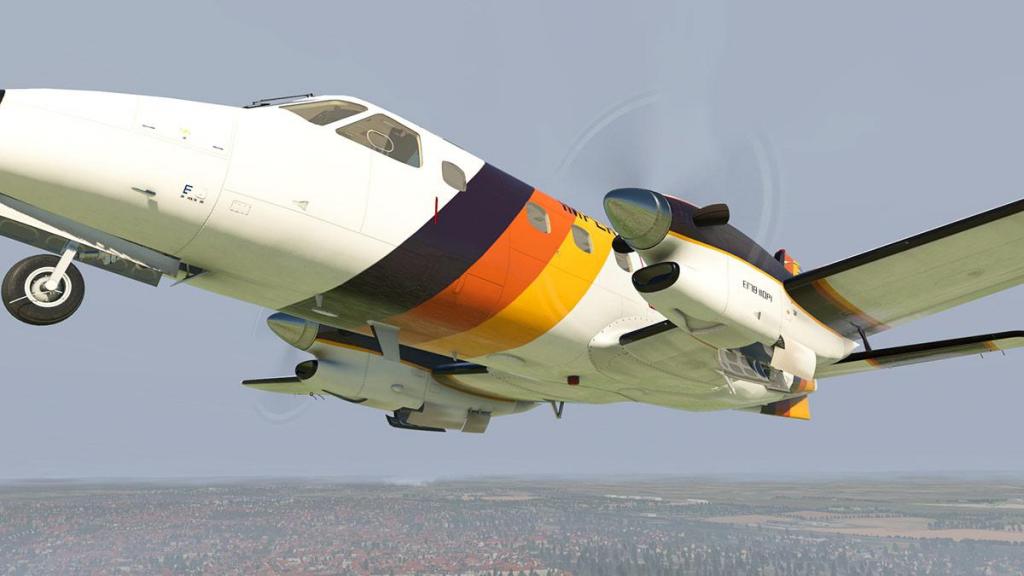
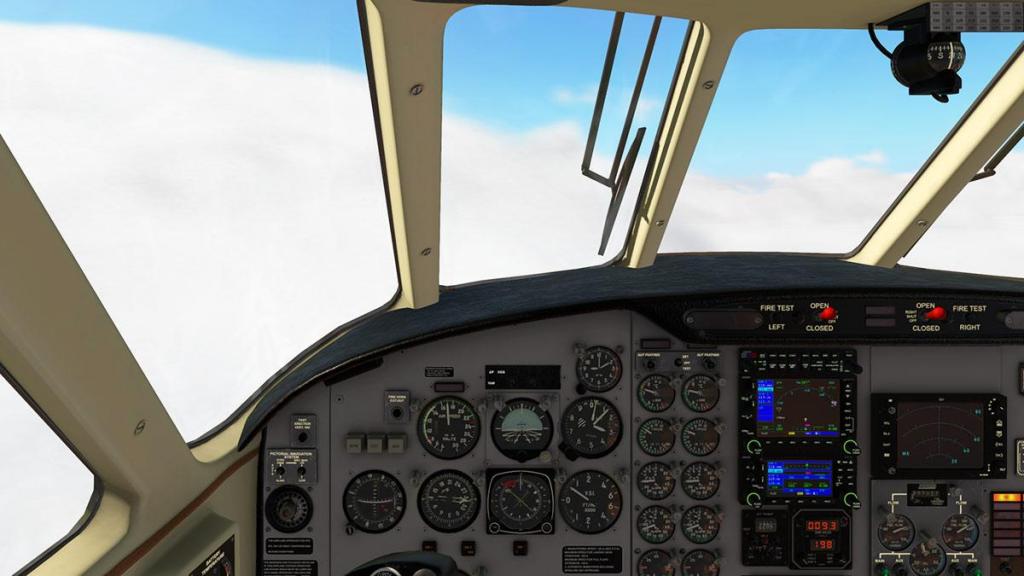
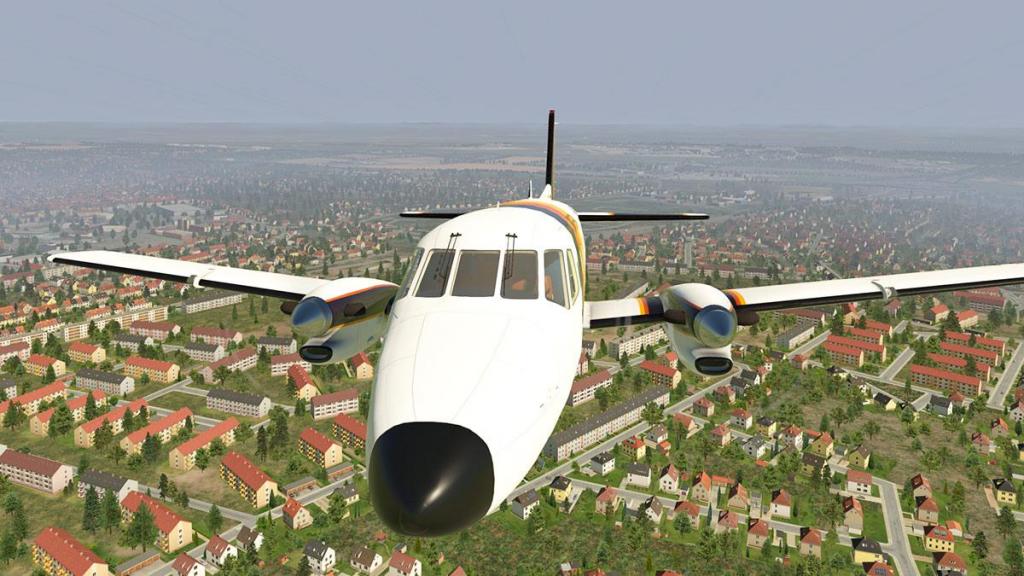
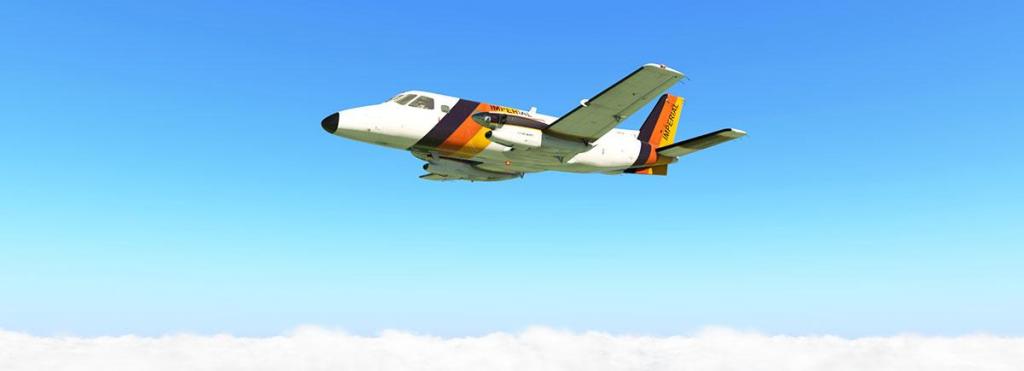
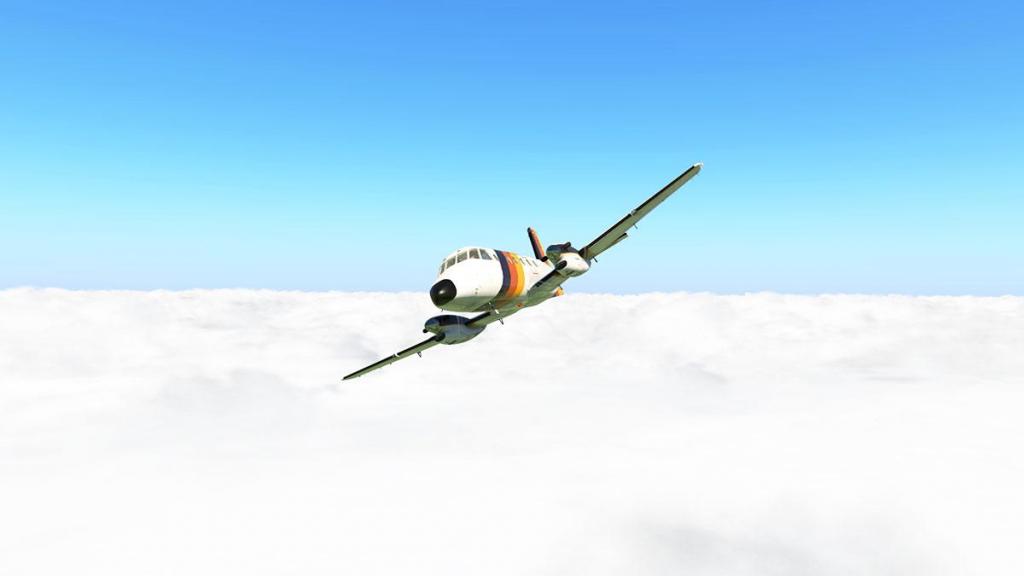
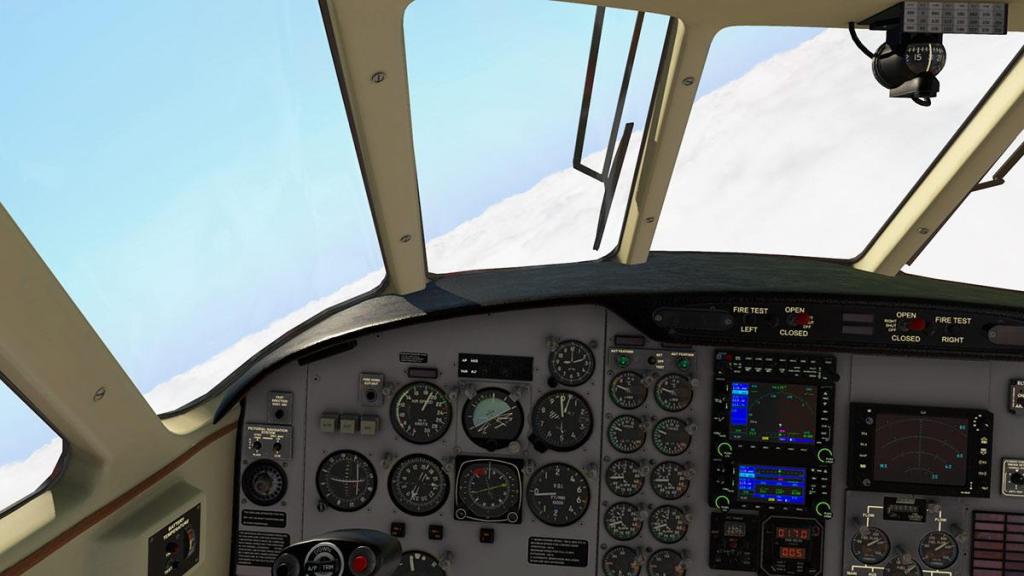
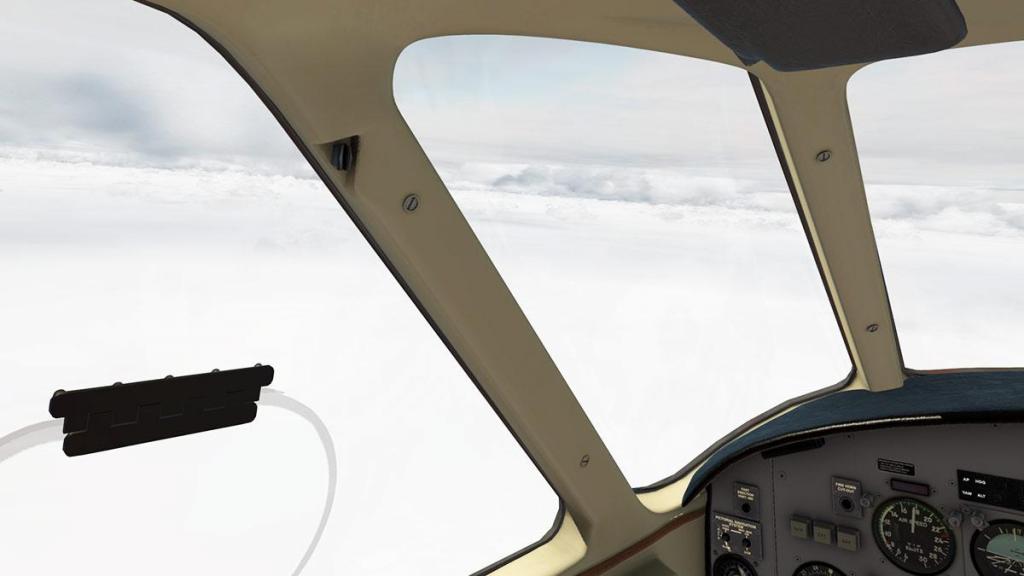
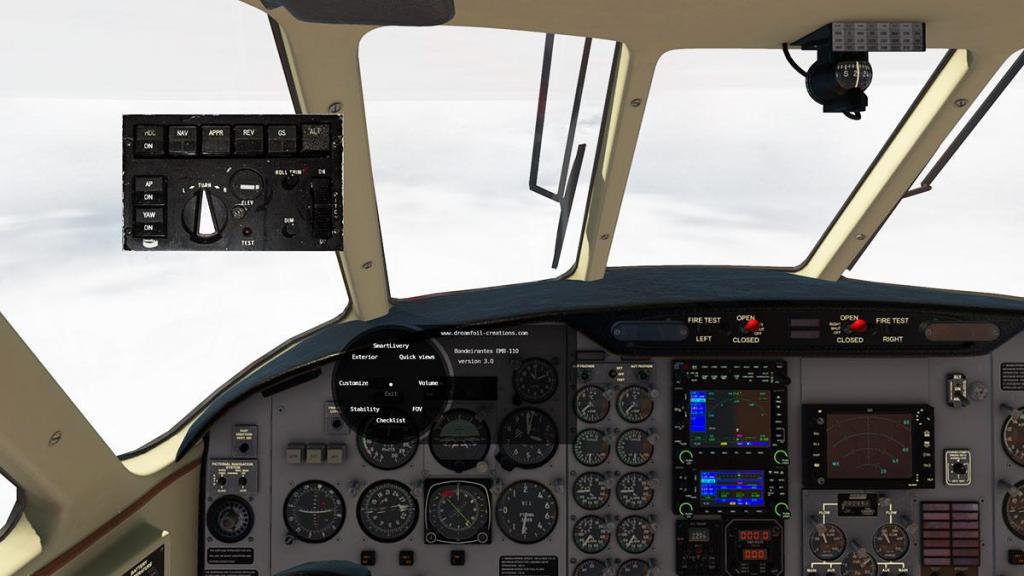
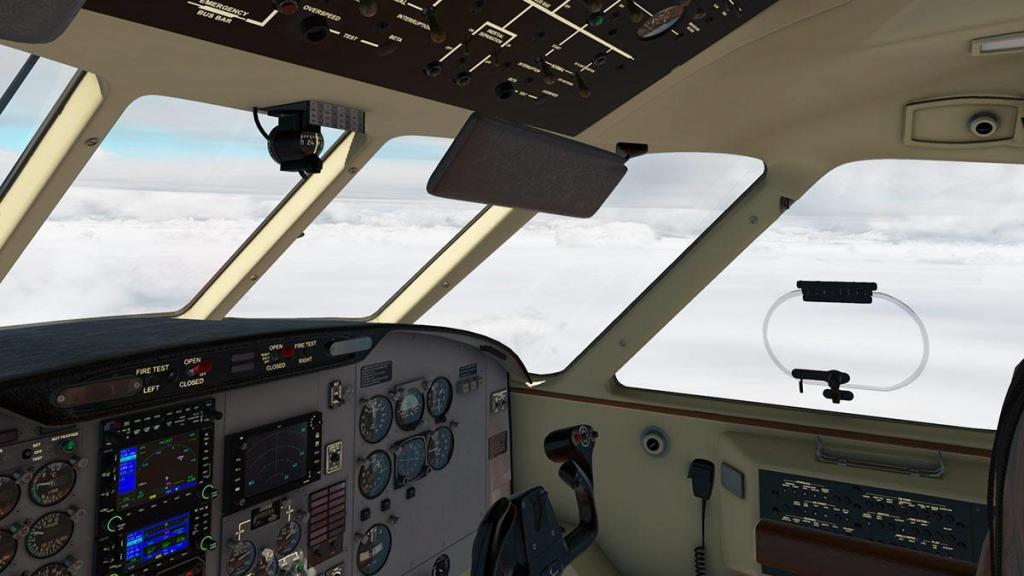
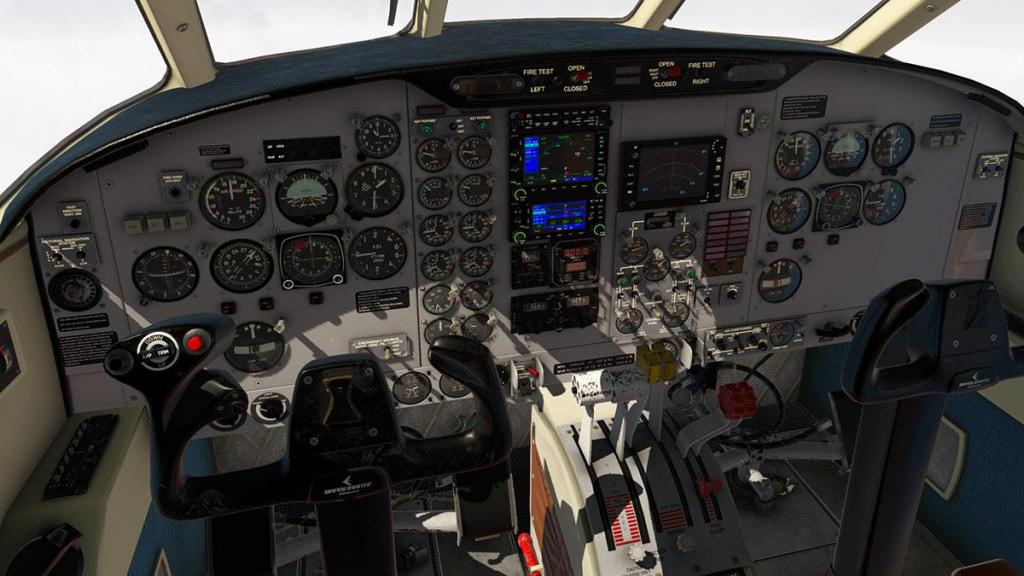
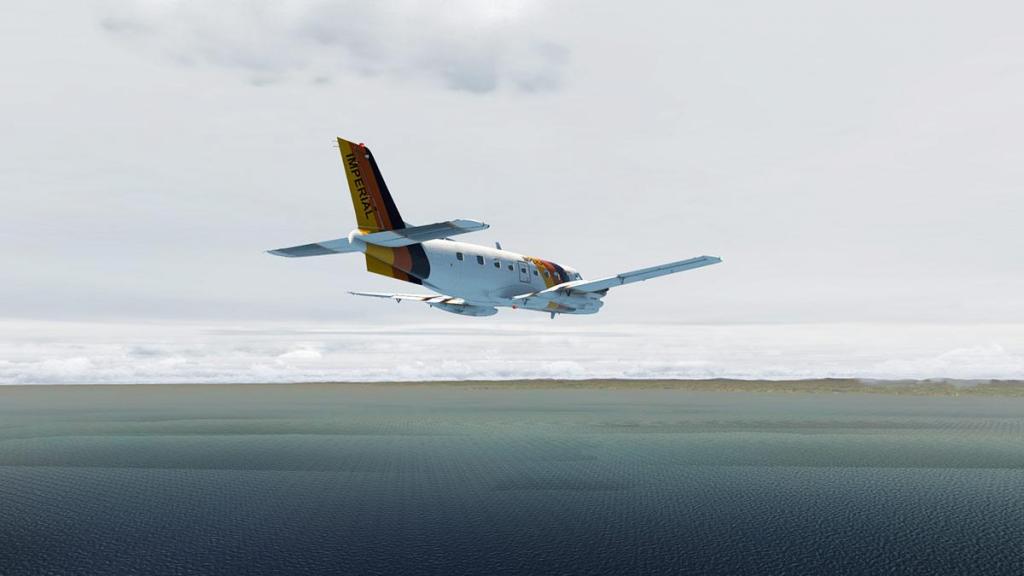
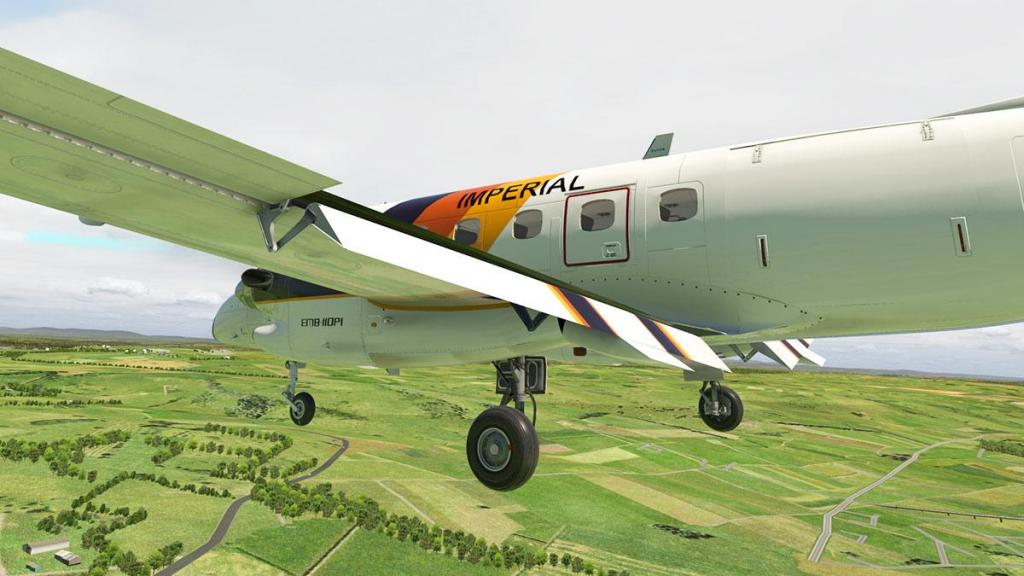
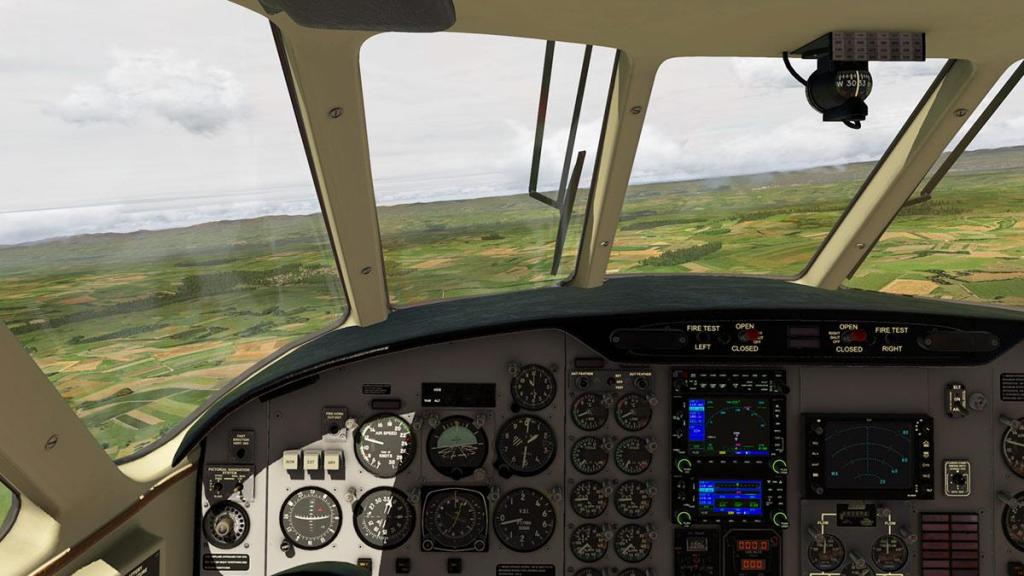
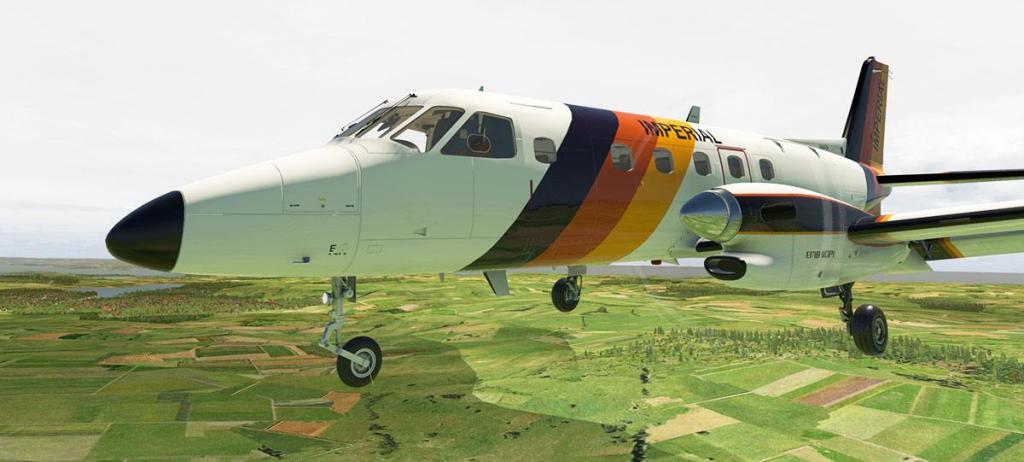
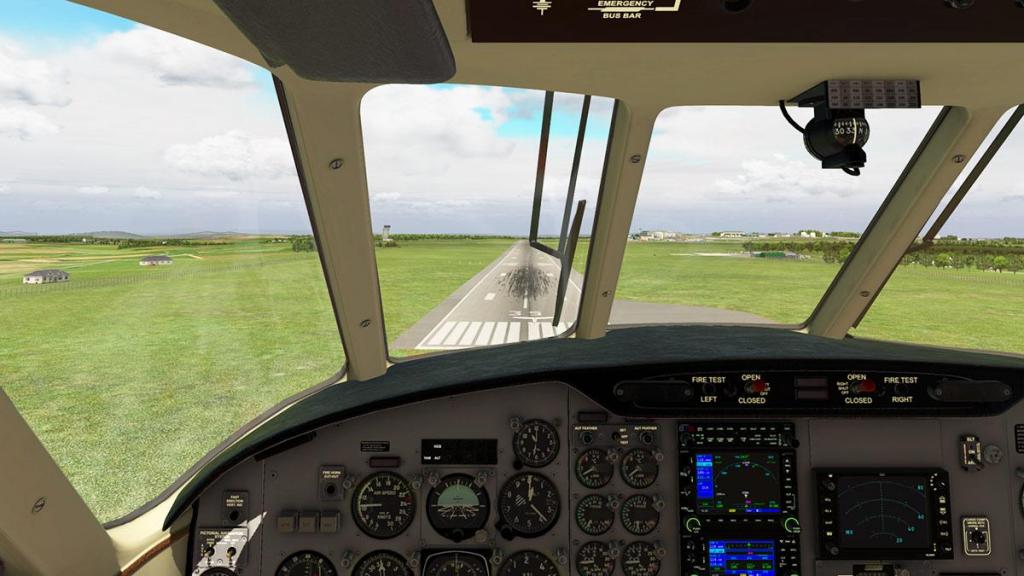
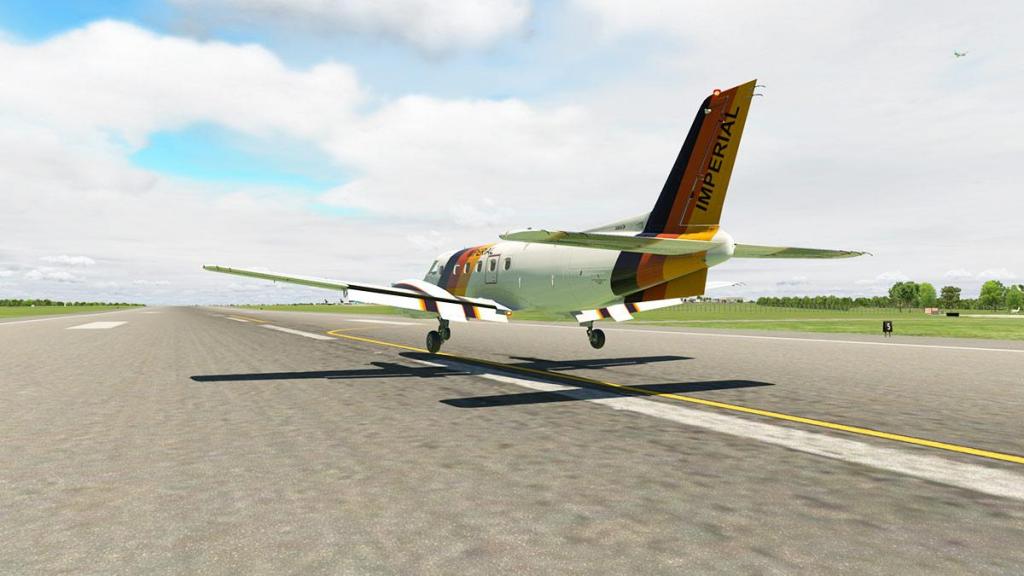
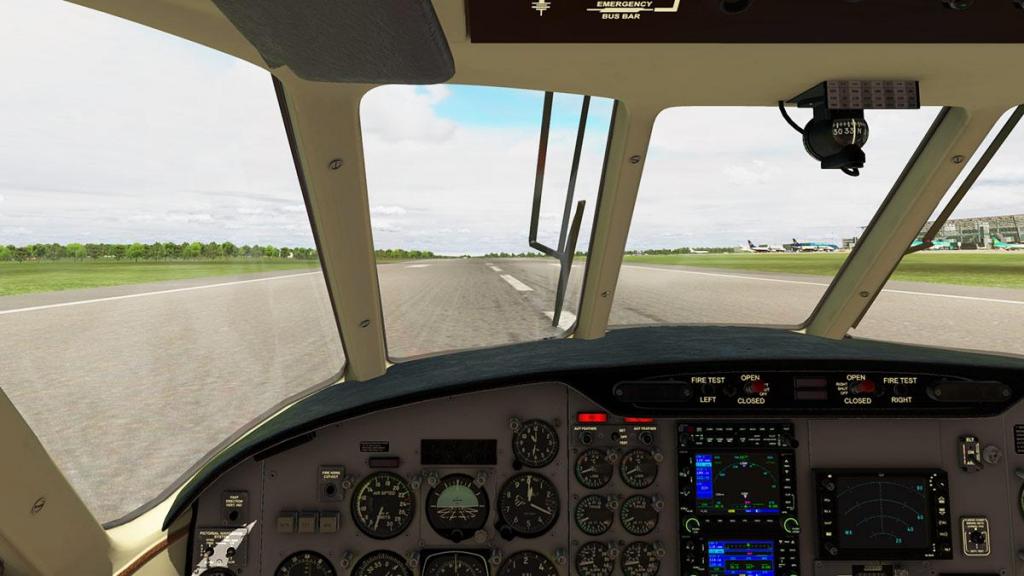
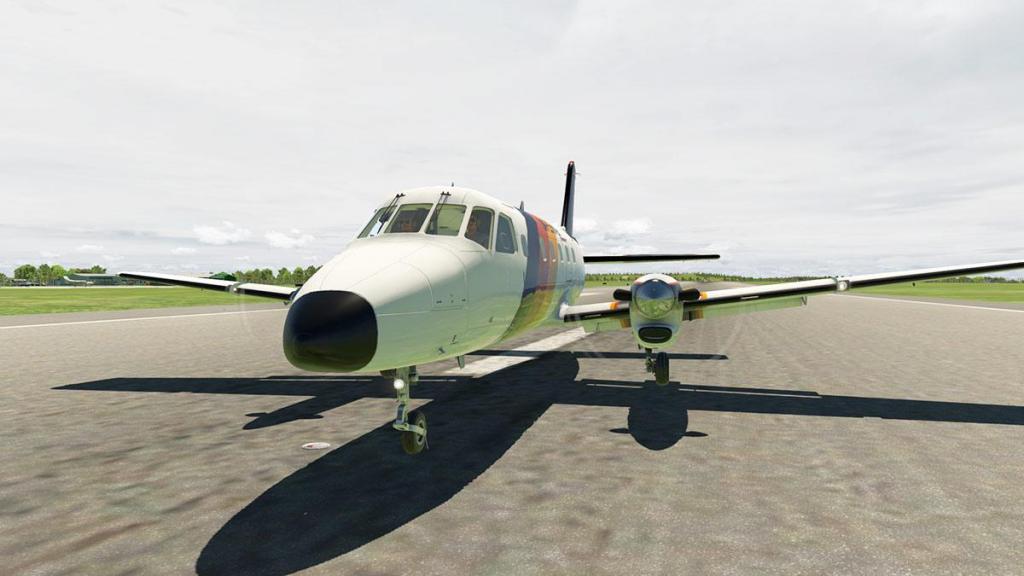
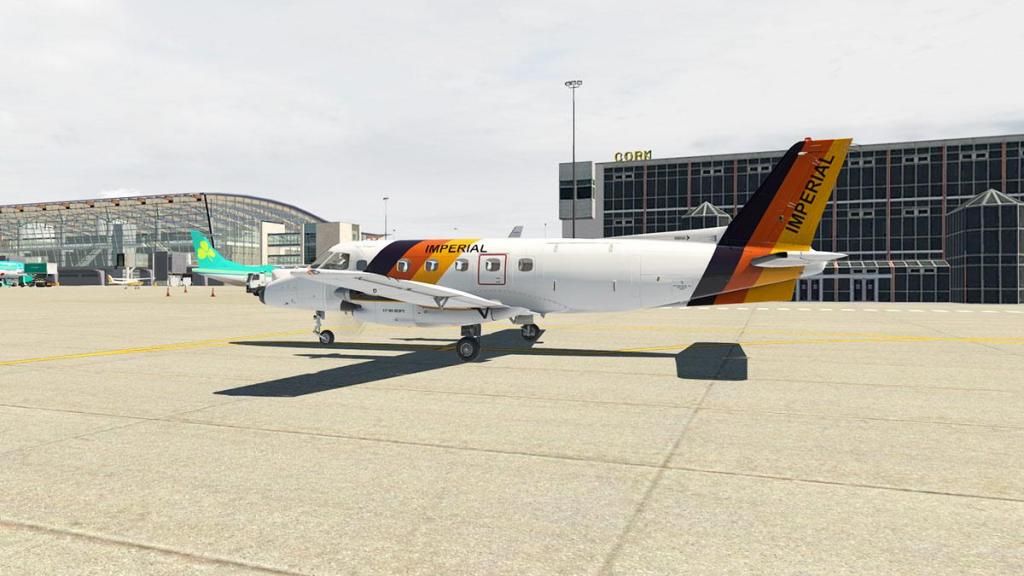
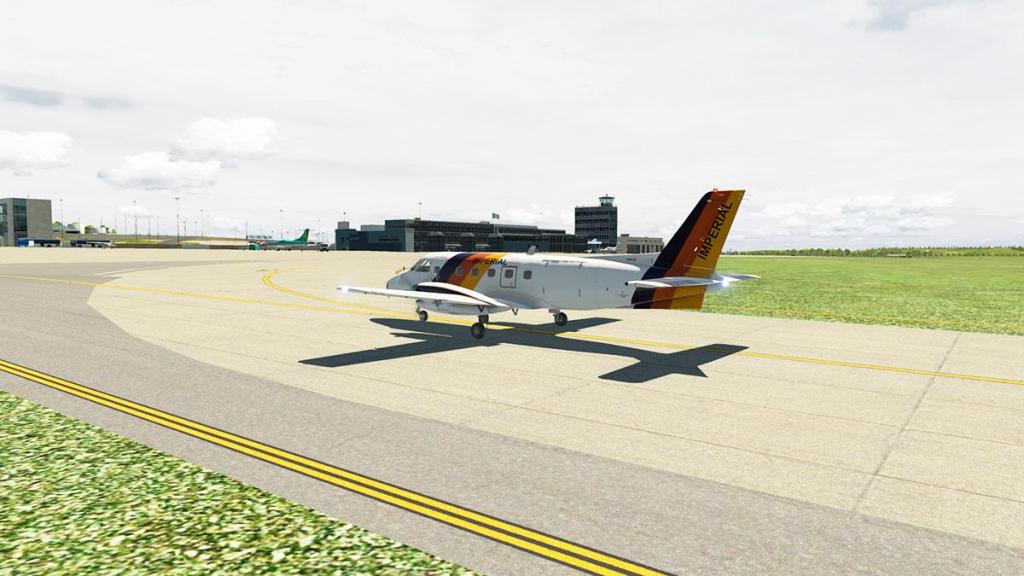
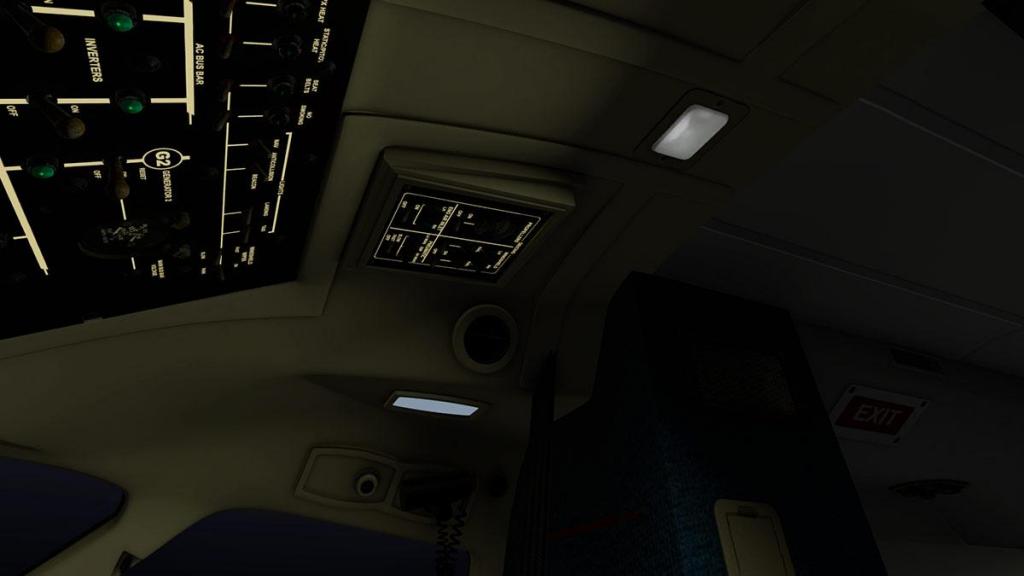
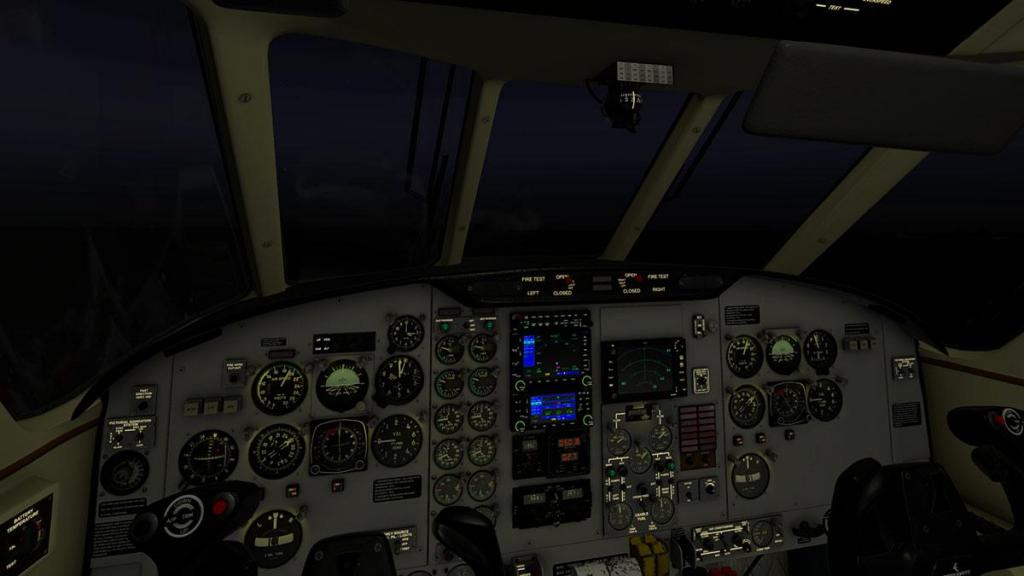
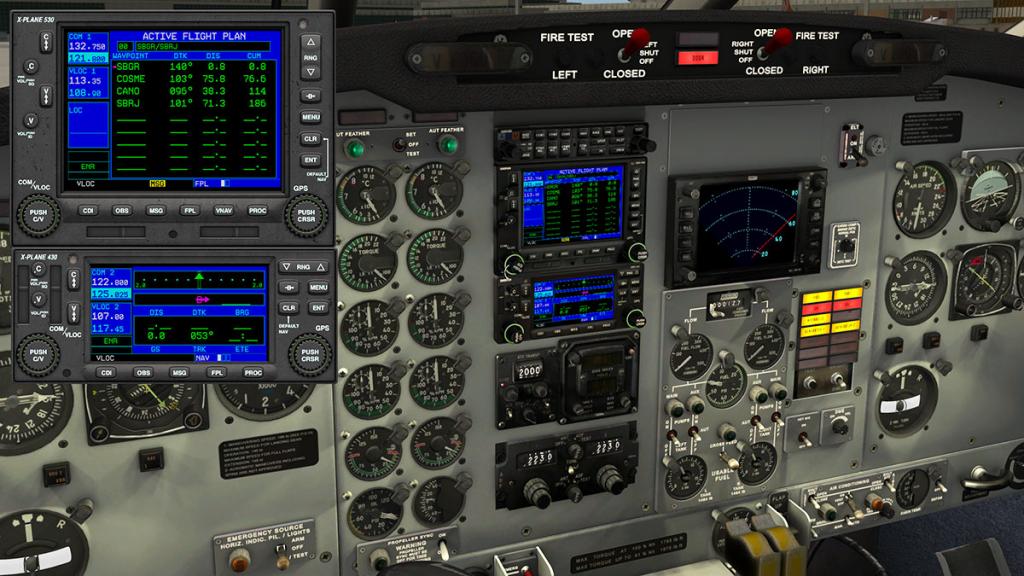
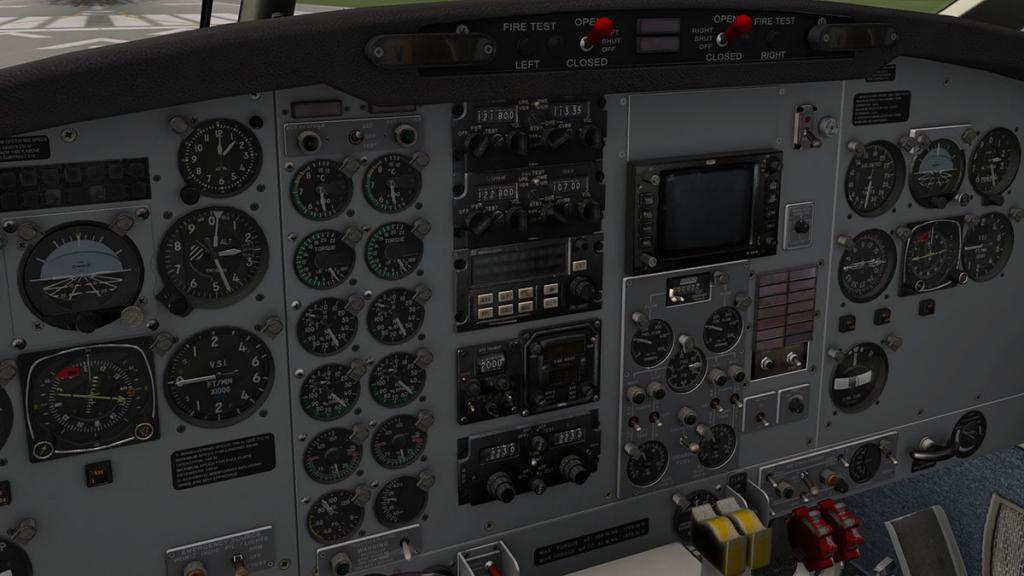
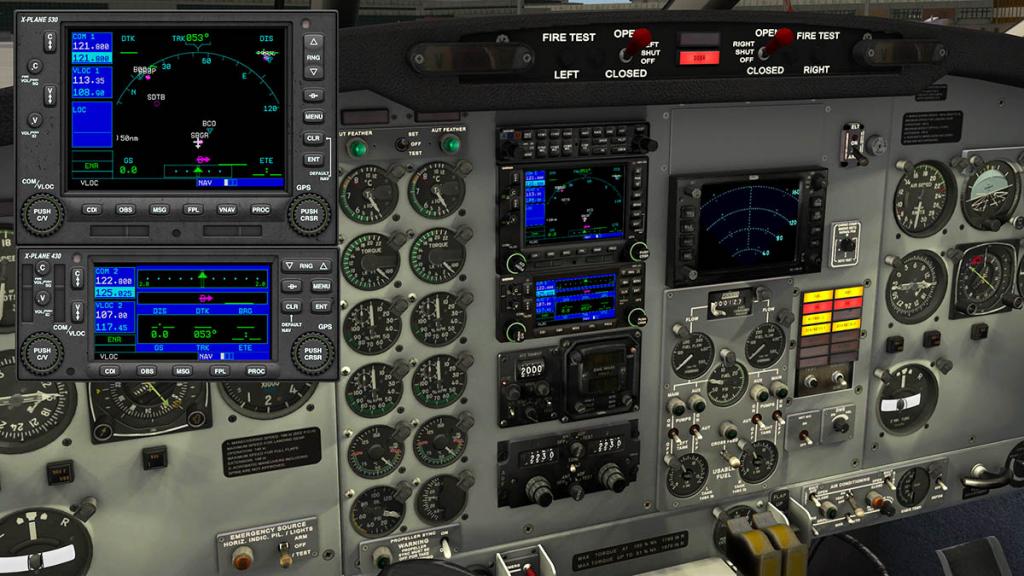
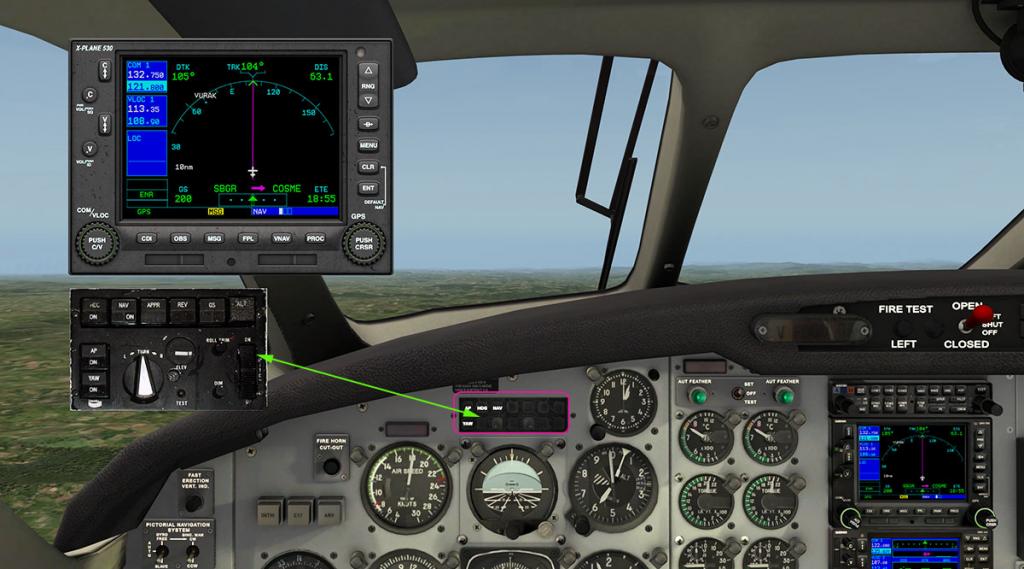
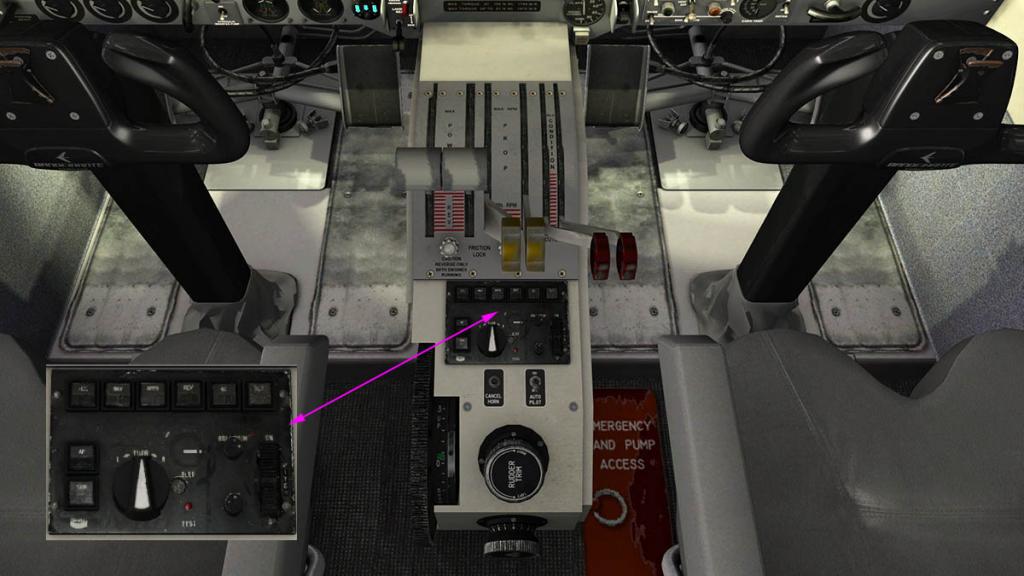
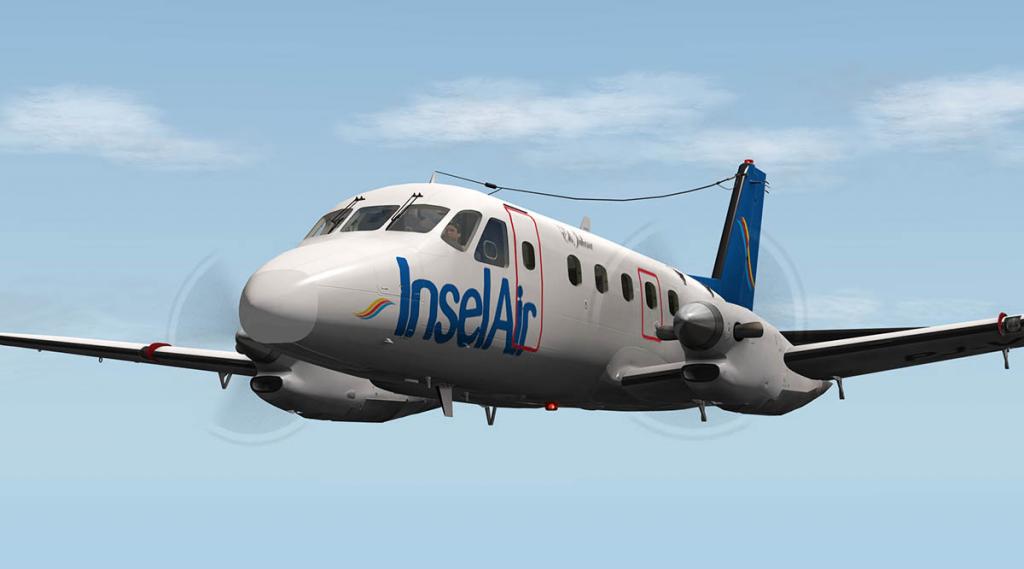
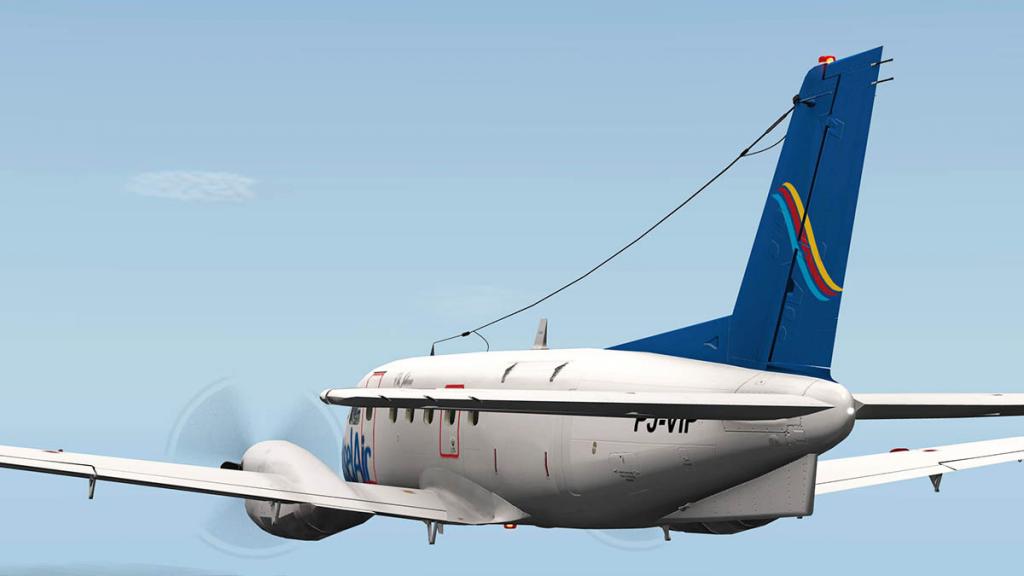
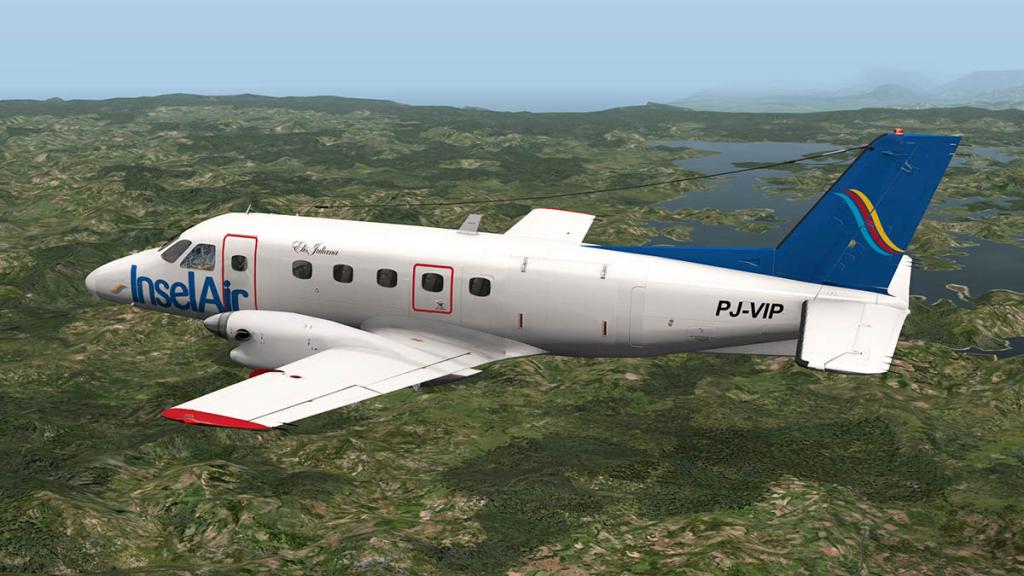
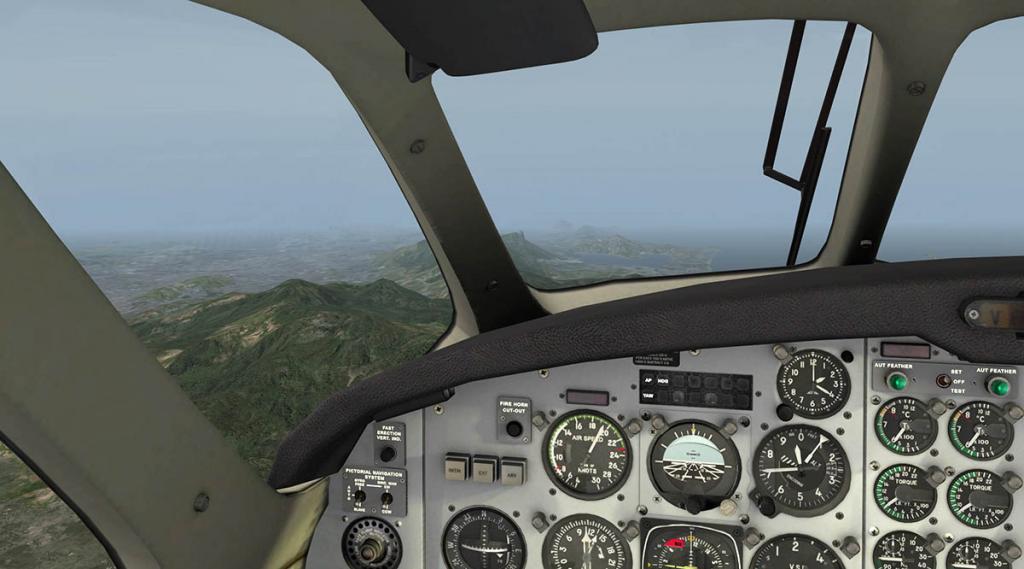
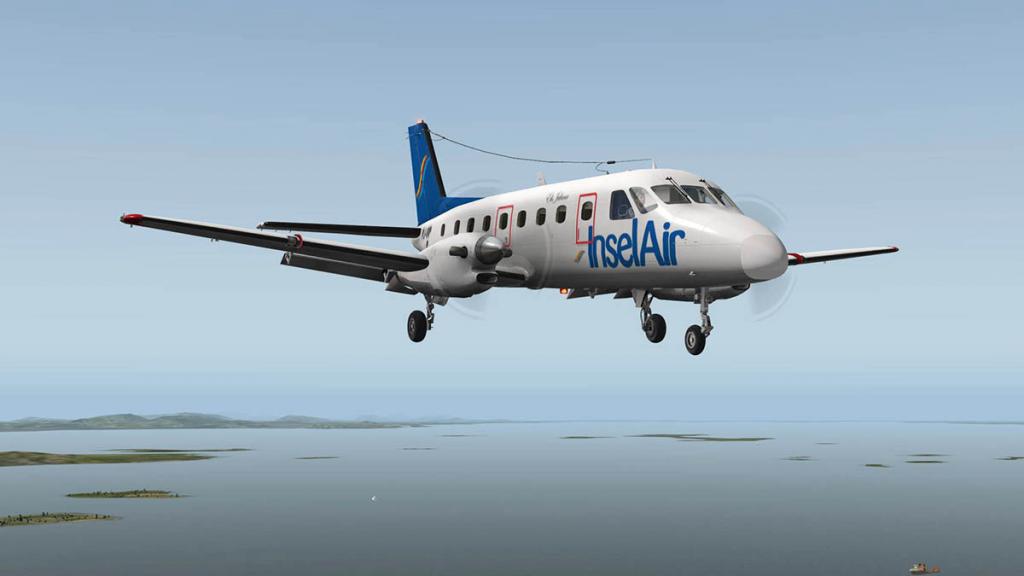
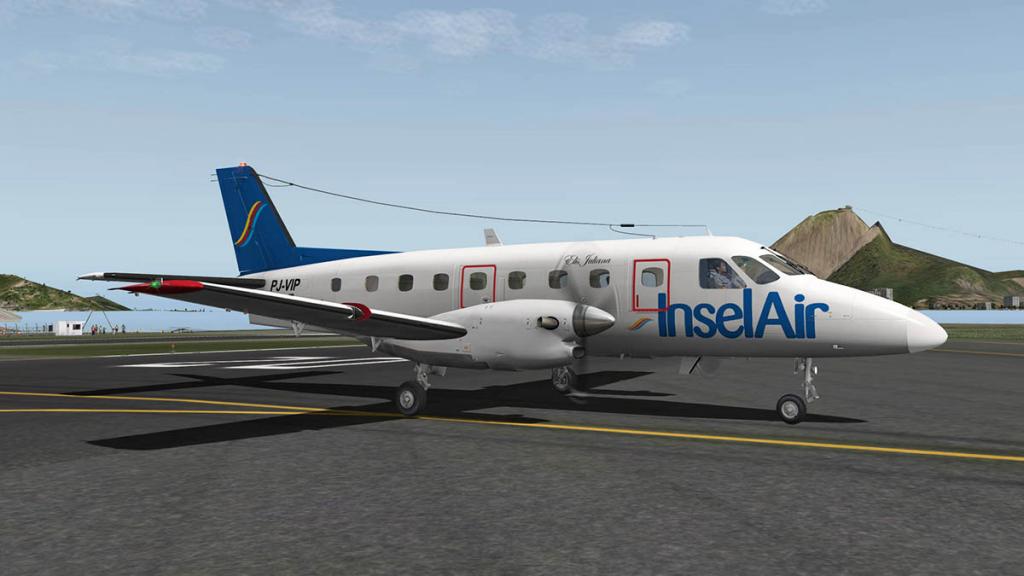
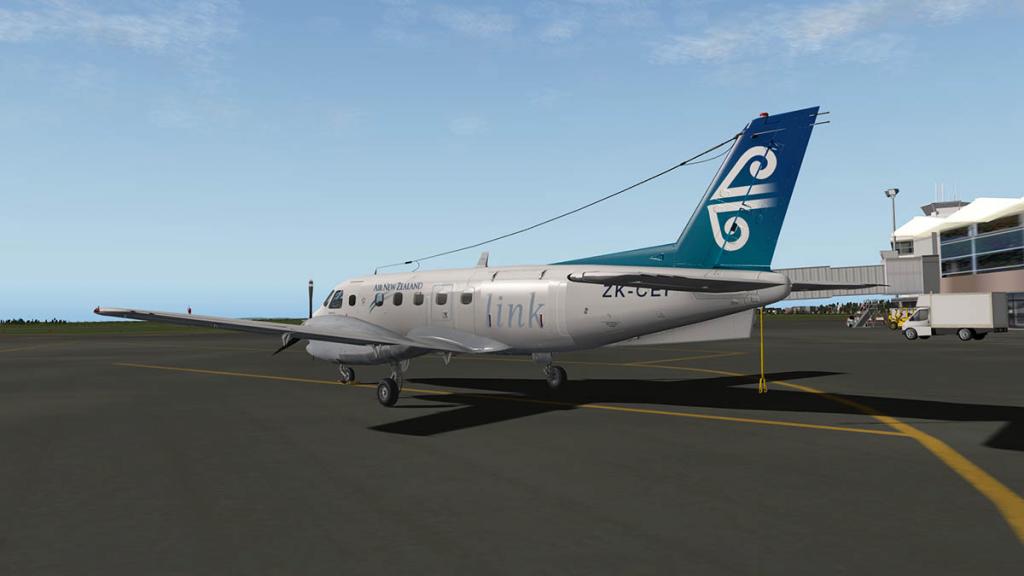
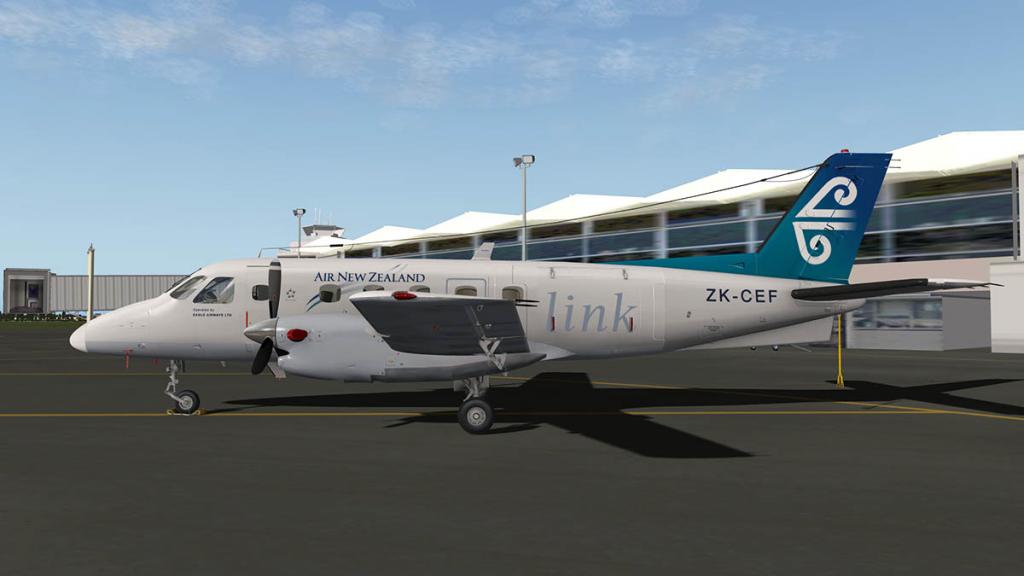
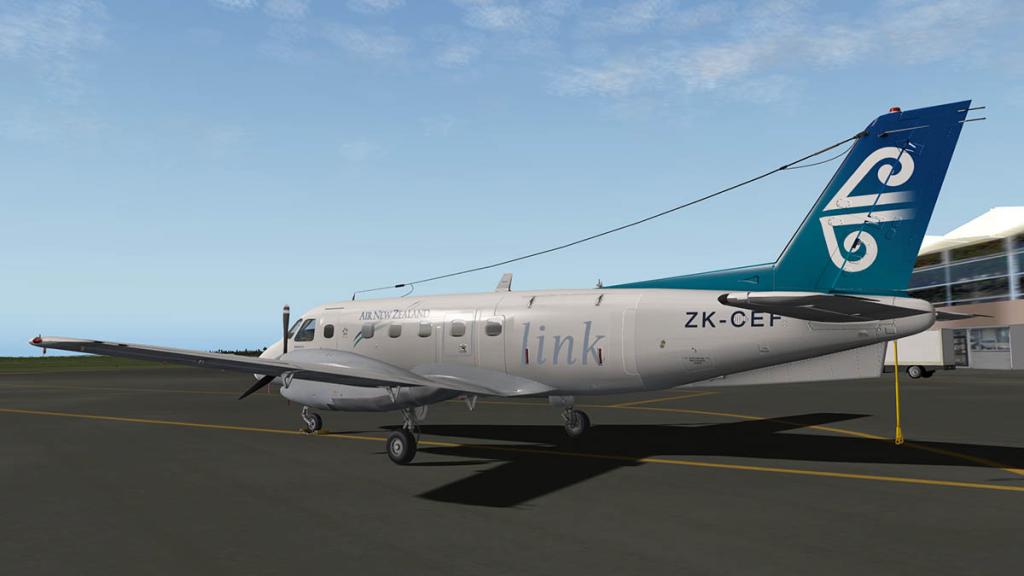
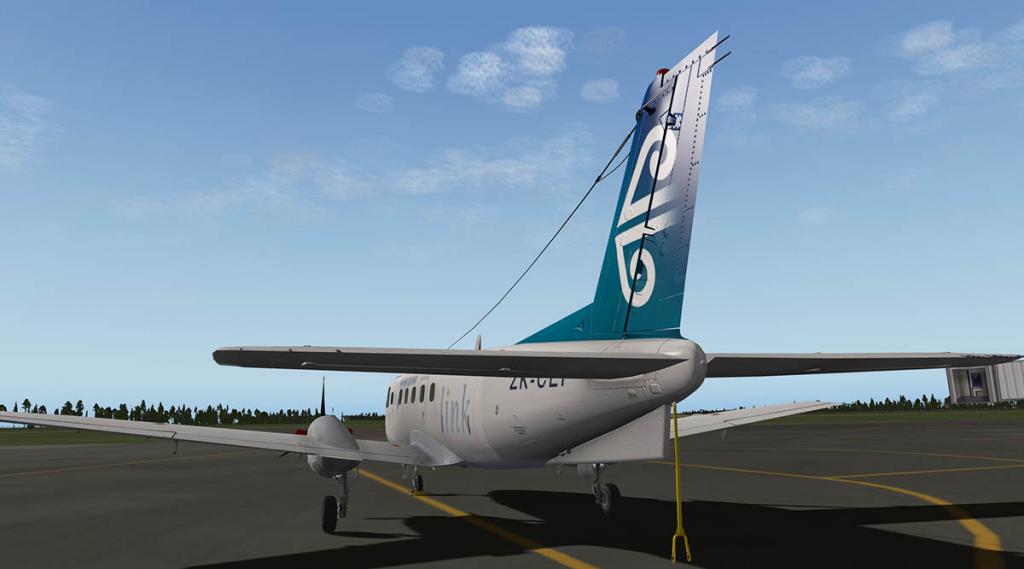
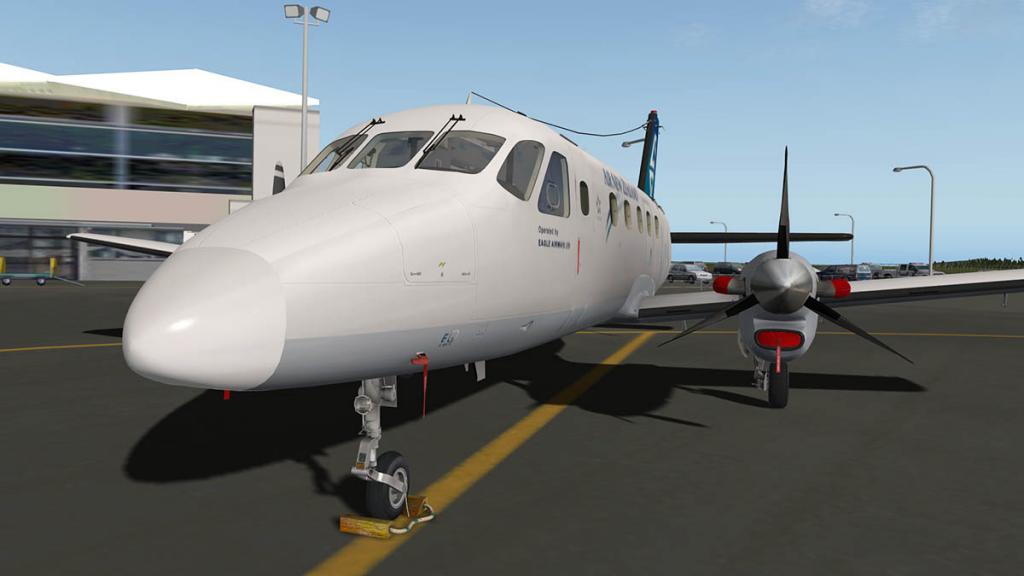
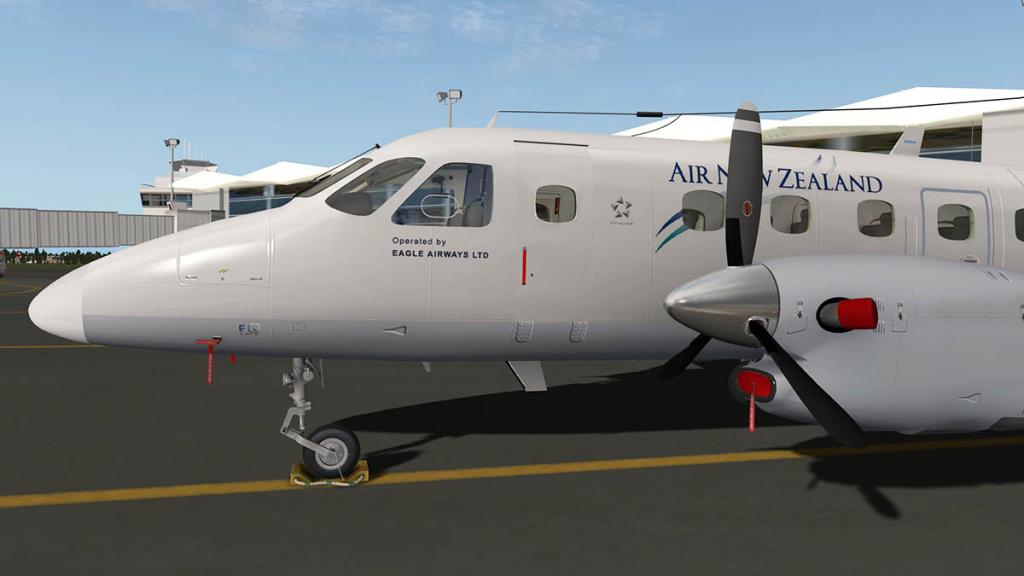
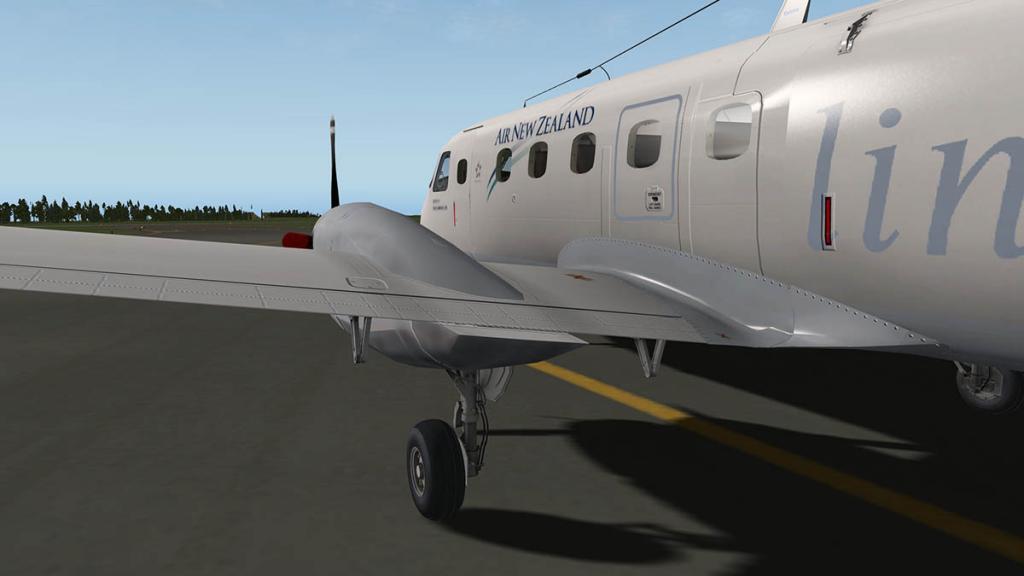
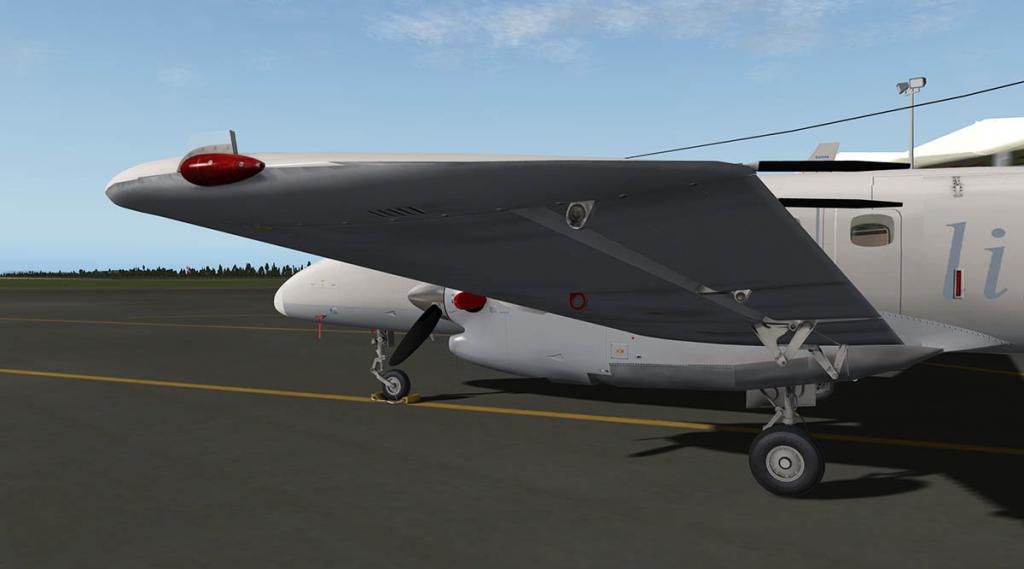
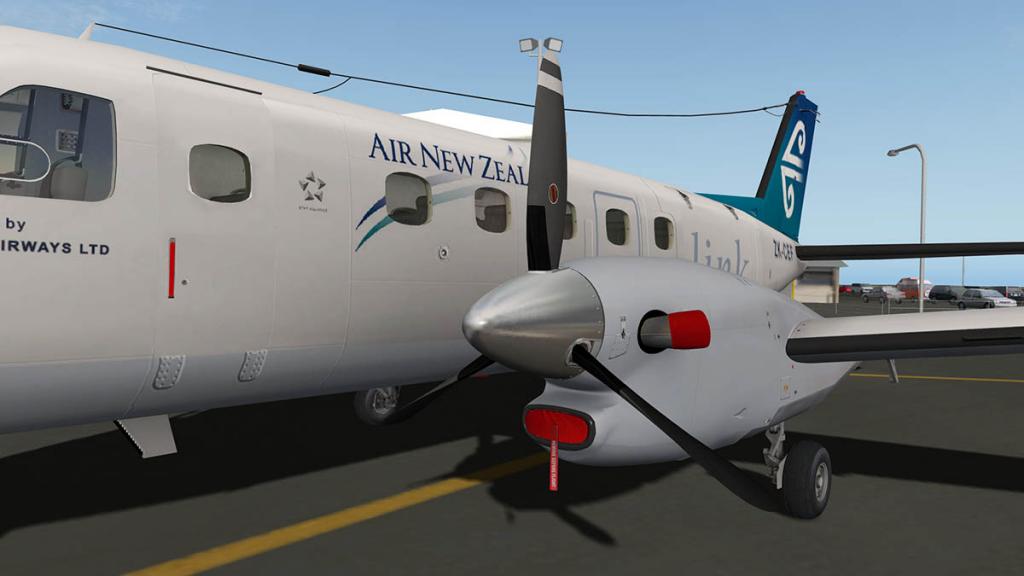
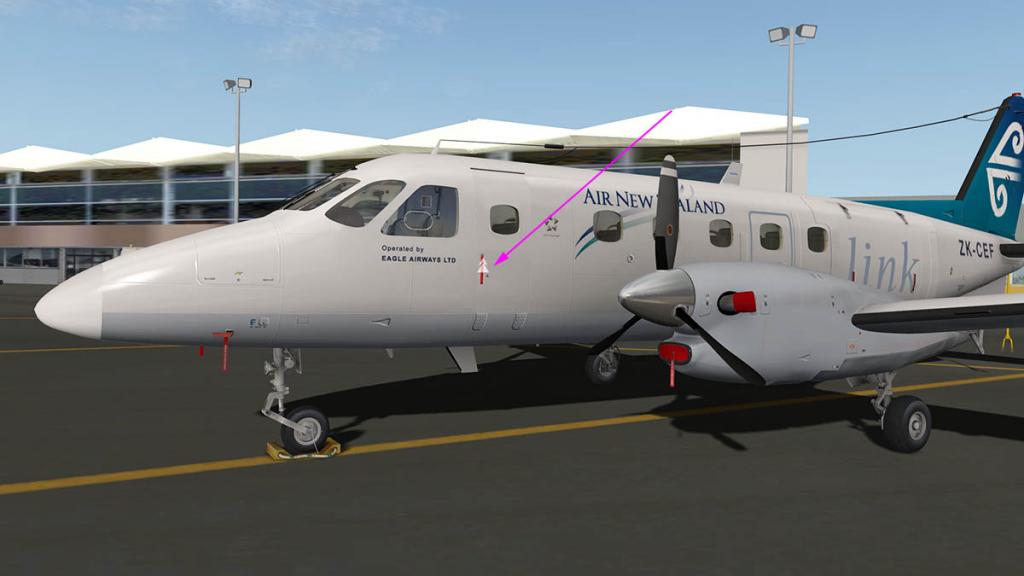
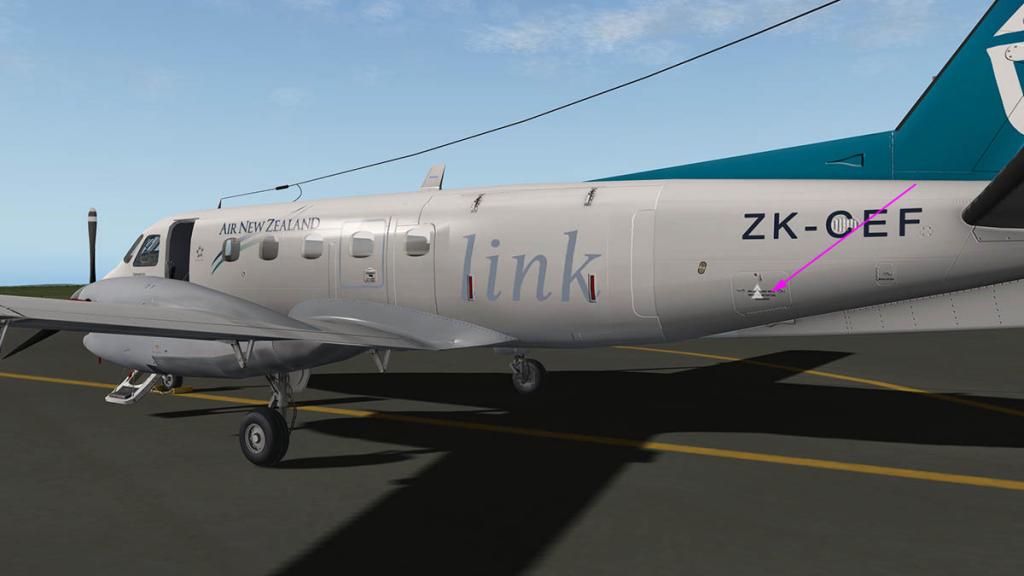
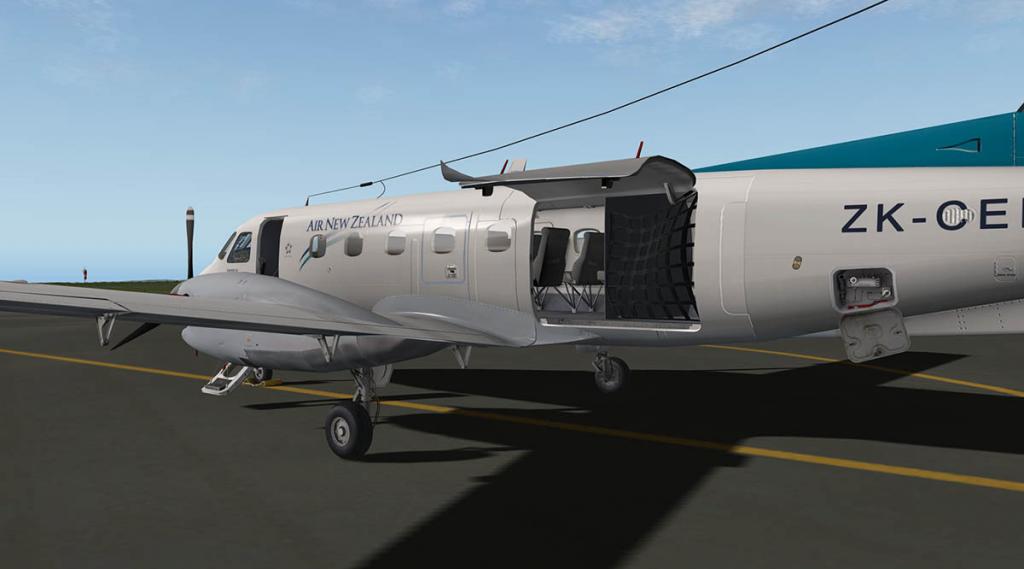
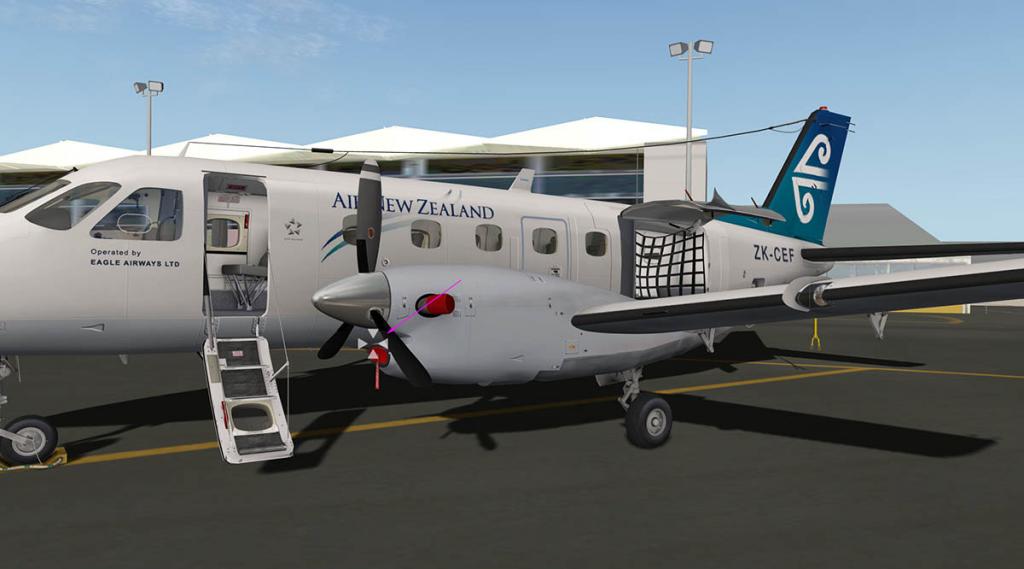
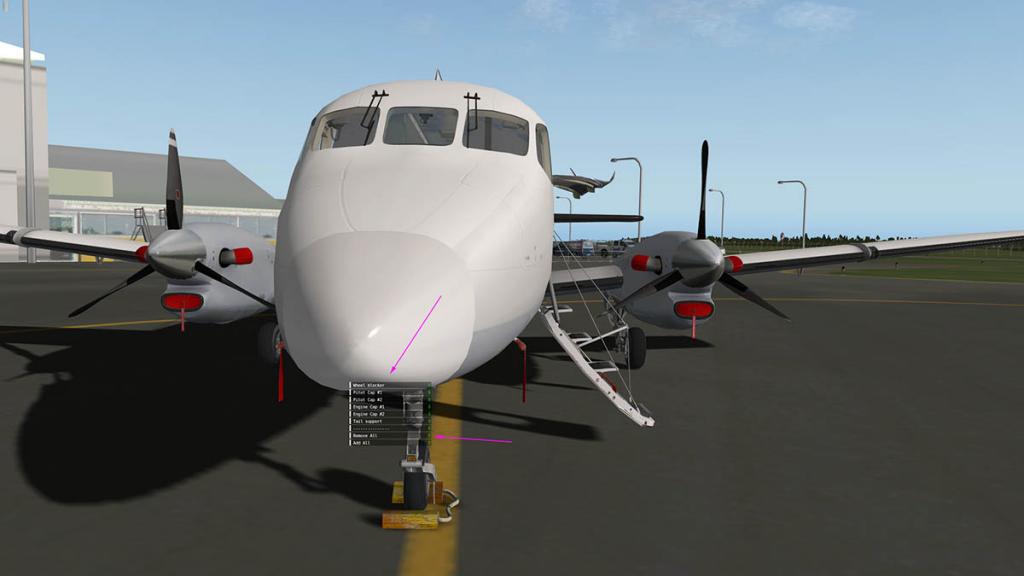
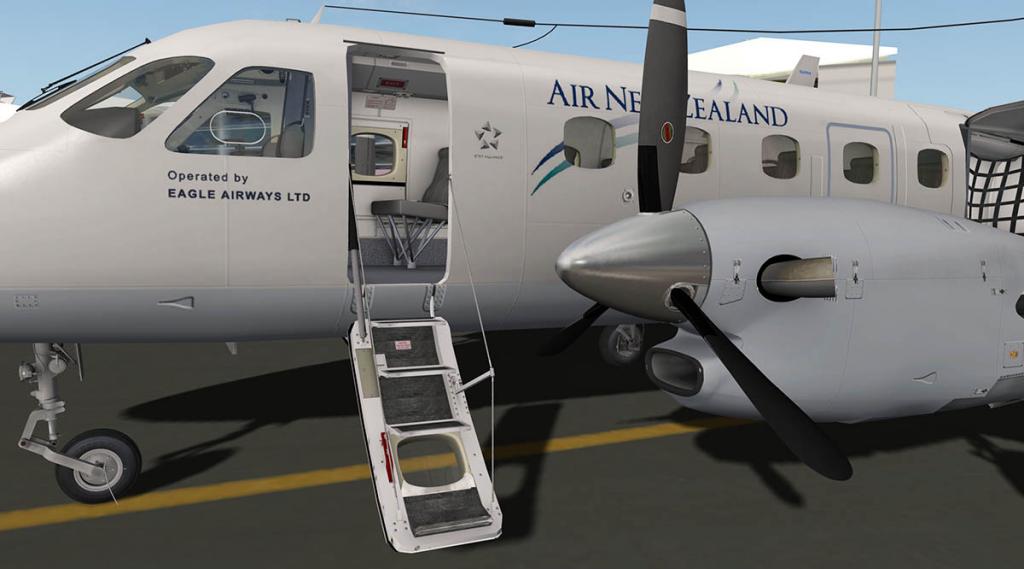
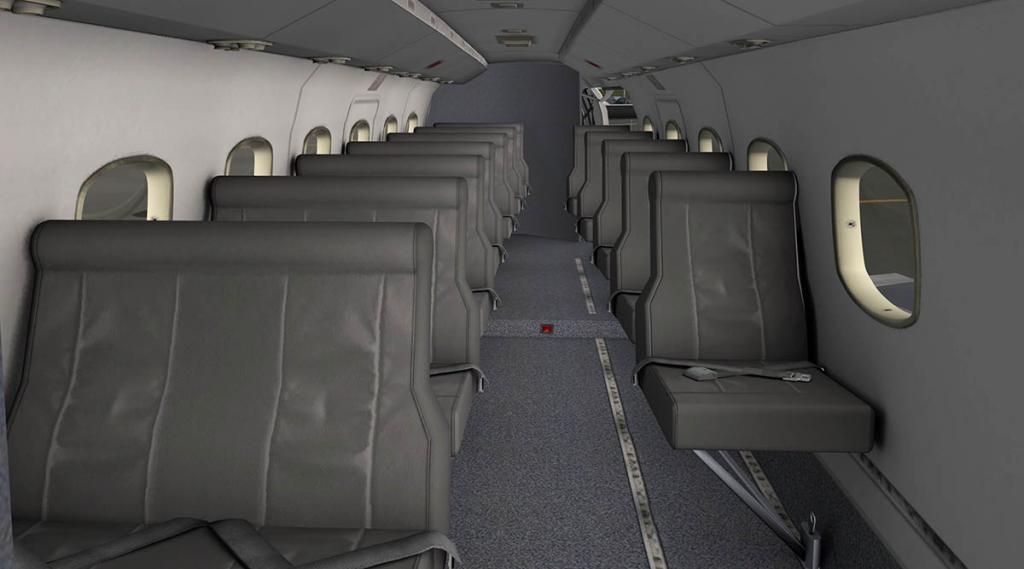
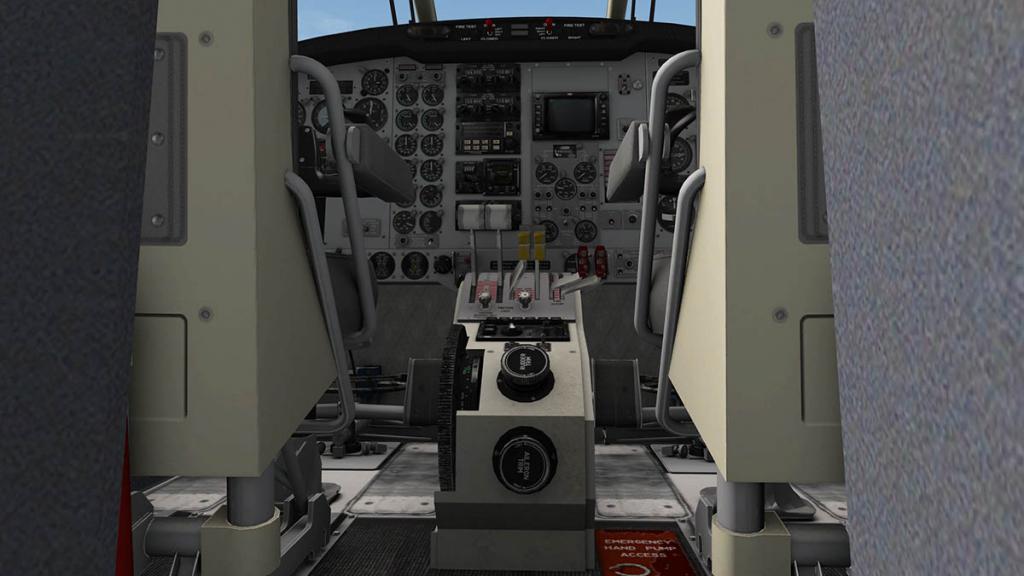
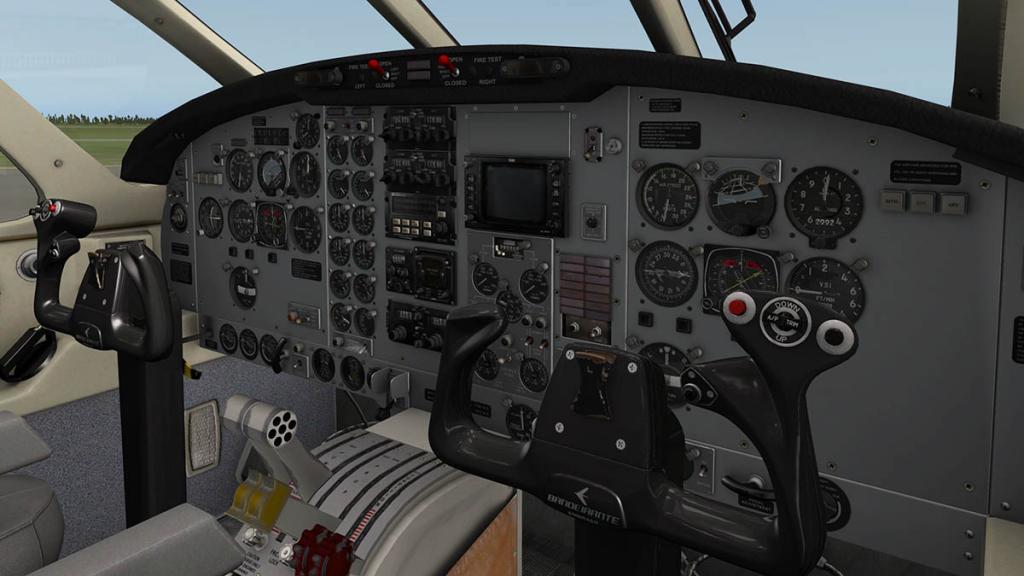
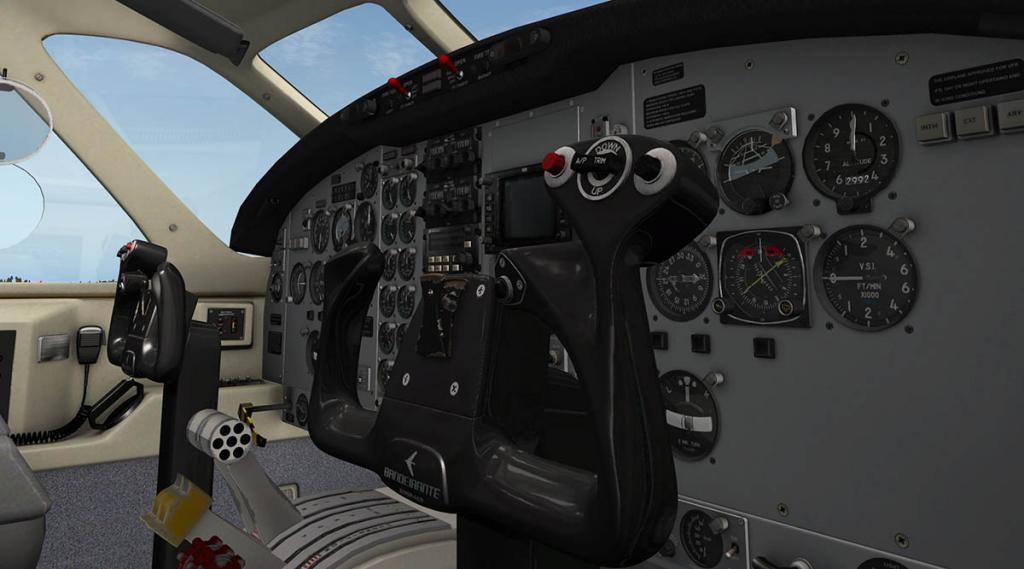
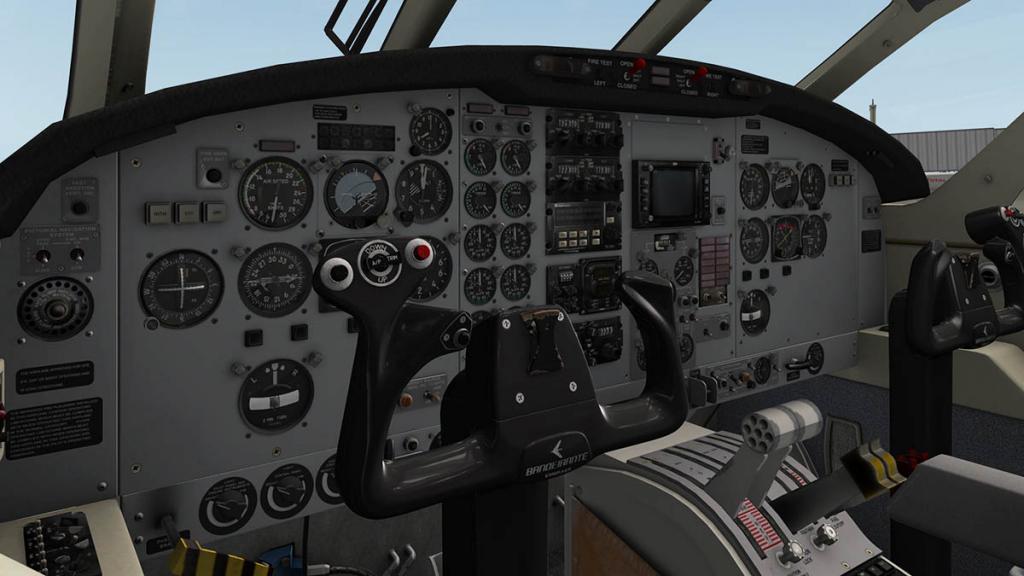
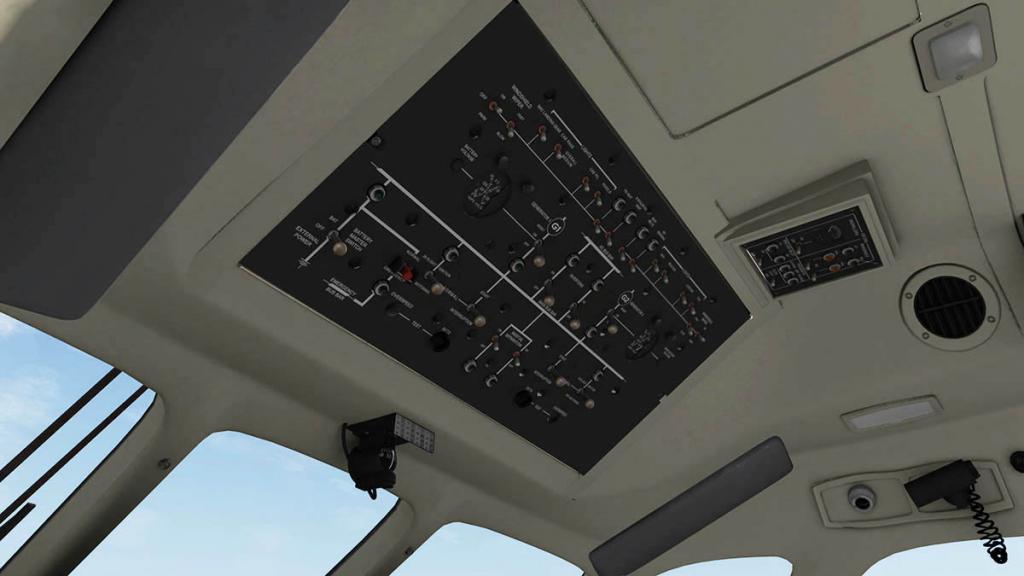
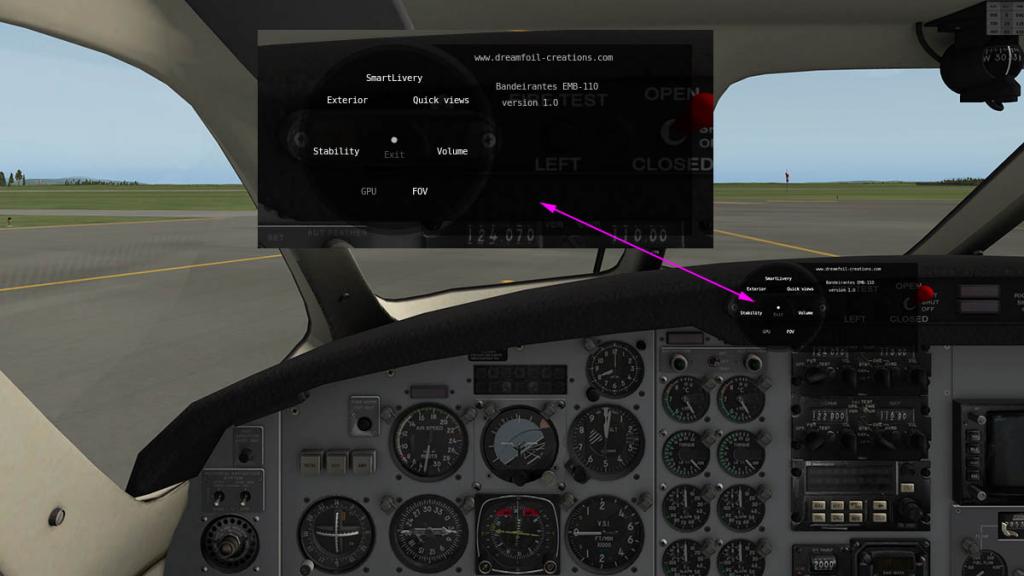
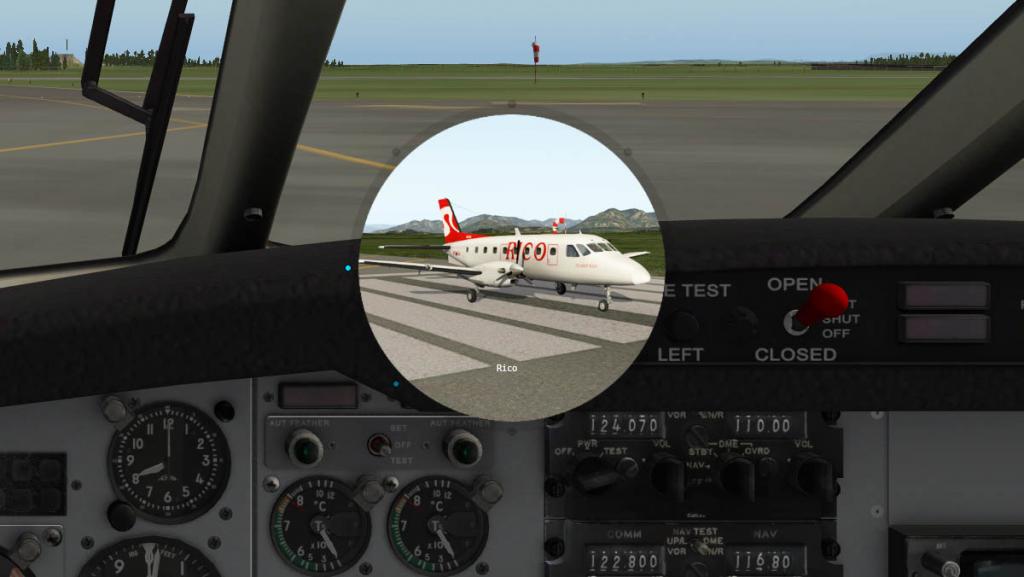
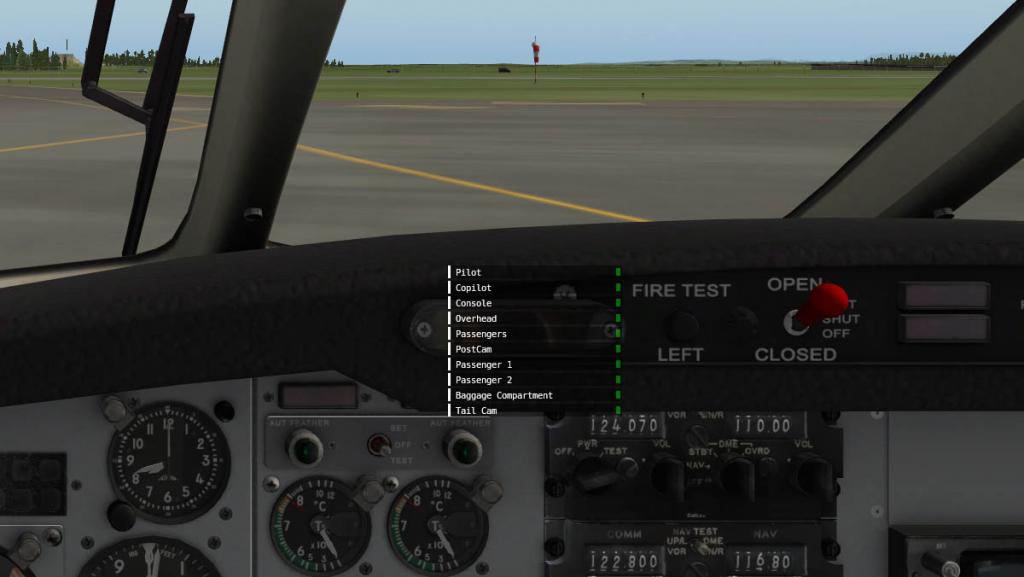
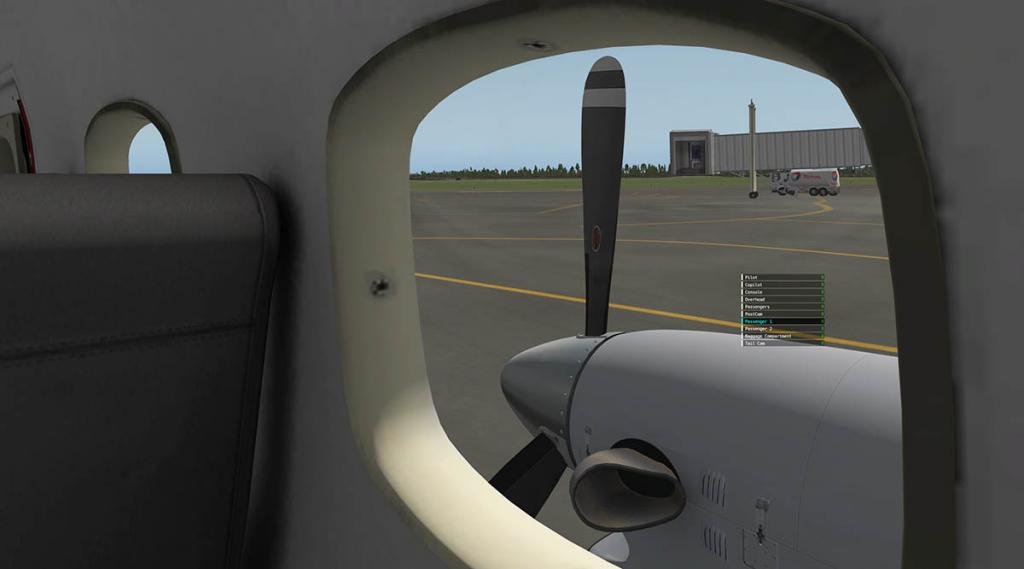
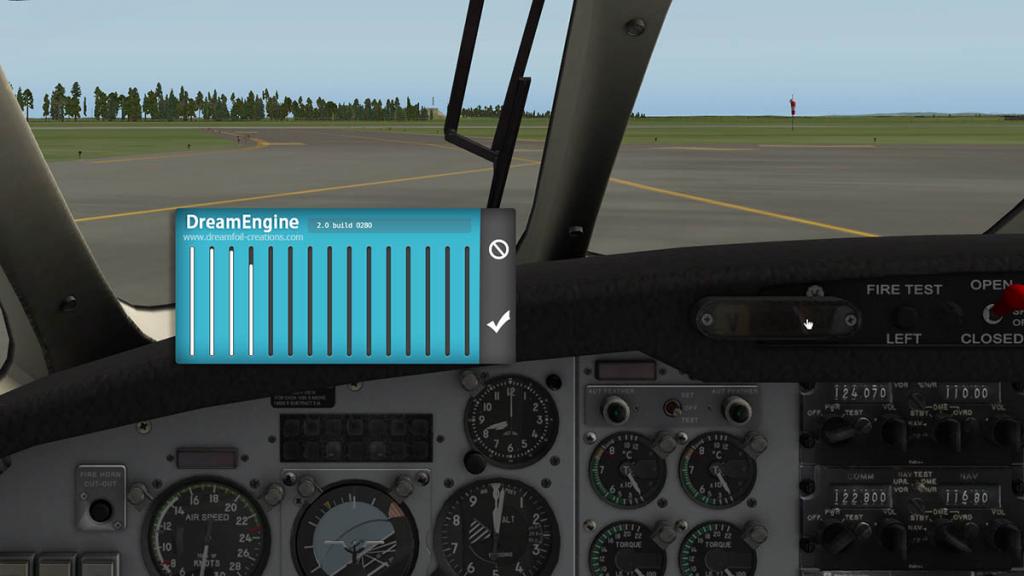
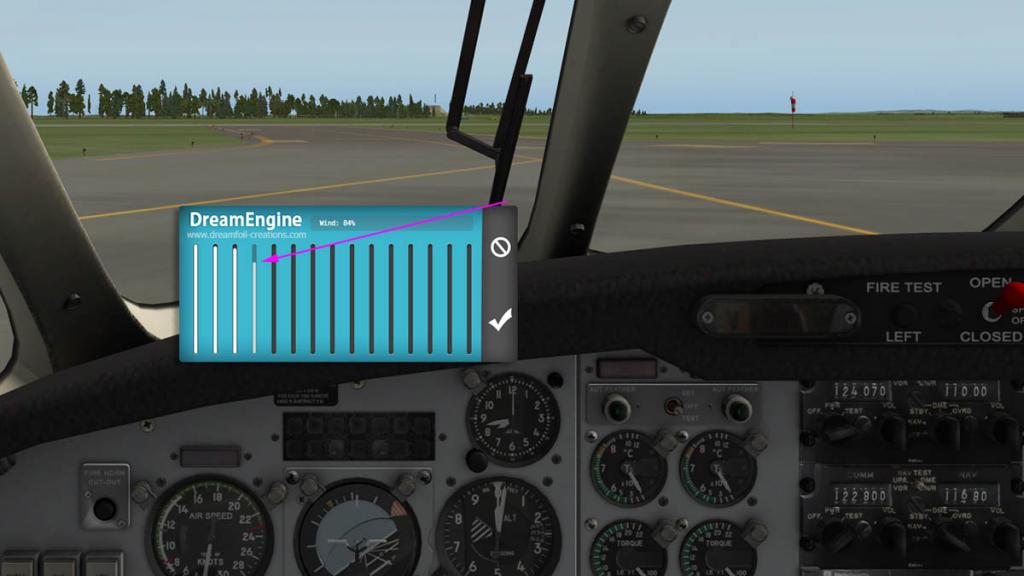
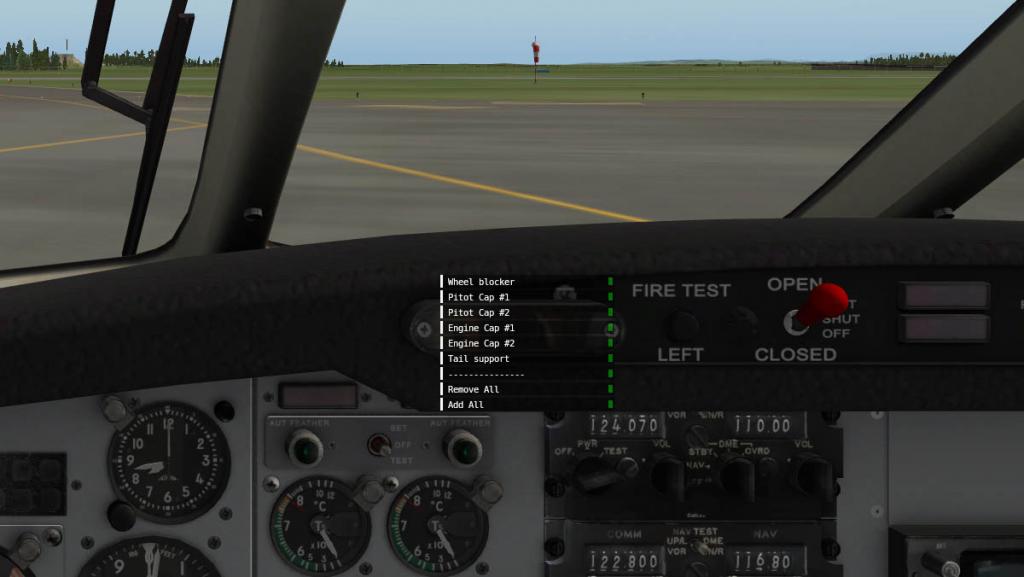
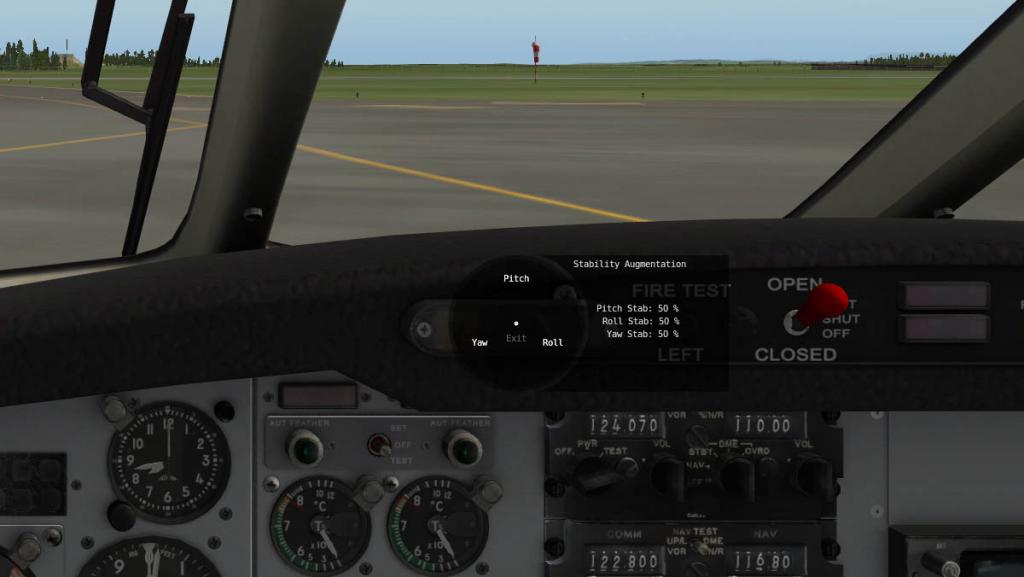
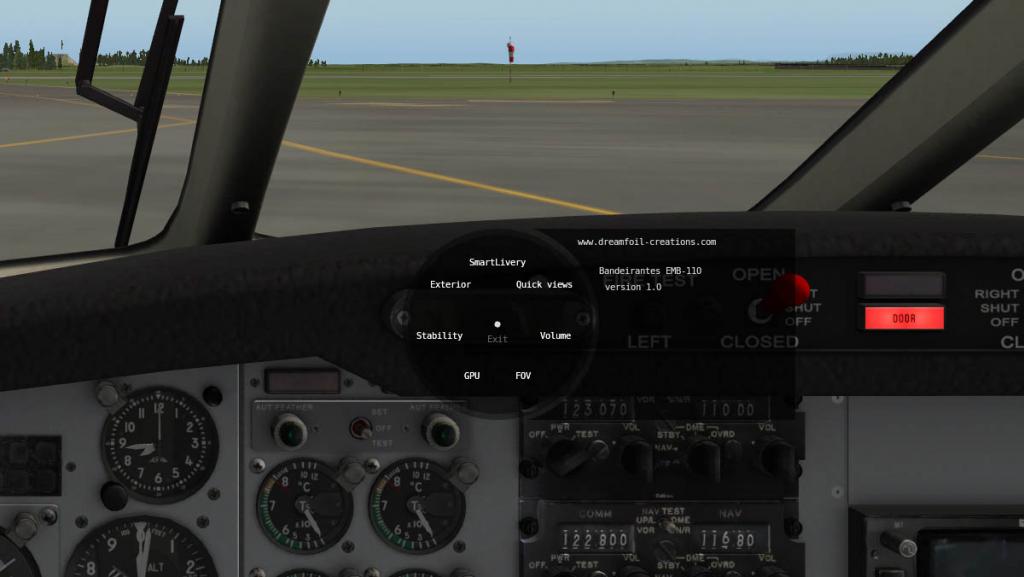
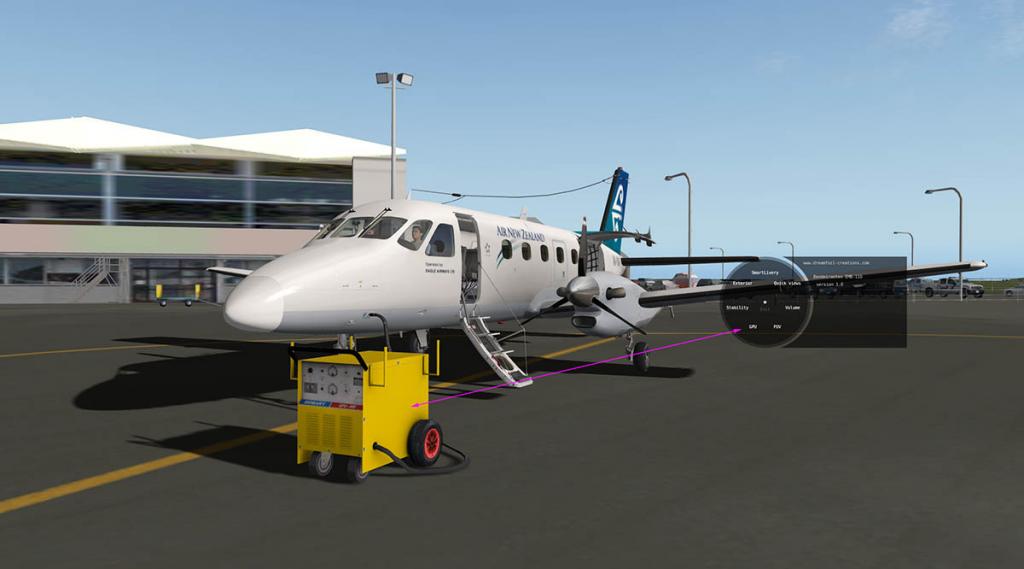
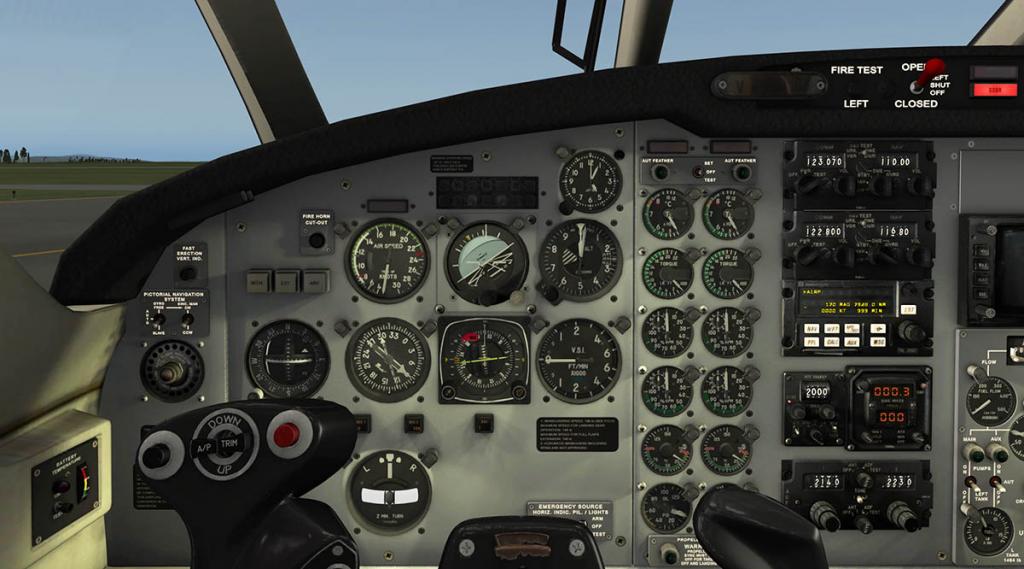
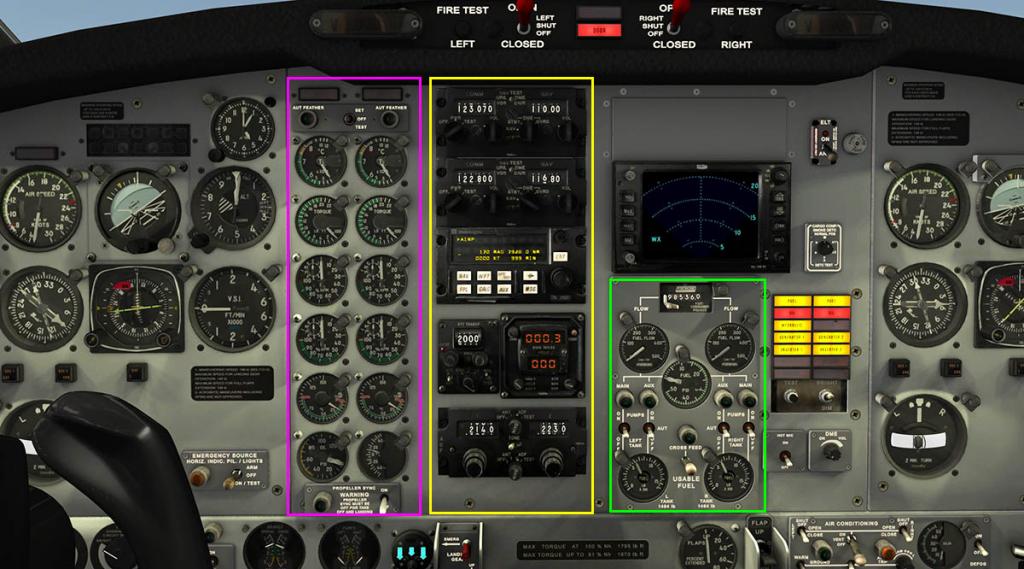
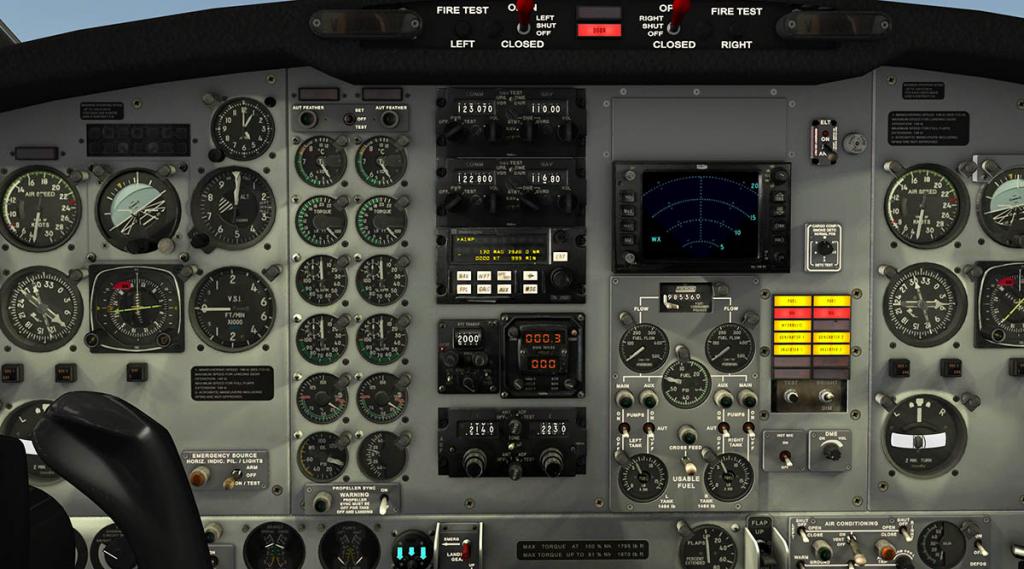
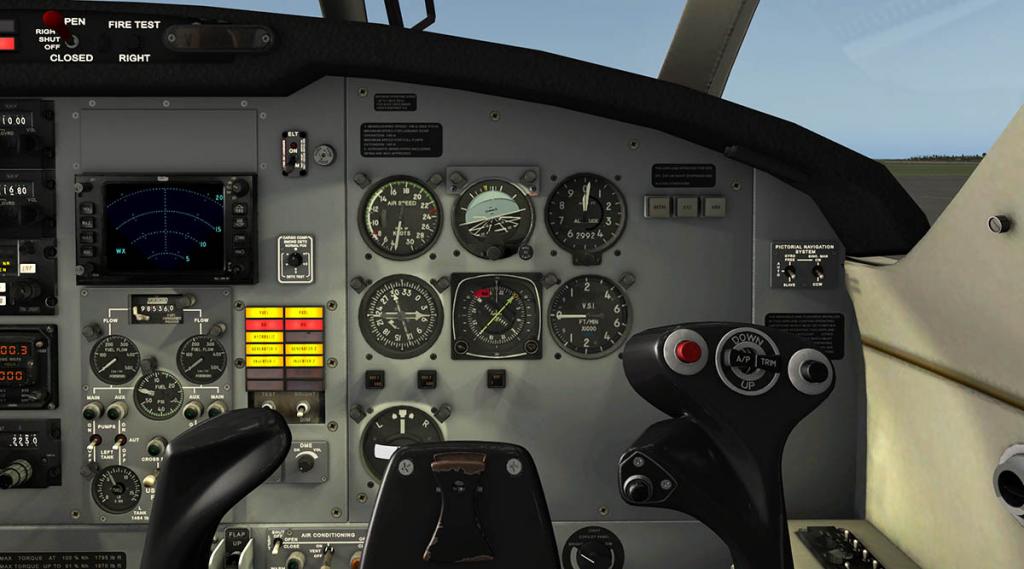
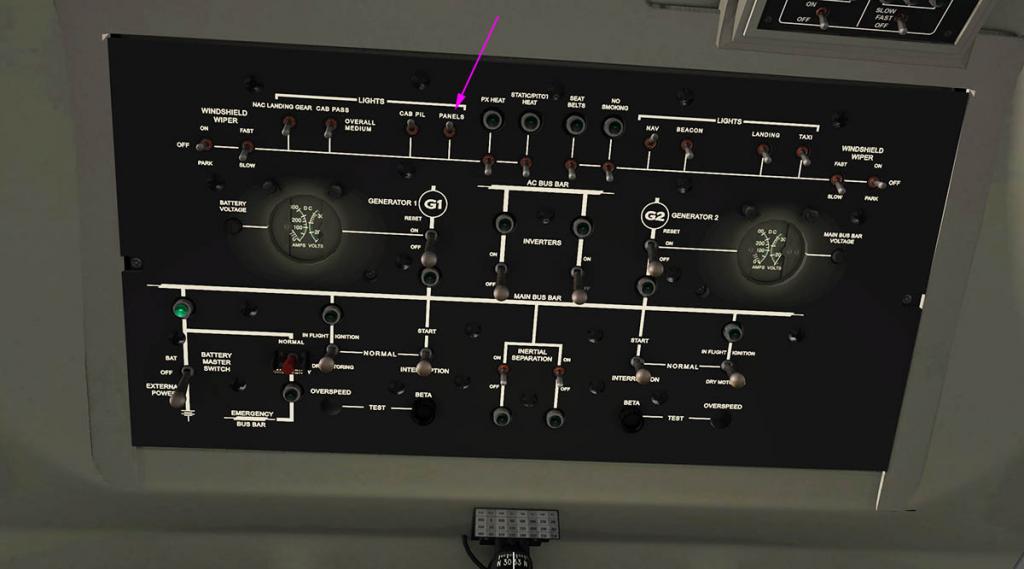
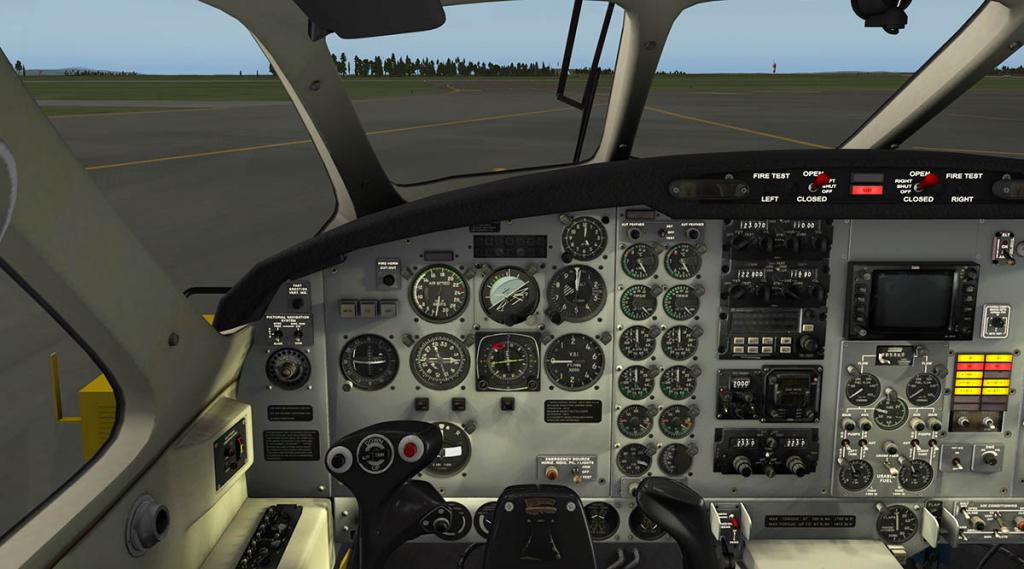
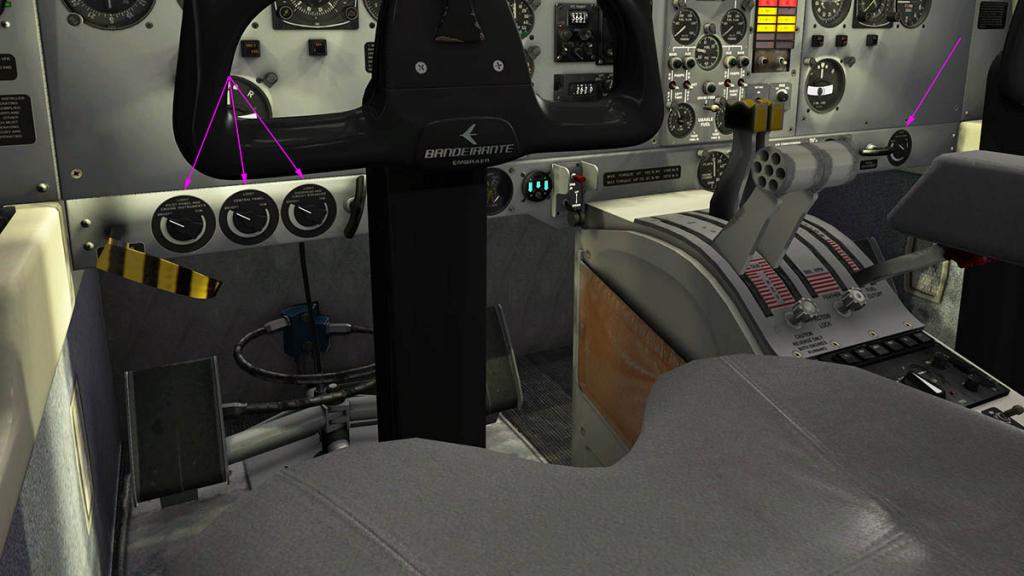
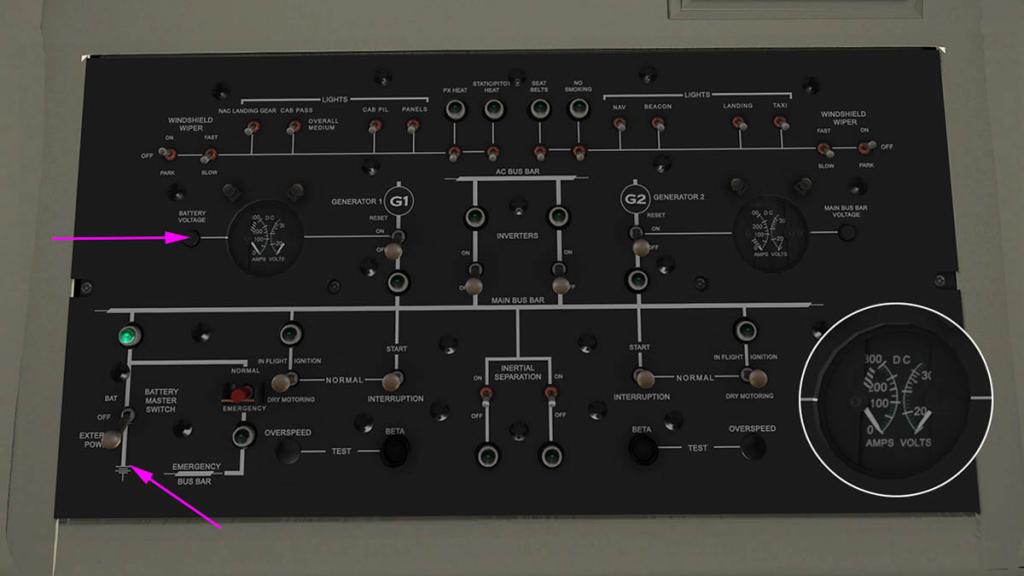
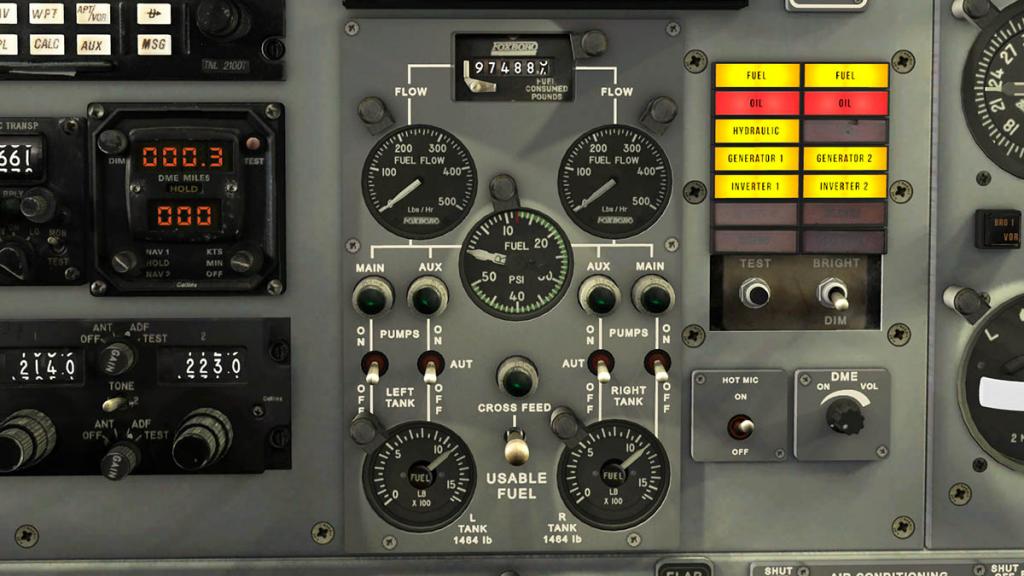
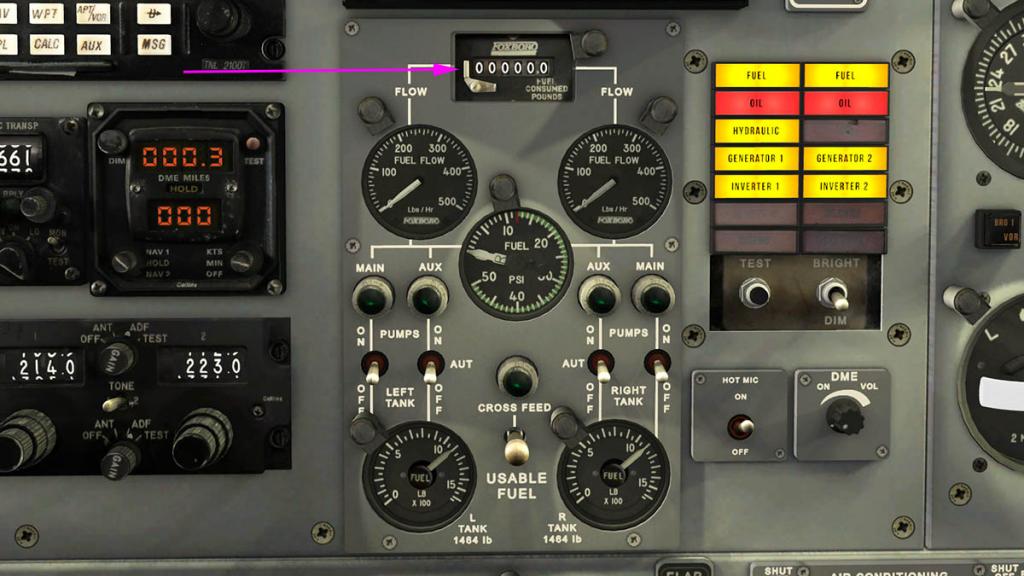
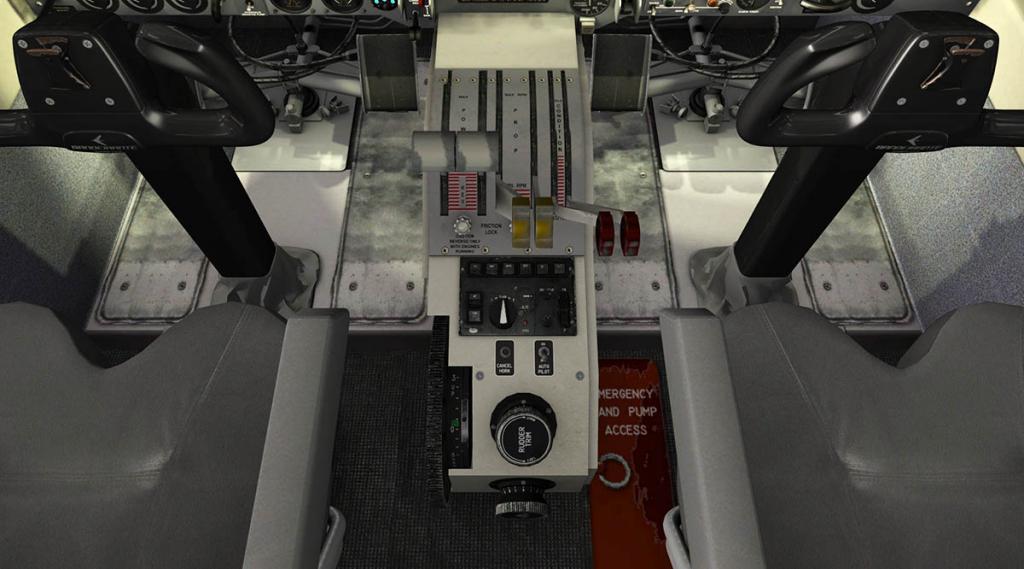
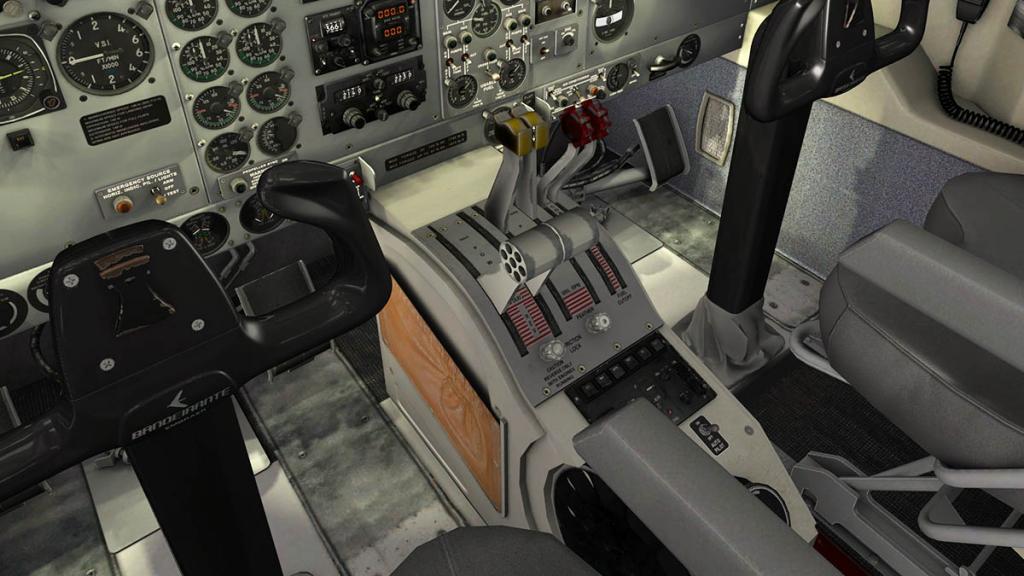
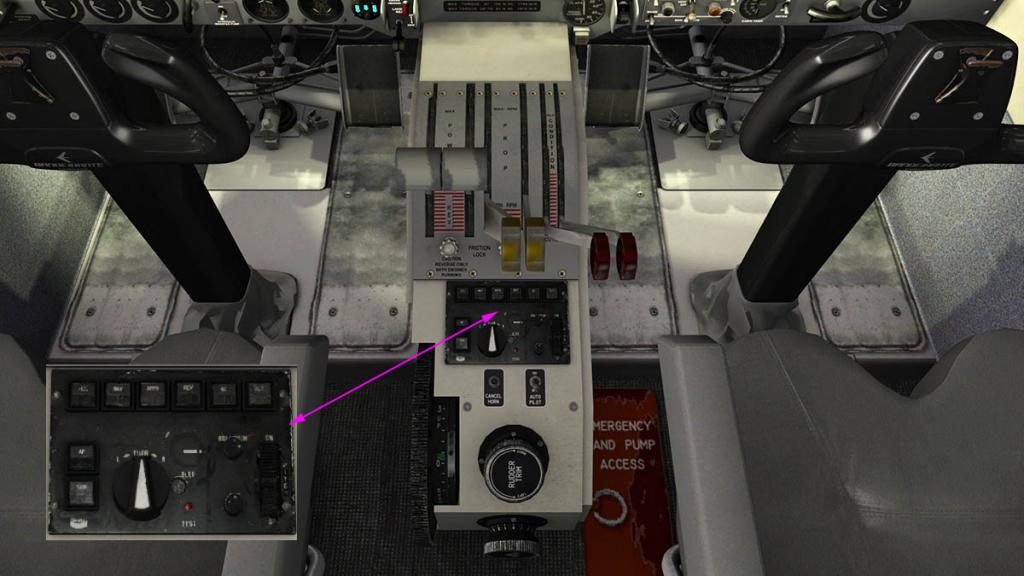
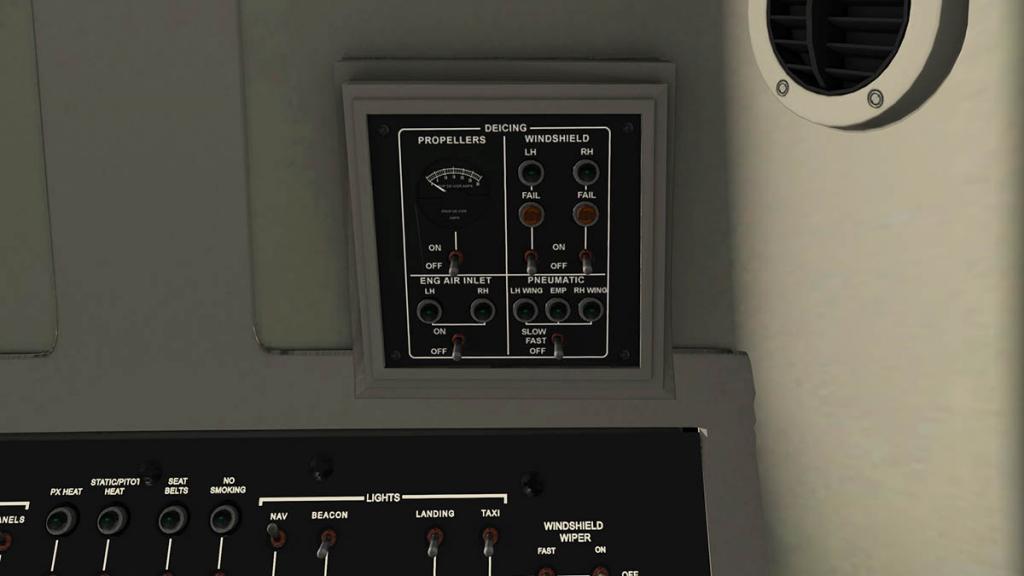
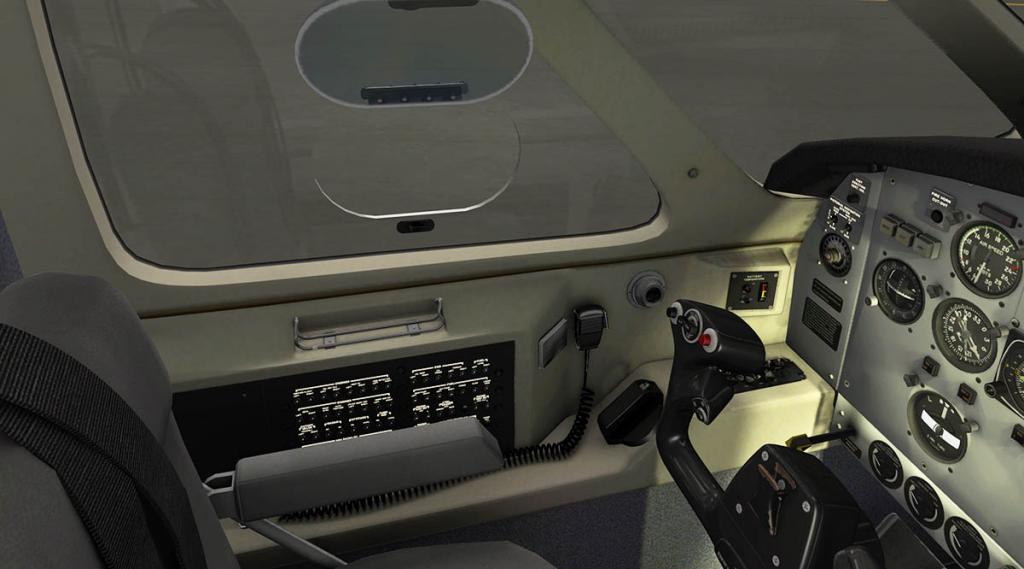
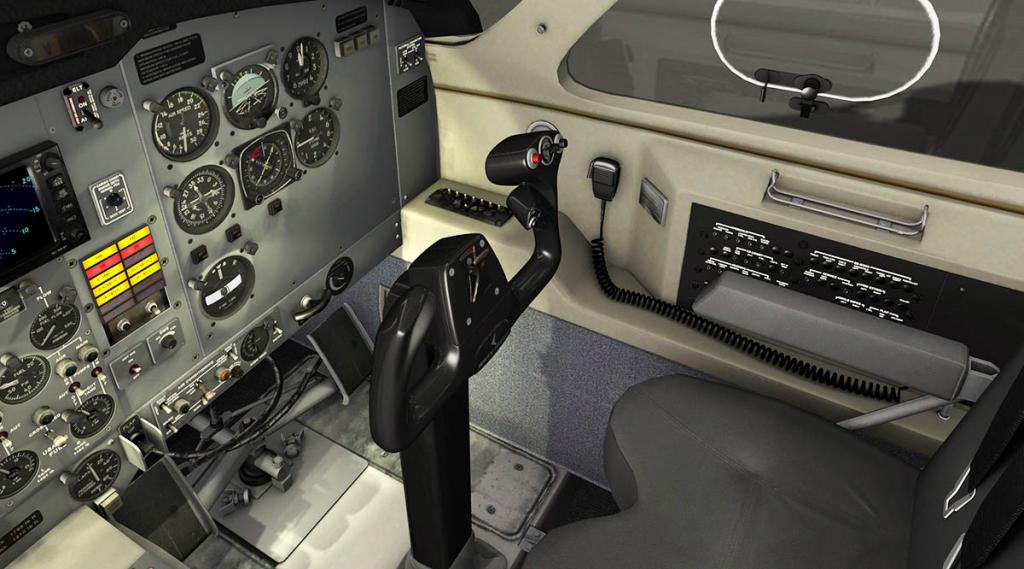
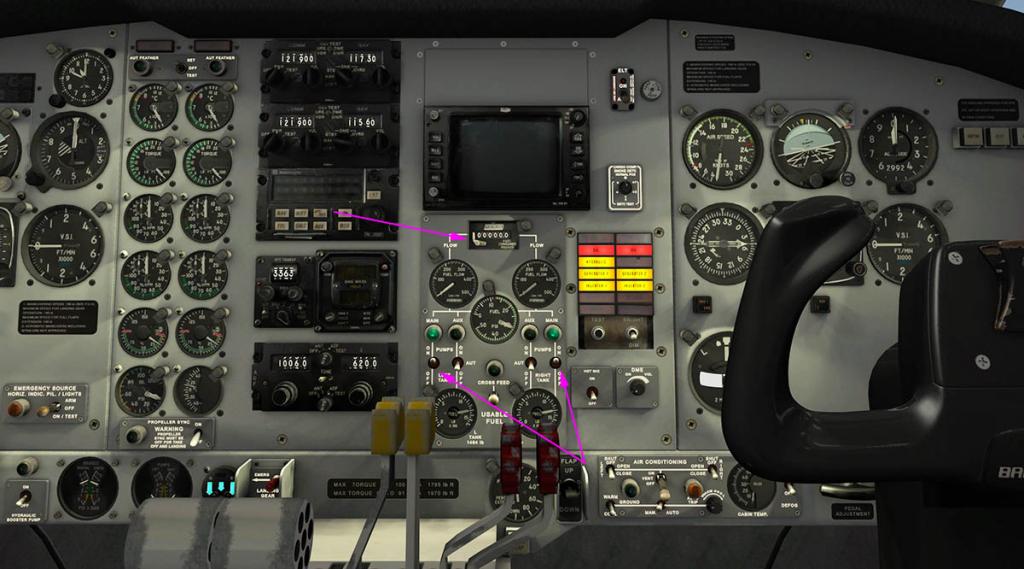
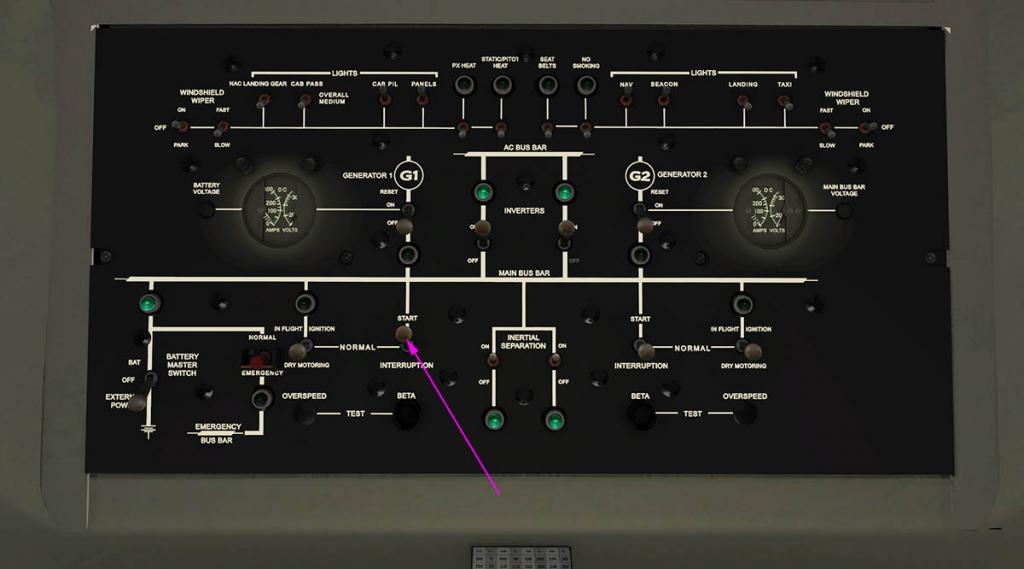
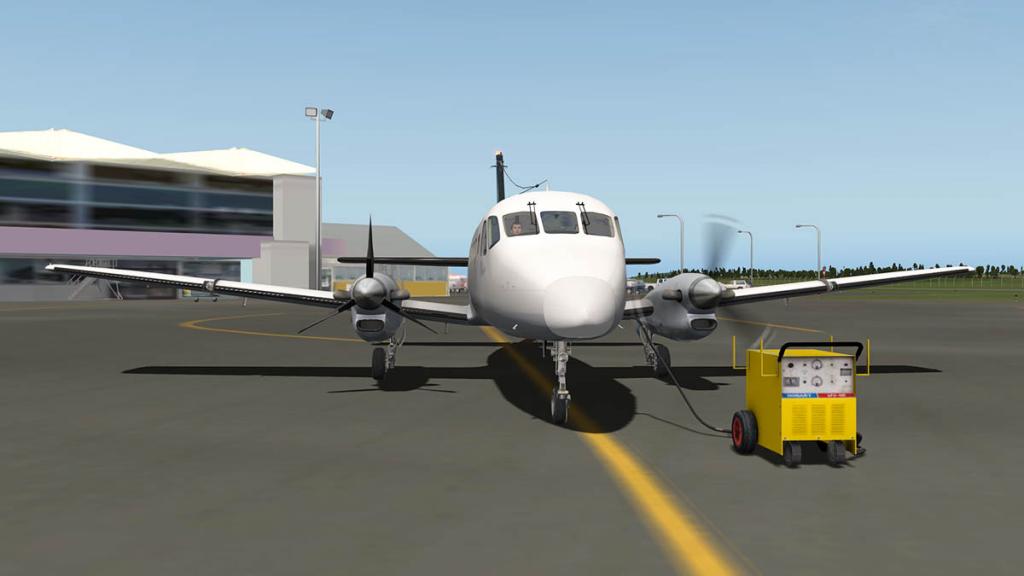
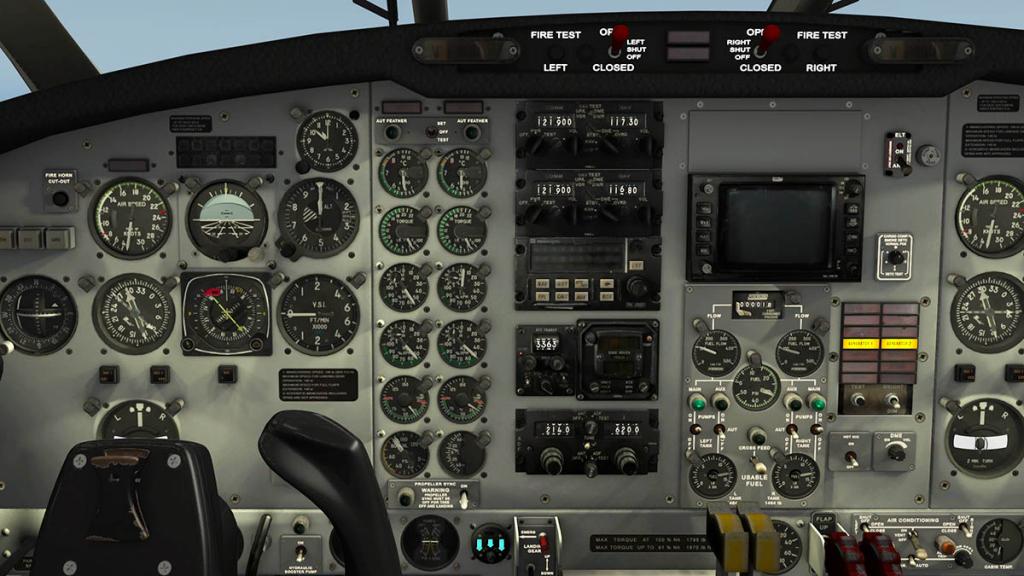
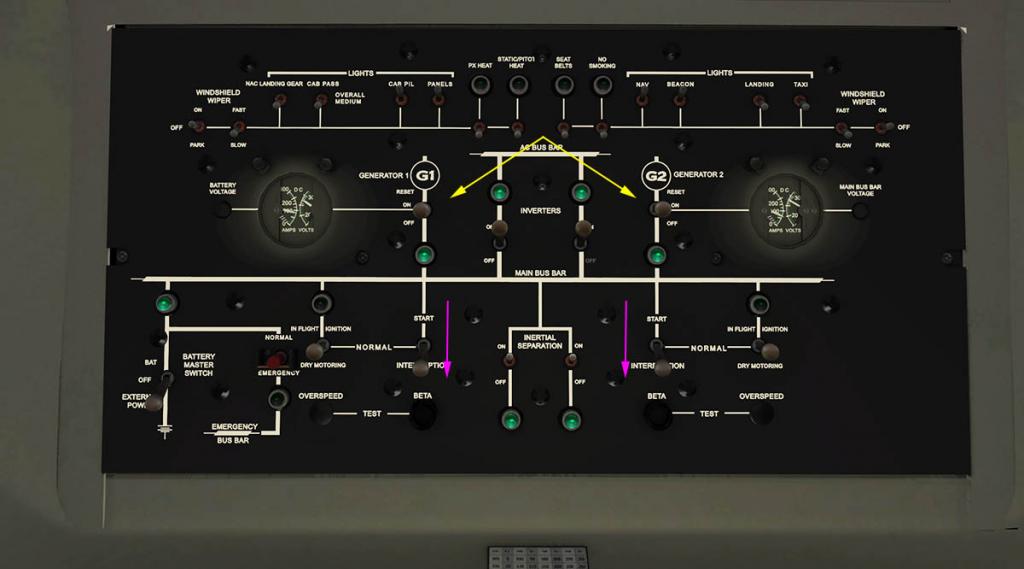
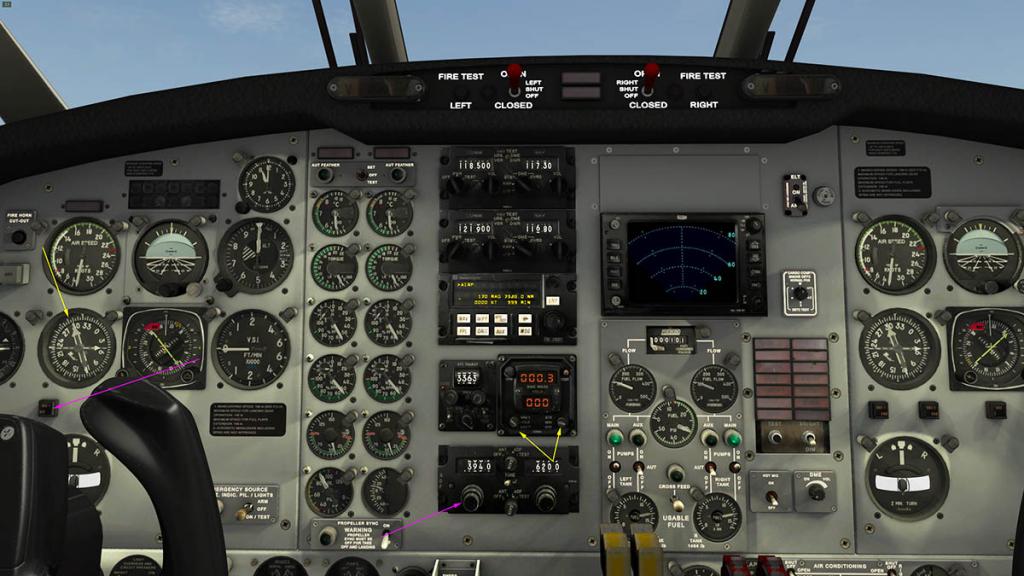
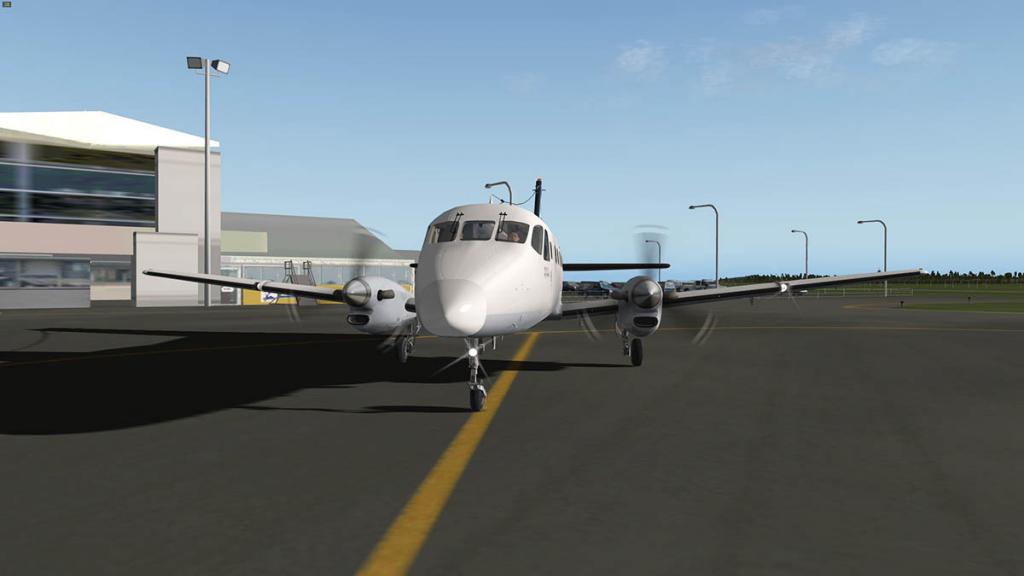
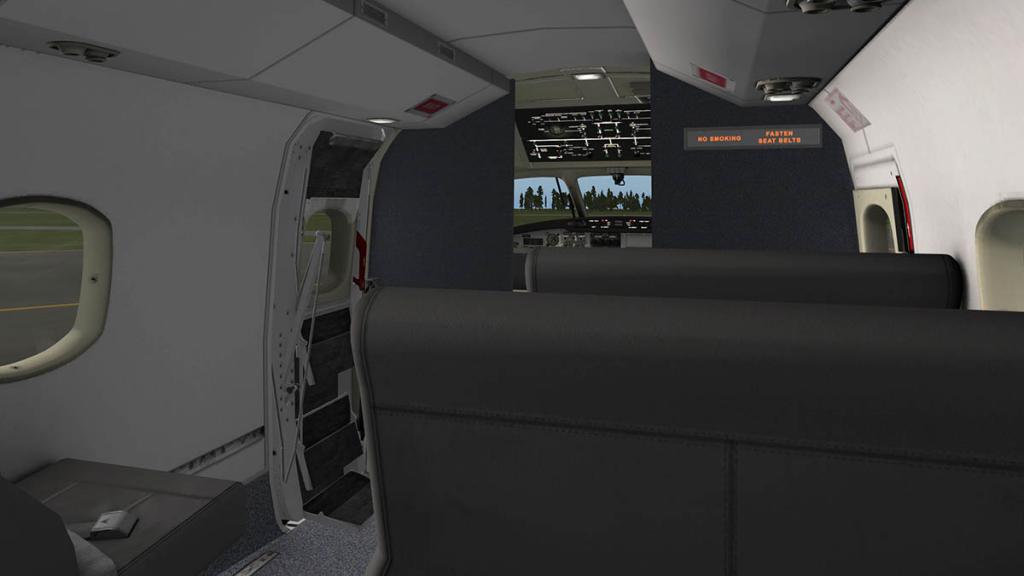
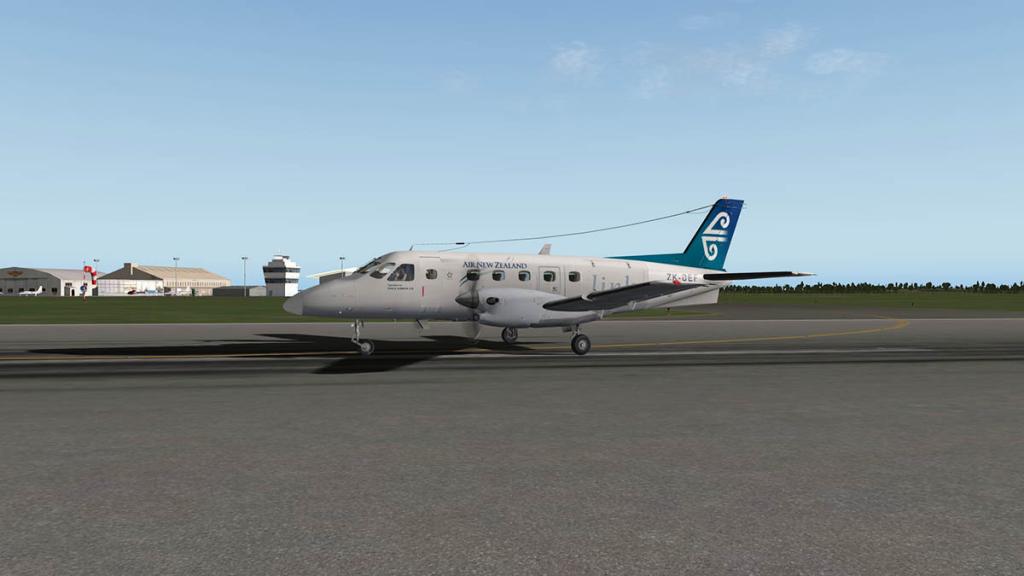
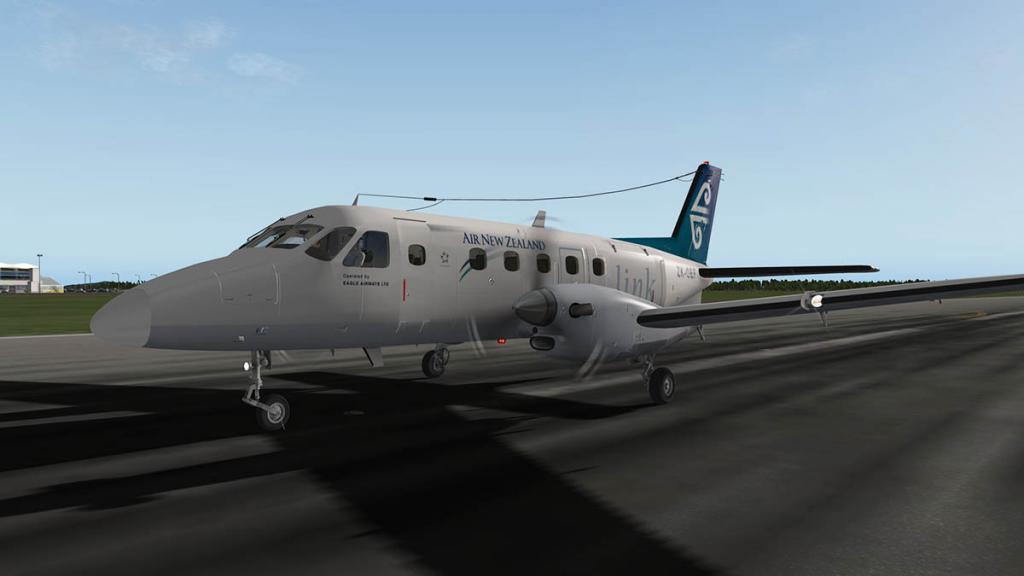
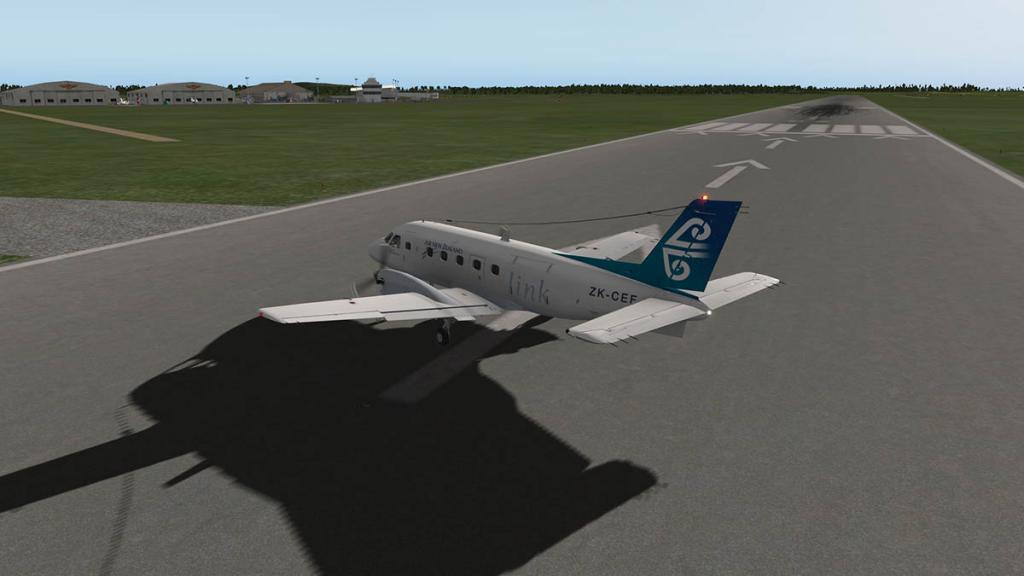
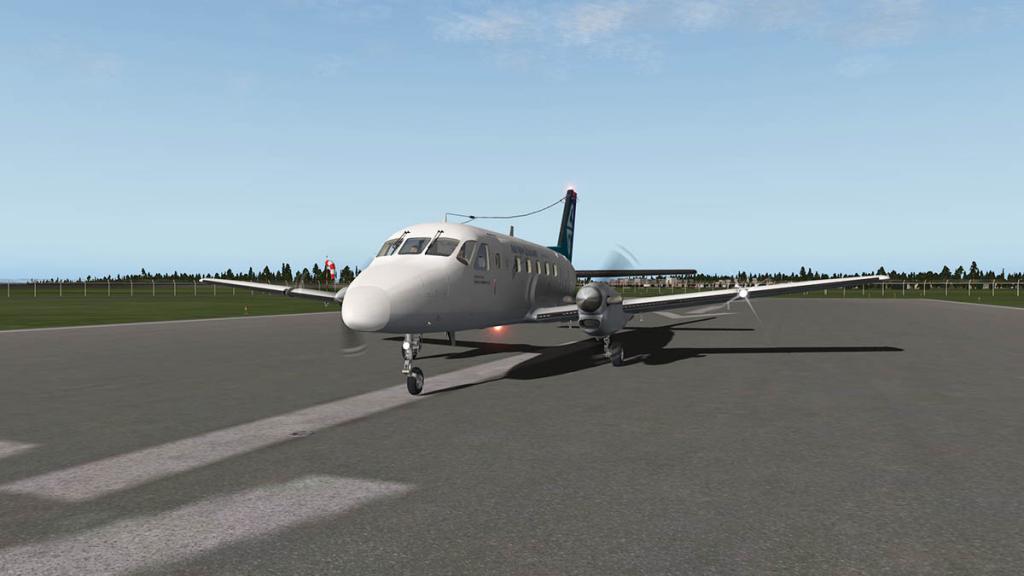
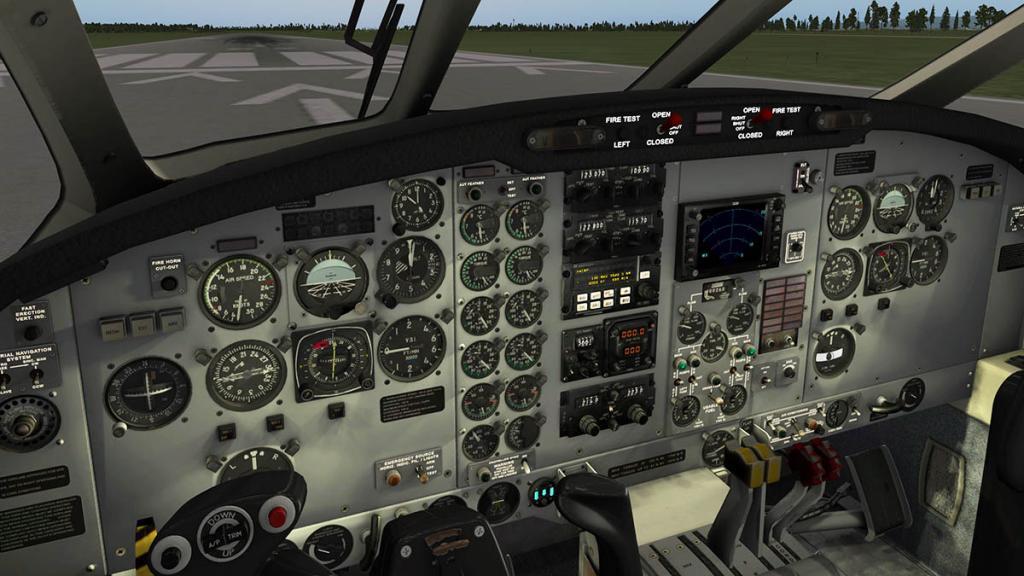
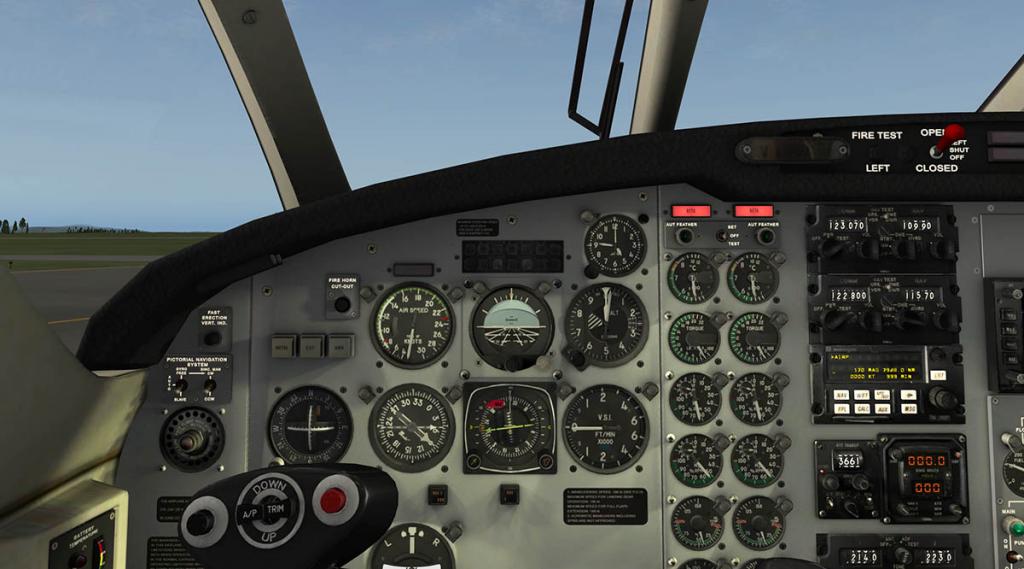
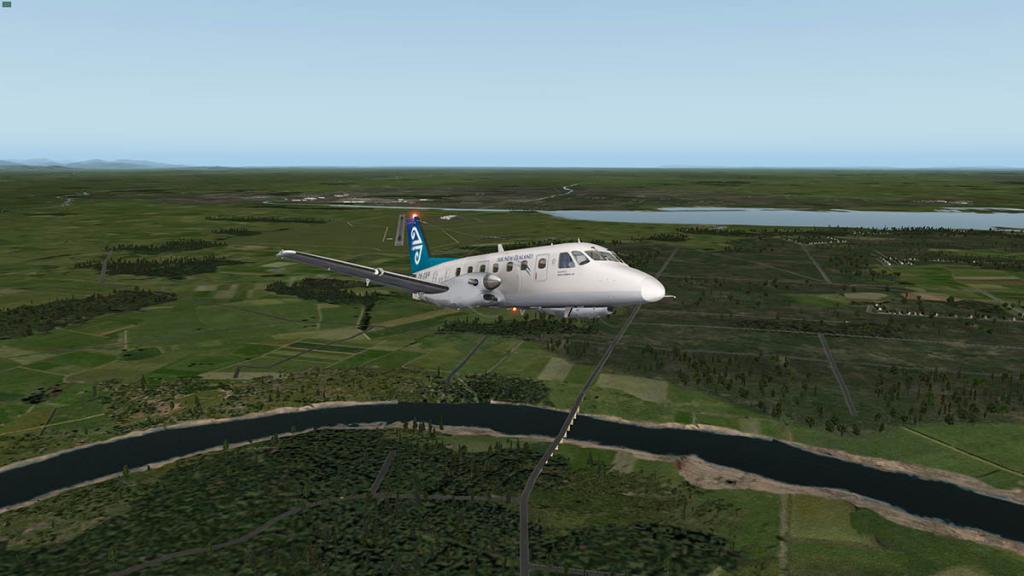
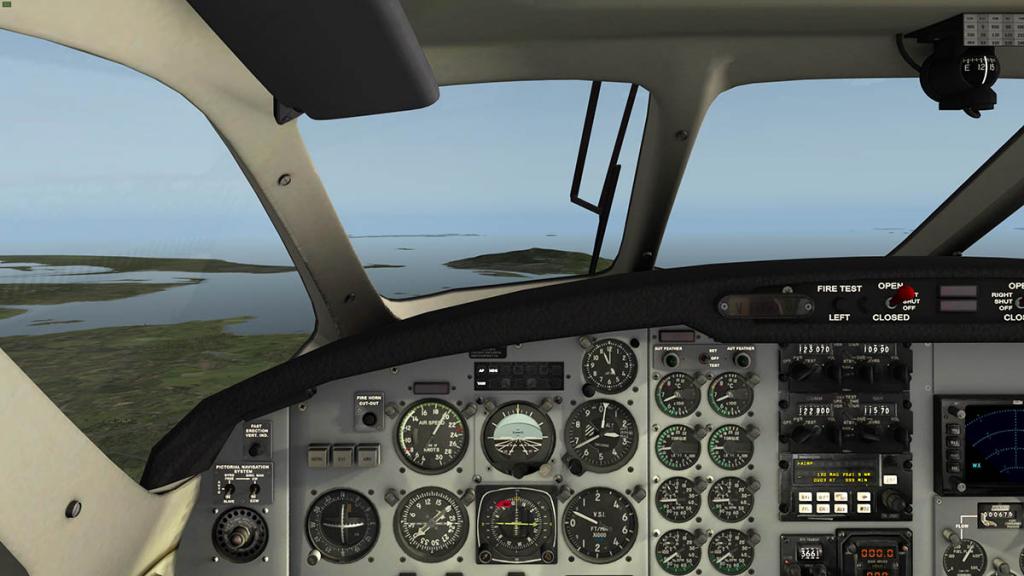
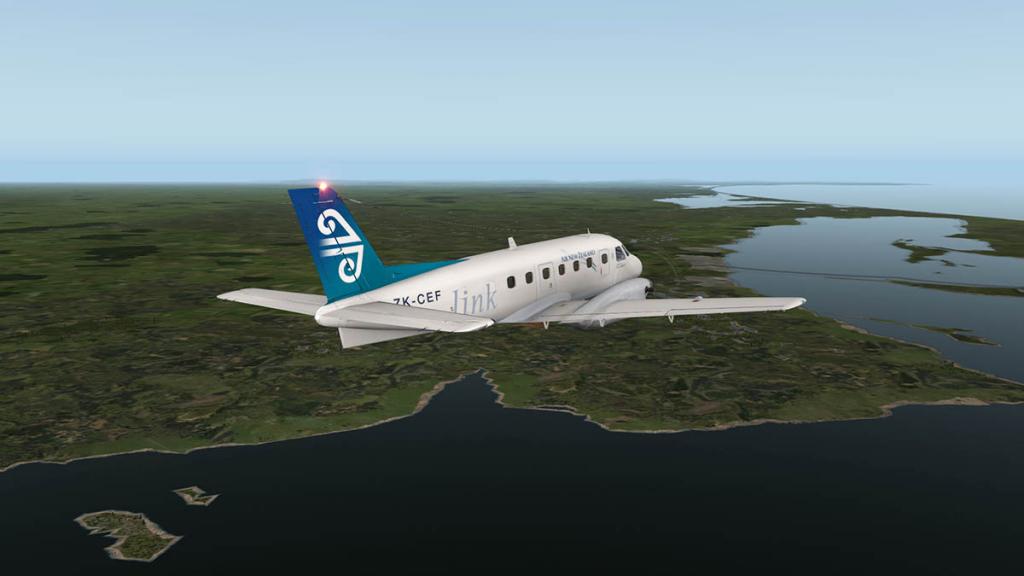
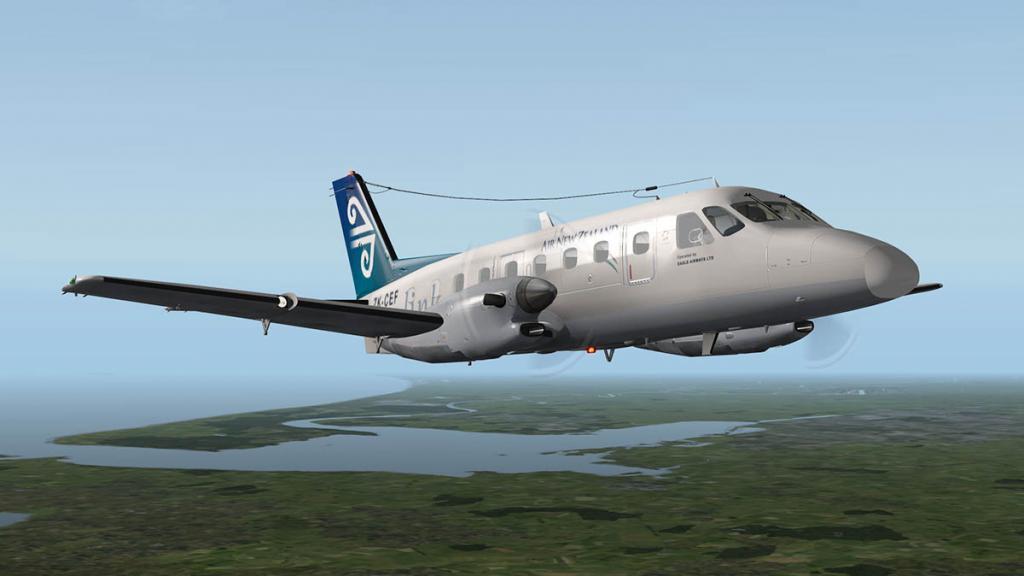
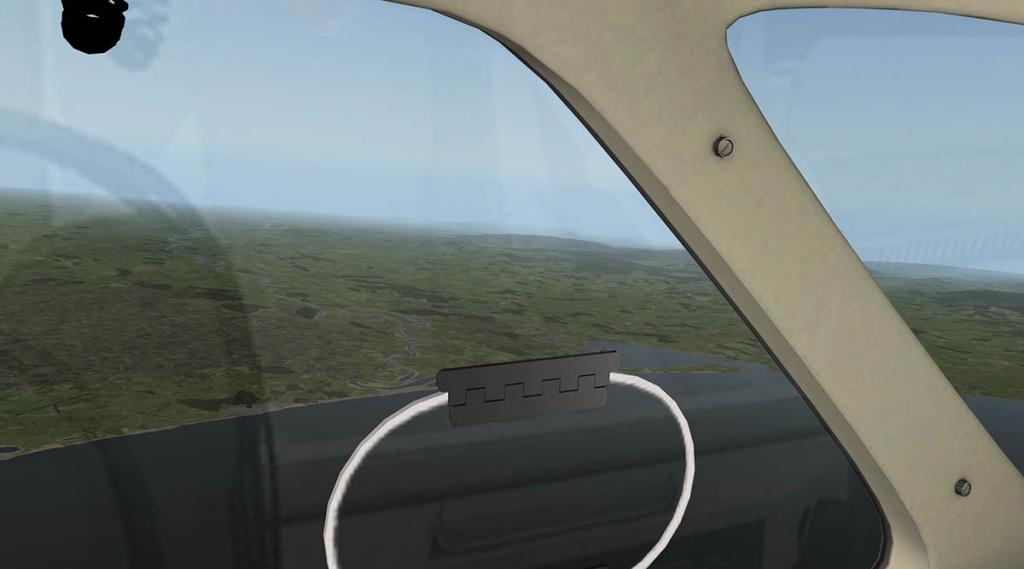
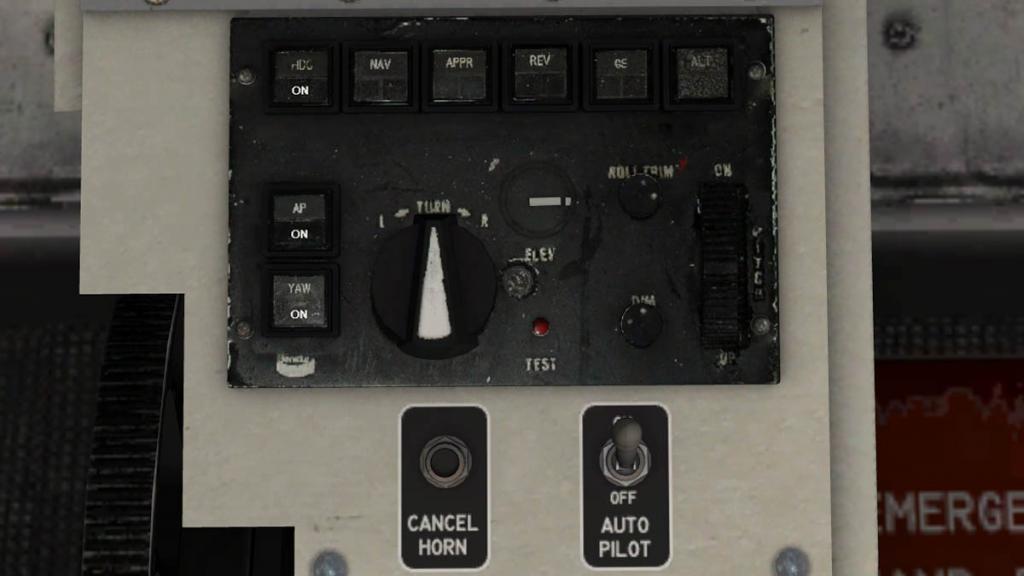
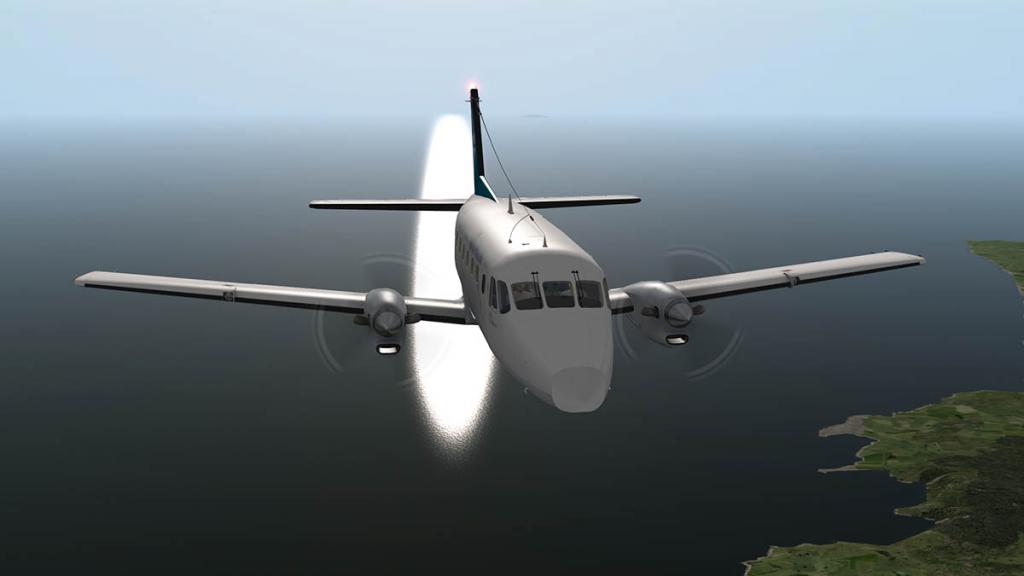
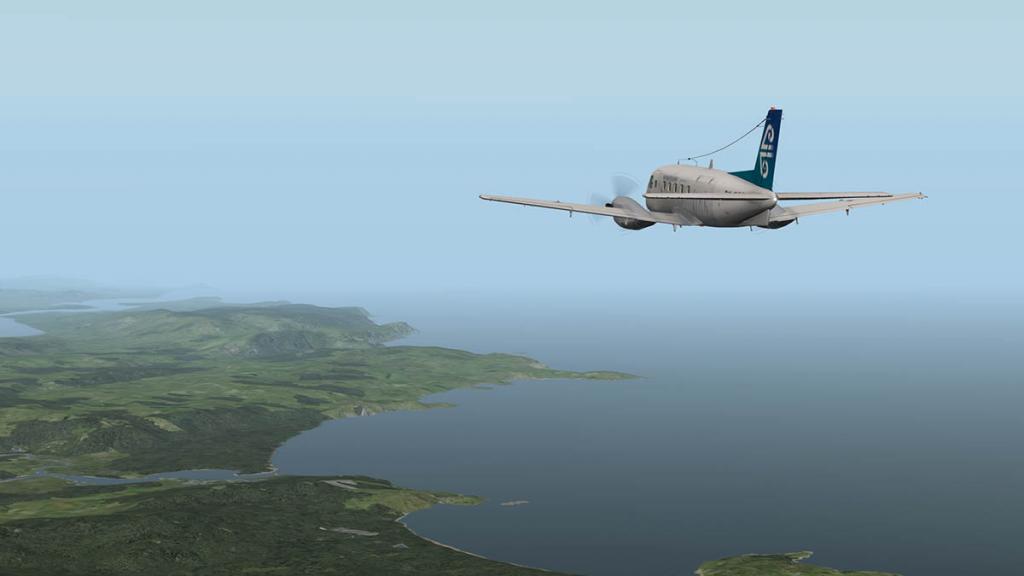
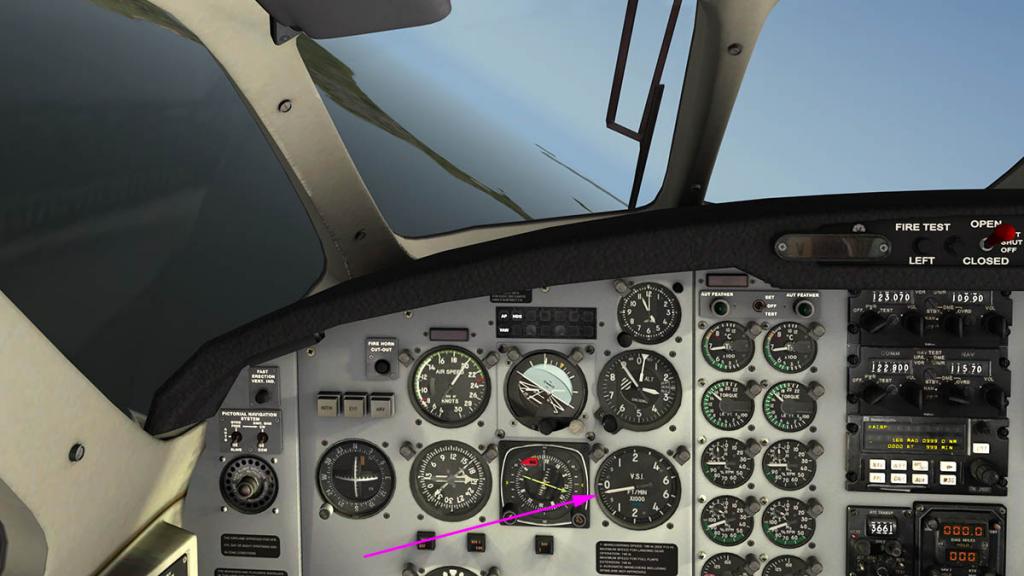
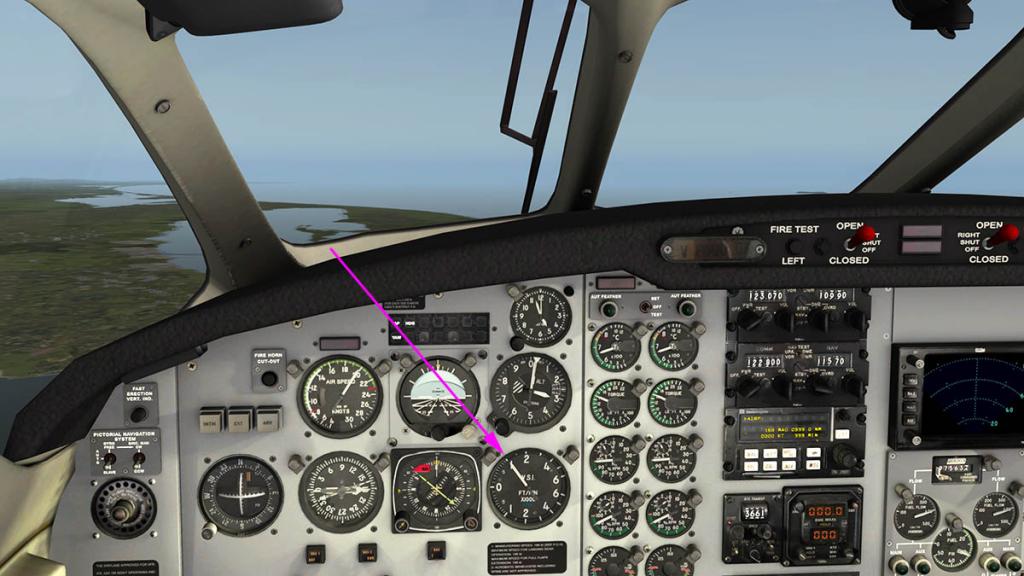
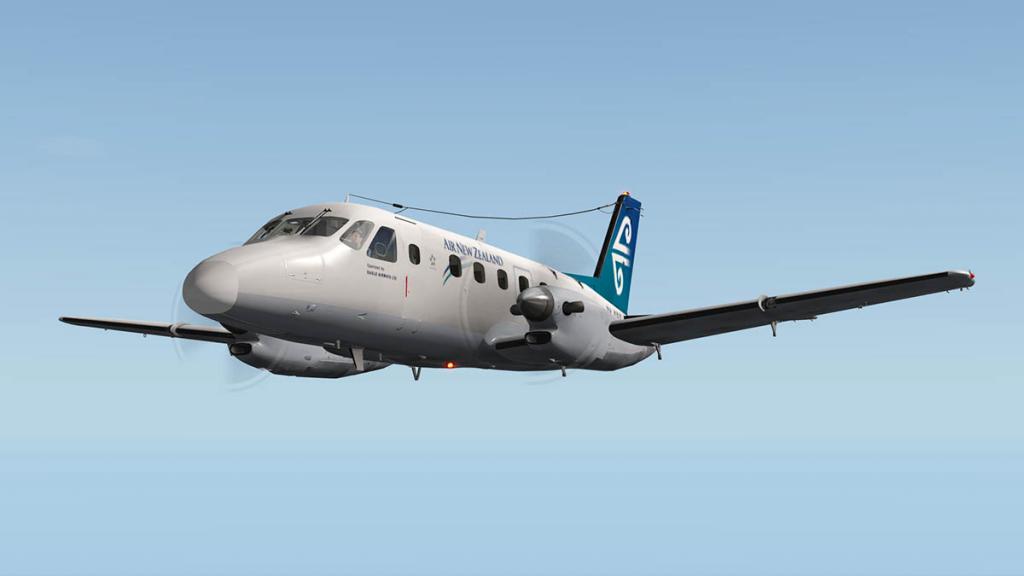
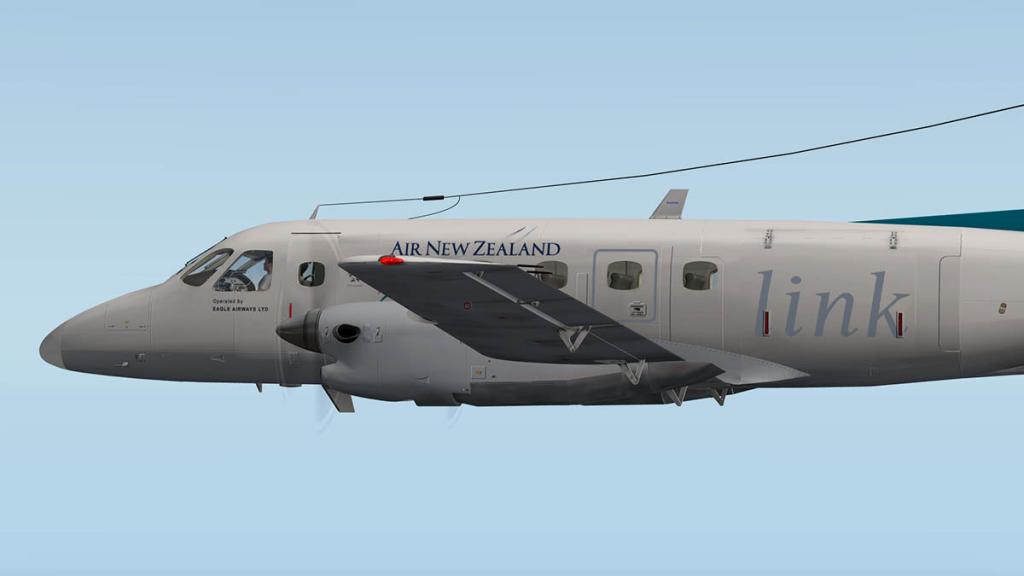
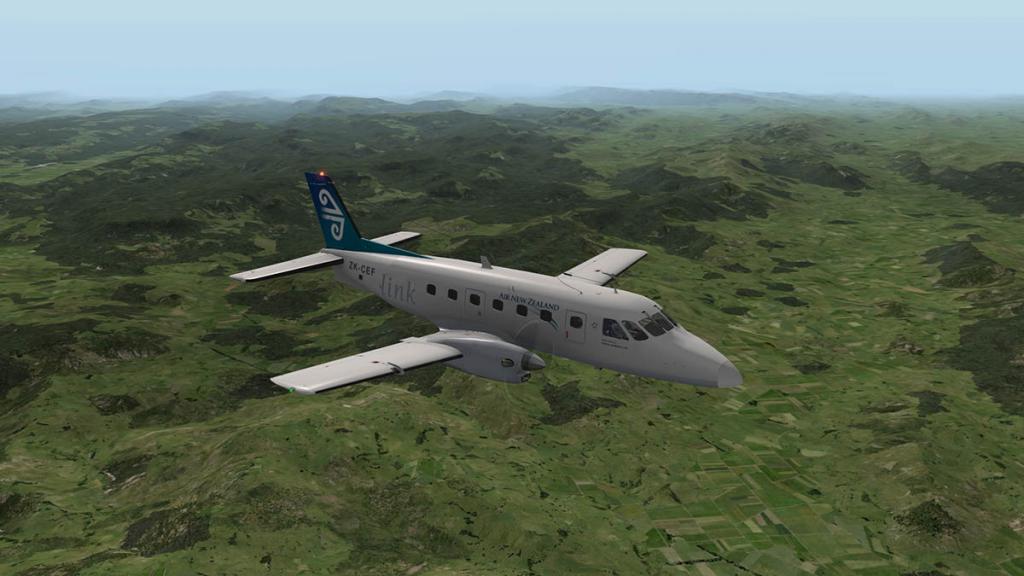
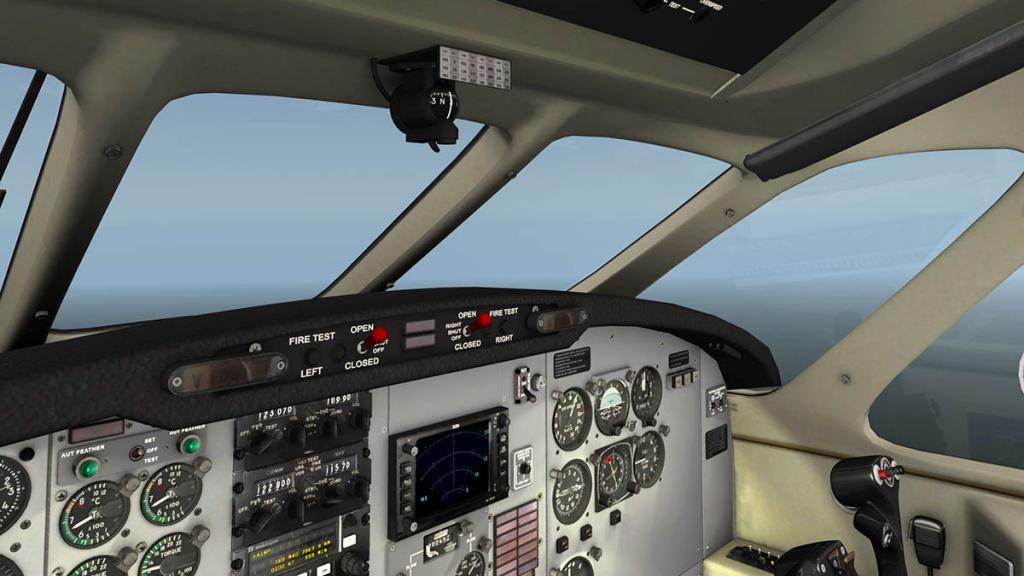
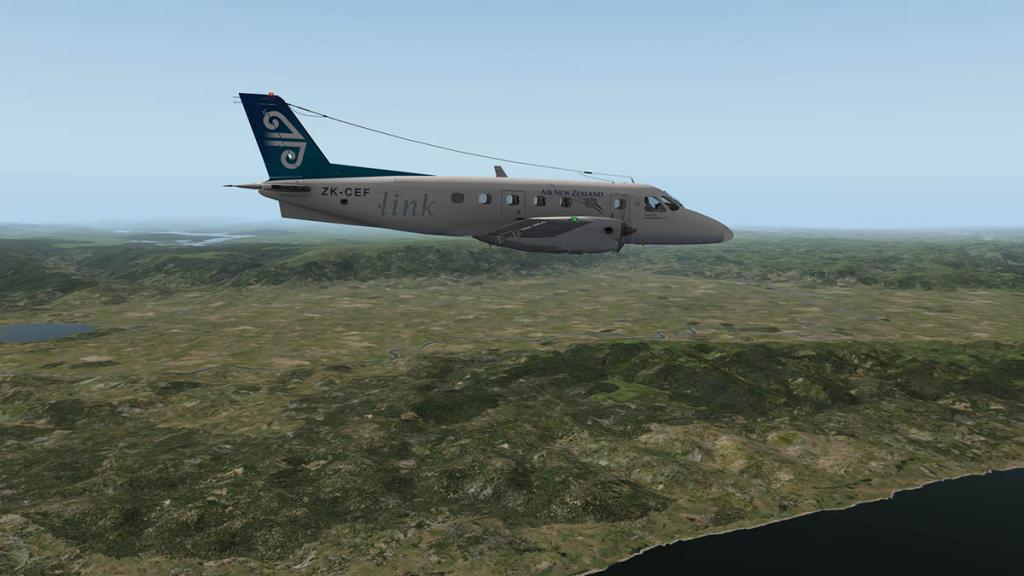
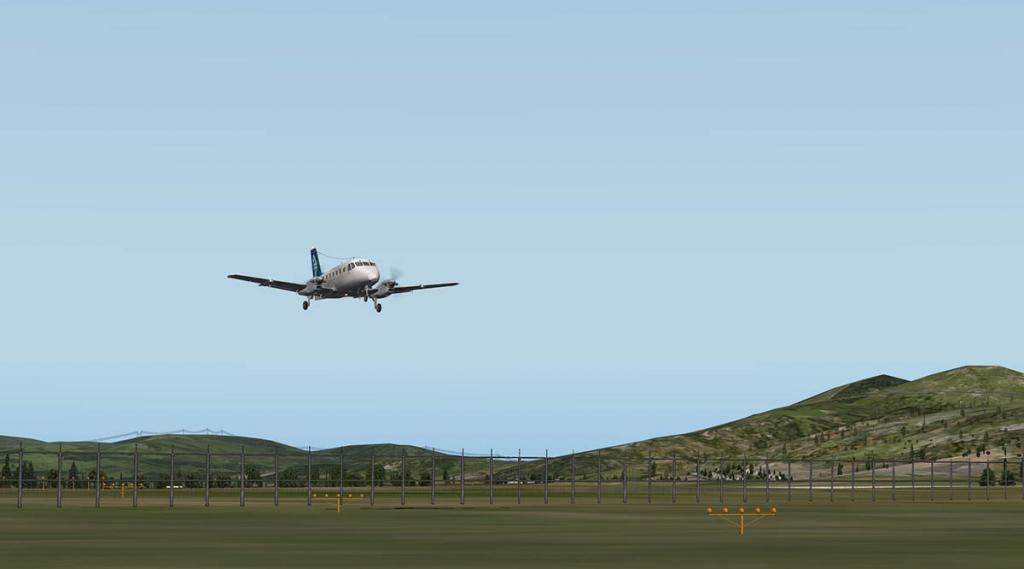
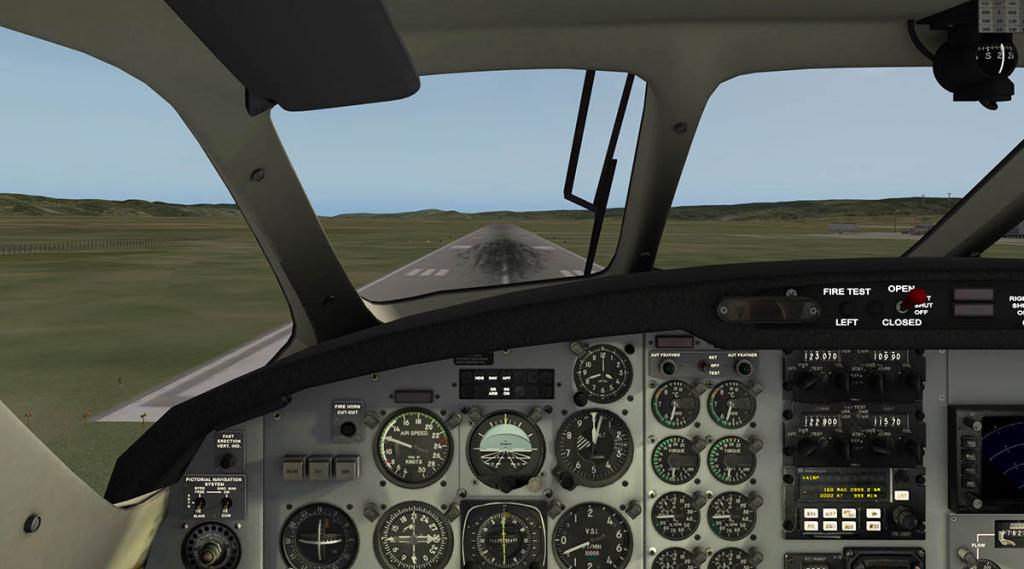
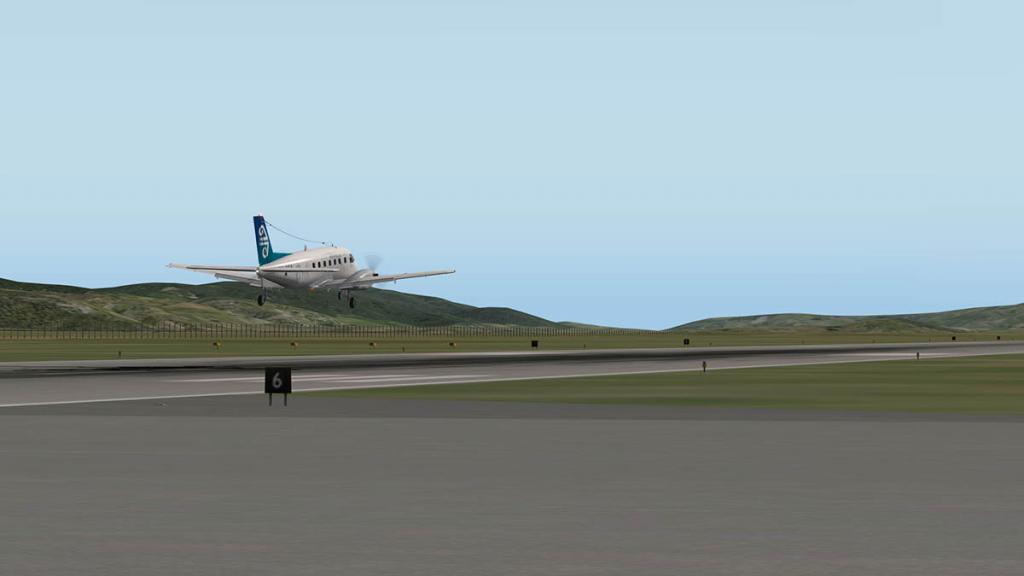
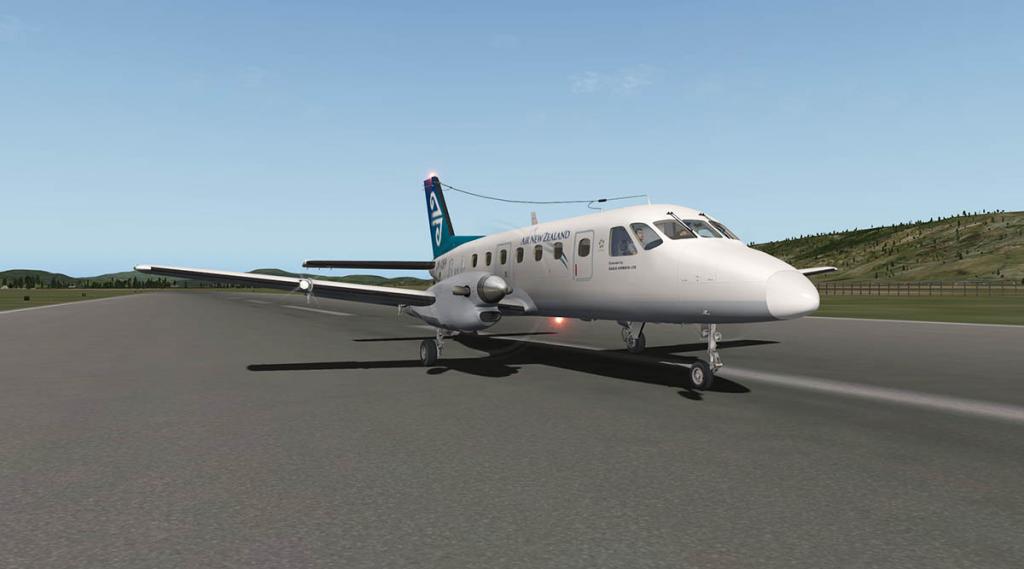
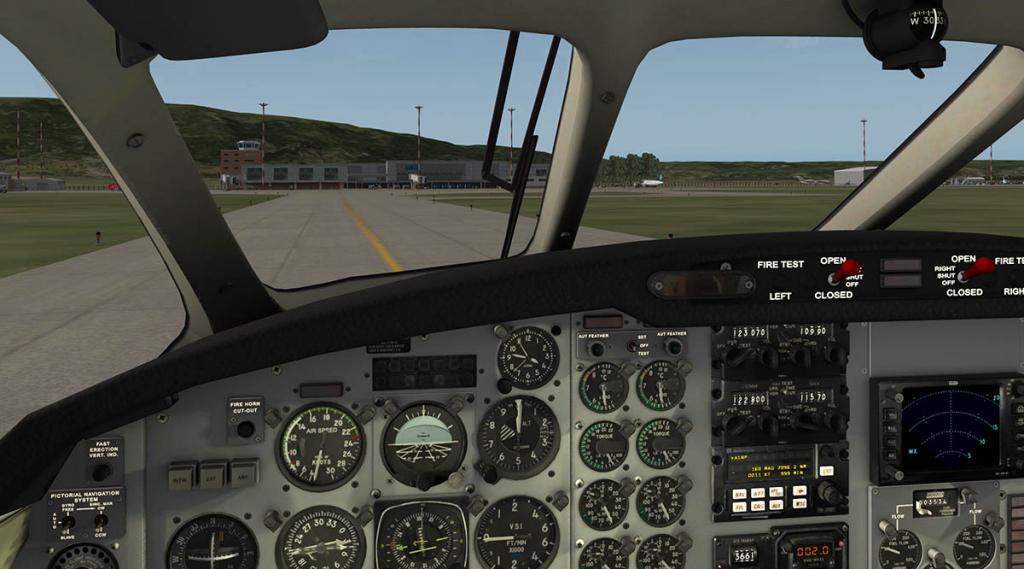
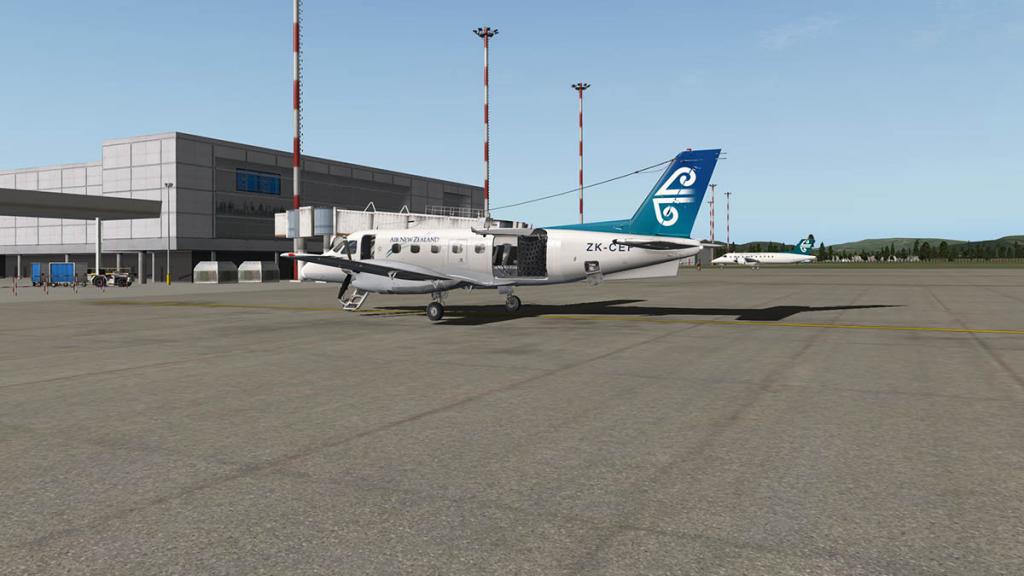
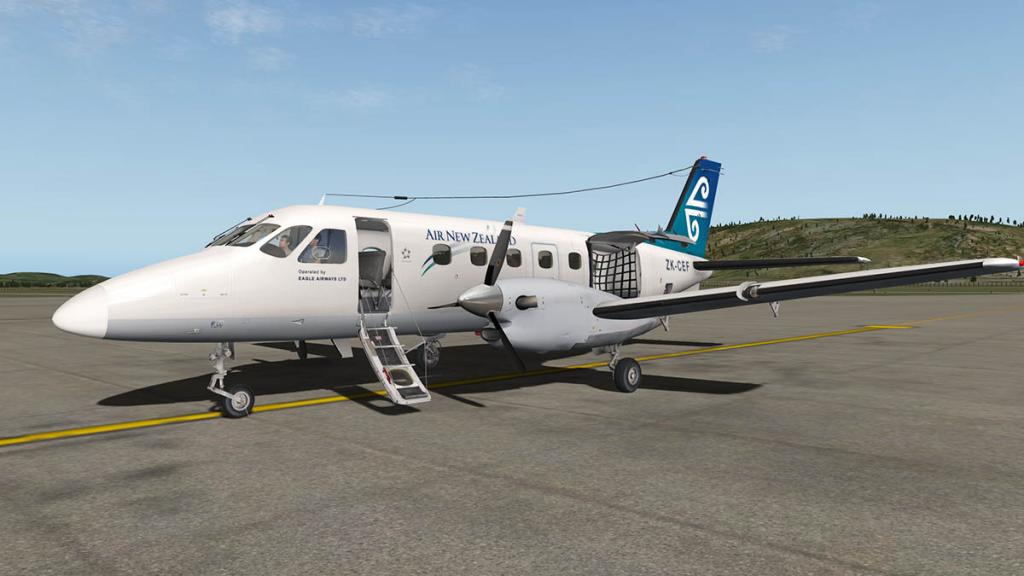
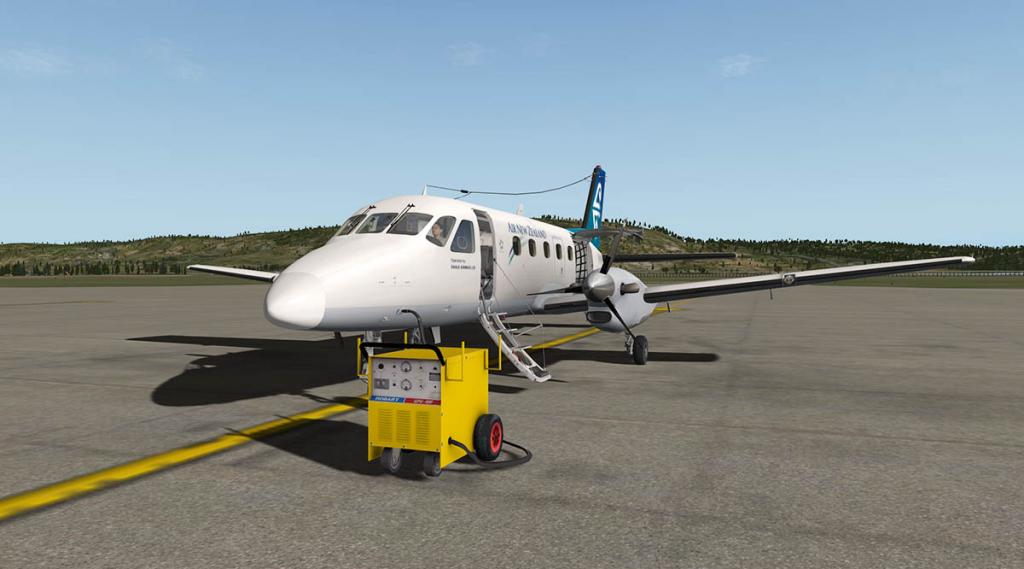
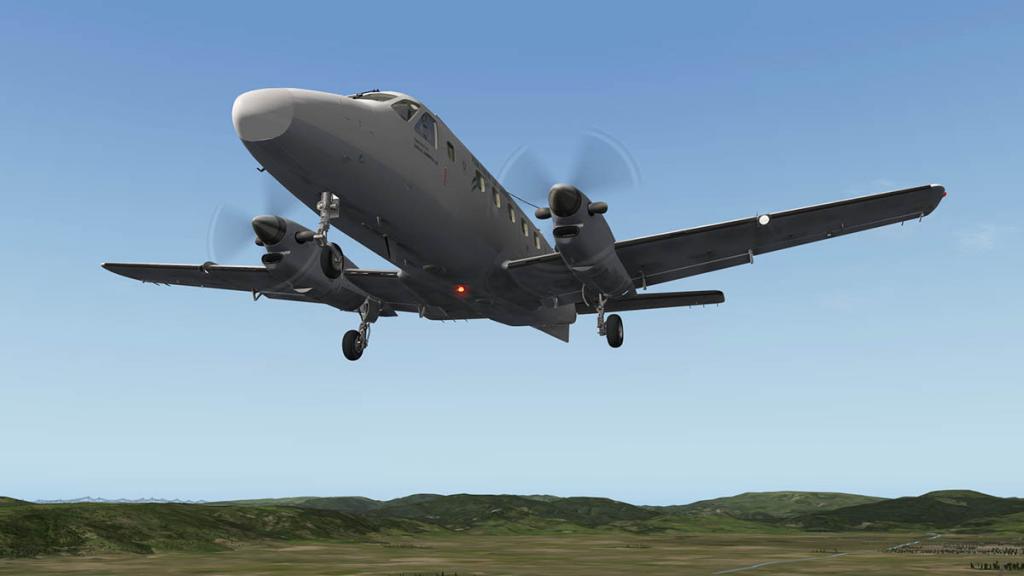
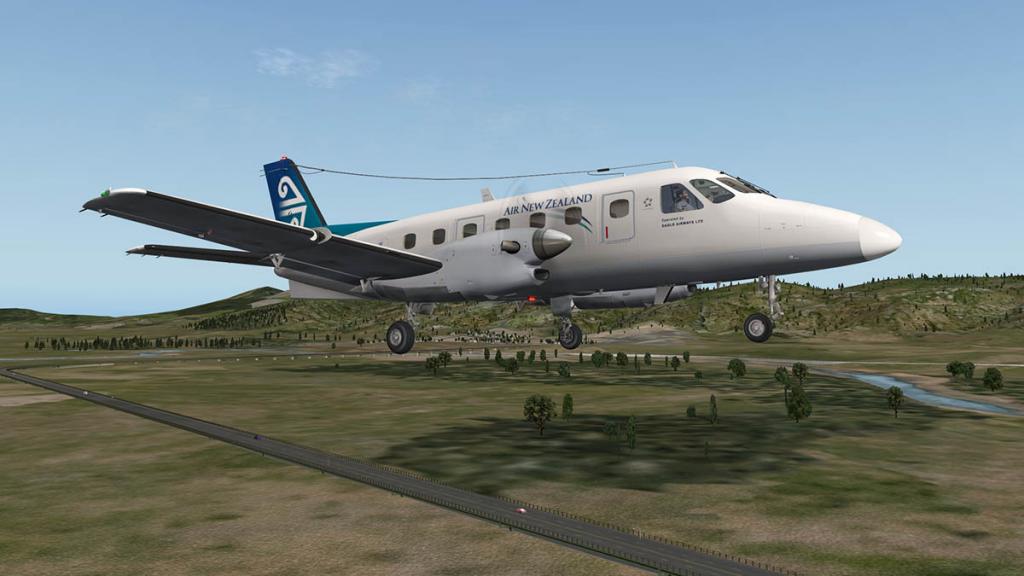
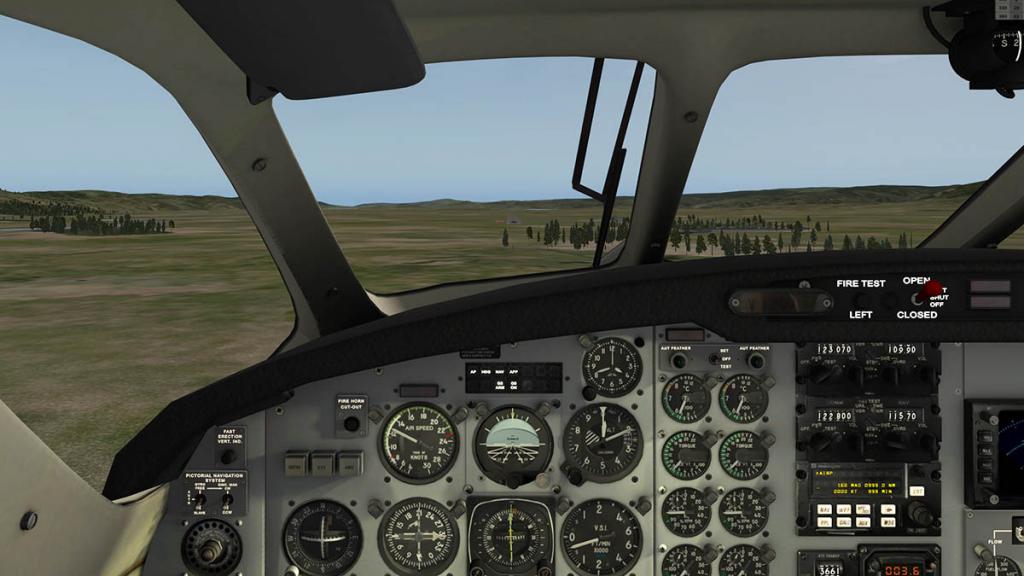
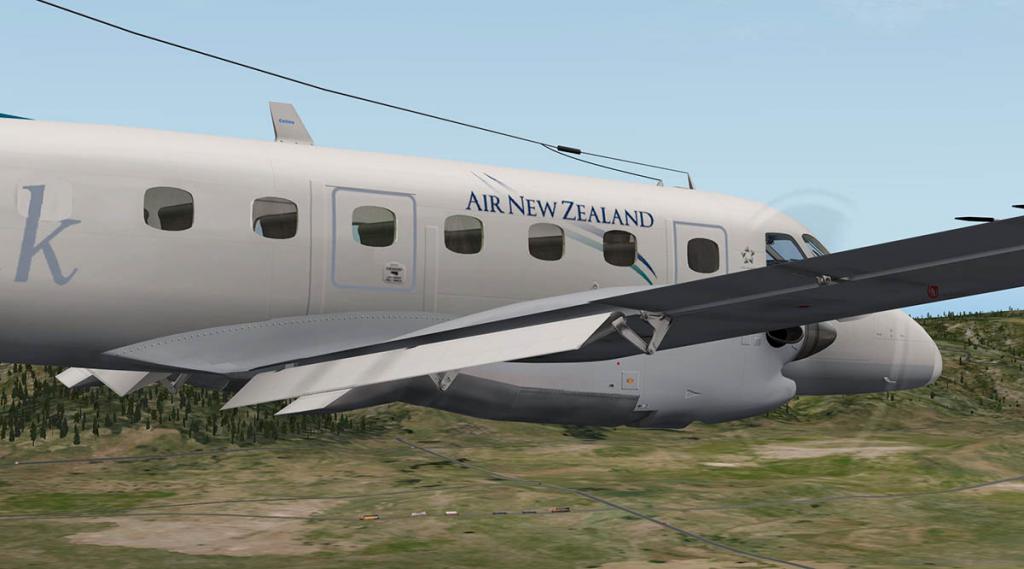
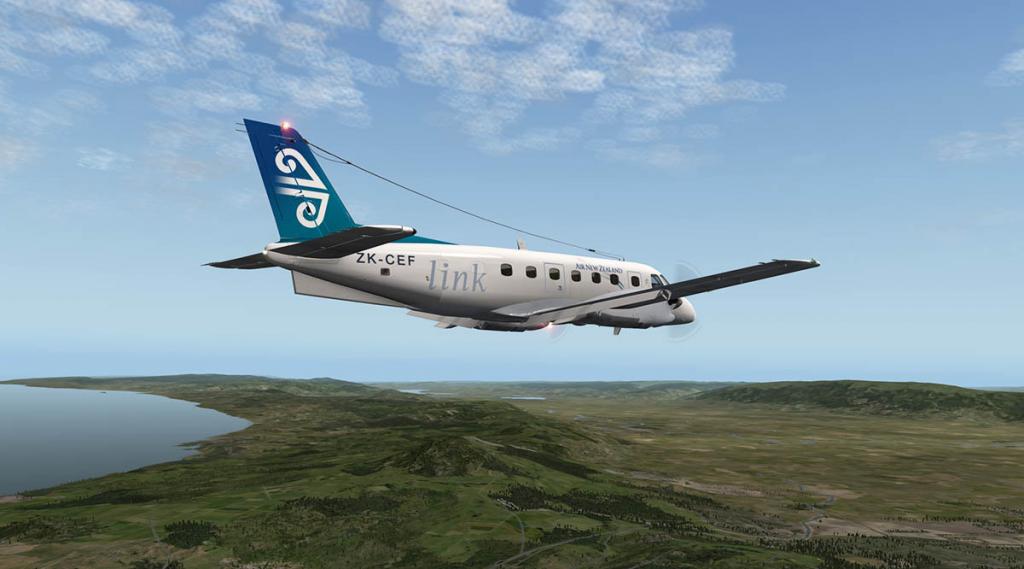
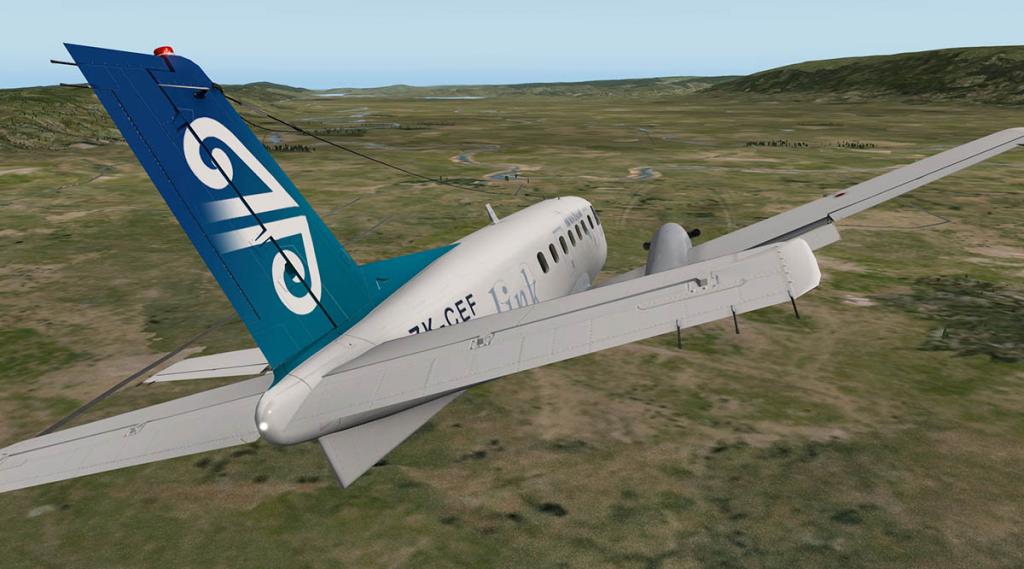
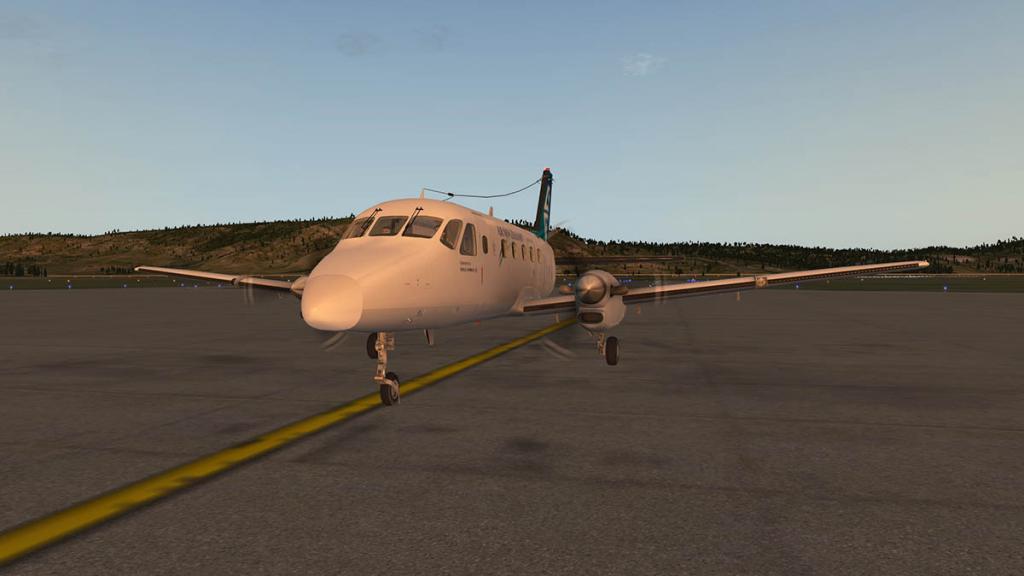
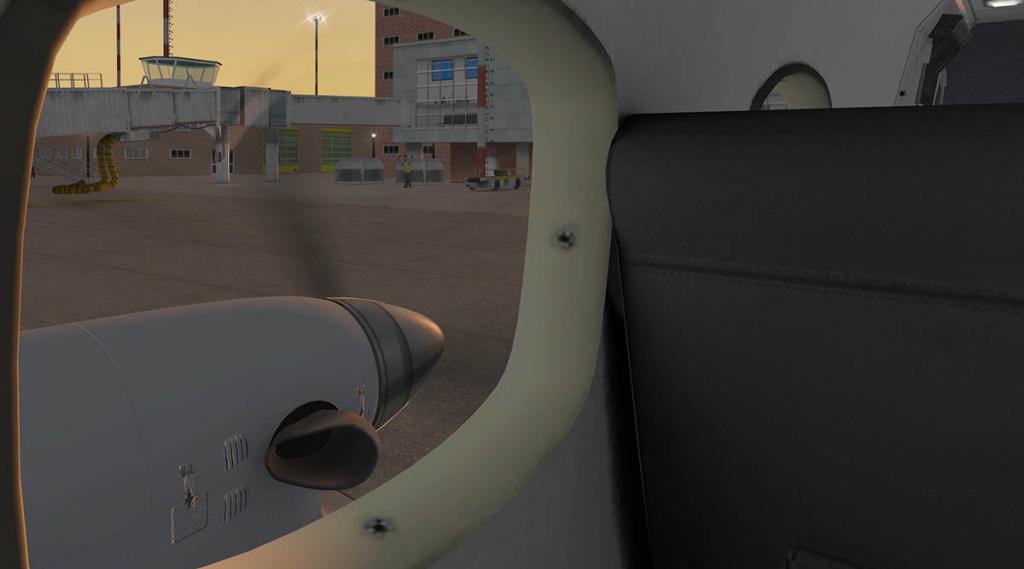
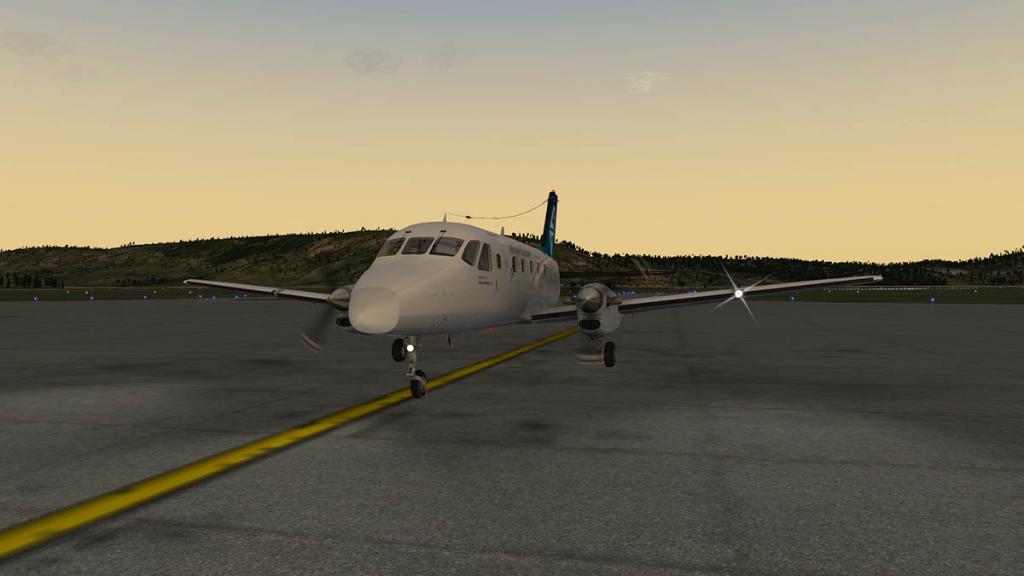
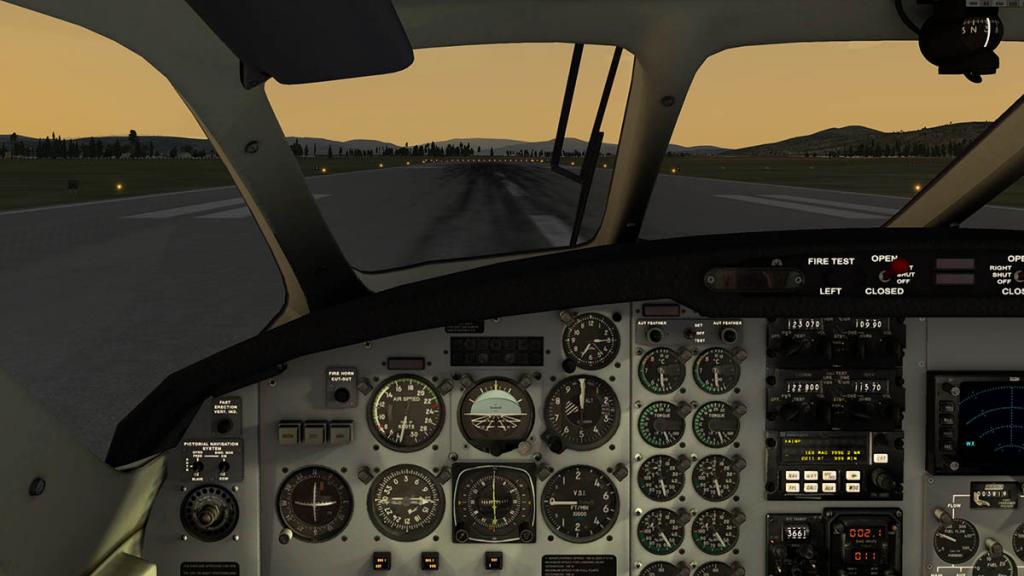
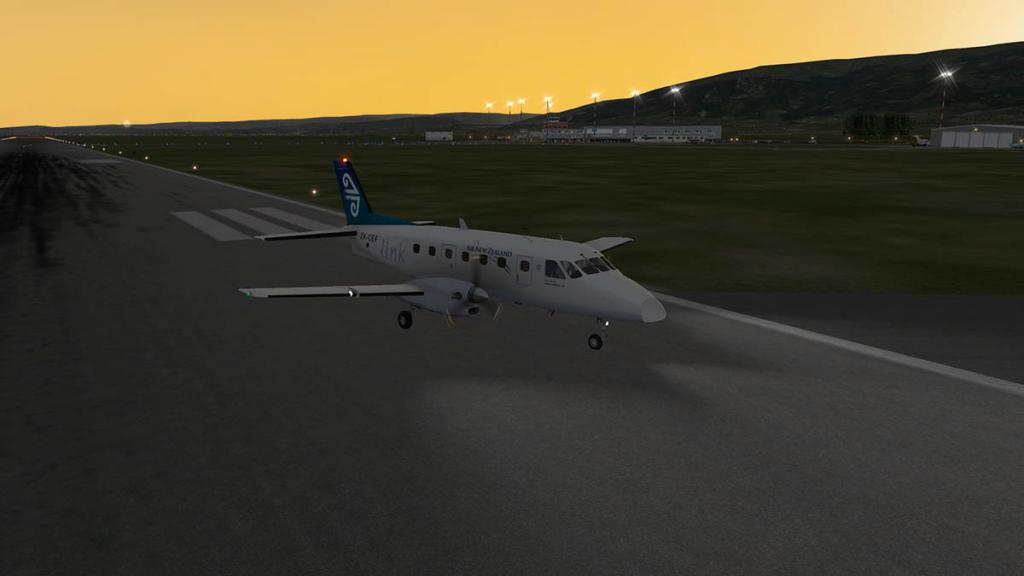
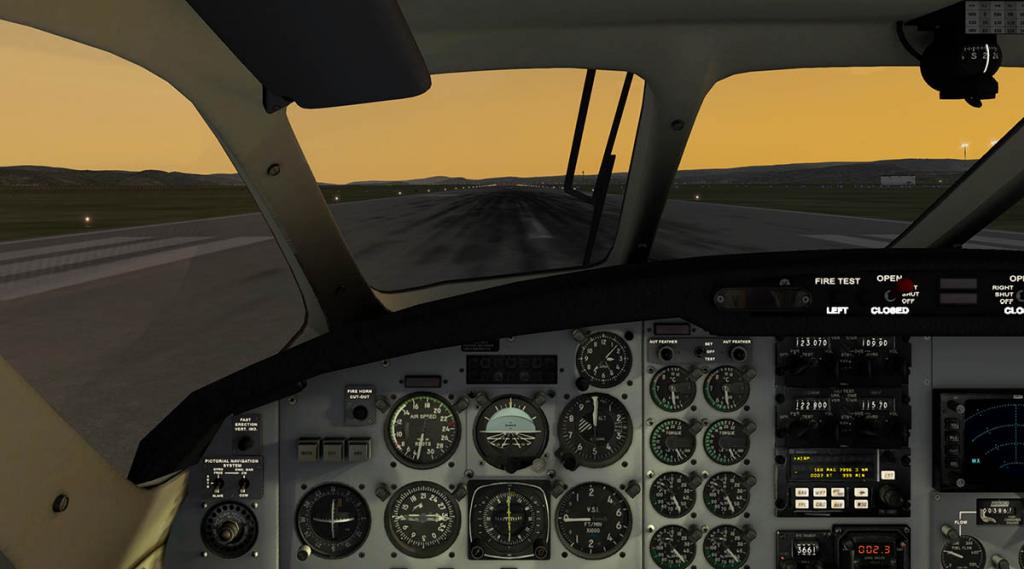
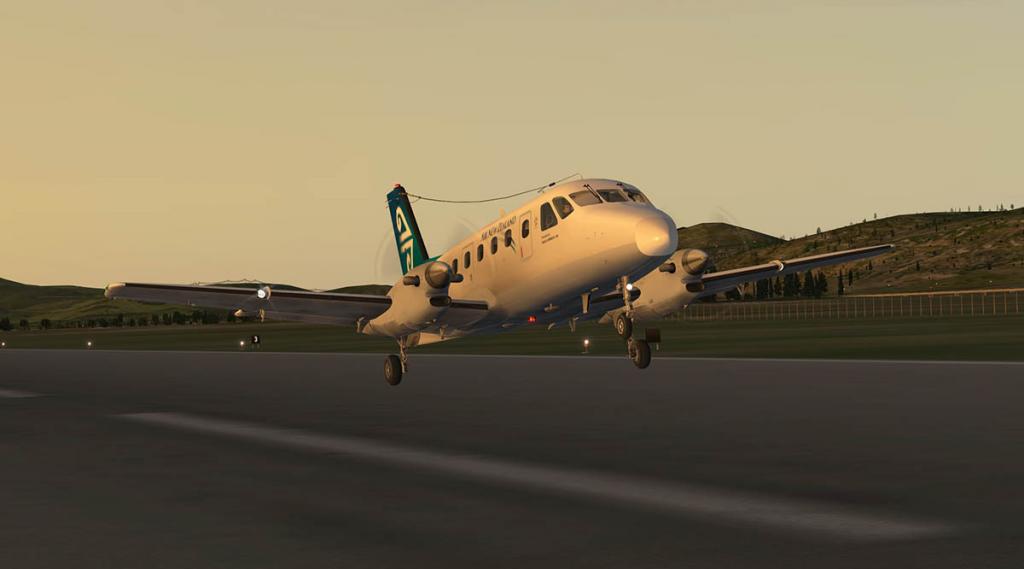
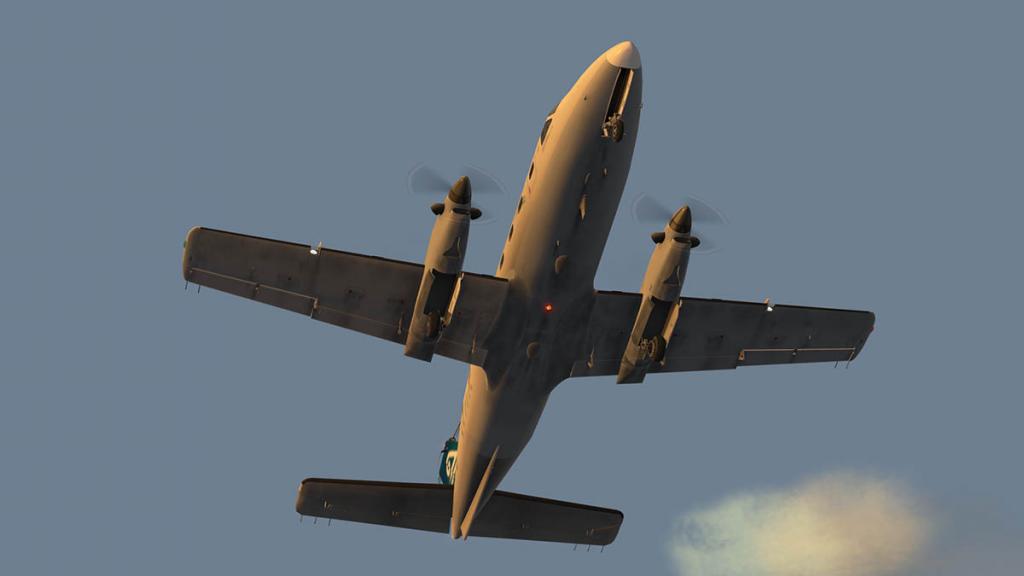
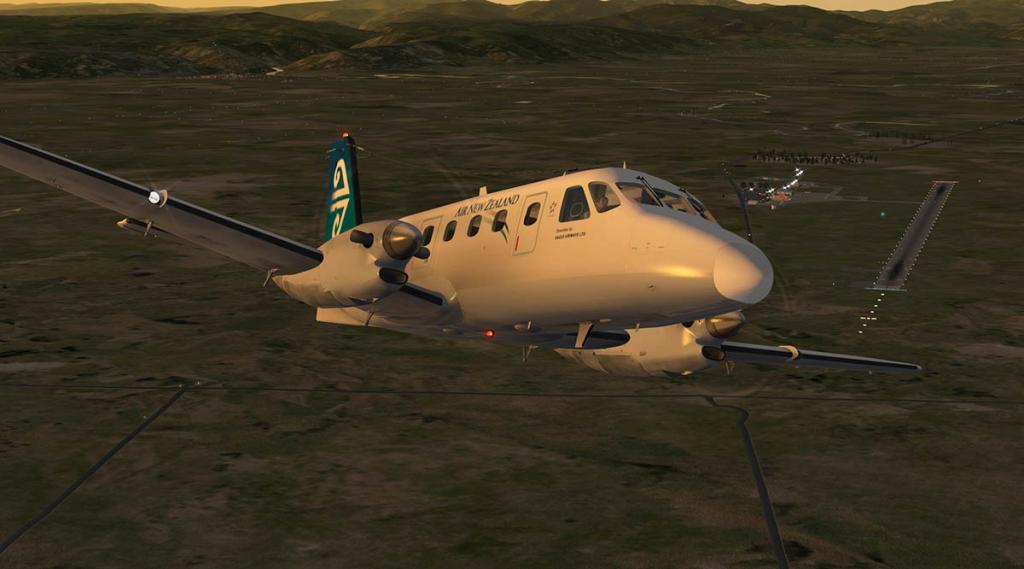
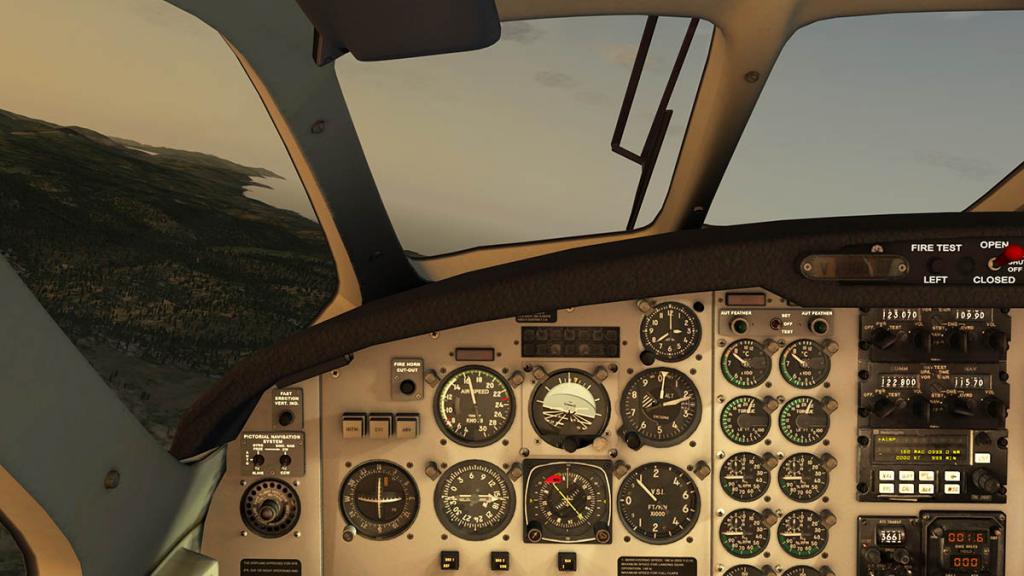
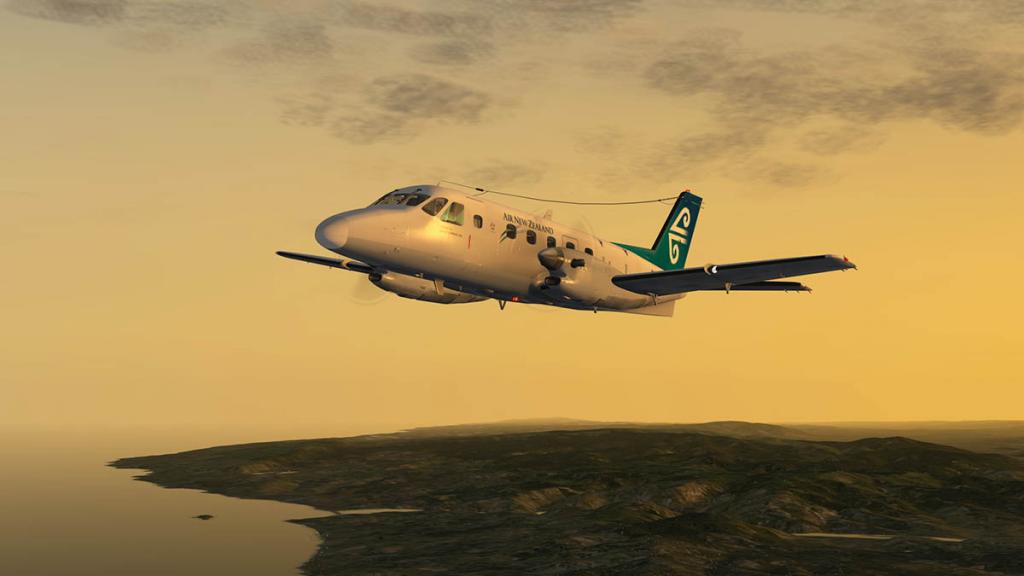
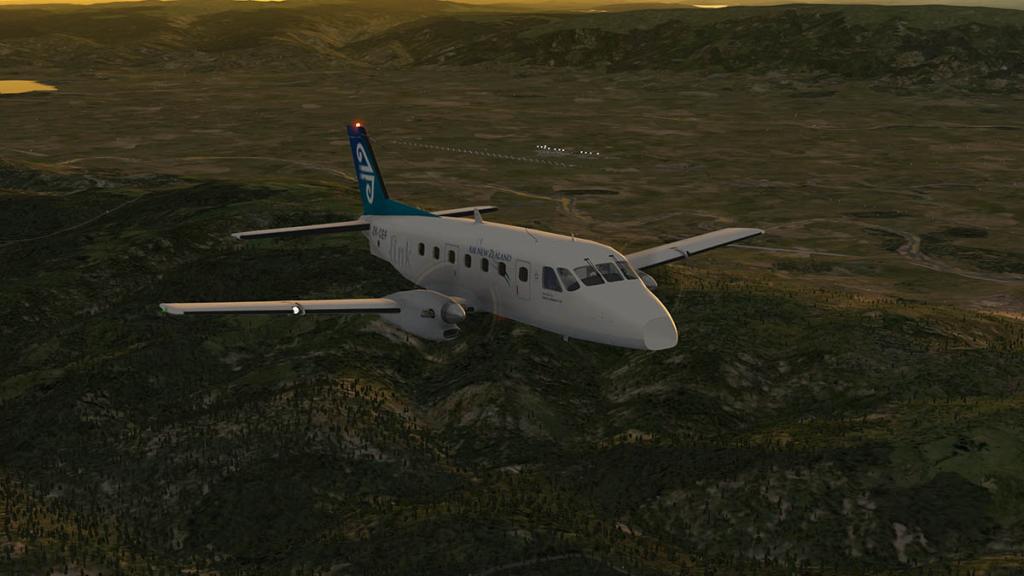
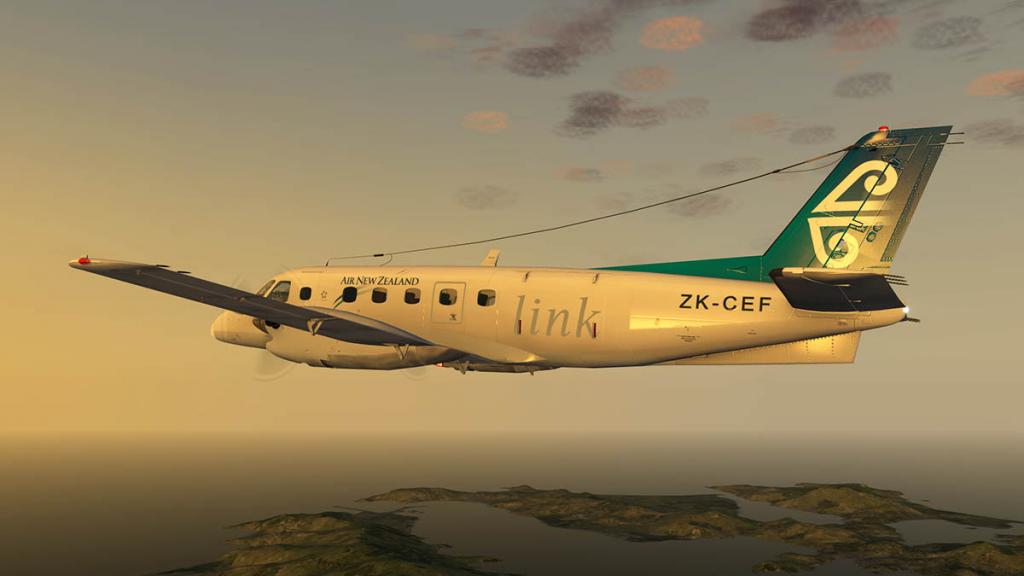
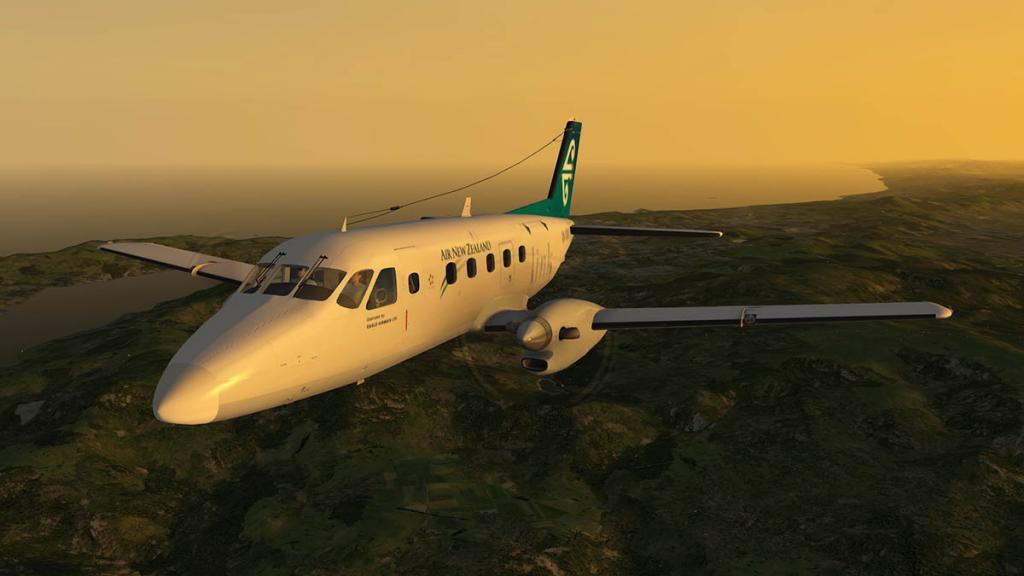
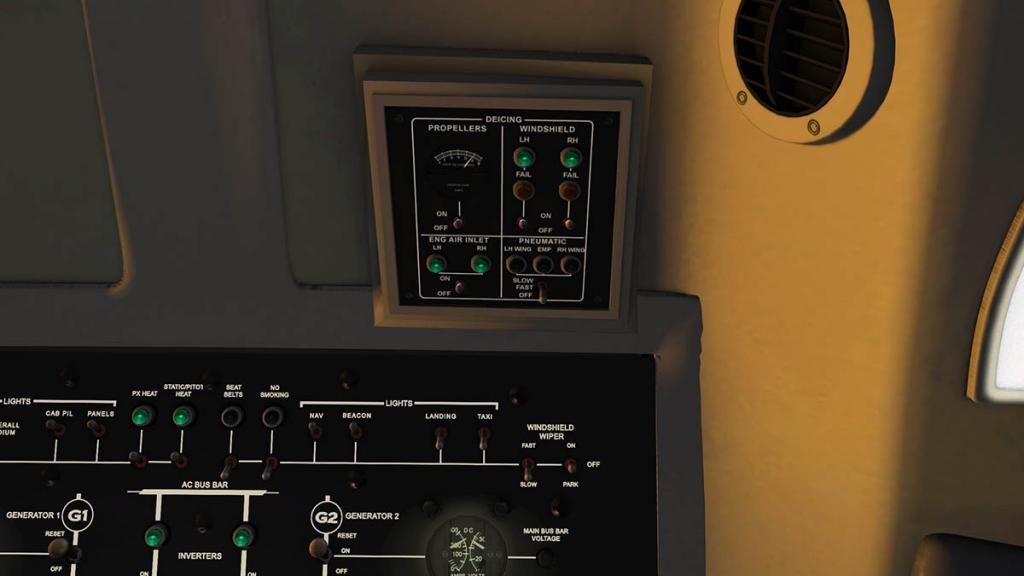
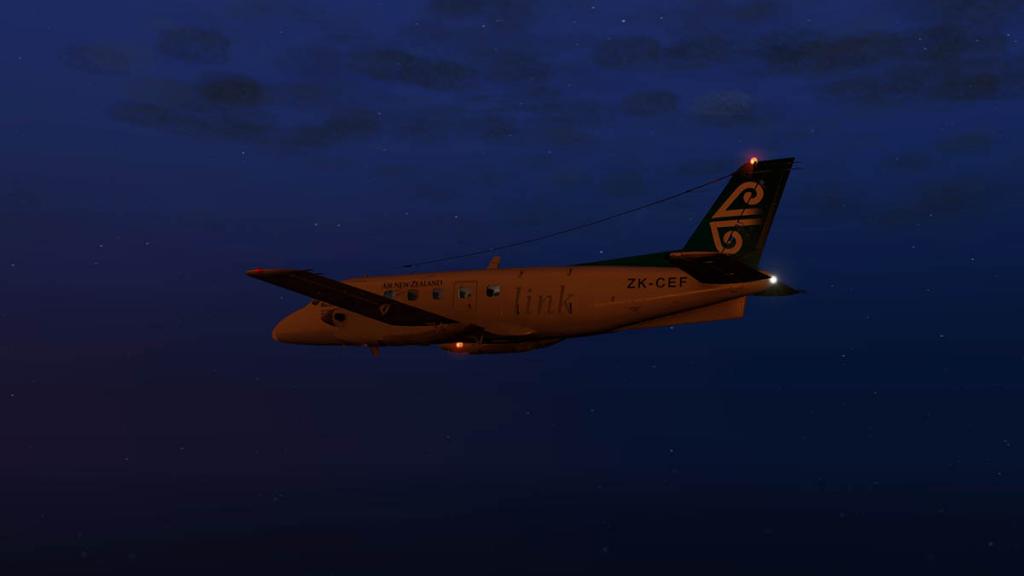
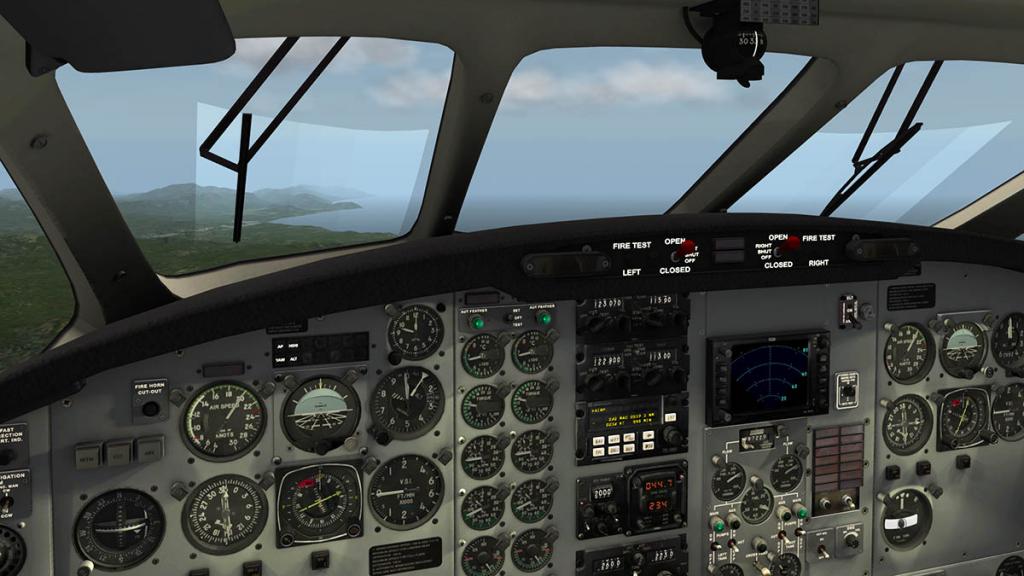
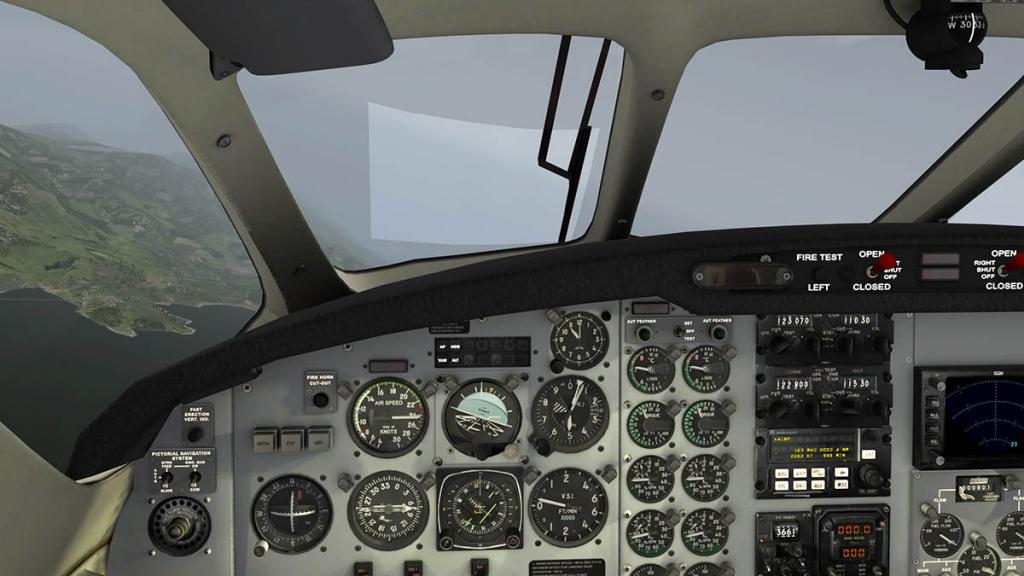
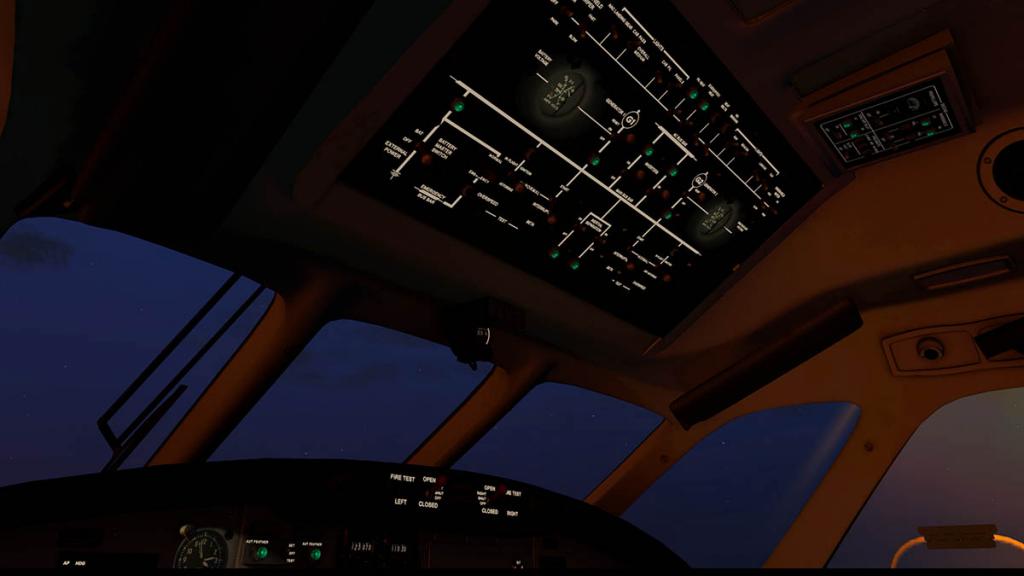
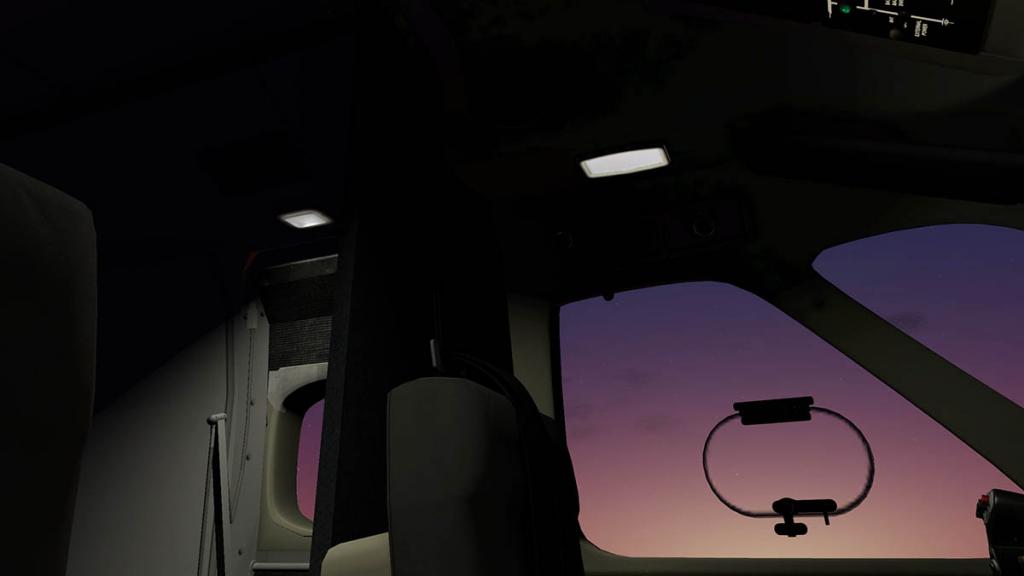
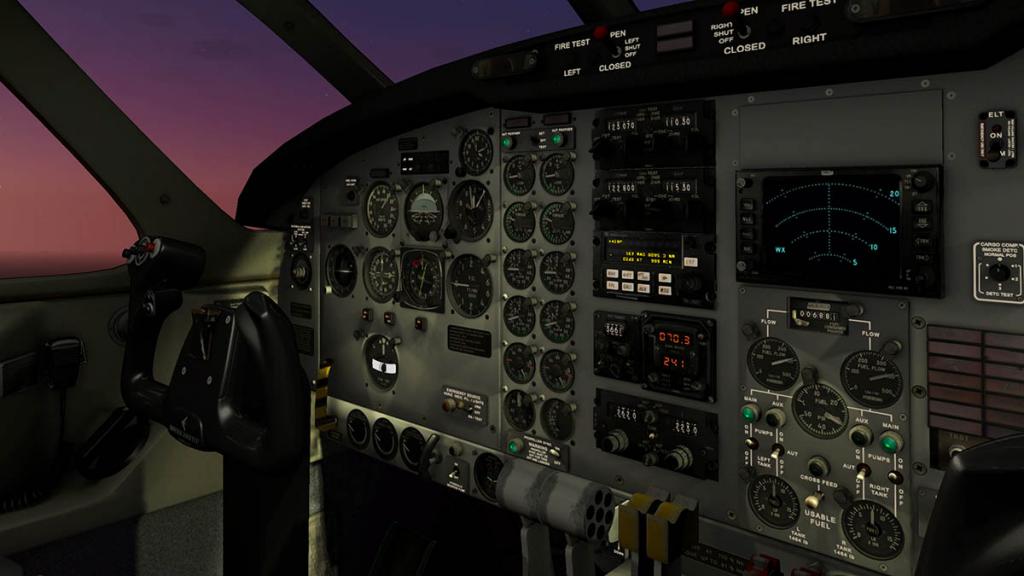
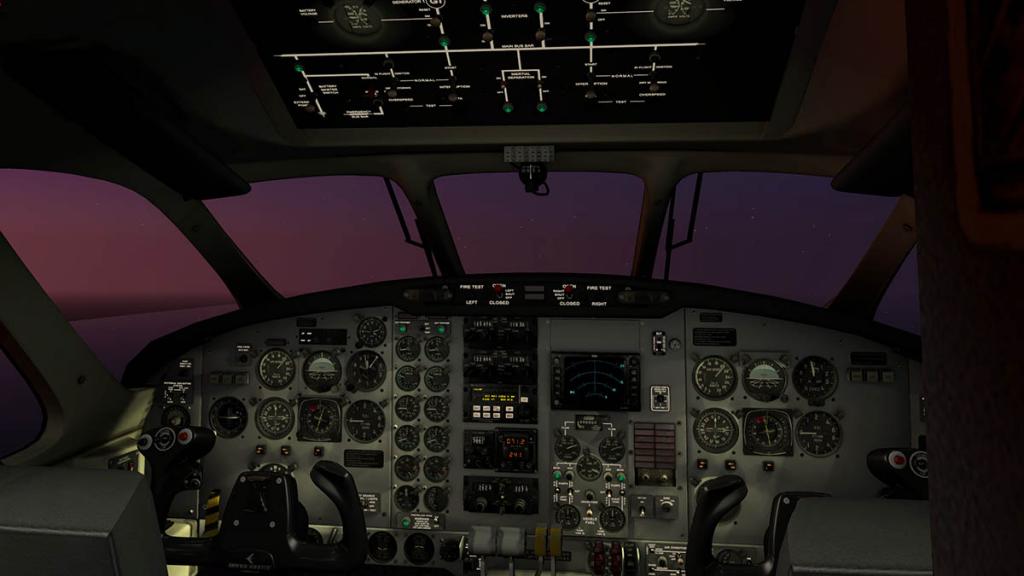
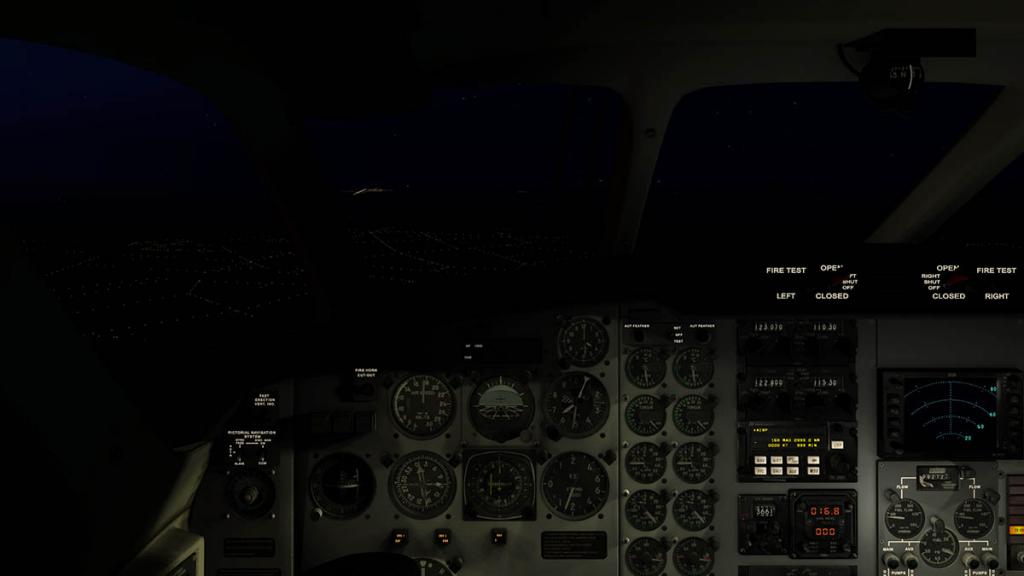
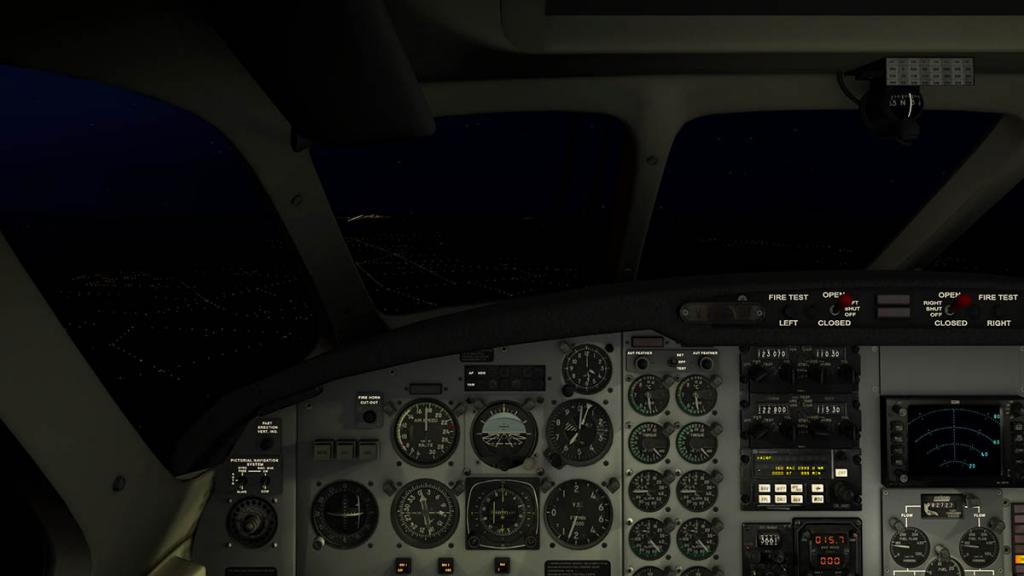
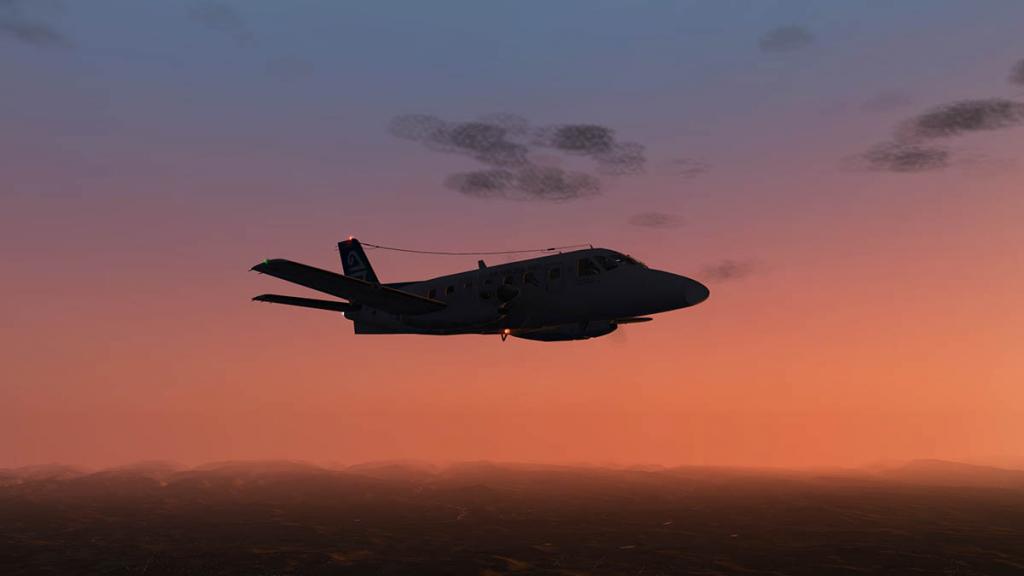
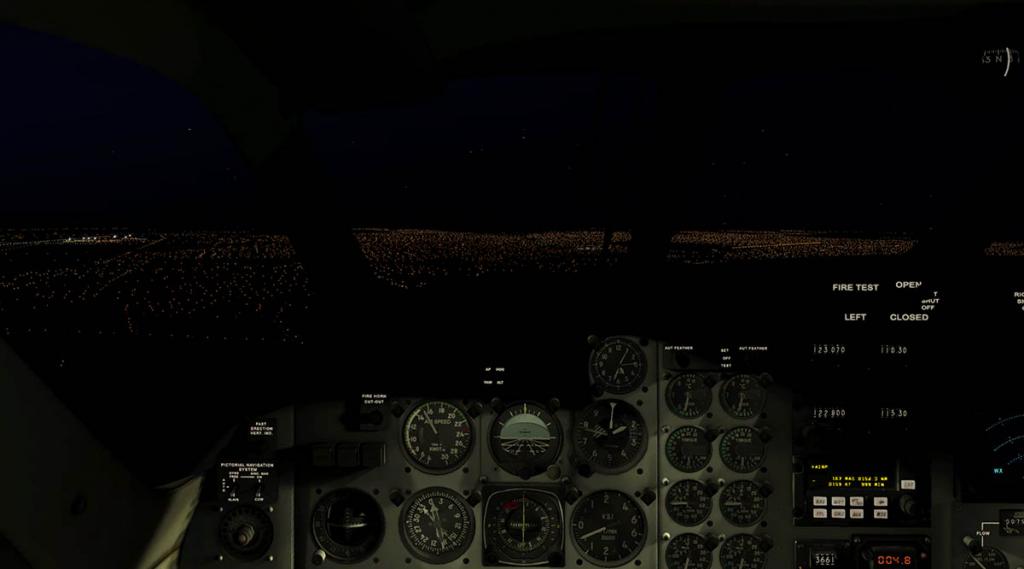
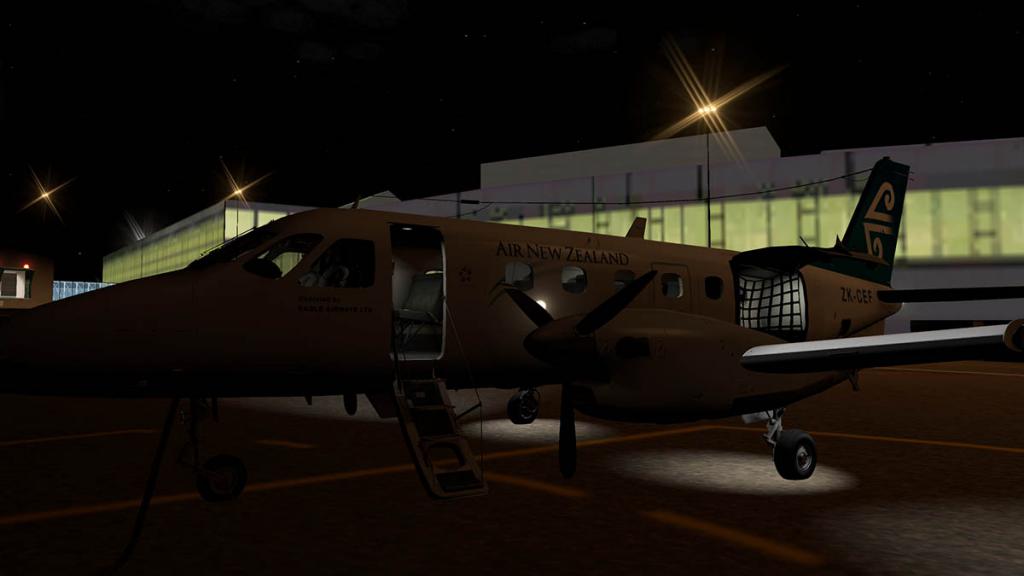
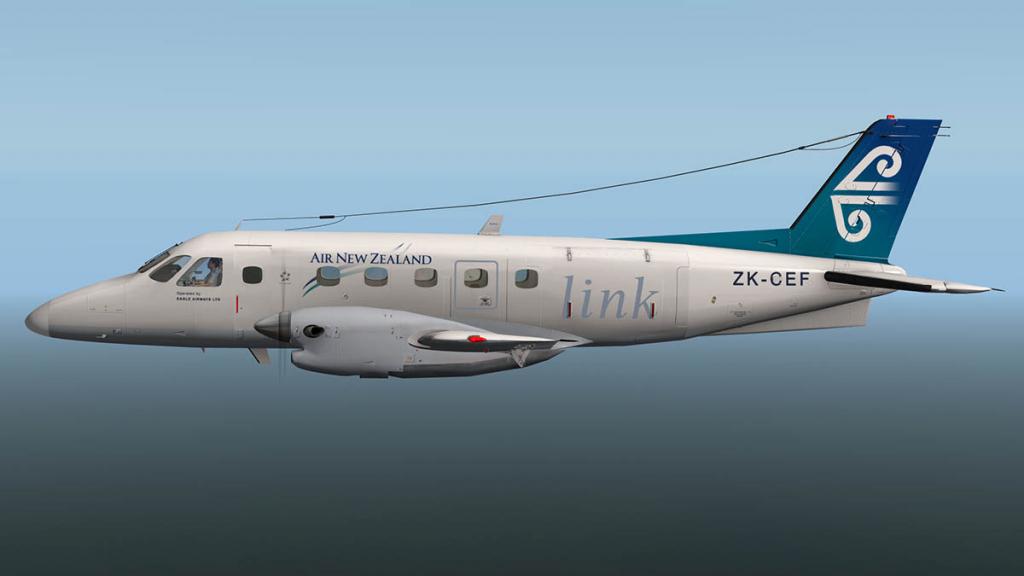
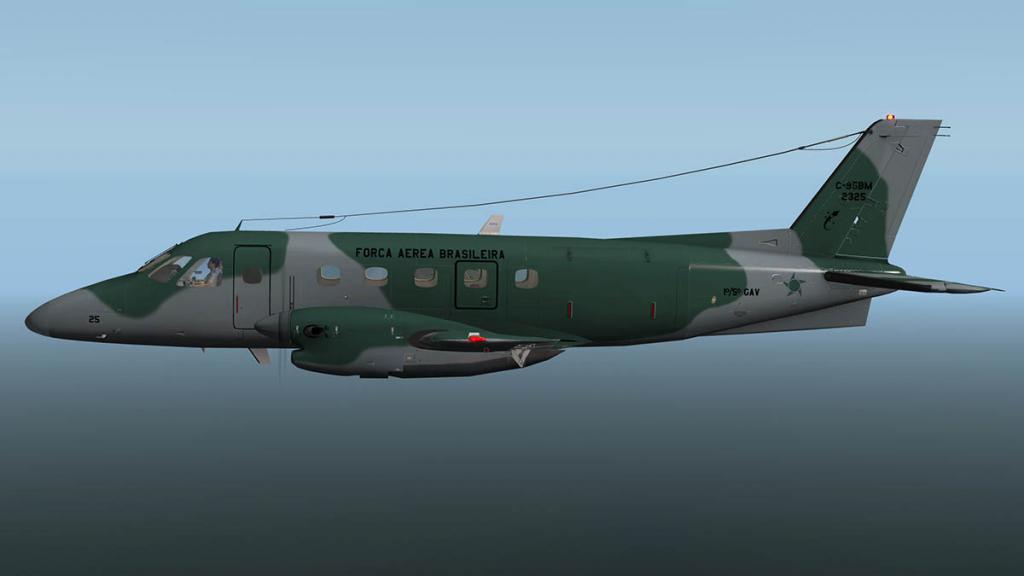
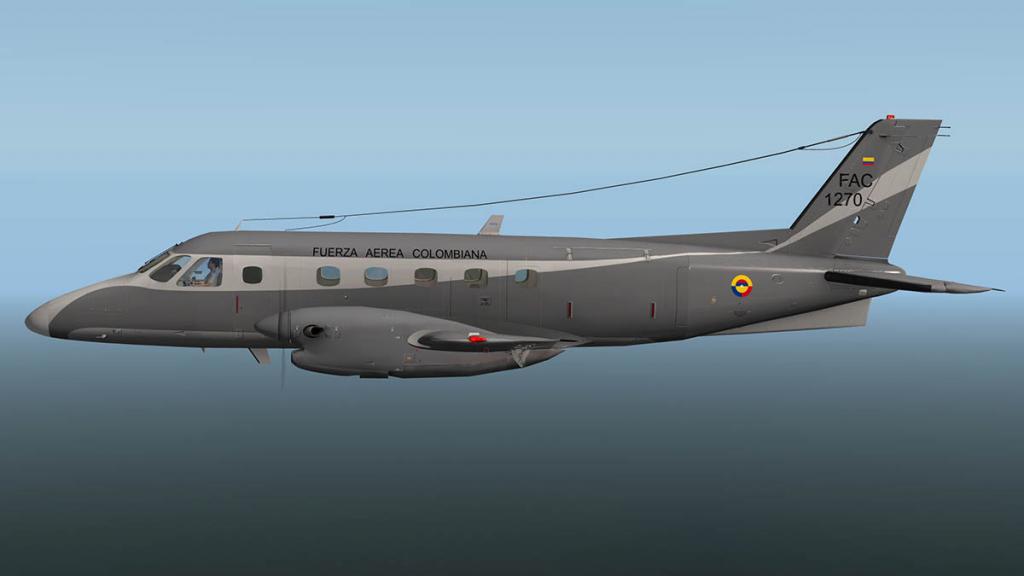
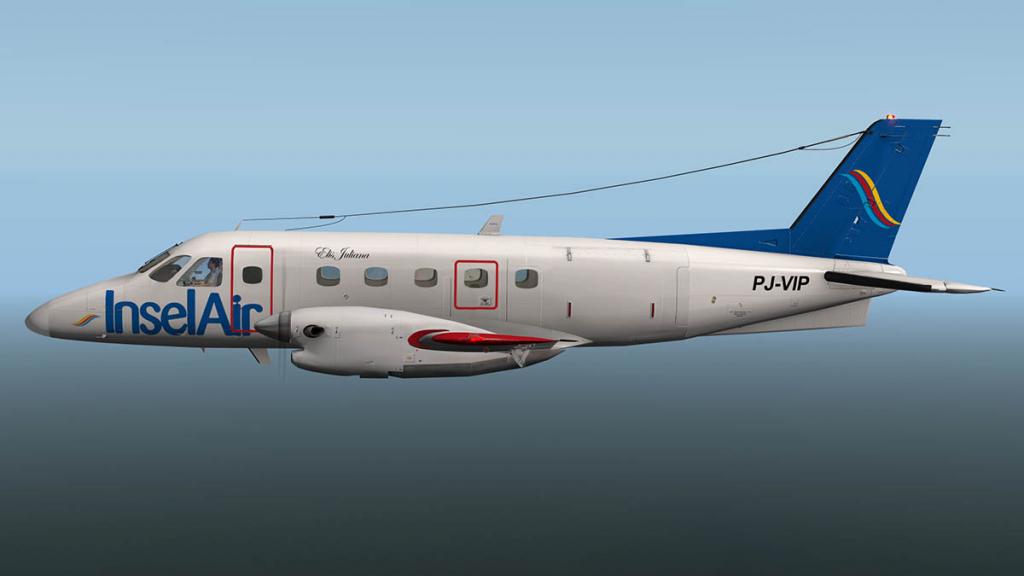
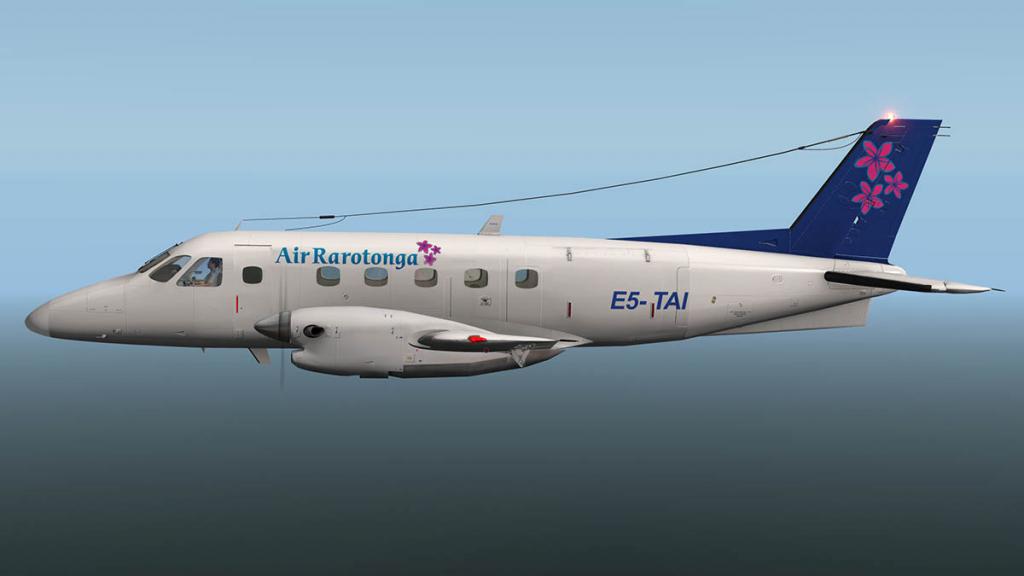
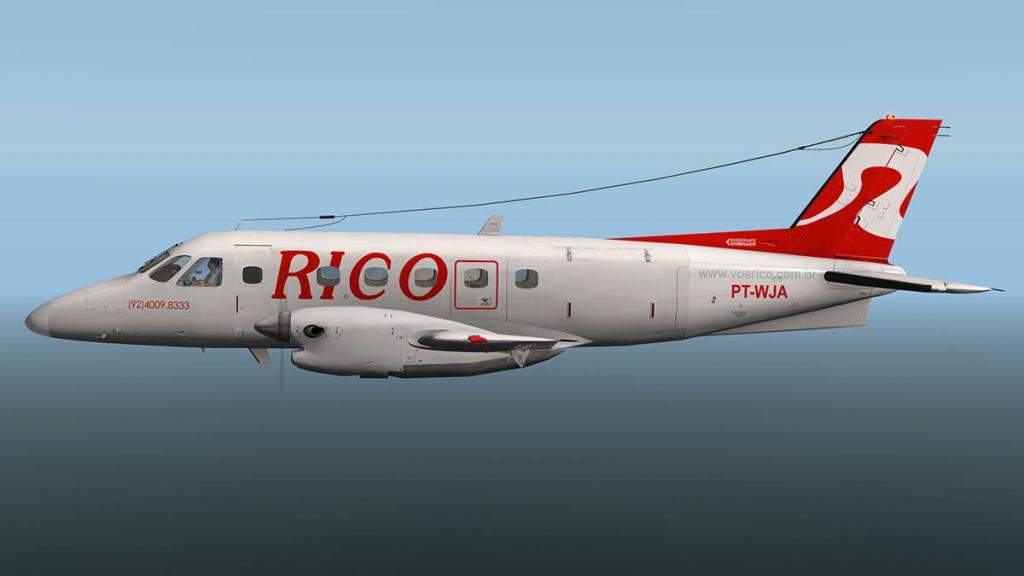
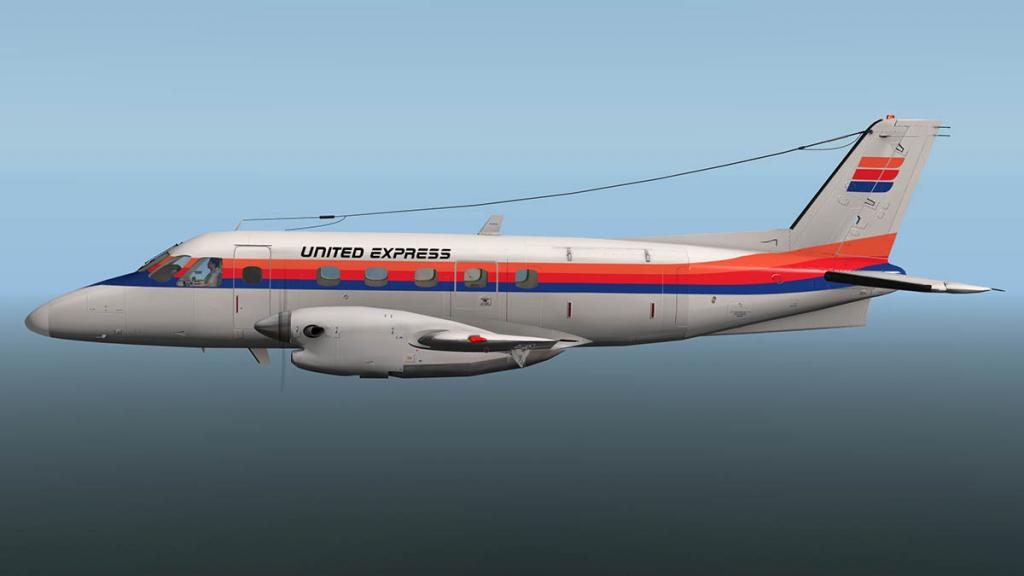
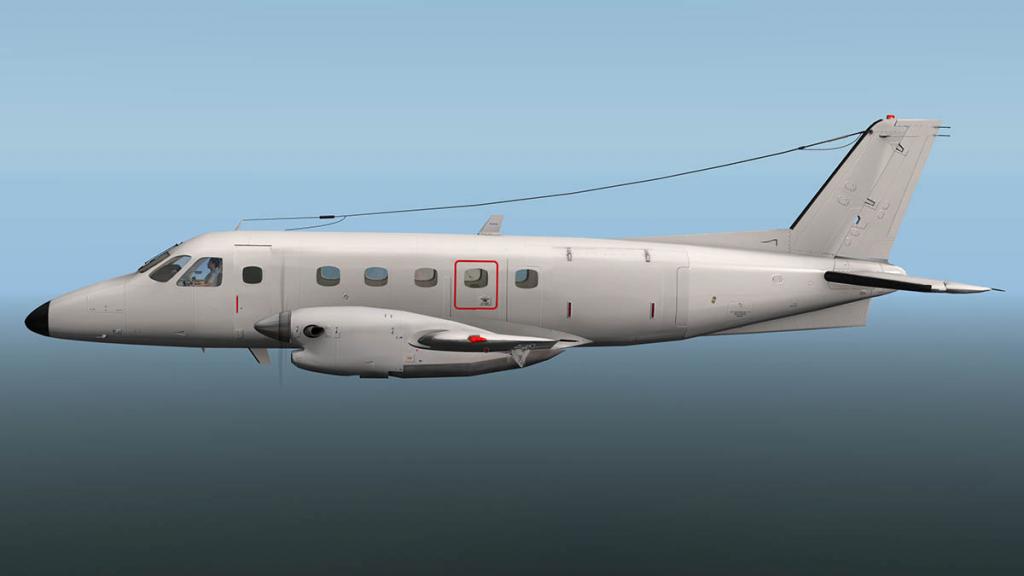
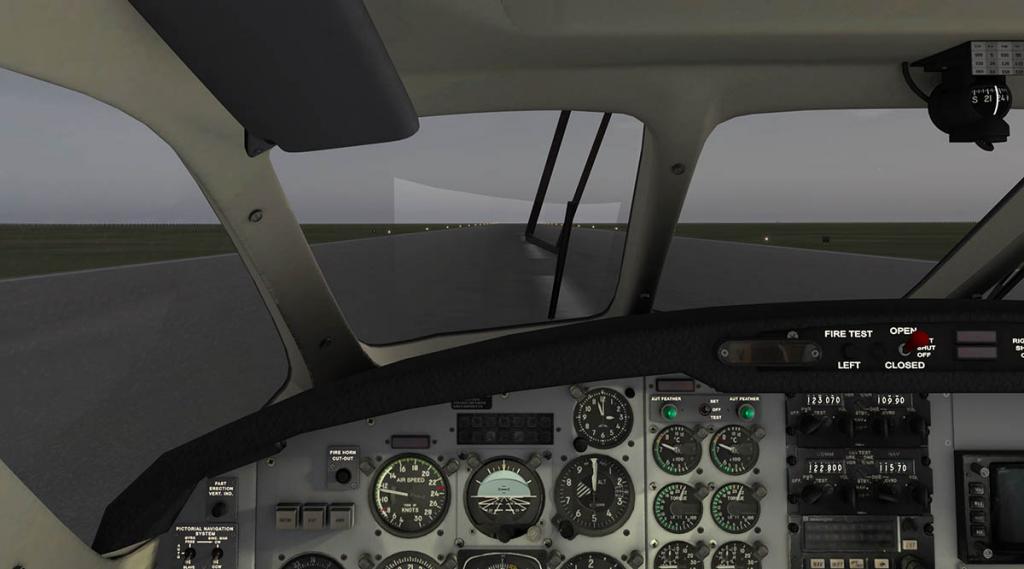
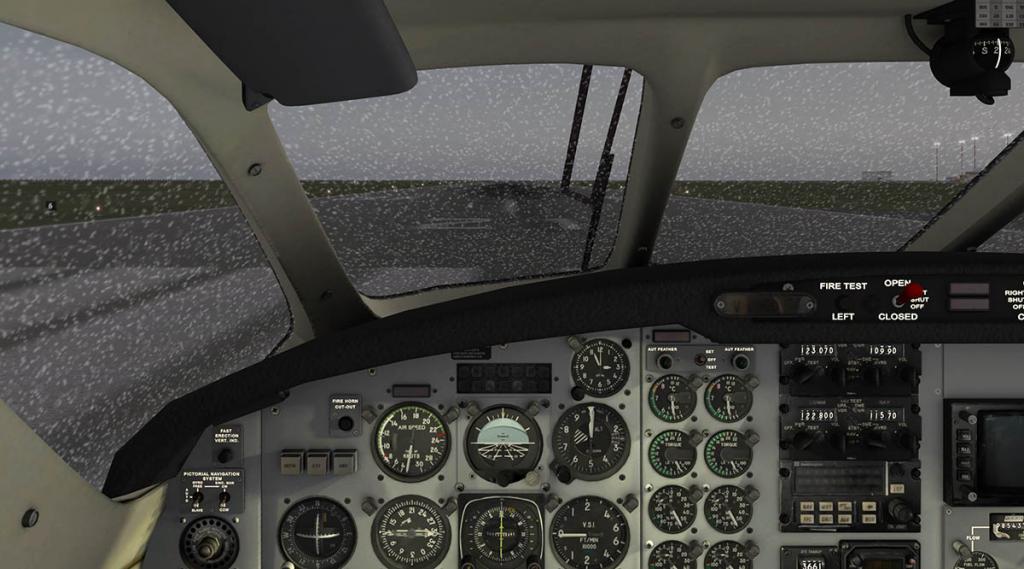
Aircraft Review : Embraer EMB 110 Bandeirante XP11 by Dreamfoil Creations One of the great delights in reviewing aircraft are the ones that come from nowhere and then simply blow you away, the addictive ones, the aircraft that you simply can't shake off and just want to fly them over and over again because they are just that good, and that they are so involving and reinforces the whole complete reason you are in this X-Plane flying simulator thingy in the first place. One such aircraft was the Embraer EMB 110 Bandeirante or "Bandit" from Dreamfoil Creations and that it is already an odd start in that as developers and then Dreamfoil are more renowned for their helicopters than fixed-wing aircraft, but like a comedian that does a straight role, they are usually better than the developers or the actors that are the fixed-wing or drama specialists in the first place. In a coincidence, I flew the EMB 110 in its X-Plane10 version only a few weeks ago, and obviously my first thought's were, then this aircraft would be even better in X-Plane11, well I now not need or wait any longer anymore because here it is in it's newly polished X-Plane11 PBR shine, the Embraer EMB 110 Bandeirante XP11. It was always a simply amazing aircraft to fly, but also very challenging... but that was also part of it's immense appeal as noted in my review: Aircraft Review - Embraer EMB -110 Bandeirante by Dreamfoil Creations. Embraer EMB 110 Bandeirante XP11 The original EMB 110 was a very high quality aircraft and was also very feature rich. So in X-Plane11 then those areas have not changed at all, in fact the PBR effects have completely enhanced that quality to a whole new level again, in other words the "bandit" looks excellent. Dreamfoil are really great developers, and the detail here is simply excellent, these are nice aircraft, realistic and really well put together. So every nut, bolt, rivet, panel, RF antenna, pitot tube, NACA vent, door handle, screw, cable, hydraulic line, brake assembly and every item that makes this airliner is all done here with precision and perfection. The HF Antenna between the upper tail and forward fuselage can be hidden in the menu. All these areas have been recalibrated for the maximum effect, in quality and with the newer X-Plane11 dynamics, so the MB 110 looks simply amazing. But to note the older liveries now don't work? Which is a shame as I lost my lovely Air New Zealand livery, but the new XP11 paintkit has been posted to redo the liveries for this XP11 version. Gear detailing is perfection and first rate. Glass also delivers high standards in design and reflections. One great Dreamfoil feature (on their choppers) was that you could open doors and activate items externally... With the front passenger door it can still be tricky to see the activation arrows from certain angles on the center of the door? but it is really great to open the aircraft externally.... you open also the large rear cargo door via the separate smaller panel to the right. Internally the cabin looks different? It is the same, but the colour of the seats have gone from a drab grey to brown leather, and the carpet is now also blue from the same greyness as before, so overall the cabin feels more colourful and it is far better and to the good for that. Cockpit The view of the cockpit is in that "I can't believe in how good and realistic this all is" observation... We are used to very high quality cockpits in X-Plane, but this is still one of the very best. Because of the sheer realism available in this cockpit, you love being in here, in control, enjoying the moment. Every single detail is covered and the levers are worn, tired whatever, and yes those amazing rudder pedals not only work but you can adjust them as well. The seats four armrests are also animated and retract. Yokes can be hidden, but only the very top yoke handles, so the yoke column still covers some lower panel switchgear. Instrument Panel The panel is a lovely clockwork design, very regional in layout and a bit like a KingAir panel. At first glance it can look both easily very complicated and complex. But when you break them down they are usually quite easy to fly and understand. Left to right across the panel, we will start with the pilots station. As for the flying instruments placed they are quite basic. The standard six: Altimeter, Speed, Heading Indicator or RMI, V/S (Vertical/Speed) and Horizontal Horizon are all well represented with the ADF and VOR directional points in the heading indicator and a CDI "Course deviation indicator". The rate of turn indicator is also set out below, all these main seven flying instruments are duplicated on the Co-Pilot's panel station. There is a bigger CDI on the far left of the pilot's panel and analog clock at the top. Brake and pump pressure (PSI) are noted low down. Undercarriage and Flap indicator is central lower and hard to see and use and Cabin Temperature is on the Co-Pilot's lower panel. The central panel is divided up into sections. Left are the twin sets of engine dials and gauges, from the top is: Engine Temp ºC, Torque(lb-ft), RPM% (Nh), RPM% (Ng), Oil Temp ºC, Oil Pressure PSI and ºC. Top is an extensive and fully working Fire panel with pull handles and test buttons. Set centre is the biggest change from the earlier XP10 EMB 110... gone are the older (but very authentic) three Collins sets and are now replaced by the more modern avionics as from the top there a Garmin GMA 340 receiver, Garmin GNS 530 and and the smaller Garmin 430 below (All X-Plane native gps units) as these were changed over in the v2.2 update. ATC Transponder, VOR 2 directional radio and ADF radio. In the middle of the stack is a basic but lovely Trimble Navigation TNL 2100 GPS. Right centre panel is a Benedix/King WX weather radar set (tube style) which is also a great unit, with an excellent warning annunciator panel below. The aircraft comes with a full Air Conditioner simulation system that is very effective and usable with the Air-Con panel situated down left of the Co-Pilot on the lower side panel. Highlight is the comprehensive fuel panel which is a thing of beauty all by itself!, gorgeous in design with gauges for fuel flow (top), Fuel Pressure PSI, and usable fuel lbs x 2 below. Main, Aux tank switches and crossfeed. There is a "Foxbaro" fuel used (reset) counter at the top that can reset to zero on startup, so you know the perfect quantity of fuel consumed... The pedestal is quite basic, but beautifully crafted. Main twin-levers for throttle, Prop and Condition. Three trim knobs are good and easy to use... but the setting marker on the pitch is very hard to see? I would have put a blob of white paint on it... and also on the central pedestal is the Autopilot (A/P) panel. The A/P is quite basic in mostly hold modes and a dial for turns and thumb wheel for pitch. In the earlier version it was very difficult to use the autopilot because of it's buried position... in this XP11 version you now have a pop-up A/P panel (hooray!) that is activated by pressing the autopilot FD/AP repeater panel (action lights). A common mistake is that users think that the A/P doesn't work... but you have to first switch it on (arrowed) before you can use the autopilot panel (it lights up when activated). Overhead Panel (OHP) is quite complicated, it covers the electrical buses, aircraft lighting (Internal/external), wipers and engine start switches. You really have to study it to fully understand the bus flows and the way it is laid out for use. The "Deicing" panel is high right above the Co-Pilot on the roof, and you have all the full deicing options for the propellers, windshield, engine inlets and all wing pneumatic wing boots. Again very complex and well done, but requires study... a lovely AMP gauge is the highlight of the panel. So the cockpit looks and is complex, but it is in reality quite easy to use, the main point is the way you interact with the aircraft, and that is in a wonderful way. Switches are big, functional and the all the switch lighting is also large (usually green) and they all glow beautifully in the faded light or dark.... this EMB 110 is a great place to be in. Menu Anyone who has flown any of Dreamfoil's other aircraft will be very familiar with this circular disc selection system called Smartmenu. On the XP10 version the Smartmenu was activated by pressing on the centre of the glareshield, but it has now been moved to the panel warning sticker next to the FD/AP repeater panel (arrowed), and that it is a far better place to access it. Items available in the menu when going counterclockwise and from the top is first the "SmartLivery" selection. Here you can rotate through all the liveries and easily select the one you require, and the livery is shown in the centre of the disk... Next is the set Views that includes positions of the: Pilot, Co-Pilot, Console, Overhead, Passengers, PostCam, Passenger 1, Passenger 2, Baggage Compartment and Tail Cam... all are excellent. Volume... the aircraft comes with Dreamfoil's excellent sound DreamEngine which includes over +50 sounds, Doppler Effect and Atmospheric Attenuation, realistic turboprop sounds with real-time propeller dynamic and relative sustain effect for startup and shutdown. You can adjust the volumes here on the menu disk to your specific liking. FOV allows you to change the "Field of View"... ... and the Checklist is excellent, it is very well done and you can move the pop-up binder around the screen and also scale the binder to fit smaller spaces. Stability allows you to change the percentages % of Yaw, Roll and pitch to your liking. You can customise changes in three items; Tail-Plane (change to 10º dihedral), HF_Antenna and activate (system) Failures. Exterior; This menu item can be accessed both on the internal menu and externally by pressing the circle on the nose of the aircraft. Your GPU (external power) can be selected here (You can also use the lower point on the battery switch on the "Overhead" panel), the GPU has changed colour as well from yellow to white, personally I preferred the yellow version. External options include the GPU, Wheel Blockers? (Chocks), Pitot caps, Engine caps, Tail Support and Safety Cones. One other selection item is for loading the fuel... you press a pump handle on each wing centre cap to bring up a % dial of the amount of fuel in each wing tank, and you can then adjust the fuel amounts to your liking. Flying the EMB 110 XP11 Start up is Beacon and Nav lights on, fuel pumps on... and I have set 2,139.50lbs of fuel on board to make the distance to Cork (EICK) from EIDW (Dublin) Ireland. On the OHP I set the AC BUS Bar switches on, Inertial Separation switches to on (condition levers to up) and to start is a simple switch up of the "Start" switch. The turbo-whine starts up outside of one of the Pratt & Whitney PT6A-34 turboprop engines (Same as in the King Airs, PC12 and Twin-Otters) and each engine gives you 783 eshp and 750 shp. Throw another switch and you get another whine from the second engine and the start-up procedure is fully automatic. The Ng RPM will settle down at idle around 52%, and the excellent as mentioned DreamEngine sounds will give you the full voice from whine startup to idle revolution power. If you are connected up to a good sound system (like I am with a bose) then be fully prepared to feel all that turbo power that raises all the hairs on the back of your neck. It is simply great stuff. Once the engines are running you can then switch down both "Start" switches to "Interruption" and turn on both G1 and G2 engine generators, Then close down the external GPU... As expected the performance dynamics of X-Plane11 and they are all very different from the original, once you have idled the engines you need to pull back on the mixture (once the engines have warmed up) for a more leaner idle to taxi. Wipers are on, and as it is raining hard in Dublin the "thunk, thuck" to each side of the window is created with a great realism... I noticed the panel lighting is a lot, lot less brighter than on the earlier versions, and it makes the panel look quite blander, you would think that XP11 lighting would be better here and not worse? Flaps 25%, brakes off and throttle up... The Bandeirante will track the runway very well, but when you lift off around 135knts with that 1500shp power pulling you upwards but with the thrust going slightly sideways the aircraft will very quickly roll right, if you are not prepared for that slip to the right you are very quickly going off the departing runway centre line. So you are working the rudder and yoke to keep the aircraft in a nice straight line while holding a 5º-7º pitch. The first time the slip will easily catch you out but after a few runs to adjust to it and love the feel of this lively machine in your hands. Rolling to a new heading needs a firm hand but it is easier than you think it would be, and you need flaps quickly up (or 0º) before you are out of the slow (white zone) at 148knts. Speed is then set at 91% Nh. Climb at fpm is around 1000ft and official Rate of Climb is noted around 8.3 m/s (1,640 ft/min), but I found the 1000fpm setting was a better feel and climb without losing power and speed. One thing that threw me was that the undercarriage didn't retract on my Saitek switch command (set to the X-Plane key settings), this gear has a manual gear drop feature which is very clever via a red lever, but it also cancels out the native command as well, you can then only raise and lower the gear via the panel switch... The Embraer certainly feels different from the earlier versions, and certainly more to my liking as it feels more complete and refined. I broke though to low cast heavy cloud cover at around 3000ft, and felt freeee... If you don't want unwarranted issues then make sure you turn off the "Failures" on the menu, I had a "Fire" in my left engine because I held the power up too high on a takeoff and a "Landing gear" failure, all very exciting and authentic if you like your flying that way, but I just want to fly today. One area I was keen to check out in this new version was the heading change and a hard bank... In the original aircraft my impressions of the Bandeirante were not that great in the turn or the bank, as I found the aircraft just badly pitched up and down and sometimes as much as a thousand ft per minute and in some cases as it did the banking manoeuvre, and it was all quite hard to control and cancel out this heavy wave effect... ... after a few rolls under both the A/P and manually rolling under the stick and rudder, I can confirm that this nasty issue thankfully has now gone away, in fact the aircraft is really lovely under any change of heading, but you have to keep the inputs quite smooth and small as the aircraft is still quite delicate under the stick, but it is now far, far better to fly, and so that is a big plus to X-Plane11 dynamics there. It is a hell of a nice place to be in up here... ... the cockpit uses the X-Plane PBR effects to the limit, it is highly realistic and livable. The only thing I noticed was that it was easy to confuse the A/P pop-up panel for the Menu pop-up, or you got even both if you got confused by the selection zones as they are located quite close together. I found earlier approaches very tricky in the X-Plane10 version, it was hard to keep lift and fly at the same time with a very tight speed zone between them, so here I go again in the X-Plane11 version and was expecting the worst. Note the inverted nose illusion effect has been fixed as well. But the early approach signs were very good. I found that I could find a nice balance of speed around 120knts and with the flaps set at 60º and you could fly as steady as a rock here... all day. Flaps down to FULL or 100º and no sudden lift or painful loss of height... very nice, and with the speed slowing now to around 105knts it is again about perfect. Flap and undercarriage design and animation is excellent, great detail and beautifully created. The main gear track is quite wide so you have to make sure your landings are quite level, or if not the aircraft will bounce on one wheel (tip the wing up) and then bounce to the other before both wheels settle down. Mighty, mighty impressed, this is far better than before... over the fence. A nice little flare at around 100knts as stall speed is around 87 knots, and you do a perfect landing, but again be sure to be perfectly level as the rear wheels touch. In the earlier version there was some confusion in using the "beta" mode of the throttle, currently the setting "hold thrust reverse at max" which I have set on my joystick trigger works fine to reverse the props, but the aircraft became a little bit of a handful under the beta reverse mode, a Laminar ground effect issue or an aircraft issue, but I may have to practise that more in the future but I would blame the former. Cork, and that was certainly a very different feel and difference between the old and new versions on slow approaches, I was actually very impressed and the newer X-Plane dynamics have done simply wonders to the aircraft, as the EMB 110 feels very different and certainly it is far more flyable. Lighting Overall the lighting is excellent, as noted the panel feels far more dimmer than before. Cockpit lighting is controlled by four rotary dials, three on the pilot's side and one on the Co-Pilot's. It is excellent at night, fully adjustable and you can turn off the overhead lighting on the OHP. So no doubt the EMB 110 is a very nice place to work in. There are map reading lights each side, but they still don't work? The rotary dials cover both flying instrument lighting, Overhead Panel and the Avionics, and other switches cover the main cockpit lighting and rear cabin lighting with three settings of: OFF - MEDIUM - OVERALL or half lighting or full cabin lighting. There are some EXIT signs but I couldn't get them to work, which is a shame. External lighting is again excellent... with Navigation, top and bottom Beacons, strobes and tail light. All lighting including the strobes reflect on the ground and are about perfect. There is a Landing light in each wing and a single taxi light positioned on the front gear strut. Other lighting features are gear well lights, great ice/wing lights and when the door is open an overhead entrance light. Liveries There is one blank/white livery and four brand liveries that all strangely don't have any registration numbers? Quality is however very high, and come with 4k textures and detailing. Summary First point to make here is the price? Which is US$29.95... that is simply a crazy price for an aircraft like this, nuts!, this is worth US$35 minimum for the quality, detailing and the huge amount of features you get with this aircraft and this certainly a highly immersive aircraft that is easily in high Carenado price territory, better still if you already have the earlier X-Plane10 version you can also upgrade to this new exceptional X-Plane11 release for only $19.95. Dreamfoil Creations were always one of the very best developers for X-Plane, as noted mostly for their exceptional helicopters, but their only fixed-wing aircraft (to date) is this Embraer EMB 110 Bandeirante. But their same exceptional quality is here for you as well and that includes all the usual Dreamfoil Creations features in clever menus, brilliant sounds, loads of features and pretty well almost everything that includes the kitchen sink as well... almost. The upgrade also fixes up all of of the small issues that came with the original aircraft, and they are mostly in the flying dynamics, in banking and slow speed lift and feel. In fact it is about perfect in all areas now and simply a great aircraft to fly. The hard to get to and use autopilot now has a pop-up and scaling panel as well, which had been another if slight annoyance... but a few things have also gone slightly backwards. The indirect panel lighting is not as effective as before and it is far more dimmer which takes a lot of the wow factor out of the instrument panel, Undercarriage does not work via key input and the yokes only semi-disappear. There are still some missing lighting items like the side spots and EXIT signs, but all these are mere niggles compared to what you get overall. So overall it is again that sensational price, and everything noted above in this review is what you get for your money... but above all else this Bandeirante is an excellent aircraft and delivers on every single level in what you would expect as one of the best small regional twin-props you can get today and now the aircraft is also available in a X-Plane11 cofiguration and uses the dynamics and features of X-Plane11 very well as well, so what more could you really wish for... Highly recommended. _____________________________________________________________________ The Dreamfoil Creations Embraer EMB -110 Bandeirante XP11 is available from the X-Plane.Org Store here : Embraer EMB-110 Bandeirante XP11 And is priced at only US$29.95 Owners of the EMB 110 XP10 can get this new version for only $19.95. Please find the coupon code in the your original EMB110 invoice at the store Features: Revamped and Optimized for X-Plane 11 Improved Flight Model for XP11 New PBR textures on both Interior and Exterior Many new features VR Compatible New Ultra-High quality 3D model Realistic 3D night lights effects on panel , cockpit and passenger cabin Realistic behavior compared to the real airplane. Tested by real pilots. All Systems simulation Realistic simulation of all switches Caps for turbine inlet, outlet and pitot GPU (Ground Power Unit) available New exterior objects Air Conditioner simulation, including a nice sound that react to vent directions Prop Disc effects feature 3D holographic side view, which changes depending on prop settings Fully articulated and animated sun visors Wx radar simulation Failures simulation (Engine Fire, Over Torque, Electrical Failures, Landing Gear, etc) Original Autopilot installed and realistic behavior Pop-up menus for Autopilot and Checklist Manual landing gear actuator Laminar’s GNS430/530 SmartMenu Technology Clickable external areas for increased interactivity. Refuel the aircraft by clicking on the fuel inlet, a pie slider make it very easy Open cargo compartment and Passenger Door from exterior A menu on the nose for inserting or removing motor covers, wheel block, pitot cover, safety cones, GPU and support in the tail. These items can be inserted or removed also by clicking on them. A customization menu allow to set few equipment like (HF-Antenna, Tail-plane with 10º dihedral and enable/disable Failures) all in real-time with no need to restart the sim. DreamEngine sounds Over +50 sounds included 3D directional sounds - Compatible with Rapture3D plugin (same used by codemasters) Custom sounds for switches, buttons and circuit breakers Realistic exterior and interior sounds - Simulation of all the Horns Requirements: X-Plane 11.20+ Windows, MAC, Linux 2Gb VRAM Minimum. 4Gb+ VRAM Recommended for VR Current review version: 3.0 (August 2nd 2018) Installation : Download file size is 636.20mb and is inserted into your X-Plane - Aircraft Folder. Installed file size is 3.49gb Documents : Four documents that cover a main Pilot's manual (23 pages), real Embraer performance tables and normal, emergency procedures Manual EMB-110.pdf normal_procedures.pdf emergency_procedures.pdf Manual EMB 110.pdf Developer Support Site : Embraer 110 by Dreamfoil Creations .Org Support _____________________________________________________________________________________ Review by Stephen Dutton 3rd August 2018 Copyright©2018: X-PlaneReviews (Disclaimer. All images and text in this review are the work and property of X-PlaneReviews, no sharing or copy of the content is allowed without consent from the author as per copyright conditions) Review System Specifications: Computer System: Windows - Intel Core i7 6700K CPU 4.00GHz / 64bit - 16 Gb single 1067 Mhz DDR4 2133 - ASUS GeForce GTX 1080 8Gb - Samsung Evo 512gb SSD Software: - Windows 10 - X-Plane 11.25 Addons: Saitek x56 Rhino Pro system Joystick and Throttle : Sound - Bose Soundlink Mini Plugins: Environment Engine by xEnviro v1.07 US$69.90 : XPRealistic Pro v1.0.9 effects US$19.95 : WorldTraffic 3.0 Plugin - US$29.95 Scenery or Aircraft - EIDW - Airport Dublin V2 by Aerosoft (X-Plane.OrgStore) - US$24.95 - EICK - Cork Airport Ultimate & Business Park XP10/11 1.4 by Ciano35 (X-Plane.org) - Free - credit goes to Cormac Shaw at www.xpih.net for the original custom EICK
-
Helicopter Review : Bell 407 XP11 (Pro) by Dreamfoil Creations It is always debatable on what is the best simulation in X-Plane in any category as there is never a clear absolute winner and so it is with helicopters as the field is by other standards small, is very and highly competitive. But without doubt and certainly with all the accolades it has received since it was released three years ago in 2014, then Dreamfoil Creation's amazing Bell 407 is certainly at the very top. With this release the aircraft has been updated to X-Plane11 and is known as the XP11 in the version name, so this is an update on the older version, but also a new release in the fact that is a lot of changes and new features. So that means a new version does require a repurchase for the X-Plane11 version at a 5c increase to US$35.00, but previous X-Plane10 owners can upgrade to this new XP11 version for only $15. The coupon code for the discount can be found in the original Bell 407 invoice at the X-Plane.Orgstore. First you will make the note that in the title above I noted (Pro). This is not an official title as I added it in myself. The reason behind that title is that Dreamfoil has taken away in this XP11 version the "rigid cruise" and "arcade mode" functions, or easy flight aids that helped entry and trainee or the just plain helpless helicopter wannabe pilots in the exchange of a new autopilot feature. This omission does now make the Bell 407 quite perfect in its flight dynamics, but the aircraft also does now require a lot more skill in doing so, the "Pro's" out there will revel in the aircraft, but unfortunately the lower classes will find it harder to fly without any crutches to help you fly around the delicate flight balance. The Dreamfoil Bell 407 was excellent before, but with its new X-Plane11 PBR shiny coat and lighting features, the 407 looks simply outstanding in any light. The PBR lighting highlights the bodywork more and the detailing, glass is also more highly reflective and looks superb on the 407. Internally the PBR really helps as well, making the interior even more plush and dynamic and now has interior normal maps for higher quality. Any developer that crafted high quality external and internal textures really benefit from X-Plane11 PBR features as Dreamfoil does here, the cabin environment was excellent before, but in XP11 the 407's cabin is now simply mindblowing. With this update you now have two versions as well, one with the original brown leather and now the new black leather on the "Black Goldy" and "Lighting Blue" liveries. Of course any smart user could adjust the other liveries to their interior choice in the object files. Realism in the cockpit in X-Plane11 is awe inspiring, even better in the air. All the great features on the original 407 are also all still here. GPU (Ground Power Unit), Fuel Tank and fuel loading, battery access, and four opening doors with baggage compartment, What is new is that the actions on opening up the doors, getting inside the aircraft and other external items have been refined so all the actions can be done externally and with not having to open the menu each time, the menu is available externally as well if you want it by pressing certain areas on the aircraft (a circle). The two door choices with the full (side) and standard glass has now a third option in a smaller frame window, the glass opens as well. Low skid, High skid, baskets, Cineflex camera, sling hook, floats, cable cutter, frahm damper are all still here. There is a great new feature in the aircraft ground moving electric cart. This movable cart is controlled via your joystick. Press the circle on the nose of the cart to raise the aircraft, then control the speed and direction via your joystick... ... and yes it is a huge amount of fun, better yet that it allows you to reposition the aircraft back to where you should have landed in the first place. The rotors have had attention as well. The original rotor design was excellent, but in operation the look of the moving blades has been refined for the main rotor and a complete overhaul of the rear rotor to make it look more authentic and make better the rotor blur/shadow effect. It is also to look better with weather addons, but I found that the xEnviro environmental engine looked the same blurry condition, however this is an xEnviro issue not a Dreamfoil issue as it is the same on all propeller aircraft. So the new moving blade animations do look really good in X-Plane11 when viewed in the default X-Plane simulator. They reflect far better on the aircraft in flight as well, and the shadow effects of the blades rotating from the cockpit perspective is simply excellent and real. Flying the XP11 Bell 407 As noted the flying characteristics have had a lot of refinement for XP11. You need far more skill now to fly the aircraft with finer movements for control manipulation, forces are now slightly different and more finer and even closer to reality (the 407 was good before). Takeoff is quite tricky to get right, and landings are a real test of skill unless you have a lot of experience on these machines, there is now Improved airfoil drag curve, and now helicopter will cruise at a more realistic speed. The NG has been recalibrated to match the correct rpm on various power settings and the MGT temperatures during start and flight should give you a more accurate reading. Fuel flow is more correct and the Frahm Damper now affects the flight model (you can have it on or off). Back on the ground the idle has been fixed and rotor shutdown won't keep on revolving for ever. A new feature is the HeliSAS/Autopilot system. Basically an autopilot for the helicopter to take away the pressure of holding the collective and stick for long periods. It is positioned below the main panel above the radio and is extremely easy to use, it is really just a set the aircraft and then set the HeliSAS to keep those settings. You can turn via changing the heading and the speed via the collective and there is also the VRT mode that works via using the knob to set your vertical speed on the V/S dial and ALT will hold your altitude. It takes a little getting used to, but it is very good. Dreamfoil created the DreamEngine so you expect the sound to be good, and it is and improved great volumetric cabin sound, more tail rotor loudness and the main rotor sound is audible on the tail cam. Speed slap now requires a bit of distance to be heard and is not as vocal as before and you can hear the air ventilation sound coming out of the back outlets. But the overall sound feels far better and very realistic (it needs to be with an autopilot) so the sound is impressive. The clever menu system is still there on the top-right of the instrument panel and the liveries are easy to select. There have been those two extra black interior liveries added to the collection, but otherwise it is same one blank and ten set as before. Summary The Bell 407 from Dreamfoil Creations was exceptional before, but the change to X-Plane11 has took the whole deal far higher again. In every area the aircraft is simply outstanding, flight, features, detailing, quality and I could bore you for hours with my feelings for this machine. Great new features including the HeliSAS/Autopilot, Electric Cart, new interior and so on are great attractions here, but mostly this is a qualified conversion to X-Plane11 than just the additions in the package. I do wonder though to drop the entry tools in the "rigid cruise" and "arcade mode" functions was a good idea. It does take the aircraft out of the bounds of trainees and helicopter learners, you have to be really quite proficient to fly this XP11 version, and even training and transitioning on the older XP10 version and then moving over to the XP11 version is still a large gap. I am not saying the time learning to fly this amazing machine is not worth it as because you are flying now the best of the best, but there is certainly a higher skill required to do so. X-Plane11 delivers and requires a whole new level of immersion in simulation. This is the first helicopter converted specifically for the new medium and it shows, and boy does it show. This is a great step forward from already a very high standard, all you can ask is how much higher can you go... this Bell 407 has to be as good as it gets. ______________________________________________________________________ Yes! the Bell 407 XP11 by Dreamfoil Creations is now available from the new X-Plane.Org Store here : Bell 407 XP11 Price is US$35.00 US$35.00, but previous X-Plane10 owners can upgrade to this new XP11 version for only $15. The coupon code for the discount can be found in the original Bell 407 invoice on your account at the X-Plane.Orgstore. More Bell 407 details can be found on the original 2014 X-PlaneReview Release Review here: Aircraft Review : Bell 407 by Dreamfoil Creations Requirements: X-Plane 11 (not compatible with X-Plane 10) Windows, MAC or Linux - 64 bit Operating System Joystick required for helicopter operations (No, you cannot fly it with a mouse!) 1GB VRAM Minimum - 2GB+ VRAM Recommended Current version: XP11 v1 - Last Updated April 27th 2017 Improvements over the X-Plane10 Version Features: - HeliSAS/Autopilot implemented - Deprecated "rigid cruise" and "arcade mode" functions - Added blade tie system so each blade can be tied to their positions by clicking and dragging their tips - New electrical cart for moving the helicopter on ground Graphics: - Added interior normal maps - Improved gauges bar display visibility - Removed _lit textures for 5 objects on interior - Two variants of seat and interior textures that take advantage of PBR - Cabin lights are now on their real place and using spill lights - Framerate improve with obj optimized by removing ghost animations - New 3D propeller for tail rotor - Fixed rotor blur/shadow issue with clouds - Improved pedal stop light logics - Fixed small fliped quad on left side of headphone - Fixed missing placards - Added instruments glass Sound: - New skin for DreamEngine config window to match XP11 ui - Added DreamEngine volumetric cabin - Improved tail rotor loudness - Main rotor sound might be audible on tail cam - Speed slap now requires a bit of distance to be heard - Added air ventilation sound to back outlets UI: - SmartLivery now uses X-Plane 11 thumb icons - Added mouse scroll to manipulators - Added ability to manually rotate the rotor from outside - Added GPU external manipulator - Added Garmin430 power button manipulator - Added engine inlet/outlet/pitot caps can be manipulated individualy from outside without need to go in menu for adding them - Moved external menu from nose tip to side of nose, this was necessary to add the pitot cap manipulator - Improved SmartMenu icons visibility and interaction radius - Improved battery compartment handling, it's not necessary to go on menu to open/close it anymore - Improved doors external interaction, now it's possible to choose between go inside or just open the door Flight Model: - Improved airfoil drag curve, now helicopter will cruise at a realistic speed - Fixed torque on ground with flight rpm, will display correct value now - Improved landing gear adaptation during plugin start to avoid helicopter "drop" at ground - Recalibrated NG to match the correct rpm on various power settings - Fixed MGT temperature during start and flight should give an more accurate reading - Improved fuel flow - Fixed wrong idle speed - Improved rotor slowdown during shutdown, will not keep spinning forever - Frahm Damper now affects the flight model - Enhanced lateral skid friction by plugin Others: - Clock now displays the Estimated Time from HSI - Added shutdown command for starter switch - SmartMenu commands can now be found on command list - Organized and renamed commands descriptions for better organization - Fixed the air conditioner switchs logics - Fixed starter not disengaging during shutdown Installation : Download file size is 347.90mb to your X-Plane - Helicopter Folder. Installed file size is 792.80mb. ______________________________________________________________________ Review by Stephen Dutton 29th April 2017 Copyright©2017: X-PlaneReviews (Disclaimer. All images and text in this review are the work and property of X-PlaneReviews, no sharing or copy of the content is allowed without consent from the author as per copyright conditions) Review System Specifications: Computer System: Windows - Intel Core i7 6700K CPU 4.00GHz / 64bit - 16 Gb single 1067 Mhz DDR4 2133 - GeForce GTX 980/SSE2 - Samsung Evo 512gb SSD Software: - Windows 10 - X-Plane 11r1 Addons: Saitek x56 Rhino Pro system Joystick and Throttle : Sound - Bose Soundlink Mini Plugins: None Scenery or Aircraft - KEYW Key West International by Fletcherj (KEYW Key West International Airport V1.0 ) - X-Plane.Org - free
-
Aircraft Update : Embraer EMB -110 Bandeirante v2 by Dreamfoil Creations Dreamfoil Creations's Embraer 110 Bandeirante was the surprise package in X-Plane last year. We have always expected great aircraft from Dreamfoil, but in helicopters and not as released here in fixed-wing aircraft. This was a quality well designed machine with the best Dreamfoil features combined with the detail of a great regional Turbo-Prop. As noted in X-PlaneReview's release review Aircraft Review - Embraer EMB -110 Bandeirante by Dreamfoil Creations. The Embraer was not the easiest aircraft to fly either in being very challenging on takeoff and extremely difficult in landing. But that is why we love the aircraft deeply, it is a really great simulation to tax our skills and deliver great experiences in the reward of honing your skills to master the machine. There was a small patch update not long after the release in July last year. But that was required to just do a little nip and tuck to cover some areas that is usually required after the initial release. This is a full update, but not that big really in the whole scheme things but it does deliver a few new features which are both really great additions and a big help in the cockpit. There are now two versions of the aircraft to select from in first the standard version (above) that has the original Collins sets for Comm 1/VOR1-Comm 2/VOR2 and the Trimble Navigation TNL 2100 GPS unit. The new version noted as the "GPS" is the default X-Plane Garmin G530 top and the smaller G430 GPS unit below. Of course they cover the Comm 1/VOR1-Comm 2/VOR2 radio sets and the navigation/route is also built in. The units pop-out for ease of use as well. I loved the original classic units, but you just can't go past the functionality of the default Garmin's built into the simulator. If you are doing a lot of sector to sector flying and including many different destinations in one day, then these units can certainly help out with the workload in programming and in use. In the Embraer they look really good as well and give the panel a more modern look. Second new feature is the awkwardly placed Autopilot (rear pedestal) is now a pop-up panel as well. In real life the AP system would be easy to access, but in X-Plane and with all its scrolling or changing of views it is more of a distraction than a help in the times of heavy workload in the cockpit. Now the access is quick and easy with just a touch of the Autopilot annunciators panel to pop it into view, select then quickly hide the panel again... to easy. Only note is don't try to scroll the pitch wheel on the panel as it will only move the actual panel around your screen. You need only to select (top or bottom) the DN or UP selections and hold them down to change the aircraft's pitch. Arrows used on the pedestal version are small hands on the pop-up panel. Another small change is you can now hide the yokes by clicking on them. A slightly strange one as you can touch the yoke to disappear but you only remove the top of the yoke and leave the column in place. In most cases the whole yoke and column usually totally disappear. The rest of the v2 update is fine-tuning in improved flight model, improved consumption and the incorrect consumption gauge. A small annoying hot start bug and improved intertior textures that were very good anyway. The engine nozzles have been improved as you don't have that blank black out if you look out of the cabin windows directly down the nozzle, a small but nice improvement there. A user noted the lighting on the aircraft was still the old pre X-Plane 10.45 blobby effect, but I found the lighting perfect. Summary This v2 is a very nice nip and tuck update with a few but very worthwhile new features in the Garmin GNS430/530 addition and pop-up Autopilot. A hugely enjoyable and challenging aircraft to use and fly, I loved the Embraer 110 on release and the v2 update just seals the deal on a great aircraft. The Dreamfoil Creations Embraer EMB -110 v2 Bandeirante is available from the New X-Plane.Org Store here : Embraer EMB-110 Bandeirante And is priced at only US$29.95 Current version is v2.0. The X-Plane.Org Store version is the correct version, just go to your X-Plane.OrgStore account and update. If you have not updated from the original release version (1.4) then download the current version. _____________________________________________________________________________________ Requirements : Windows XP, MAC, Linux - X-Plane 10.30+ (any edition). 32 and 64bit compatible - Pentium 3 GHz+ - 1Gb VRAM Recommended Current version: 2.0 (last update March 6th 2016) Developer Support Site : Embraer 110 by Dreamfoil Creations .Org Support V2 Full Changelog: - fixed hot start bug - fixed incorrect consumption gauge - improved flight model - improved consumption - improved interior textures - Fixed flicker in the panel - added popup AP panel - added GNS 430 and 530 - added the hide and show yoke - added nozzle effect in the engines - documentation reviewed ______________________________________________________________________ Stephen Dutton Updated : 9th March 2016 Copyright©2016: X-PlaneReviews
-
Aircraft Review - Embraer EMB -110 Bandeirante by Dreamfoil Creations Dreamfoil Creations are better known for their excellent Helicopters than a Twin-Engined commuter aircraft but here you have one in the Embraer EMB -110 Bandeirante (Pioneer), but in respect the aircraft was created by Lidimar Santos and not Conex but he was still expertly part of the team in adding the Dreamfoil Creations Plugins, SmartMenu and DreamEngine. Also in another aspect you could follow the development of the aircraft on the X-Plane.Org development page since early 2014. In most cases you would usually drop into the Dev page every now and again and see the latest work, but it was a sudden and total surprise when it was suddenly released early June 2015. The first thought was that... "Is it Ready?" It was and an even bigger surprise was how very complete it was, more so is that how good it actually is as well. So surprise here comes in many different forms, adding to the fact on how quickly the aircraft became an X-Plane favorite of one of the really (really) good commuter aircraft (which is a very crowded and loved market) available for the simulator. History The EMB-110 Bandeirante was the first aircraft built by Empresa Brasileira de Aeronáutica or Embraer as we now know the Brazilian aerospace company that started out building Piper Aircraft light planes under license. Piper had first put together knock-down kits in their US factory for Embraer to assemble and market in Brazil and Latin America. The EMB 110 was designed by the French engineer Max Holste following the specifications of the IPD-6504 program set out by the Brazilian Ministry of Aeronautics in 1965.And the goal was to create a general purpose aircraft, suitable for both civilian and military roles with a low operational cost and high reliability. The first prototype, with the military designation YC-95, was flown on 26 October 1968 and two other prototypes were built and were known as the EMB 100. By 1969 an order was placed for 80 production aircraft, by now known as EMB 110 Bandeirante, for the Brazilian Air Force (FAB) with the now newly formed aircraft company Embraer. The EMB - 110 was very successful, but the ambitious company quickly ceased further development of the EMB 110 which was halted by the manufacturer in order to shift focus to the larger, faster, and pressurized 30-seat EMB 120 Brasilia, but still over the next 21 years Embraer built 494 aircraft in numerous configurations for a variety of roles. Embraer EMB -110 by Dreamfoil The first thing that you are aware of when first encountering the EMB -110 is the quality. The aircraft is certainly in Carenado territory in style, feel and design. It has a quality air all around it. And that will certainly create a love at first sight (not flight). It is not a Carenado of course but the detailing and execution of the high quality work is highly visible. This is quite obviously if you look at the aircraft the best design for a 15-20 passenger commuter machine you could develop and build, and yet you would be hard pressed to recognise one at your local airfield unlike a Twin-Otter that is far more famous and fills out more airline fleets. Maybe Embraer should have developed the aircraft more and then realised its full market potential. Once familiar then the aircraft tends to appear everywhere, I have found four around me here in Queensland, Australia that I never knew existed, so there you go. And there is now some smug boasting in noting that "That is a Bandeirante" to your fellow observers in knowing the aircraft's better status. For this review we are flying the EMB -110 from the south coast of New Zealand and Invercargill (NZNV) to Dunedin (NZDN) and then on to Christchurch (NZCH) in a commuter connection role. My first impressions are that the aircraft is powered down, tagged up and waiting my preparation and ready for flight. Approaching the machine I really love the aircraft, the Bandeirante looks a workhorse and ready to do a day's (or week's) work. Unlocking the aircraft is one of the best solutions yet and a DreamFoil Creation feature. You have a set of small arrows on the door locks that opens the doors... The rear large cargo door lock is not on the actual door but on the door switching panel behind (and you can spend ten minutes banging on the cargo door like an idiot like I did in trying to find it?), but no doubt well done. You can access the door menu from the inside as well if you need to. Secondary ground "Static Elements" are very good with engine inlet/exhaust covers, rear support bar and wheel chocks. Again you can press each arrow marker to make them appear or disappear, or press on the nose for the full menu which you can again select each element separately or use the "Remove All" or "Add All" selections. Static elements sorted it was time to climb aboard. Note the great set of stairs, great animation as well. Internally in the cabin it is an impressive fitout. Realistic seating for 19 passengers give off that worn leather look, although the single seats look a little narrrow? Rear of the bulkhead is the rear cargo area with excellent netting but no luggage or cargo. A sample image of the side wall paneling gives you the quality of the cabin design, panels/window surrounds are perfect, signs and passenger air feeders are beautifully created in detail, so the cabin is perfectly realised. A step up to the cockpit entrance and you are spellbounded! Good, great amazing or just brilliant as any statement says how brilliant this is. It is good in every respect, get down low and look at the detailing under the crew's seats, the pedestal the detail everywhere is overwhelming. The panel itself is again fabulously created, perfectly realised in every aspect... almost real. There is so much detail to take it can easily be overwhelming. We have had so much great cockpit design lately and the Carenado PC12 (Pilatus PC12 HD Series) comes to mind, but here again X-Plane and Dreamfoil Creation delivers a great experience. The contrasting cream/beige cockpit formed fittings is excellent, with minute detailing as small as clips on the edge of the overhead panel holding it on to the roof. More setup options are available with the internal menu (disk) system when you click the top of the central glareshield clickzone. Anyone who has flown any of Dreamfoil's other aircraft will be very familiar with this circular disc selection system called Smartmenu. Going counterclockwise the top one is the "SmartLivery" selection. Here you can rotate through all the liveries and easily select the one you require, the livery is shown in the centre of the disk... Next is the set views that includes positions of the: Pilot, Co-Pilot, Console, Overhead, Passengers, PostCam, Passenger 1, Passenger 2, Baggage Compartment and Tail Cam... all are excellent. The aircraft comes with Dreamfoil's excellent sound DreamEngine which includes over +50 sounds, Doppler Effect and Atmospheric Attenuation, Realistic turboprop sounds with real-time propeller dynamic and relative sustain effect for startup and shutdown. You can adjust the volumes here on the menu disk to your specific liking. FDV ,,,,,, . Your GPU (external power) can be selected here (You can also use the lower point on the battery switch on the "Overhead" panel) and the Stability options allow you to adjust the aircraft's % in Pitch, Roll and Yaw. Finally here is the internal, external (static element) selection menu. The menu system is very easy to use, The aircraft's version is also noted, but here it is only shown as v1.0 when this is the current v1.3 release. Panel With the external GPU connected you can turn on the power flow. On the overhead panel (OHP) the green source button light comes on, but you can check the actual voltage via the button "Battery Voltage" by the voltage gauge, the gauge is a double needle for AC/DC so it is highlighted here to see the voltage. Power on you can then bring the aircraft to life, panel lighting switchgear is across the top of the OHP. And the lighting adjustment dials are (hidden) behind the yokes in three dials on the Pilot's side and one on the Co-Pilot's side. Note the excellent rudder pedal construction, brilliantly done and even the rear looped cables are animated and move with the rudder pedal alignment. With the power on and the aircraft feels more active. In this pilot view position the forward view is beyond fabulous in that those deep porthole style front windows actually enhance the closed cockpit feeling, you can understand why flyers took very quickly to the aircraft, it is a great experience just sitting in the aircraft... Like most dial/gauge driven cockpits (sometimes known as "clockwork") they can look easily very complicated and complex. But when you break them down they are quite easy to fly and understand. Left to right across the panel, we will start with the pilots station. As for the flying instruments placed they are quite basic. The standard six: Altimeter, Speed, Heading Indicator or RMI, V/S (Vertical/Speed) and Horizontal Horizon are all well represented with the ADF and VOR directional points in the heading indicator and a CDI "Course deviation indicator". The rate of turn indicator is also set out below, all these set seven instruments are duplicated on the Co-Pilot's panel station. There is a bigger CDI on the far left of the pilot's panel and analog clock at the top. Brake and pump pressure (PSI) are noted low down. Undercarriage and Flap indicator is central and Cabin Temperature is on the Co-Pilot's lower panel. The central panel is divided up into sections. Left (magenta) are the twin sets of engine dials and gauges, from the top is: Engine Temp ºC, Torque(lb-ft), RPM% (Nh), RPM% (Ng), Oil Temp ºC, Oil Pressure PSI and ºC. Middle (yellow) is the exquisite radio panel consisting of mostly Collins sets for Comm 1/VOR1-Comm 2/VOR2, ATC Transponder, VOR 2 directional radio and ADF radio. In the middle of the stack is a basic lovely Trimble Navigation TNL 2100 GPS. The VOR 2 panel can be quite stiff to switch (In fact I didn't think it worked) but you can turn the knobs to get it to show your distance and speed... very nice it is, I loved it (when I got it to work). Right centre panel is a Benedix/King WX weather radar set (tube style) which is also a great unit, with a warning annunciator panel below. The aircraft comes with a full Air Conditioner simulation system that is very effective and usable with the Air-Con panel situated down left of the Co-Pilot on the lower panel. The fuel panel is a thing of beauty by itself!, gorgeous in design with gauges for fuel flow (top), Fuel Pressure PSI, and usable fuel lbs x 2 below. Main, Aux tank switches and crossfeed. There is a "Foxbaro" fuel used counter at the top that can reset to zero on startup, so you know the perfect quantity of fuel consumed... Which is great for telling the airport controller that you have used X amount of your fuel while waiting for clearance. Fuse panels sit on both side cockpit panels with radio switches. The cut-out windows open and the arm rests can be stowed upwards. The pedestal is quite basic, but beautifully crafted. Main twin-levers for throttle, Prop and Condition. The aircraft has a "beta" mode, that can be used as reverse thrust, a lot of developers haven't separated the two items yet, but the "beta" mode is still changing. Three trim knobs are good and easy to use, and central pedestal is an Autopilot (AP) panel. The AP is quite basic in mostly hold modes and a dial for turns and thumb wheel for pitch. But it is the position that makes it hard to use. Carenado uses a pop-out panel with their AP in this position and you really miss that feature here? You mostly have to set up a viewpoint that shows both the AP and the instruments to use both, so it is a little like flying the aircraft while face down on the floor with your legs situated back in the passenger cabin while looking over the pedestal? There is an "De-Icing" panel right top of the OHP that we will see in operation while flying. So the cockpit looks complex but it is in reality quite easy to use, the main point is the way you interact with the aircraft, and that is in a wonderful way. Switches are big, functional and lights large (usualy green) and glow... It is a great place to be. Startup Ready to go!, passengers in and luggage loaded and the aircraft is secured. Beacon and Nav lights on, fuel pumps on... I have 2,800lbs of fuel on board to make the distance to Christchurch and not to refuel at Dunedin. On the OHP I set the AC BUS Bar switches on, Inertial Separation switches to on (condition levers to up) and to start is a simple switch up of the "Start" switch. The turbo-whine starts up outside of one of the Pratt & Whitney PT6A-34 turboprop engines (Same as in the King Airs, PC12 and Twin-Otters) and each engine gives you 783 eshp and 750 shp. Throw another switch and you get another whine from the second engine and the start-up procedure is fully automatic. The Ng RPM will settle down at idle around 52%, and the excellent as mentioned DreamEngine sounds will give you the full voice from whine startup to idle revolution power. If you are connected up to a sound system (like I am) then be prepared to feel the turbo power on the hairs on the back of your neck. It is great stuff. Once the engines are running you can then switch down both "Start" switches to "Interruption" and turn on both G1 and G2 engine generators, Then close down the external GPU... I locked in the VOR 2 (Invercargill "NV" 116.80) more for a distance completed note than direction, and the ADF "Berridale" NDB (394) as a direction pointer. You can choose which ADF/VOR needle you want by the buttons below the RMI. The ADF does not show yet as it is not in range. Off the brakes and a small push of power with the throttles gets the aircraft moving. You tell the passengers to belt up and stub out the cigarettes, which is old fashioned now as not many airlines allow smoking on domestic routes, but the cabin signs are highly effective. If you pull back the throttle you get the "beta" lights on both engines for taxiing, tt works but be careful not to go into full reverse pitch. Flying the Pioneer Flaps 25%, brakes off and throttle up... The Bandeirante will track the runway very well, but when you lift off around 135knts with that 1500shp power pulling you upwards but with the thrust going slightly sideways the aircraft will very quickly roll right, if you are not prepared for that slip to the right you are very quickly going off the departing runway centre line. So you are working the rudder and yoke to keep the aircraft in a nice straight line while holding a 5º-7º pitch. The first time the slip will easily catch you out but after a few runs to adjust to it and love the feel of this lively machine in your hands. Rolling to a new heading needs a firm hand but it is easier than you think it would be, and you need flaps up (or 0º) before you are out of the slow (white zone) at 148knts. Speed is then set at 91% Nh. The pitch can be a bit wavy from 500fpm to 500fpm if you don't keep a firm hand on it, but the aircraft will climb nicely with control... and remember I am quite heavy with 9 passengers and a full load of fuel. The EMB -110 is a great looking aircraft in the air, so well modeled by DreamFoil Creations and is very realistic. I really like the design. The only odd thing is the nose as from certain viewpoints it looks inverted and the nose square and flat? It is an optical illusion of course but noticeable. As noted the Autopilot is hard to use by its placement. A switch turns it on (a nice touch) but you have to make sure your heading is spot on unless you get a thunk when selecting HDG. You don't need to hit the V/S thumb-wheel because when you turn the AP on it will hold the pitch anyway, just press the ALT when you have reached your altitude. My first impressions of the first release Bandeirante were not that great in the turn. I found the aircraft badly pitched up and down... ... when in a higher speed turn, either in manual hands-on-mode but far worse in AP mode, and sometimes a 1000ft or more each way... In fact I hated it. I inquired from a few other flyers if I was wrong? Most of the replies were "it was great", "perfect mate" but I still wasn't happy with it? I found a bit of yoke pushing and pulling (In auto mode?) would soften the turn, but deep down I doubted the real aircraft could really fly like this without the passengers bouncing off the ceiling. For the pitch issue and a few other minor bugs Dreamfoil Creations have issued two patches, Patch 1.3 fixed the pitch issue perfectly and the aircraft flies quite normally now in high speed turns. You still need sometimes a slight to and fro nudge on the yoke to keep the aircraft tight, the trick is to keep the aircraft around the set Autopilot ALT (here 12,000ft) and if you let the aircraft gain too much height or lose height in the turn the V/S will compensate for you but in a heavy pitch fashion up or down... get it right and she flies beautifully. There is a wiper feature that creates a rain drop effect the windscreen, then when the wipers are working you get this gap in the windscreen to squint through, as you gather speed the rain fades away. I love struggling into airports with wet limited visibility, so it works for fine here for me. Dunedin (NZDN) Flying up the southern east coast of New Zealand with the great HD mesh (X-Plane 10 UHD Mesh Scenery gave you an exceptional experience, but it was now time for our first stop. NZDN is set deep in a valley that is hard to approach, easier from the south but far harder from the north to RWY 21 as you have to hold an altitude and then drop down and in before the range. There is a slight gap to go though on a heading directly to the approach NDB MOSGIEL (MI 358) its tight but doable. The EMB -110 does not help you in this regard. The speed zone in the slower approach speeds is quite limited with a range of only between 145knts to 120knts (or the white zone on the airspeed dial) that is only 25knts to play with, Over the 145knts or closer to 150knts and the aircraft will visibly show you it is not happy by rising the nose and drop below that 120knts and the aircraft will very quickly lose altitude or even stall? With such a small margin of speed to use, lowering the flaps is a tricky business to get a smooth flow and keep your descent without any sudden lift, so it is a balance of throttle input and speed to keep the aircraft in the right margin. Too much throttle and you can't descend, too little and you lose height... so its a real tricky dicky one. This is also highlighted on an ILS approach. Usually when you catch the beams you drop your speed a little to compensate for the extra descent speed, but here if you get your speed to low... even by a slight amount, you are going off the vertical beam and descending to quickly. So in this context landings can be challenging, and sometimes you can usually be flying quite fast when going over the fence. Flap and undercarriage design and animation is excellent, great detail and beautifully created. The main gear track is quite wide so you have to make sure your landings are quite level, or if not the aircraft will bounce on one wheel (tip the wing up) and then the other before both settle down. If you carry too much speed into the flare (very easy to do) then you have to watch you don't pull back the throttle too quickly and lose lift, so "easy goes" until the Embraer settles. There are a few notes that the wing on the the aircraft is not very flexible, and I can believe that. So in lower speeds the aircraft is certainly challenging, but that is what simulation is about and if all aircraft were just easy it wouldn't be fun... would it. But study and understand the aircraft and you can get into the rhythm of the machine, it will take few flights to really get every motion right, but suddenly it will all come together and then the EMB -110 delivers in spades. Engine shutdown and the GPU connected for ground power... I can't sit on the ground too long because for one I have a connection to meet in Christchurch and two it is becoming dark. With X-Planes HDR feature switched on the Embraer's lighting is very good. The landing lights are very wide and spread apart so with the nose wheel taxi-light on you get a great spread and handy here to turn around with at the end of RWY21 to fly out to the south of NZDN. The panel lighting is very good as well. The adjustments give you great overhead and panel control, although it does highlight the top left pilot's panel knob "Fast Erection Vert. Ind", I'm not into smutty humour but I'm quite sure the male of our species would find the item amusing and some very handy? Now with a full passenger and luggage load but less fuel on board the aircraft feels the same as I left Invercargill only an hour or so before. The fading light highlights the design and you feel into the rhythm and enjoy the aircraft immensely as you climb to 10,000ft and turn again north along the coast. Ice Panel and Lighting The colder night air shows there could be ice around. Although in July in Northern Europe or the United States it is summer, but in New Zealand this is middle winter and it can get very cold. The "Deicing" panel is high right above the Co-Pilot on the roof, and you have deIcing options for the propellers, windshield, engine inlets and pneumatic wing boots. You can check your wings for ice with the excellent wing lighting, and otherwise the external lighting is quite basic in Nav, top and bottom Beacons, and tail light. Cockpit lighting is controlled by four rotary dials, three on the pilot's side and one on the Co-Pilot's. It is excellent at night, fully adjustable and you can turn off the overhead lighting on the OHP. No doubt a very nice place to work in. There are map reading lights each side, but they didn't work? HDR lighting switched off does not mean an inferior night flying experience (above), in fact it is very good and certainly in the approach phase if you have the cockpit lighting switched off, to many it may even be a better option and a big frame-rate gain. There are main overhead lights and two set each side above the pilots and rear. In the cabin it is excellent, but not everyone get a light over their seat. They are more there for embarking or disembarking the aircraft. In the darker light the aircraft is quite dark, and can be hard to see except for the external lights. Christchurch (NZCH) Soon the lights of New Zealand's biggest southern city are spread out in front of the Embraer. Arrival at NZCH is via RWY20 so that means like at Dunendin I have to track more north to NDB WOODEND (OD 262) to turn directly around for a direct reverse approach to the airport. I used the RWY20 ILS (IHW 110.30) because I want to be safe in the darkness. It was very dark out there, but I was nice and snug in here and enjoying the dark cockpit, I turned the passenger cabin lights off (no door!) with just the "fasten your seatbelts" and "no smoking" signs red glow to keep the rear seated travellers alert. It was again tricky under the ILS to keep on the beam, I hated the idea of being too low and hitting the ground before being over the runway so I was extra vigilant on the throttle and speed to hold those CDI markers as central as I could. Otherwise I was tuning in well with the aircraft. Once down those wide lights gave me a good path to the terminal, and because my domestic ramp position was in semi-darkness the wing iceing lighting proved very good to show the path to the terminal entrance. Note the excellent lighting on the undercarriage when the aircraft is on the ground, which is great for night inspections. Liveries There are eight liveries with the aircraft in six commercial and two South American military FAB/FAC, and all are very high HD quality, but the range is quite small for such an aircraft. In a small way that limits your choices of where and how to fly the aircraft (There are no European Liveries for example, but there is now a nice "Jersey European" on the X-Plane.Org) Summary In reality the verdict is already out on the Embraer EMB - 110 Bandeirante. As already many fliers have taken the aircraft to true classic status and a must have in any hangar, and it is not very hard to see why. The quality is overwhelming, certainly in the Carenado class in every area. In many respects if you let someone fly the aircraft the first words would be "Carenado have done it again!" only the Bandeirante is not from that great company. It also shows the depth of Dreamfoil Creation's talent and skill as well, with the combination of the best features in menu's, external animations and their great sound system of the 3d reality DreamEngine effects. In moving into a new realm with an aircraft Dreamfoil Creations has created a masterpiece that is a pure immersion in a classic commuter aircraft, in other words Dreamfoil Creations have done a brilliant job. It is a very challenging aircraft to fly, make no mistake about that and certainly at slower speeds. But with aircraft like these it is the skill set and learning to master the machine that is part of the reason that aviation is so attractive. To fly the Bandeirante well is like going for your masters degree, and once held it can open up the door to experiences that gives you the feedback to understand how good you can actually be behind a set of controls. Don't expect to get there overnight either, it will take time and effort to discover the full breadth (or heights) of where you can go with this aircraft and I will get back to you in a few years to still tell you how great it is. No doubt this aircraft has been one of the great surprises of the year in 2015, by the way it was released and how good it is and at a price just below US$30 it is absolutely excellent value as well... I could go on.... but I want to now just fly it again it is that good, so I will. _____________________________________________________________________ The Dreamfoil Creations Embraer EMB -110 Bandeirante is available from the New X-Plane.Org Store here : Embraer EMB-110 Bandeirante And is priced at only US$29.95 Current version is v1.3 The release version was v1.0 but there has been several updates or patches since the release. The latest patch (to date) is v1.3 which is available here: patch 1.3 b2 The X-Plane.Org Store version is the correct updated version, just go to your X-Plane.OrgStore account and update. If you have not updated from the original release version (1.0) I Strongly recommend to update the patch or redownload the current version. _____________________________________________________________________ Installation : Download file size is 324.90mb to your X-Plane - Aircraft Folder. Installed file size is 468.50mb Notes: The Aircraft comes with two aircraft (.acf) files in the standard "EMB110" and the "EMB110WD" The standard is without dihedral and the WD version has 10º diehdral in the elevator. Documents : Four documents that cover a main Pilot's manual (13 pages), real Embraer performance tables and normal, emergency procedures. Requirements : Windows XP, MAC, Linux - X-Plane 10.30+ (any edition). 32 and 64bit compatible - Pentium 3 GHz+ - 1Gb VRAM Recommended Current version: 1.30 (last update June 15th 2015) Developer Support Site : Embraer 110 by Dreamfoil Creations .Org Support _____________________________________________________________________________________ Fully featured and including: Two versions: without dihedral and with 10º diehdral in the elevator. Cabin, Cockpit and Instruments lights available with great effects. Full simulation of all switches Hydraulic simulation Hotstart simulation for manual startup Caps for turbine inlet, outlet and pitot GPU (Ground Power Unit) available Air Conditioner simulation Prop Disc effects feature 3D holographic side view, which changes depending on prop settings Fully articulated and animated sun visors Very accurate flight characteristics. Windshield rain effects: rain drops move realistically in accordance with airspeed, get cleared by wipers, and repopulate after wipers are shut off. Wx radar simulation Sounds: Over +50 sounds included Doppler Effect and Atmospheric Attenuation Realistic TurboProp sounds with real-time propeller dynamics Relative Sustain effect for startup and shutdown _____________________________________________________________________________________ Review by Stephen Dutton 10th July 2015 Copyright©2015: X-Plane Reviews Review System Specifications: Computer System: - 2.66 Ghz Intel Core i5 iMac 27”- 9 Gb 1067 Mhz DDR3 - ATI Radeon HD 6970M 2048 mb- Seagate 512gb SSD Software: - Mac OS Yosemite 10.10.1 - X-Plane 10 Global ver 10.35 (final) Addons - Saitek x52 Pro system Joystick and Throttle : Sound - Bose Soundlink Mini Scenery or Aircraft - NZNV - Invercargill Airport by Royaloak (X-Plane.Org) - Free - NZDN - Dunedin 1.1 by tdg (X-Plane.Org) - Free - NZCH - Christchurch New Zealand International Airport (ISDG) by Chris K (X-Plane.Org) - Free
-
Aircraft Review : Bell 407 by Dreamfoil Creations Routes : KEYW Key West, USA : Circuits The latest creation from Dreamfoil is their Bell 407. Dreamfoil Creations have got quite a track record in producing really brilliant helicopters and the Bell 407 is no exception. Their Jetranger Bell 206 B3 was excellent and the Eurocopter AS350 B3 was a level above in design and features, and here in the 407 you are flying with a master at work. It is not only the basic design and flying capabilities that are very good here by Dreamfoil Creations, but also the complete interaction with the simulator itself in the way the menu's and the sounds are a level above anything else... everything is so well put together to create a very good simulation experience. Bell 407 In 1993, Bell began the development of the "New Light Aircraft" project as a replacement for its very successful Model 206 series. The program resulted in the 407 a four-blade, single-engine, civil utility helicopter. It is a development of Bell's LongRanger. A 206L-3 which was modified to serve as the 407 demonstrator. The demonstrator used hardware for the 407 and added molded fairings to represent the 407's wider fuselage that was then under development. The demonstrator was first flown on April 21, 1994, and the 407 program was publicly announced at the Heli-Expo in Las Vegas, Nevada, in January 1995. The first 407 prototype (C-GFOS) accomplished its maiden flight on June 29, 1995, and the second prototype (C-FORS) followed on July 13, 1995. After a short development program, the first production 407 (C-FWQY/N407BT) flew on November 10, 1995. The Bell 407 features the four-blade main rotor developed for the United States Army's OH-58D Kiowa Warrior (Model 406). The blades and hub use composite construction without life limits, and provide better performance and a more comfortable ride. The 407's fuselage is 8 inches (18 cm) wider, increasing internal cabin space, and includes main cabin windows that are 35% larger. The more powerful Rolls-Royce/Allison 250-C47 turboshaft allows an increase in Maximum Takeoff Weight and improves performance at hotter temperatures and/or higher altitudes. The 407's airframe is generally similar to the LongRanger, but includes a carbon fiber composite tailboom. The helicopter has standard seating for two crew and five cabin seats. The 407 was certificated by Transport Canada on February 9, 1996, with the FAA following shortly after on February 23. Full production began in 1996 at Bell's Mirabel, Quebec, Canada plant and they produced 140 airframes in 1997, to fill the initial orders. In 1995, Bell tested a shrouded tail rotor on the 407, but did not proceed with that concept. And for a time Bell studied in developing the Model 407T as a twin-engine variant, but instead chose to develop the essentially all new twin PW206D powered Bell 427. Bell began deliveries of the 407 in 1996. The 1,000th 407 helicopter was delivered on June 15, 2010. Performance : Maximum speed: 140 knots (260 km/h) - Cruise speed: 133 knots (152 mp/h, 246 km/h) - Range: 324 nmi (372 mi, 598 km) - Service ceiling: 18,690 ft (5,698 m) The 407 does feel a full size larger than the JetRanger 206, It is larger of course but it is in the sense of the 206 felt quite venerable and small. The 407 is wider and that makes it more of a complete machine. Design work by Dreamfoil Creations is simply excellent. The aircraft is so well crafted you can't really call this a model, but a replica of the real aircraft. This shows the quality of design we now have today in simulation. As you have to get really close now to see the edge of the 3d modelling, and the glass with reflections is perfect. Dreamfoil noted that the textures were very big sizes and you would need to be careful with your texture resolution? But I didn't find that an issue at all... I could easily have the texture res set at "Too Much" and still have 35fr-60fr running and that gave me tons of headspace. In fact I could even run with the HDR on, and that is an unusual rarity for me. So the frame-rate is very good, but only on "extreme" do the liveries come really sharp, in any other setting they are very slightly stepped. But that is fine in most cases, as the good frame-rate is so good not to waste. Rotor Detail The main rotor linkages and plates are simply superb, full movement and complete axis movement throughout the changing of the position of the cyclic. You can specify if you want the Framn Damper on or off (Above) As noted the head design is similar to the one on the OH-58D. I will note that when I first flew the 407, my Saitek X52 did not connect with the main pitch and roll axis of the main rotor (yaw with the tailrotor was fine?), but a reset of the joystick fixed the issue (but not before cartwheeling me into the scenery!) The four Blades are Textron composite structures. On the real 407 you can now have an aftermarket blade-folding kit that pulls two blades forward and two blades to the rear. The tailrotor design is very simple at first glance, but look again again as the detailing is first rate. Exterior The fuselage is very complete, with perfect sunken riveting and you can ideally see the separate panels that go into making up the aircraft. Engine inlets and grills are well executed and dirtied down, but there is not much soot on the high positioned exhaust. The boom tail and rear tailplanes are well completed. All four doors open from the inside latches, Two standard on the right and a huge double connected full rear cabin swing door on the left. When open it makes it hard for the Co-Pliot to use his door. You can choose if you want a full plate glass (long) version or the standard windows. I really like the full glass version, it makes working the hover far easier. You can open a rear storage compartment and a strange animation simulation of opening that large left-rear door and slipping into the rear left seat of the 407. These can both be accessed from the outside, but the minute triangles can be hard to use or even find. Internally you have 4 + 1 plush seats leather club seating arrangement in the rear and two leather seats up front for the pilot and Co-Pilot or front seat passenger. the interior is kitted out with full luxury detailing and wood grain door jams. But you only have one version, there is no medical or five seater arrangements. Menus The menus (SmartMenus) are quite comprehensive and a really great and quick system to accessing the details of the aircraft. The menus are accessed by pressing on the right-top of the main instrument panel. This brings up a circular dial of choices. Noted is the version of the aircraft and Dreamfoil's website. The menus consist of - SmartLivery - Quick Views - Volume - FOV - Customize - Stability and report. We will jump straight to "Customize" here to finish off the exterior items. In reality this is a two-step menu. The first click gives you - And external GPU (Ground Power Unit) - Garmin 430 - Tie-Down/Caps - Rotor Shadows and the External Menu (we will come back to the Garmin 430 setting in a minute) The"External Menu" opens out to a smorgasbord of choices. Here you can add or take away items to your hearts delight, top of the list is... A very nice bright red - GPU (Ground Power Unit). Which must be connected to start the Bell 407. Then you have the choice of "high" or "low" skid? The optional Float version has to be the "High" version, when the "float" option is selected from the EXT Menu. The "High" version is also required to use the "Left" or "Right" optional baskets. Other options include - the earlier noted items of - Framn Damper - Glass Doors. with - Door V/Windows -Wire cutters - and very nice set of rotor Tie Downs, Caps and Tags - Rotor Shadows - And Battery Compartment. Here you can open the front battery compartment and disconnect the power supply, to stop any battery drain. The Battery compartment can be accessed from the outside like the luggage door (still hard to find) and the whole EXT Menu can be used outside the aircraft. Also notable is how you refuel the aircraft... Touch the Fuel Inlet Cap and a fuel inlet will display the refueling pie menu and a fuel tank. Adjust the pie to gauge how much fuel you want to install the helicopter, click to finish. Cockpit Cockpit design is simply first-rate, overwhelmingly well done. The main bulky towering instrument panel is very well completed and everything is switchable and usable. On top are the banks of warning lights and test switches. A set of CAUTION/WARNING LT- LCD test and Horn Mute buttons (Thank God) Then you can pretty well divide the instruments and gauges to aircraft systems to the left and flying istruments to the right. Left includes - CLOCK/VOLTIMETER - TORQUE INDICATOR - FUEL PSI / AMPS - MGT (MEASURED GAS TEMPERATURE) - FUEL QTY - (Engine) NG - XMSN OIL PSI / TEMP - ENG OIL PSI / TEMP Right includes AIRSPEED INDICATOR - ATTITUDE INDICATOR - NP/NR RPM INDICATOR - HSI (HORIZONTAL SITUATION INDICATOR) - CLIMB (VERTICAL SPEED INDICATOR) - ADF/VOR - RADAR ALTIMETER - TURN/BANK - FADEC MODE (AUTO/MANUAL) - FUEL VALVE and PEDAL STOP and HSI MODE (GPS OR NAV). On the overhead panel are the standard power and lighting switches, a great turn-dial for all the instrument and overhead panel lighting. The Rotor Brake is recommended for use under 40% of NR, but I usually go down to 25% of NR to be safe. For once the "Circuit Breakers" are not there for show... They actually work! They cover - NAV/COMM LIGHTS - INSTR - GENERATOR - ENGINE CONTROLS - ENGINE INSTR - FUEL - XMSN INSTR. You have a choice on the lower panel in the selection radios via the menu panel. Either the Garmin GNS430 or the standard default radios. All radio COMM/NDB/TRANSPONDER sets are pretty basic. It will be very useful if Dreamfoil Creations installed the new GNS340 coming in X-Plane v10.40 This version would give you at least some navigation tools with VOR2 that is not available here. The collective has working switches that arm and activate the floats, start switch and a rolling power ring that can change your engine settings from FULL to IDLE and OFF. To get OFF you have to press the button above the ring to click it off. You can start the 407 by either MAN (Manual) or full AUTO (FADEC) engine start. Starting can be slightly annoying in that if you miss the 60sec timer you have to wait and start again, then there is no Checklist and so you don't know if you have got every switch or procedure correctly. Those lovely hanging headphones are a treat as well. When hung you get the full sound of the start, running and shutdown of the aircraft, click them and they mute the cockpit sounds... brilliant. All round the cockpit is a pretty amazing place to be, very functional as even the vents (move) and side windows can be opened and closed. All the beautiful rudder and cyclic controls are also well created and are perfectly realised. Other Menu Items Quickviews... 9 preset views inside and out of the machine... my favorite is the dash cam! VOL (Volume) and POV (Point of View) Set the aircraft's volume % and find the best POV % in the pilots seat. Stablility You can adjust your - ROLL - YAW - PITCH to your liking in %. ARCADE mode centre's the cyclic to the dead centre and makes the aircraft easier to fly for novices, personally I found I didn't need this function, the aircraft is quite stable to fly even with it switched off... but if you need the extra guiding hand. RIGID CRUISE is a new feature to help you hold the aircraft in position over a long flight, but be careful because if you switch it on and the aircraft is slightly going down or up it will keep going in the same direction, but a great saving grace over a distance. Report The "Report" menu item is an engineering logbook of your flying. You can reset all the parameters except your crashes!... Yes you have to face those. All reports are kept with a selected livery. You can also reset the "Floats" here as well, if not they keep inflating every time you select floats or start up. Smartlivery I have left the "SmartLivery" menu to last. In selecting it will give you a choice of each one of your liveries. You can spin around the dial and select which one you want to use. There are eleven liveries including the default Blue and a paint White. There are no branded livieries or noted registrations on the tail-boom. The Bell 407 is a very comprehensive aircraft. The menus are very versatile but also very easy to use and that gives you easy access to the aircraft. Flying the Bell 407 A quick first flight is to show how the floats operate. It becomes very quickly apparent on how easy the aircraft is to fly. No fighting the controls or any severe thrust from the tail yaw. You can control the 407 very easily in all directions. The transition to forward flight is seemless and you don't have to overwork the controls, I did find you could roll in sharp kinks left or right if you didn't get your side movements very smooth, settle down and get the right smooth slight turns and the aircraft comes alive. Under your thumb on the cyclic you have a small menu that allows you to adjust the Cyclic Friction and the Trim (centre). I however recommend to set up a keyboard setup for the trim, Dreamfoil Creations notes on how to do this in the manual. The instruments are very good just slightly below your eye line to the left, although the single altitude pointer on the ATTITUDE INDICATOR needs to be carefully monitored. There is also an "Airspeed Actuated Pedal Stop" (AAPS) which acts to automatically restrict pedal input during cruise flight, while allowing maximum pedal authority for low airspeed and hovering flight. The Airspeed Actuated Pedal Stop will restrict left pedal range of travel by -25% when airspeed is greater than 55 KIAS and will restore full pedal authority when airspeed falls below 50 KIAS and prevents the tail rotor to achieve maximum flapping condition where it would enter in contact with vertical stabilizer causing a catastrophic failure of tail rotor and the vertical stabilizer. A few passes gave me the best point to test out the flotation device on the aircraft, and now or when required and make sure the floats are armed then press the "red" button on the collective. Instantly the floats will inflate. Holding the hover was a very easy and a very light touch saw the aircraft floating quite happily, You can easily navigate by using the yaw of the tail trust to turn the aircraft in the direction you want to go. But flying there is far easier. Returning to KEYW, the aircraft was quick and covered the ground very fast at a top speed of 140knts, coming back into auto-rotation it was very easy to transition from a little side-slip into the hover and then easily maneuver the aircraft to the right parking position and land with no great dramatic shifts that can catch you unaware with the extra power going to the yaw on the tail-rotor. the aircraft is very easily controlled in the yaw and is steady in the hover... The 407 makes it all quite too easy. Night-Lighting The 407 doesn't have any extensive lighting on the aircraft. Two lights in the nose (switch is on the collective) and the standard Navigation lights and one Anti-Collision light high up on the tail. There is a very effective strobe right on the tail boom that works extremely well in the HDR mode. There are two lighting items inside the aircraft. One for the real cabin (One switch - all lights and no spot) and a blue spot light set up behind the pilots that casts a blue gaze over the instrument panel. It is awkward to turn on or off as well. All the panel lighting is very good (with the large selection of warning lights) and so is the overhead panel in an adjustable green tinge. So the 407 a soothing place to fly at night. As noted I found I could easily run the HDR with full lighting on with this aircraft. That is very rare with my system so I am very impressed. There are however no optional lights or searchlights attached to the aircraft. Summary X-Plane as a simulator does not have a big collection of helicopters in the payware sphere. However the ones the simulator does have are extremely good and very detailed. Almost any choice from the BKK-117, Virtavia/Dawson Design Sea King, Jetranger Bell 206 B3, Eurocopter AS350 B3 and the excellent S-92 by DMO Flight Design are all worthy of your investment. And the Bell 407 by Dreamfoil Creations is certainly a worthy investment to join them up there at the top of the best of the best. The initial feeling is that the aircraft is so completely and masterly complete. nothing has been left to chance and everything is perfect in the design and has a large feature list (note: a checklist is now included in the release version). Every area is covered, sounds are first rate as Dreamfoil created the famous sound DreamEngine (note: to Window users as the DreamEngine requires Open-AL drivers to be installed on your computer for use) for 3d surround sound. and visually it is excellent. Excellent frame-rate even with HDR on or off is also easily achievable (very rare for me). And if you want to be picky then there is only really one variant, with no medical or different role playing versions. And the liveries have no branded versions. But you do have very good feature sets and the aircraft is very good to fly, if a little too easy for the absolute purists. And you don't really need any Arcade-mode hand holding here to fly it either, if you are new to vertical flight. Yes the basic's of vertical flight would still need to be learnt and you will need plenty practise, but you should master the 407 after only a short point of time. It is that well conceived... For the rest of us we can just get on and enjoy this fantastic aircraft and revel in the masters hands... It is that good. ______________________________________________________________________ Yes! the Bell 407 is now available from the X-Plane.Org Store here : Bell 407 Price is US$34.95 Technical Requirements: Windows, MAC or Linux - X-Plane 10.20 or higher - 32 and 64 bit compatible. Joystick required 512Mb VRAM - 1GB VRAM Recommended Current version: 1.0 Last updated: April 25th 2014 Support Thread : Bell 407 Installation: Download is a hefty 584.10meg to an expanded 642.80meg that is positioned in your X-Plane "helicopter" aircraft folder. Windows users require sound engine Open-AL drivers. Documentation: Manual is 24 pages and the FAQ is 2 Pages ______________________________________________________________________ Review by Stephen Dutton 25th April 2014 Copyright © 2014 : X-Plane Reviews Review System Specifications: Computer System: - 2.66 Ghz Intel Core i5 iMac 27” - 6 Gb 1067 Mhz DDR3 - ATI Radeon HD 4850 512mb Software: - Mac OS Mavericks 10.9.2 - X-Plane 10 Global ver 10.22 (final) Addons - Saitek x52 Pro system Joystick and Throttle Scenery - KEYW Key West International by Fletcherj - free (KEYW Key West International Airport V1.0 )


